Anton
Anton-
new core unit to test
05/03/2022 at 08:22 • 0 commentsIf you want to test the new core unit from the V2 scanner on the V1 scanner - you can do so:
https://hackaday.io/project/185040-8mm-film-scanner-v2/log/205805-stl-files-for-new-core-unit
![]()
-
8mm Film Scanner V2
04/25/2022 at 04:35 • 0 commentsSince some of the new parts will not be compatible with the original design, I started a new project which you can find and follow here:
-
complete rework started
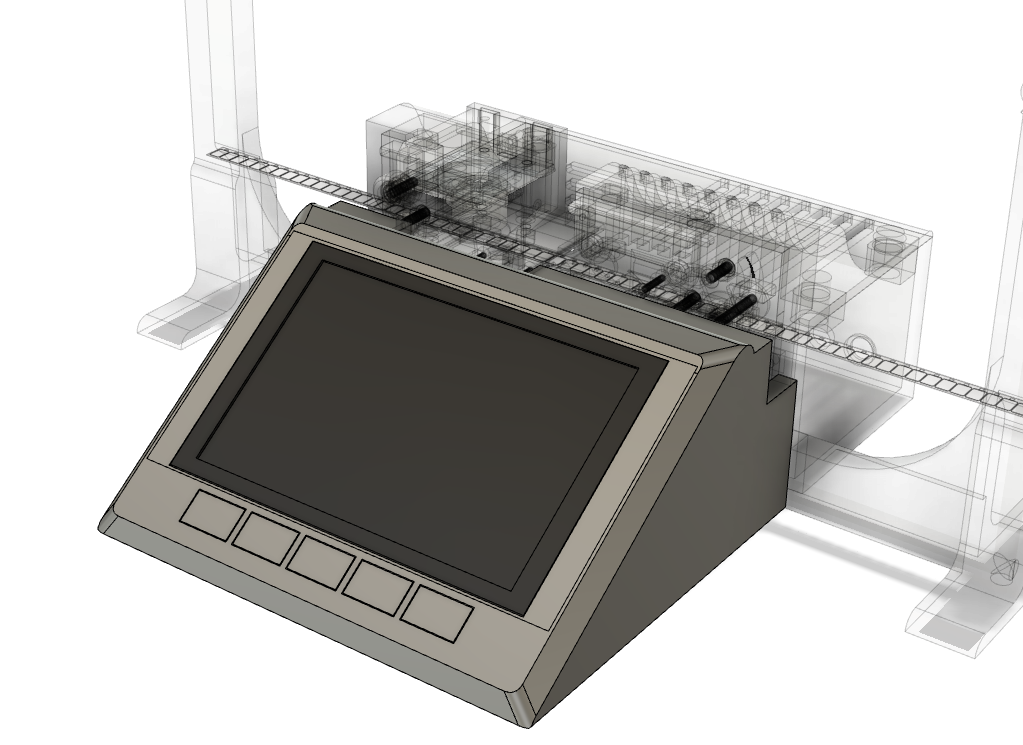
04/16/2022 at 03:16 • 0 comments![]()
I finally started a complete rework of the first version. The new version will fit a 5inch display, a Raspberry pi 4, optional the HQ camera module and overall it should be easier to print and assemble.
![]()
-
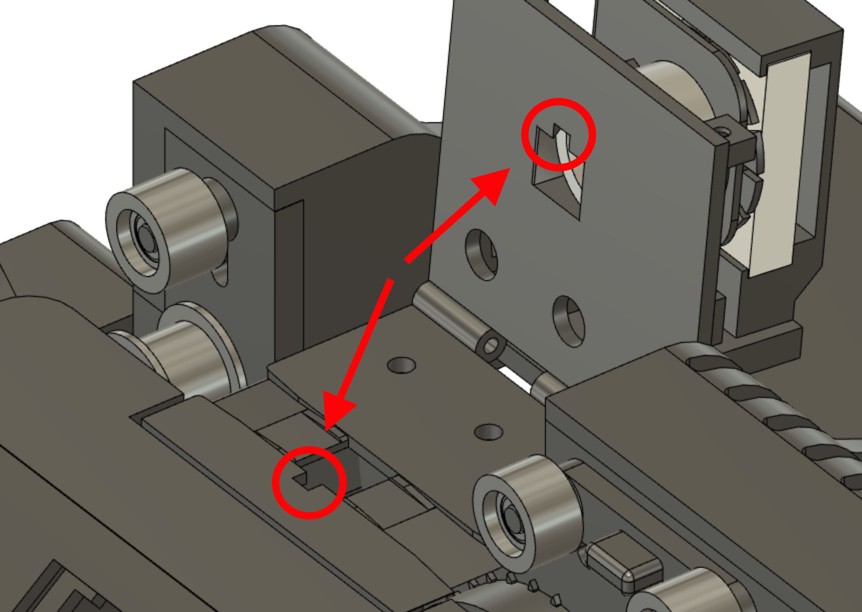
configuration of the software
03/24/2022 at 08:10 • 0 commentsI've posted a short video that should help you to understand how to configure the software to your built.
here the buttons for reference:
![]()
-
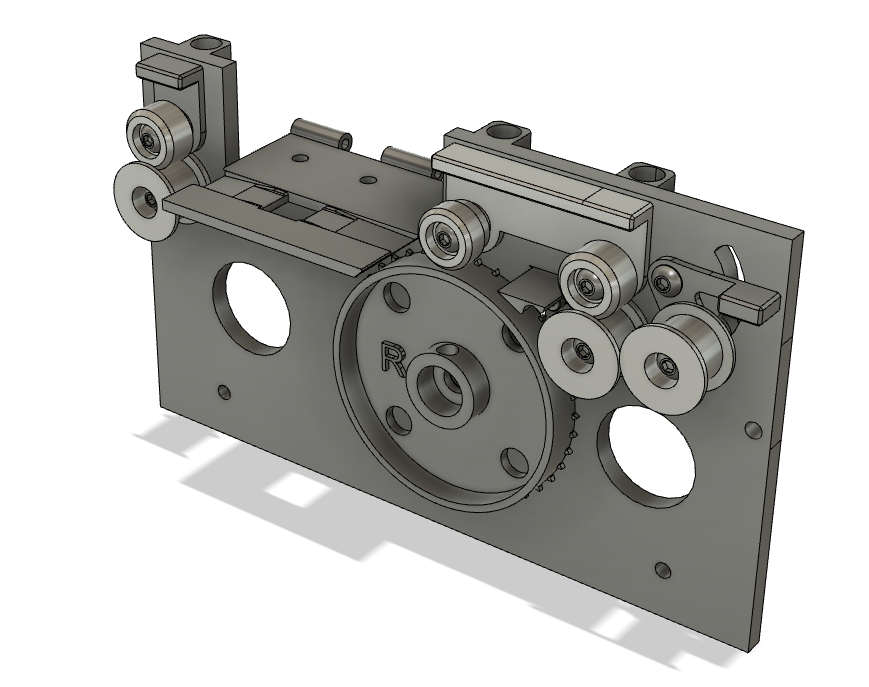
new film plate version
03/23/2022 at 01:55 • 0 commentsin order to have less contact between the film and the parts of the machine, I redesigned the film plate. This design also allows to move the lens closer to the film for larger magnification.
![]()
you can find the files for 3d printing here:
https://www.prusaprinters.org/prints/153896-new-film-plate-for-8mm-film-scanner
or on my g-drive
-
Regular 8 software now available
03/20/2022 at 12:16 • 0 commentsI added a version for regular 8. Don't forget to use the correct sprocket!
Also - for R8 and S8 you need to adjust the crop settings (line 20 onwards). This is necessary, because your camera / lens setup will most likely be different to mine.
-
Software cleanup
03/20/2022 at 07:34 • 0 commentsToday I finally uploaded a cleaned up version of the software to scan Super 8 film. Please check out the (new) github project page.
https://github.com/mrantonSG/Filmscanner
With this clean up I hopefully soon can also release a Regular 8 version.
-
Experimenting with the Film Plate
11/08/2019 at 18:59 • 0 commentsLarge parts of the visible area of the camera are shielded from the light source through the film plate and the camera mount rail. To compensate for that, I opened small areas of those parts to let light through, to see if the adjustment of the raspberry camera would better adjust the brightness. In my test it did and I'm very pleased with the result.
I put the files in the gdrive folder: camera mount rail V2, film plate V3, light box V2
![]()
-
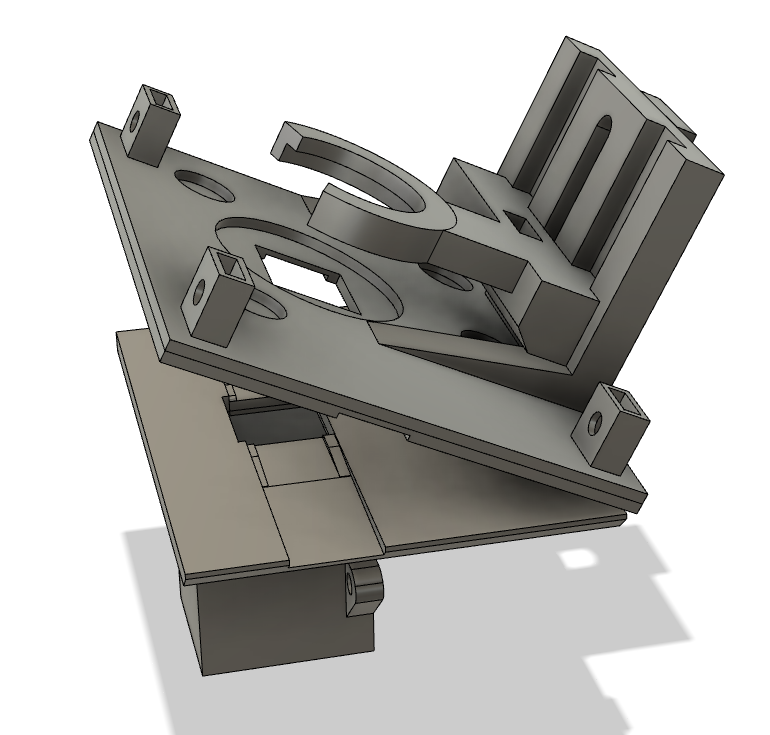
autodesk fusion 360 files
09/06/2019 at 14:17 • 0 commentsSince you've asked for: I've published the fusion 360 link.
Bear in mind that this is my first project in fusion, so its quite messy :)
![]()
-
Update of Film Plate
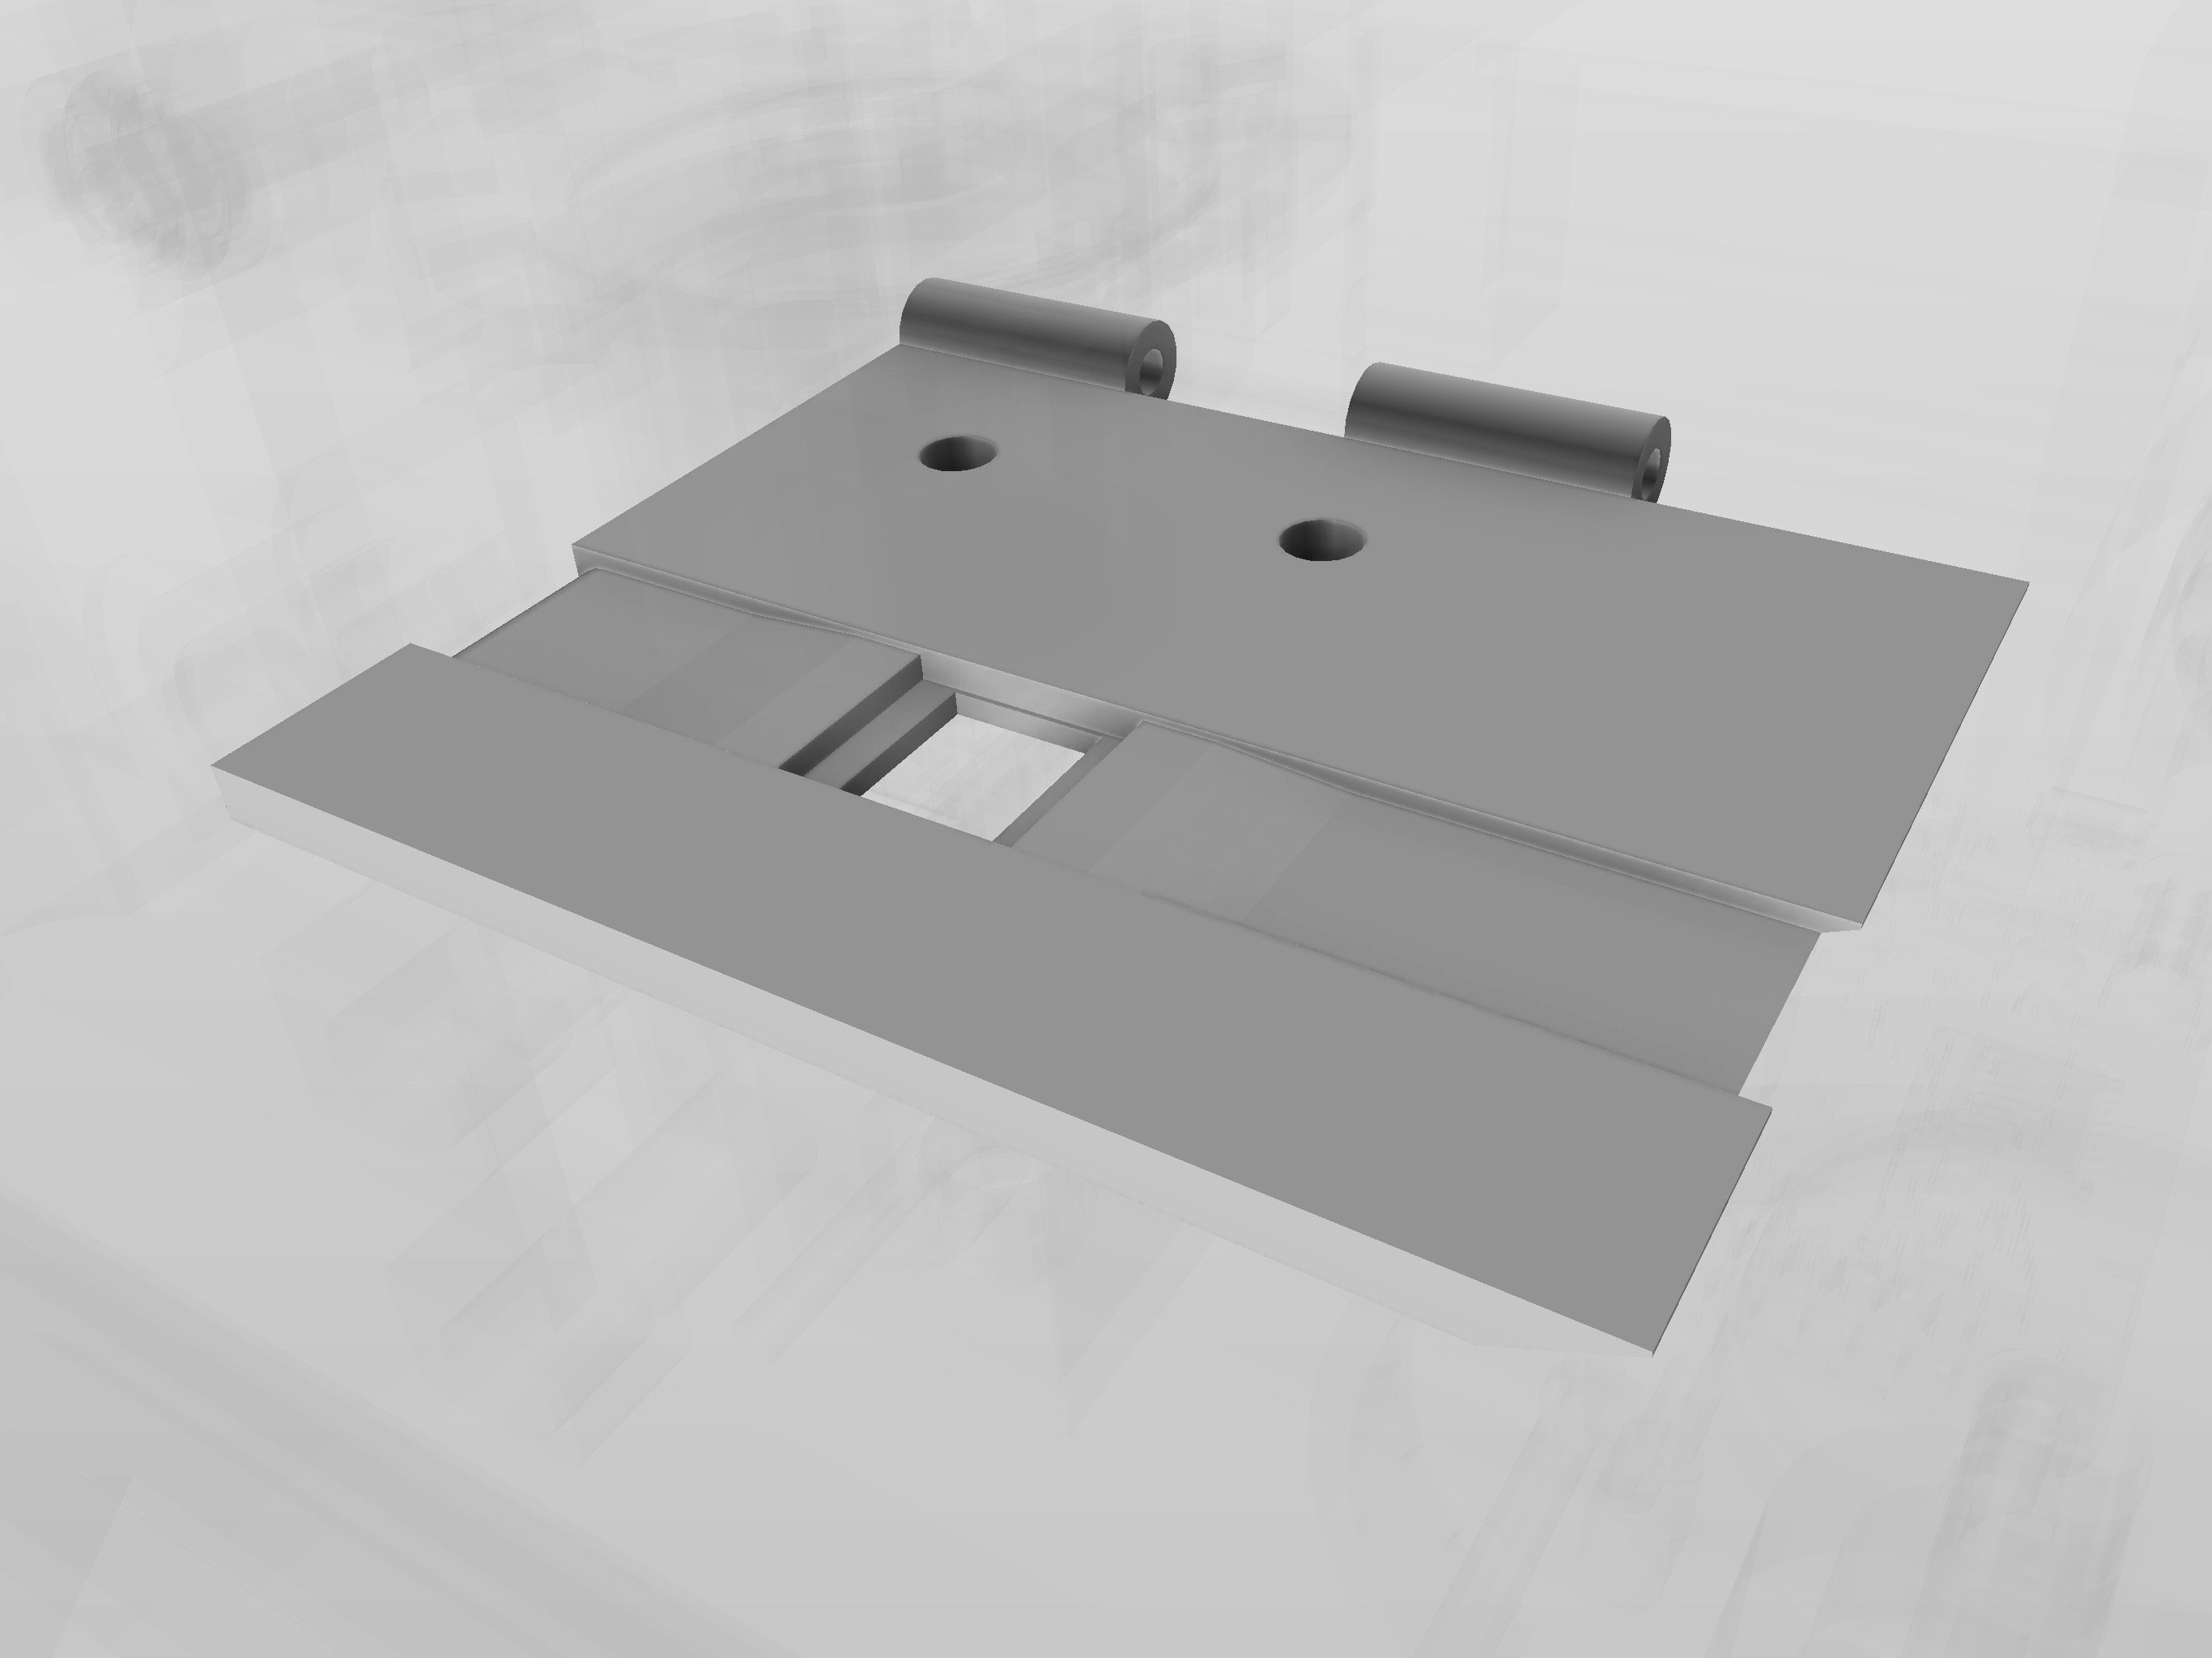
09/02/2019 at 14:05 • 0 commentsI'm currently testing a new film plate, which reduces the direct contact to the film to only the side parts (which do not have parts of the images). In all the tests no film has ever been scratched, but I want to eliminate the risk.
The new version brings another challenge: due to lesser friction, the film will not be positioned so tightly, so it can be moved more easily. (eg through the film capture wheel)
![]()
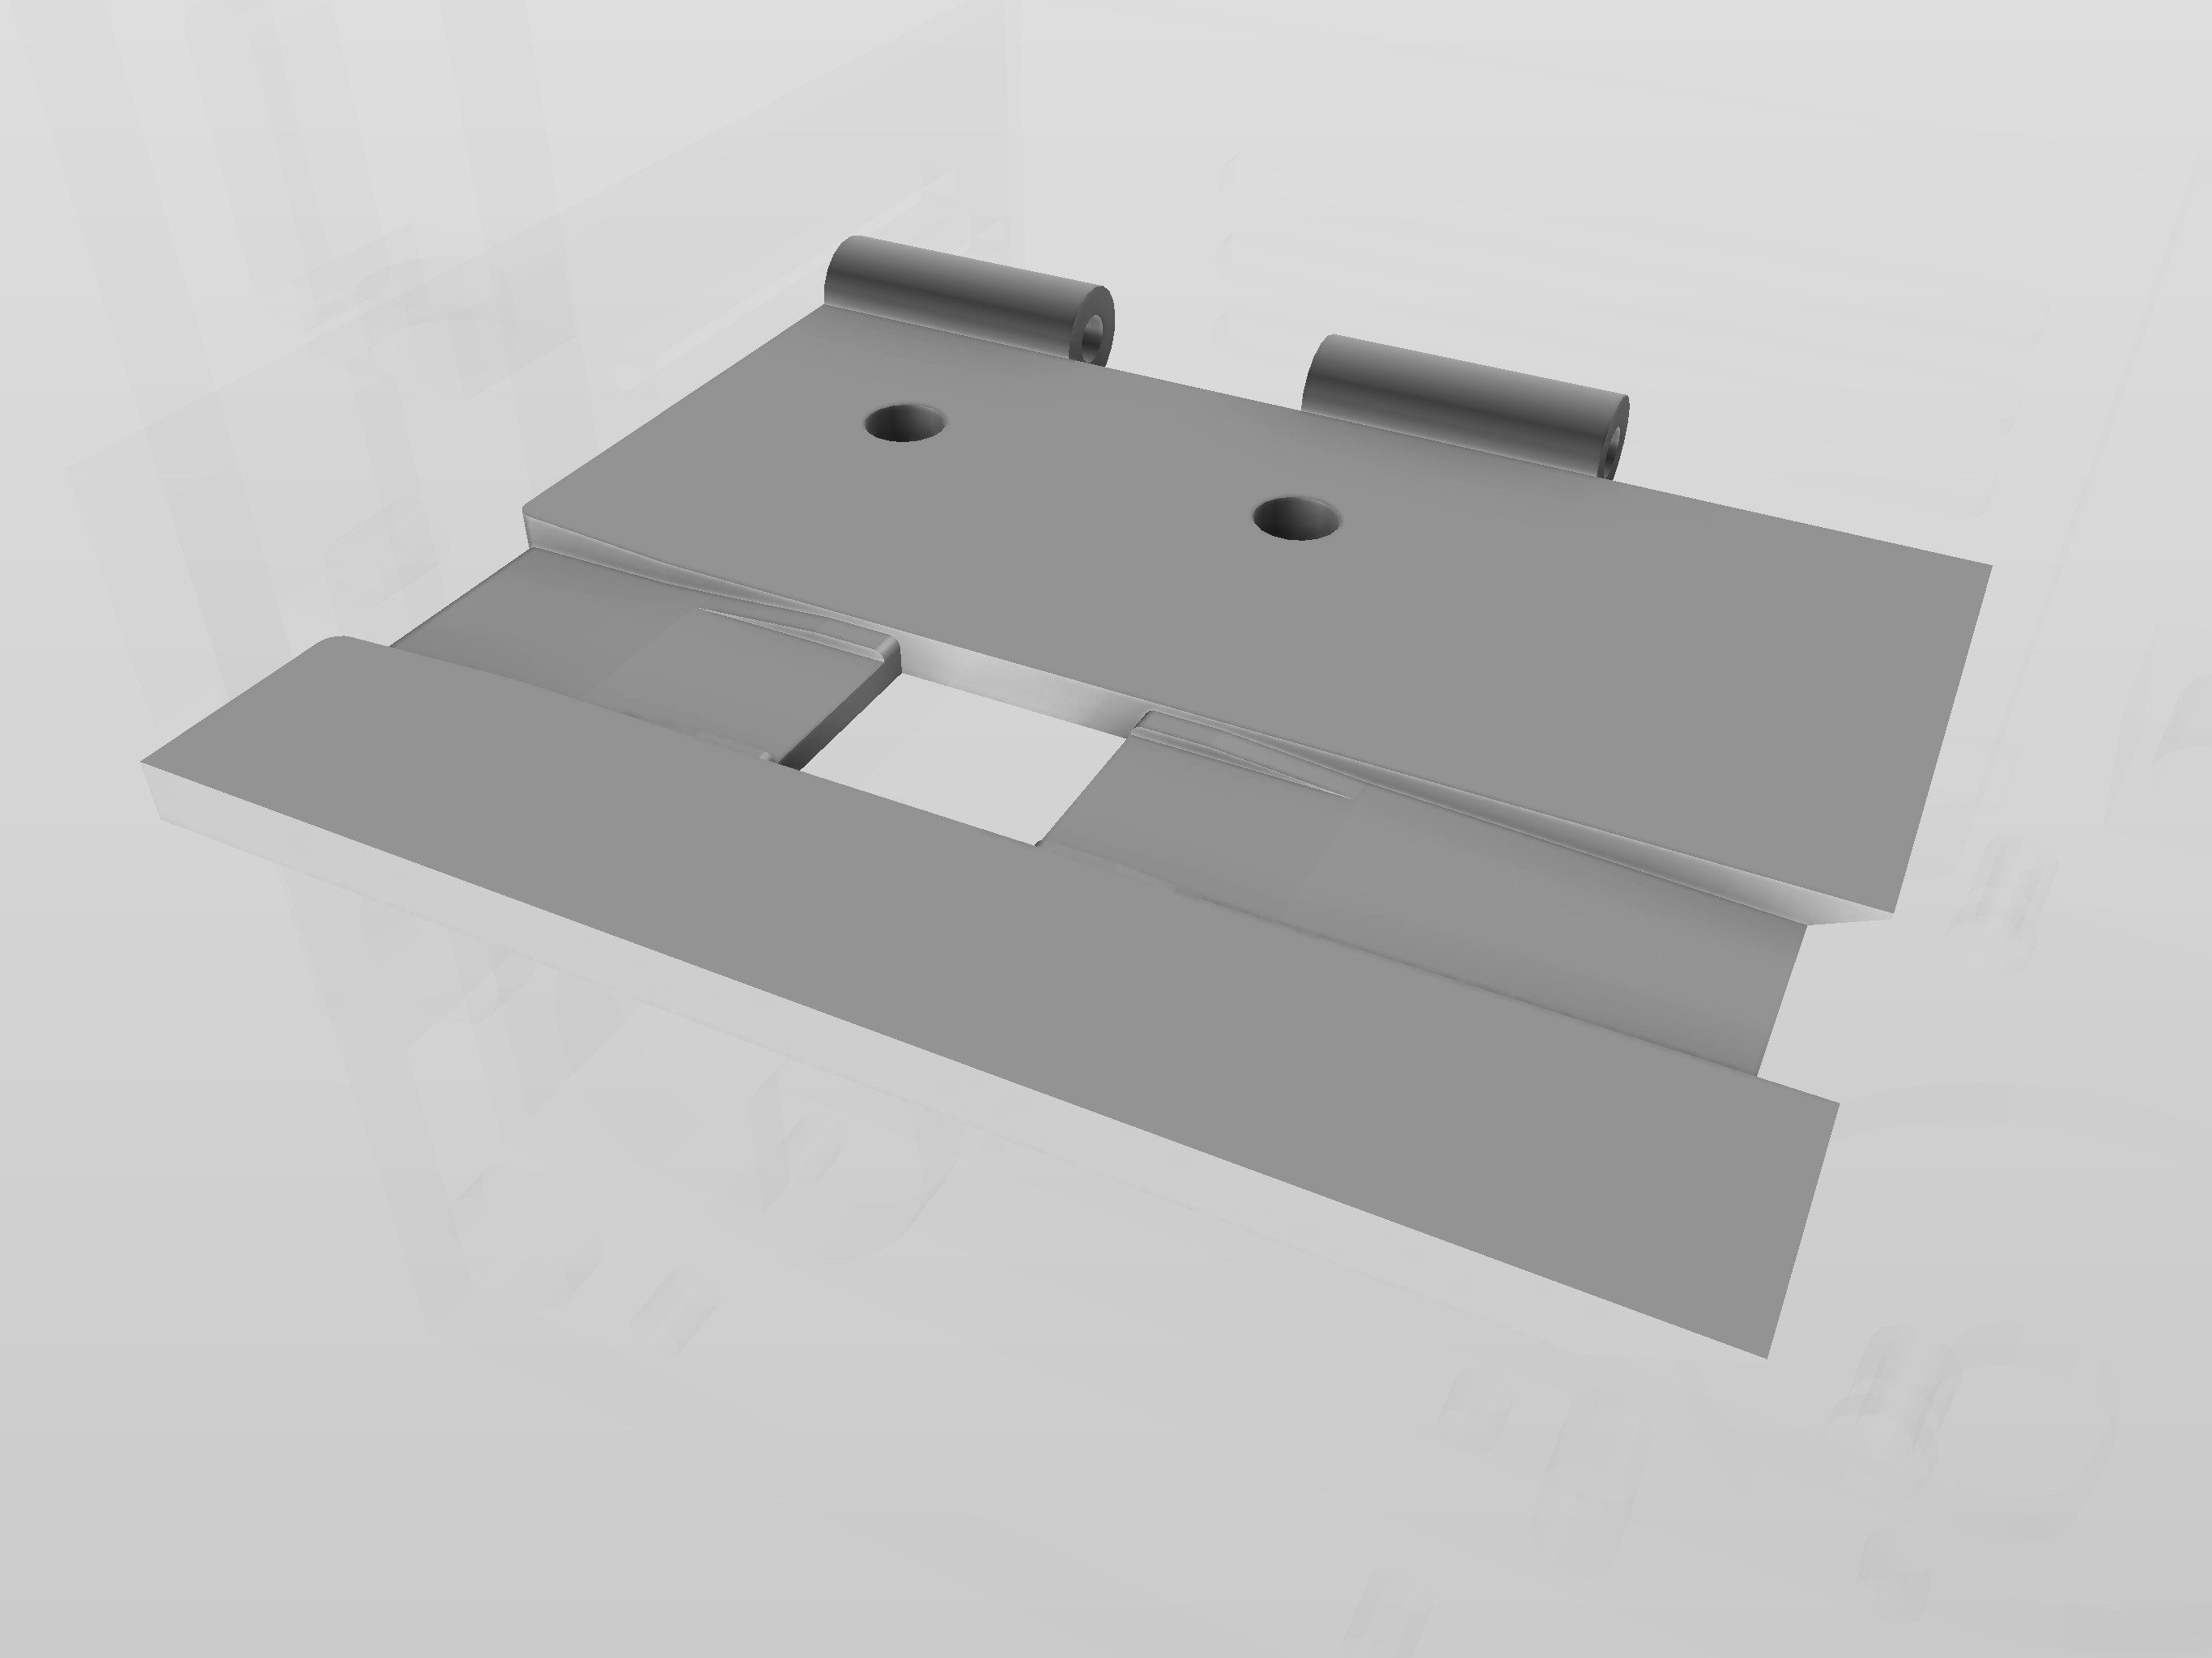
film plate V1 - the inserted 1mm acrylic light diffuser has direct contact to the film ![]()
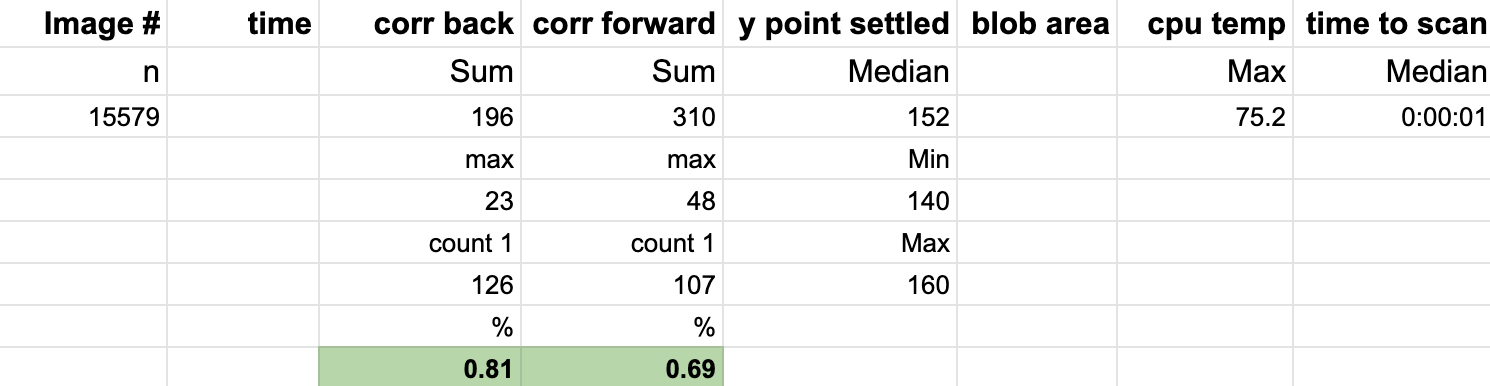
film plate V2: the contact of film to the rail is limited to the sides V1: Scanning 15000 images showed that the frame has been corrected by the stepper about 500 times - peaking when glued parts of the film got scanned.
![]()
V1 precision test