 Jason P.
-
1Print the Required Servo Stands
Using the CAD file provided (stand.stl), use a 3D-printer to print a servo stand for each of the keys on your xylophone.

-
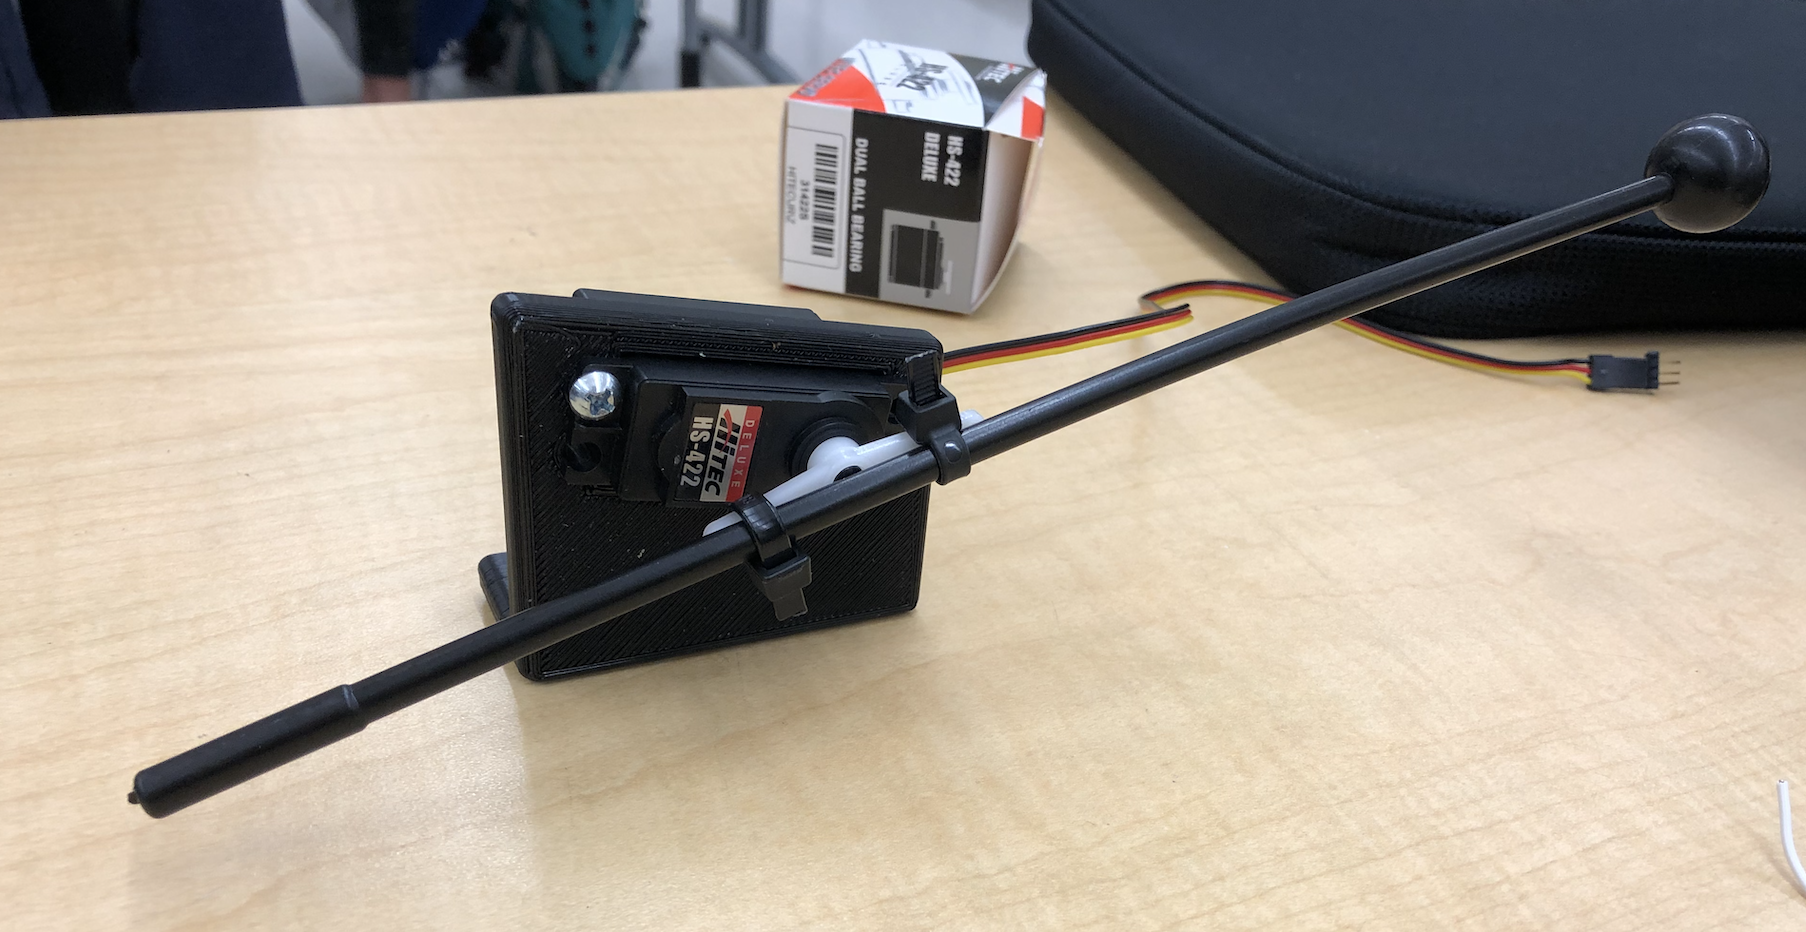
2Create a Servo-Mallet System
Screw a servo-motor to the servo stands you have finished printing. Once the motor is securely attached, use zip-ties and rubber bands as necessary to attach a xylophone mallet to the servo horns.
-
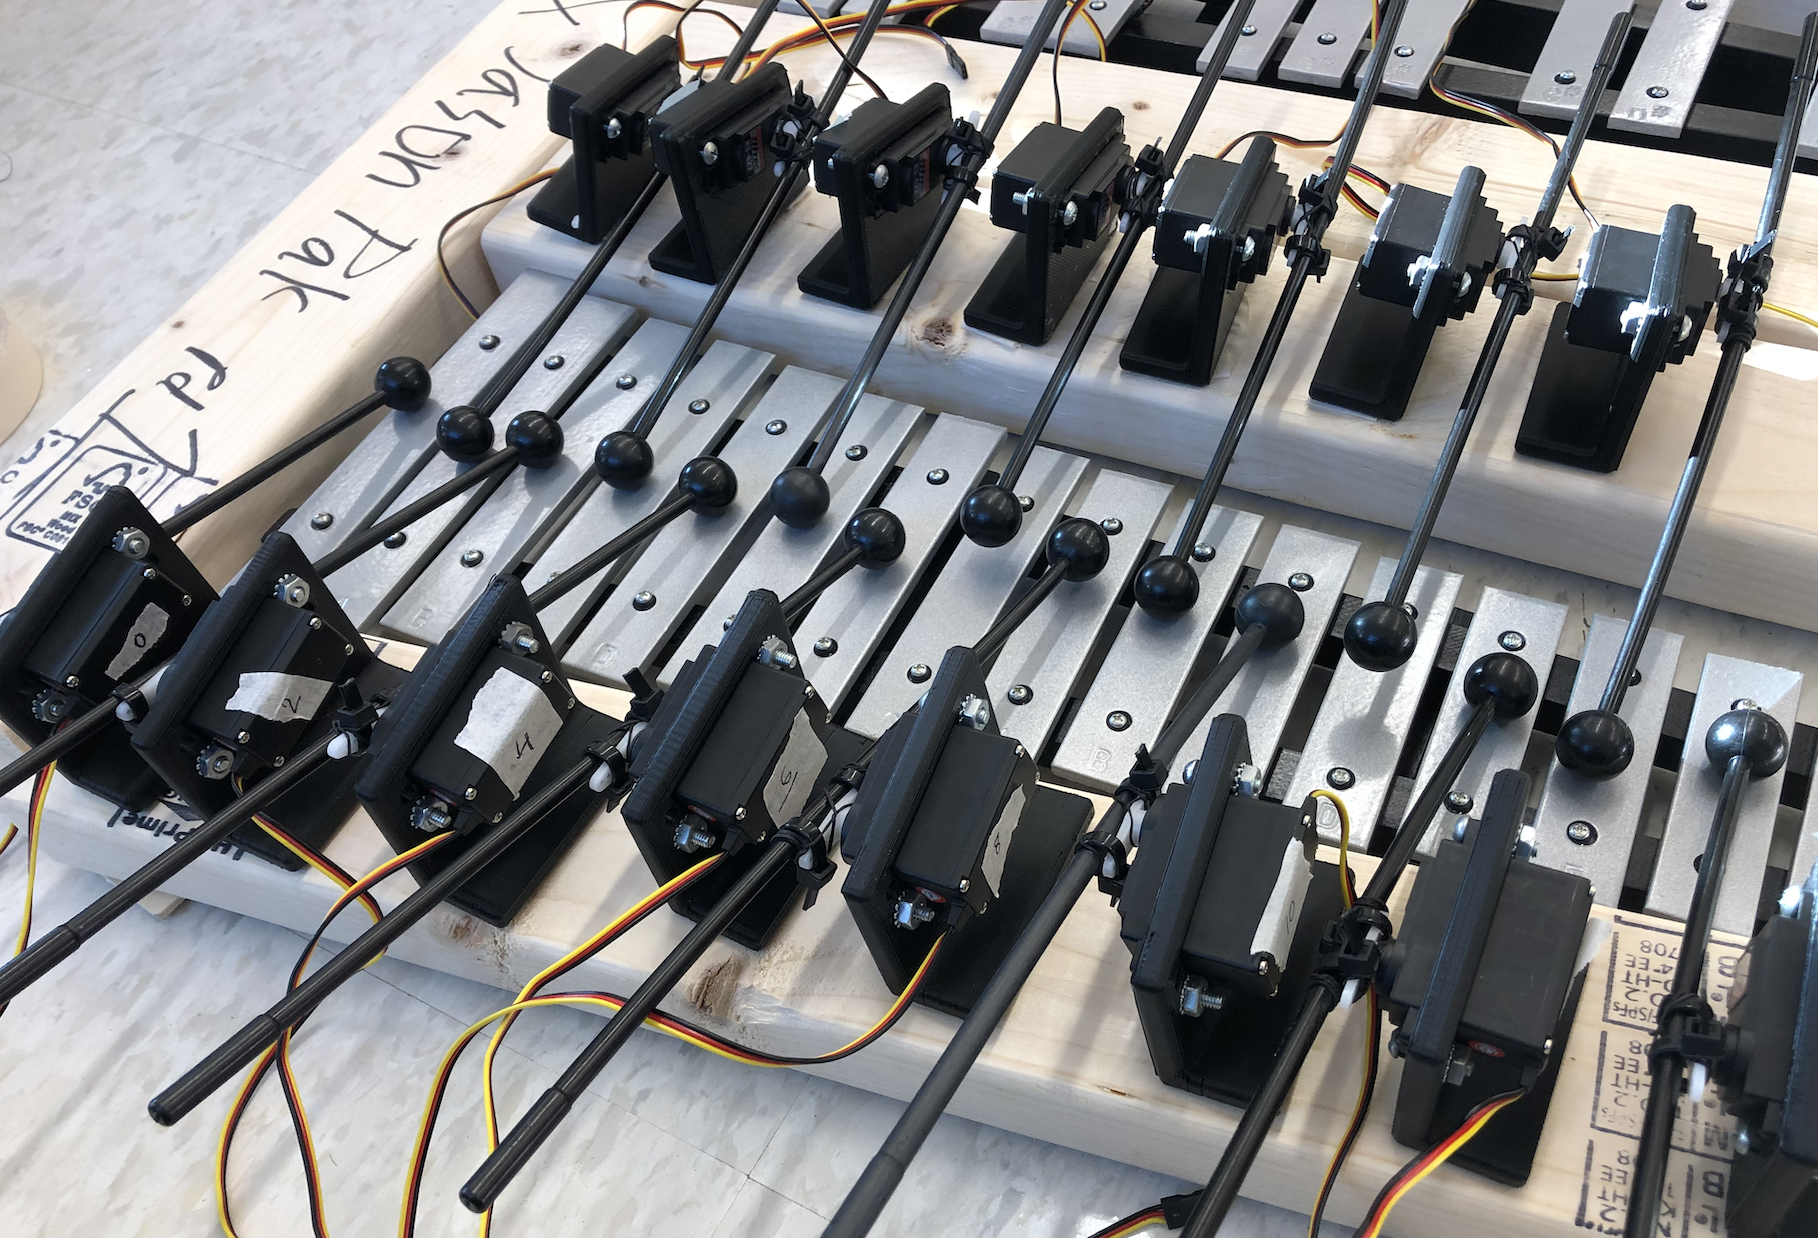
3Attach the Servo-Mallet Systems to the Xylophone
Line up each servo-mallet system with a xylophone key and securely attach it using an adhesive. Examples include hot glue or double-sided foam tape.
-
4Connect the Servo Motors to the Arduino
Connect each servo to the Servo Driver (PCA9685) and use a servo extension cable if necessary. Wire the servo driver to the Arduino board as shown below.
-
5Adjust Servo Values
Turn on the power supply and run the sample code provided (scales.ino). As shown below, adjust the servo min values as needed to ensure that the mallet strikes the xylophone key successfully.
//Parameters: (servo # on PCA9685, dynamic level, min. value, driver #) Note g1 = Note(0, 1, 86, 1); -
6Write the Code to Perform a Tune
Using the Note class and methods provided in the sample code, write the code necessary for the robot to perform the tune of your choosing. You can use the Processing software to convert a MIDI file for the Arduino to read like we did or you can choose to write the code manually using the playNote command:
//plays a note for a given duration (millisec)
g1.playNote(140);
Bot-thoven: A Robot Musician
Designing a Servo Motor Based Mallet System to Generate Musical Expression in Instrument Playing Robots


Discussions
Become a Hackaday.io Member
Create an account to leave a comment. Already have an account? Log In.