 ensgoldmine
-
1Gathering Components
To begin making this probe you need to purchase( if you have not already) an Arduino Due, 2x DRV425EVM Integrated Fluxgate Magnetometer Evaluation modules, breadboard wires and a breadboard.Make sure that you have the latest version of the Arduino IDE installed on your computer.
A soldering Iron is recommended in order to modify the jumper pin of one DRV425, referenced in the below step.
-
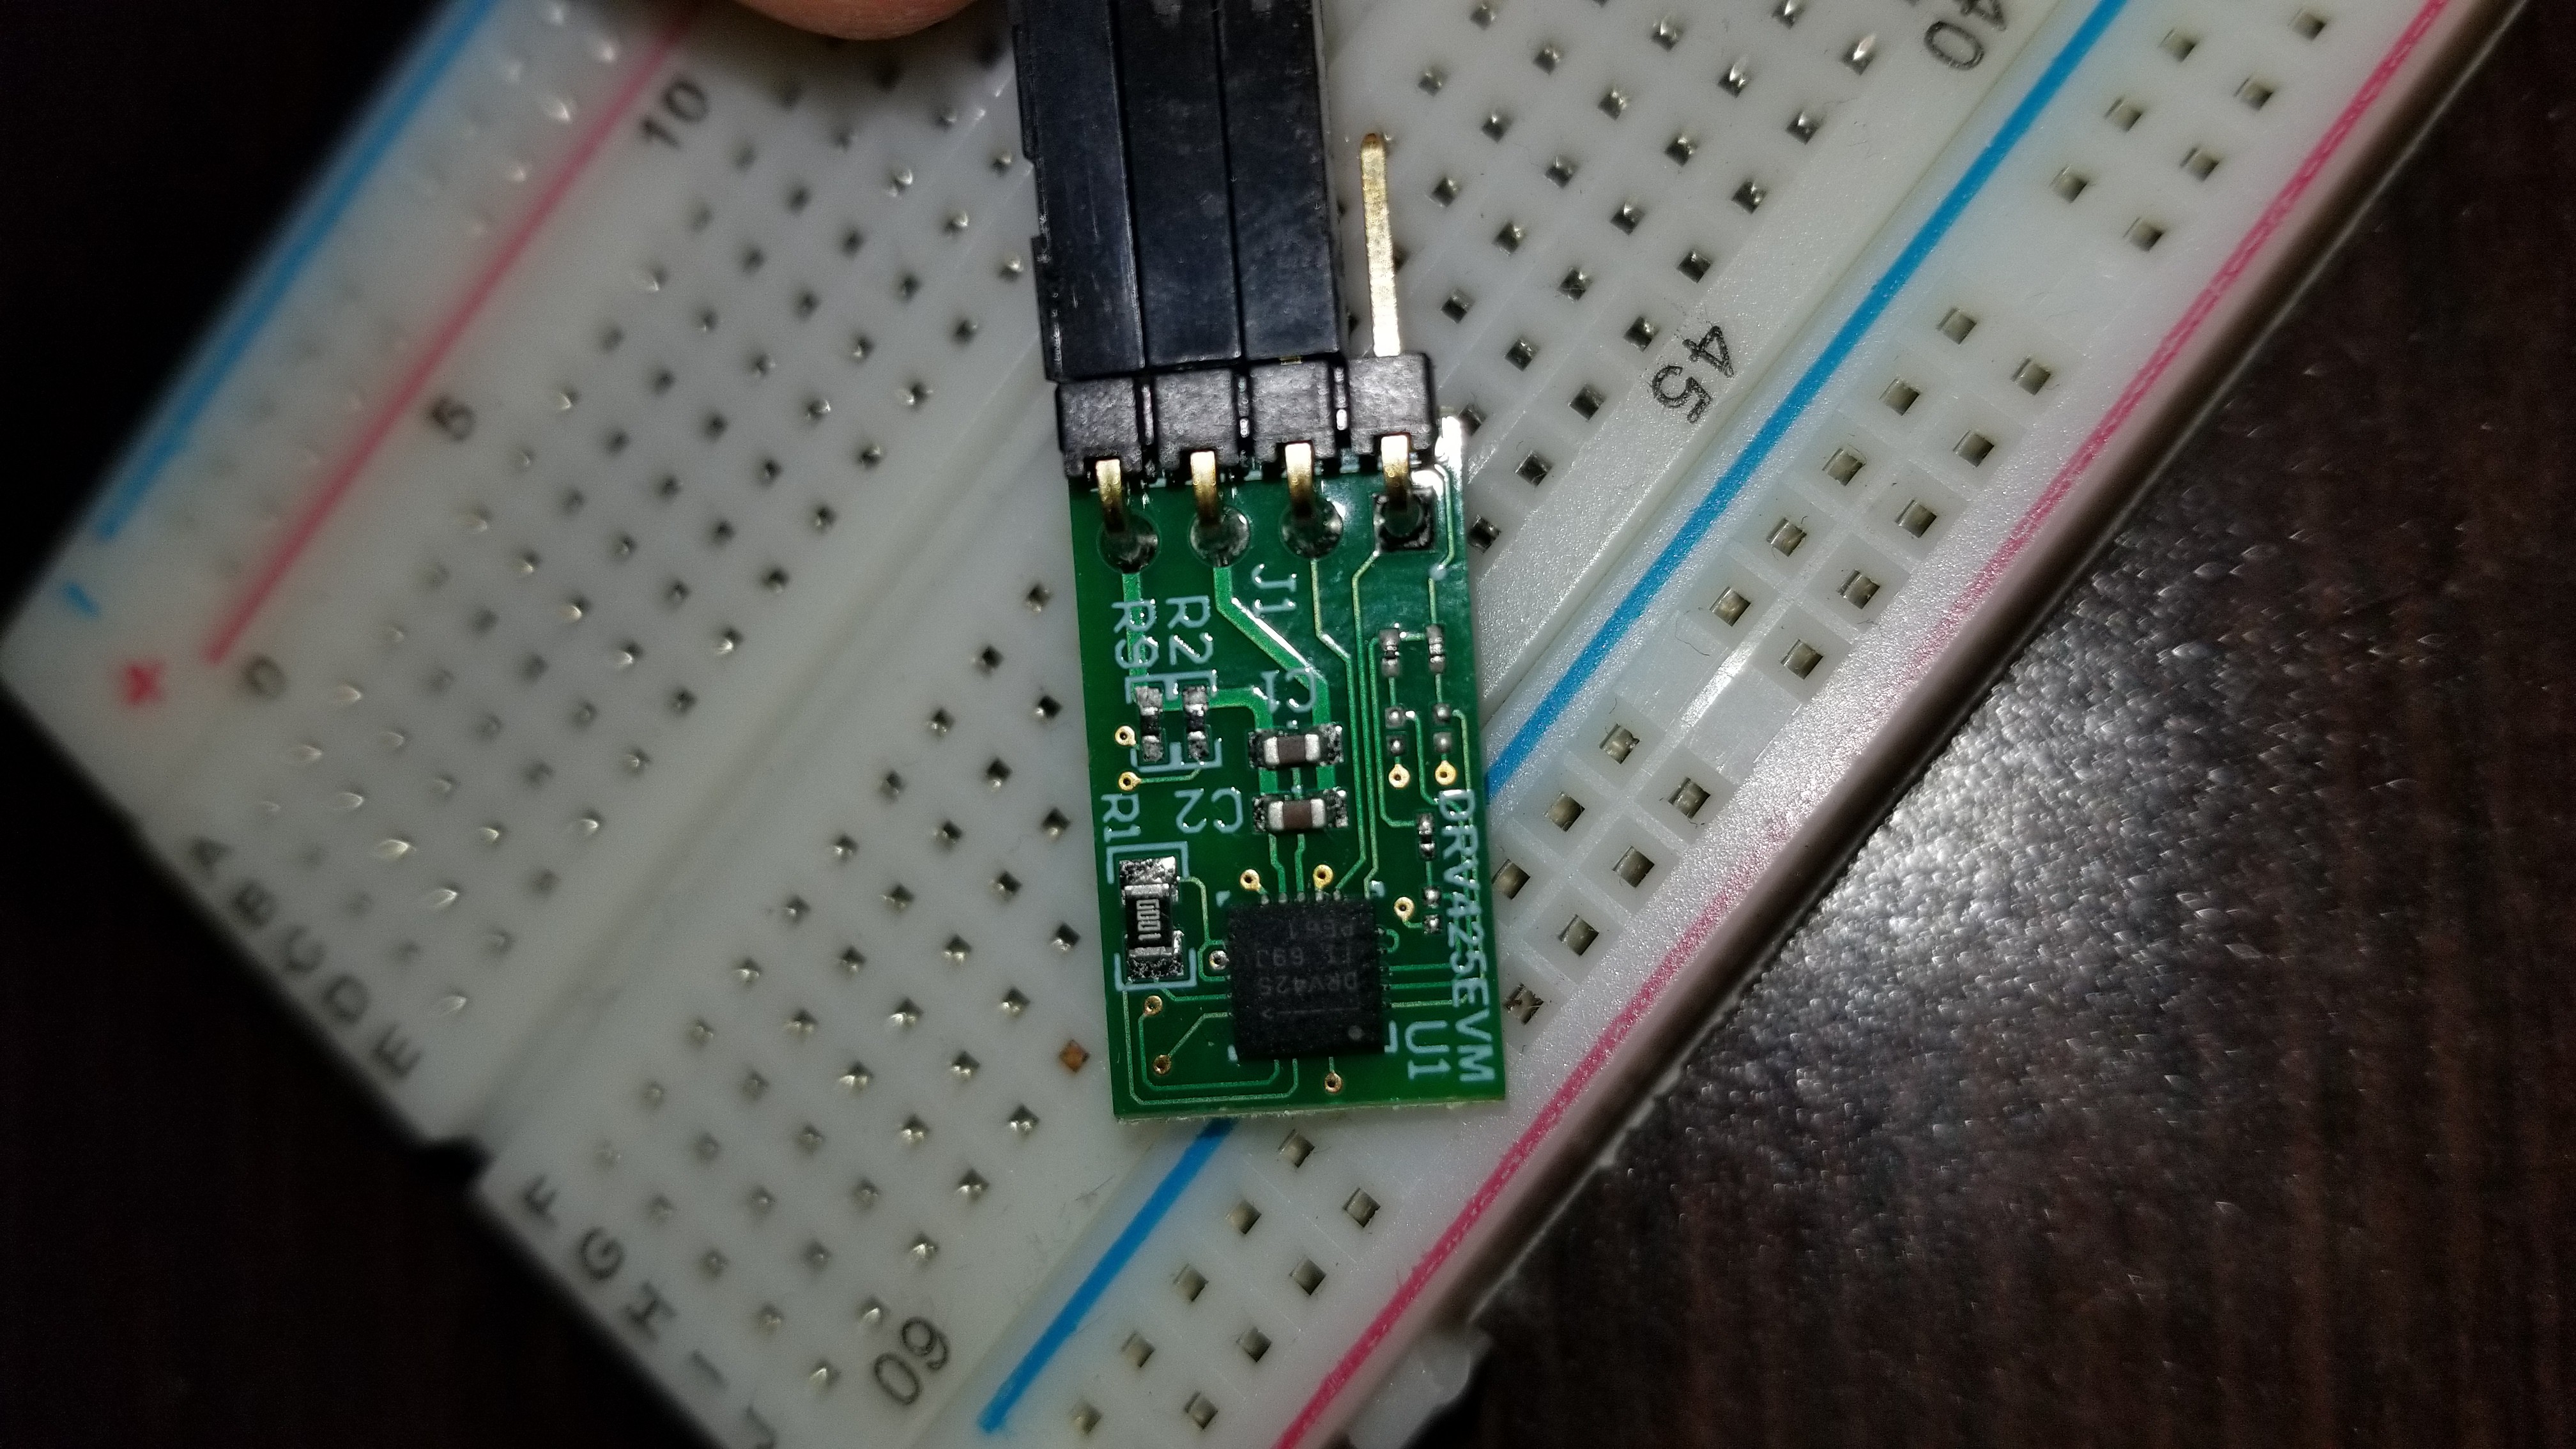
2Modifying one of the DRV425 Boards
It is important that you modify one of the DRV425 evaluation modules to have the jumper pins soldered on the opposite side of the board. With the differences shown in the below before/after picture.
![]()
Picture 1 - Before
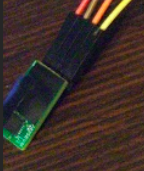
![]()
Picture 2 - After
As you can see the jumper is soldered on the opposite side of the board. Please be aware of the board level pin-outs when doing step 4.
-
3Constructing the Probe
You are allowed some freedom in designing your probe. I simply decided to use a piece of foam which I carved into a somewhat ergonomic shape. I then used electrical tape to secure the modified DRV425 to the bottom of the foam.
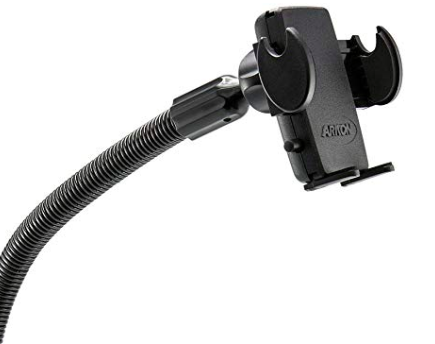
The second DRV425 must be able to rotate on a swivel, much like a joystick of a video game controller. To accomplish this I cut the swivel part off of a car phone holder and inserted the piece into the top of the foam. After removing the clasp which secures the phone in place, i was left with a small base to tape the second DRV425.
![]()
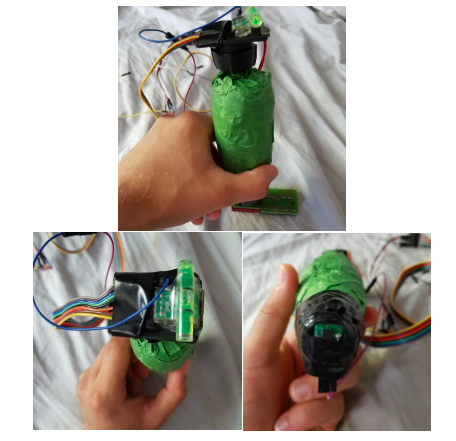
I used silicon mounting tape to help hold the DRV425 still as well as be able to see the board to determine if each board is parallel to one another. I used a small level in order to aid when calibrating (which is optional).
![]()
Finished Probe is shown above.
-
4Wiring Schmatic
After the DRV425 probe is constructed make sure to wire the probes to the Arduino Due as shown in the below picture.
-
5Arduino Code
Download the DUEscope.ino file and open it with the Arduino IDE. If everything is wired correctly, you simply need to run the code and open either the Serial Monitor to read values in bits or Milli-Tesla. You simply need to comment or un-comment either line in the below code.
![]()
DRV425 Fluxgate Magnetometer Based Current Probe
Who needs an AIM TTI I-prober 520 when you can make one yourself!

Discussions
Become a Hackaday.io Member
Create an account to leave a comment. Already have an account? Log In.