 Ben Brooks
-
1Order and Print Components
The first thing you’ll want to do is order and print all of the necessary components. The printed components are all available on Github here.
-
2Solder up the board
Since I was using this as a self-made Eagle tutorial, I printed up a board. As I mentioned in the details, I had 10 printed so message me if you’re interested in me getting one to you. Otherwise, you can pretty easily make your own board using a protoboard.
-
3Assemble everything
With the board finished and the enclosure printed, assemble everything.
-
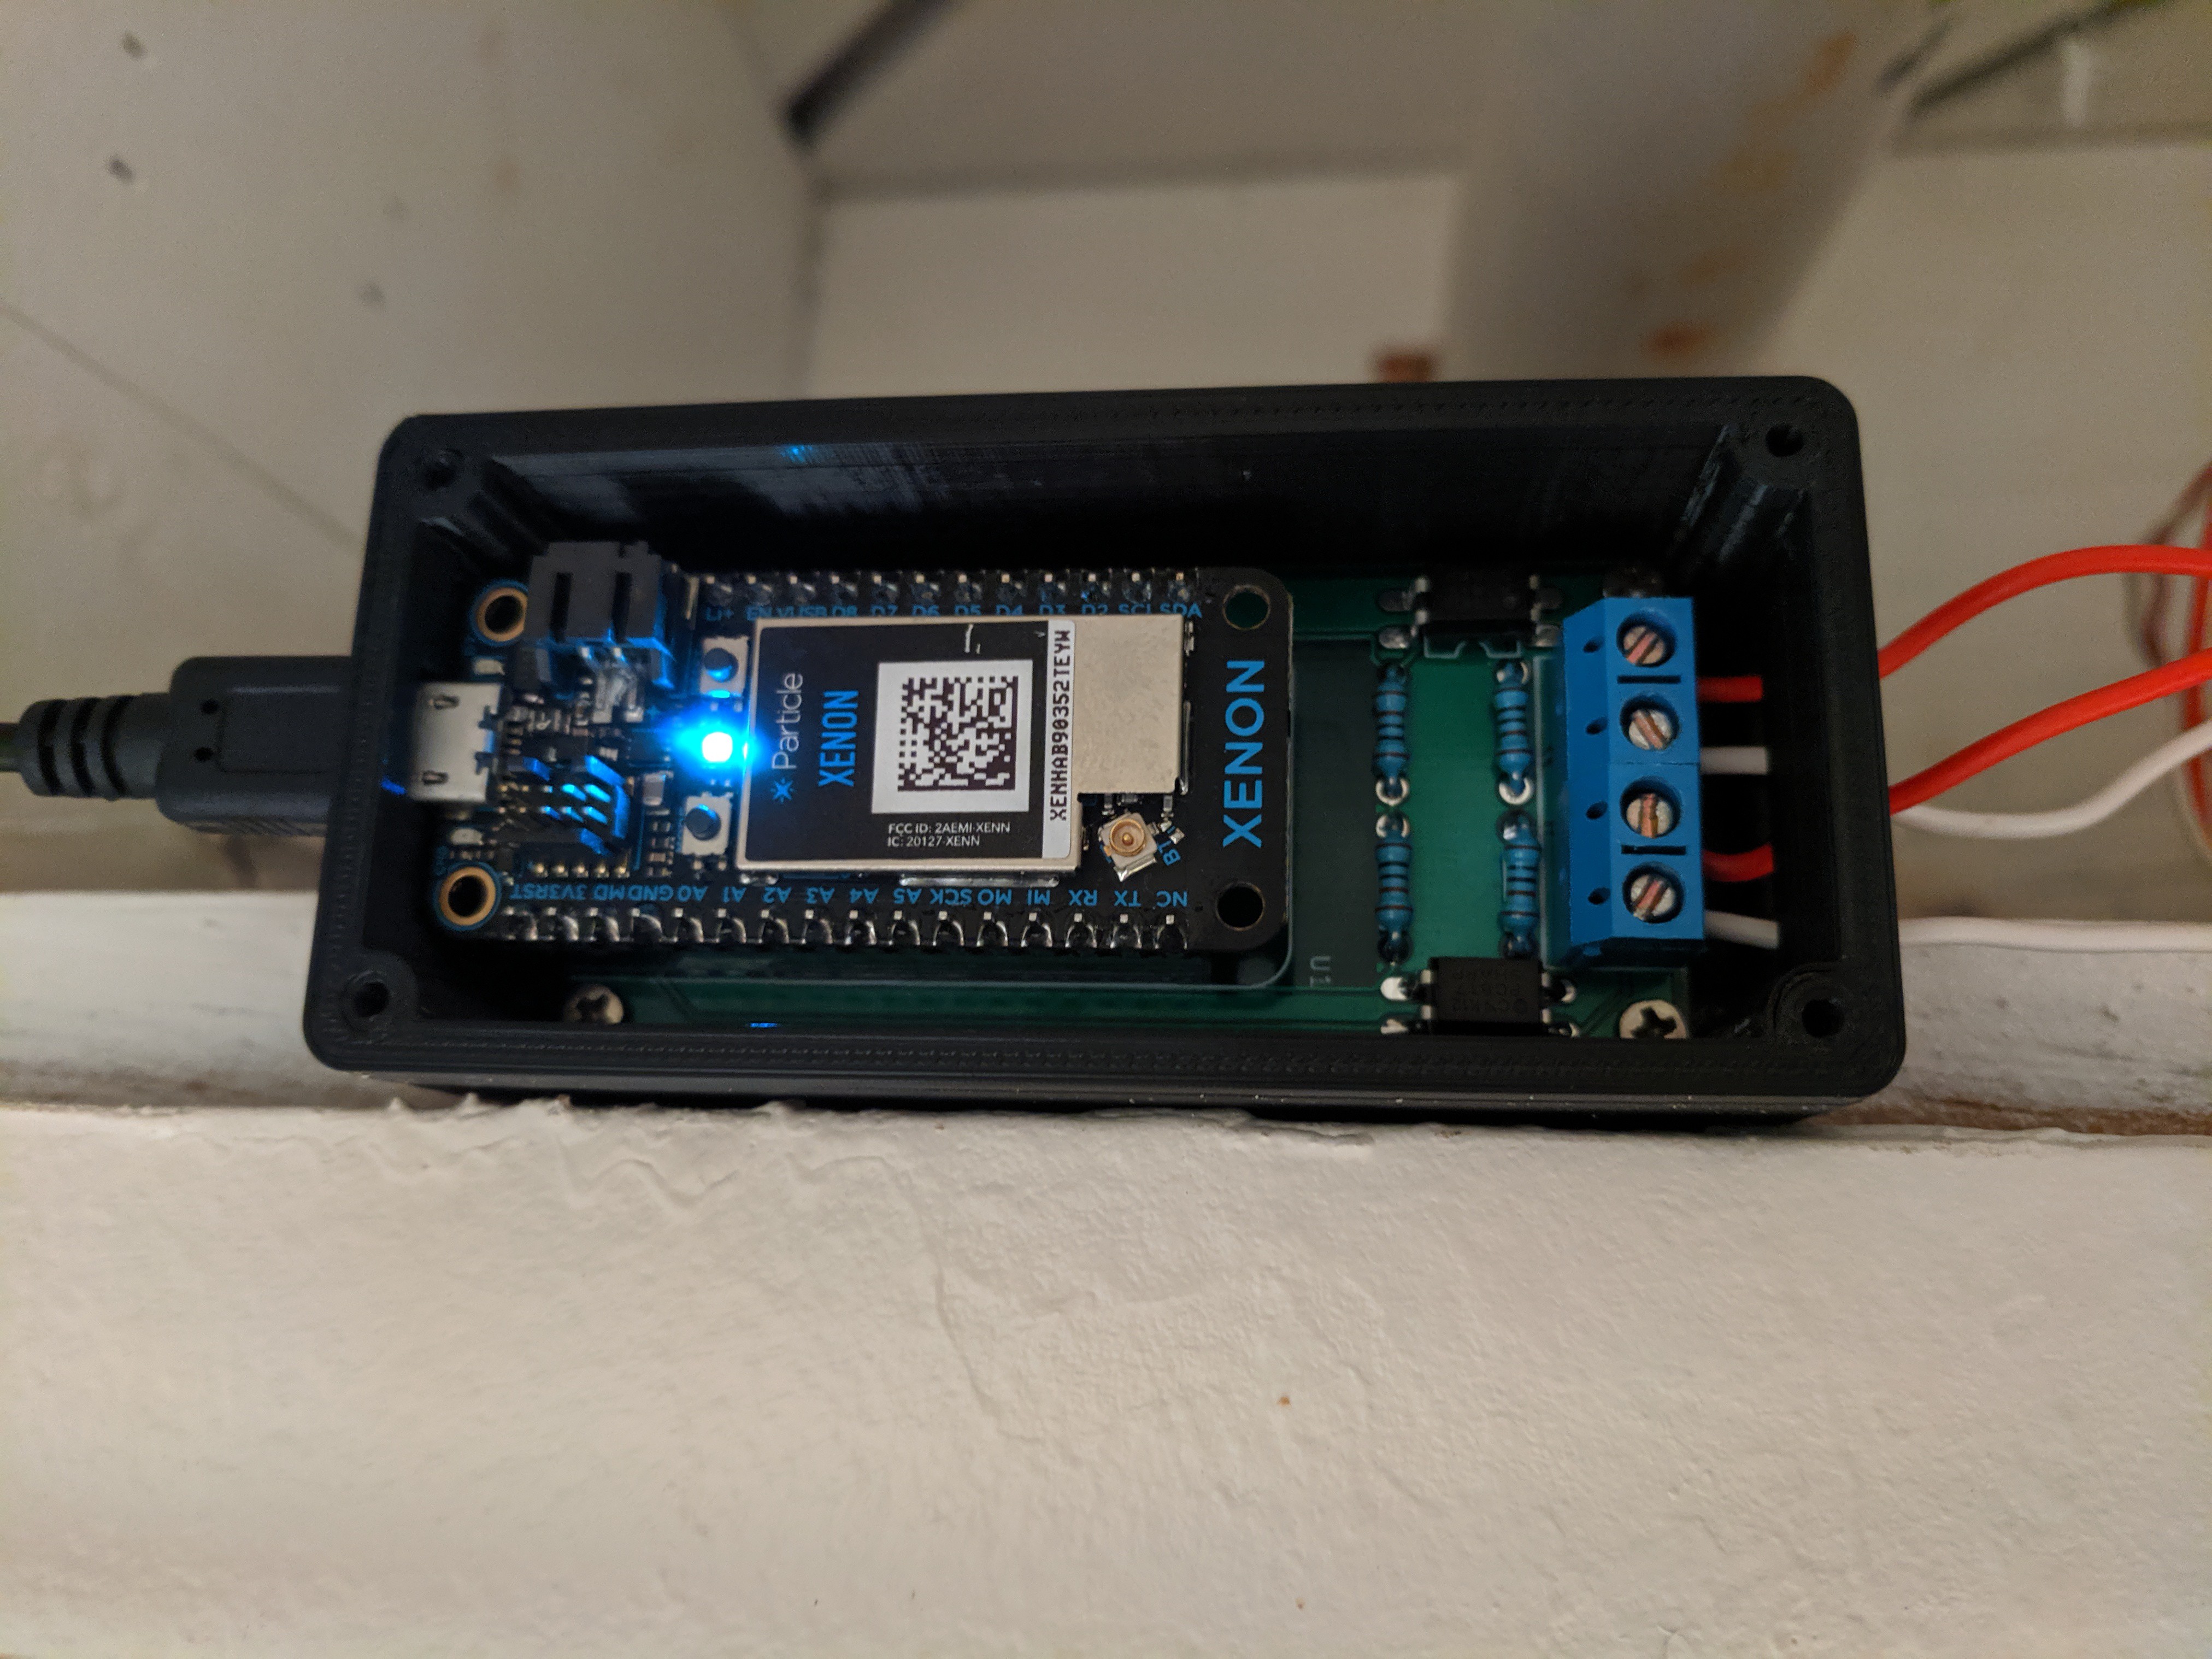
4Make the connections
I’m going to assume that you’ve already identified the connections/wires from your doorbells. Simply make the appropriate connections on the board (They’re labeled on the enclosure). Keep in mind that since it’s AC voltage, the ‘positive’ and ‘negative’ wires can be connected either way for a given pair.
![]()
-
5Power it all up and edit the code as needed
The code is located on Github here. It’s written for a Particle Xenon (or Argon/Boron). If you’re using a non-Particle device, the code will need to be modified slightly. You might also need to re-calibrate the Max values for your specific board and setup.
Doorbell Notifier
Convert your existing wired doorbell into a ‘smart’ doorbell, allowing for notifications, integrations, etc.
Discussions
Become a Hackaday.io Member
Create an account to leave a comment. Already have an account? Log In.