-
v3.1 is a thing
01/23/2021 at 13:47 • 0 commentsI've just created a roundup release (v3.1) with some UI fixes in it relating to maintenance mode; this is the code version I currently run and it is proving stable and reliable.
-
A new release, alarm/alerts have been added
10/20/2020 at 14:55 • 0 commentsIA few months down the road and I realised I wanted to add some alerts; for over and under temperature. Really designed to give some protection from heater failures,
I also removed the 'off' function, totally unneeded and easy to hit accidentally. Now I just say 'already on' and go straight to the countdown reduce (speedup) function.
Apart from that, and some tweaks to the loop timings, syntax etc. It's unchanged. But I decided to make this a major release since It seems like a good point to do that.
-
Complete
07/28/2020 at 14:56 • 0 commentsV2.2 has been released, get it from GitHub or the files section.
I think this is it; I've been running the tank for several months and using it myself, getting feedback from the staff at the shop, etc.. And I just committed a final few changes based on that.
I have one (self pedantic) change I want to make, to make the optional hardware easier to configure and more consistent in how you do it. So a there may be a v2.3, but I do not currently plan on doing any further work on the functionality.
![]()
-
Close to Finished.
06/23/2020 at 20:06 • 0 commentsI now have a lid switch fitted to the aquarium (a waterproofed reedswitch triggered by a magnet in the lid flap)
And I have done a load of work using the time loops I implemented in v2.0 to add reminders for Feeding, simple beeps and a message after 24 hrs, more aggressive beeps and message after 48 hrs. Opening the lid clears the message.
The lid plays a tune when opened and beeps periodically as a reminder until closed.
When the lid is open pressing the button triggers a maintenance mode which fades the light rapidly off and disables the fan until the lid is closed,
Finally; long pressing and holding the button when the lights are On rapidly decreases the on timer to allow a shorter off period to be set if power was turned off during maintenance.
I'll test this on my proto-board and then on the actual tank. If all is good I'll release v2.1 and mark this complete for now.
-
2.0 is nearly here
06/02/2020 at 13:56 • 0 commentsSignificant work has been done,
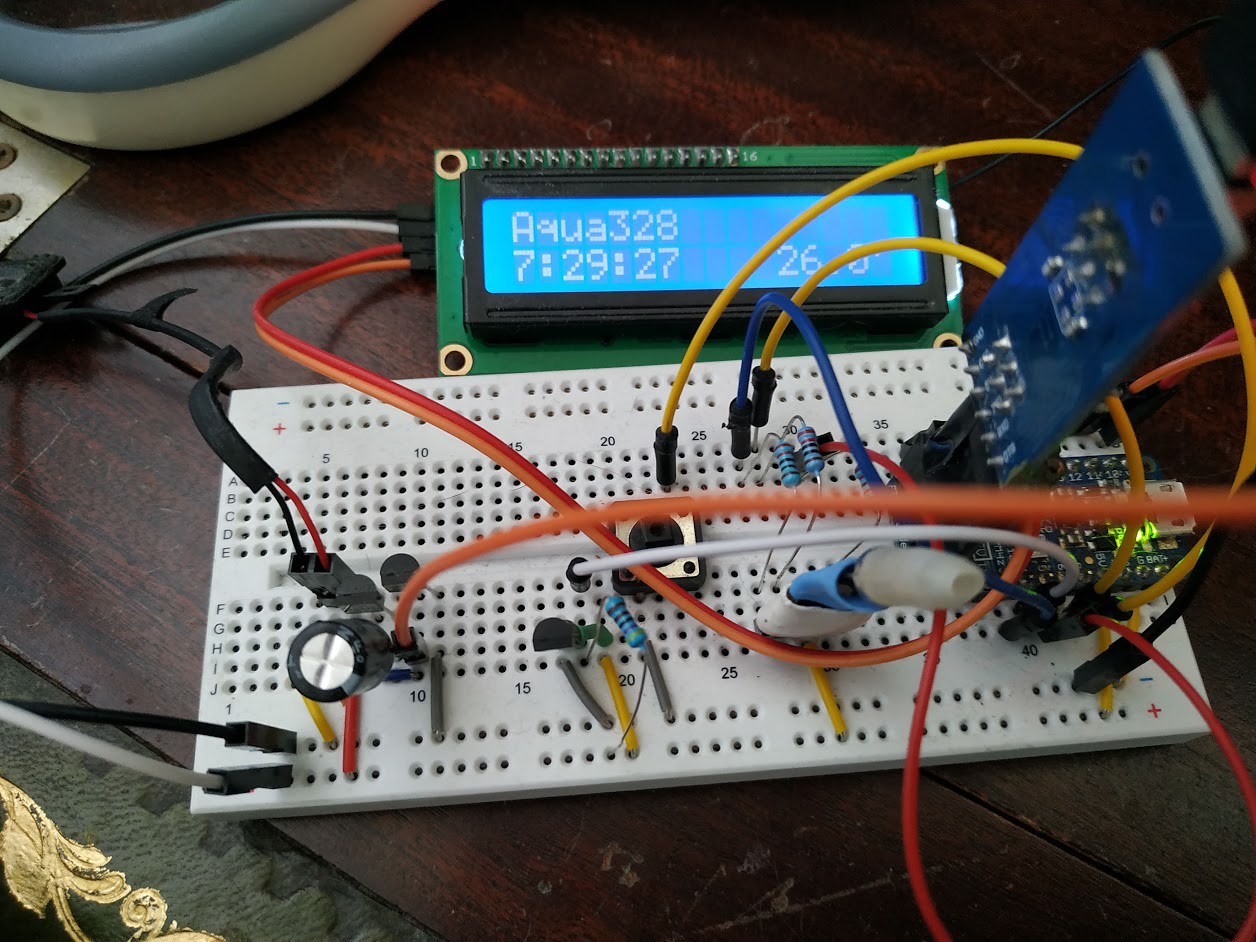
The internal 'loop()' of the code has been re-worked to implement a state machine based on the LED status, and running at a fixed(ish) rate. Lots of timers are then used to check temperatures, adjust fans, sense buttons etc. The new architecture has made adding new features (lid open/close, feeding reminder) later.
Auto off after 7.5hrs is implemented, with a countdown timer.
![]()
(Demo/Debug rig with a Teensy Pro (5v+FTDI) that I develop on.)
Hardware-wise the LCD backlight drive now comes from the spare PWM pin on the board. Allowing the backlight to be faded down at night.
This also involved changing the sound library to a 'timer free tone' version since using tunes was killing the PWM signal to the backlight *and* the fan... not good. But the solution is quite nice and I have swapped out the cheezy tunes fro some simple ones based on the WindowsXP system sounds :-)
-
V1.1 is out
04/11/2020 at 10:30 • 0 commentsOk; So I have got the first 'production' release out.
The tank now has a fan and ducting installed. The problems with the sound circuit are resolved (and the Hardware/PCB has been updated for this) .
I've implemented Fan and Sound subsystems in the software, complete with status displays and a 'speedup' for the light on/off cycle.
-
Up and Running (Mk I)
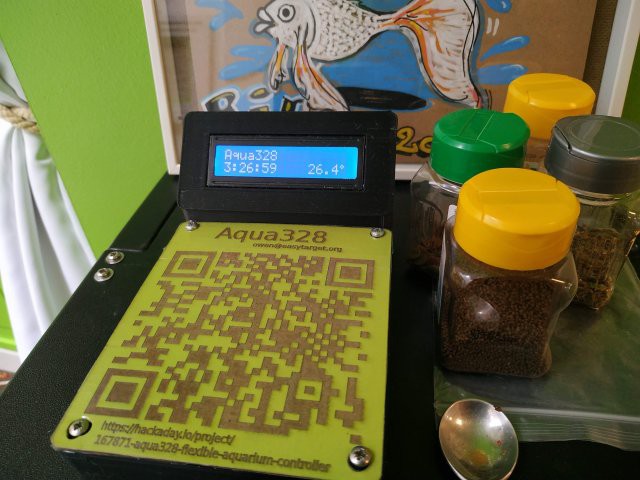
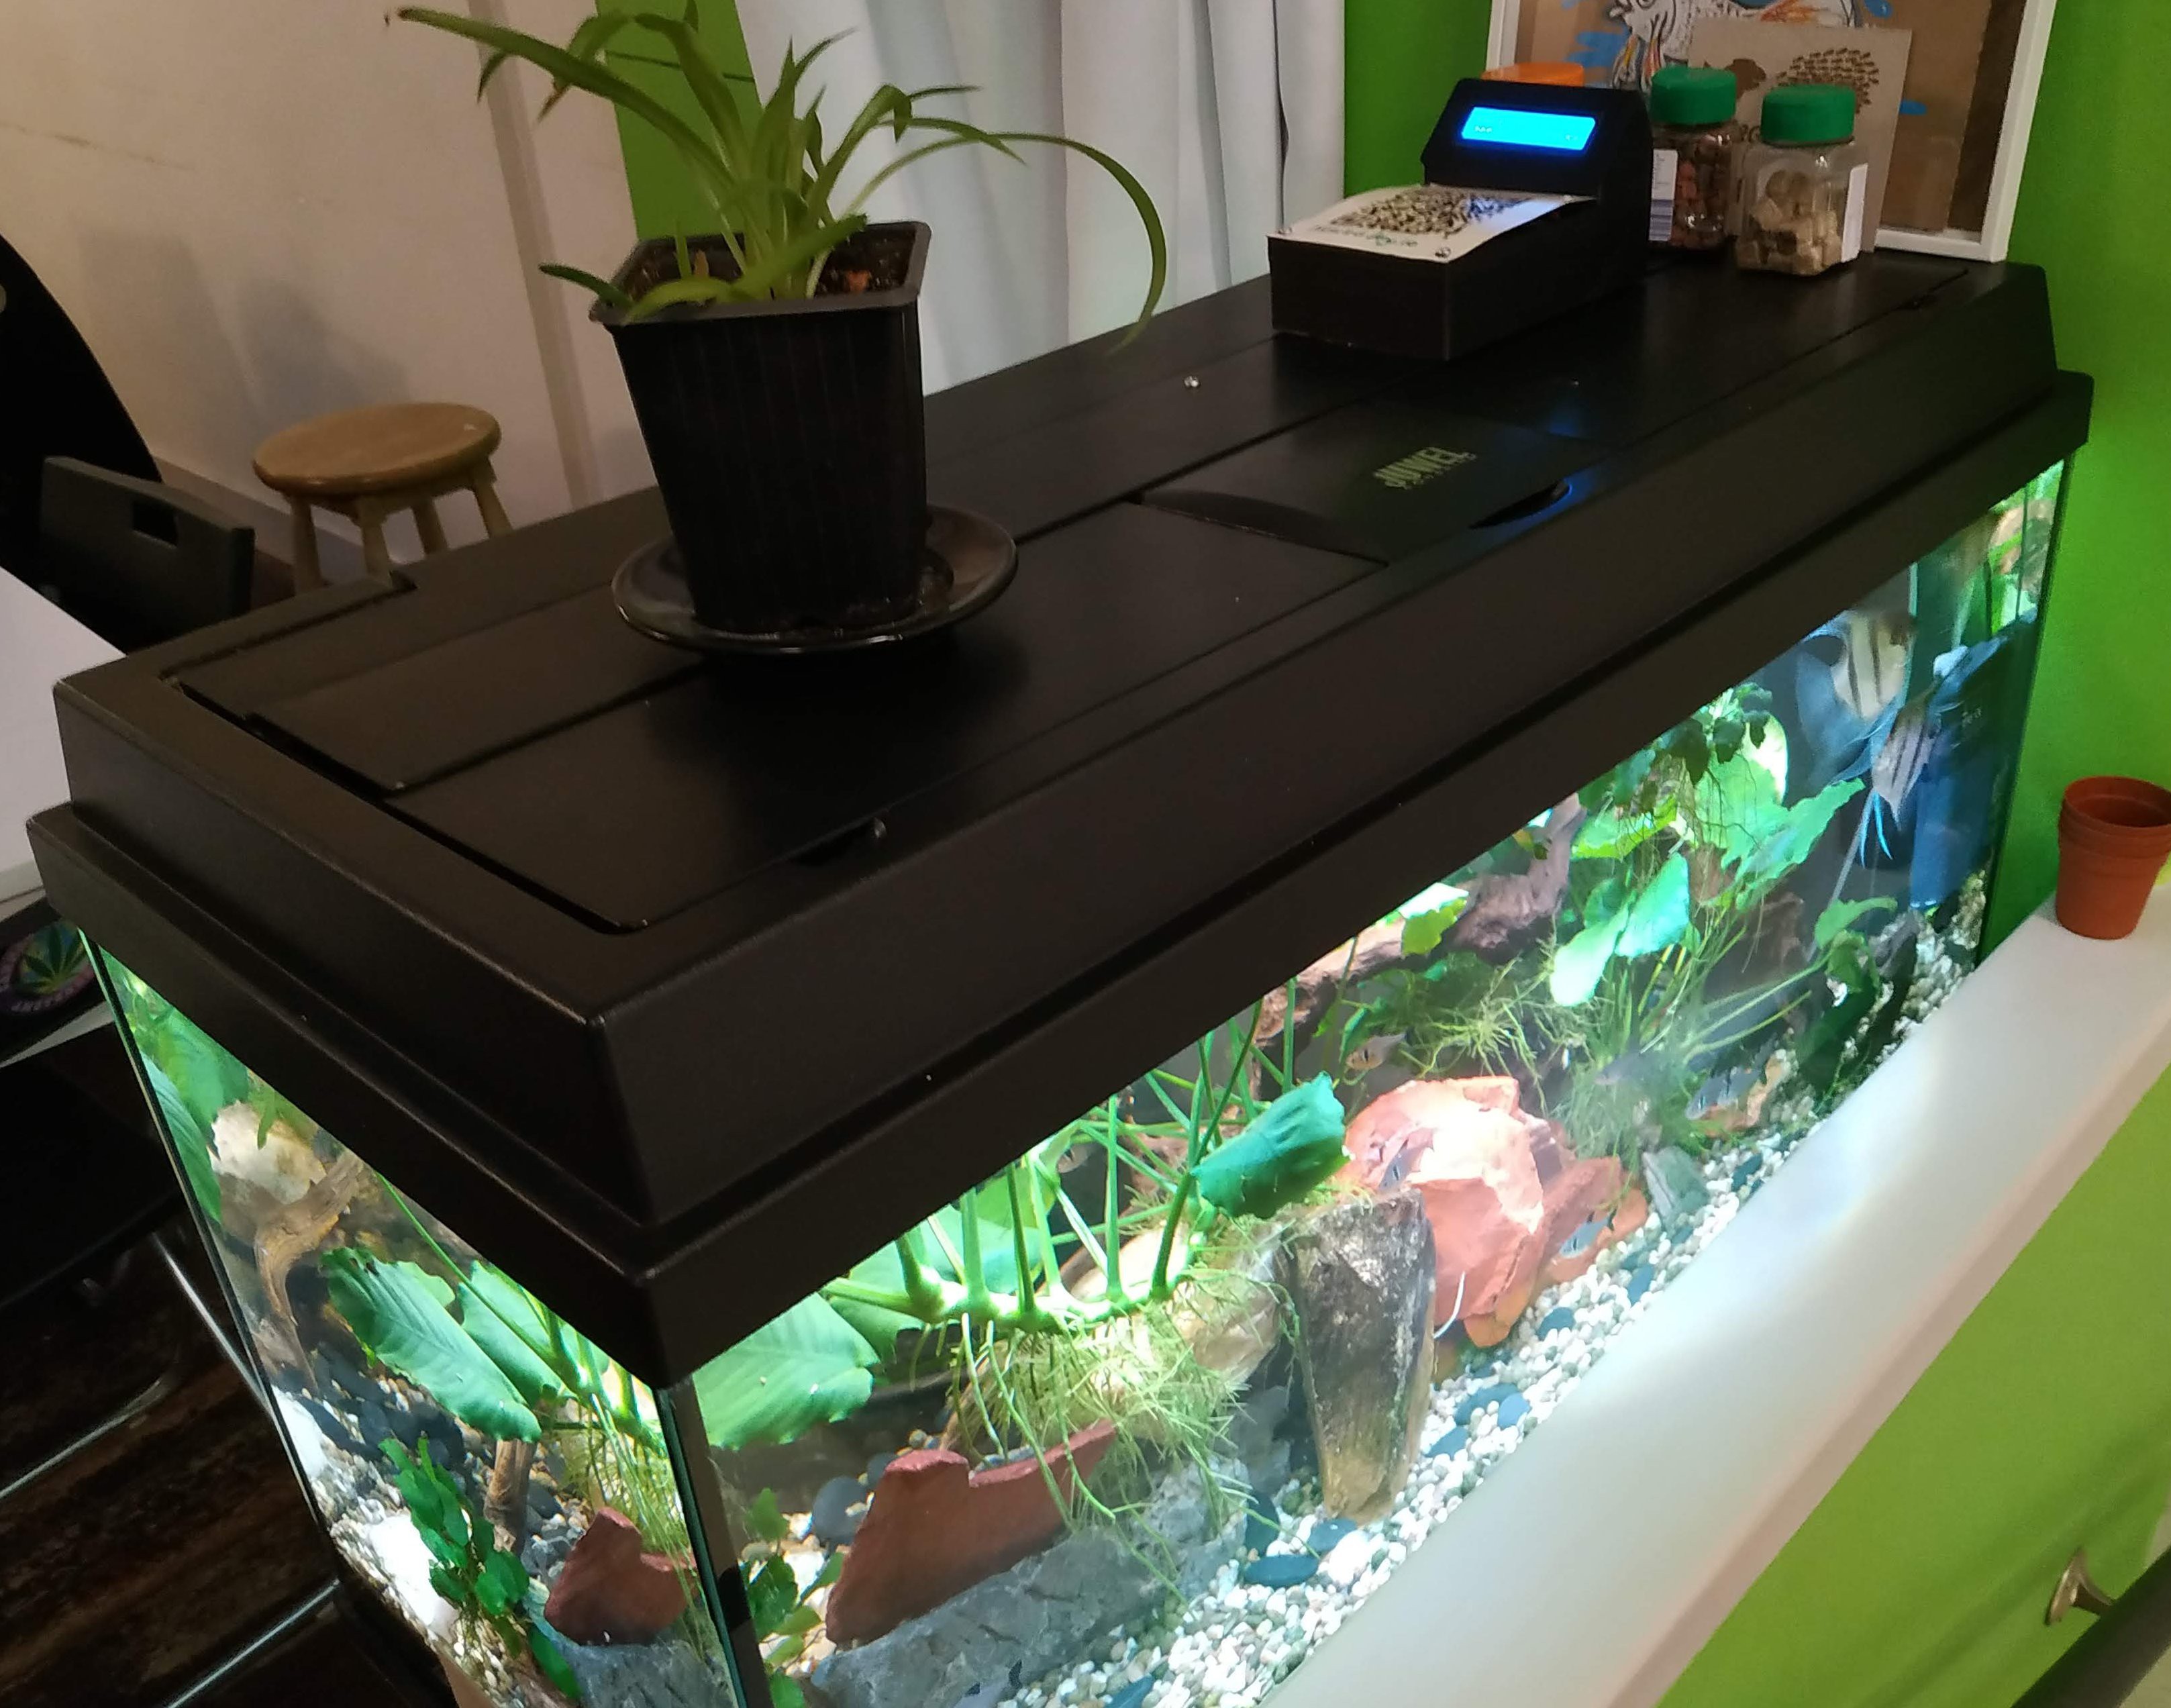
03/06/2020 at 14:44 • 0 commentsSo; V1.0 is running on the Aquarium, the LED strips (ones sold as Aquarium strips, very dense LED's) give an excellent light.
![]()
Temperature (only water, at present) is displayed/updated by a once per second loop, the lights run up or down following a button press ; no clock, this aquarium is attended all day.
There are four strips, two are RGB, one bright white and one warm white. The Green and White channels are bonded together, the Red and Blue are independent. During fade-up and Fade down the Red channel runs first, then the Green/White and finally the Blue. The whole process takes half an hour or so. The LCD shows the light and cycle status.
![]()
There is internal ducting in place for a fan/ventilator system, but the fan itself needs fitting, the case needs securing and then some Software work is needed to implement fan cycling, light auto-off, maintenance mode and lid alarms.
The Audio circuit needs a re-work, there is a speaker in place in the case but the driver for it is overloaded (gets VERY hot) so it is currently disconnected while I breadboard up and then implement a solution.
-
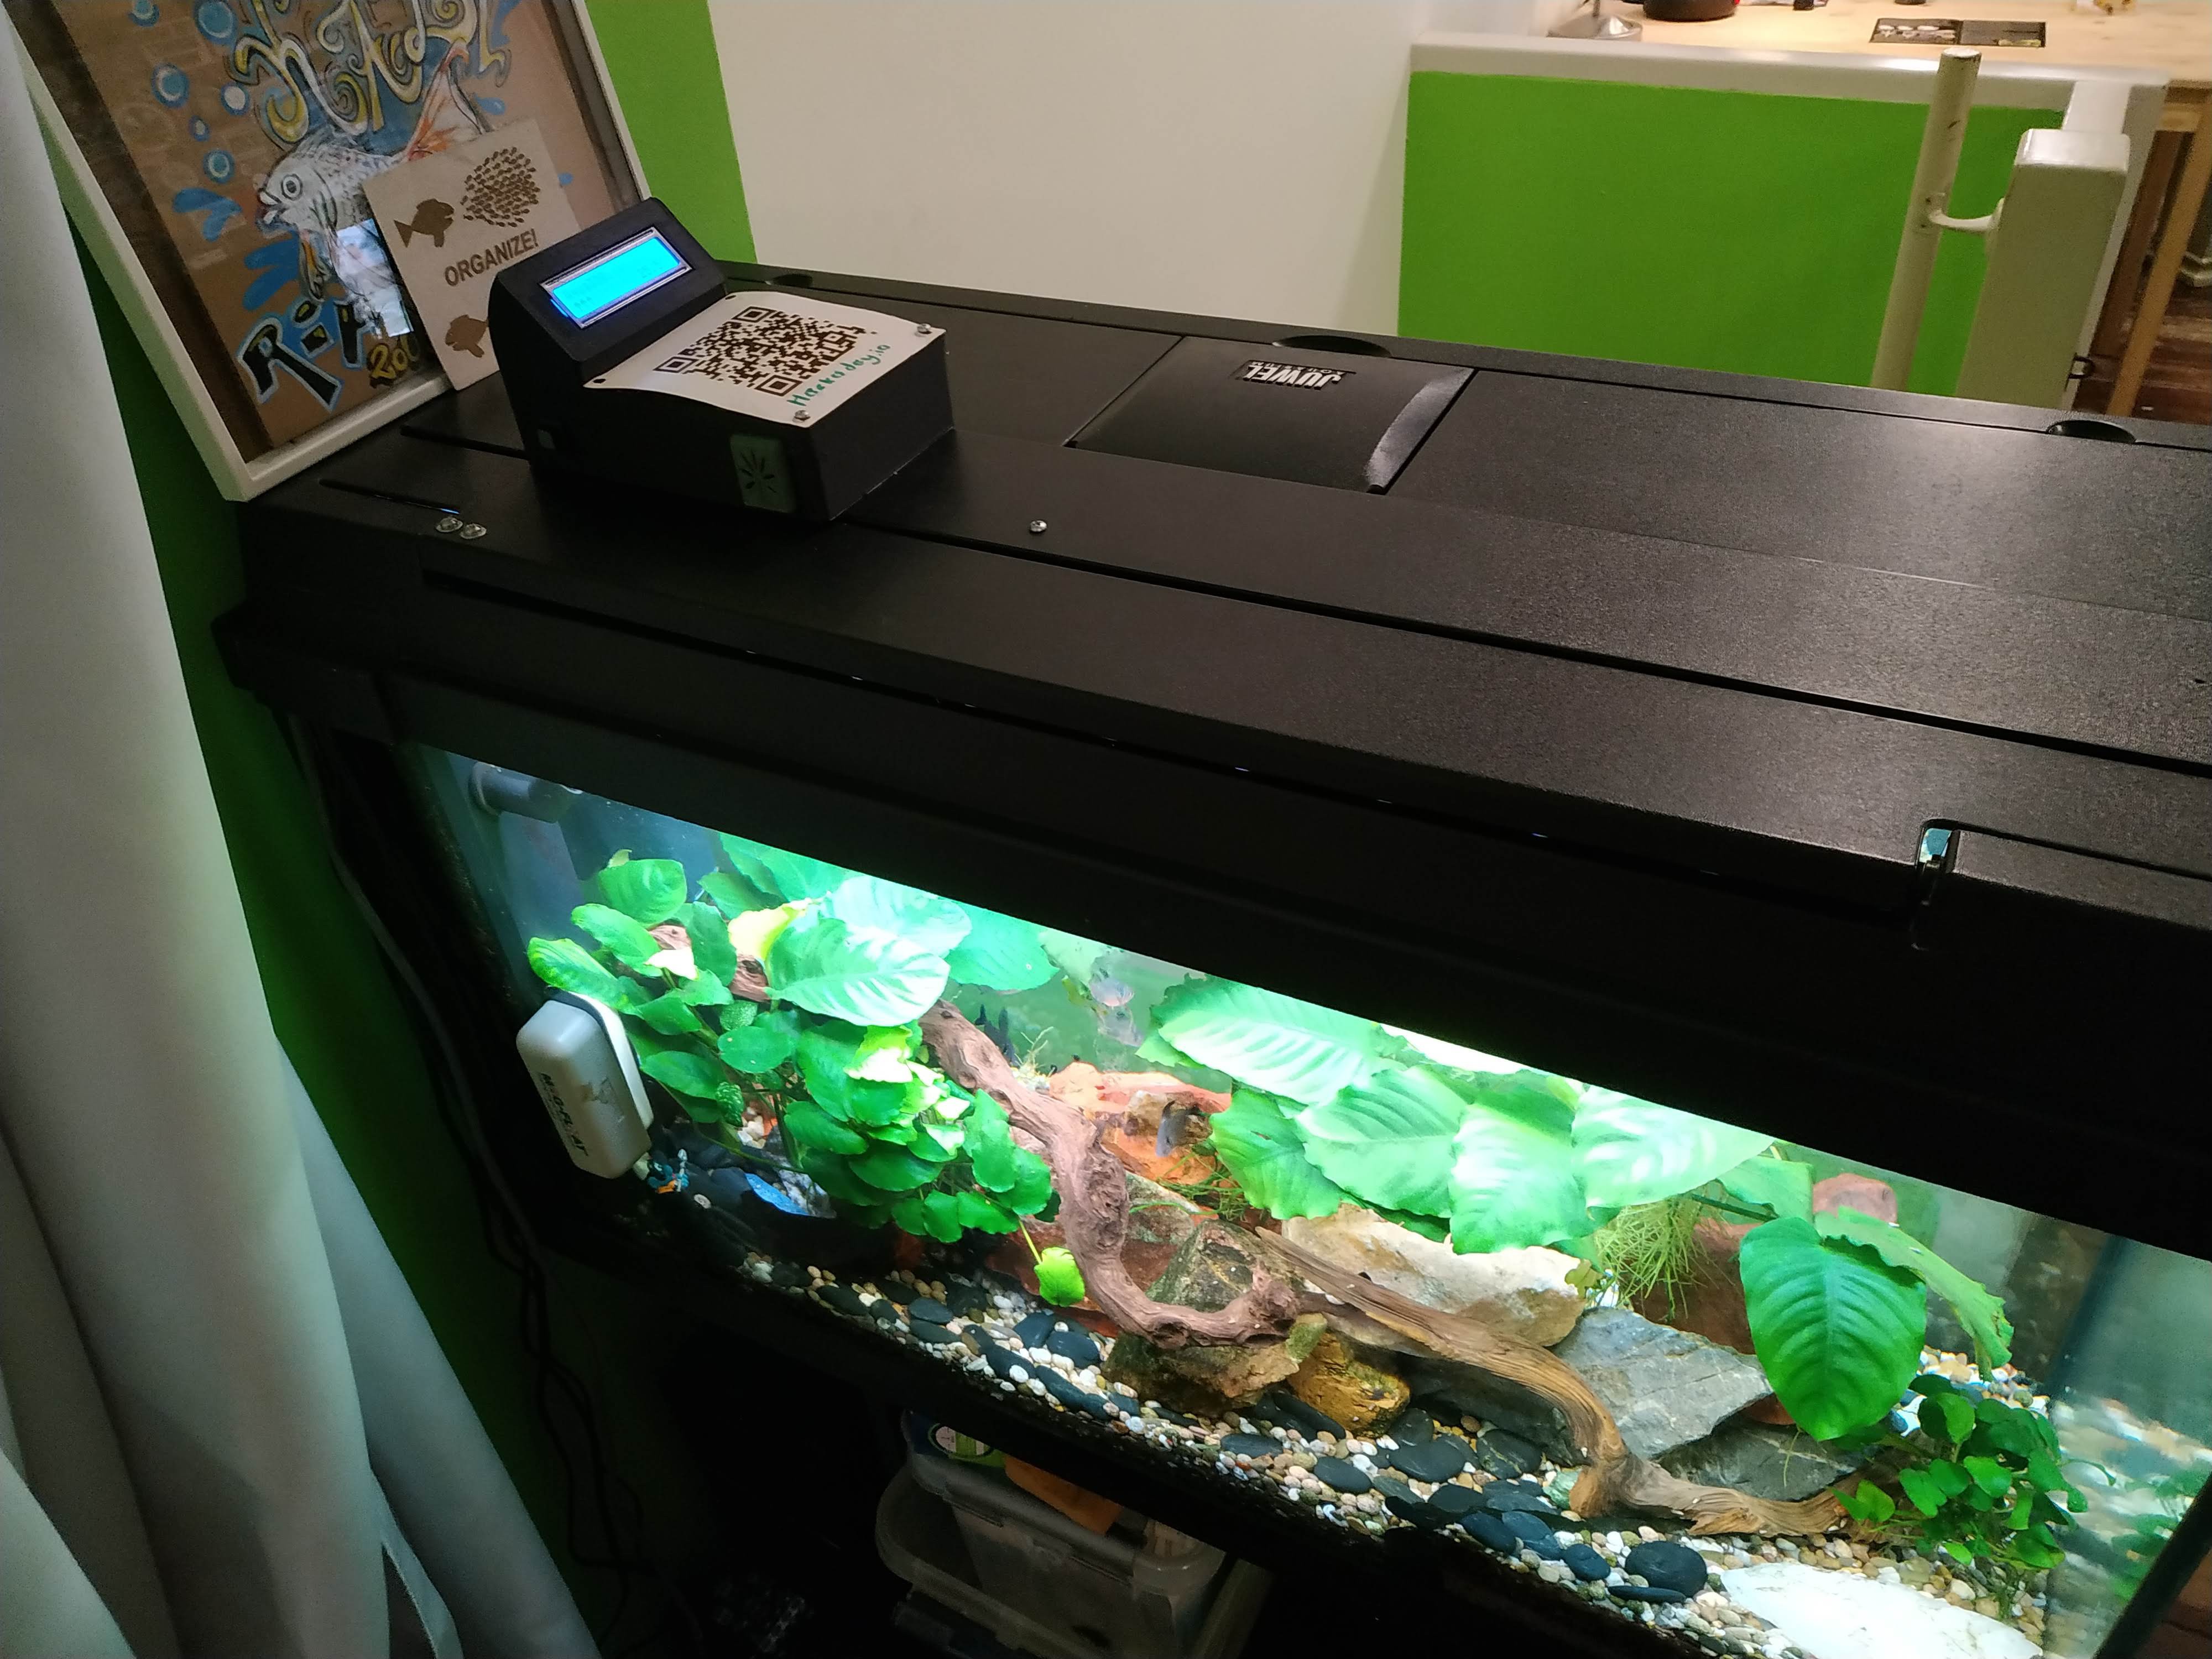
A case for this
02/23/2020 at 20:41 • 0 comments![]()
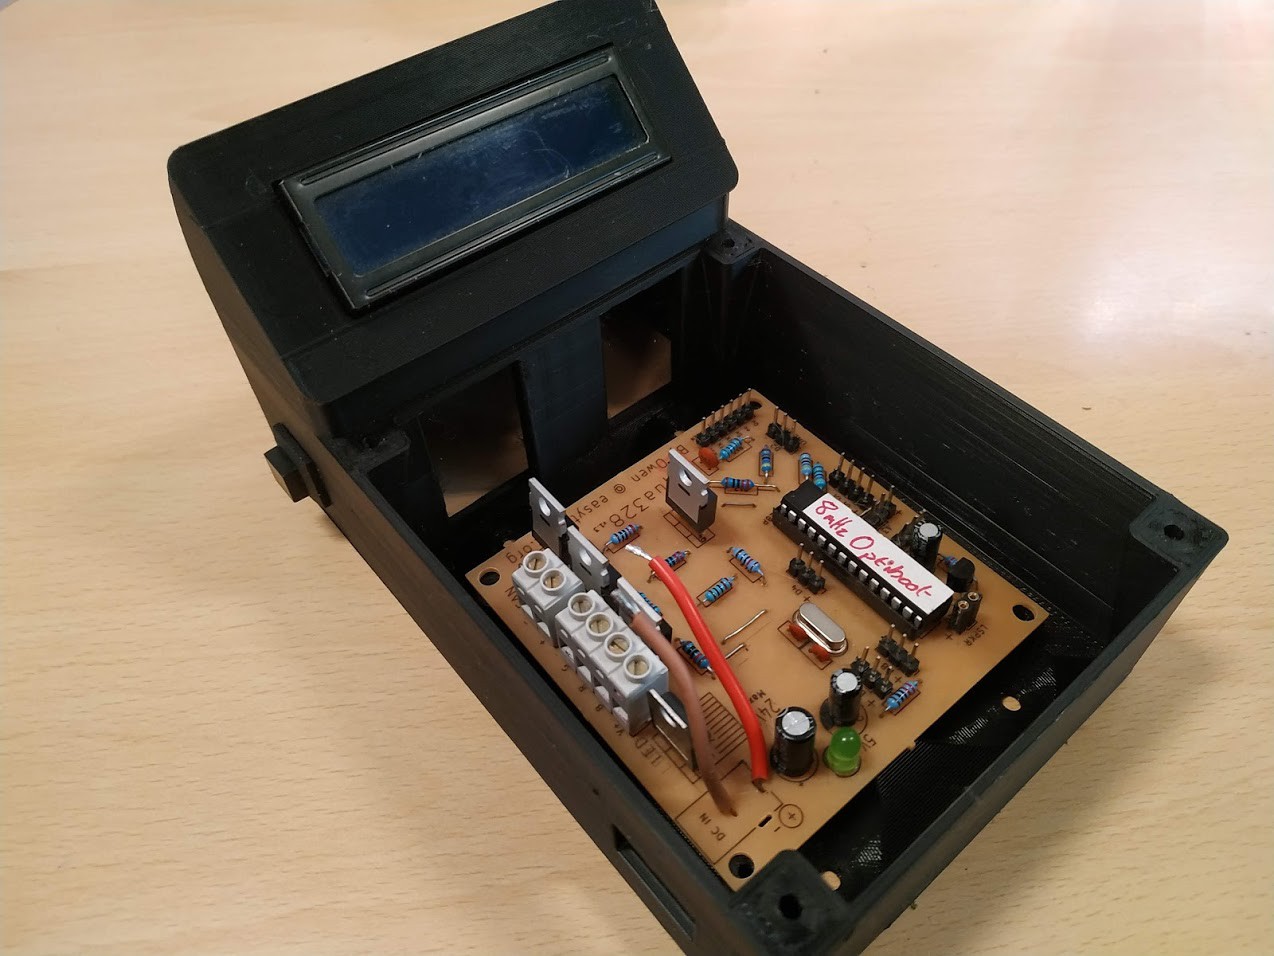
A Case has been made, and added to the hardware repo (in the 'Case' folder..
I've also added a tiny little spacer piece to level the LCD display in the case.
-
Hardware Buildup
02/11/2020 at 14:57 • 0 comments![]()
Finally getting round to an initial build-out.
I must /fix/ the speaker circuit while doing this, the transistor is badly biased and gets too hot.
-
It works; now for some uploads and details
10/20/2019 at 18:18 • 0 commentsOkidoki, No decent pictures yet, but I have assembled the board, got the arduino working at 8Mhz (IDE tricks, I'll document). I'm only running at that because I have several 8meg crystals and this is an ideal project to use them up. Speed is not a factor here.
I've tested the LCD, but still need to test the mosfets, speaker and all other ports, a conductivity test with my multi-meter showed no faults or shorts. The unit also powers and runs off a 24v supply with no problems.
One Issue is that I forgot that manual resets are a 'thing', so I'll probably add a connector point for a reset pulldown switch before I publish., there is plenty of space in that area of the board.
I also see bigger changes I'd like to make for the v2 board, which is theone I intend to build for my home aquarium. I will move the CPU more central to give more space around it, duplicate the I2C and Onewire port connectors, bring out even more 'spare' io lines, possibly add an ISP connector. But I plan to keep the power in/out connectors and FTDI in the same place, and keep the same 70x70 mountholes and 80x80 form factor.
Aqua328 flexible aquarium controller
A flexible and adaptable controller for Aquariums or other stuff based on the ATMega328P
 Owen
Owen