-
1Gather Components
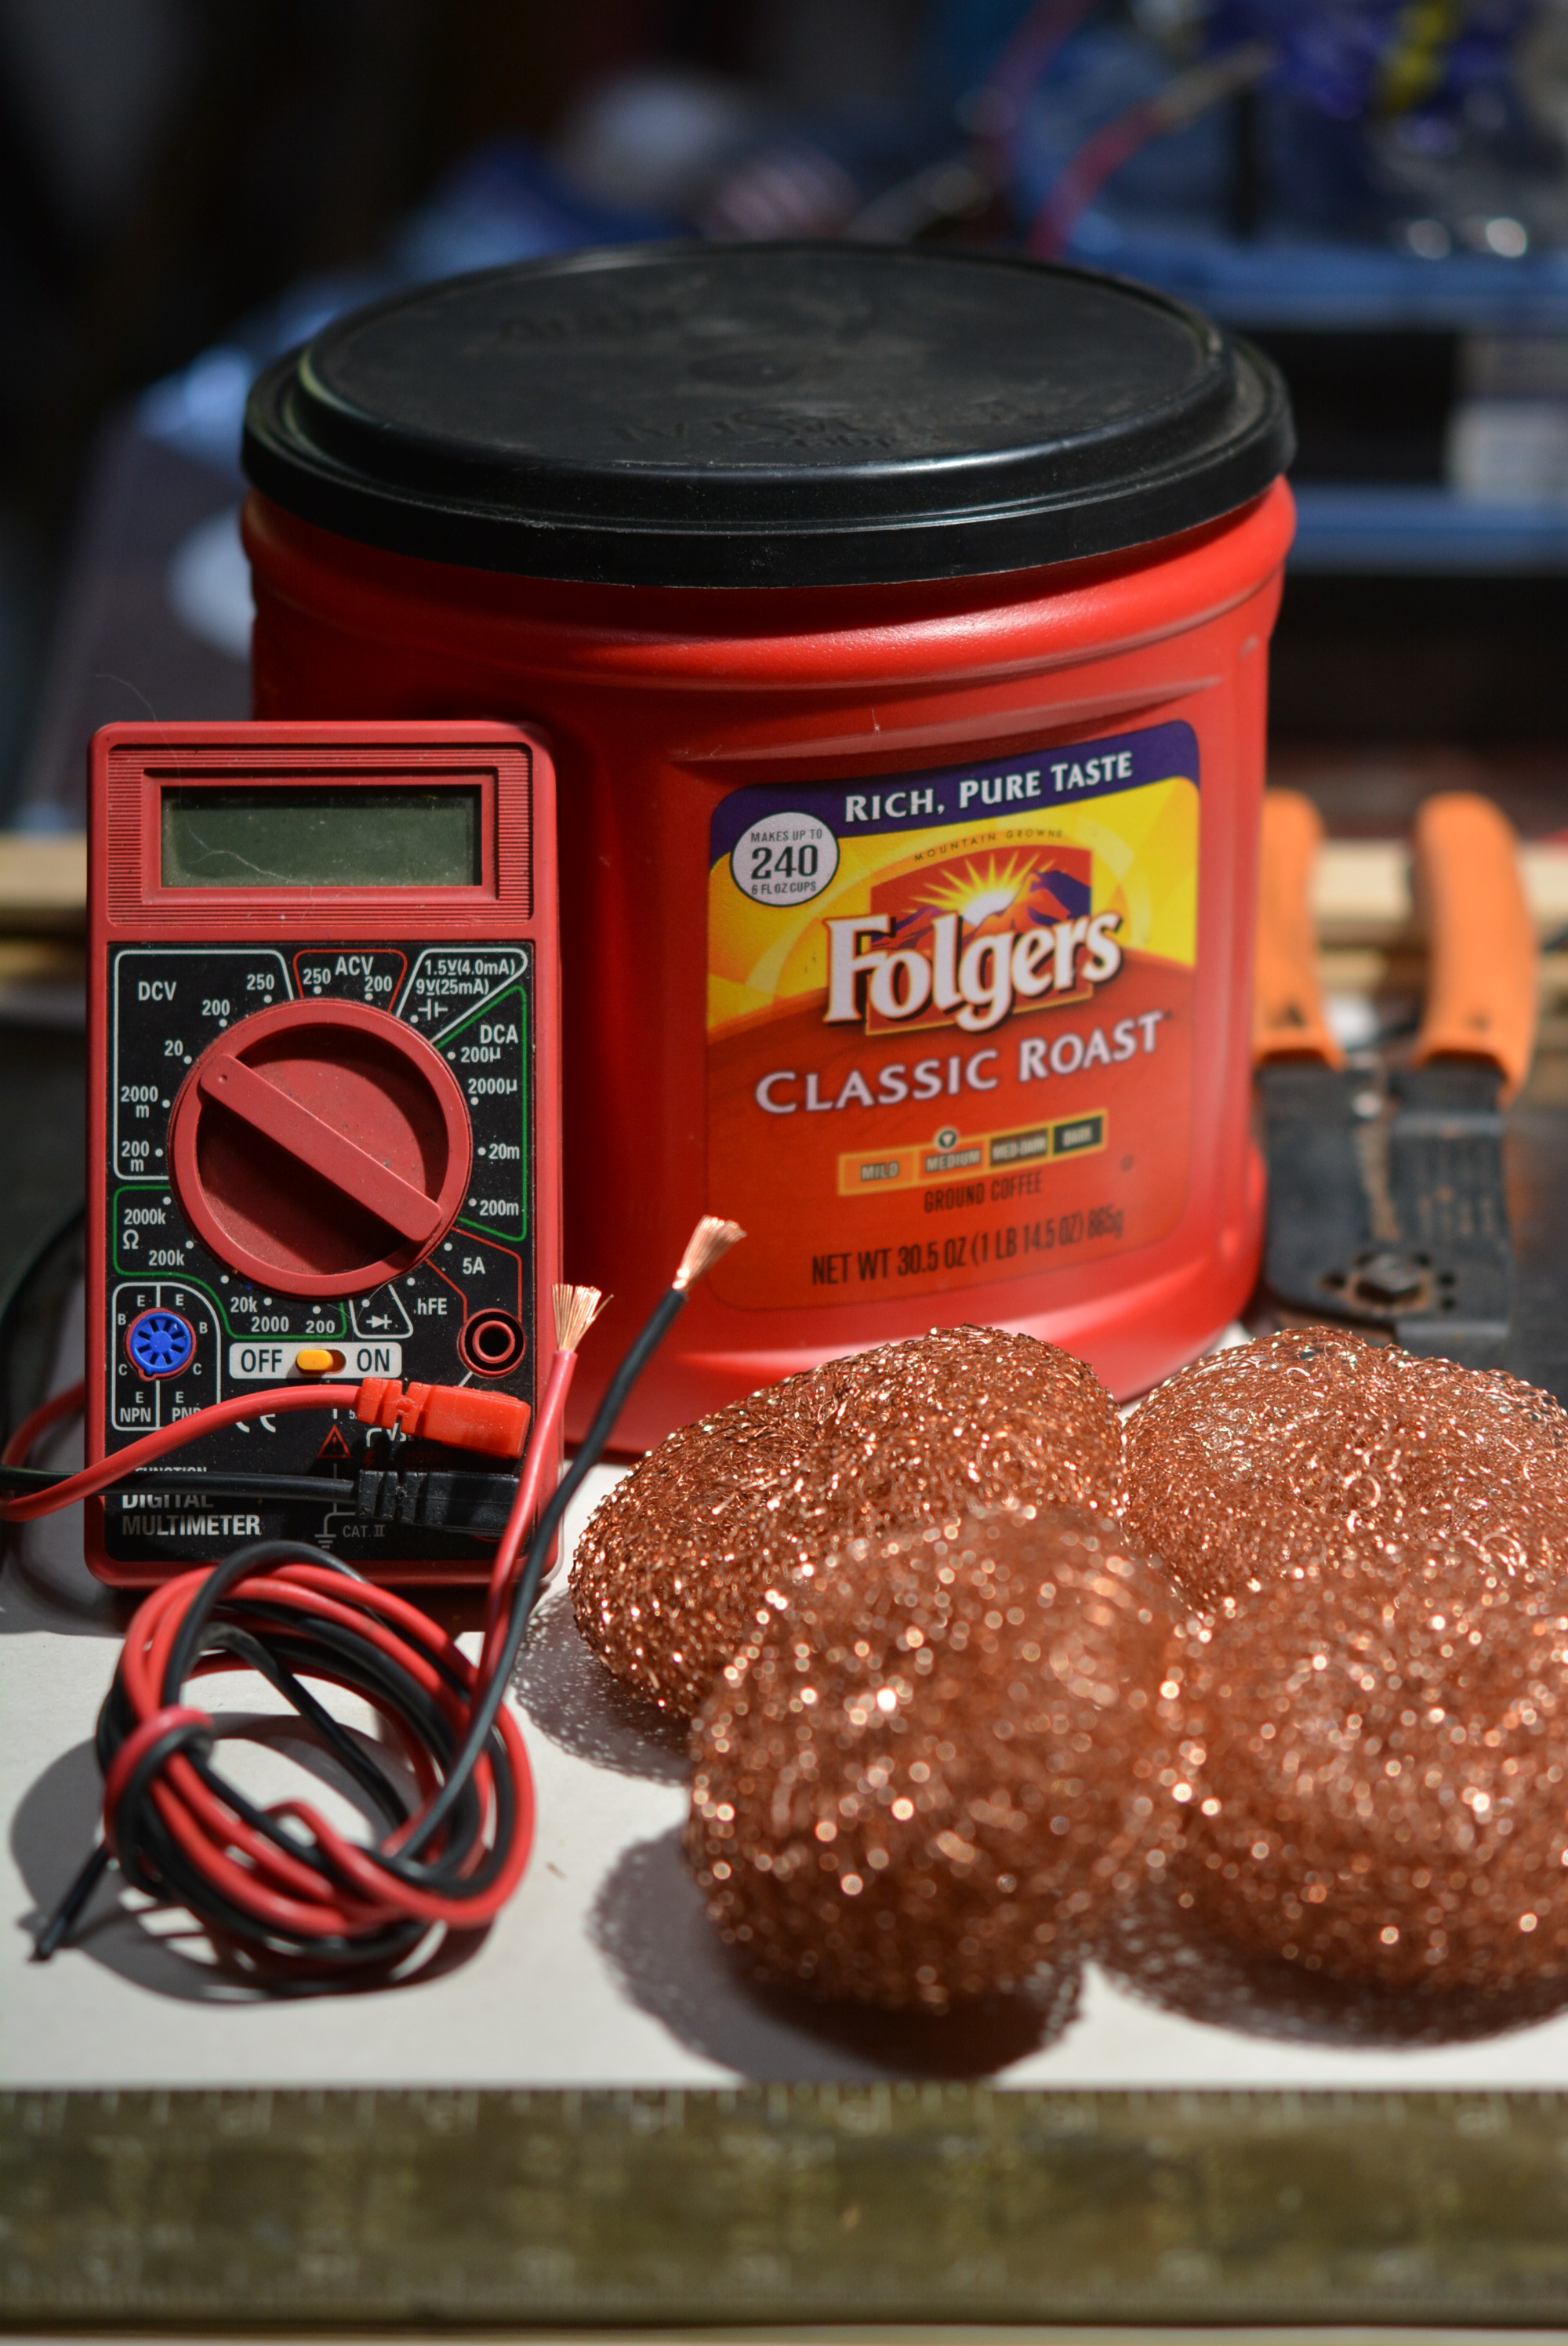
- A reasonable container, with lid, with enough vertical space to accommodate 5cm of soil space between the two electrodes, so minimum height will be the height of your electrodes + 5cm. I use recycled plastic coffee cans, but any suitable plastic or glass container will do(no metal).
- Some 100% copper dish scrubber pads and some insulated copper wire, about 2 arm lengths or so. The wire pictured is certainly overkill. The scrubbers I like to use unroll into a tube of woven copper, very easy to work with and they are 2 for a dollar at the local dollar store.
- Some soil mixed with some organic matter(compost, old coffee grounds, etc.), rough sifted so there aren't any large bits or stones.
- A multi-meter, preferably two, to measure your success.
- A pinch of patience and a fairly temperature stable place to allow your cell to incubate and polarize.
-
2Assemble your electrodes!
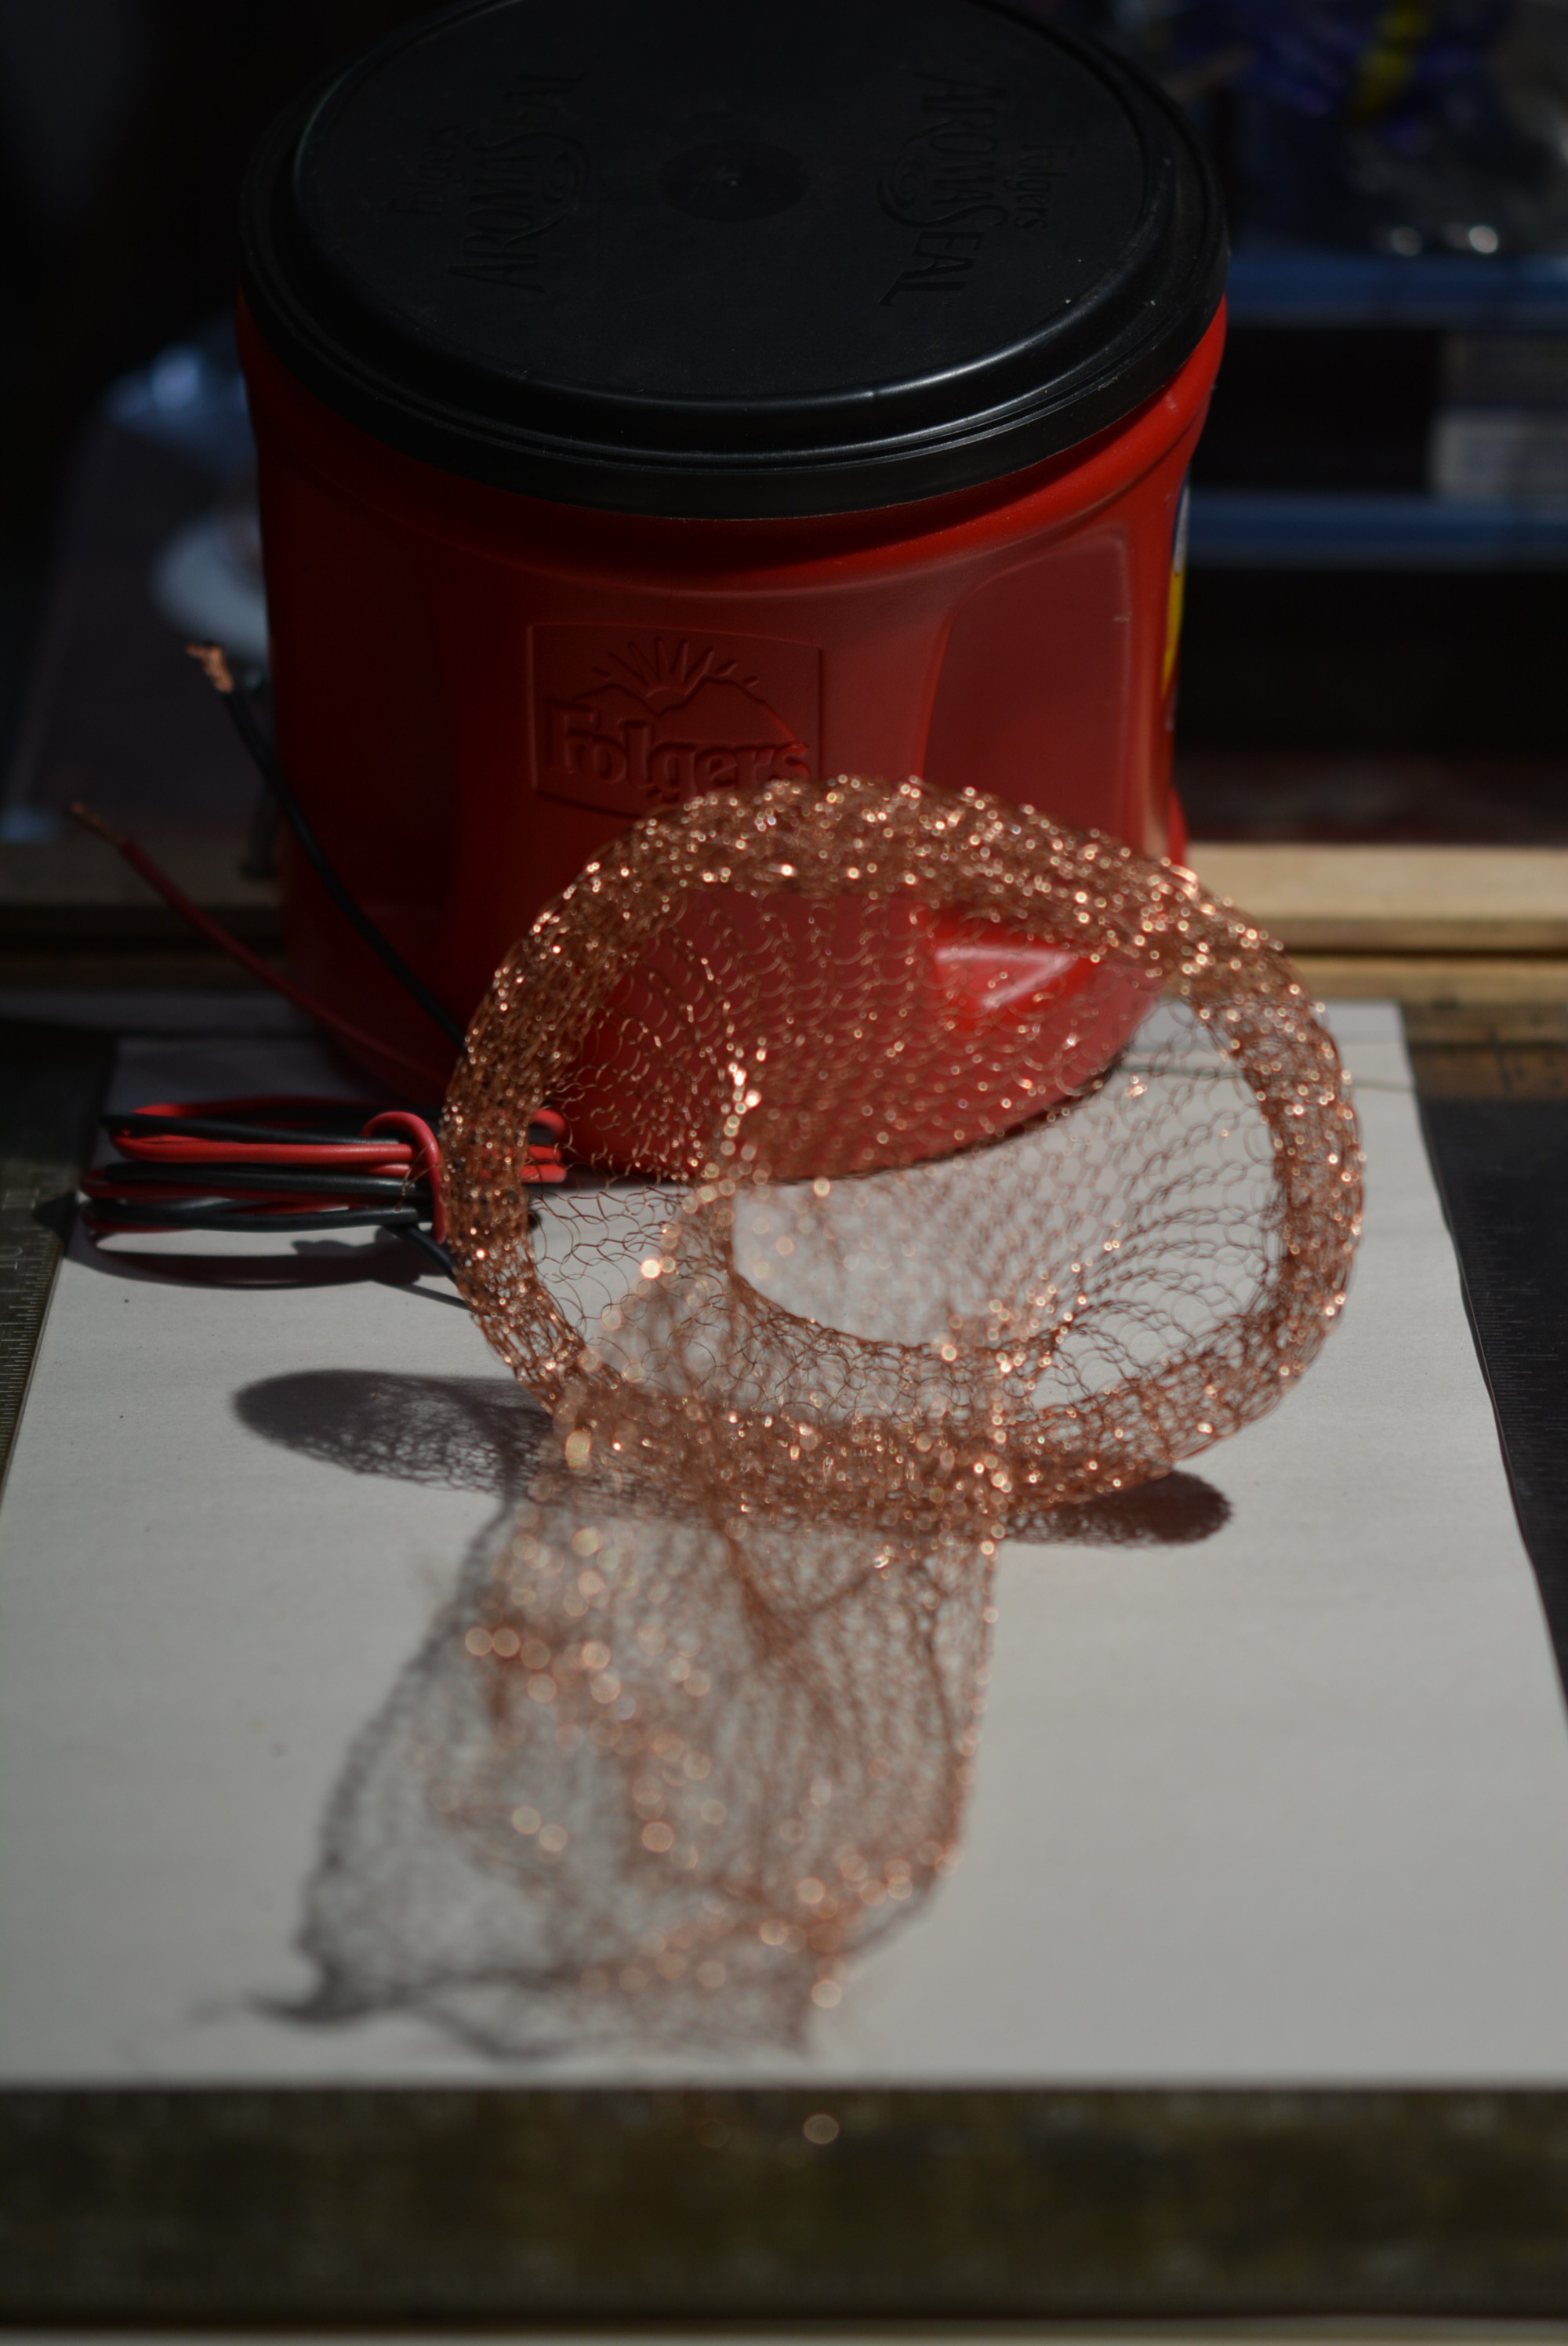
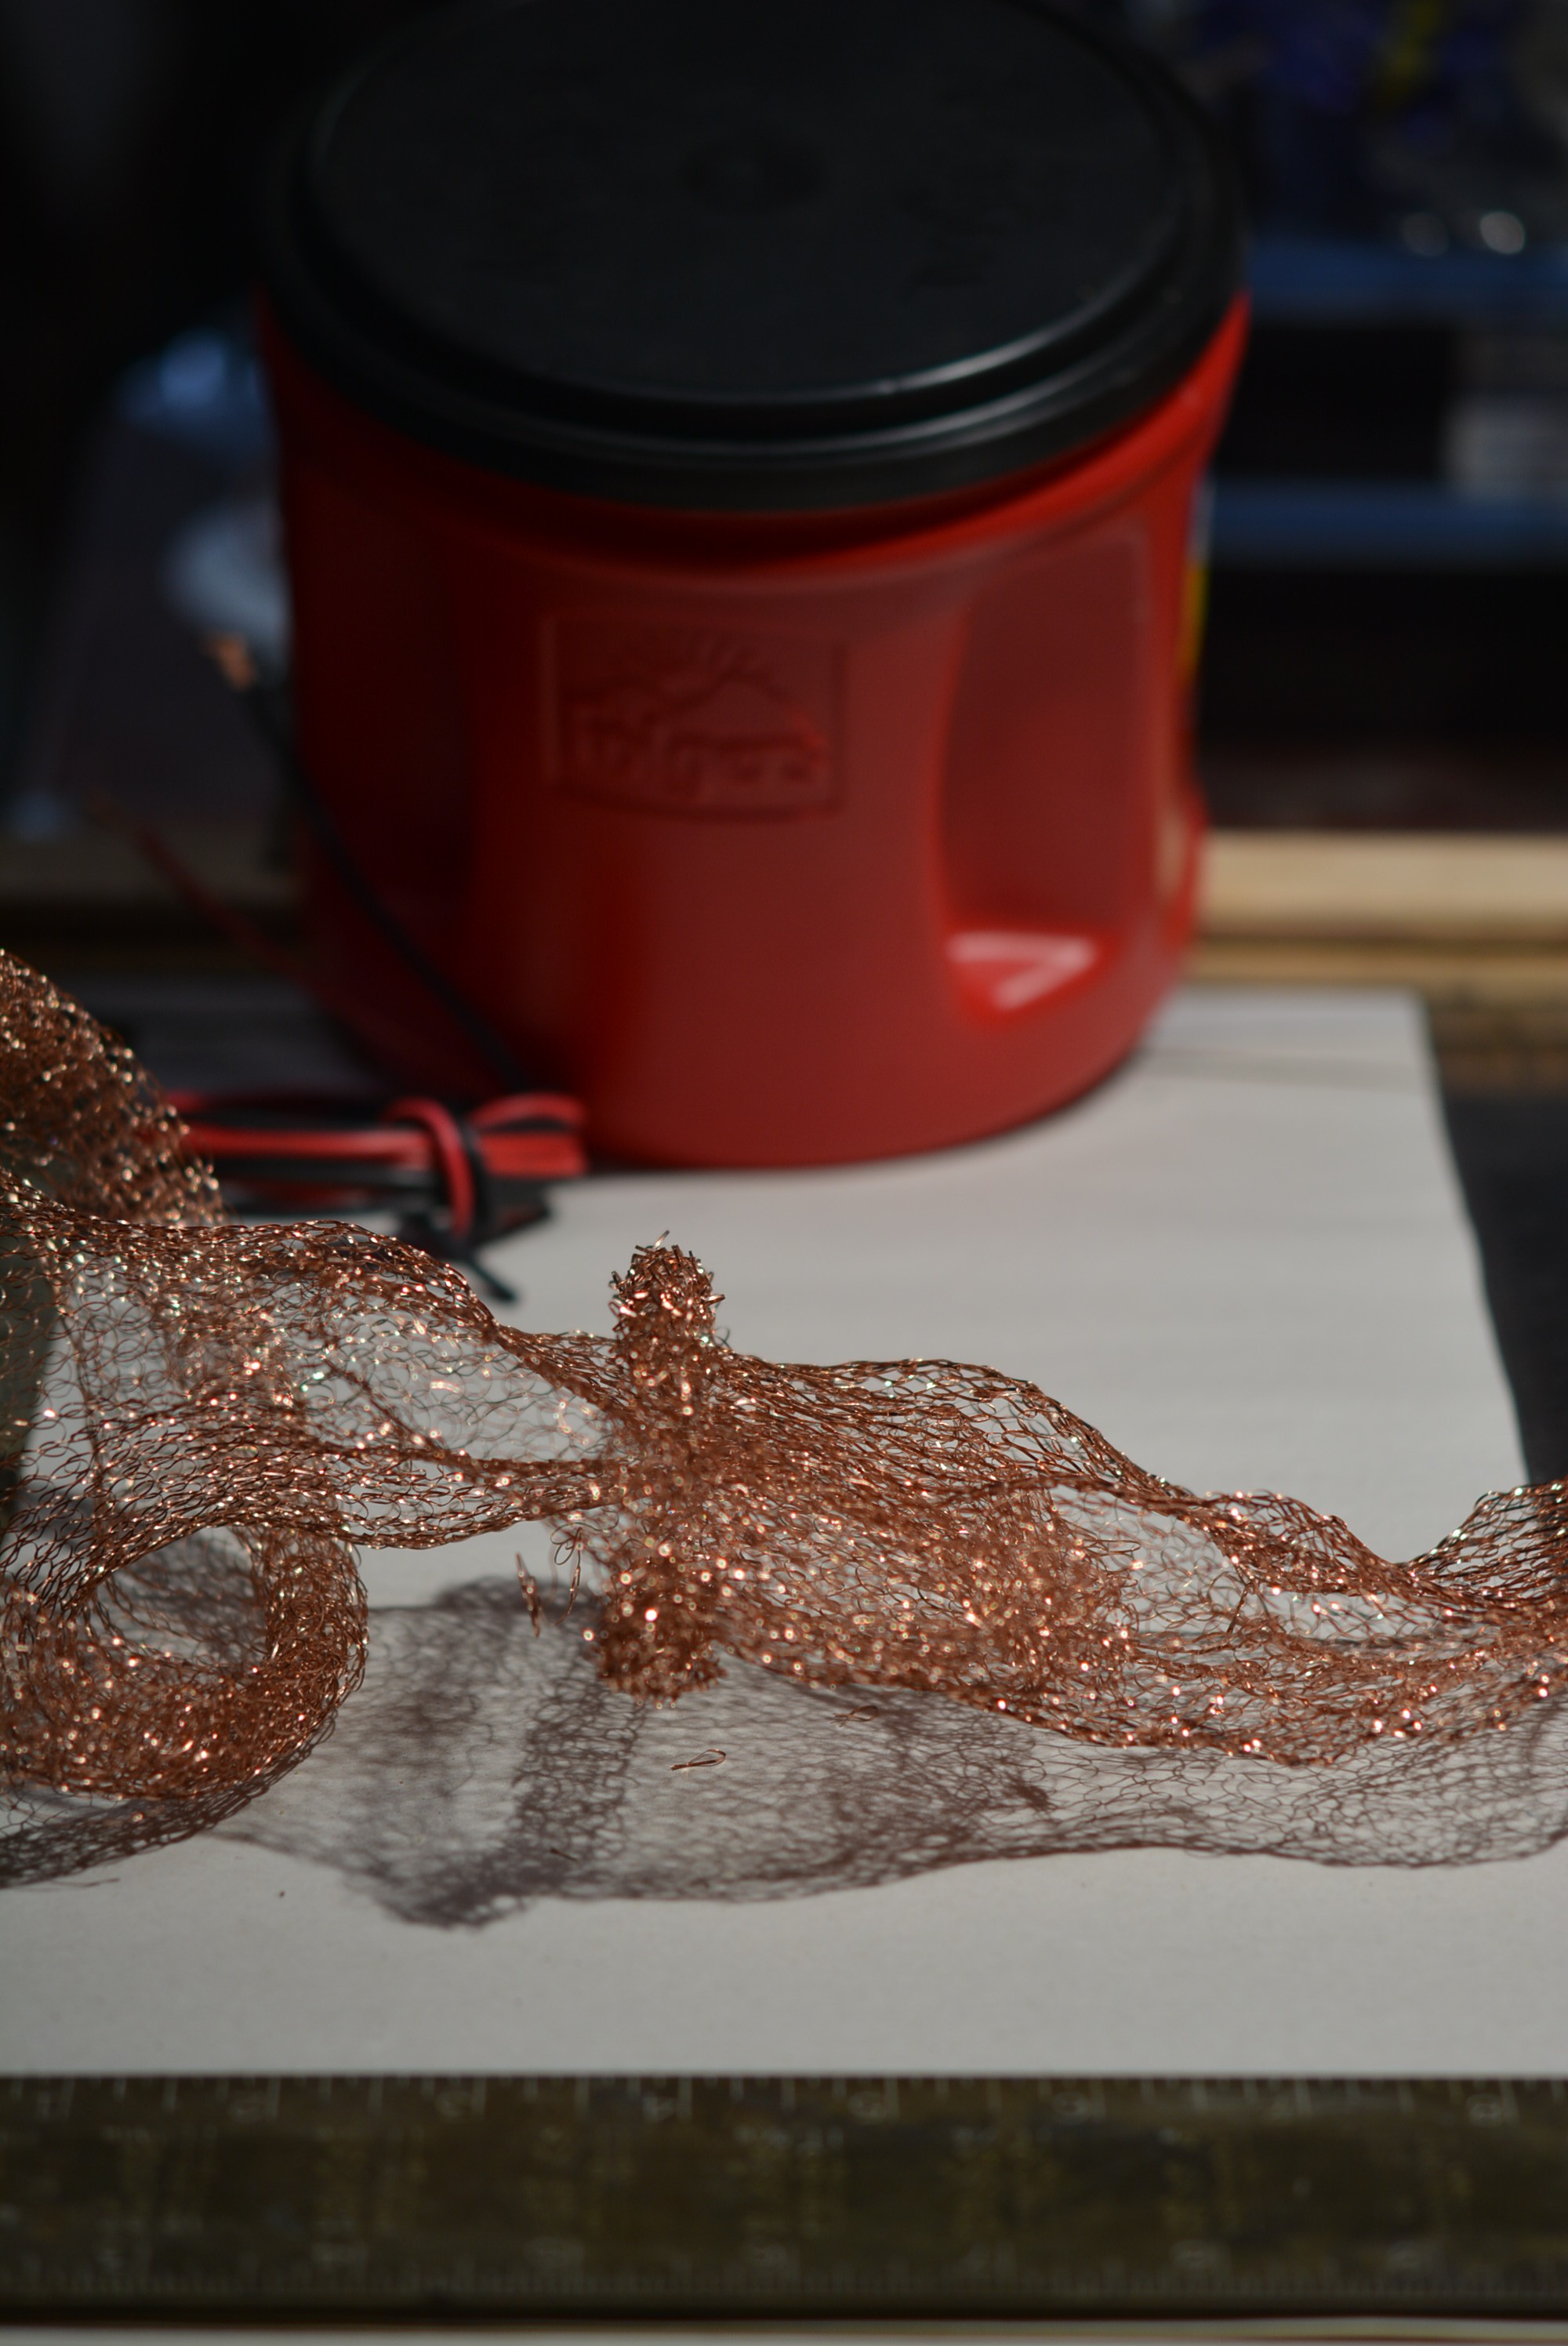
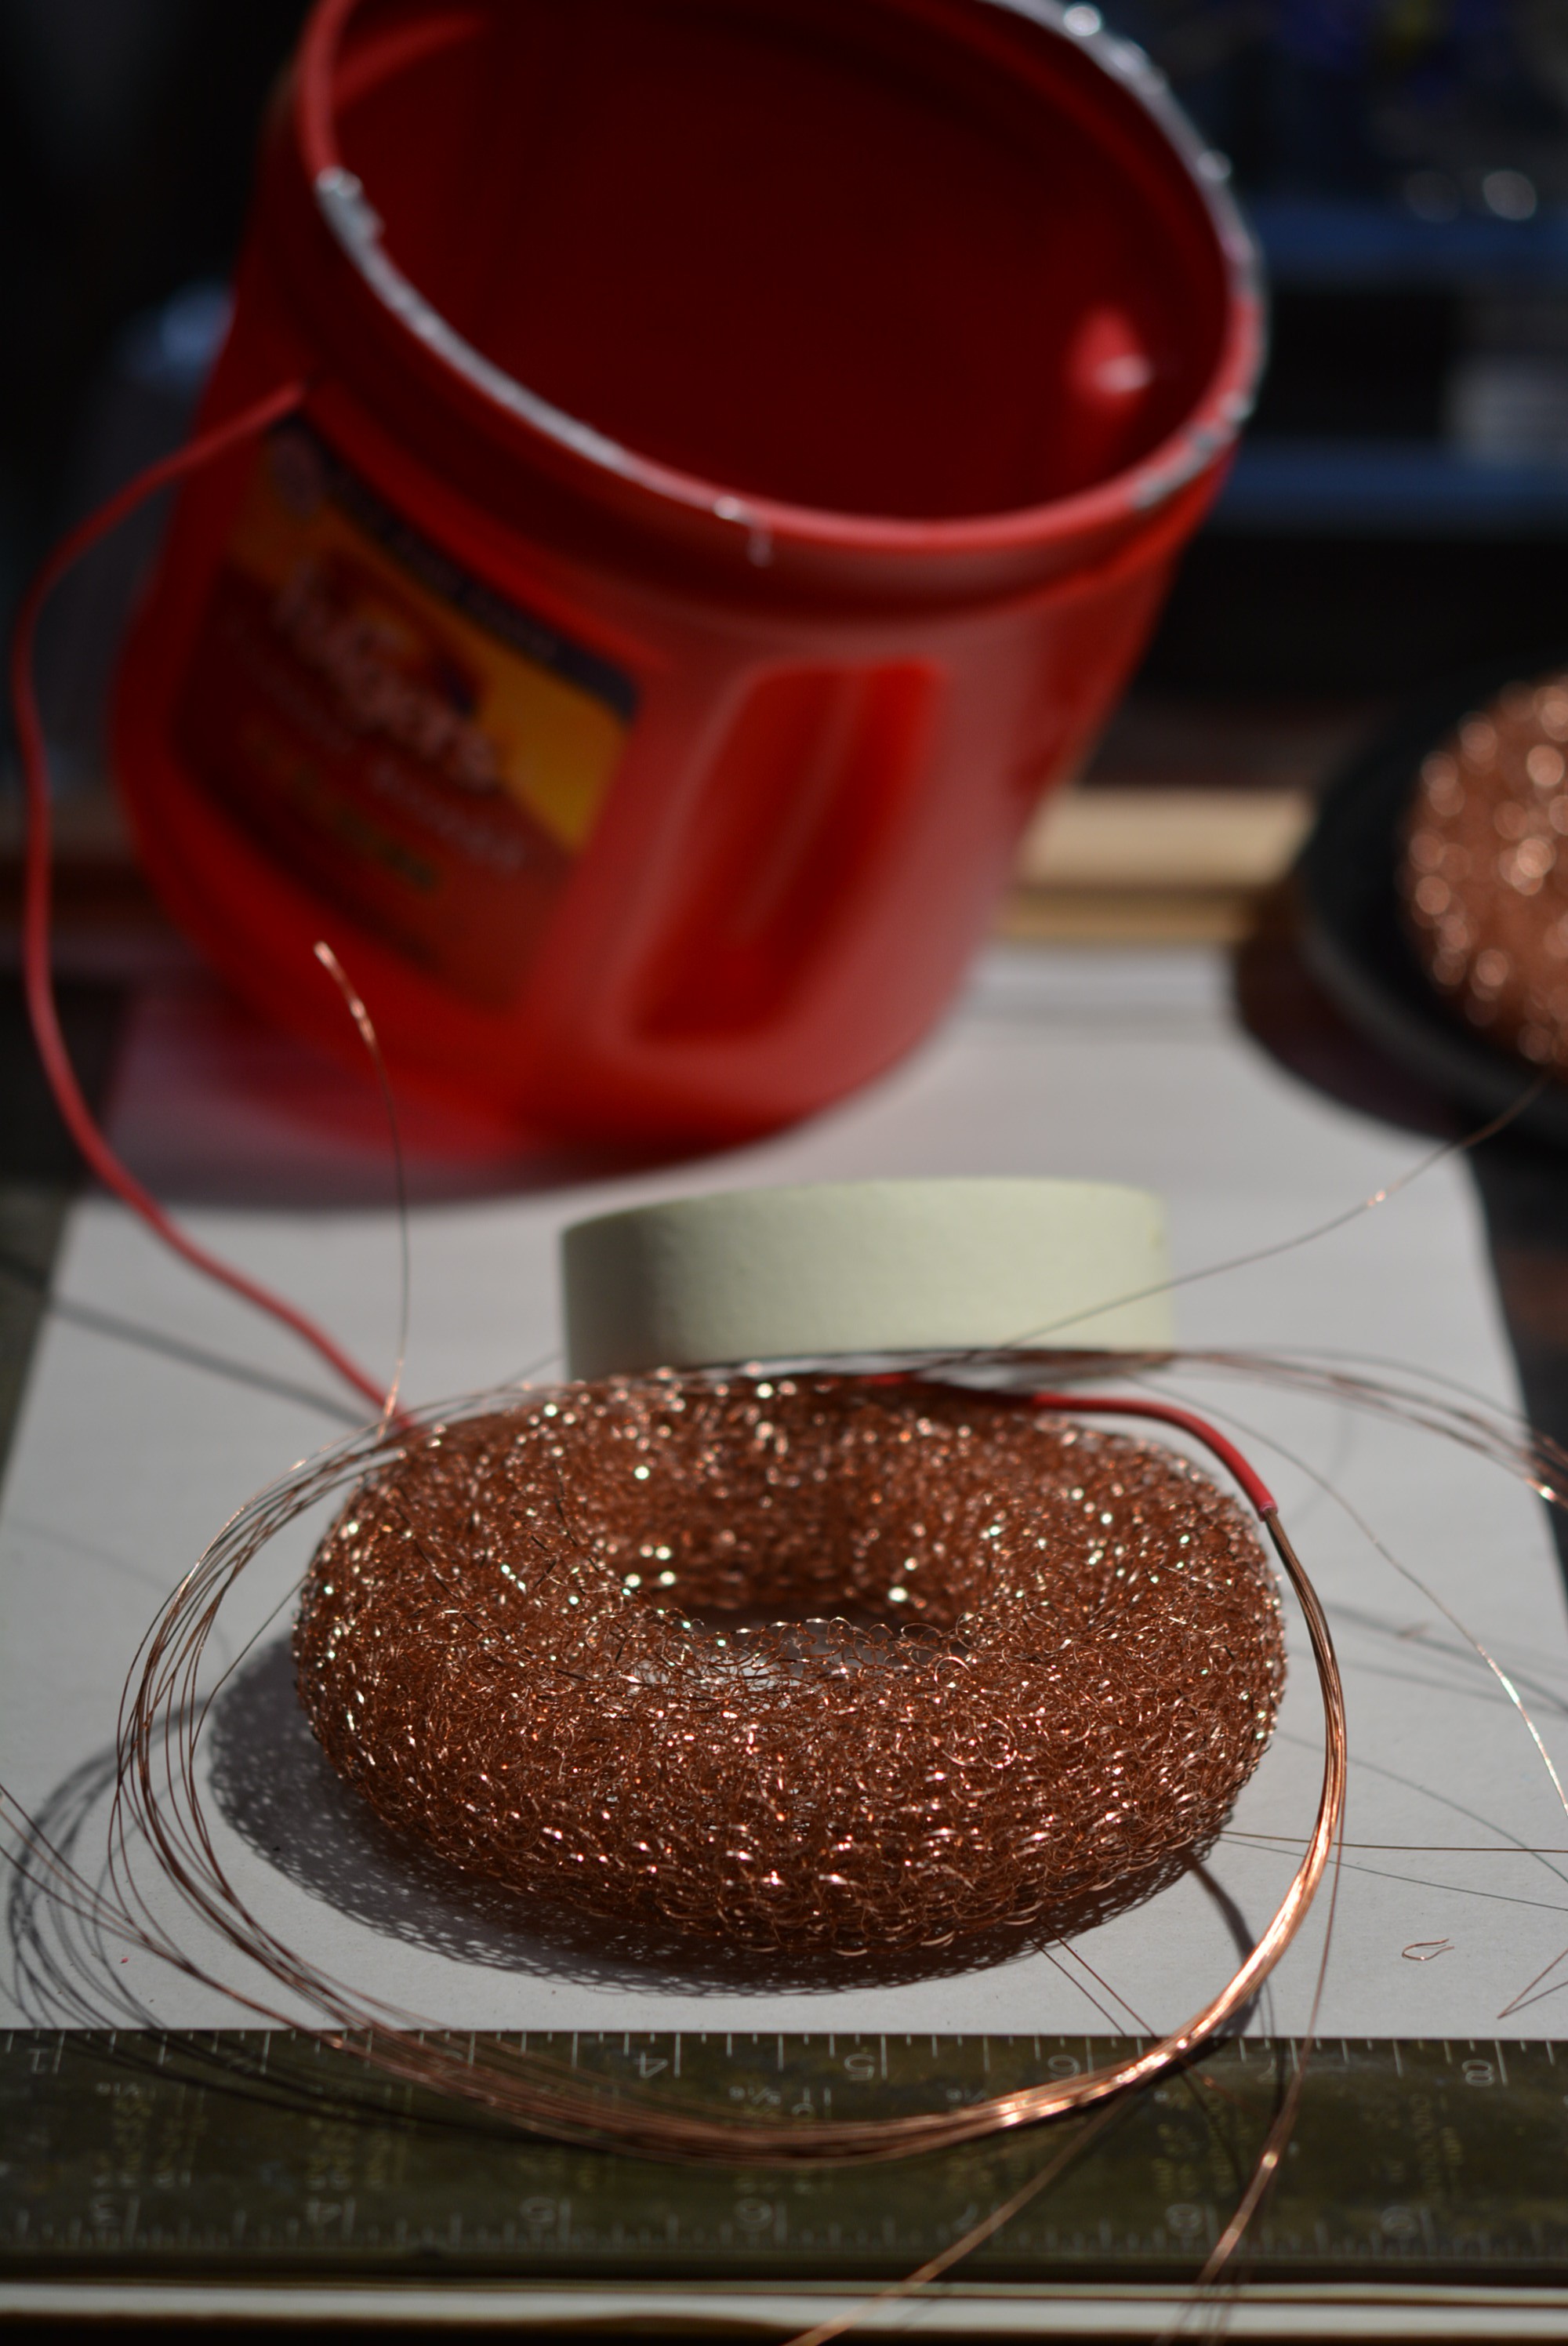
Unroll your scrubber pads and stretch and re-roll them into a larger ring shape.
If your scrubbers do not unroll then you may have to simply pull them apart and use some copper wire to sculpt them into a suitable shape.
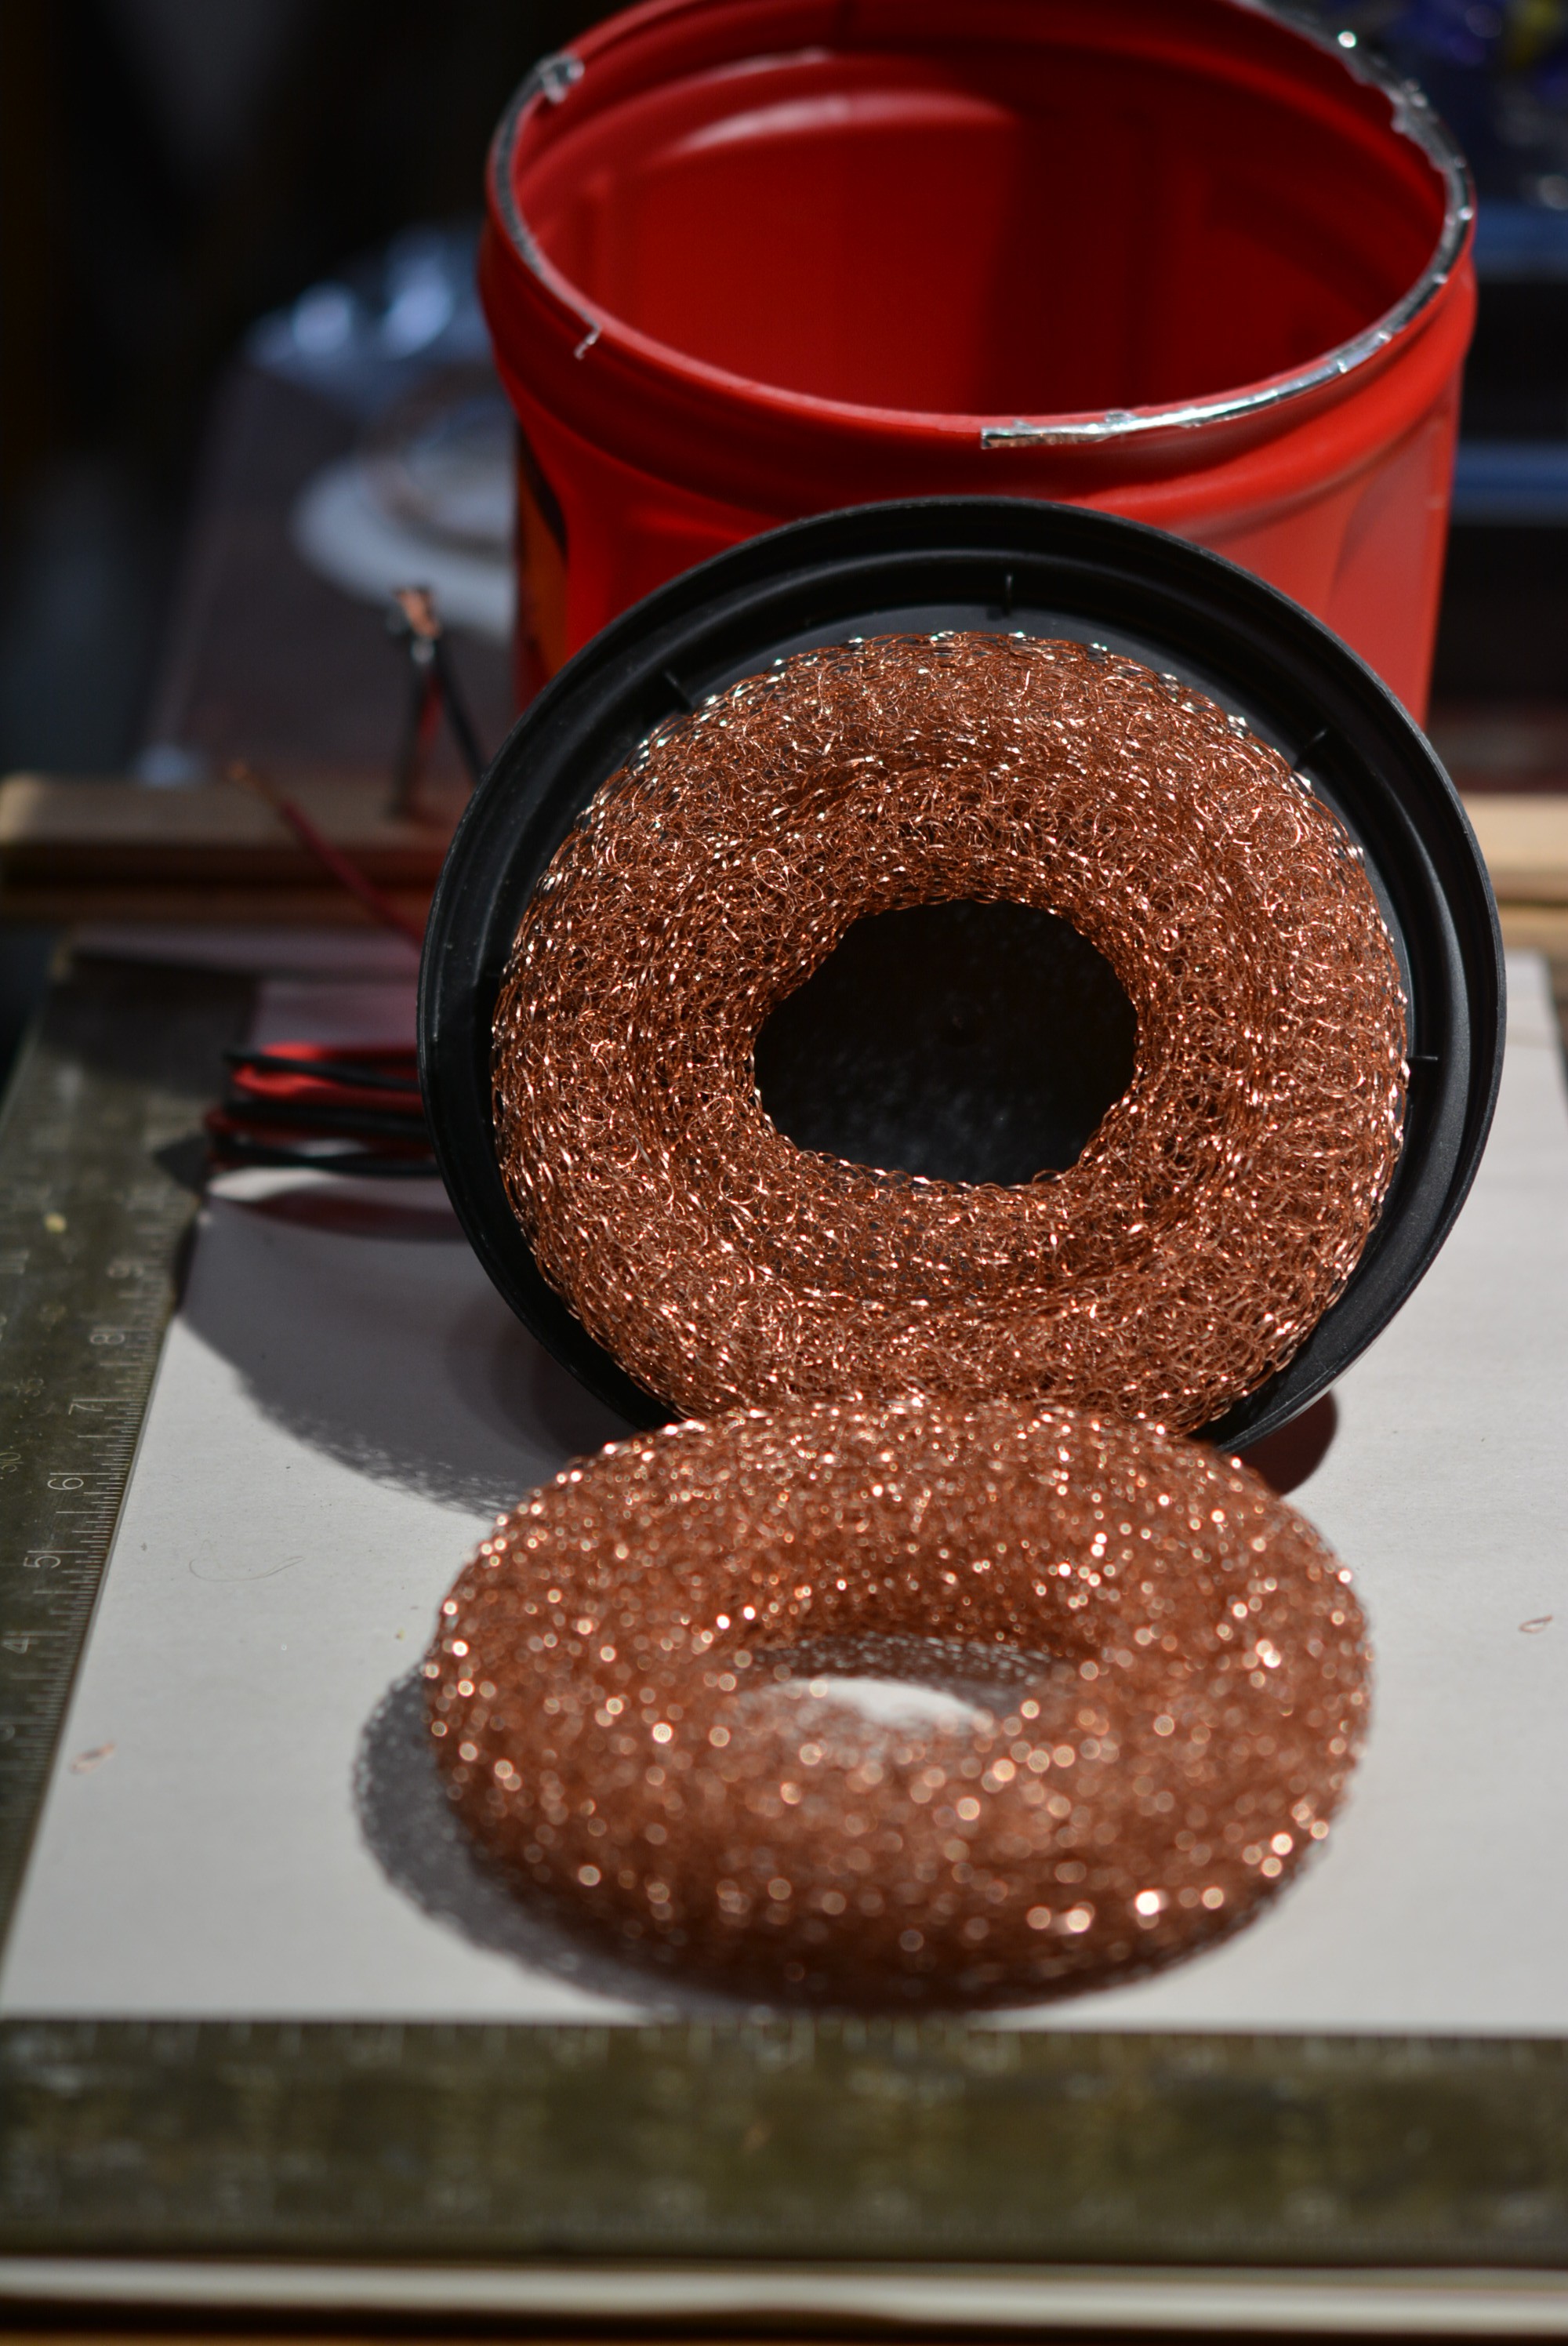
I spliced two together and rolled a smaller ring with the other end of the tube so I ended up with two rings, one inside the other.
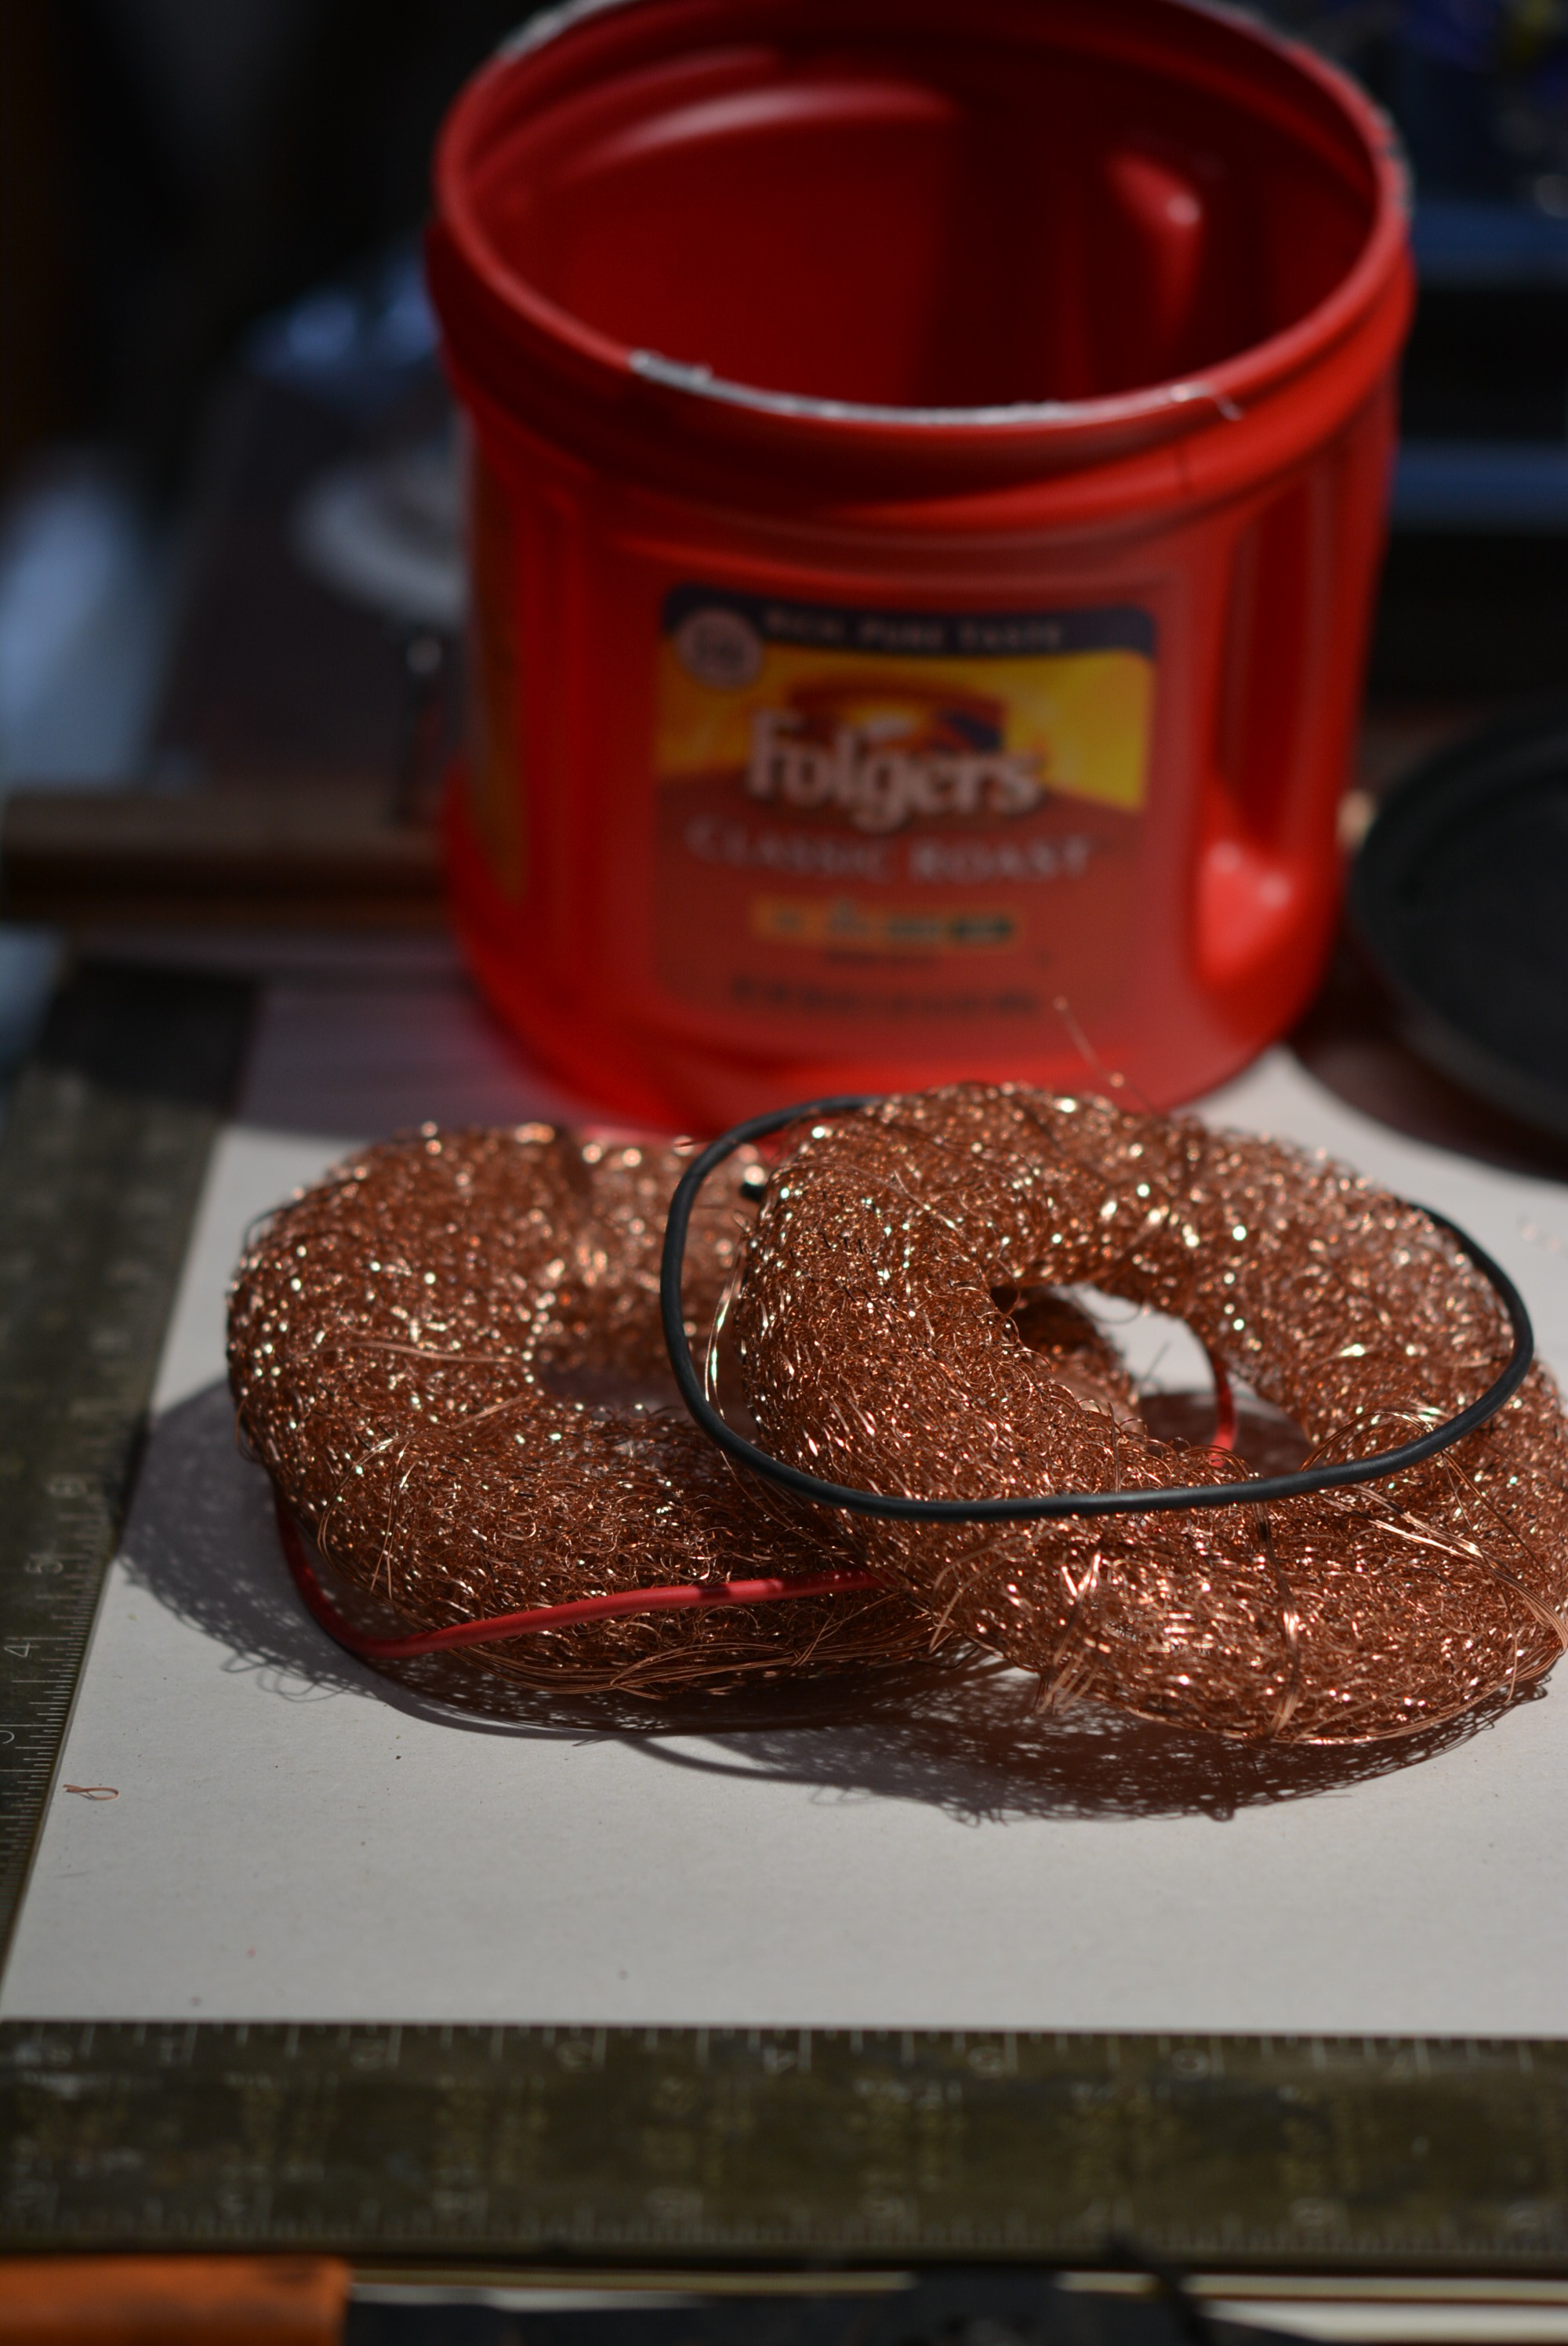
Here are 2 complete electrodes.
-
3Wire them up!
Take your copper wires and strip them so they only have a foot or so of remaining shielding. Now wrap those bare ends around each of the electrodes as many times as possible to ensure a good electrical connection at all times. Feel free to weave it through a bit too. The more contact your wire makes with the electrode the better.
Two electrodes ready for installation in container.
-
4Container Prep. and Electrode Install.
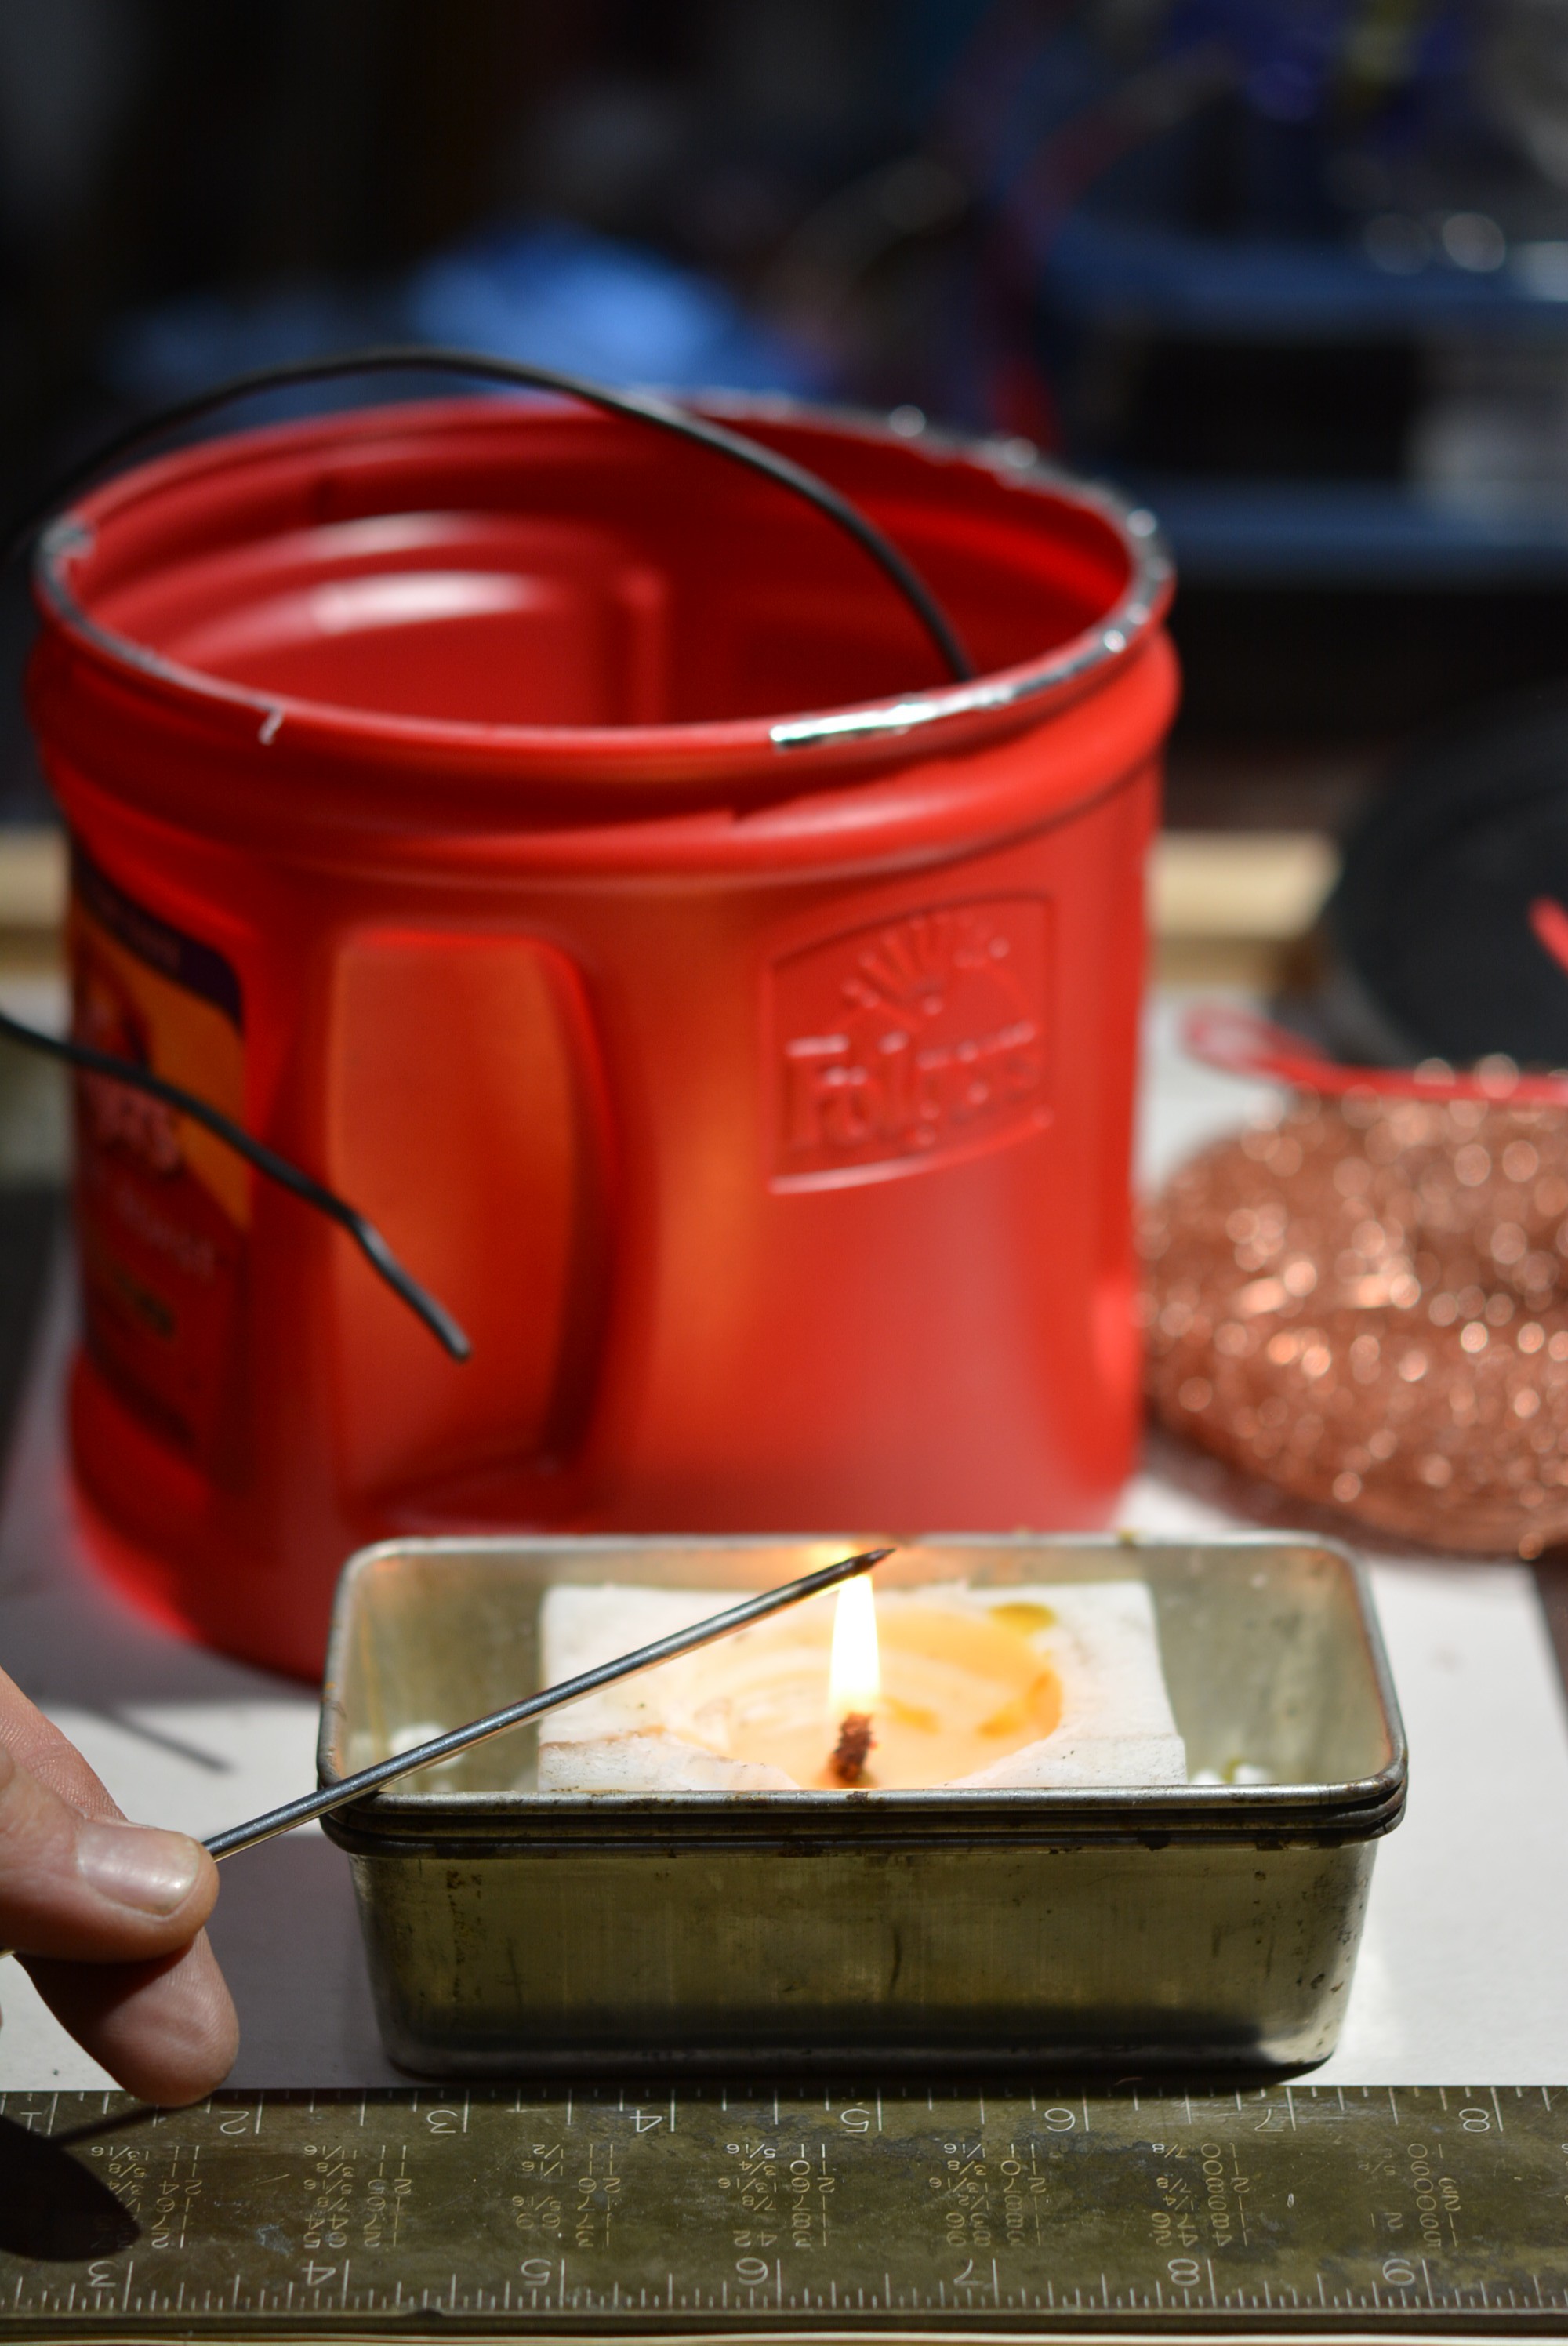
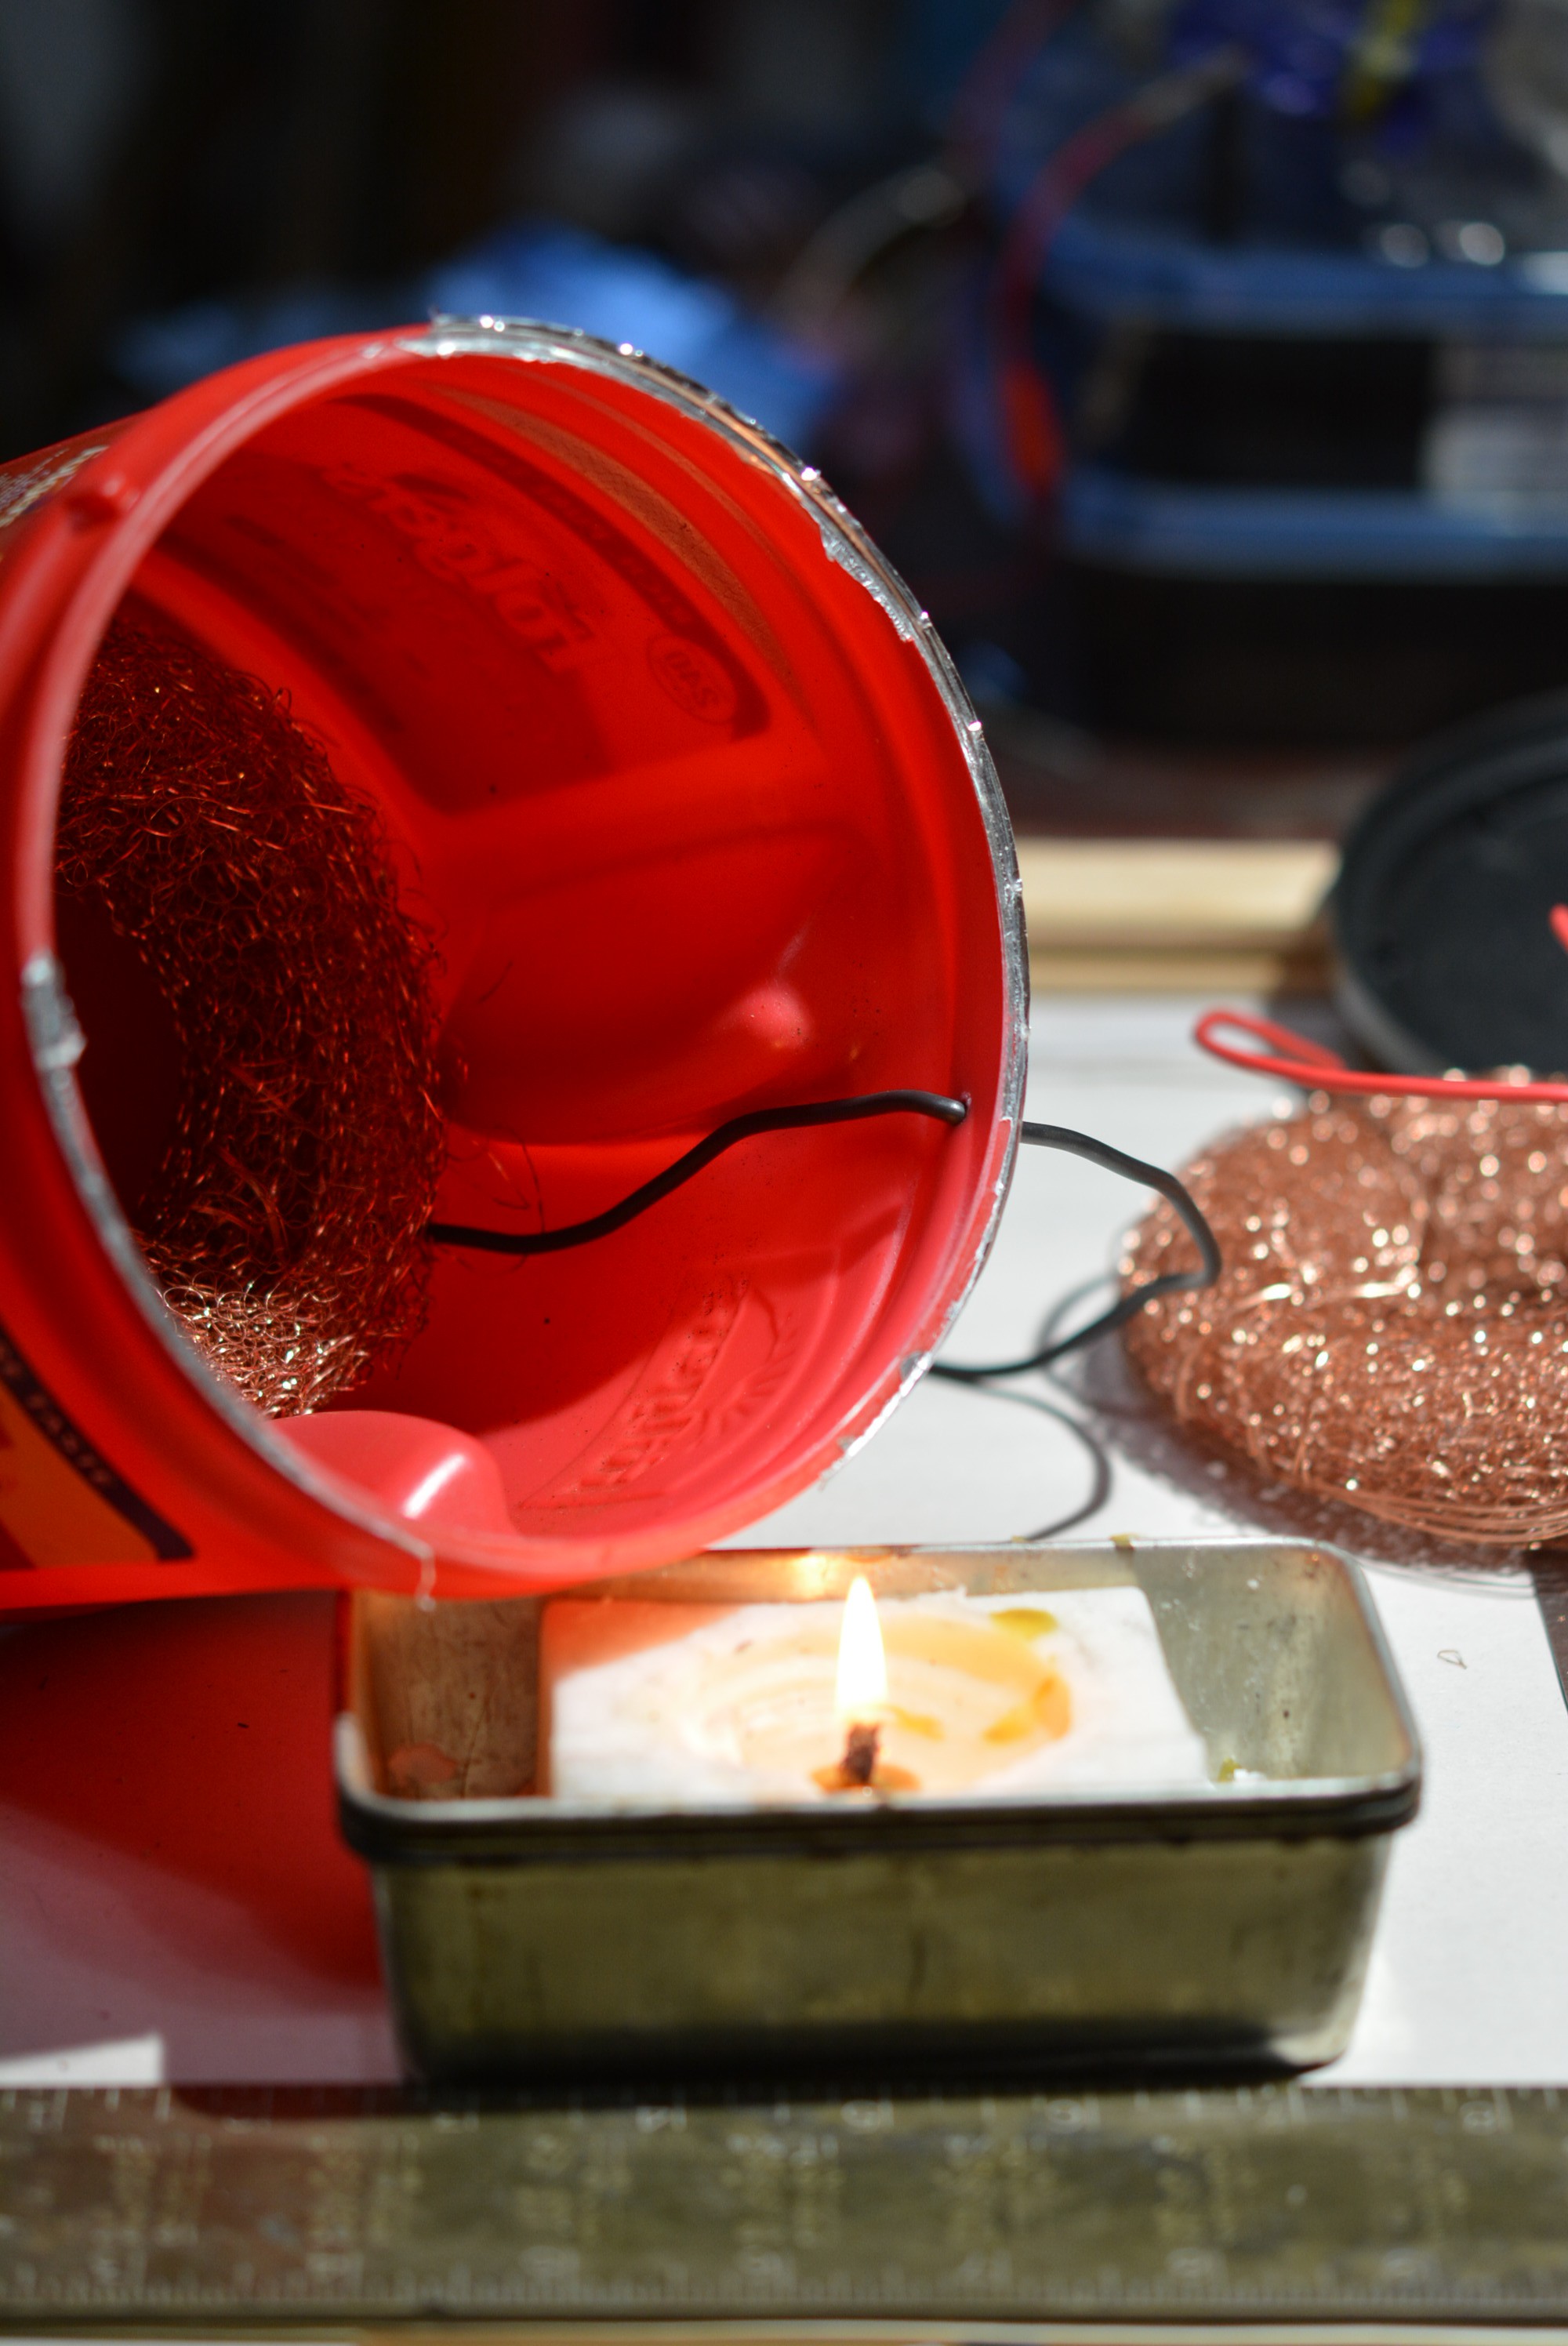
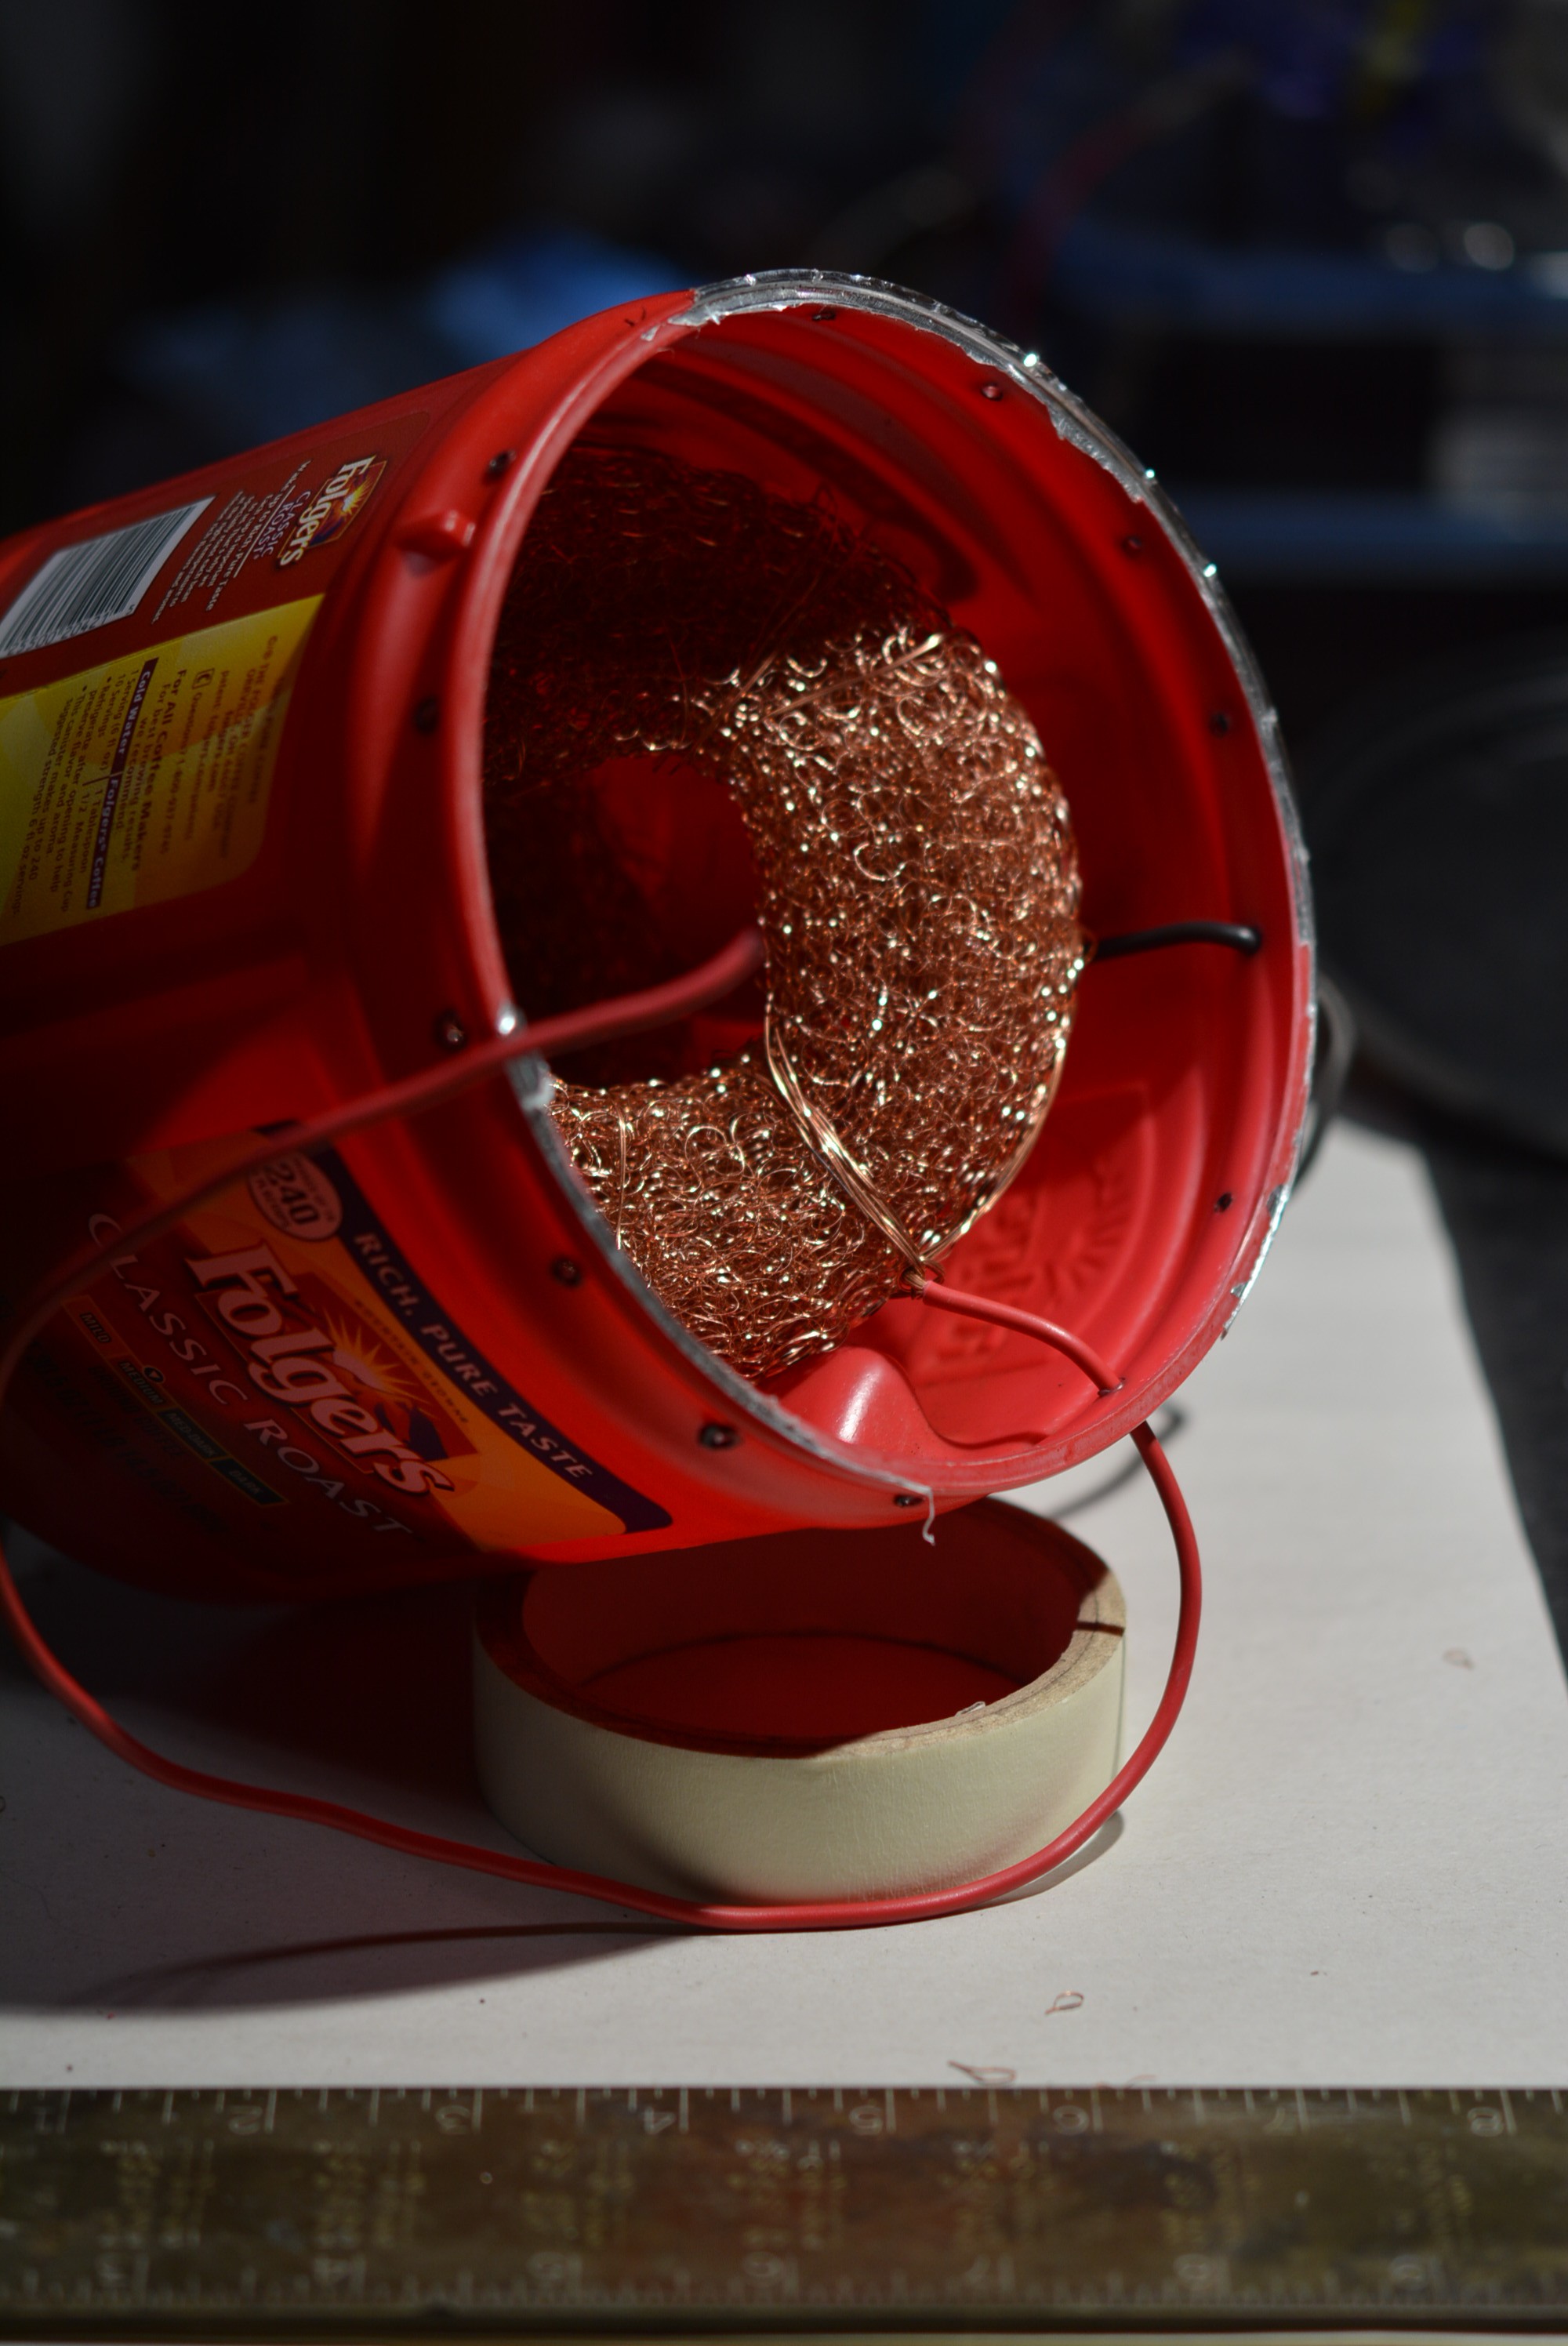
In order for your container to function properly you will need to make air holes at the top for oxygen to get to the upper electrode(cathode), as well as holes for the wires to exit the cell.
I used a candle and a steel lab tool, anything sufficiently pointy will do though.
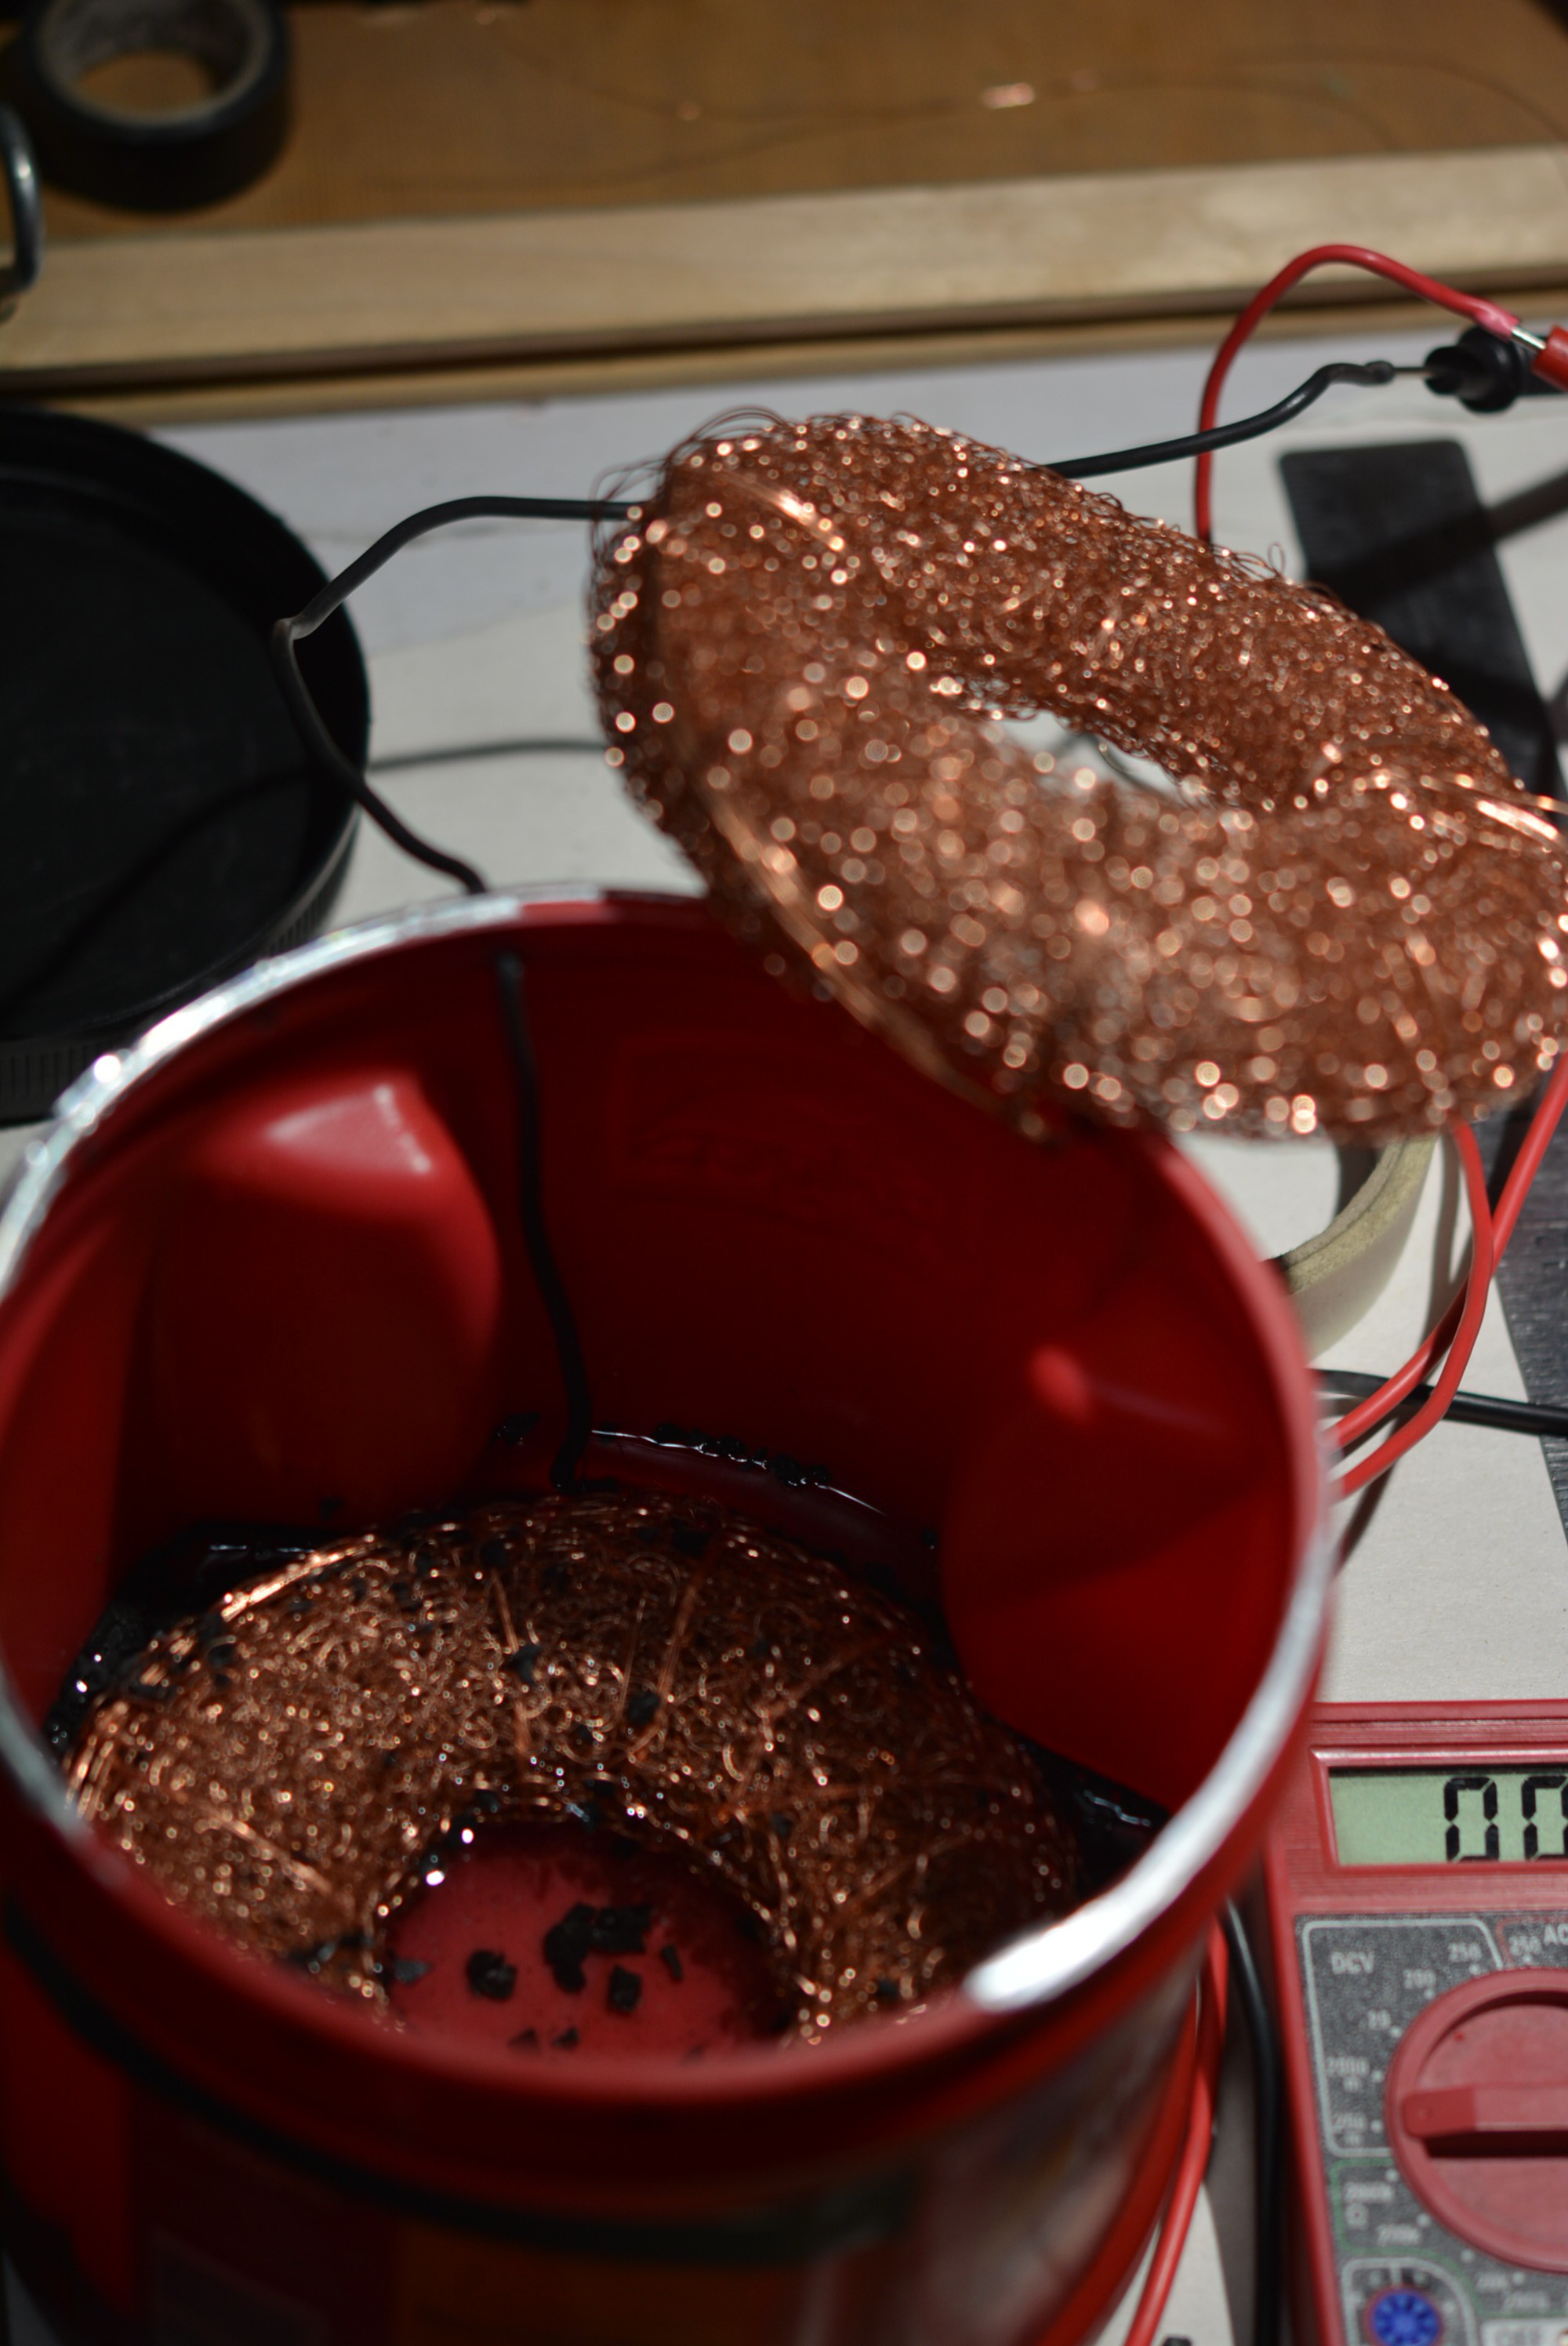
Anode installed.
Cathode and air holes.
-
5Get dirty!
With the bottom electrode in place, measure 5cm up from the top of the copper and mark the wall of the container, this will be your soil fill level.
Flip the cathode(upper electrode) out of the way and add some water, about 500ml in my case. I also threw in some activated carbon to hold the electrode in place and increase the carbon content by the electrode, it's conductive and very porous so it should increase the ultimate size of the electrode once it's all fully colonized.
Then mix up your soil, make sure it is just moist, not wet or muddy. You'll need about 1/2 gallon or so, depending on your container.
I used some old potting soil with the roots all still in there, some dried plant matter(alfalfa meal or dried grass clippings) and some coffee grounds. Not too much of those things, but not too little, I'm still tuning my recipe a bit. ;) Once I get it finely tuned I'll share it in its entirety.
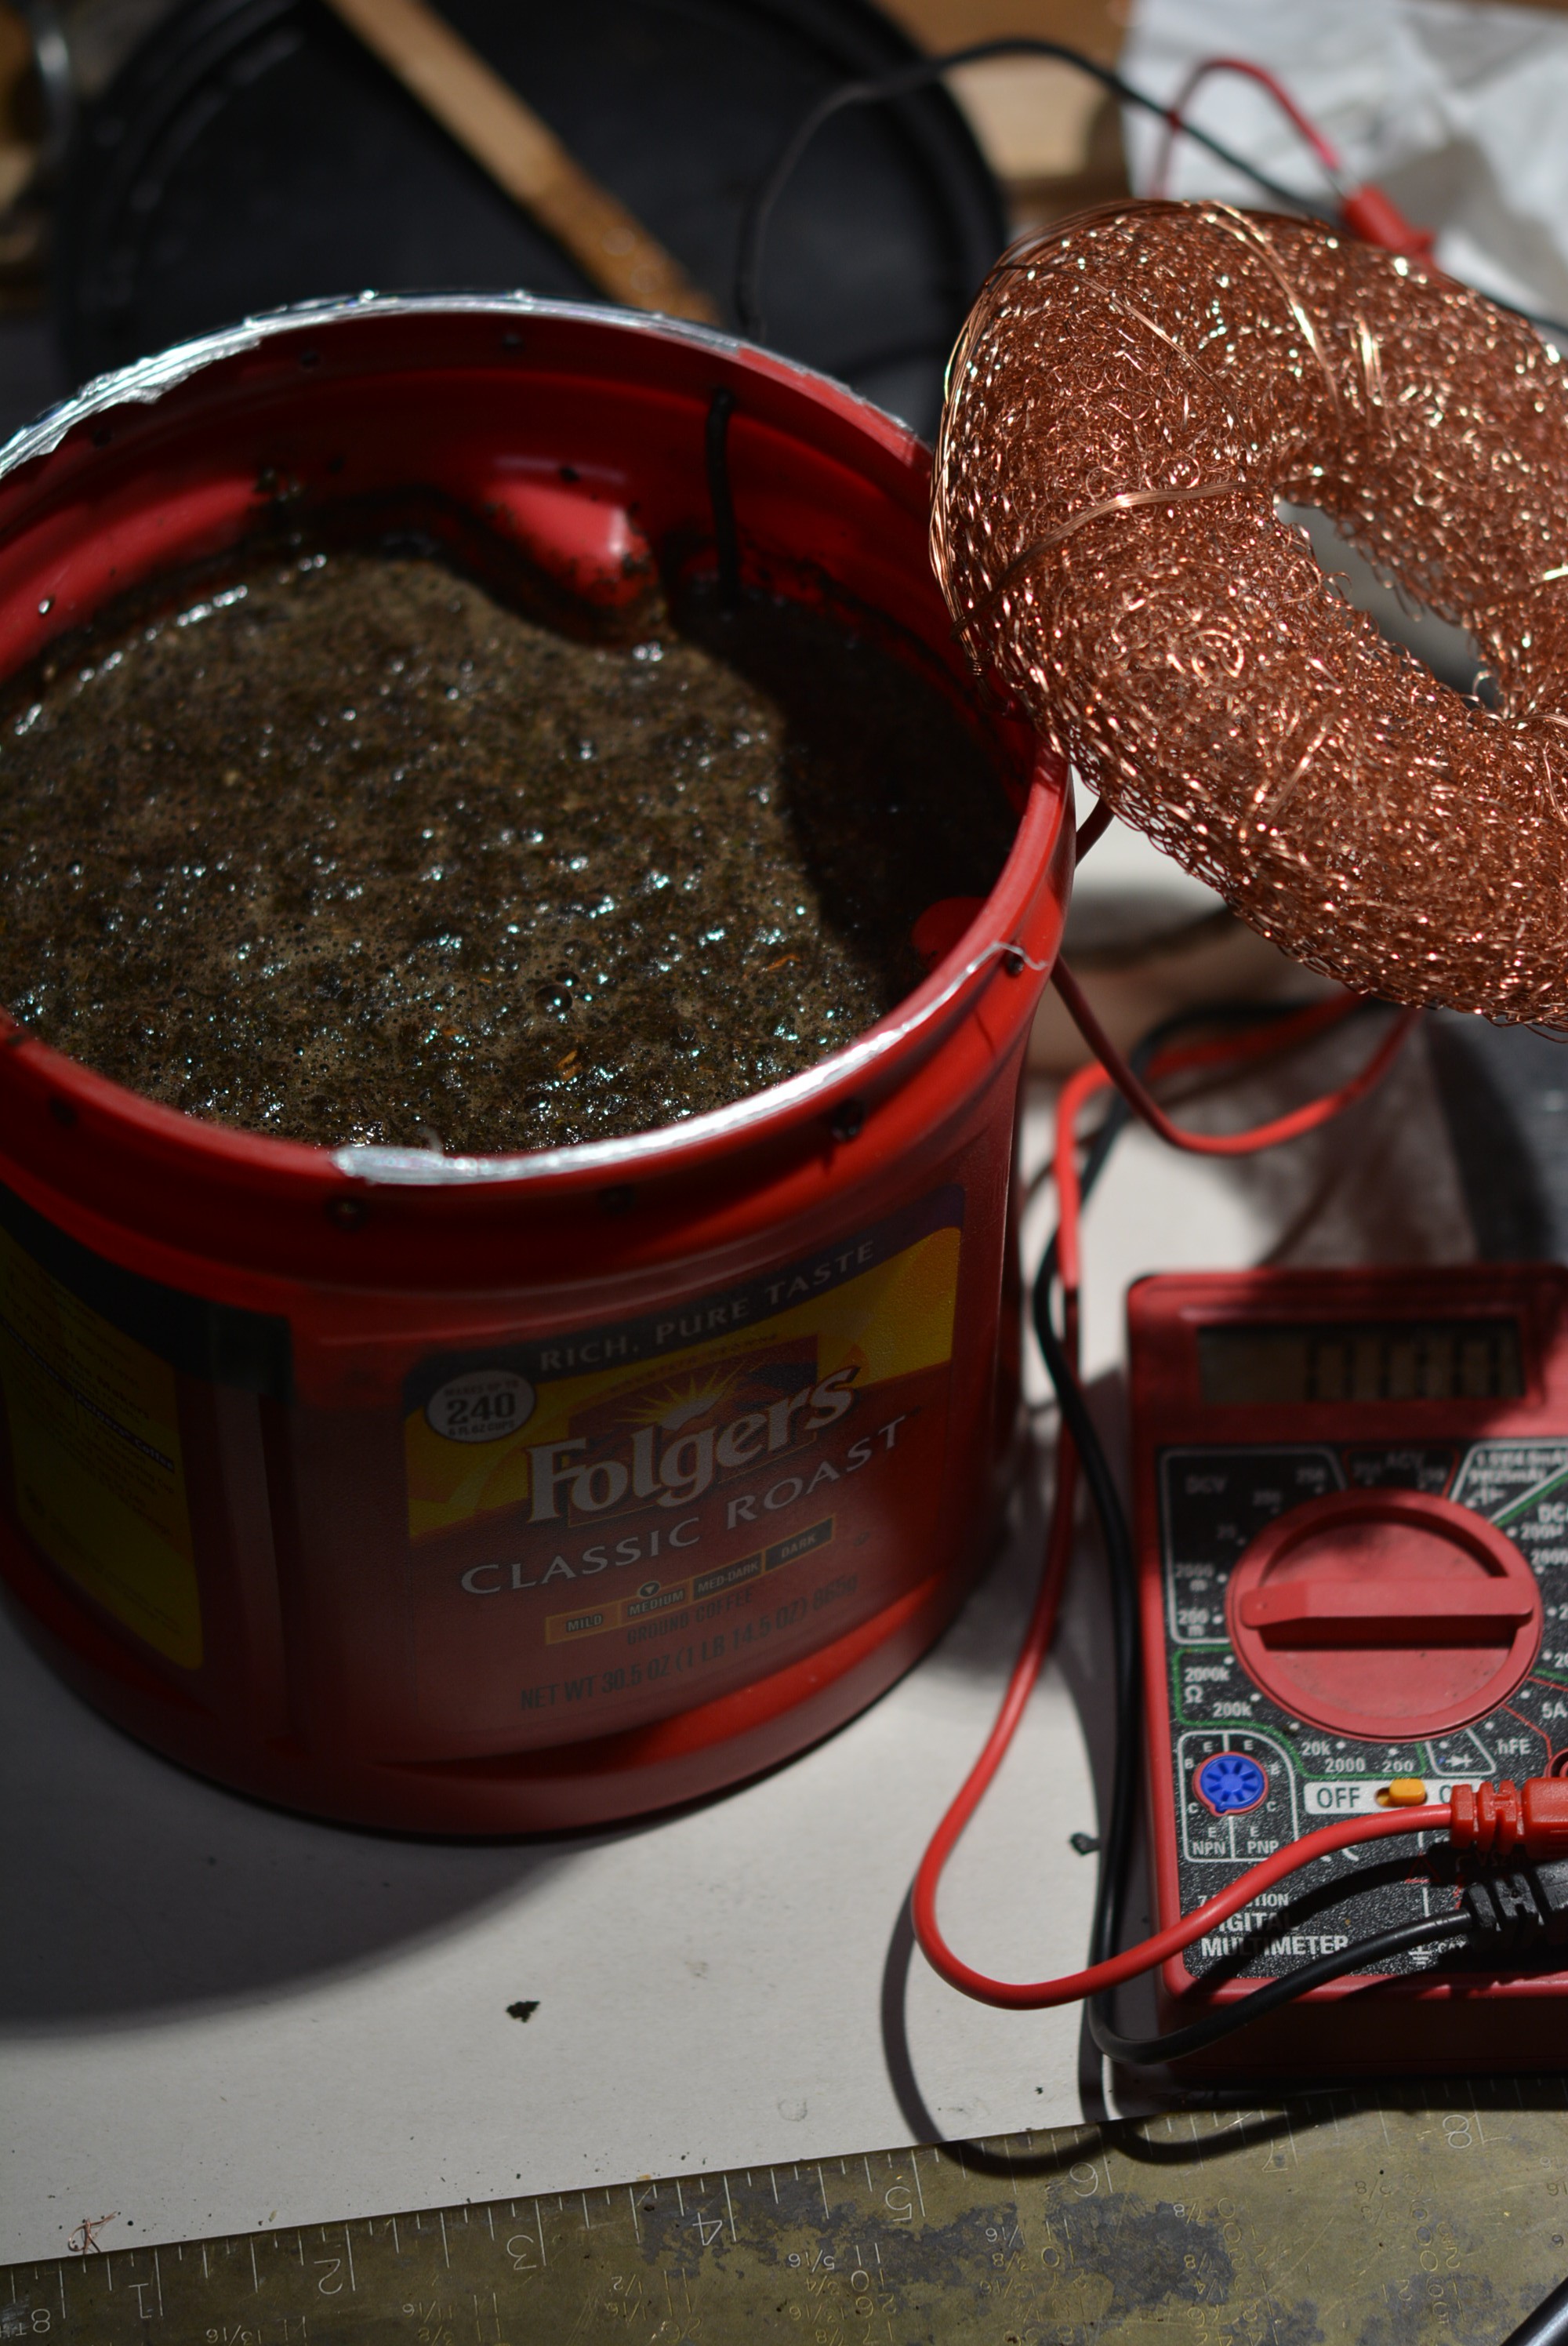
Slowly add the soil to the water in the bottom of your container, to the empty space in the middle of the bottom electrode(anode). Tap it on a hard surface gently to mix the soil into the water and work out all the air bubbles, you want a fairly thick but still very wet mud with little to no air bubbles by the time the container is full.
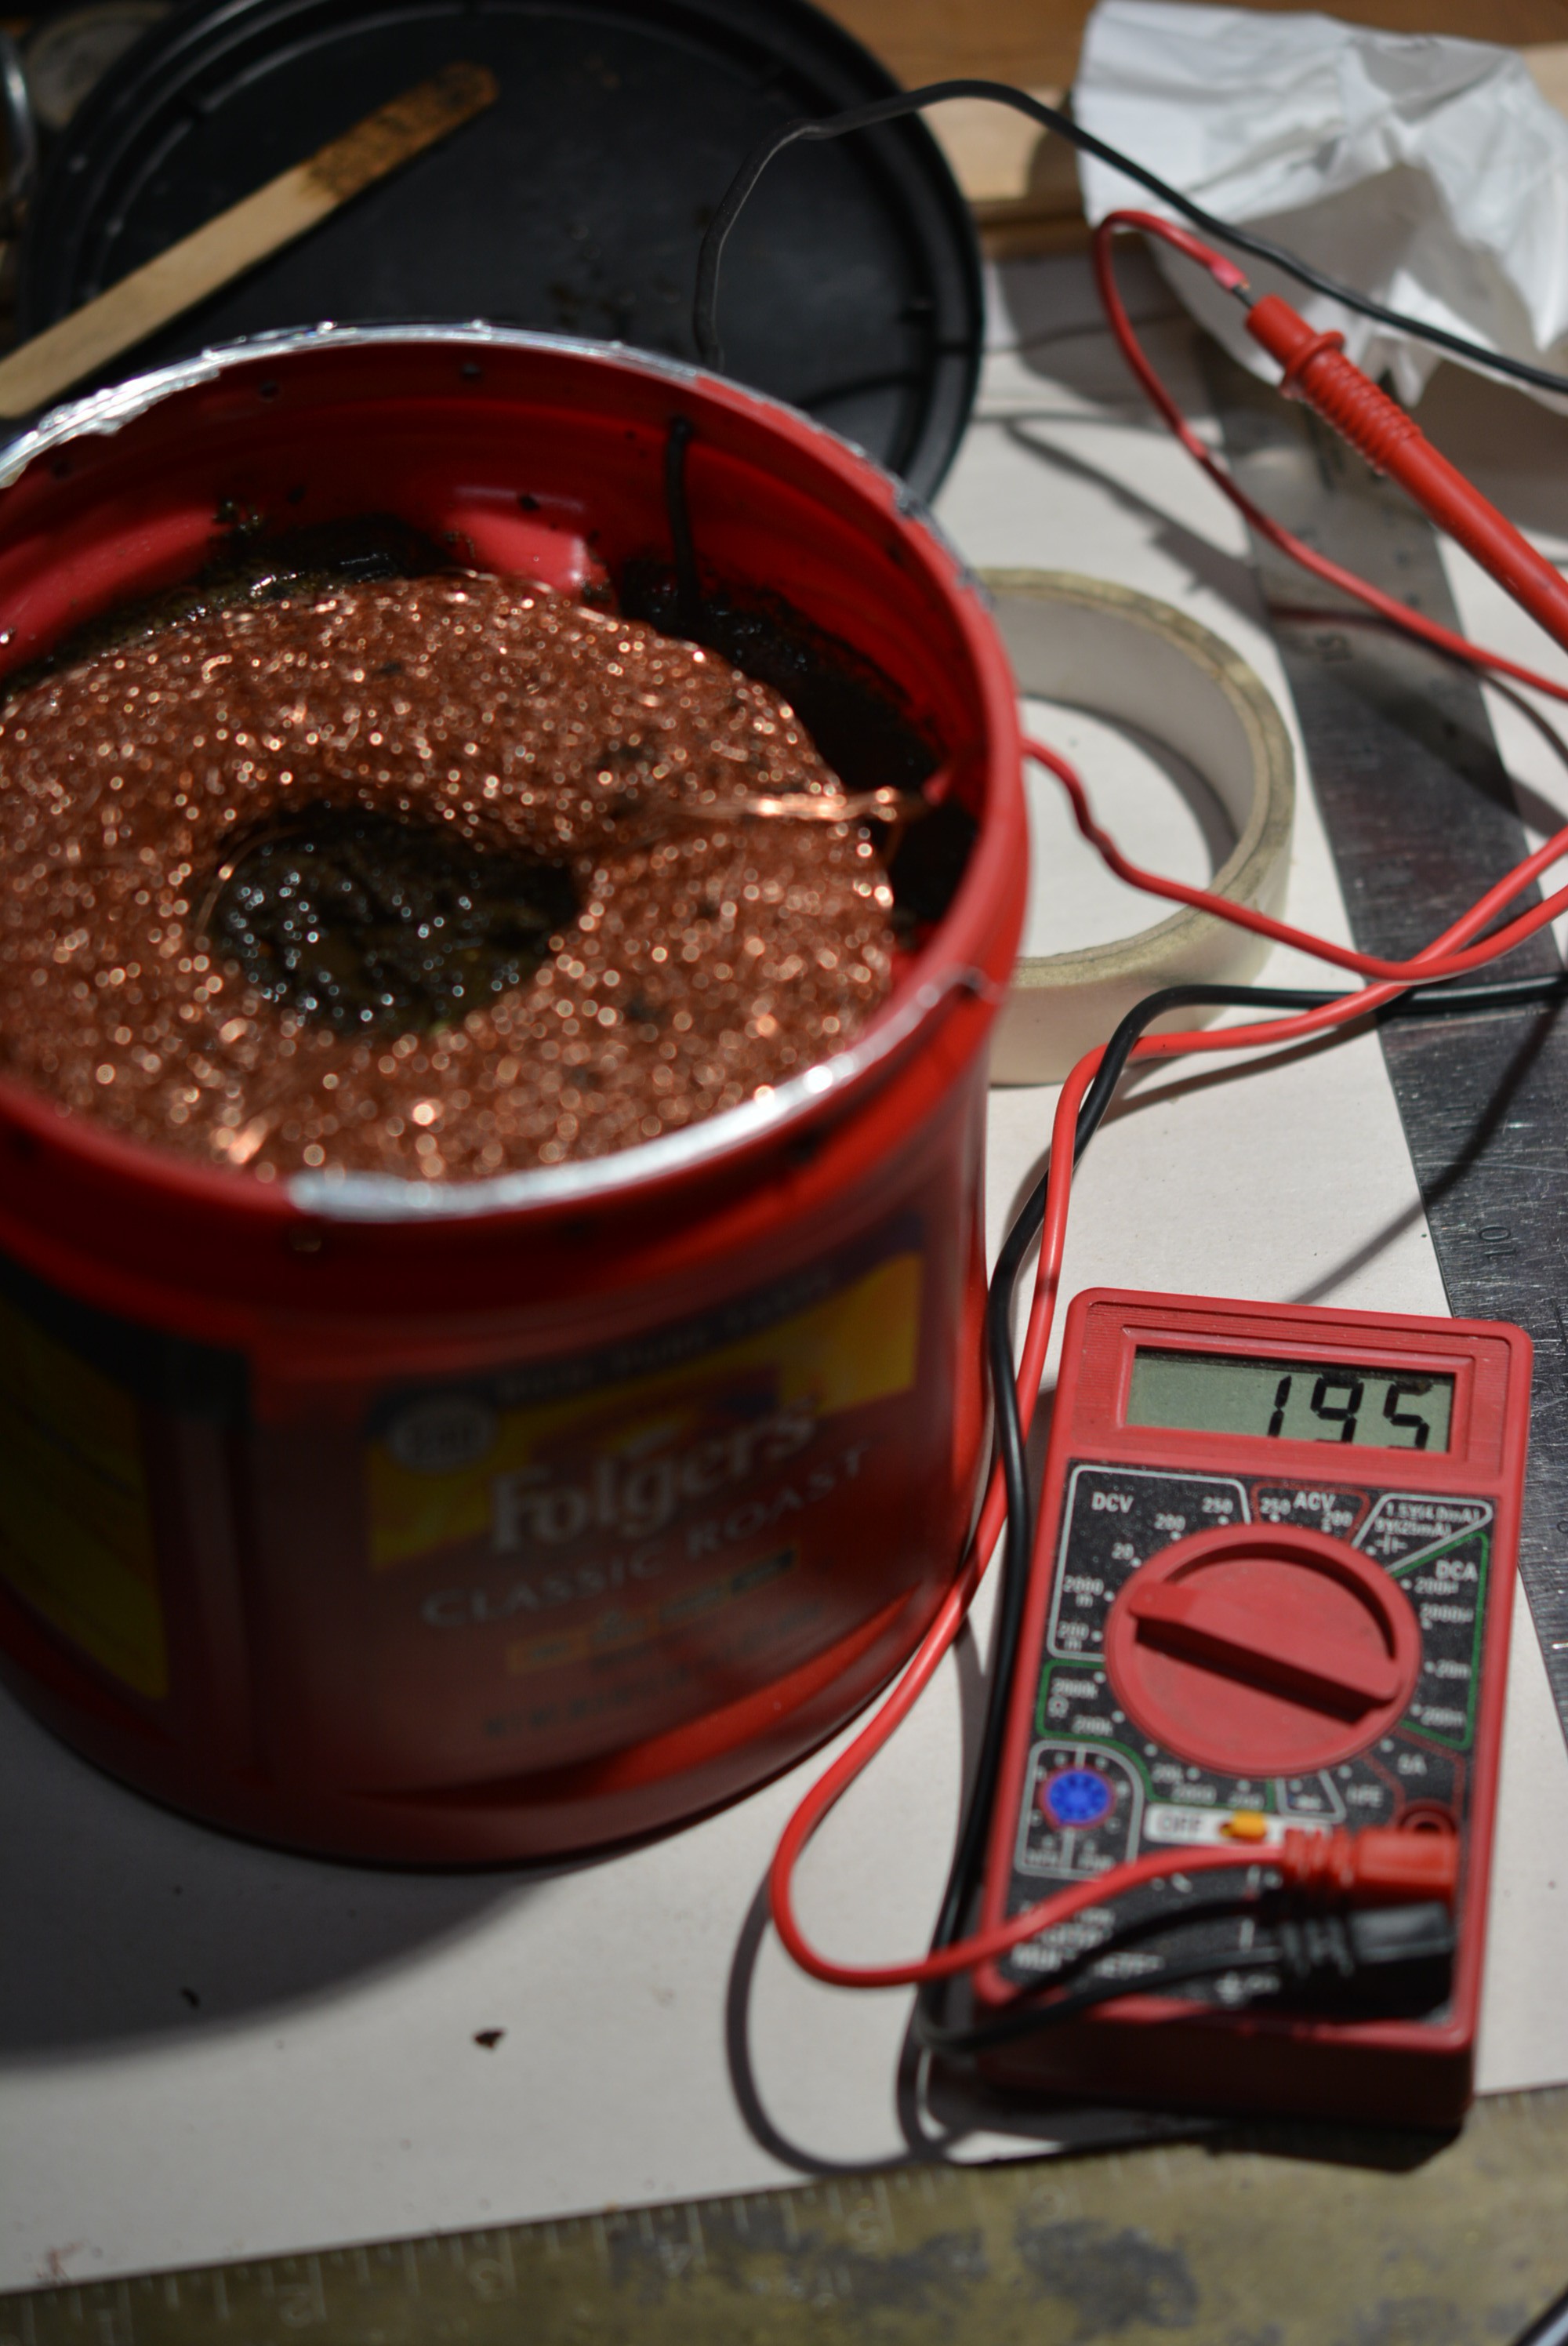
This cell ended up being a little more wet than I intended and the upper electrode began sinking into the mud, so I threaded some fine copper wire through the air holes and into the electrode to hold it from sinking, this appears to have worked quite well.
There Ya GO! Dirty, Clean, Power.
 williamolyolson
Discussions
Become a Hackaday.io Member
Create an account to leave a comment. Already have an account? Log In.