-
1Step 1
Get all your bits and pieces together.
The gerber files I used are in github (
https://github.com/wannabeerased/arcadeadapter). I used http://dirtypcbs.com/ to have them made up, at the time it cost me $14 for 10 PCBs delivered.
![]()
Try to get a right angle FFC connector if possible. I was only able to get a hold of a straight one and I expect it will lead to layout problems later when I go to box it all up.
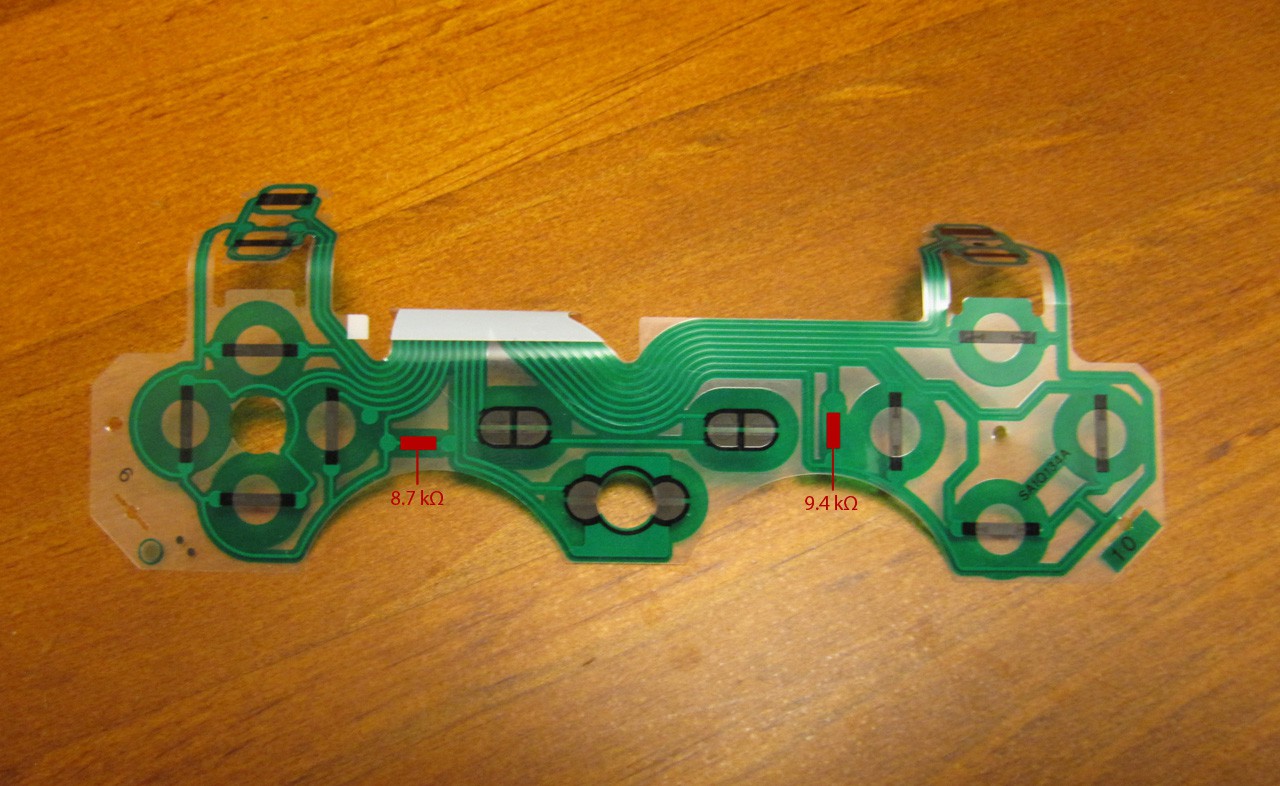
The resisters I used are 8.2KΩ but this seems to be flexible. Other sources seem to suggest anything around 7.5KΩ is fine. I measured the resistors on the original controller to be 8.7KΩ and 9.4KΩ.
![]()
-
2Step 2
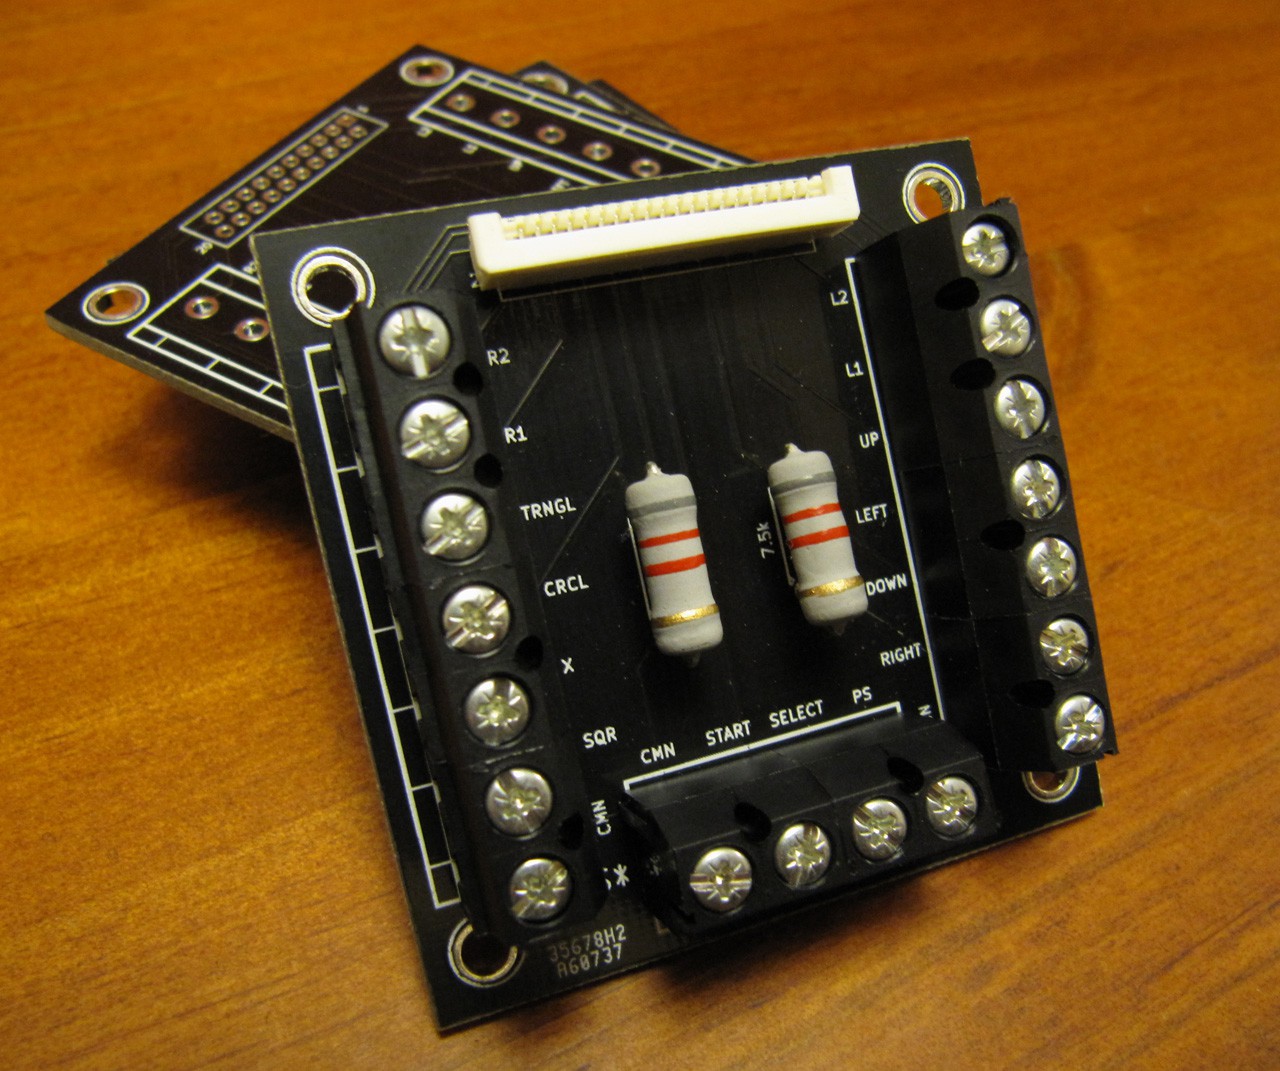
Solder that bad boy up, this isn't the most complicated PCB in the world so this step should be pretty straight forward.
![]()
-
3Step 3
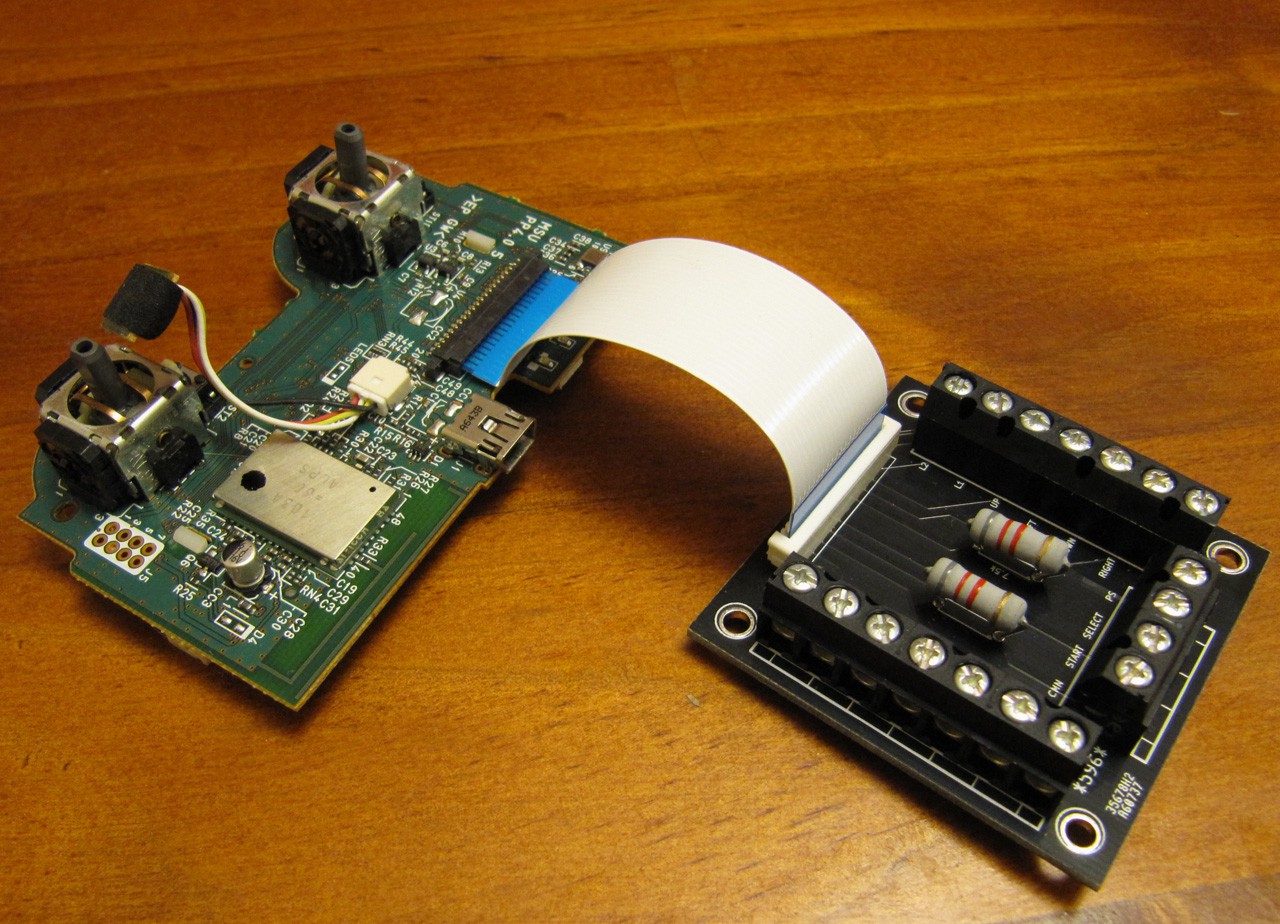
Crack open the old PS3 controller and hook it up via your FFC. I'm using an old Sixaxis that the analog sticks had gone on. I'll probably de-solder them later and replace them with the appropriate fixed resistors so they always read dead centre.
![]()
-
4Step 4
Time to start testing, I'd already had the donor controller hooked up to my PC via bluetooth using the SCPDriver (http://forums.pcsx2.net/Thread-XInput-Wrapper-for-...) so I tested via bluetooth. The USB connection should work just as well. Or you could test hooking up to a PS3 but I find the windows joystick config gives the best visual feedback.
It's important to note that the buttons must be wired up to the correct common/ground or they won't read correctly (i.e. L1 & L2 must use the same ground at the D-Pad).
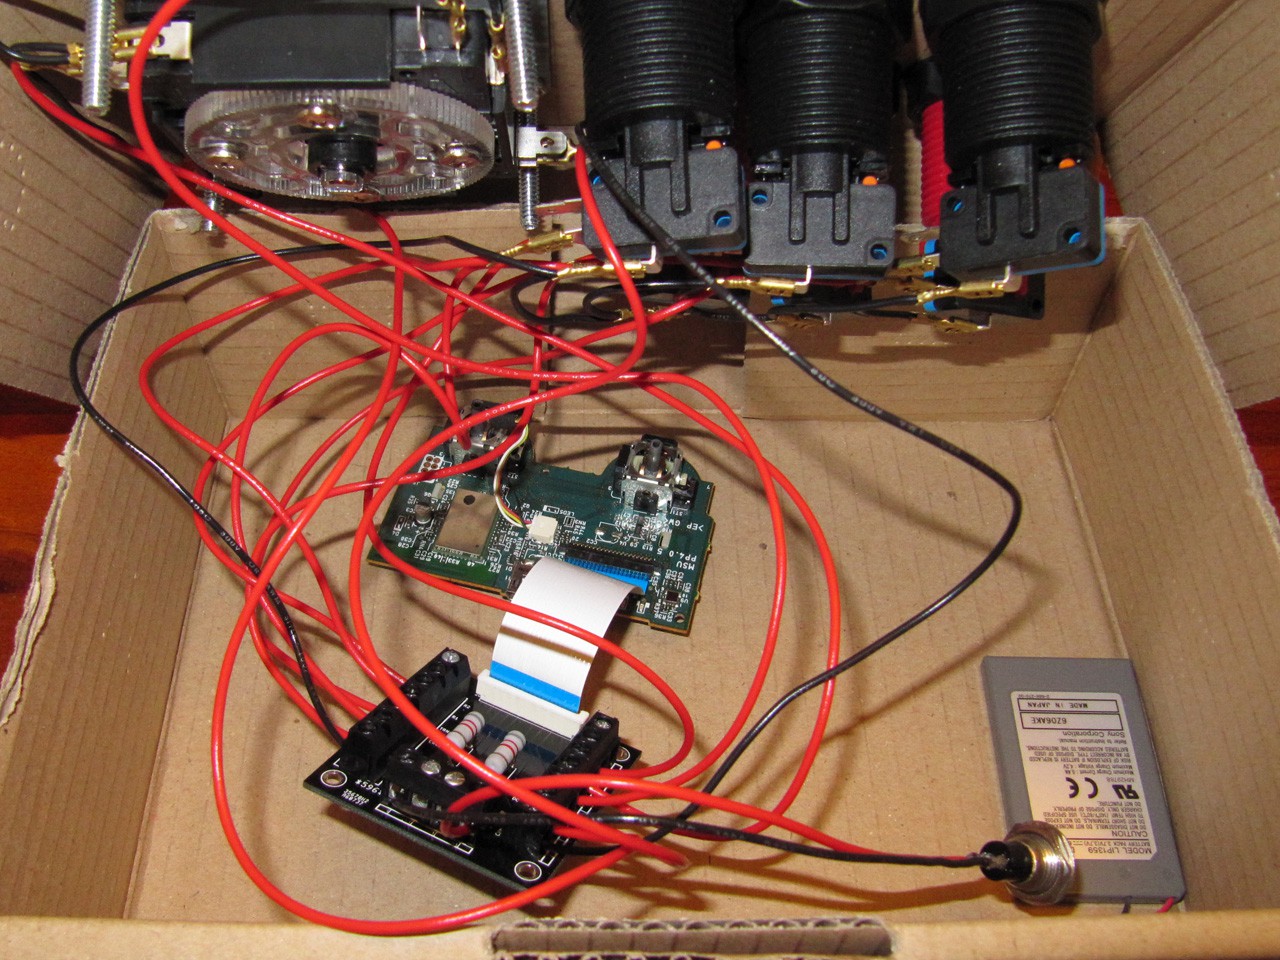
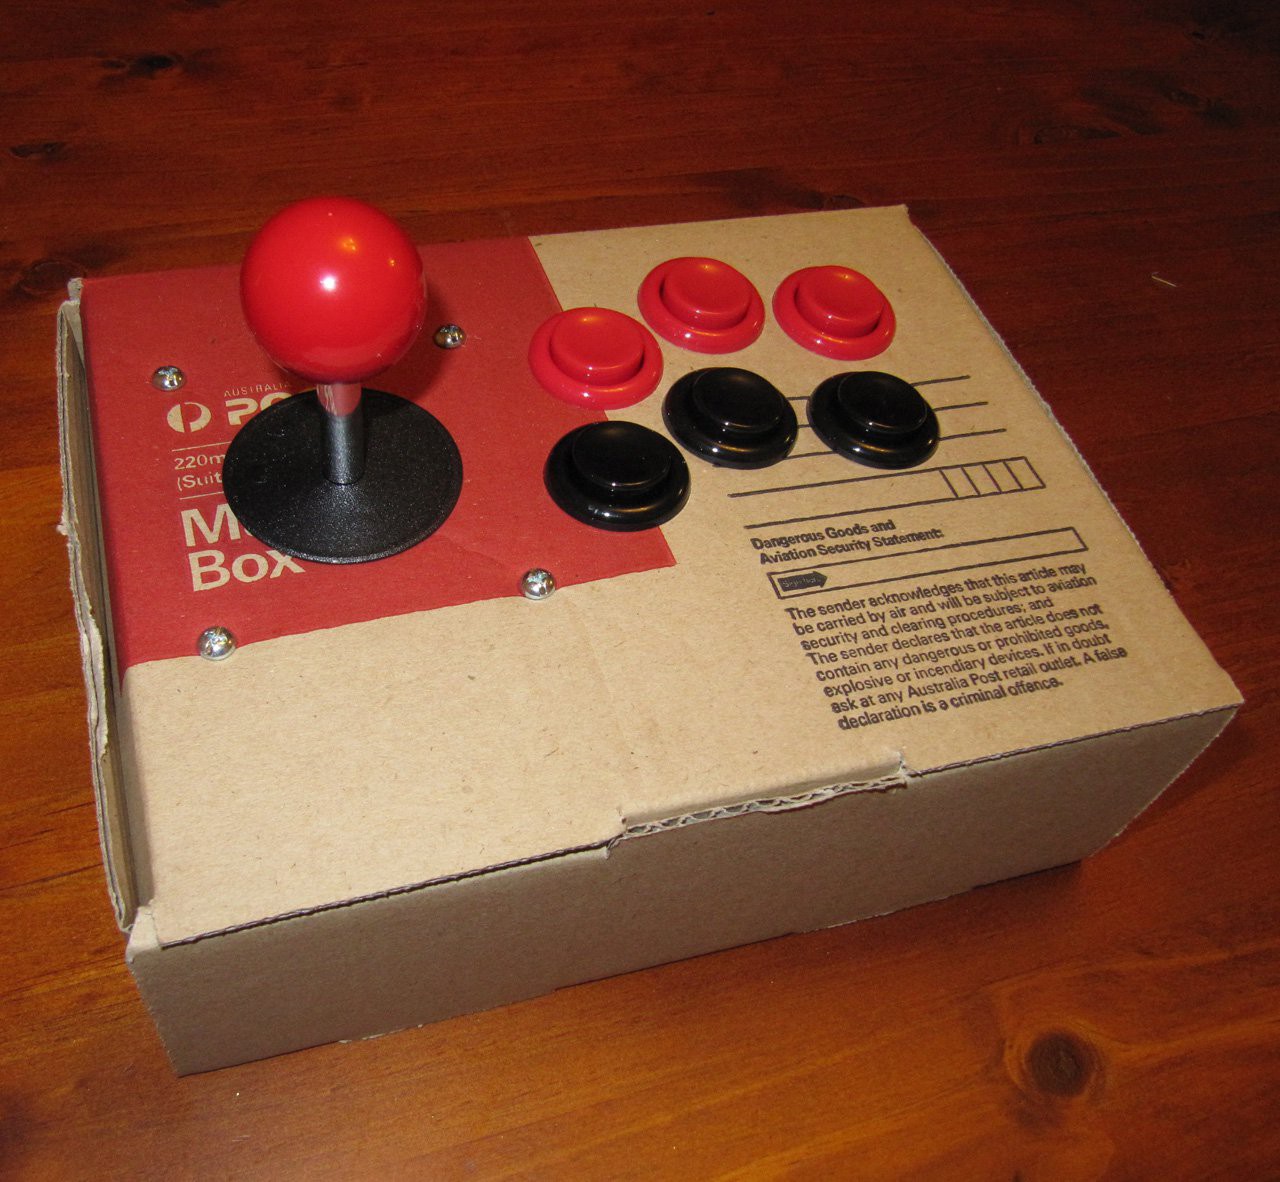
To test I went ahead and wired up my joystick and buttons in a spare Cardboard box, this also let me test out my proposed layout at the same time. It's messy for now, but it does the trick.
![]()
![]()
-
5Step 5
Build yourself a nice box, hopefully wired up better than I did above, and get playing. Some handy additions that I plan on putting in are:
- External access to the USB port for charging / syncing
- External LEDs (or make the existing ones externally visible) to see when the controller is on and which ID it has been assigned.
 Robbo
Robbo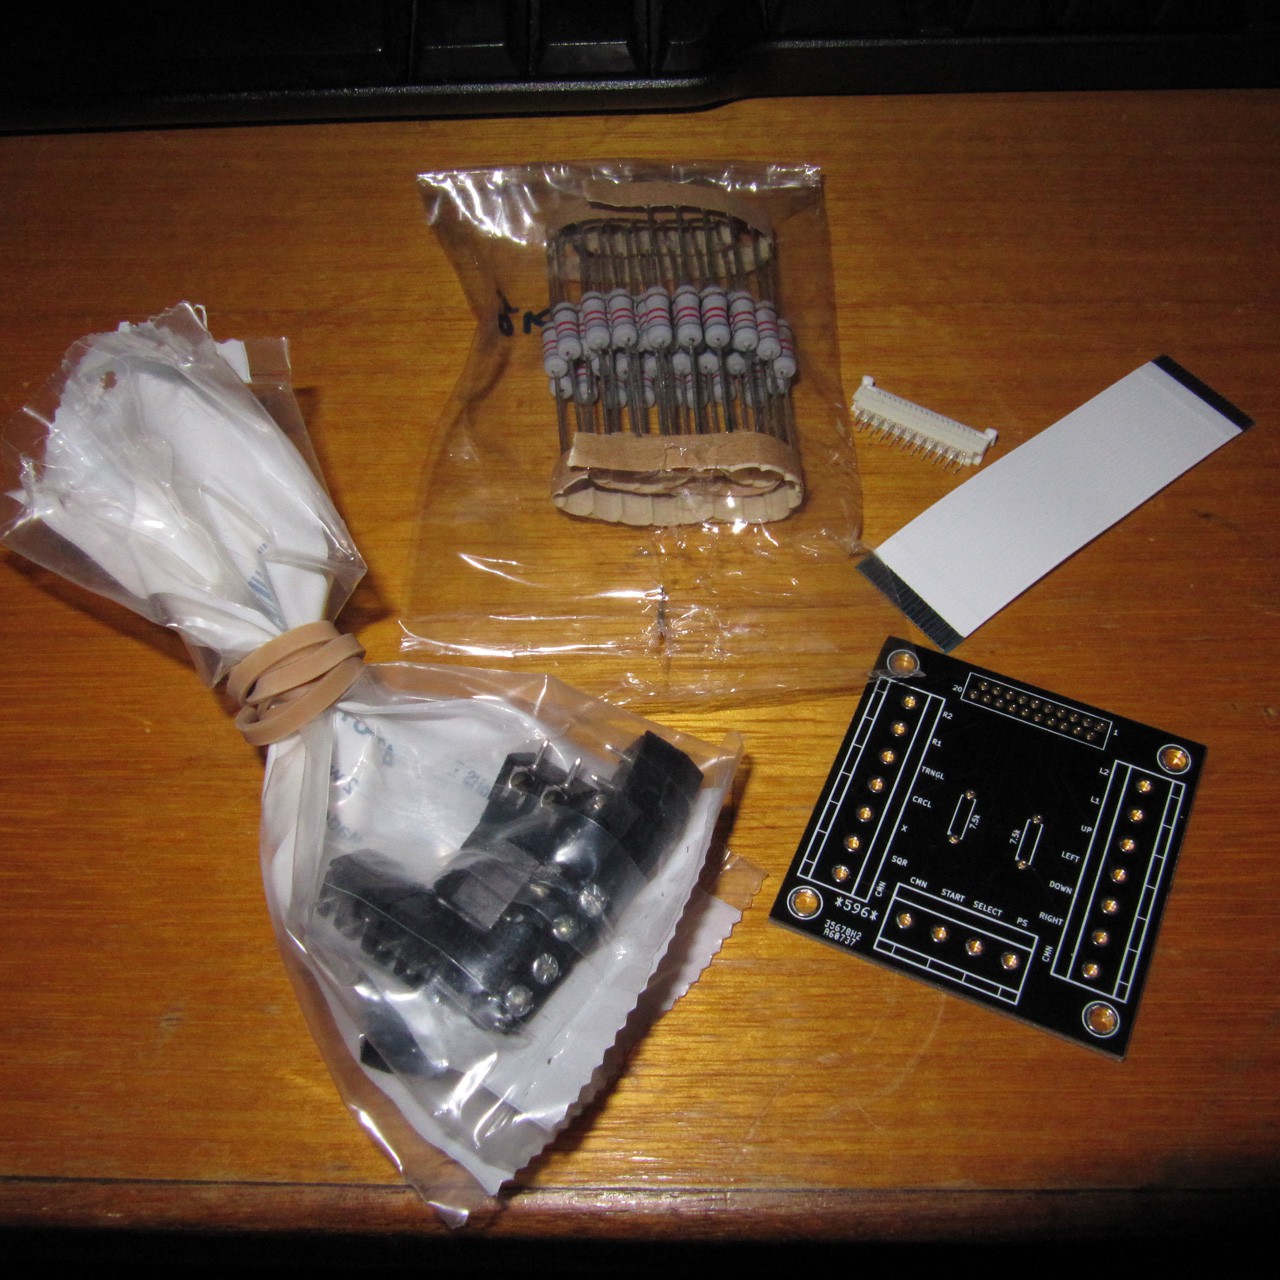
Discussions
Become a Hackaday.io Member
Create an account to leave a comment. Already have an account? Log In.