 vincentmakes
Part 1: Hot Foil Stamping
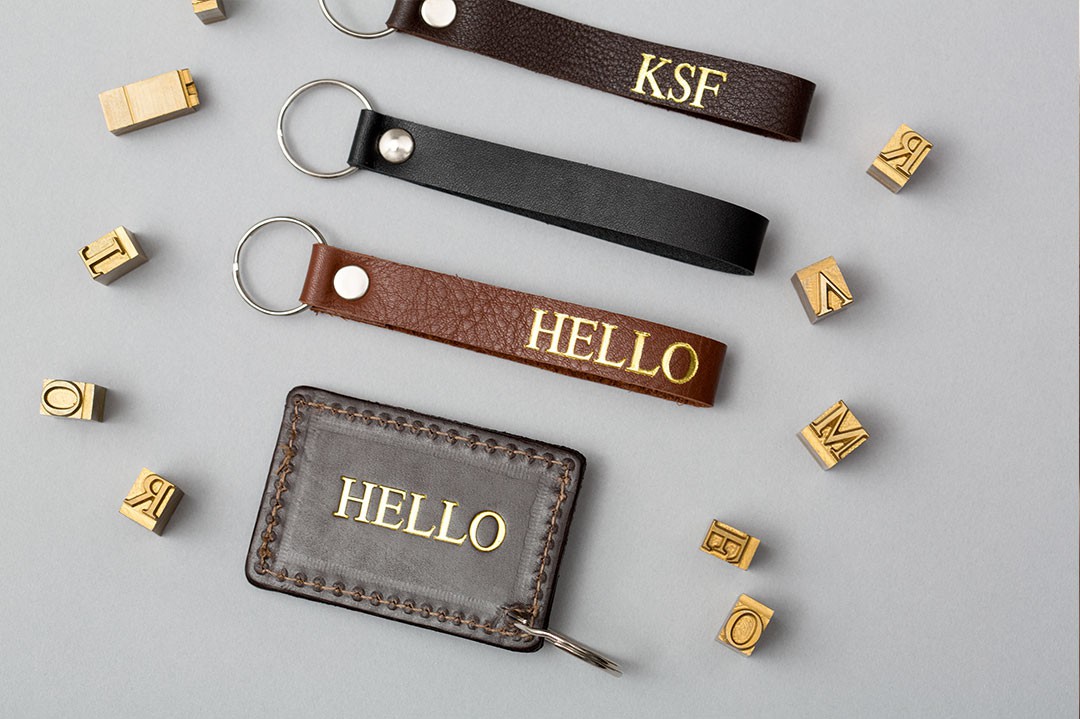
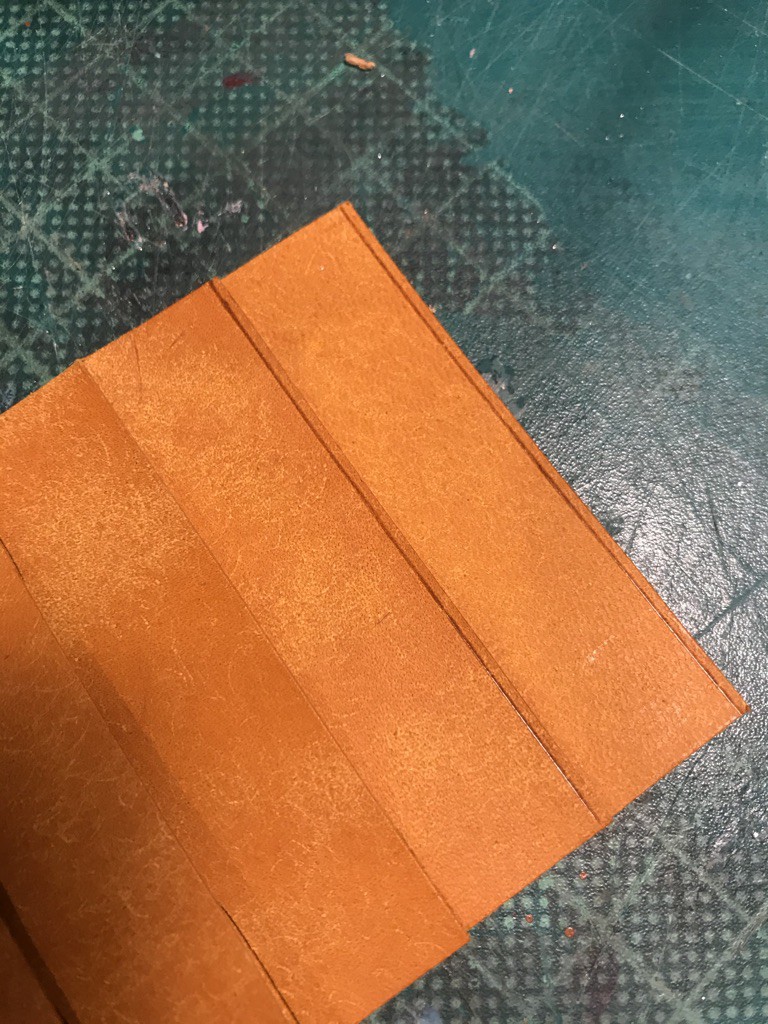
This is what the end result of a stamp should look like
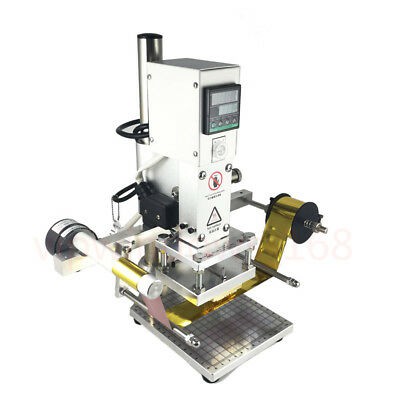
And this is what an industrial machine looks like
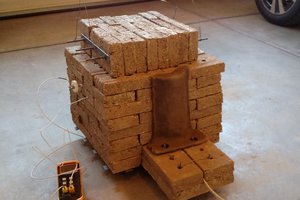
I started to look for cheap option on Etsy and Ebay and all I could find were some handheld device with a heat controller. It was still pricy (150$+) and many of the comments were saying that some wires are exposed which looks unsafe.
Here's a picture of one of the beast:
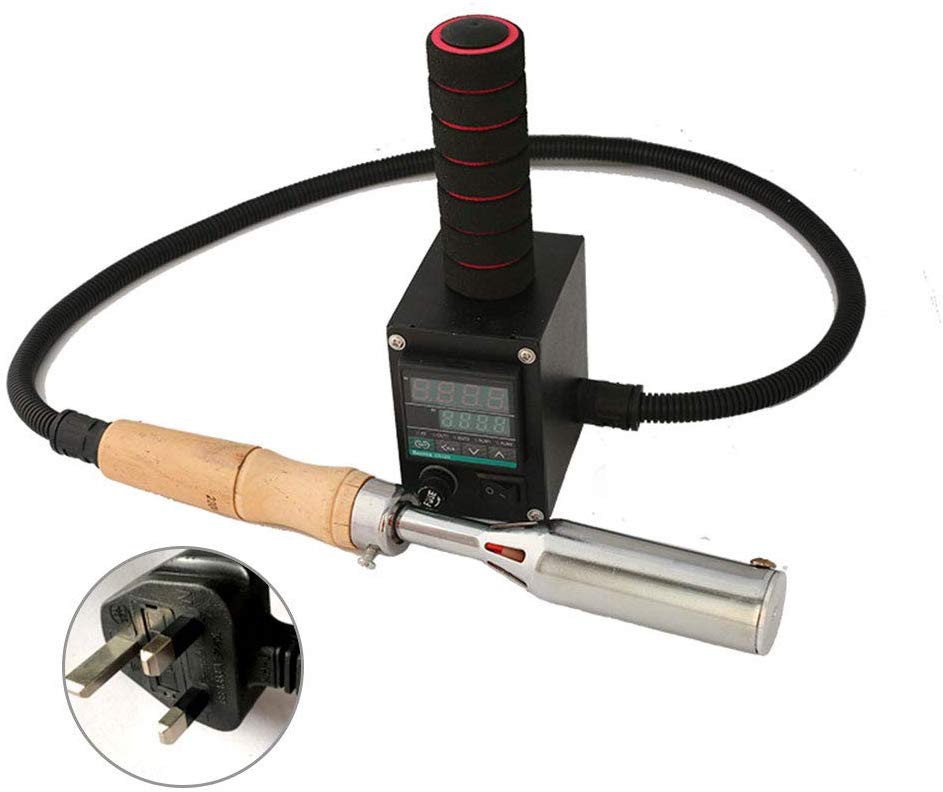
The other issue is the pressure applied won't be equal which can result in failures or uneven logo
I'm totally capable of making something with exposed wires so I started to look closer and realized that they were using a PID worth 12$ on Banggood together with a heating element connected to a handle. It was clearly not worth my money so this project aims to make something reliable under 80$
I'm planning to use the following parts:
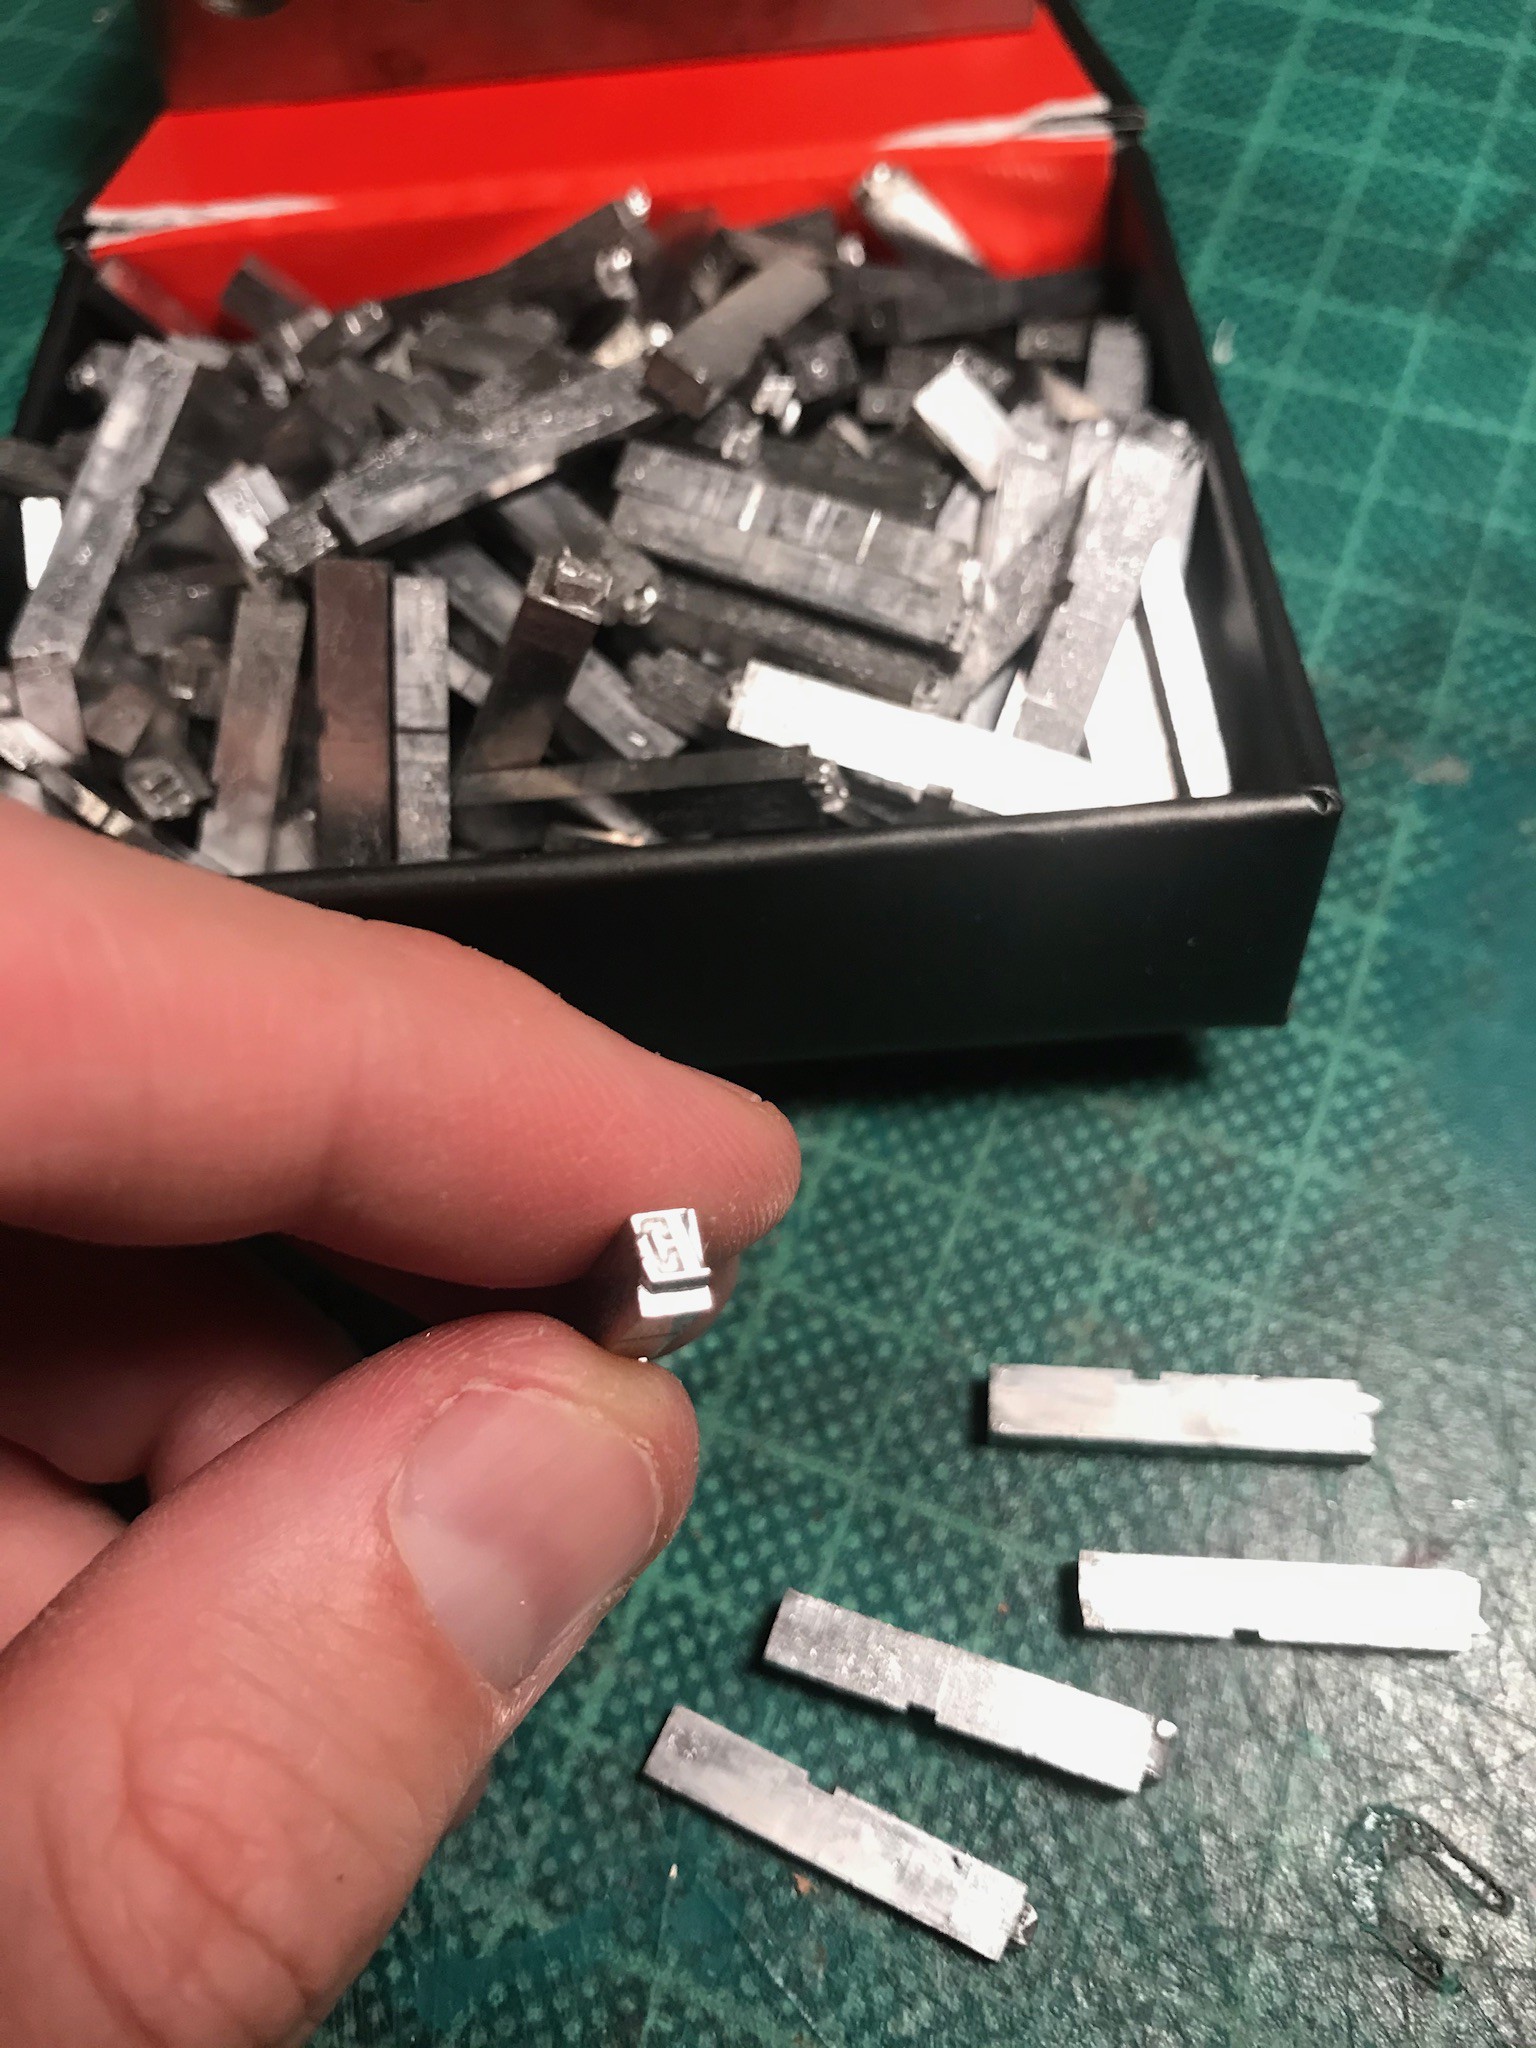
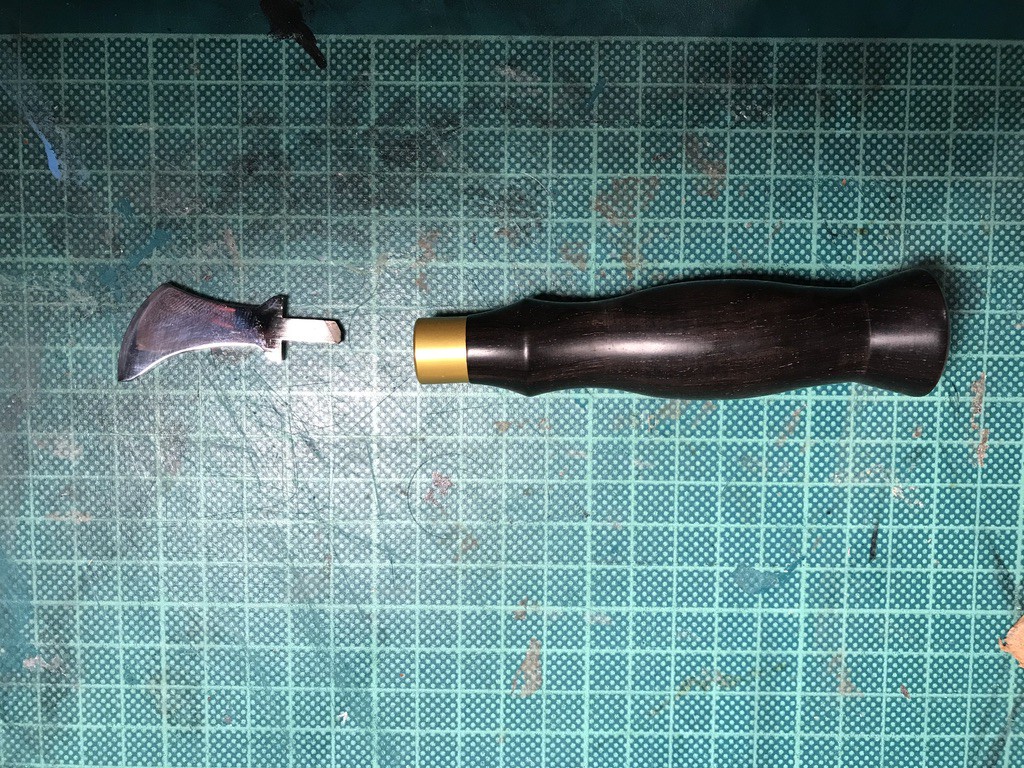
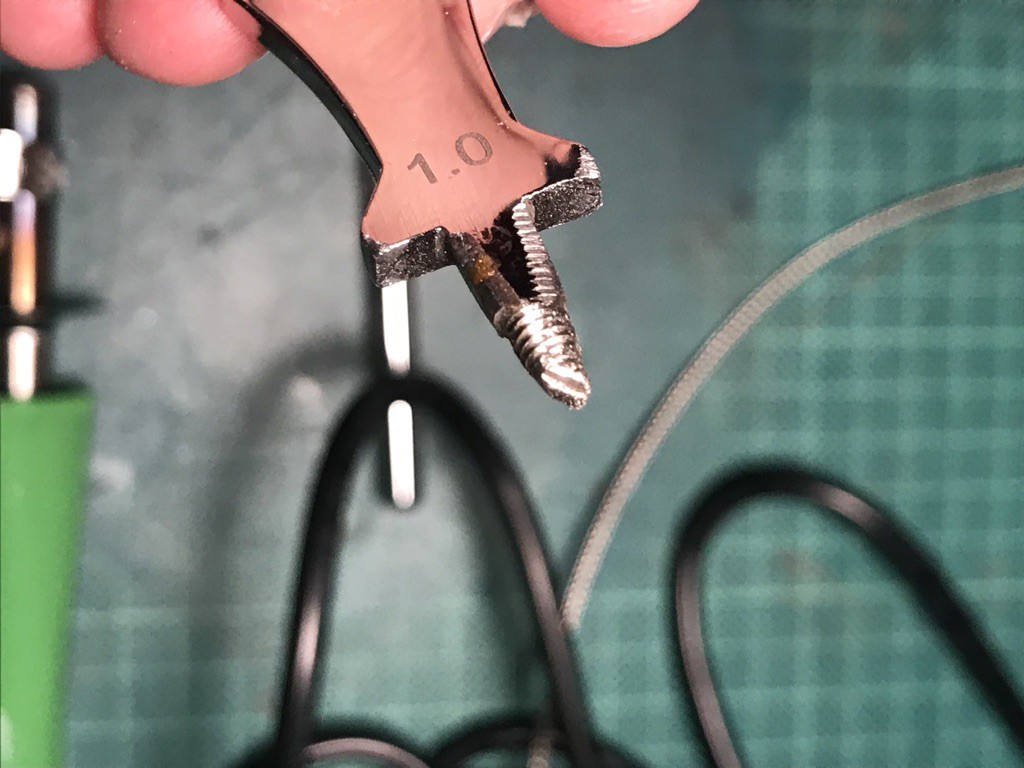
- Handheld unregulated branding iron from Etsy (30$)
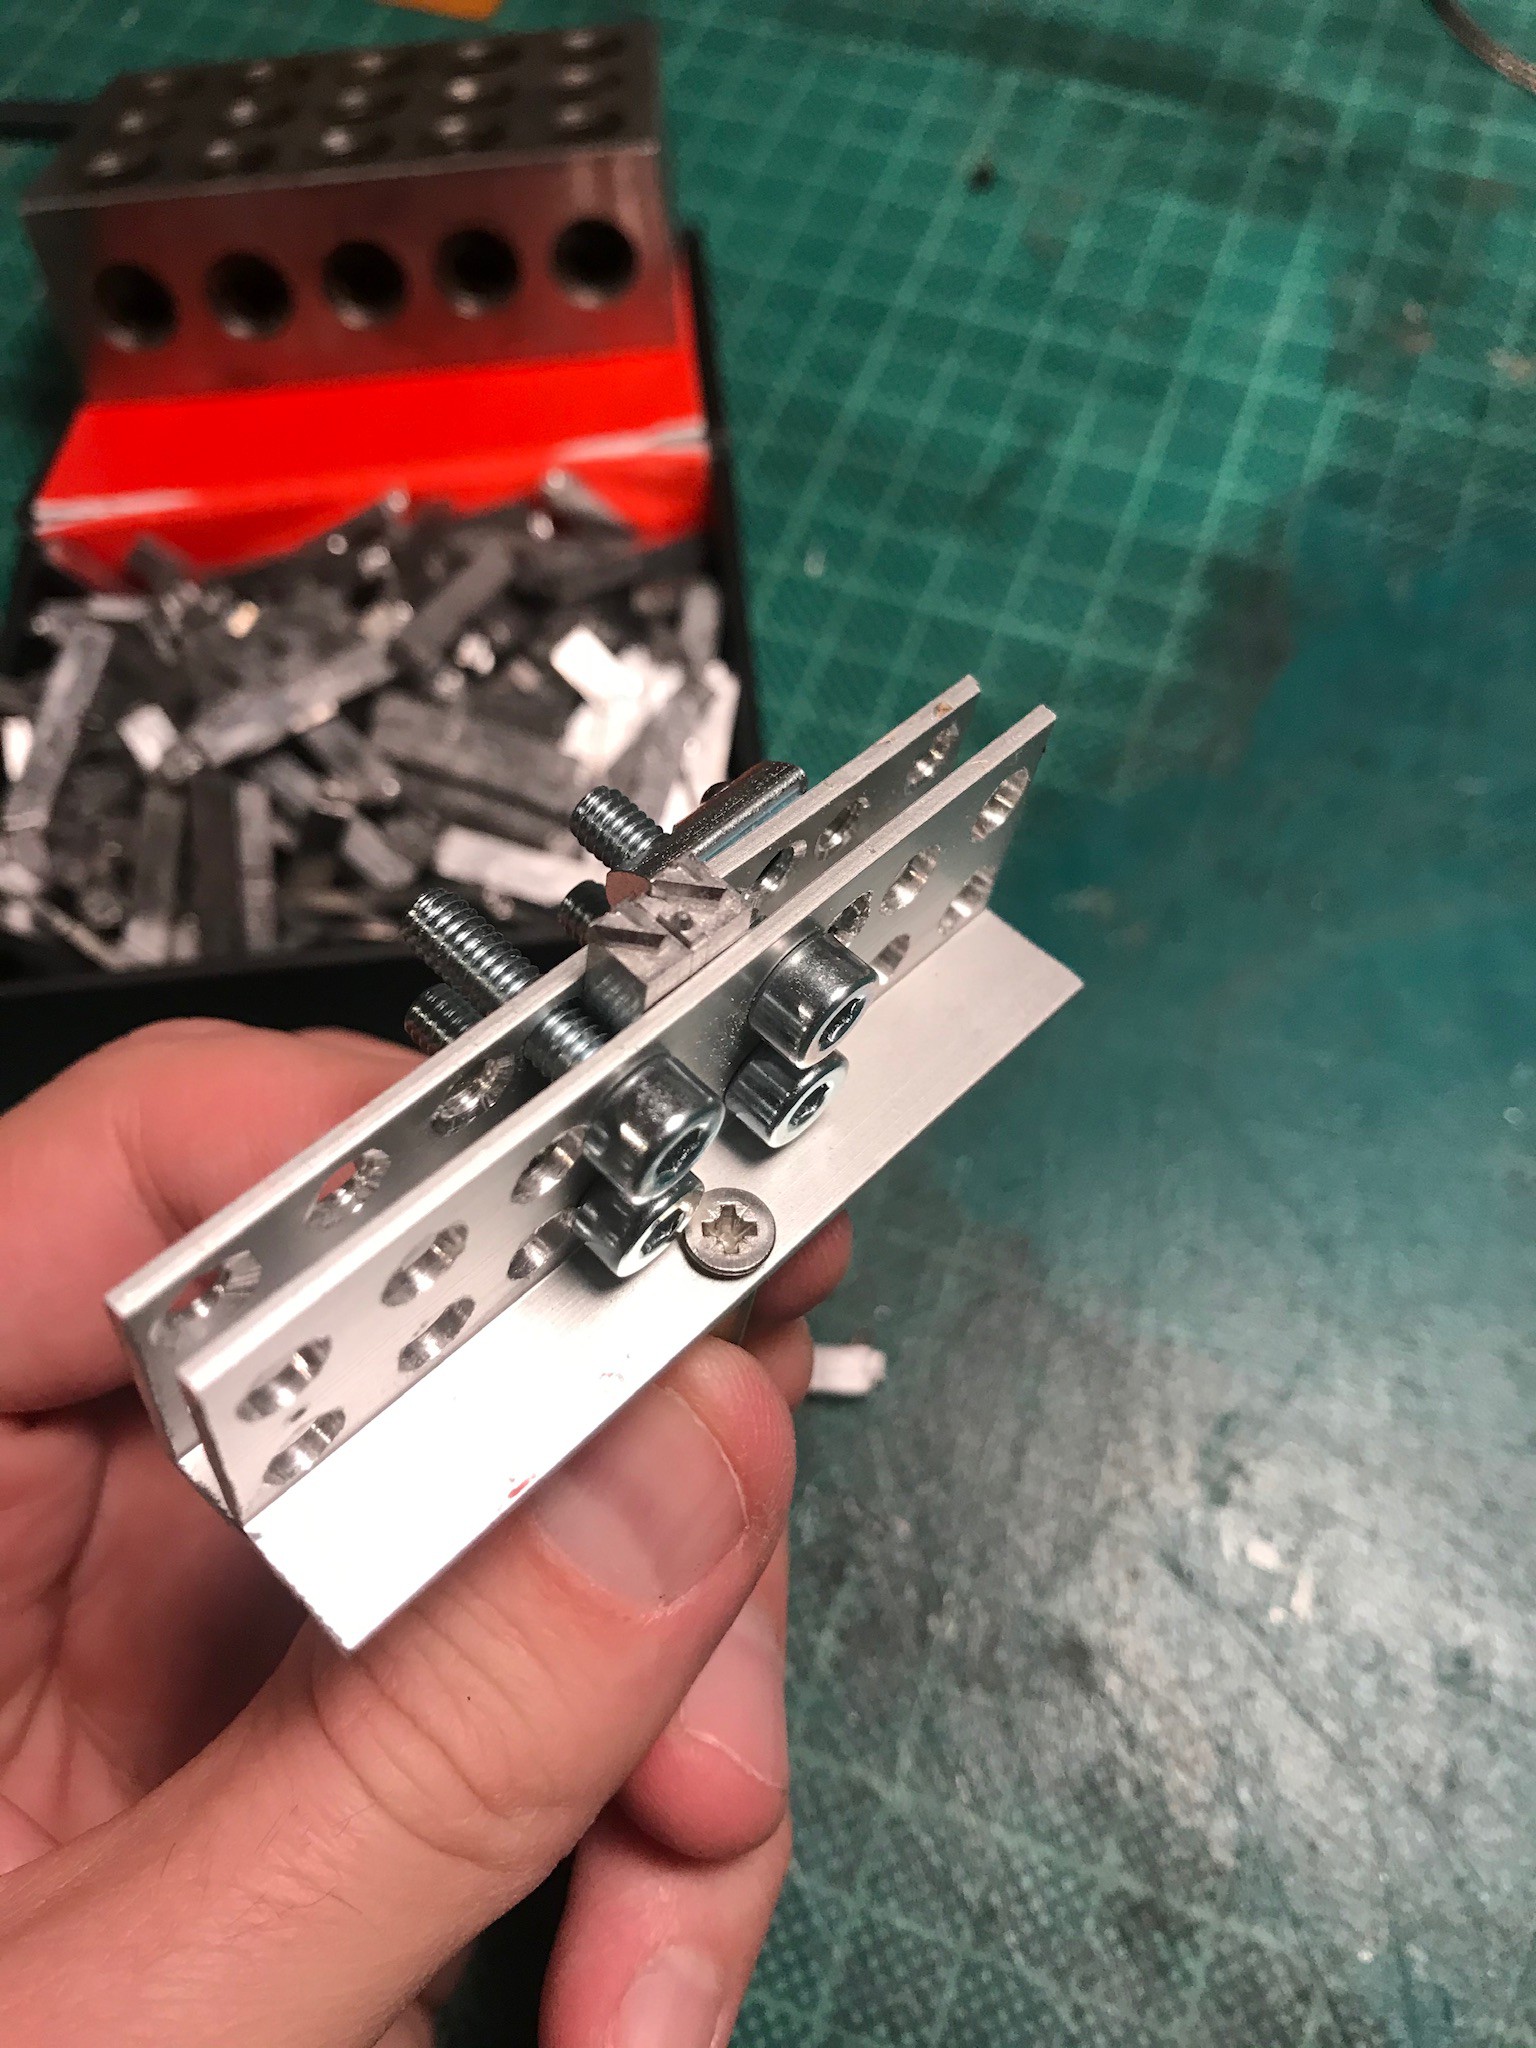
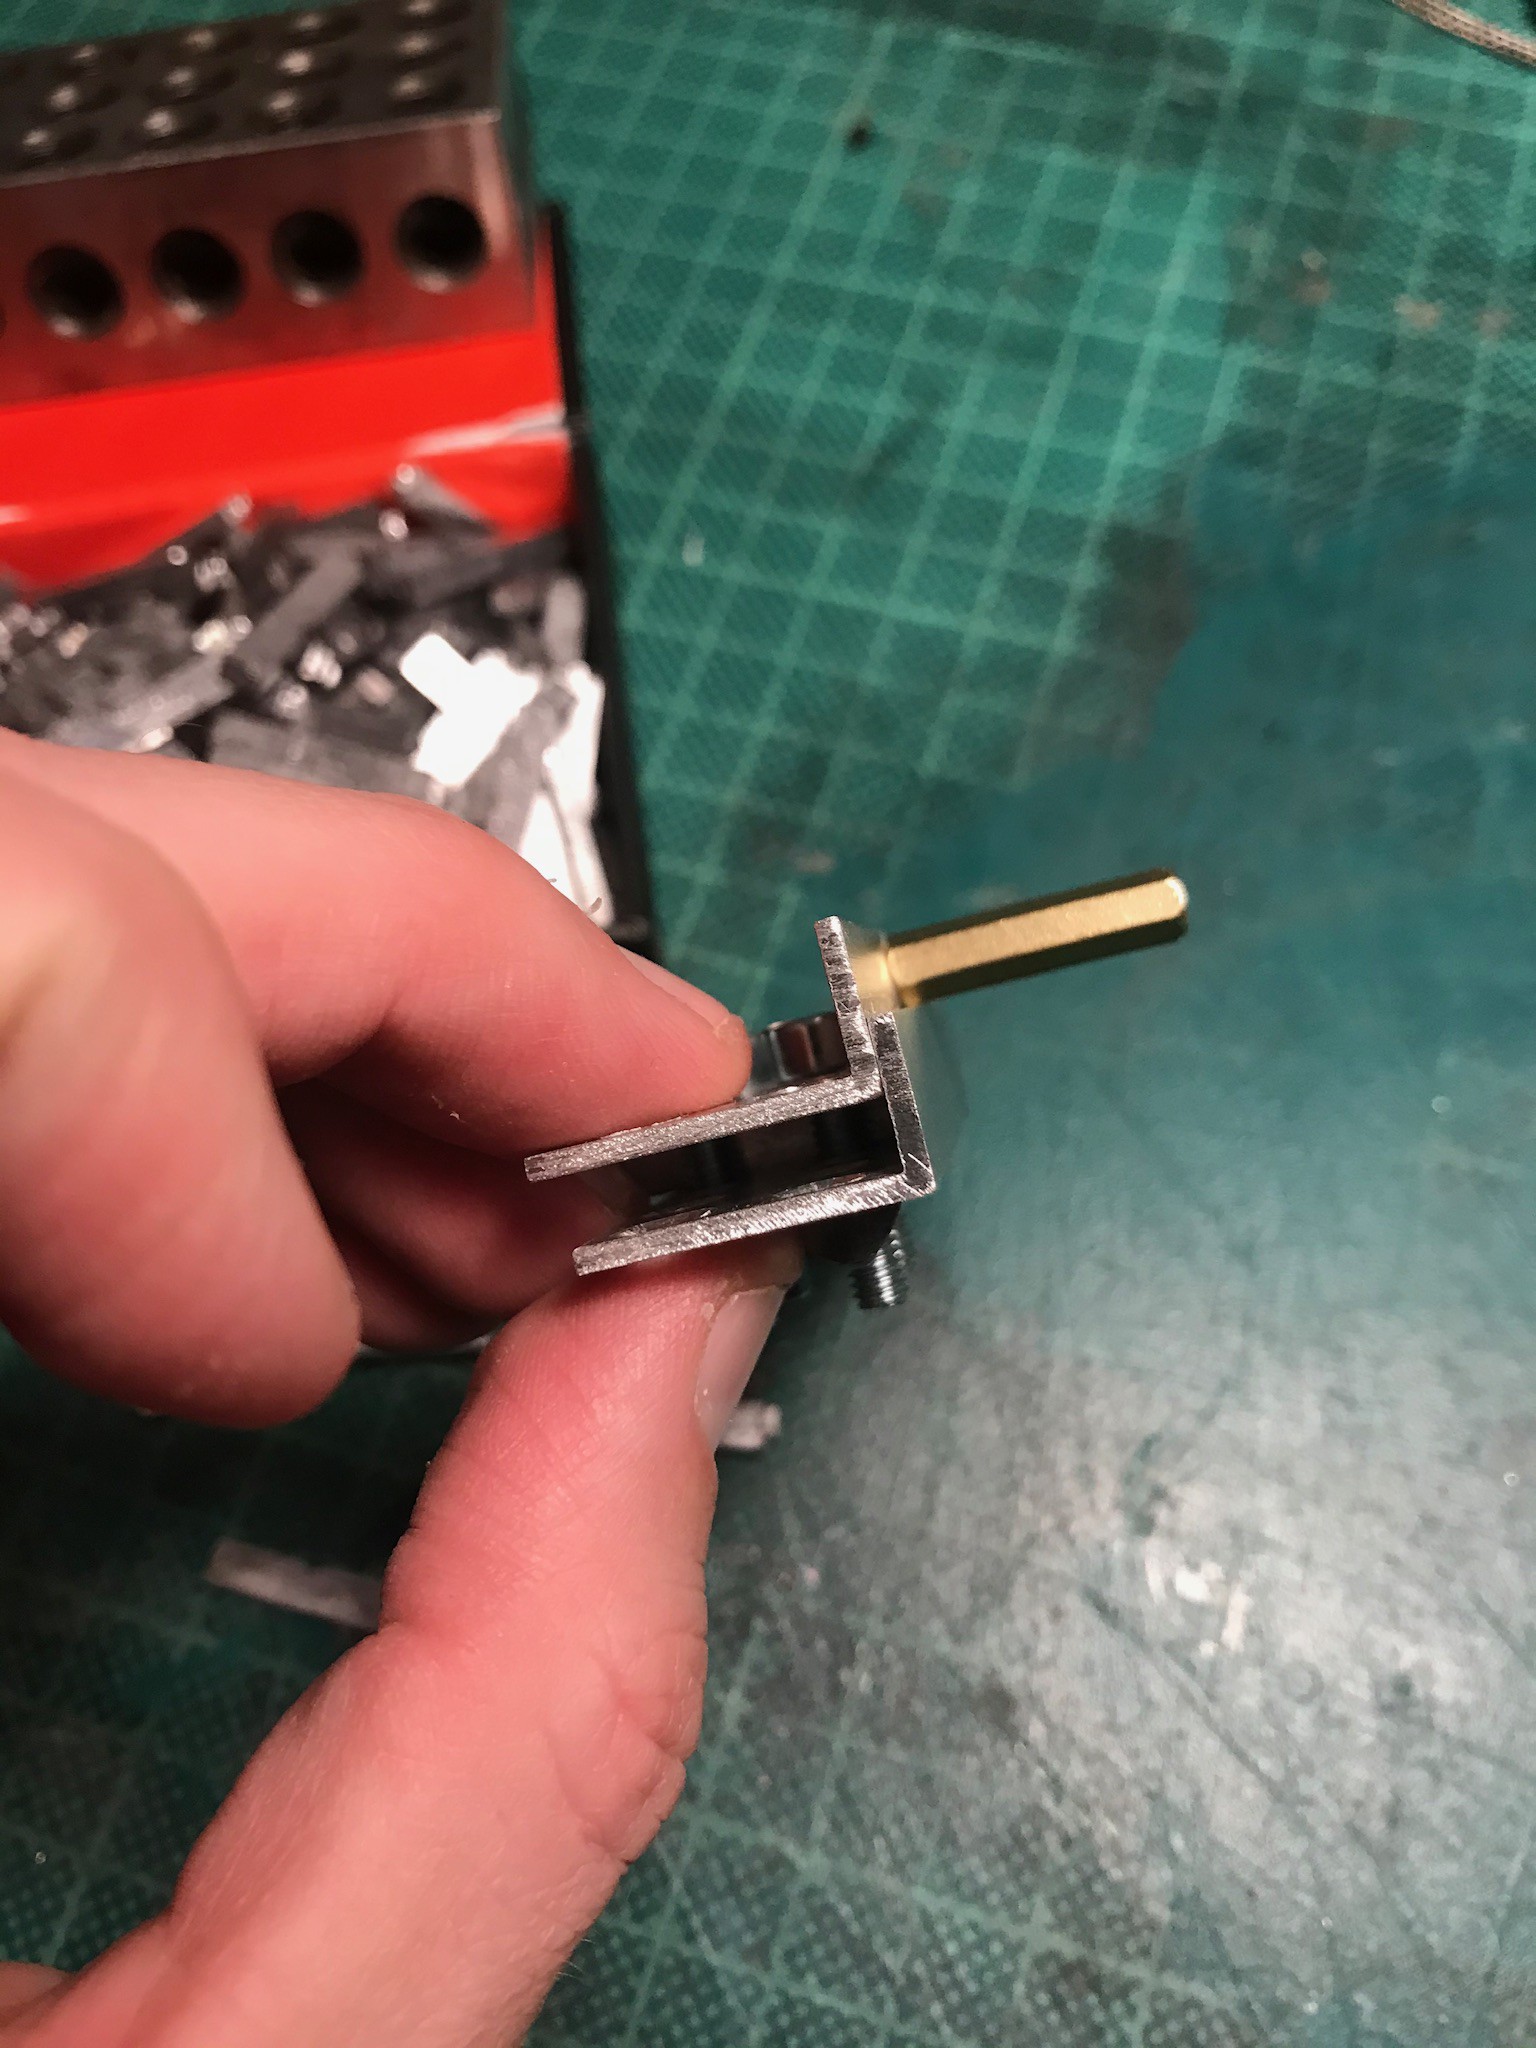
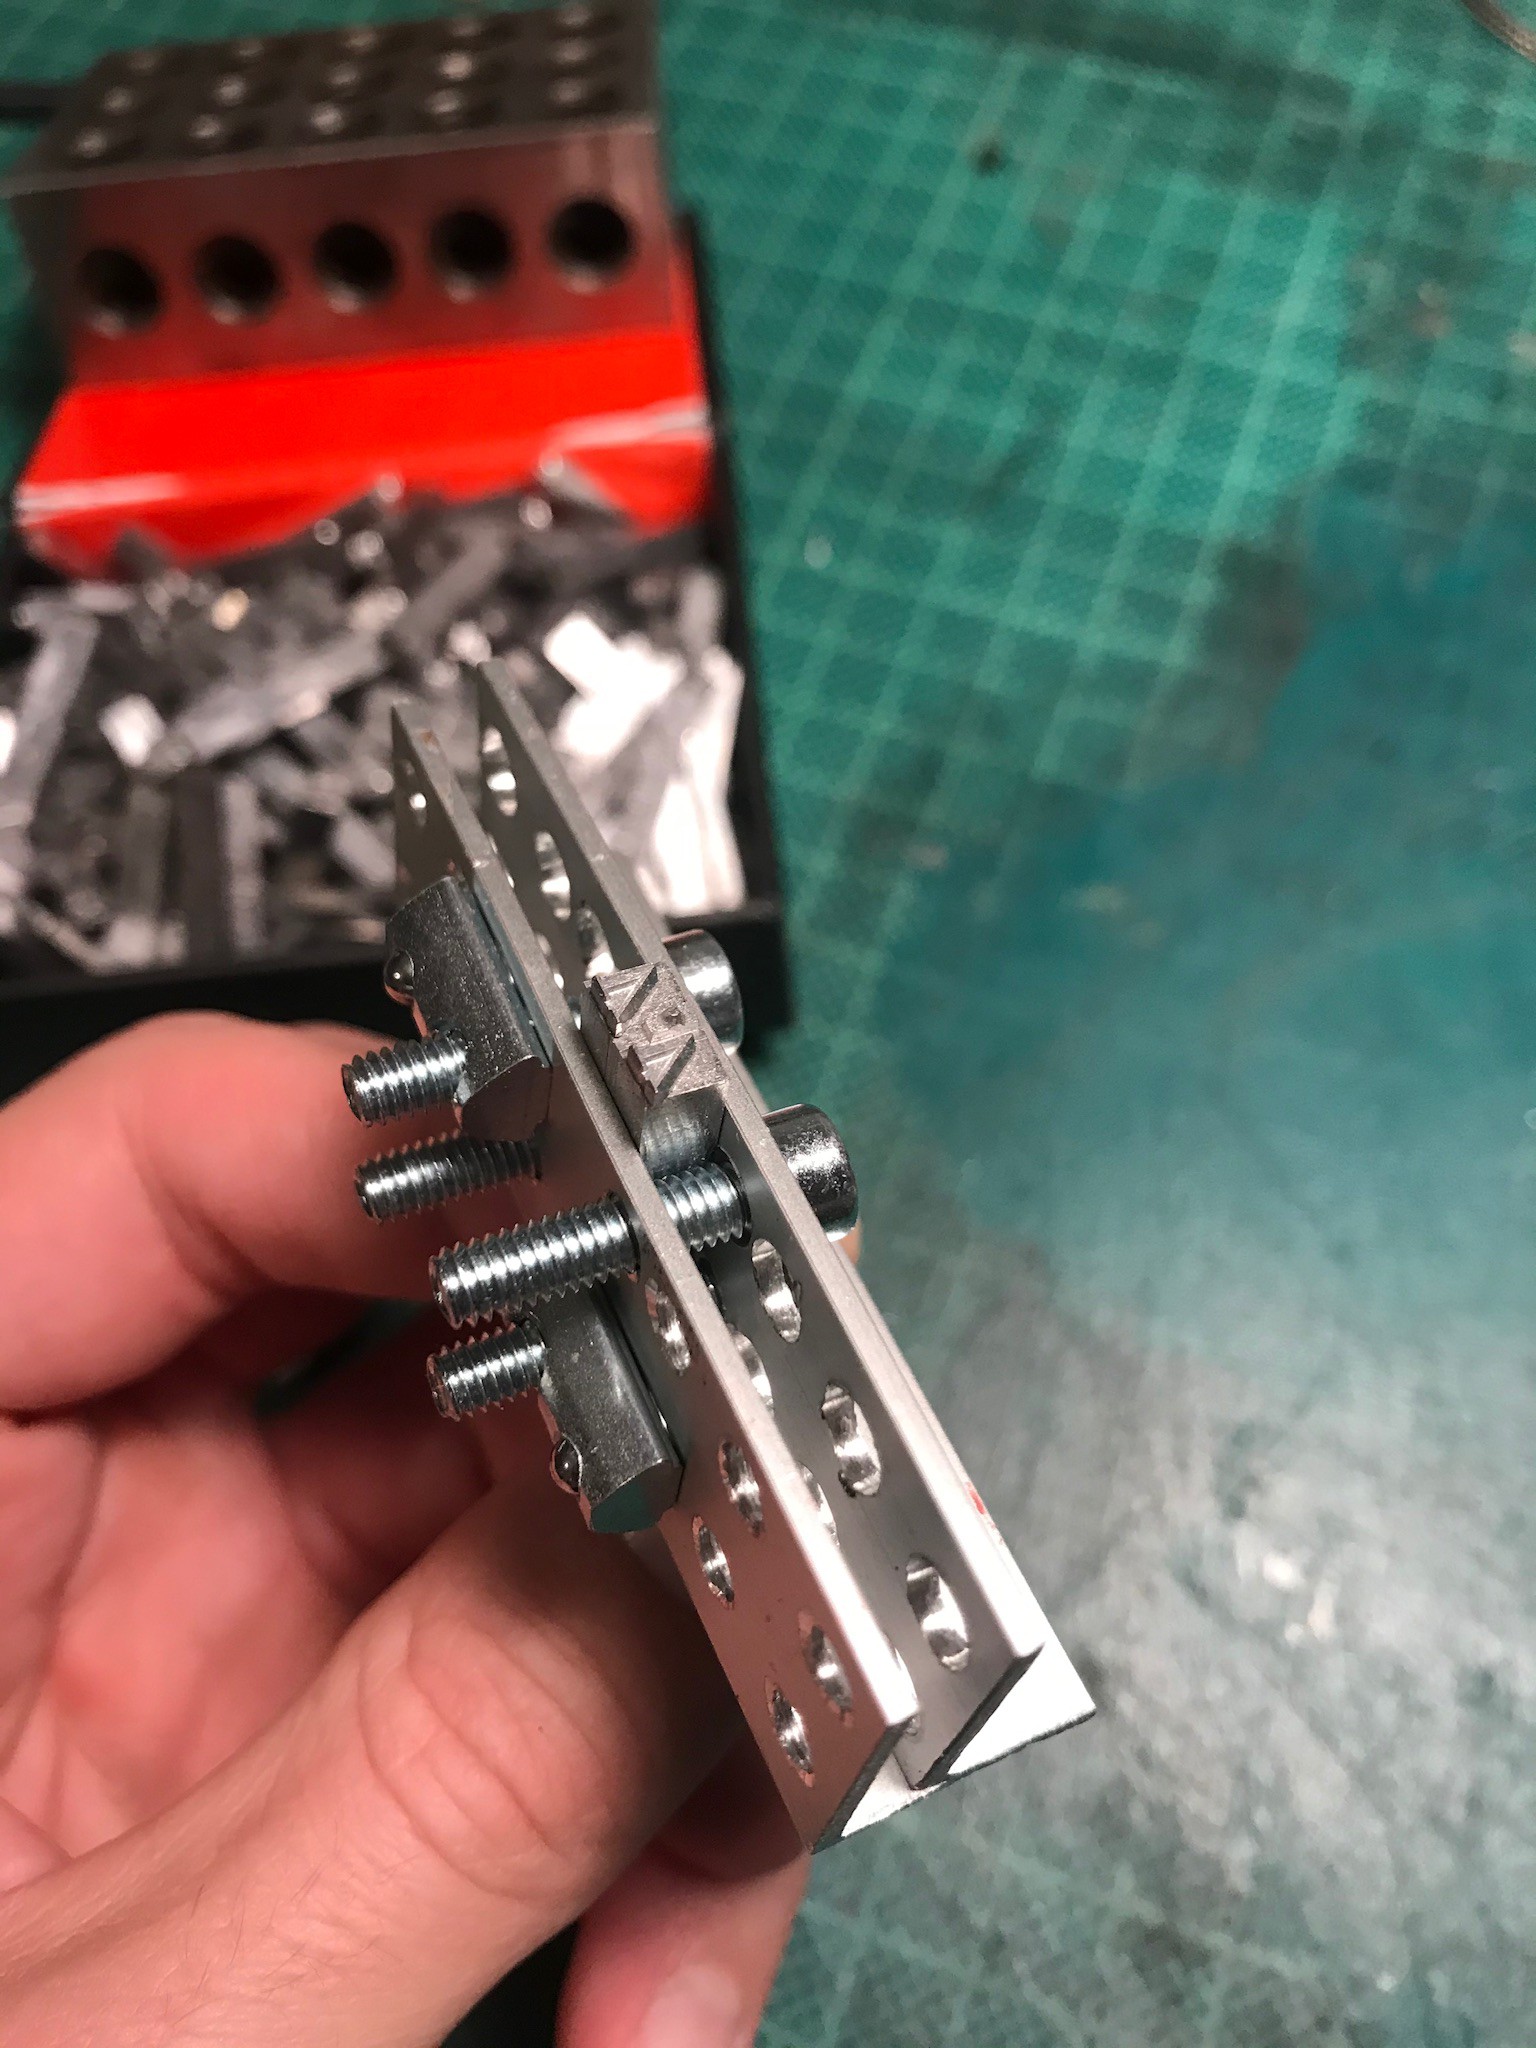
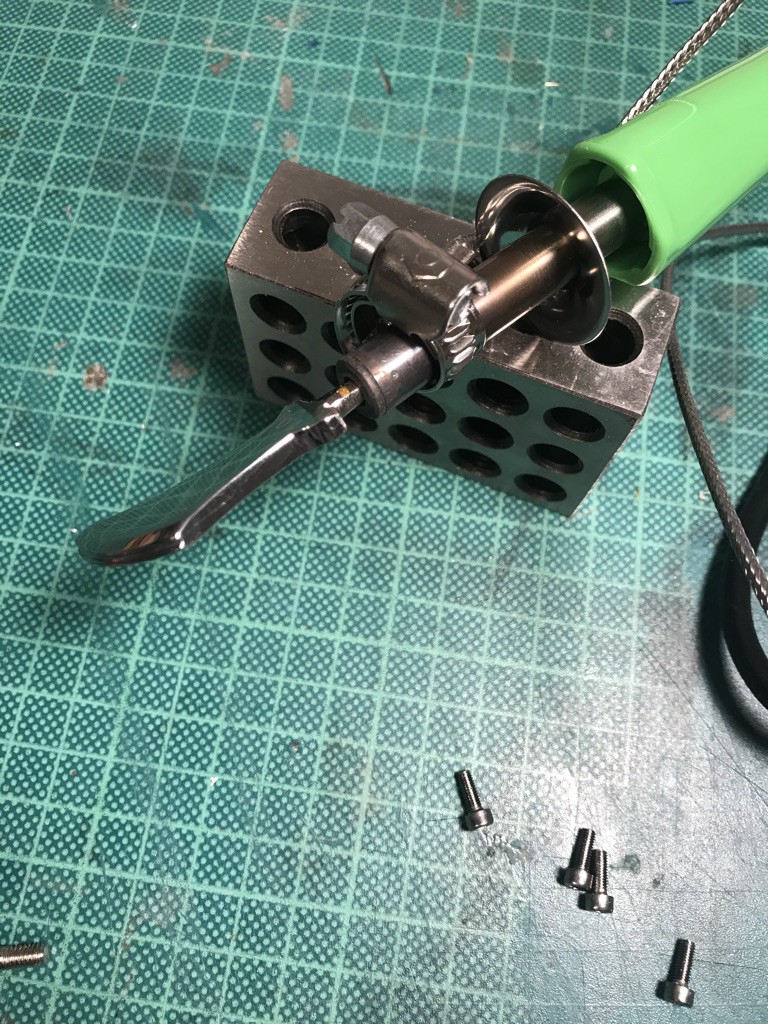
- Vertical Drill Bracket (30$)
- PID CX-100 + K type thermocouple and relay (12$)
Ideally, I will also use the PID to make an electric leather creaser in a second phase.
Part 2: Electric Creaser (also called Fileteuse)
 It's basically a wood burning pen with very specific tips and a temperature regulator.
For this part, I will re-use the regulator from part one and adapt the tip of a manual creaser so it fits on a cheap wood burning pen.
Total cost:
15$ Wood burning pen + 30$ manual creaser compared to more than 500$ for the model above
Cost Summary
Here's a cost summary of DIY items vs list price, which includes two sets of 26 letters for stamping
| Item | List Price | DIY Cost | Savings |
| Hot Foil Stamp | 300 | 80 | 220 |
| 2 x Letter Set For Hot Foil | 400 | 45 | 355 |
| Electric Creaser | 500 | 45 | 455 |
| Total | 1200 | 170 | 1030 |
Final Result
Here's a demo of the setup
And a few pictures:
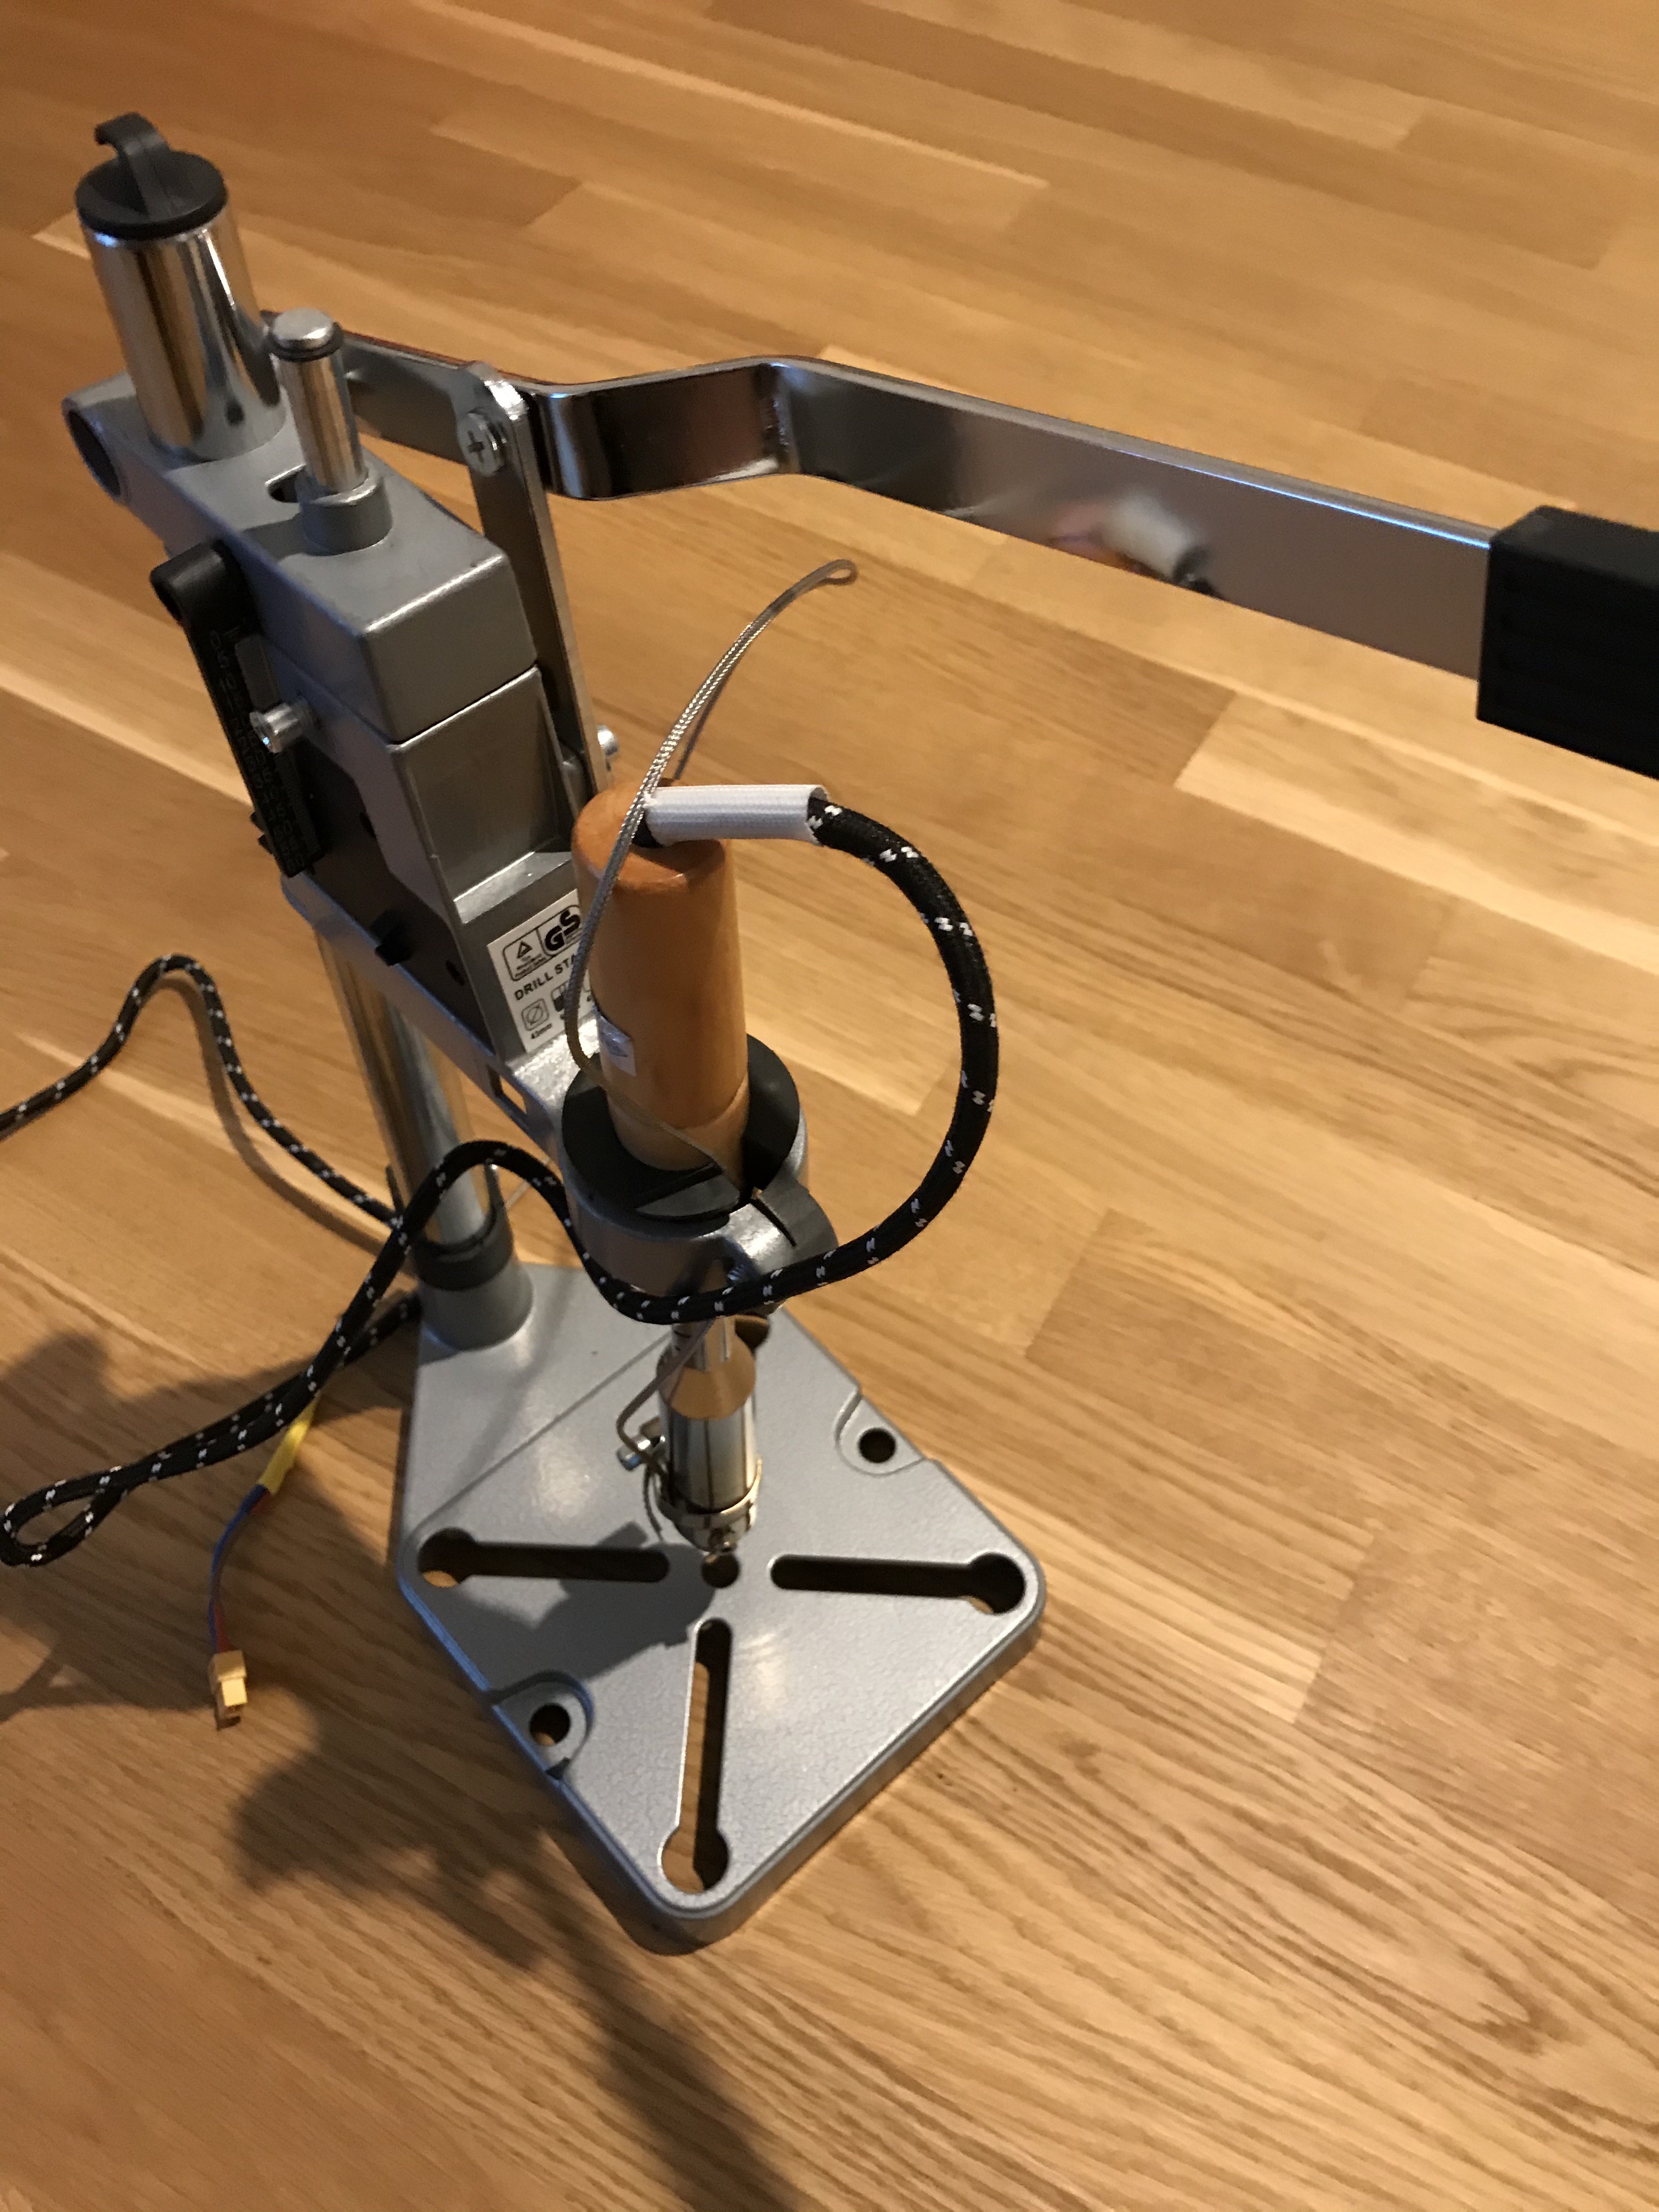
The temperature sensor mounted on the branding iron
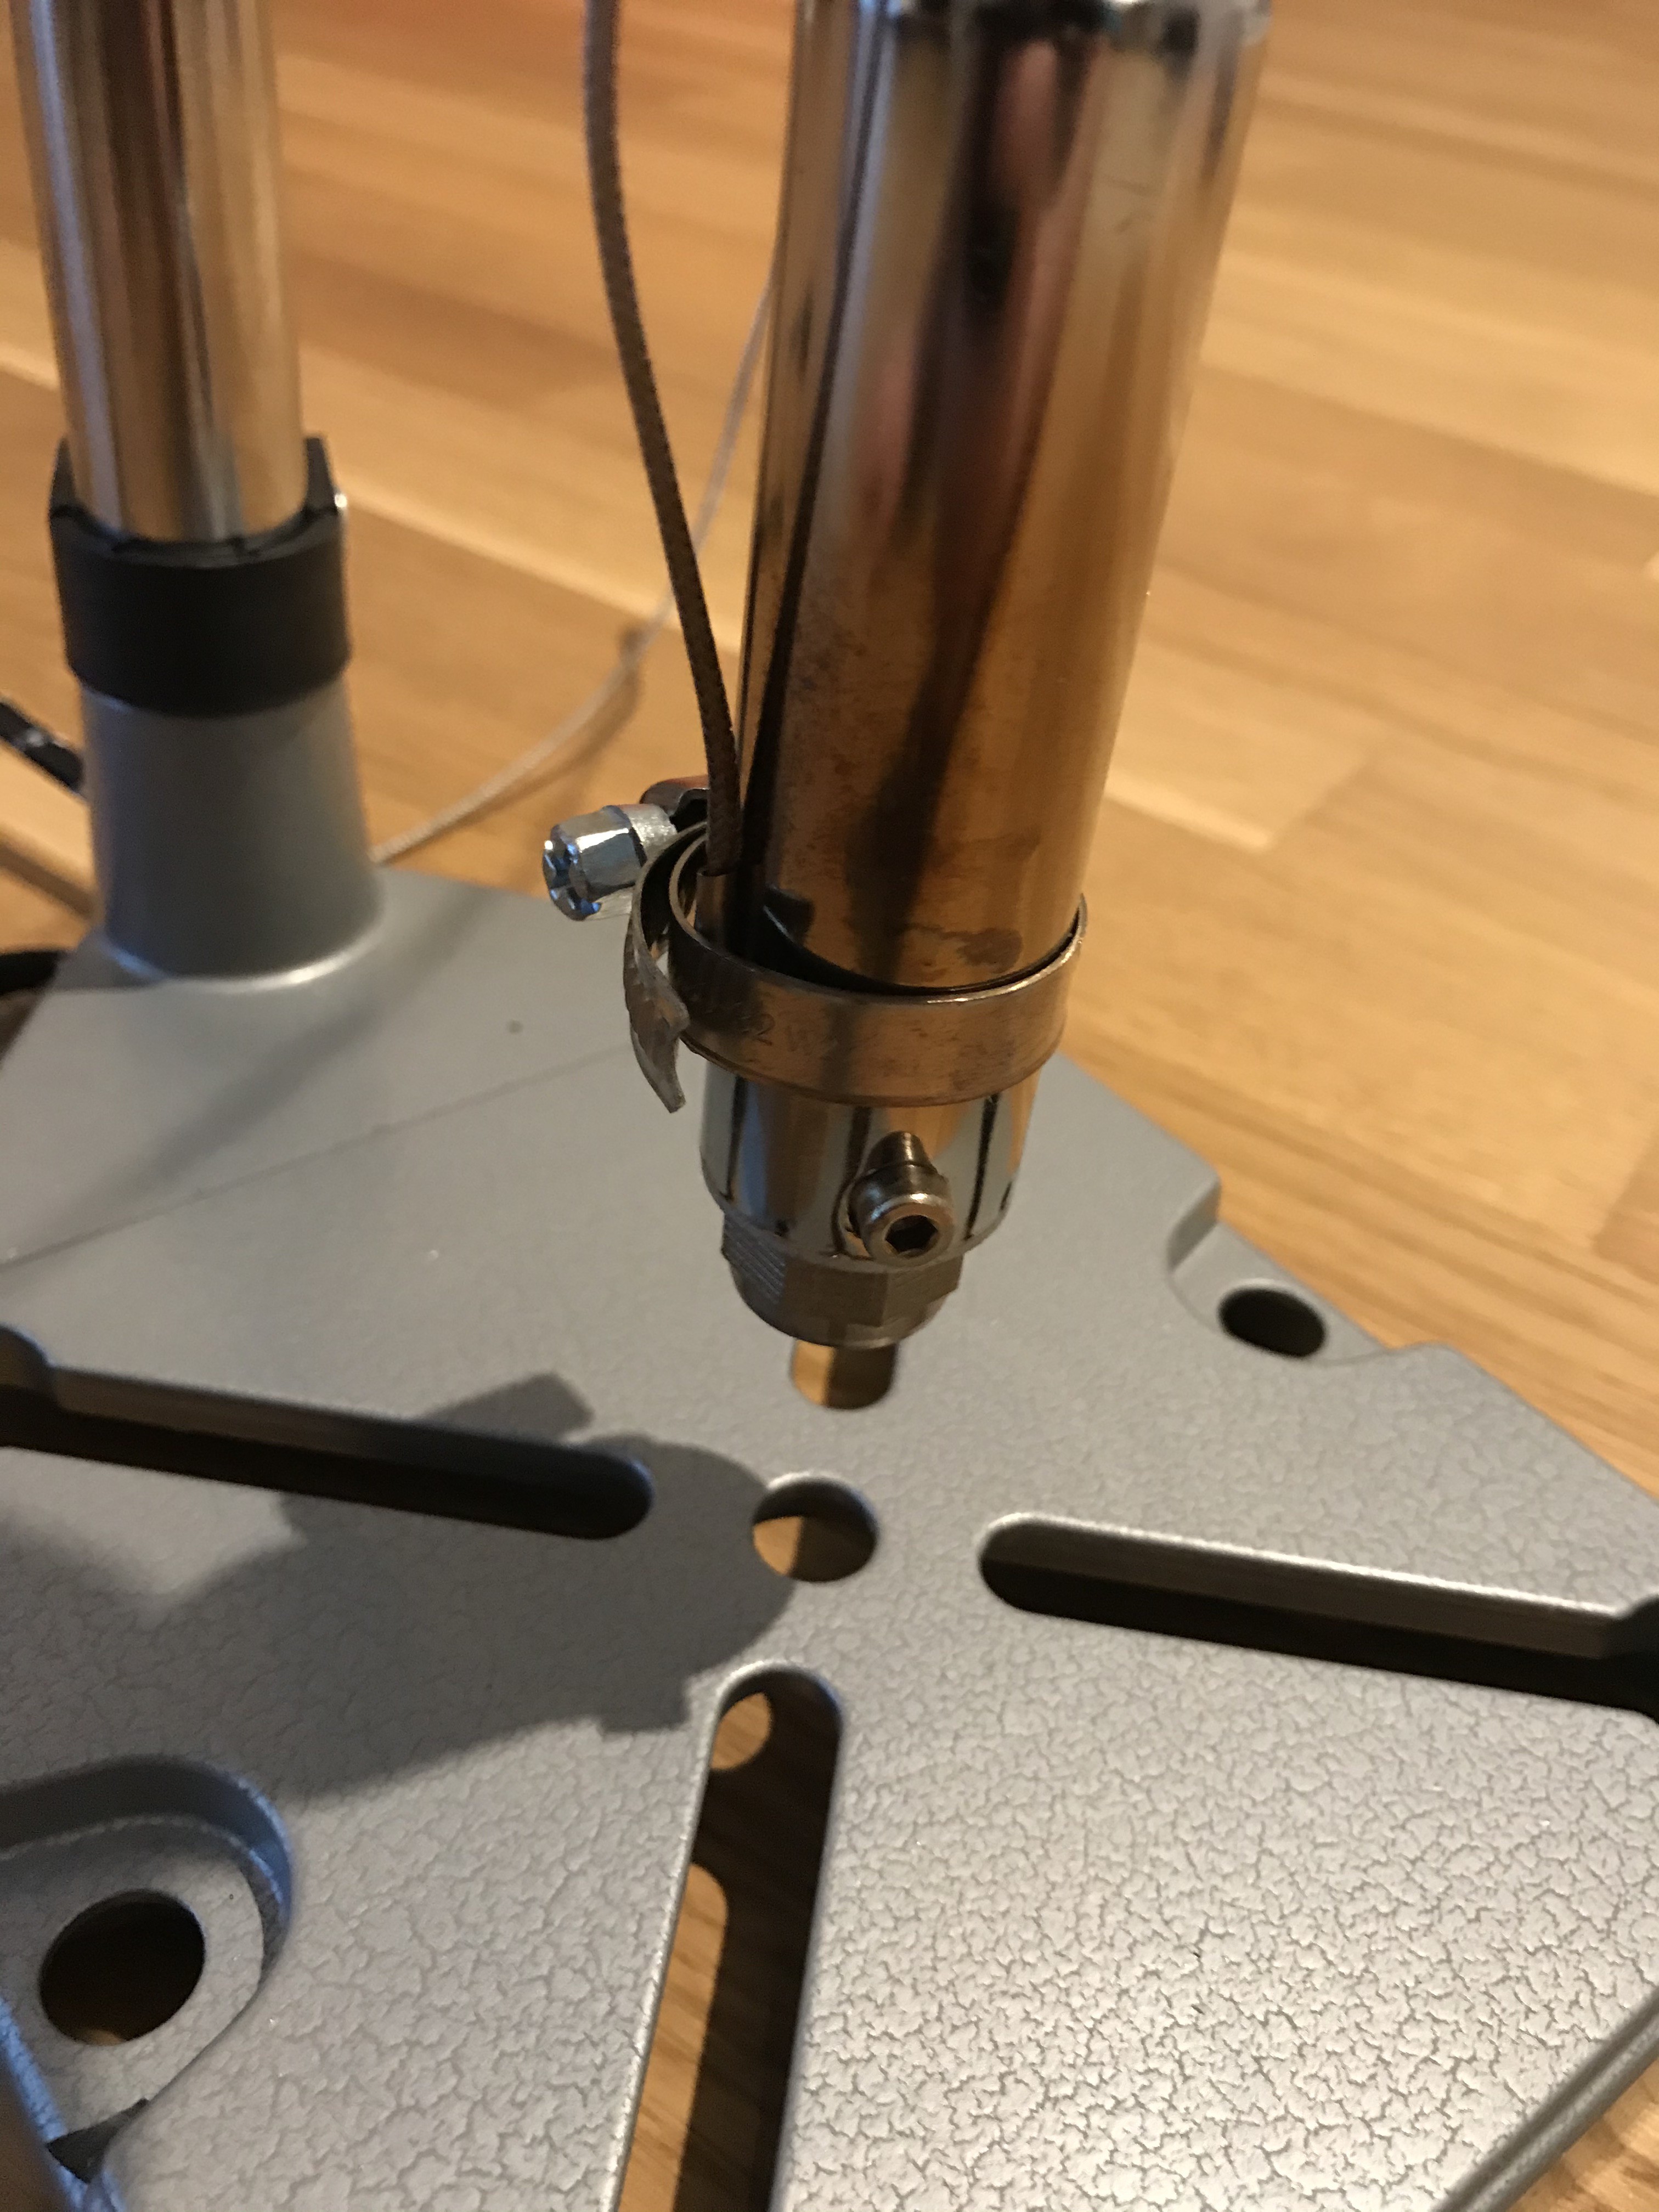
The branding iron mounted in the drill press
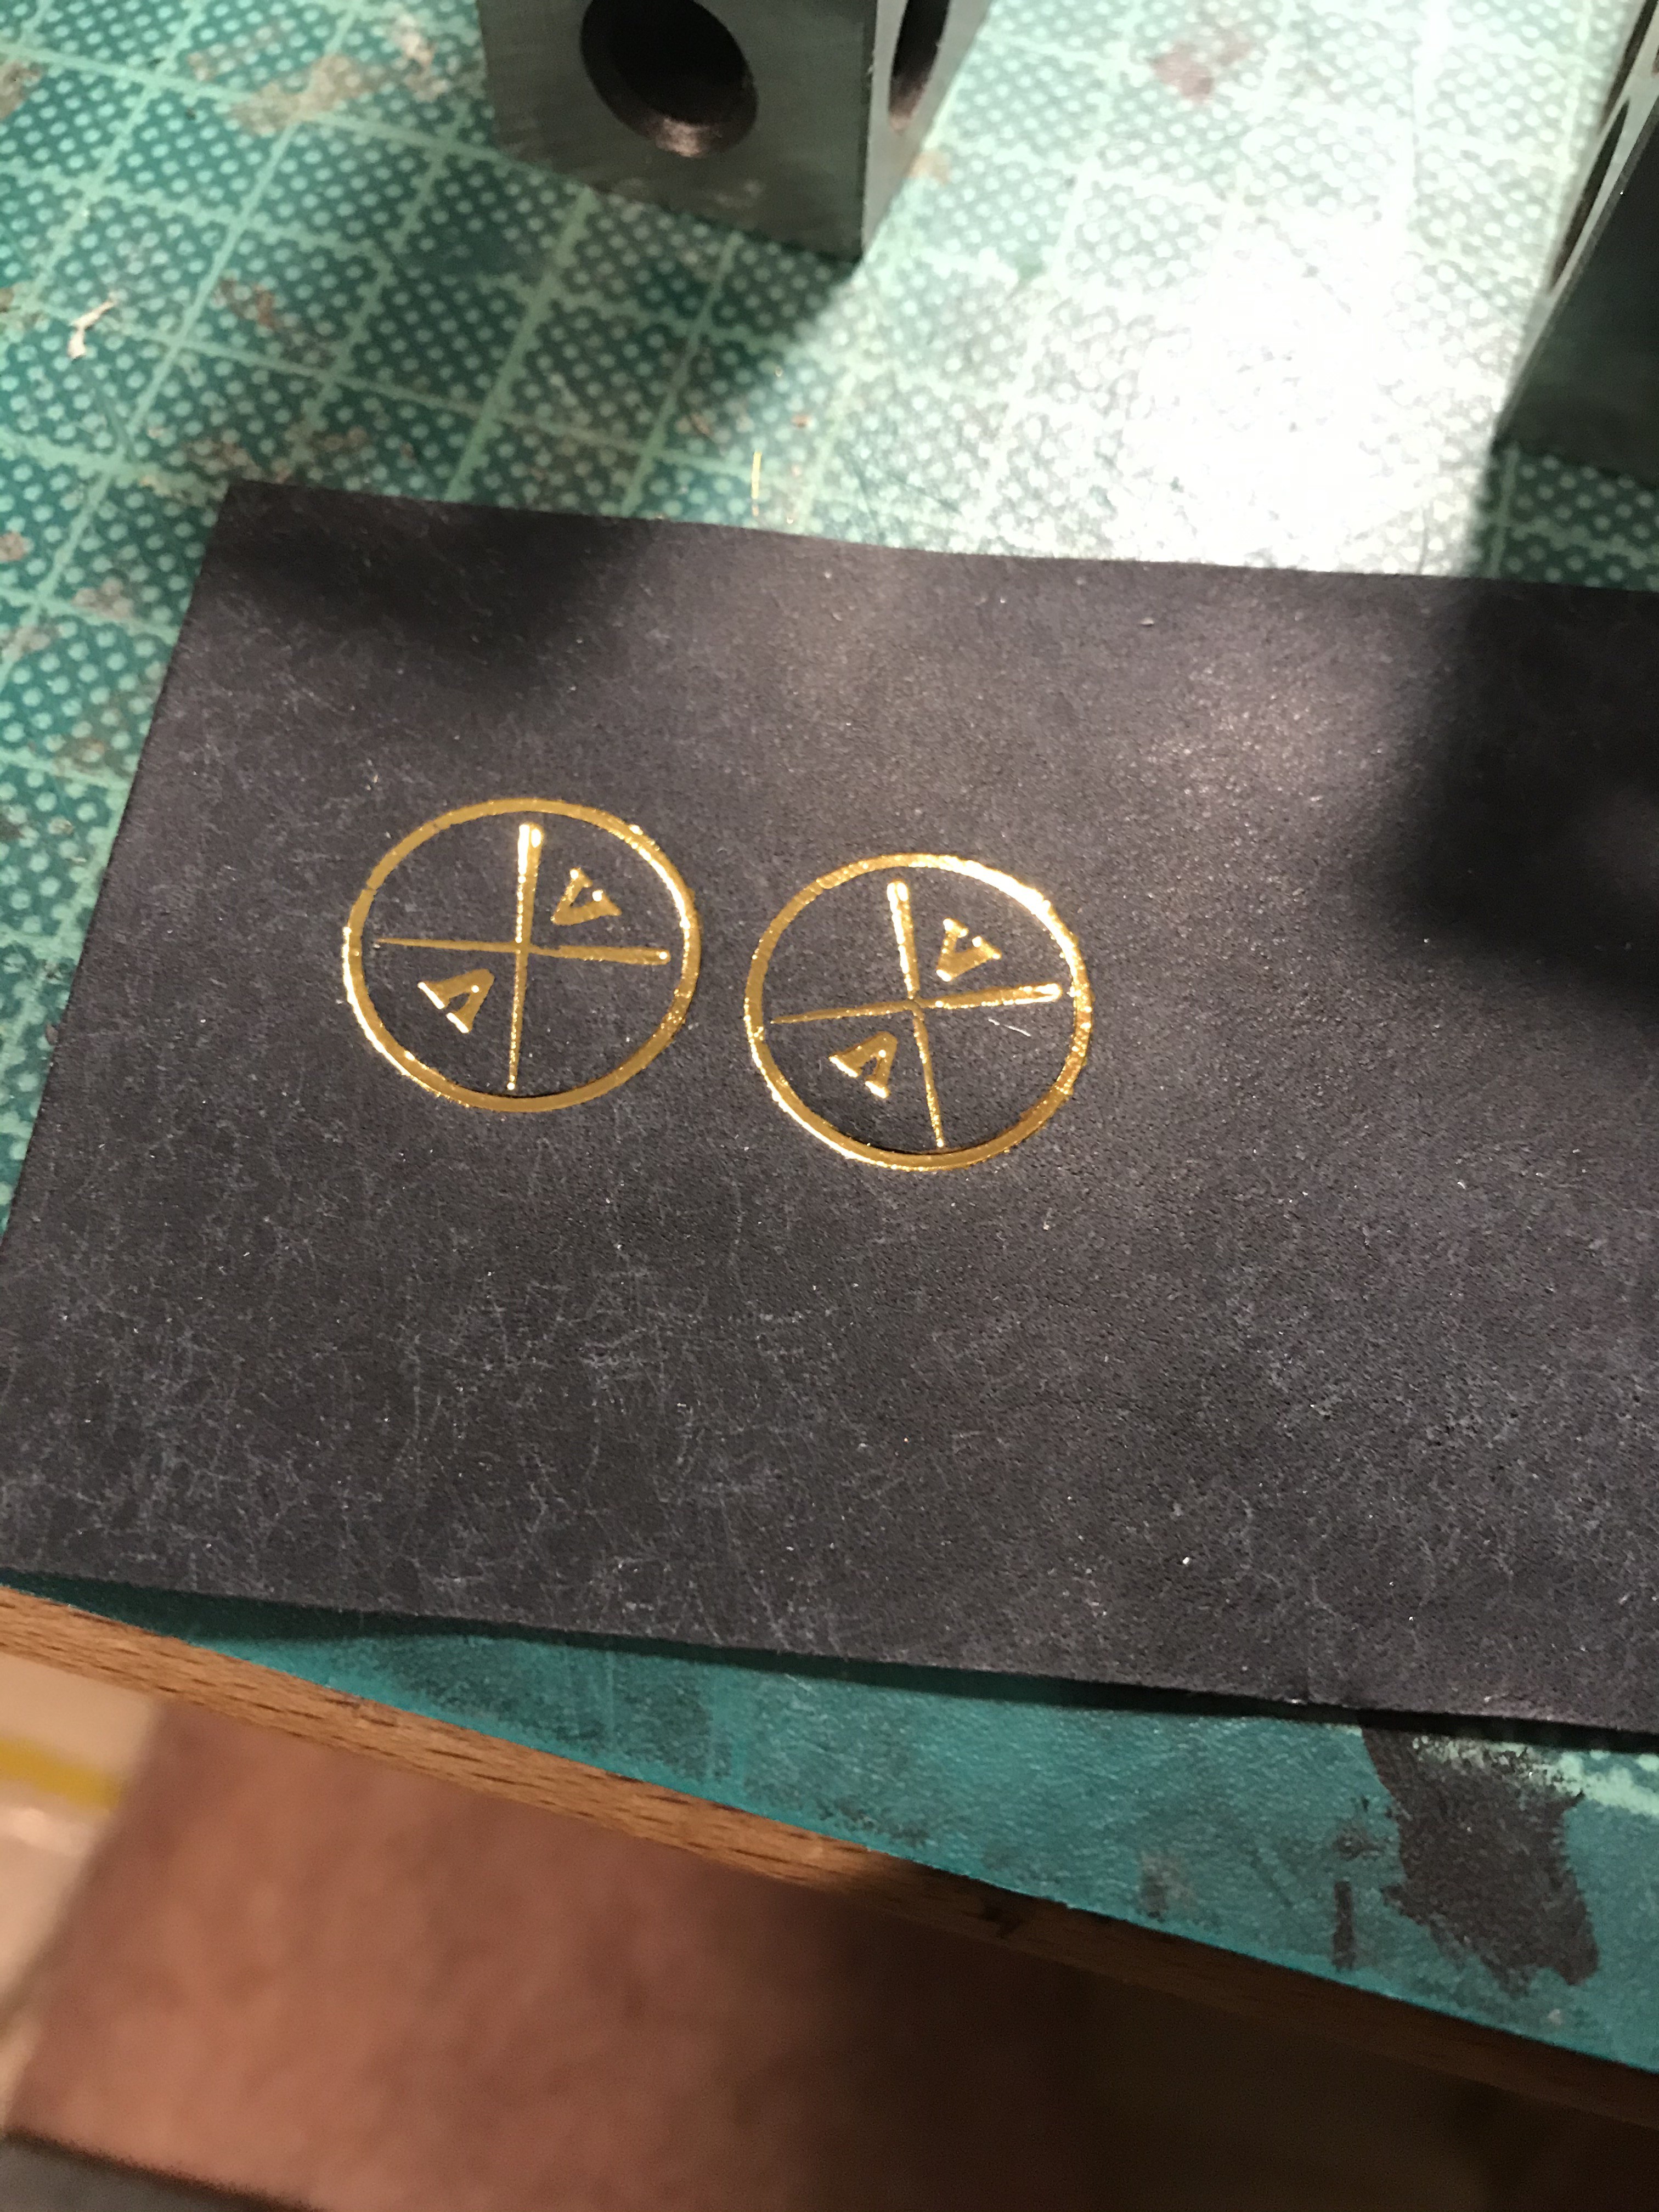
The result from just 1 second of firm pressing
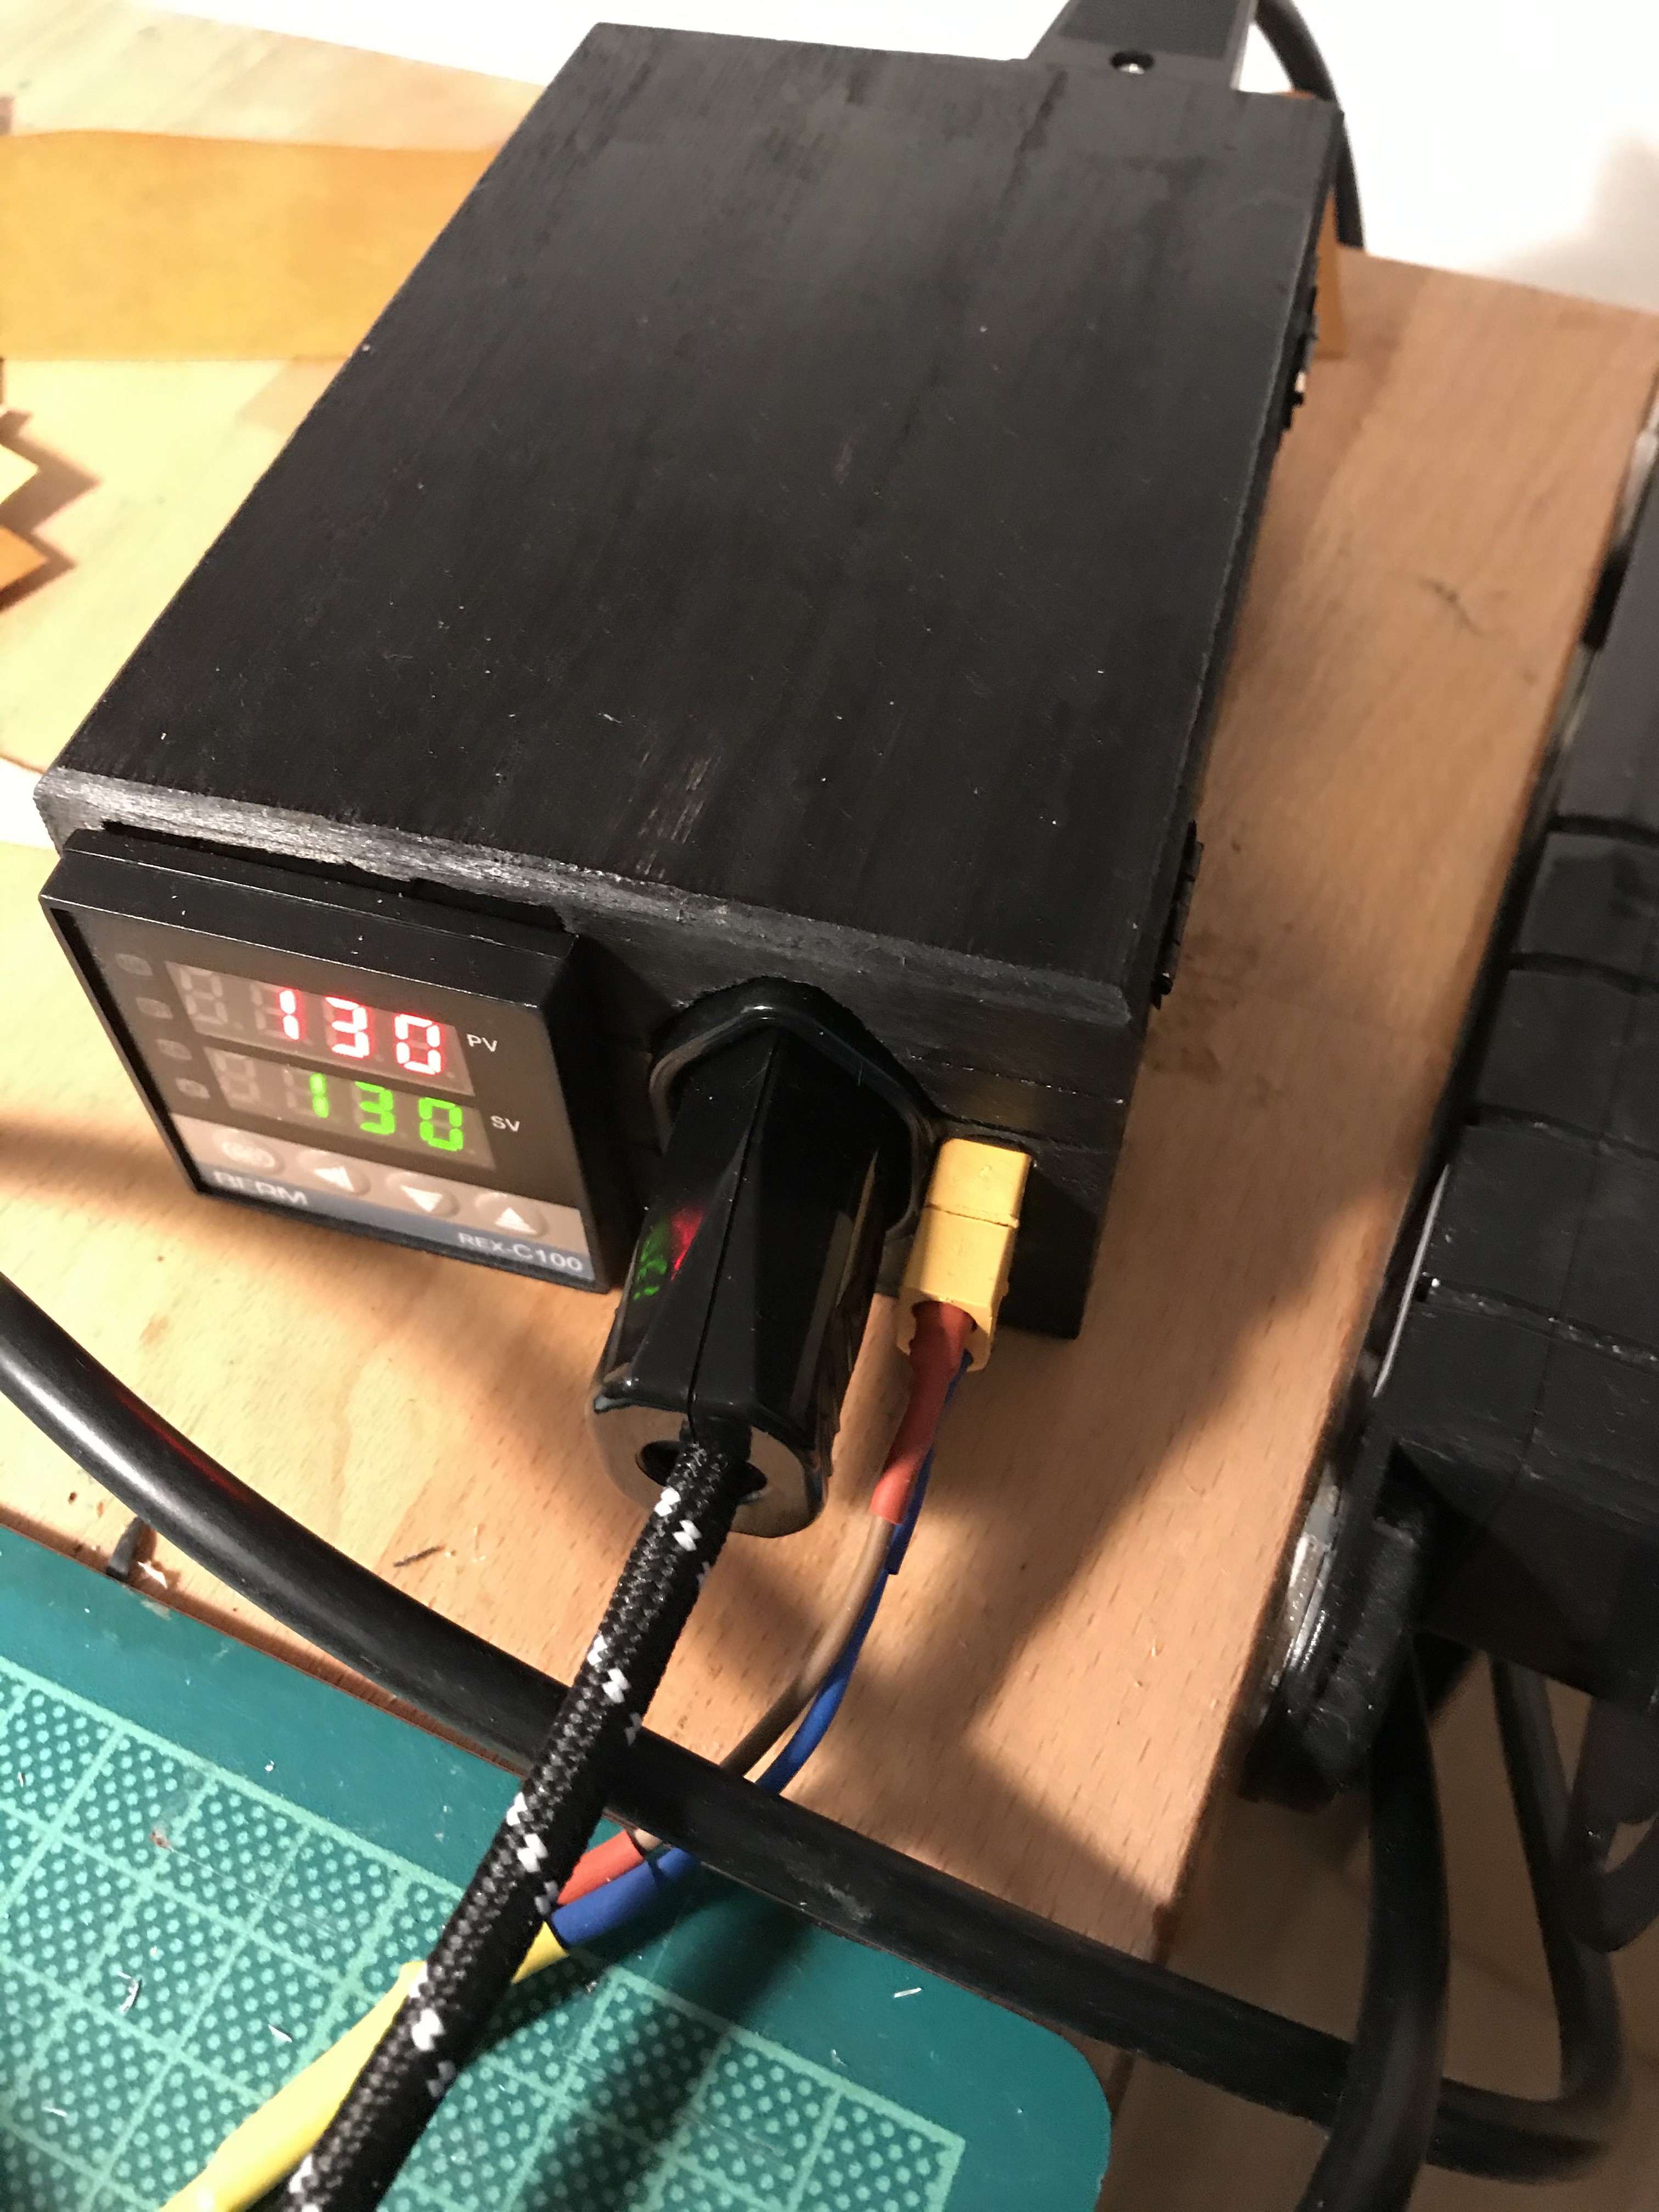
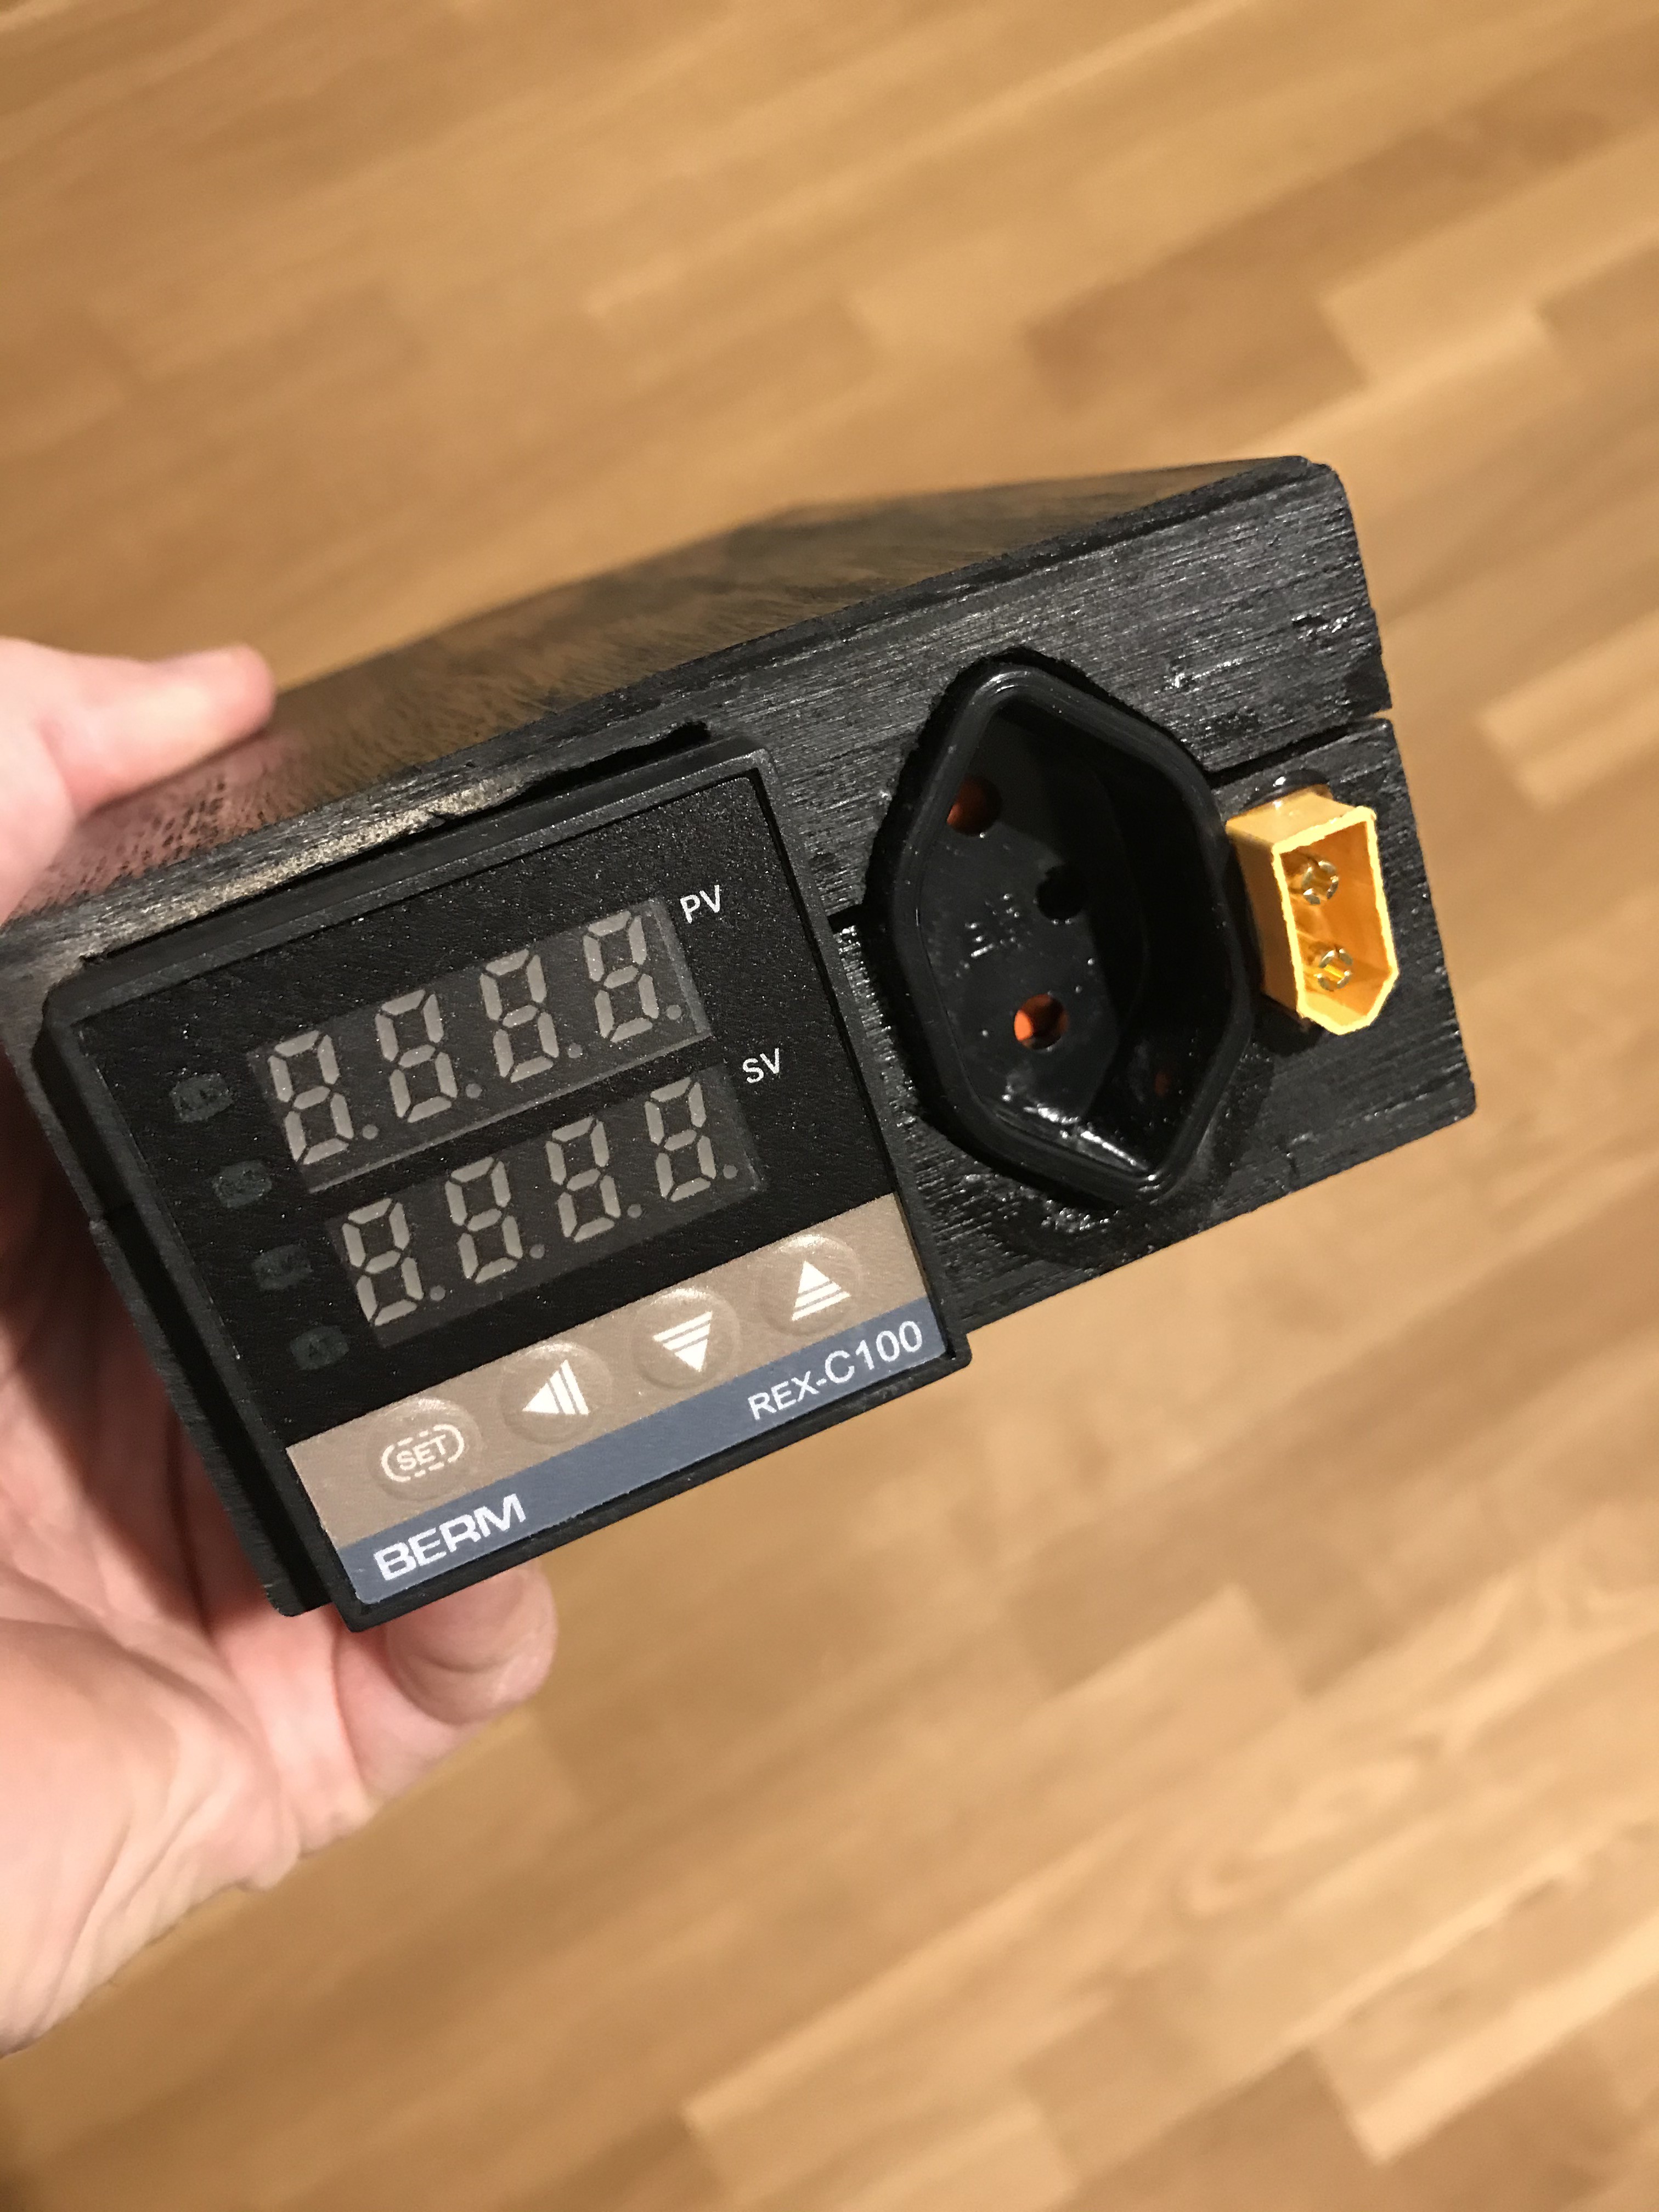
The PID, set at 130C for the stamp
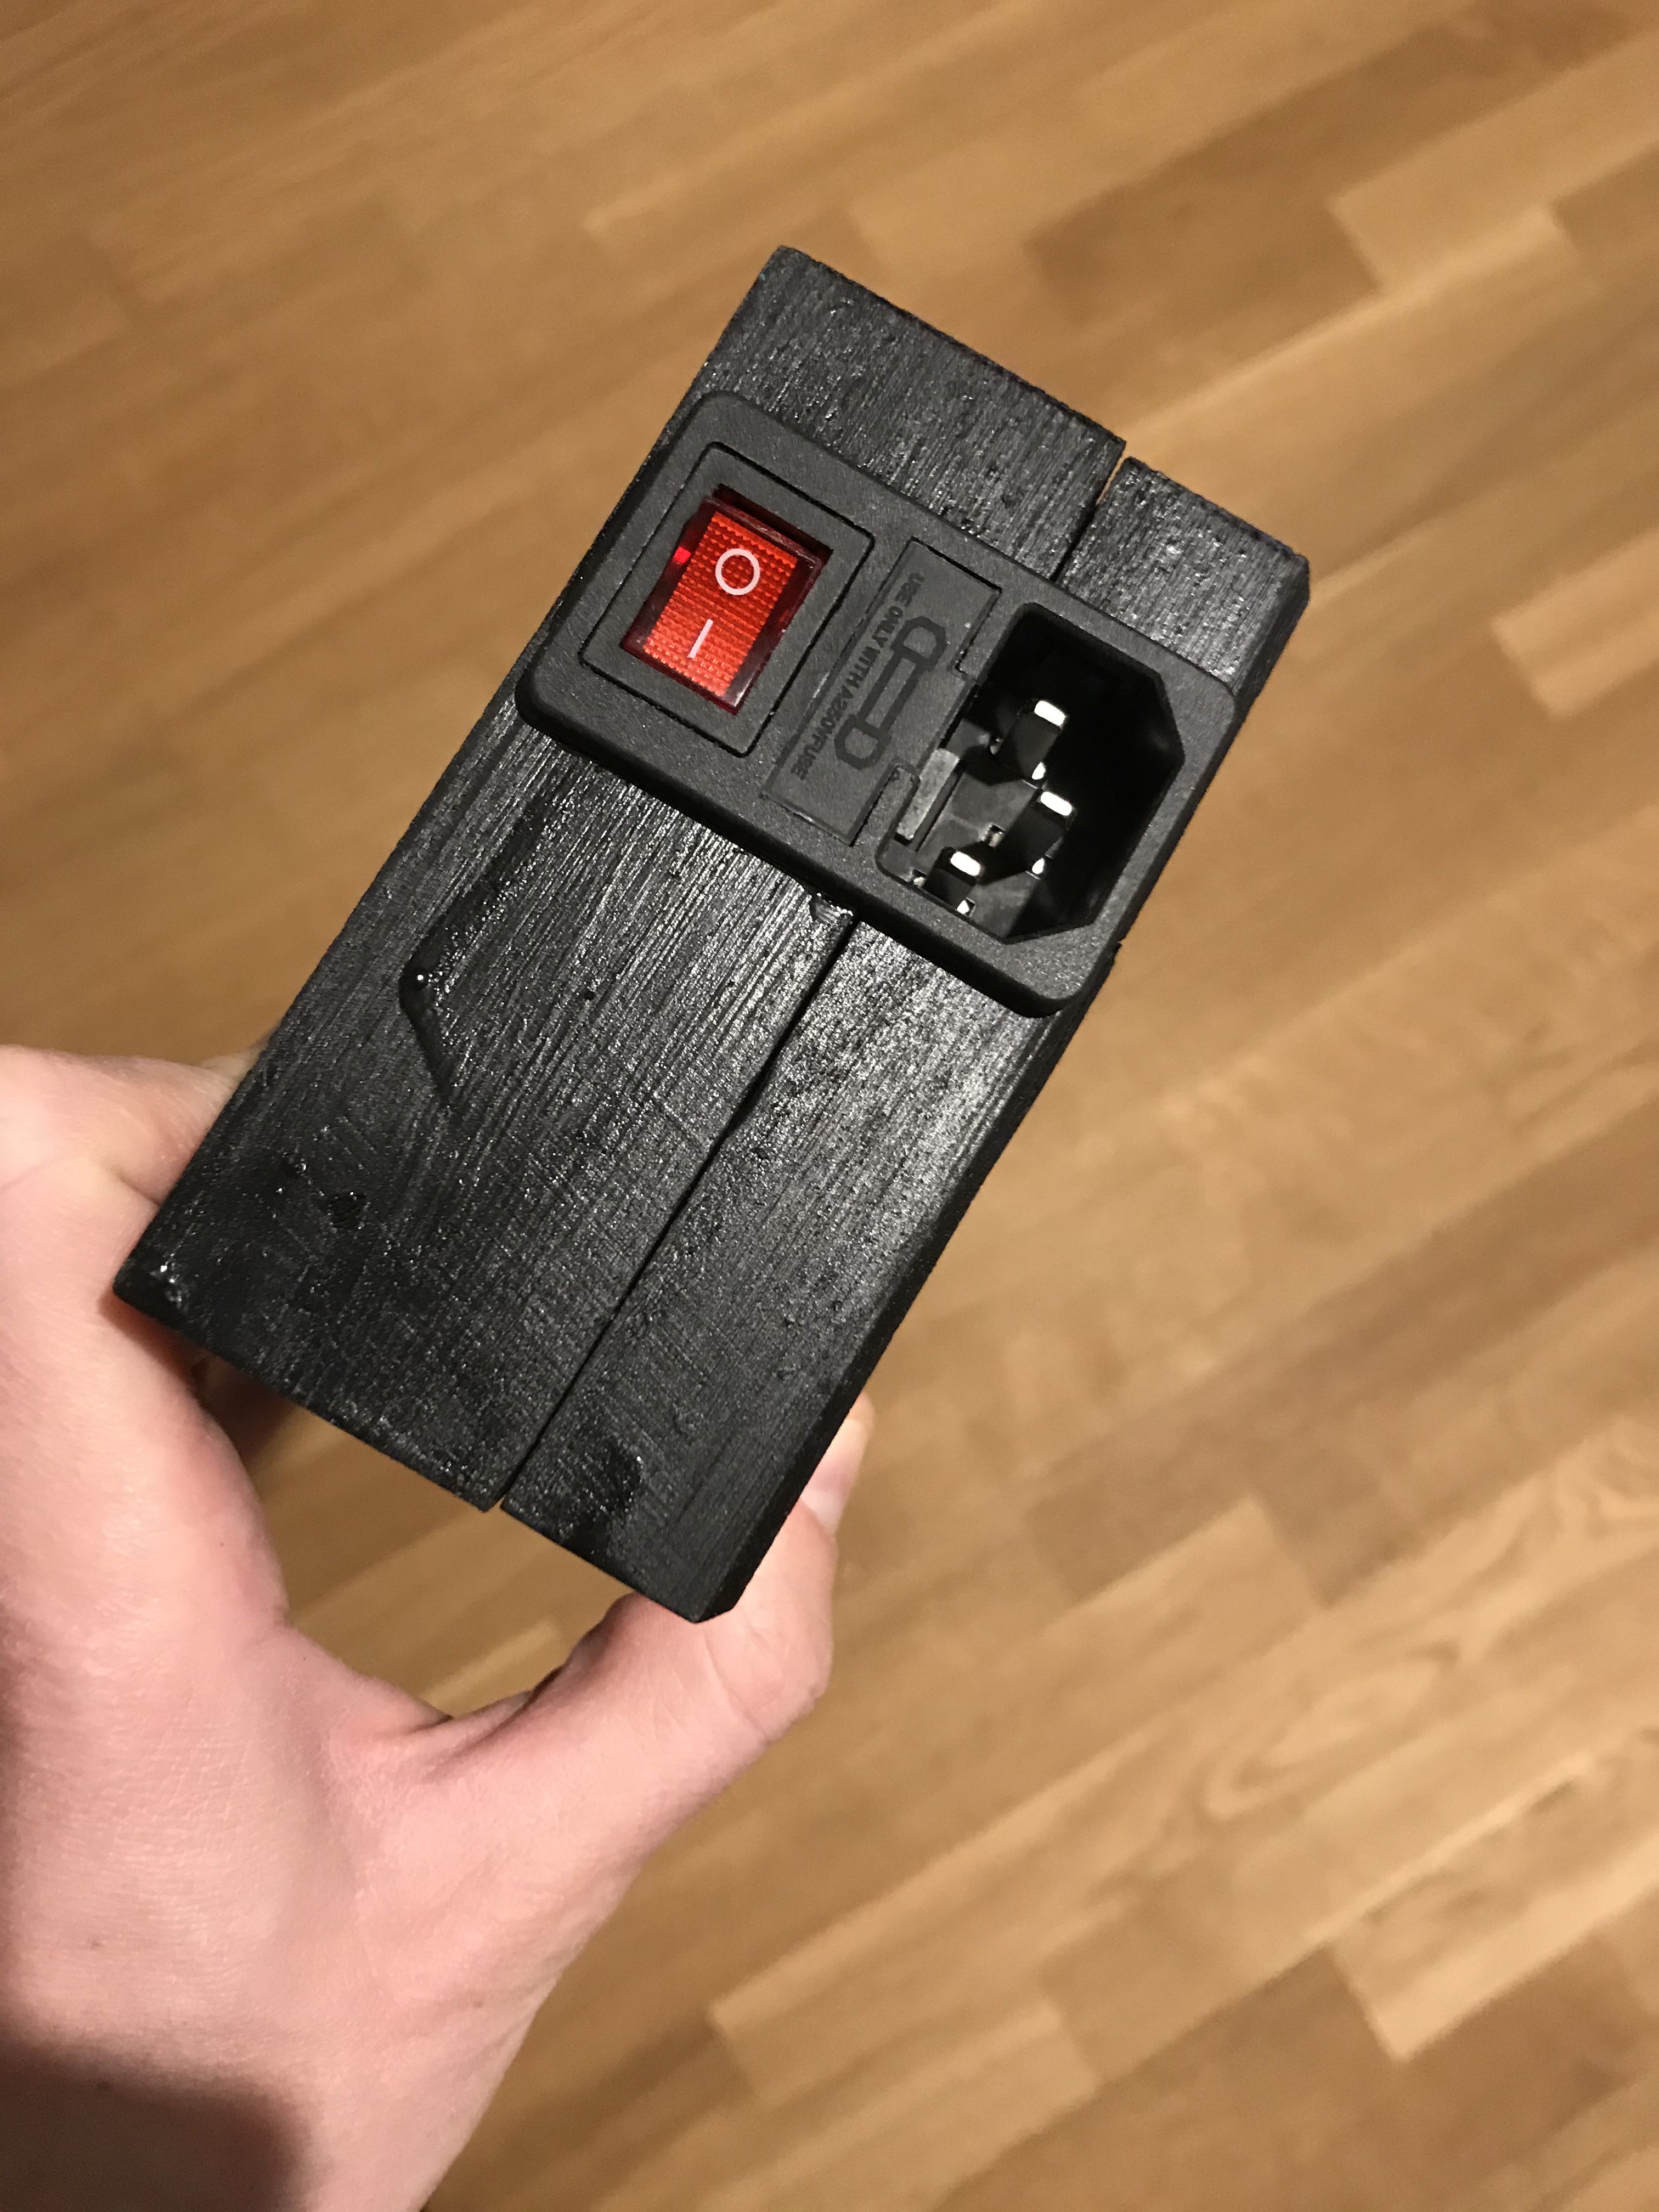
 Here's the whole setup
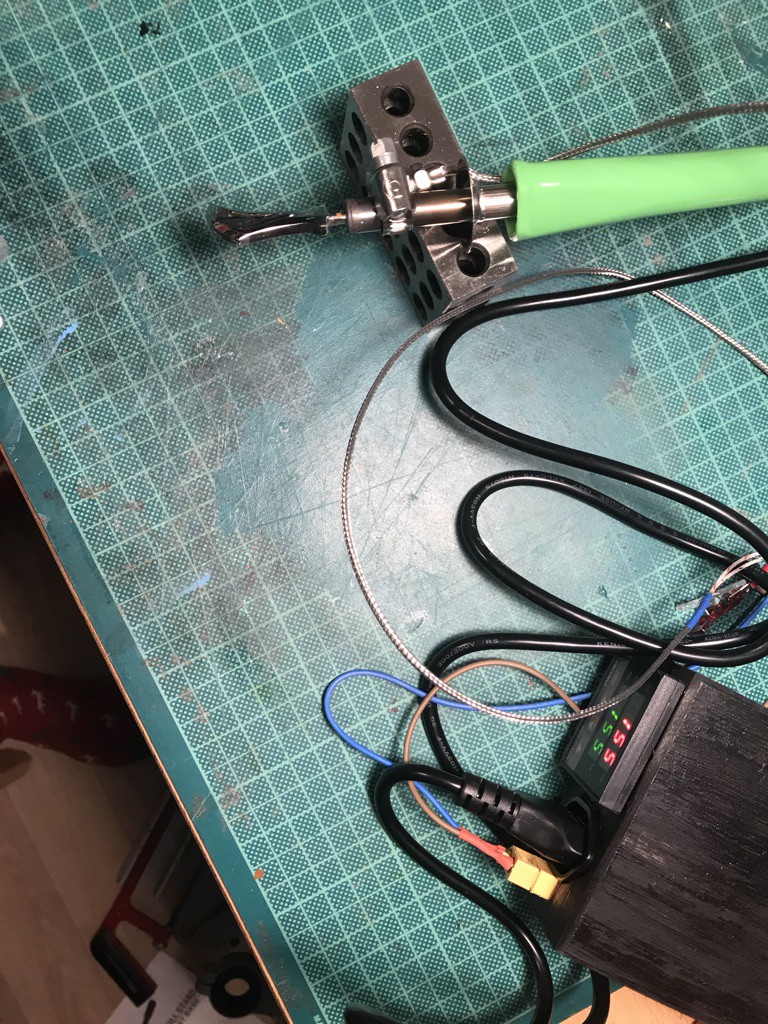


 Matt Moses
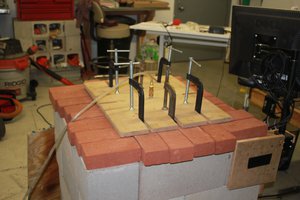
 Michael Barton-Sweeney
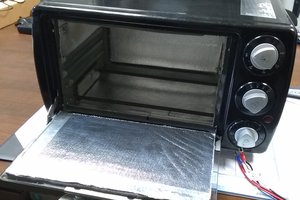
 TheGrim
Exposed wires, yikes!
By "vertical drill bracket", are you talking about those things that turn a hand drill into a mini-drill press? Because that sounds like a good idea for a project like this.