vincentmakes
-
Done with the stamp !
12/24/2019 at 14:36 • 0 commentsI received the new SSR and run the autotune on the PID. I then attached the handle to the drill guide and voila ! I'll post the pictures in the project details along with a video
-
(Mis)Adventures with the larger iron and the SSR
12/21/2019 at 15:52 • 0 commentsI received the larger iron and started to play with it. While trying to insert the thermocouple, I accidentally broke the wires and made a short circuit which killed the solid state relay. I took me a while to figure out the SSR was not working because it was triggering properly in the input and the LED was also working but the output was always closed.
I have a new one on the way and took out few learnings:
1. The device has a very big thermic inertia so it's rather difficult to measure the temperature and regulate it by inserting the thermocouple through the handle. The point in contact is separated by the ceramic wall of the heating element. Eventually I went back to the setup I used for the smaller iron which is to attach the probe using a garden hose coupling.
2.The wiring inside the handle of the iron is very fragile, open at your own risk :-)
-
Re-packing the letterpress set
12/07/2019 at 17:45 • 0 commentsI just spent two hours sorting and re-packing all the tiny letters from the letterpress set so I might as well consider that part of the project :-)
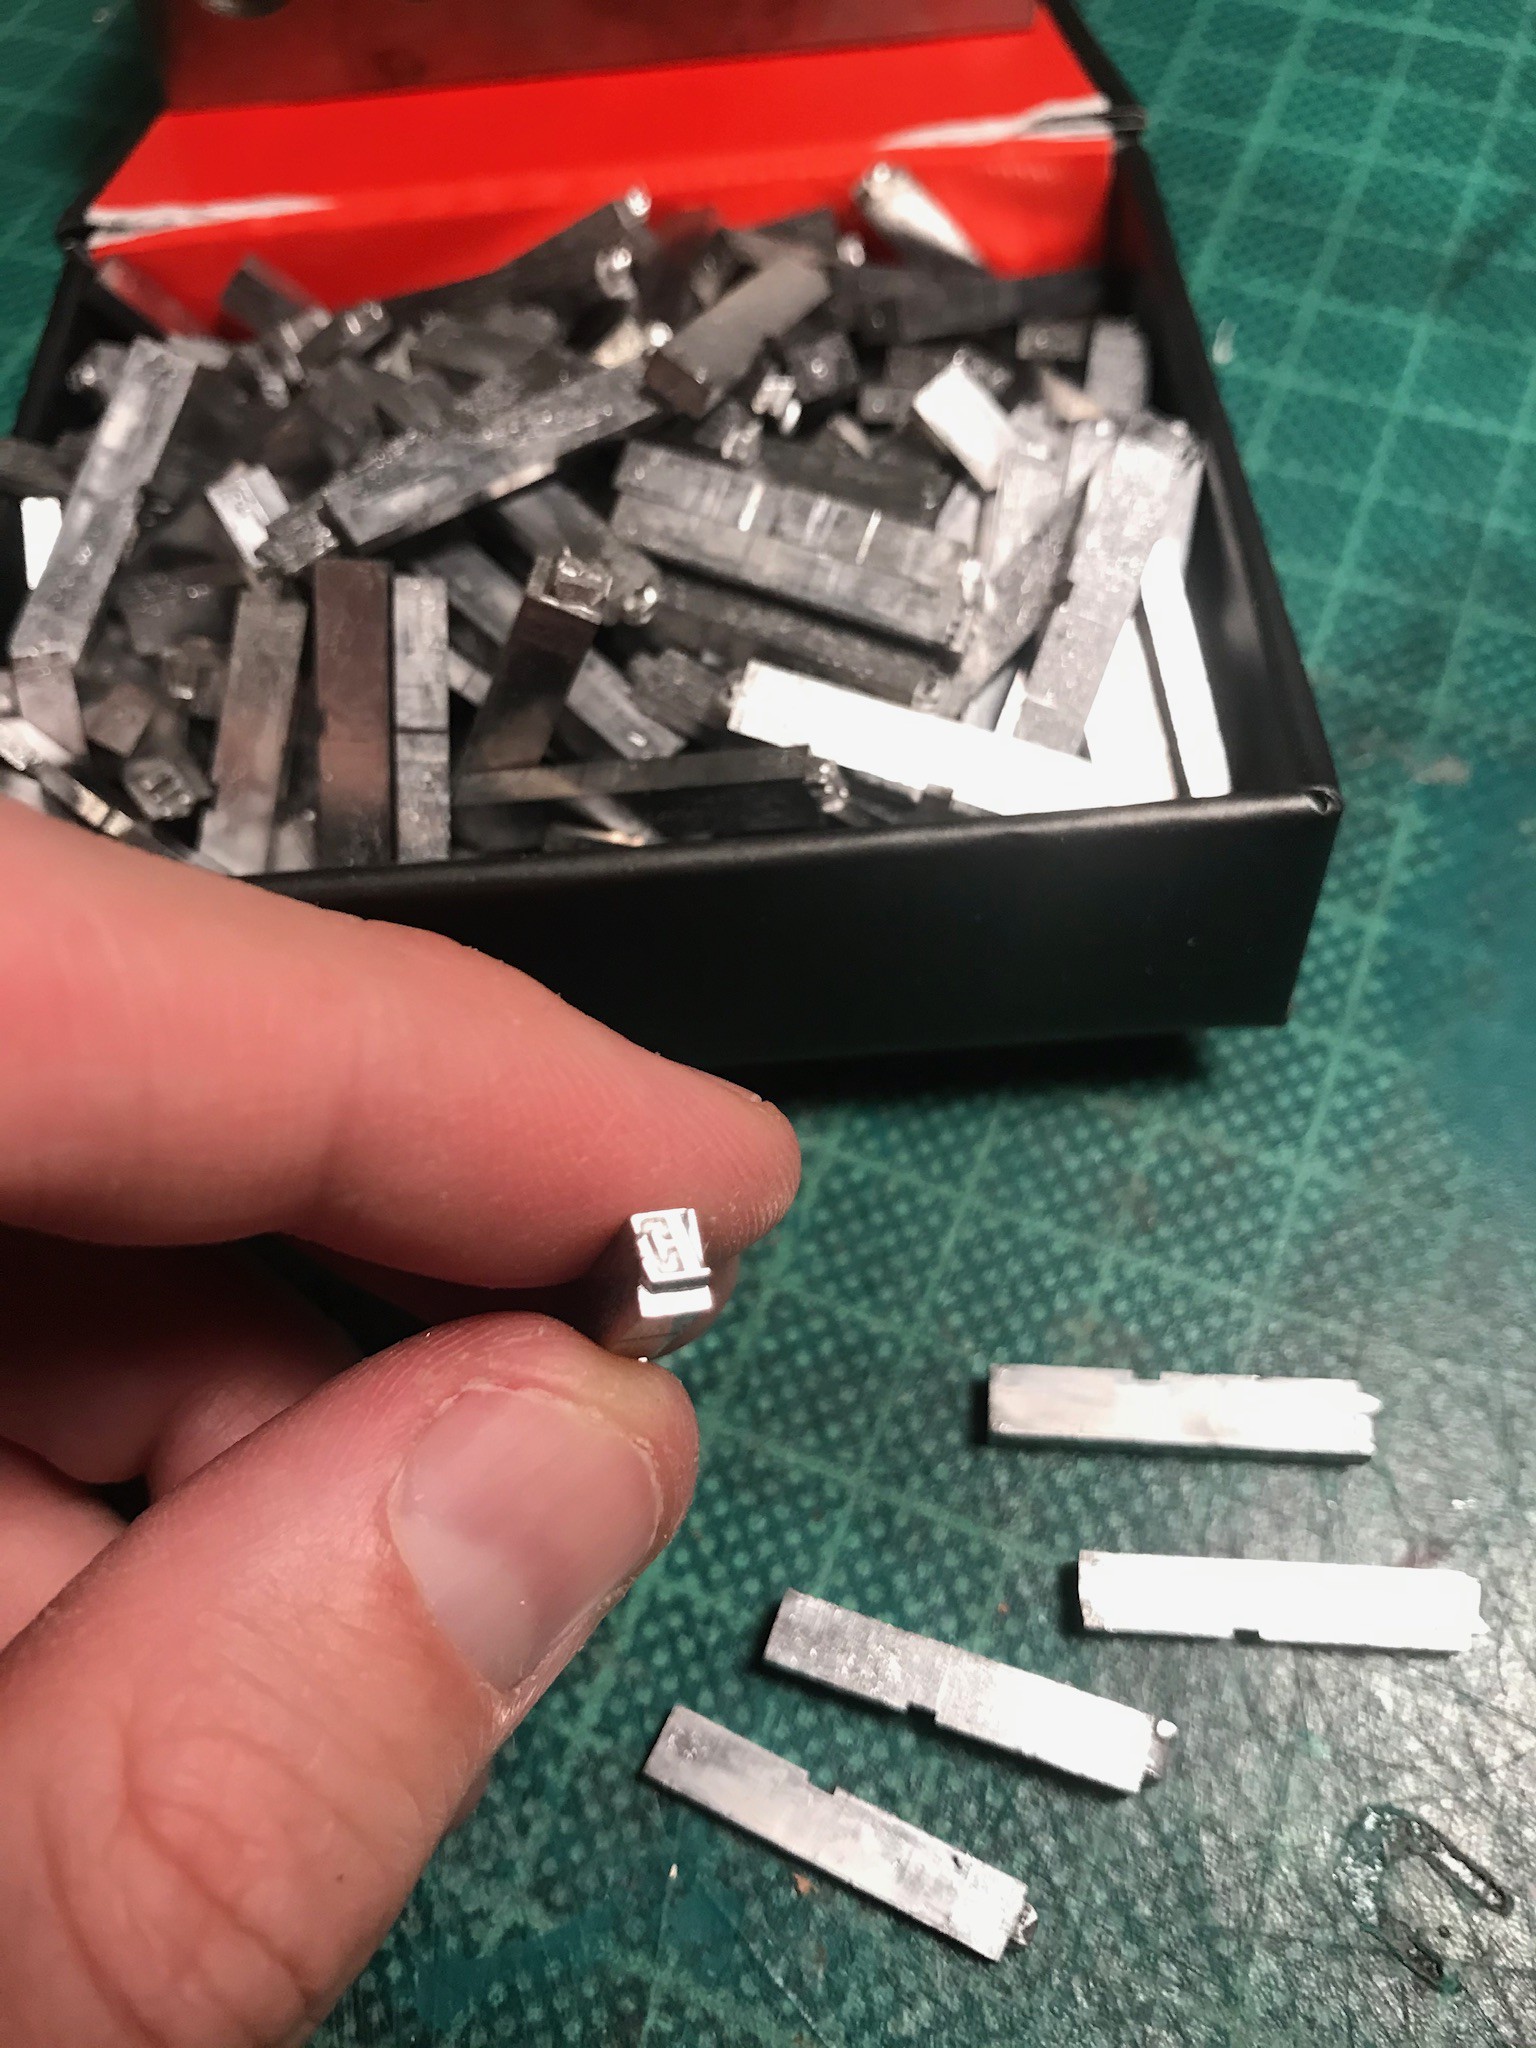
Those are made of aluminium and are very cheap (~40$) compared to dedicated letter sets for leather stamping (~200$+)
![]()
-
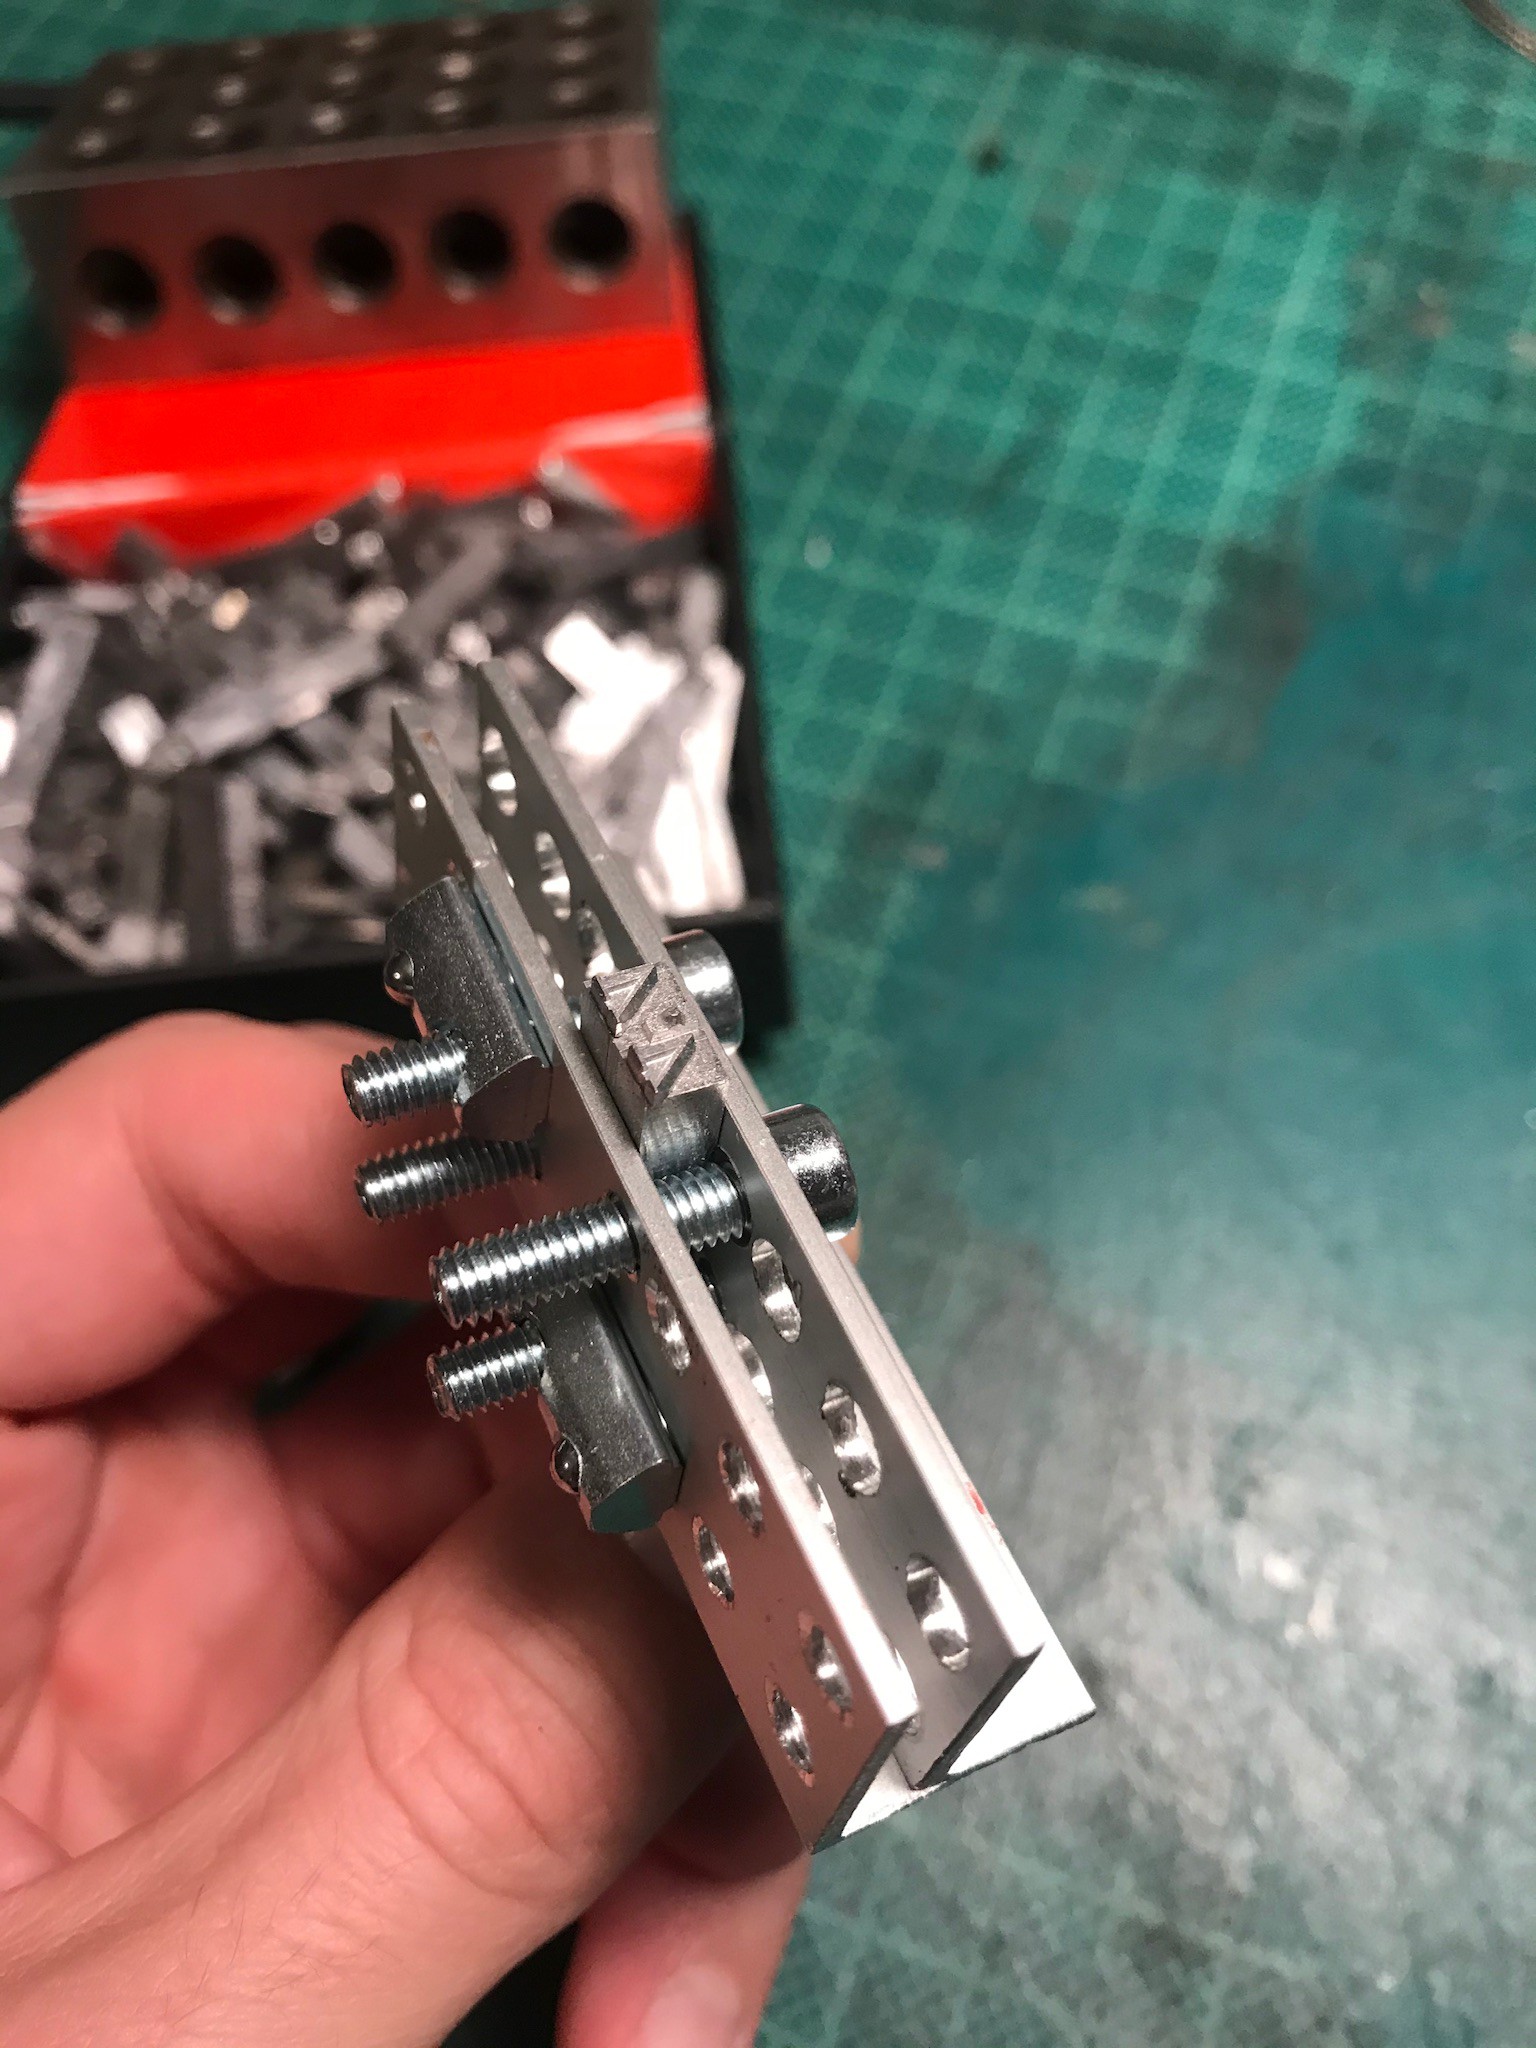
Letterpress Holder
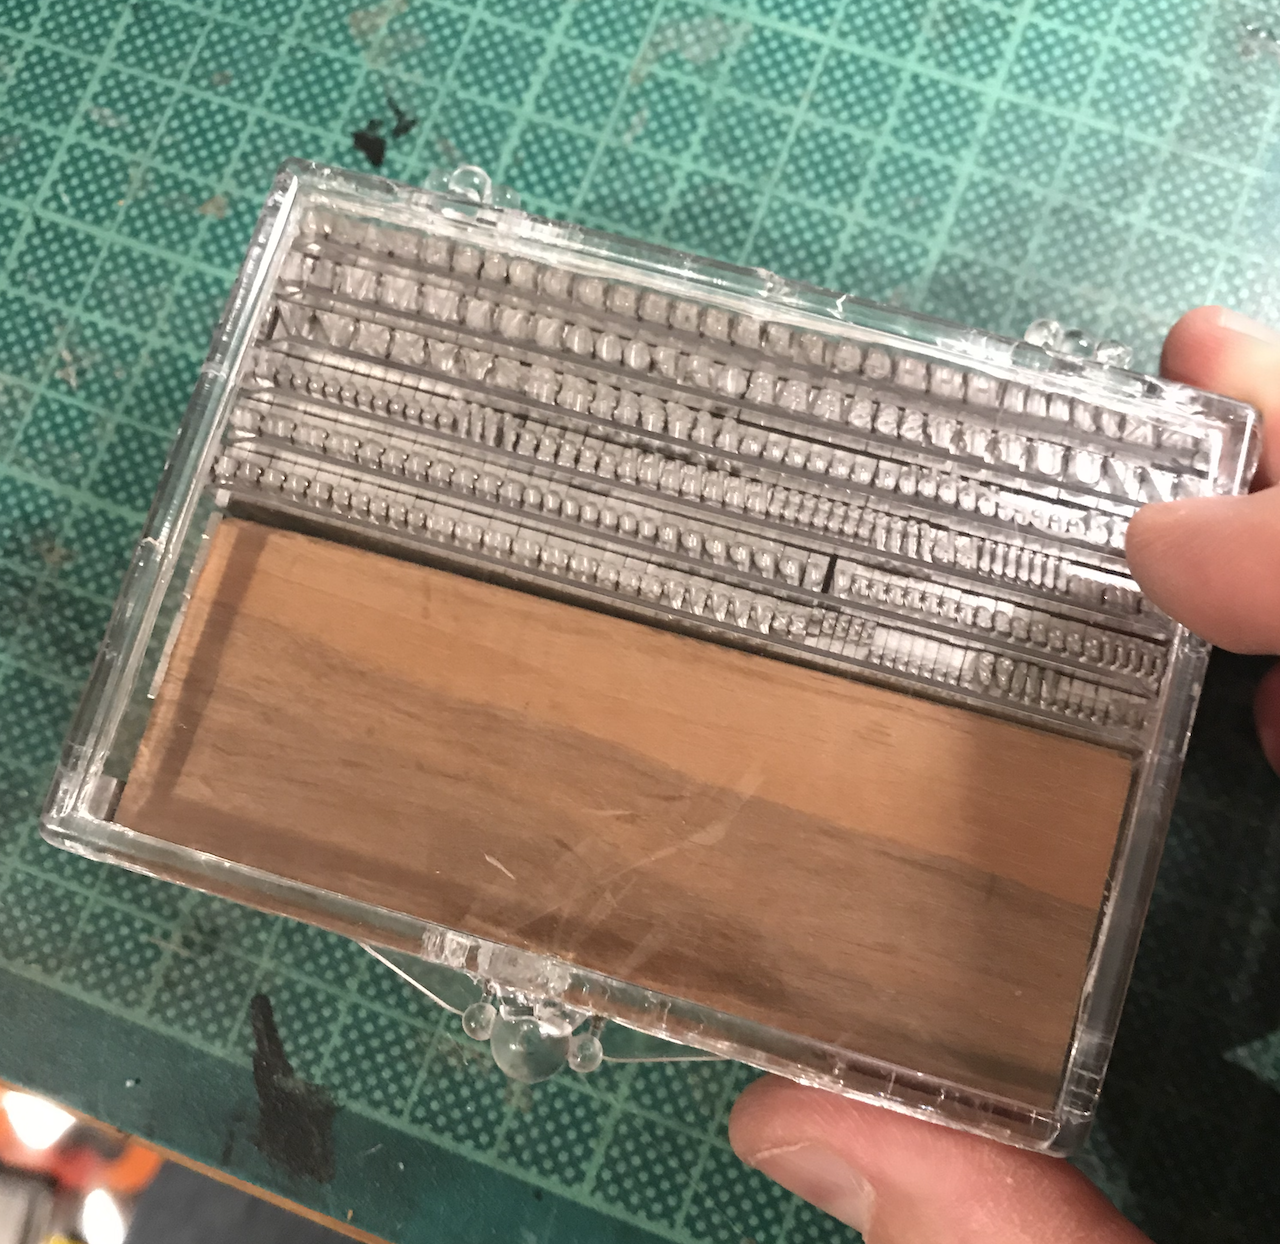
12/06/2019 at 20:30 • 0 commentsI bought a set of letterpress on eBay. They're meant for printing but they will be fine to imprint any words on leather.
It was shipped nicely packed but I managed to drop the box so now I have a pile of letters that I need to sort. Anyhow, the challenge is to make a holder to keep them tight and so that I can connect it to the branding iron.
![]()
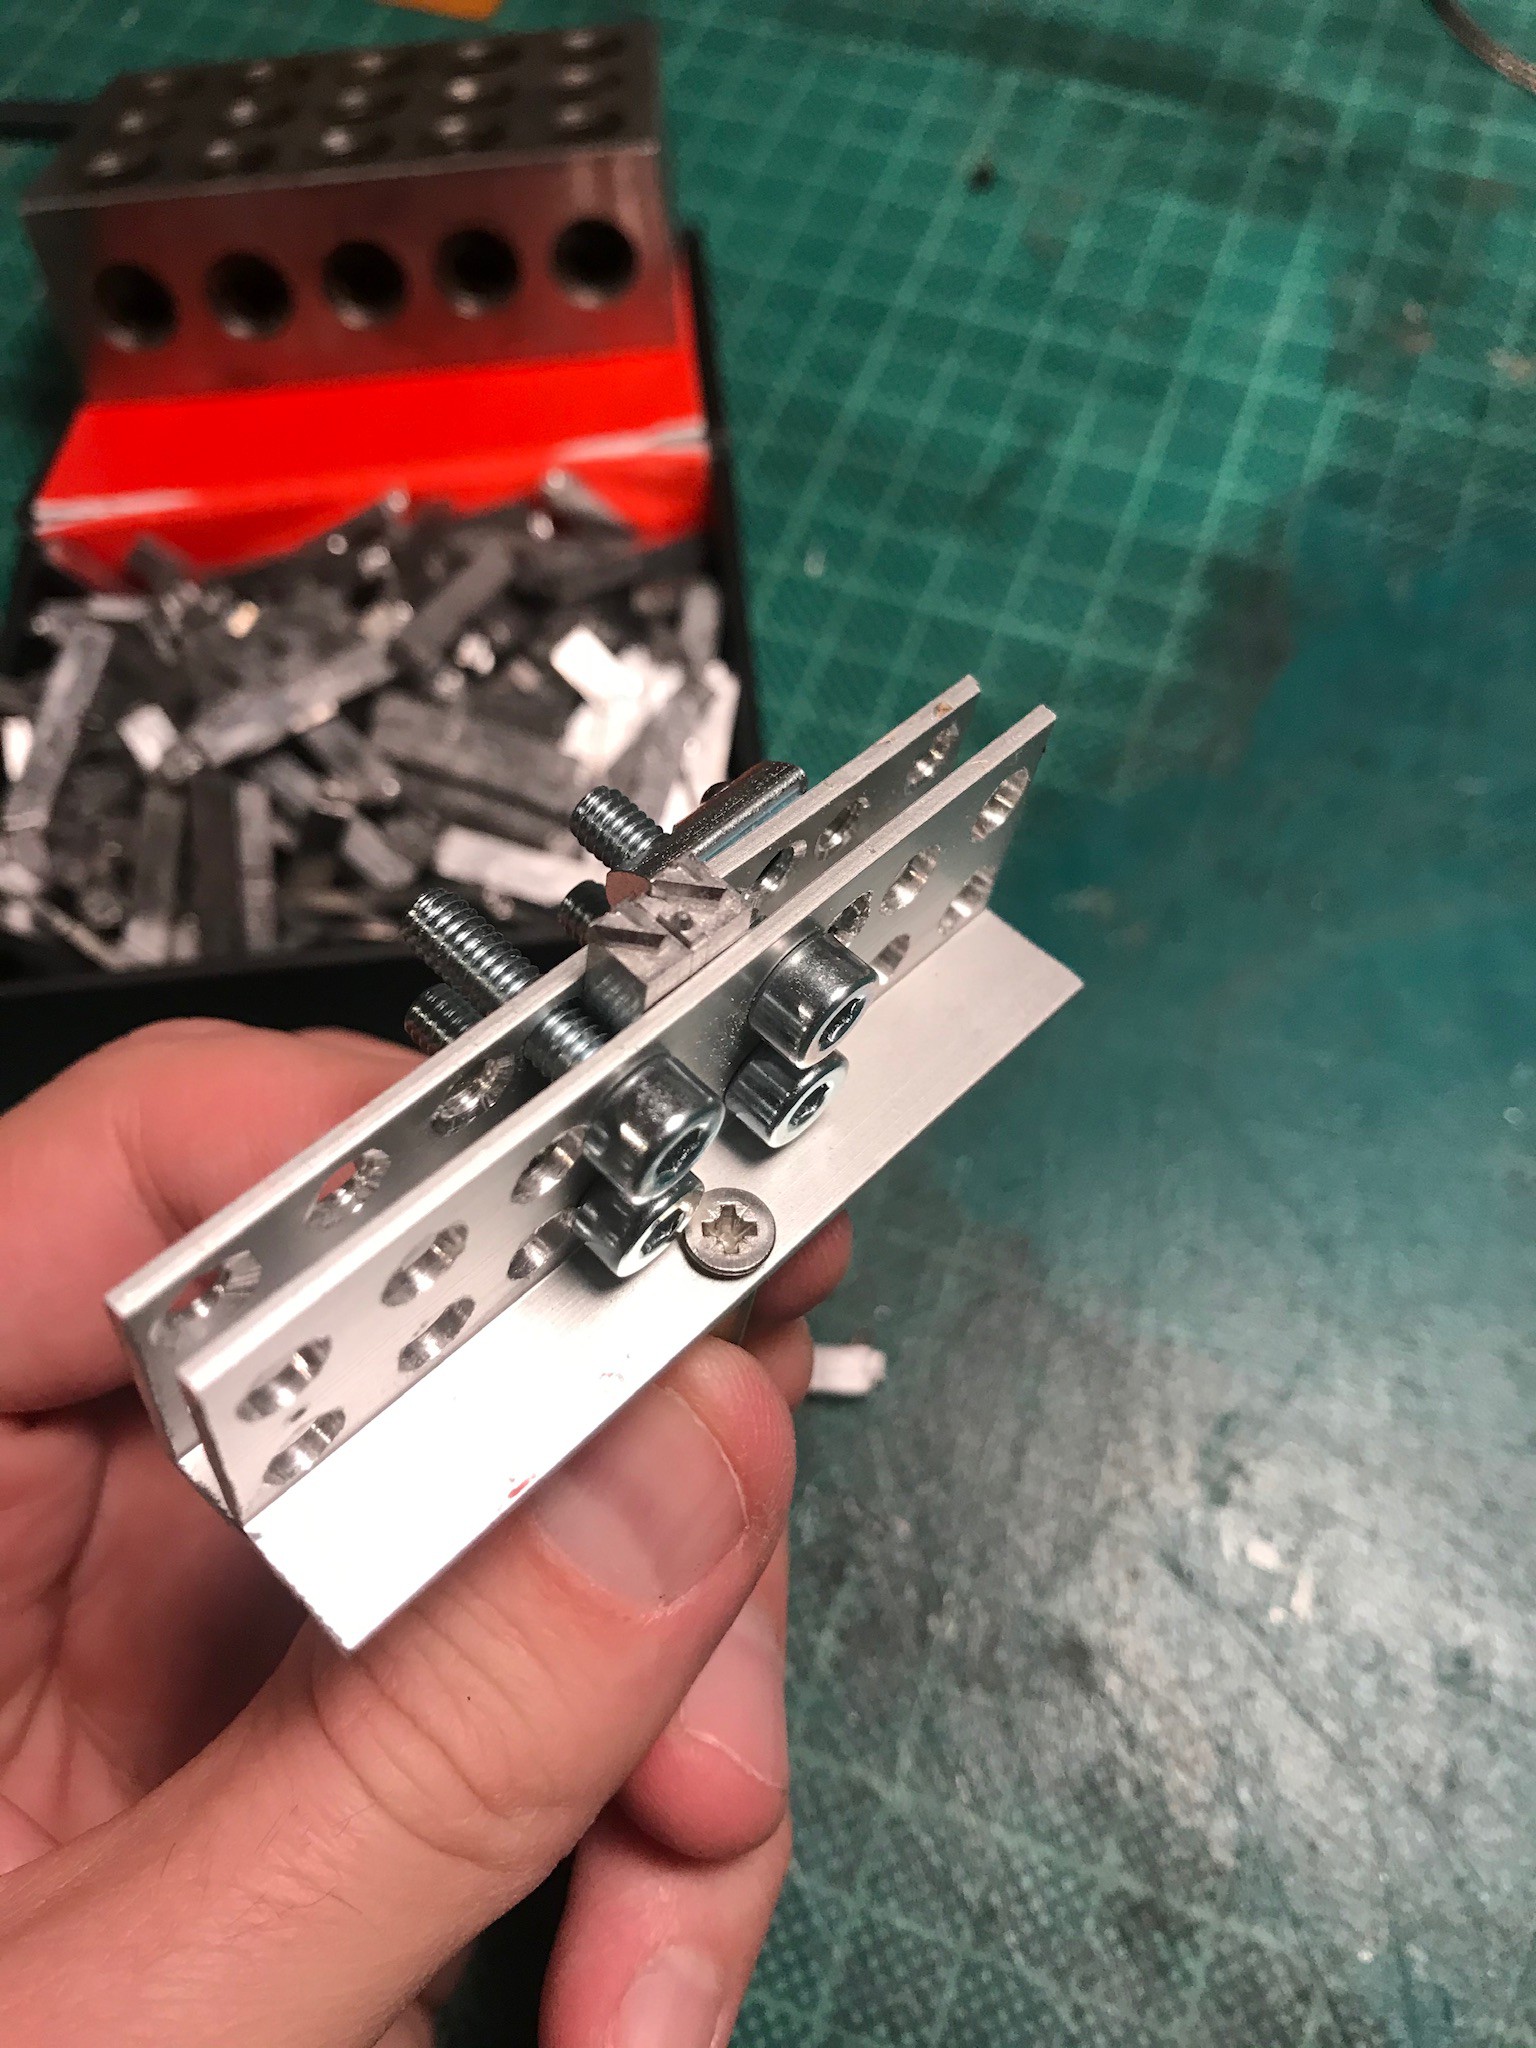
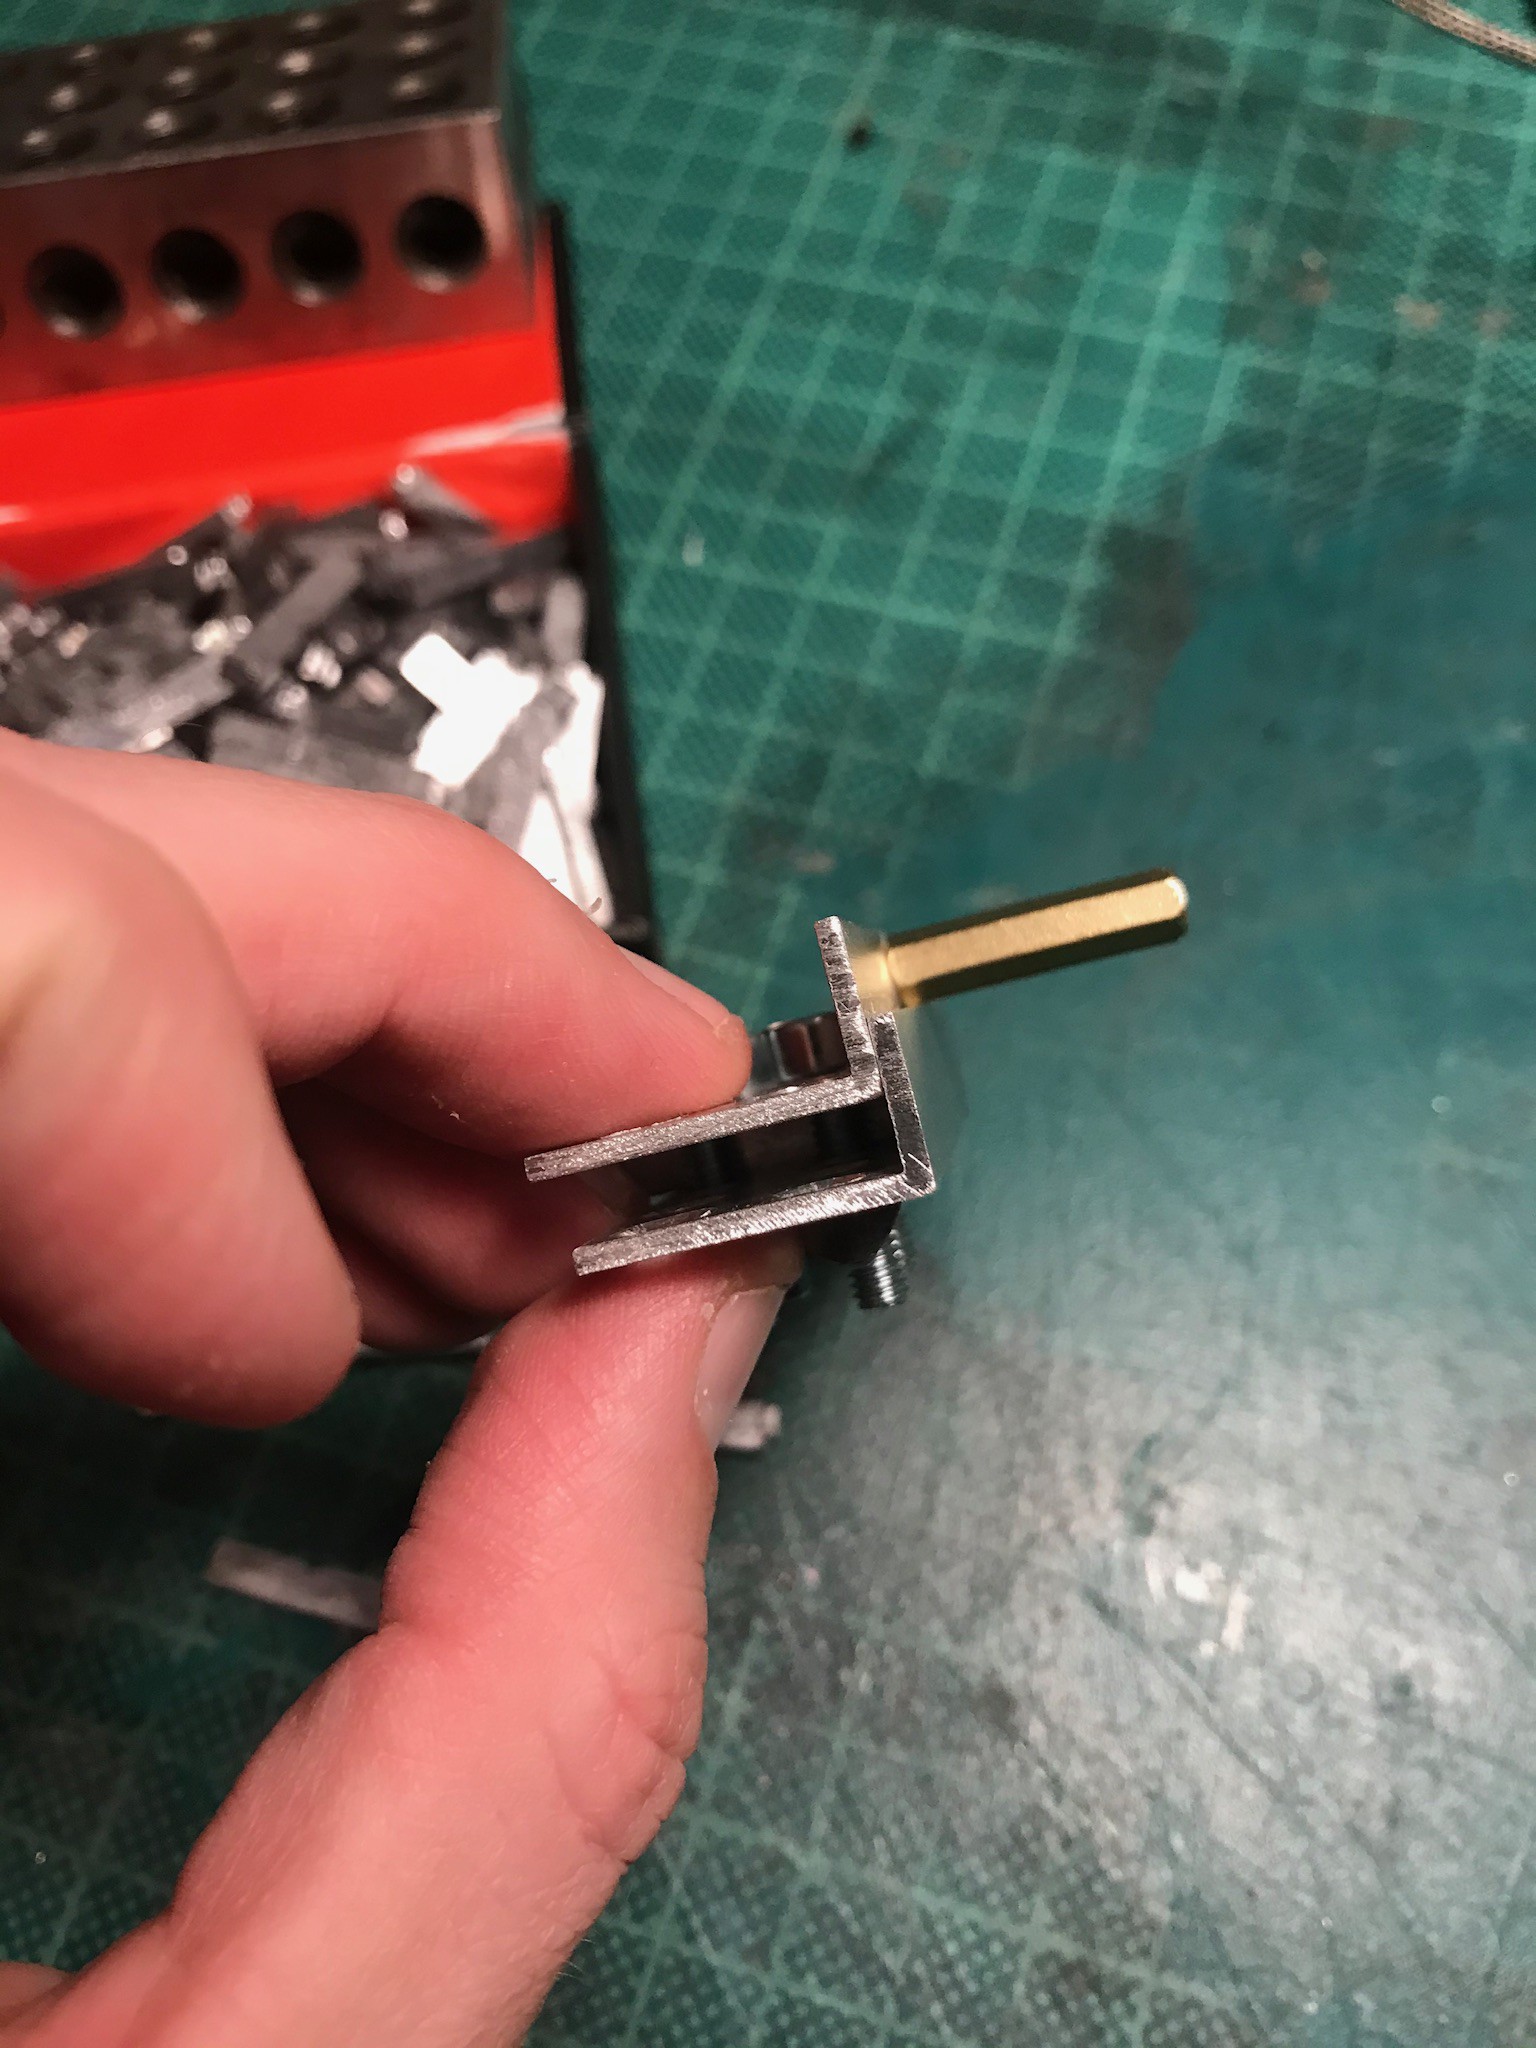
I put together a couple of L shape aluminium profiles and drilled holes to hold everything together. I'm just wondering if the heat transfer will work properly.
![]()
![]()
![]()
-
The Electric Creaser
12/05/2019 at 19:22 • 0 commentsI didn't receive my parts for the part 1 of the project so I skipped directly to part 2
Here's the steps:
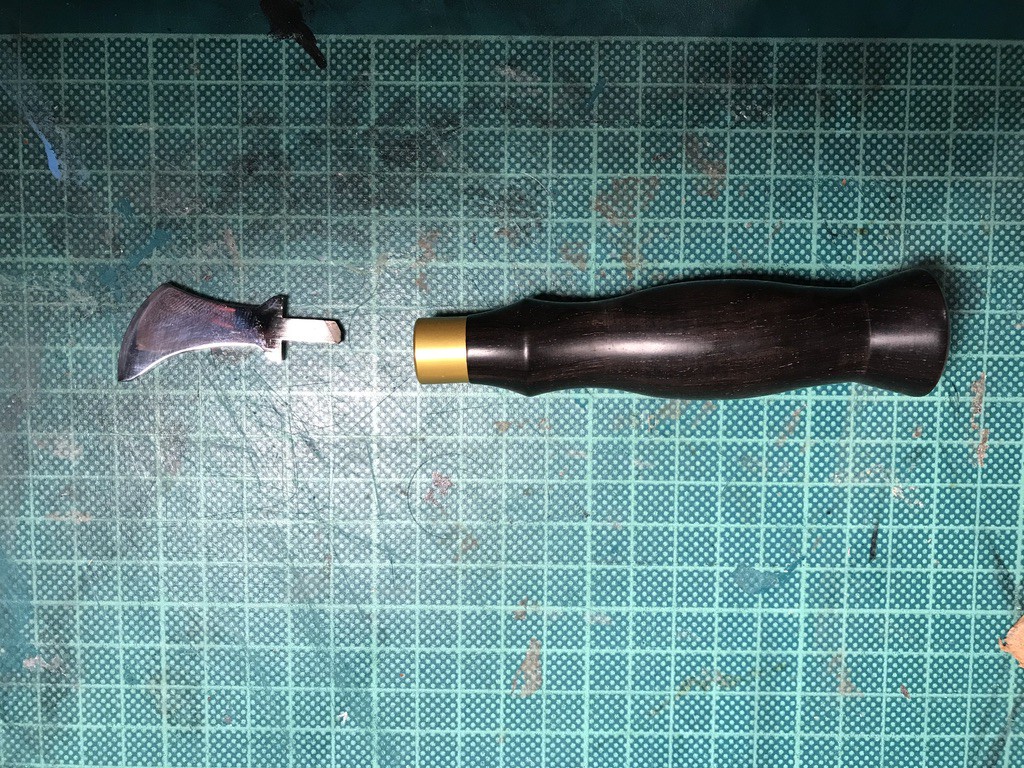
1. Remove the tip from the manual creaser
![]()
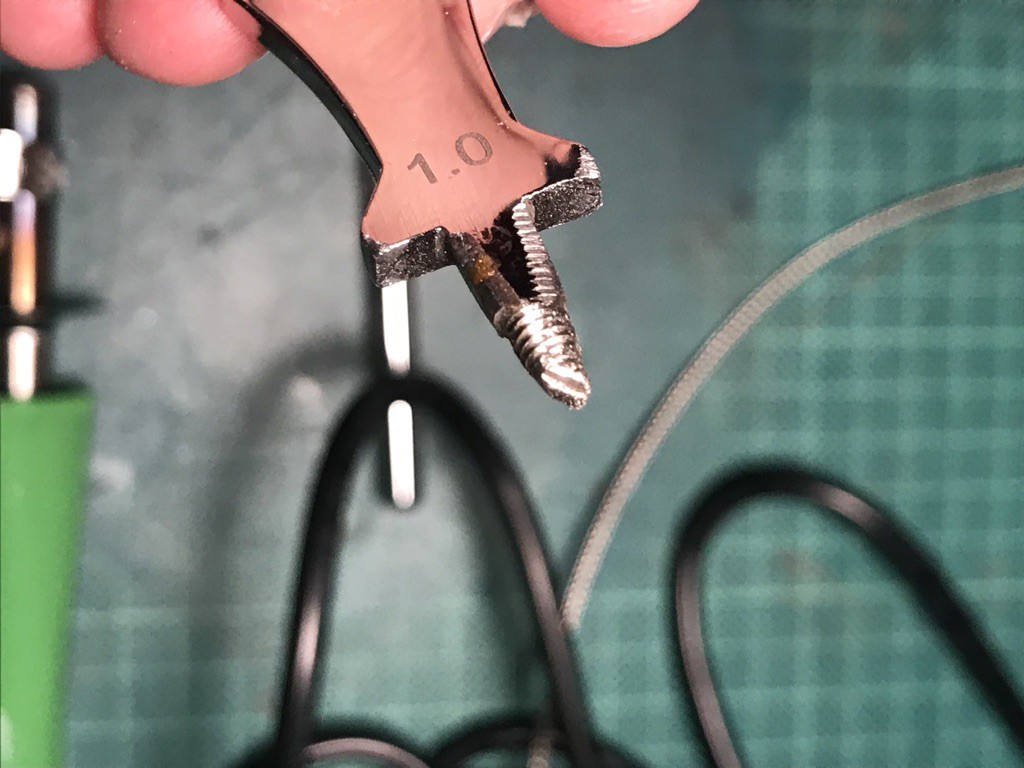
2.File the handle, and tap it at 4mm
![]()
3.Screw the adapted creaser tip on the wood burning pen
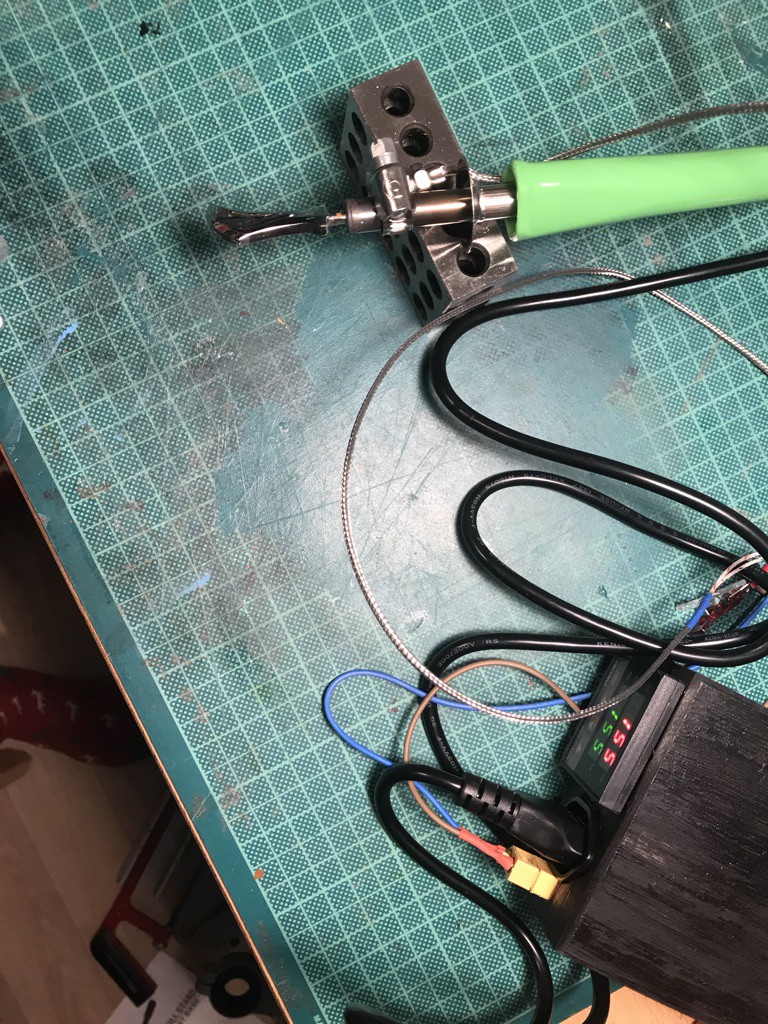
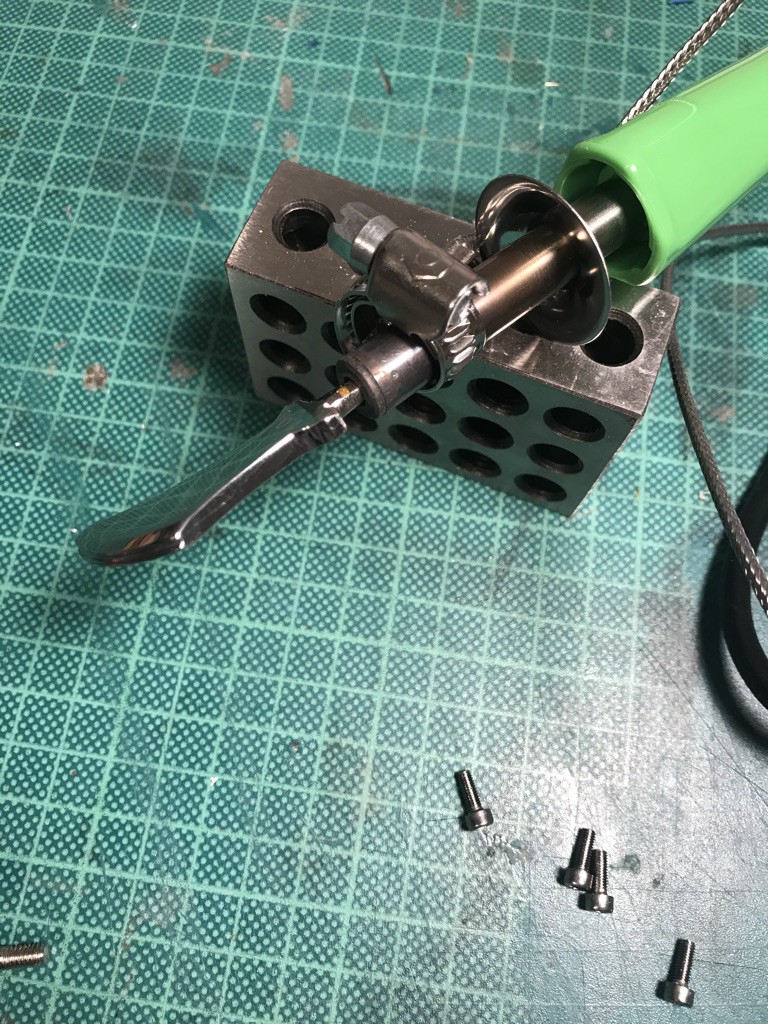
4.Attach the Thermocouple K using a hose binding
![]() Here's the whole setup
Here's the whole setup![]()
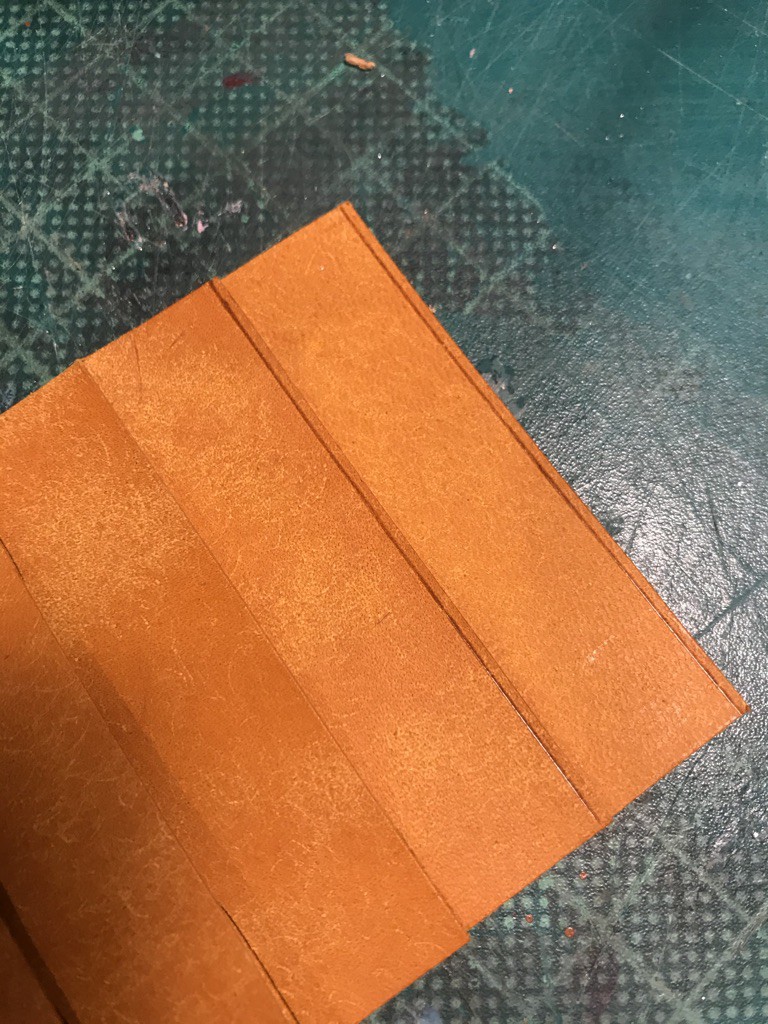
And the end result is perfect !
![]()
Because the tip is so large, the temperature of the process has to be set 50C higher than it's supposed to be but in the end it works and the ensemble is very sturdy despite it's appearance
-
Wiring the PID
12/05/2019 at 12:53 • 0 commentsI received the PID and various connectors
![]()
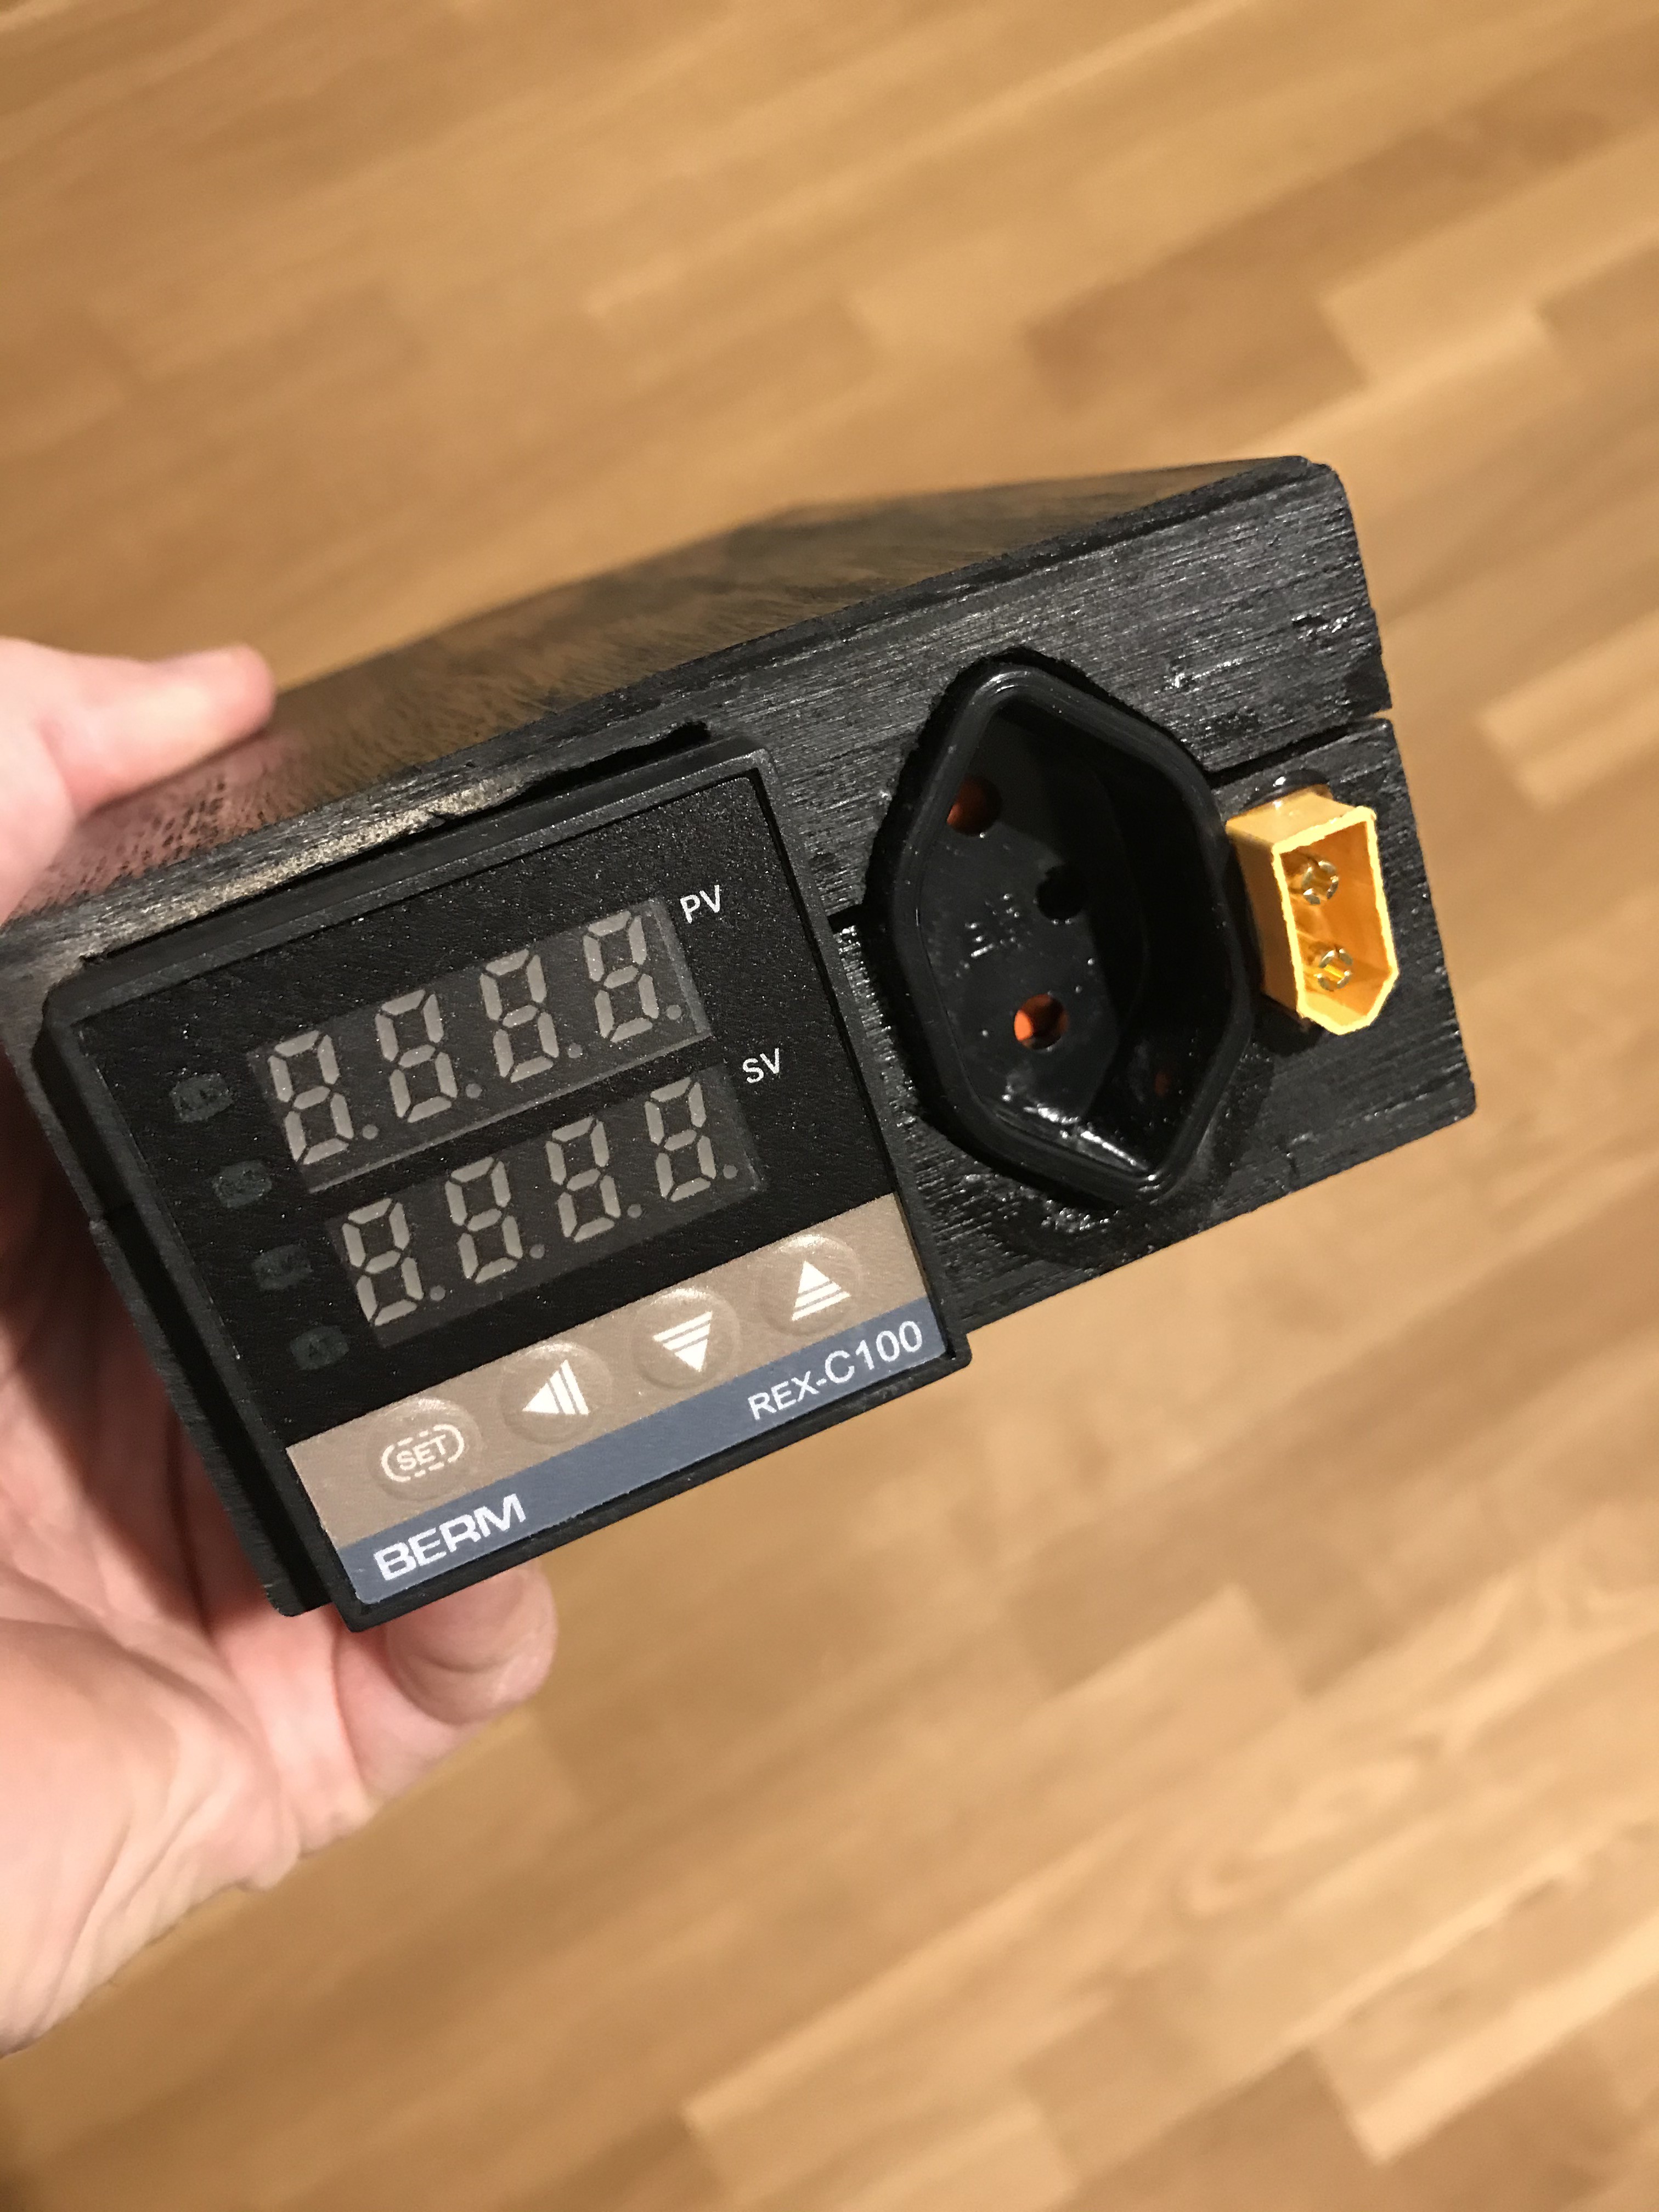
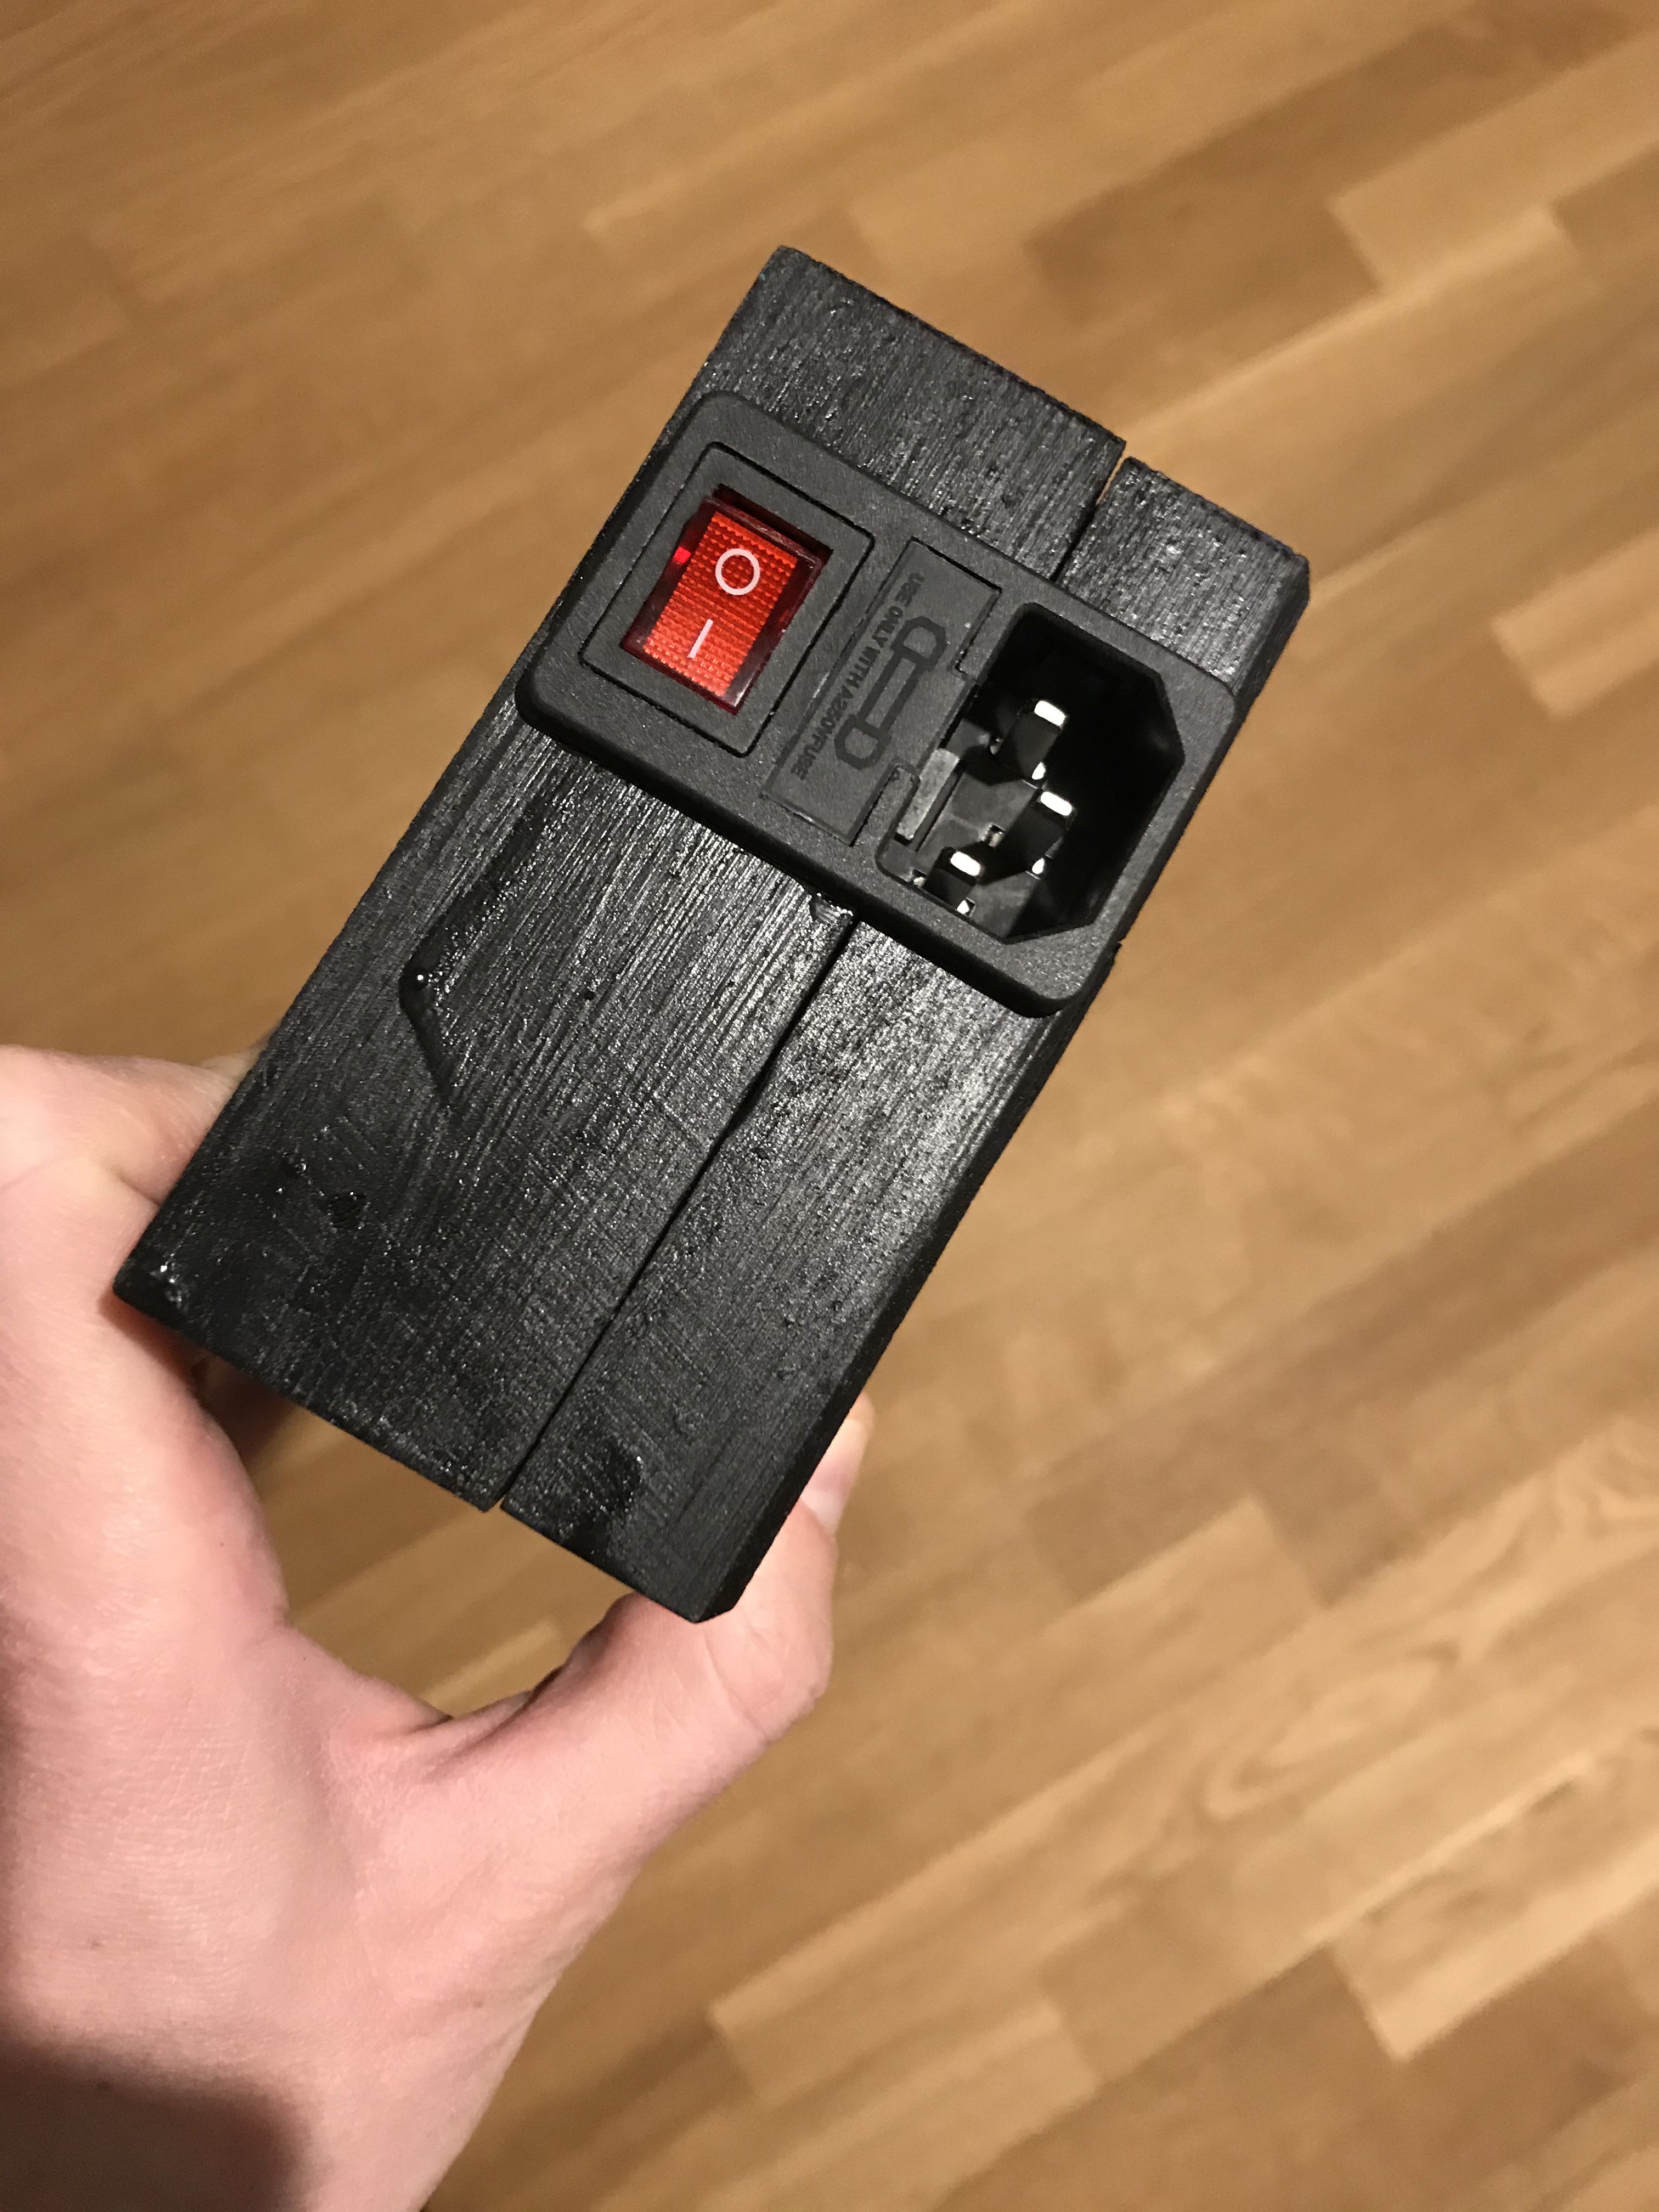
after wiring everything together I packed it in a wooden box for safe(r) handling.
![]()
![]()
Hot Foil Leather Stamping and Electric Creaser
A DIY version of the industrial machines
 Here's the whole setup