-
1Milling the mould
In this section I wil briefly discribe the steps of making the mould.
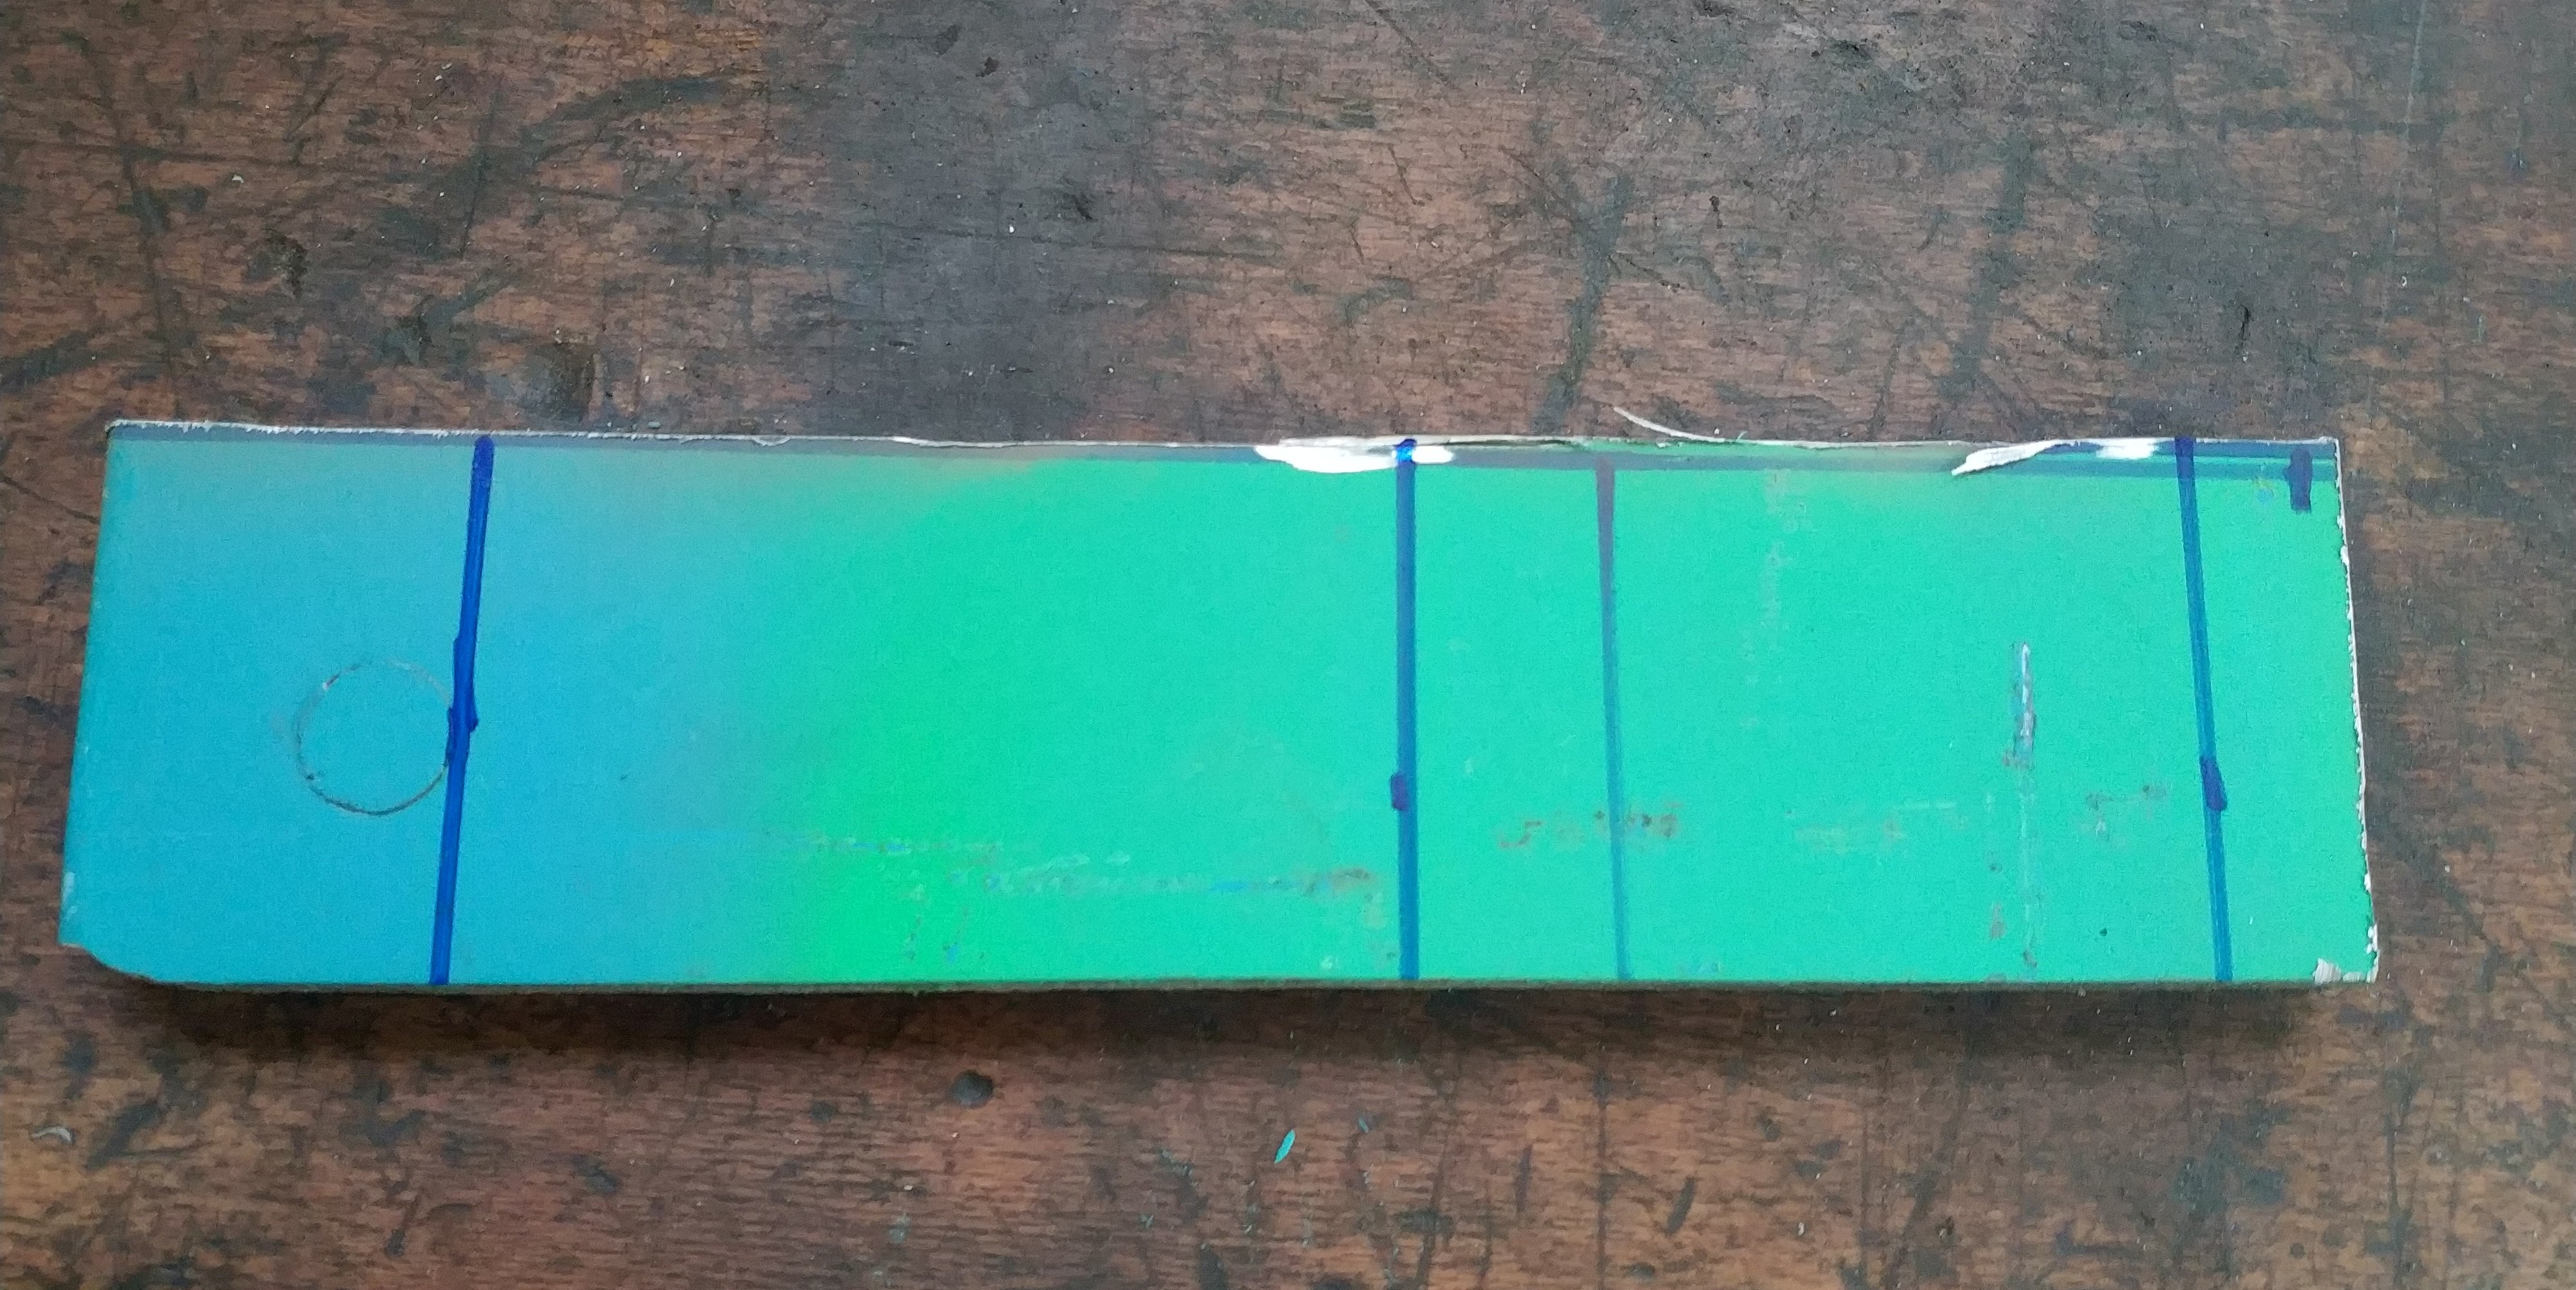
I choose a pice of 10 mm scrap aluminium sheet metal to start with and cut a strip out of it with a angle grinder.
![]()
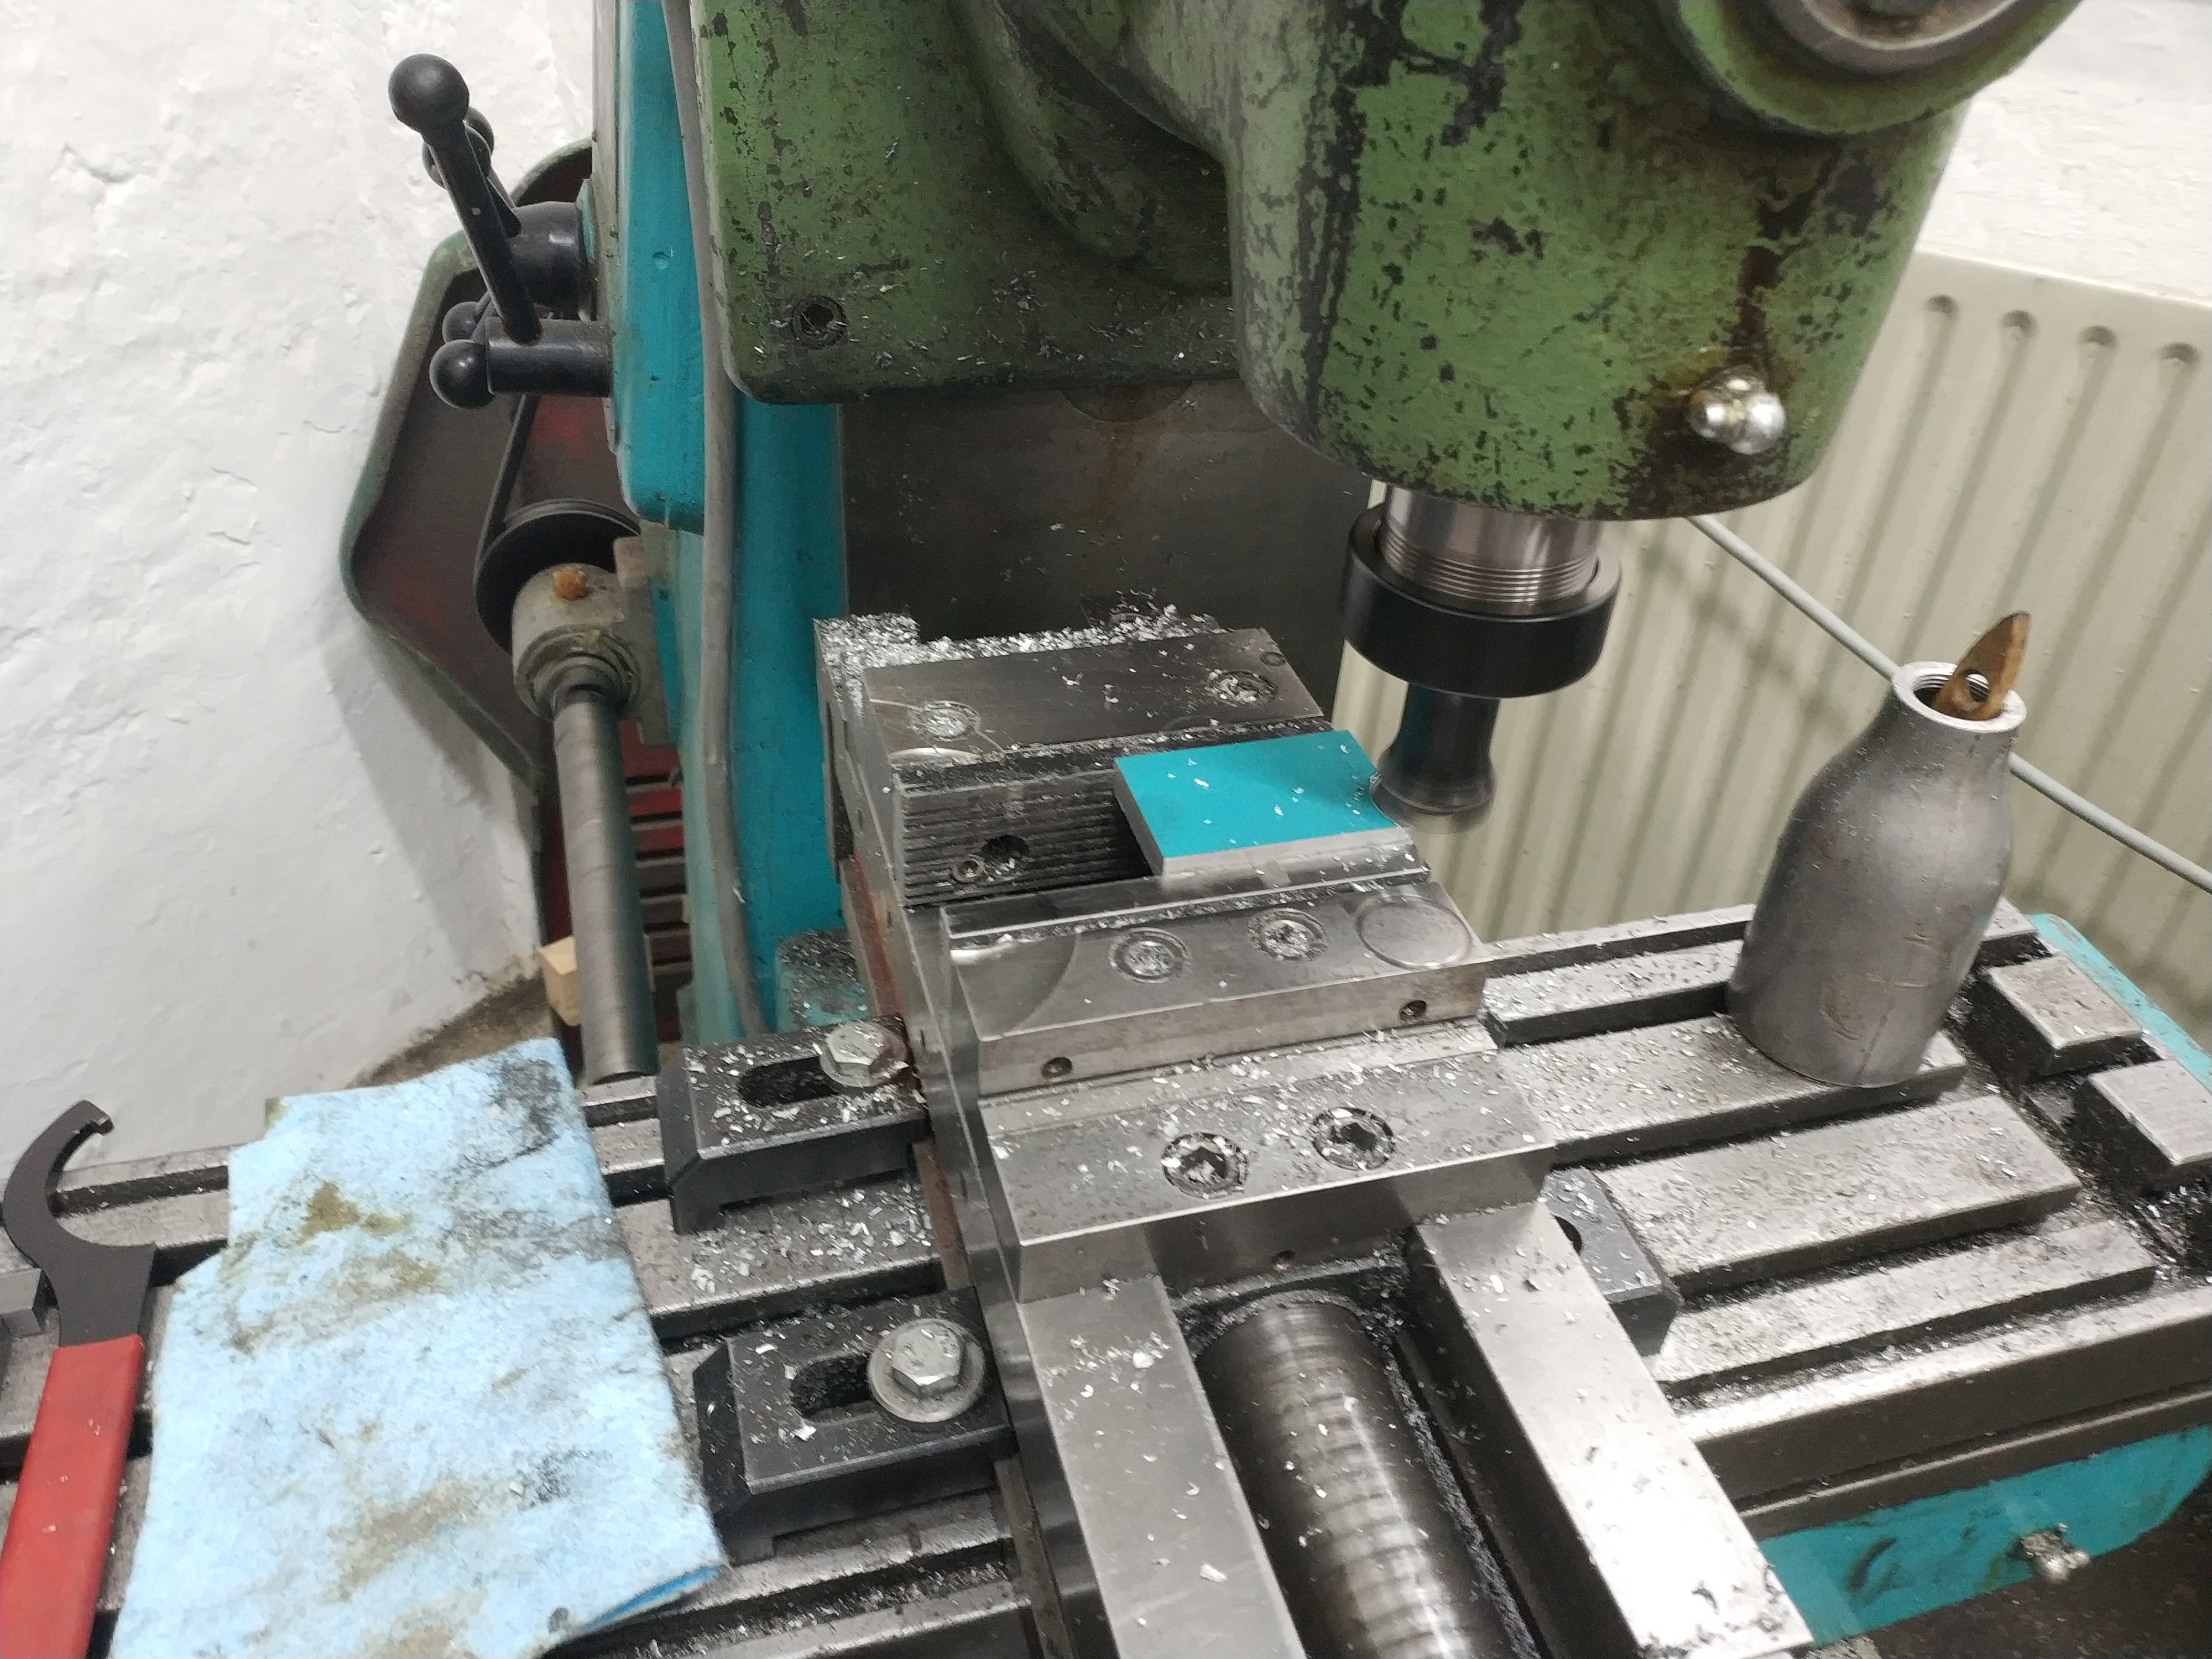
The markings are about 7 x 4.5 cm apart (see drawing). the pieces were cut to length with a bandsaw. The bottom egde was already straight so I used this as a reference for flattening the other edges with the mill. The last step to get the raw aluminium pieces was to remove the top layer of paint. Accidentlly I removed a lot more then I wanted (about 1 mm per side) and endet up with 8 mm thick pices.
![]()
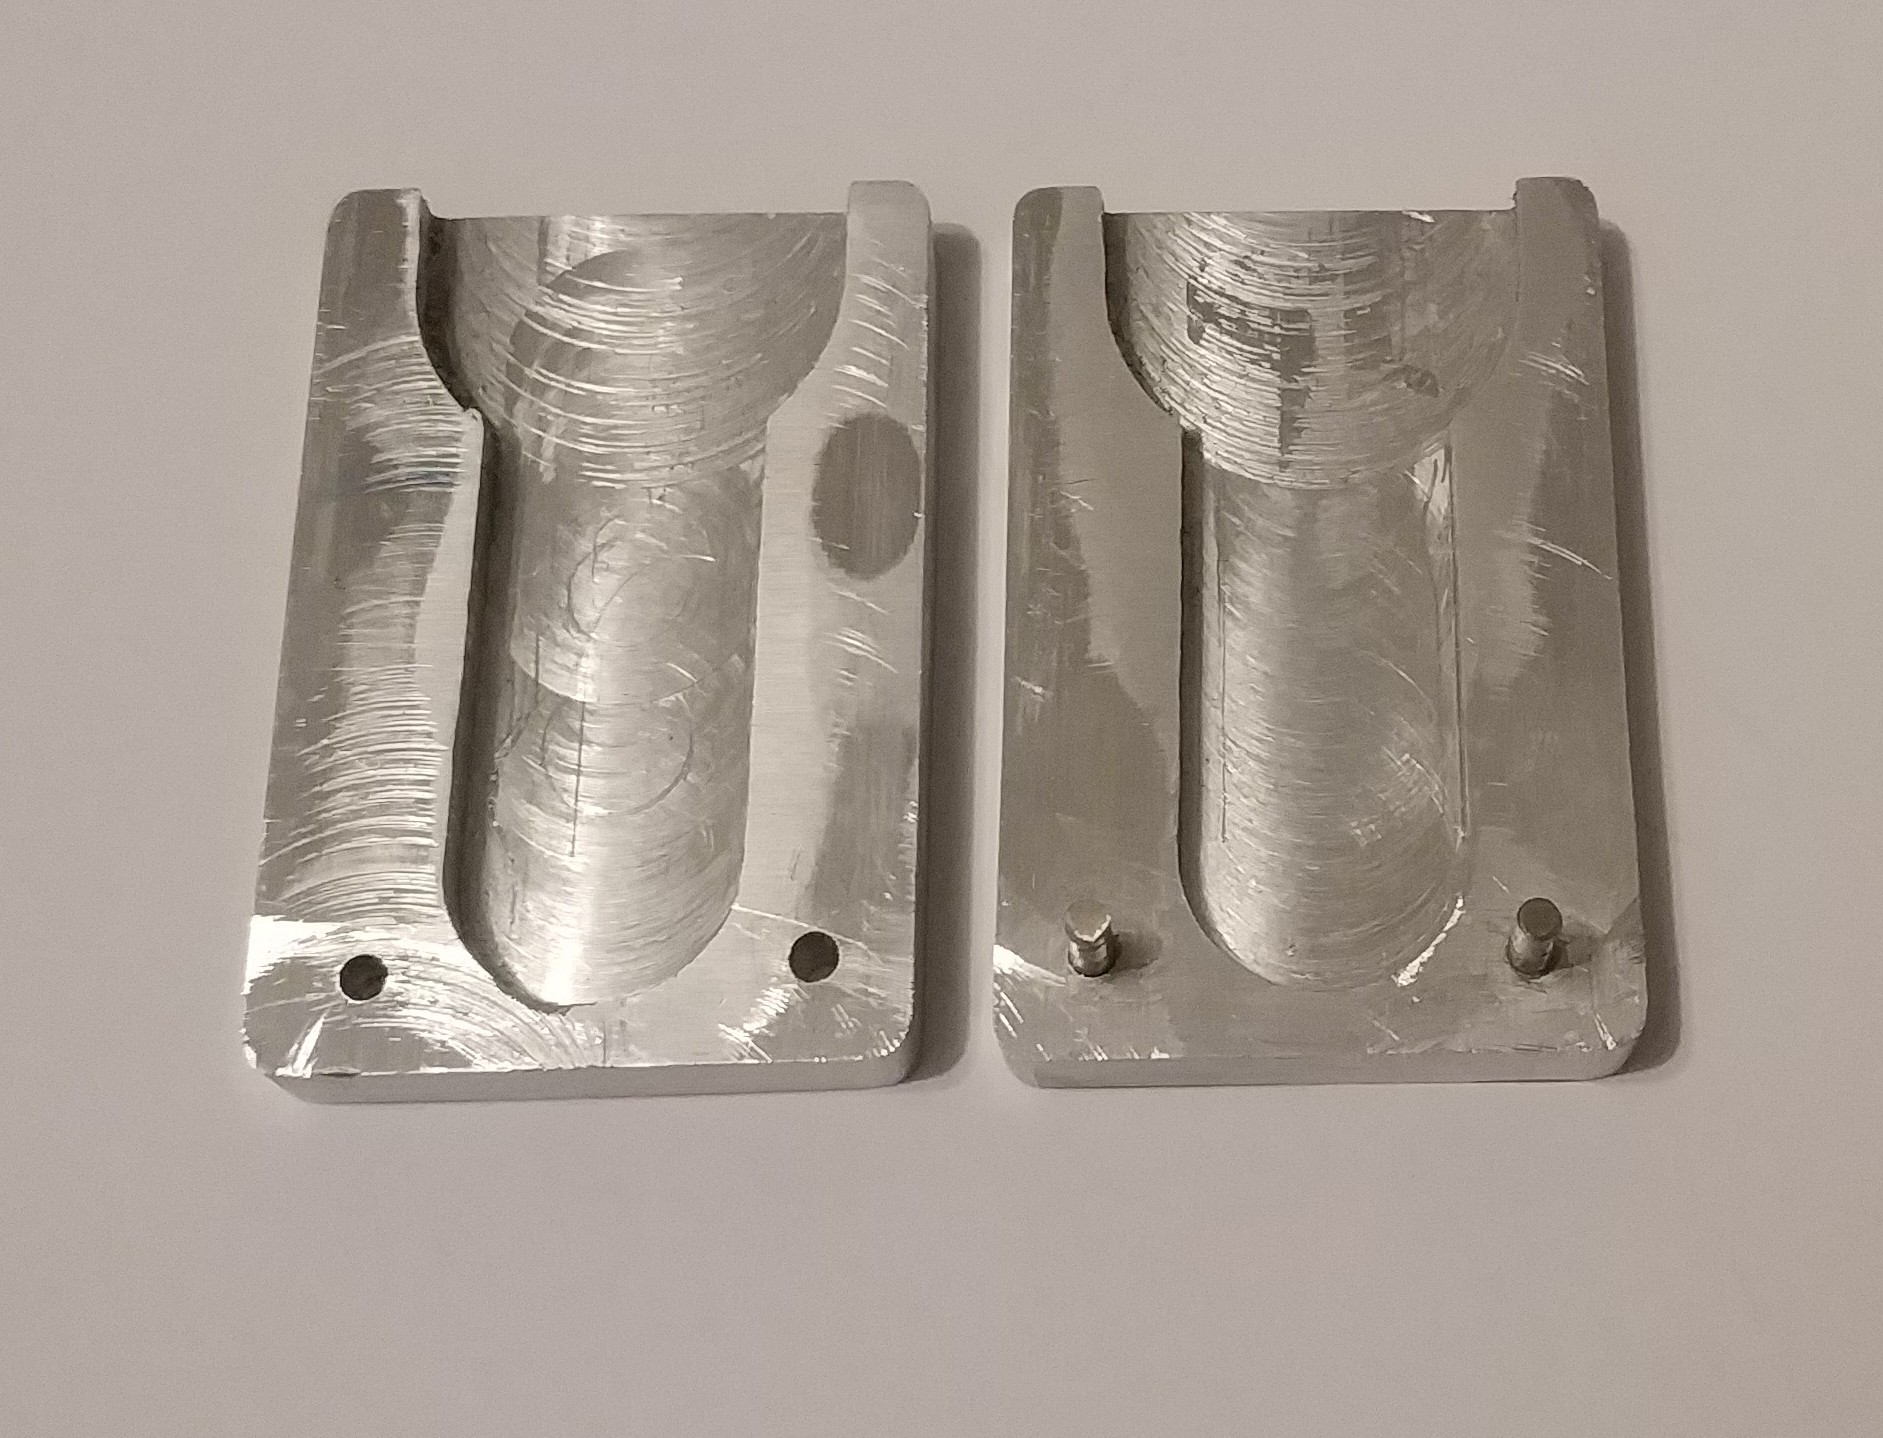
The cutout is 4.5 mm deep. I milled the broader part of the mould with the same tool (32 mm) I used to remove the top layer from the stock material. The lenghly section was milled with a 20 mm tool. Strangely the second tool made a much nicer surface than the bigger one (I also used this to flatten the sides)I have no clue why, I guess I have a lot to lern :)
For the alignment pins I taped the two pieces together and drilled the 3 mm holes. Some 3 mm round scrap metal was cut to length and the pins were glued in with epoxy.
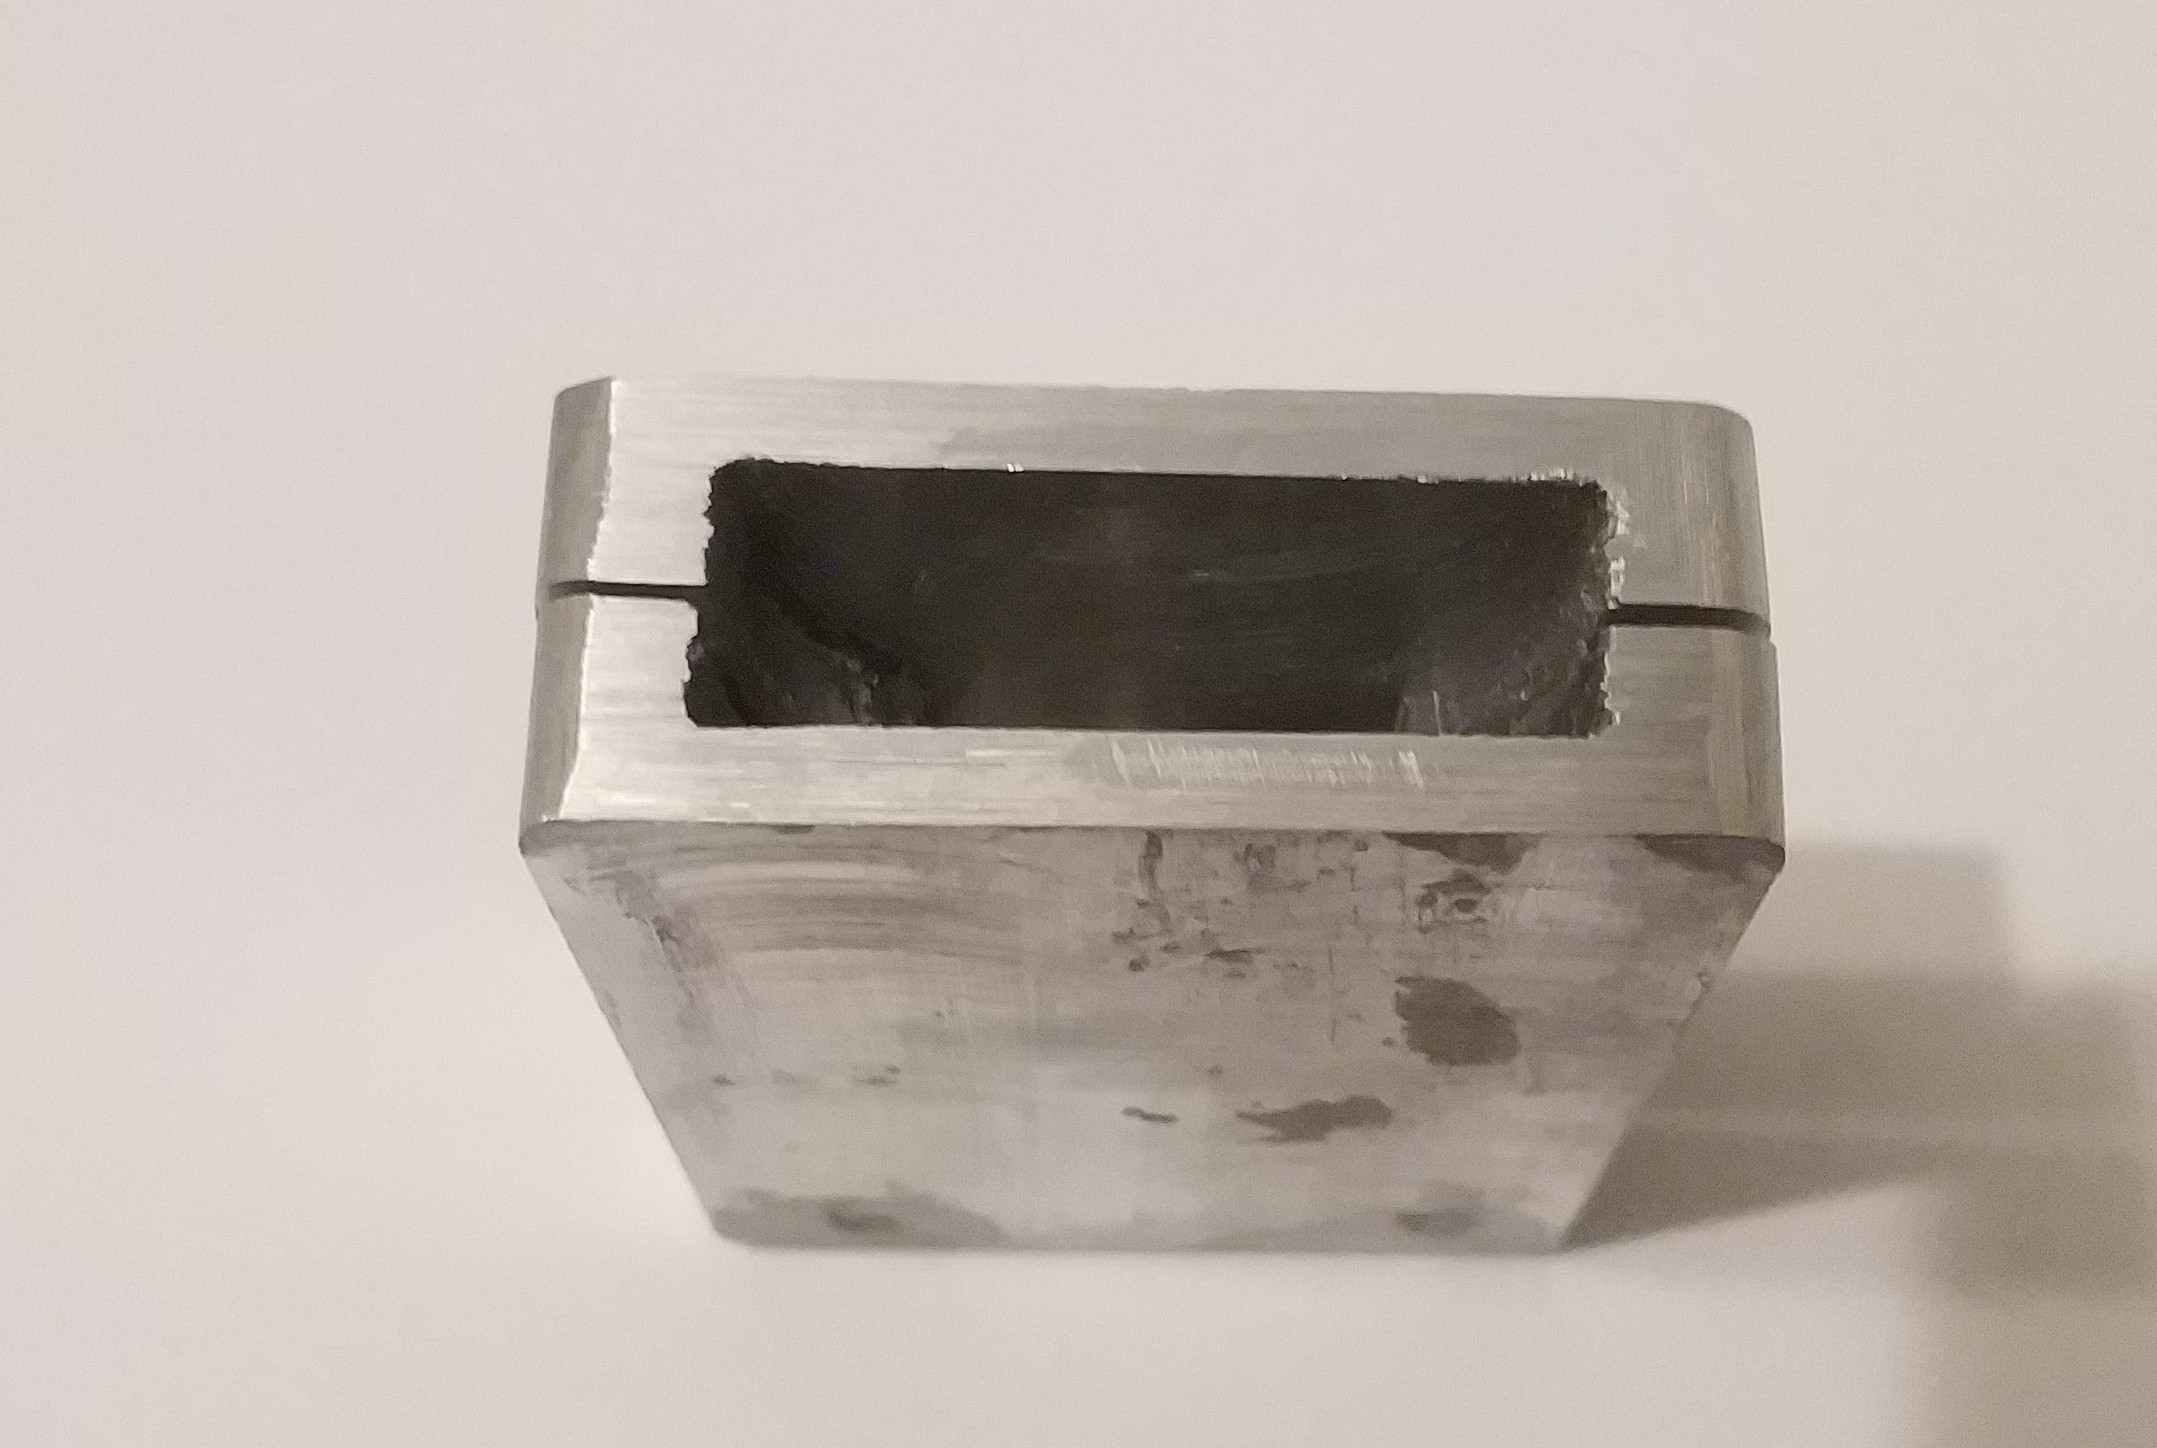
So after some final touches at the beld grinder to smooth the corners I ended up with this:
![]()
![]()
-
2Key dublication
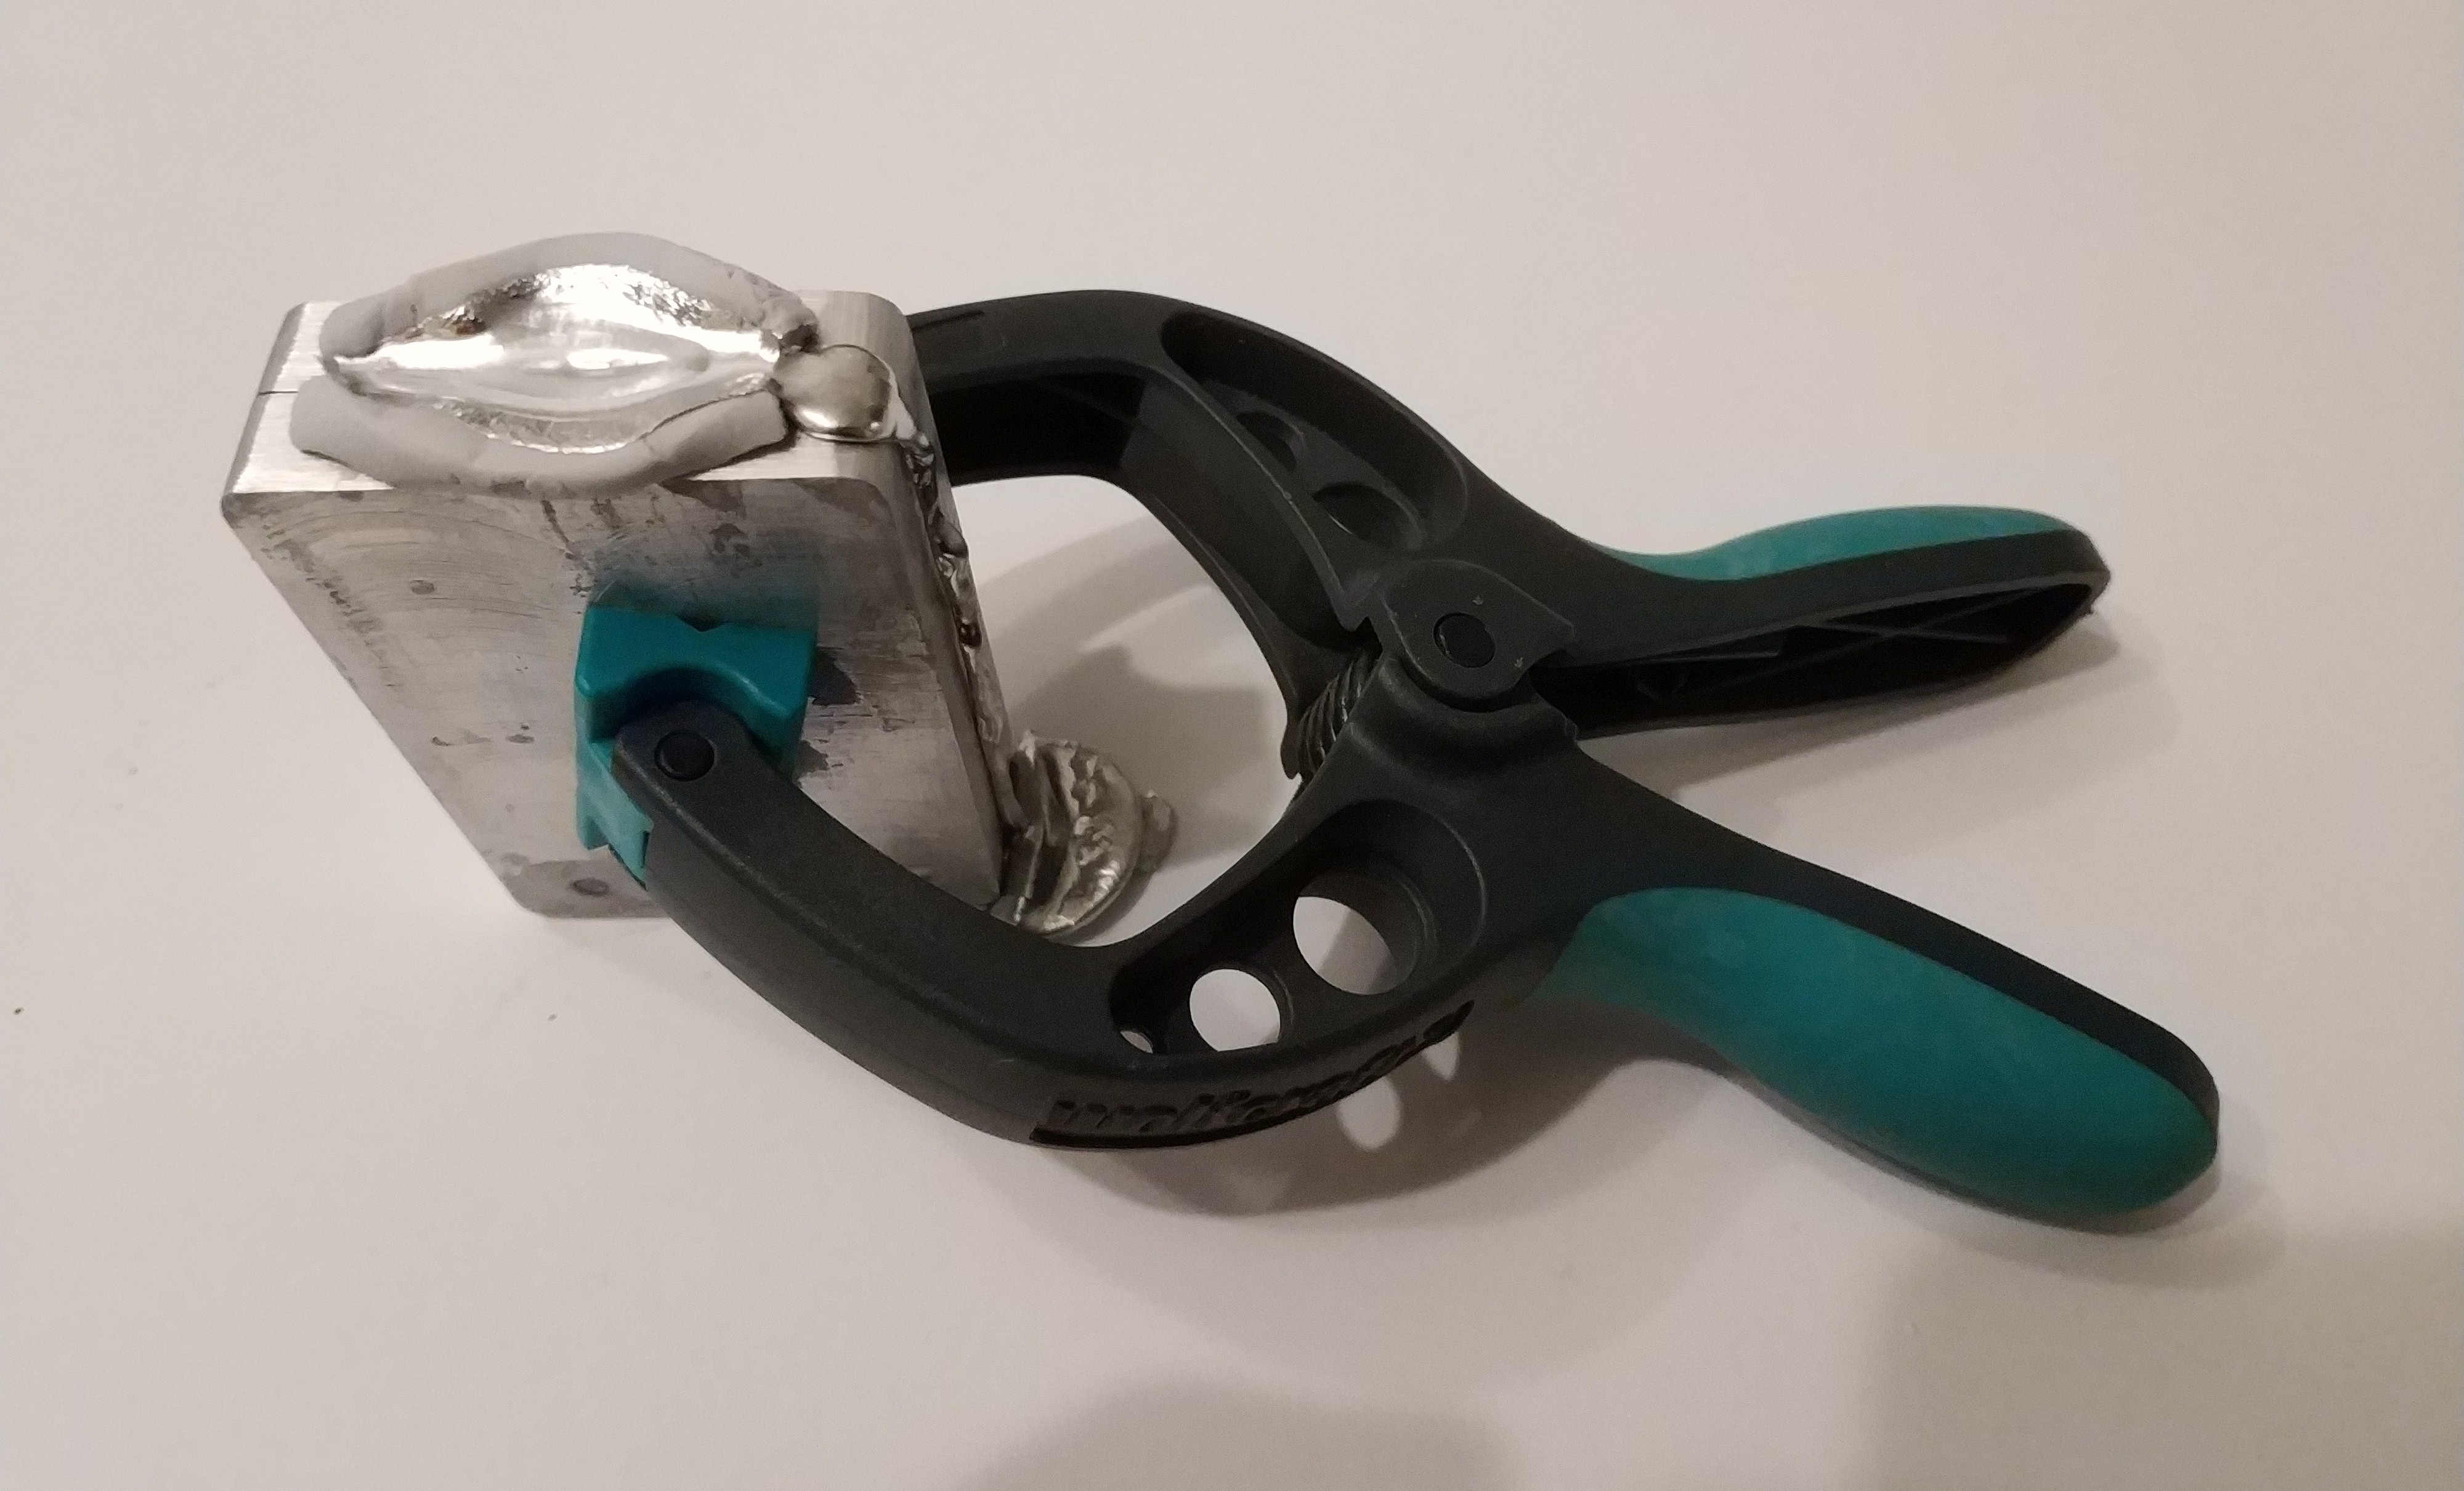
Step 1: Fill the cavity of the mould with Fimo or a equivalent polymer clay and flatten the clay e.g with a round pice of wood or core follower. To prevent the two clay parts from sticking together while making the key indentation, powder some talkum on it (Potato starch also works fine).
![]()
Step 2: Position the key in a way that the teeth are fully surrounded with clay. The more of the upper part of the key you can include the better.
![]()
Now press the to halfs together, stepping on it helps. The excess clay is squirted out. You can form a funnel out of this for easier pouring.
![]()
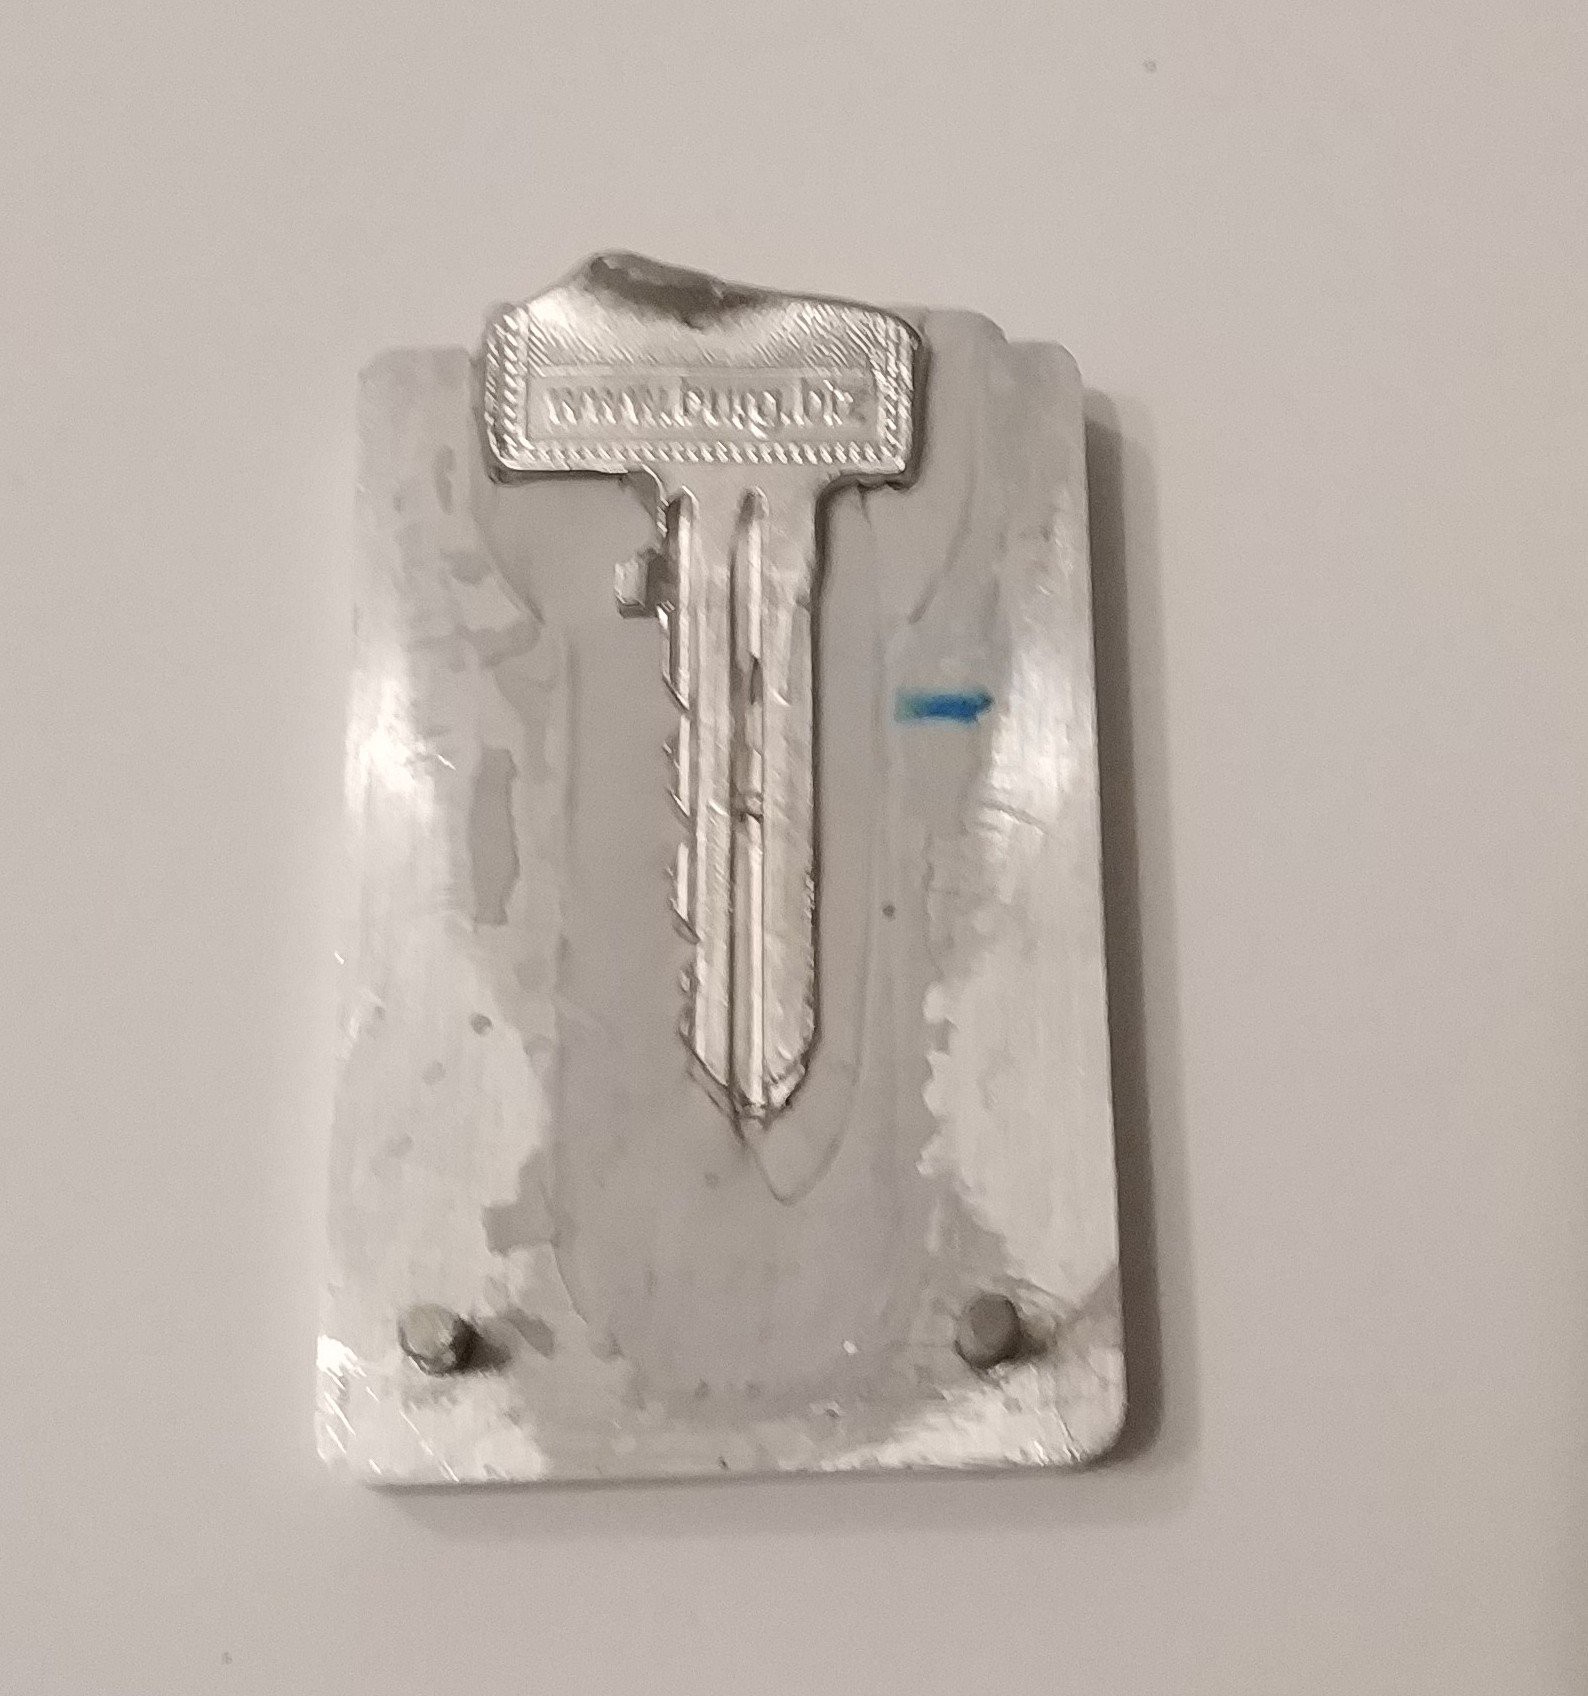
Step 3: Carefully open the mould and remove the key. Take care that you do not damage the indentation. Then take a pointy object (e.g. a pick) and make a thin canal from the tip of the indentation/key to the top so, that the air can escape while pouring the molten metal into the cast.
![]()
Step 4: Heat the alloy (Rose's or Wood's metal) above the melting point and quickly pour it in the mould. Wait a couple of minutes for the metal to cool down then open the mould carefully. If the key is only partially casted, the alloy was not hot enough and cooled down to quickly.
![]()
![]()
(Sorry for the blurry picture :/)
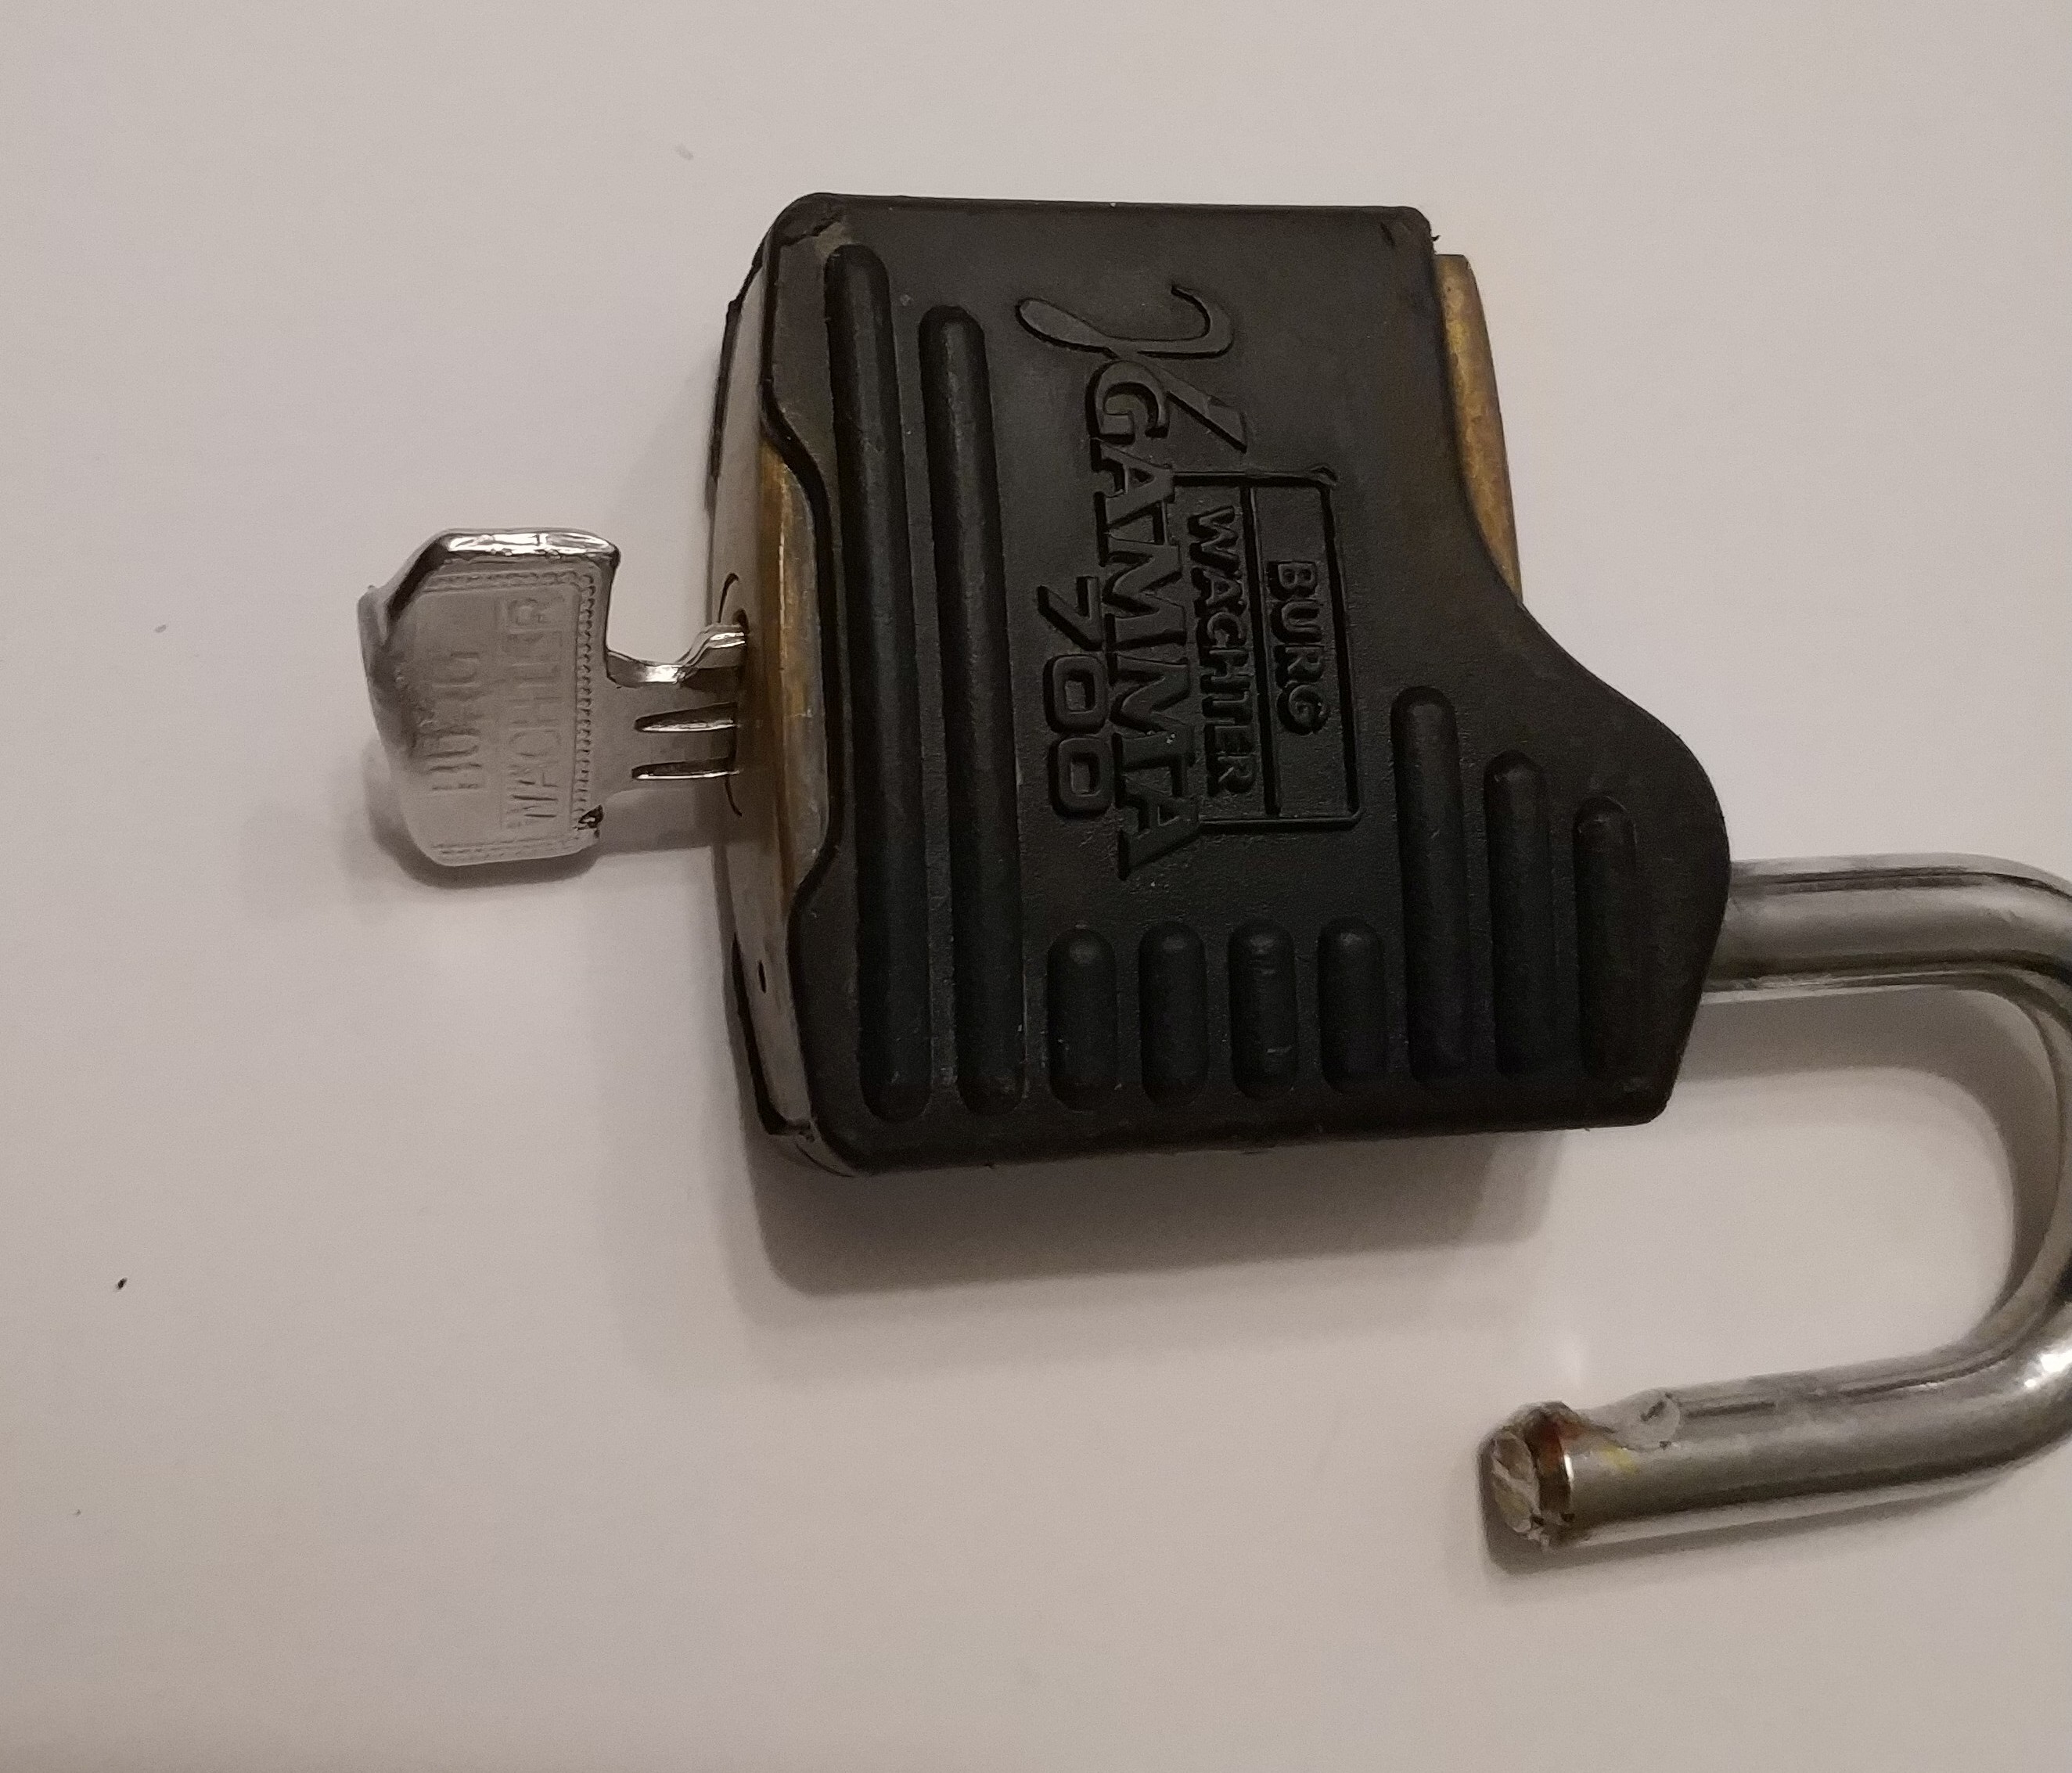
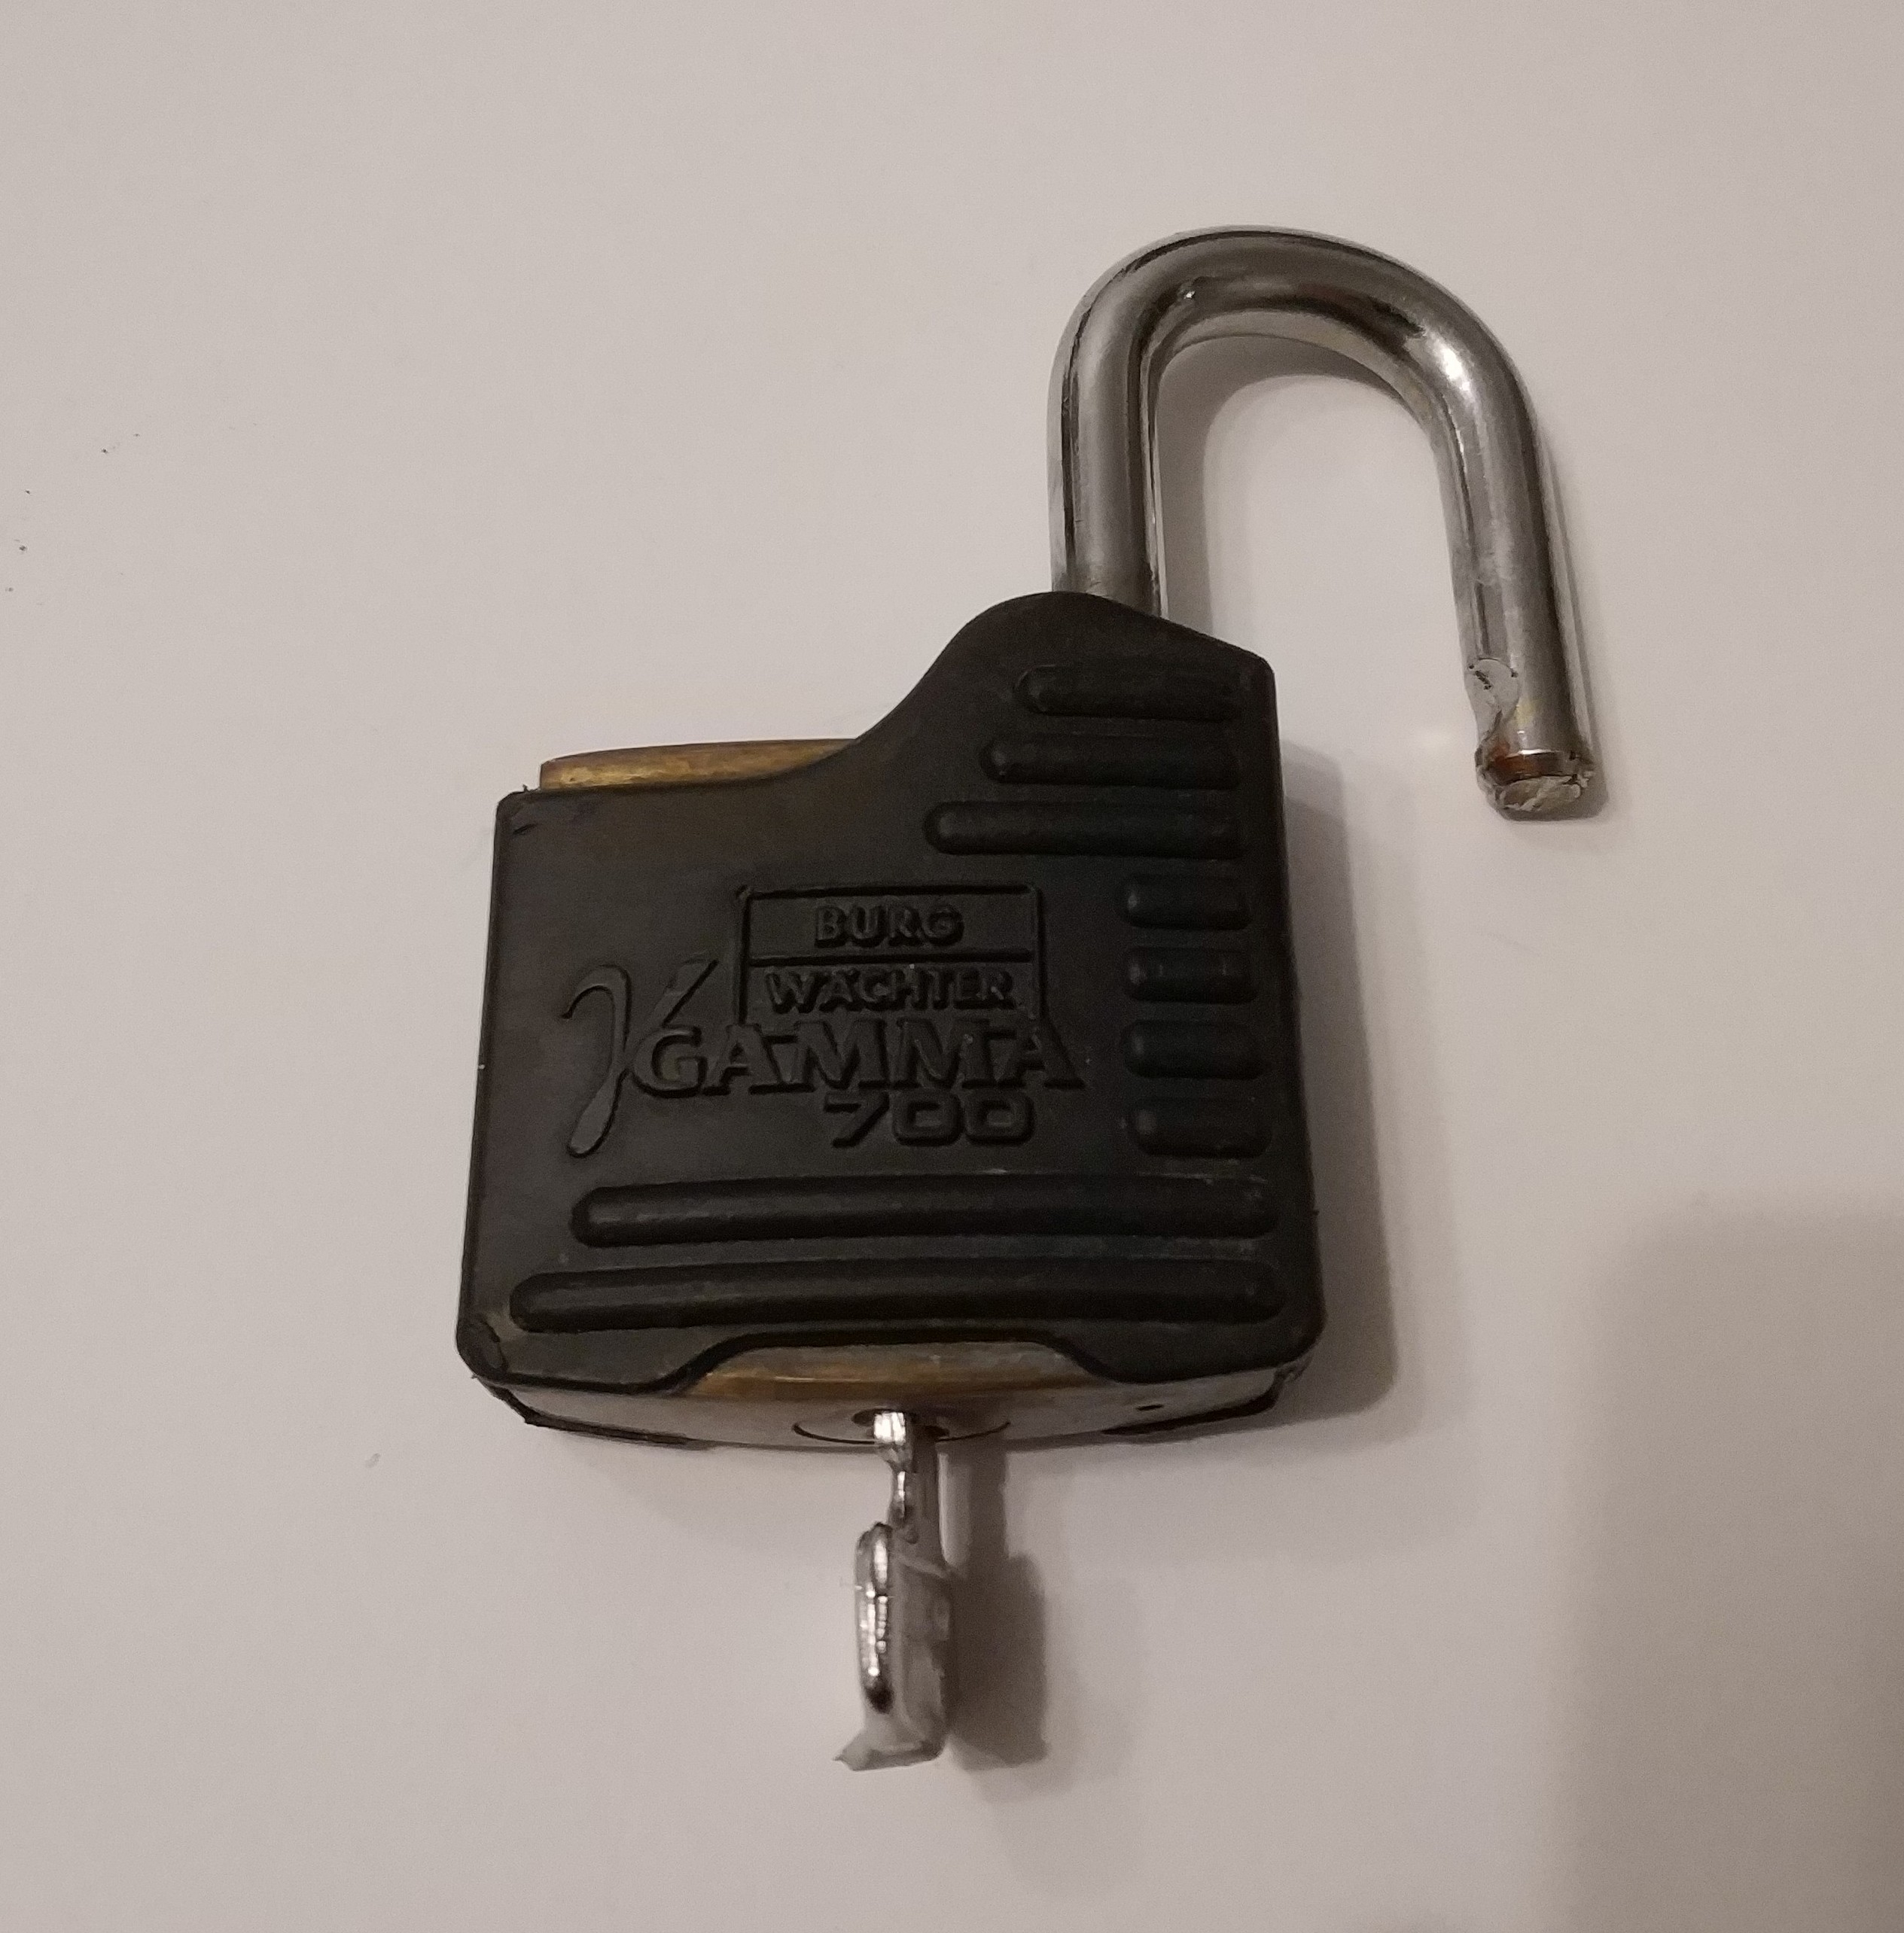
Step 5: Remove the key from the mould. You may have to remove some excess material, but usually it works right away. Be carefull when inserting the key into the lock, although the alloy is quite hard it is not as hard as the original key. When inserting the key for the first time you may need to wiggle a bit until it works properly. After that the key is "ground" to fit. Here I dublicated the key from a Brug Wächter Gamma 700 pad lock.
![]()
![]()
A simple casting mould for hot metal key copying
Copying keys with hot metal (94 °C) casting.
Discussions
Become a Hackaday.io Member
Create an account to leave a comment. Already have an account? Log In.