-
Arduino
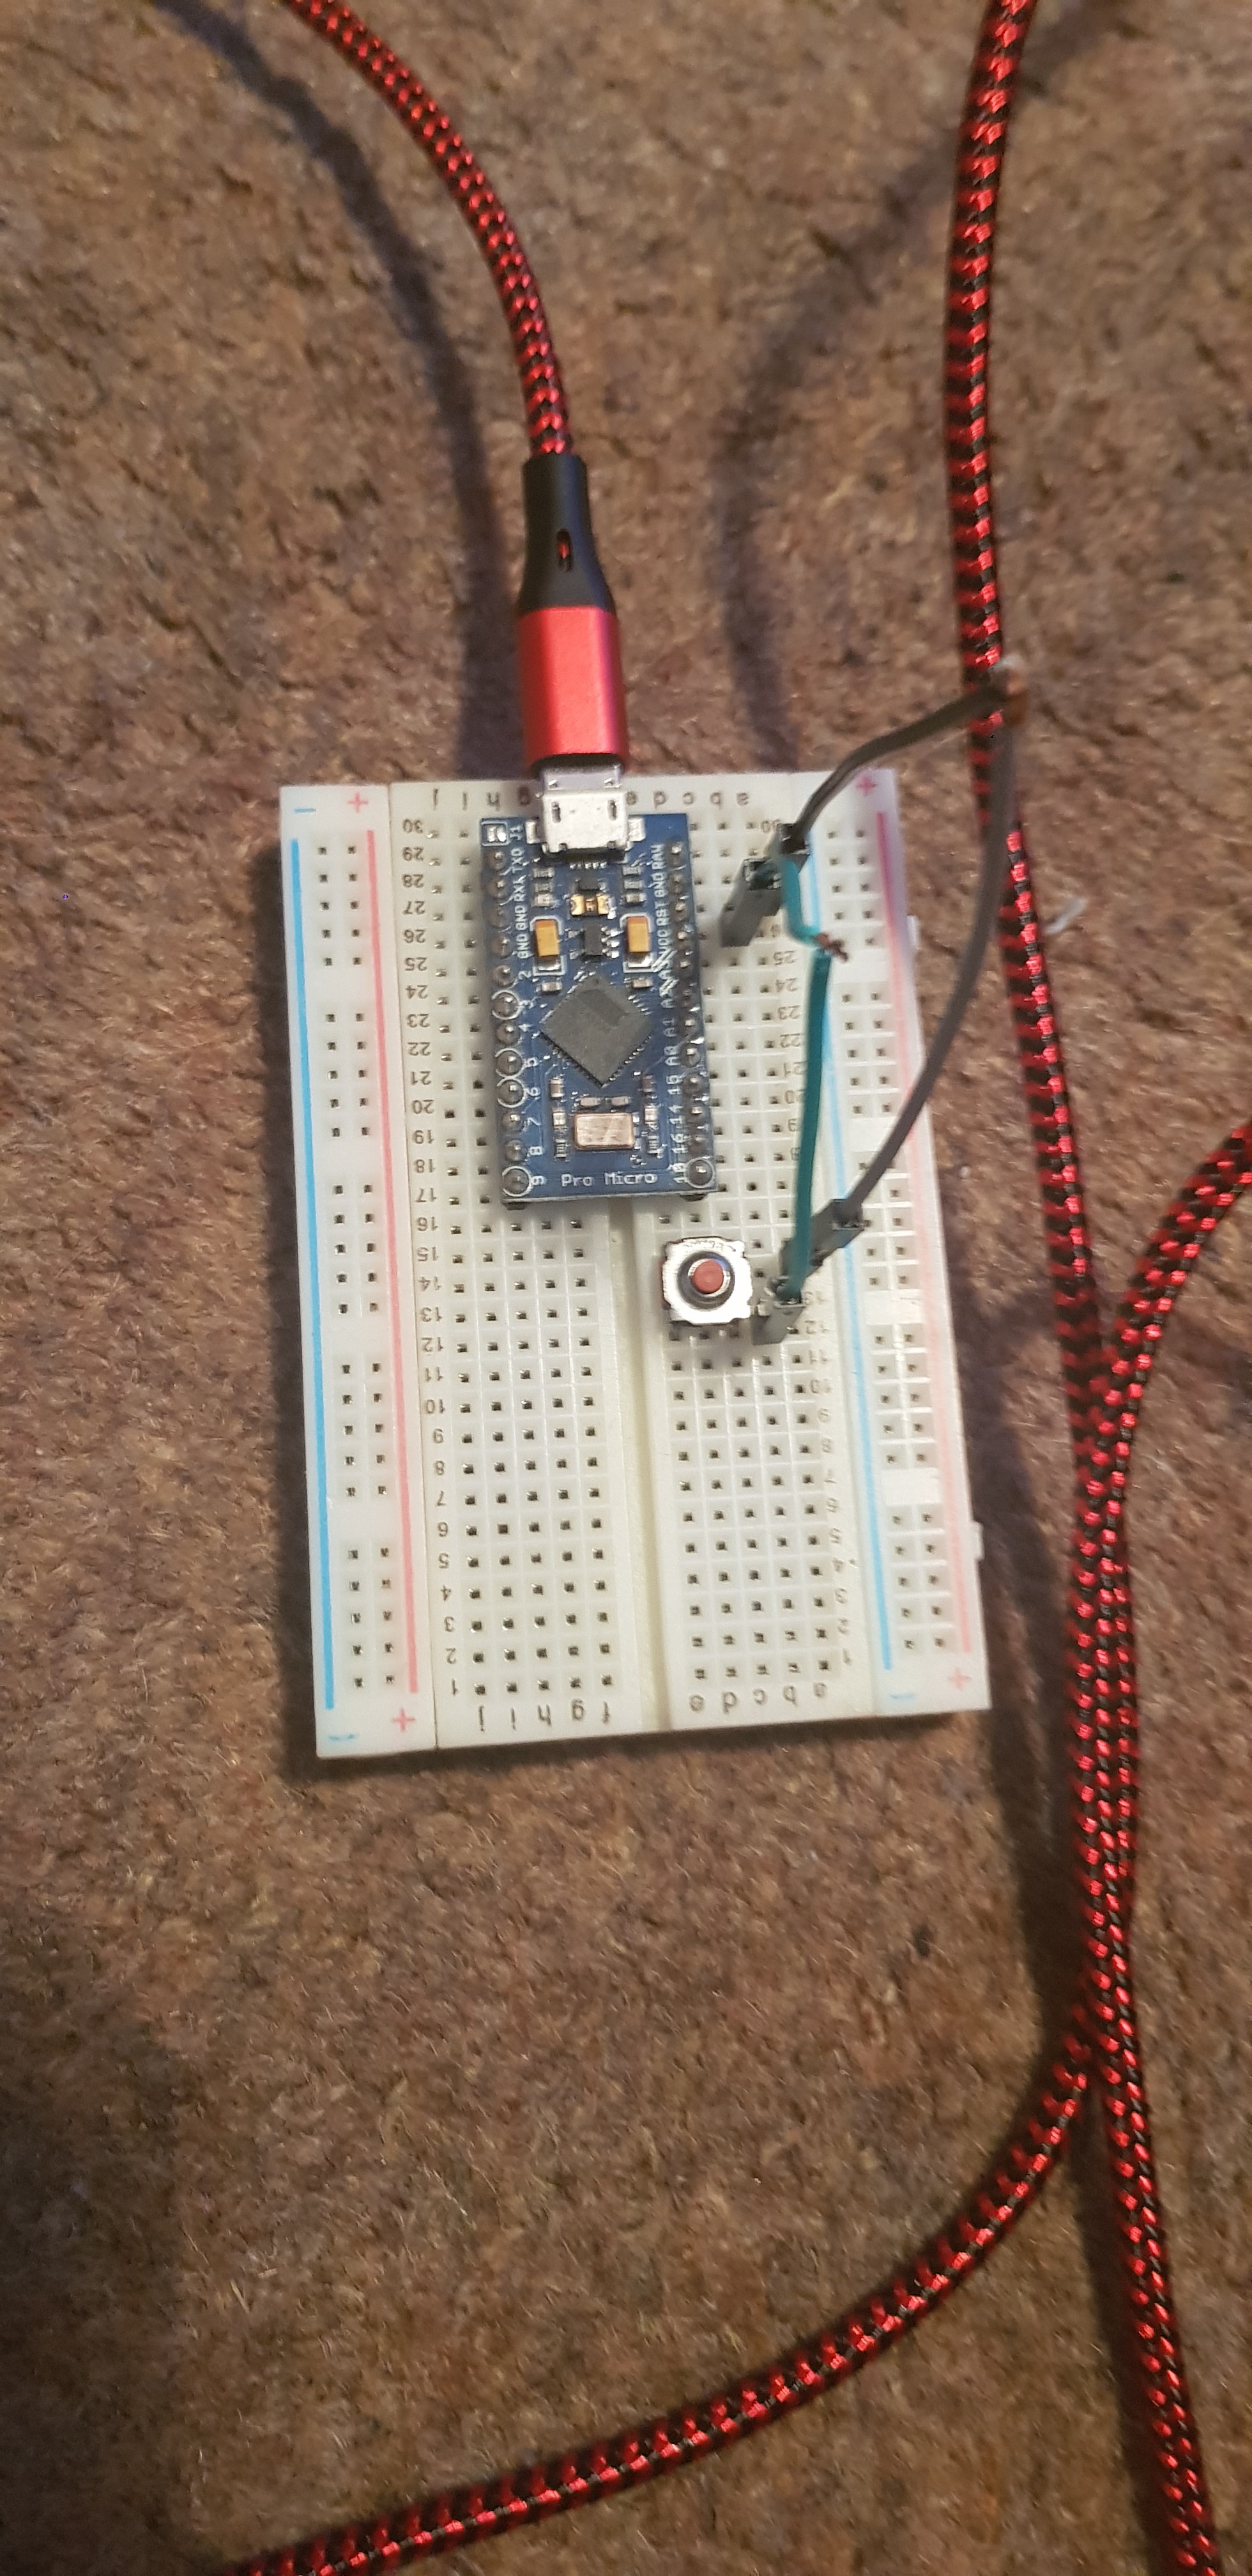
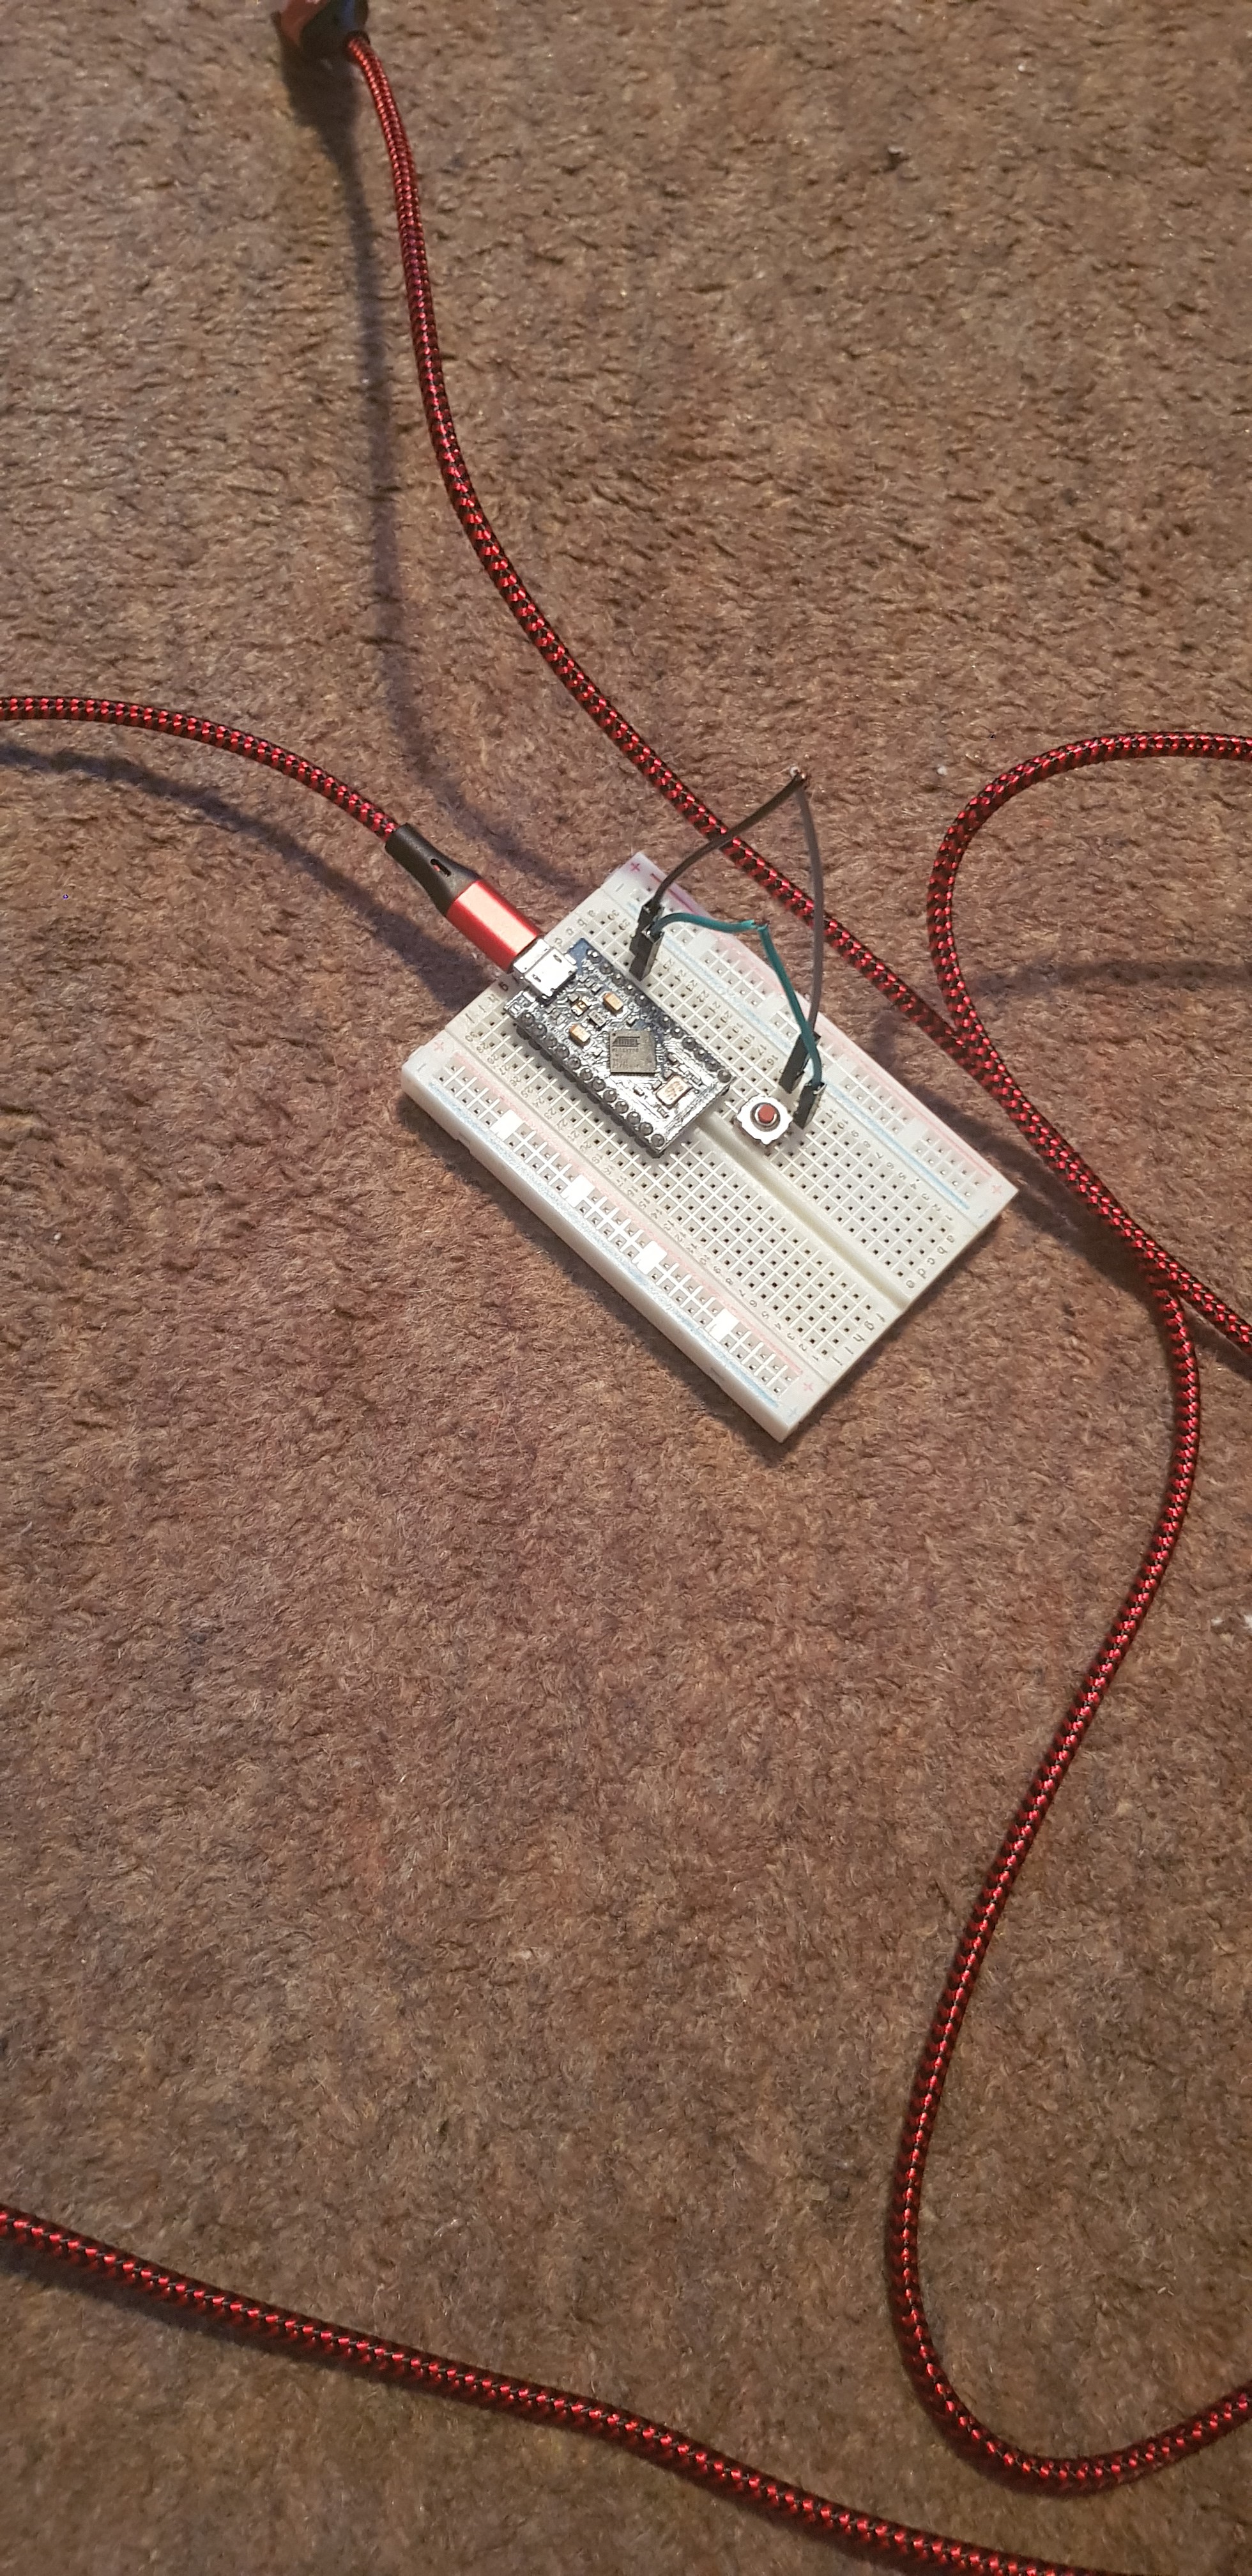
01/19/2020 at 20:29 • 0 commentsI am using an Arduino in order to control the reaction wheel on my project. The Arduino uses C which I have been teaching myself and will use interrupts in order to control the speed and direction that the wheel spins. The program will use pulses given by the detector to calculate the speed and direction by being out of phase.
![]()
![]()
-
The wheels
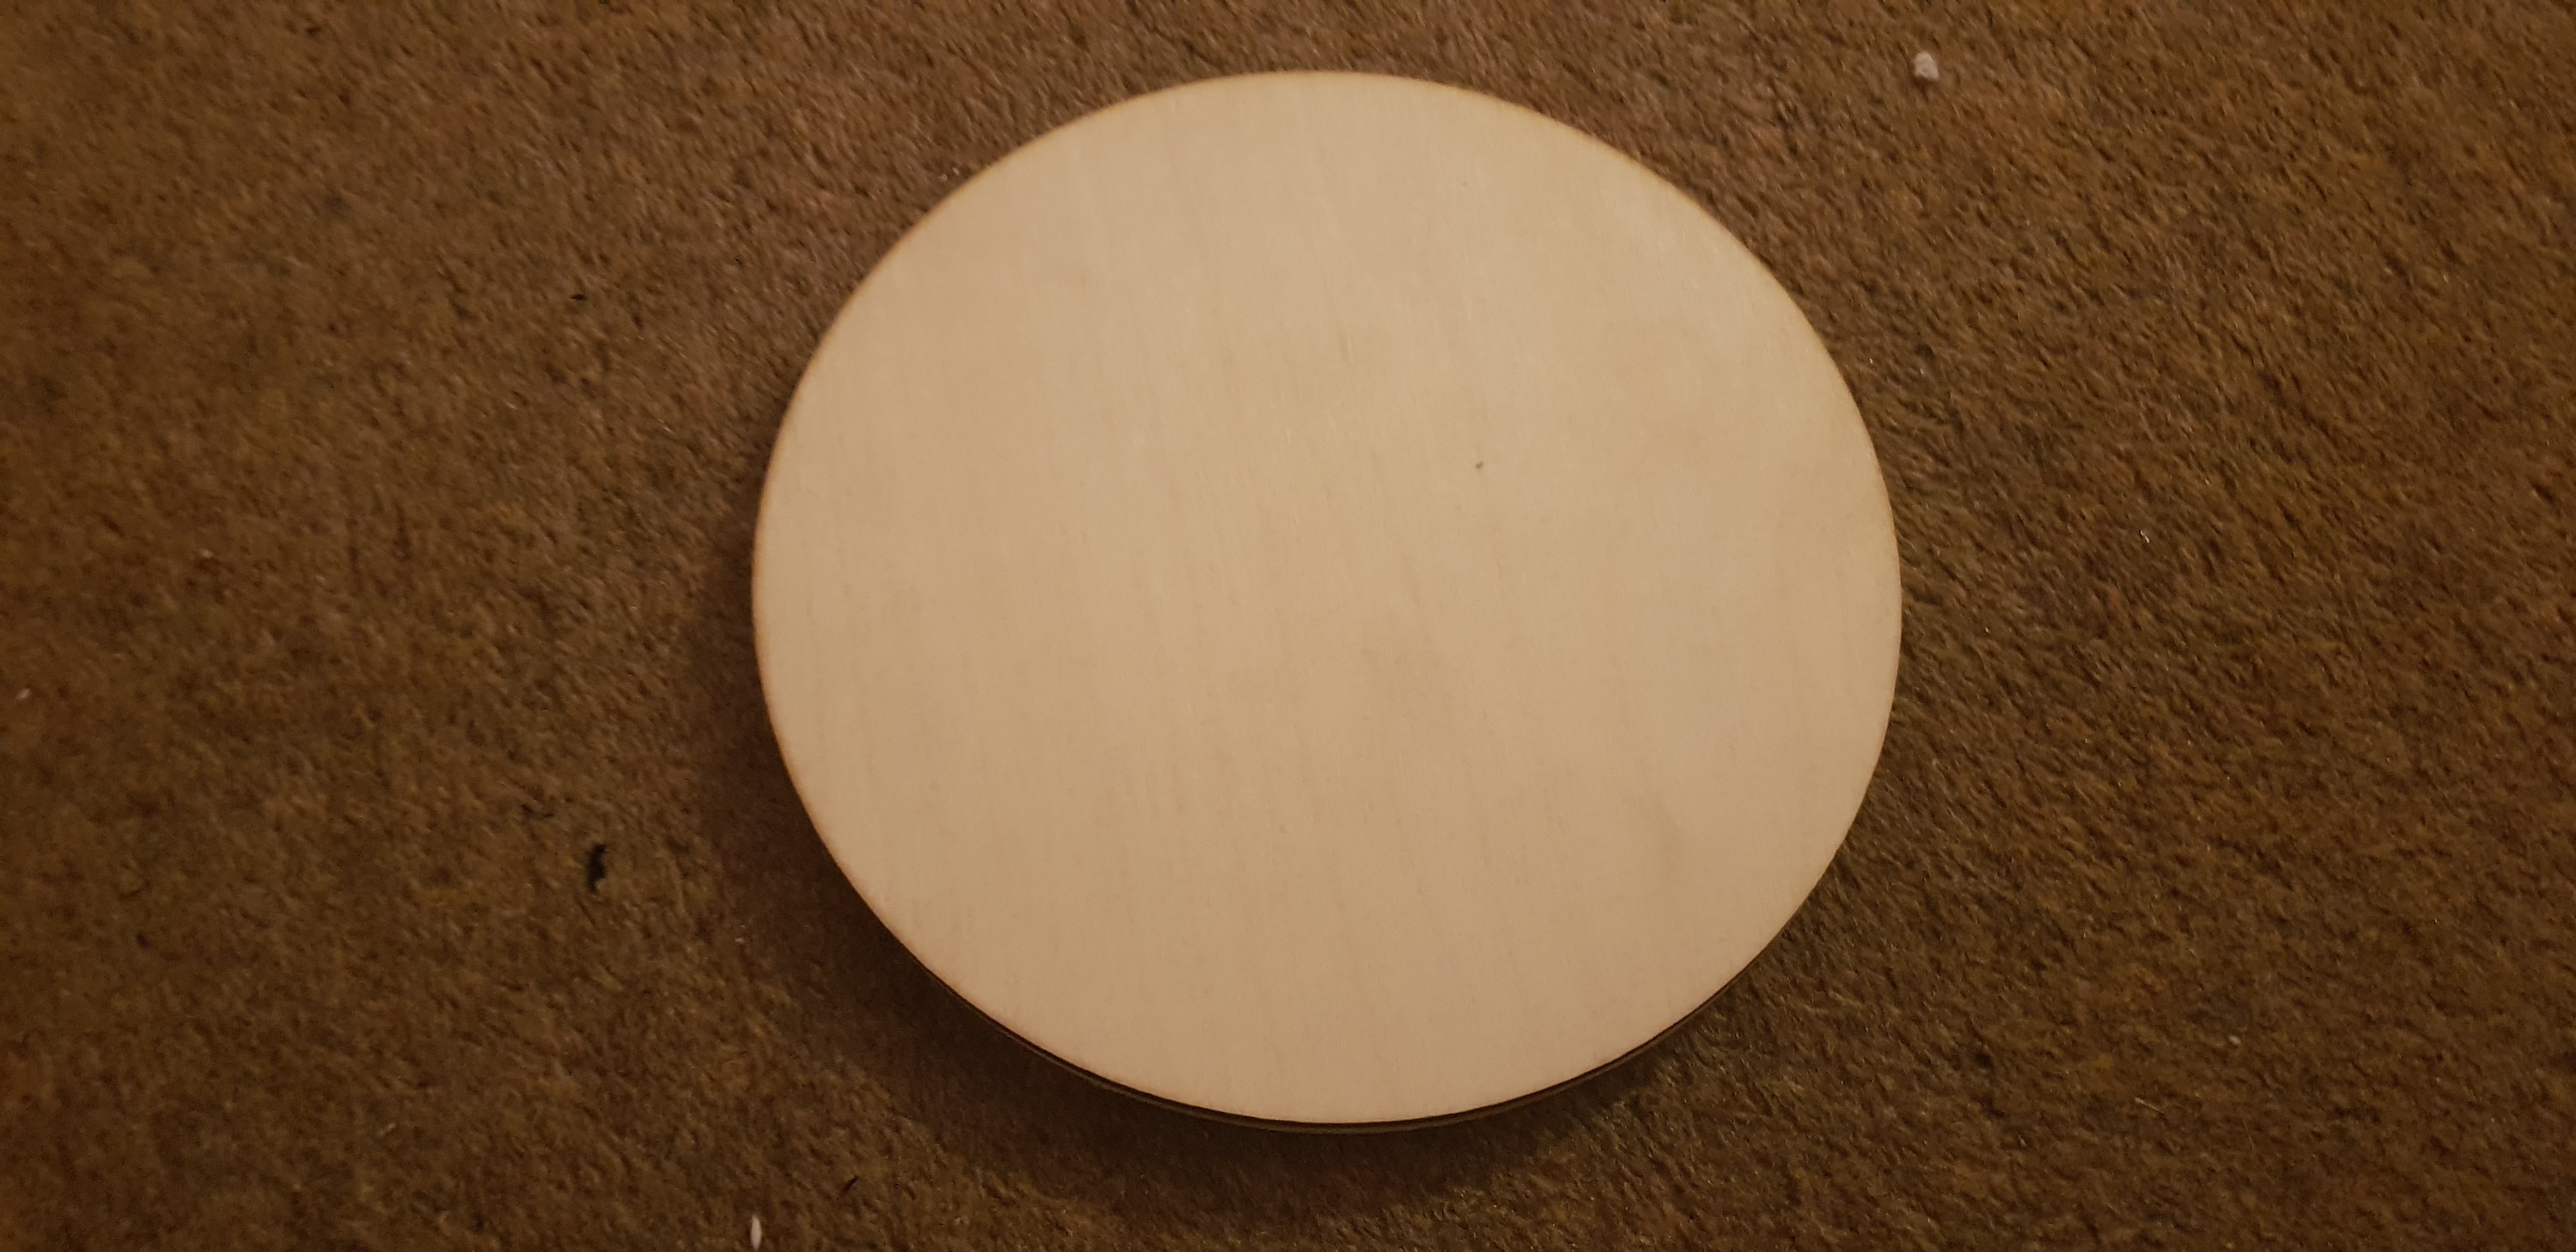
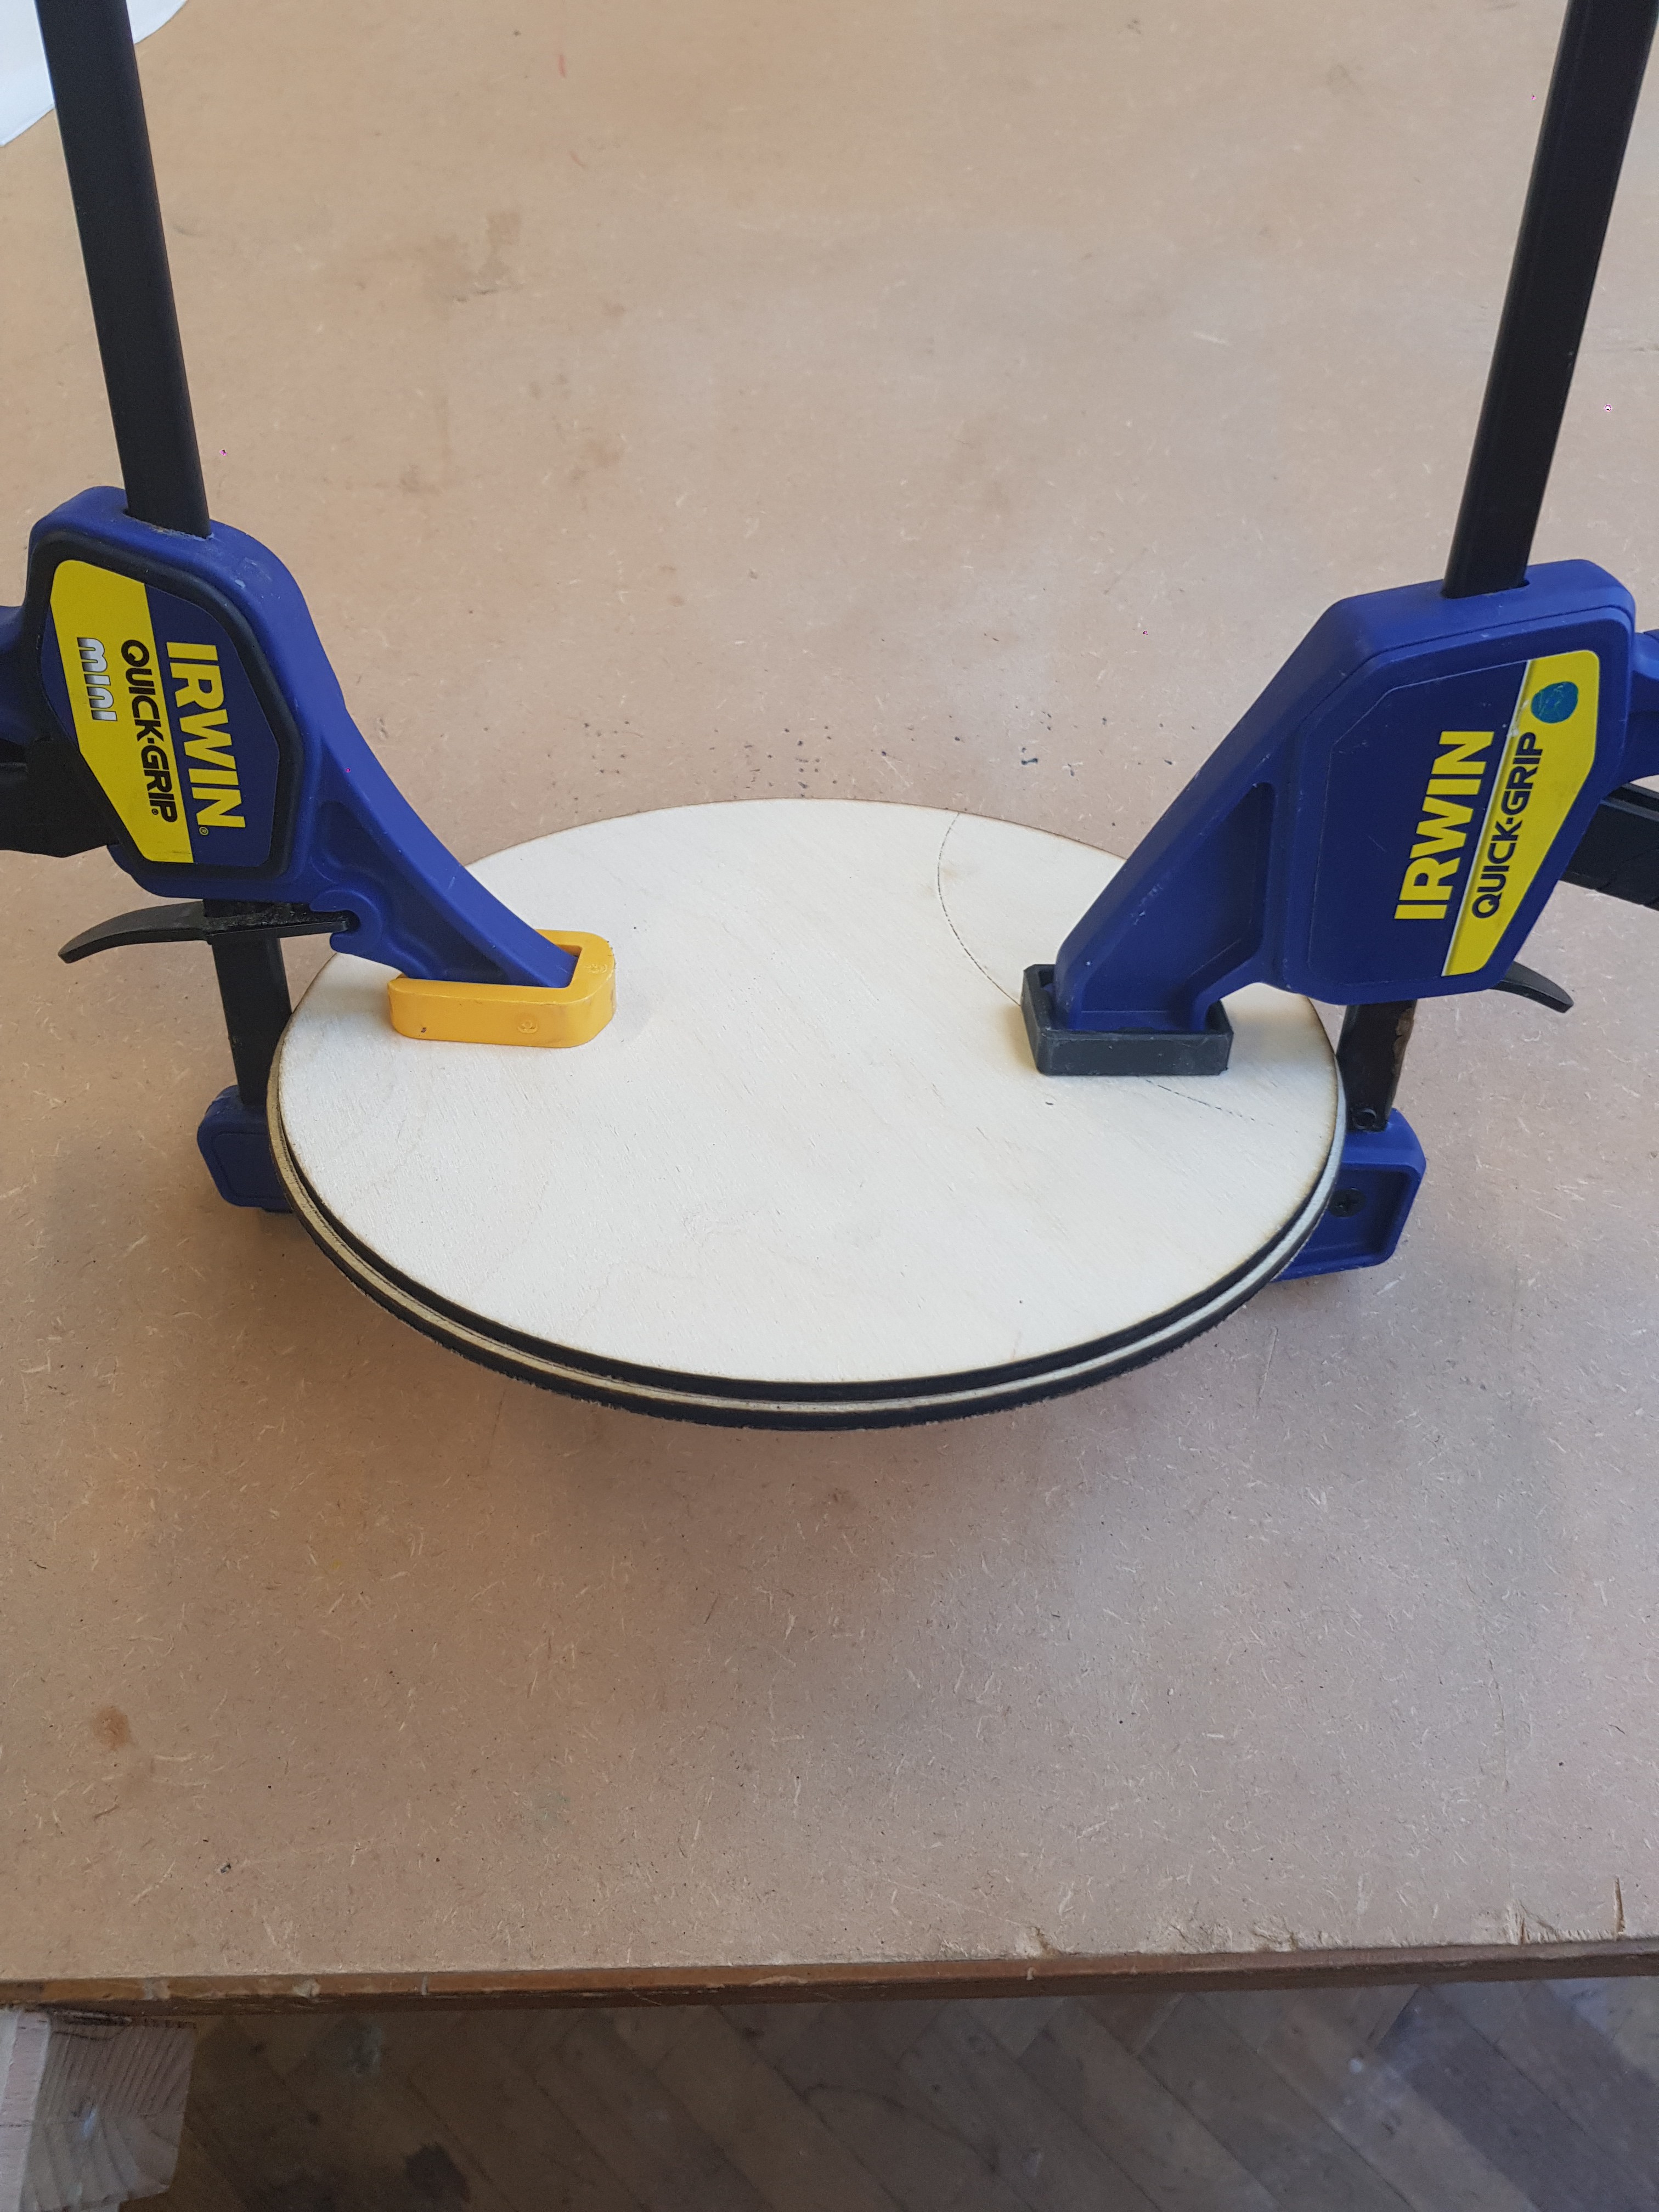
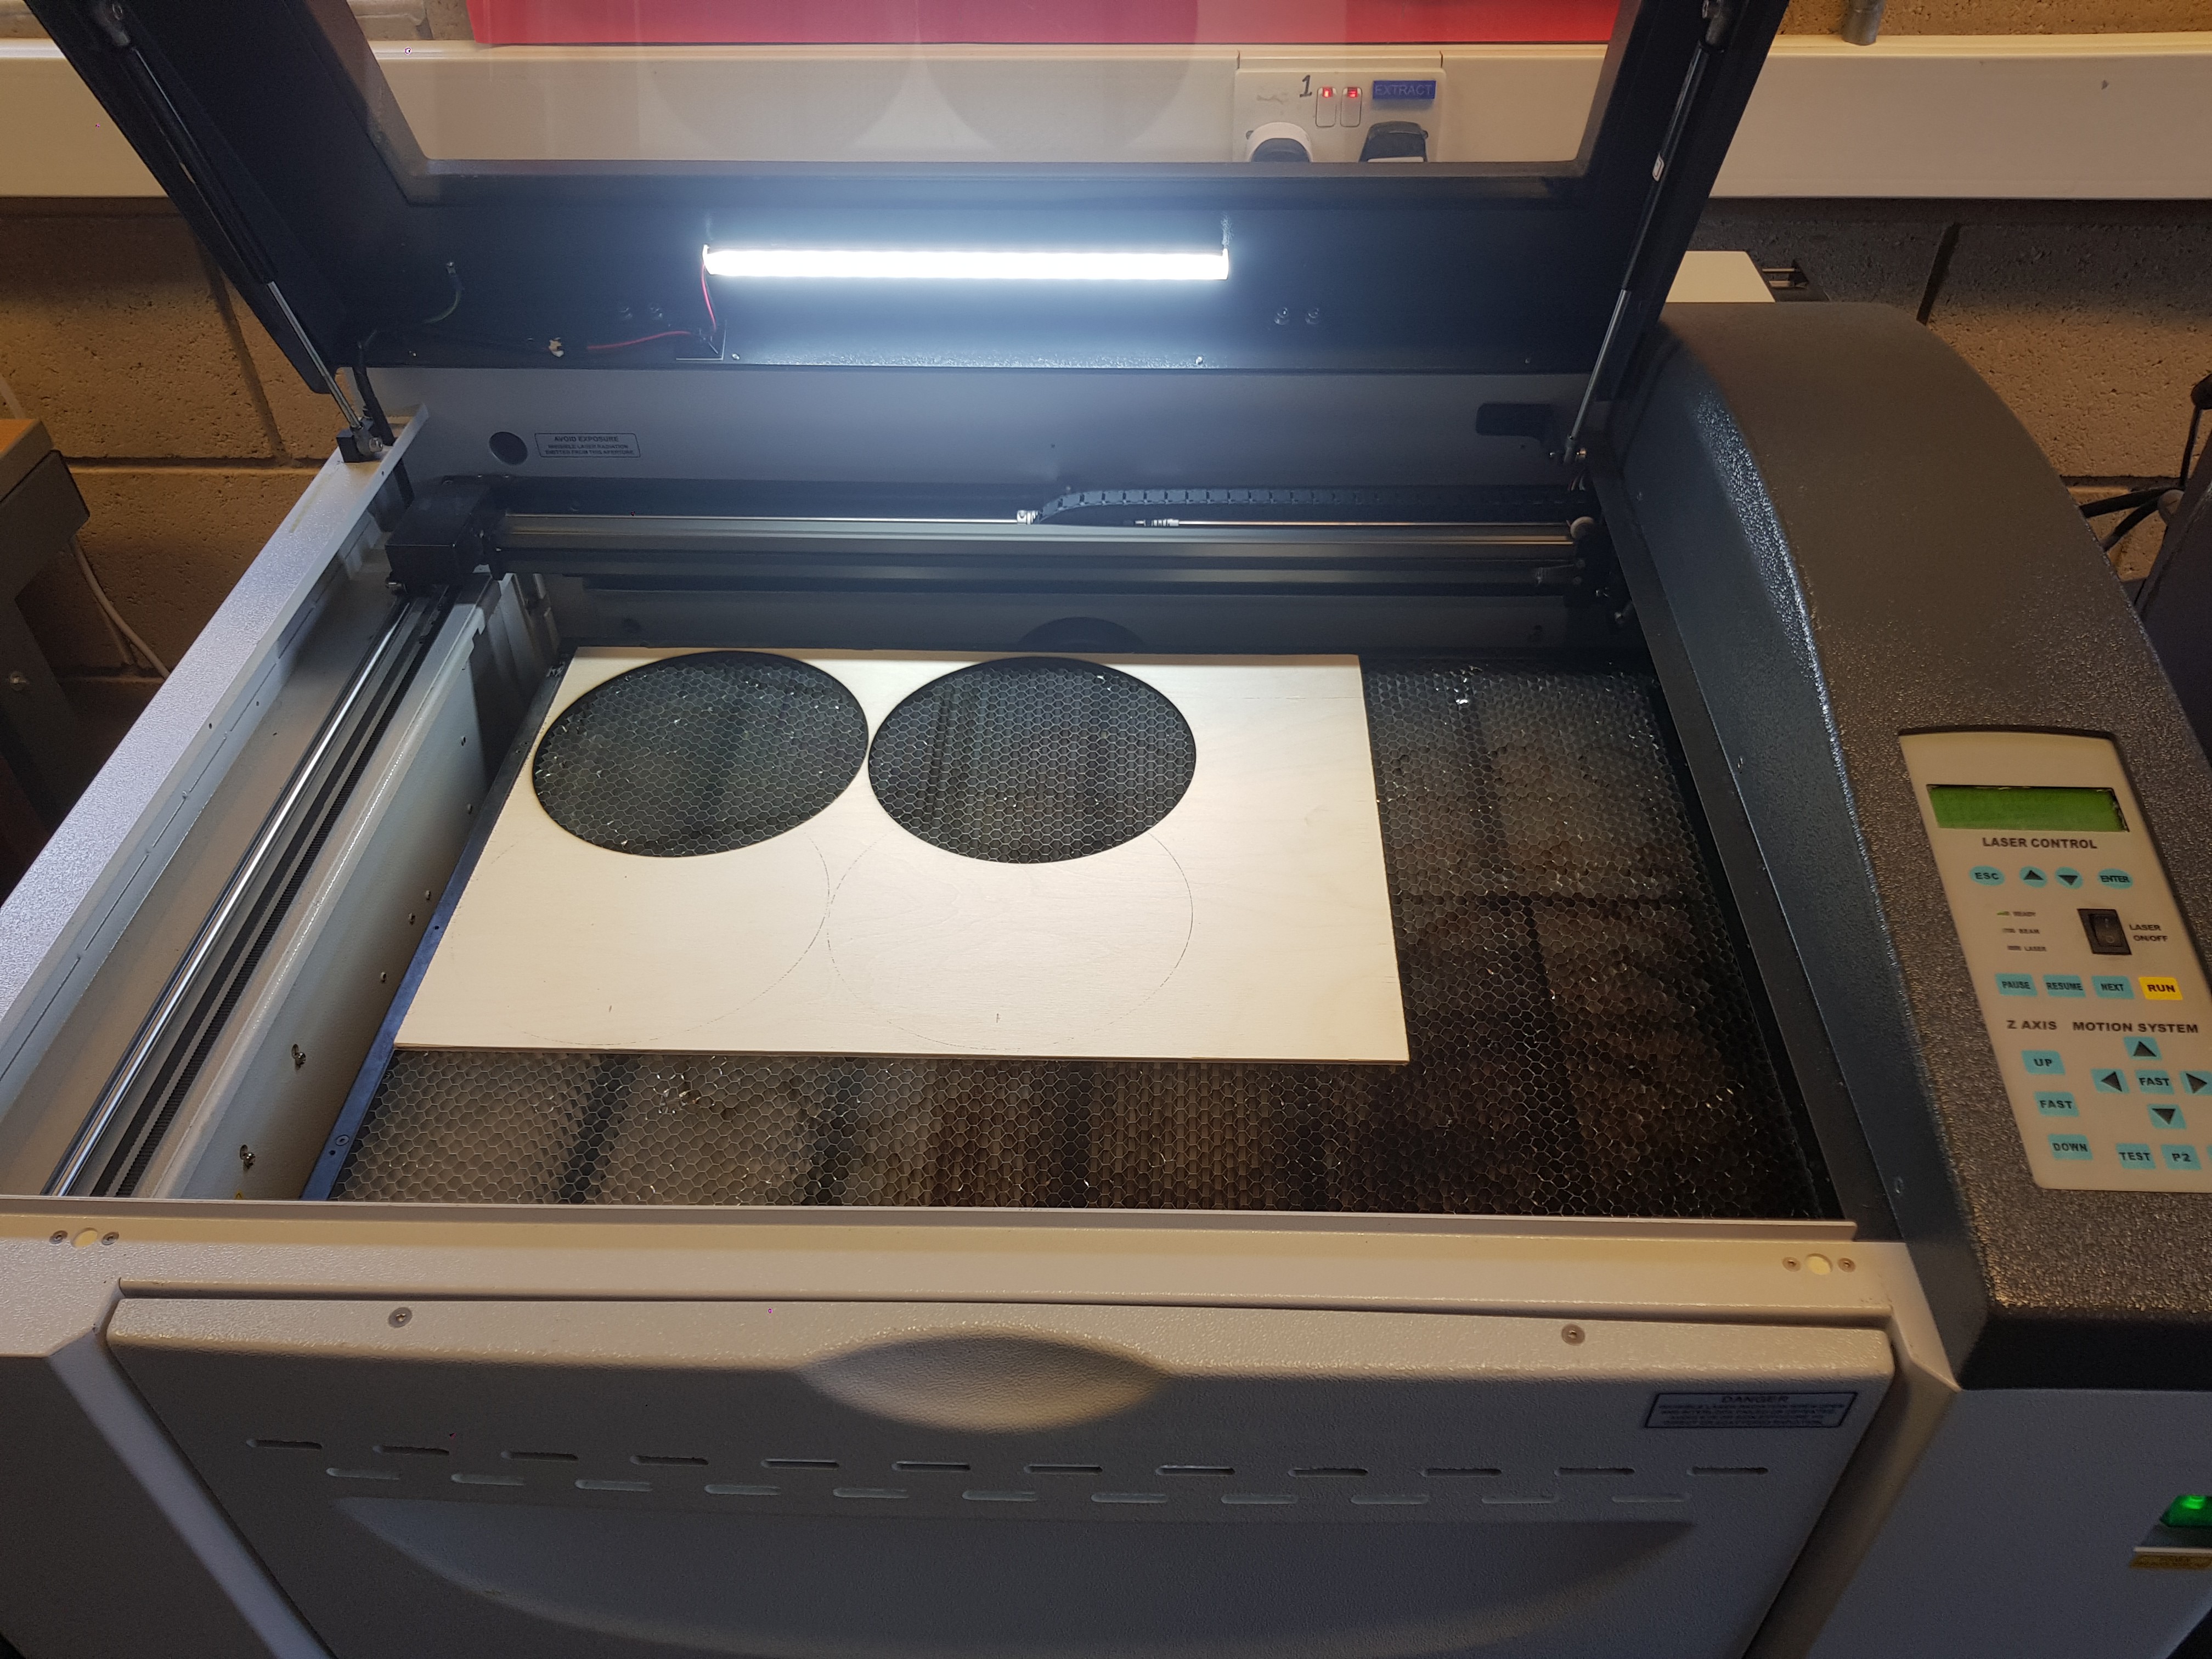
01/17/2020 at 17:37 • 0 commentsAfter the frame I started making the wheels which I decided to cut out of 4mm plywood on a laser cutter which I had access to at school. The wheels are made of 3 layers of ply, the outside has a diameter of 200mm and the inside has a diameter of 198mm. I stuck the wheels together using PVA glue and clamped them together amd left them for a few hours each. This small gap in-between makes it so I can fit a rubber O ring around the wheel for better grip.
![]()
![]()
![]()
![]()
-
Putting the frame together
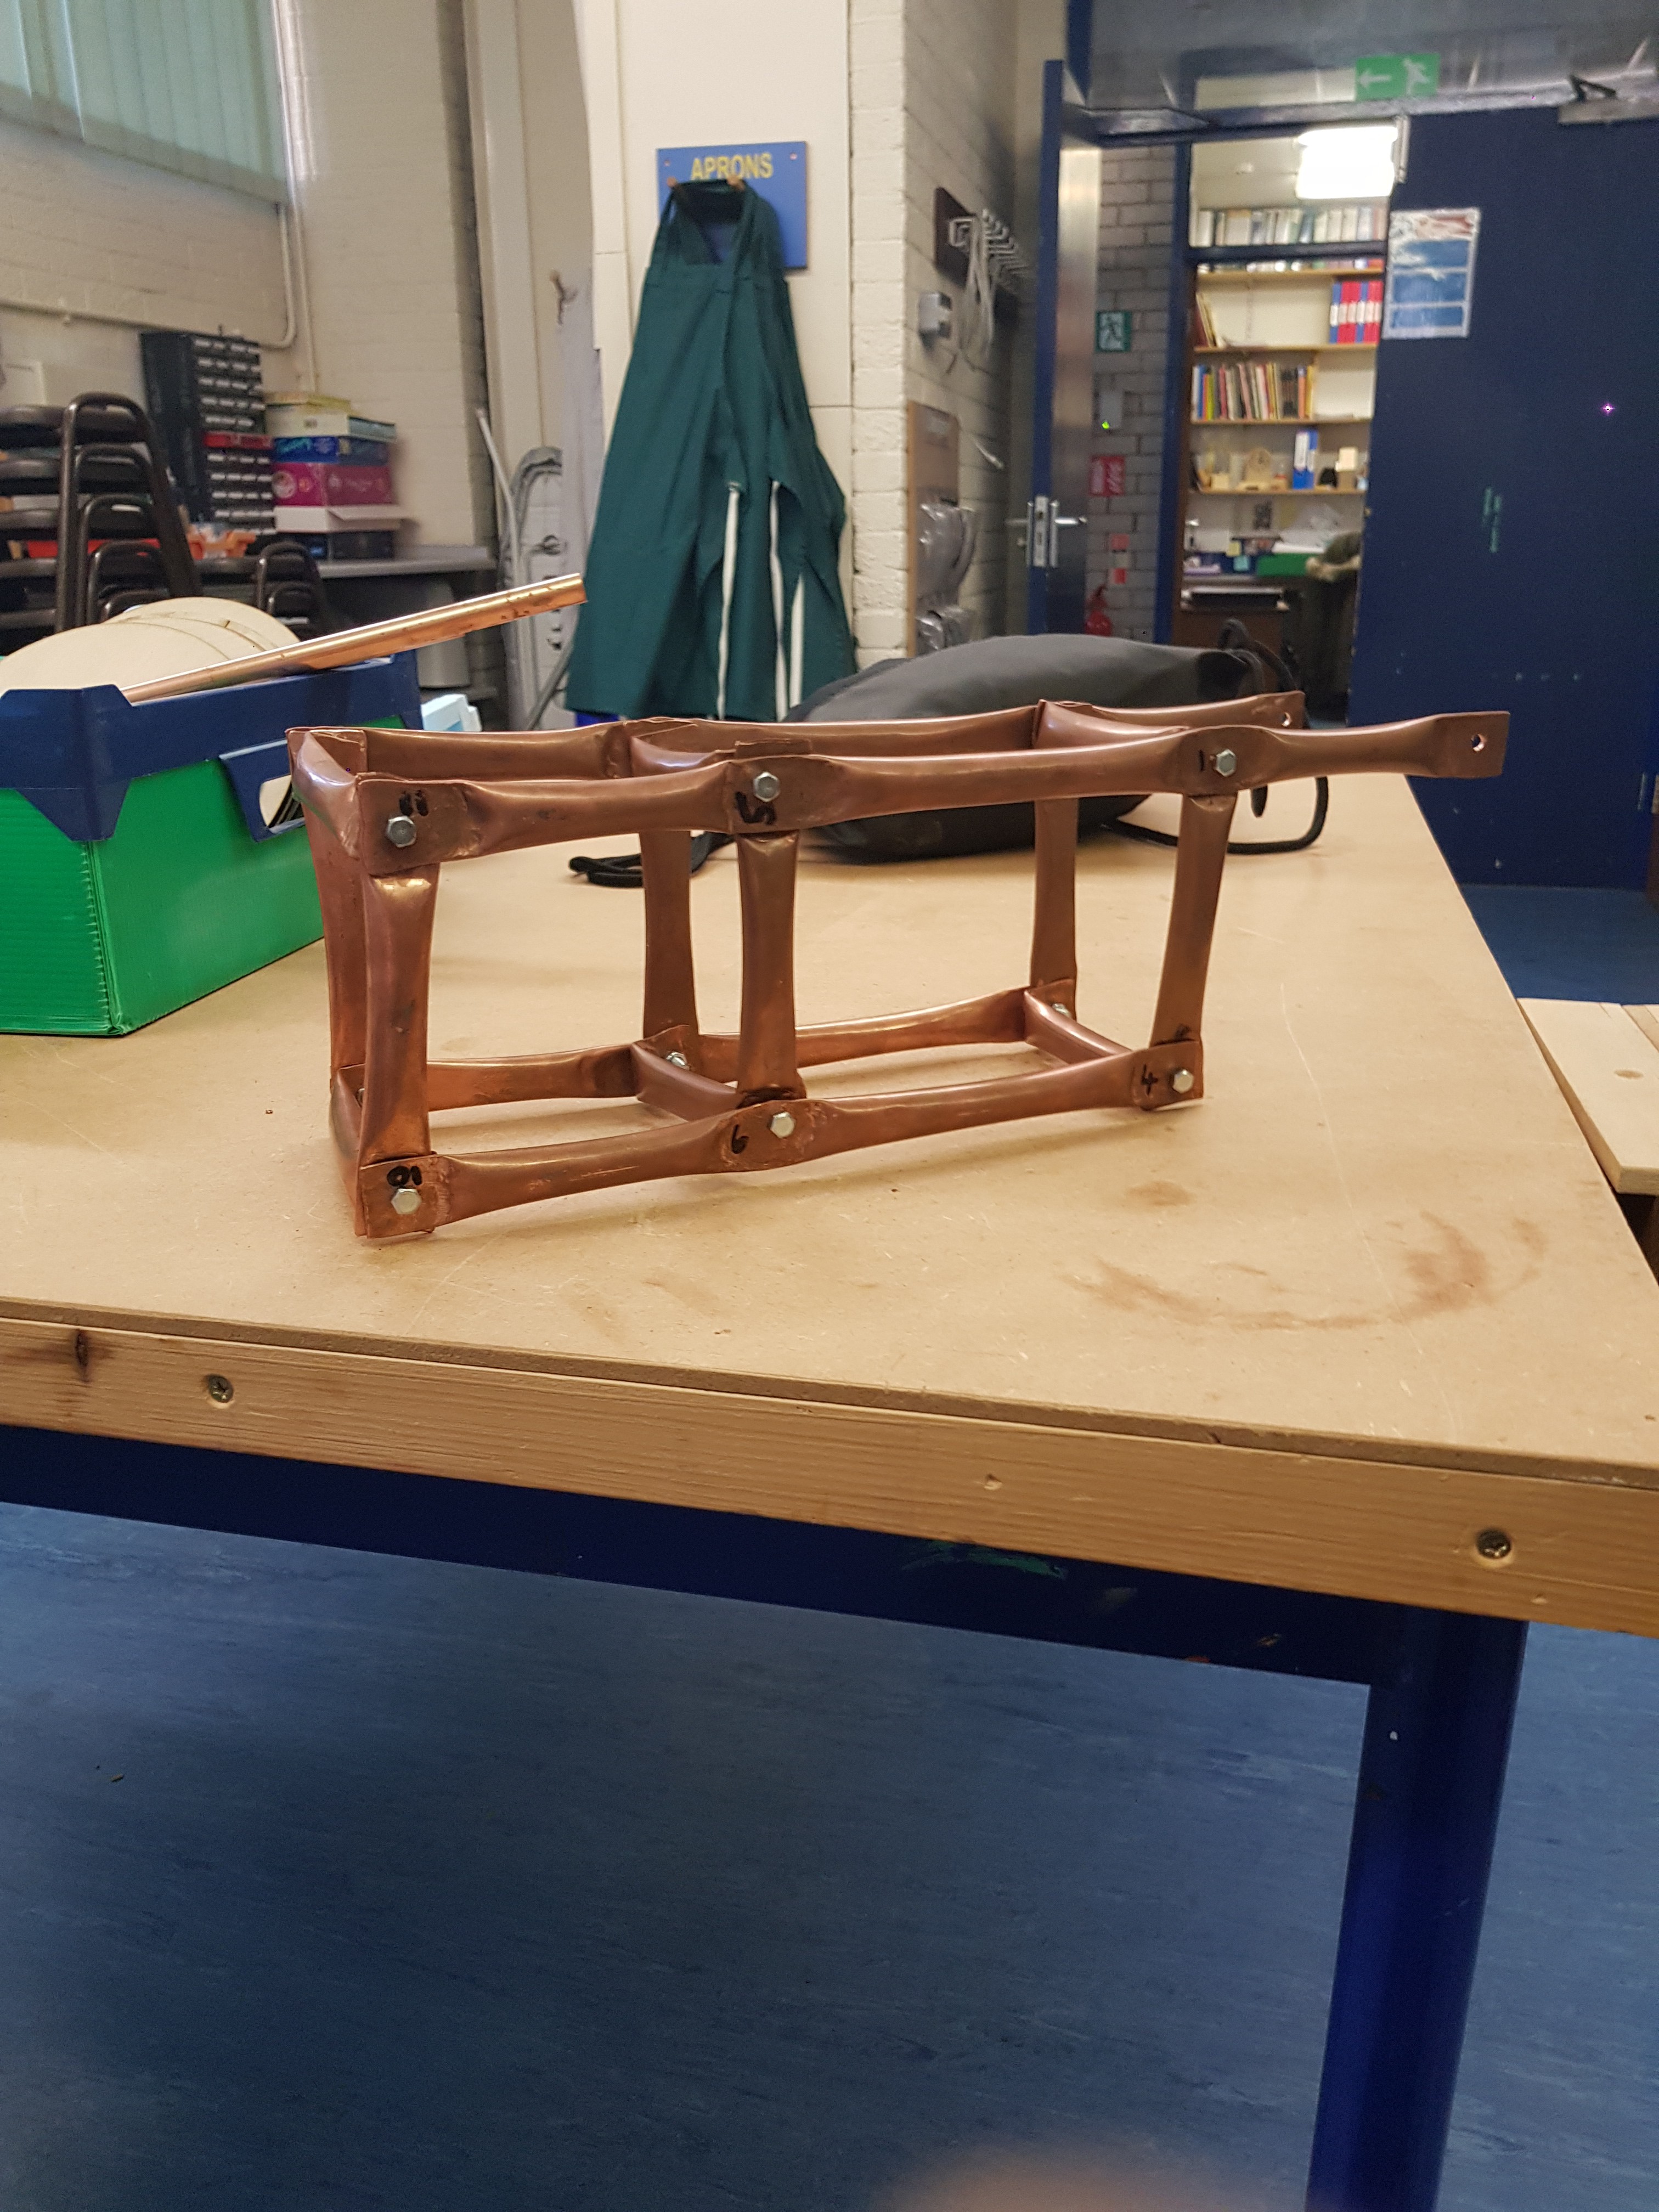
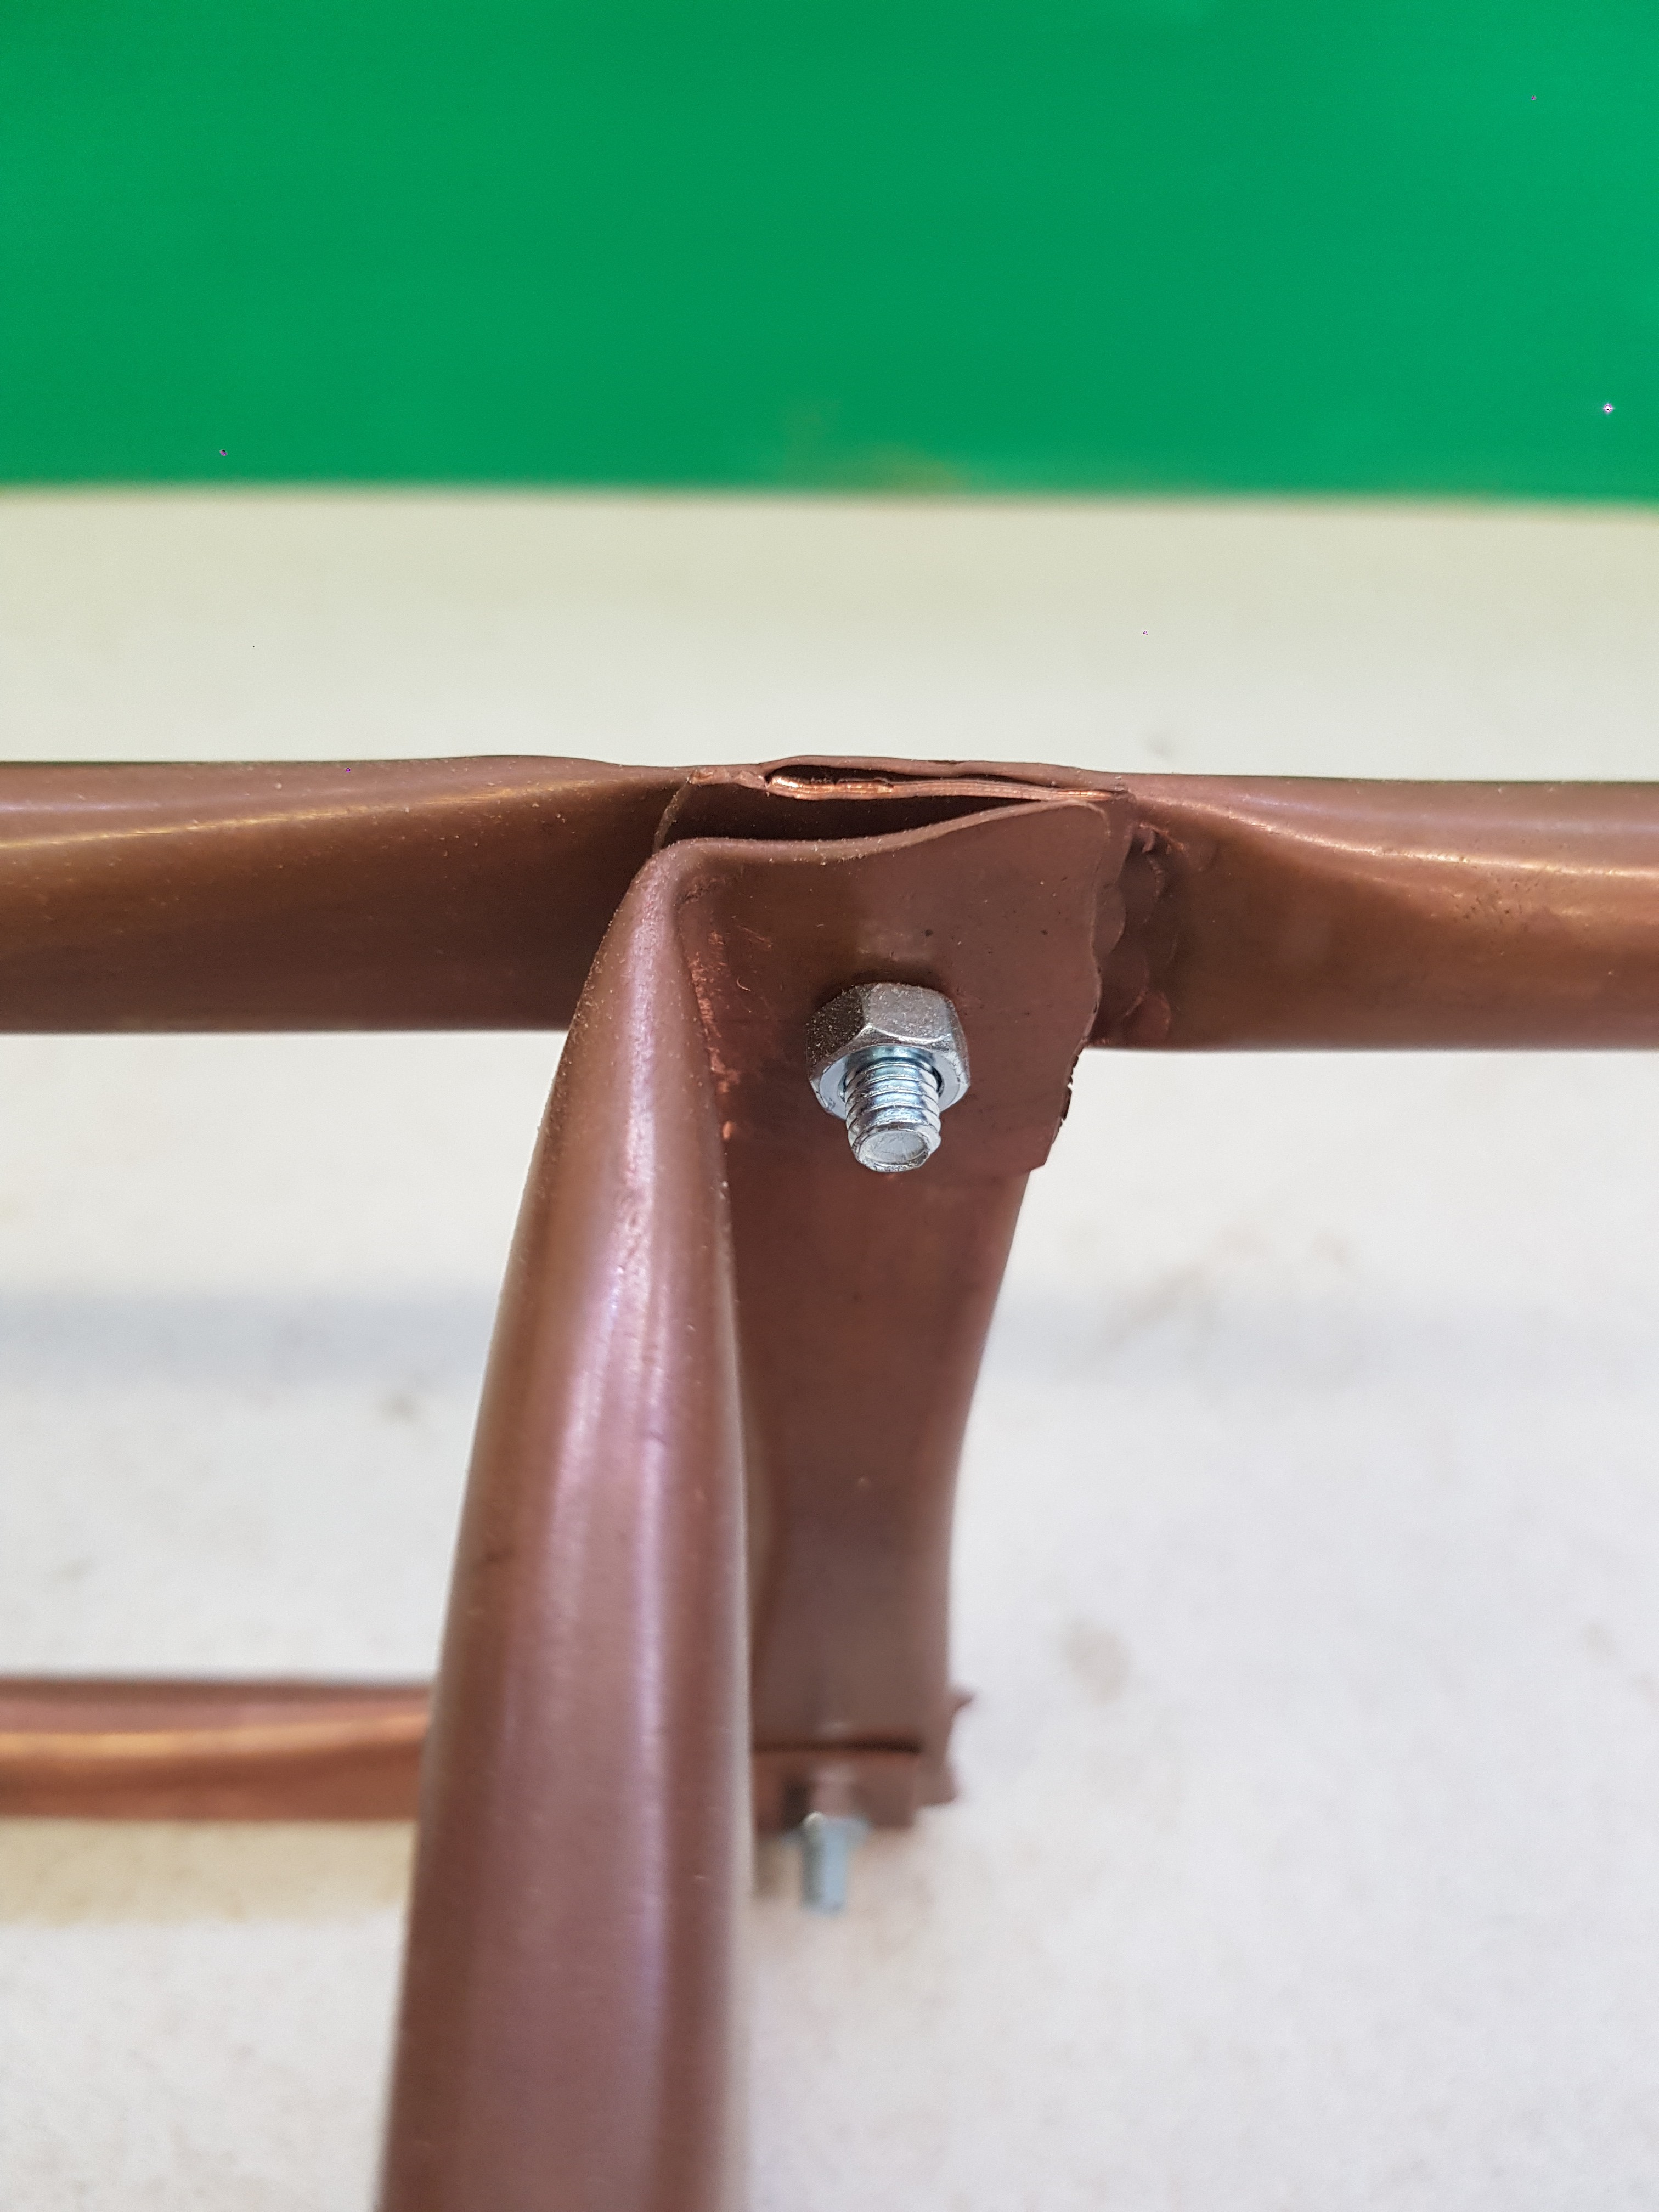
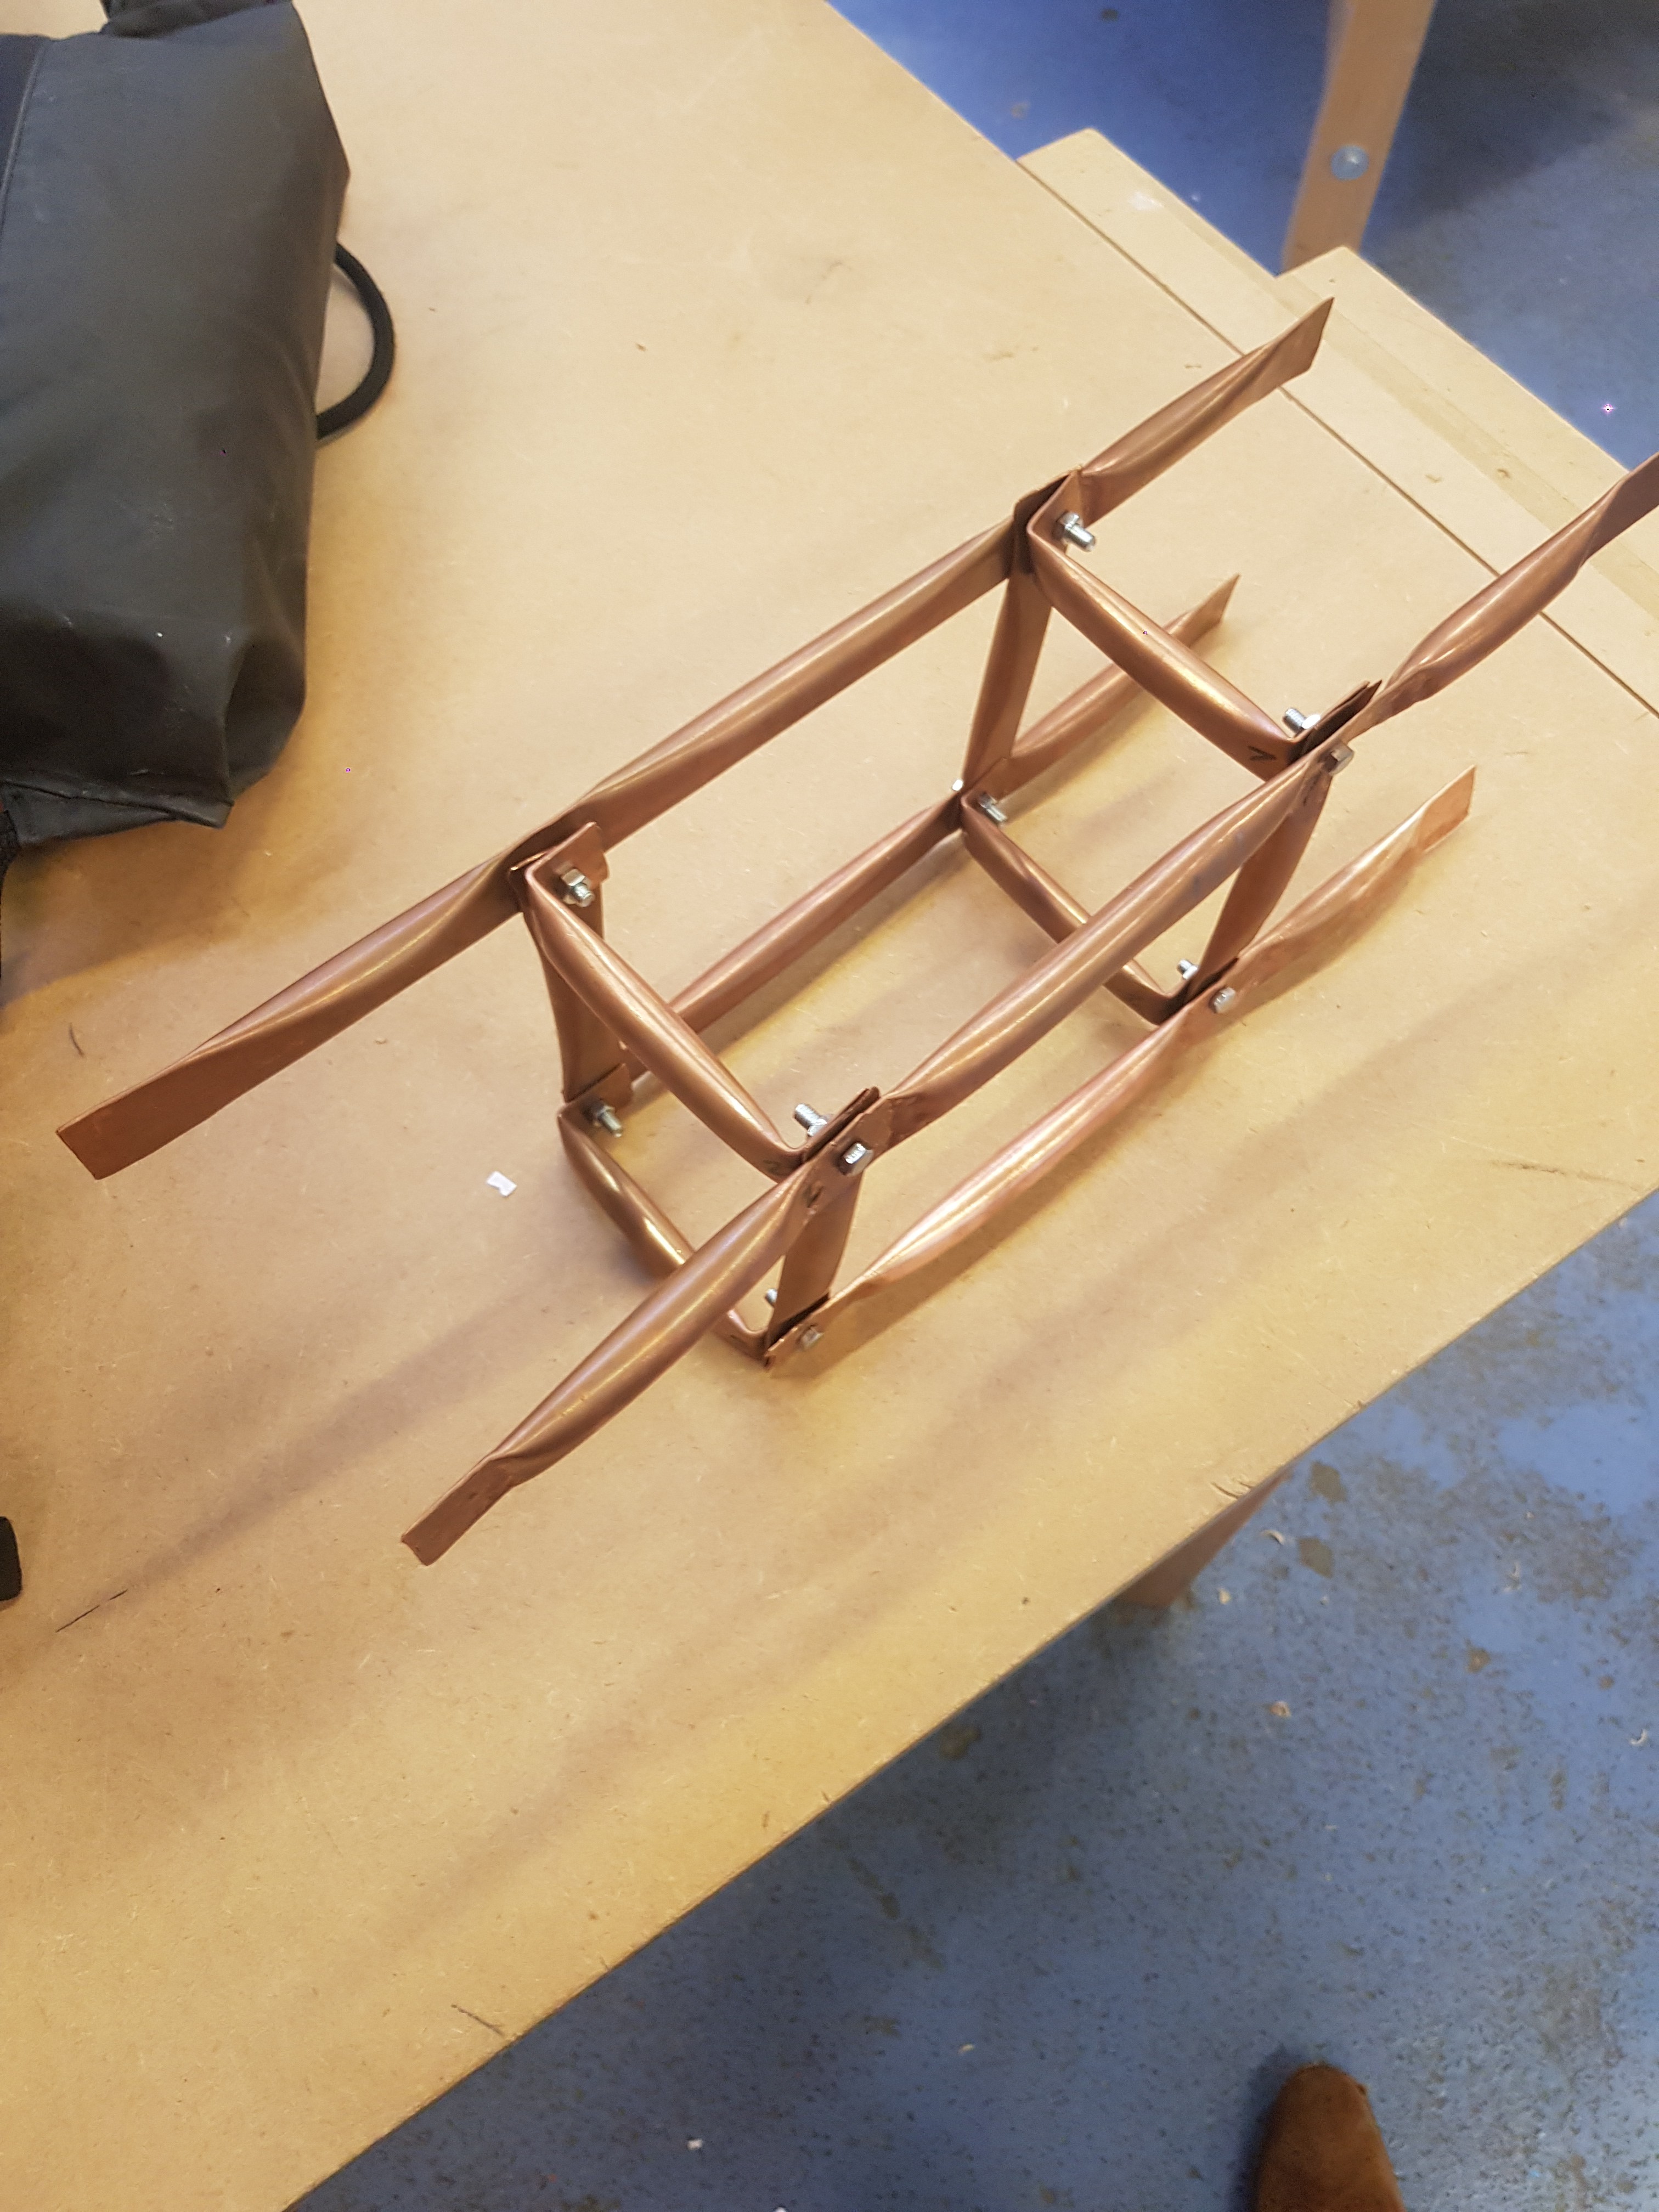
01/17/2020 at 16:30 • 0 commentsAfter all the pipes were bent I started putting the frame together using 5mm screws. Later I will add Epoxy to the joint so it doesn't slip.
![]()
![]()
![]()
-
Pipe bending and drilling
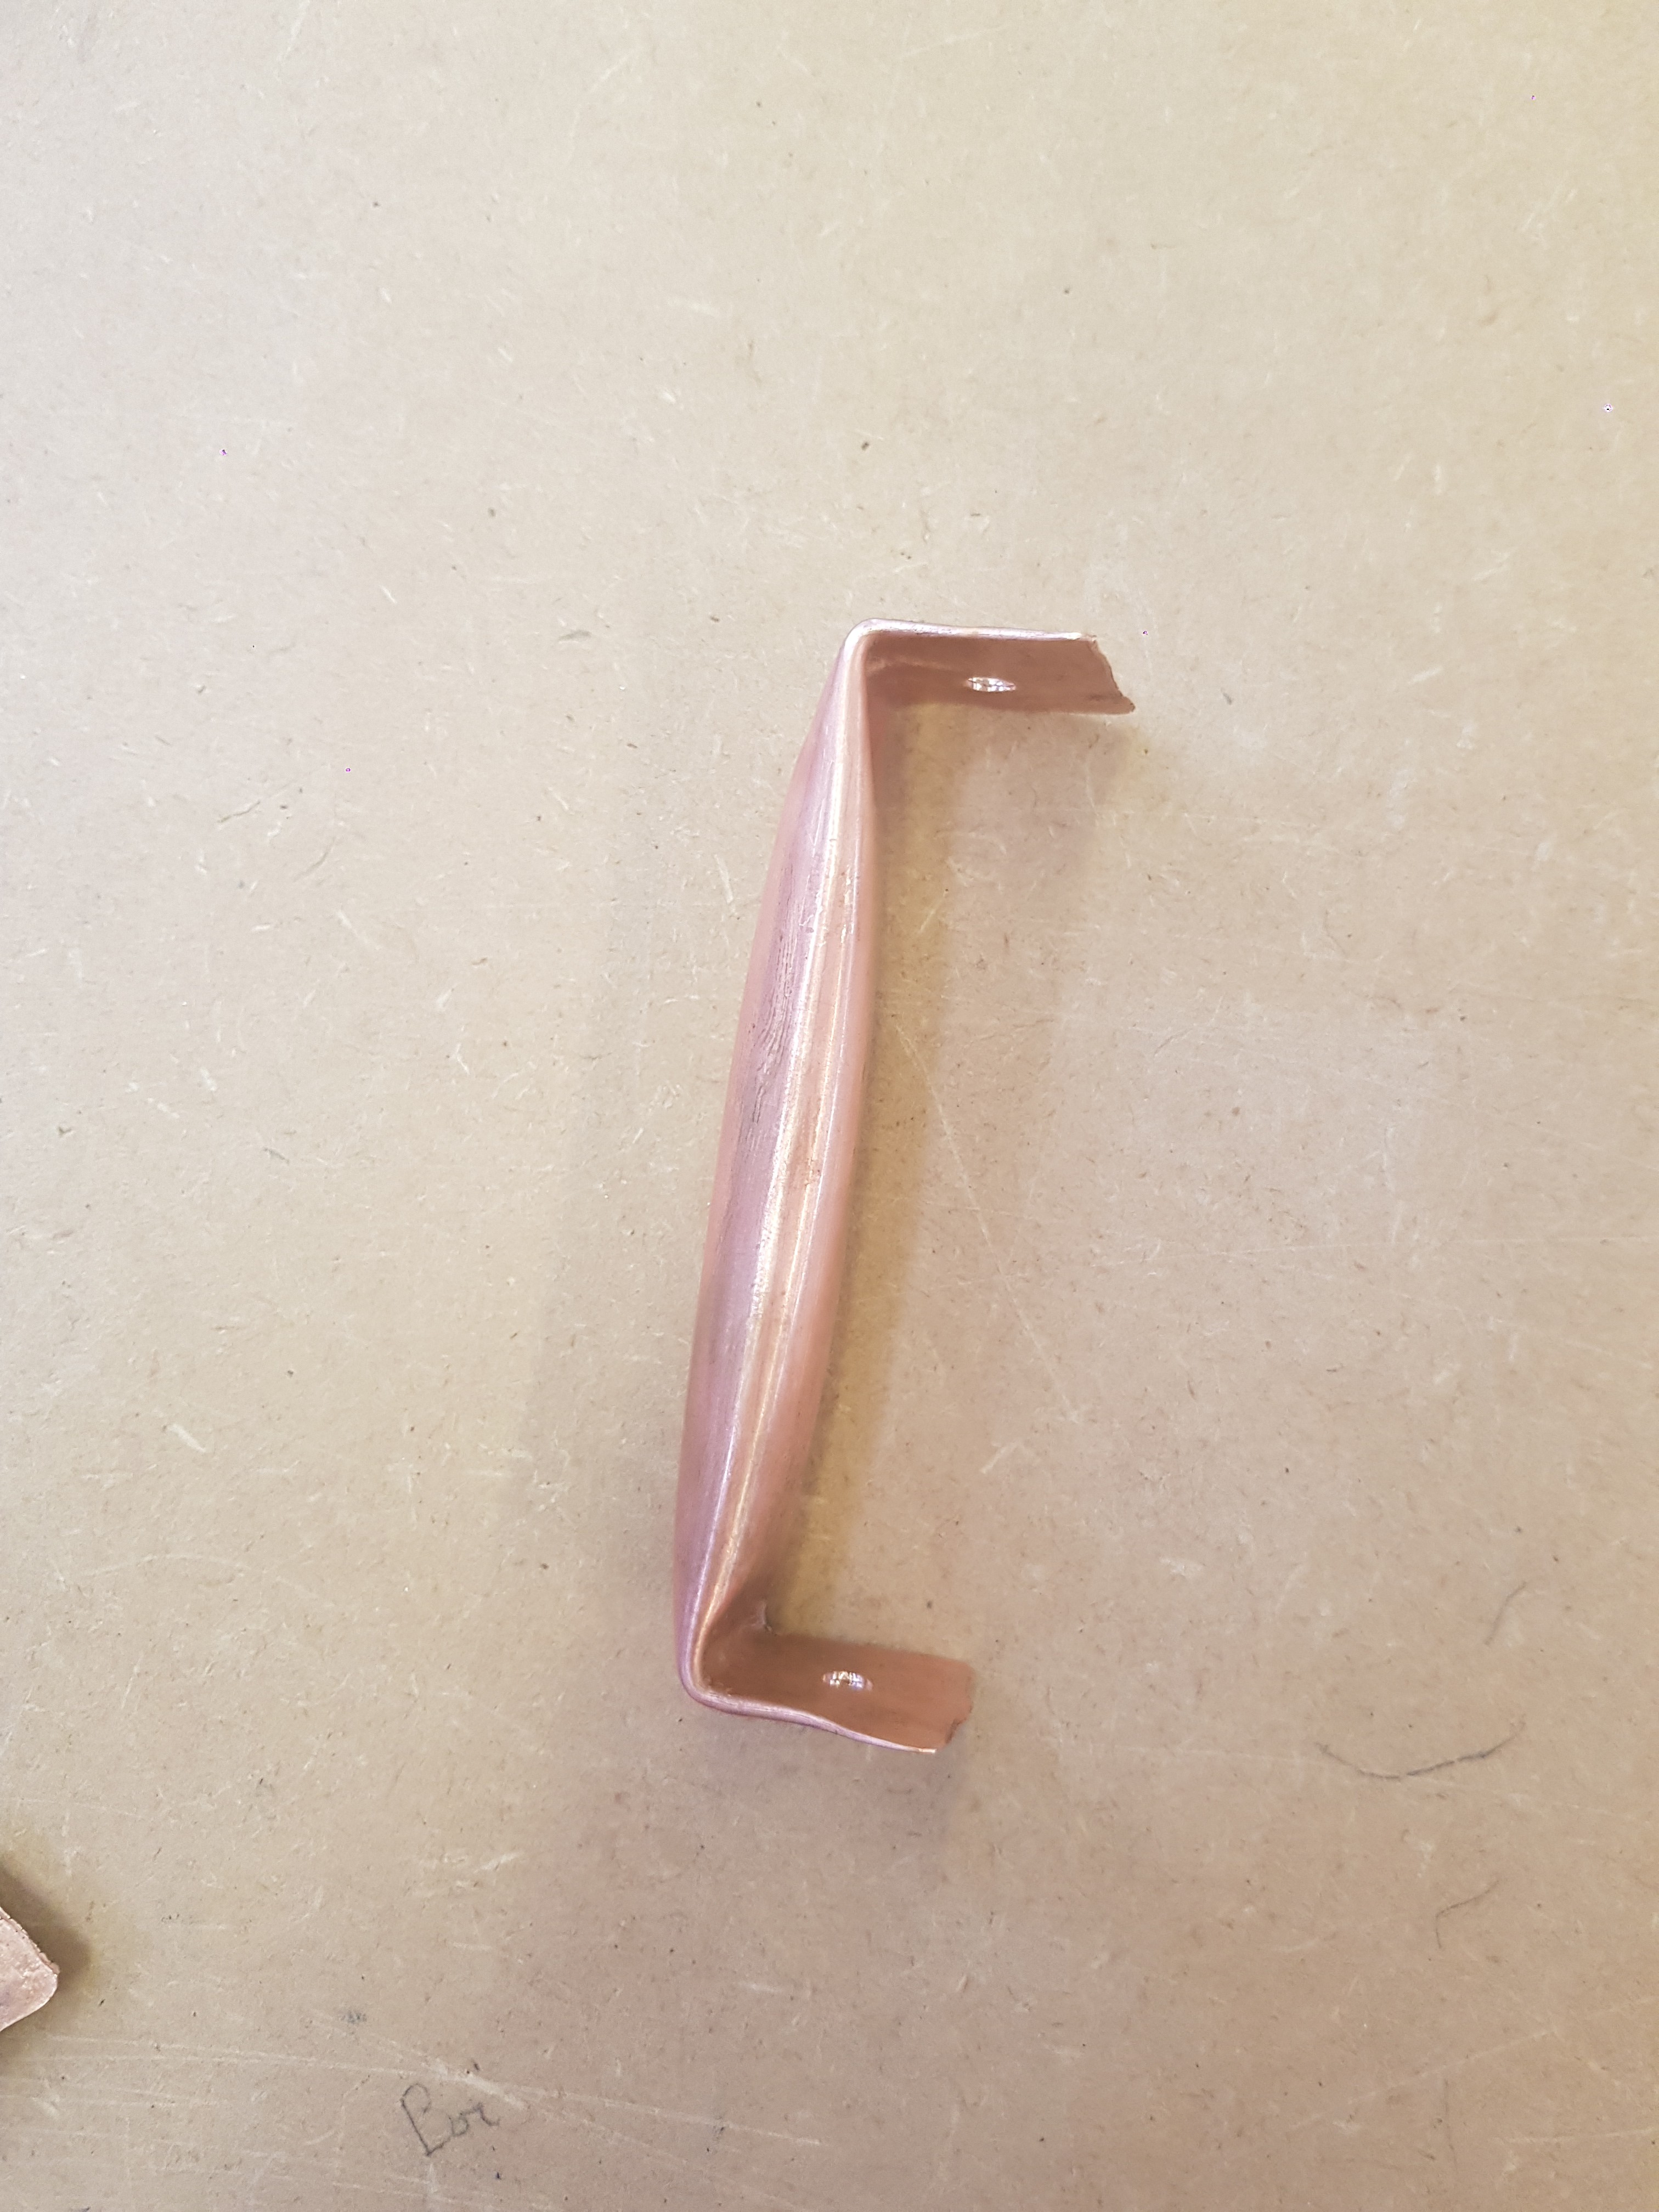
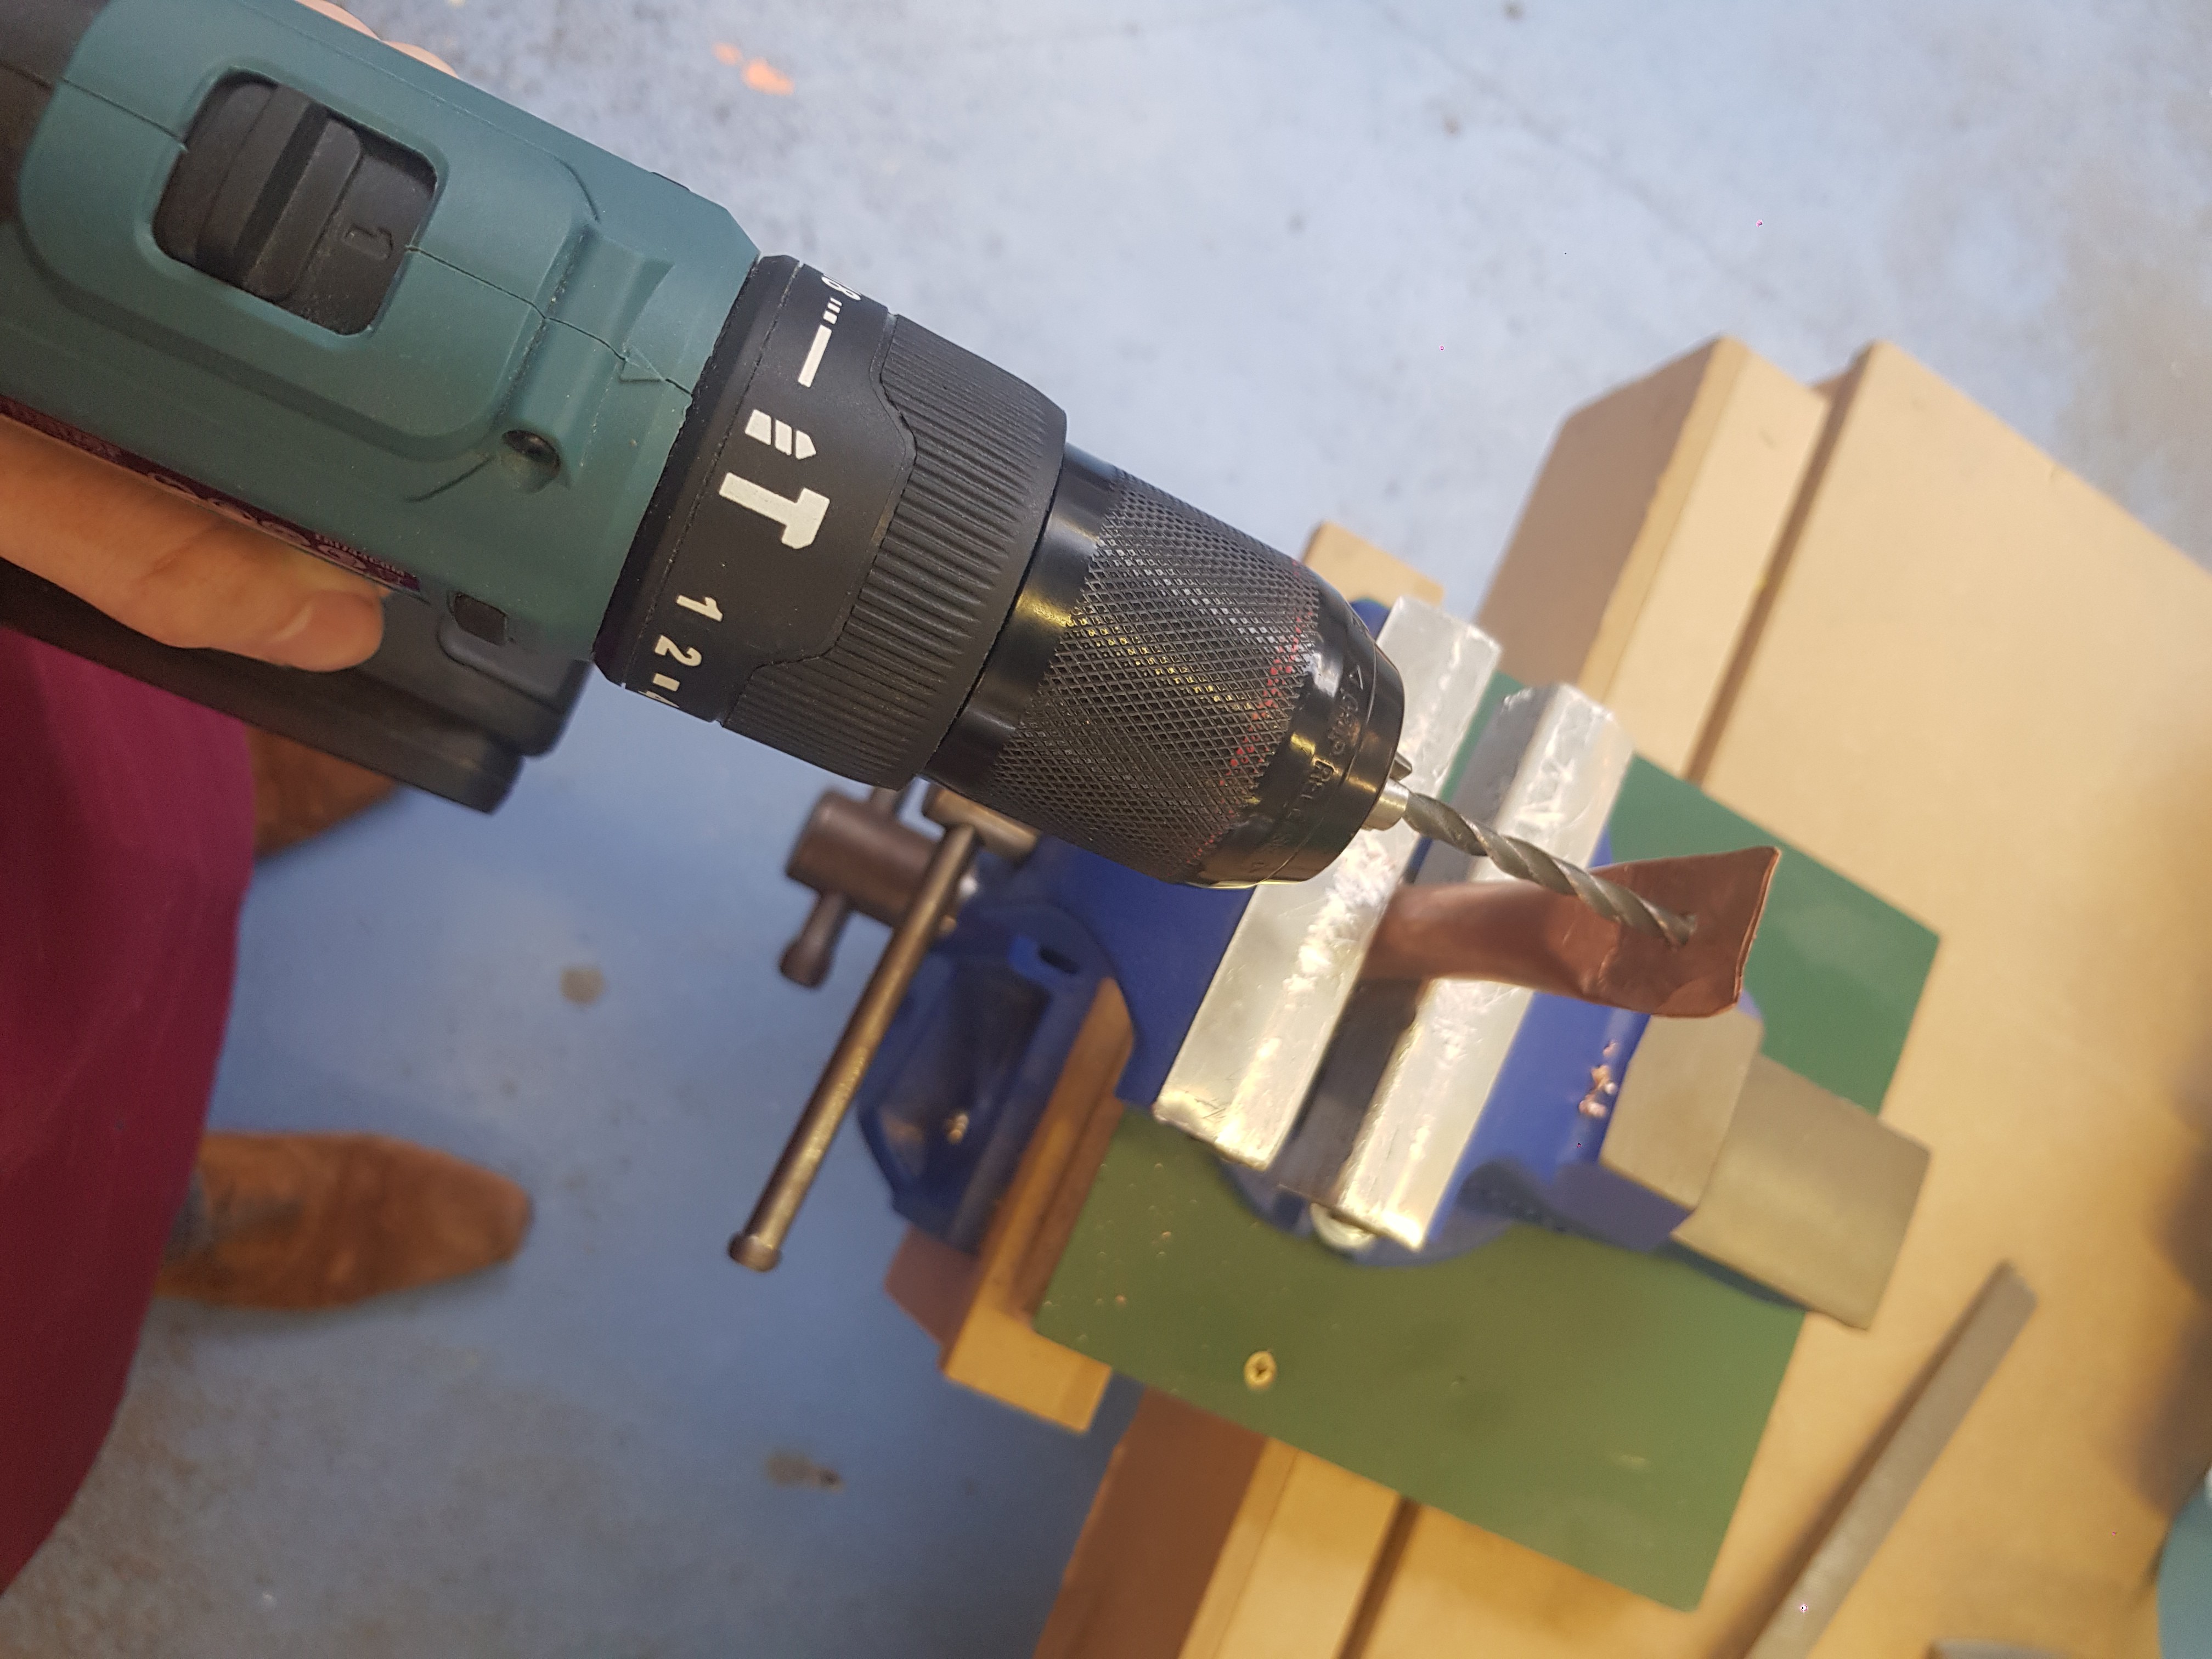
01/17/2020 at 16:18 • 0 commentsI then began to bend the pipe ends and drill holes into them to fit each other. I number the ends to make sure I was fitting the right ends together and the holes were drilled for the correct pipes.
![]()
![]()
![]()
![]()
-
Squishing the pipes
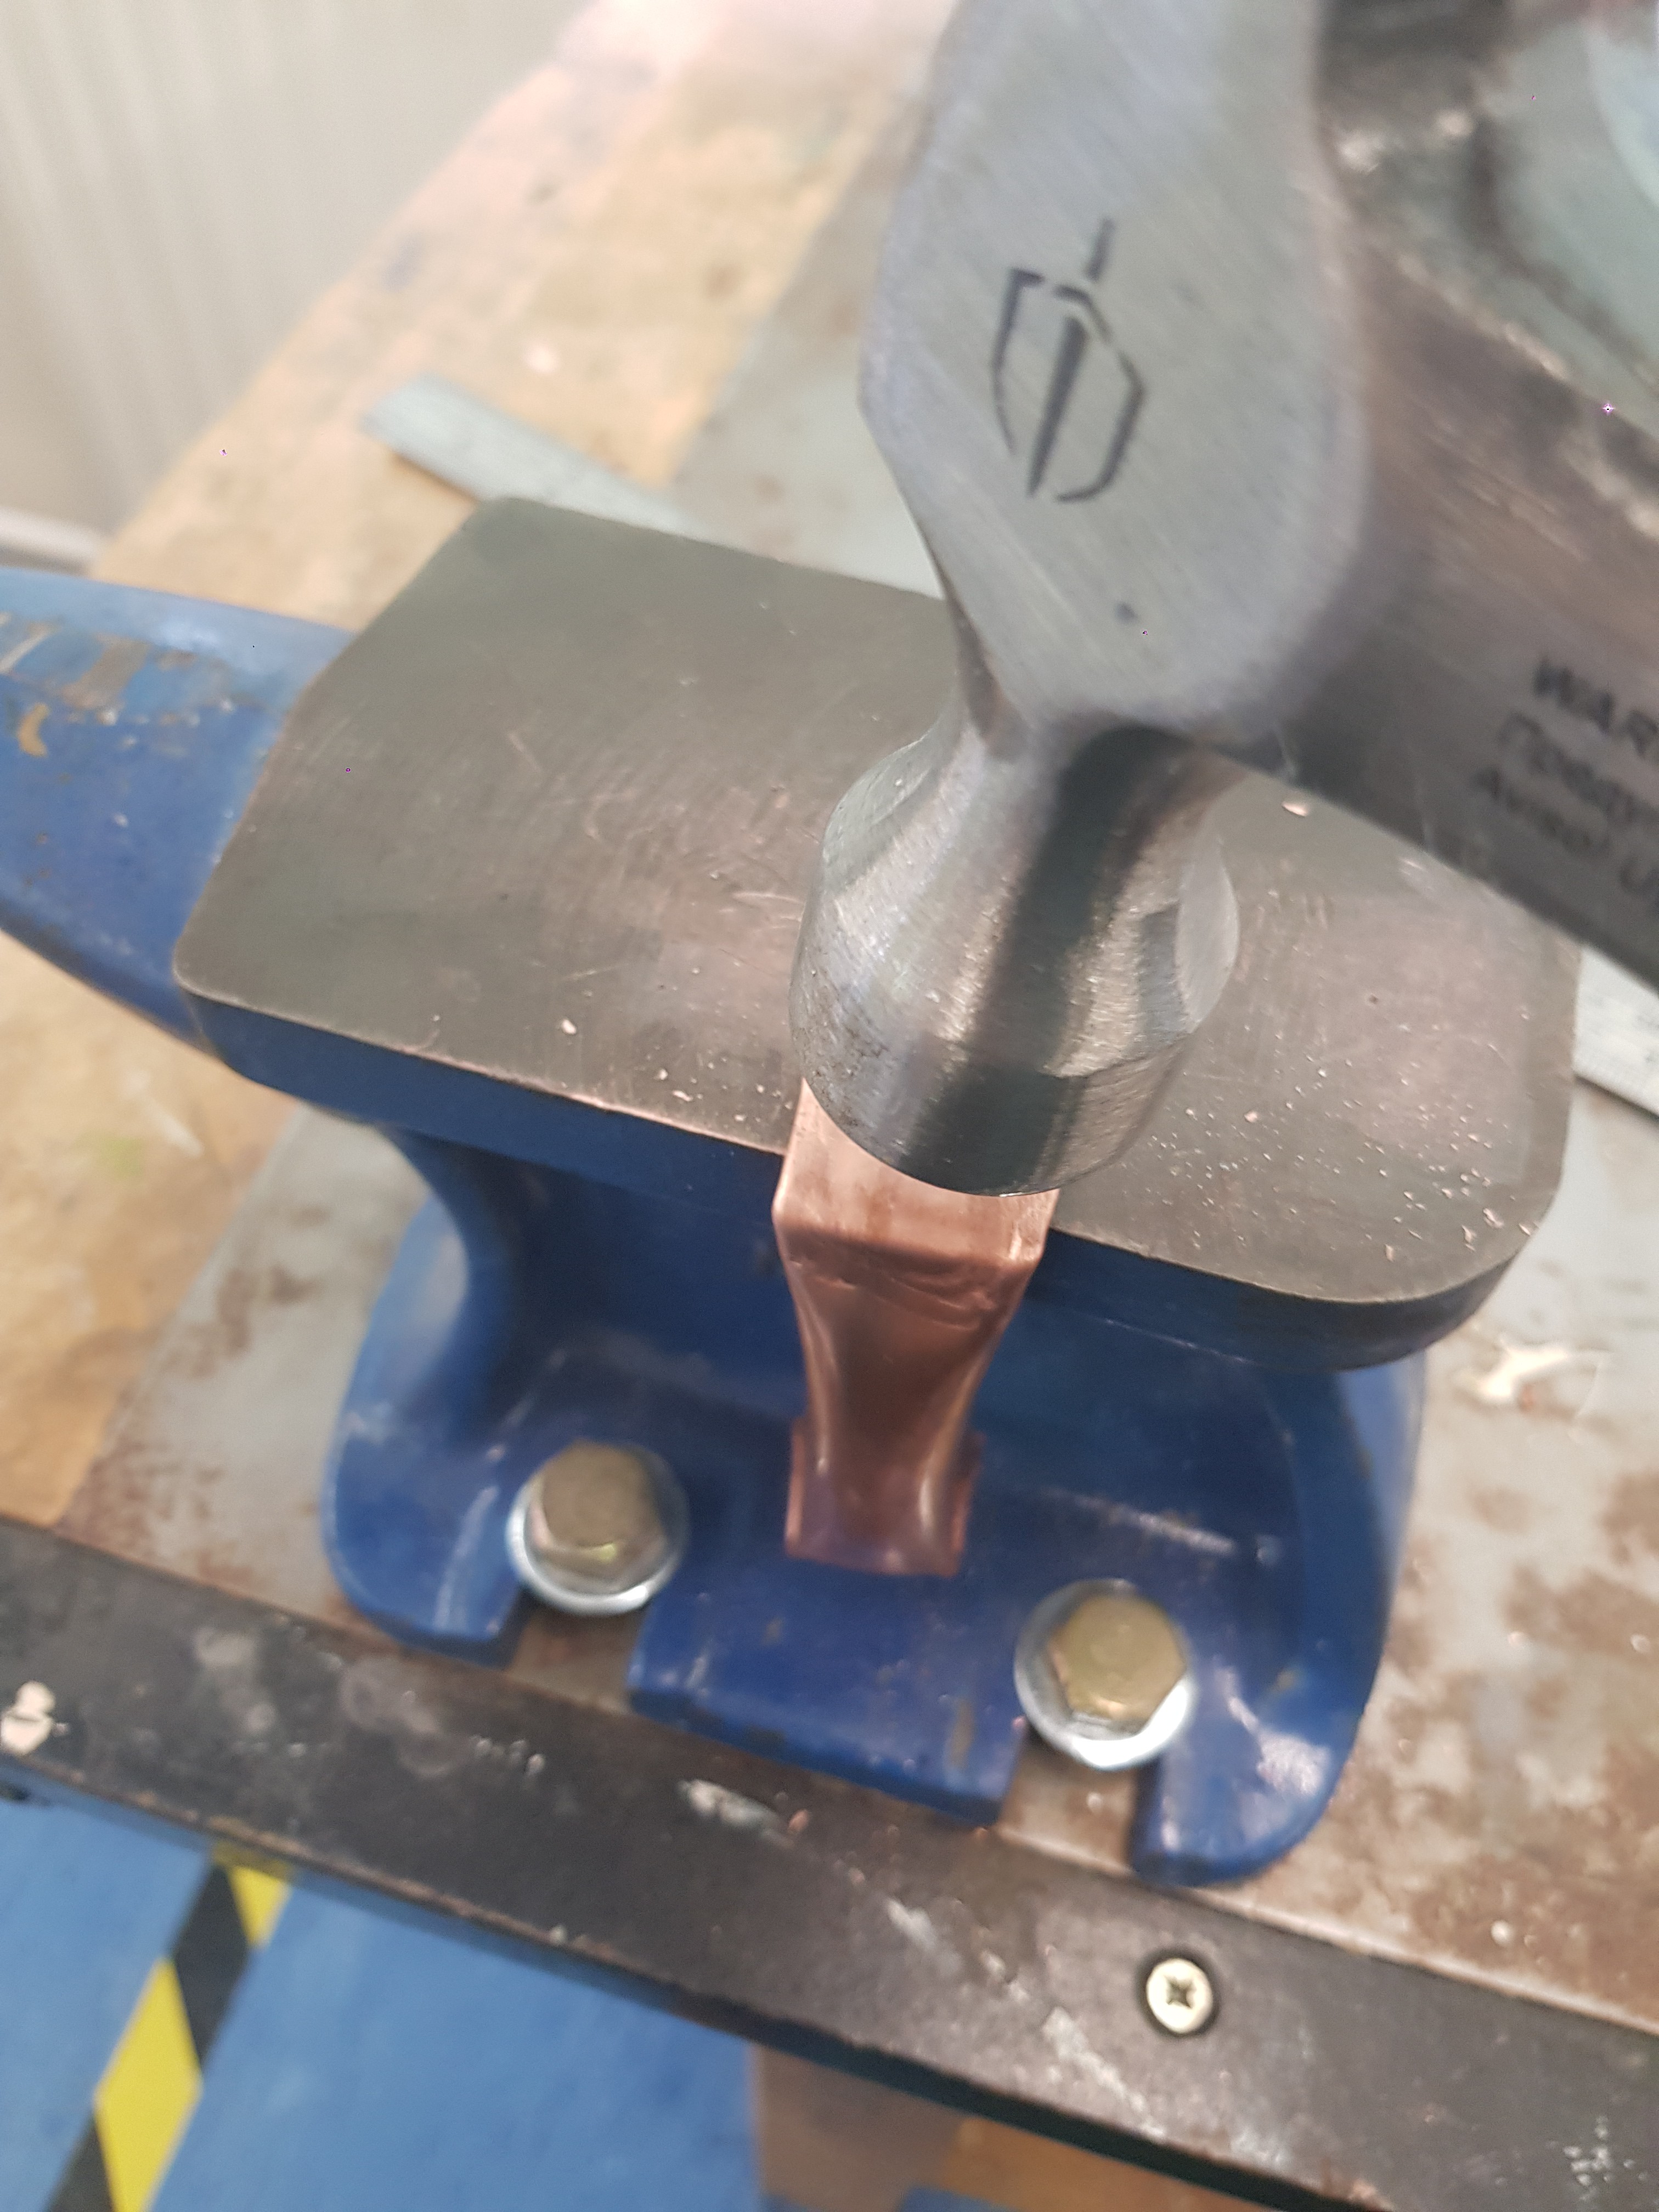
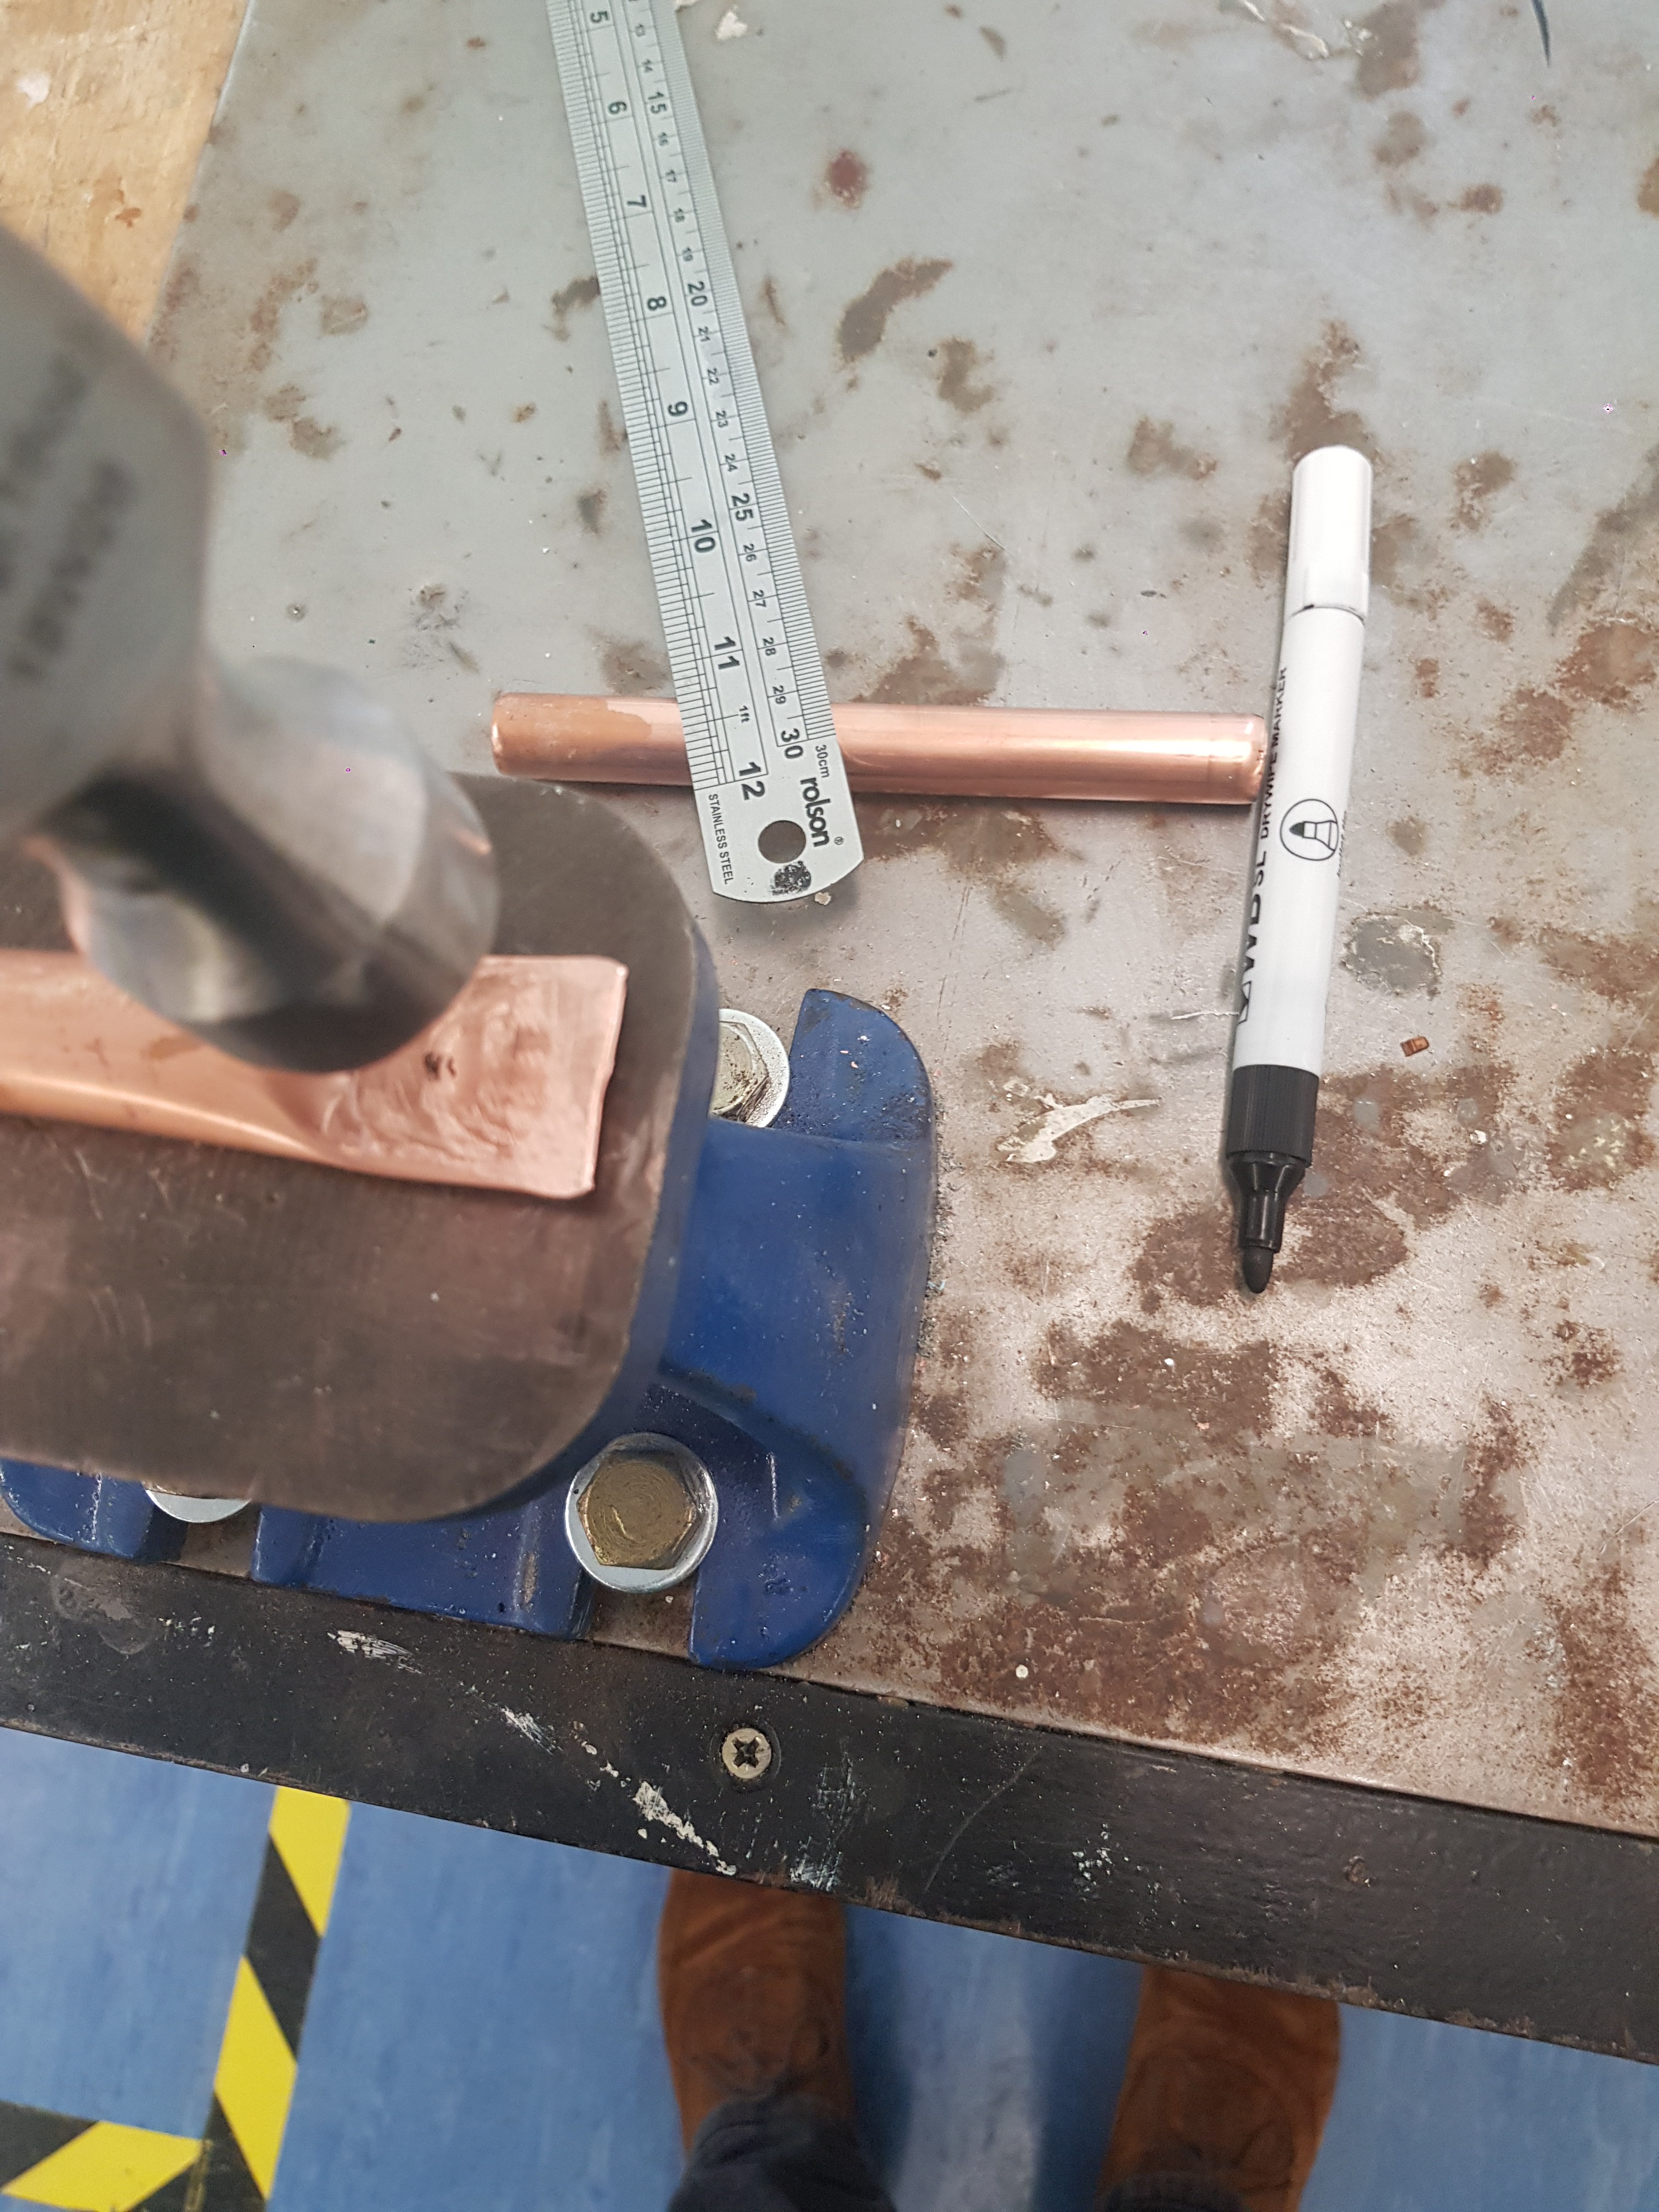
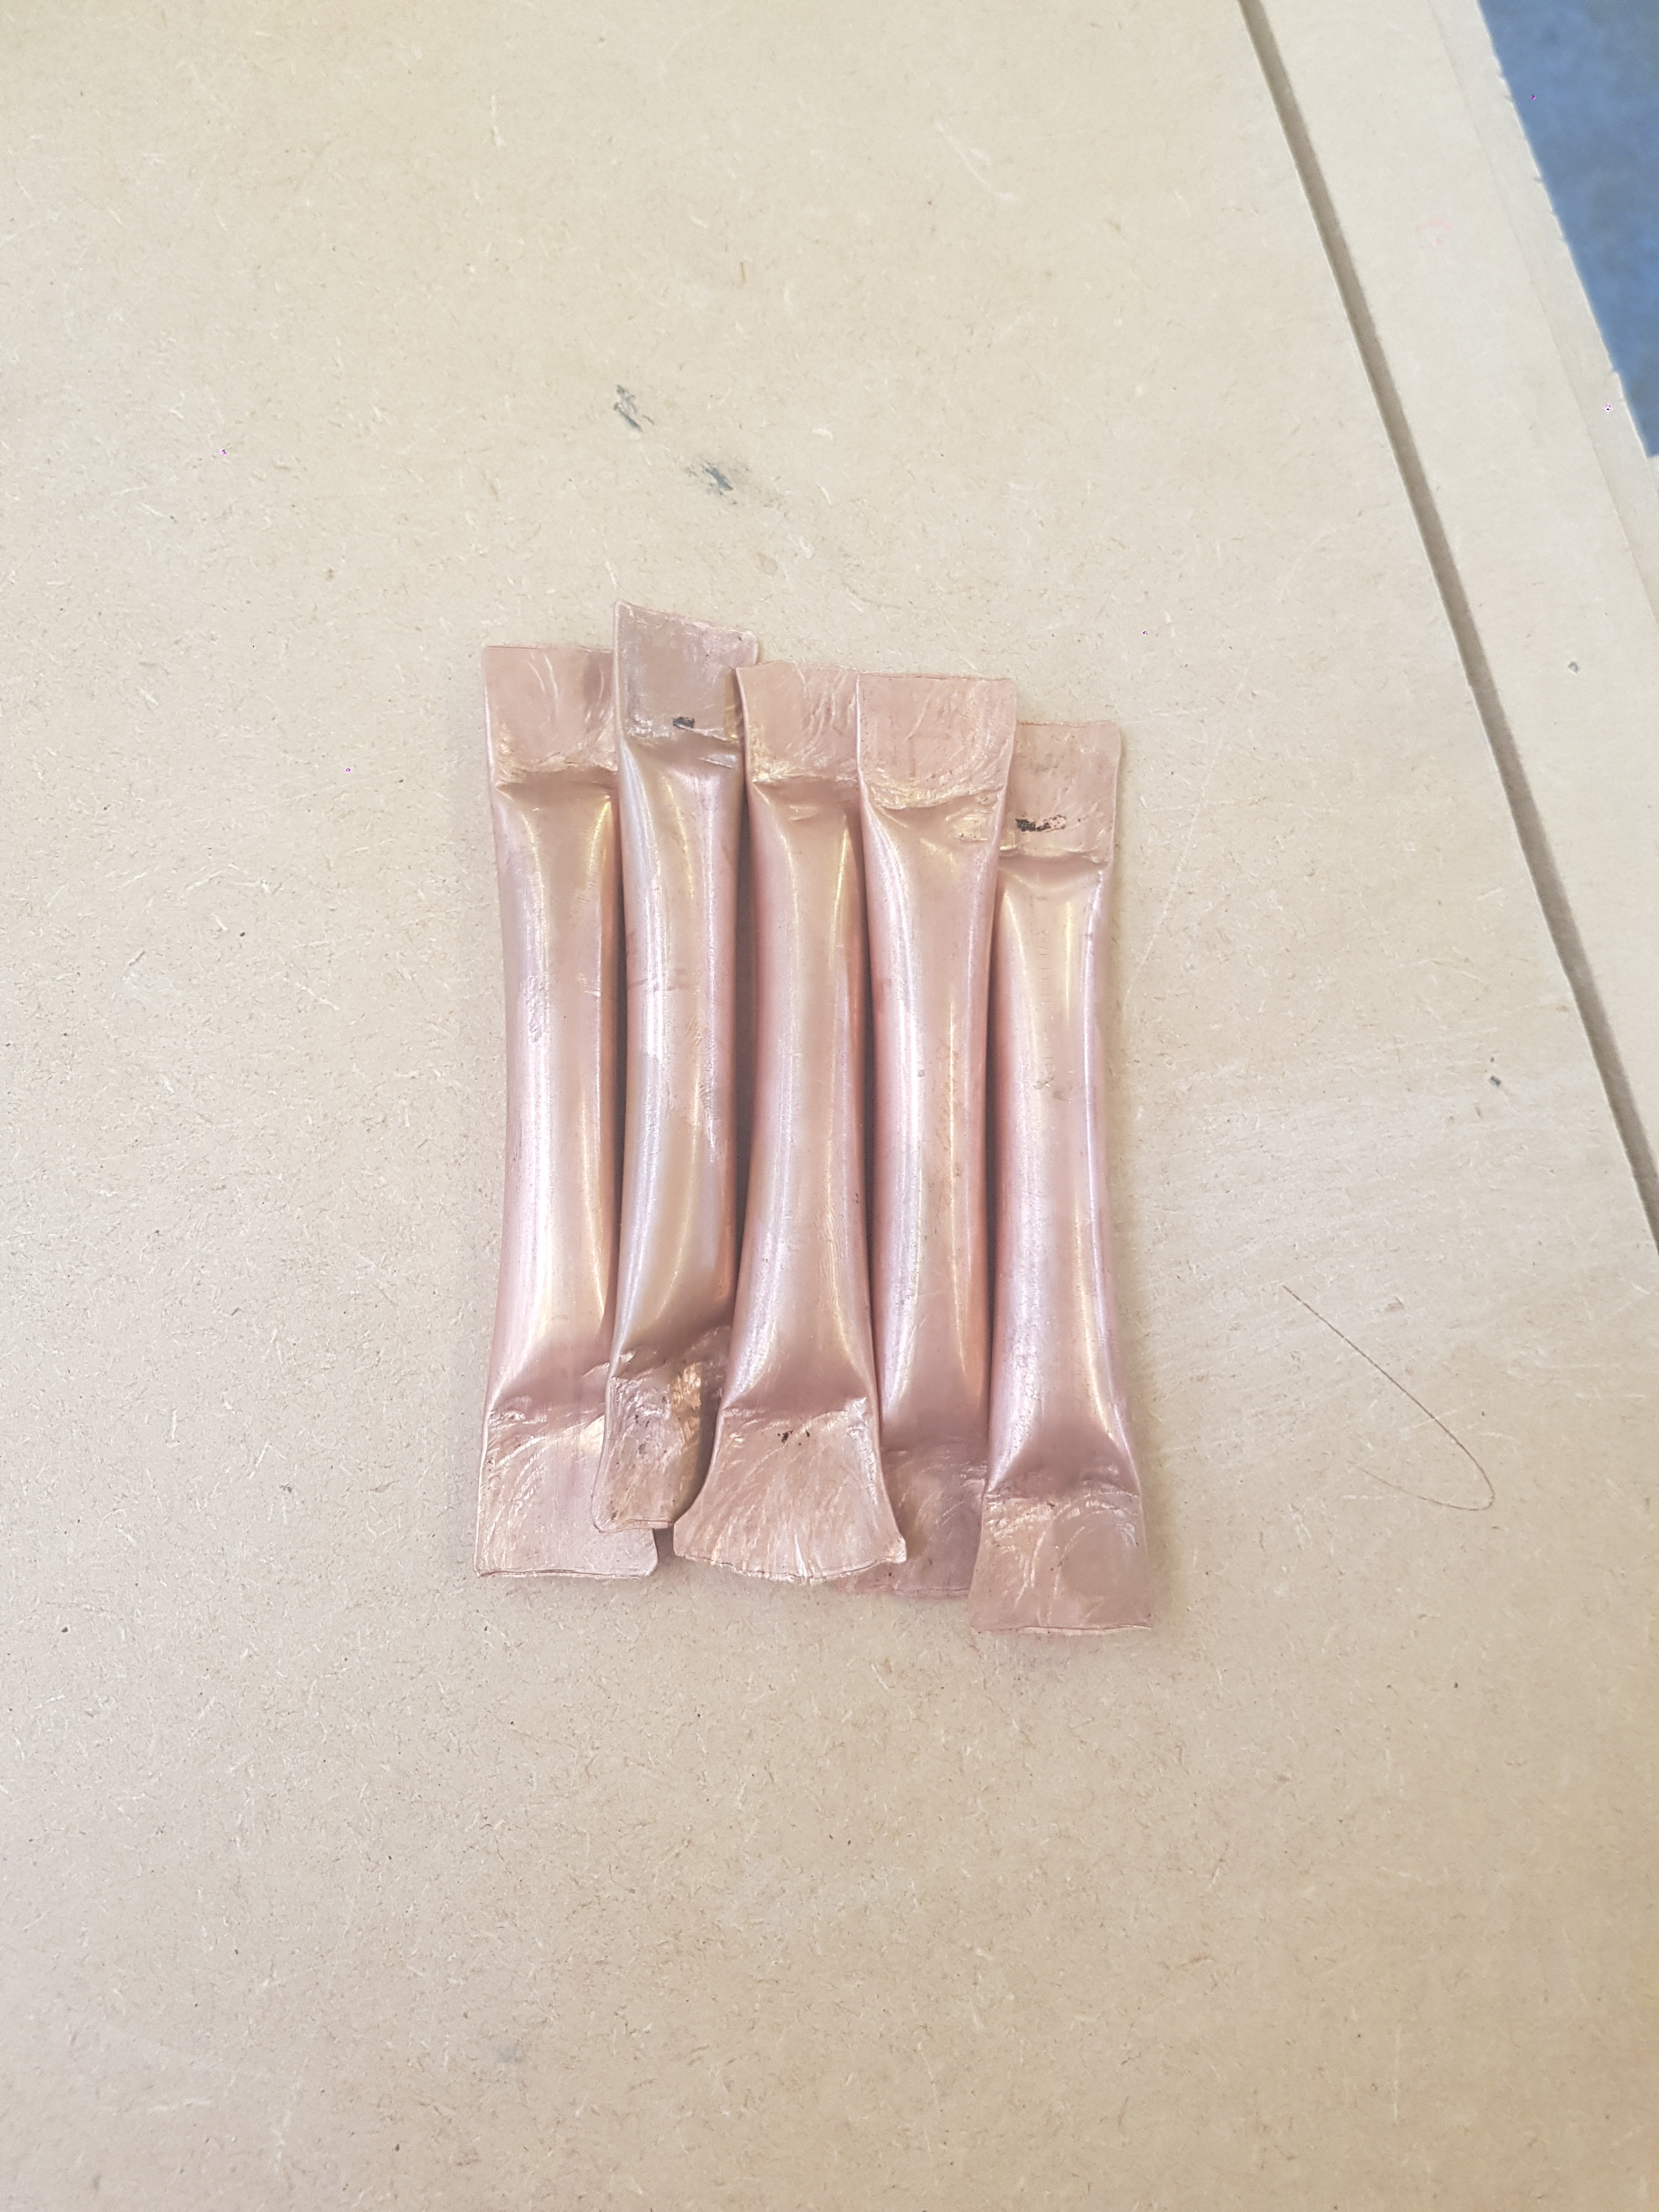
01/17/2020 at 08:52 • 0 commentsAfter the pipes were cut down to size I marked on where I wanted to squish and used a hammer and an anvil to squish them. This gave me a flat surface to work with.
![]()
![]()
-
First making steps
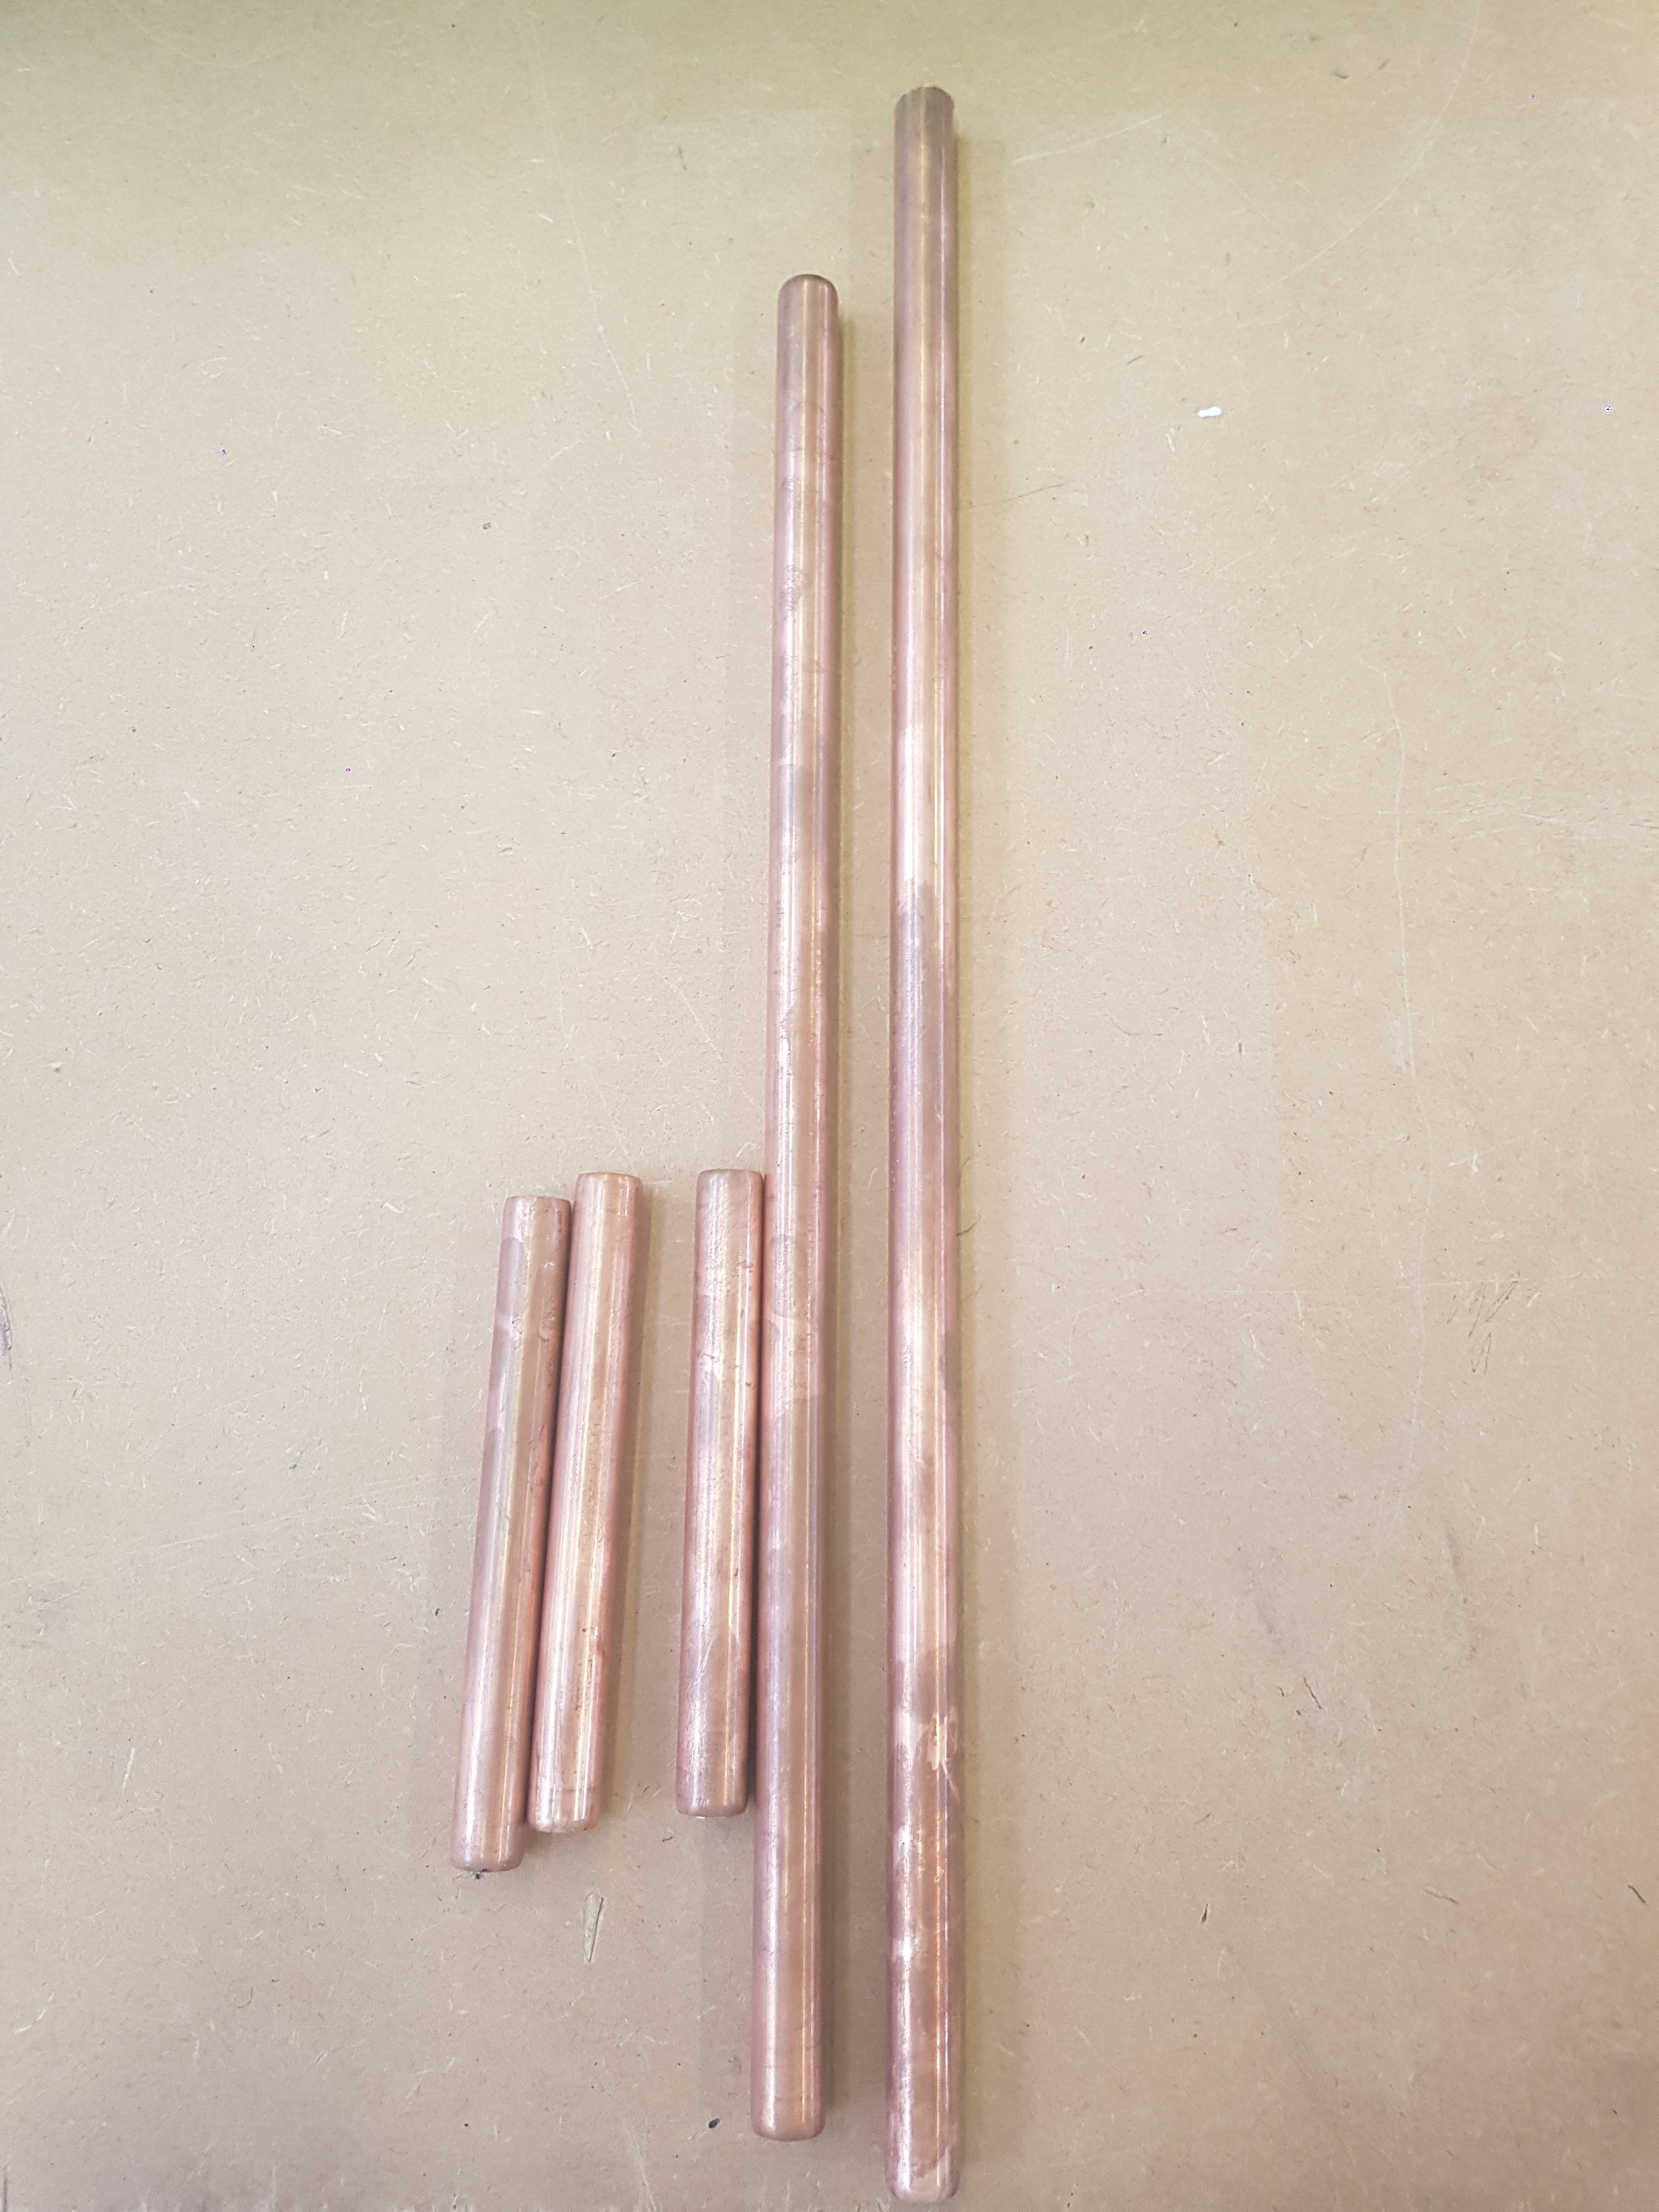
01/17/2020 at 08:49 • 0 commentsAfter the making the design and deciding to make it out of copper pipe, I bought some copper pipe for £8 and started by cutting it down to size.
![]()
![]()
-
Revised model in OpenSCAD
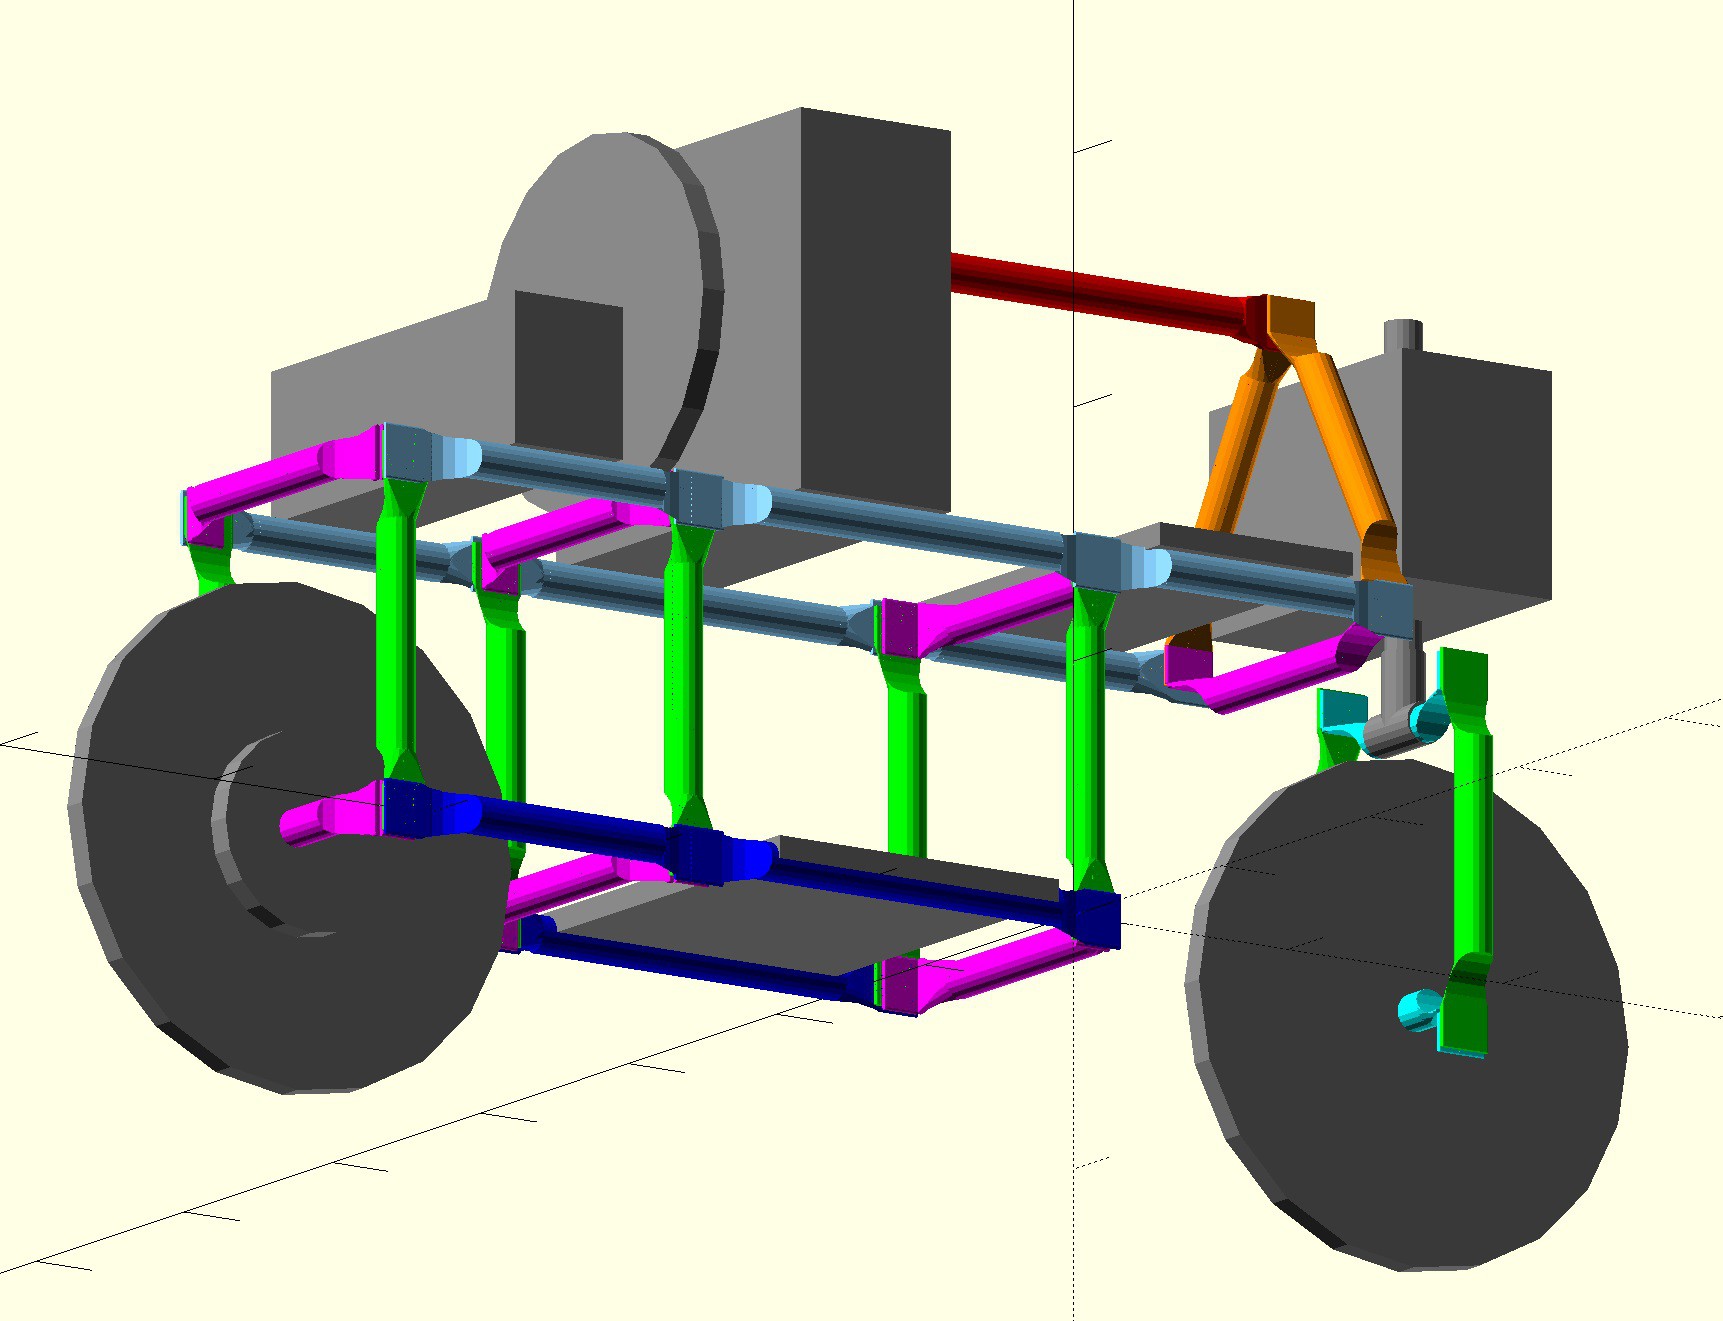
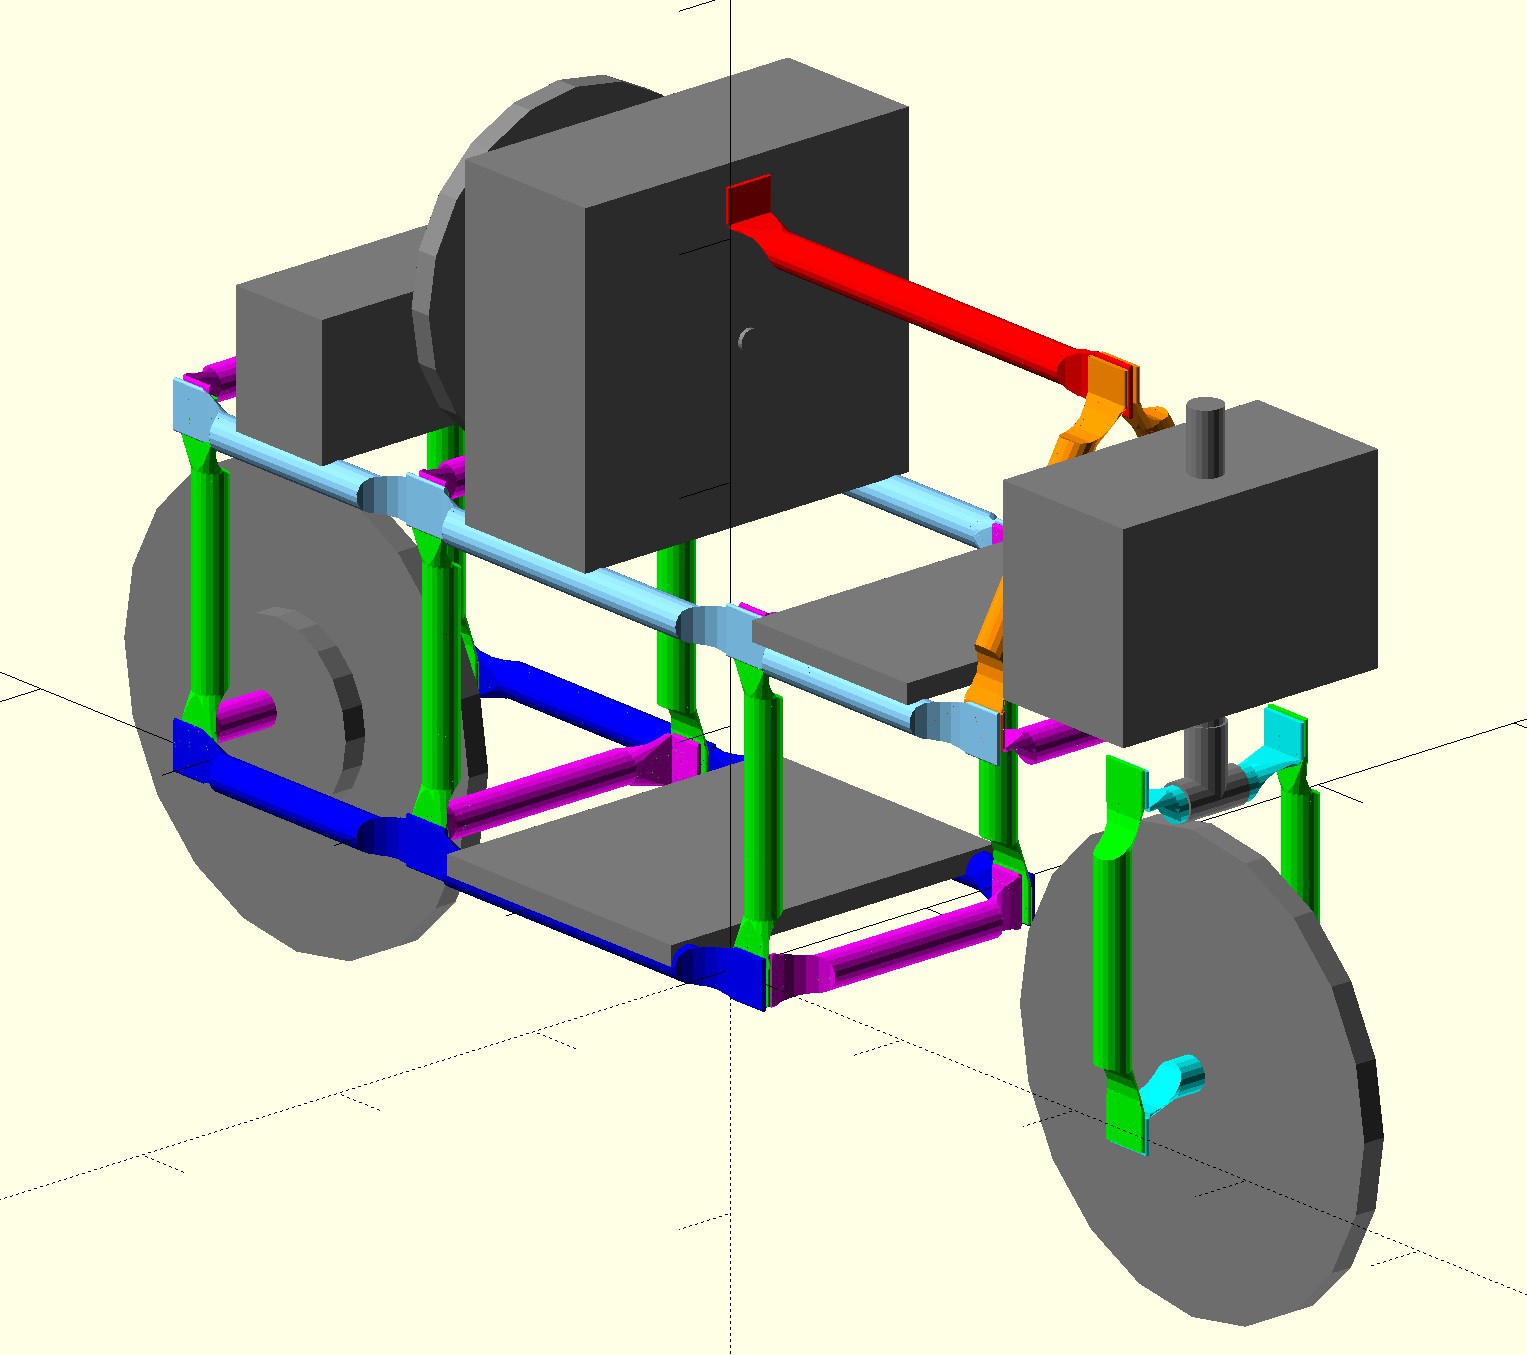
01/16/2020 at 22:50 • 0 commentsAfter a few weeks of thinking about how I could improve my design I decided to make the main frame out of copper pipe and made a design of it on OpenSCAD. I also made boxes for the battery to protect it, the flywheel to support it and the front wheel for support and to fit the motor onto.
![]()
![]()
![]()
-
FreeCAD Model
01/16/2020 at 22:06 • 0 commentsI then made a model of my bike on FreeCAD and altered the design slightly to make the front of the bike more stable as the one bar wasn't stable enough to hold the whole frame.
(Images will be put here soon)
-
My first foam model
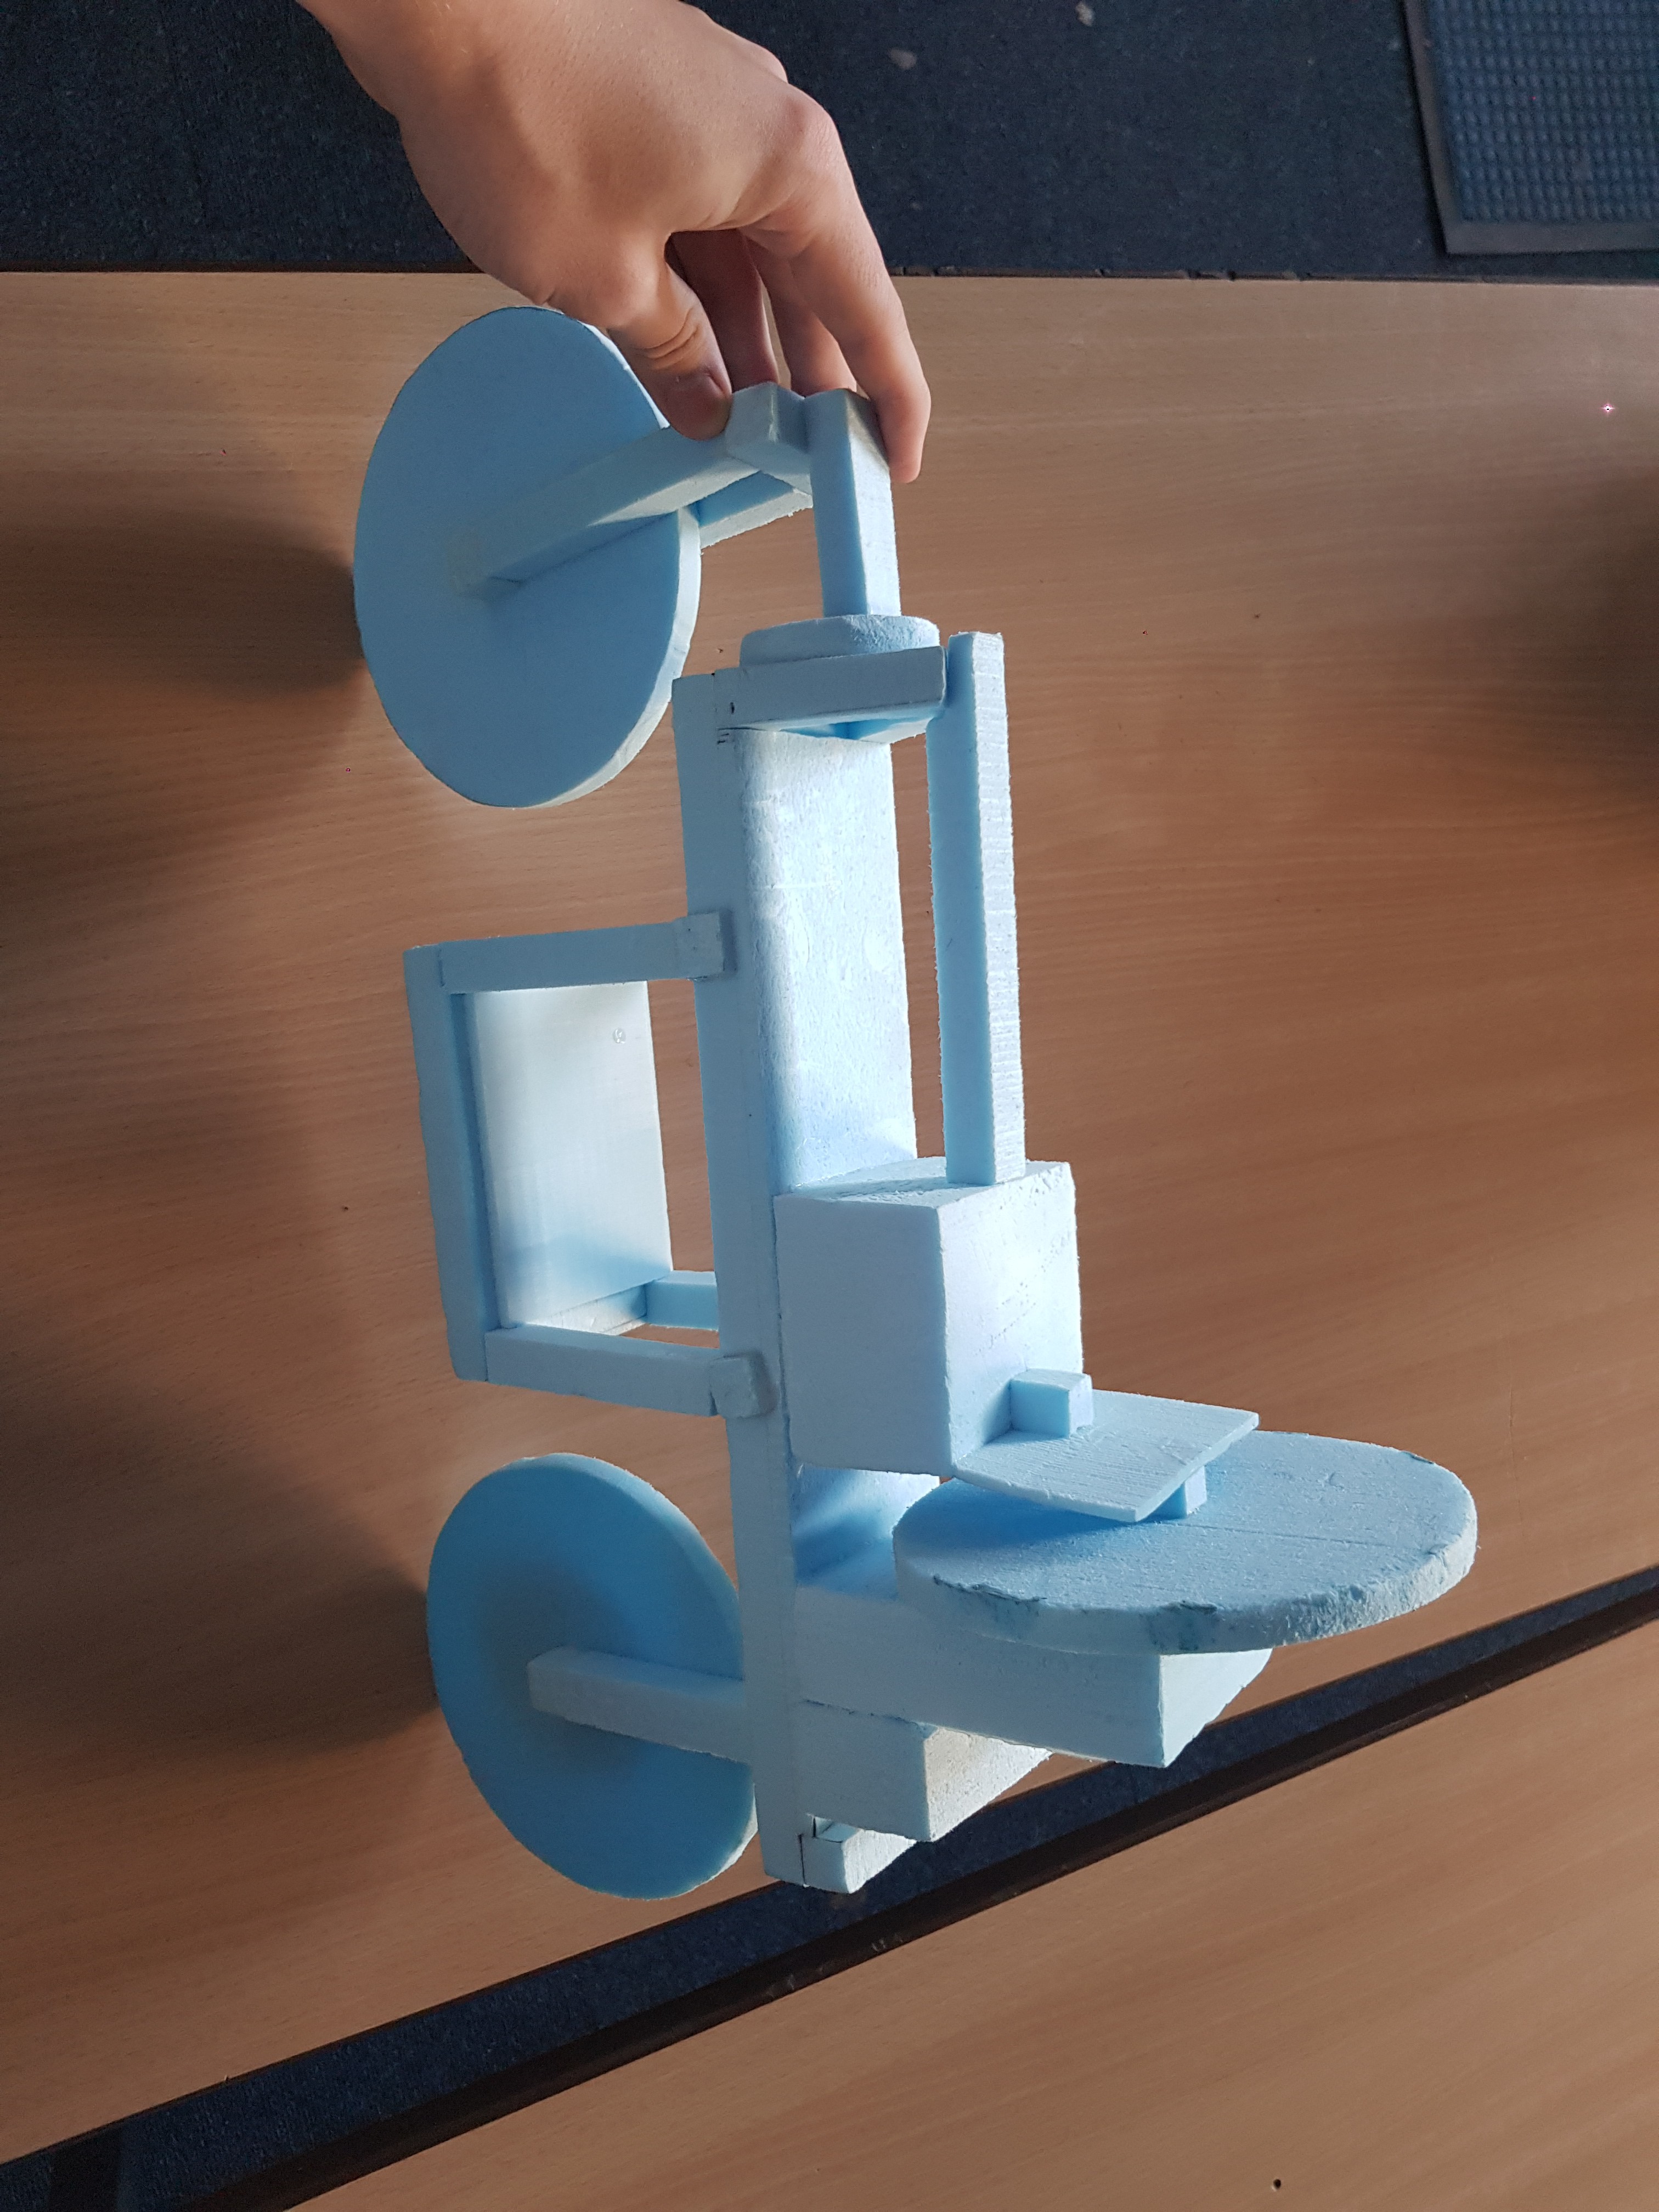
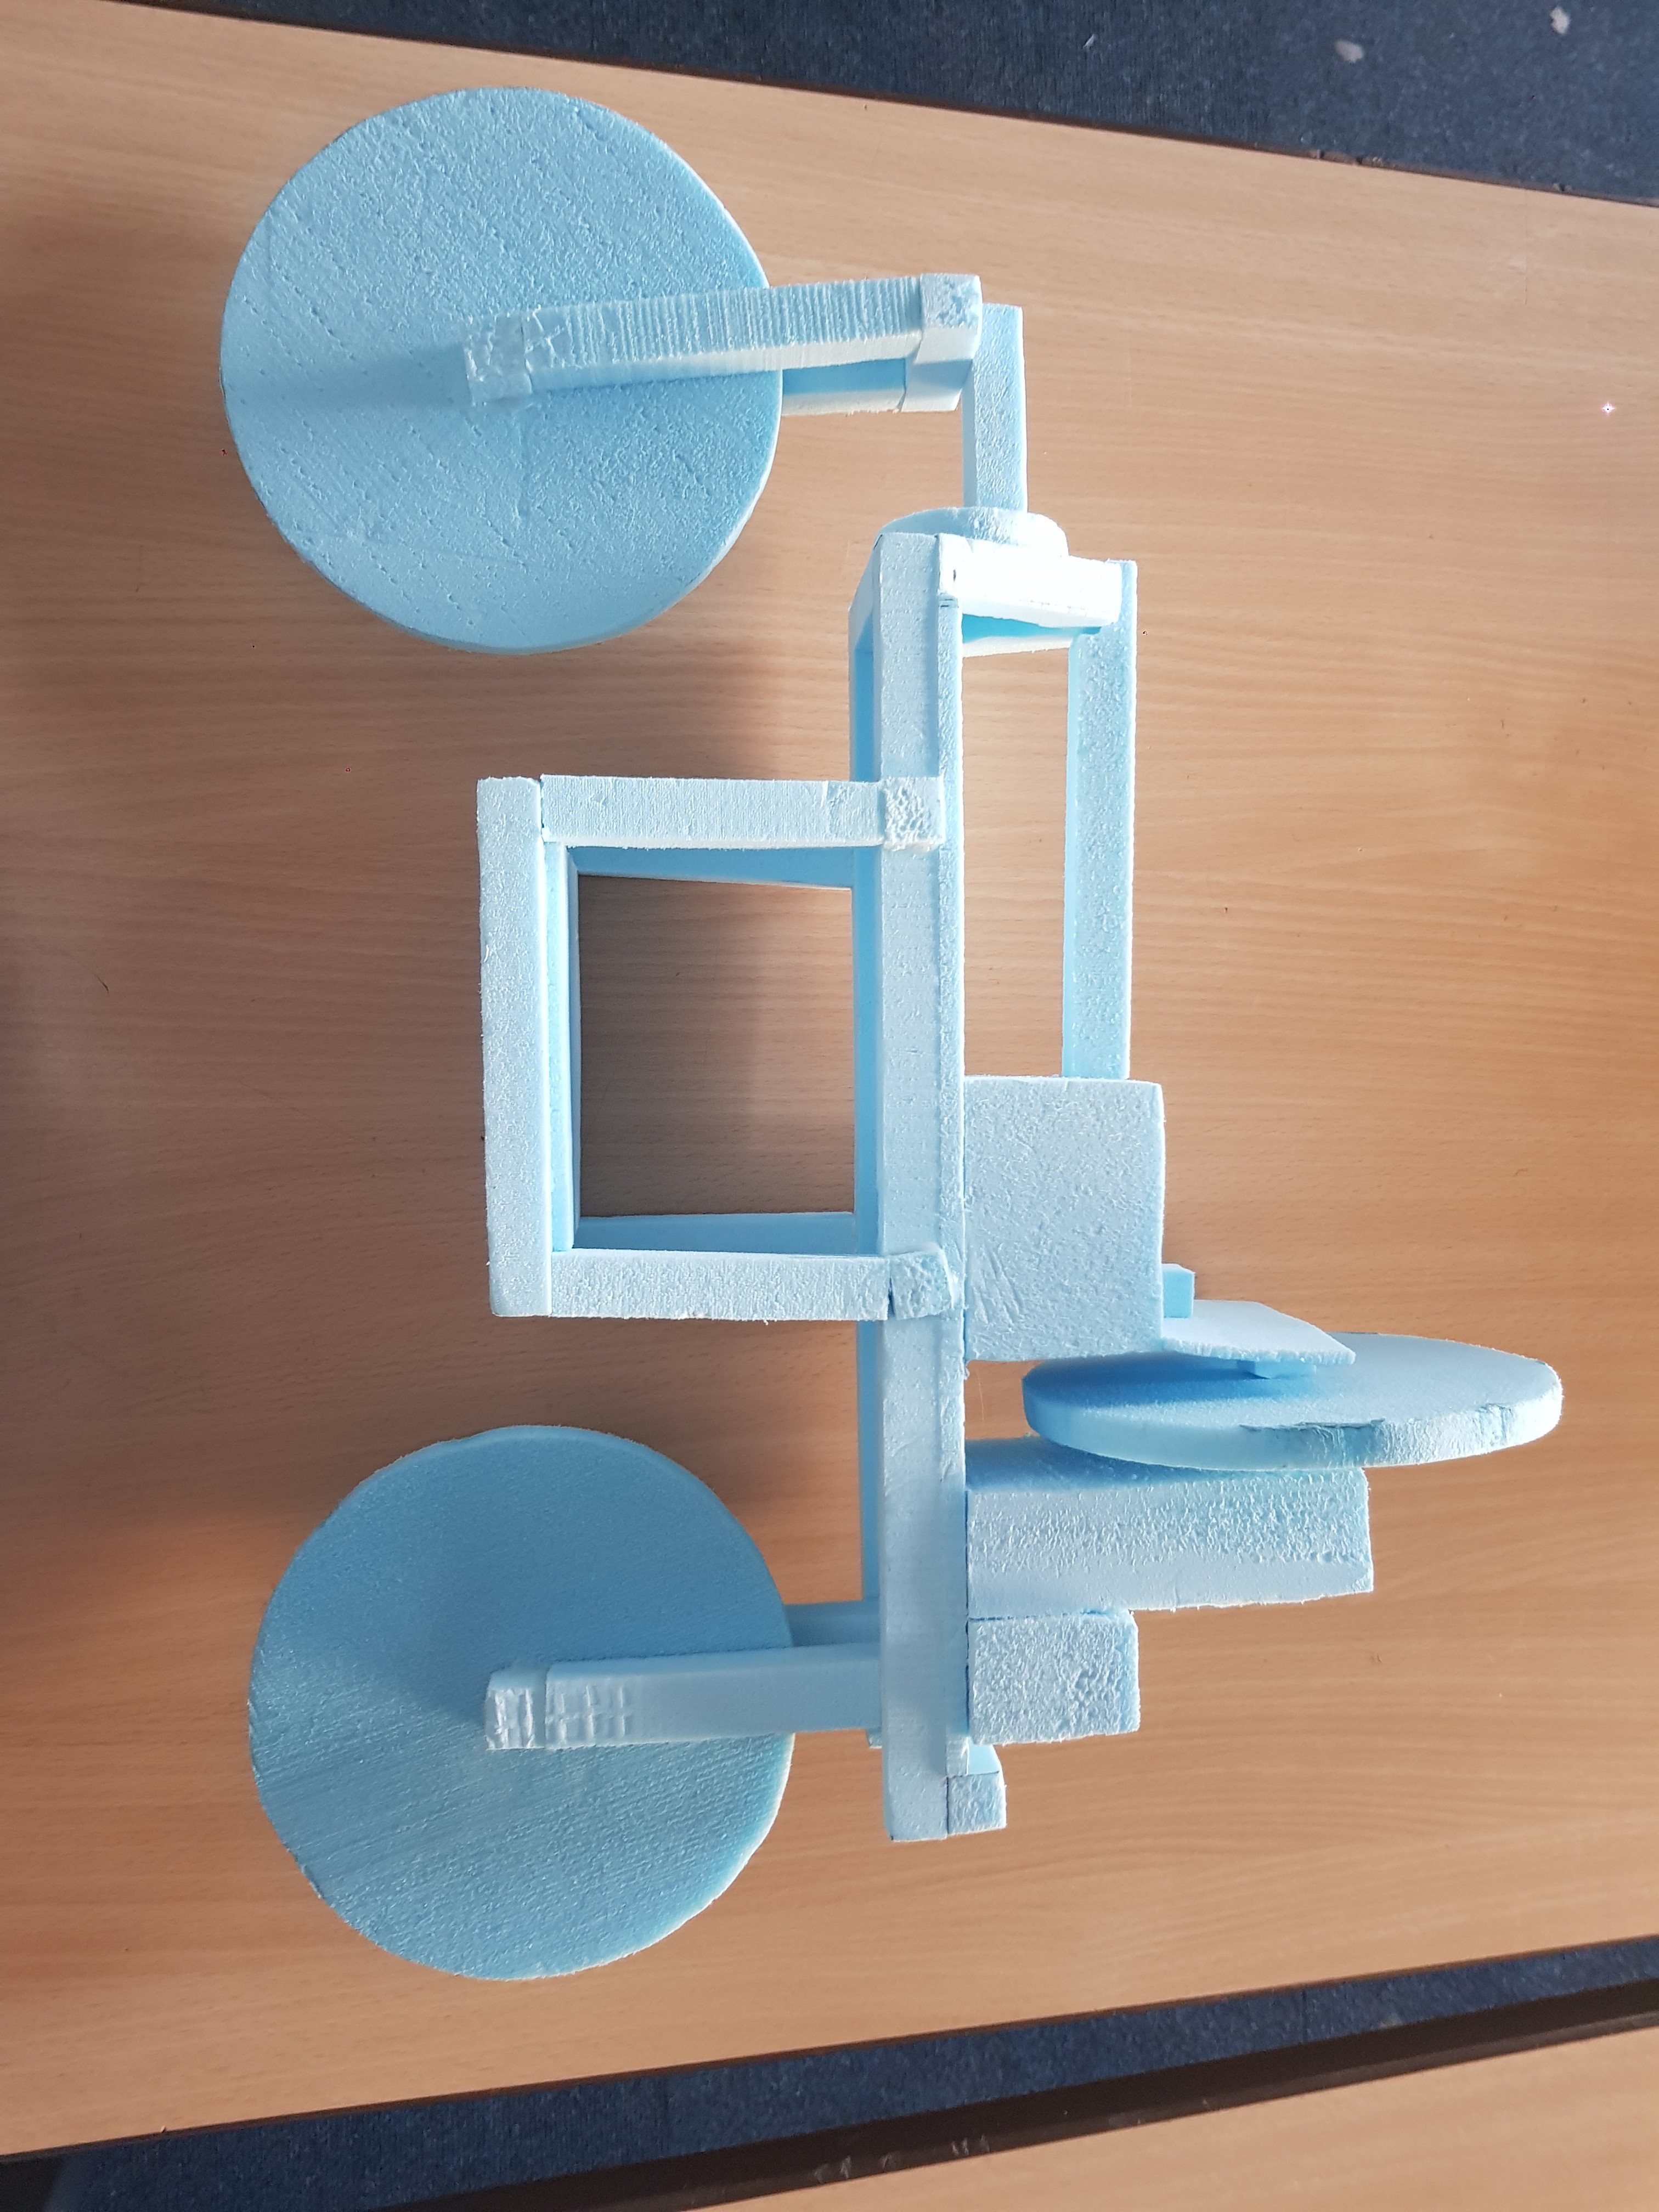
01/16/2020 at 21:51 • 0 commentsThis concept was an initial brainstorm that we had to design ourselves. Initially I thought it would be best to make the frame out of Plywood. I then made a foam model of the project so I could get an idea of the size and where I could put components.
![]()
![]()
Reaction Wheel Self Balancing Bike
This project is to track and document my A-Level DT project of a self balancing bike.
