loren
loren-
It's alive! Check out the videos!
12/15/2020 at 17:07 • 0 commentsThe Dualcade project is finished and it's been a hit between my friends! I haven't been able to create detailed instructions yet, but I've added the 3D STL files to this Hackaday project so you can print your own!
Check out this videos:
-
Prototype finished!
03/25/2020 at 15:15 • 0 commentsThe Dualcade prototype was finished a while ago, next task is to create proper instructions and provide the 3D models for 3D-printing and assembling your own one! Would you be interested in that? Let me know via Twitter at @lorenzoherrera
![]()
-
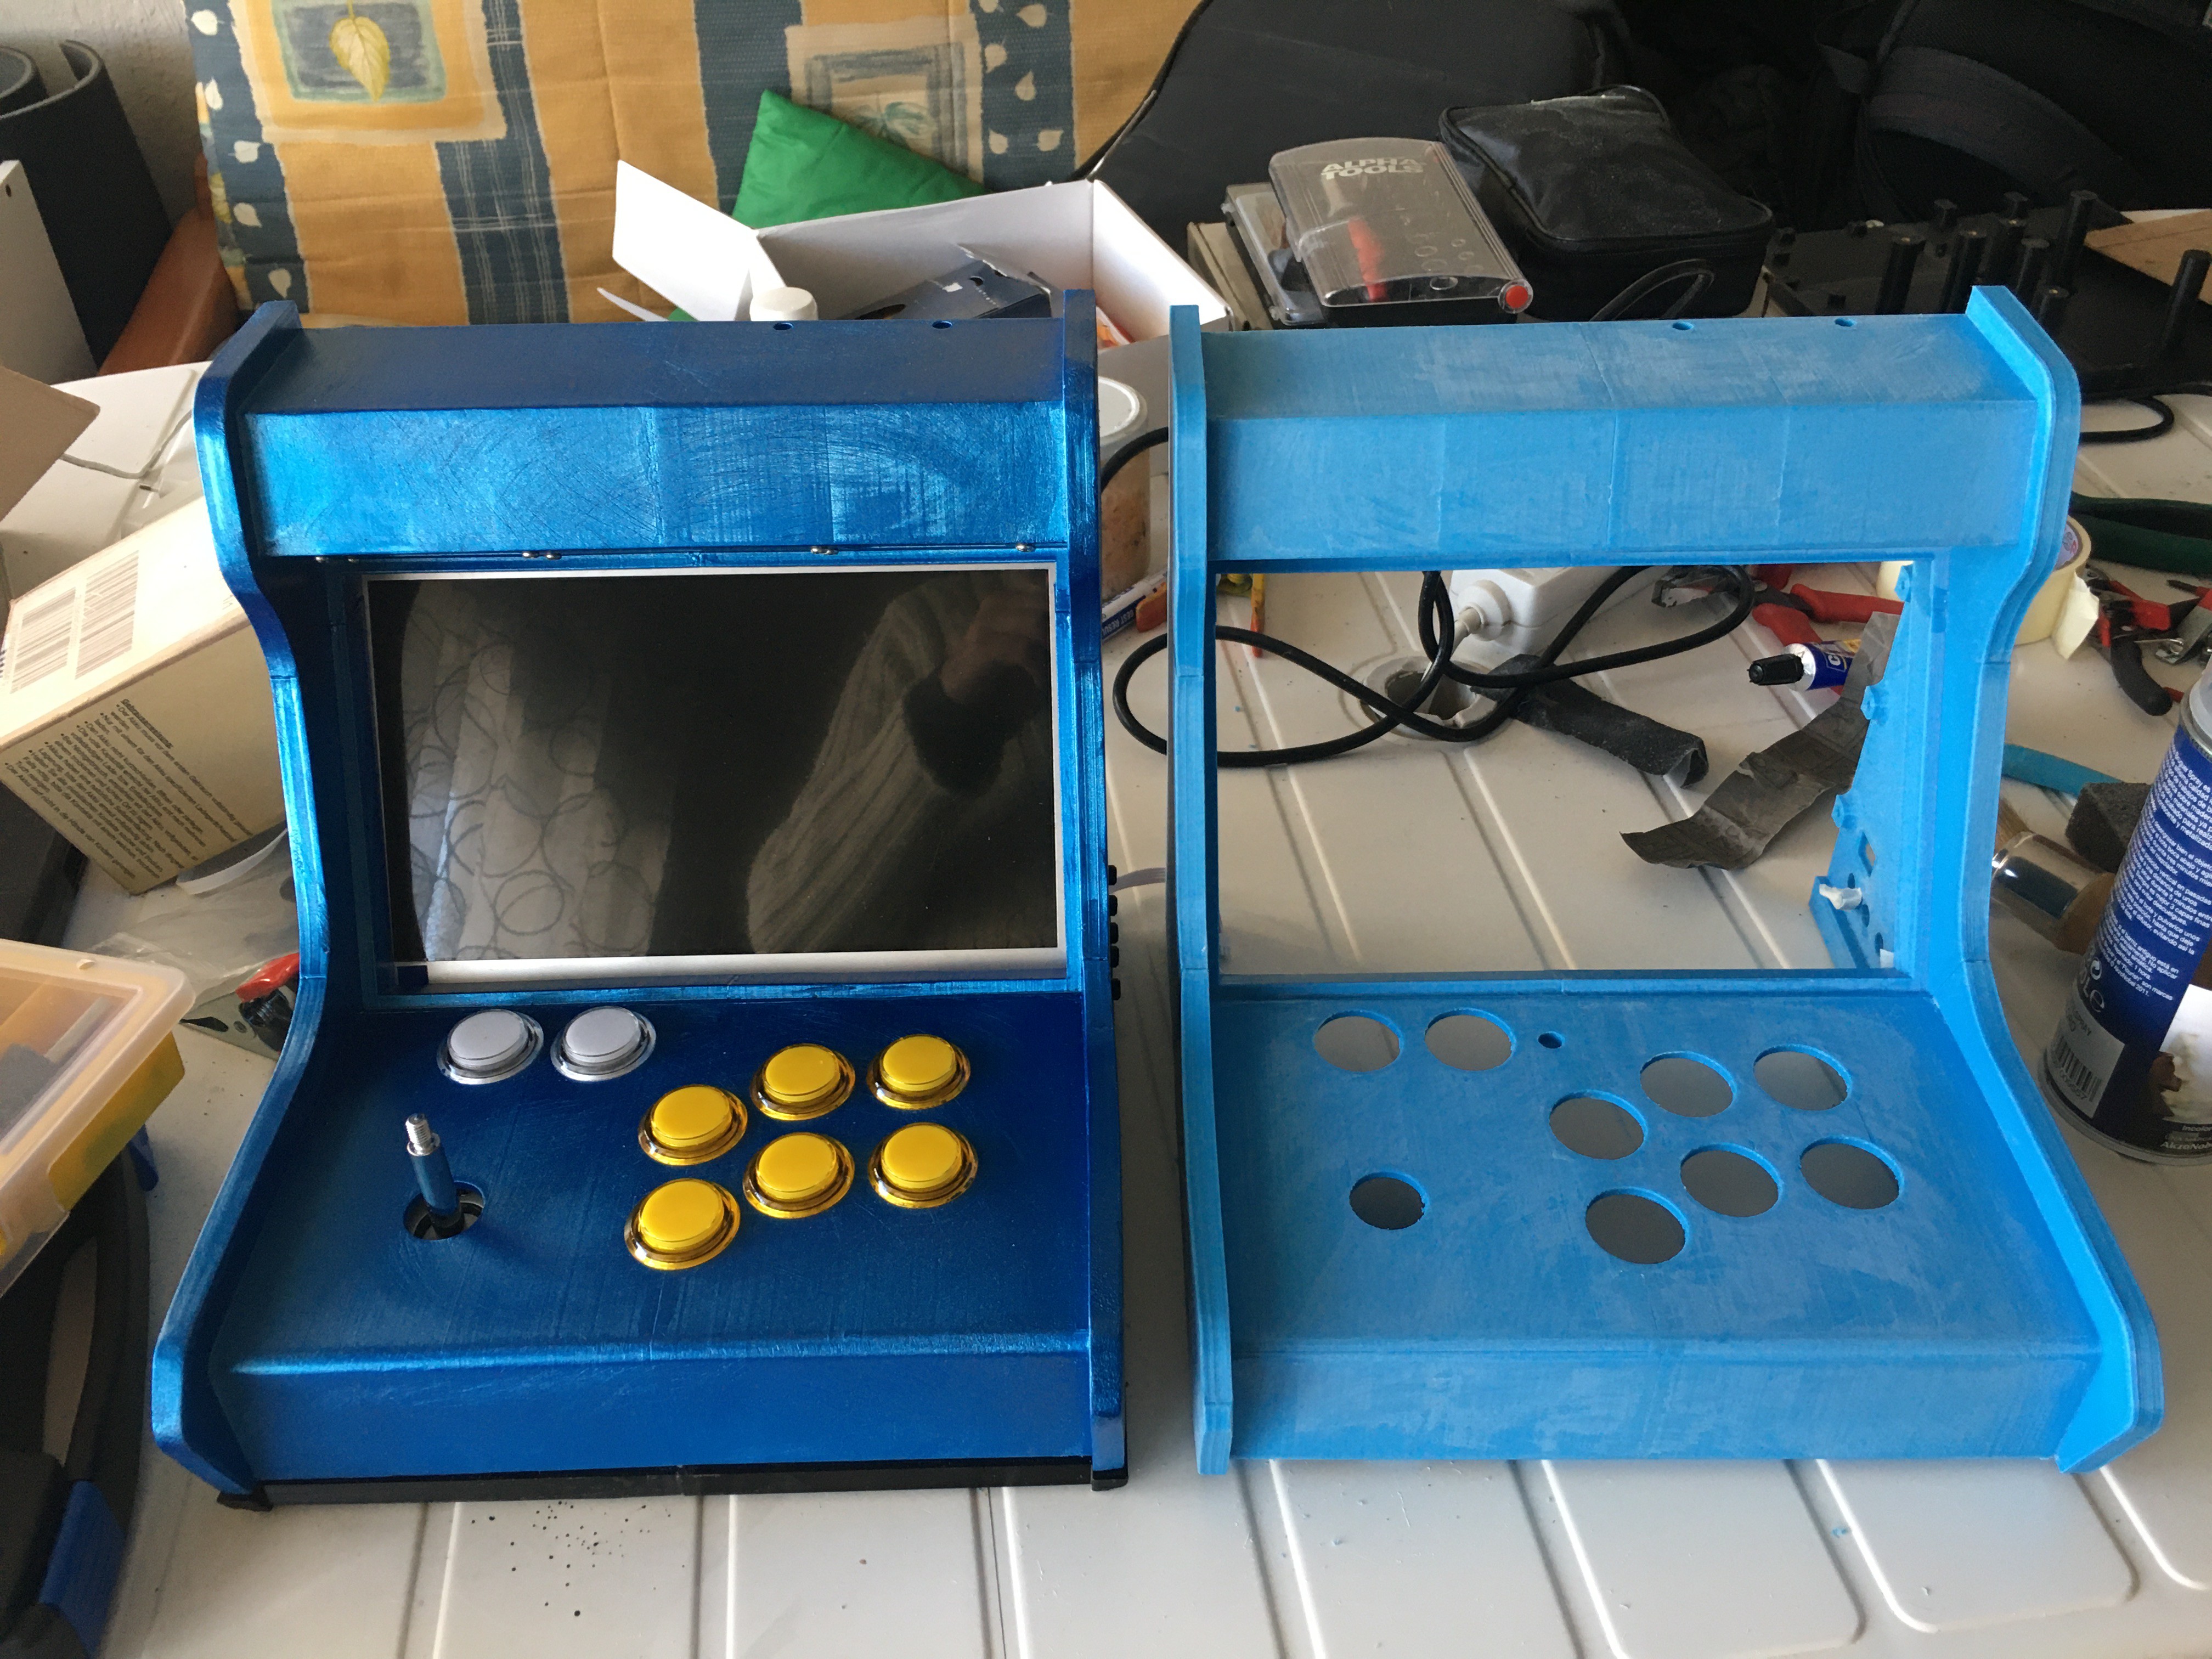
Sanding and paintjob before and after
01/12/2020 at 09:21 • 0 commentsTo the right: One of the halves of the Dualcade prototype, sanded and ready to be painted. To the left: The other half, painted in blue glitter ✨
![]()
![]()
-
First breath of life
01/12/2020 at 09:18 • 0 comments![]()
-
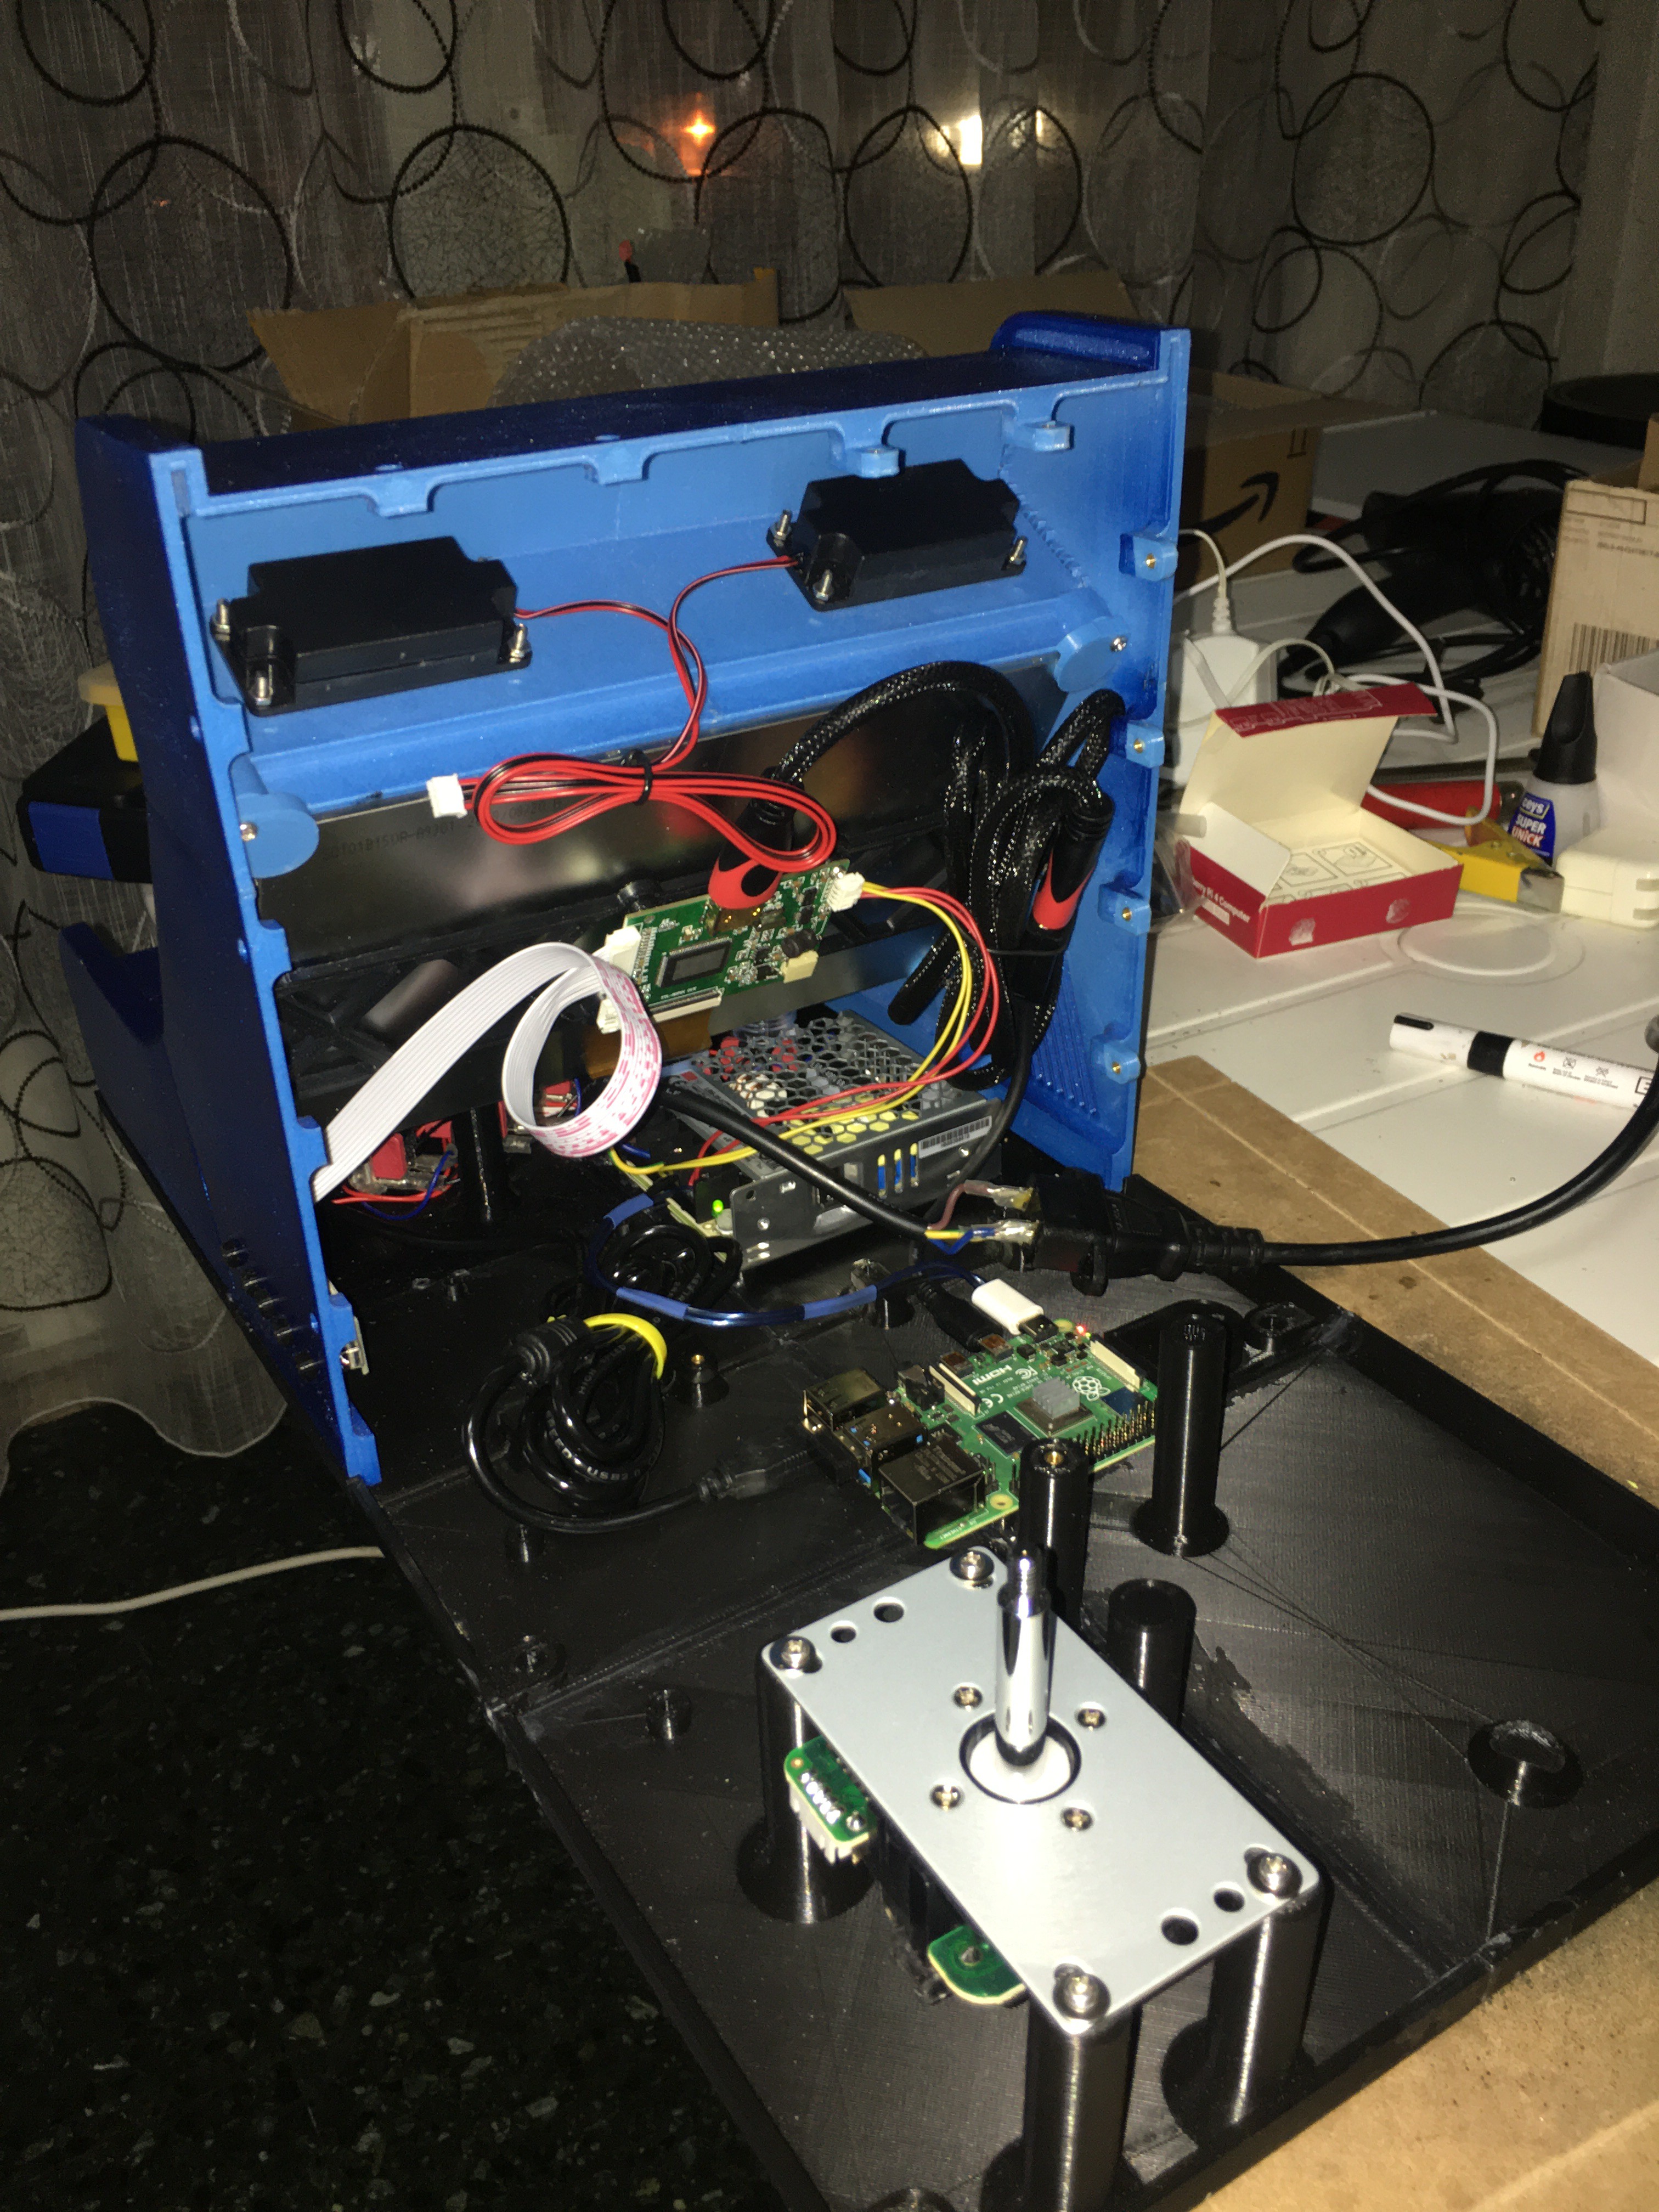
A look at the guts
01/12/2020 at 09:17 • 0 commentsThe first half of the prototype is quite ready, and the other half is almost there!
Here's a look at the guts:
![]()
There are some details that need to be solved yet:
- Sound amplifier yet to arrive.
- Foam sound insulation.
- Short HDMI cable yet to arrive, it makes no sense to have two 3 meter HDMI cables inside!
- Power distribution connectors to easily plug and unplug everything, instead of having to screw it all to the two terminals of the power brick.
- A little cable management.
- Soldering the cables for the joystick buttons and lights, as they prove to be quite unstable.
Both sides will be put together soon and the first working prototype of the Dualcade will be alive!
![]()
-
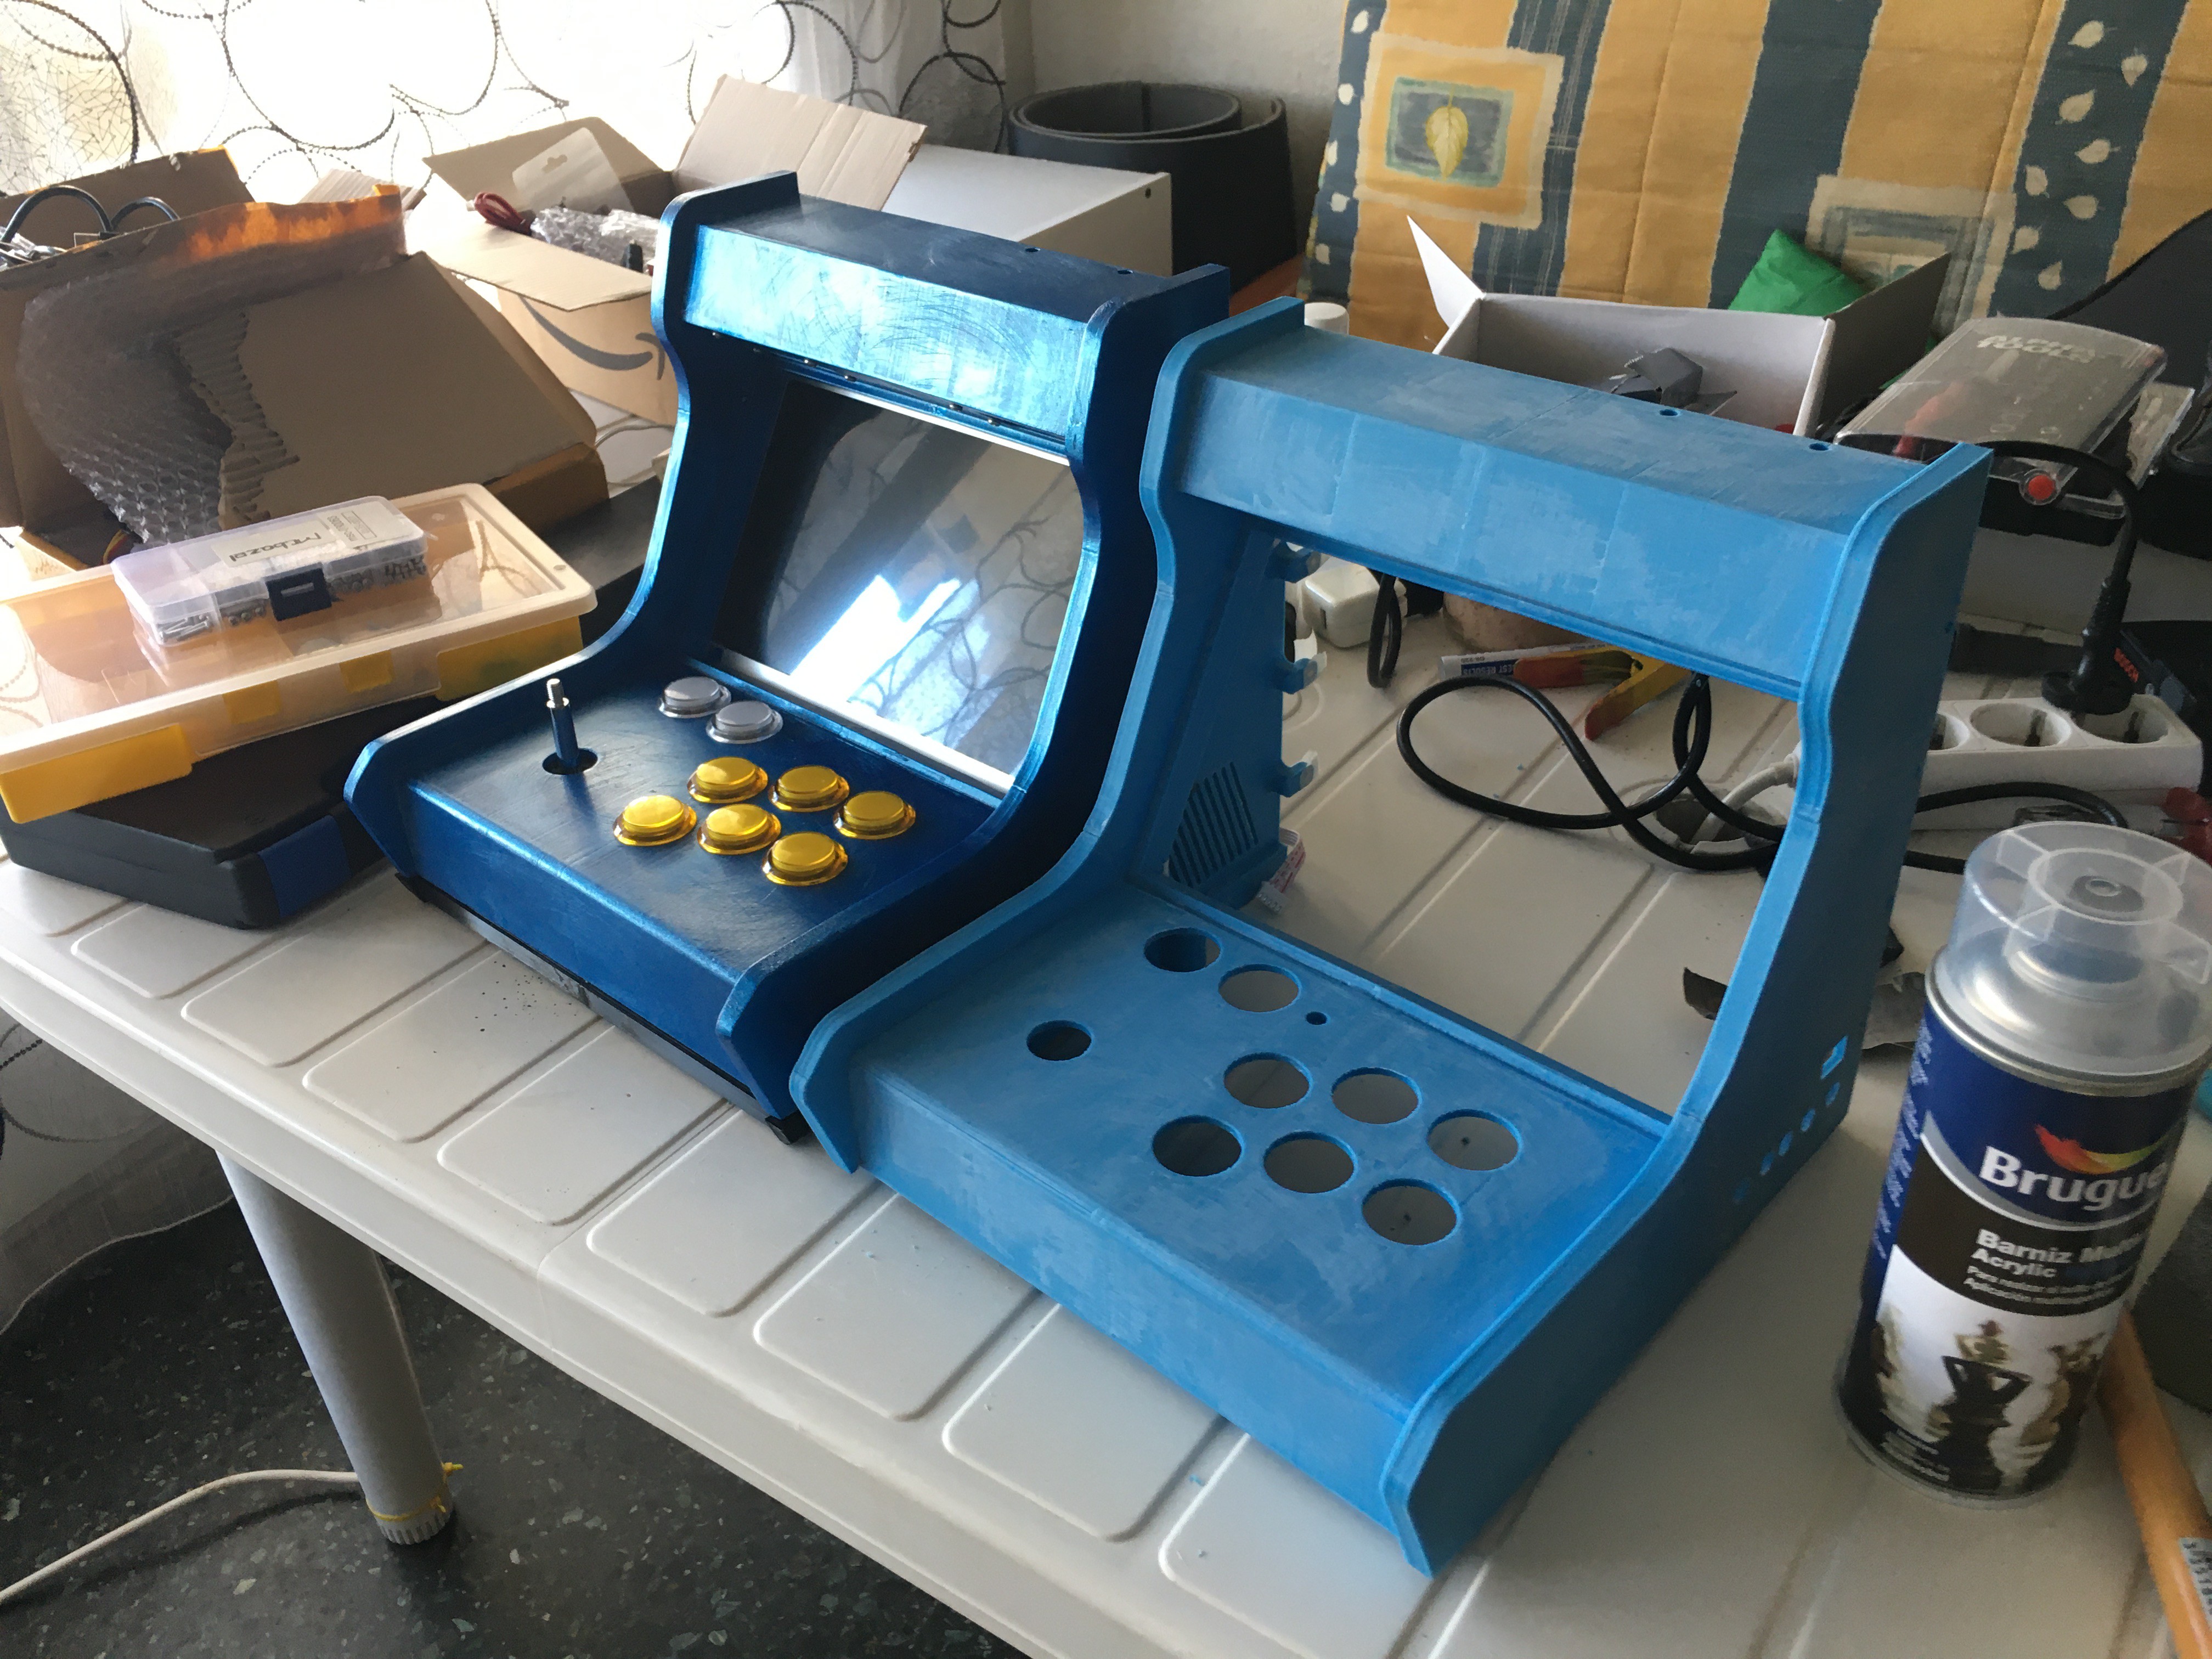
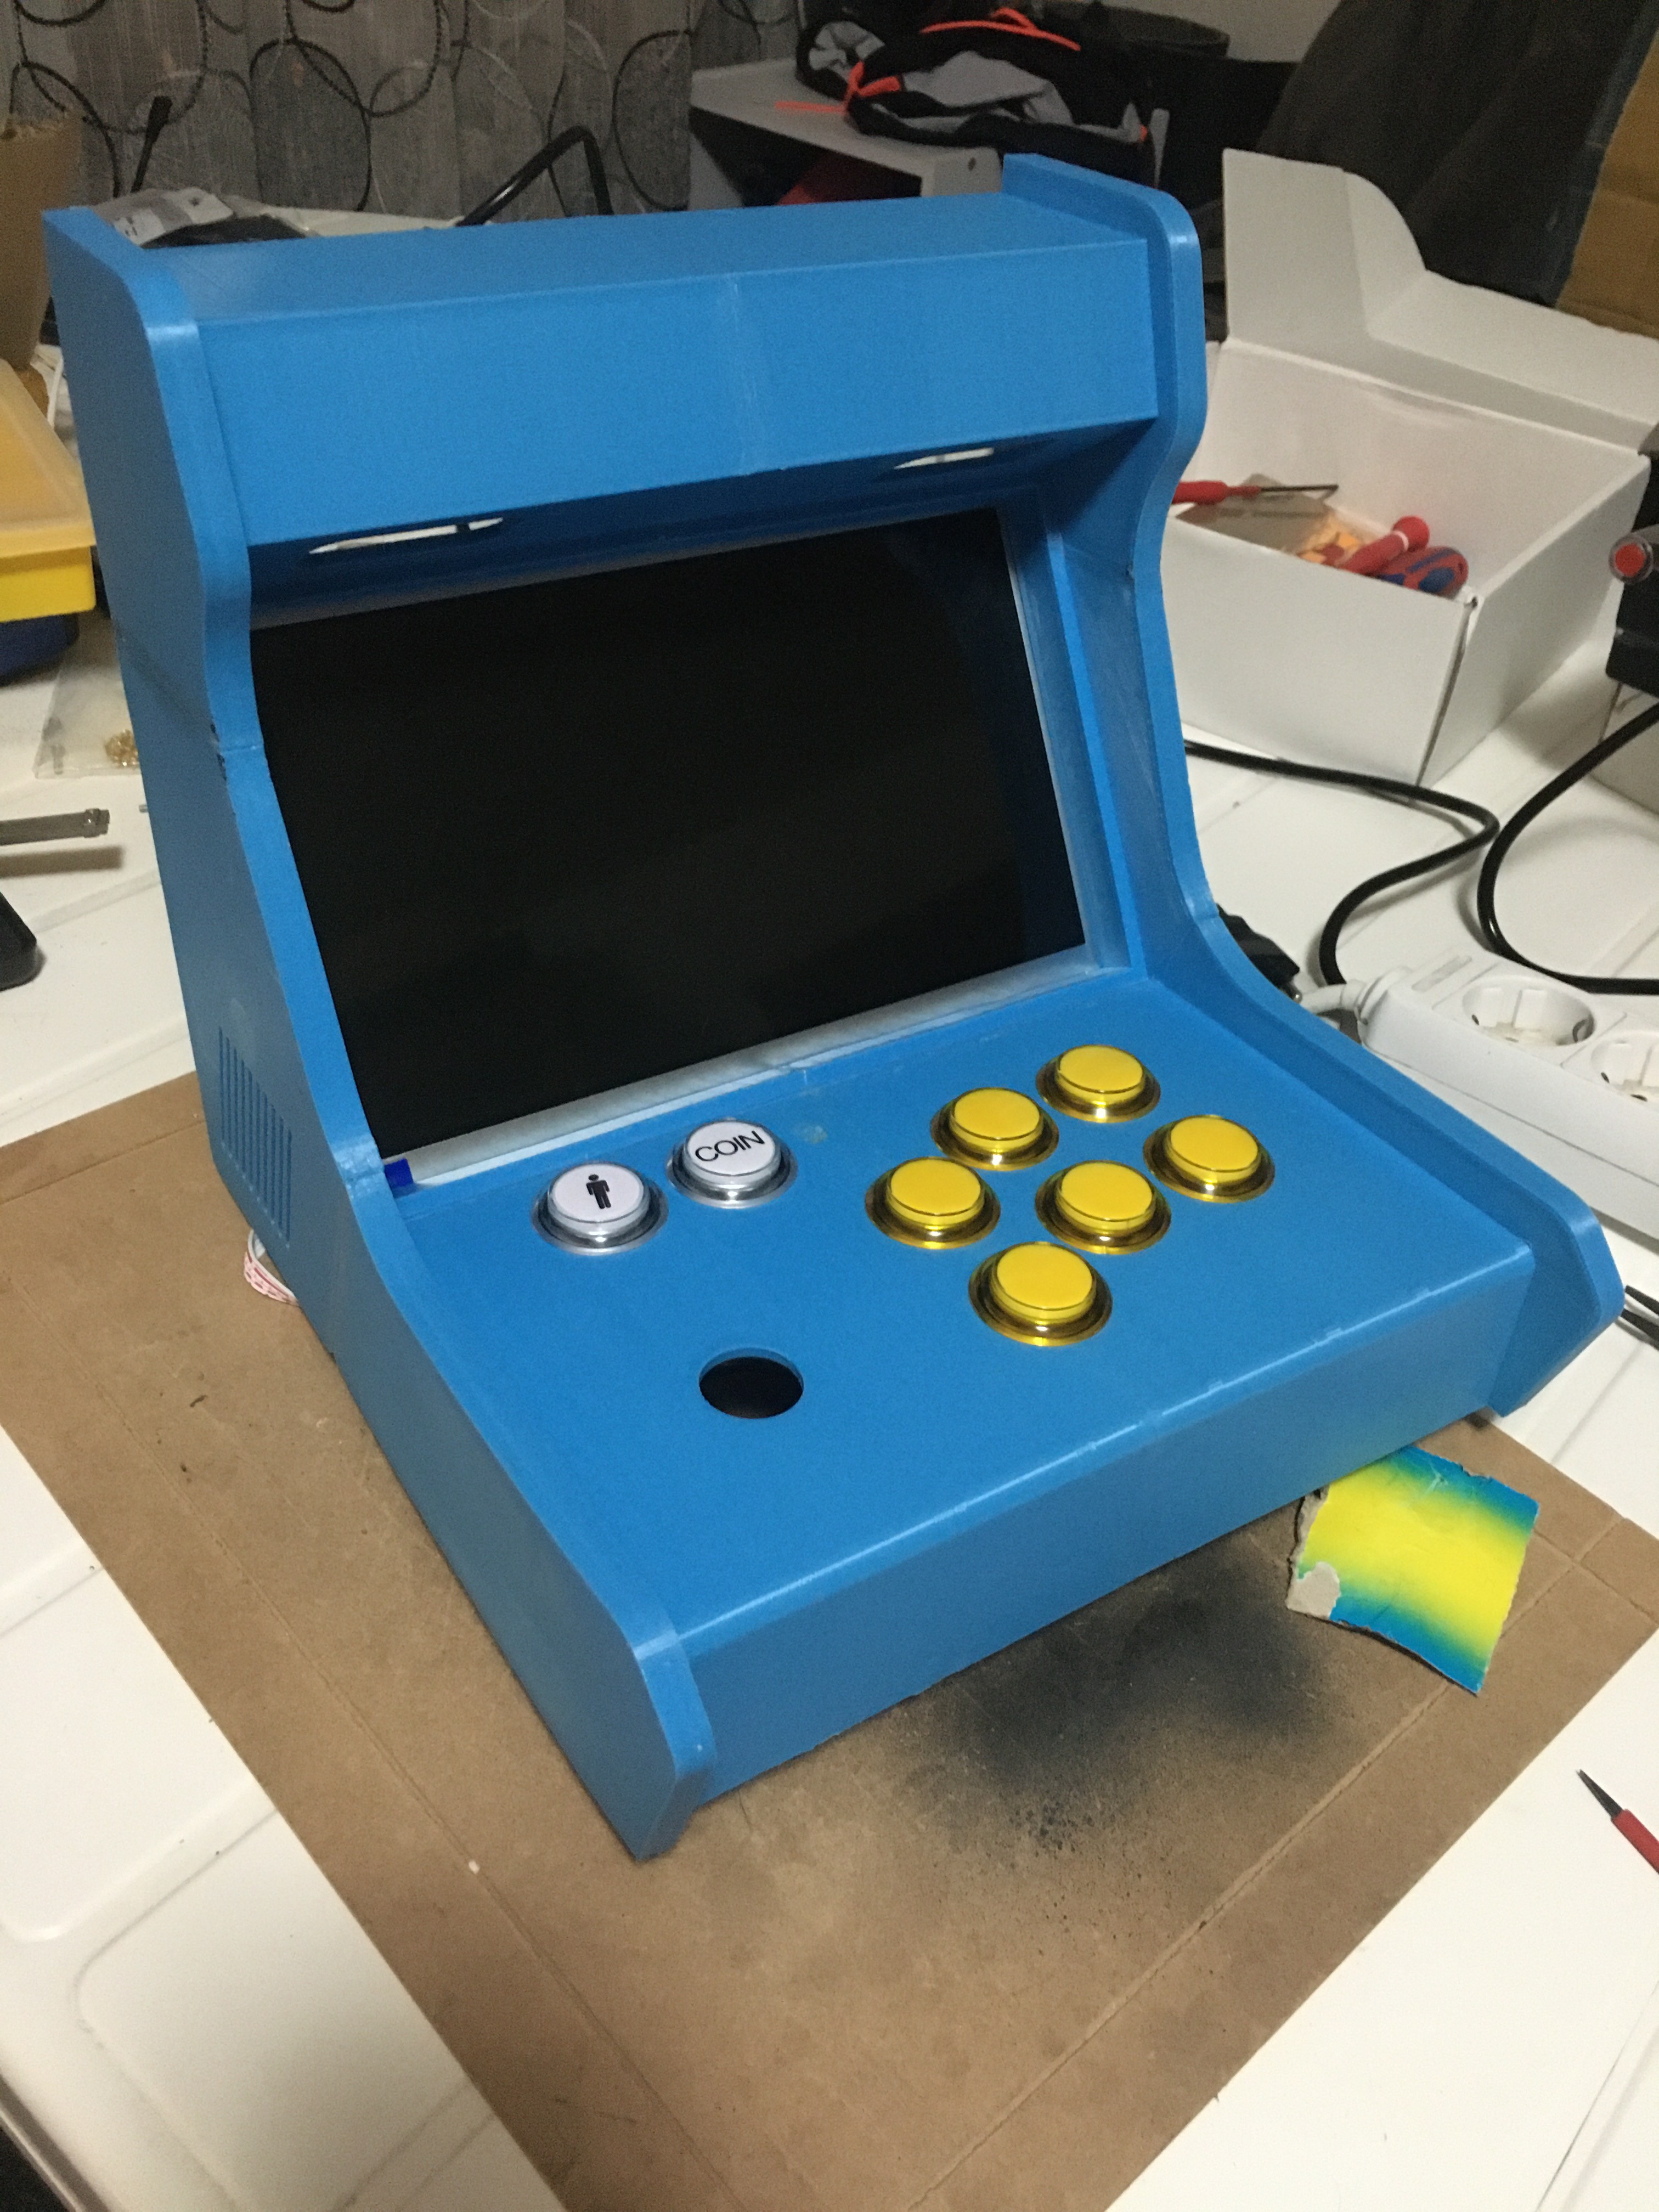
A sparkling finish
01/10/2020 at 14:17 • 0 commentsI'm almost done printing parts, and I've already received almost all the components to finish the prototype. In the meanwhile, here's how it's looking after applying a sparkling blue paint!
![]()
-
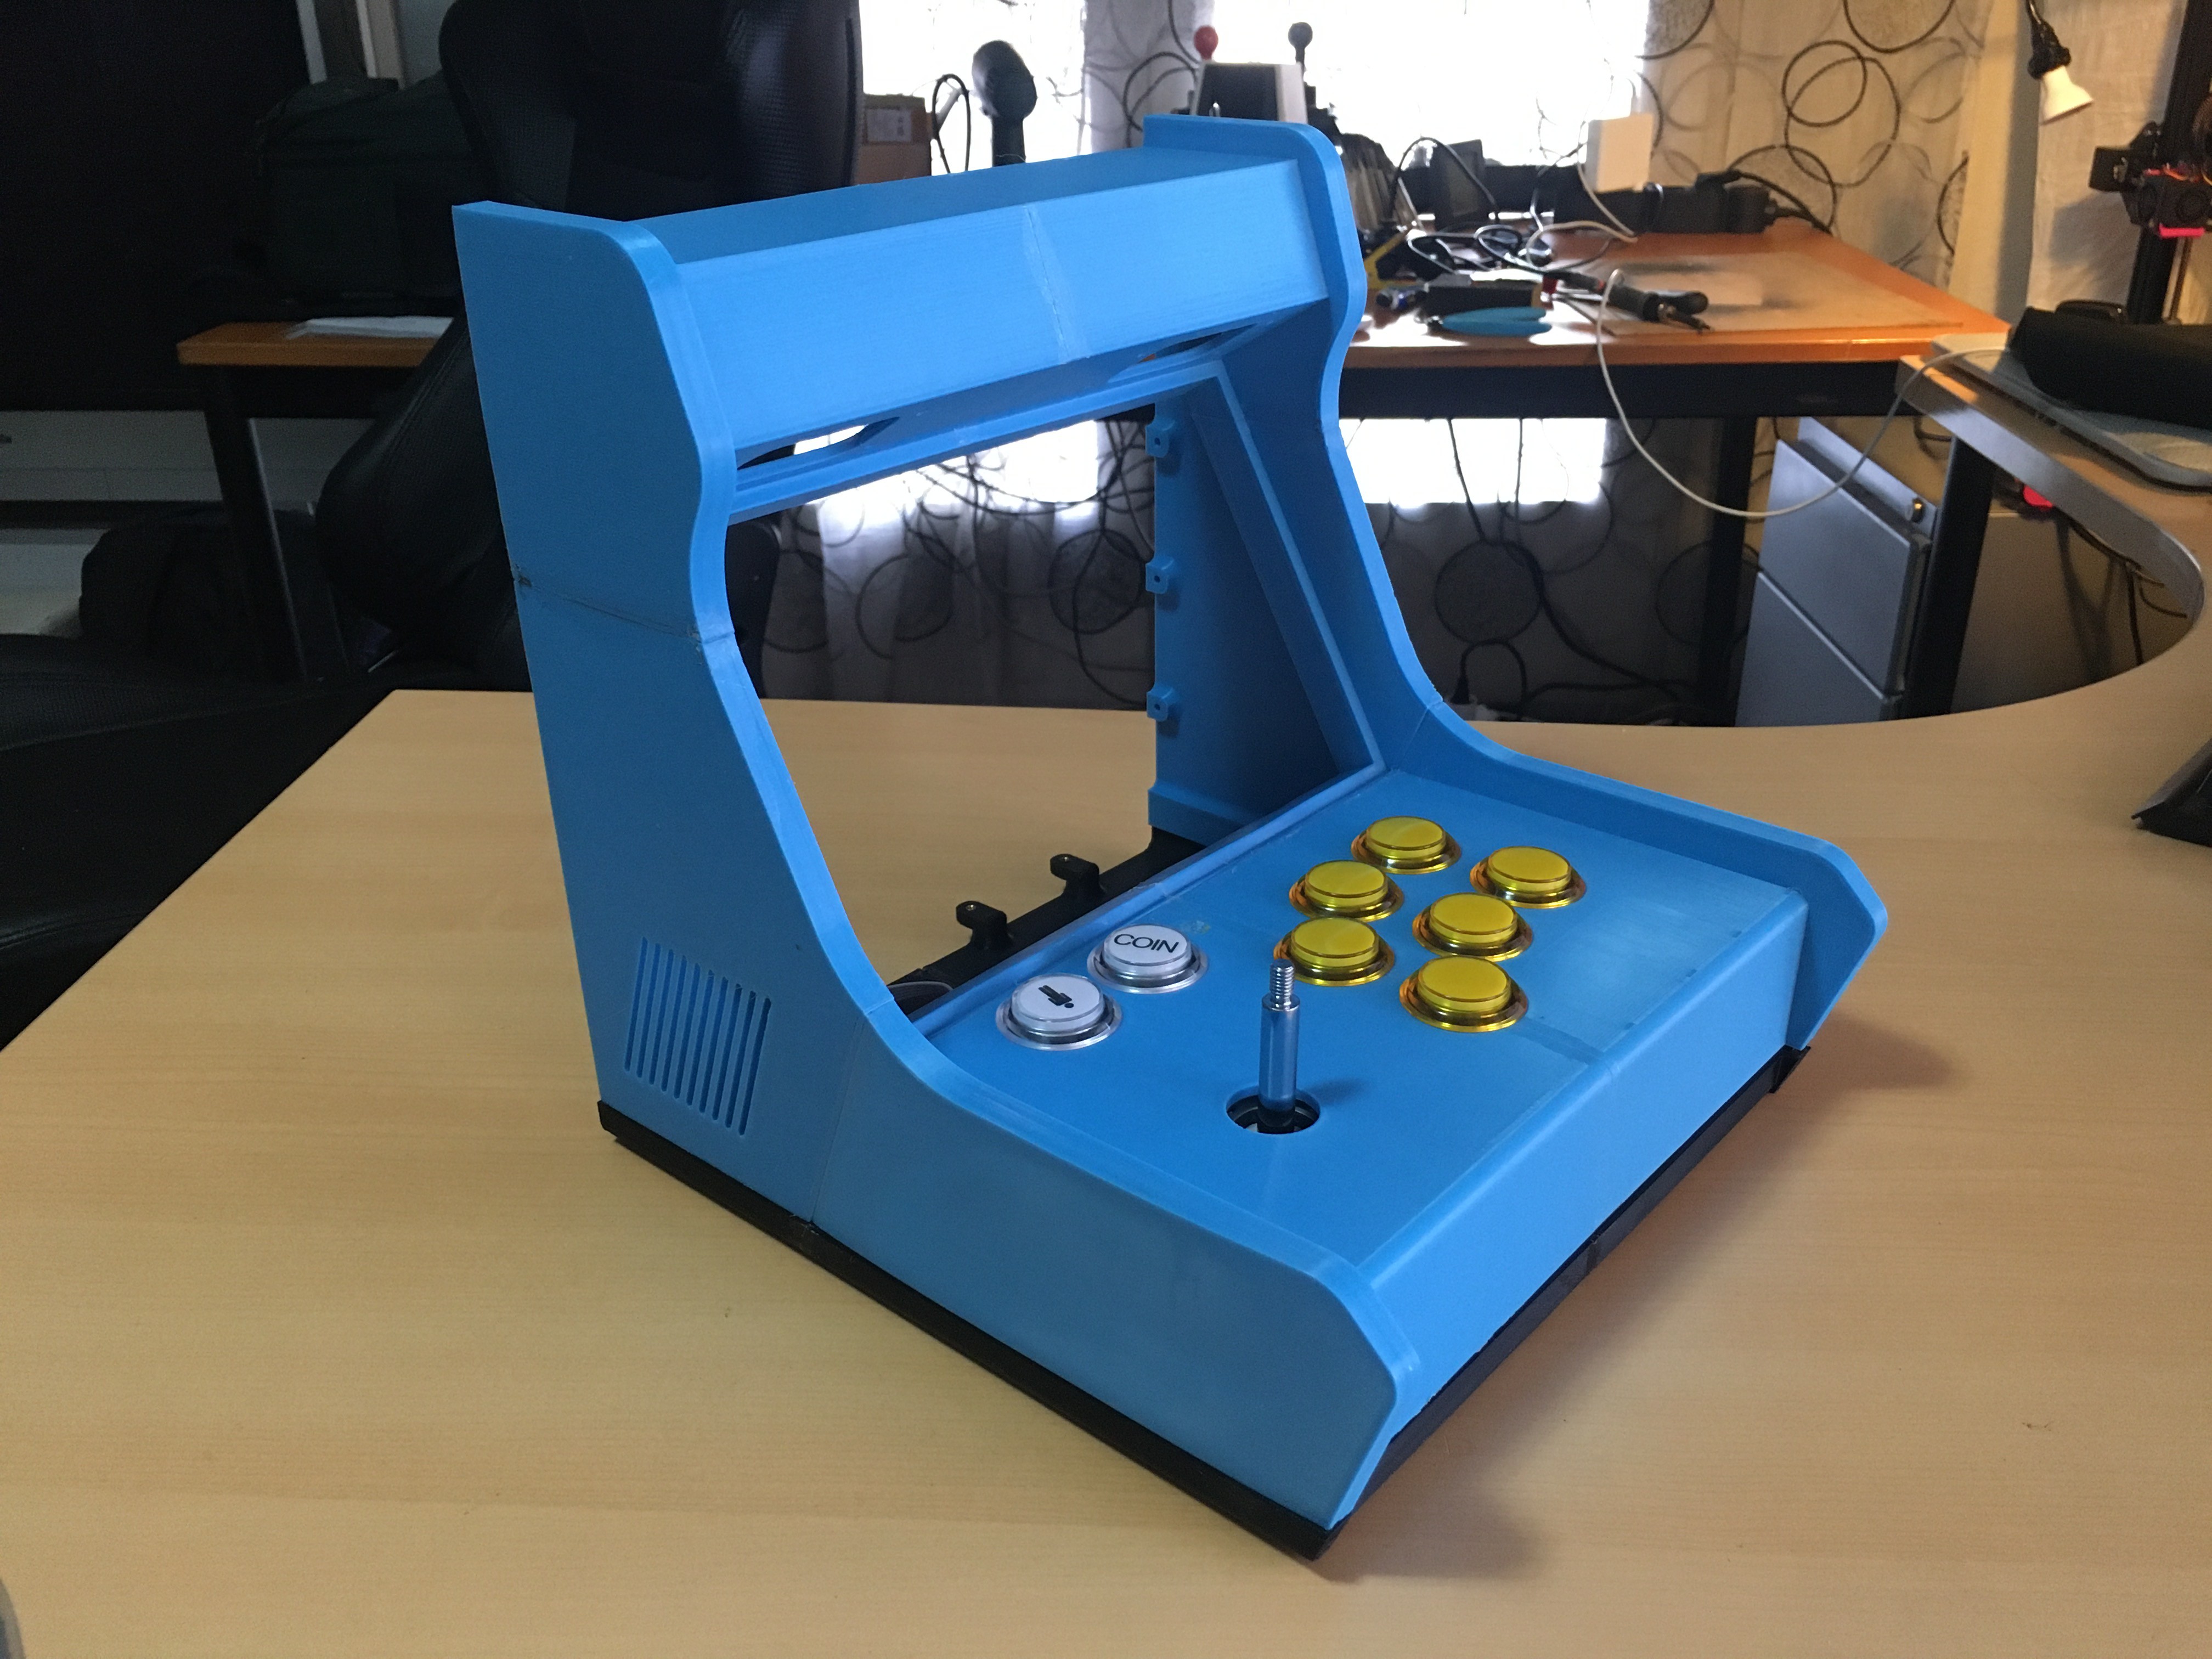
Meet the prototype in the making
01/04/2020 at 20:37 • 0 commentsFirst half of the prototype is almost completely printed! I'm printing using a pretty common Creality Ender 3, that's why I'm creating the 3D models in pieces that must be glued together. It's also a way of avoiding tedious support printing.
This prototype is helping me debug lots of small details that I didn't even think of. Here's how it looks now:
![]()
The design is built so both halves are exact copies, you just have to print them all twice, and everything is then interlocked with screws very securely. This might also open the possibility in the future to prepare a simple rear cap to be printed and fitted in one of the halves, for those who prefer a single-screen version.
Also, screens arrived today and I was able to debug the design for a perfect fitting:
![]()
More updates will be coming soon!
Dualcade
A do-it-yourself, 3D-printable, tabletop arcade cabinet to enjoy two-player games in the 80's arcade style. The perfect party ice-breaker!