-
The case is starting to come together...
04/24/2020 at 07:50 • 0 commentsI got a little more work done on the case this evening.
![]()
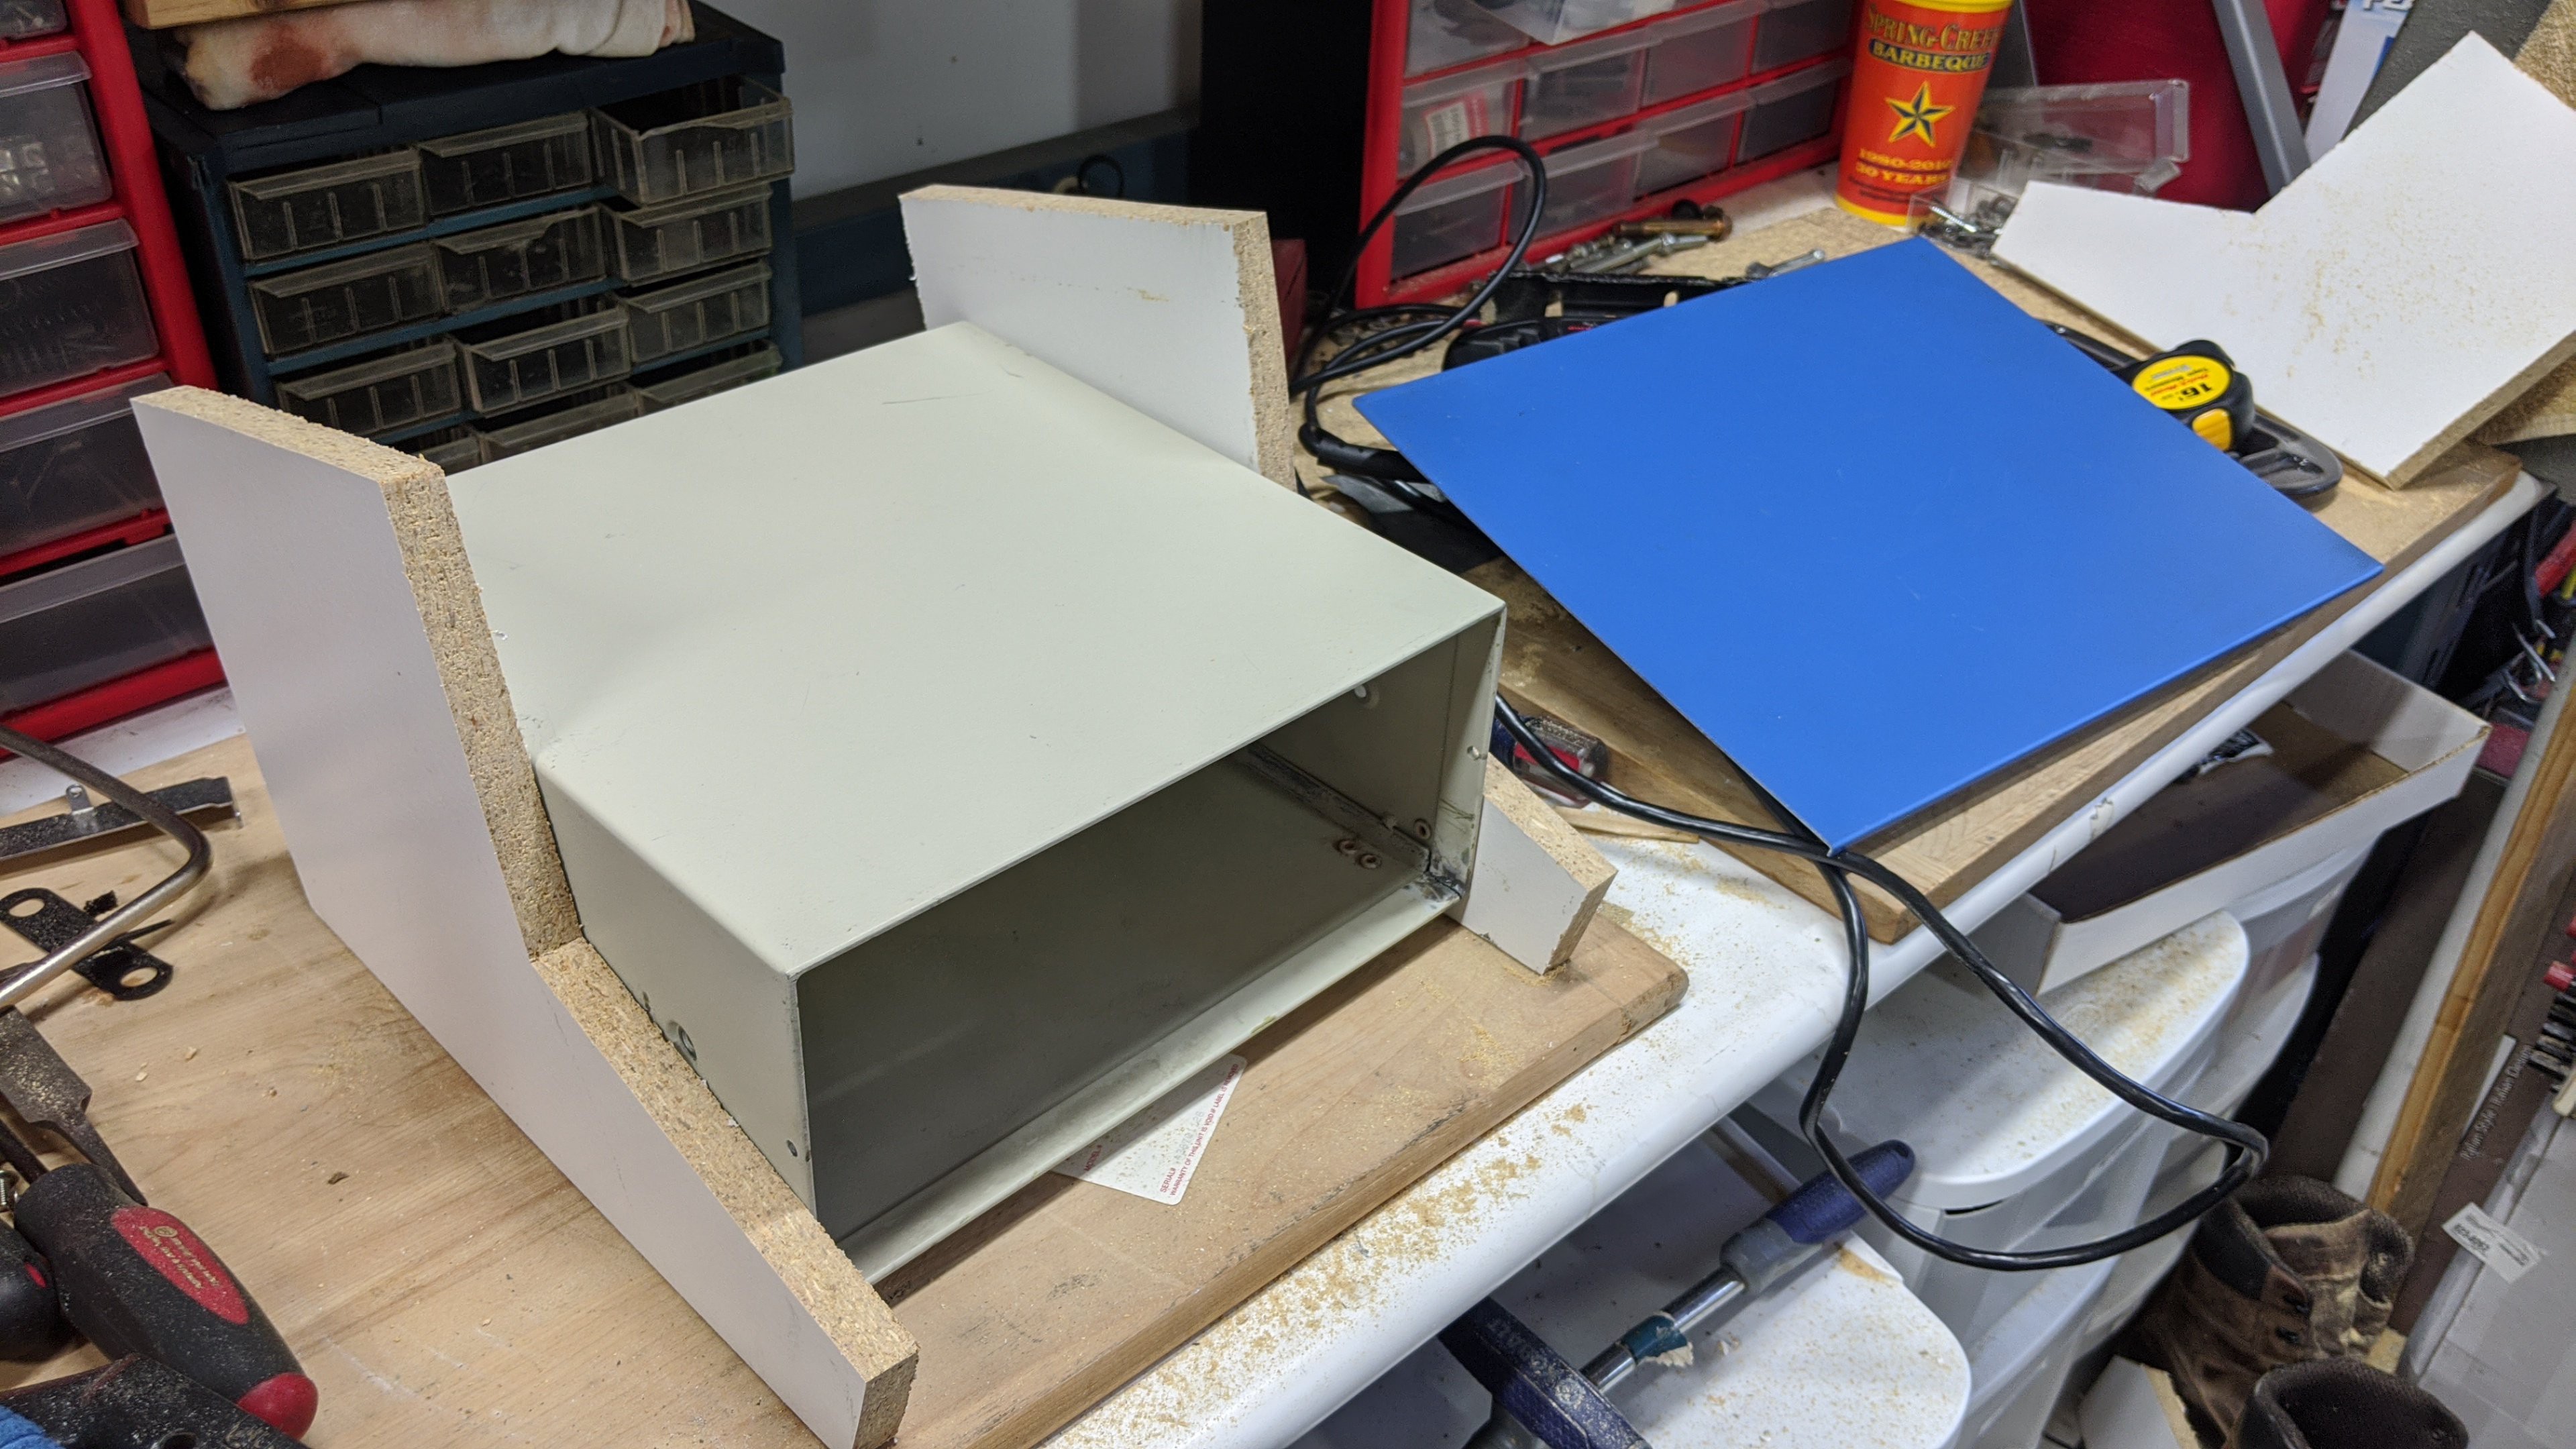
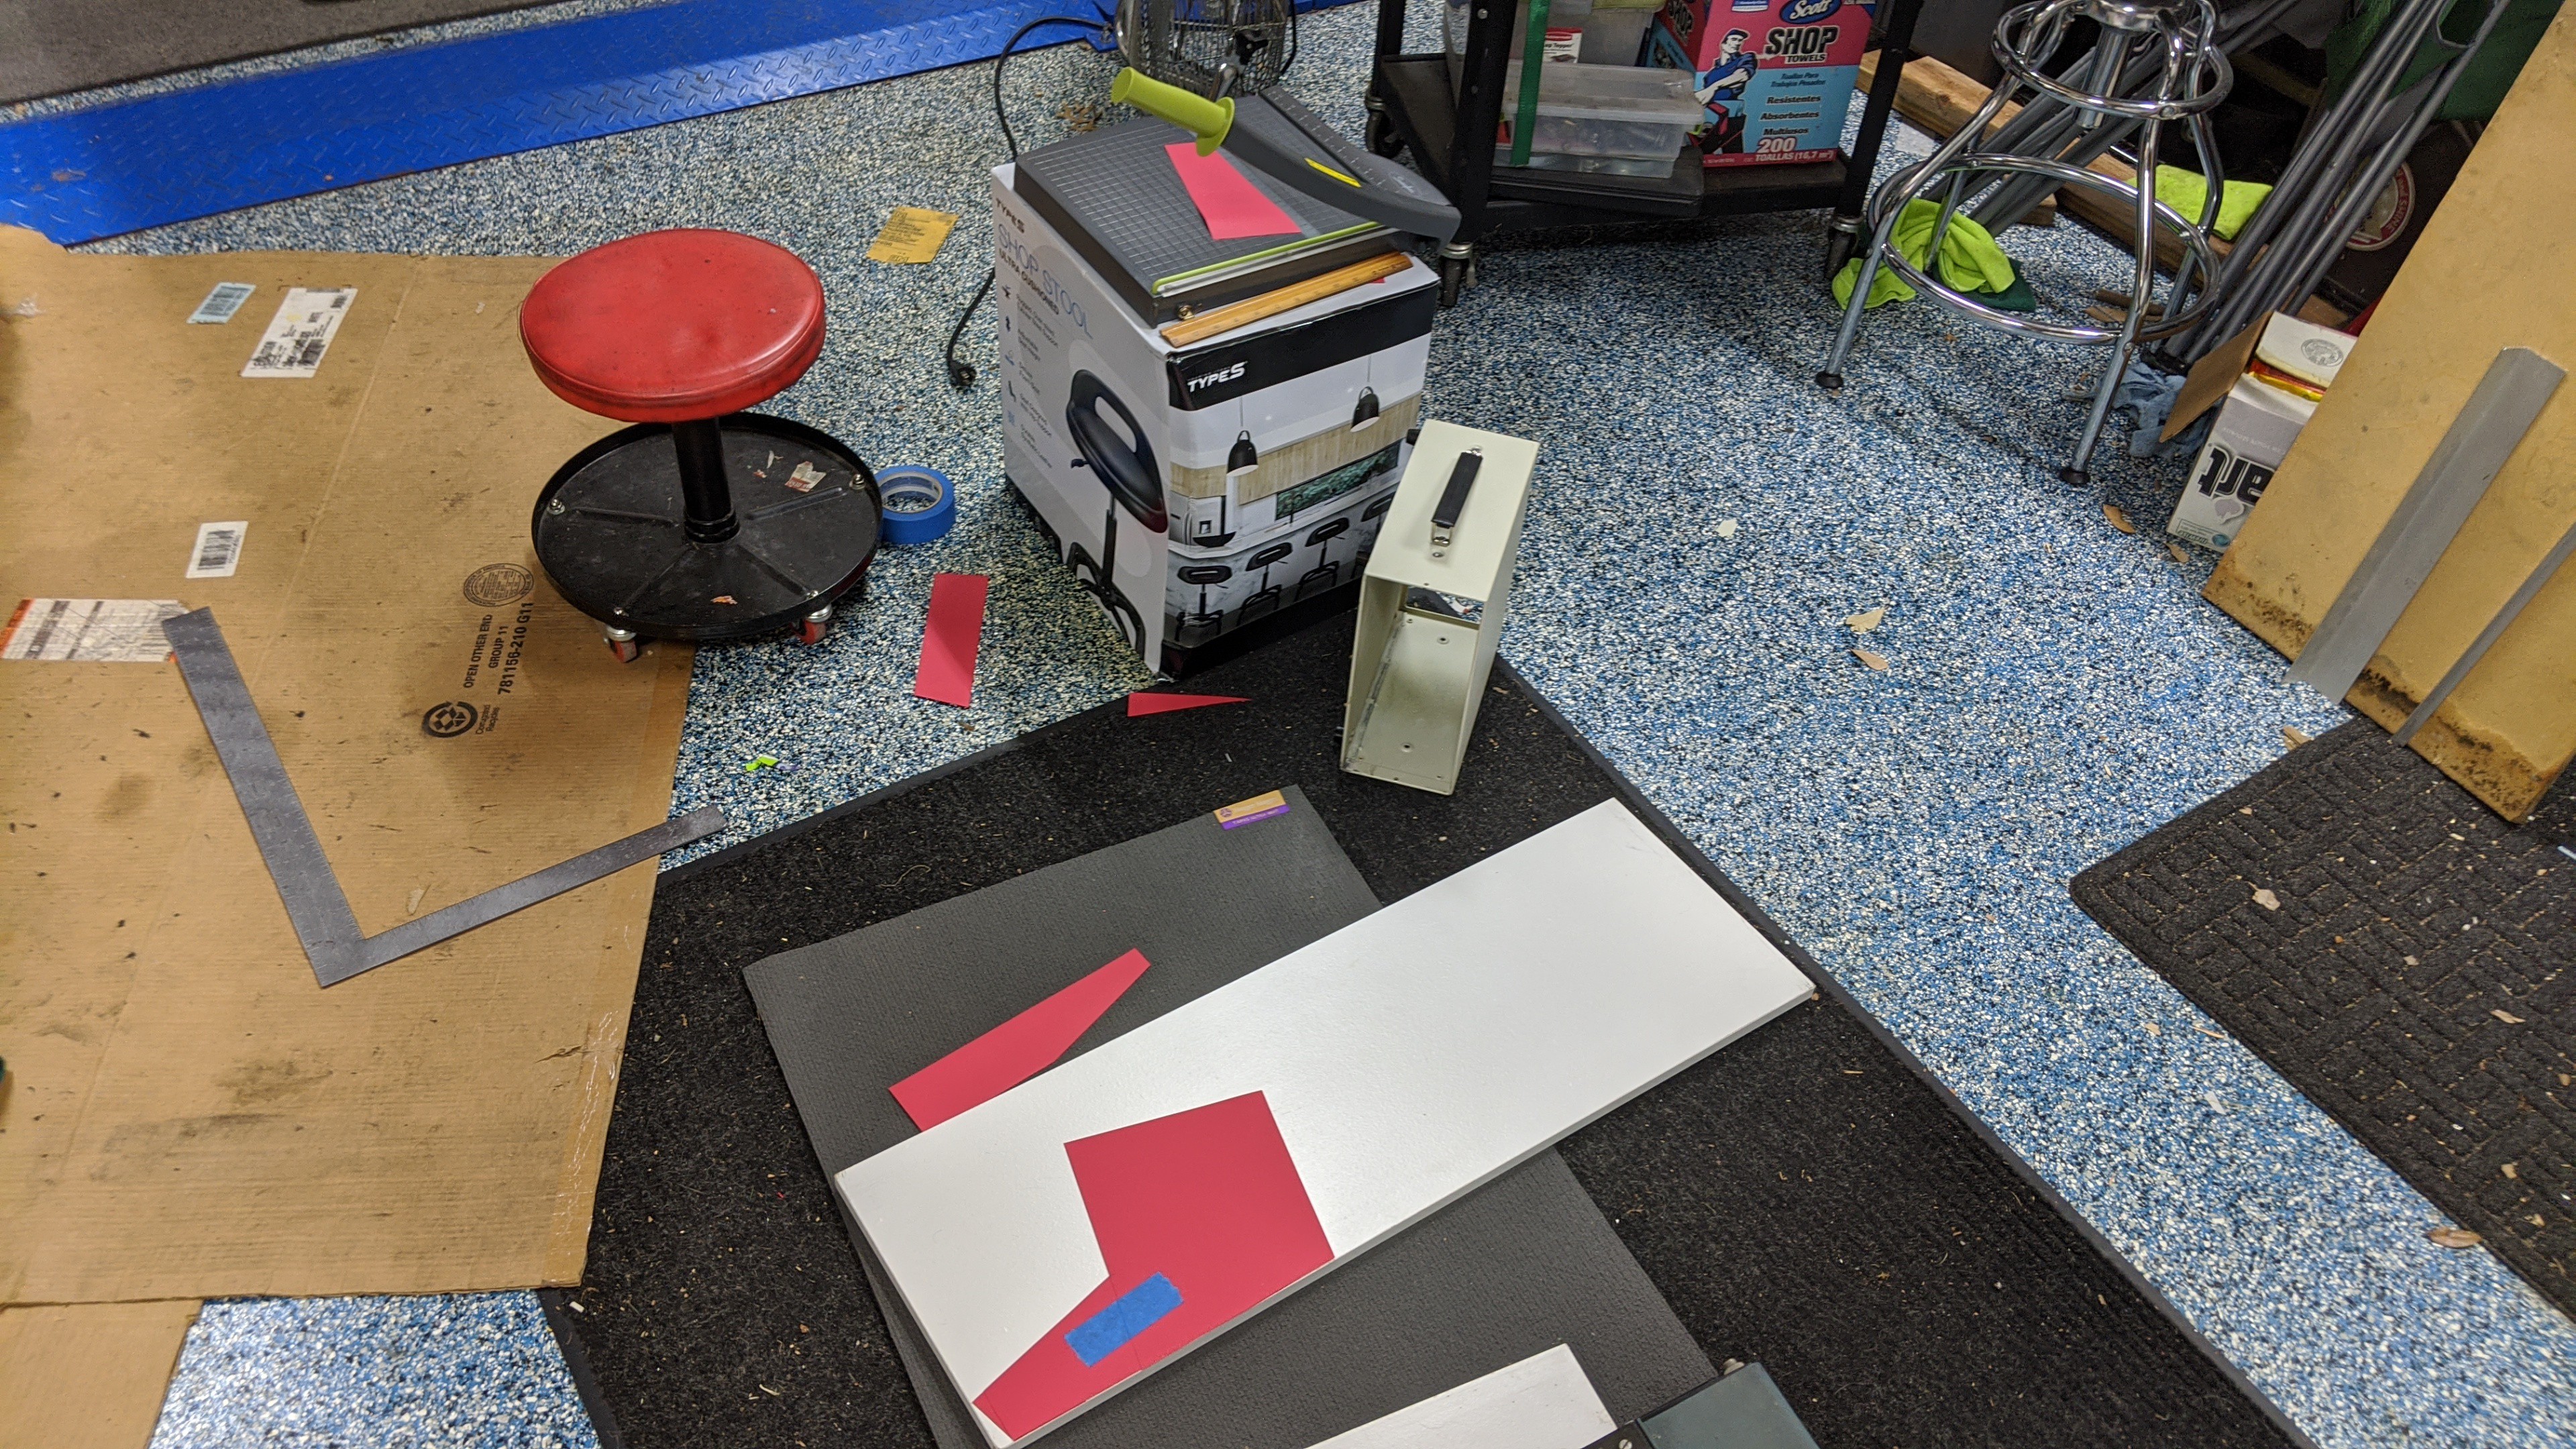
I cut out some pieces to mock-up the case layout. I used a scrap piece of 12x1 shelf board to cut out the sides of the case. I'll use some solid wood shelf board for the final version of the case. These test cuts proved my template is good and helped me determine where to cut the data analyzer case.
![]()
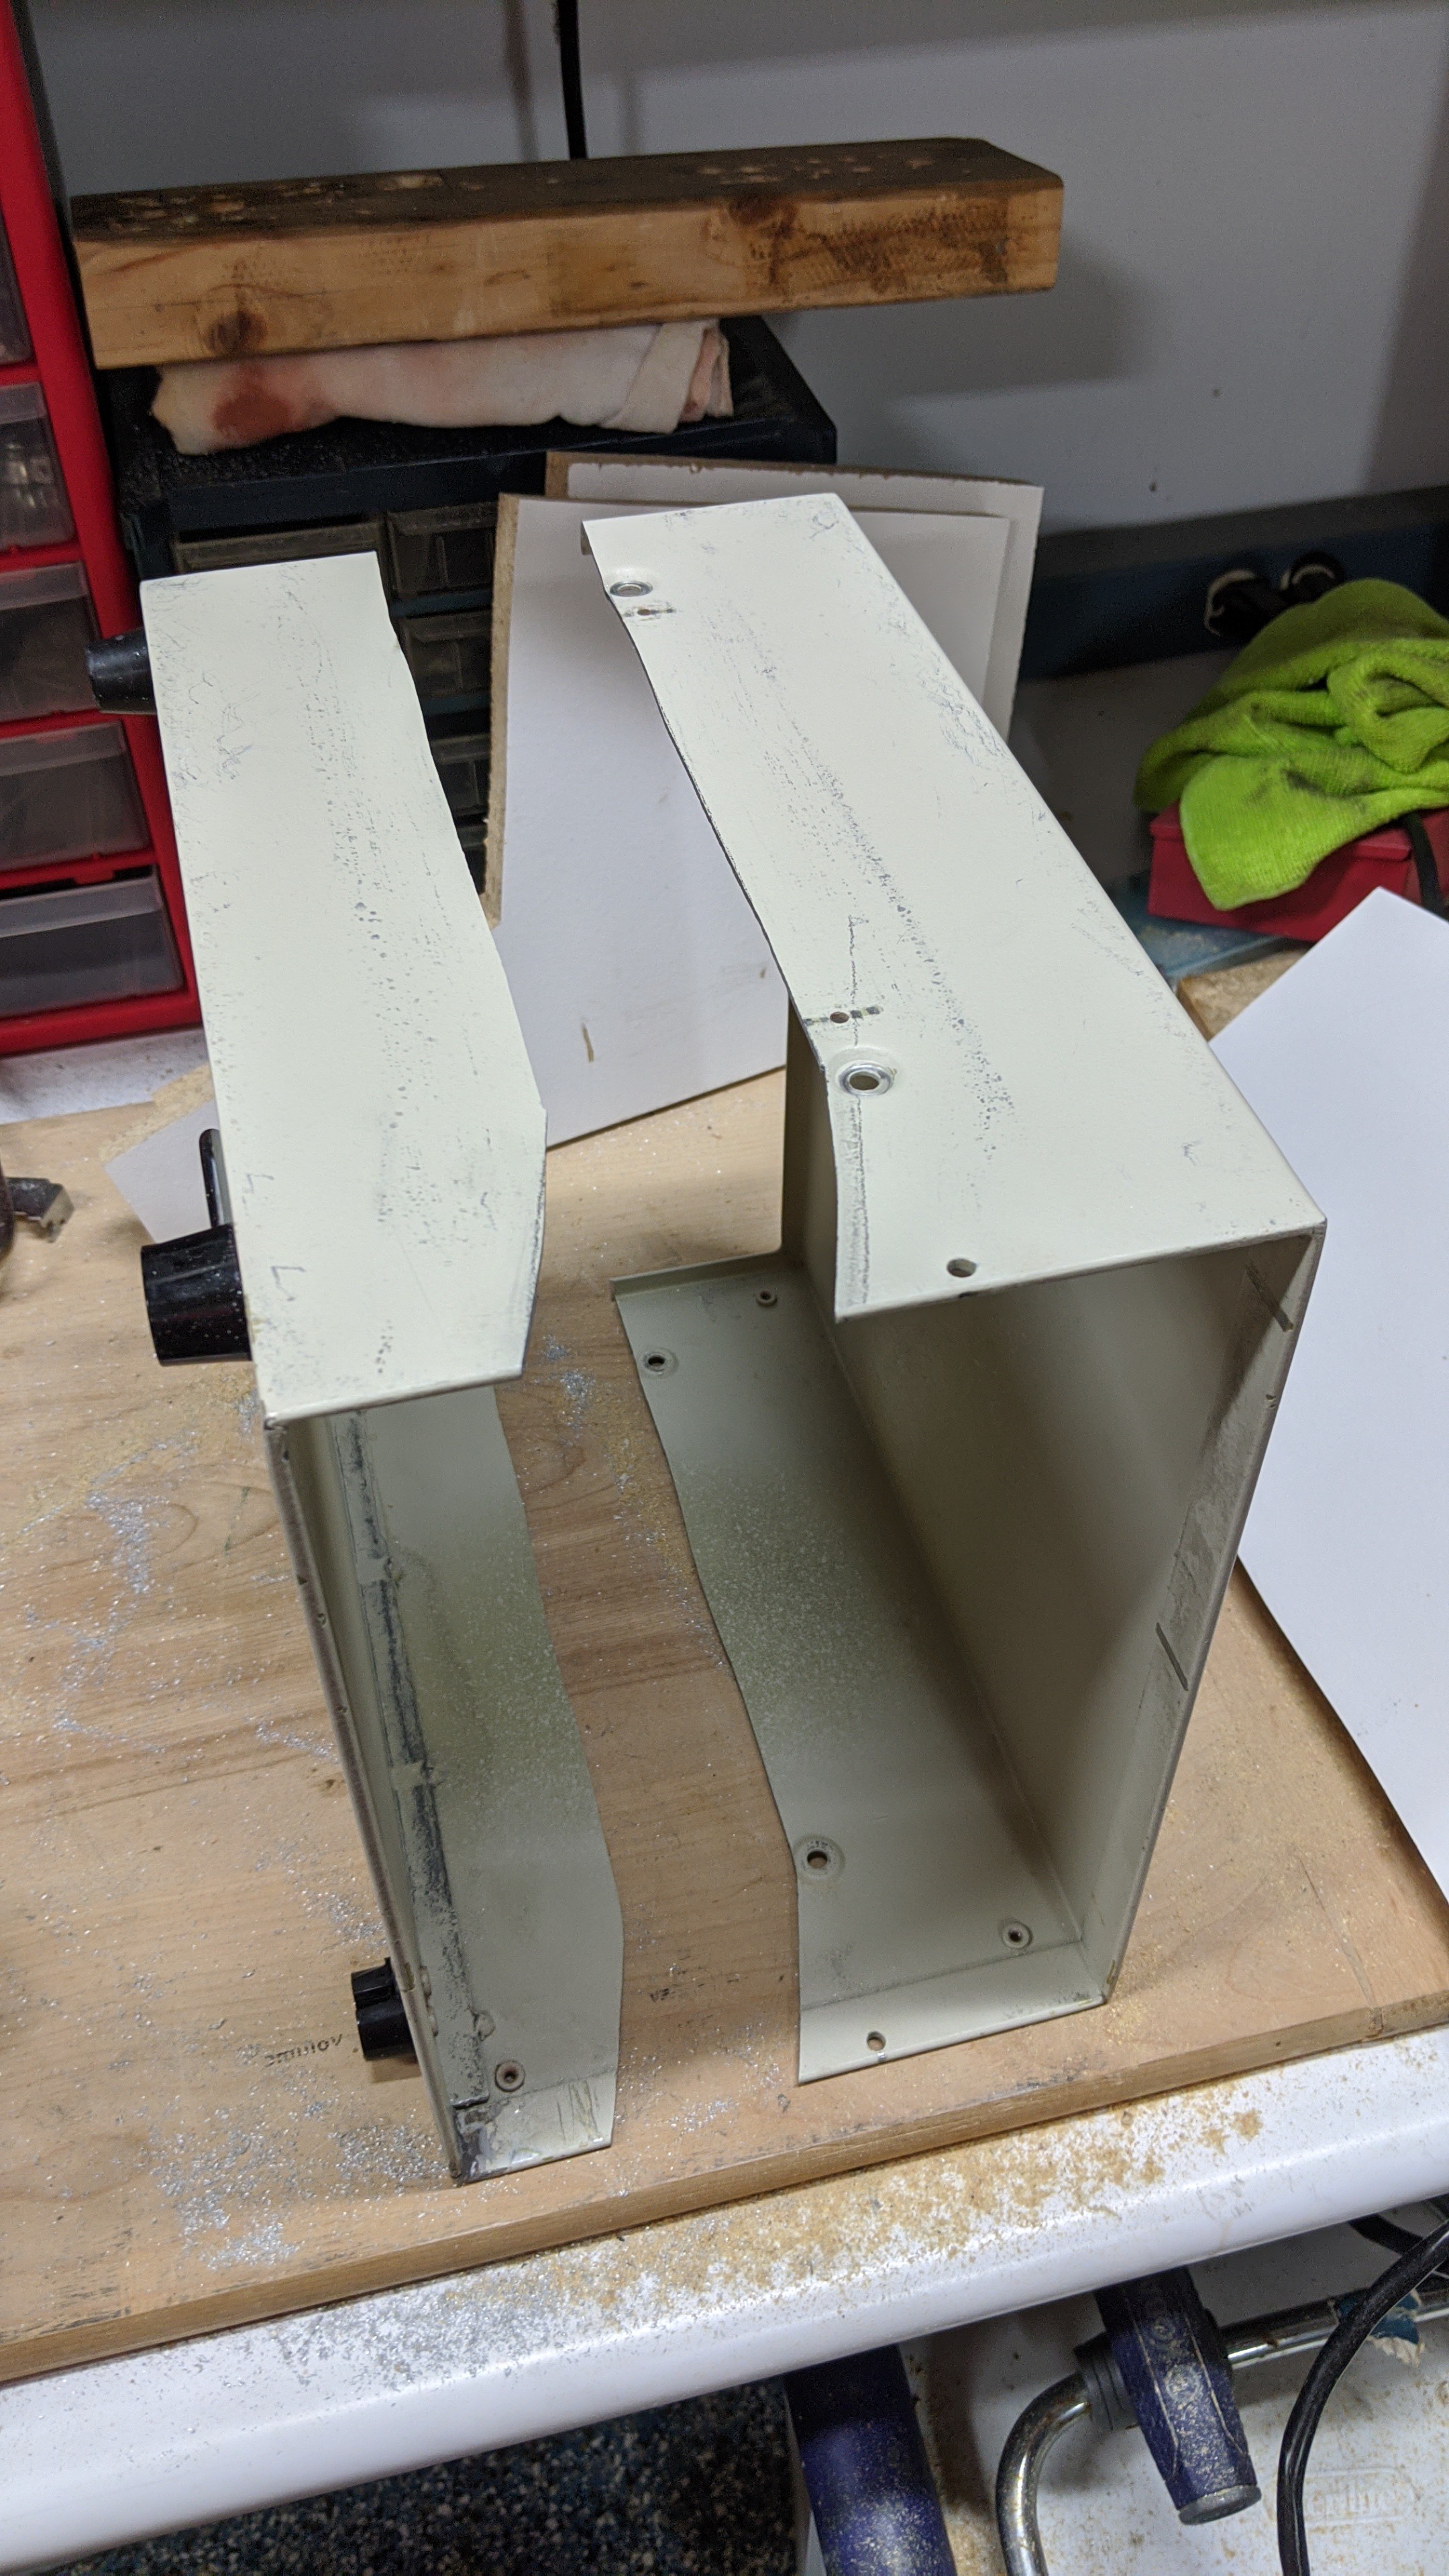
Next, I cut the analyzer case in half.
![]()
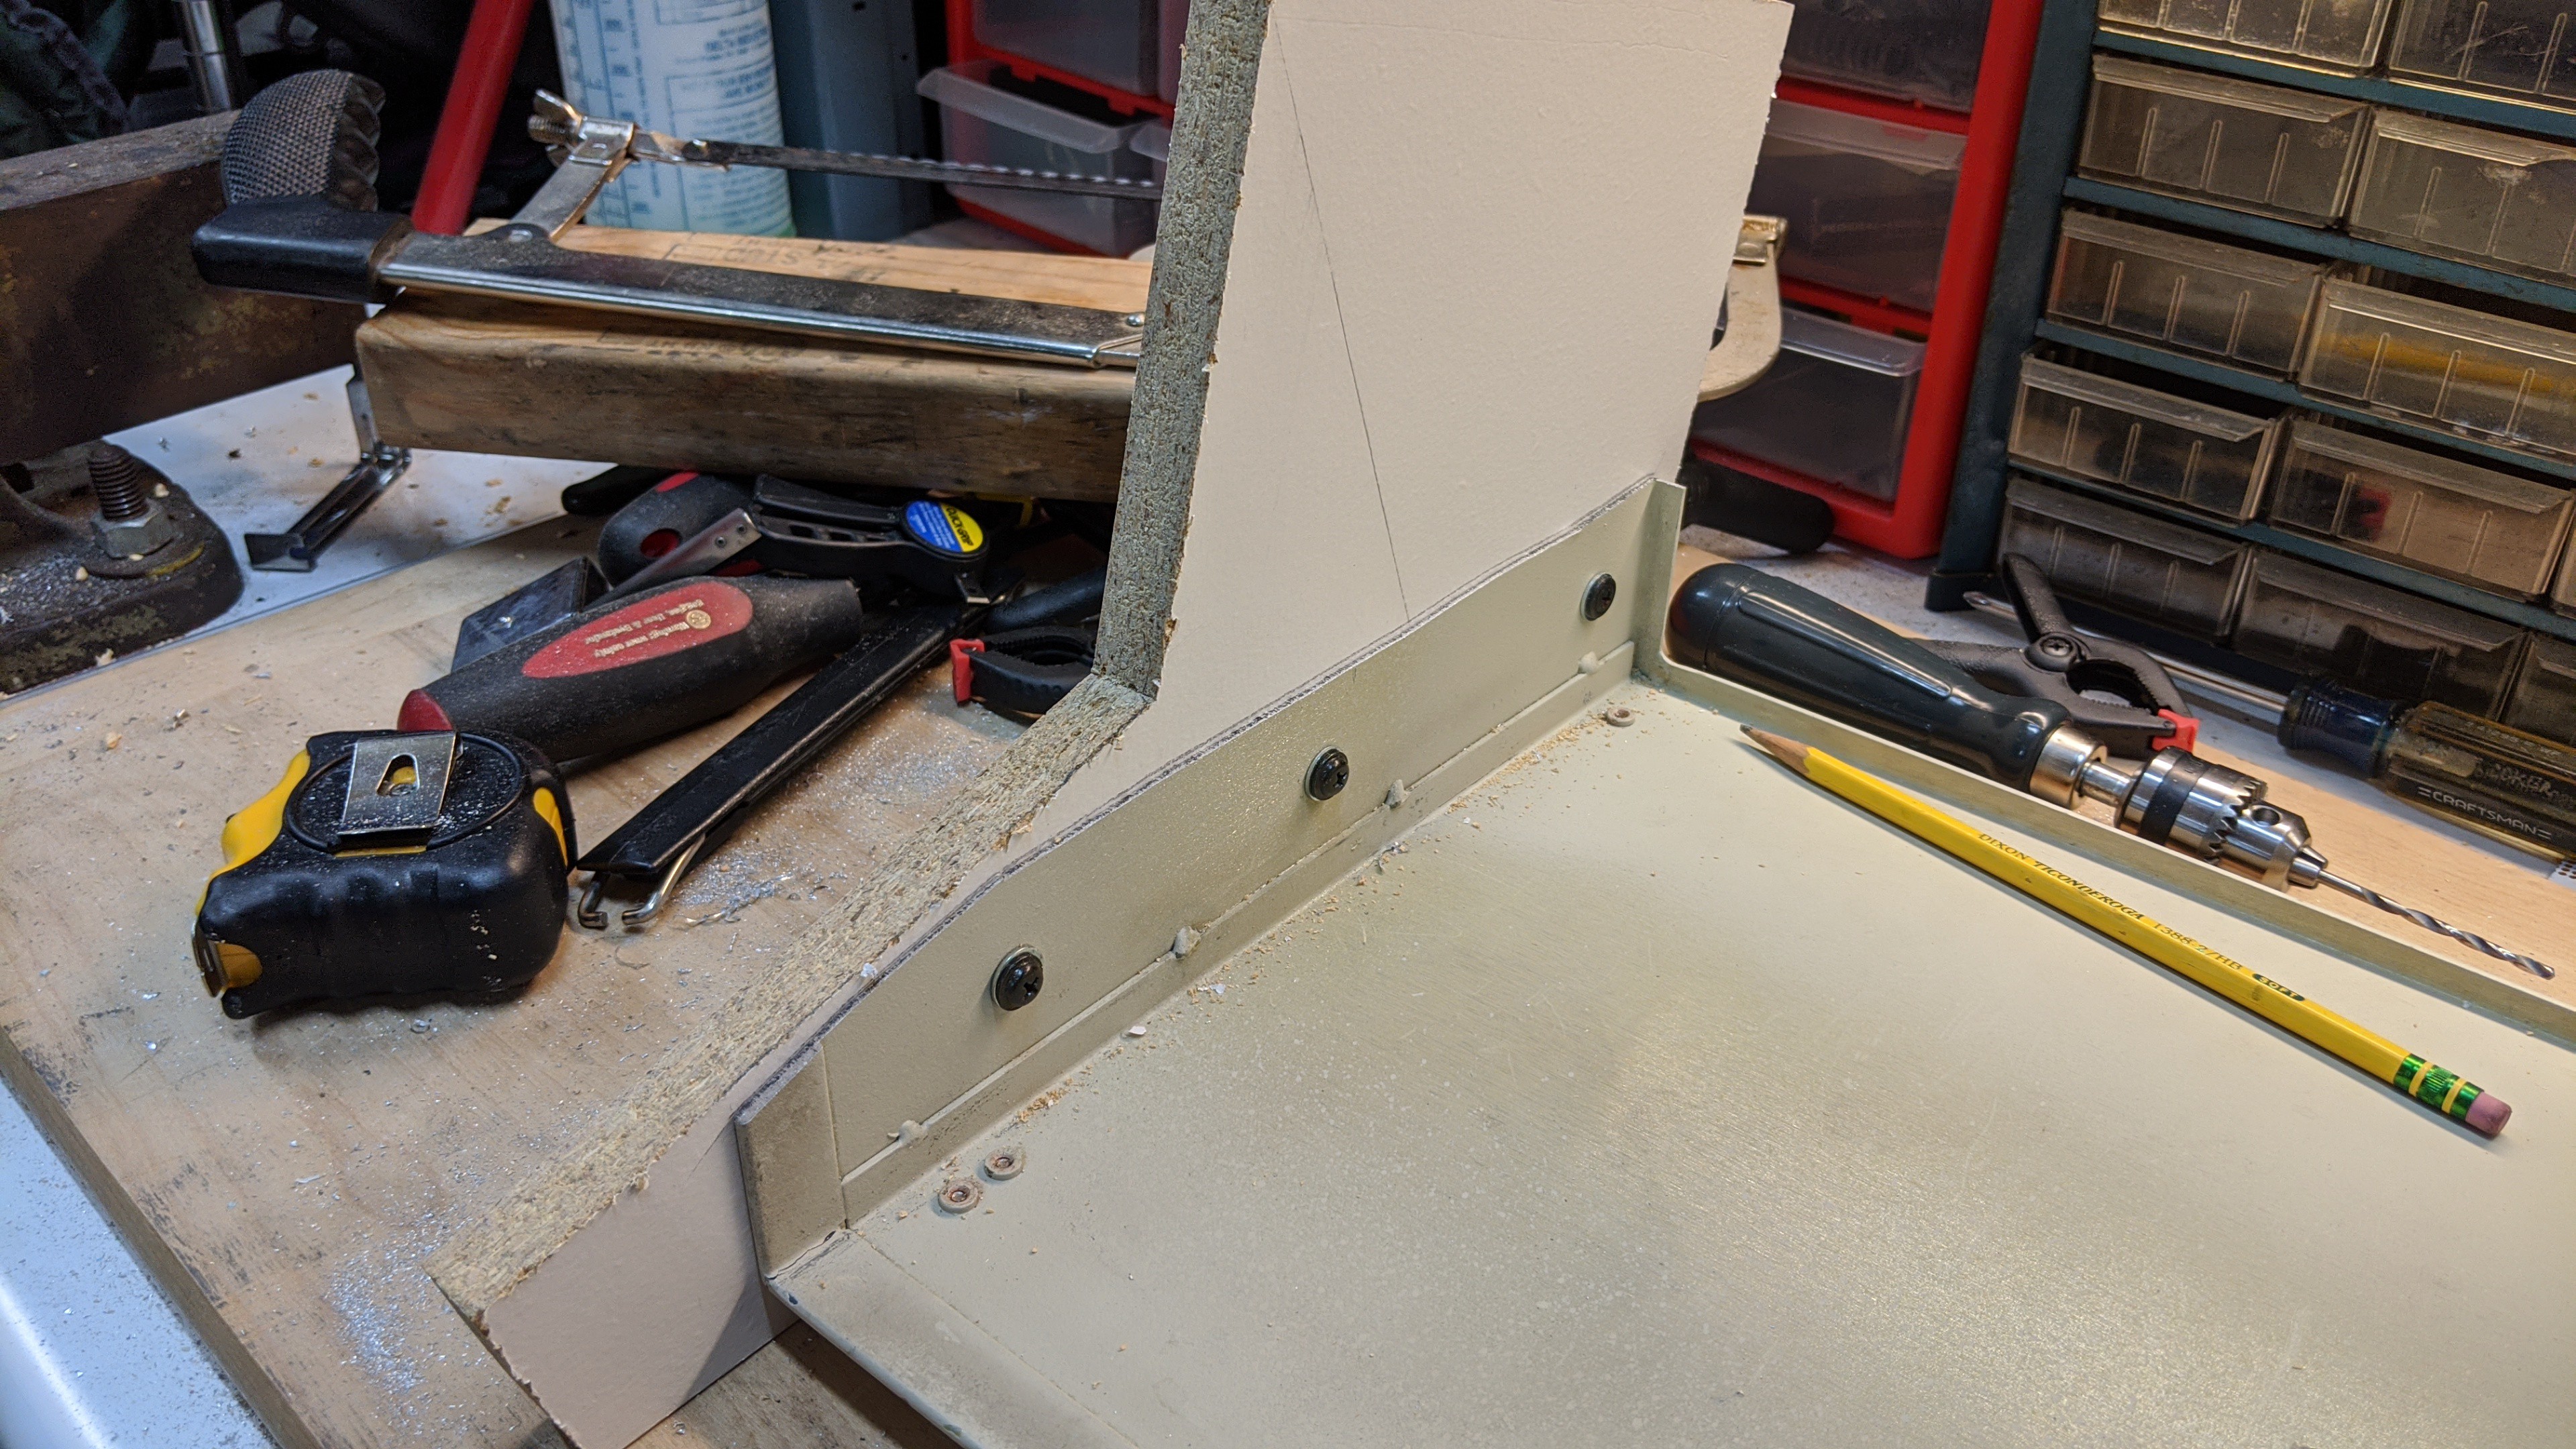
Then I drilled out and screwed the side pieces to the bottom of the case.
![]()
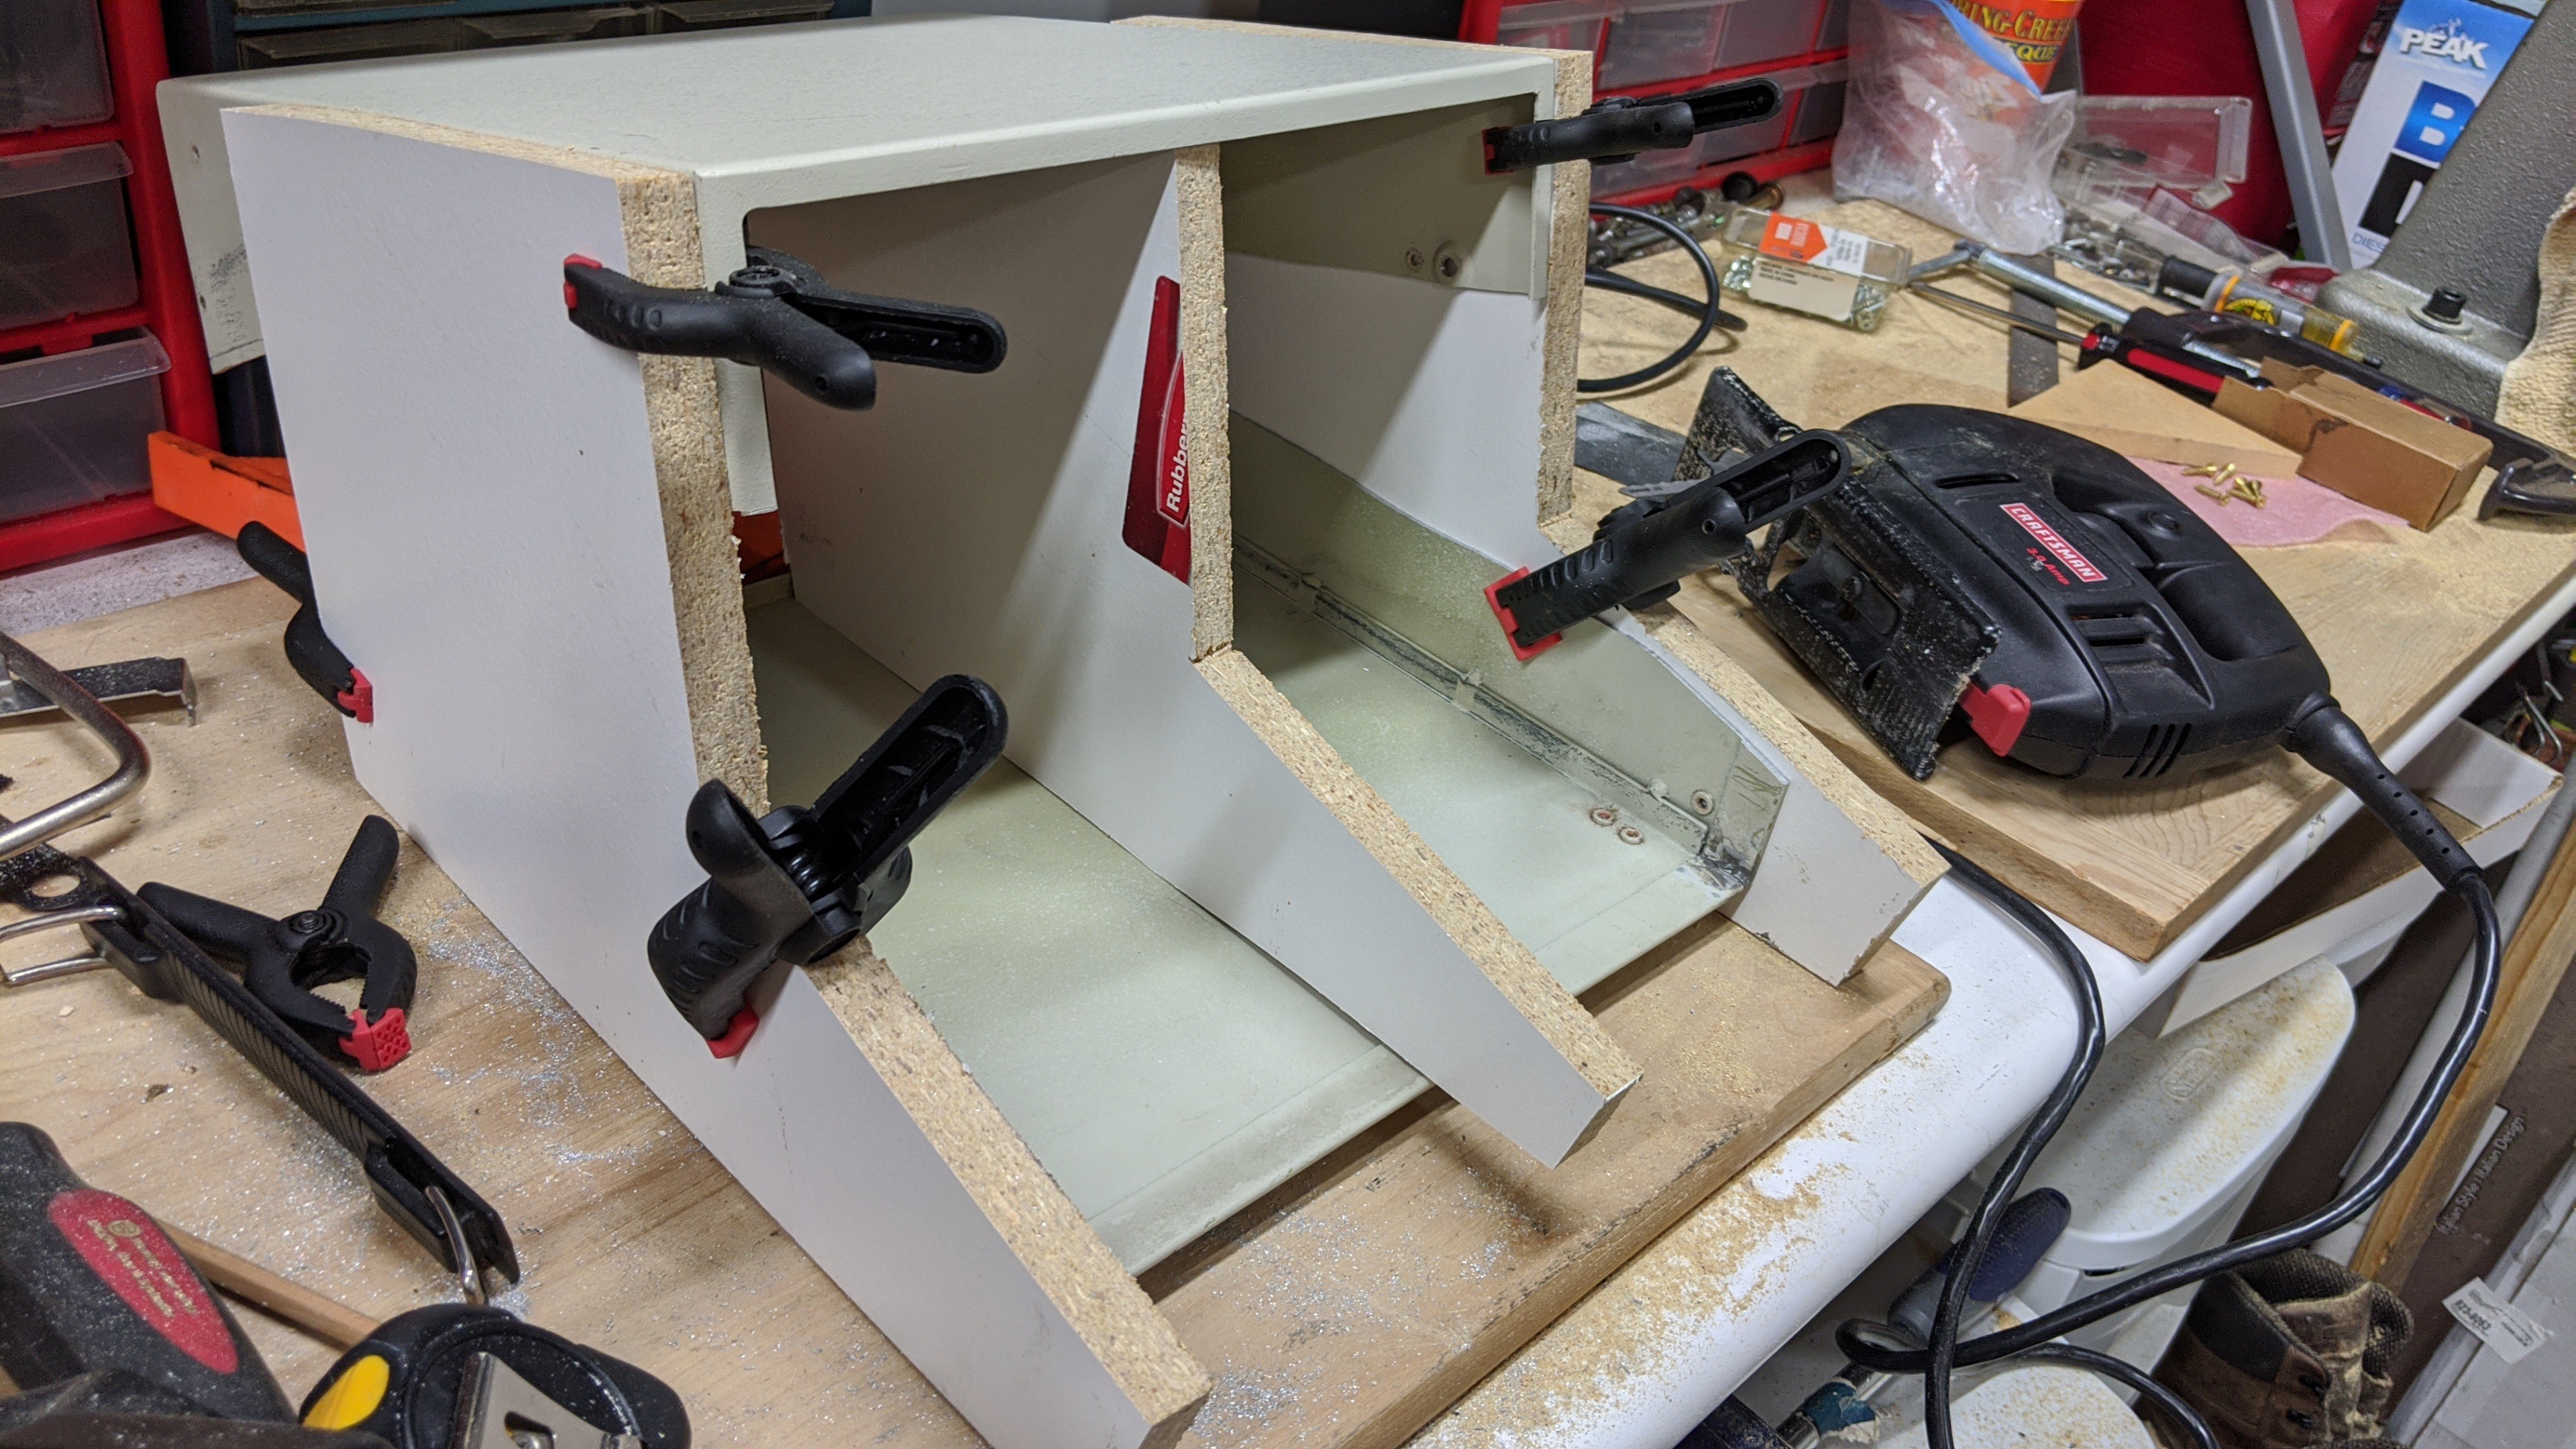
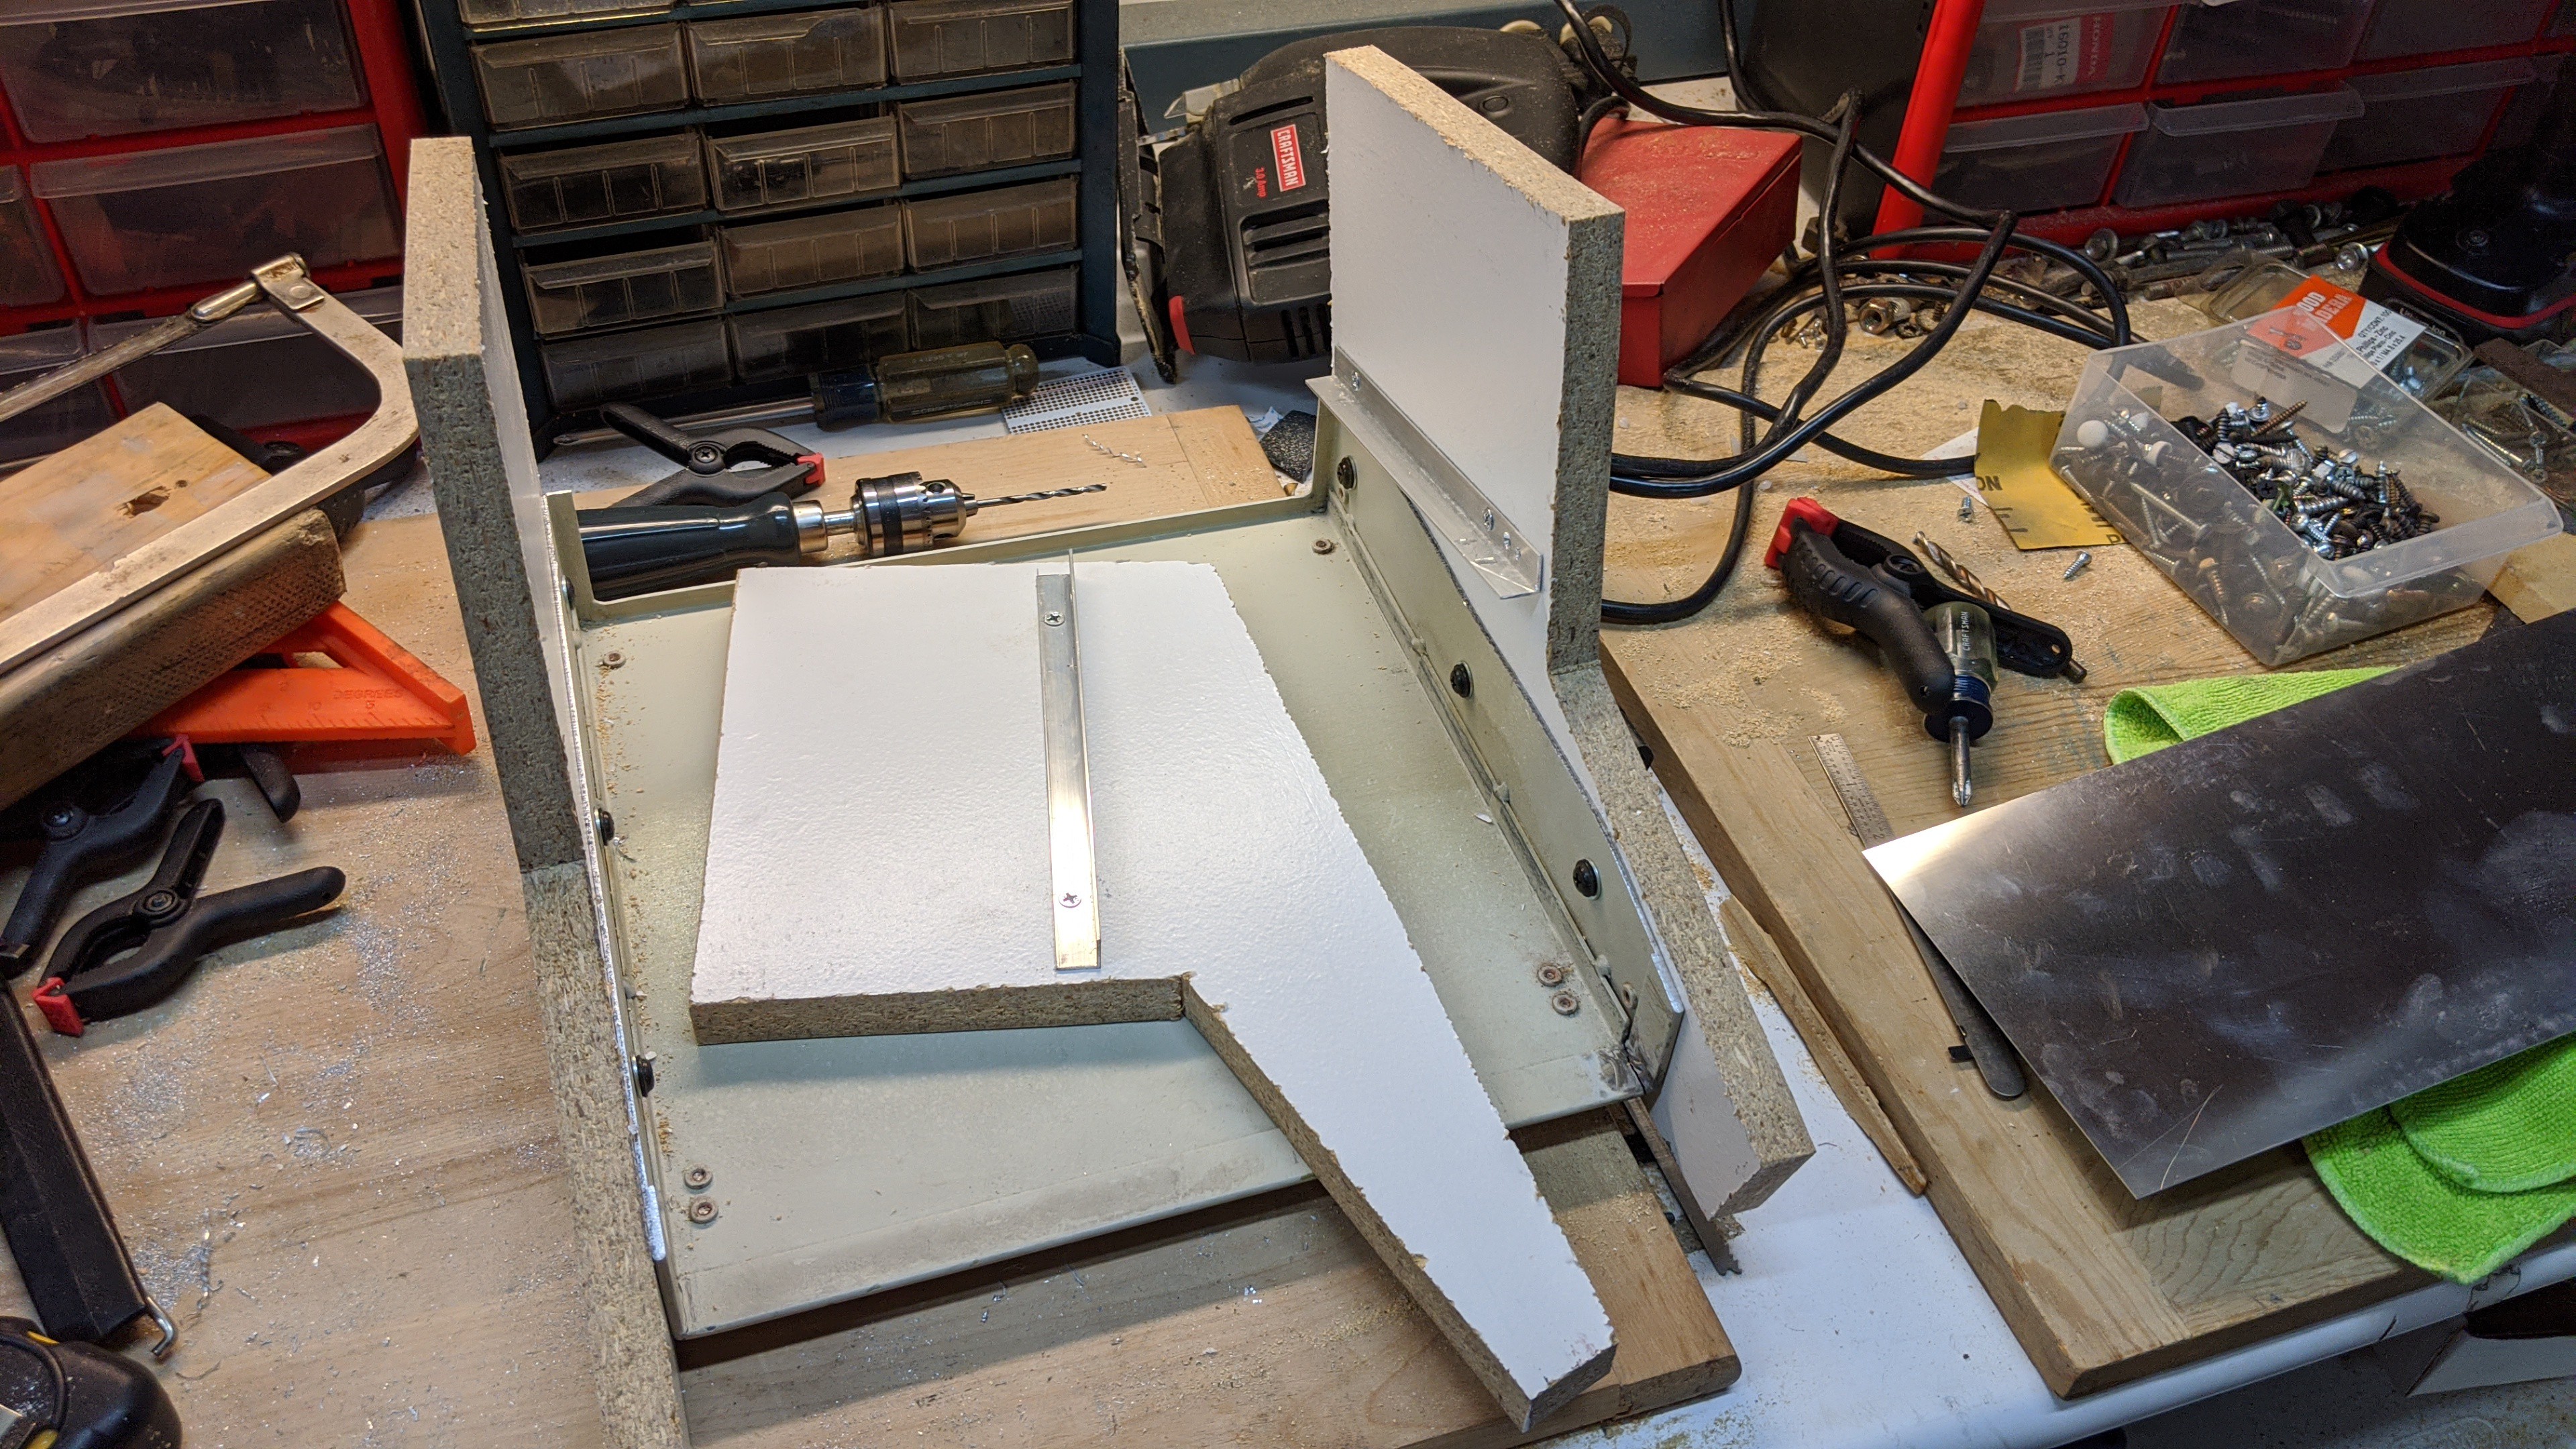
Here I mocked up how the other half of the case will be used for the top of the case. The top of the new case is a few inches shorter than the original analyzer case. I'll wait until I cut my final side pieces before I measure and cut it.
![]()
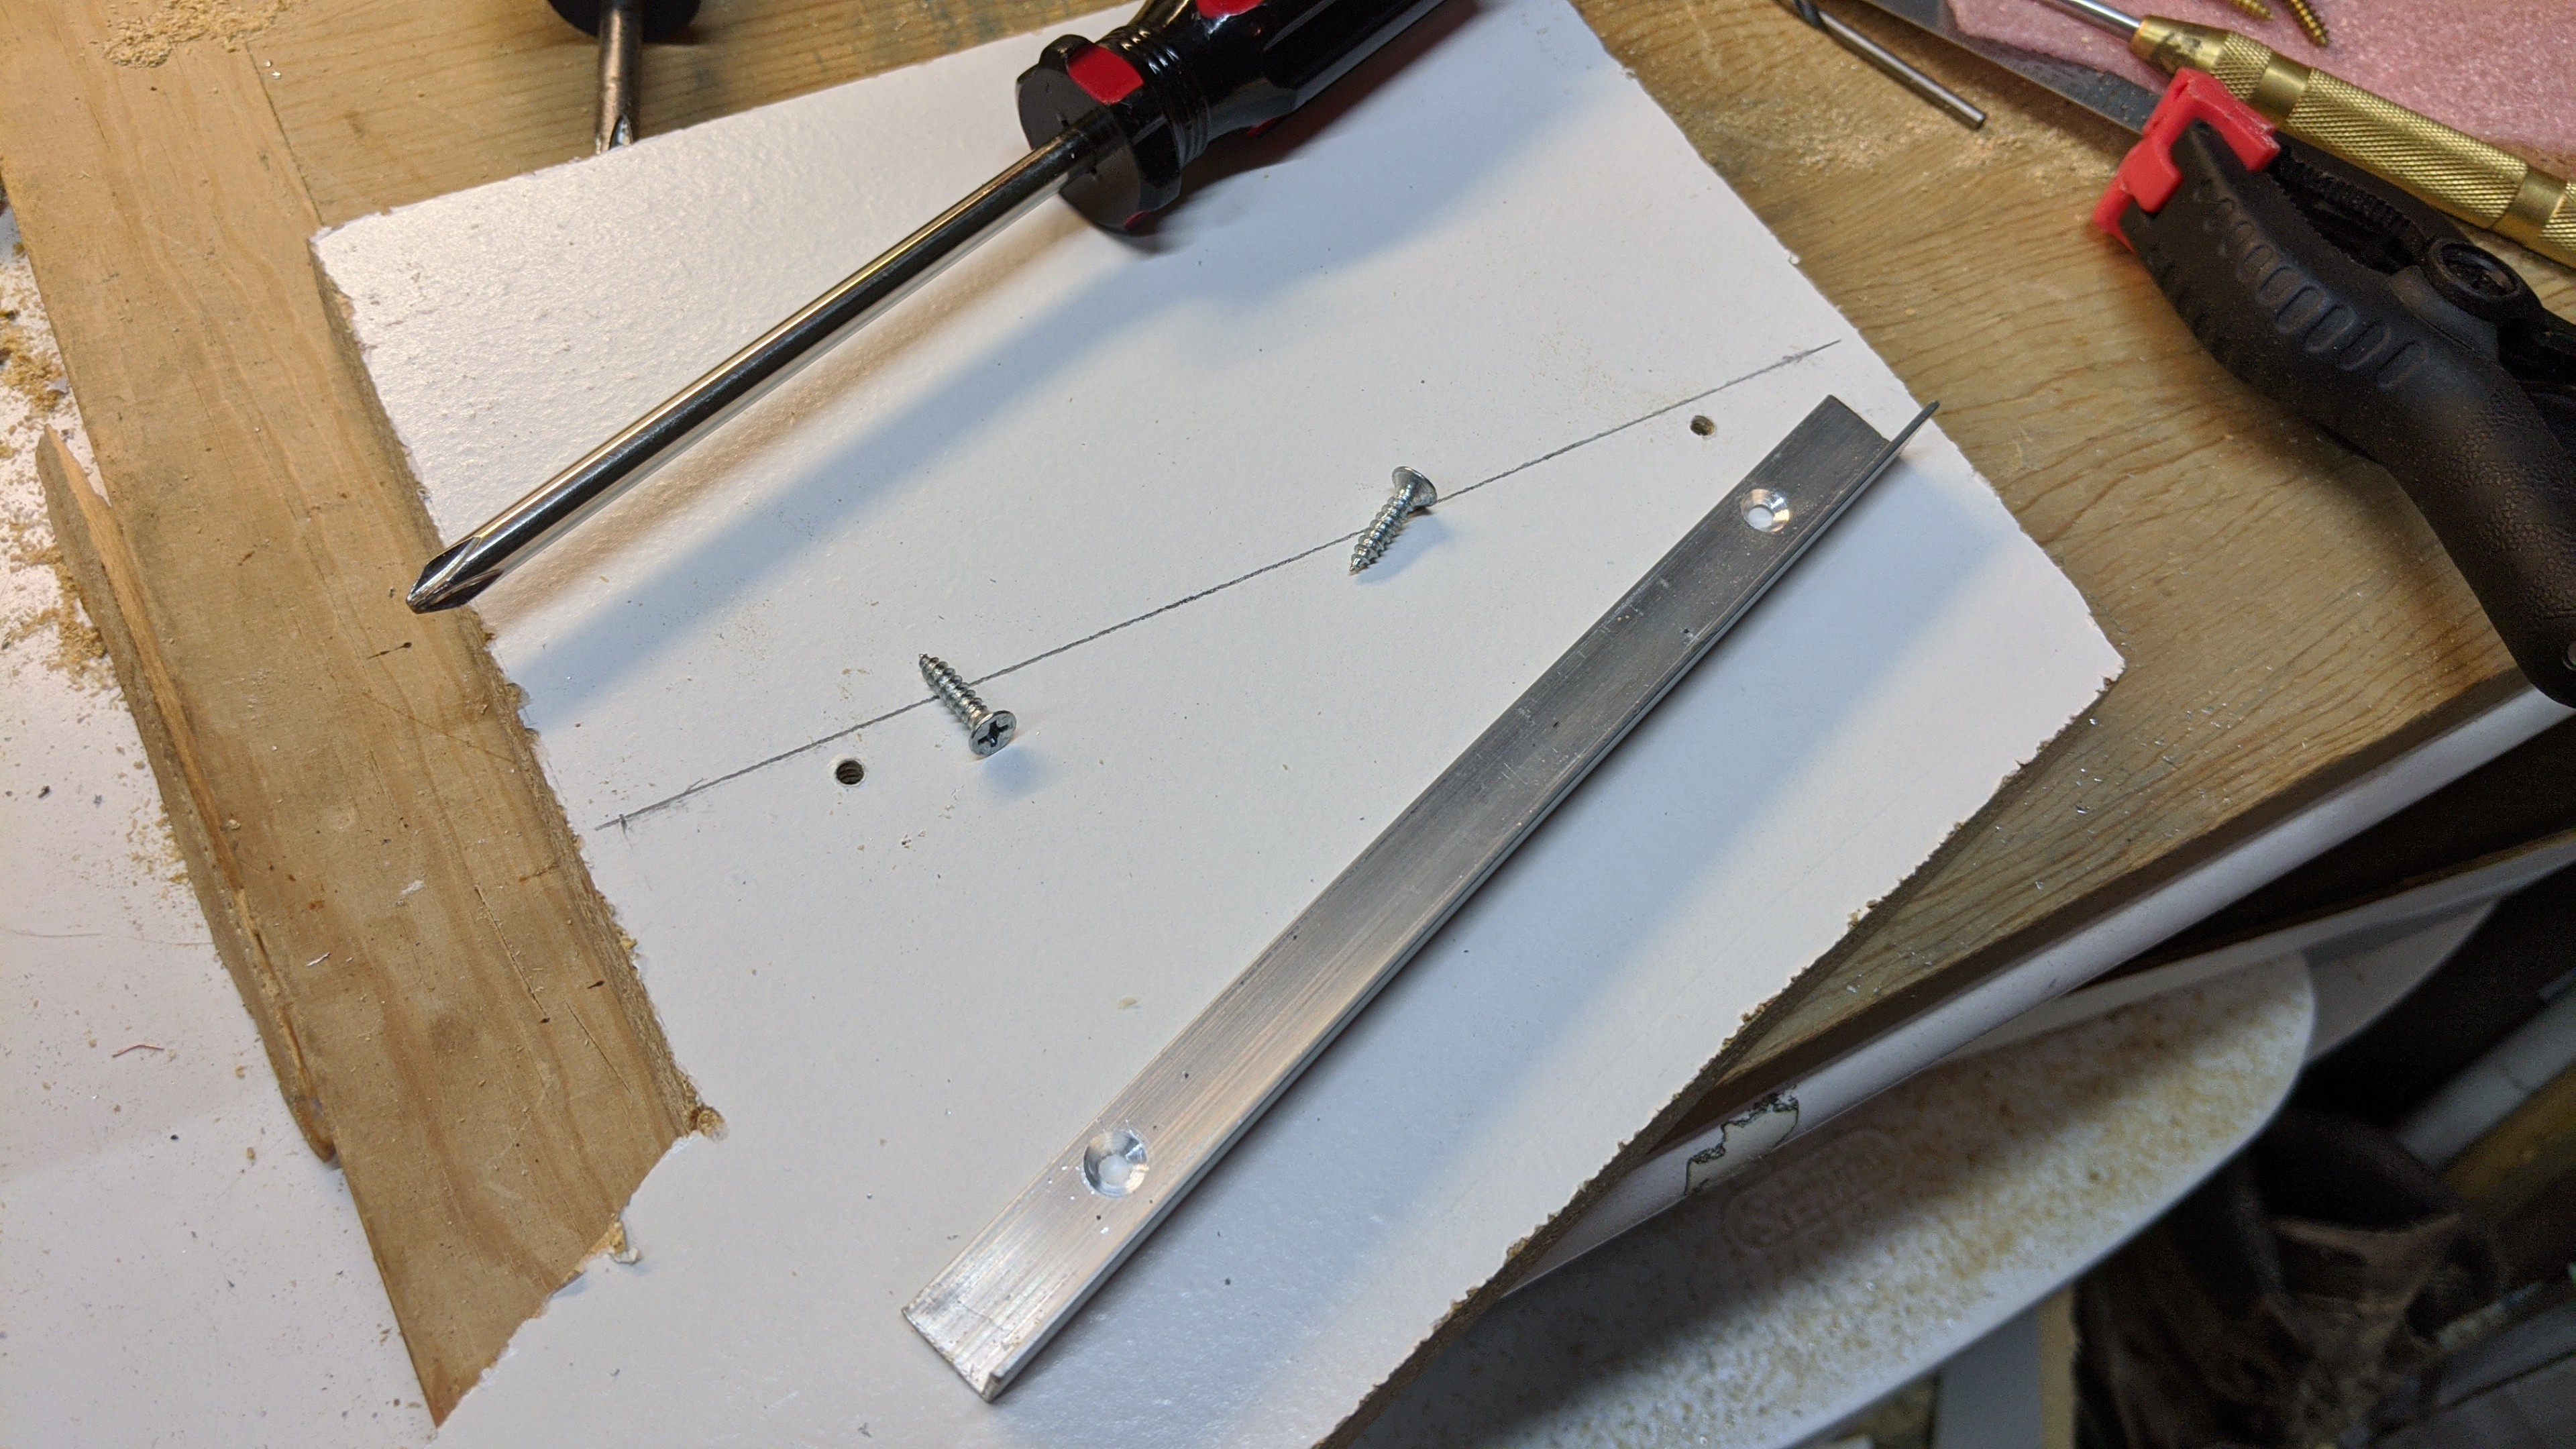
Next, I measured and marked one of the side pieces and the center piece. Then, I cut, drilled, and counter sunk a couple pieces of aluminum angle. I had this laying around from some previous project.
![]()
The angle aluminum was screwed to the two upright pieces.
![]()
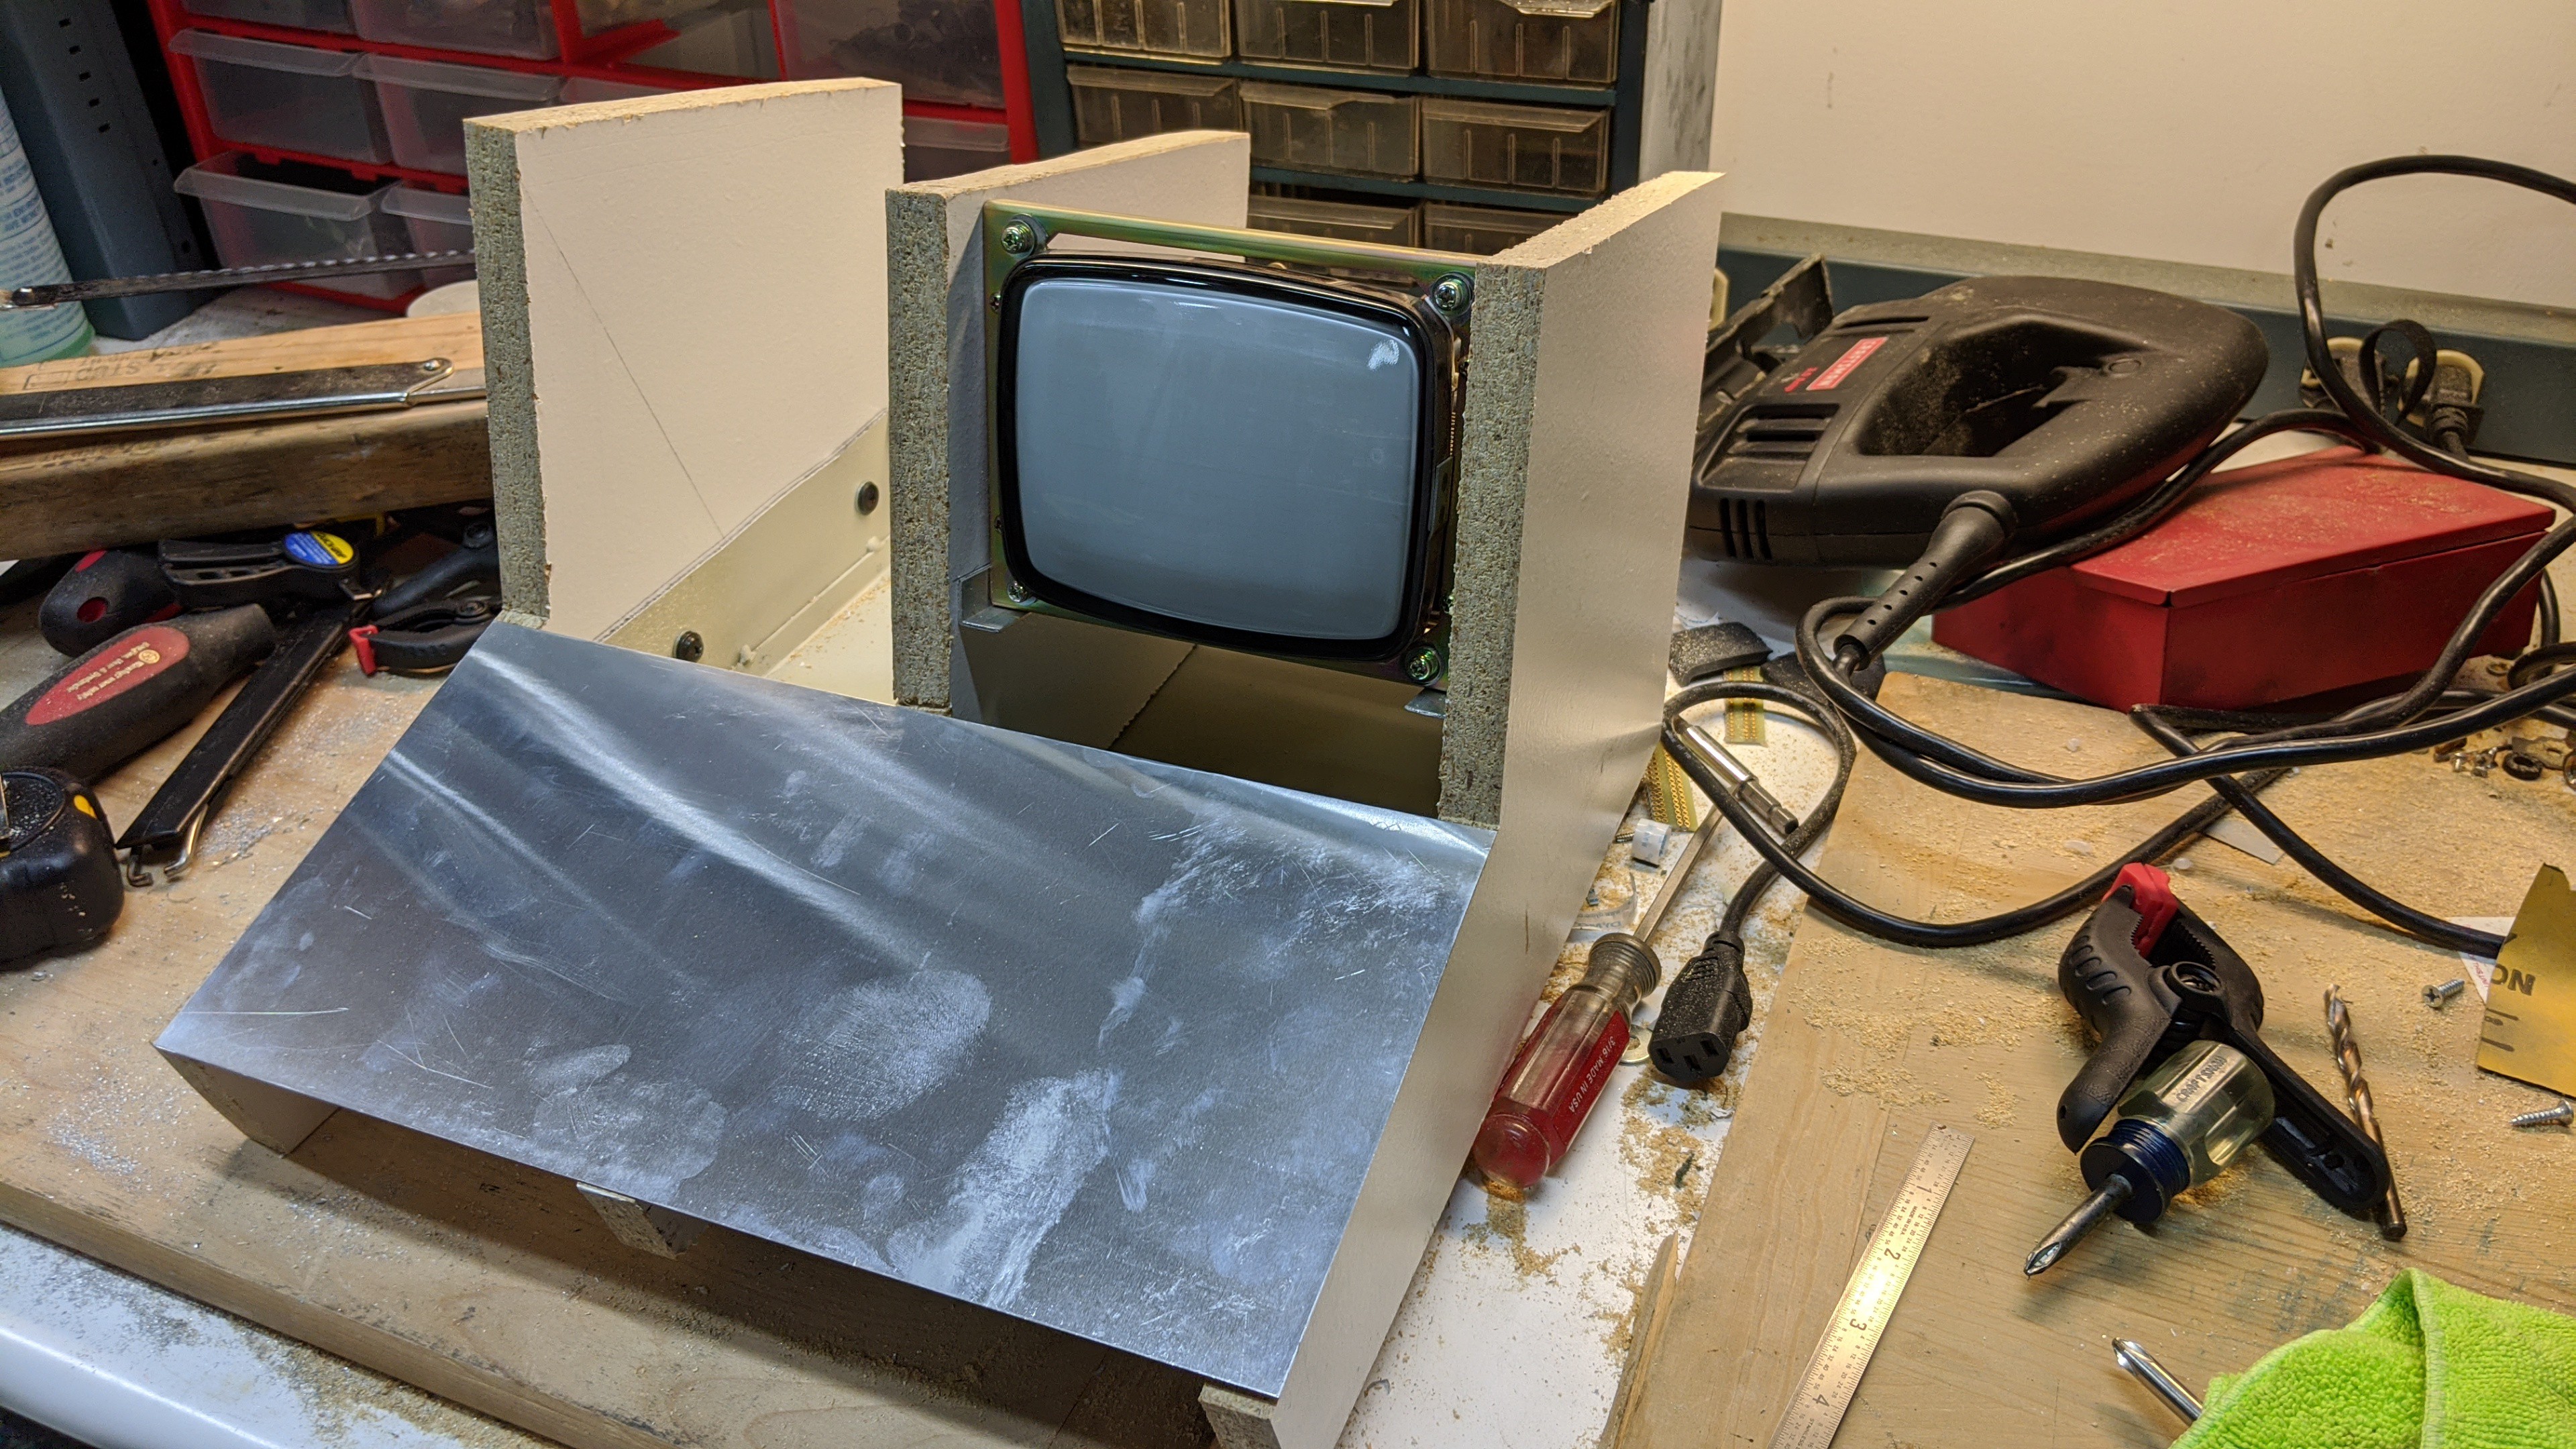
And this is how it will fit together with the CRT and the faceplate where the keyboard will be mounted. I'm glad I did this mock up. The CRT ended up being little high in the case. The bezel that will mount on the front faceplate around the CRT screen will likely end up flush with the top edge. I'll need to move the angle aluminum rails down around 1/2" or so when I cut my final upright pieces.
When I cut the final version of the middle upright, I'll drill several large holes in it with a hole saw to promote cooling air movement and allow routing wires between both sides of the case. Also, the front section of the middle upright will have to be cut off to make room for the keyboard.
-
New processors...
04/23/2020 at 01:05 • 0 commentsI forgot to add this teaser a couple days ago.
![]()
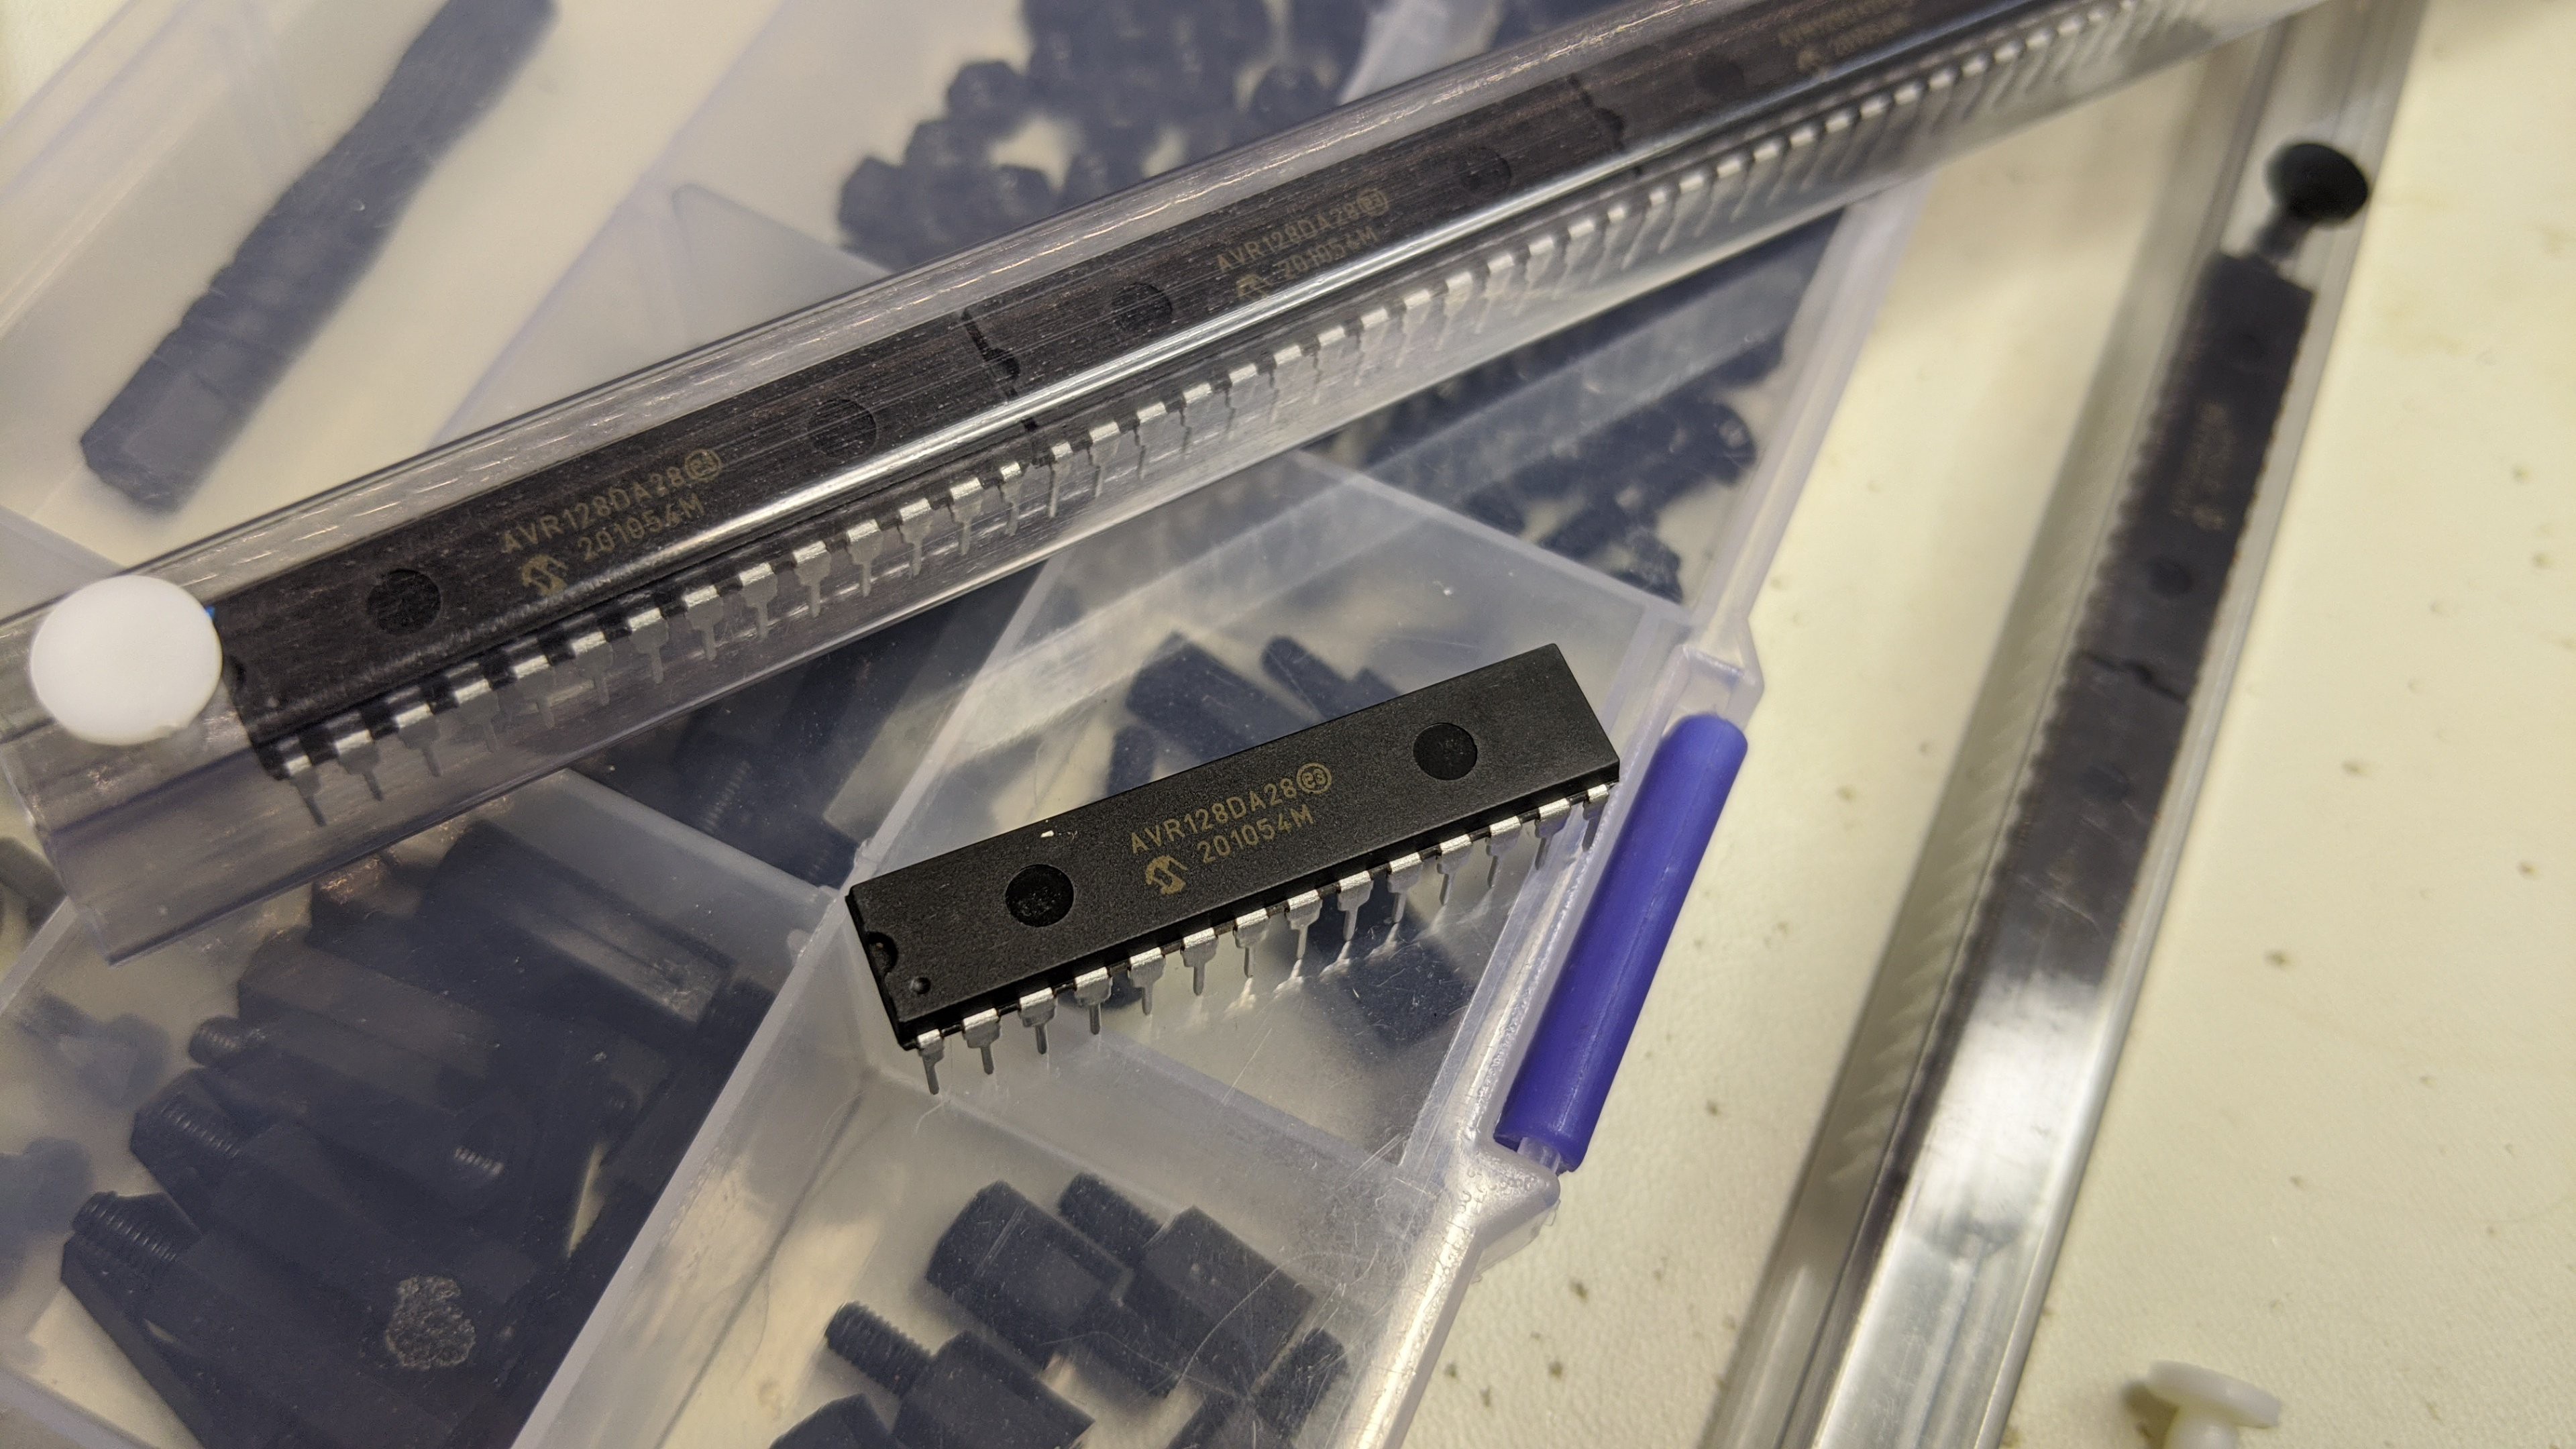
I received the new AVR processors from Microchip. I am eager to play with these.
-
Designing the new case...
04/22/2020 at 06:52 • 0 commentsSpent a couple hours in the shop this evening digging up materials and playing with layouts for the new case.
![]()
I think I have it roughly figured out. You can see the profile template I created laying on the cheap laminated shelving board in the pic above. I cut that out to see how it will look and fit together. I also figured out how to hack up the Data Analyzer case that is donating the CRT, power supply, cooling fan, and power switch/relay. It will also provide the base and top cover over the CRT.
Some painted sheet aluminum from a different parted out analyzer will be used for the keyboard and front face plates.
![]()
Now I just need to dig up some 12" x 1" solid wood self boards or something similar. These cheap laminated boards aren't going to hack it. I'd like to use solid wood that will take a stain reasonably to maintain a proper retro home-built look. I think I can find some pine shelving board without doing anything too drastic.
-
Coming out of hibernation...
04/18/2020 at 06:27 • 0 commentsI'm excited about the new AVR128DA28 processors Microchip recently released. I have several on pre-order and expect to receive them next week. These little 28 pin AVR processors are available in an easy to prototype through-hole SDIP package (same form factor as the ATMEGA328 SDIP). They have 128K of FLASH (application space), 16K of RAM, a wealth of peripherals, and the I/O pins are highly configurable. So, I've decided to do re-spin of the original Resto-Mod 8 bit Microcomputer to show off just how much you can do with one of these little controllers and a minimal amount of support logic/circuits.
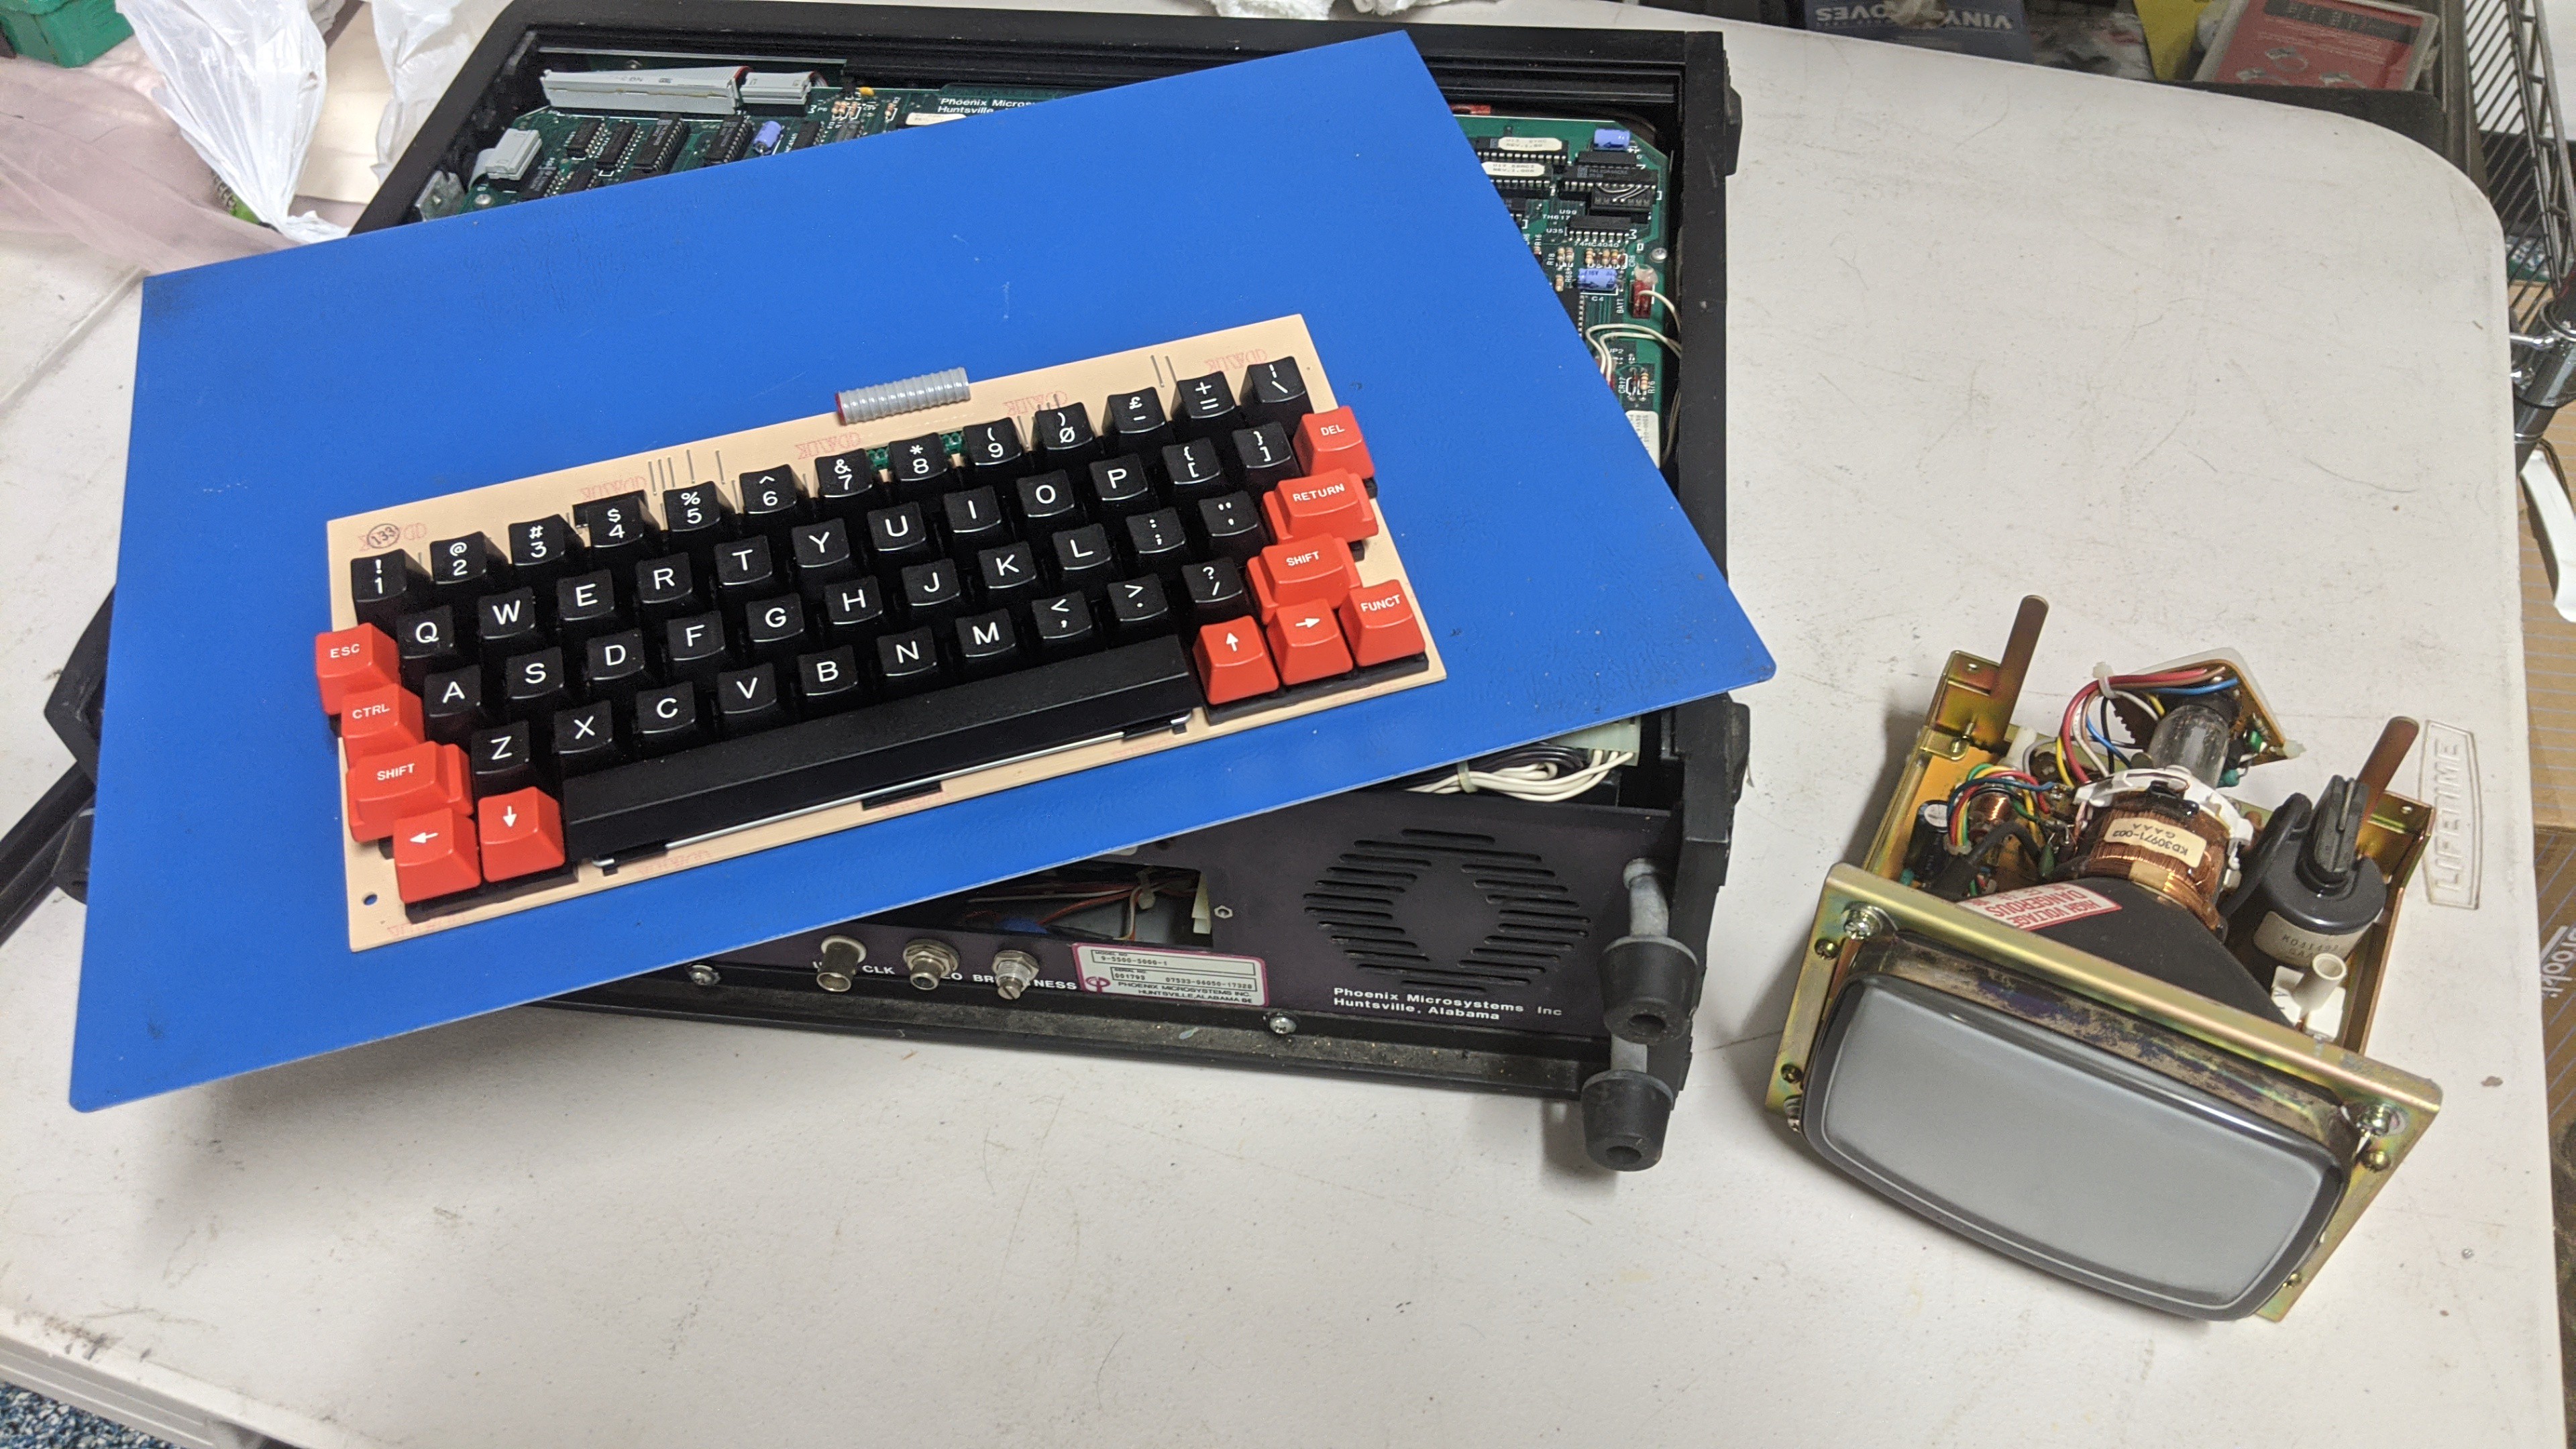
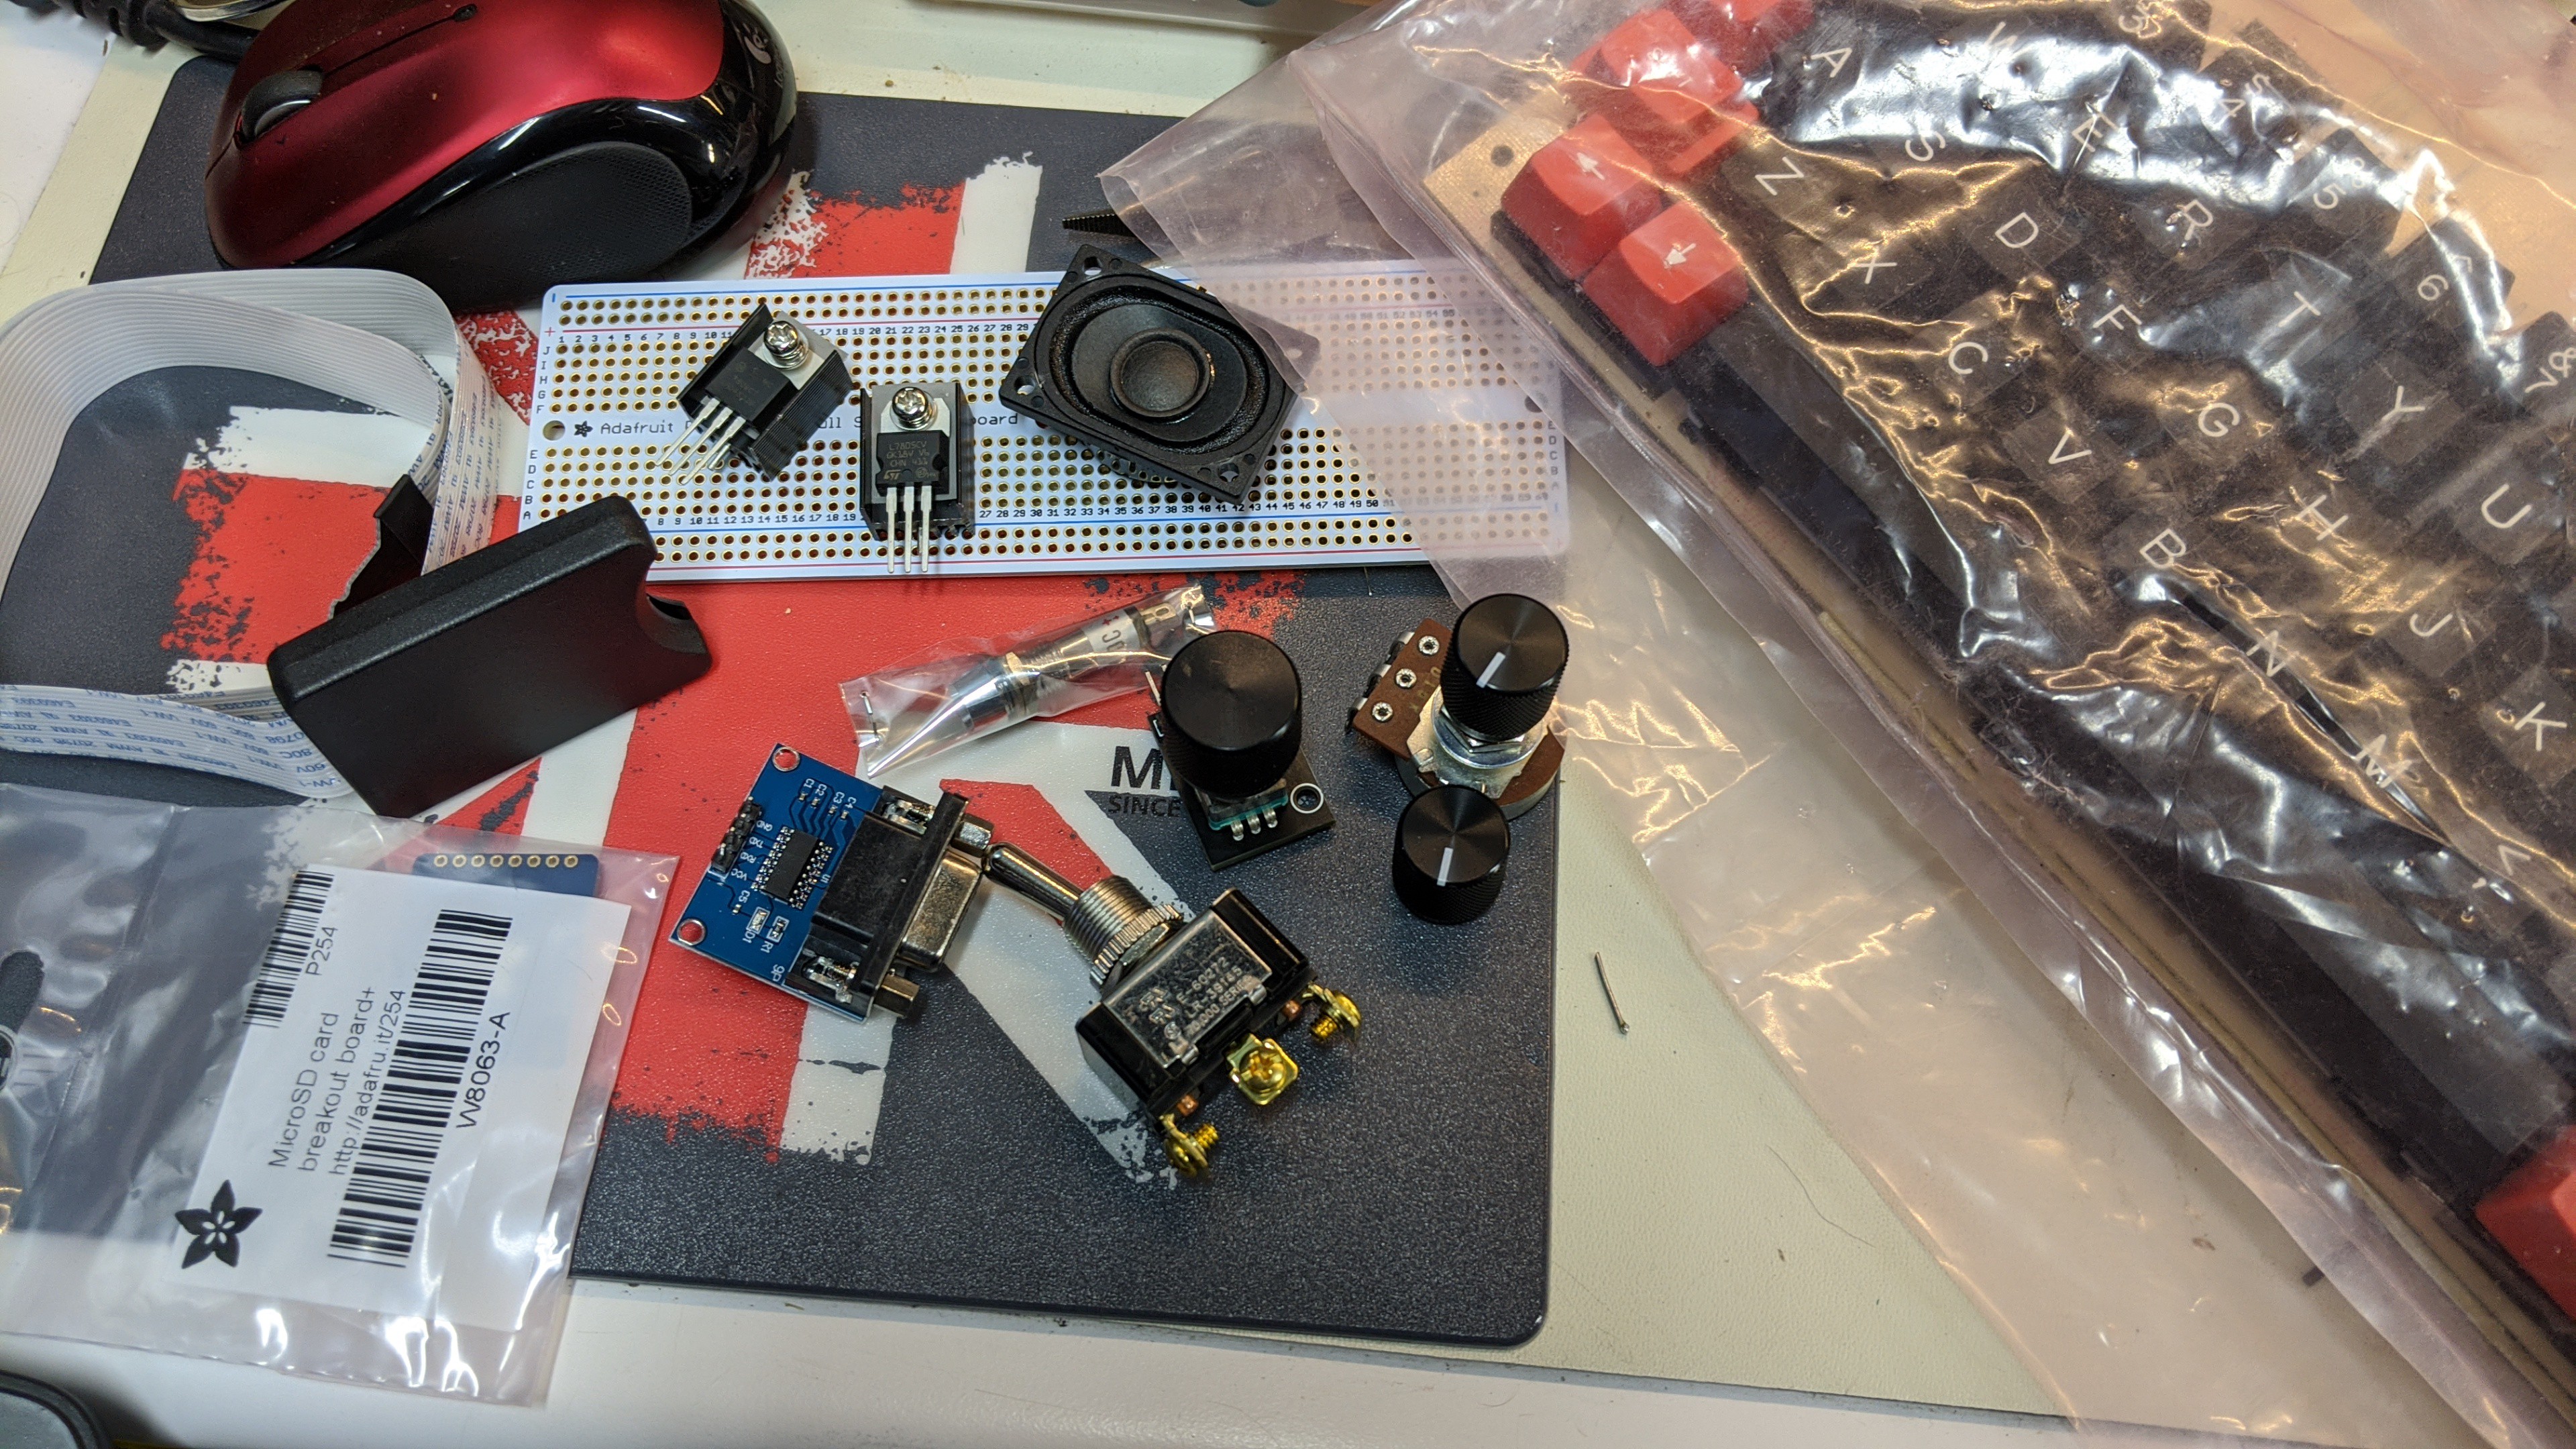
The new Resto-Mod 8 bit Microcomputer will be similar to the original with some new features and a truly "home-built" case. The case will integrate the CRT display, audio, thermal printer, switches, knobs, keyboard, serial port connector, SD Card slot, and power supply in one case. The CRT will be a 5" green phosphor CRT salvaged from an old serial protocol analyzer. The keyboard will be an NOS unit from an Oric Atmos home computer. Back in the 80's Radio Shack purchased unused stock from defunct PC models and resold the parts under their Archer brand. You can still find some of these components at vintage computer/equipment shows and online auction sites.
A full list of peripherals and functions for this spin of the Resto-Mod Micro Computer include:
- Front panel toggle switch and LED indicator for power
- 5" geen phosphor monocrome CRT
- 32x16 character display with normal and inverted character display
- Front panel brightness control for CRT
- 58 position keyboard
- Rotary encoder with press button function for application navigation
- PCM sampled sound playback and speech synthesis
- Front panel volume control for audio
- DB-9 connector for serial port
- Terminal and data-logging applications
- SD Card with DOS FAT32 support
- Front panel access to the SD Card slot
- Built-in thermal printer
- Case cooling fan
I've already collected most of the parts required for this build.
![]()
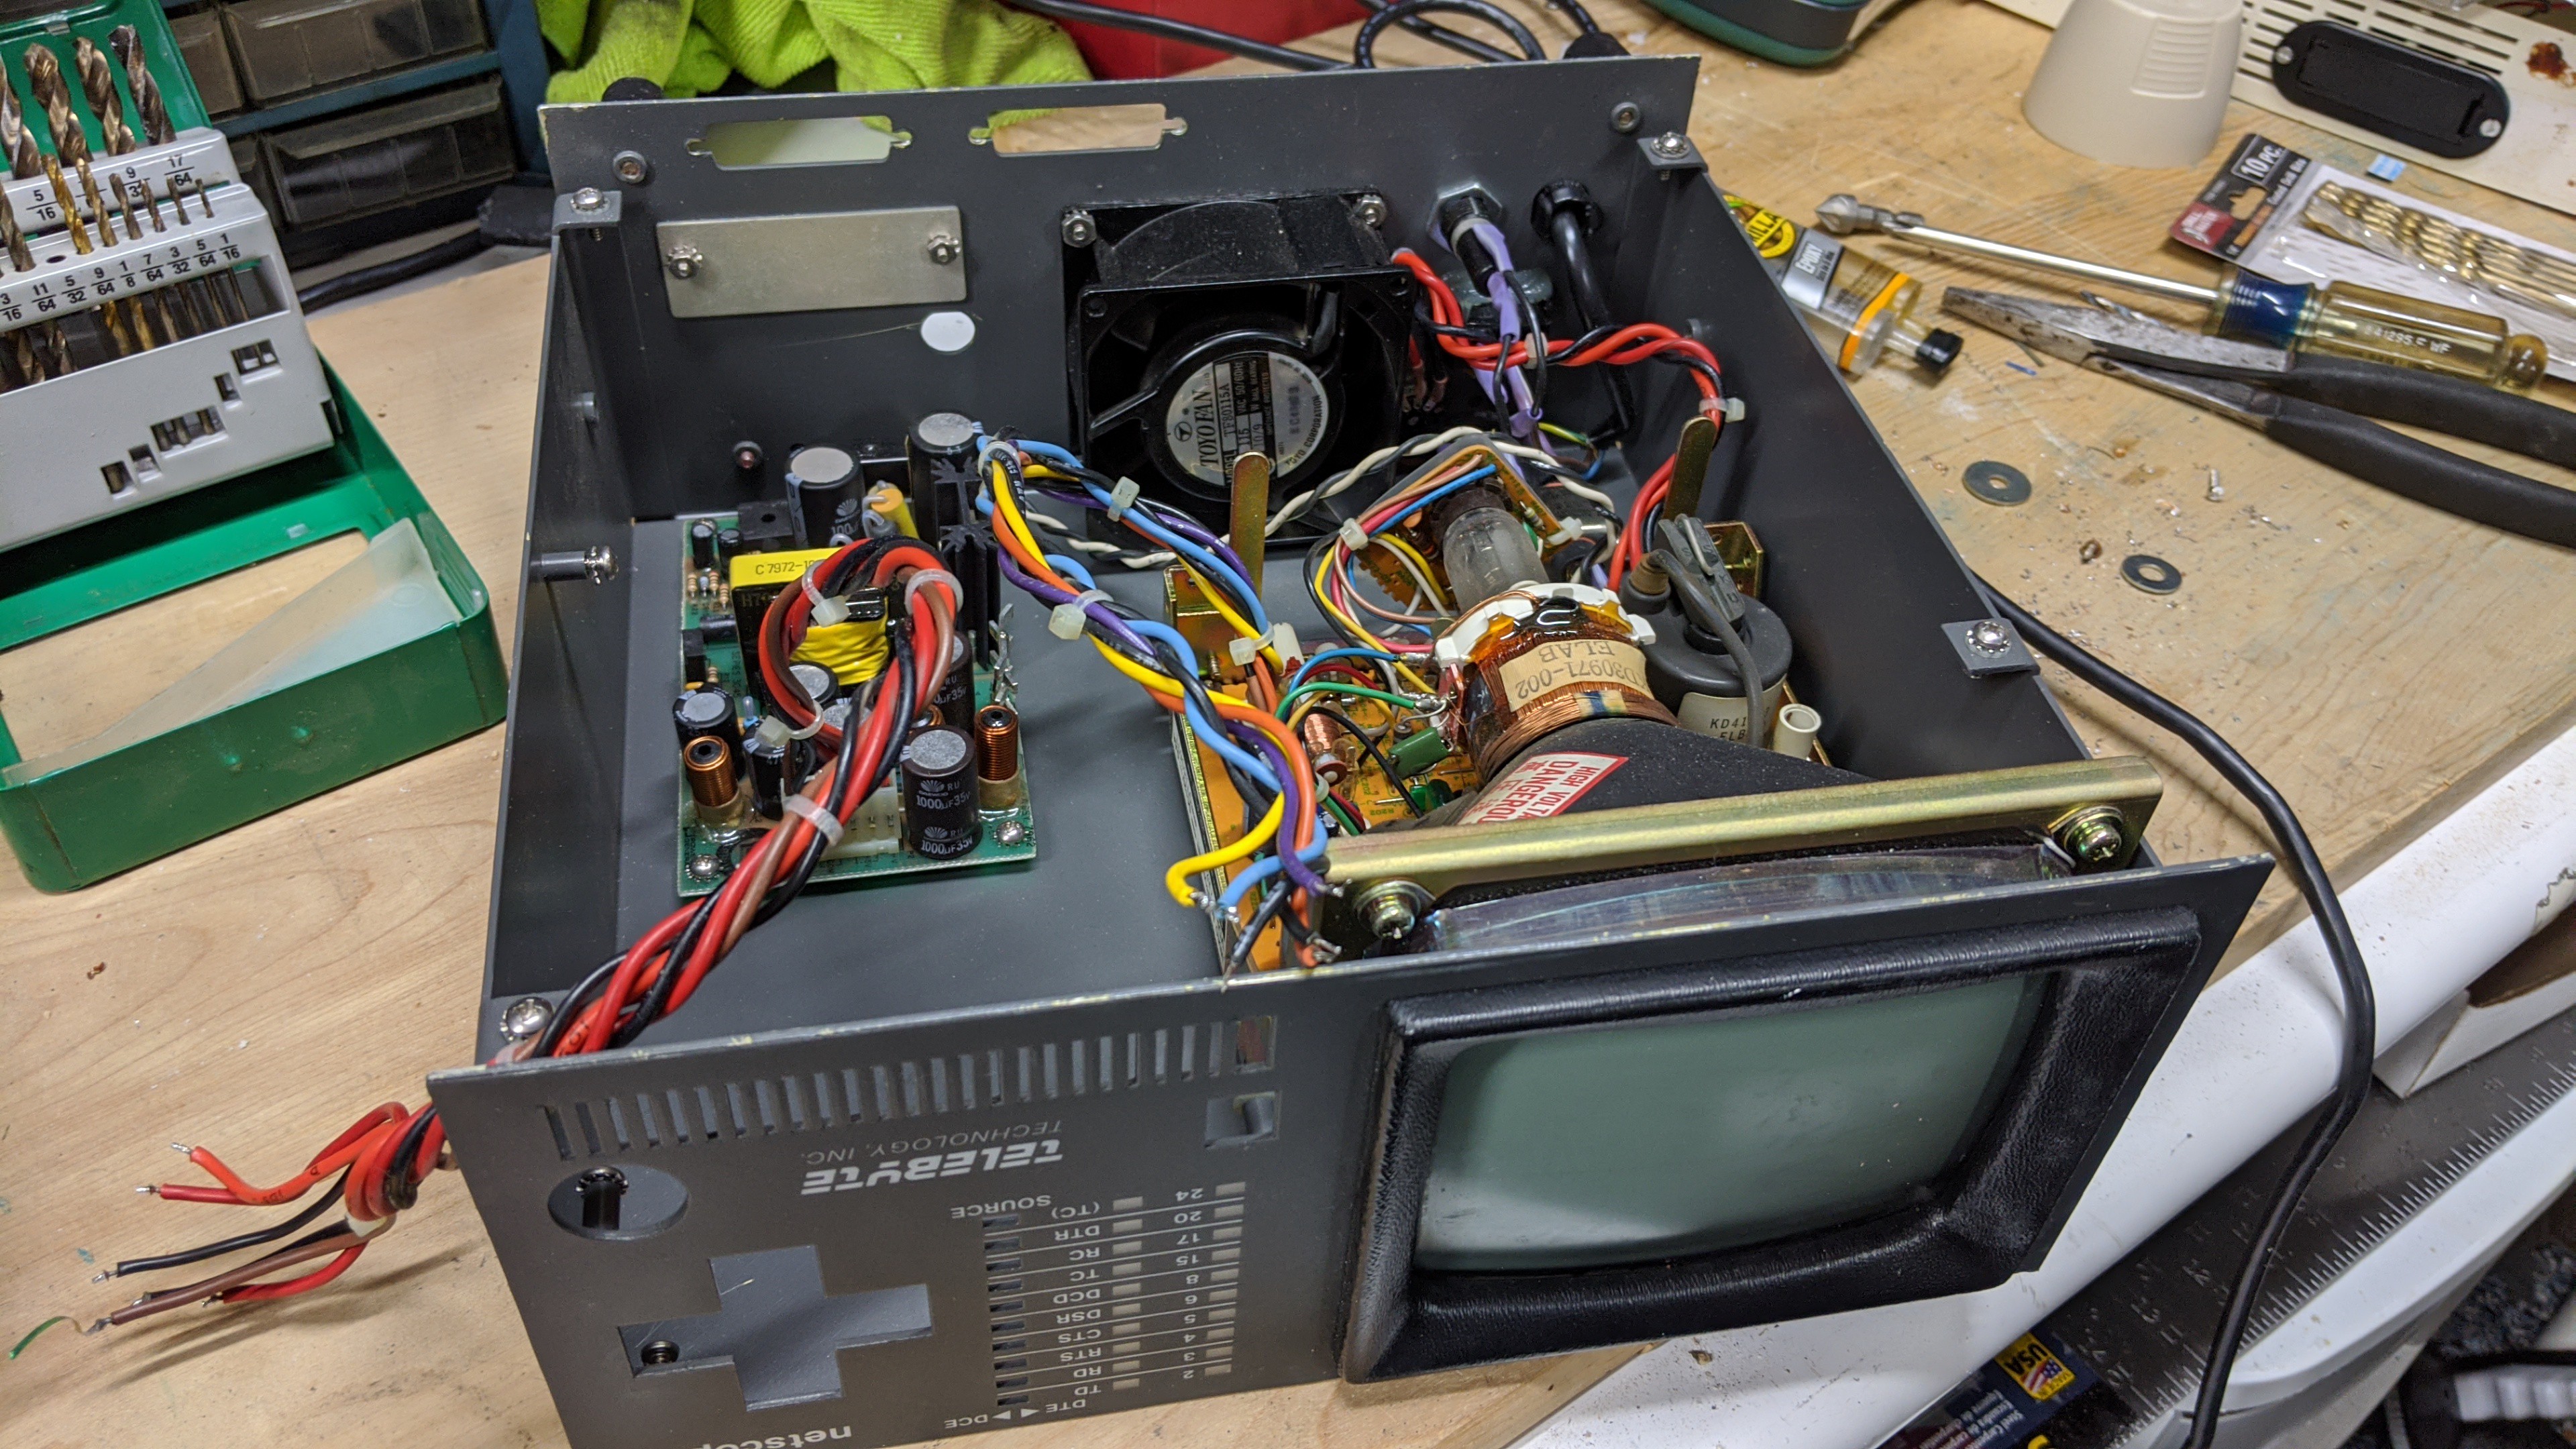
An old Telebyte Netscope serial protocol analyzer will provide the 5" CRT, CRT bezel, power supply, power cord, power relay and fuse, case cooling fan, case feet, and case handle. I might even use some of the sheet metal from the Netscope case to build the "home-built" case for the final system.
![]()
Resto-Mod 8 bit microcomputer
Retro-Futuristic 8-bit AVR based computer with 5" TTL CRT, PS-2 Keyboard, Serial Thermal Printer, PCM sound, and flash file system
 John Anderson