Ahron Wayne
-
Fabrics! (part 1)
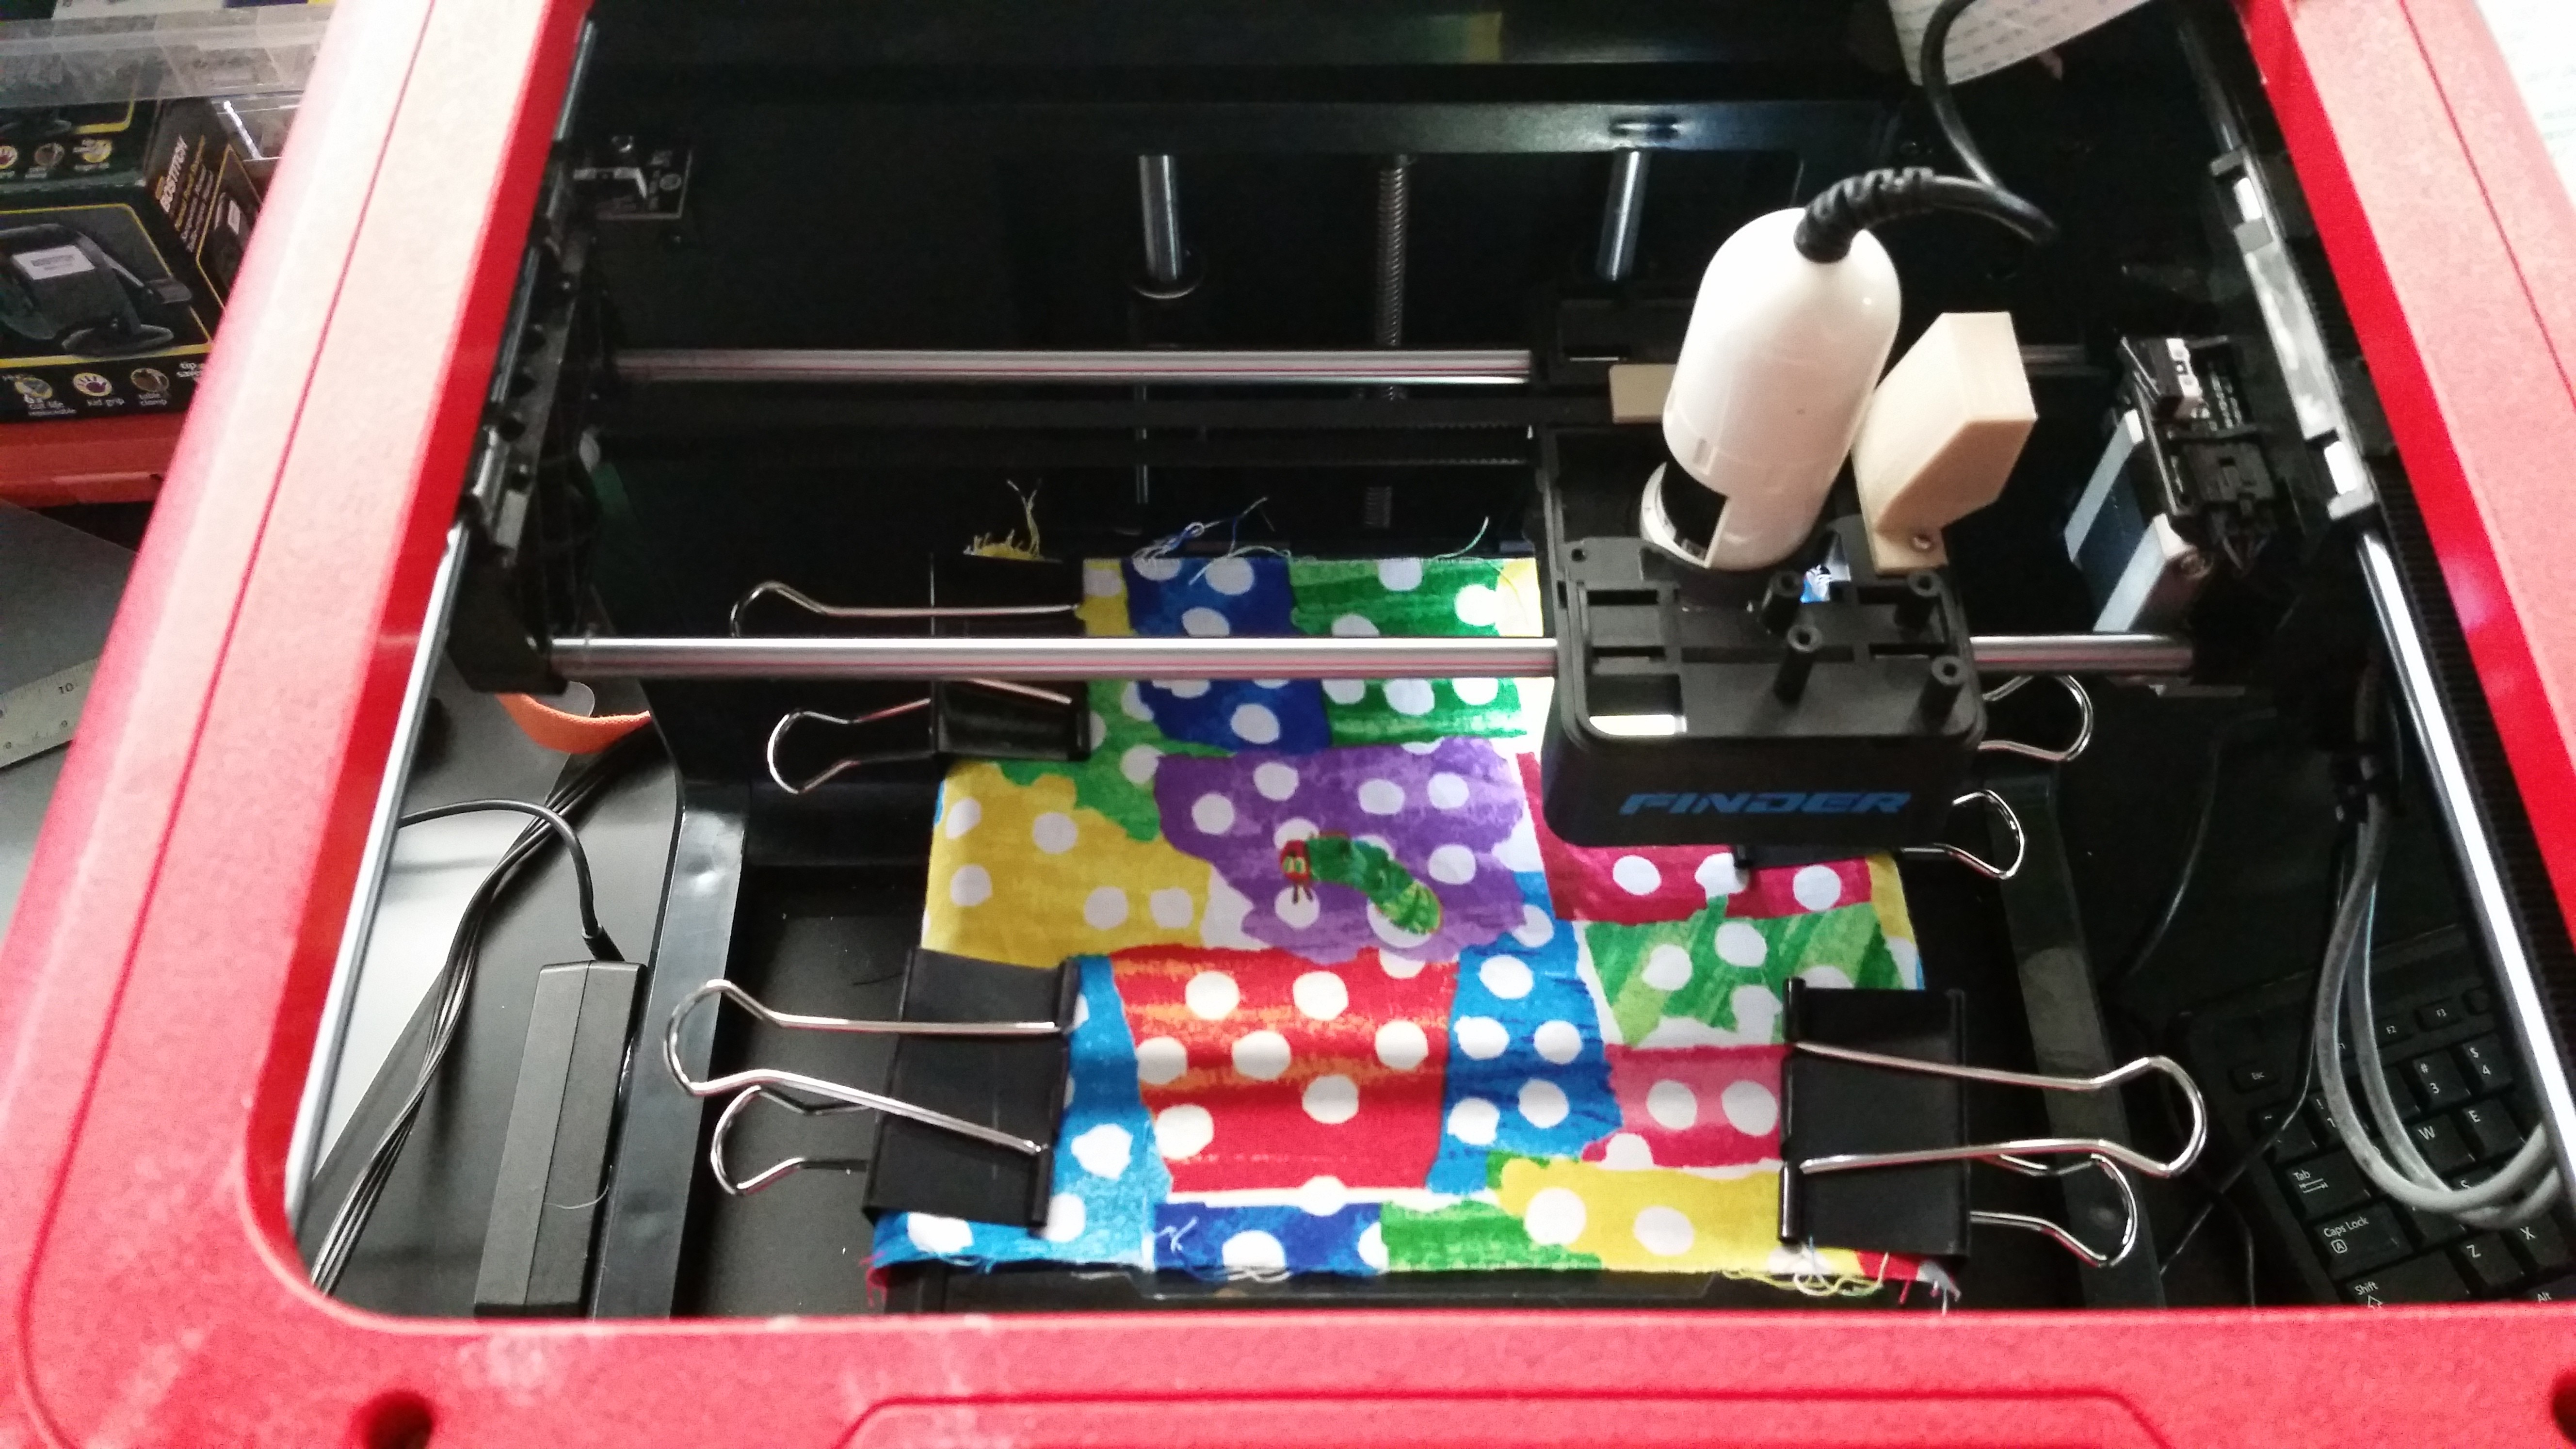
01/22/2020 at 23:15 • 0 commentsI saw someone on facebook talk about scanning textures of things like fabrics, for overlaying onto 3D models. So I found something nice and cute from our school's wearable electronics stockpile:
![]()
They key innovation here being the use of binder clips to keep the fabric stretched out and as flat as possible. I've said it before and I'll say it again: Autofocus post-process is possible, but it's easiest to just make it all in-focus to begin with.
The focus on the scope is adjustable almost from infinity to less than a millimeter. The closer you get, the higher the magnification. This does not strictly mean that the resolution increases; that is limited entirely by your illumination wavelength/method and your lens's numerical aperture. But dinolite is relatively respected and they prevent the dial from turning past the point where you're getting fake magnification.
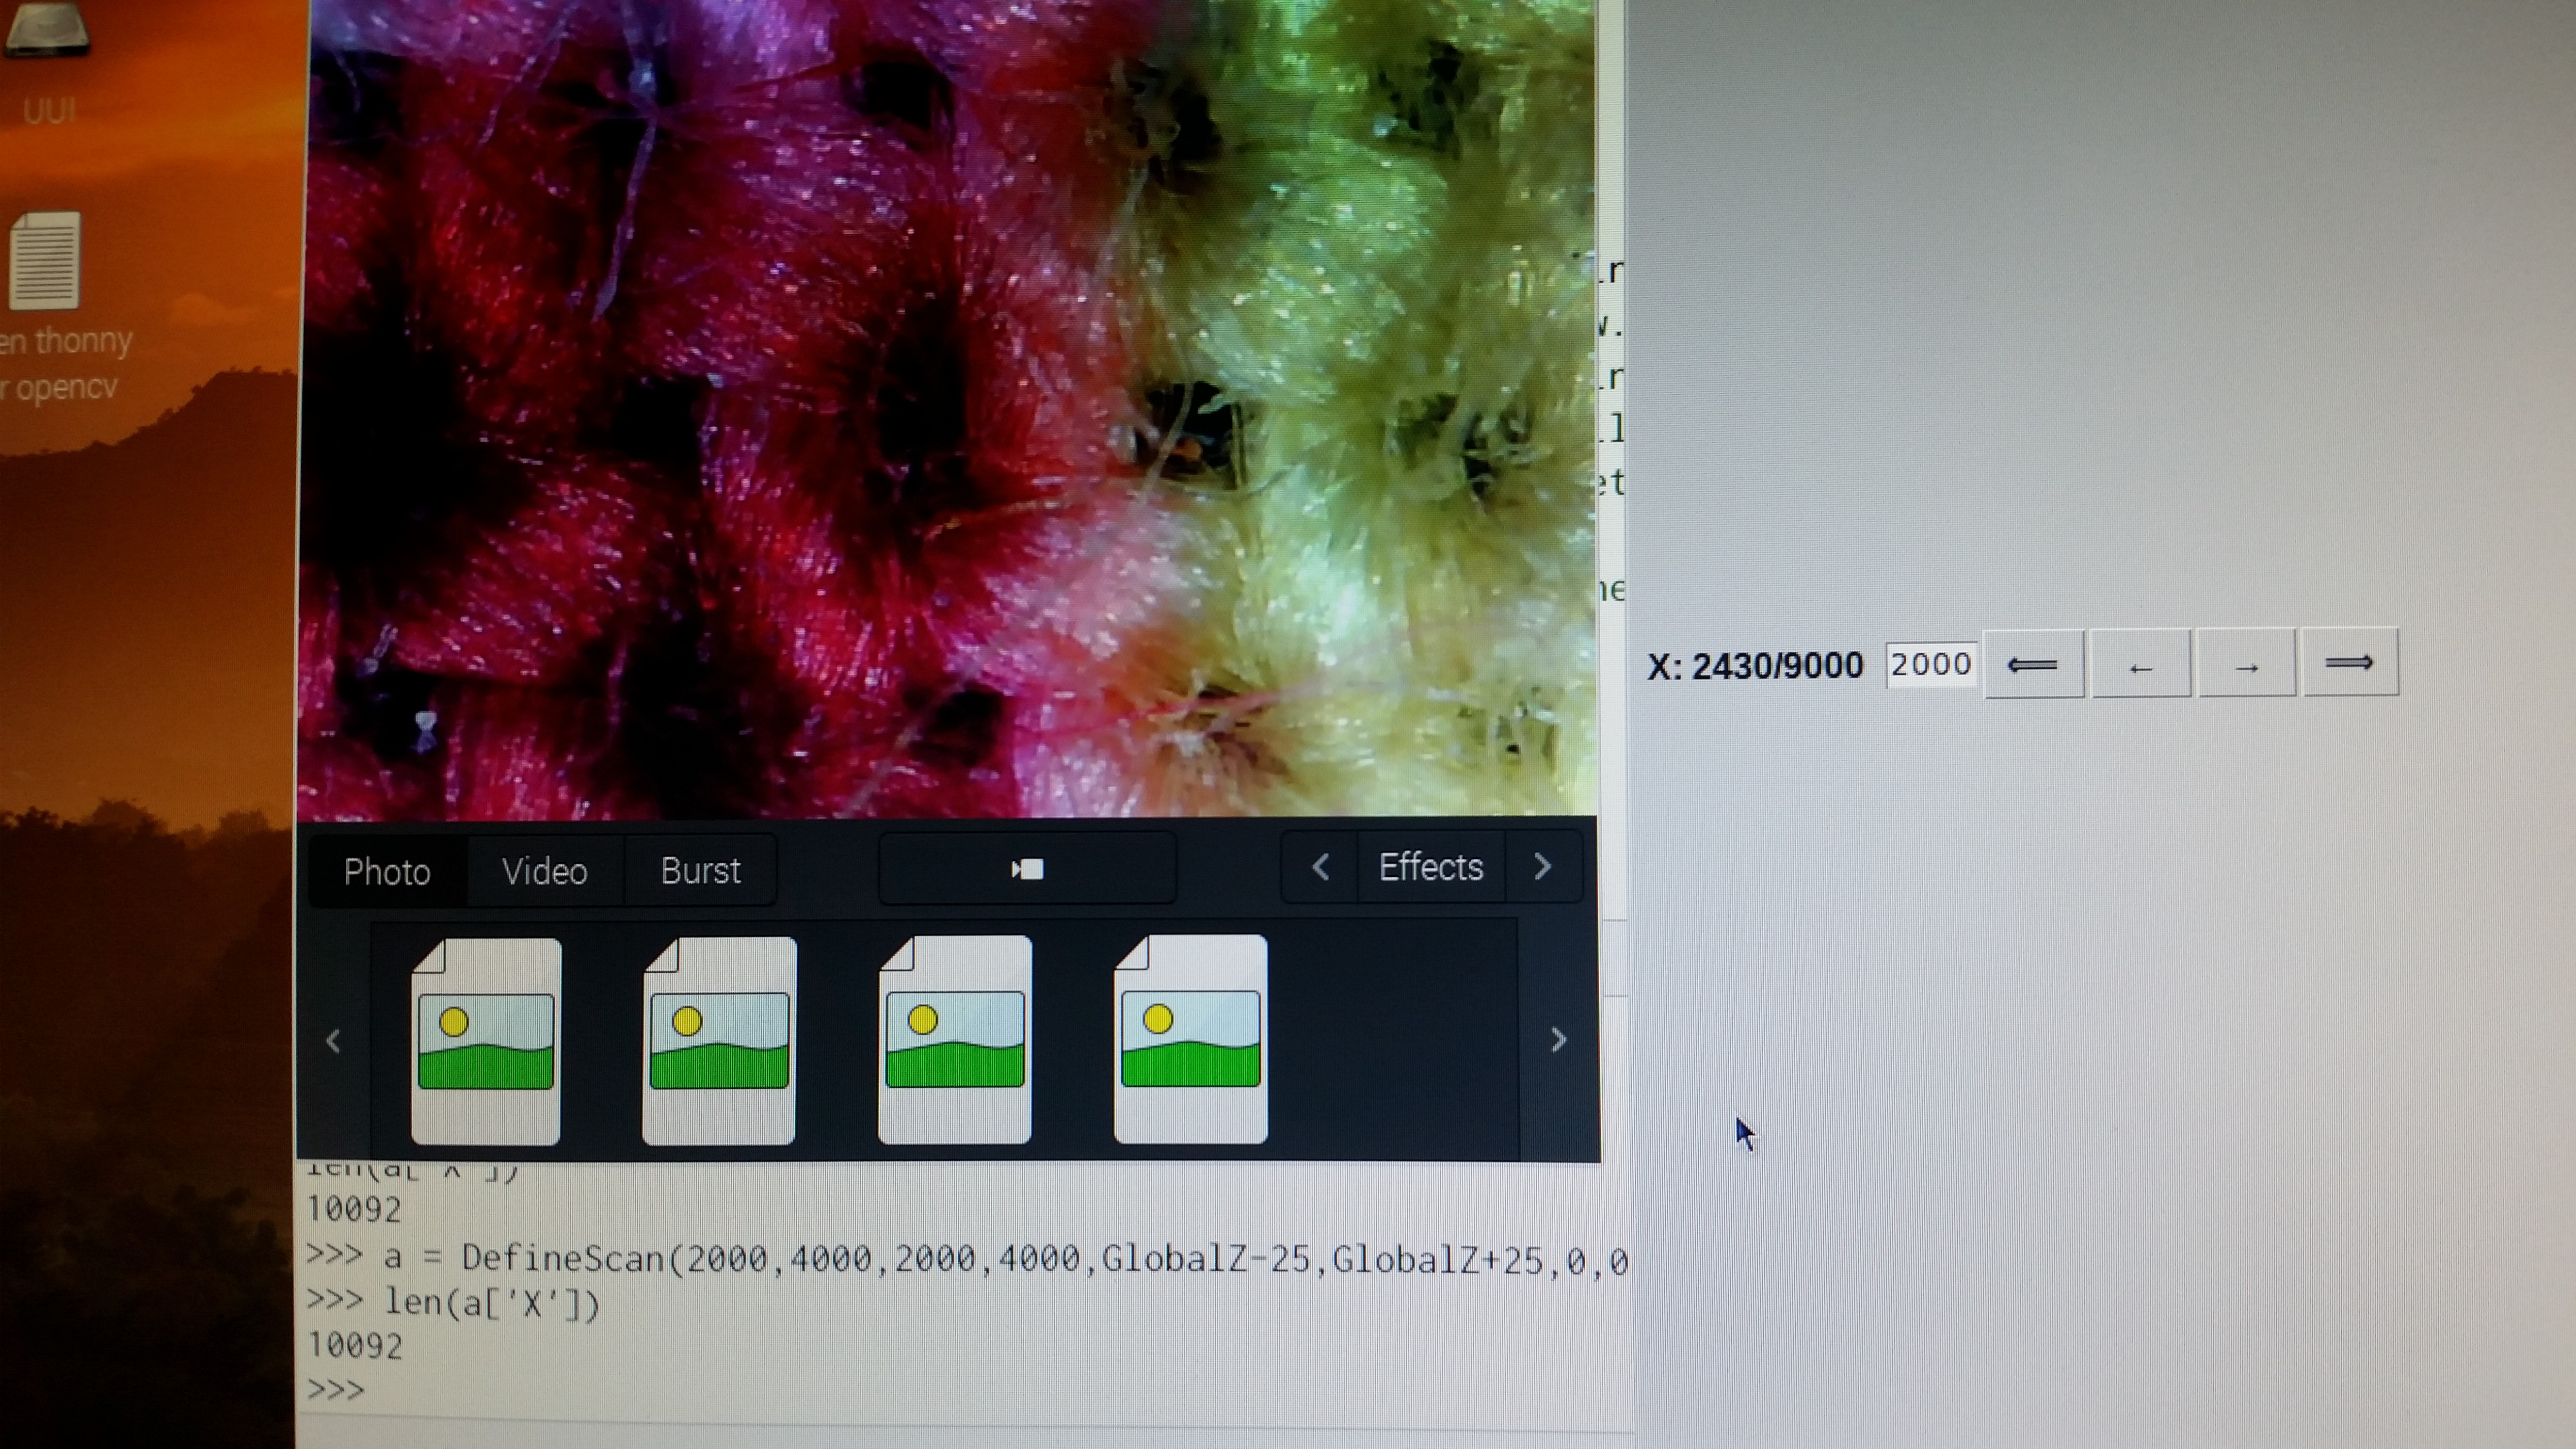
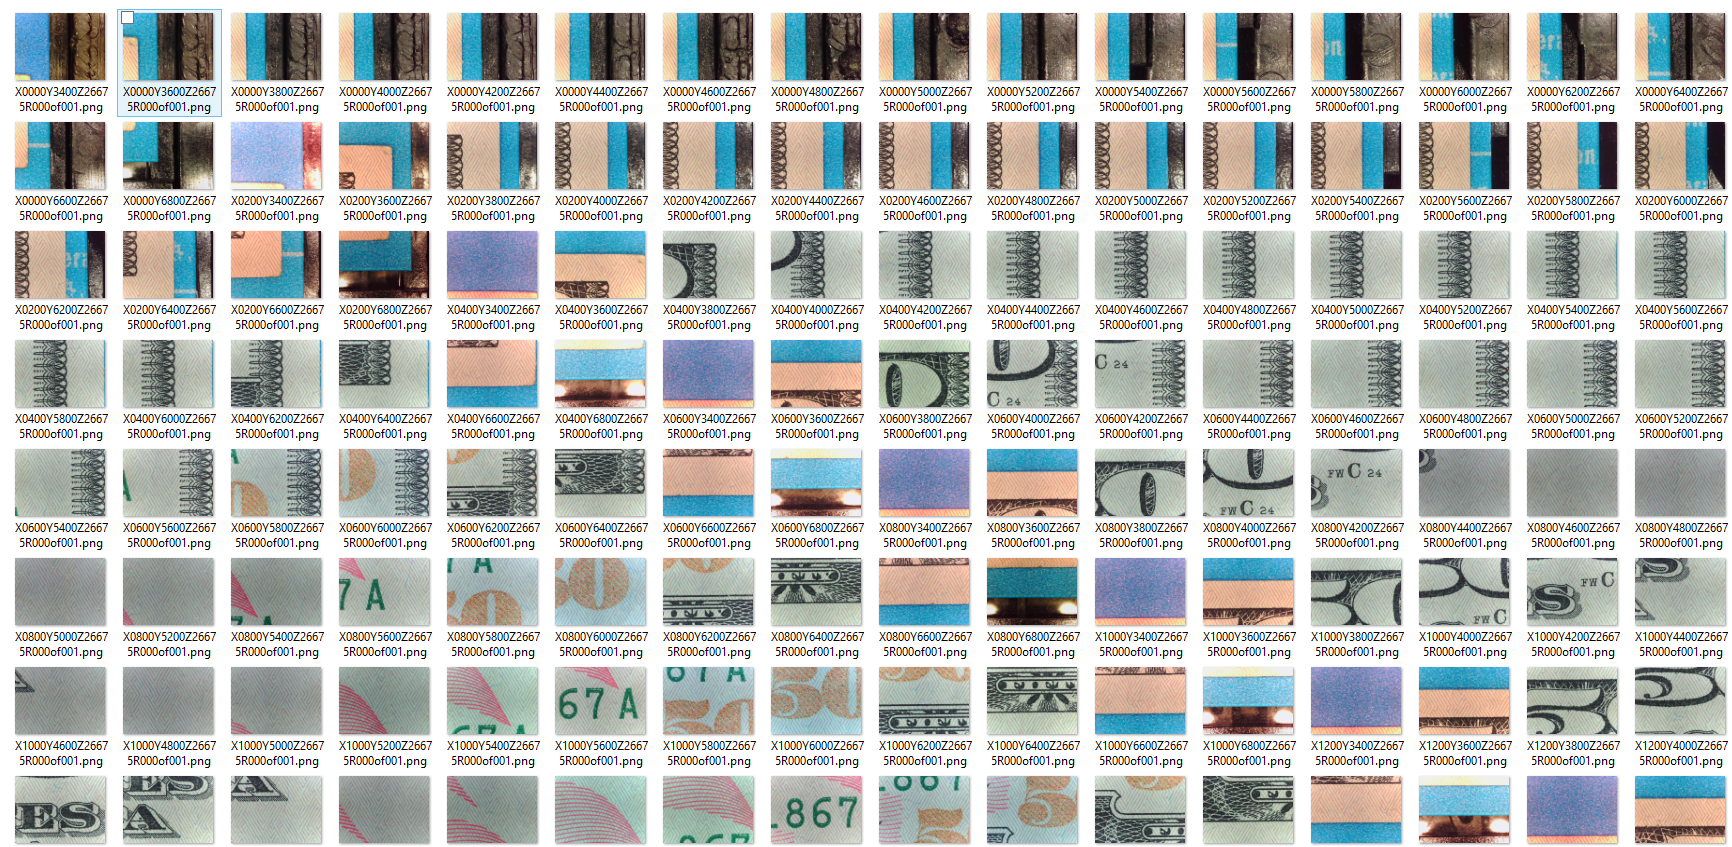
I did three scans: far away (~5 cm), medium (1cm), and close (less than a milimeter). The scan length and difficulty in keeping things in focus are directly related to the magnification, so far away = super easy, medium = probably can keep it all in focus, large = you'll get bad patches unless you do multiple Z heights.
For comparison, the lowest magnification took 50 pics to see the whole fabric, the medium took 500, and the highest would take about 5000, if you were only doing one Z height. I'm doing three, adjusted about a half millimeter apart each. There's also the danger that the fabric will drift for whatever reason (there are many) in between each change in Z height (the raster pattern happens first) and you'll be unable to do any kind of point-by-point comparison for focus afterwards, but I think even in the worst case most of the image will be roughly in focus even at one Z height.
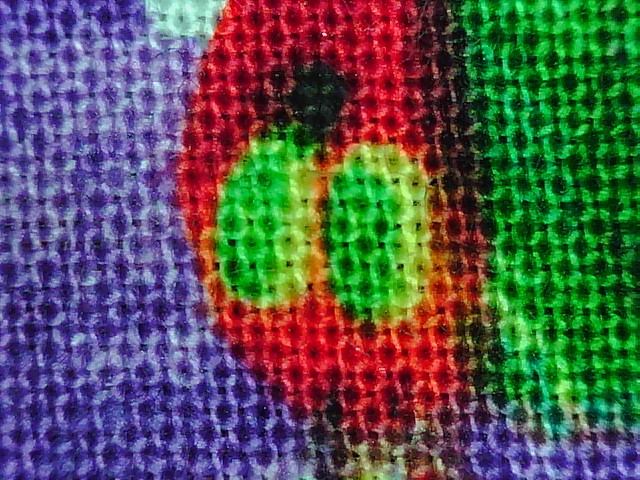
Anyway, I'm not going to post the full images now (mostly because the highest res one is still running), but the first two look good. Here's one image of the high res, though, to show you what that fabric looks like up close:
![]()
Comparison, here's a "medium" one, which is about the same resolution as my scan of the front and back of the 50:
![]()
-
How to properly level your cookie
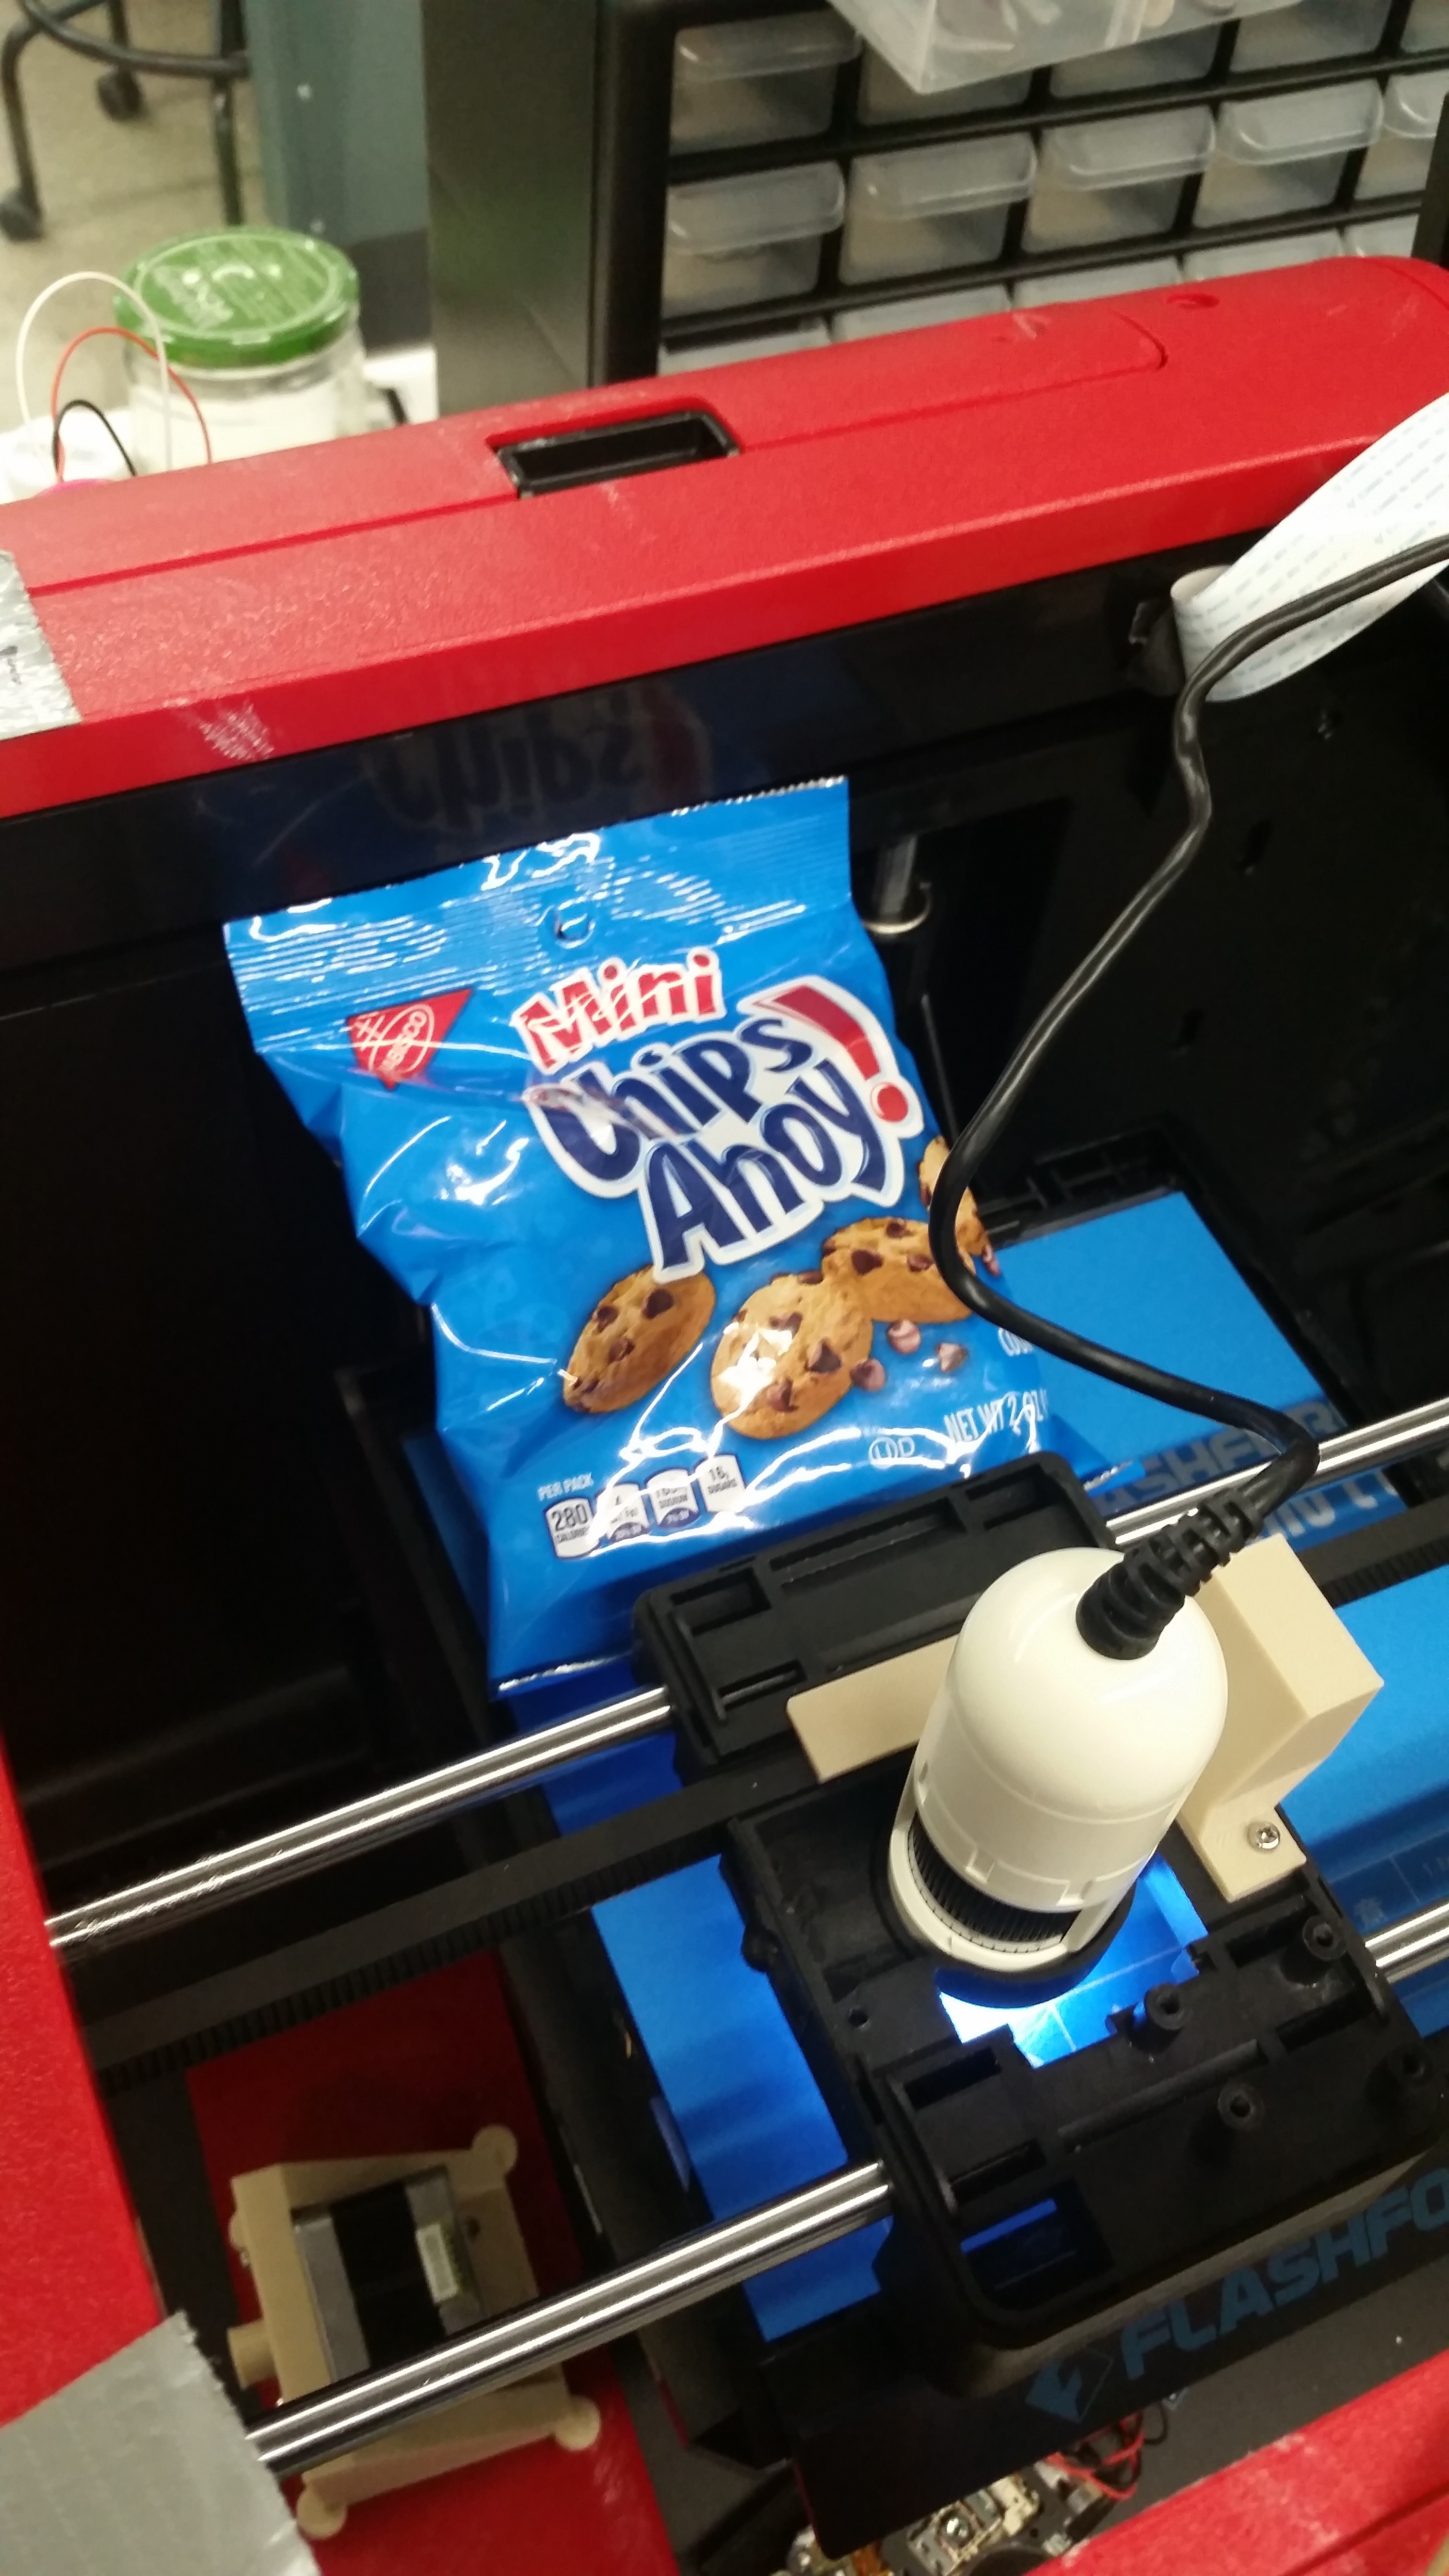
01/16/2020 at 00:20 • 0 commentsThings I did today: Went to class. Received four 3D printers in the mail. Poked a circuit board with metal sticks. Scanned a cookie...
![]()
To scan a cookie with autofocus or stacking you can do one of two things. You can either use a low enough magnification/high enough depth of field that everything is (roughly) in focus,
![]()
(just use a macro camera, it's much less trouble, sheesh)
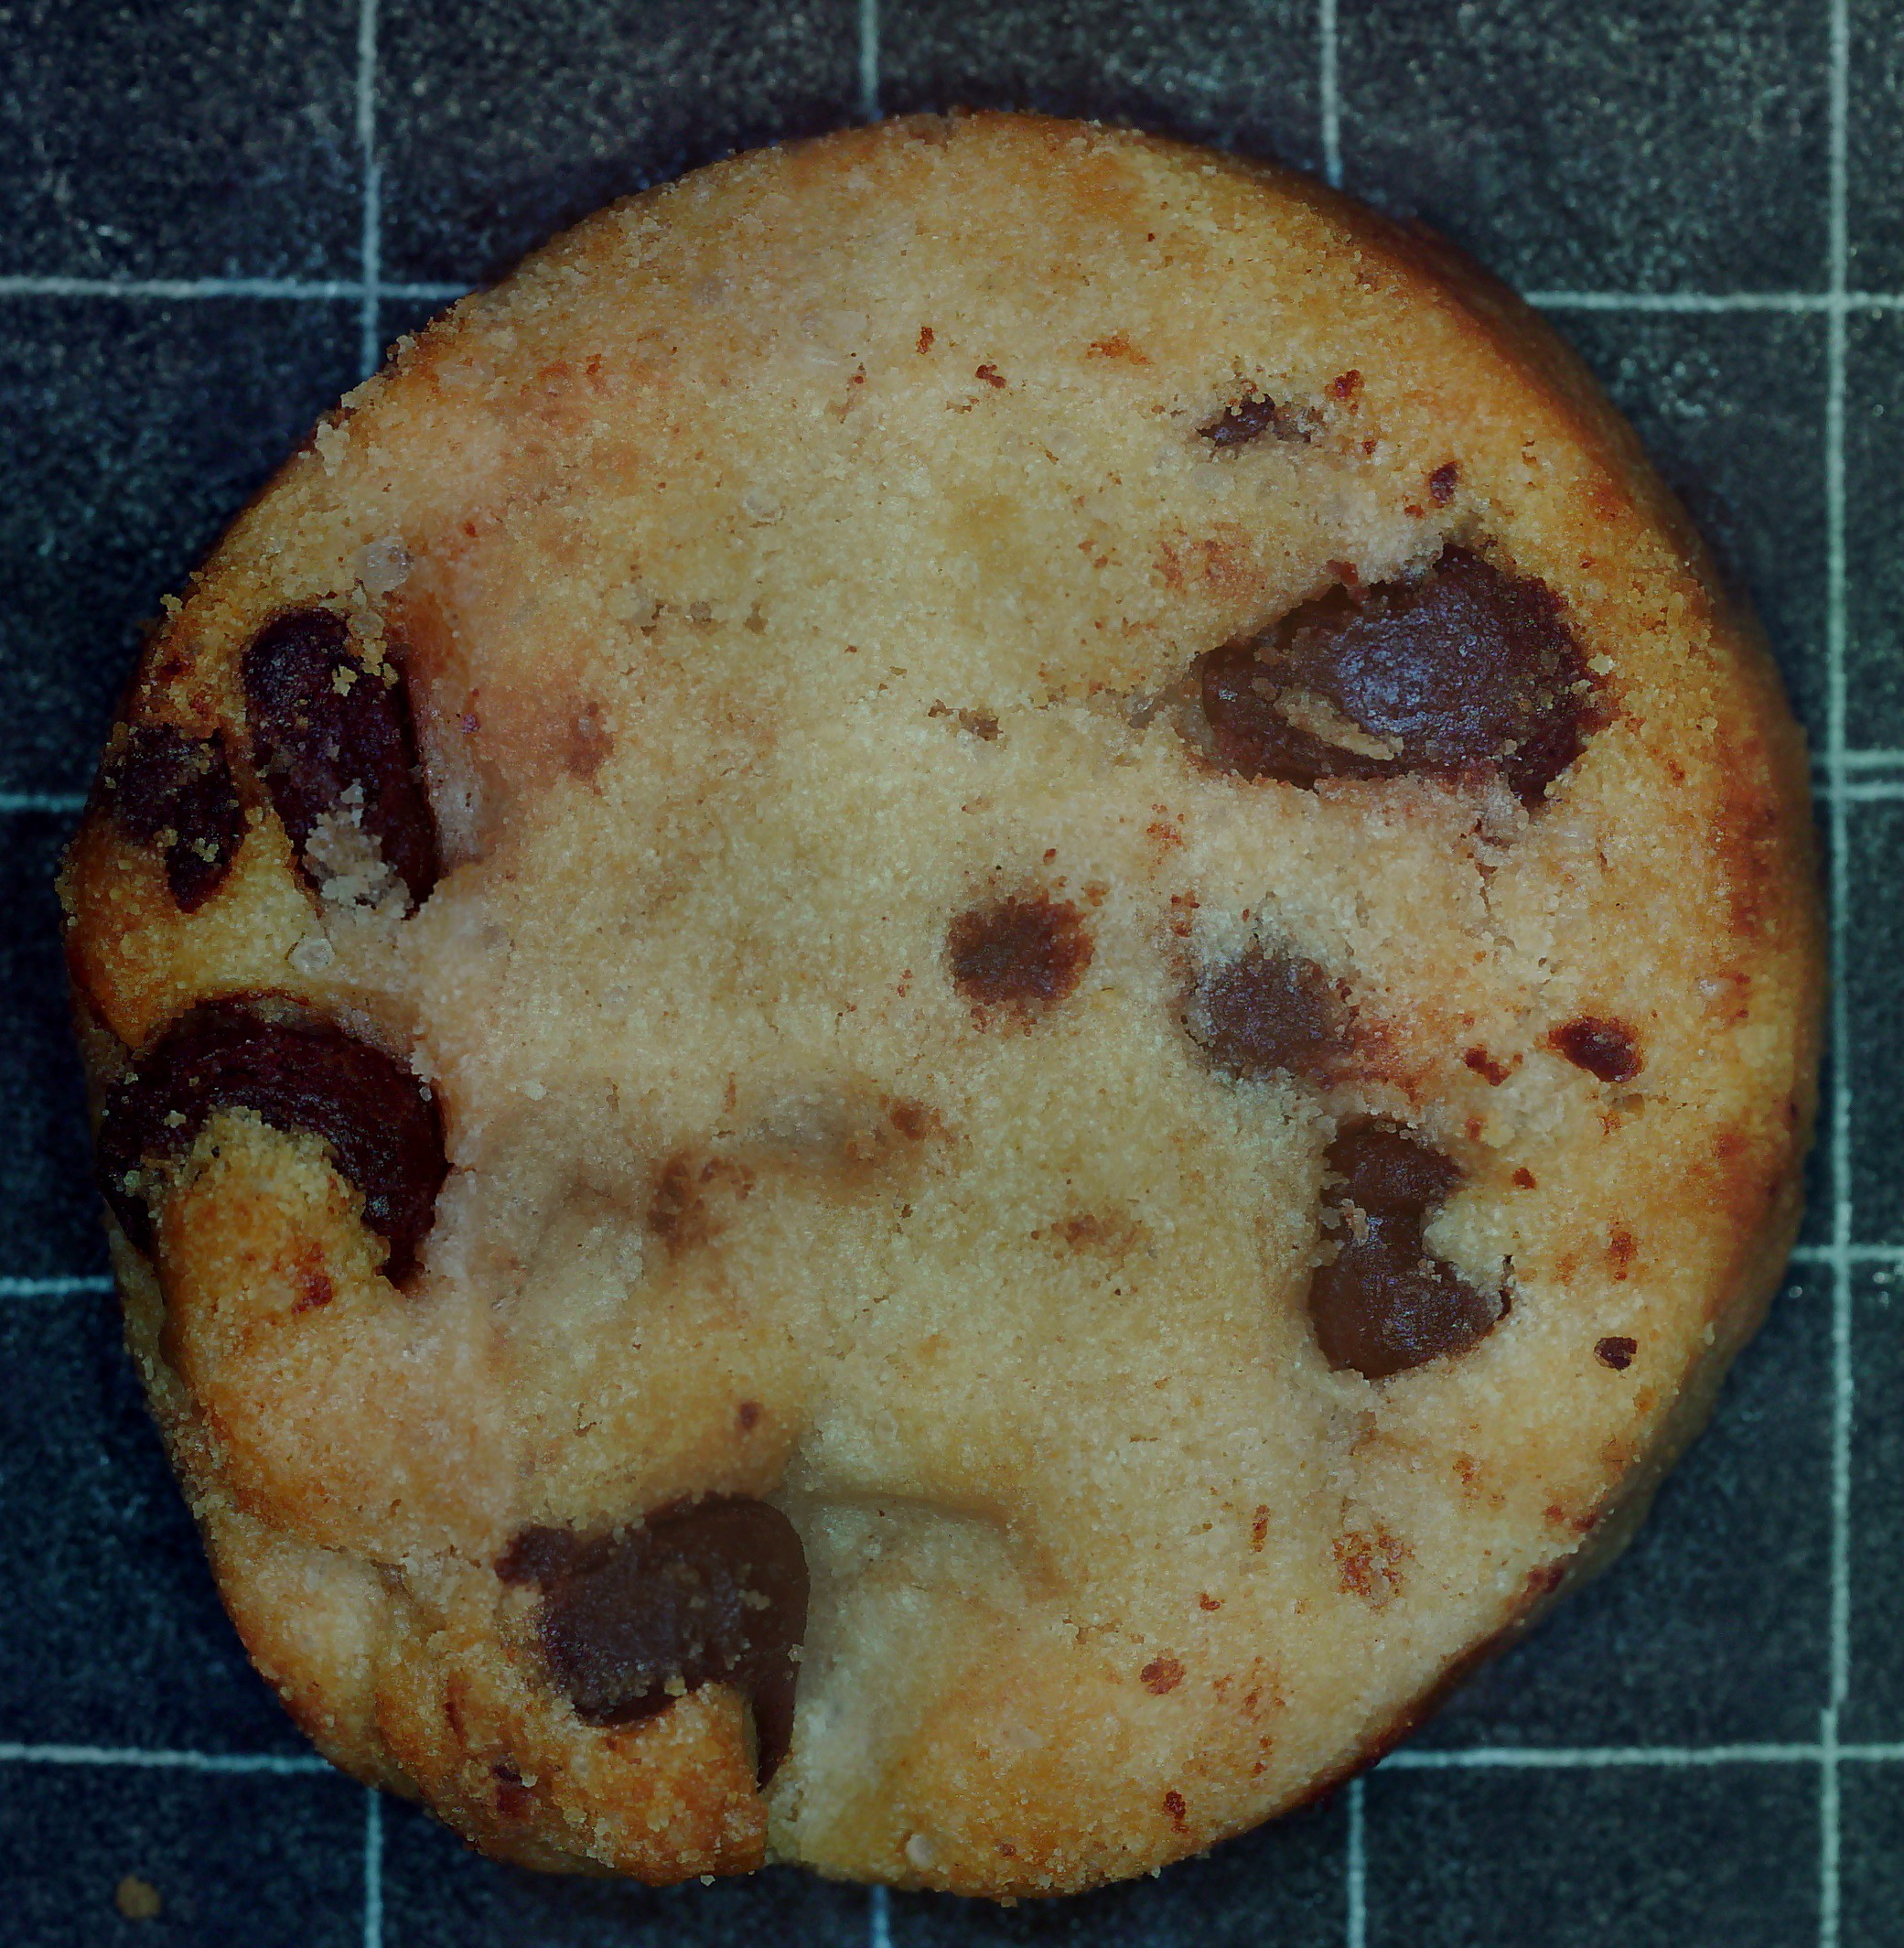
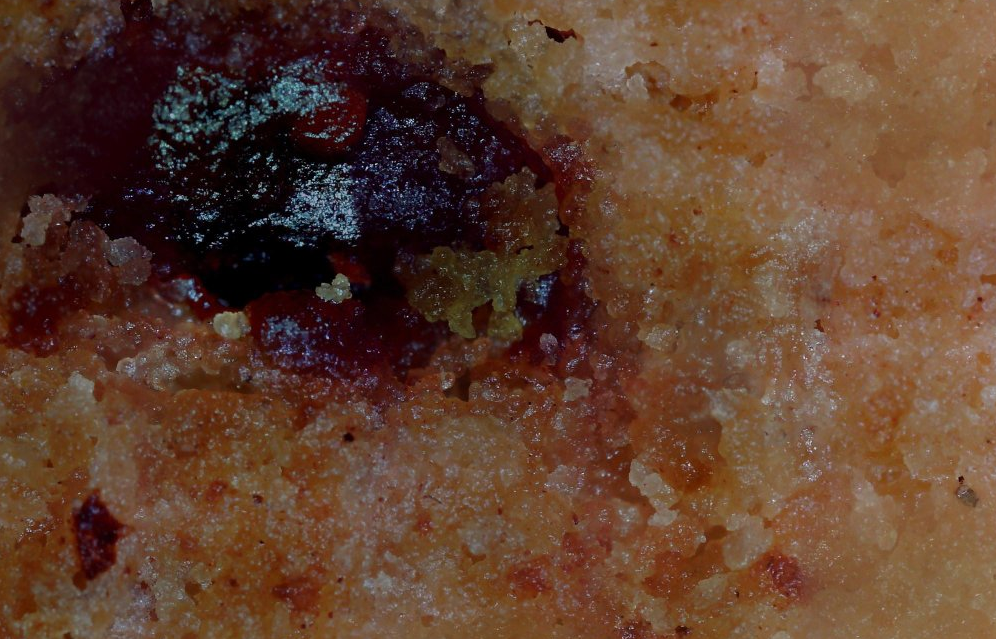
...or you can make your intern's intern grind down the cookie until it's mostly flat.
This is exactly as stupid as it sounds. Note that this isn't the same cookie as before --- that one fell on the ground. But hey, after a thousand pictures, you might get a cookie with some parts that are in focus!
![]()
...or it could look like a horrifying pustule of a cookie that exemplifies all the bad parts of the scanning technology. full image so you can see just how bad it is: https://www.easyzoom.com/imageaccess/25d4f62f073e4887ace5b873225093b7
Yuck.
-
Scanning Yujie
01/14/2020 at 04:29 • 0 comments![]()
![]()
![]()
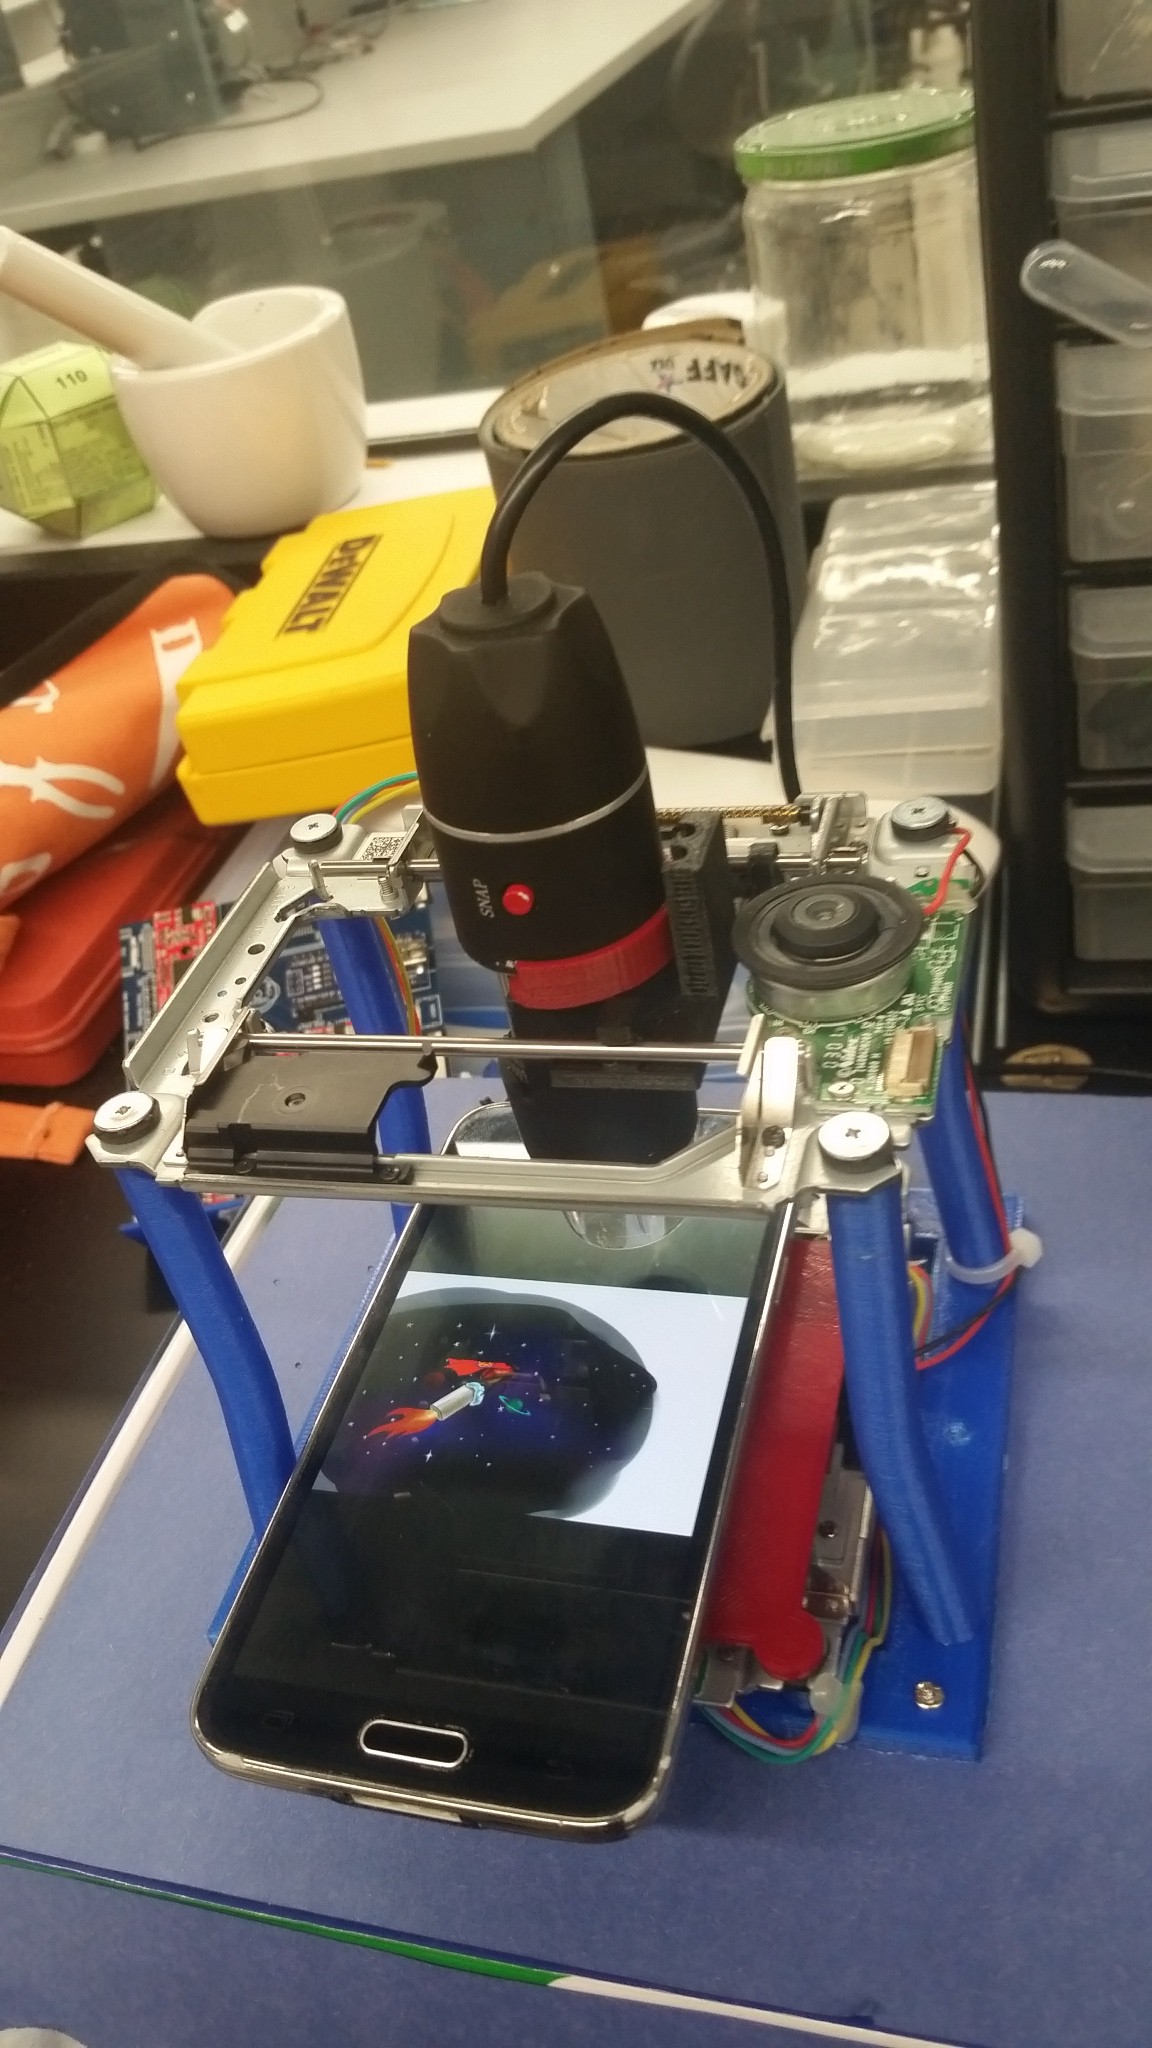
This are scans using Ladybug, the motorized microscope and 3d scanner for small things made out of Blu-Ray players!
Scanning a phone screen is interesting (Ladybug art, above). Click on it to get the full resolution. This is at the lower res mode --- not as extreme, kind of artistic even! We needed to get an app to prevent screen timeouts, and then just... stuck it on there with a bit of tape. If we got it a bit more level, it would reduce some of the variation throughout the image. Or, alternatively, you could implement autofocus.
The original is on instructables --- if you notice a hint of green, that's actually a consequence of the stitching process --- the raws are perfect! And so the nonprogrammer cried into the night, for someone who would kindly rescue him...
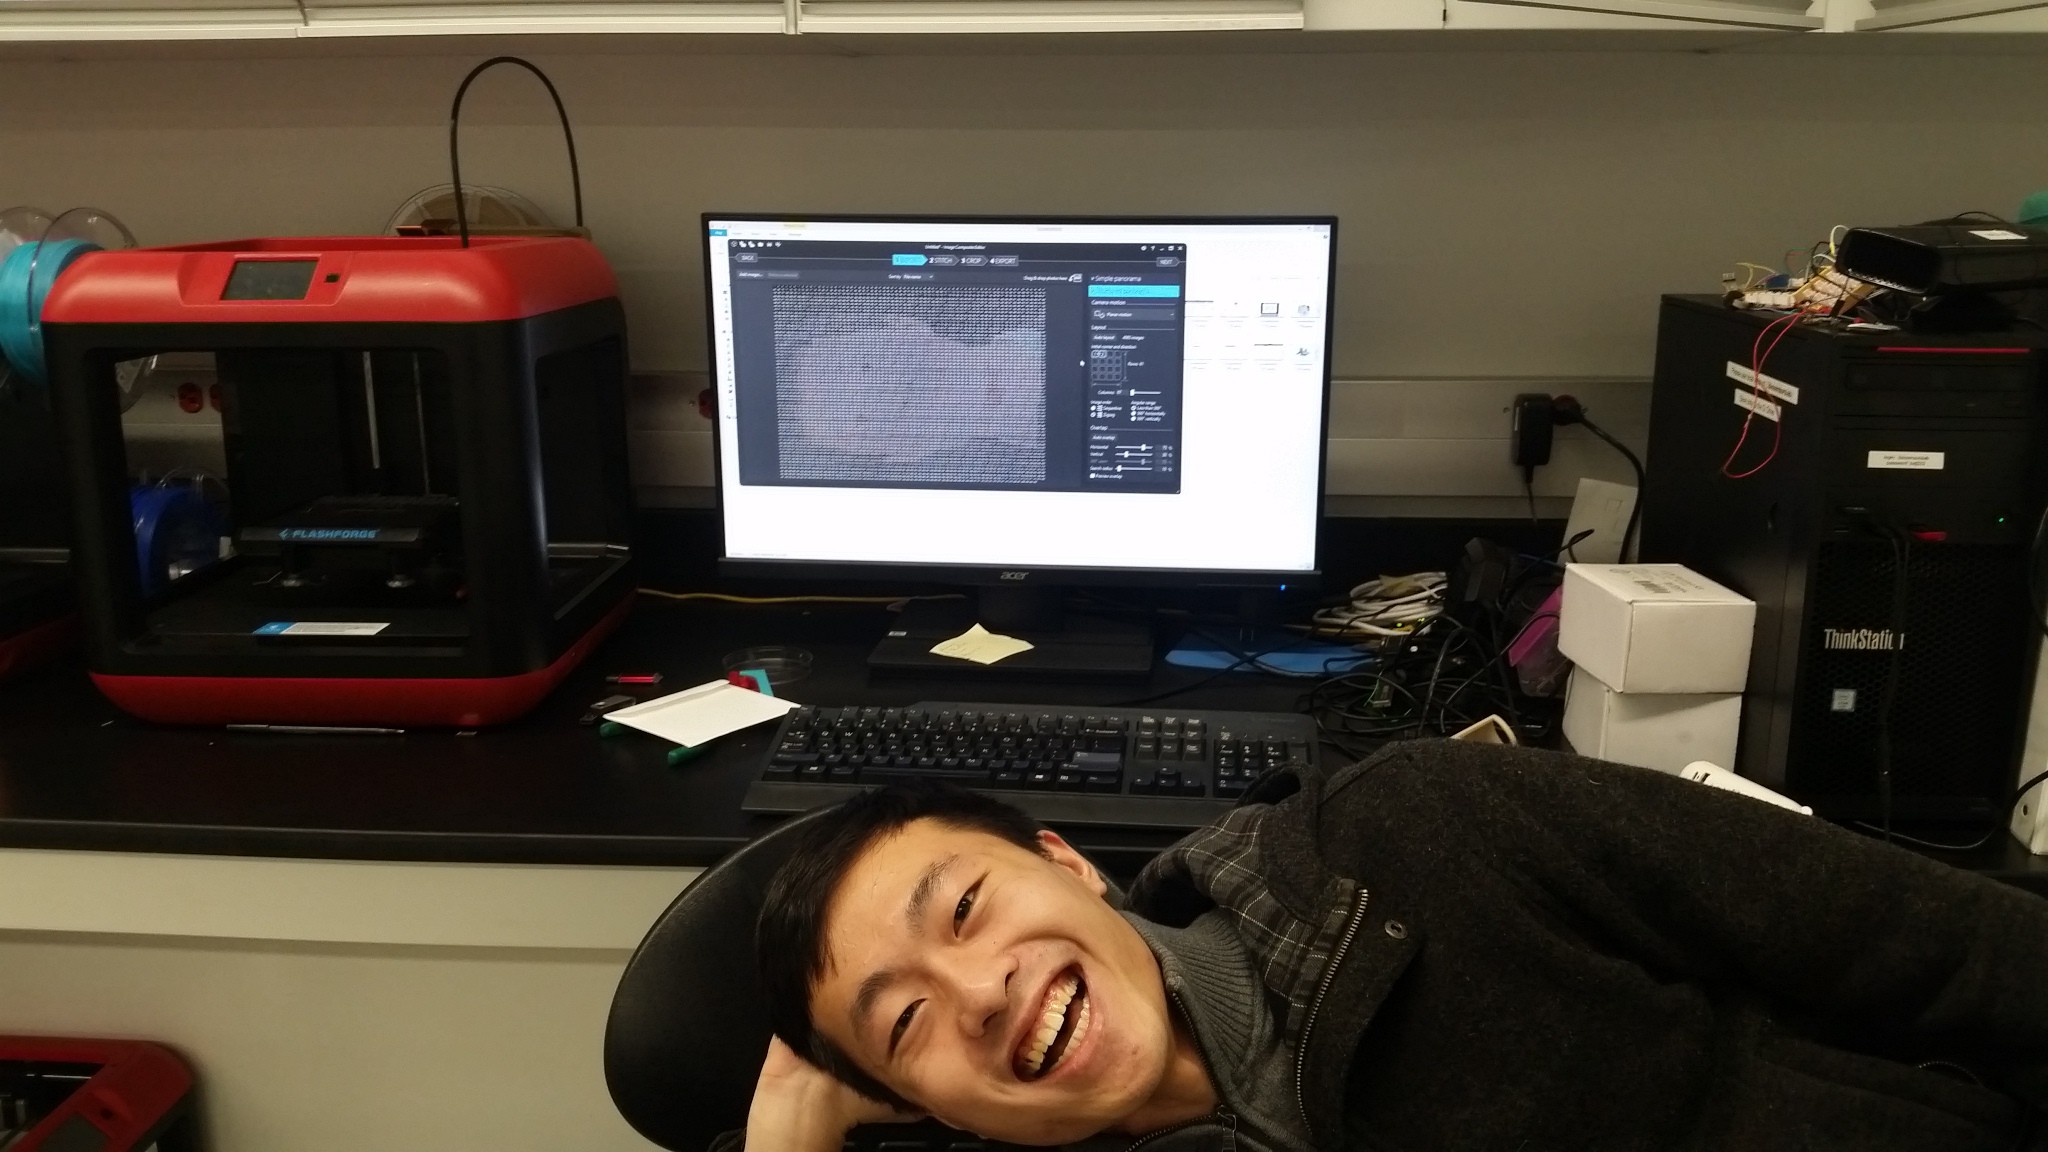
And then my good pal Yujie boy came back to the lab for a day, so we scanned his face, too. Held still for 106 minutes. Darndest thing I've ever seen.
-
MONEY (part 2)
01/10/2020 at 00:29 • 3 commentsWow, so I've got 3 followers, now, nice! Hooray for Reddit!
I mentioned before that I had a scan of 17,000 images or so. The truth is, that's actually five scans of 3000-odd x/y scans each, just at different Z heights. The purpose of that is to eliminate the need to autofocus: If you have a usable focal depth of, say, 50 microns, and the variability of the sample or bed is 200 microns, just blindly do 5 scans at 0, 50, 100, 150, and 200 microns Z height variance.
Then, you can compare the focus quality after the fact for each sub-image, and pick the best before doing stitching, as in this more-comment-than-code snippet:
def variance_of_laplacian(image): # compute the Laplacian of the image and then return the focus # measure, which is simply the variance of the Laplacian return cv2.Laplacian(image, cv2.CV_64F).var()(https://github.com/yuji3w/ladybug/blob/master/utils/blur.py)
Hooray, brute force! If I were saying that this is an efficient way of going about things, I would be lying through my teeth. But it is a way of faking depth of field if you're not smart enough to do autofocus in real time.
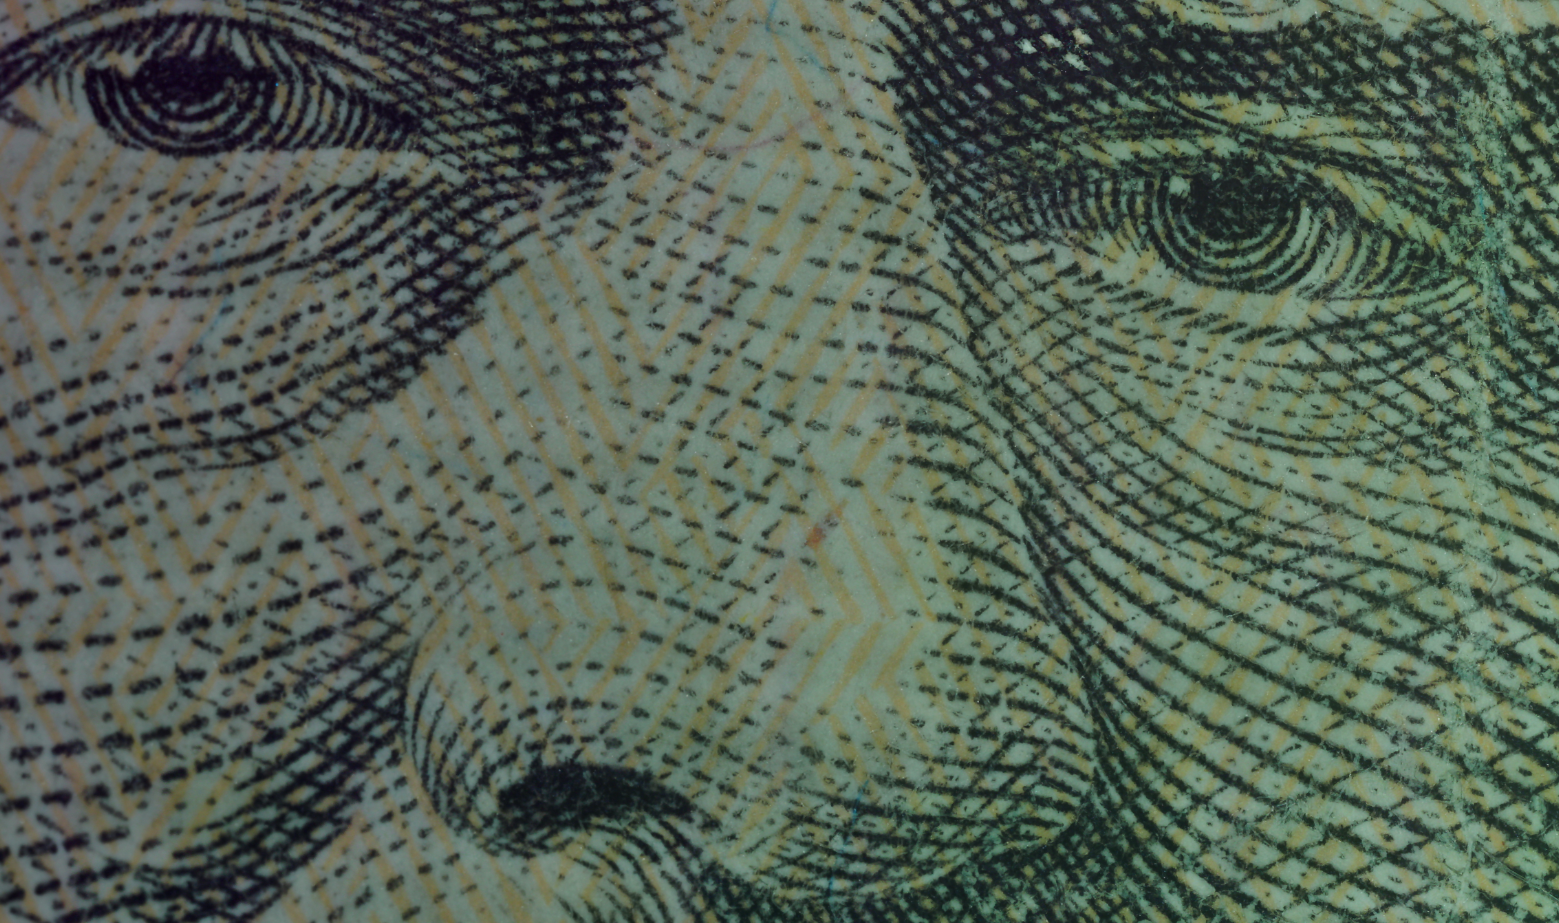
I got lazy and did NOT bother to do that here for my extra-close-up of his nose. And those eyelashes. Wow.
Full image here: https://www.easyzoom.com/imageaccess/08c28e0a1ce84eac8a3fb6193ceb004d
The color variation is a consequence of the stitching software and not seen in the original raw pieces.
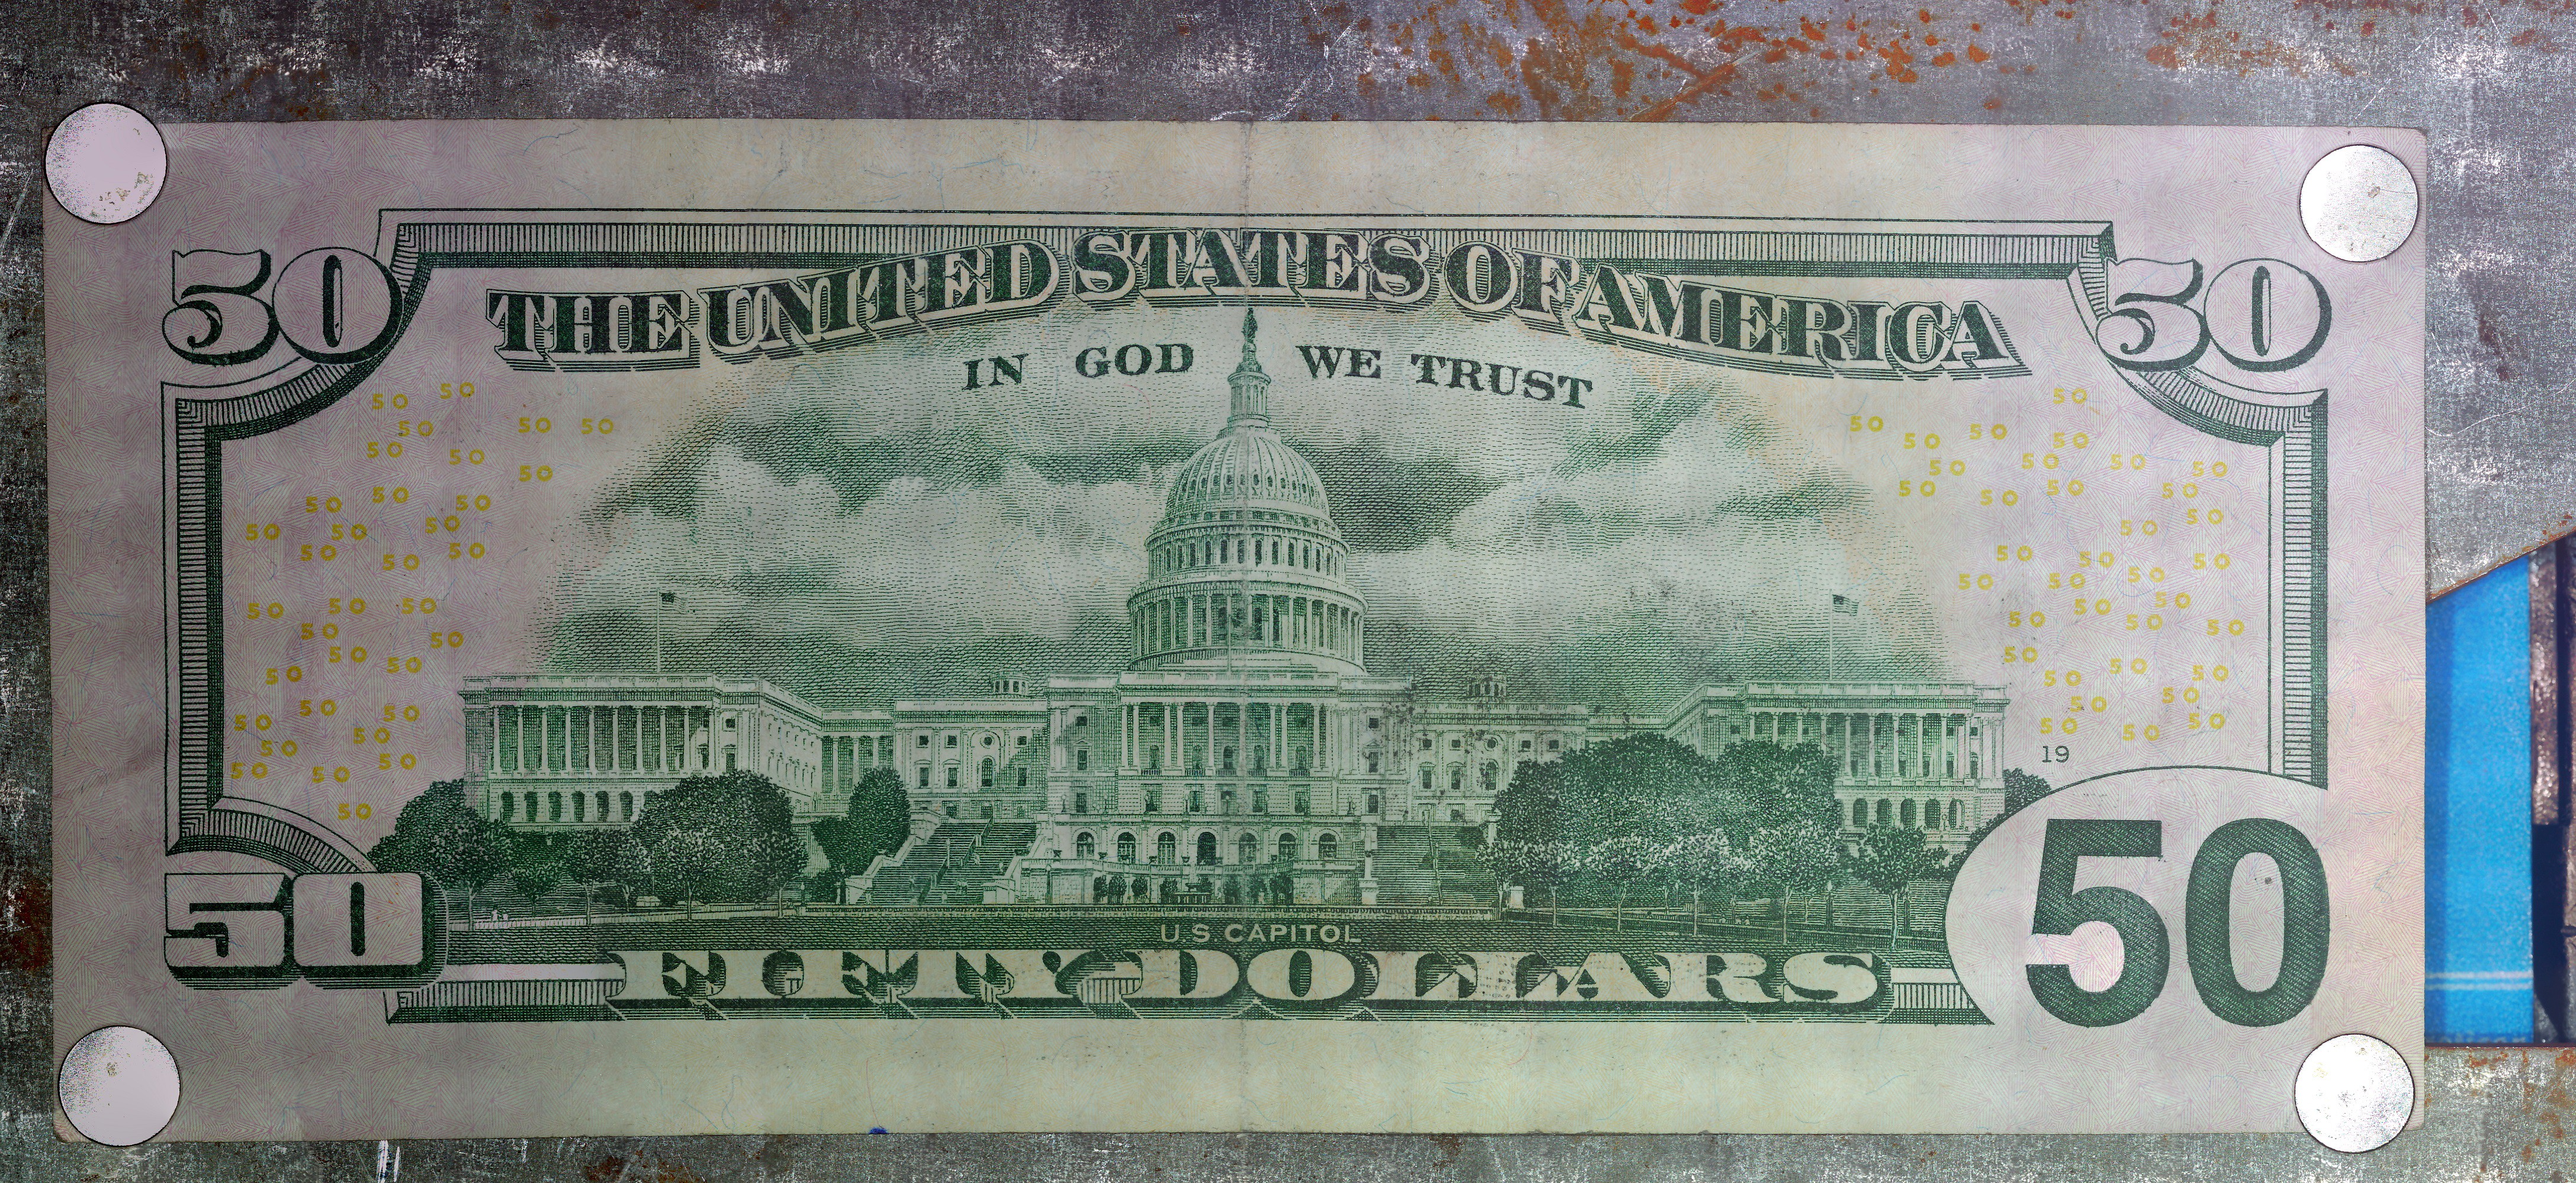
I tried a couple things different for the back half of the 50. I stuck it to a piece of metal with which I stuck to a piece of metal with magnets instead of using tape, which worked alright. Interestingly adding all that weight reduced the magnitude, but increased the duration, of the bed vibration as observed when changing the Z height.
![]()
This obscures the corners, too, and adds area of shininess, which confuses the heck out of the USB microscope's auto exposure.
![]()
(50% scale).
one thing I did was using a much higher step size for moving the scope --- 480 and 340 steps in the X and Y dimensions, as opposed to 200x200 before. The stitching program had no trouble withit, and in fact I think it results in less color variance and warping. however, the resolution is also a bit lower, though I'll have to do tests side-by-side to confirm! I am wondering if microsoft ICE is doing oversampling and faking those pixels a bit.
What should I scan next?
-
MONEY! (pt 1)
01/08/2020 at 22:38 • 0 commentsA bit nervously, I overnight scanned my largest object to date --- a crisp (okay, not really) 50 dollar bill. The lab is locked but there's always the chance that it'll be opened in the morning for a tour or something. So I was a bit relieved to find that it was still there.
Unless you're doing active focus correction or Z positioning, the trick is to just make your object as flat as possible, and use the minimum acceptable magnification. I use two small strips of double sided carpet tape to keep it stable during the scan.
The high res image was 17,000 images, and I haven't even attempted that yet, but...
The low res scan worked pretty well! 738 images, approximately 50% overlap, originally 480/640 pixels each, stitched in microsoft ICE. The mechanical precision is sufficient, I think, that you could just overlay these images on top of each other and get a decent image without using any special software.
![]()
![]()
(The above image is 25% scale after you click on it.)
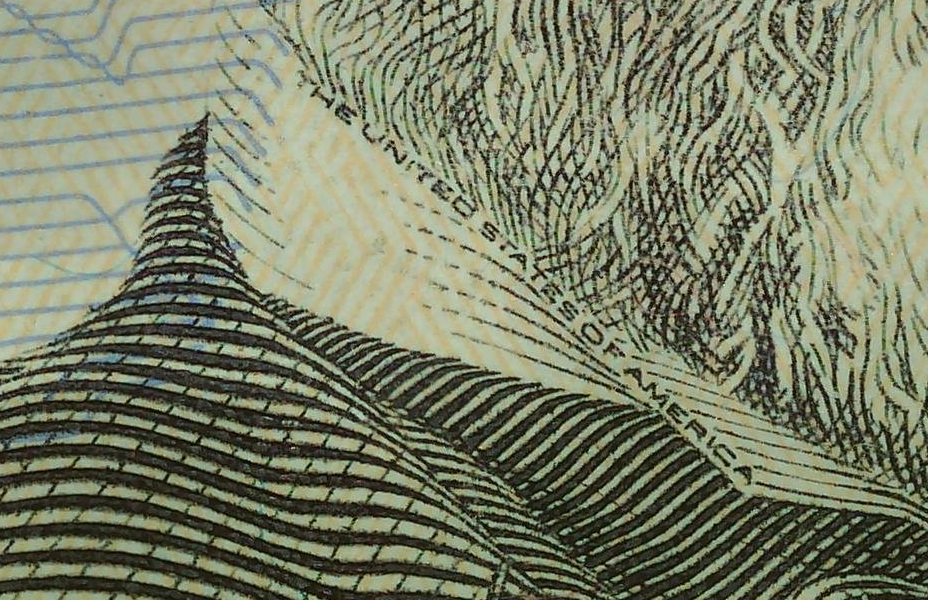
All sorts fun microtext scattered throughout.
![]()
Full image: https://www.easyzoom.com/imageaccess/87fadcf548ca4d4892ffe8383ad1fe66
LadyBug BEEFY: 3D printer motorized microscope
Got printer? Connect to the motors with a Pi, plonk in a cheap scope, and do 2D and 3D scans!