-
Nova's Summer Vacation
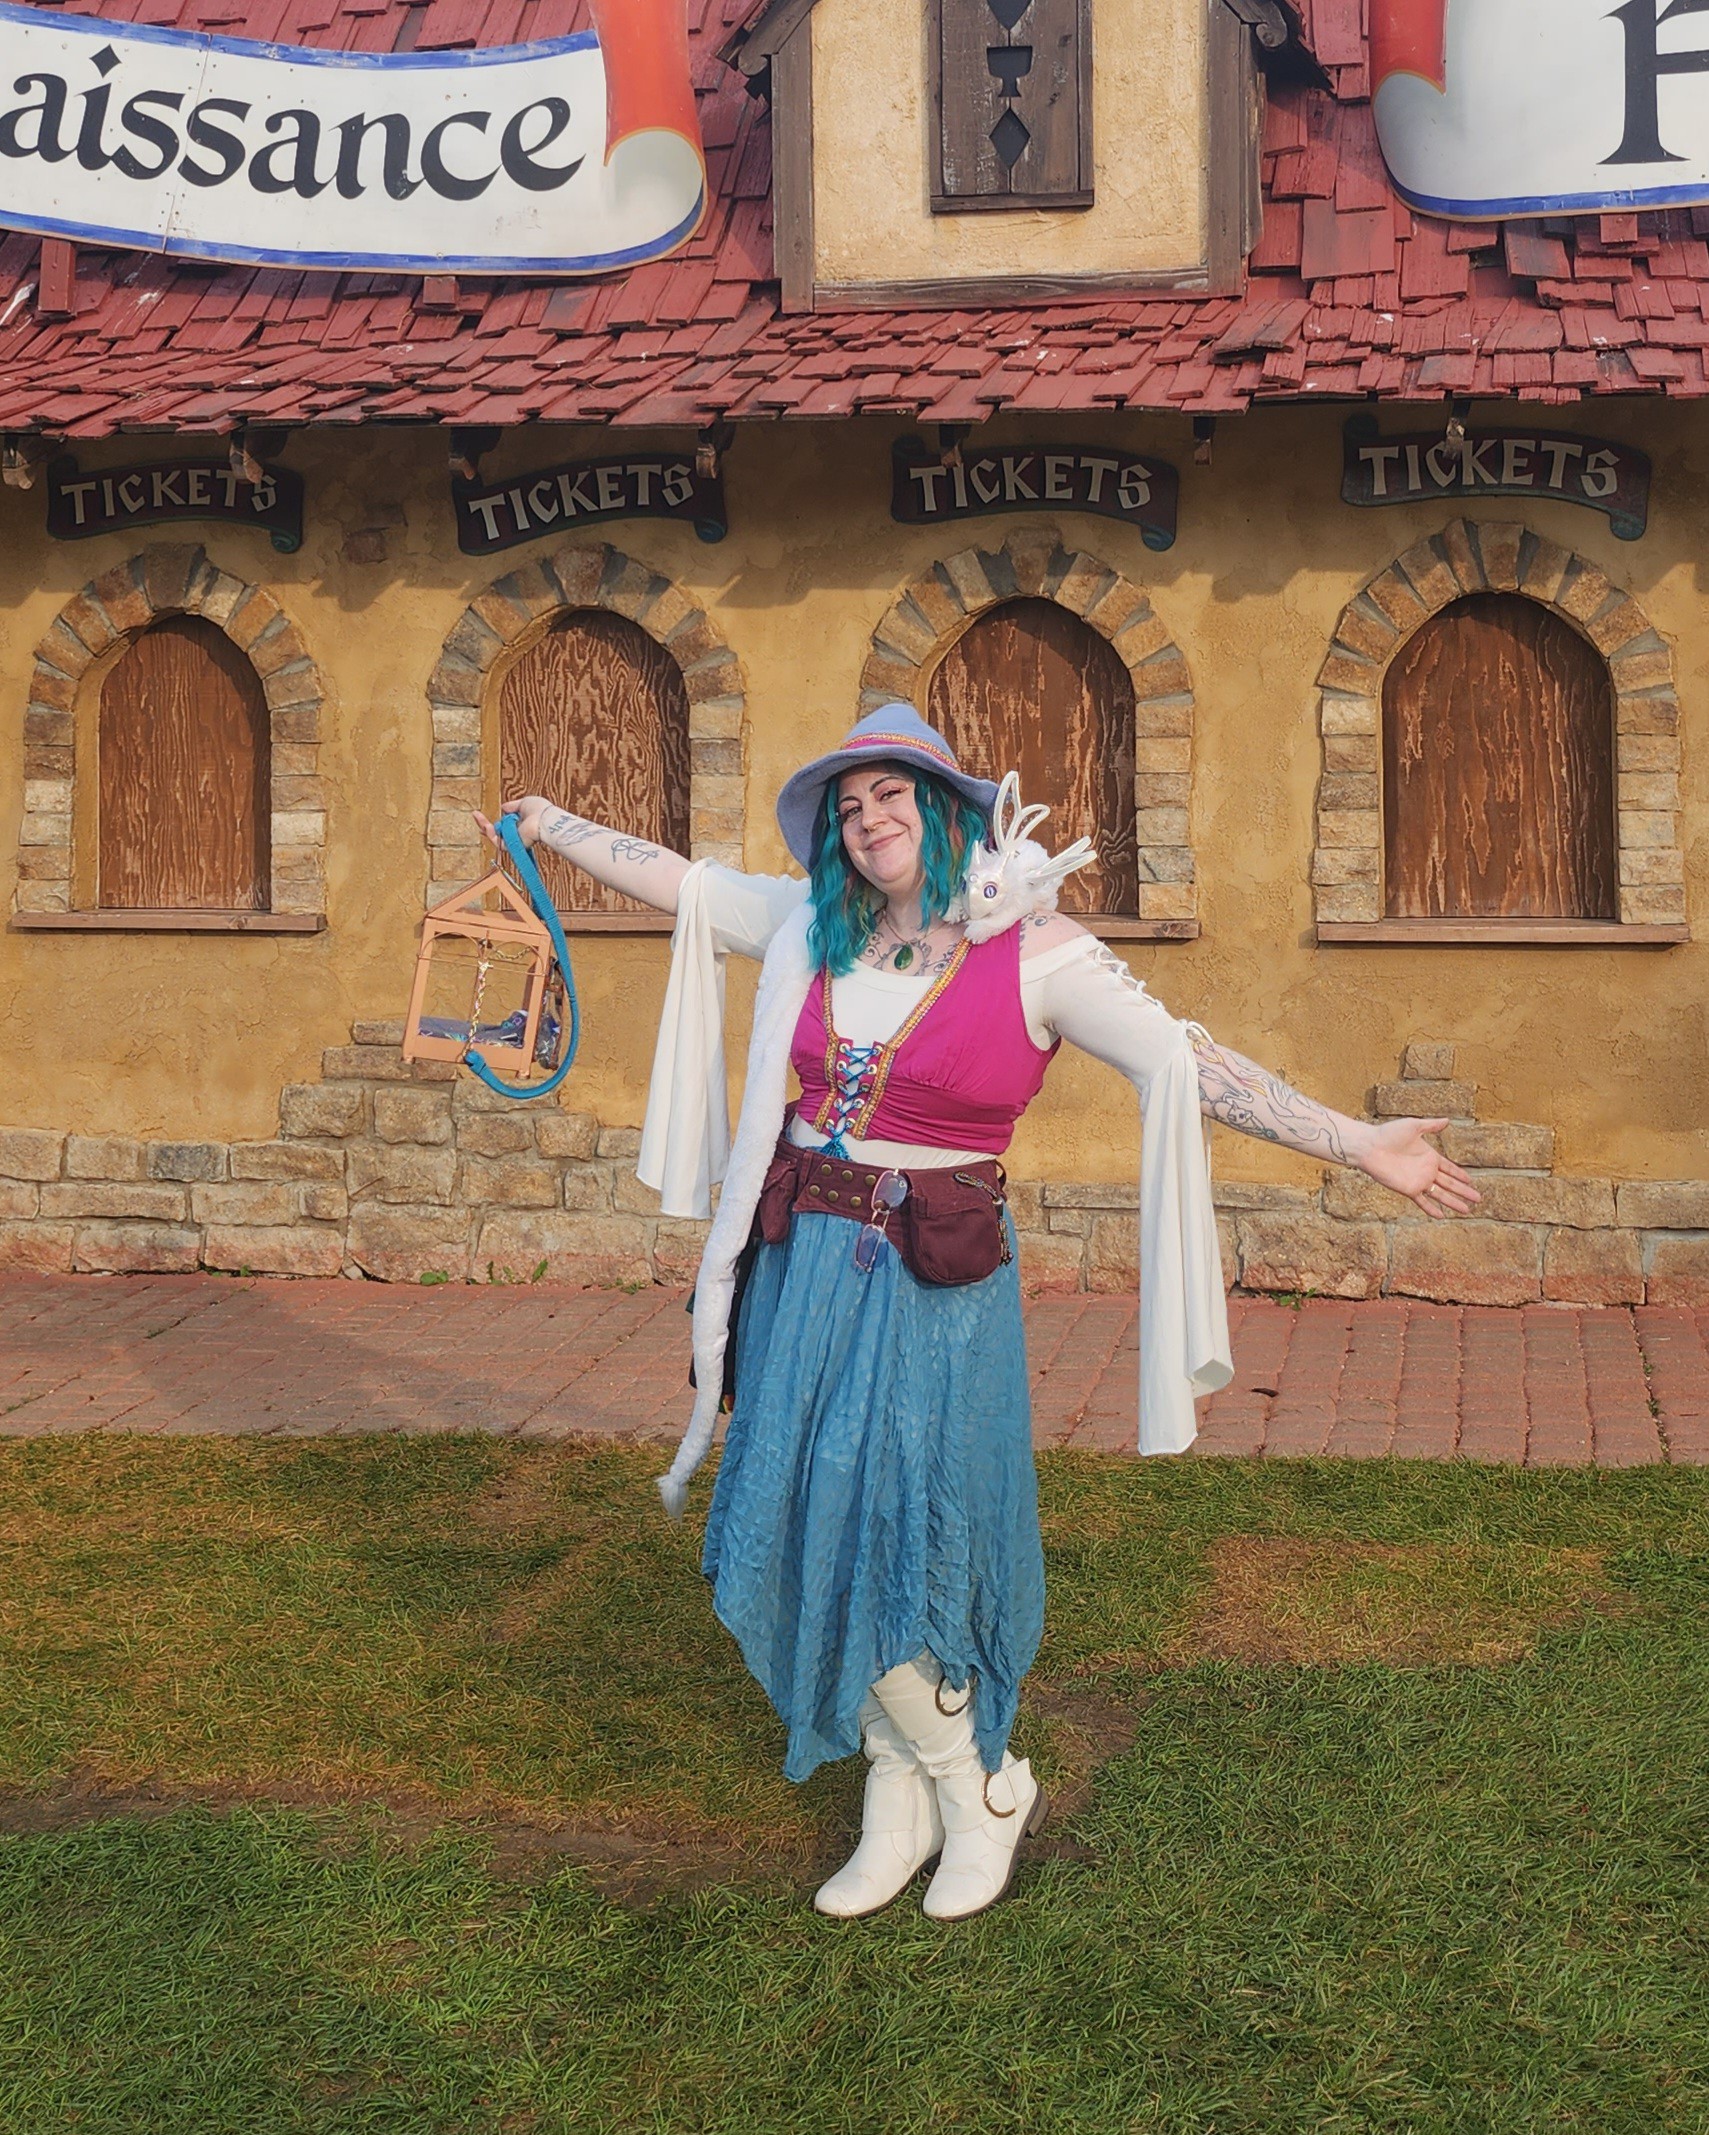
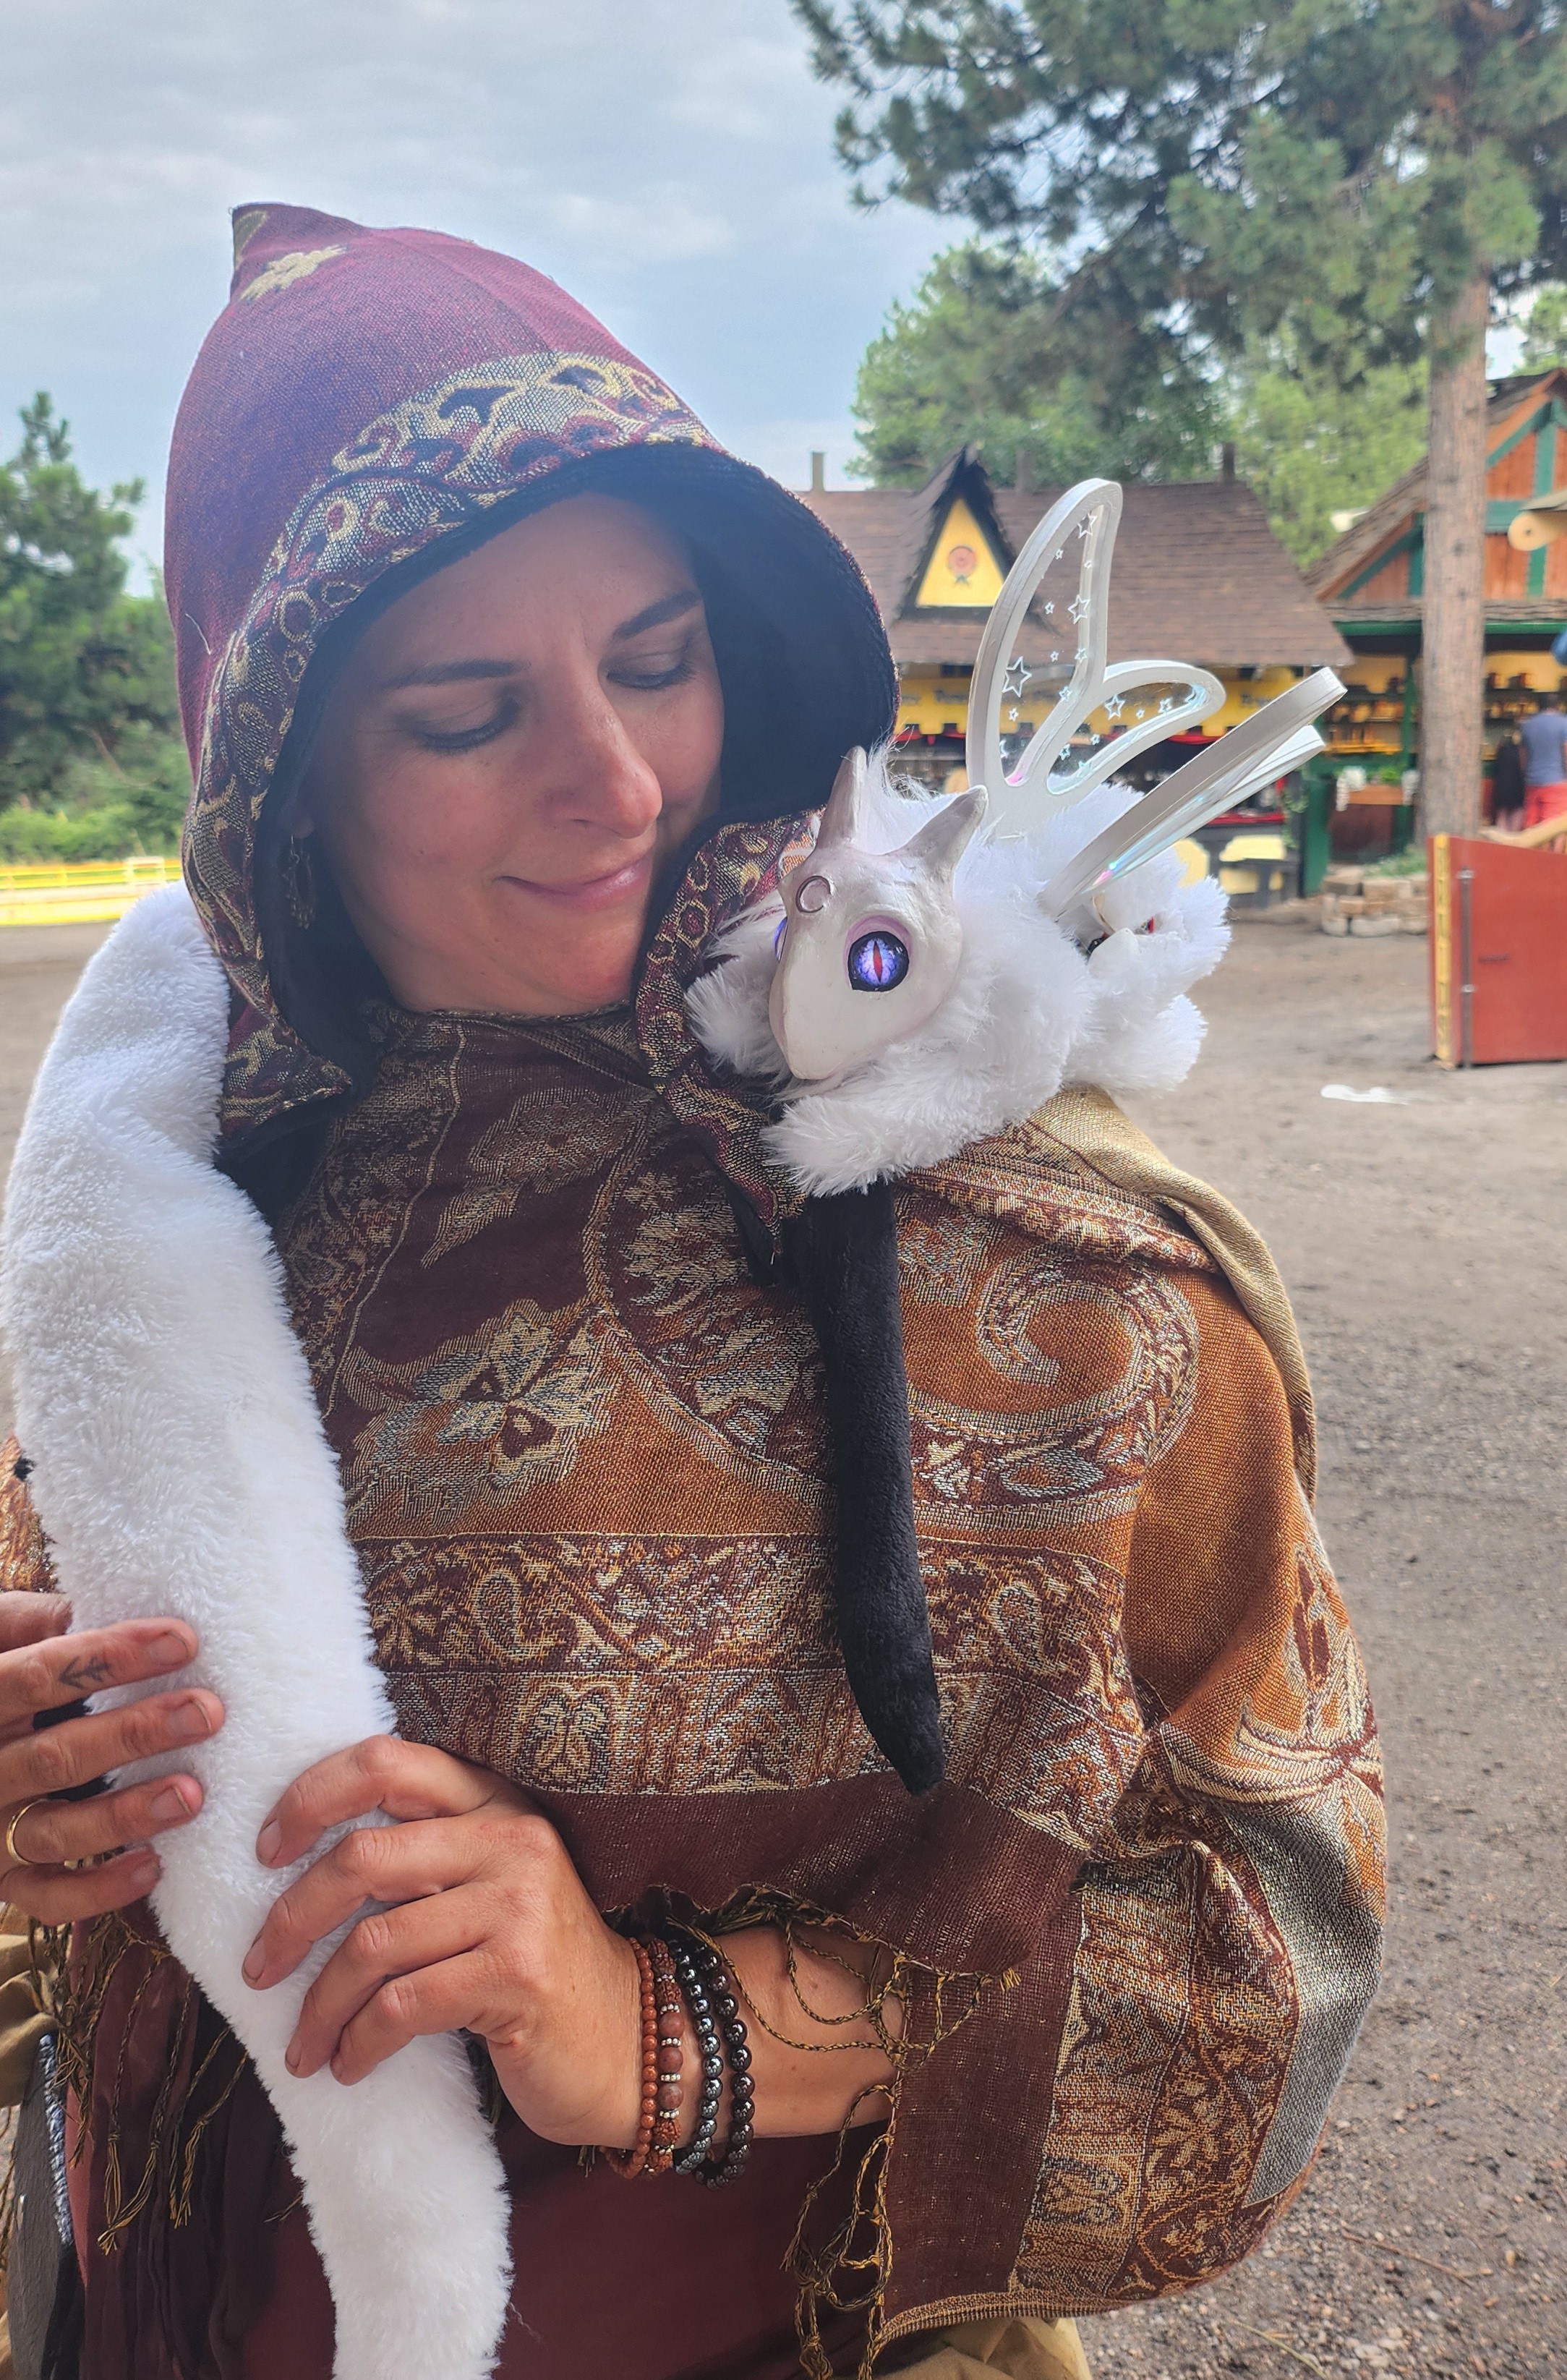
08/30/2024 at 03:10 • 0 commentsNova had a chance to visit the Colorado Renaissance Festival with me this summer, which was a wonderful excuse to style a new coordinating outfit to wear her with and a new carrying case. The fun converted cat backpack I brought her to Supercon in didn't quite fit the theme of the event, so I started brainstorming a cage-style case.
![]()
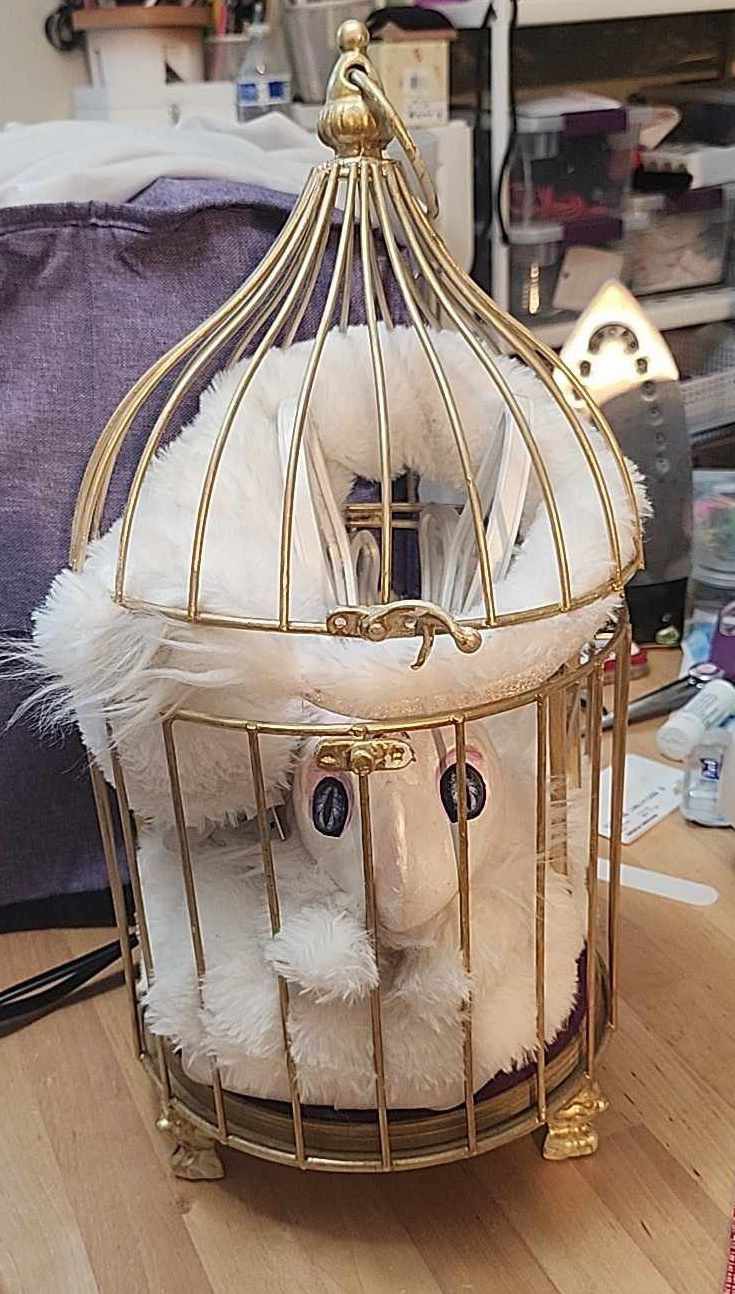
Nova's original carrying case was a converted bird cage-style decoration, but the addition of her new addressable LEDs and extra stuffing made her body a little less flexible - she had completely outgrown it!
![]()
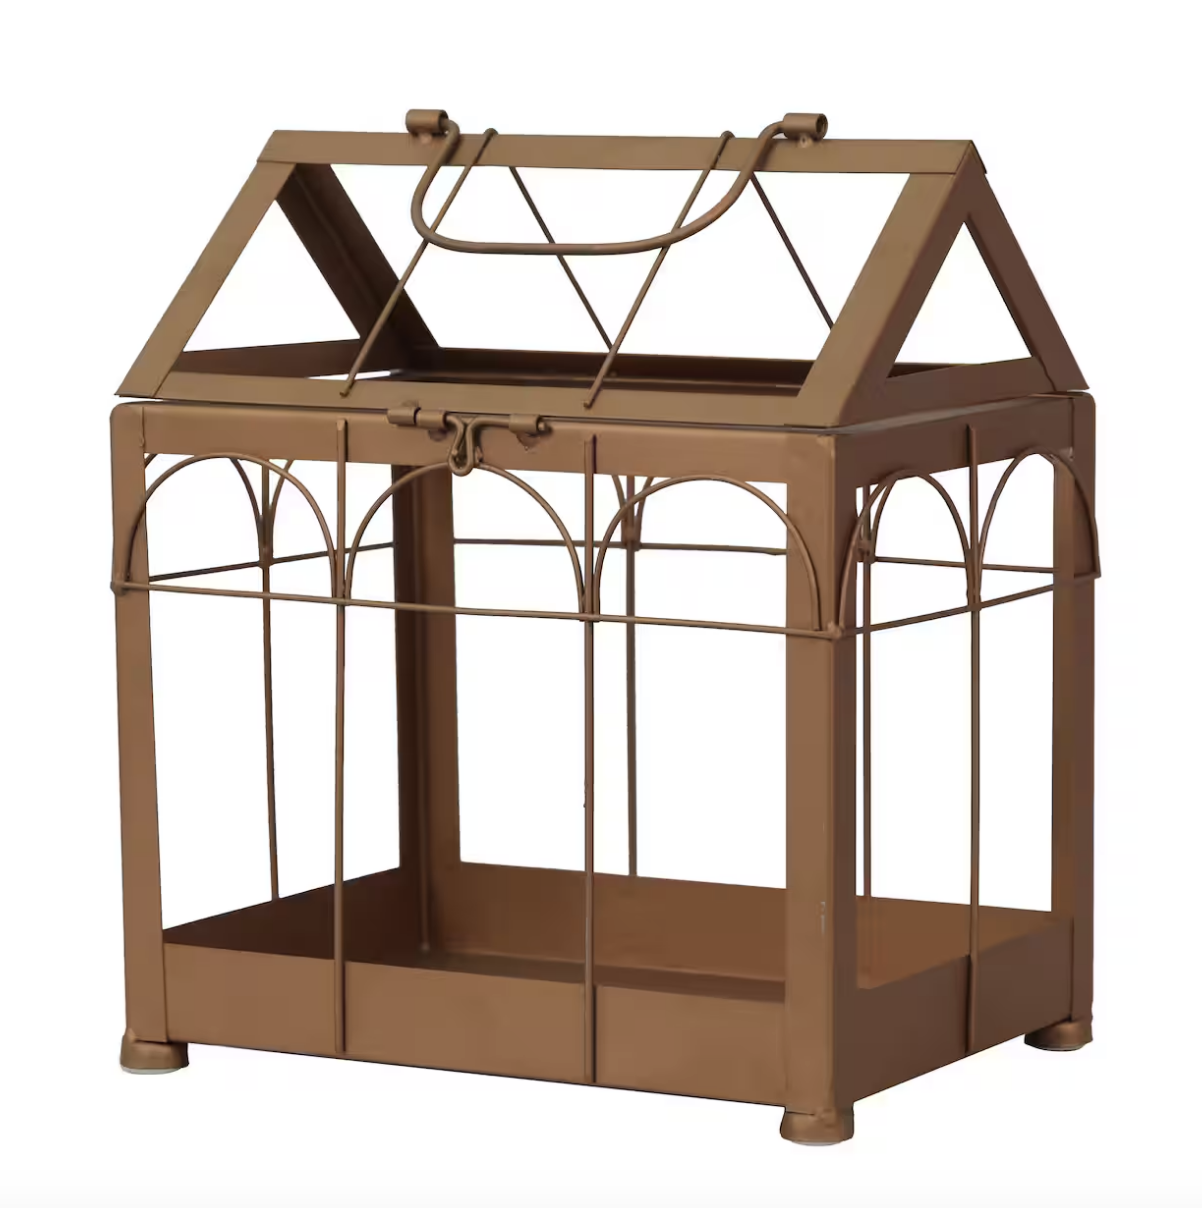
I quickly got to work trying to find a replacement cage online or in local craft stores that could not only act as a carrying case but also let her stretch her wings a bit. I ended up finding a terrarium-style cage at a local Michael's crafts and set to work upgrading it for the occasion.
![]()
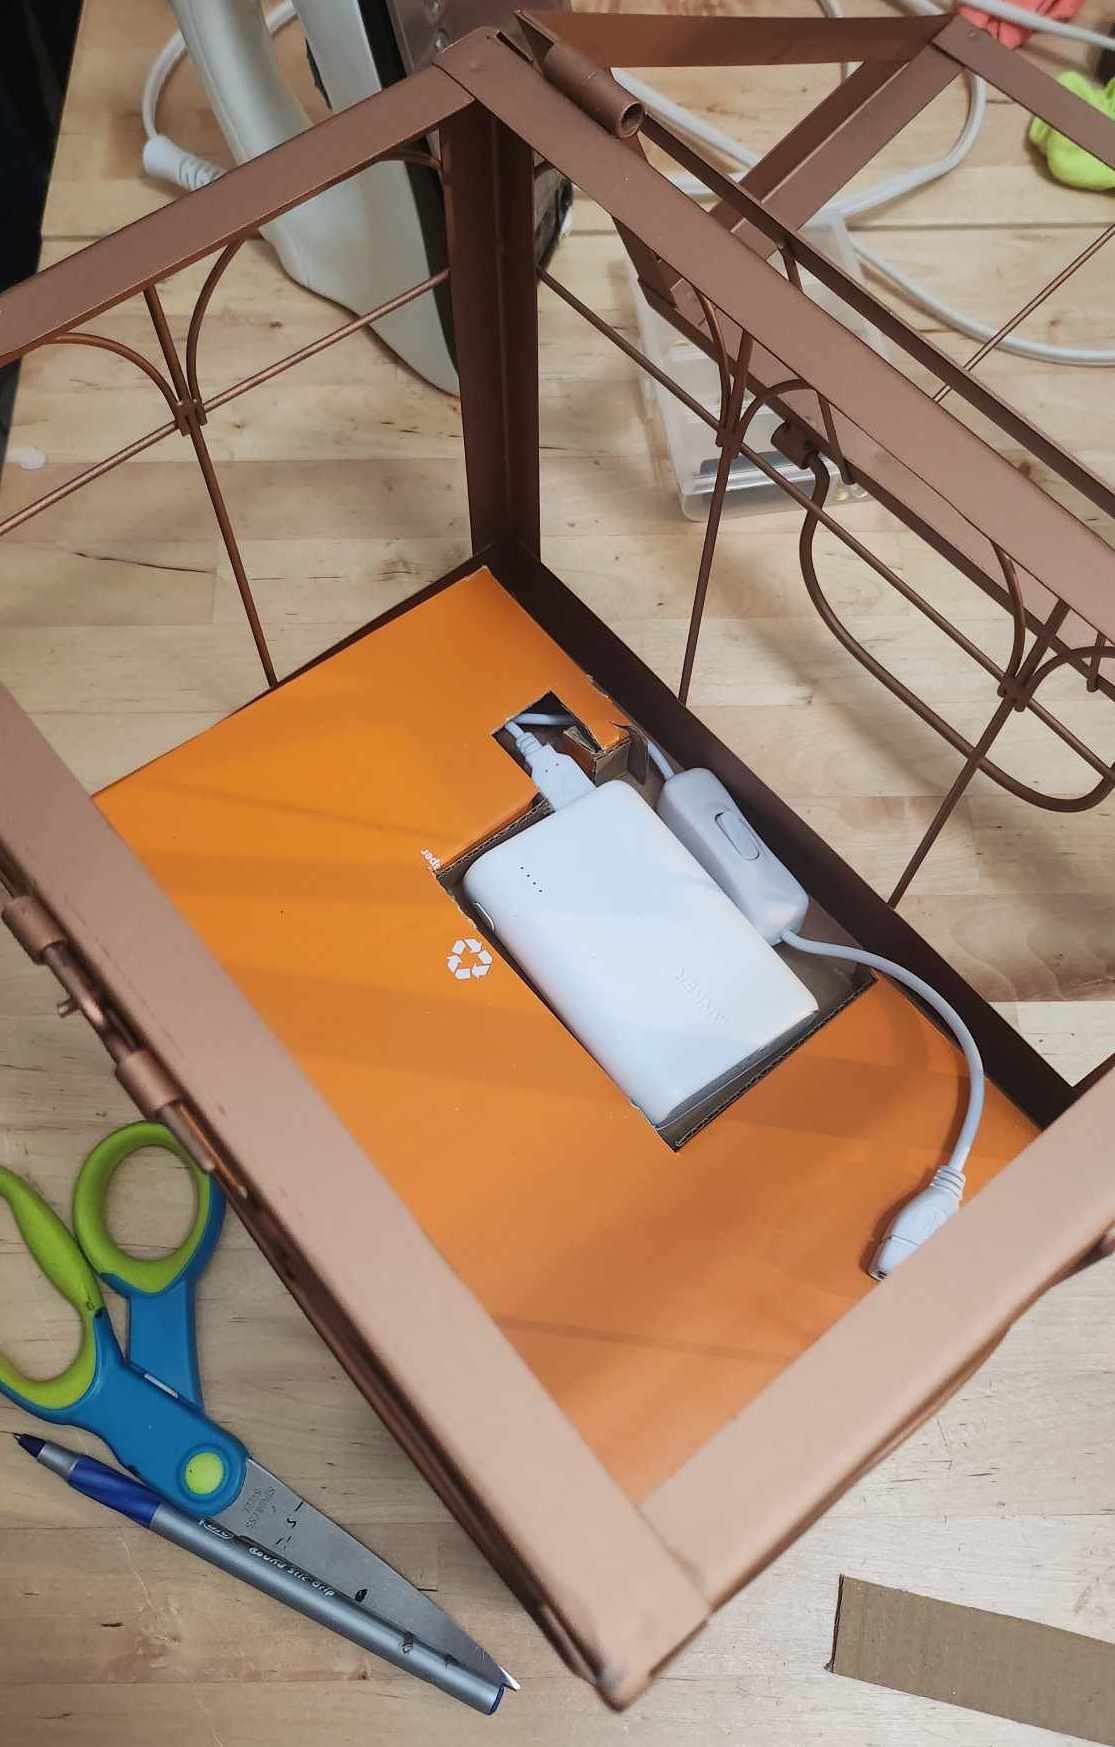
I added a false bottom to hold a battery bank and cable so that she could have an additional power source if needed and covered it with a fun butterfly print fabric harvested from some thrifted leggings.
![]()
![]()
After a quick fit test, it was on to some more upgrades.
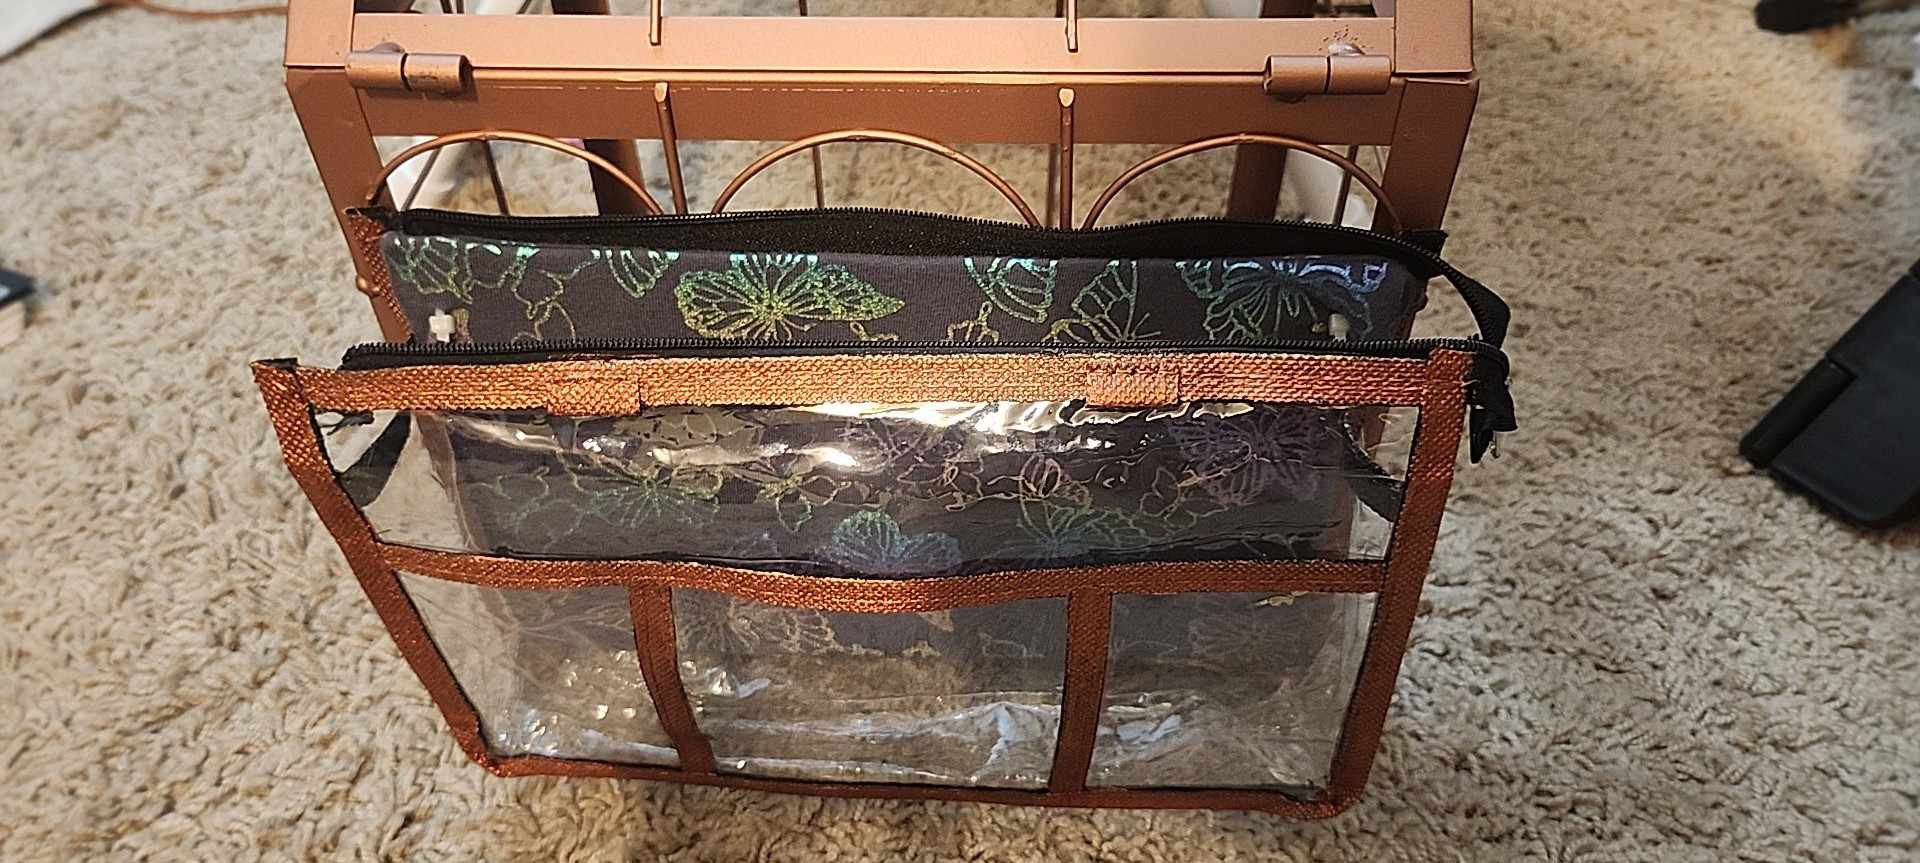
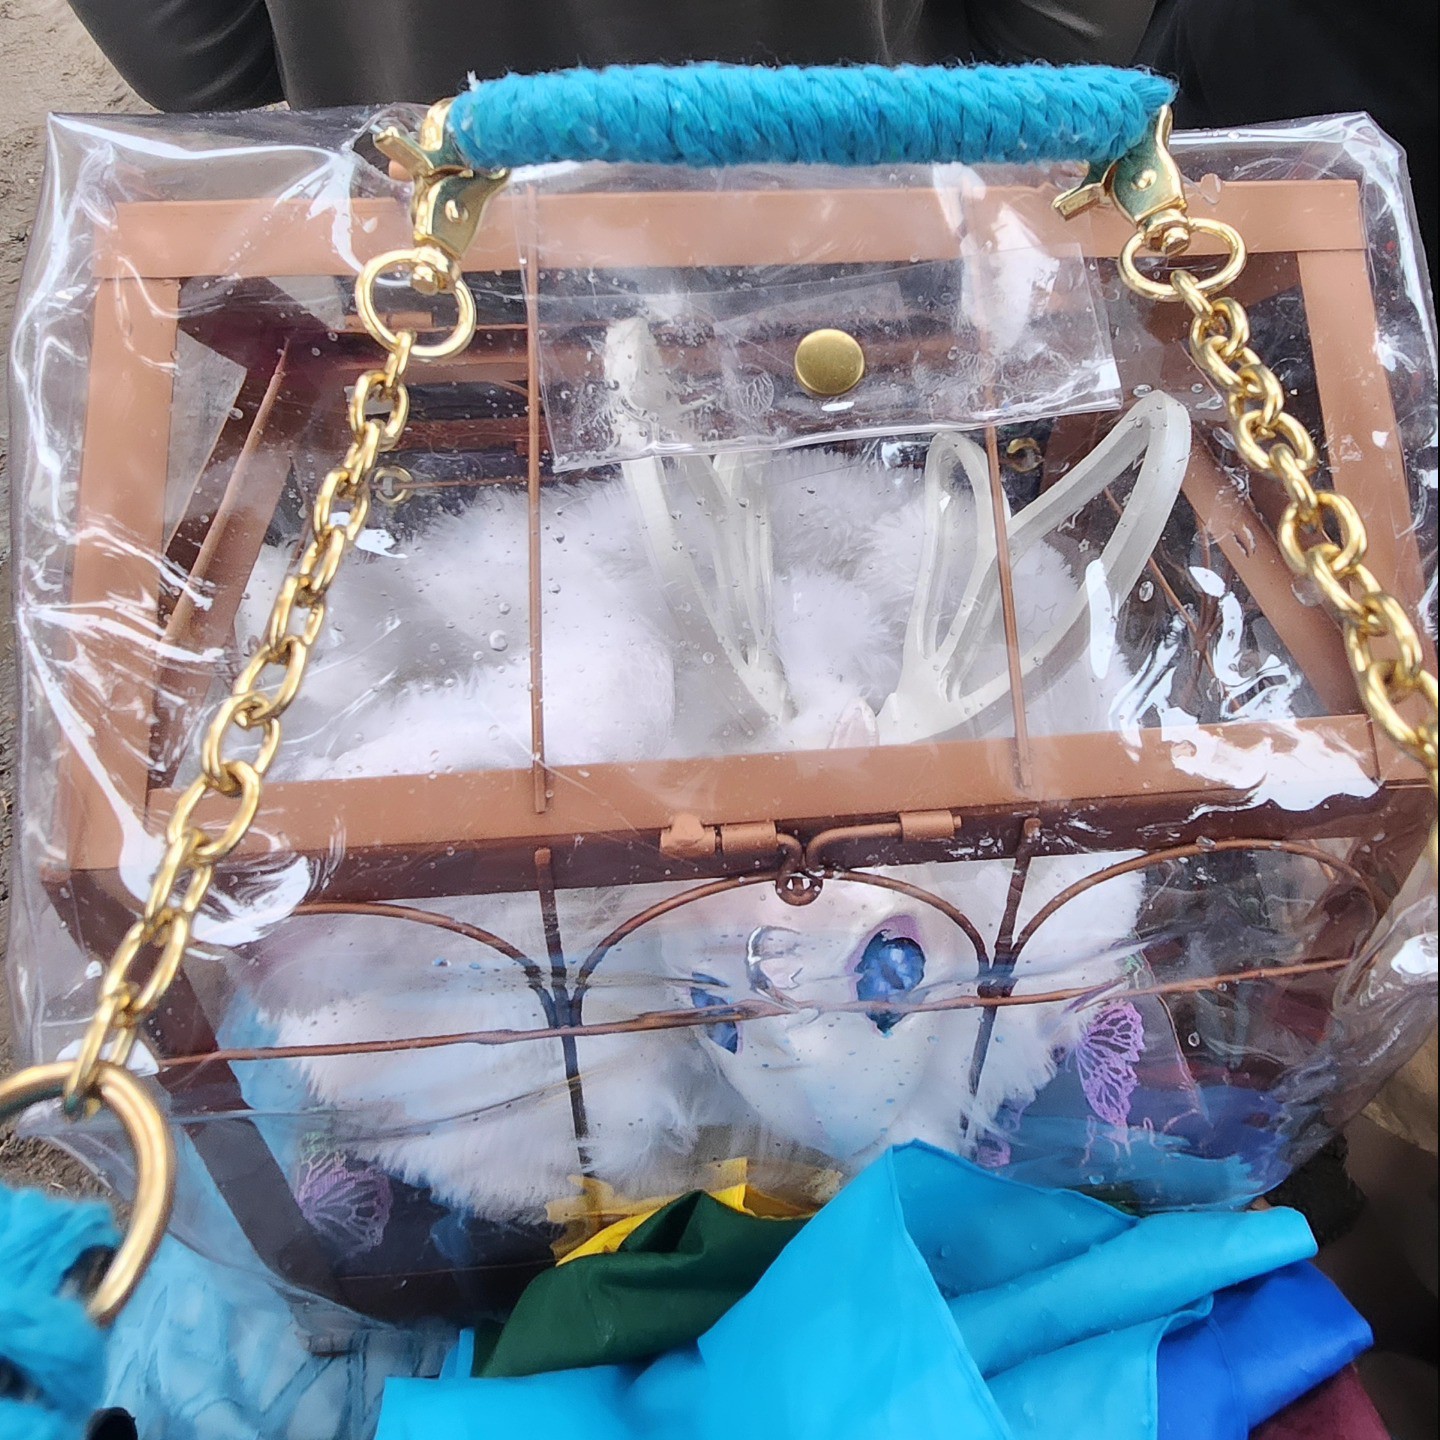
The weather here in Colorado in summer can be quite unpredictable, so I was worried about being at an outdoor event with an electronic companion. I sewed up a custom vinyl cover for her cage to help protect from rain and added a small pouch I found from Dollar Tree (and custom painted to match) for holding the cover and other accessories for the day.
![]()
The rain cover came in quite handy as a good part of the afternoon was spent under umbrellas and waiting out a thunderstorm!
![]()
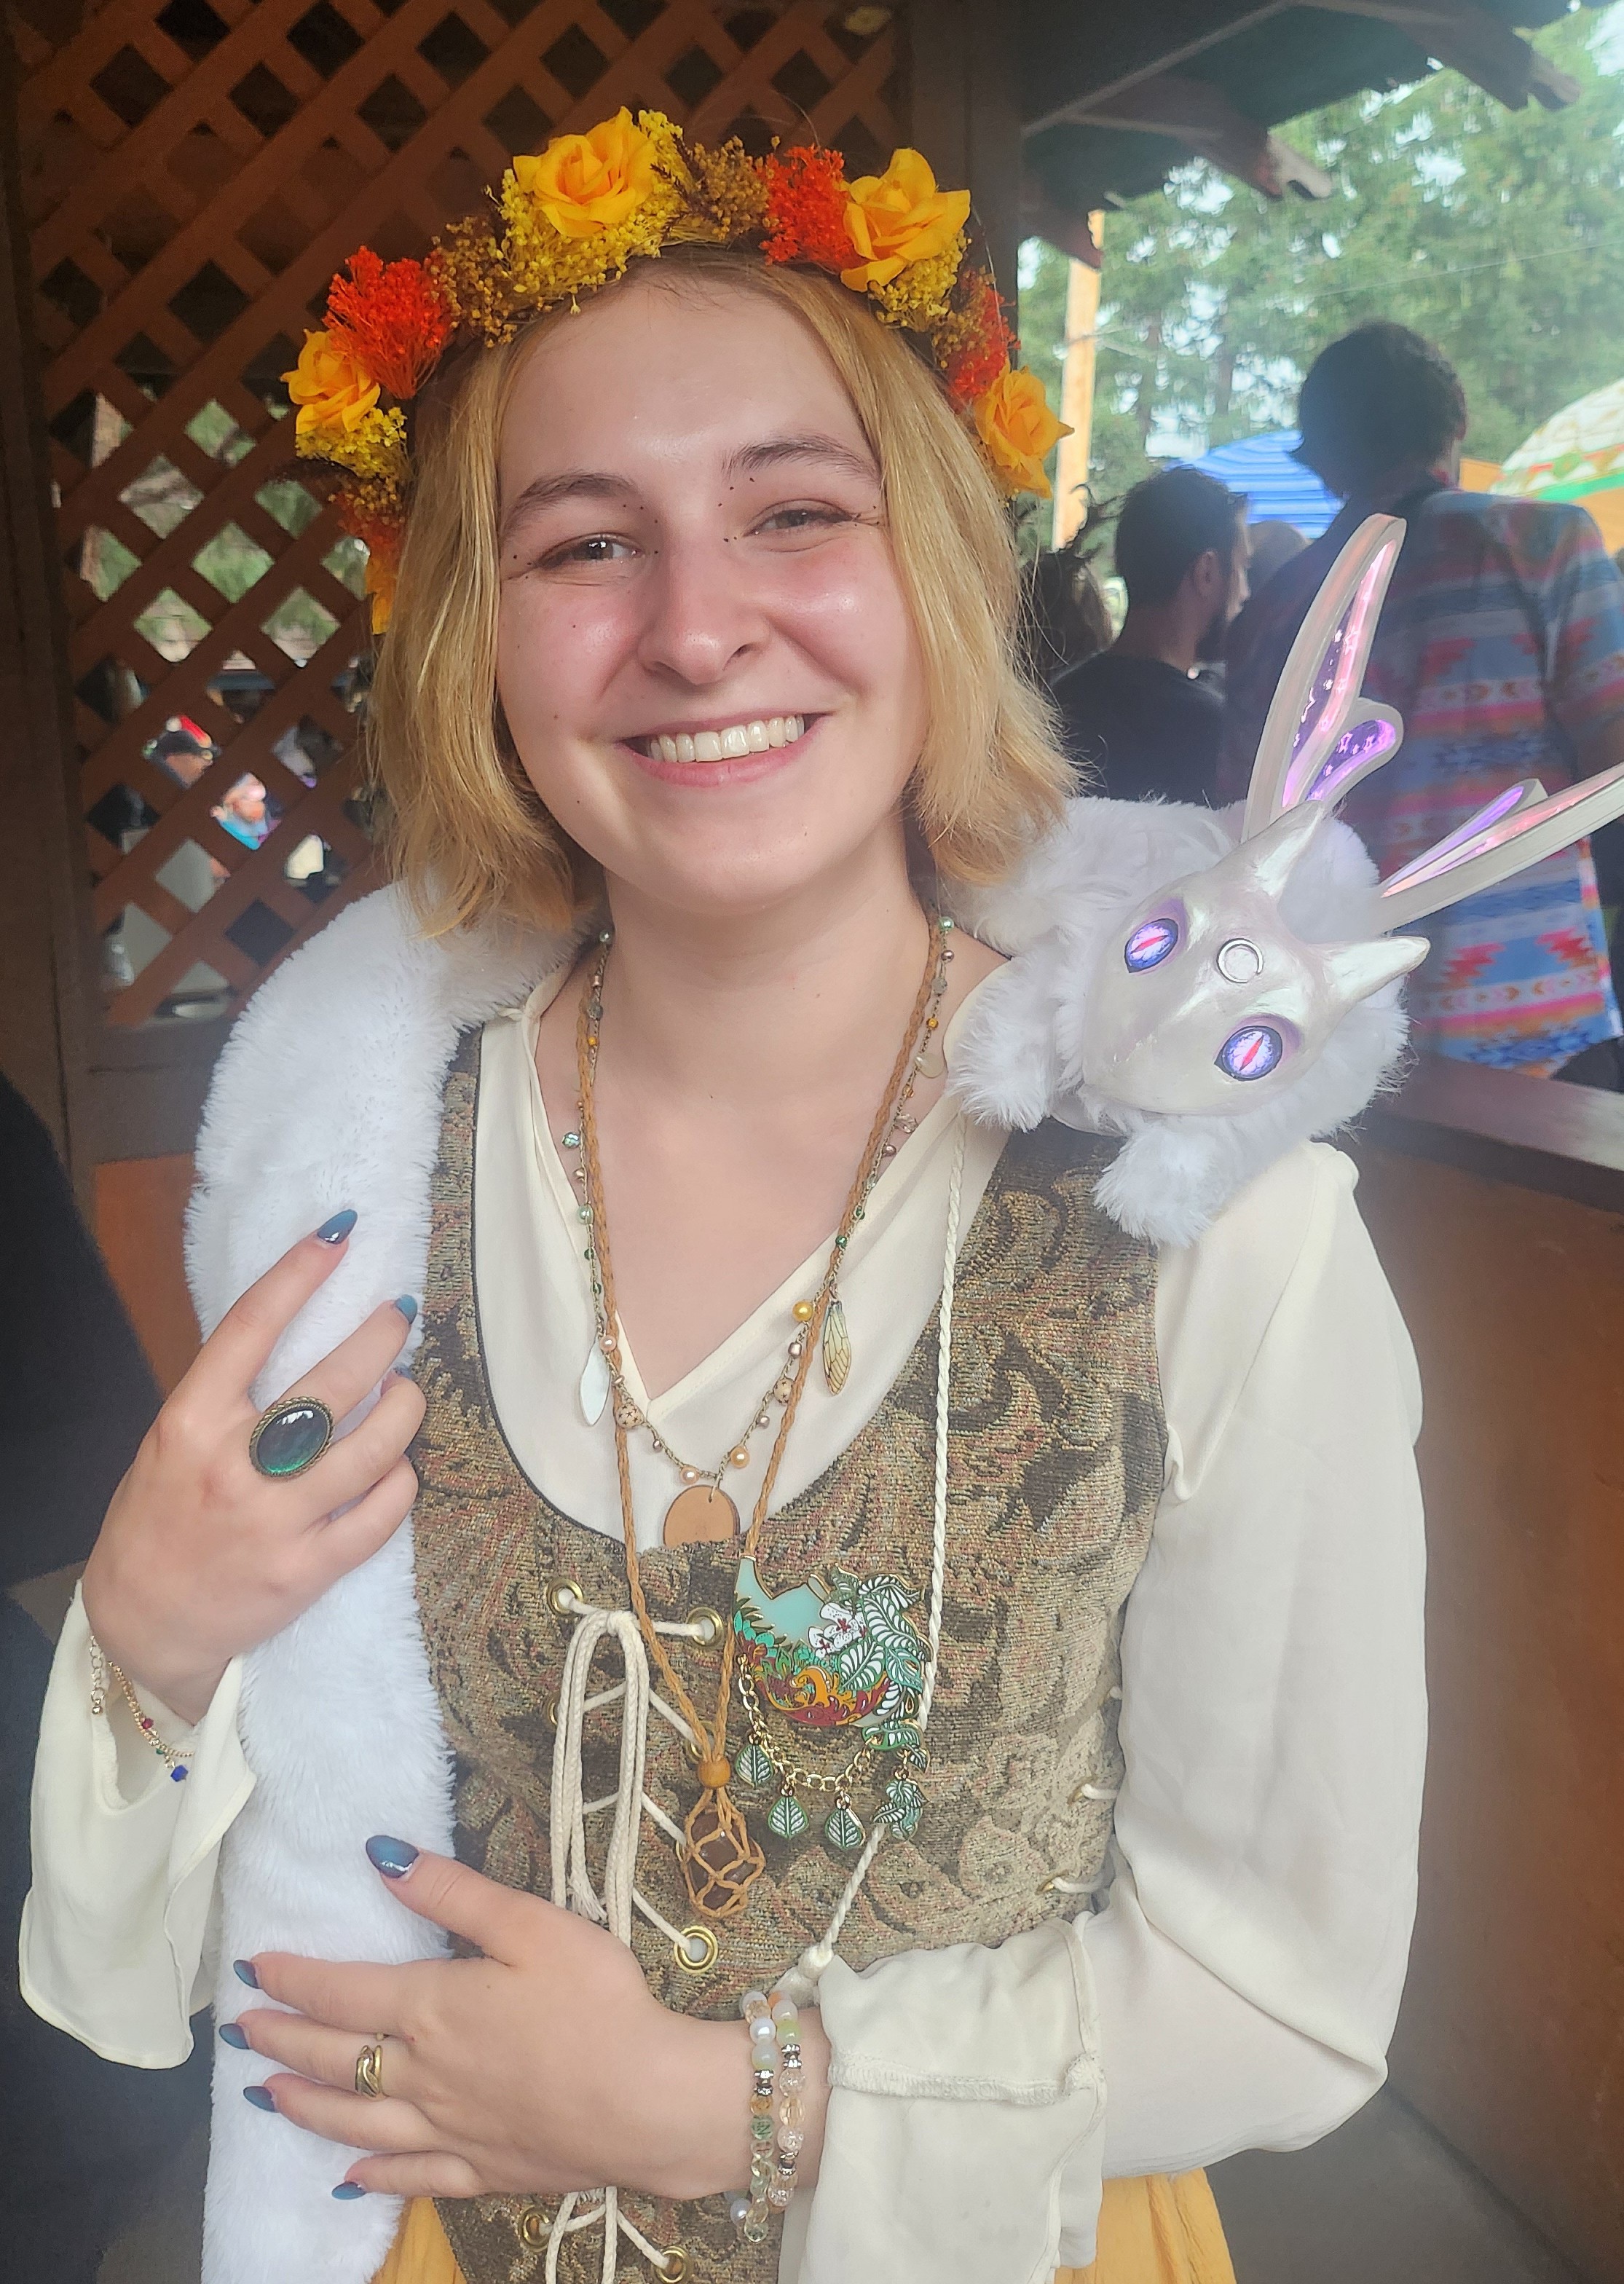
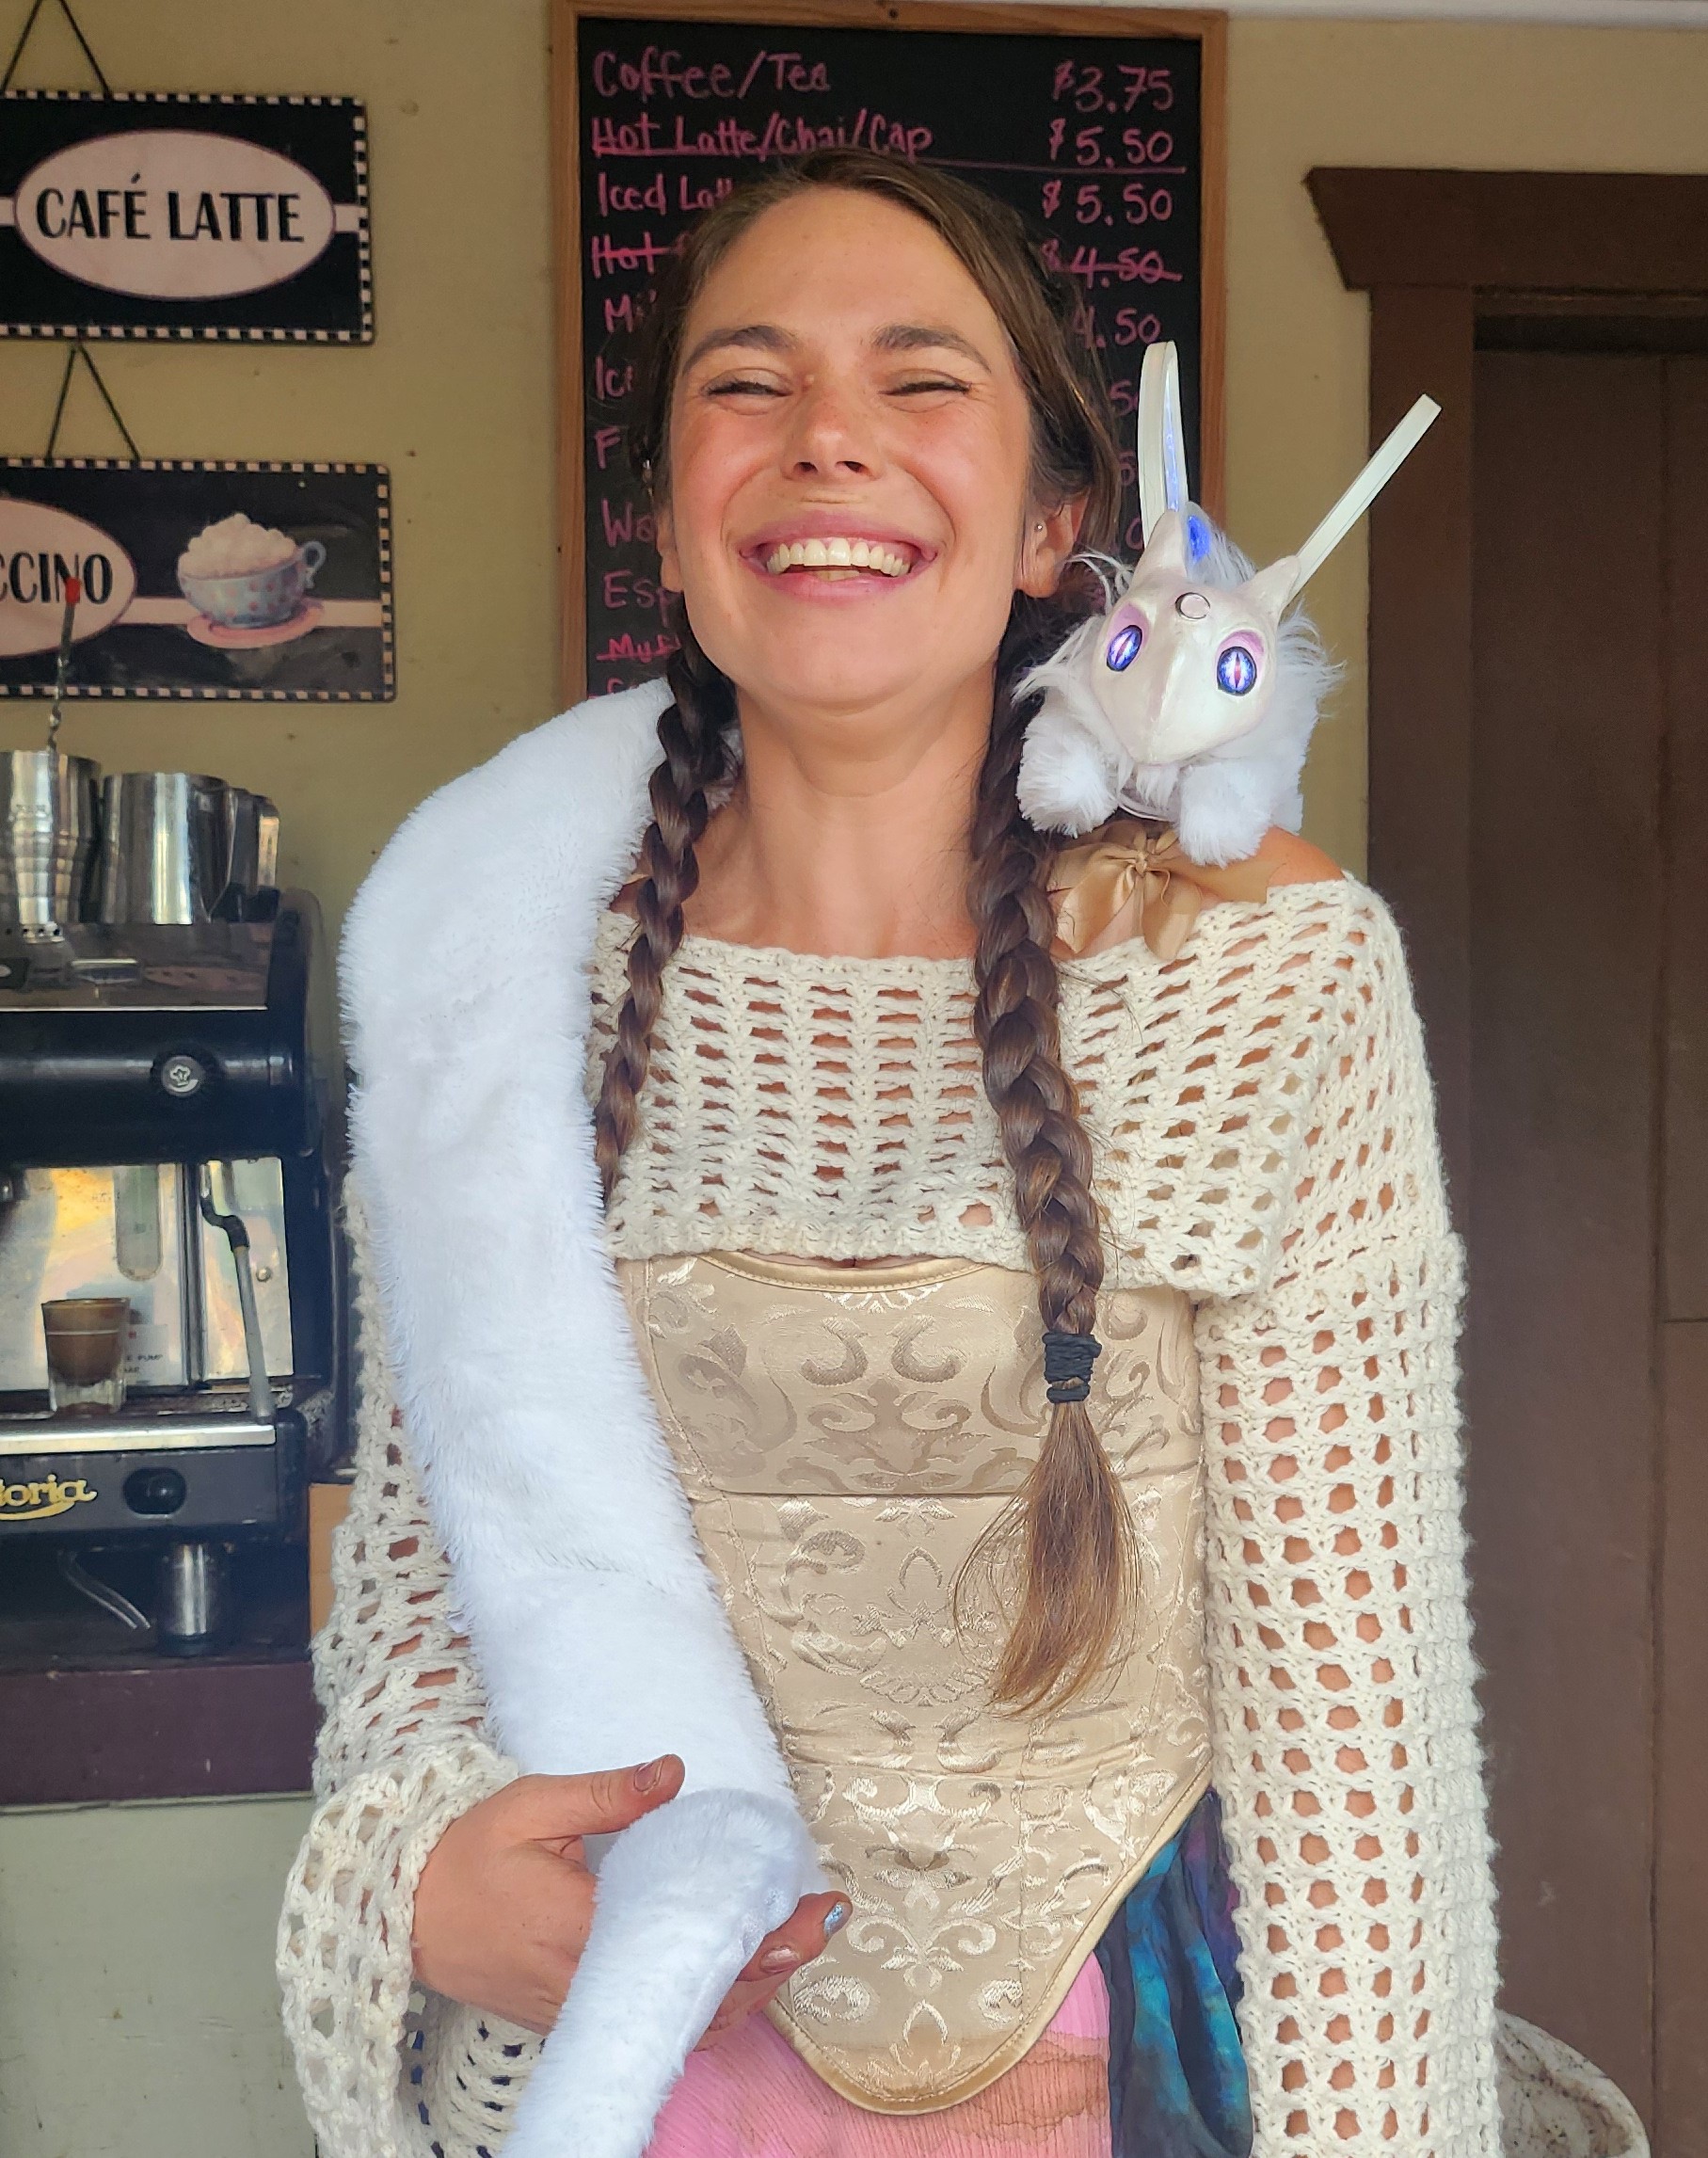
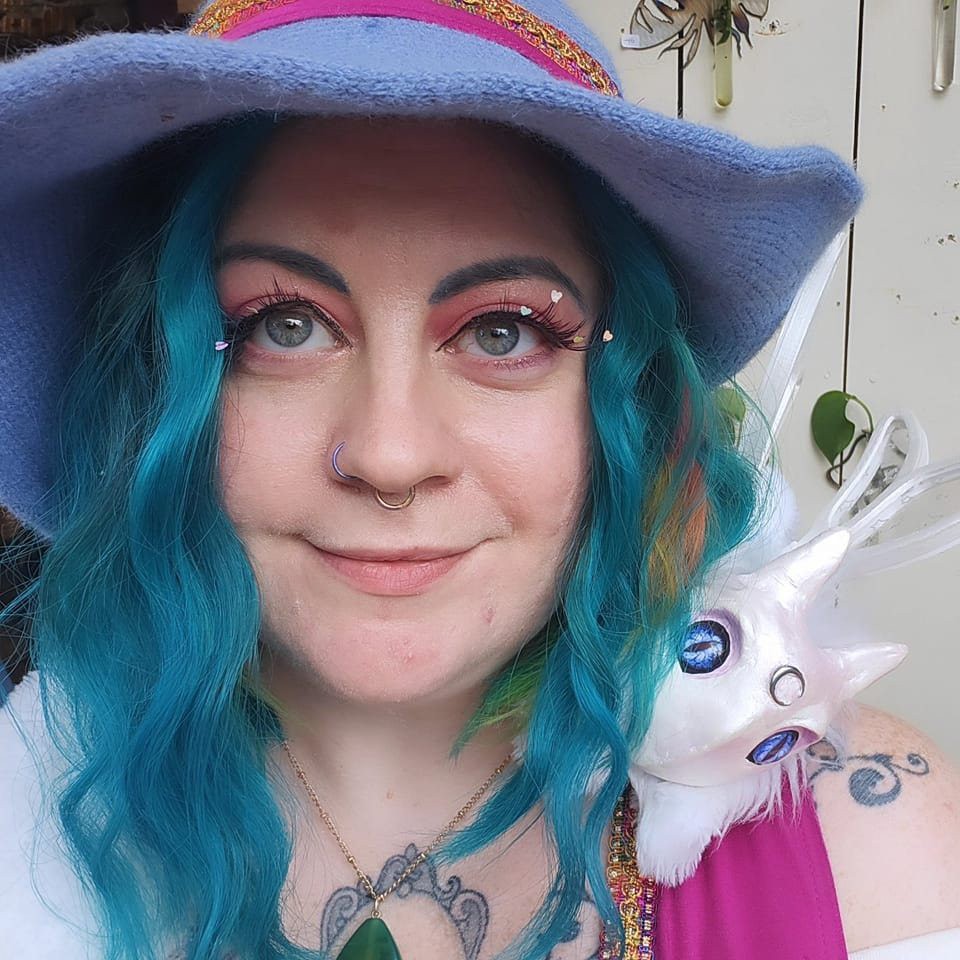
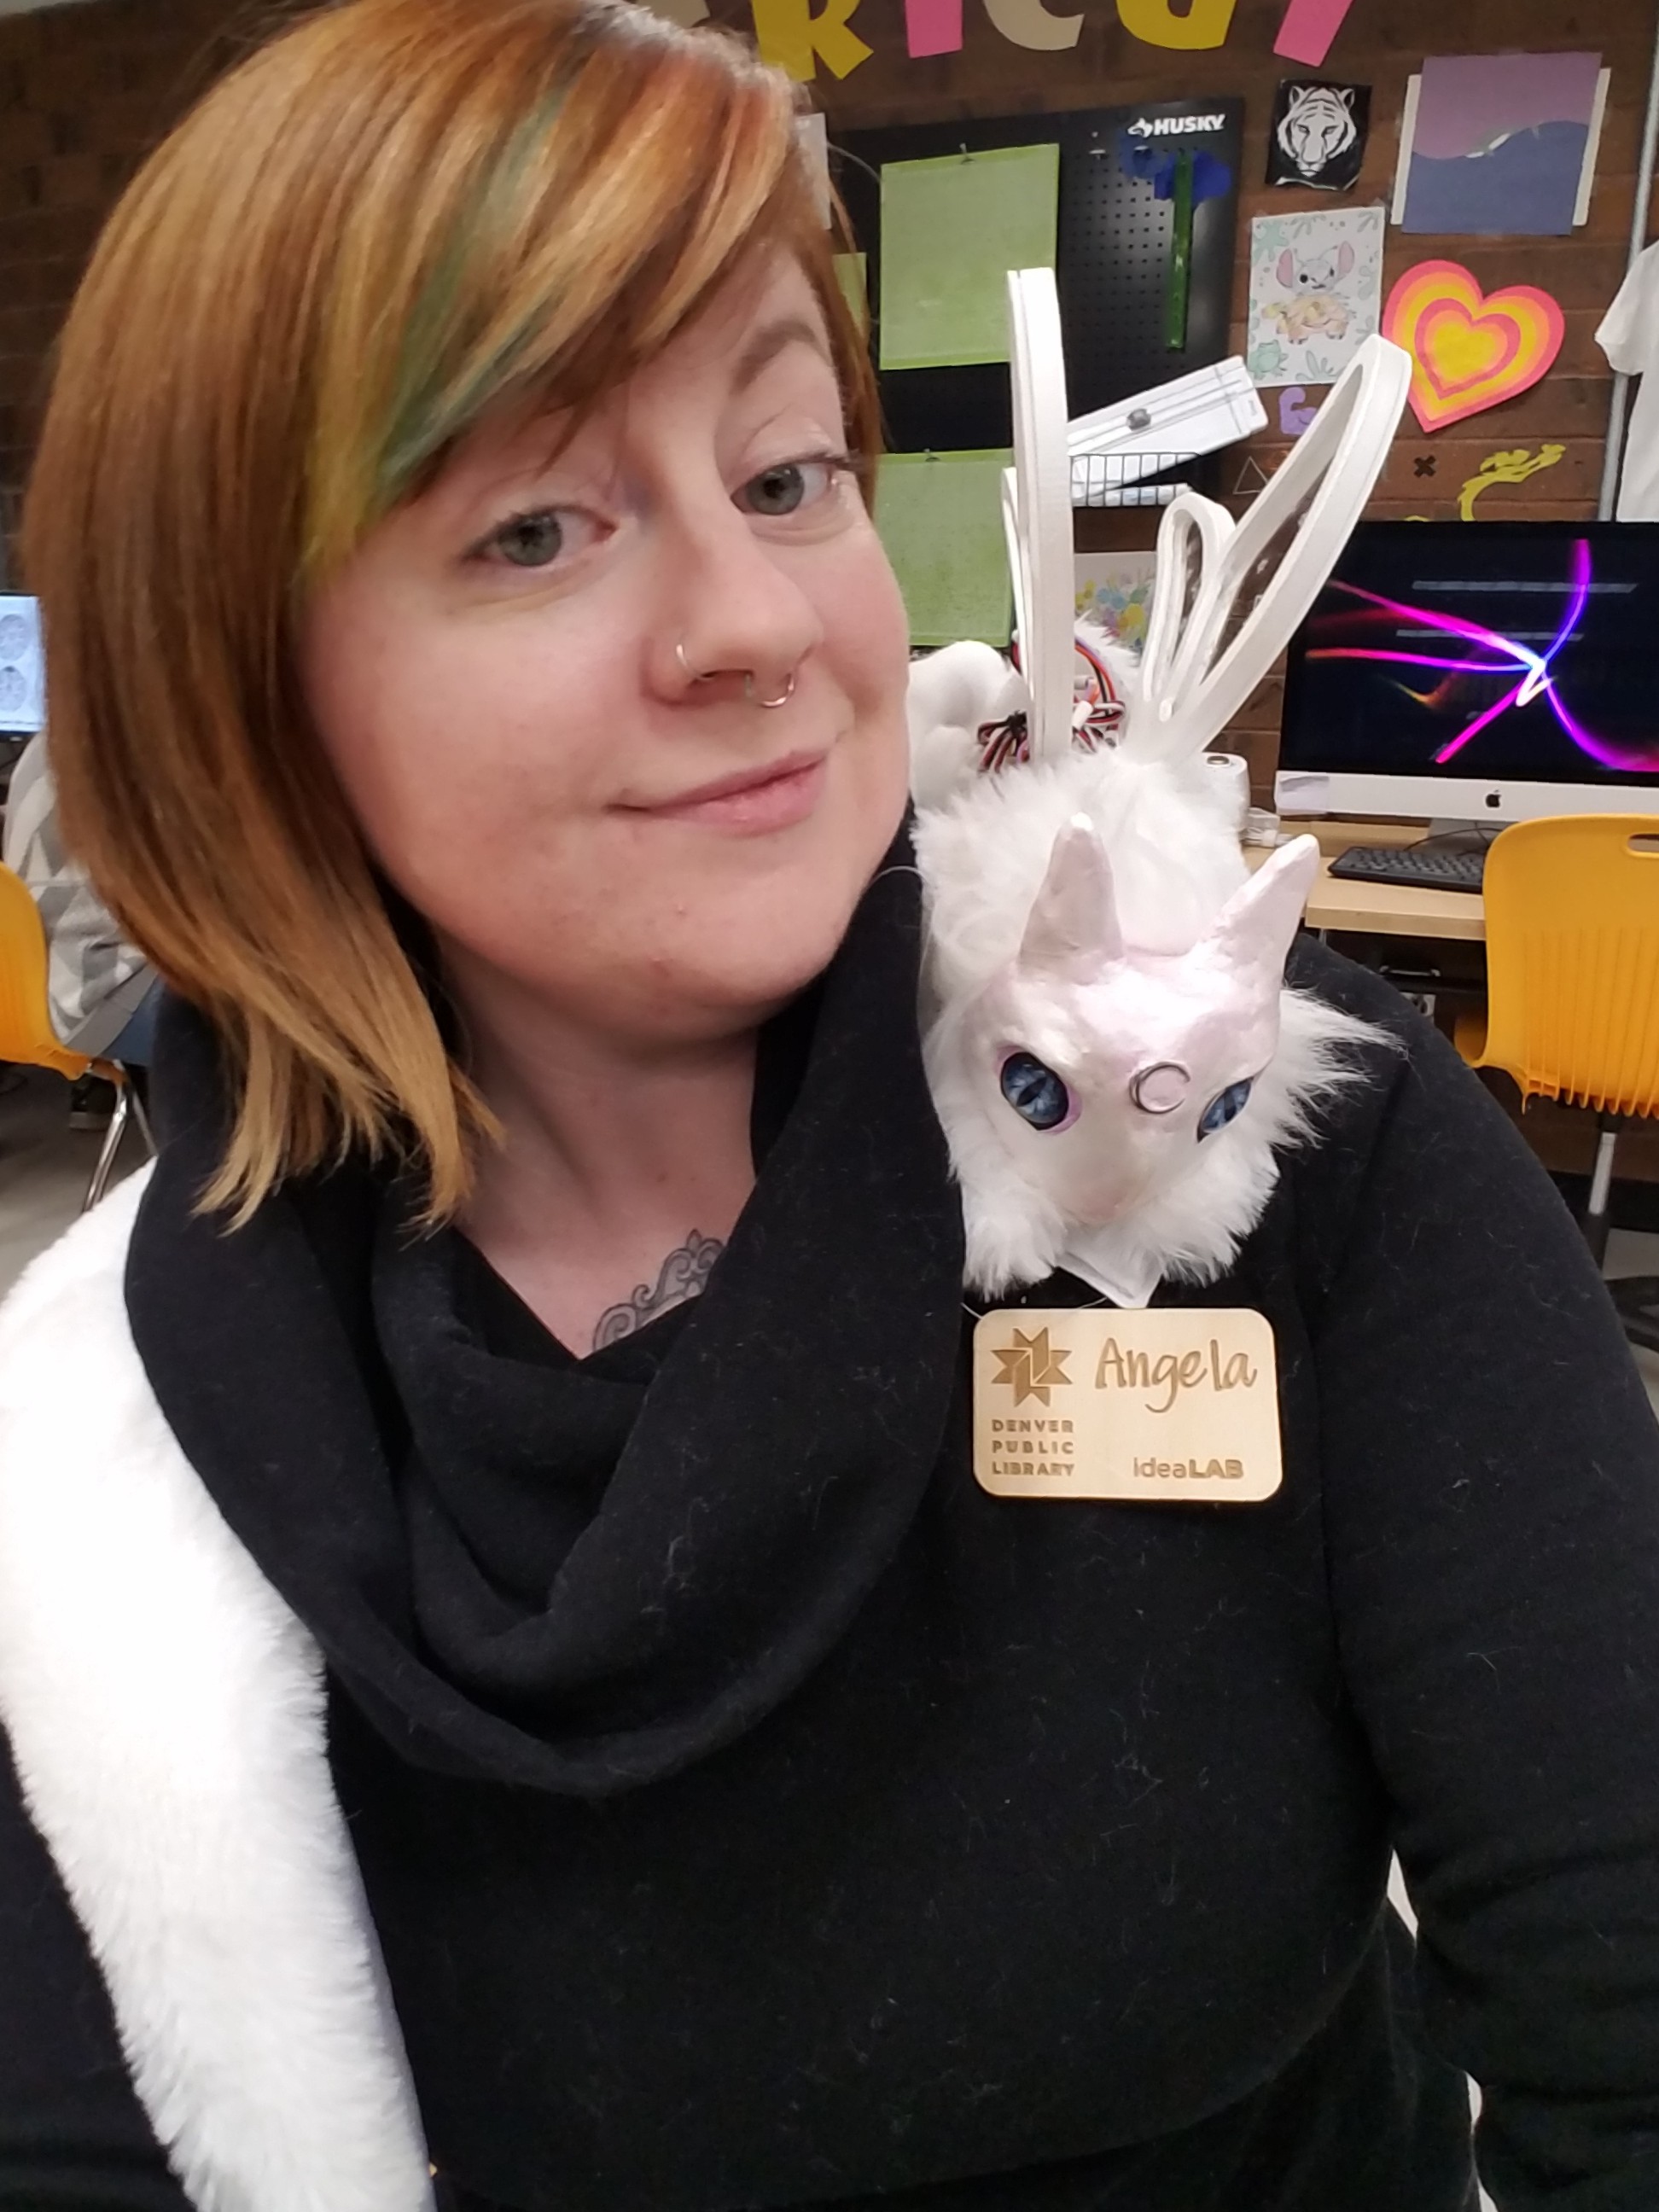
The weather meant we didn't get to have as many wonderful interactions with festival attendees as we would have liked, but did get a chance to have some whimsical interactions with staff members and a few kids throughout the day. My favorite part of building this companion is the joy on people's faces when I ask if they'd like to hold her. Hope to bring her out again next year on a day when the weather will allow us to meet more people!
![]()
![]()
![]()
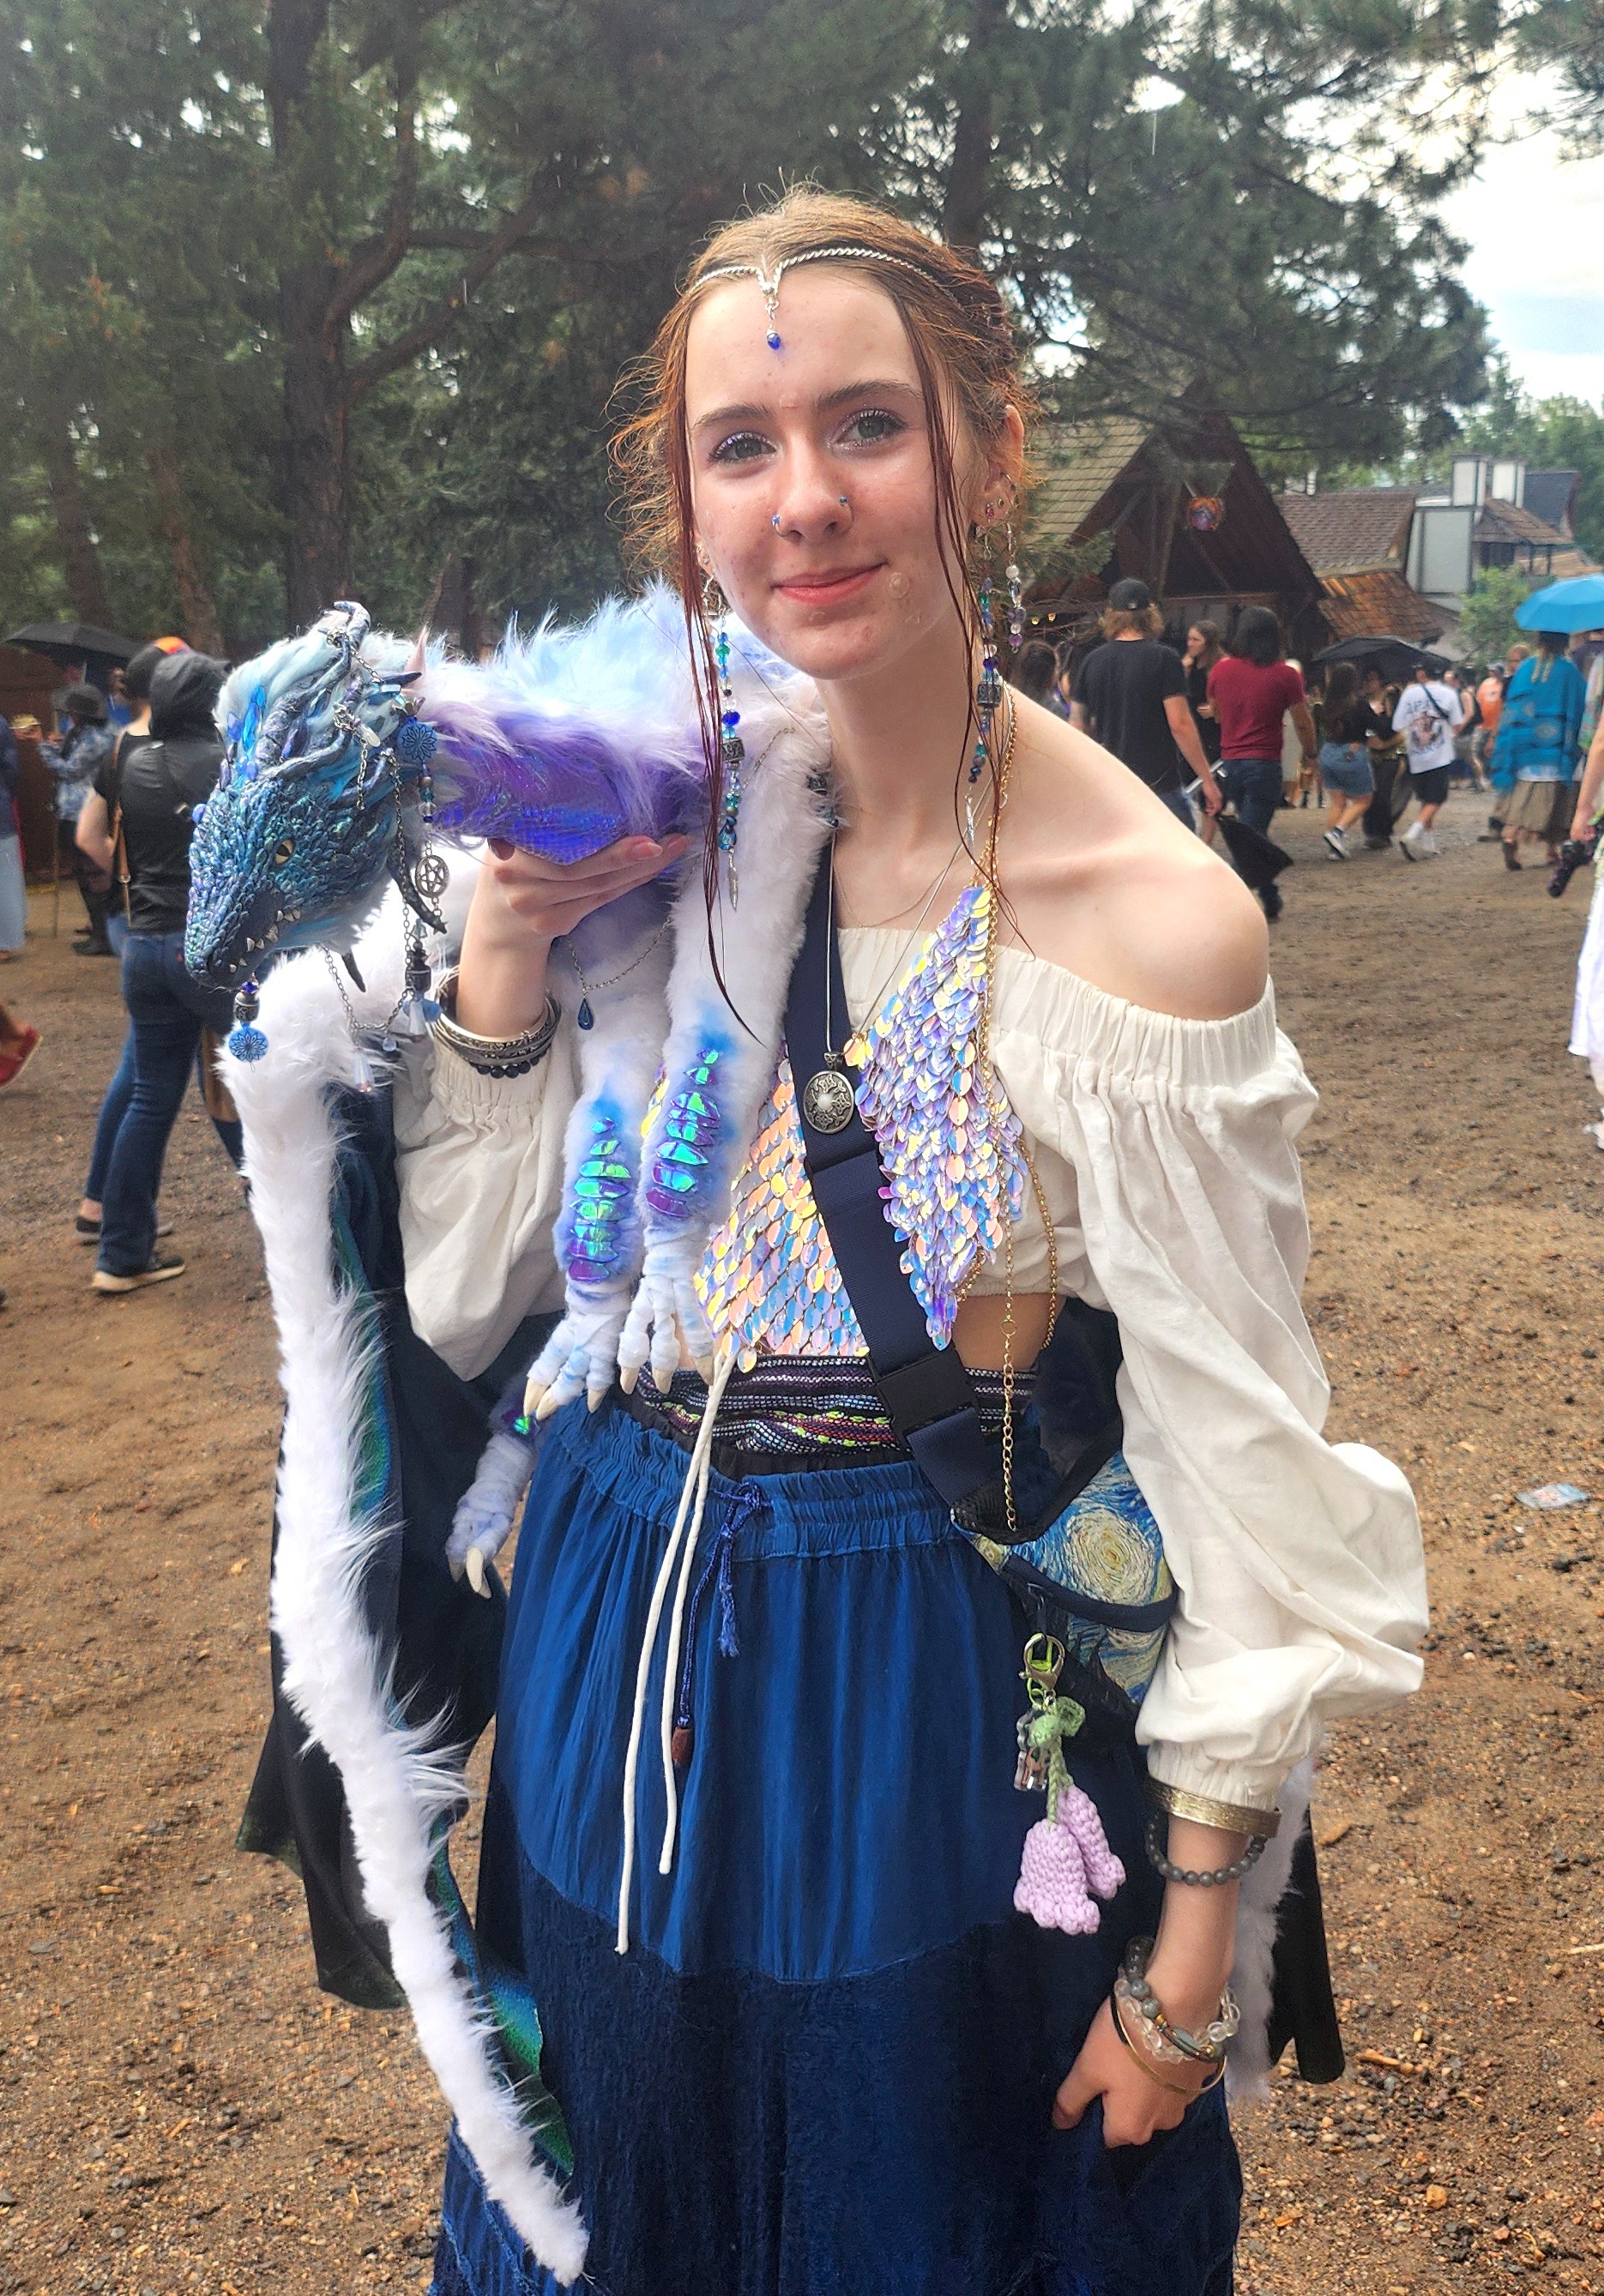
I was a little worried Nova wouldn't quite fit in, but we even met another handcrafted (though non electronic) dragon friend!
![]()
I'm excited to bring Nova out to more events where people have never seen a companion robot and have great conversations with folks about how she works.
![]()
-
Nova at Supercon 6
11/03/2022 at 06:36 • 0 commentsI'm getting ready to bring Nova out on her second official outing - Supercon 2022!
Nova made her debut at the SparkFun holiday party, right before the pandemic, and hasn't been out in the world much since. She does have a semi-permanent home inspiring kids at the library makerspace I work in, but she's ready to meet other companion bots.
To make her easier to carry around the conference, I bought her a new travel backpack that she can flap her wings in.
-
Adding Movement
05/10/2020 at 21:17 • 0 commentsThe most important part of this project, and new skill for me, was creating natural and whimsical movements. One of the most compelling things about the companion bots I have interacted with is their randomized movements that begin to feel like responses to their environment.
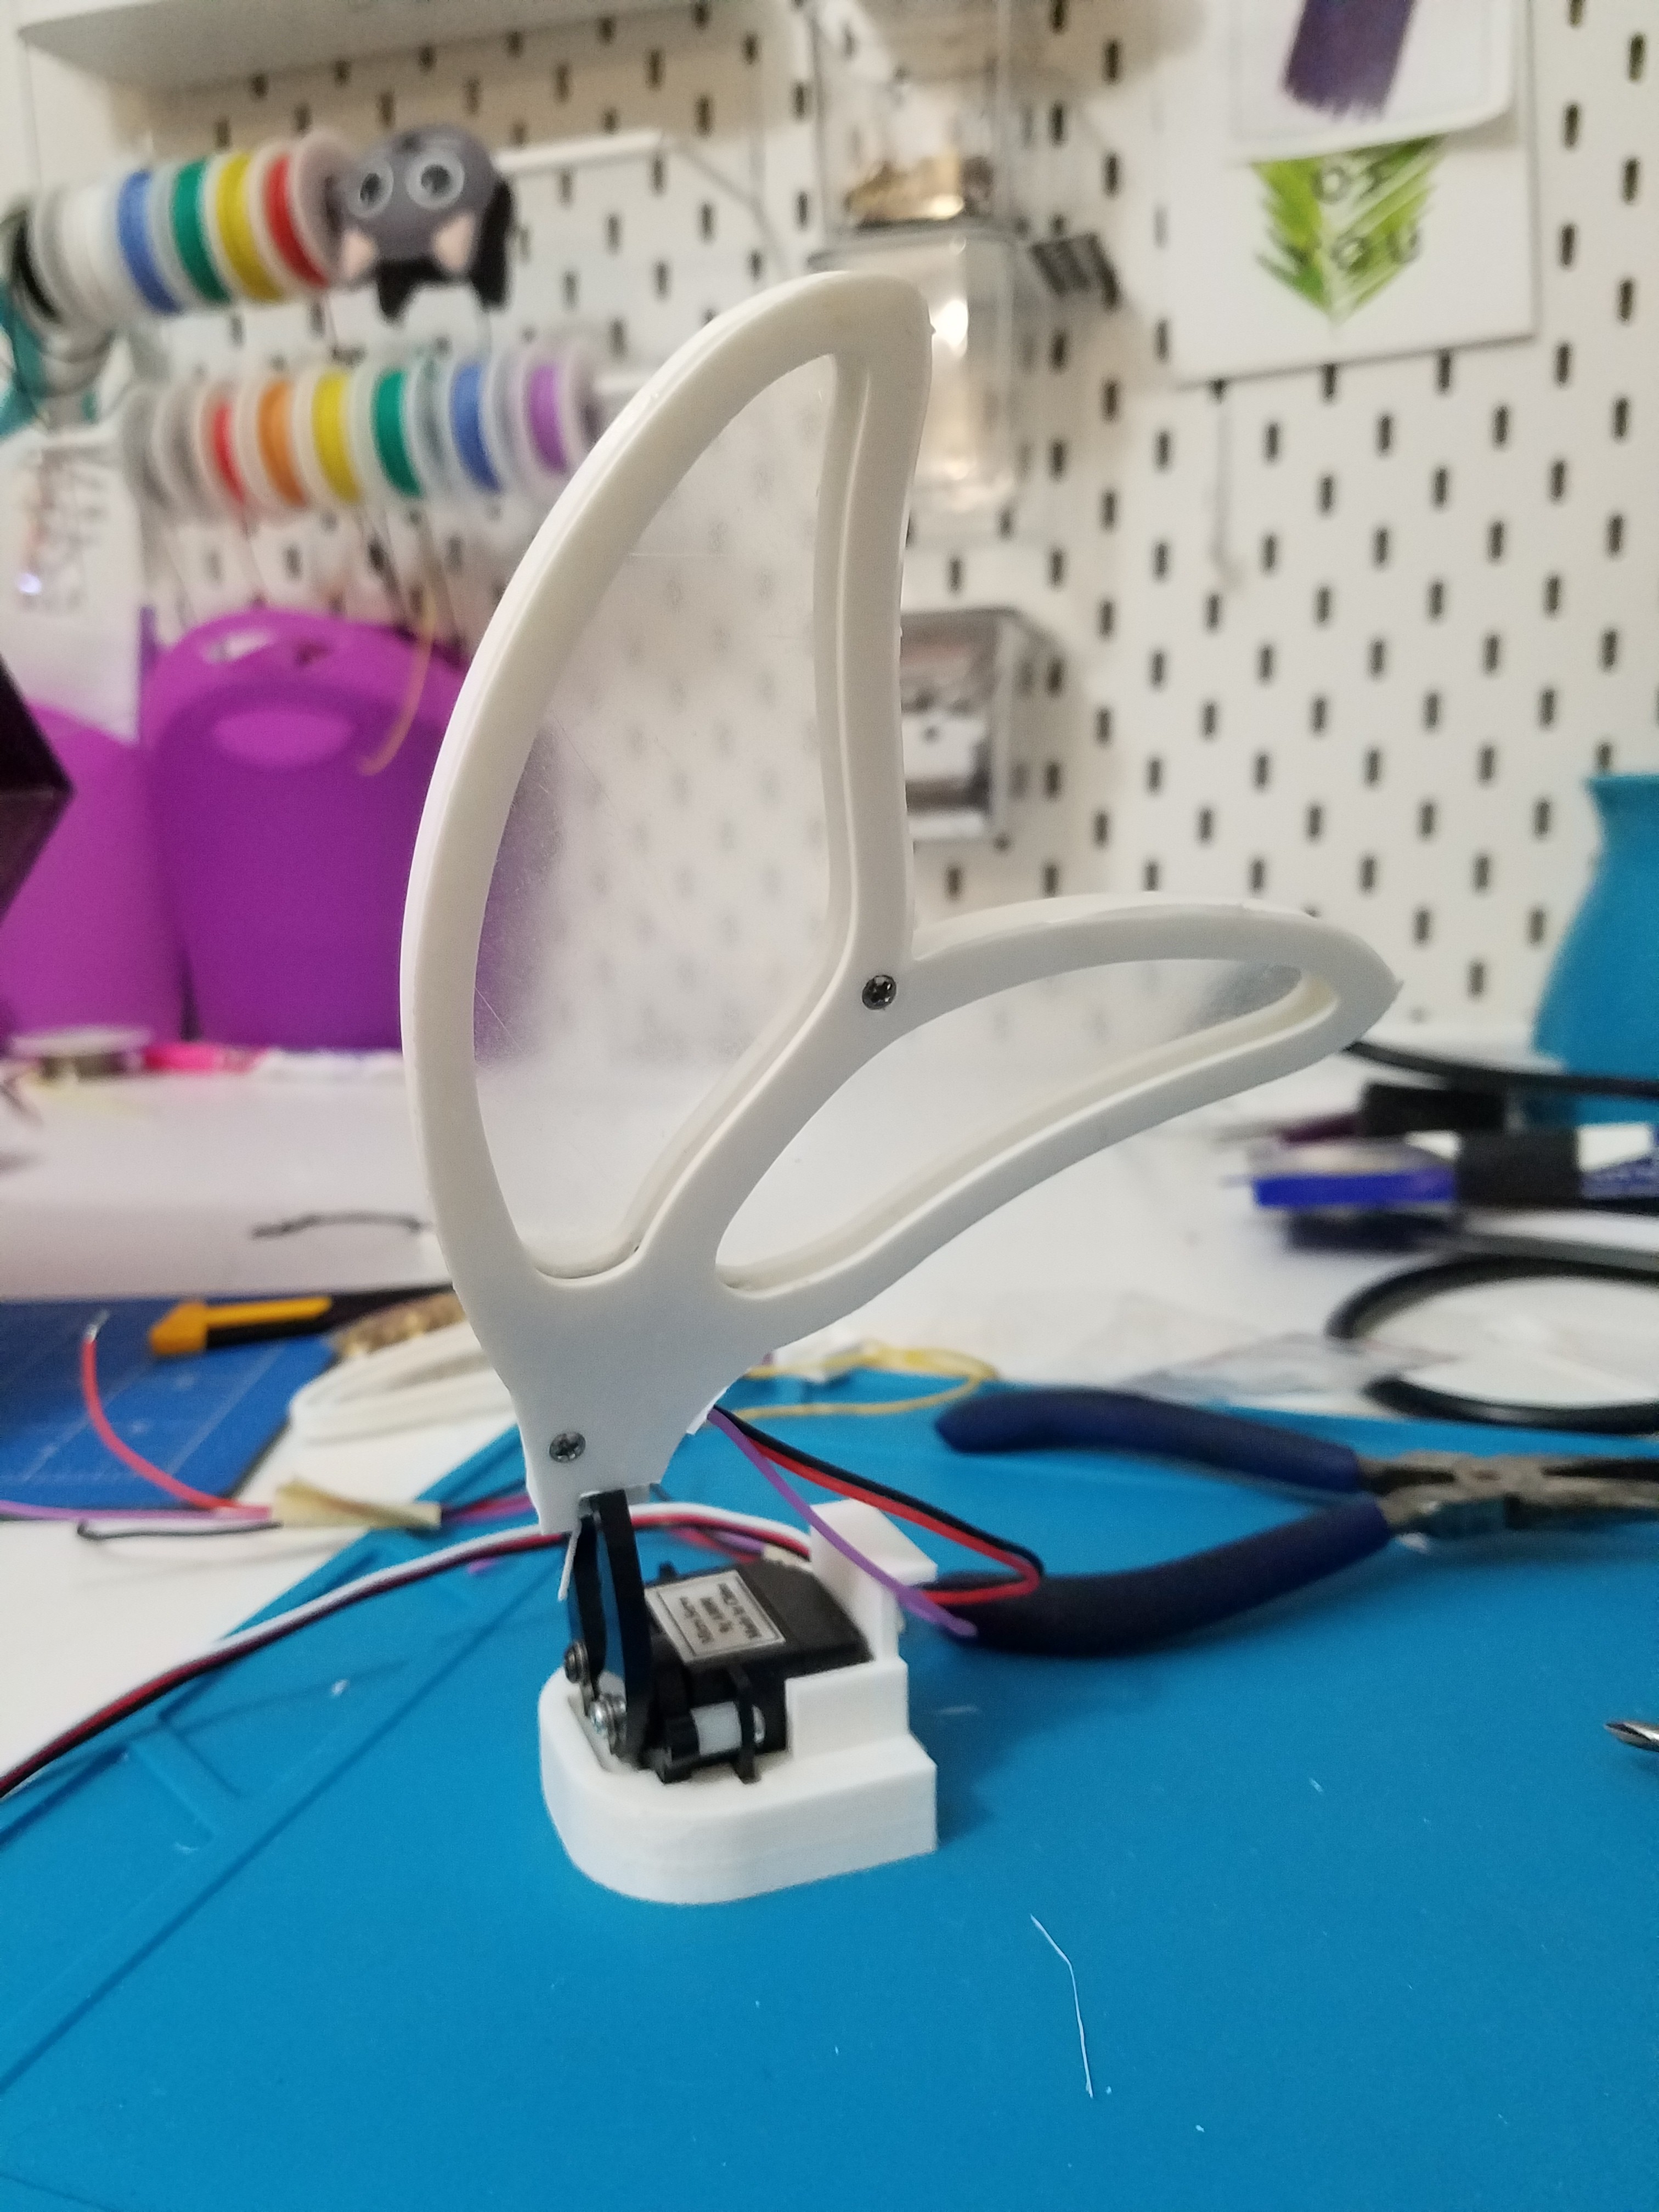
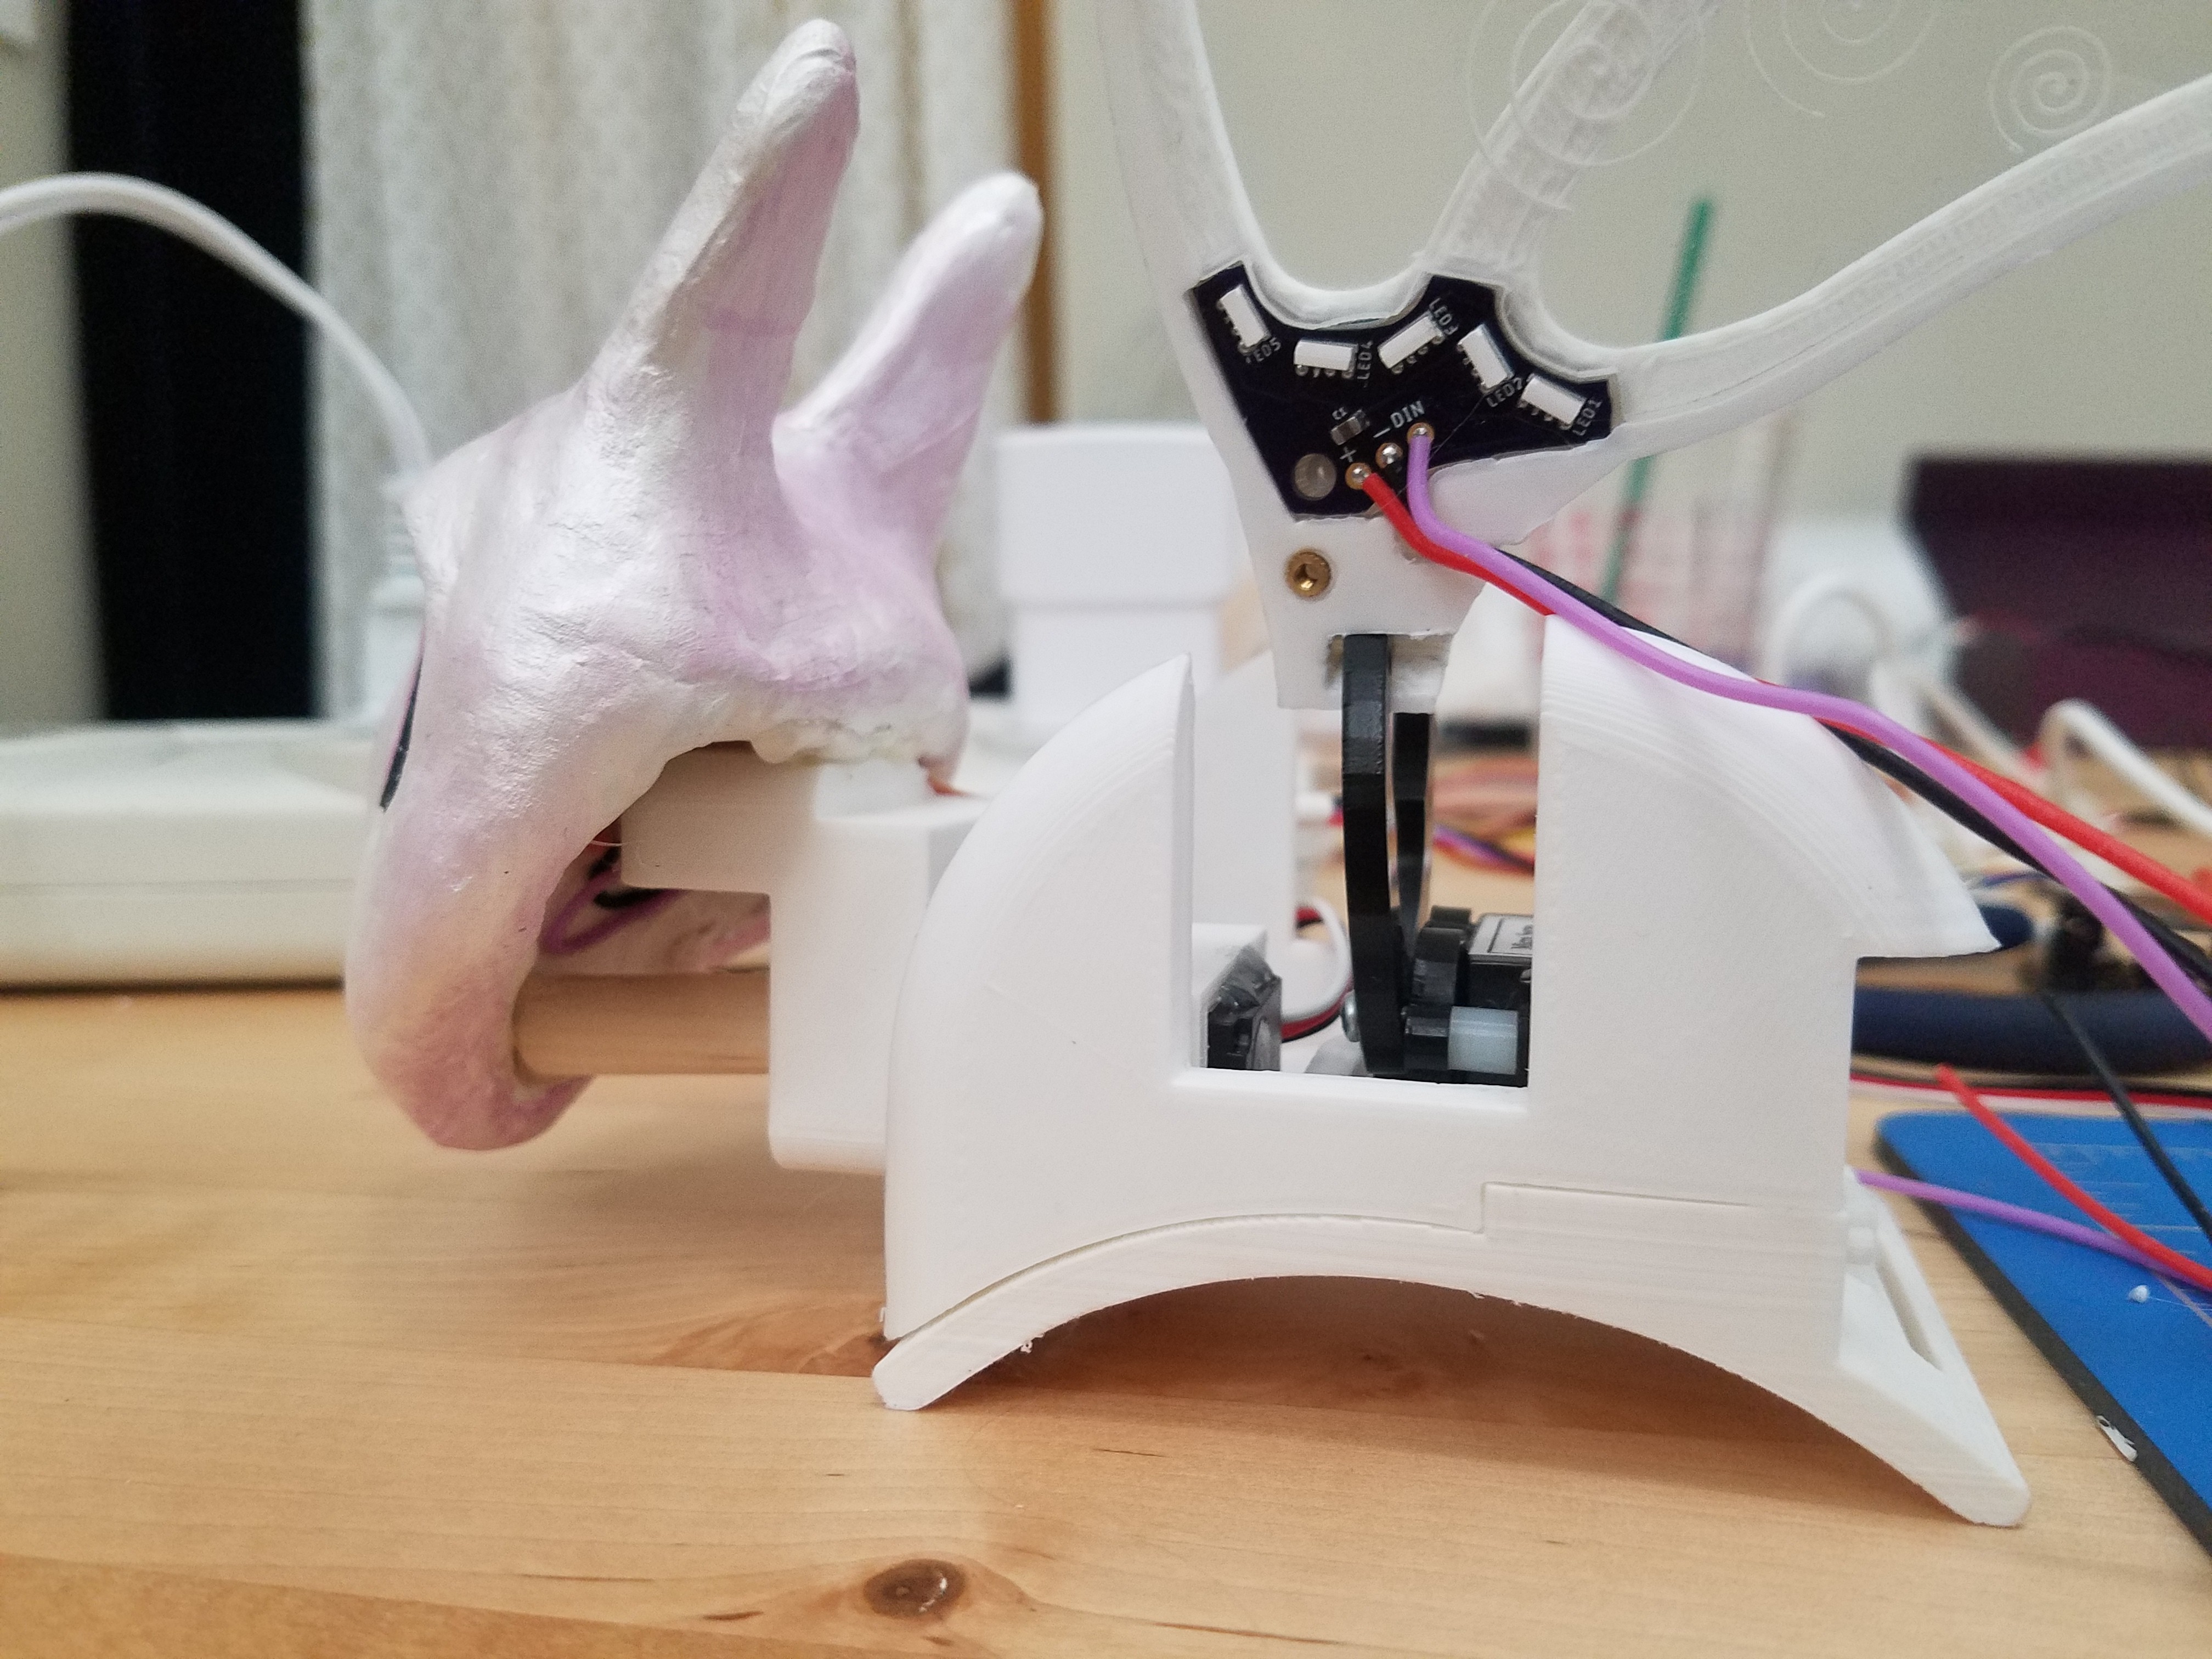
My first challenge was how to create flapping wings with the least amount of parts. After a lot of research and thought, I came across a gripper attachment for a servo that looked like it might be adaptable for a coordinated wing flap - eliminating the need for two servos to drive her wings.
---------- more ----------This worked far better than I expected! I adjusted the 3D printed wing enclosures to include a notch that matched the profile of the gripper arms. To install them, they are press fit on the arms and stay relatively secure. Over time, the print has been wearing down where they attach, so I am going to upgrade with a bolt or other fixture point for long term stability.
![]()
I programmed the movement of the wings to have a 'resting' pattern of occasional flaps, with a more excitable flapping when she is activated by a touch sensor on her face. Below is a video from early prototyping of adding the touch sensing to trigger color changes in her wings.
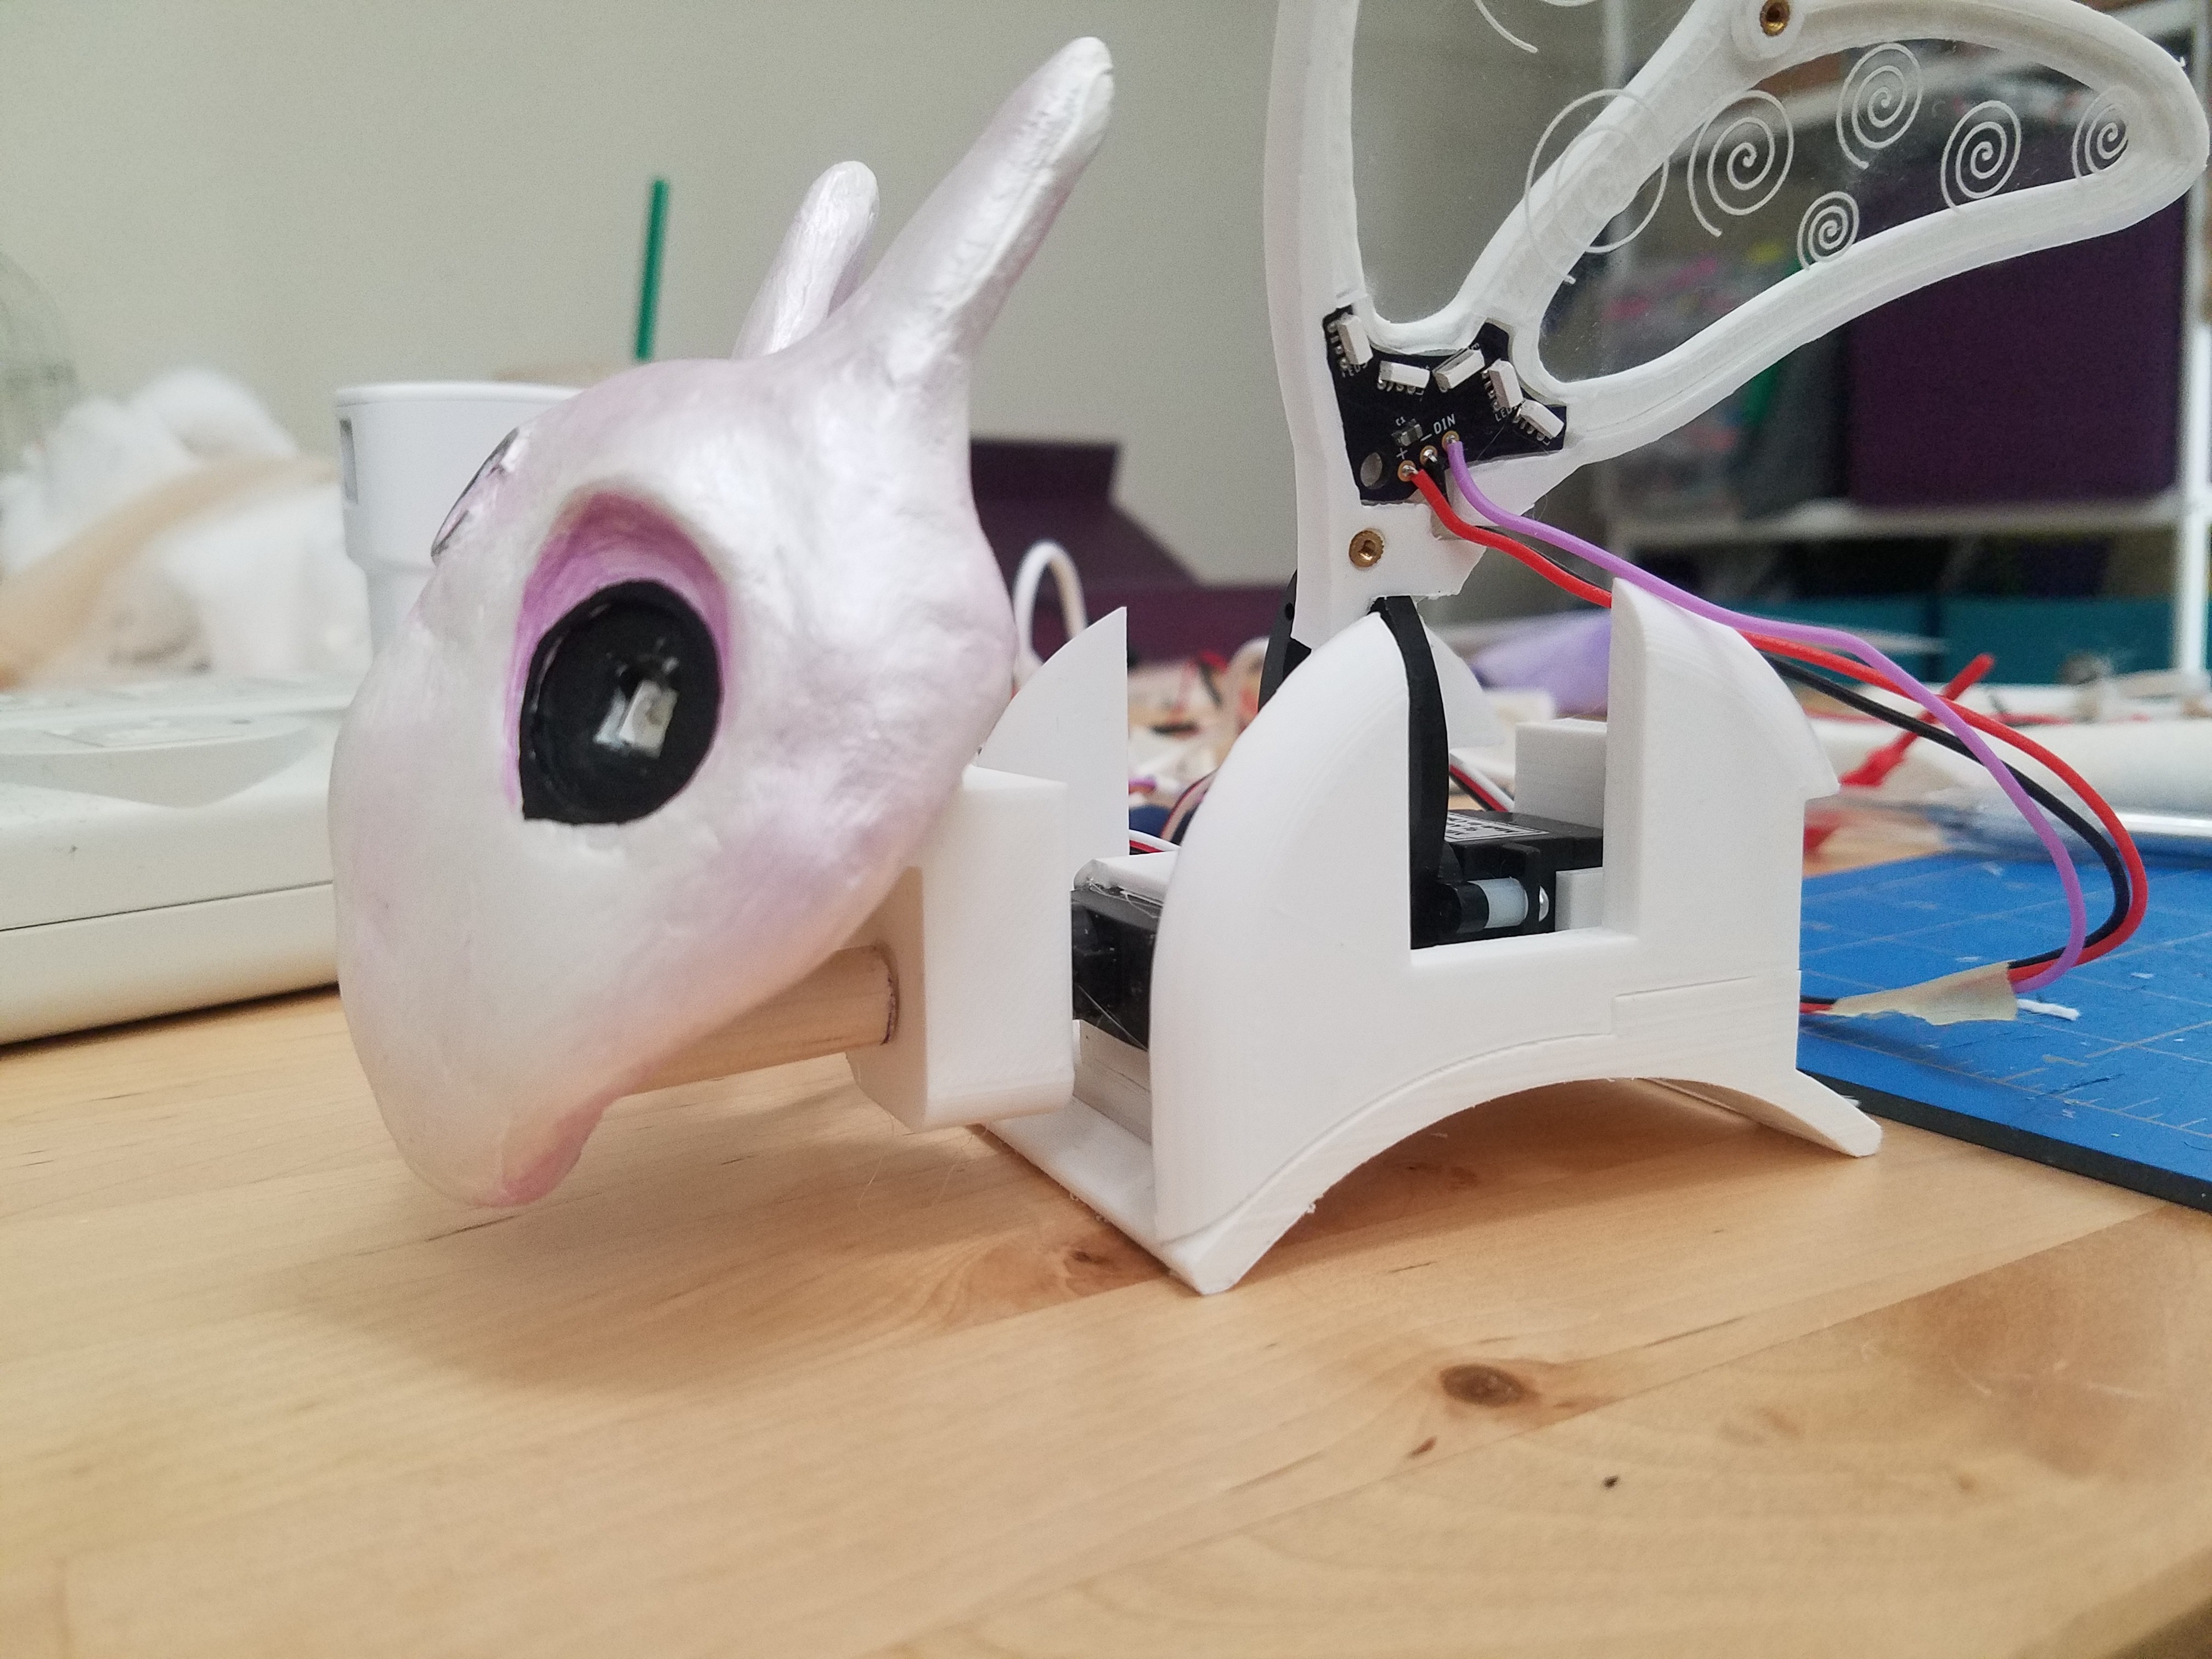
The next step was to add some movement in the face. Since I designed Nova's head as a single sculpted piece, I decided on a bird-like head tilt with a second servo to add the effect of a curious creature surveying her surroundings. After some testing with code to create a natural range of movement, I mounted the servos in a 3D printed body base.![]()
-
Crafting a Cuddle-Worthy Body
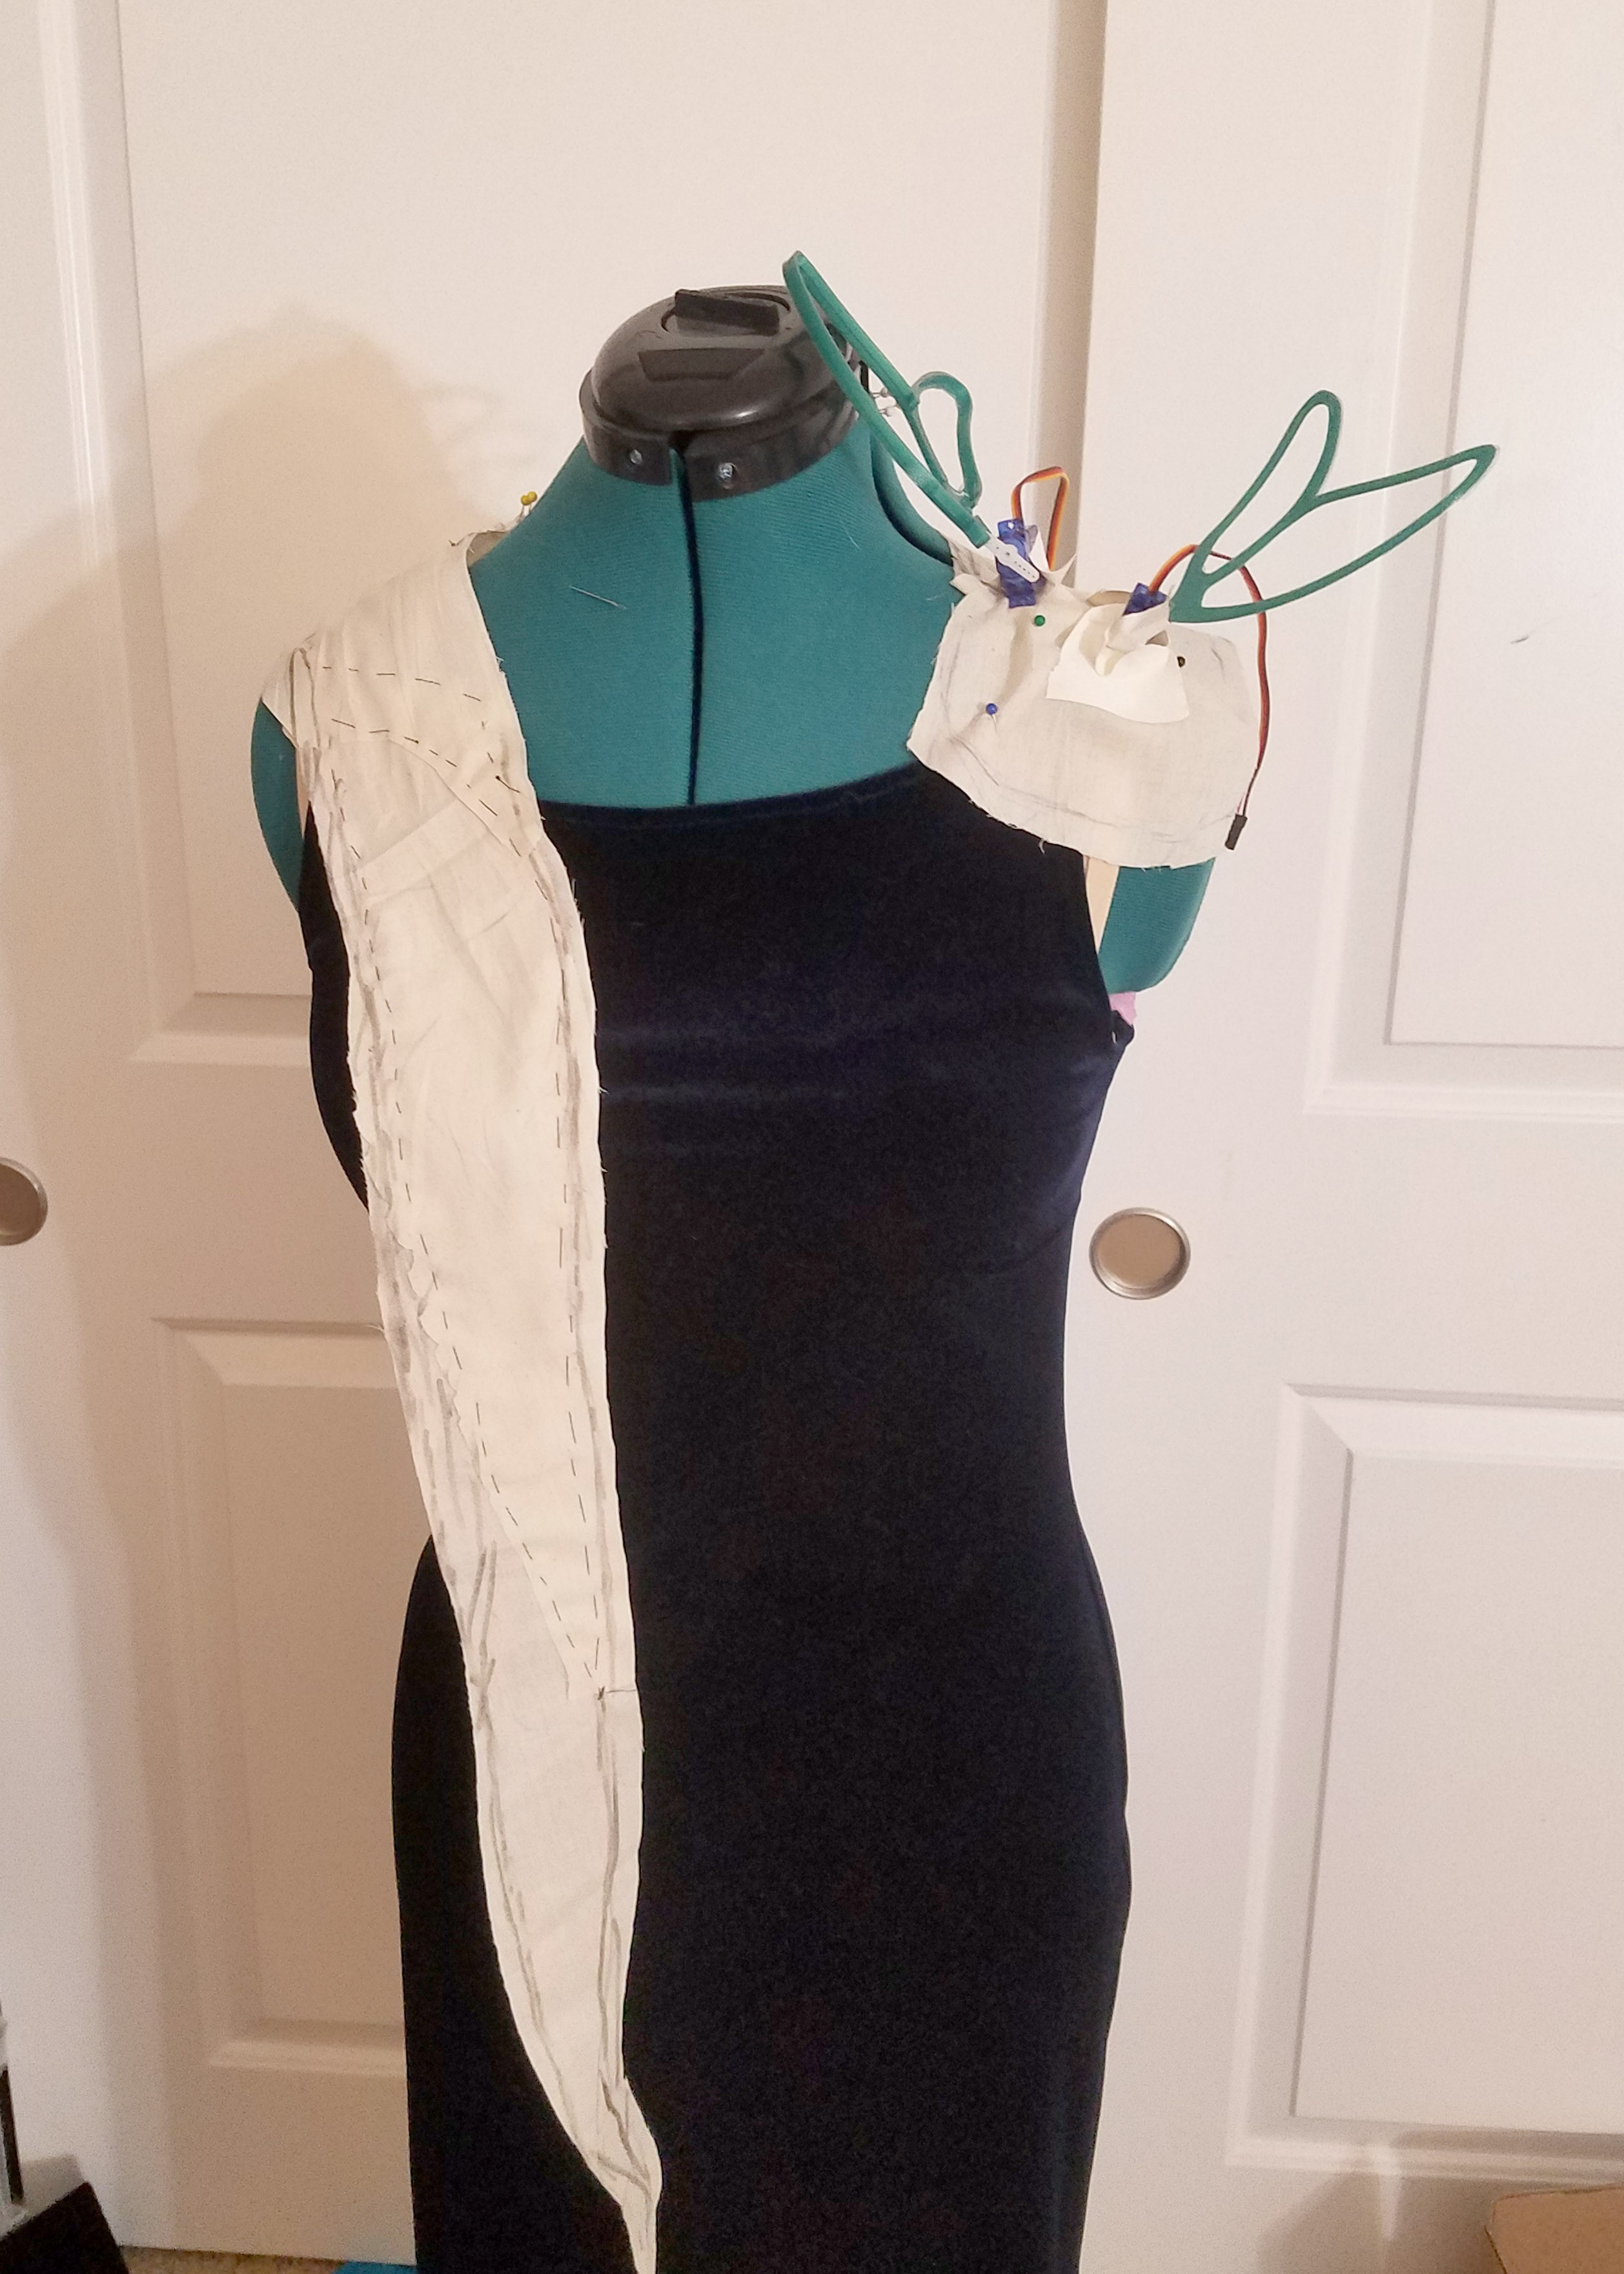
05/10/2020 at 20:51 • 0 commentsThe final part of Nova's build was trying to stitch together a soft body that securely stored all her hardware but felt life-like and cuddly. My concept of a dragon as a luxury fur stole took quite a bit of patterning and fabric shopping. Earlier in the process I draped some muslin to get a feel for the scale of her body against the blue velvet dress I planned to wear with her.
![]()
---------- more ----------
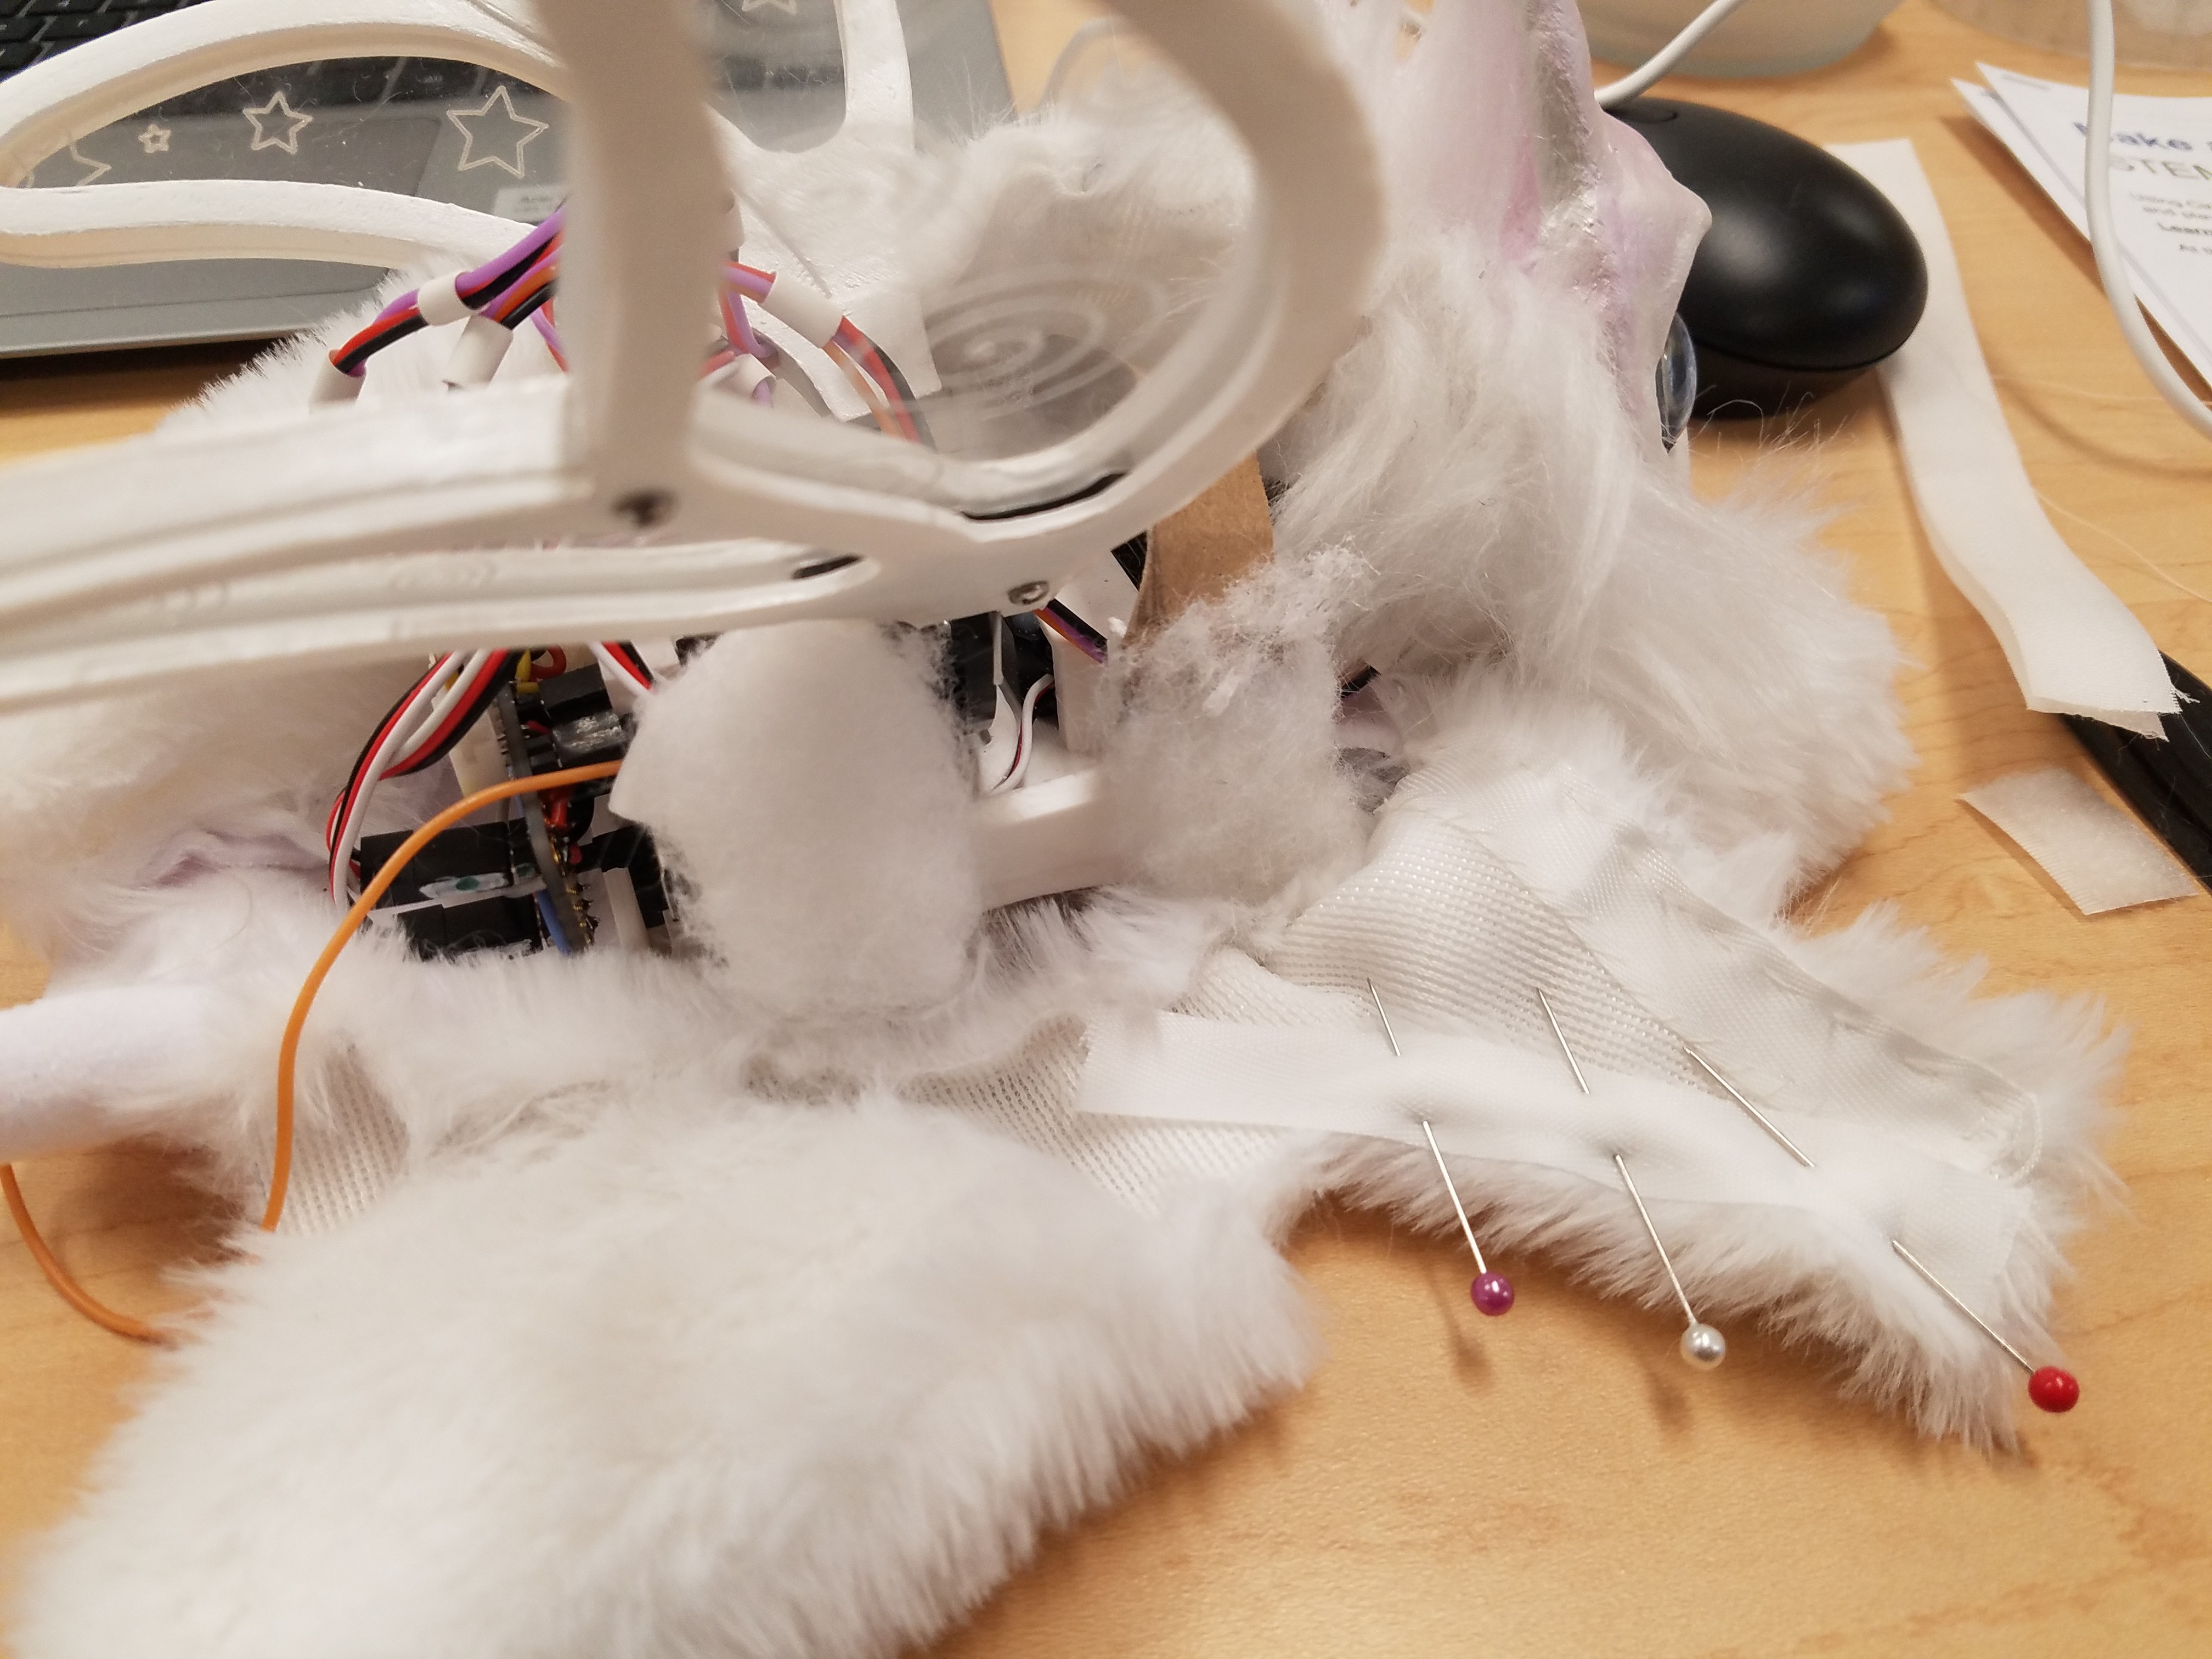
The trickiest part of this process was creating a fabric cover that could open and close with velcro that would not impede the movement of her head and wings. I found an off brand My Little Pony plush at the Dollar Tree with legs that draped the way I would like her to sit on my shoulder. After some tracing, adjusting, and fit testing, I had a pattern that would form the base for Nova's body and dangling front feet.
Her body acts as a slip cover, with no permanent attachment to the 3D print that houses her hardware. Getting her to sit on my shoulder naturally without hitting me in the face with her wings took quite a lot of pinning and some help from my friends at the library makerspace I worked at during the build process.
![]()
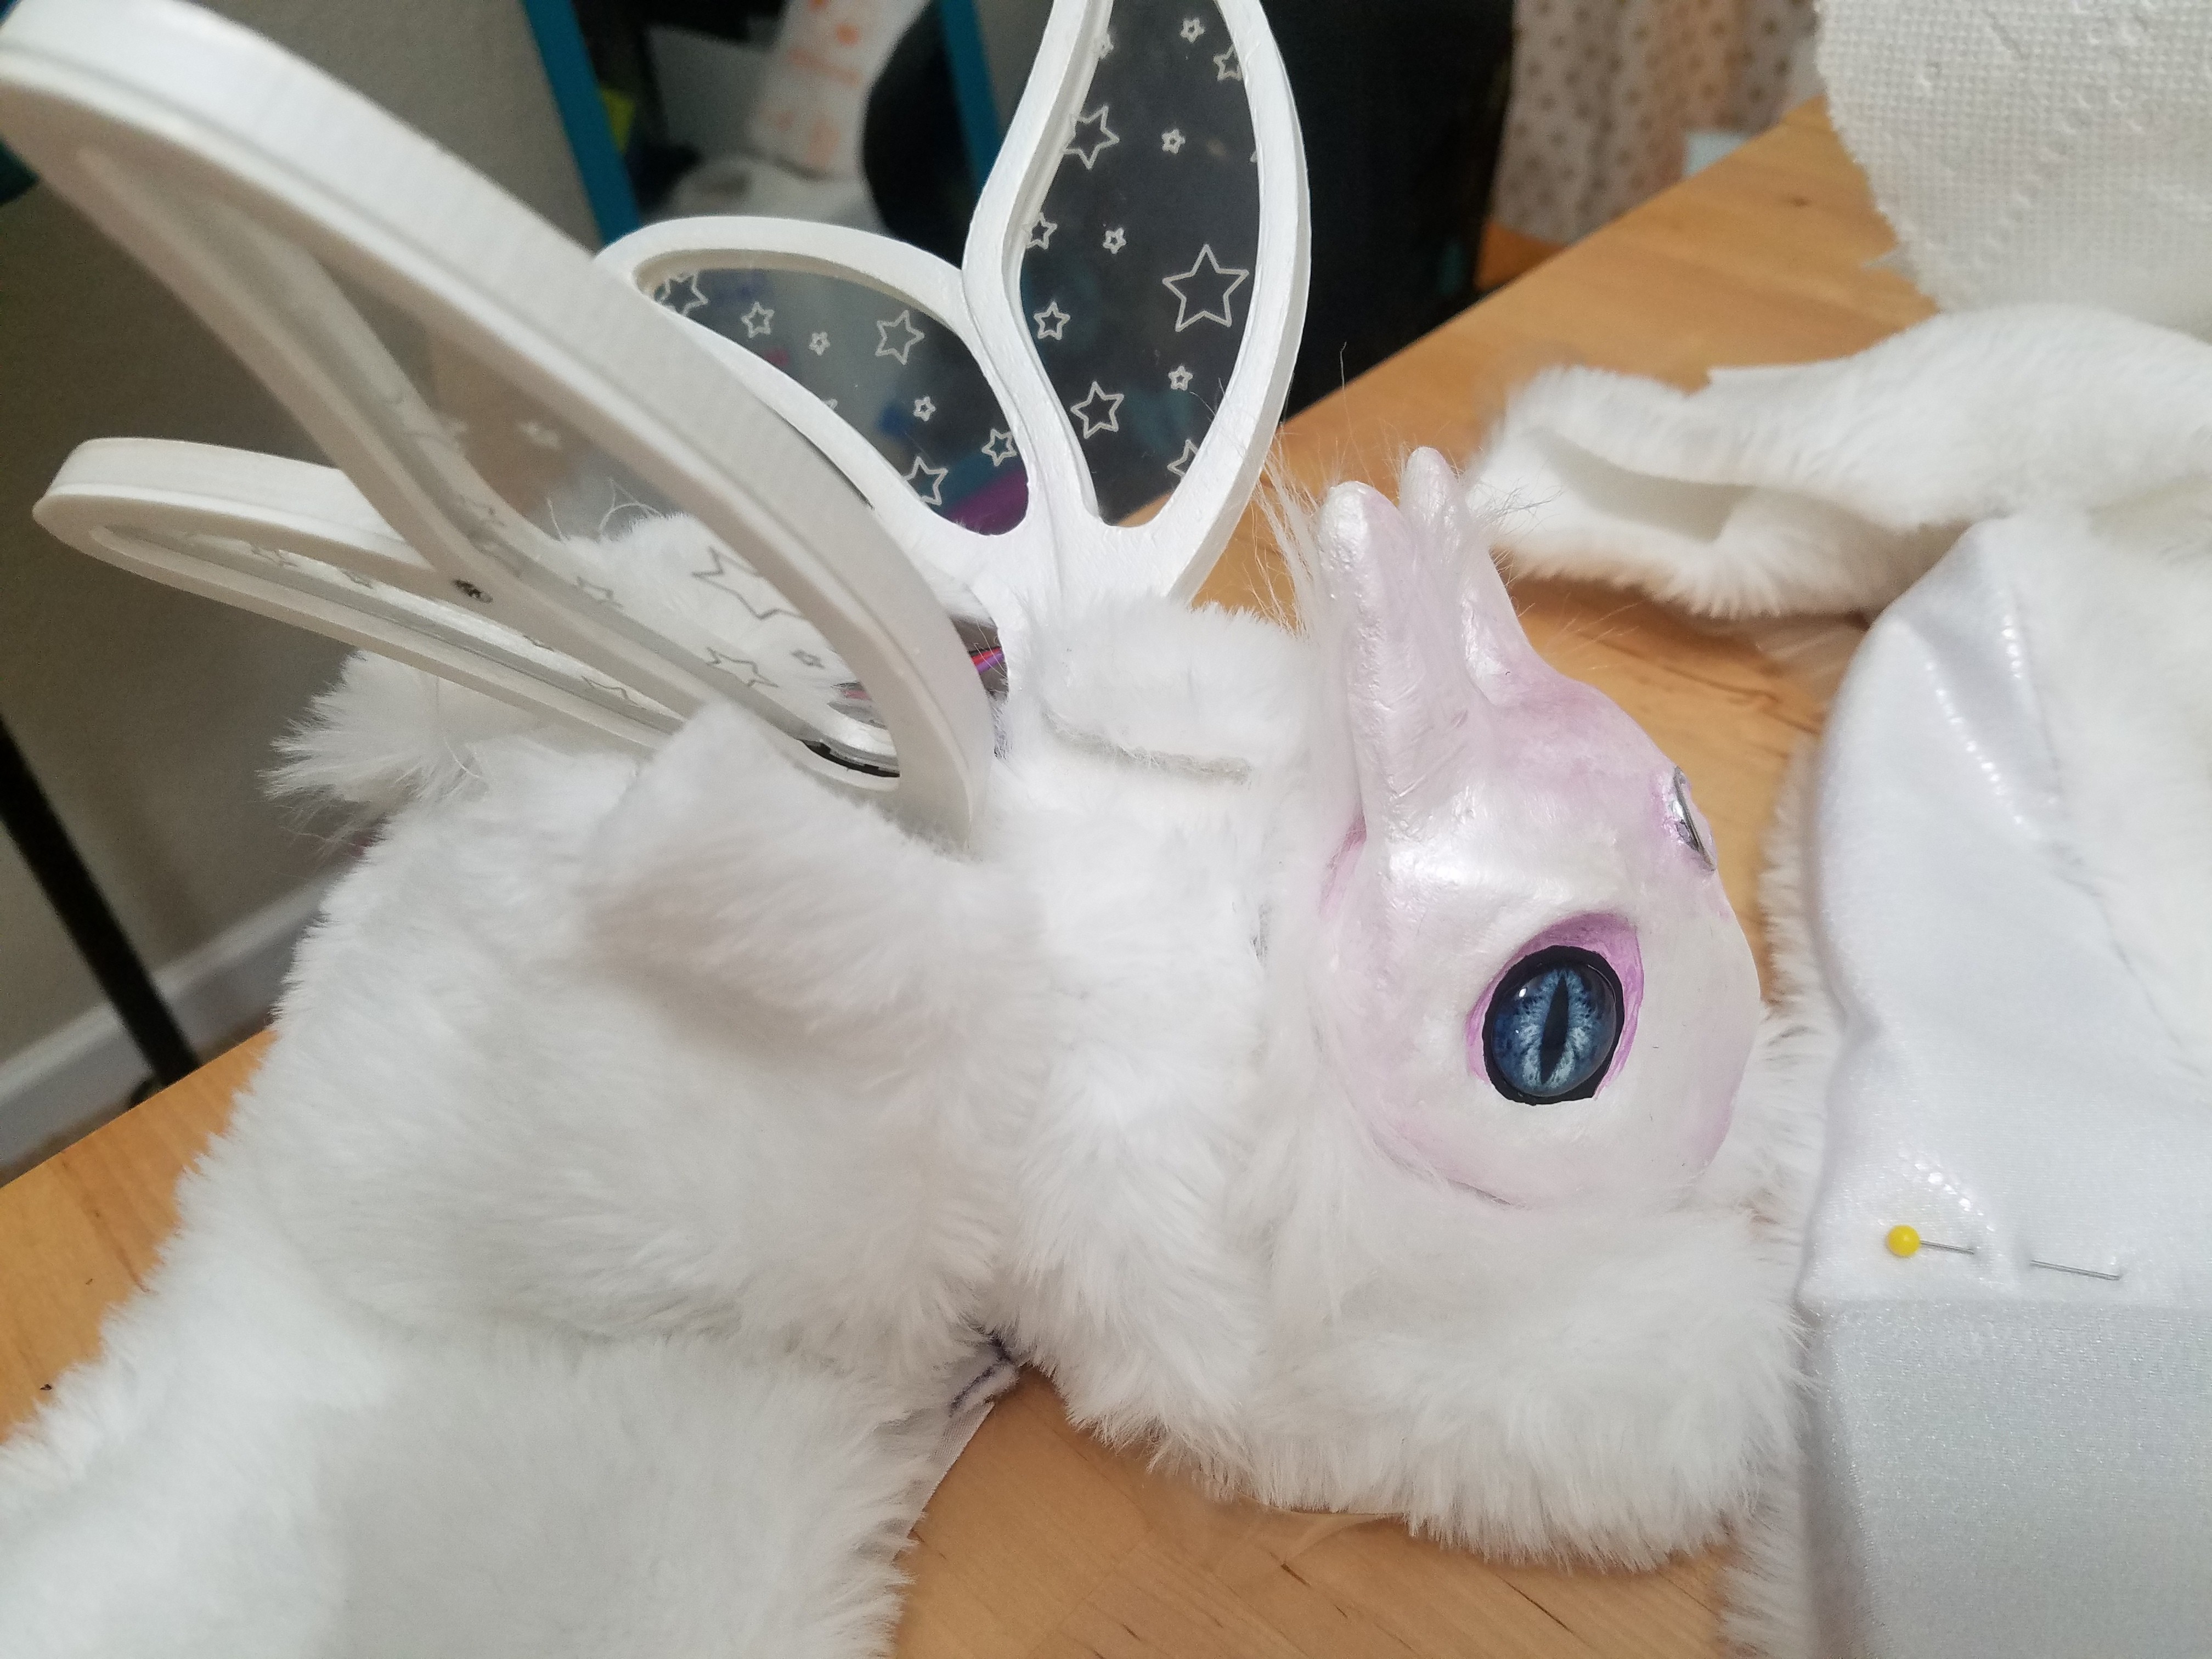
After pinning things in place, I began dividing up her body into sections that could velcro in place with a channel for her wings. The length of the fur helps disguise this space a bit.
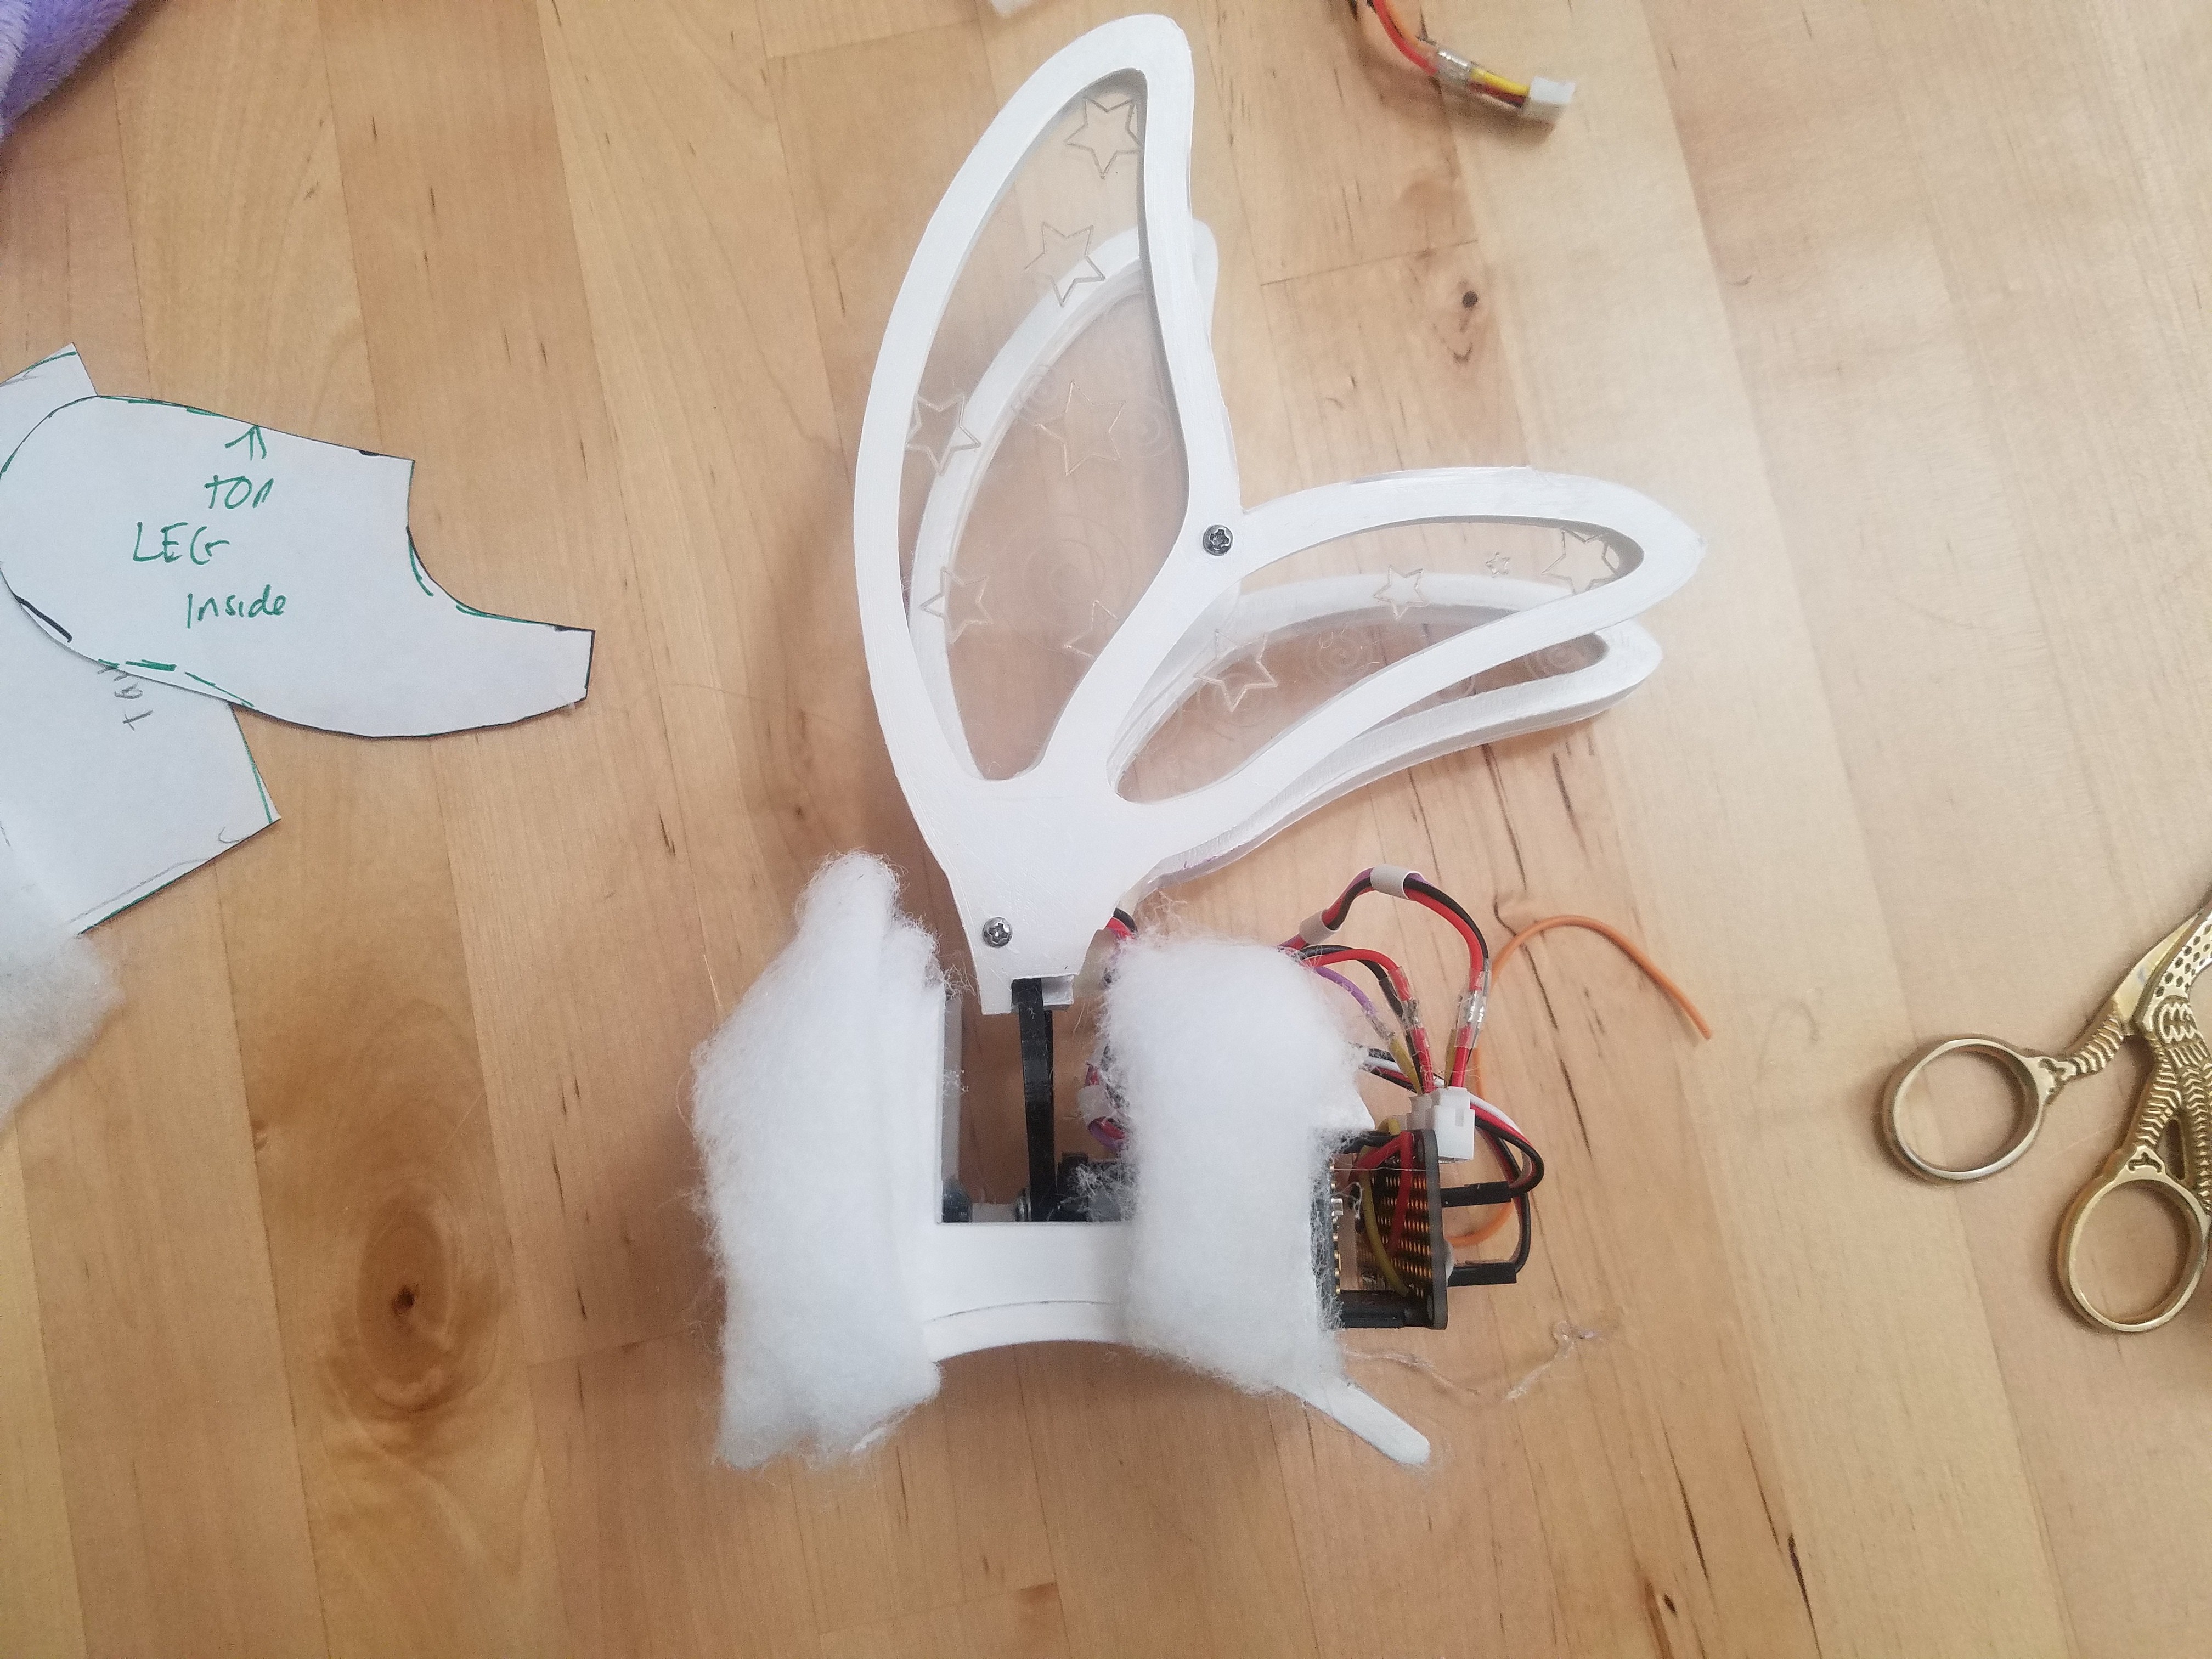
To add some bulk to her body without needing stuffing, I glued some batting directly on her 3D printed body.
![]()
A small panel of fur attaches along her spine after the sides of her body are velcroed in place to hide the base of the wings.
![]()
![]()
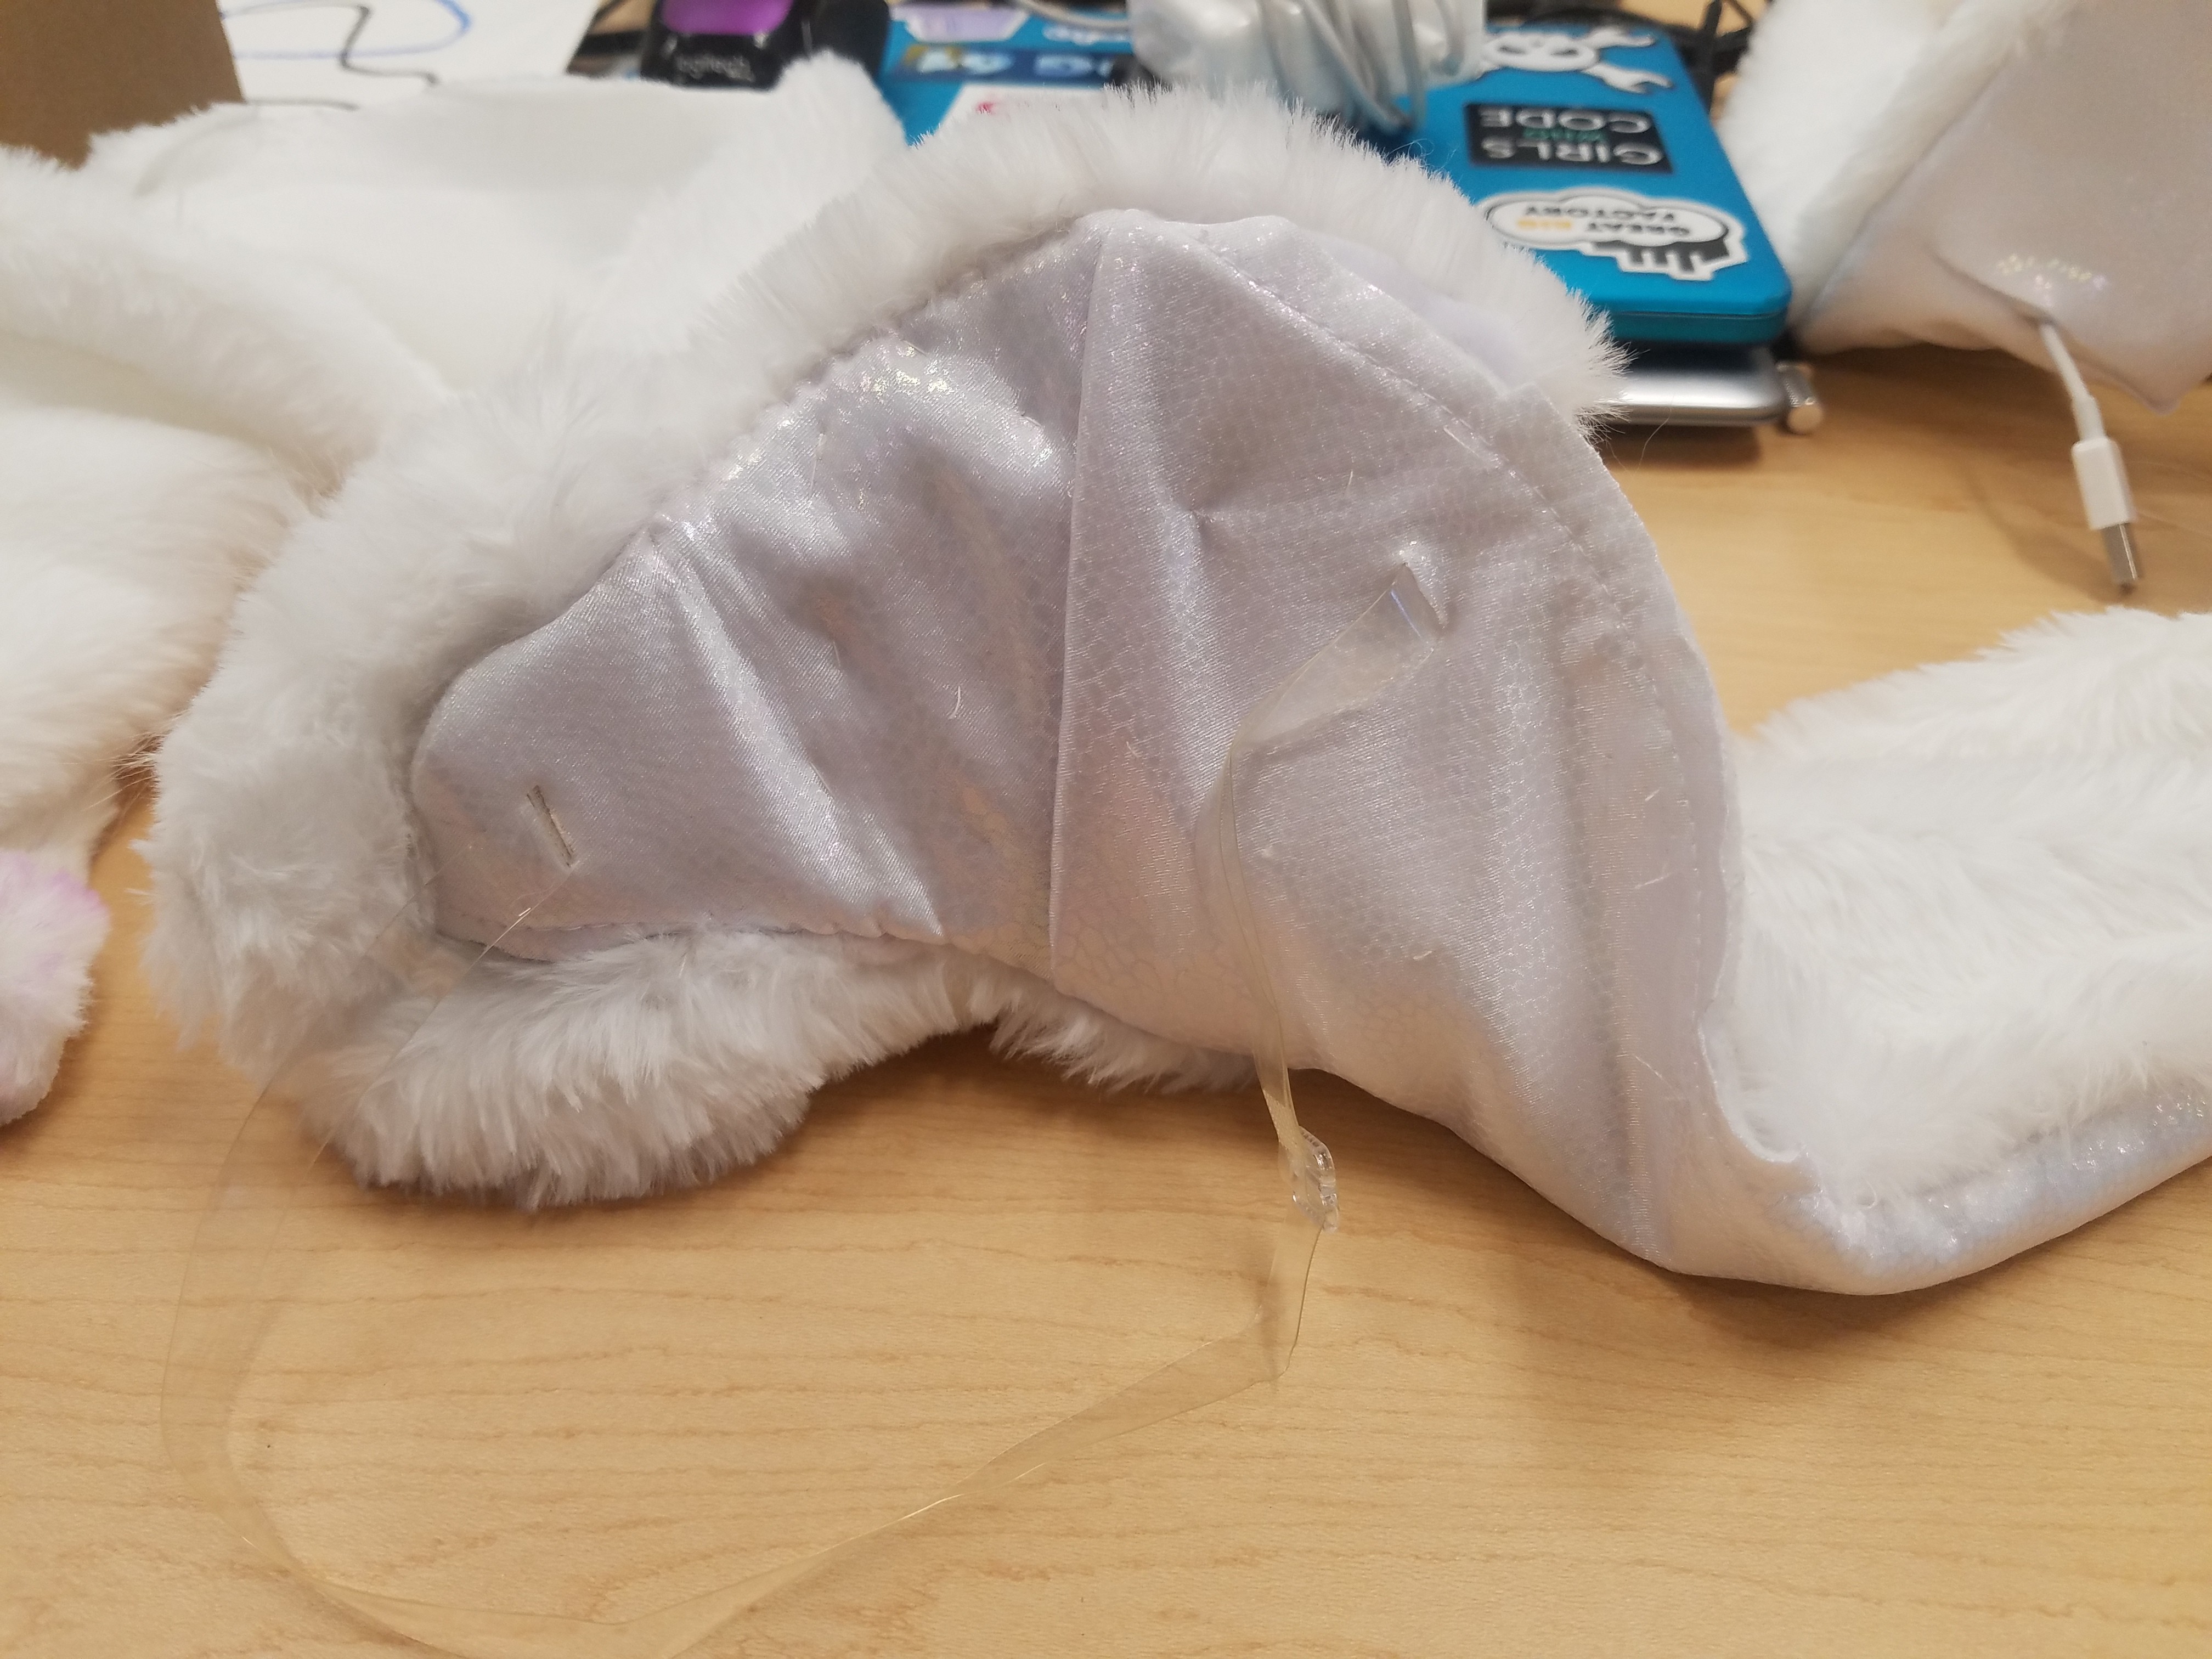
Finally there are two slits in her body where the elastic band feeds through to hold her on my shoulder. I spent a lot of time trying to think through how to design a low profile harness that would work with my dress, when the simplest solution ended up being a clear bra strap!
![]()
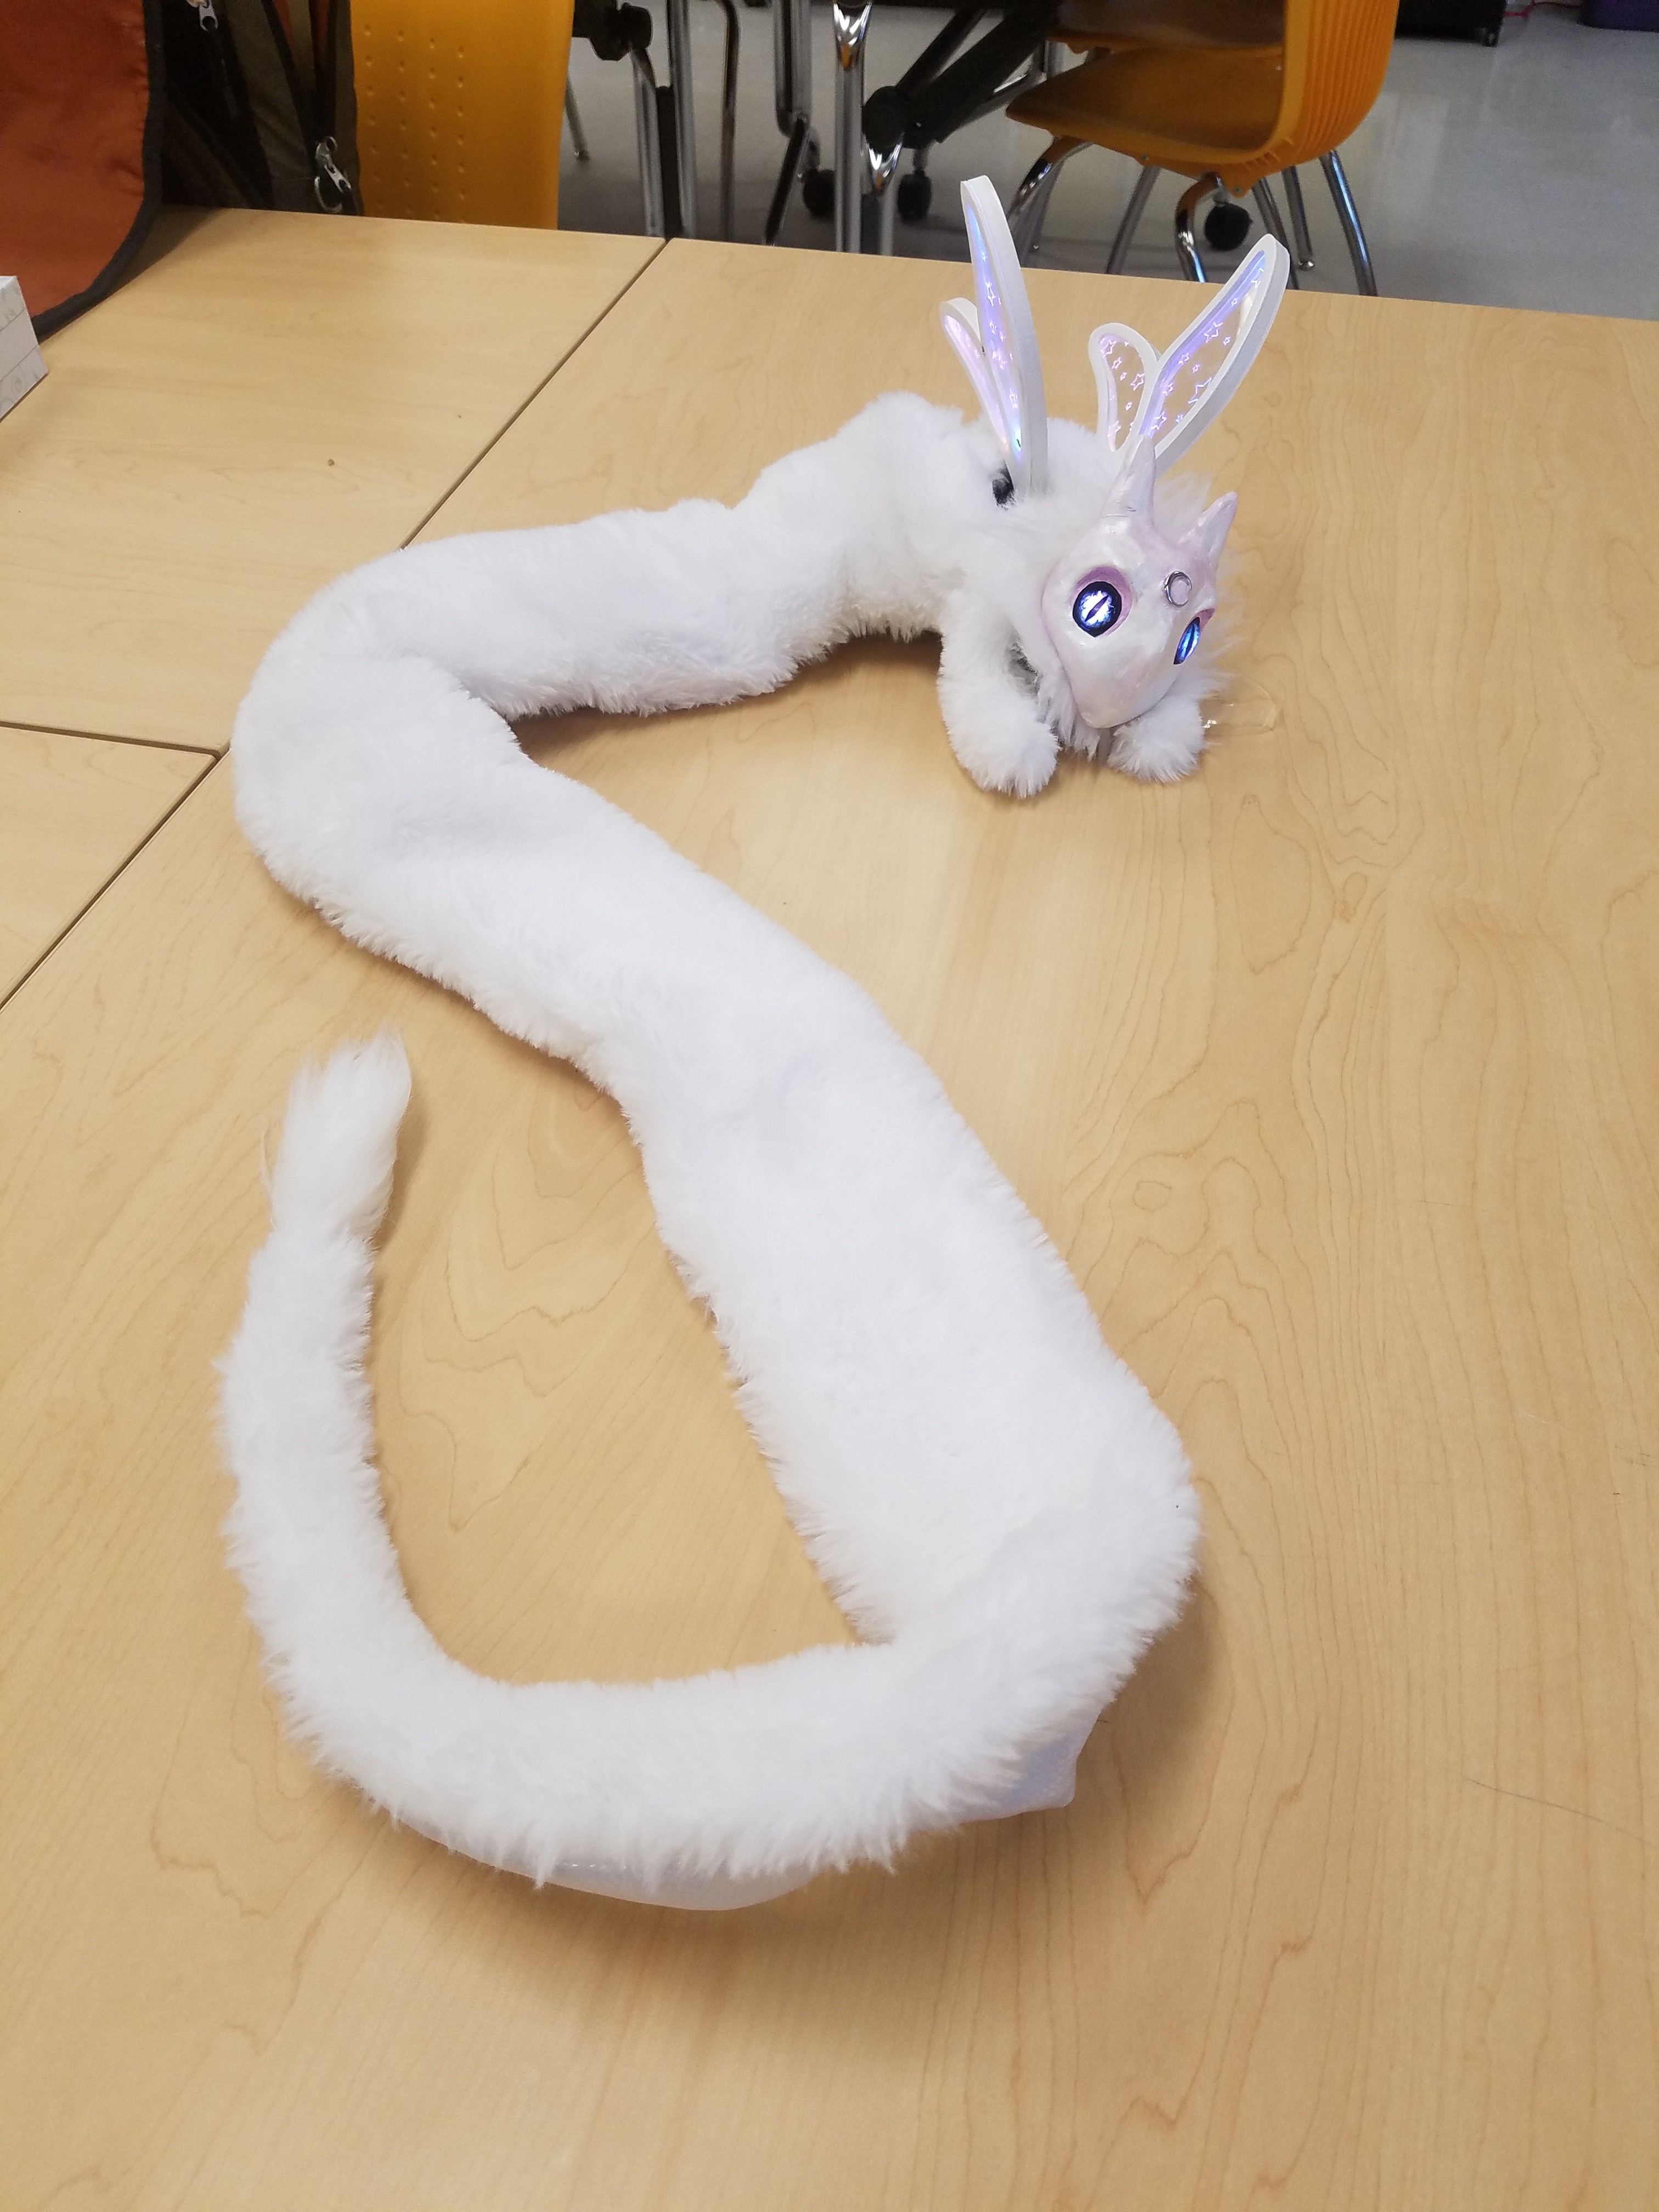
She is so light weight that it is sturdy enough to steady her when combined with the counter balance of her long tail and battery pack. I was very pleased to discover how much freedom of movement this gave me while wearing her.
![]()
![]()
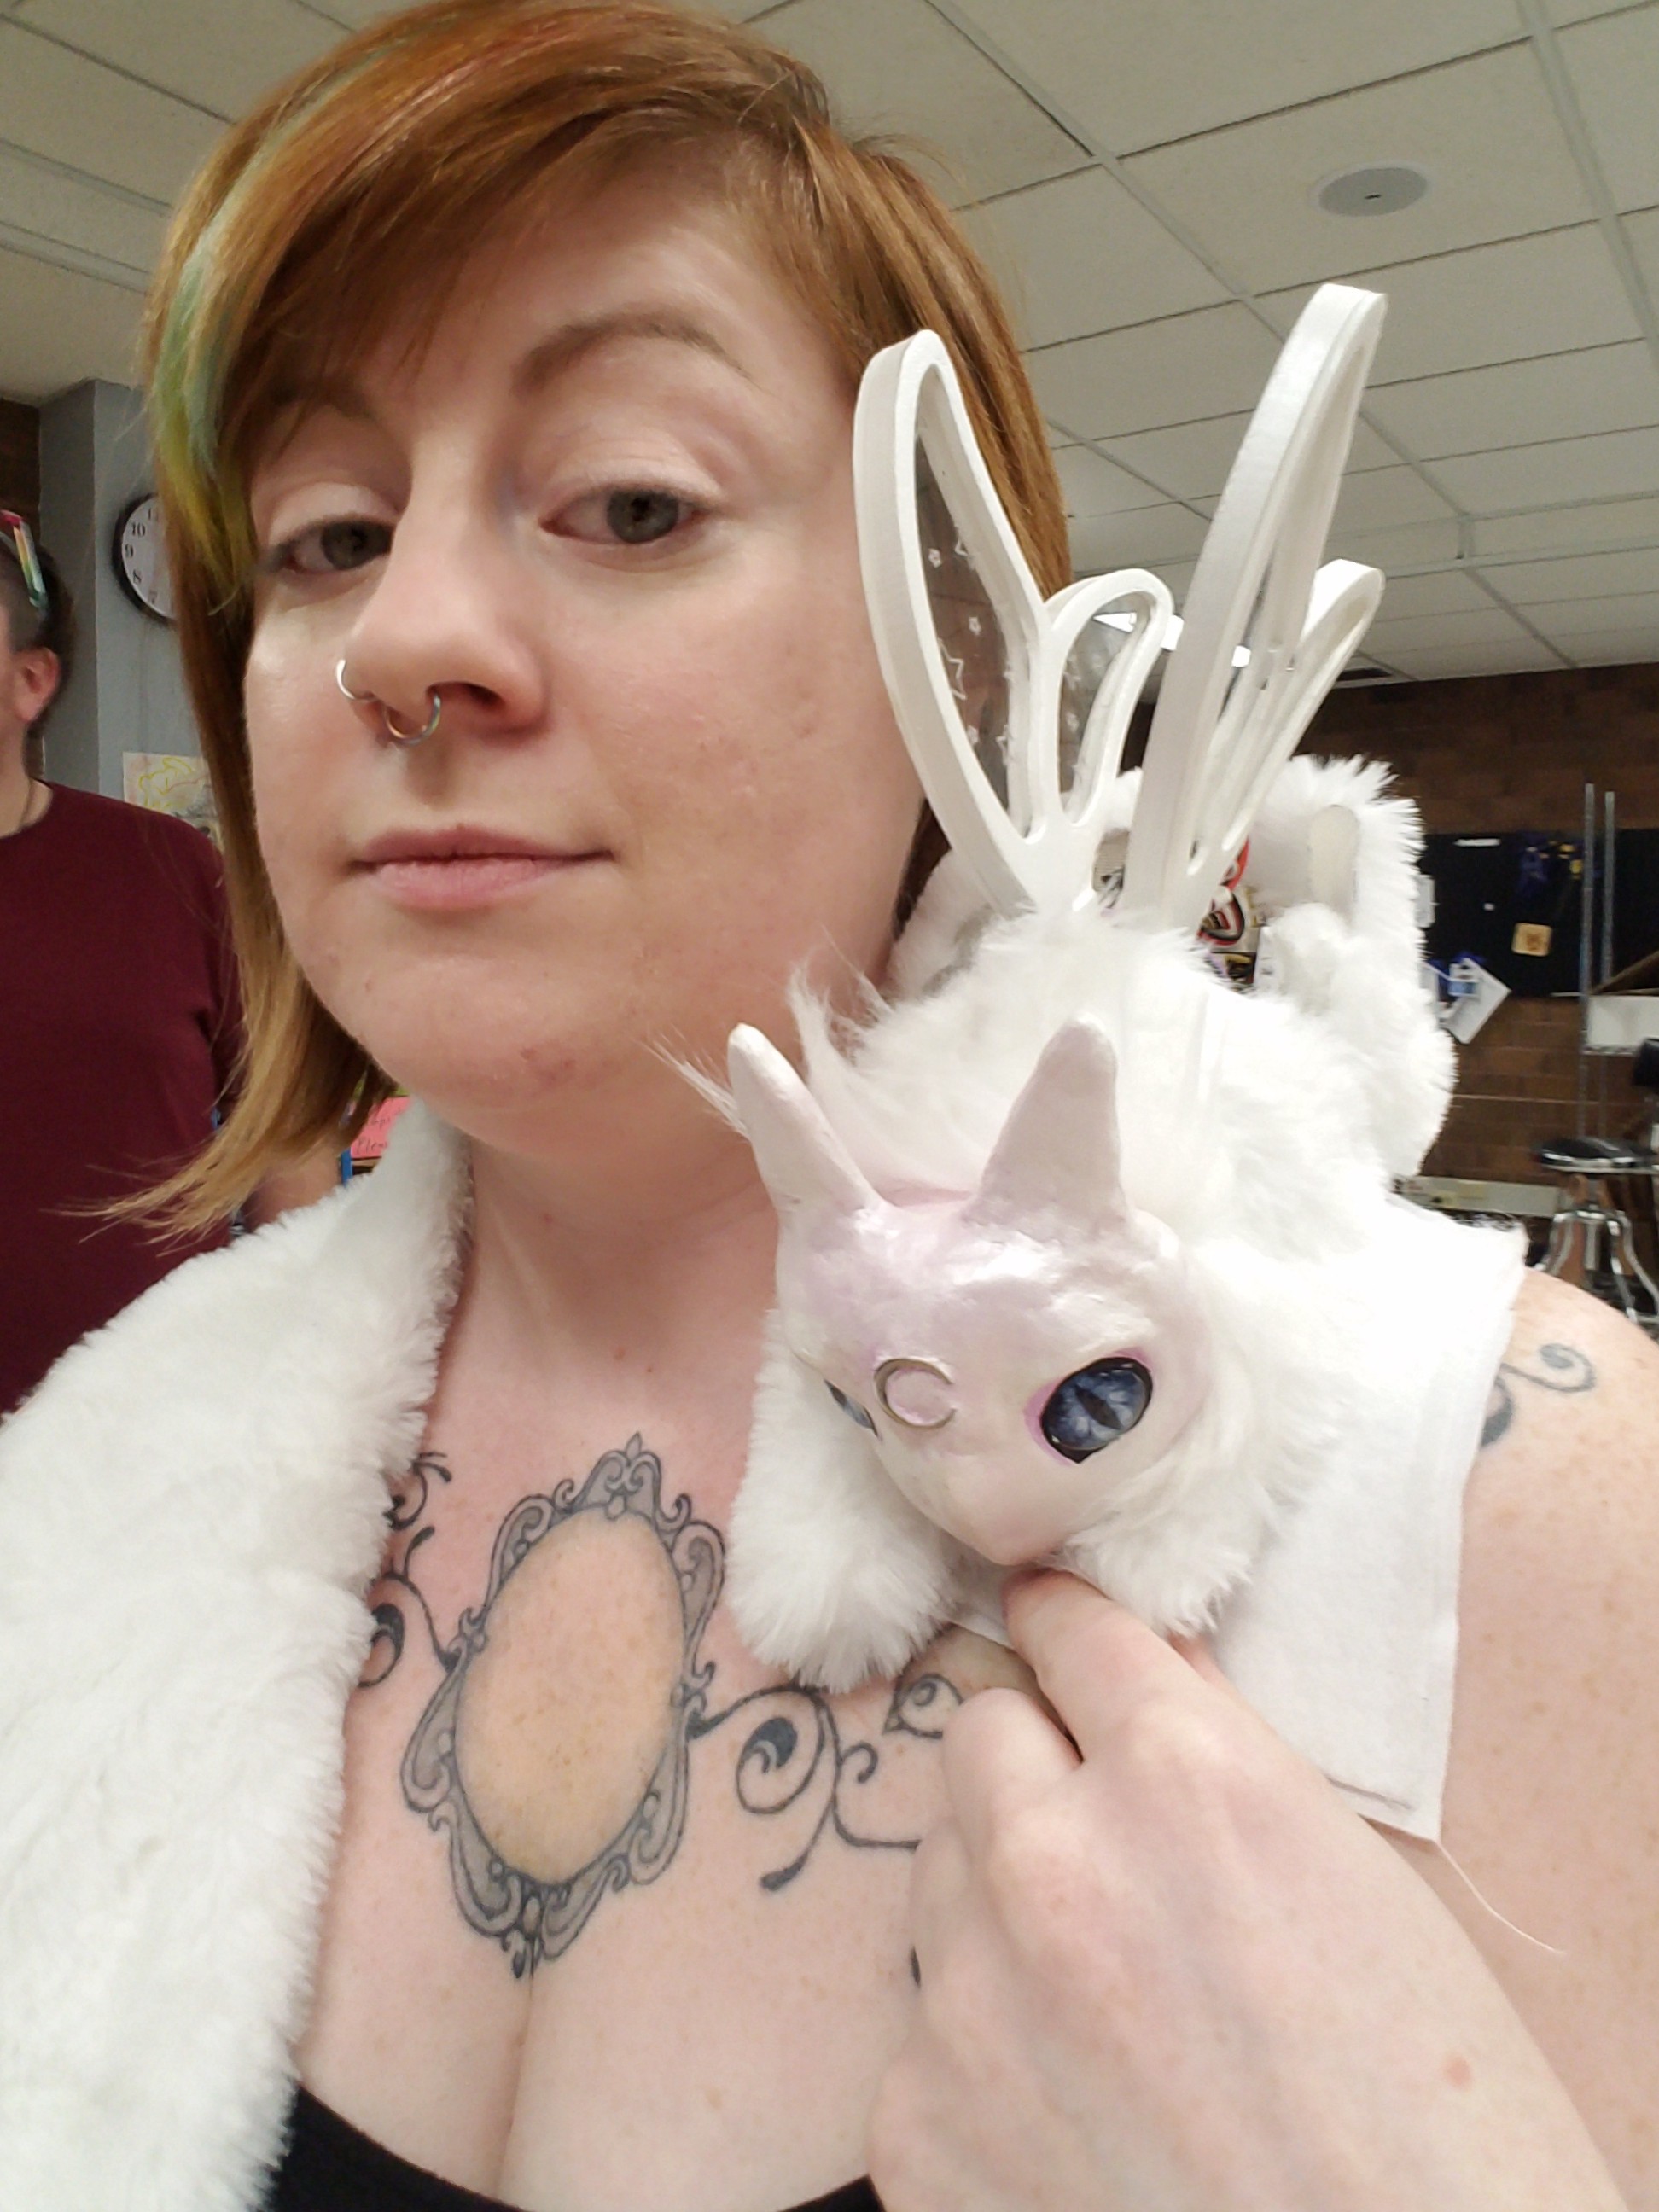
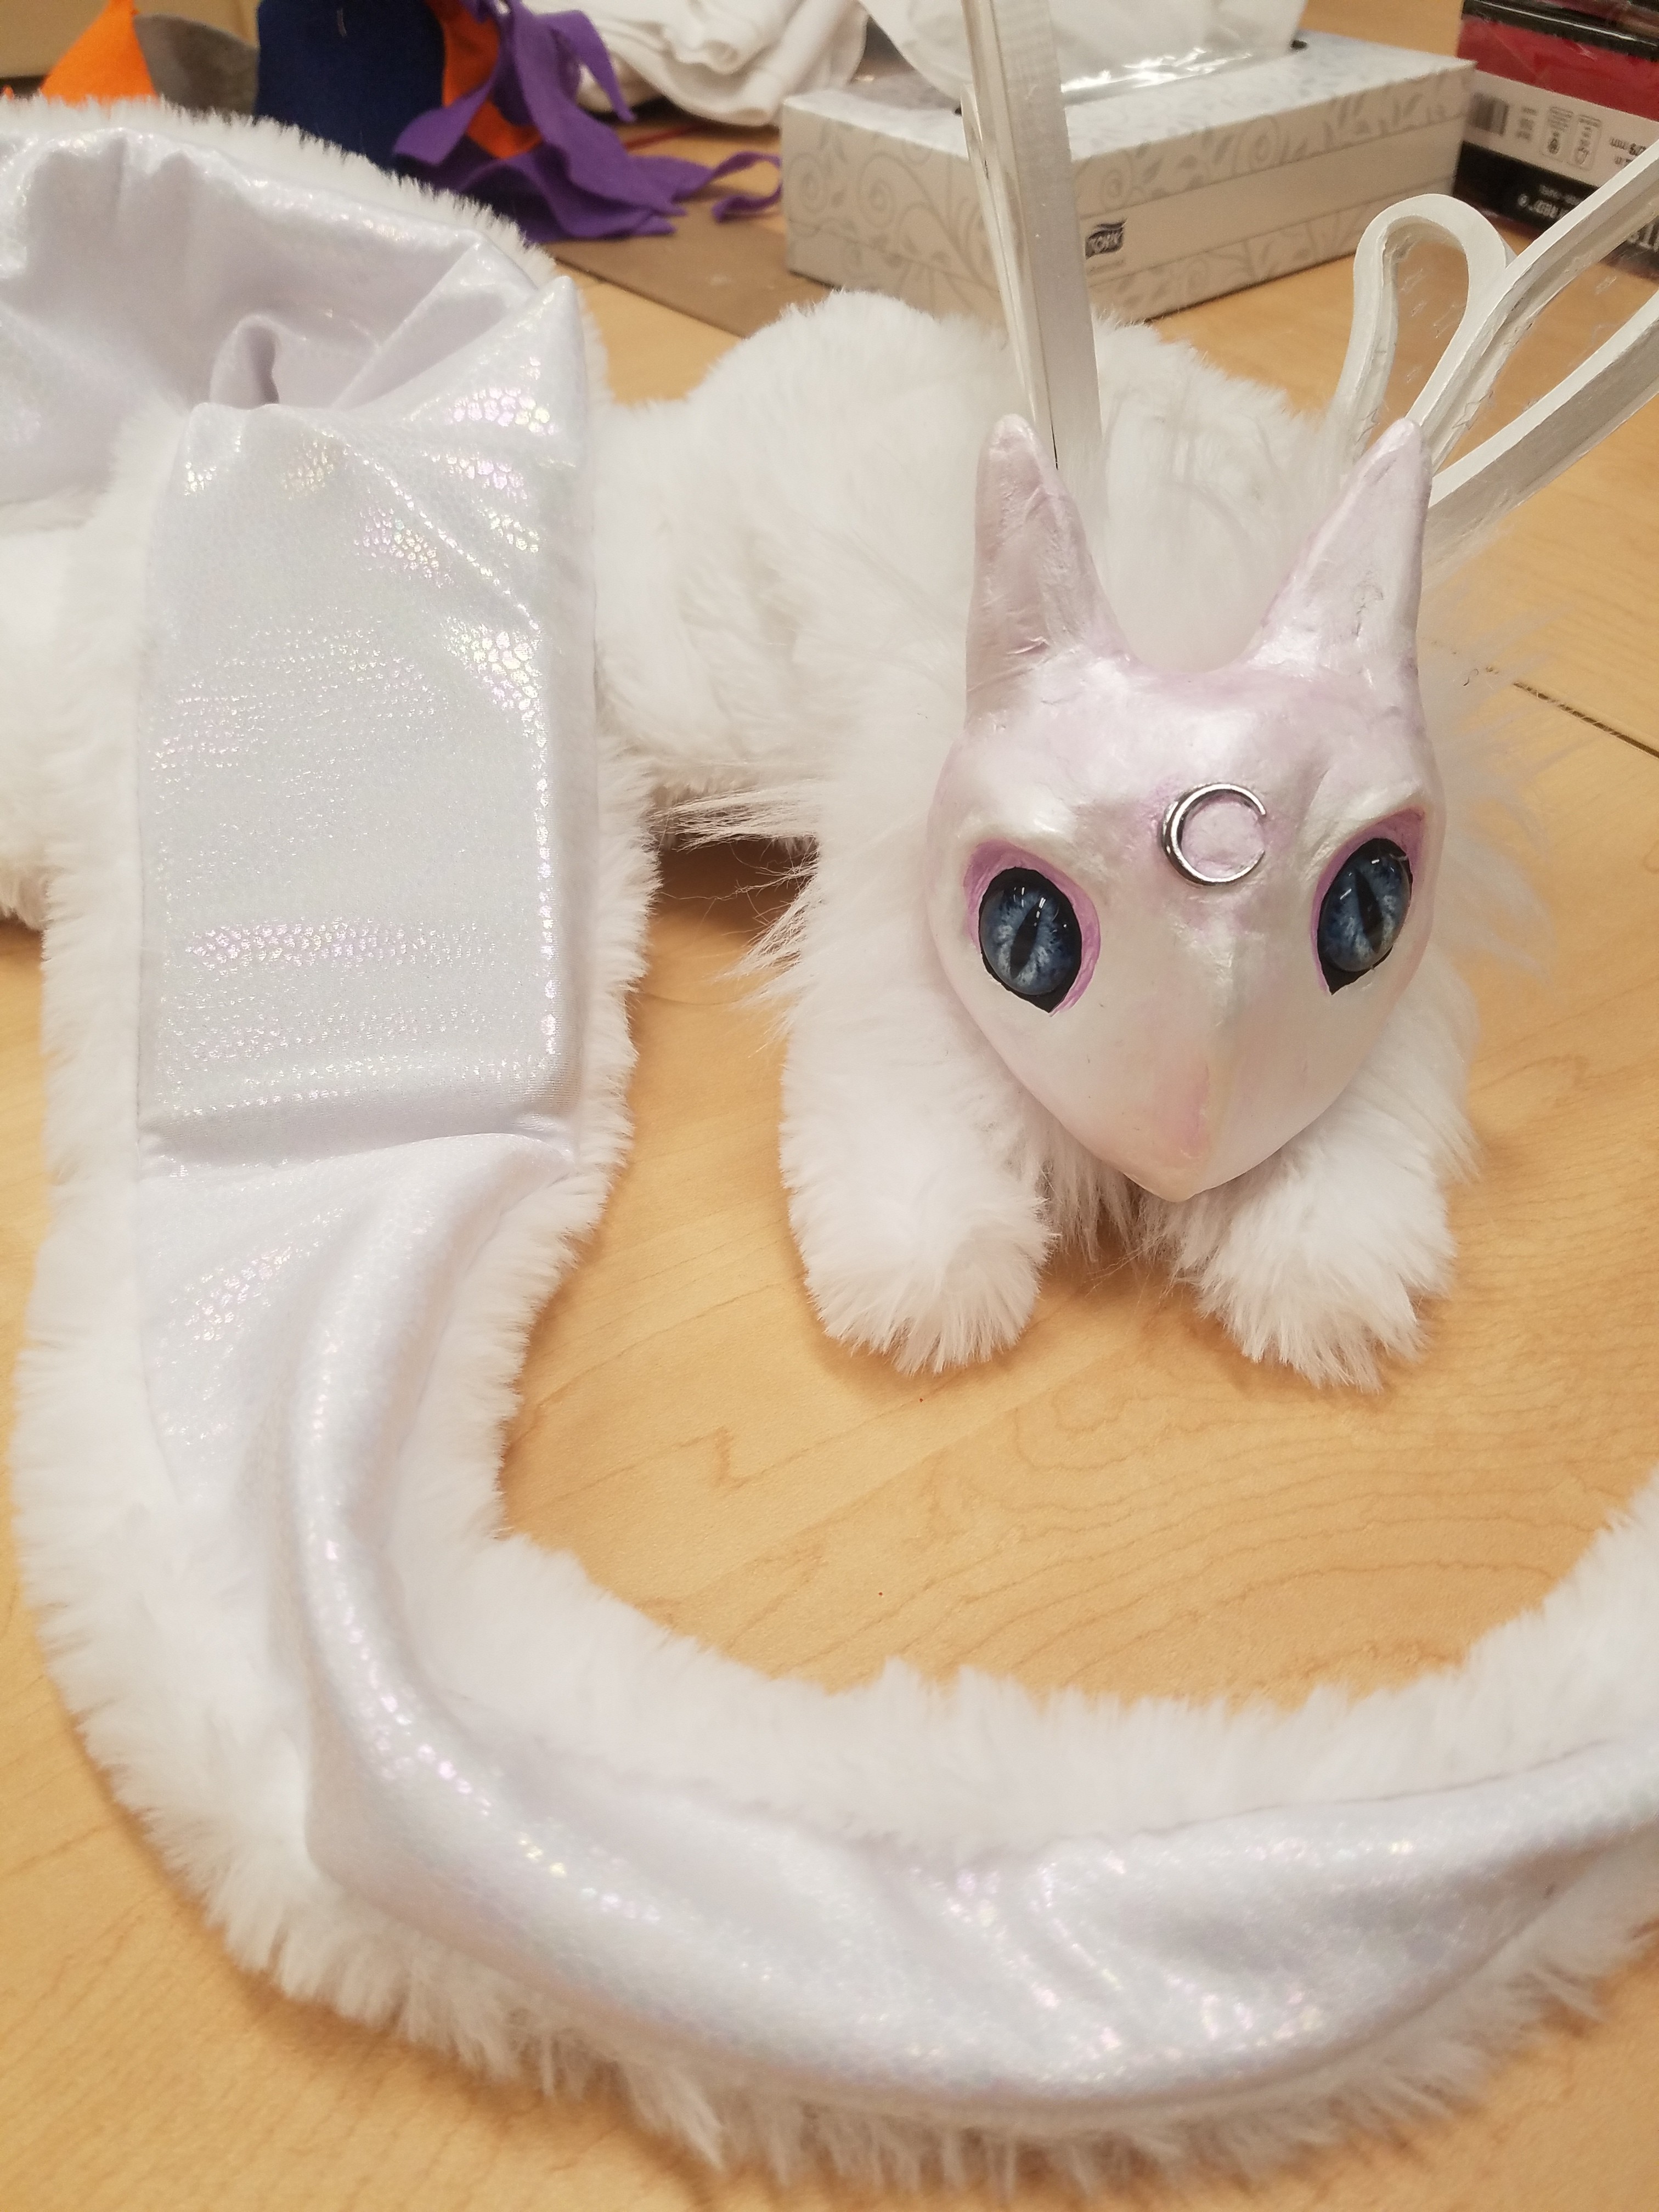
Once I started putting together her fur body/tail is when she really started having a personality. I spent some time working on her during our makerspace's open lab time and some of the kids who frequented the space began petting her and visiting her daily. Once this began happening I knew I had created a compelling creature!
![]()
-
Designing a Face
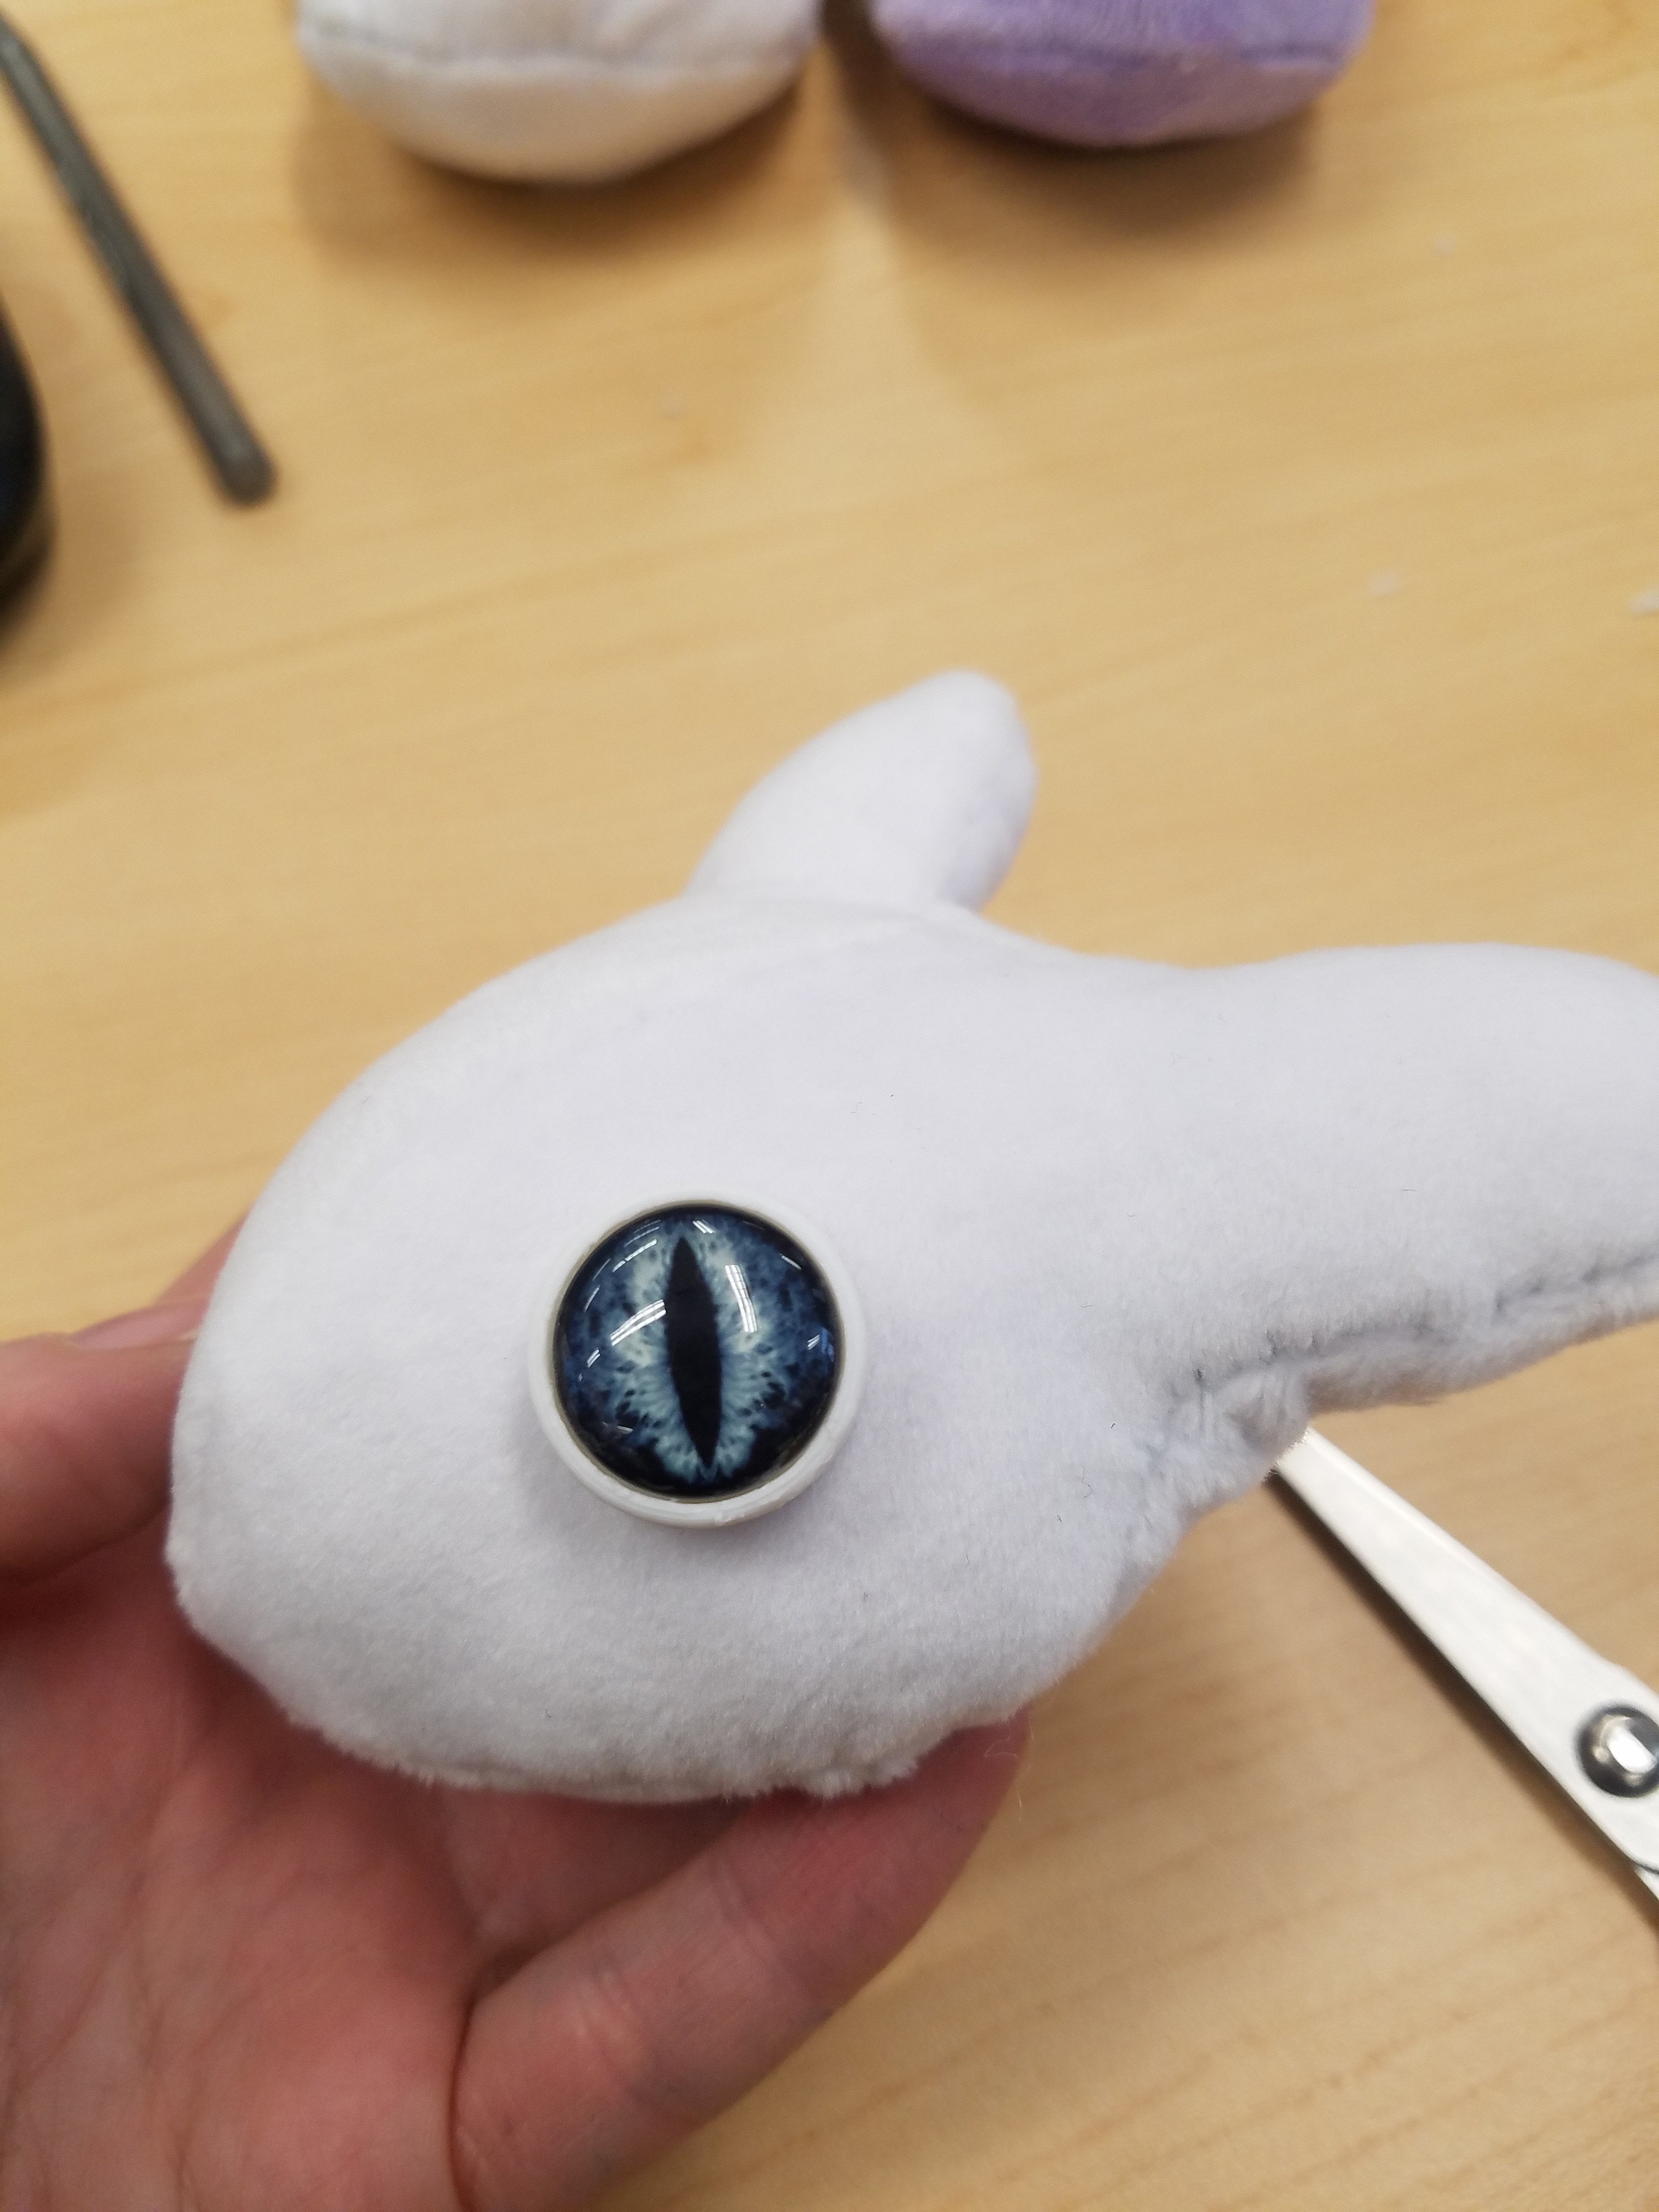
05/10/2020 at 20:38 • 0 commentsThe process of creating Nova's face began with some trial and error of designing a plush face, modeled partly after the character Toothless from the How to Train Your Dragon series.
![]()
After disappointment with the way my fabric selections looked in prototypes and worry that a stuffed face would be hard to mount and stabilize, I turned to sculpture.
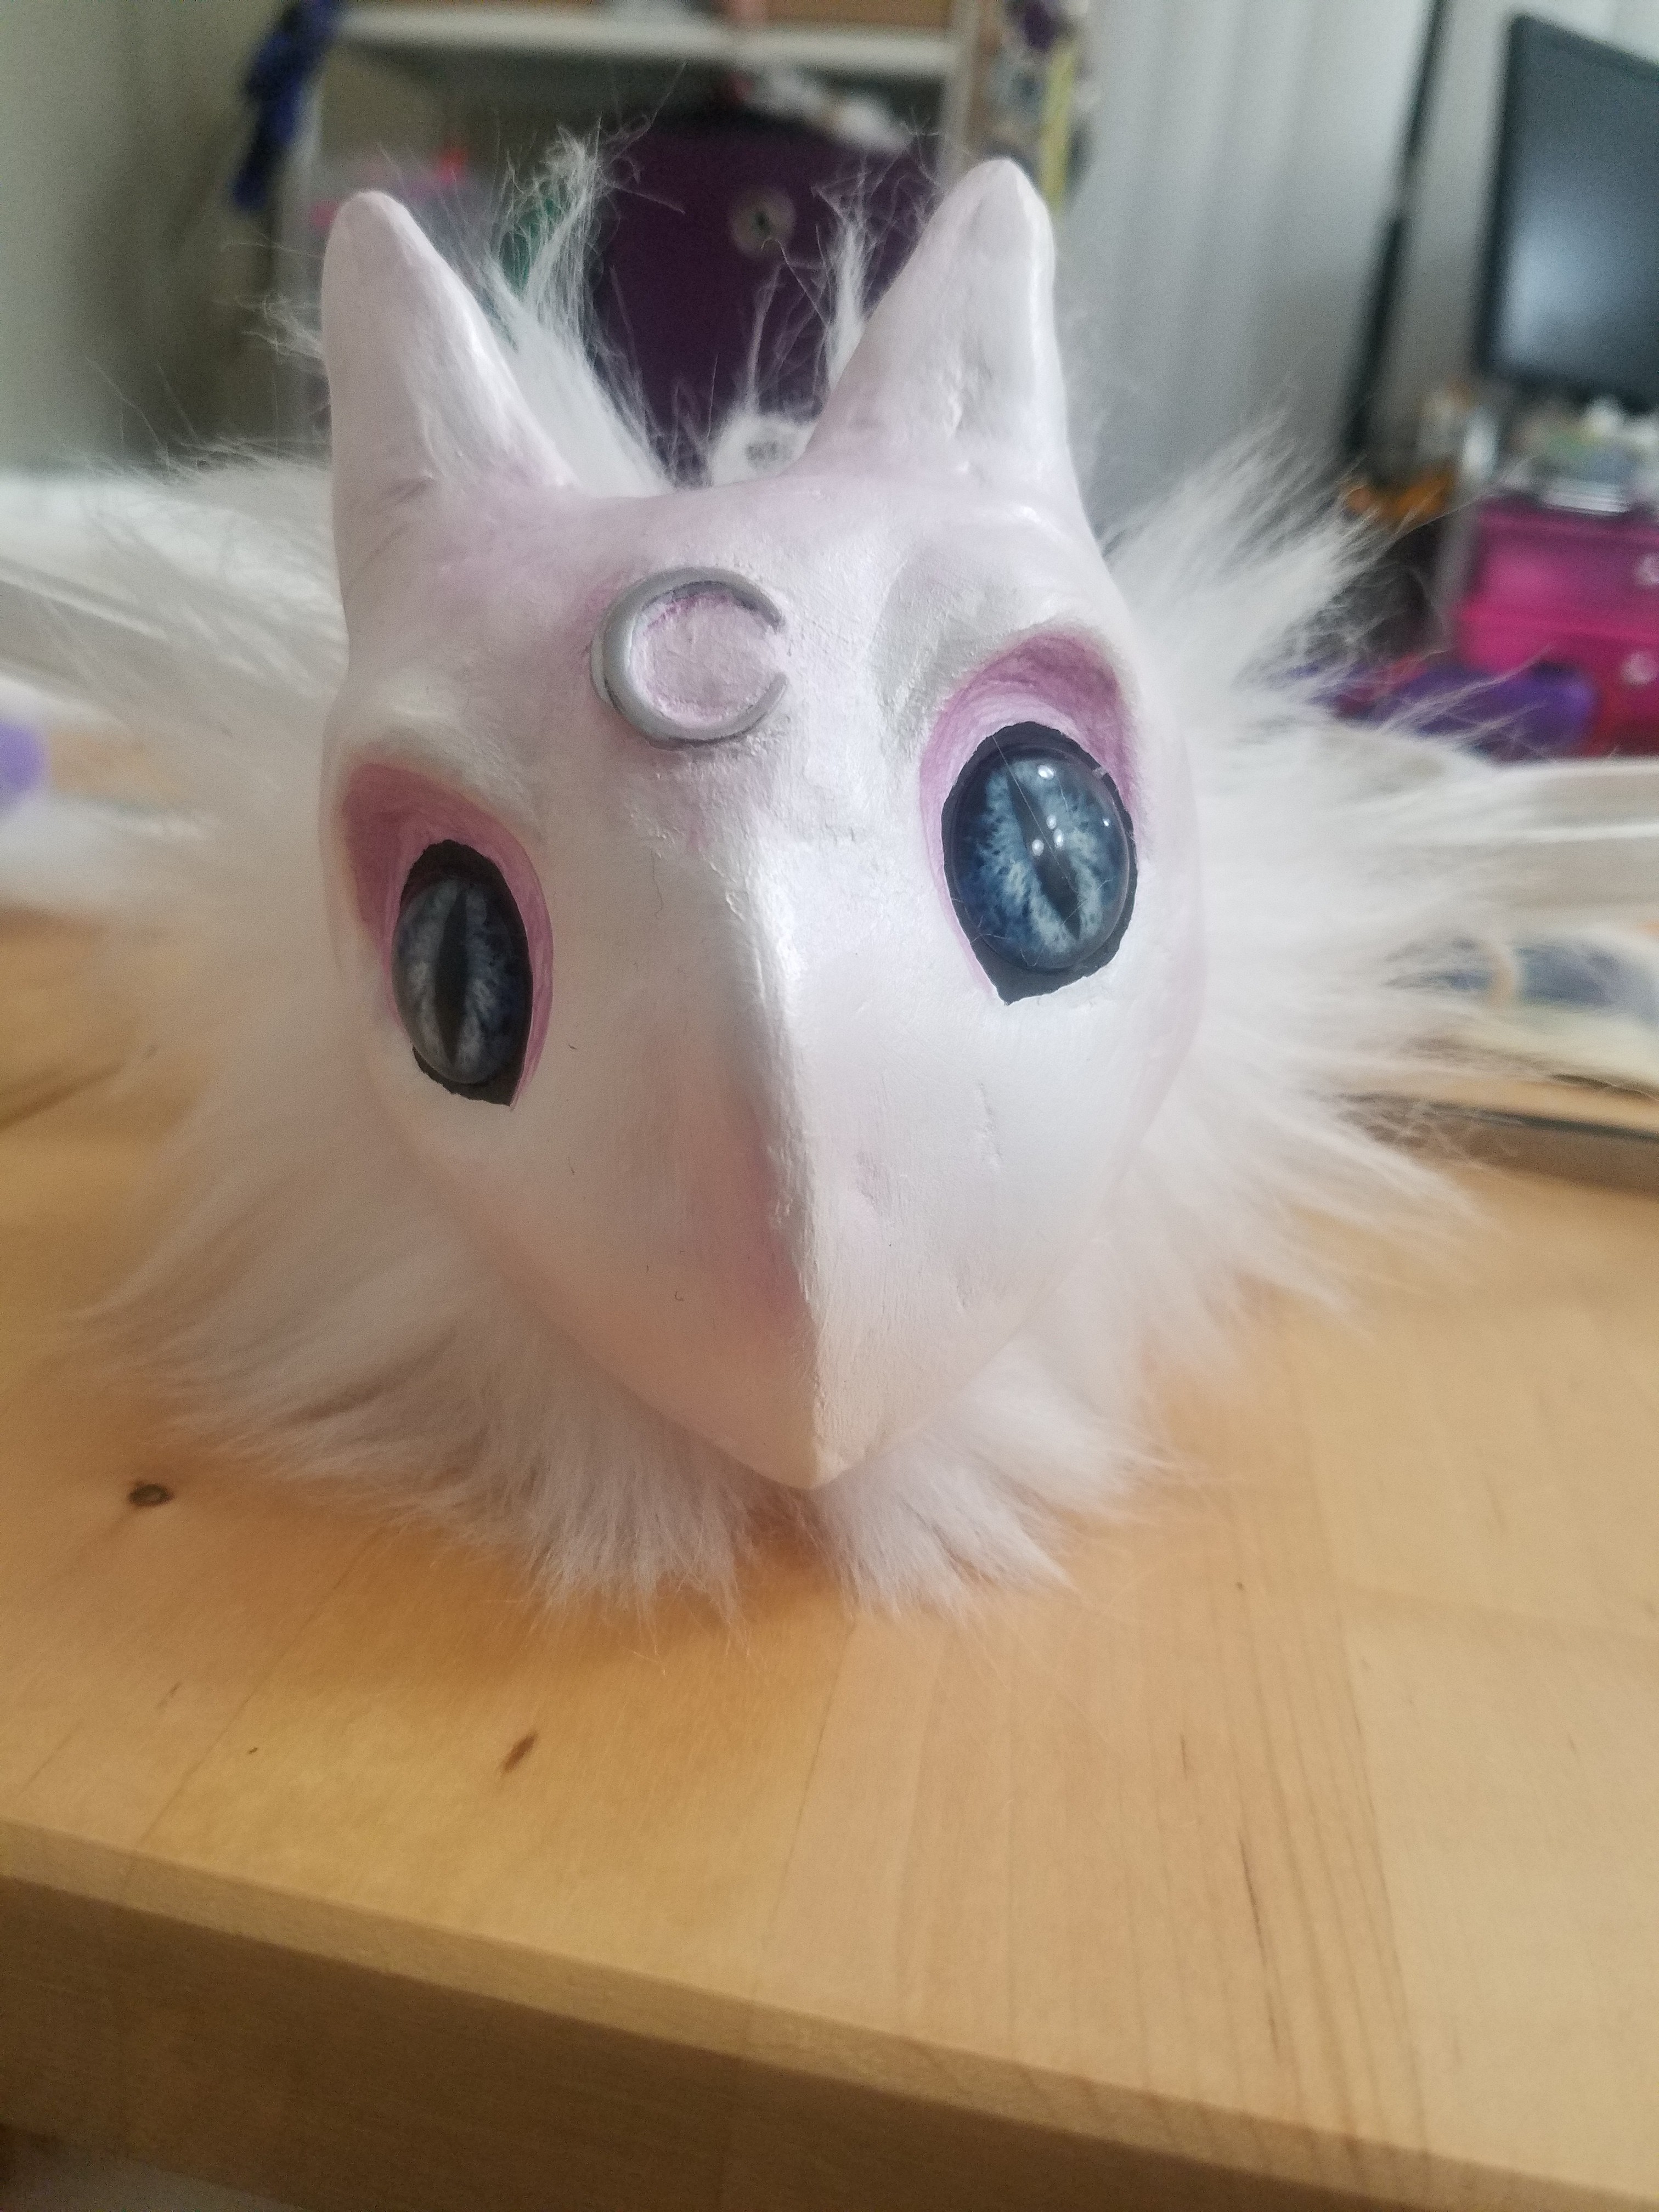
---------- more ----------To create Nova's face, I decided on a hand-sculpted look. Up until this point, most of my 3D modeling and prototyping experience was mechanical instead of organic shapes; traditional sculpting would be easier and faster for me. It also ended up making her face feel more natural and lifelike when placed with the fur.
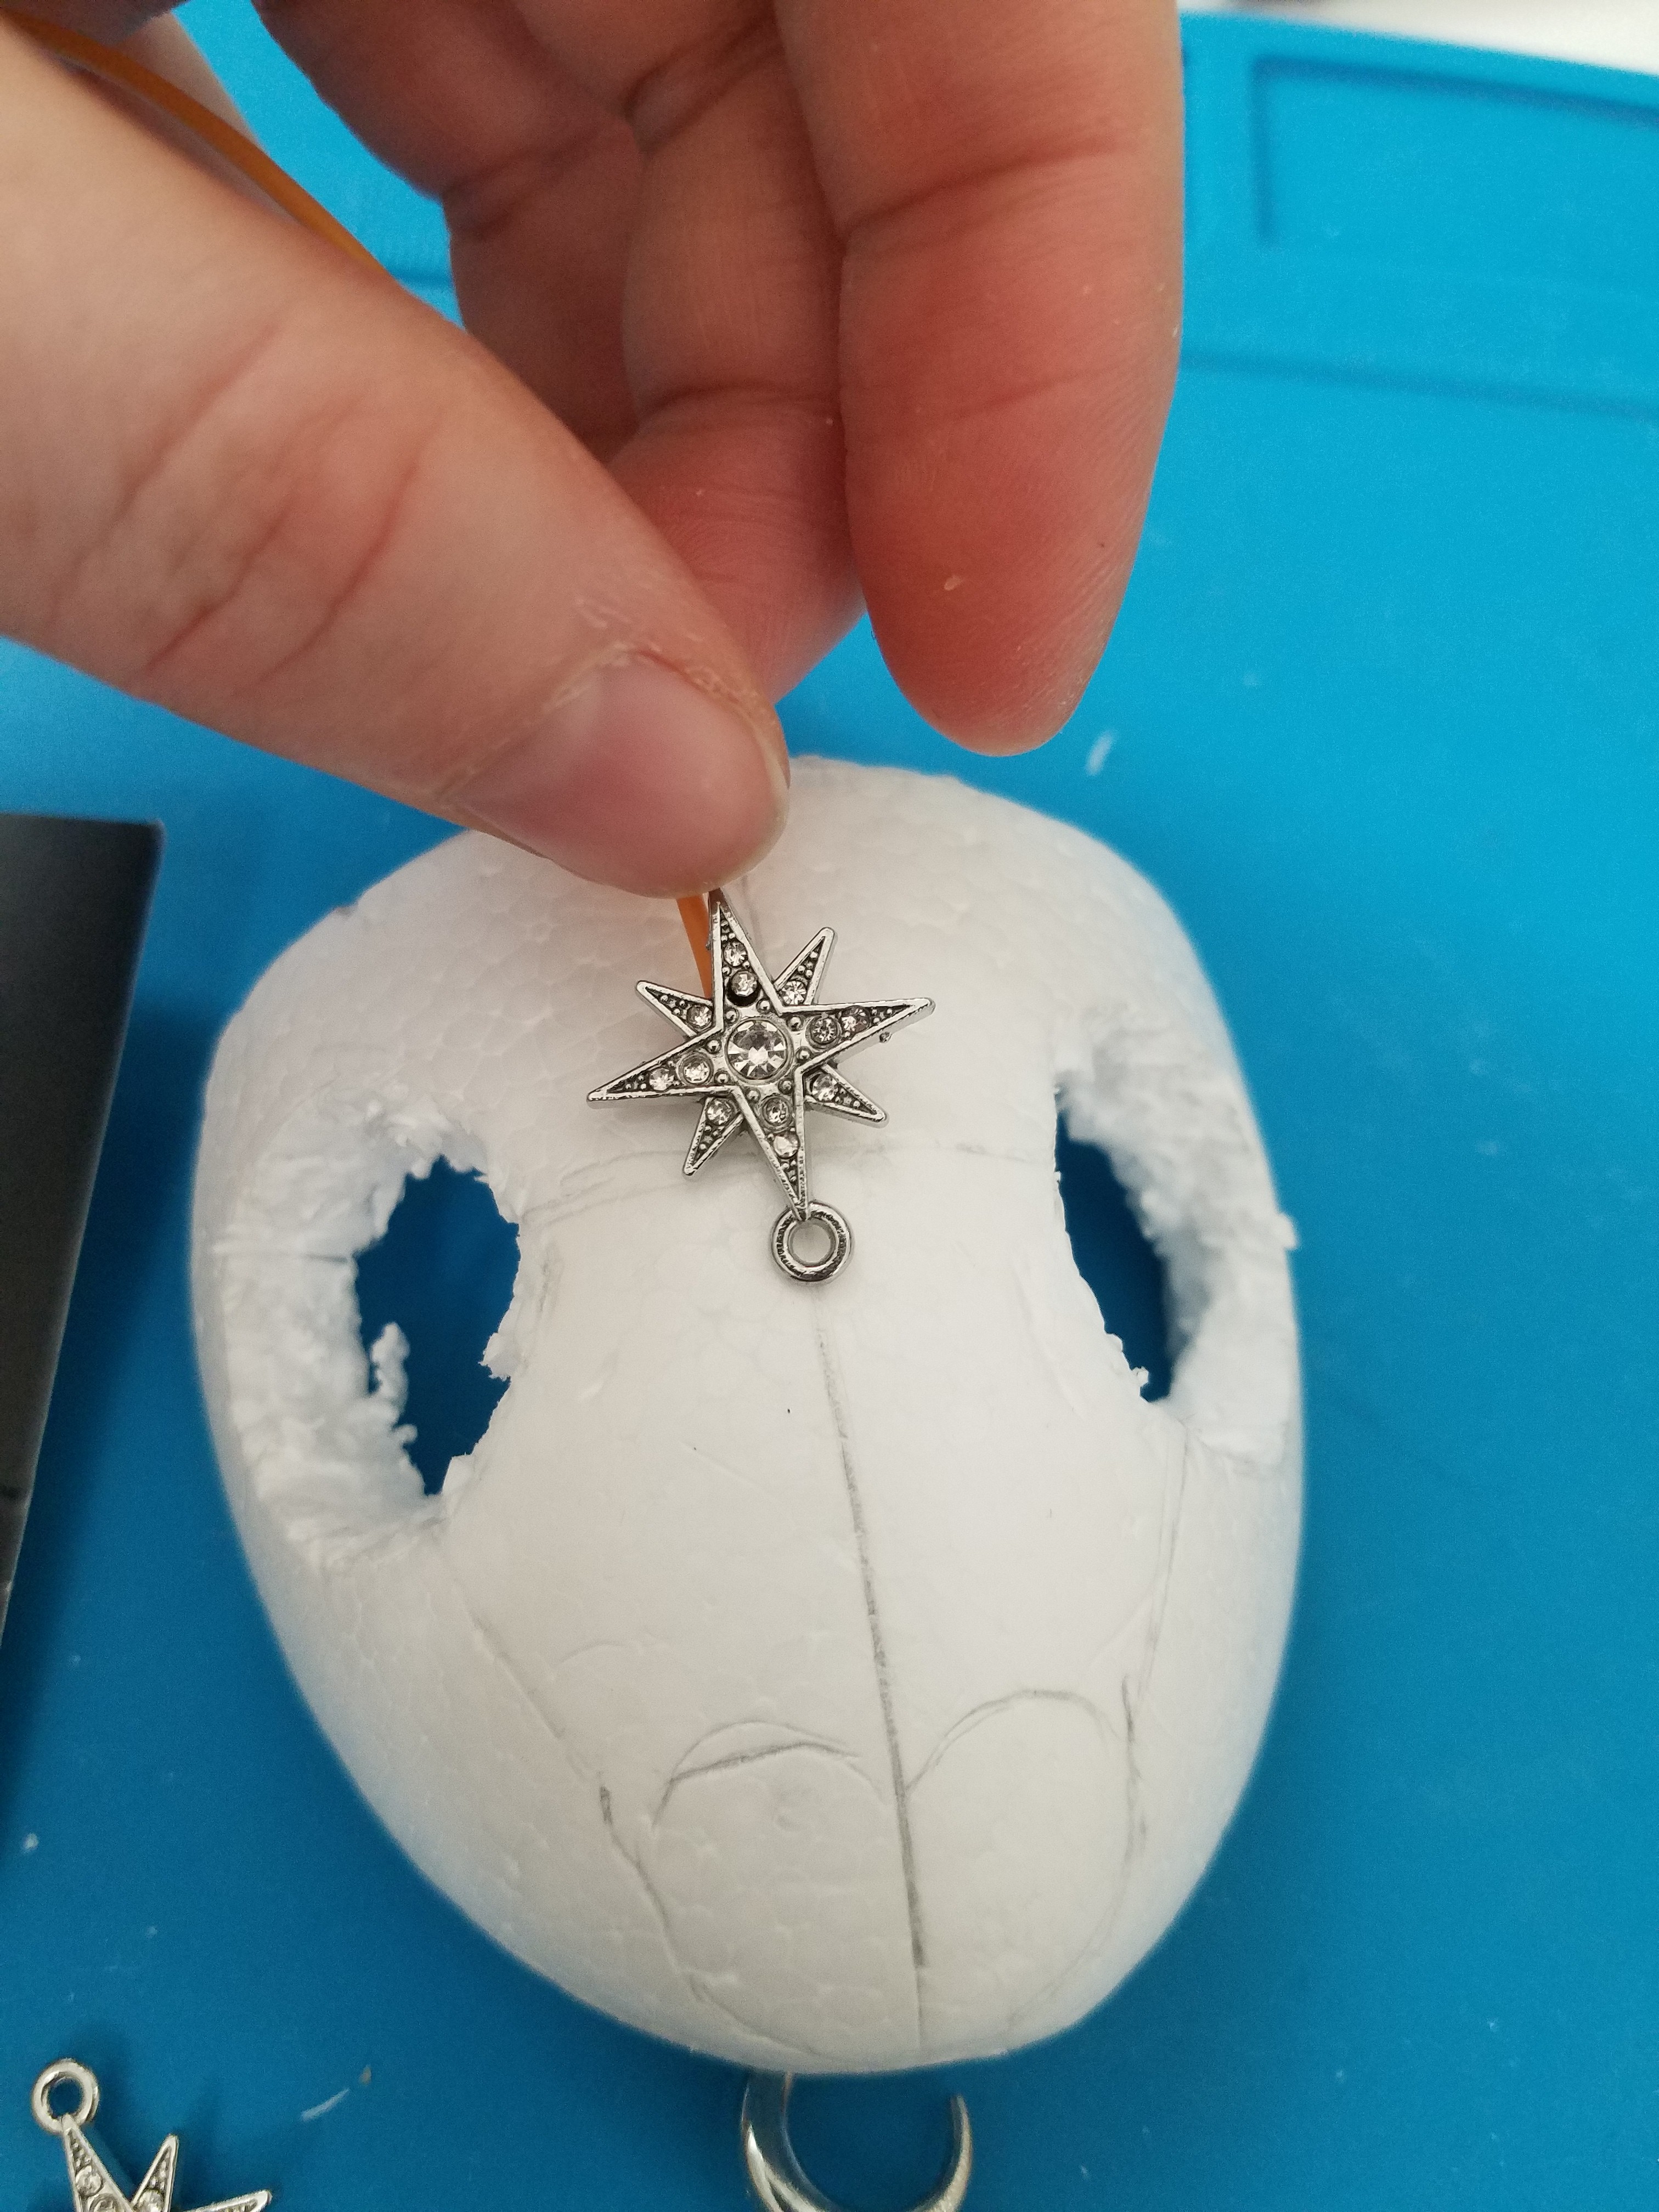
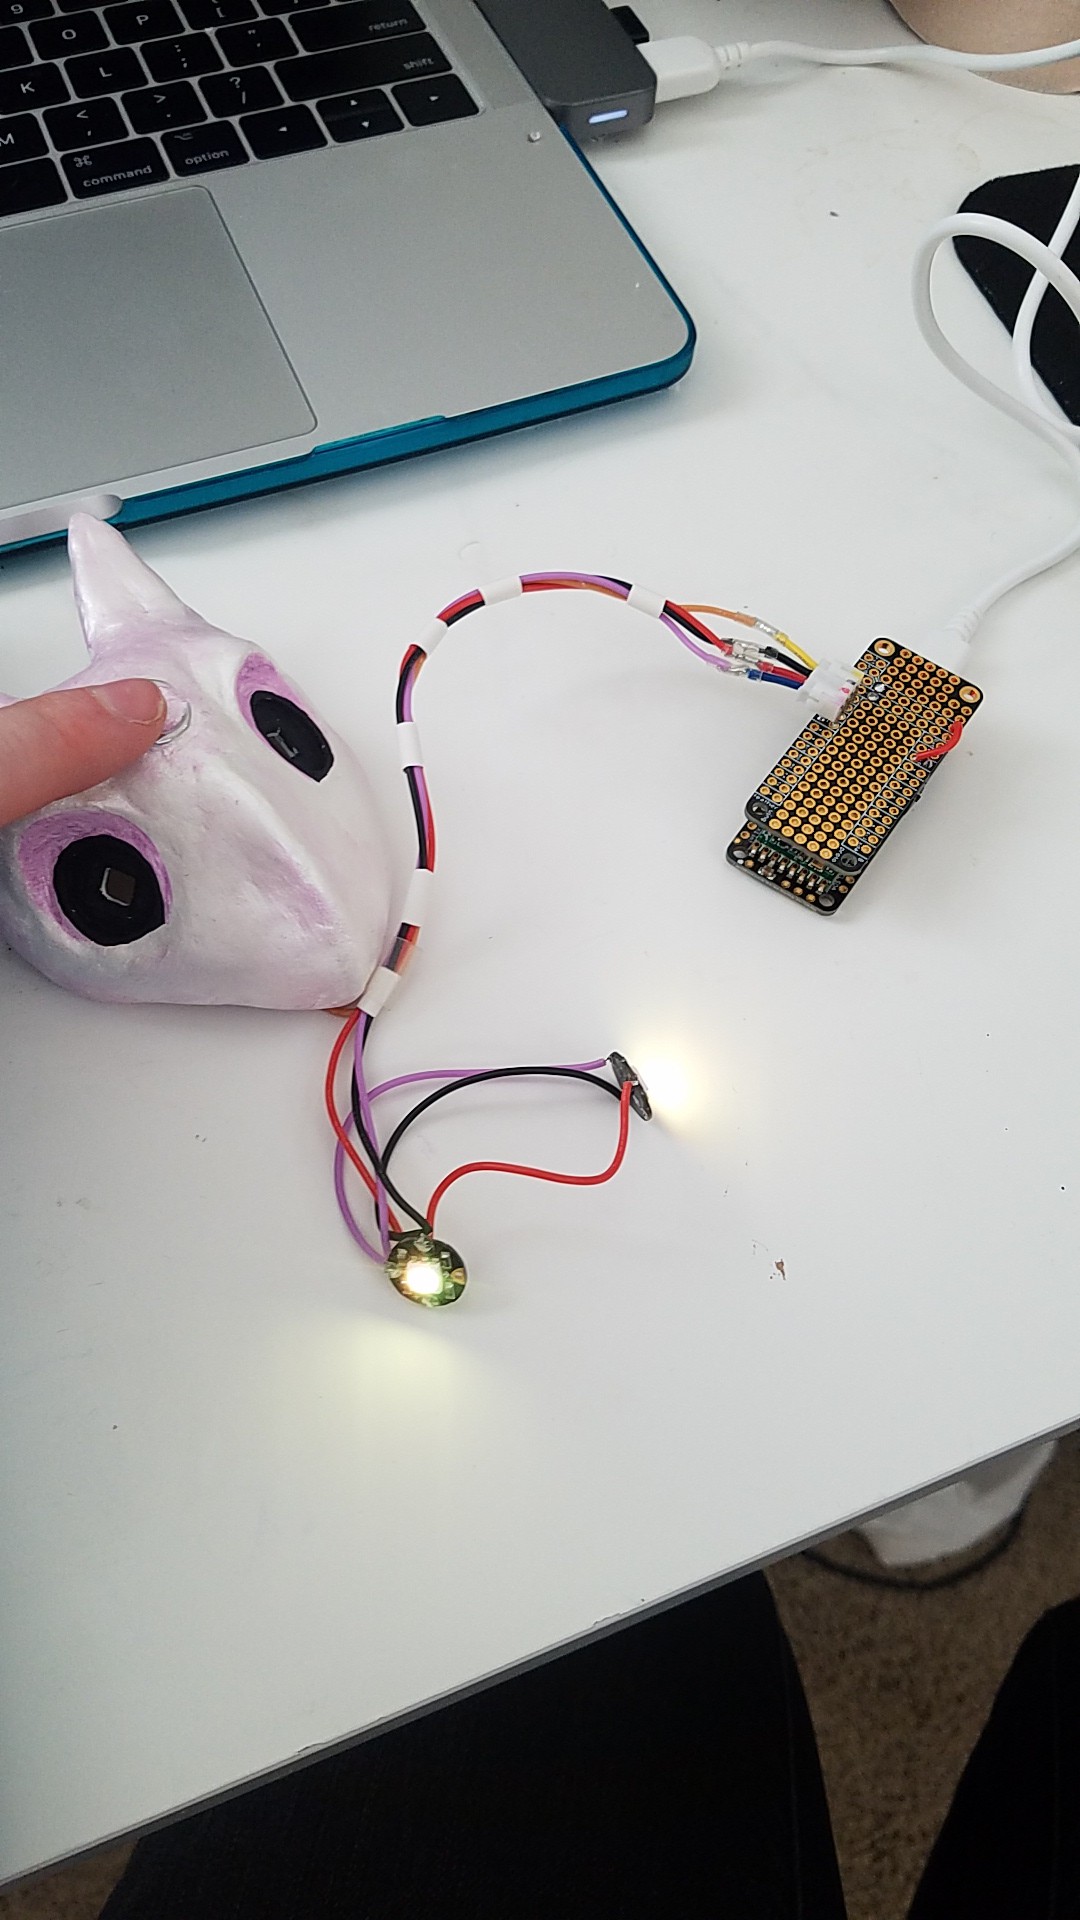
To form a base, I cut a styrofoam egg in half and did some rough sculpting to it. Then applied paper clay to sculpt features. The styrofoam also provided a stable surface to embed 3D printed mounting points for her LED eyes.
![]()
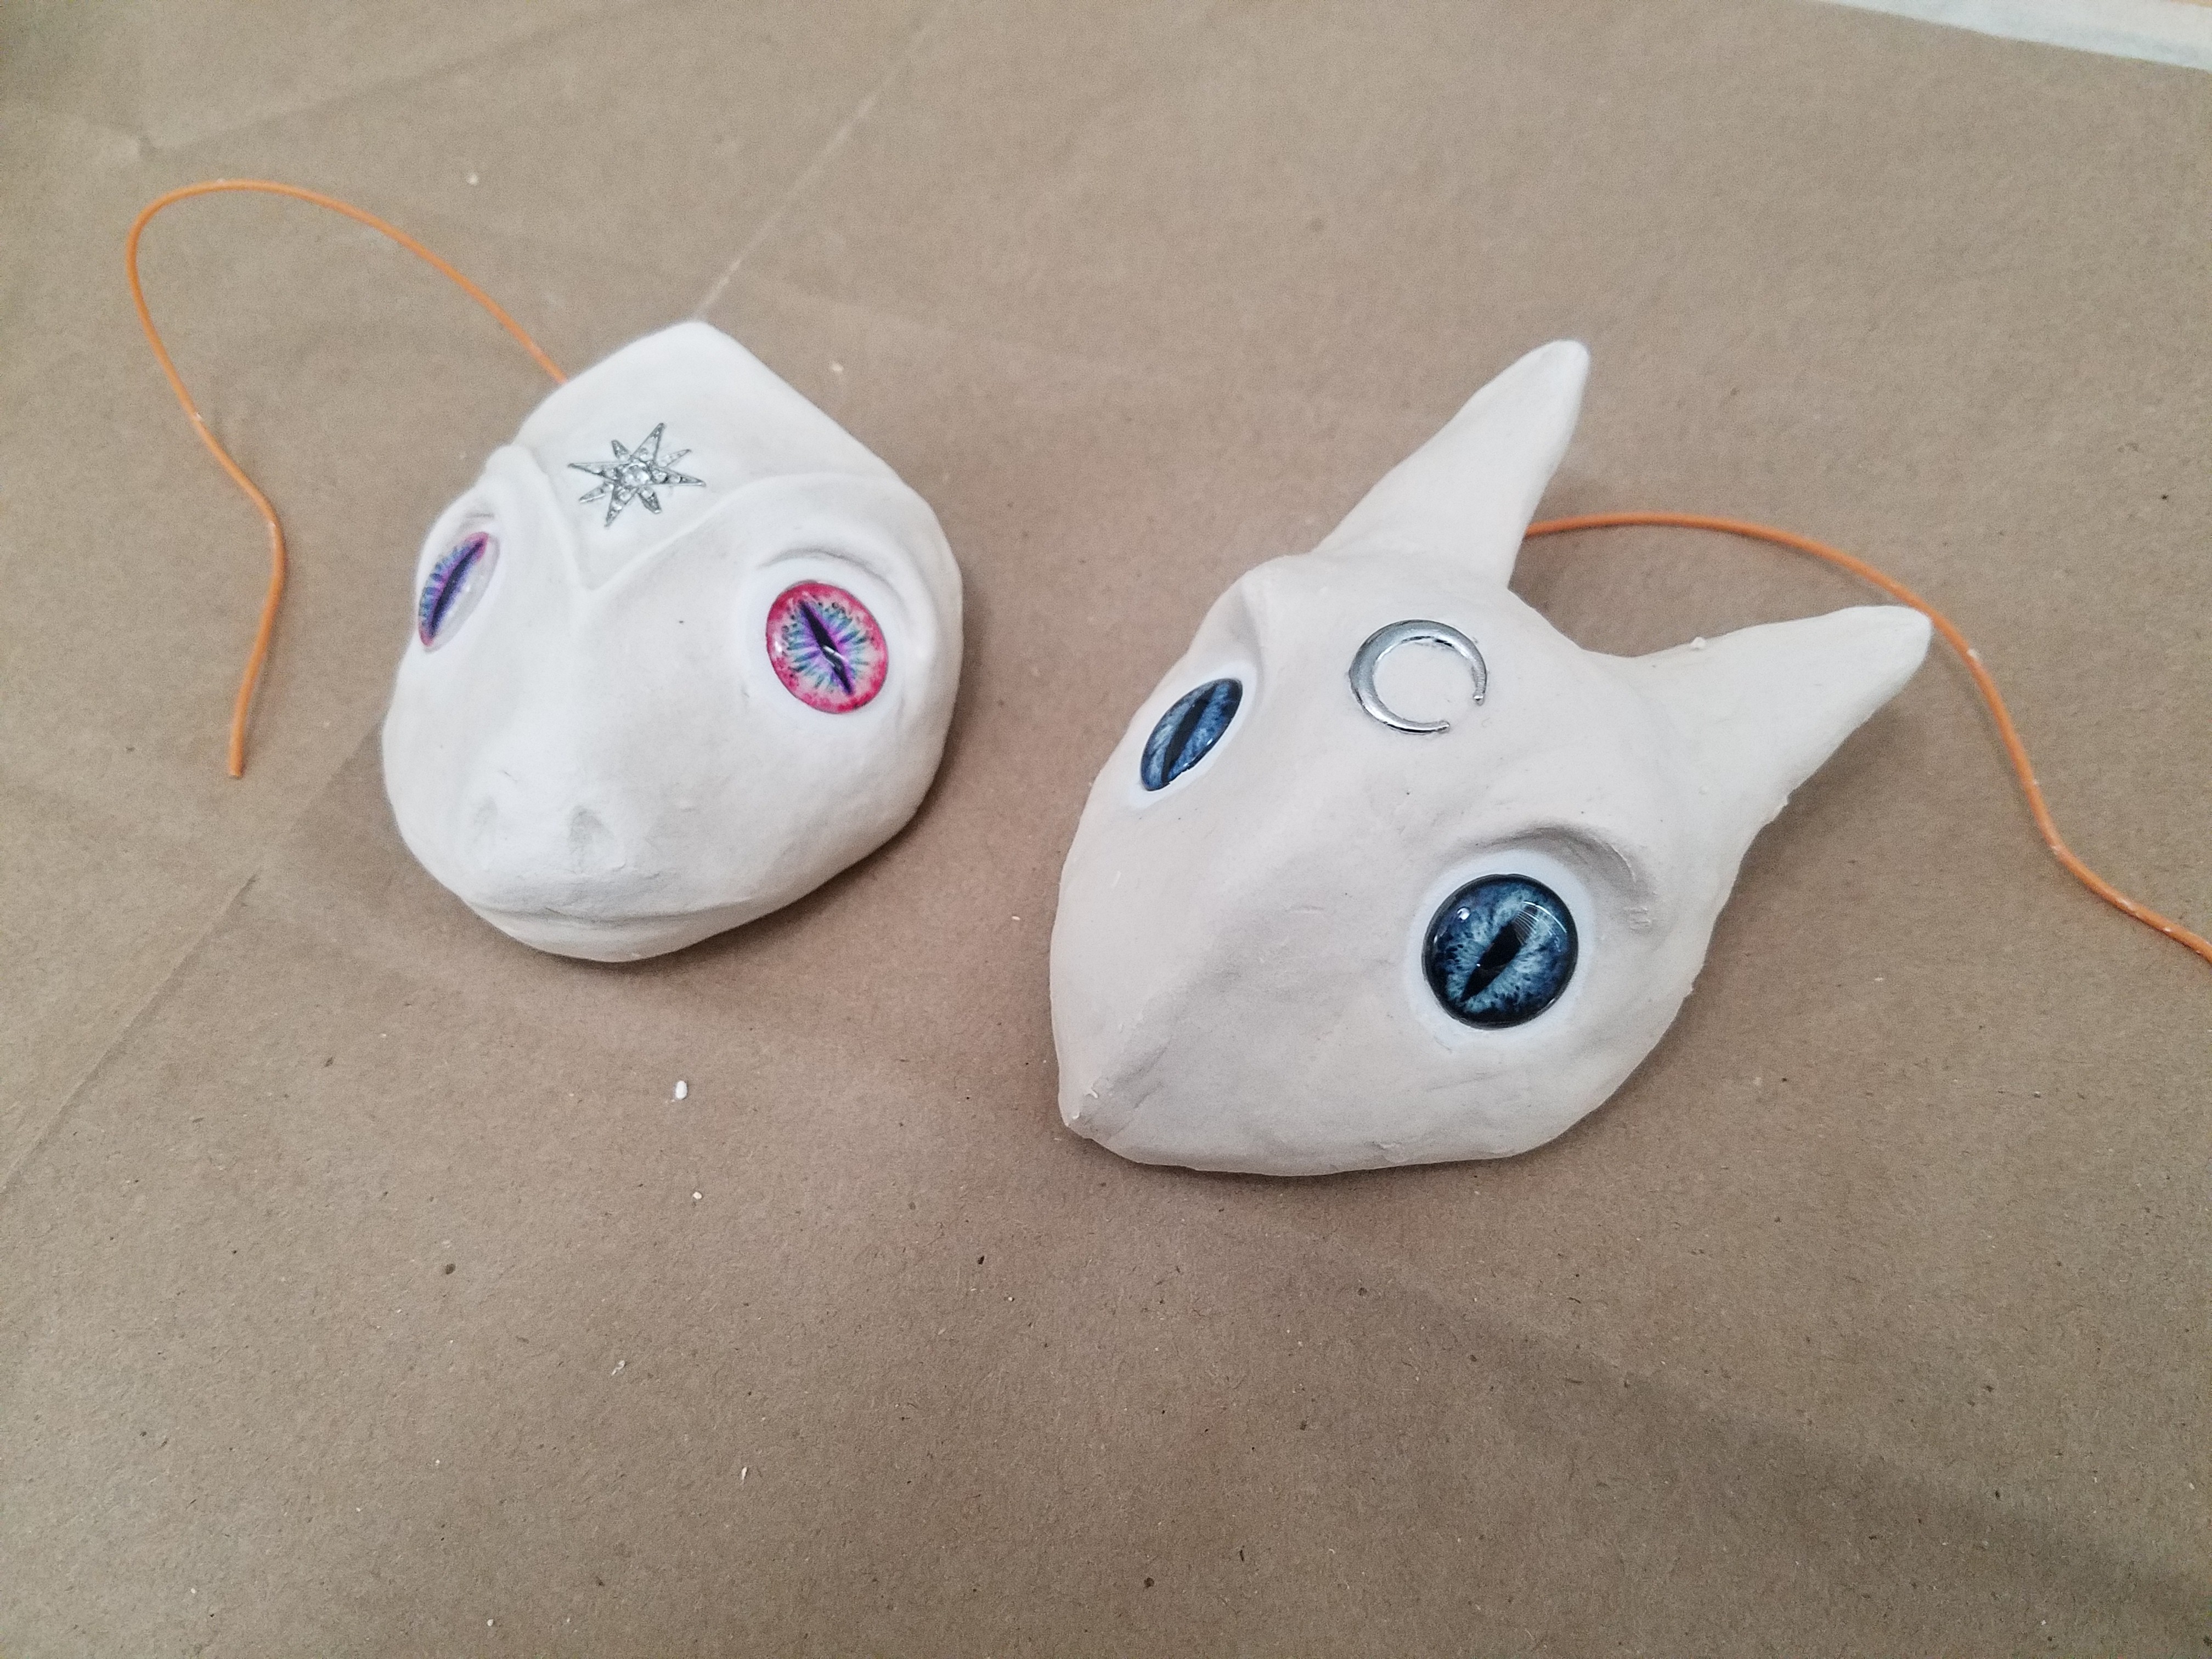
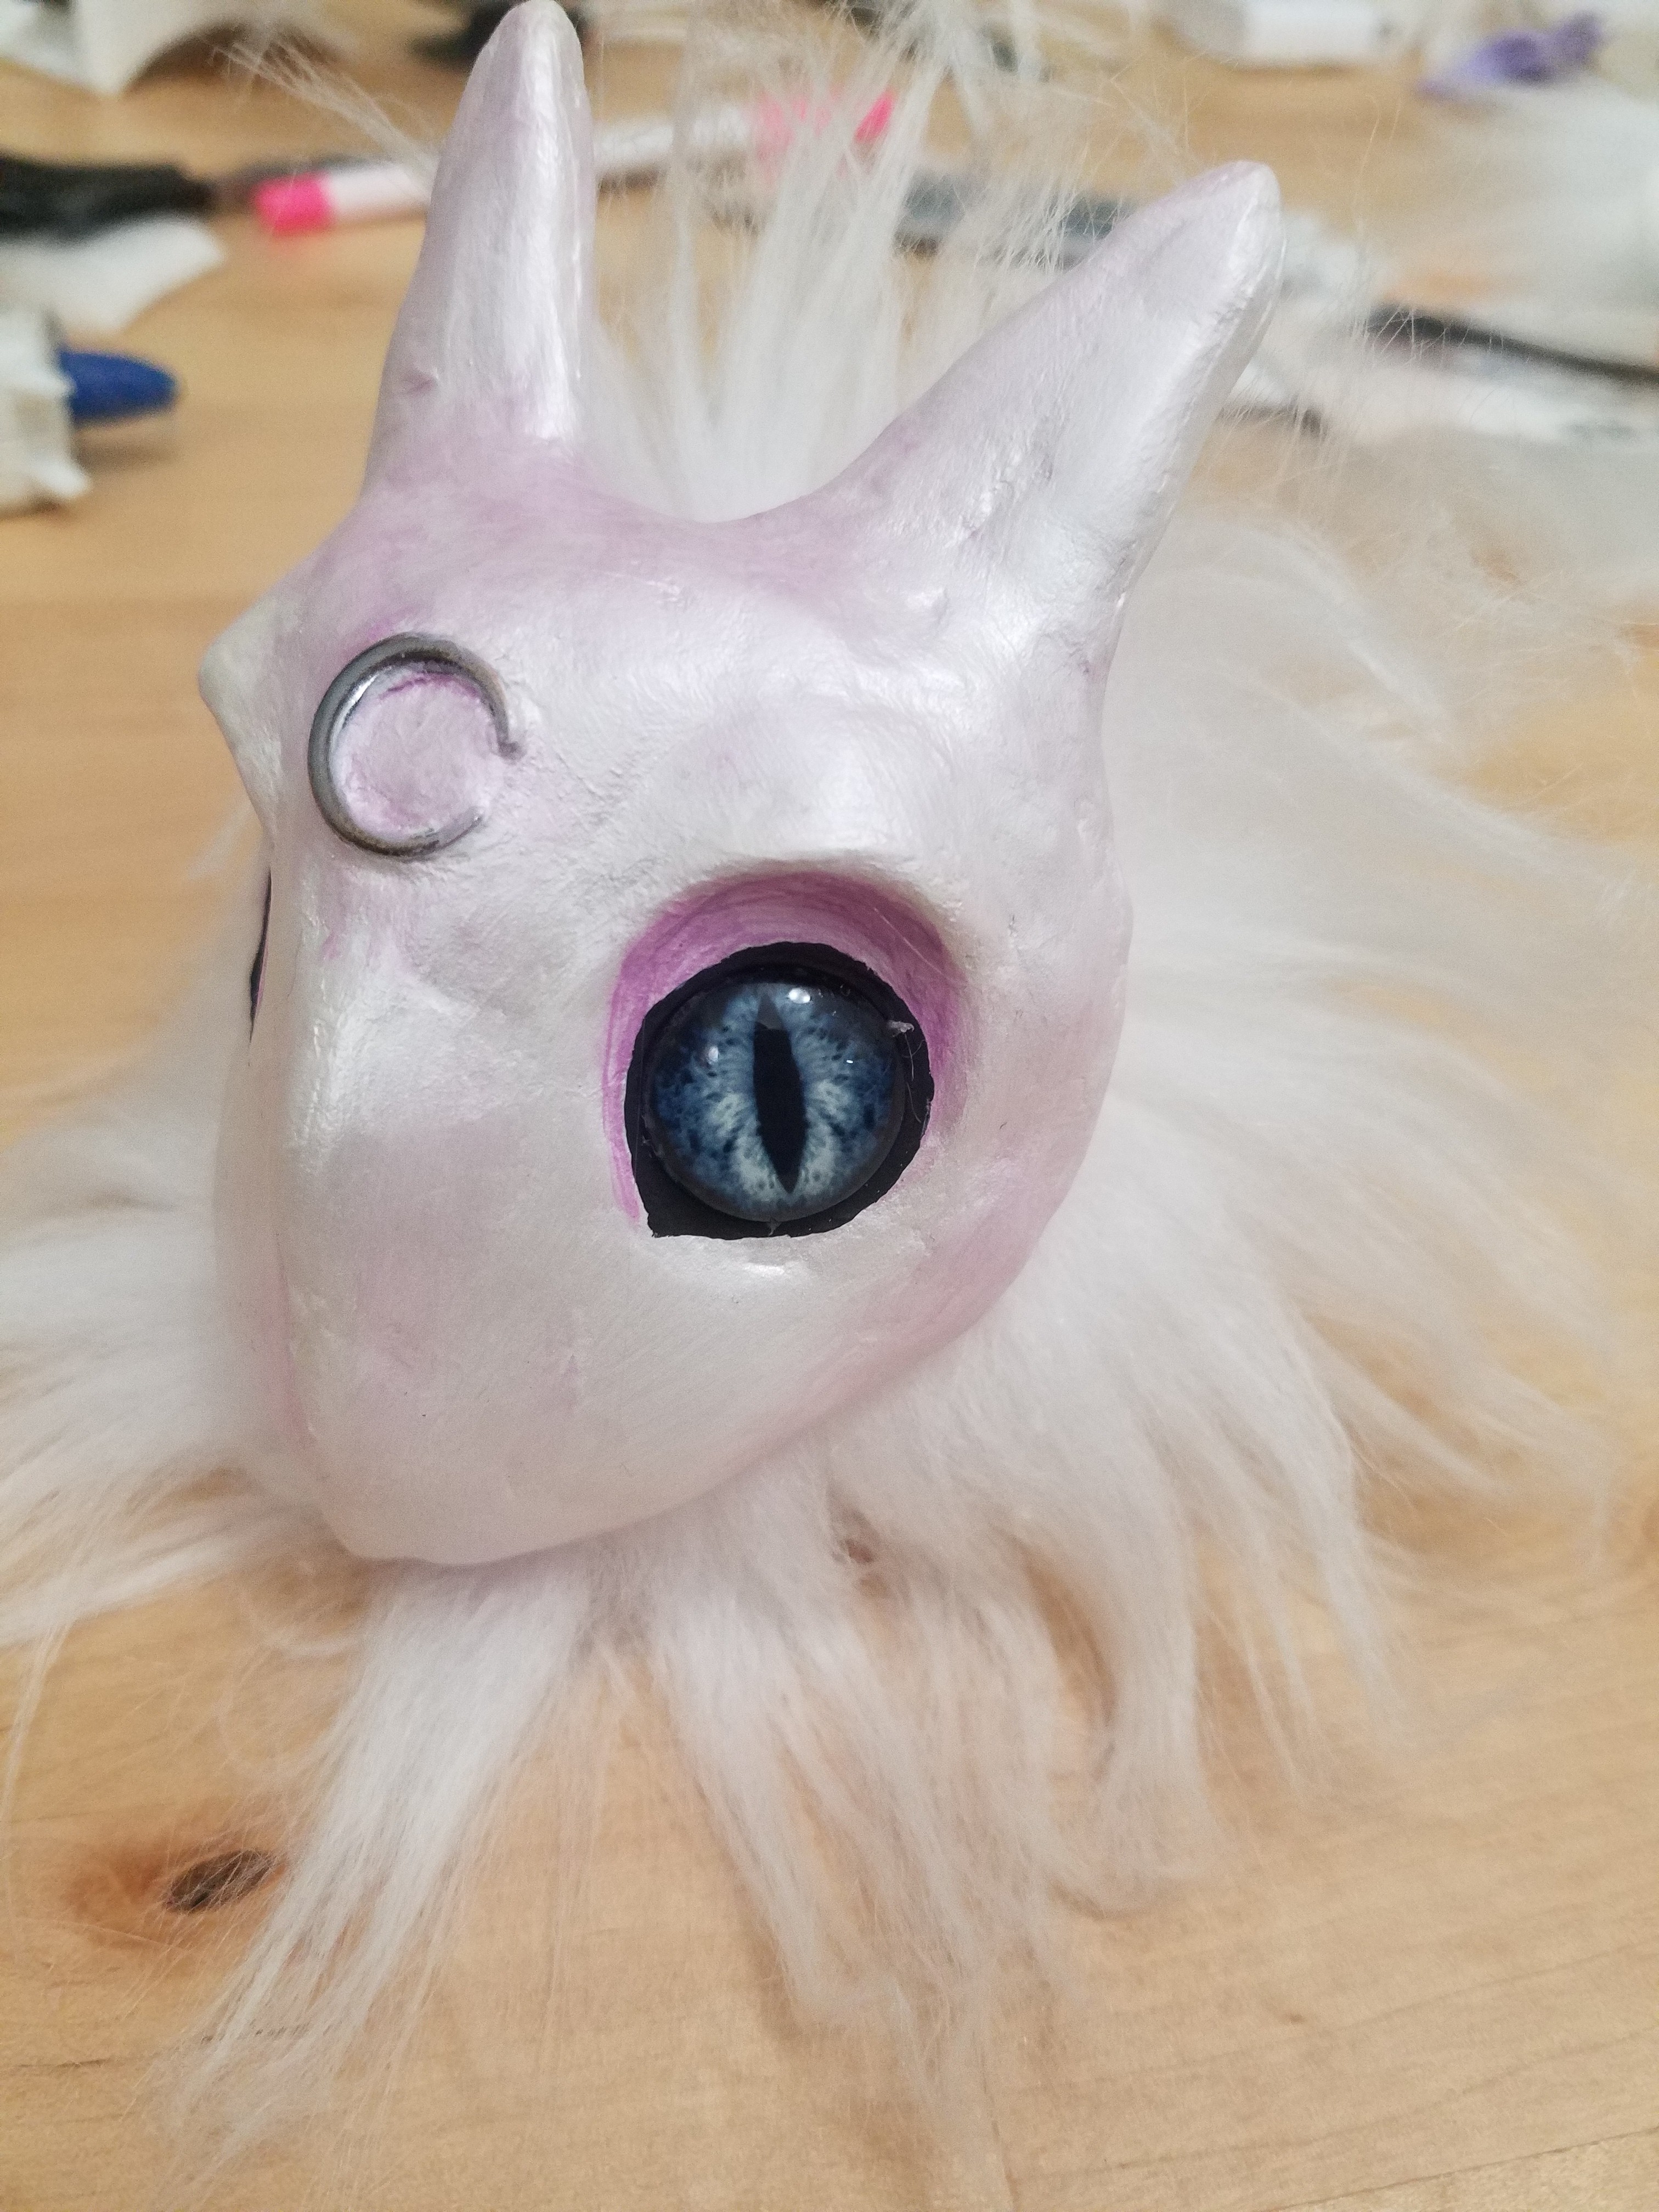
While sculpting, I embedded a small moon charm with a wire soldered to it that attaches to her microcontroller for capacitive touch sensing to trigger motion and light animations.
![]()
I created two face styles and ended up choosing the one that felt more bird-like upon reflection and discussion with friends.
![]()
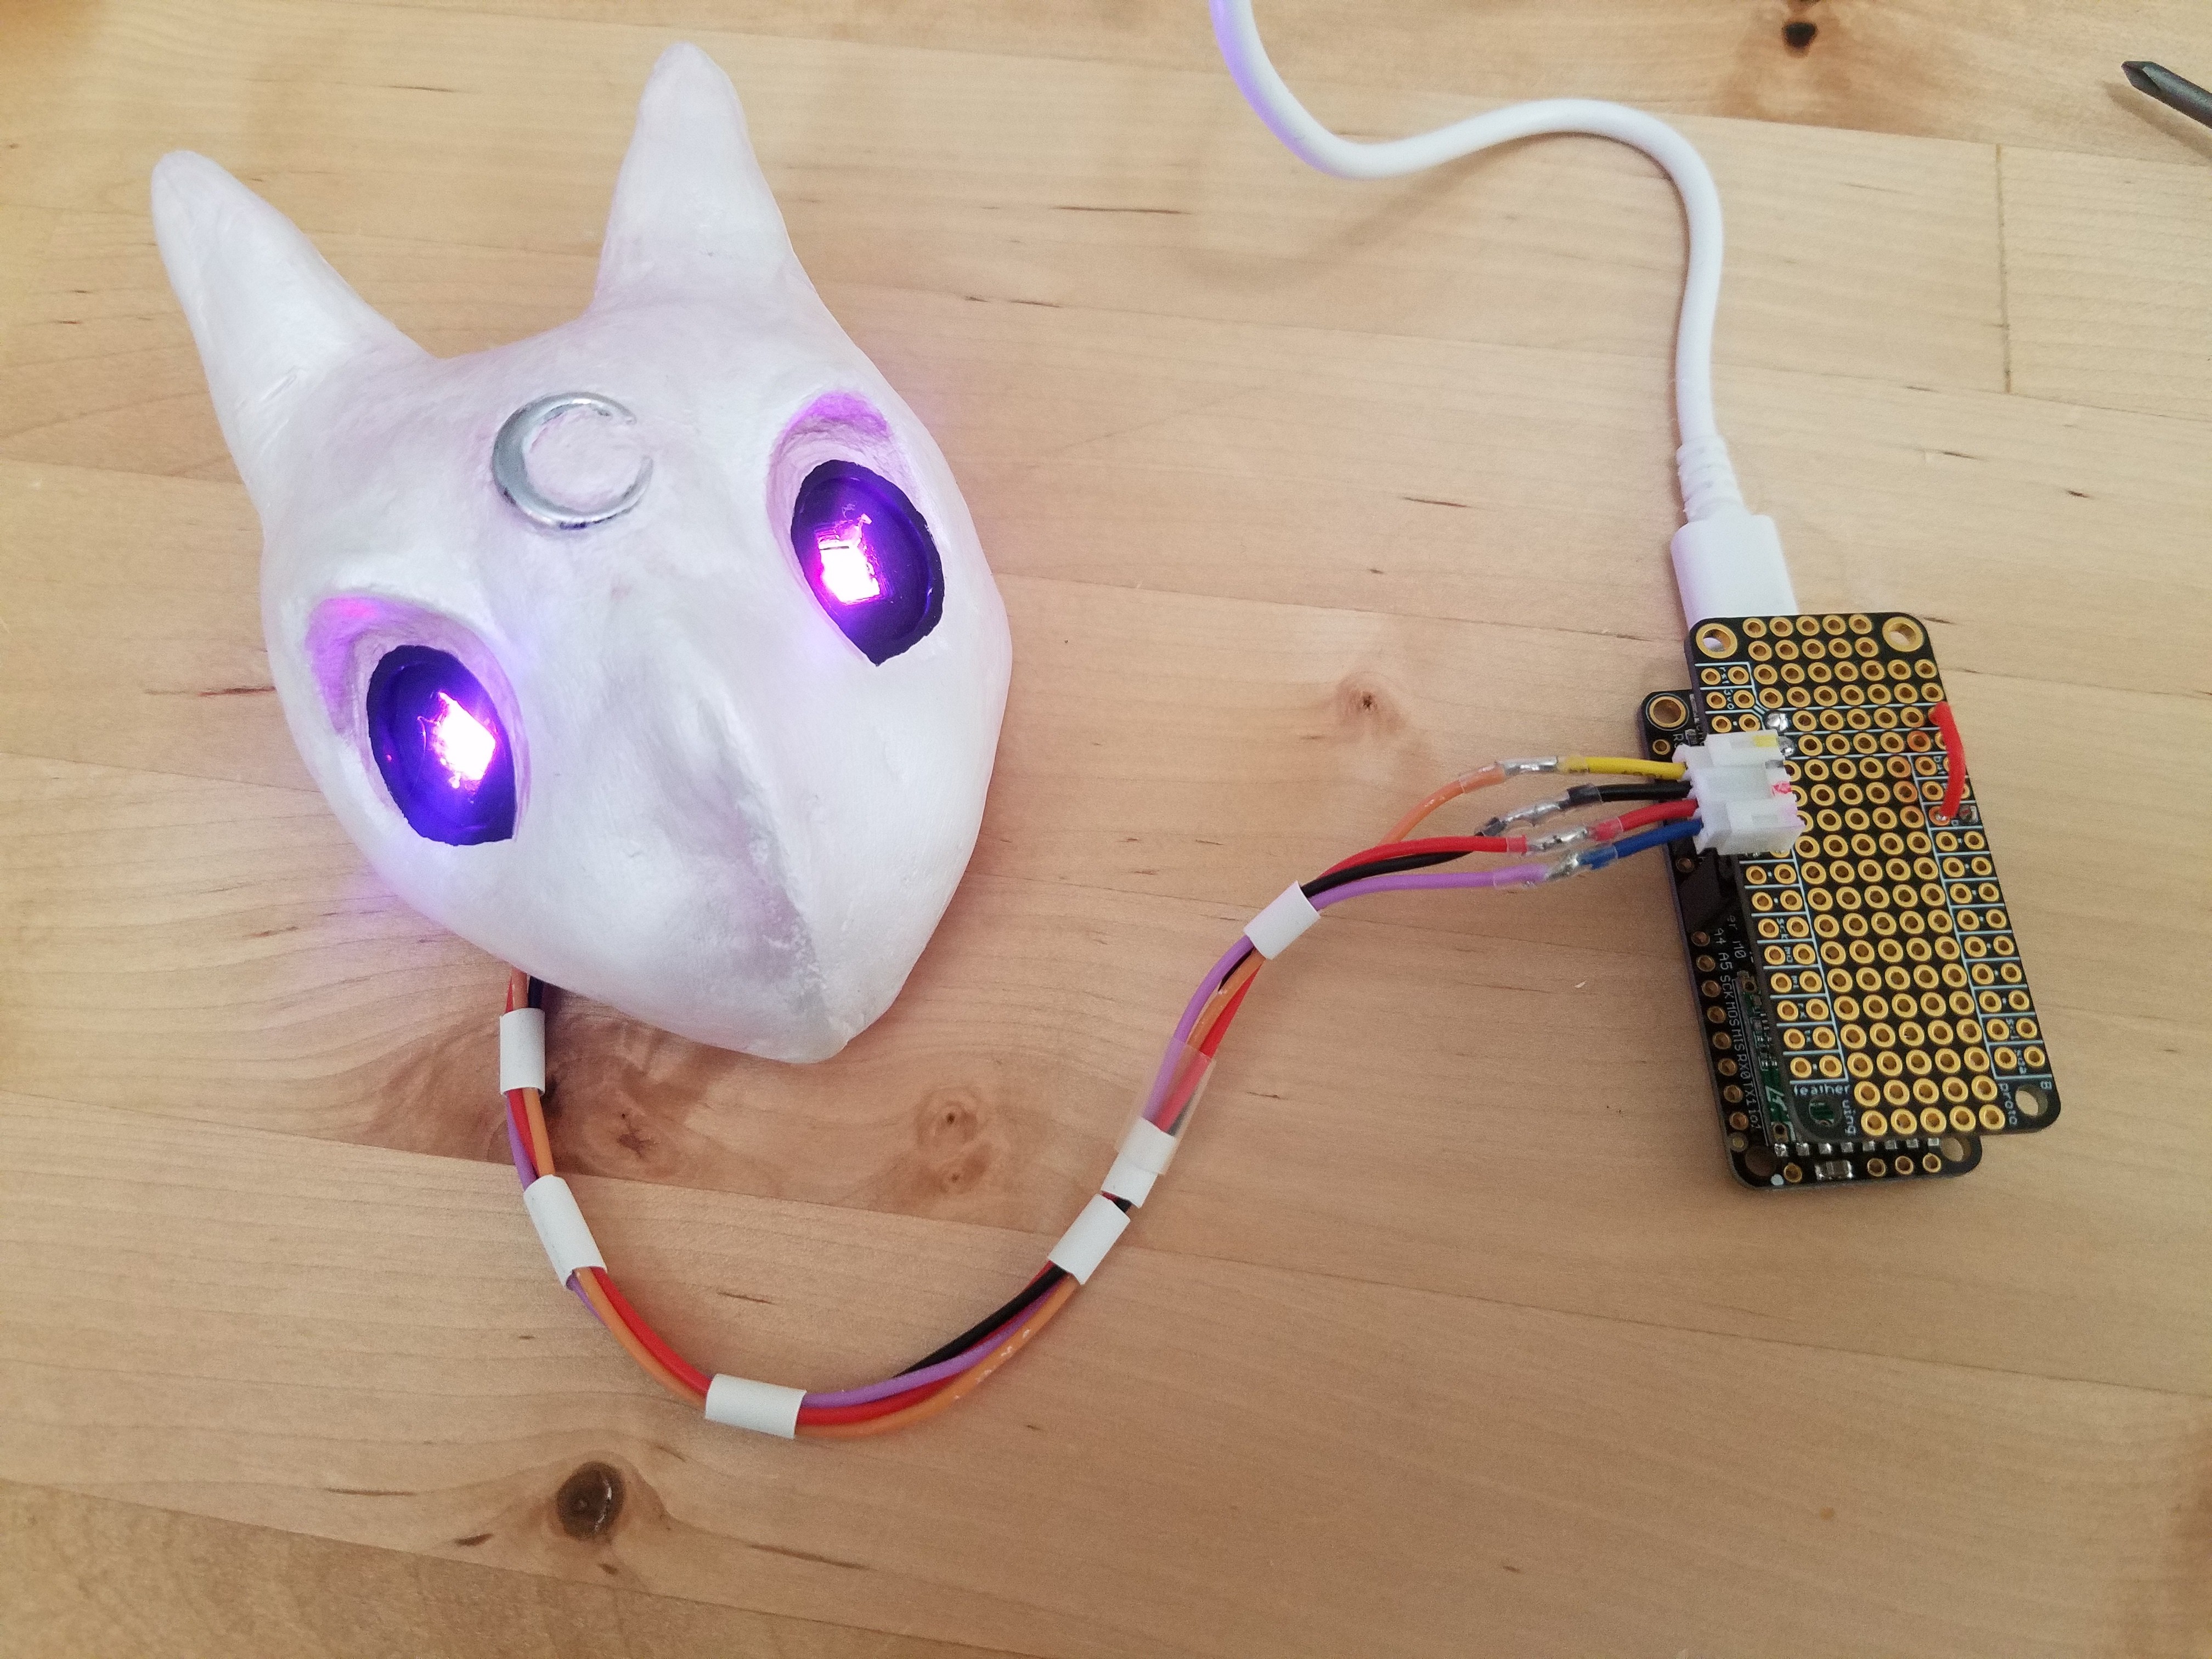
I finished the face build off by installing glass eyes over her LEDs after testing all the electronic components
![]()
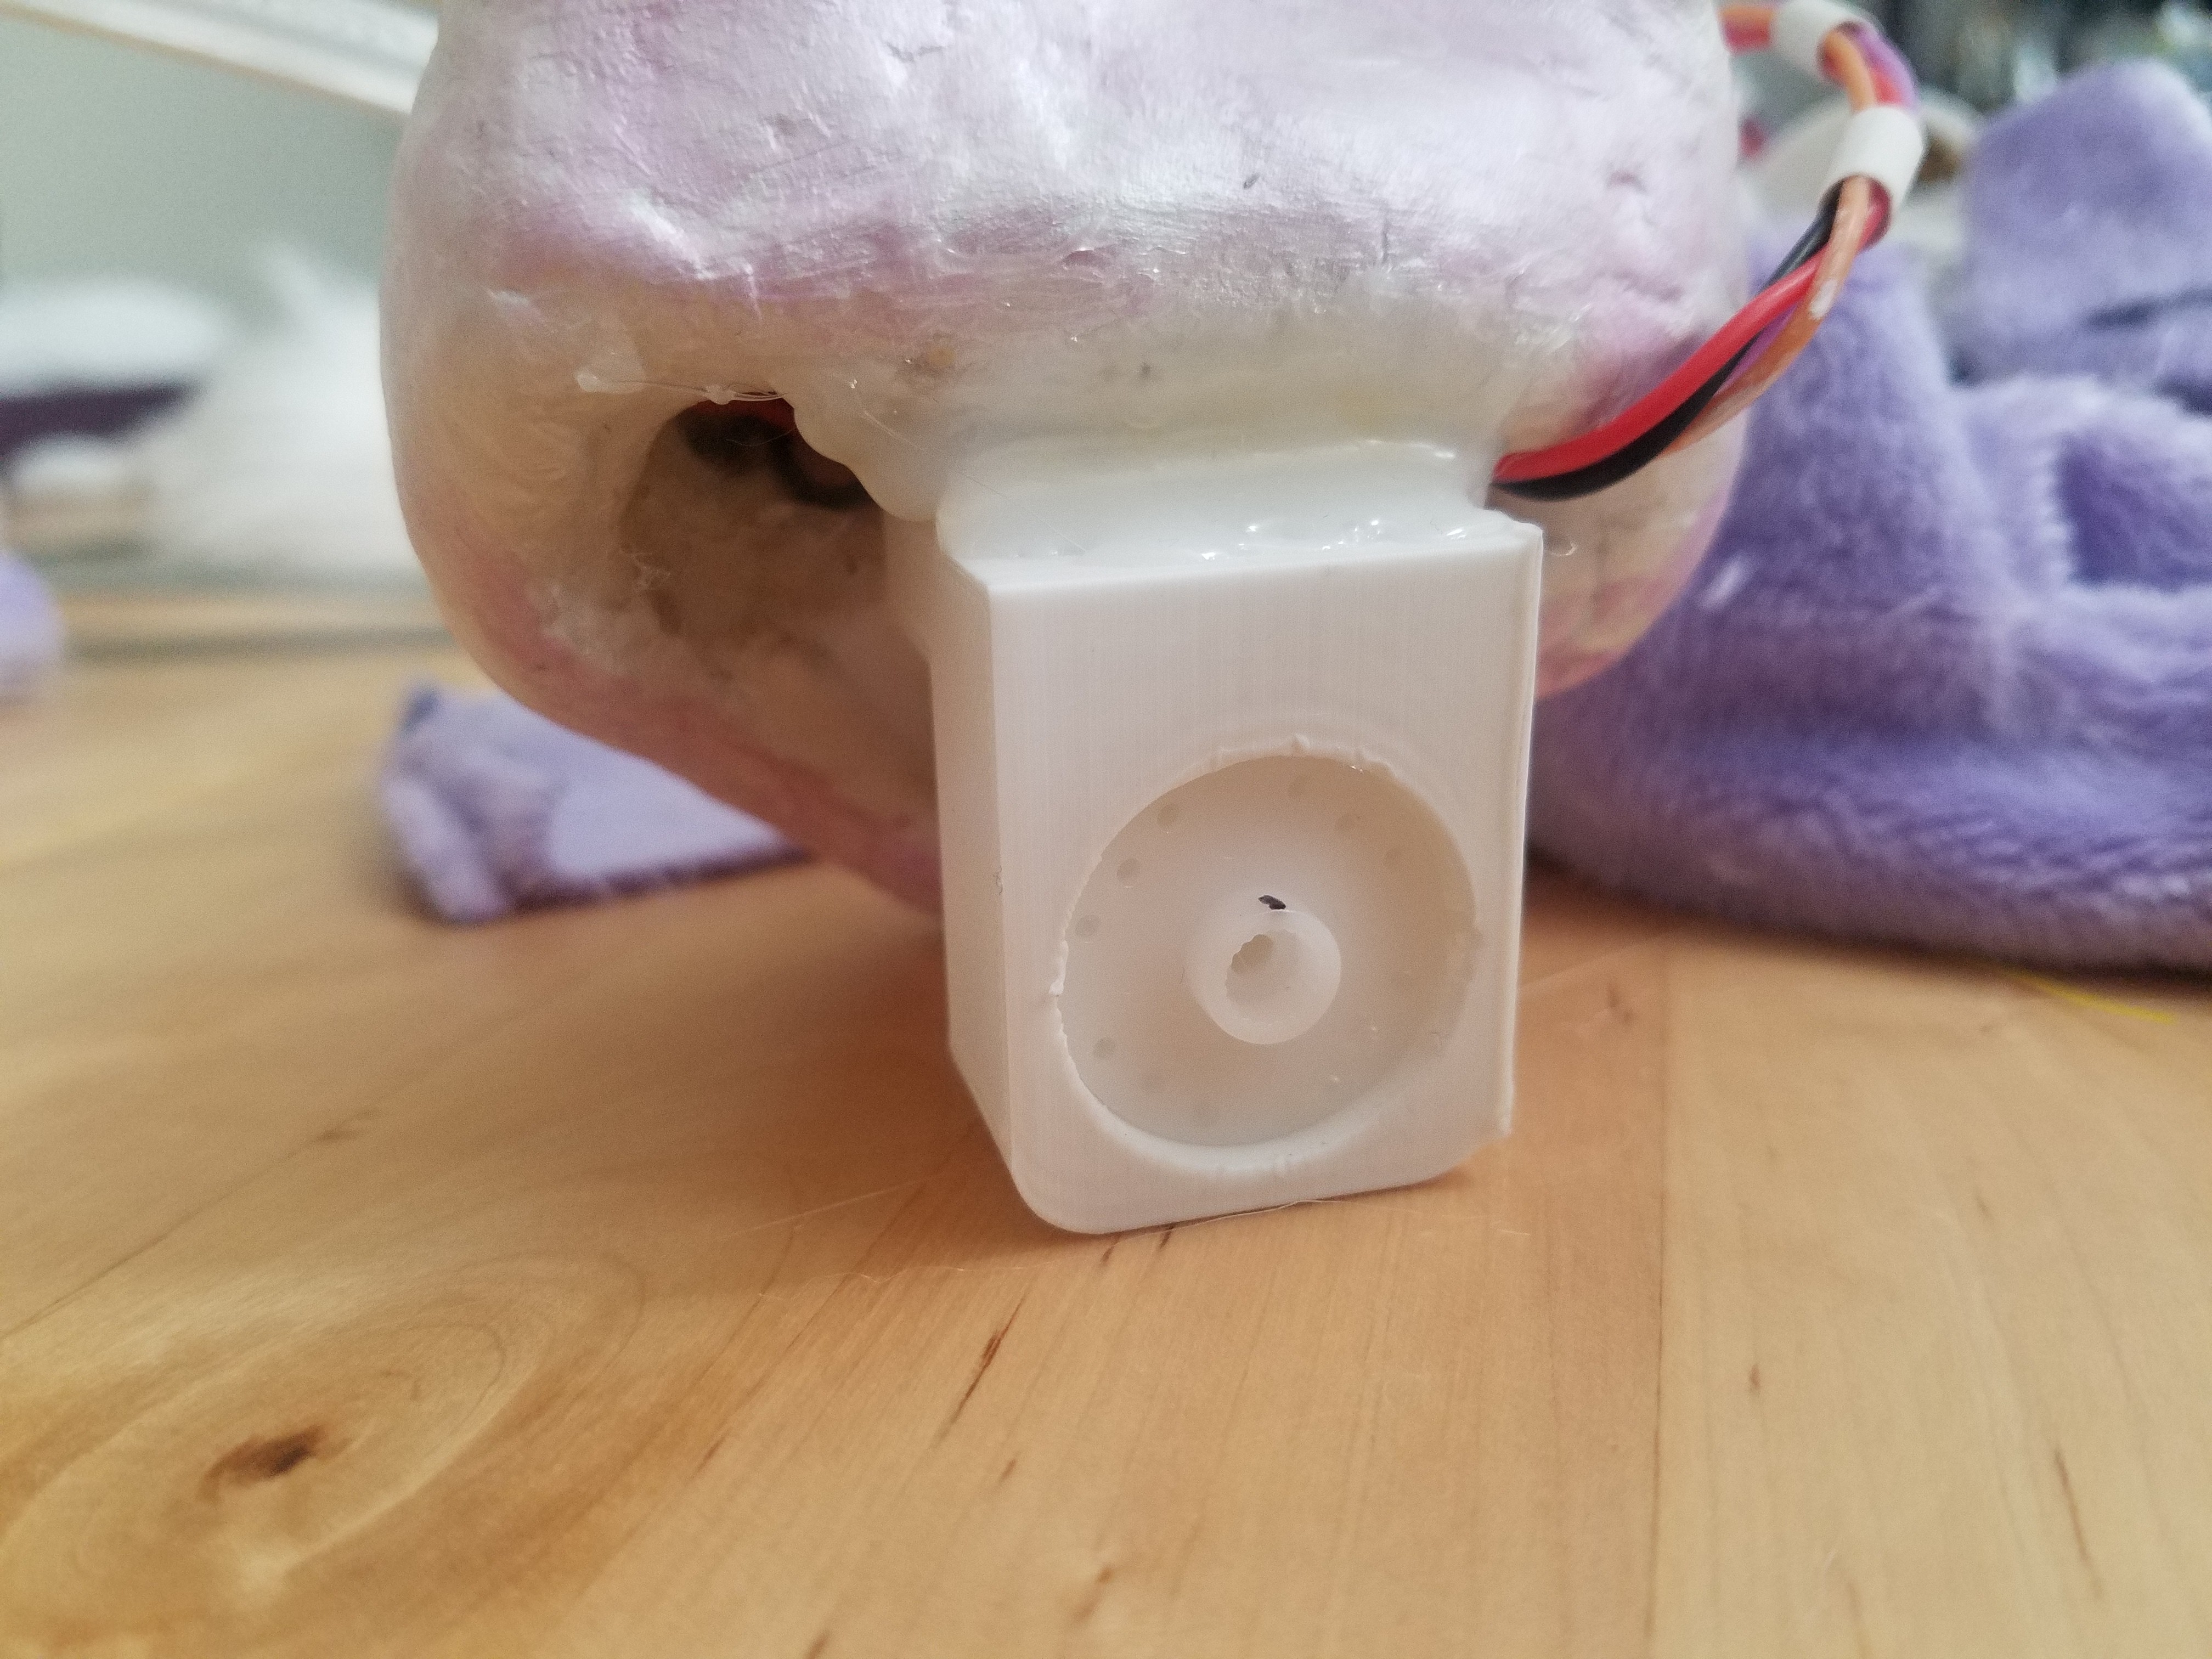
I then installed a custom 3D printed mount for easy attachment to a servo, and a small dowel for additional stabilization.
![]()
![]()
After testing her head motion with the servo, I glued a small border of faux fur to hide the connection points and space I left for movement.
![]()
![]()
-
Designing Nova's Wings
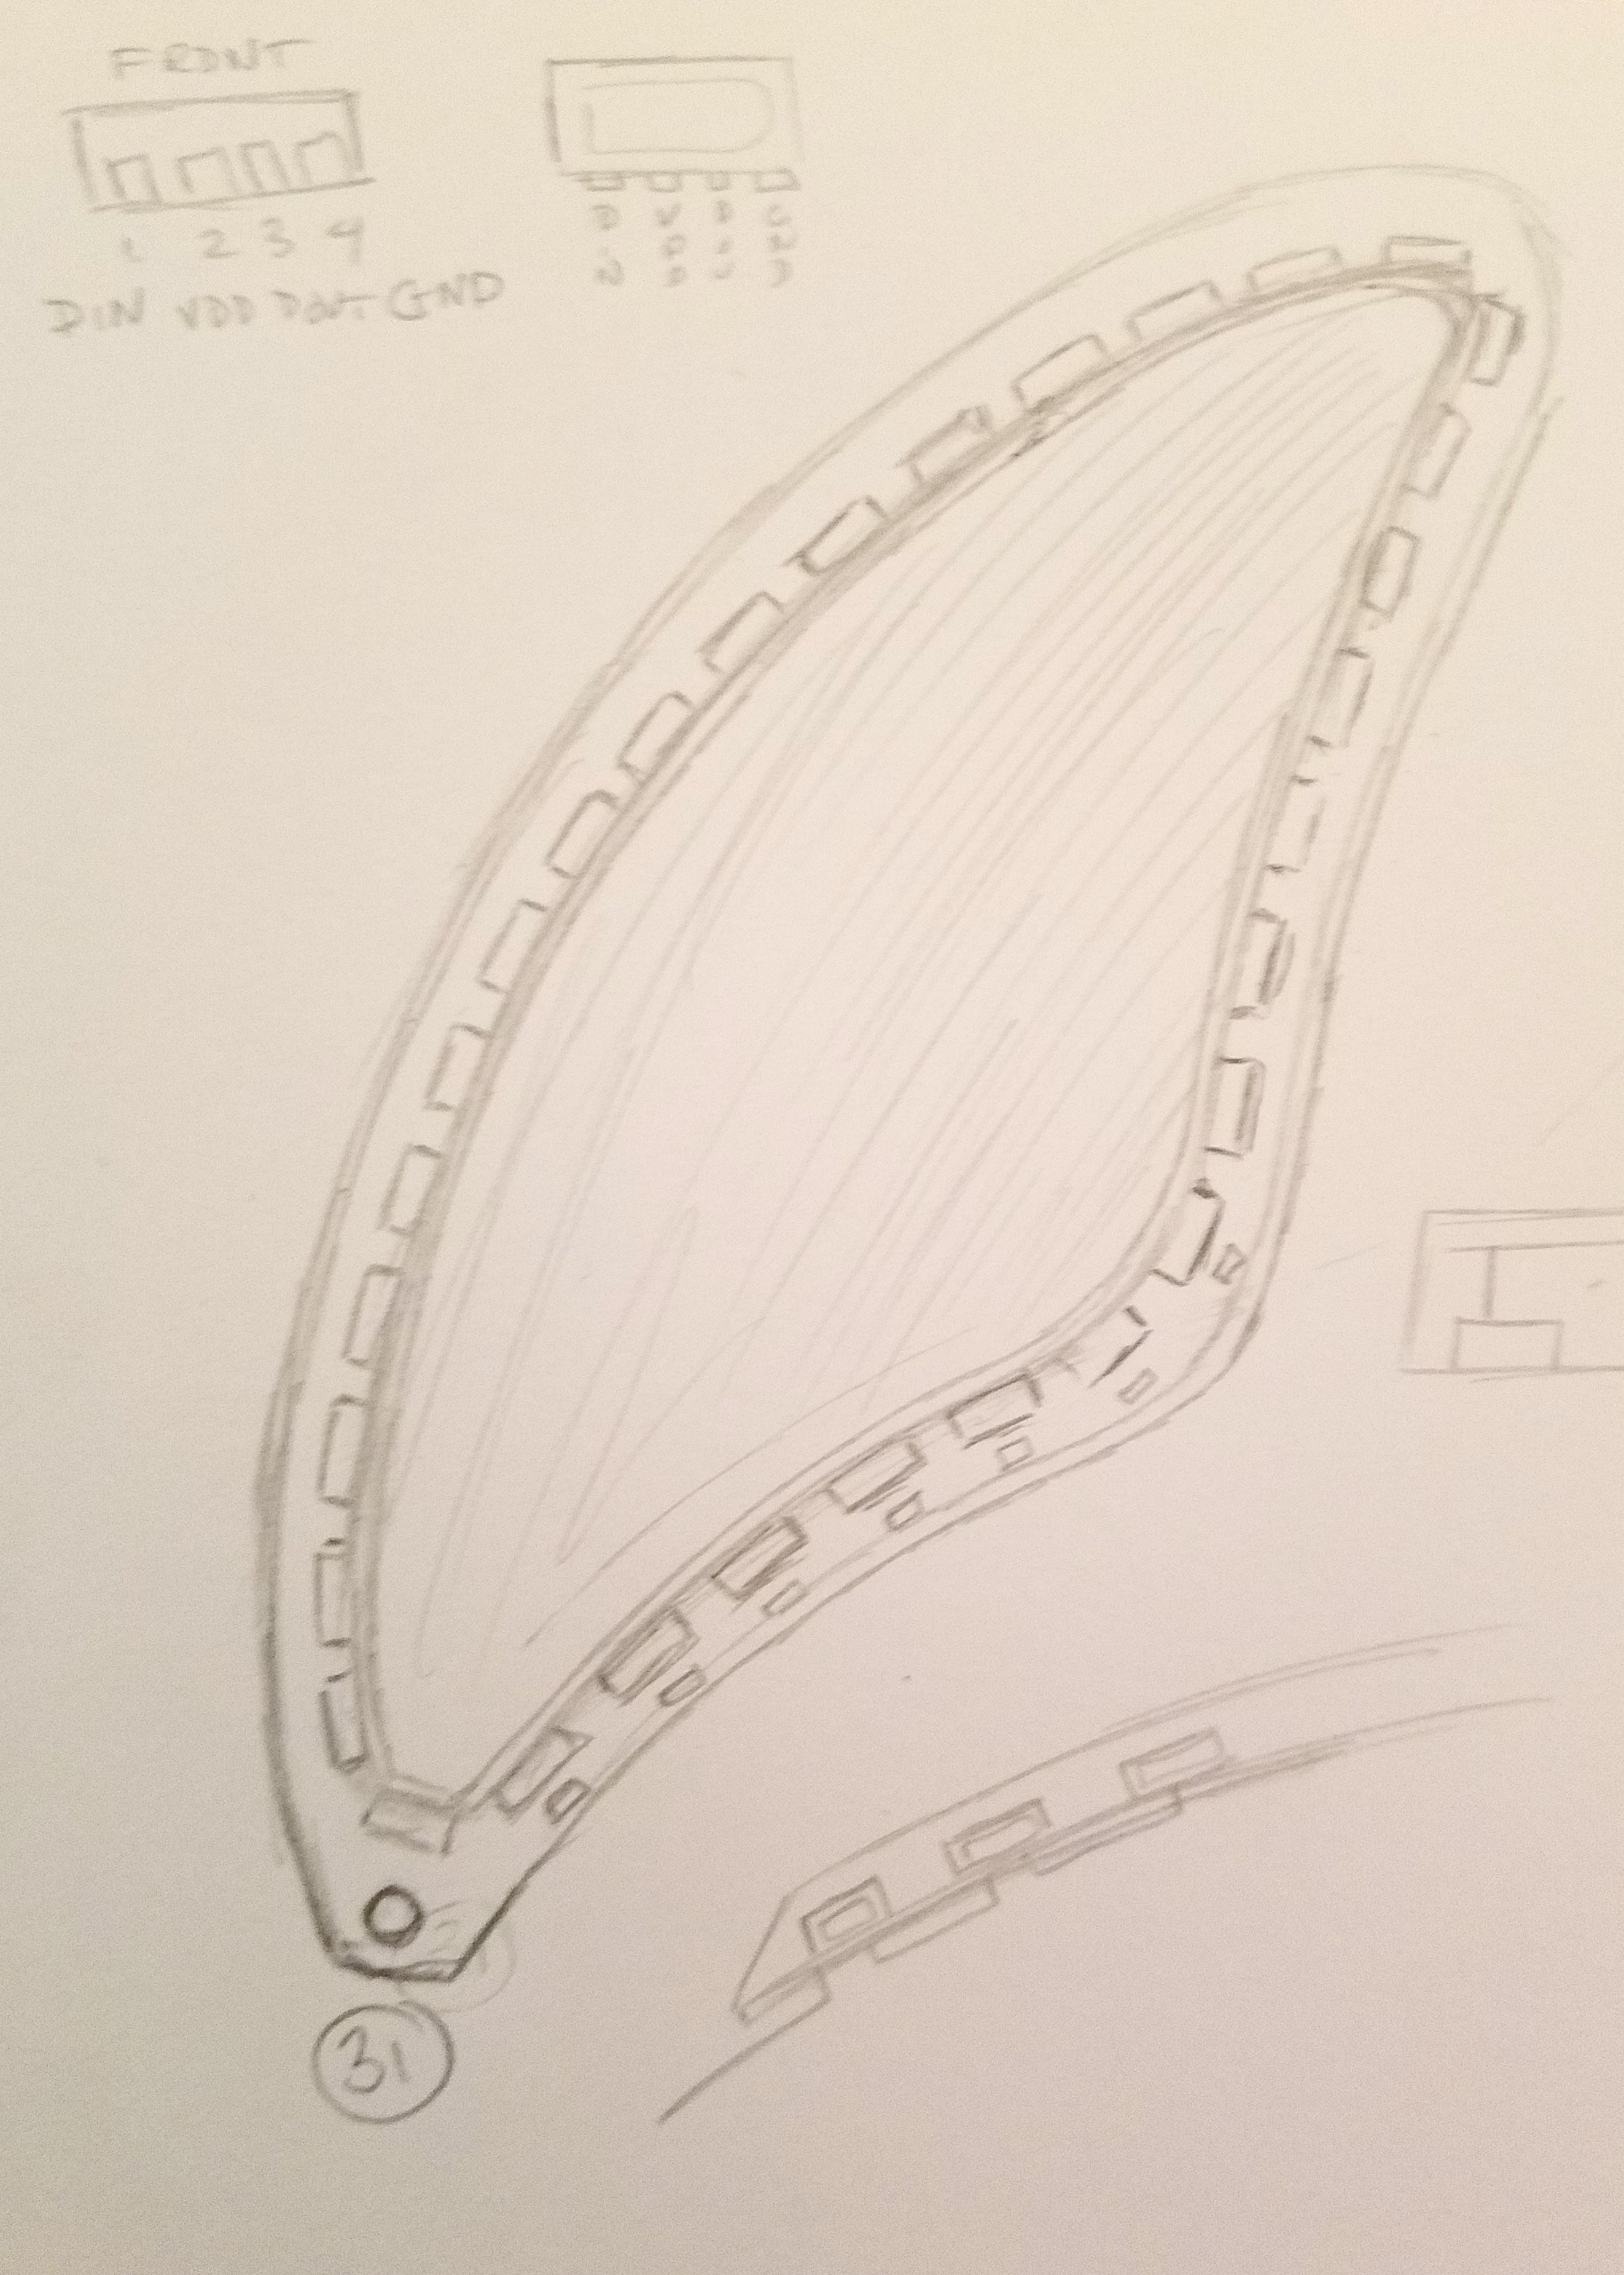
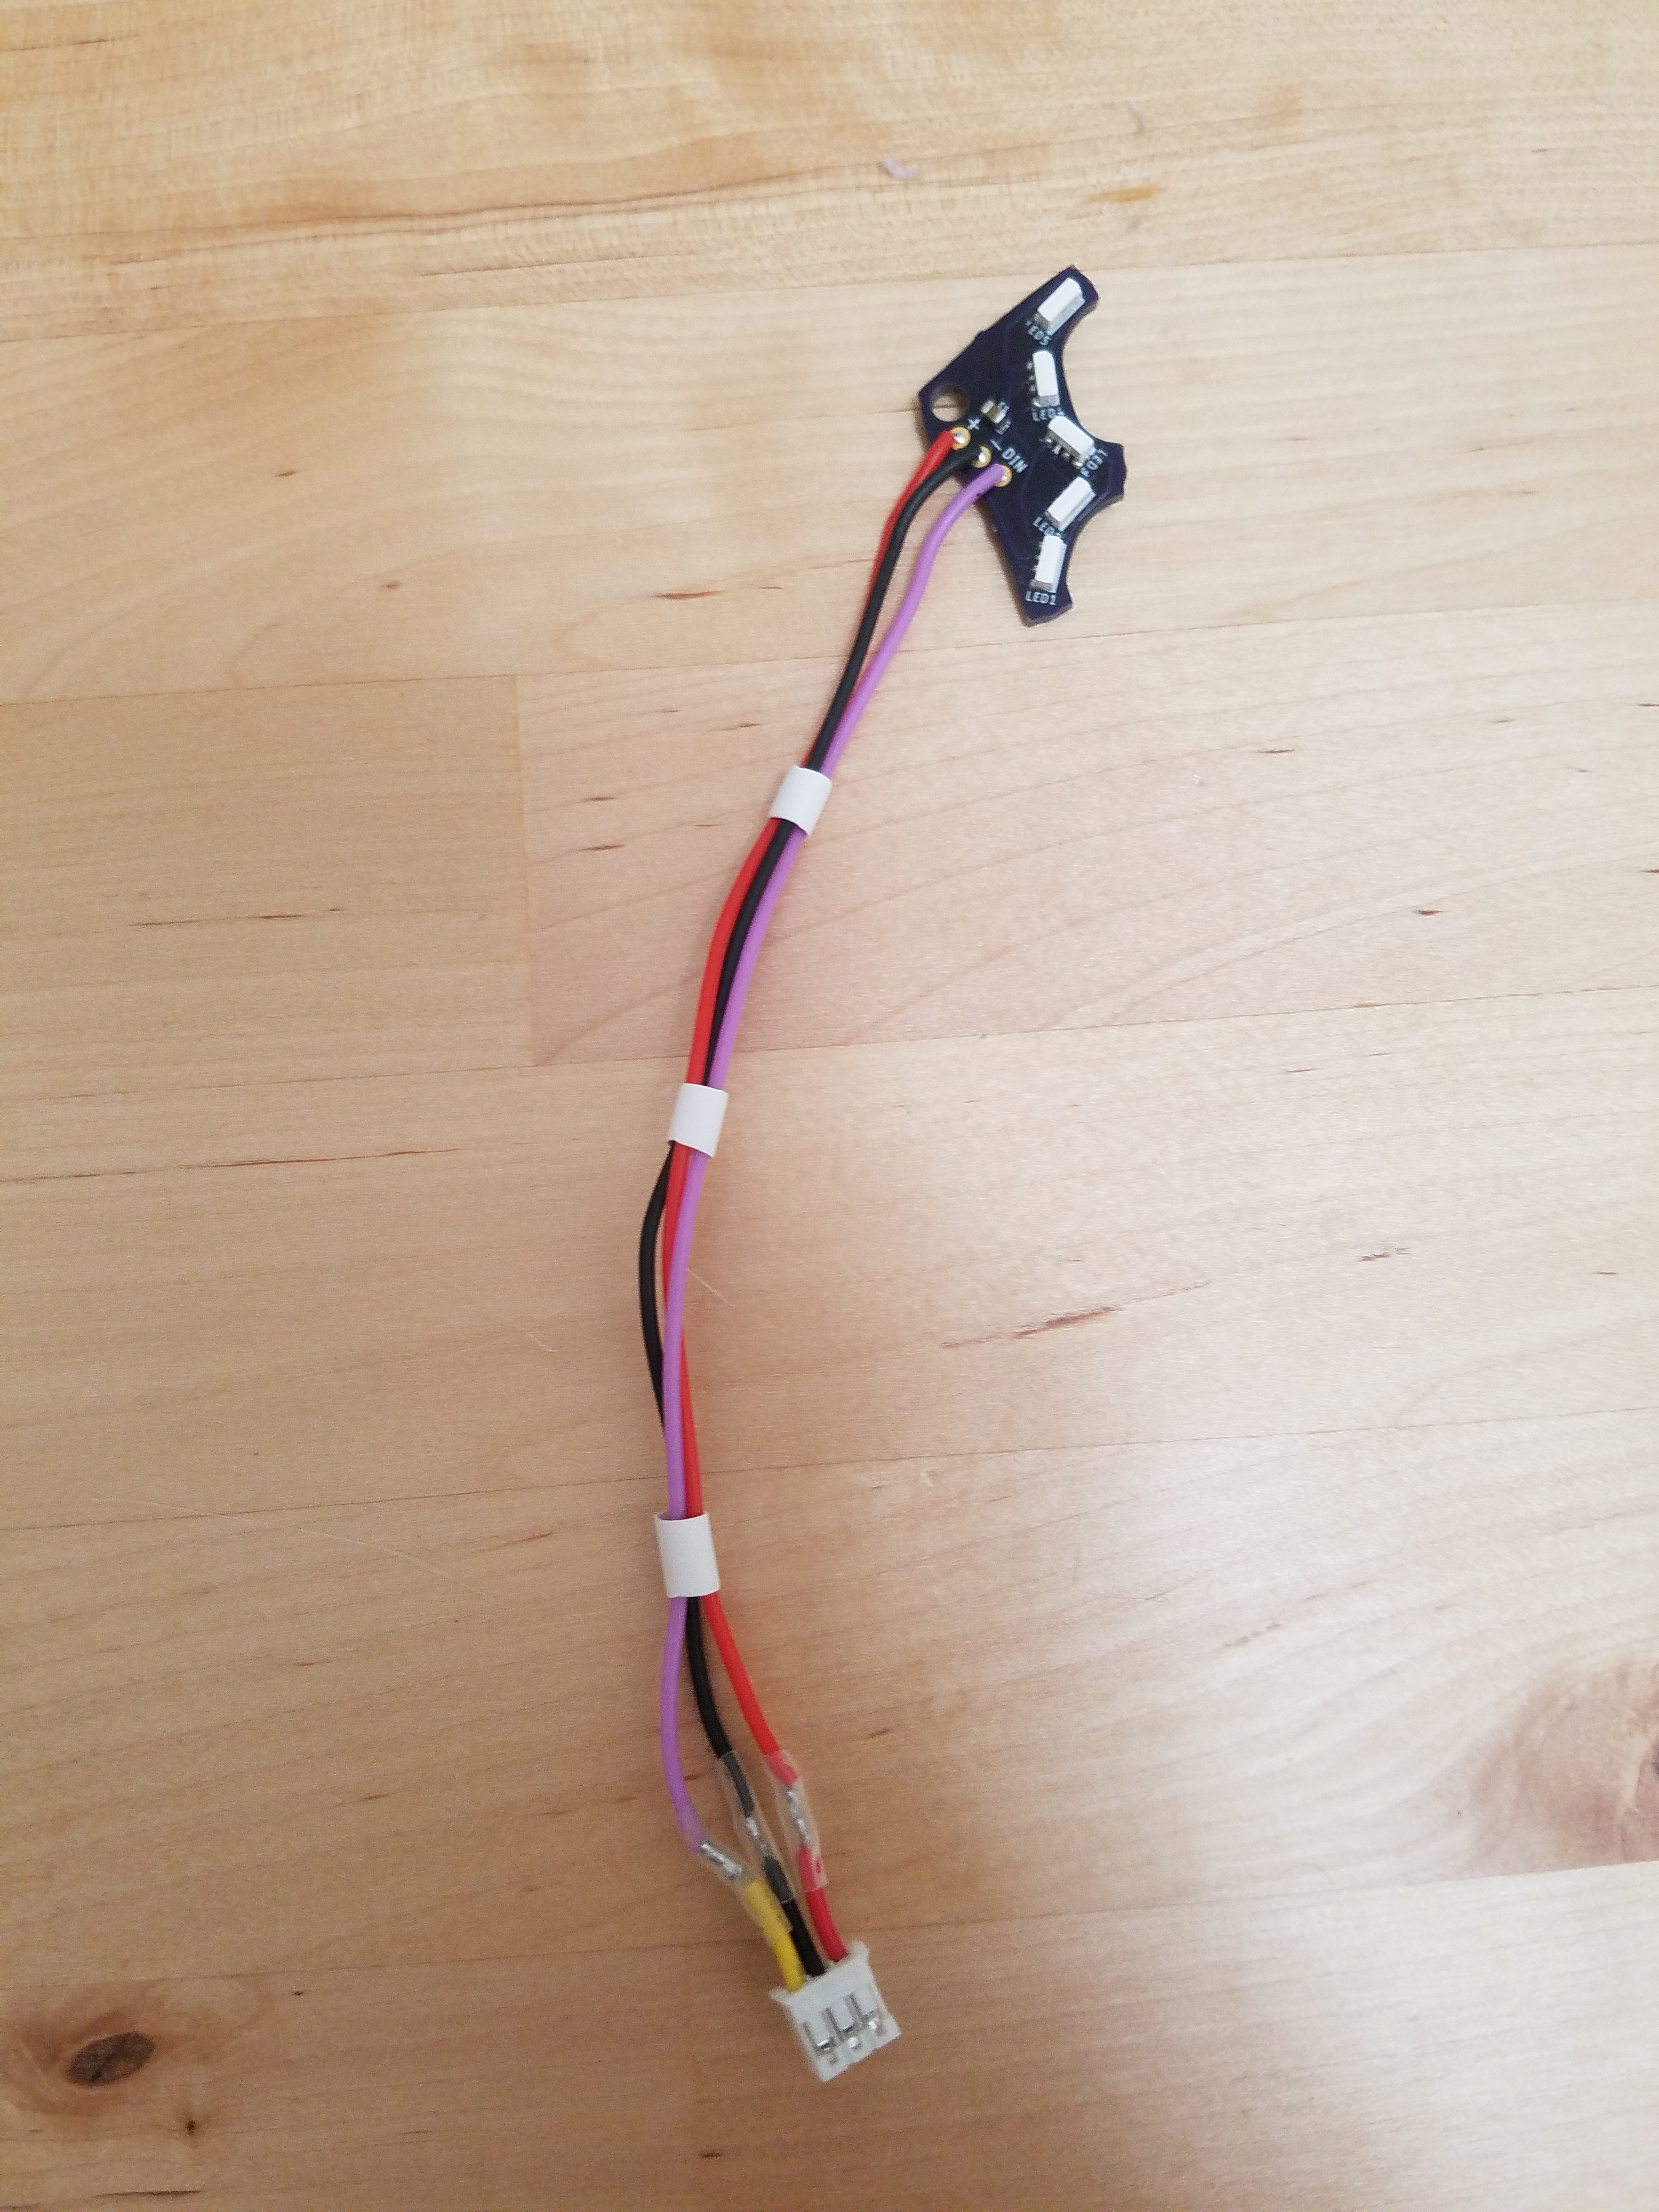
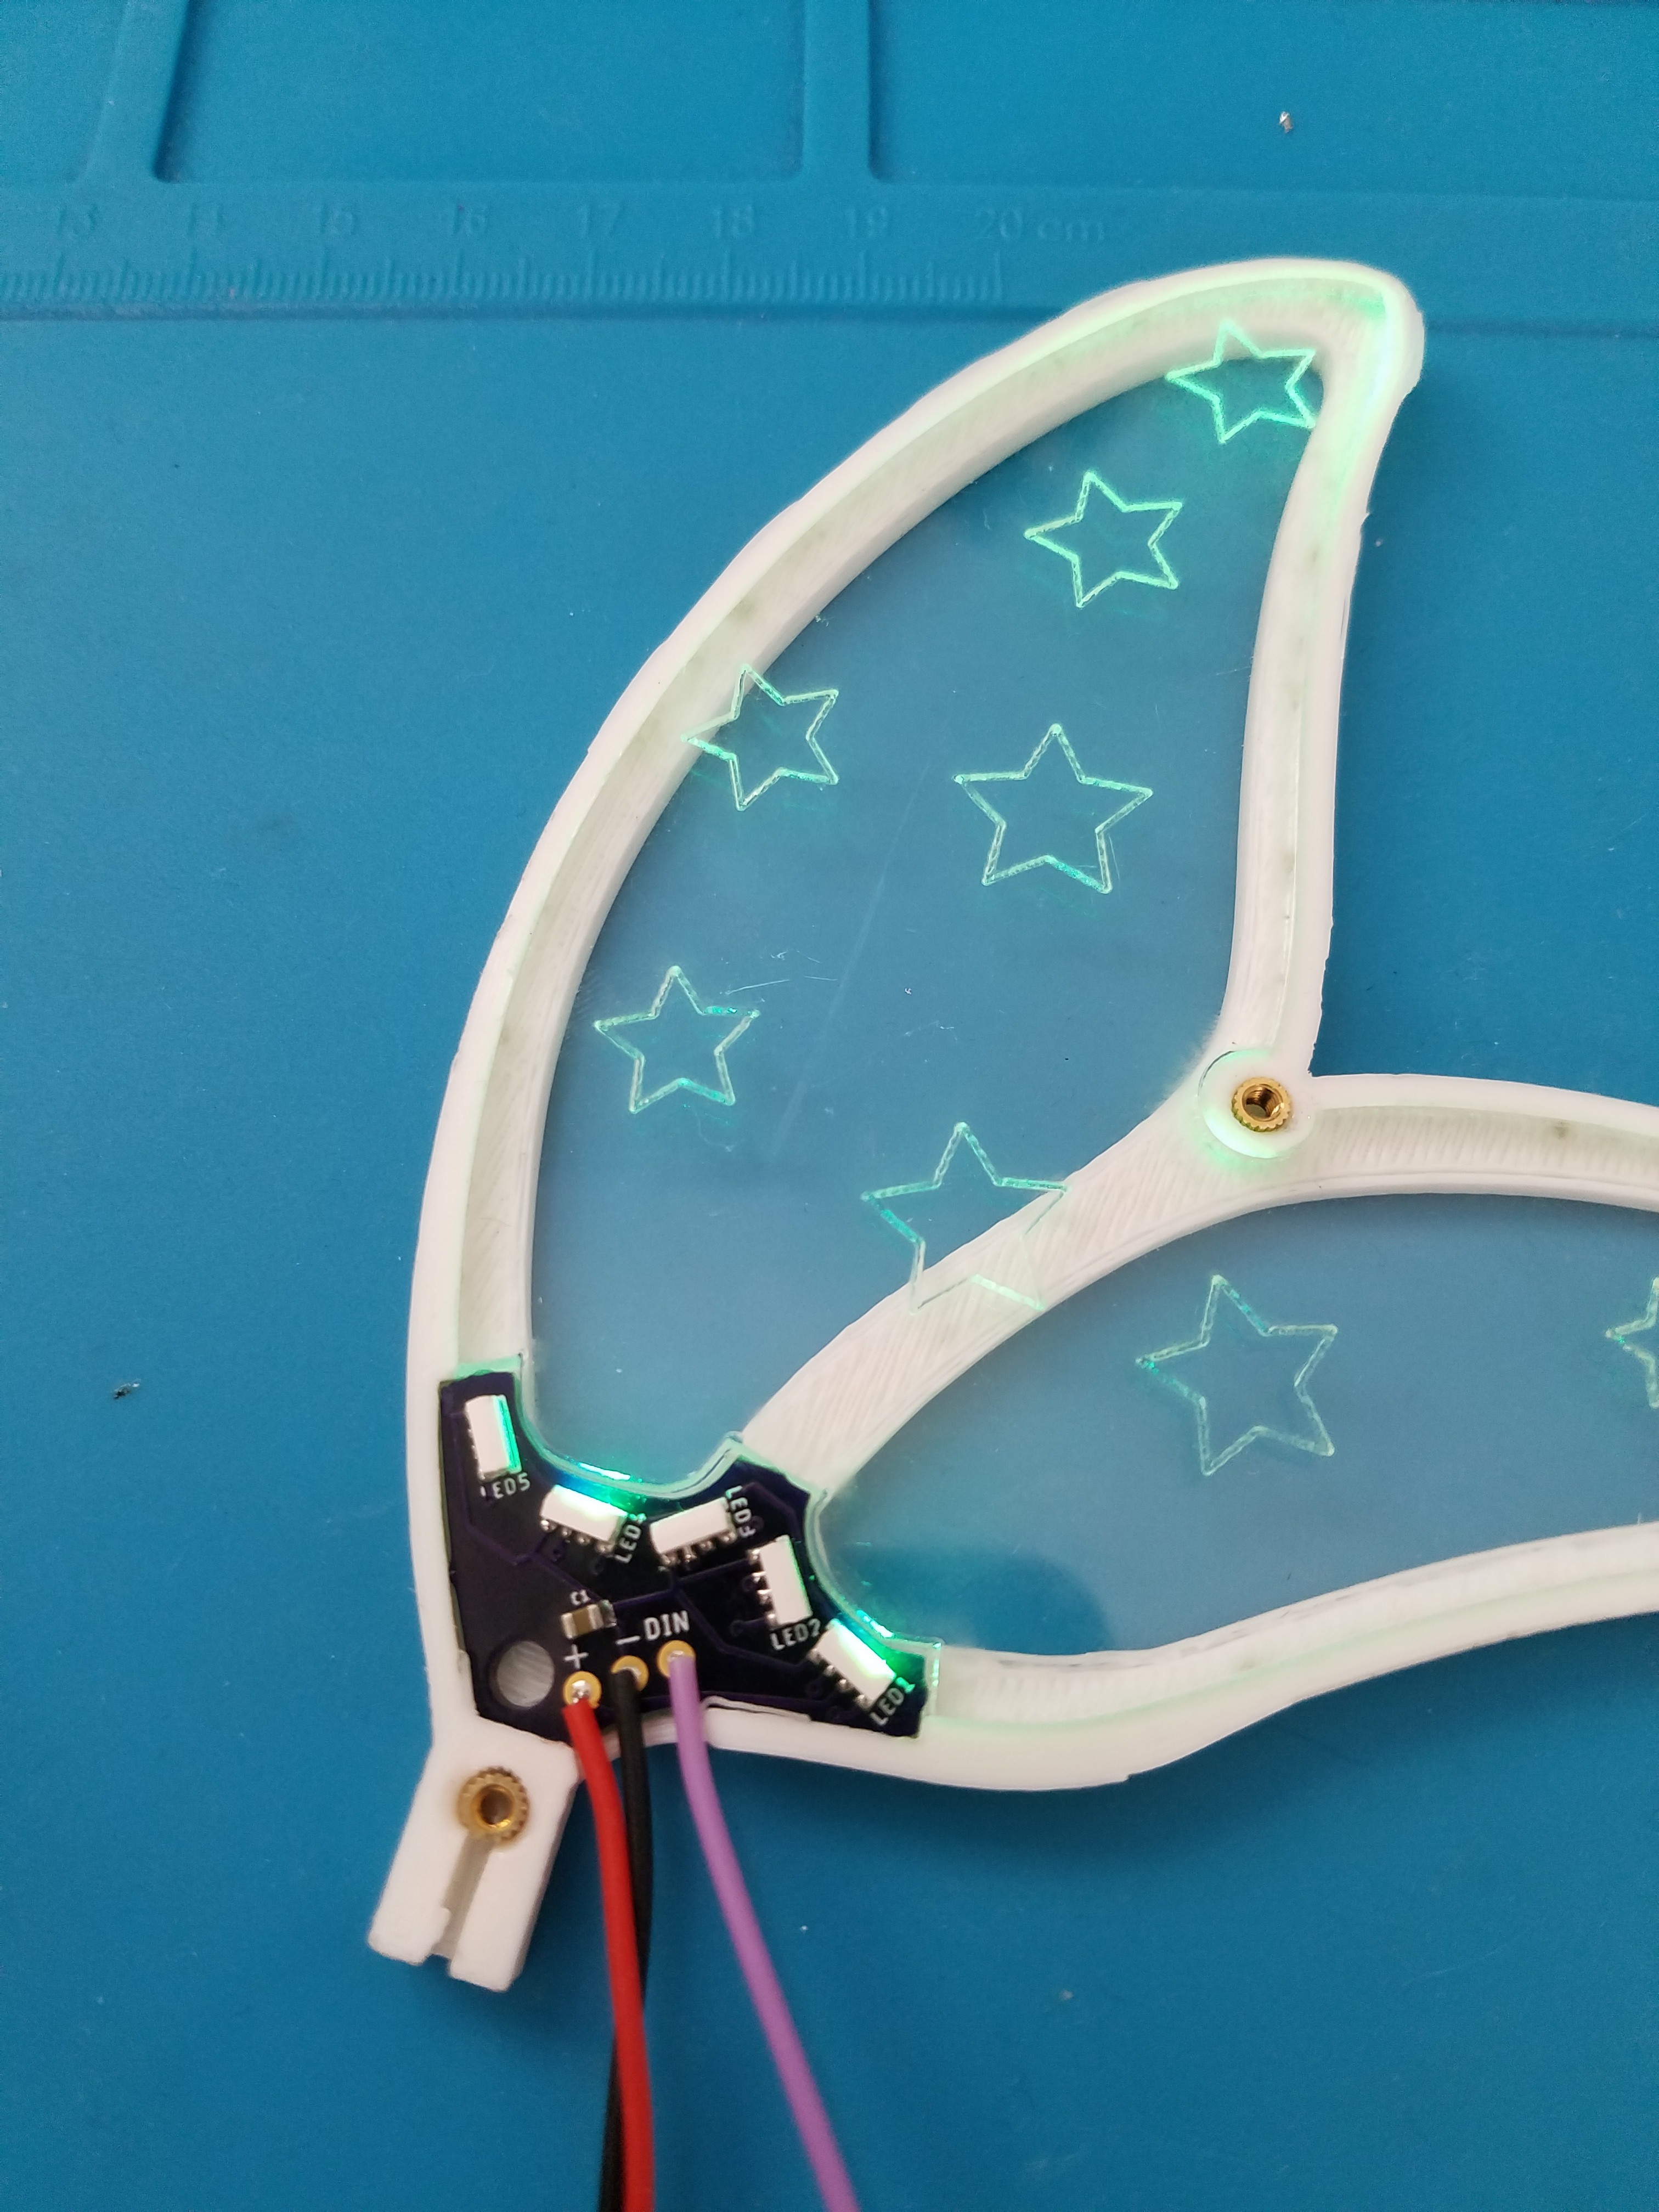
05/10/2020 at 20:08 • 0 commentsWorking on a smaller scale than my Color Stealing Fairy costume's wings gave me a unique opportunity to explore creating edge lit acrylic wings. The small scale meant that weight would not be a huge limiting factor, and was eager to try out some ideas I wish I could have done with my human-sized wings. My goal with these acrylic wings was to have something that still felt delicate and not too bulky, so rather than try and install manufactured LED strips along the wings, I started sketching a custom PCB with side-firing LEDs along the outline.
![]() ---------- more ----------
---------- more ----------To design the entire wing system, I began my sketches in Adobe Illustrator where I could create a layered file that included profiles for the laser cut inserts, profiles to import into AutoDesk Fusion360 for the 3D printed enclosure, and a profile for the PCB itself to ensure a perfect fit. I utilized this workflow in my fairy costume and it made adjustments a breeze to house all my components in one Illustrator file to export again as needed.
After pricing out the PCB cost (and hitting the limitations of the free version of AutoDesk EAGLE), I realized I didn't need an entire border of LEDs to get my intended effect and settled on a smaller PCB that would fit at the base of the wings. With guidance from my friend Mike, I embarked upon my second PCB design and had it manufactured through OSHPark.
![]()
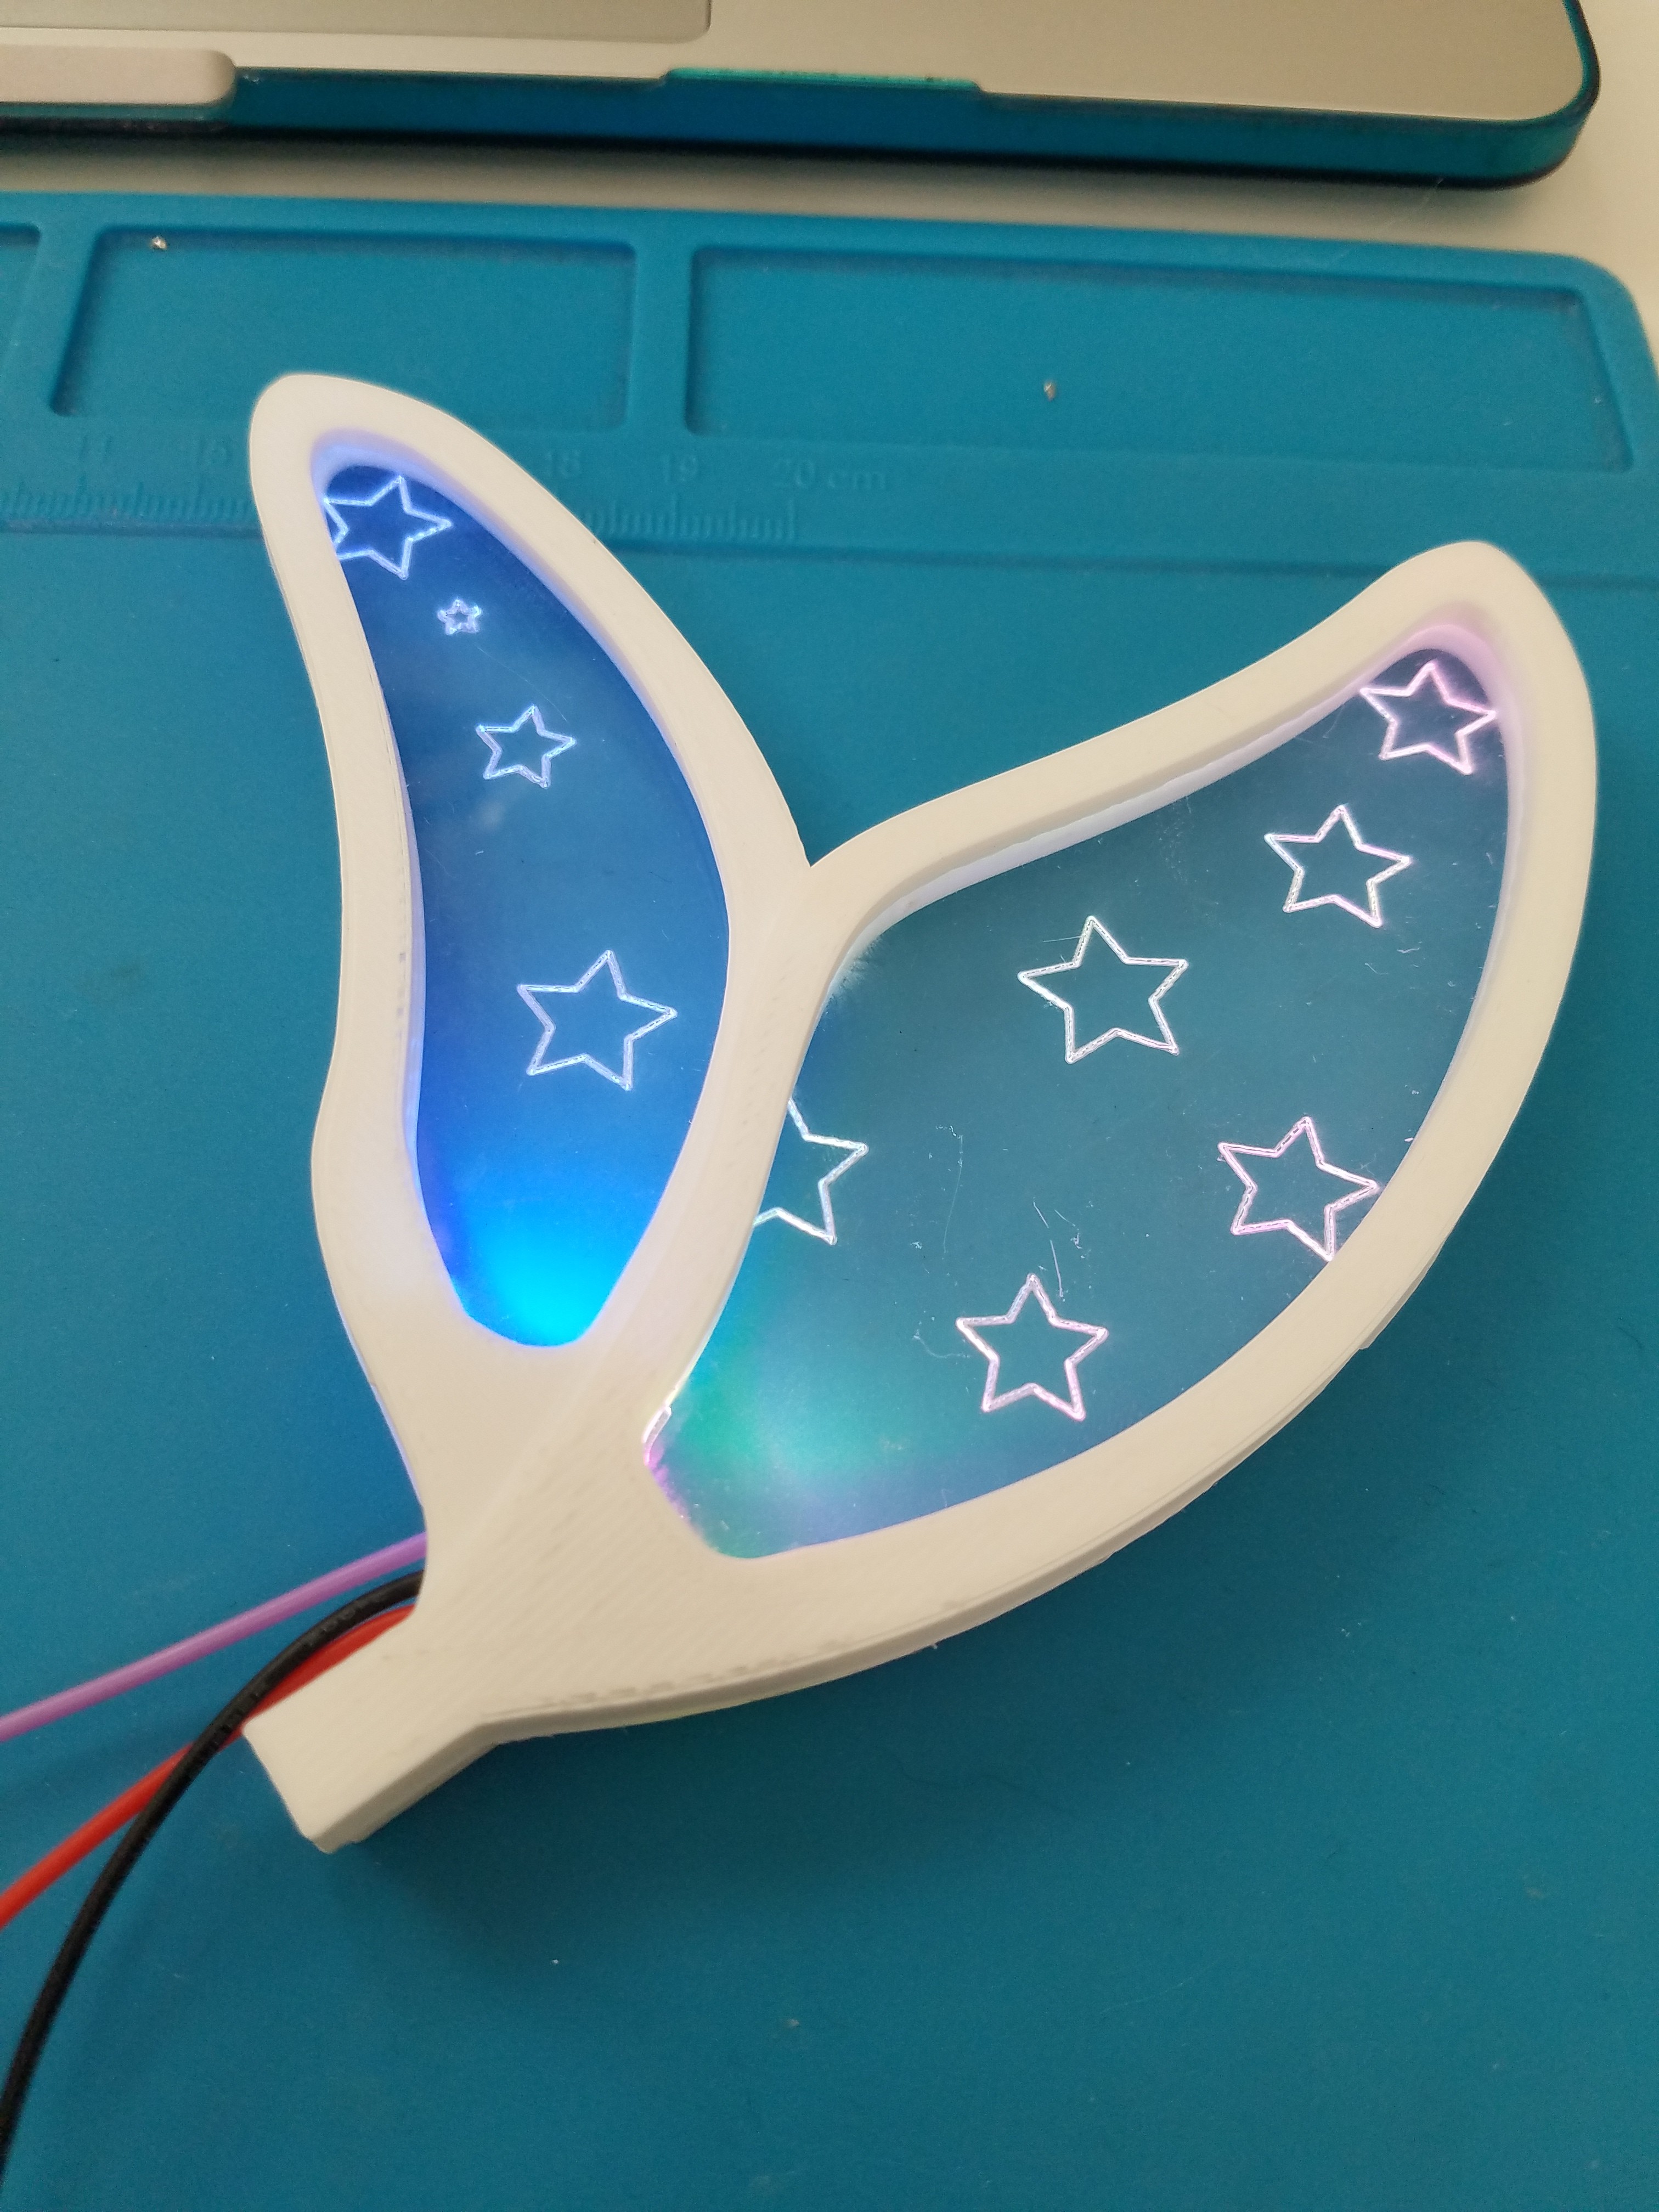
Using my Illustrator to Fusion360 workflow, I was able to export files for the 3D printed wing casing and the acrylic inserts which I laser engraved with a fun star pattern to illuminate with the LEDs.
![]()
![]()
The final touches included some sanding and a coat of pearlescent paint before assembly.
Nova - A Companion Bot
Building a sweet little shoulder dragon to accompany my Color Stealing Fairy project.
 Angela Sheehan