willbaden
-
Another Sample
04/19/2020 at 13:04 • 0 commentsBelow is a portion of a video that I used the camera slide:
It would be really nice to have a quick way to adjust the rotation amount over the length of the linear axis. Preferably one that could be adjusted through a phone that is readily available.
Along with this, adding a homing cycle. Right now, on power up it assumes both axis are at the home locations. Which can be difficult to get a good start and stop location with the rotational axis. It can be ran through its paces verifying the shot is what I want, but then I have to restart it from the beginning and most likely lose what I had attempted to setup for.
-
Rotating Axis 2
03/01/2020 at 22:10 • 0 commentsSlowly pecking away at this, I was able to get some tests and video created.
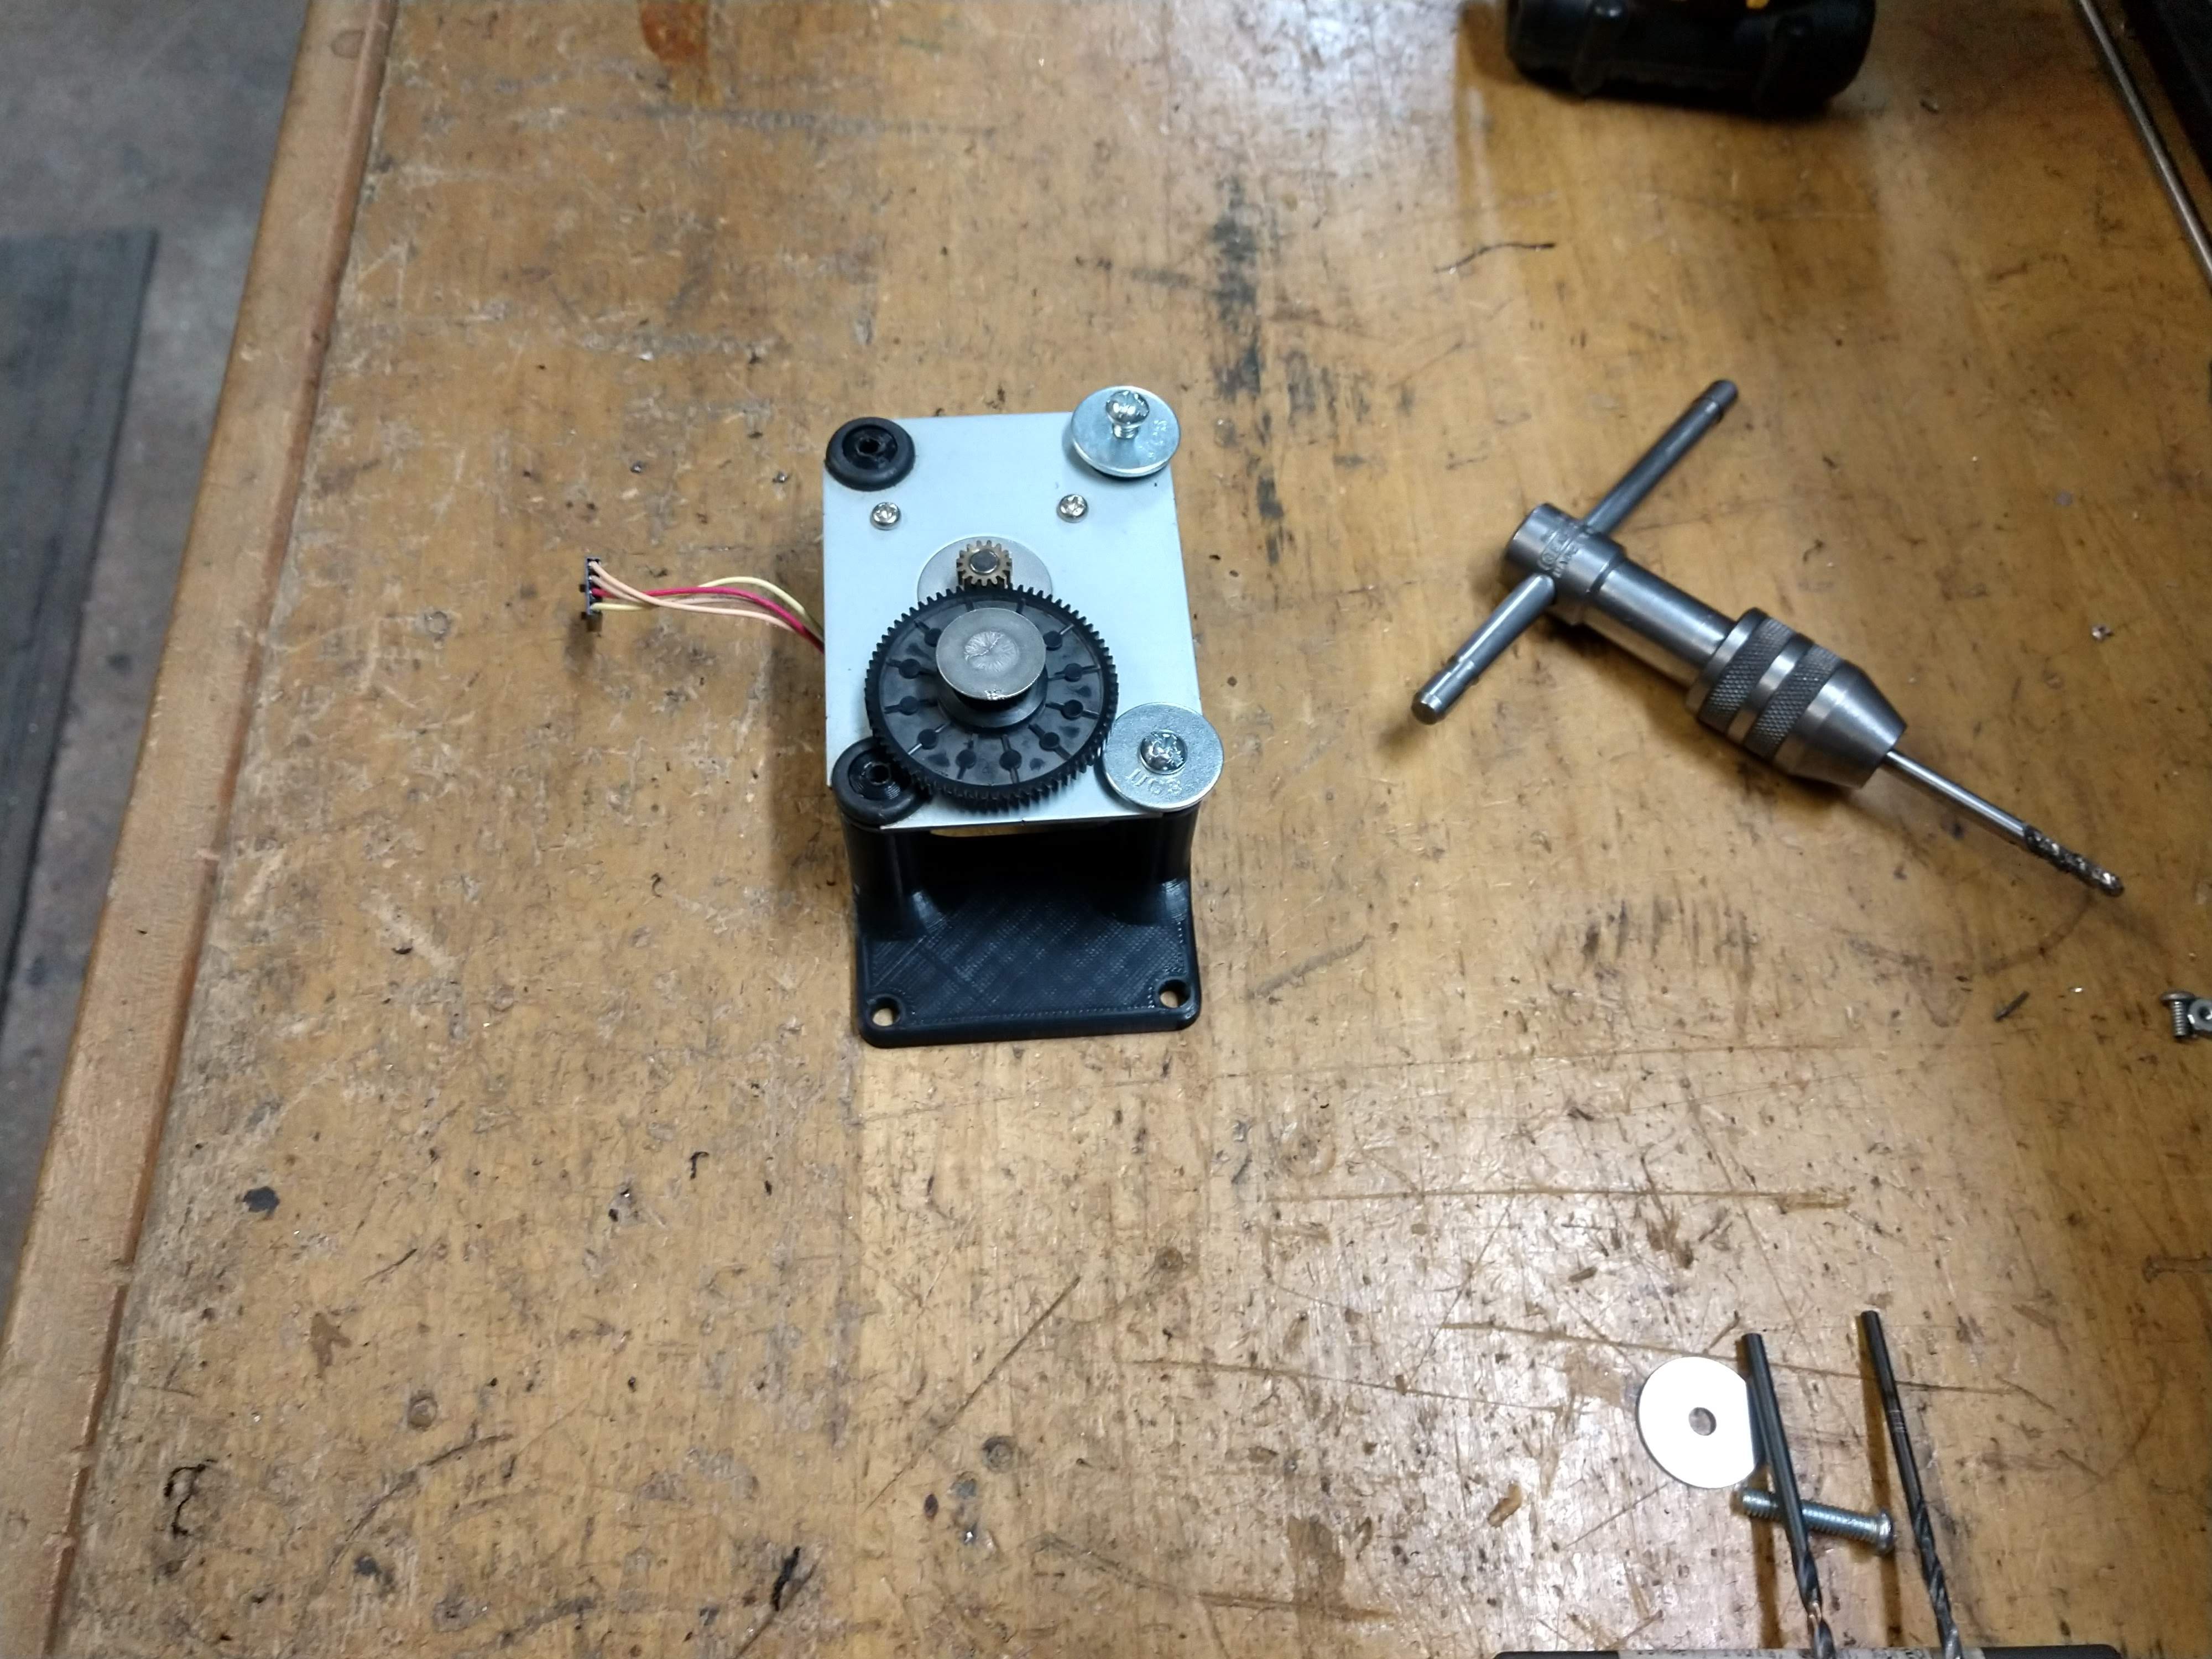
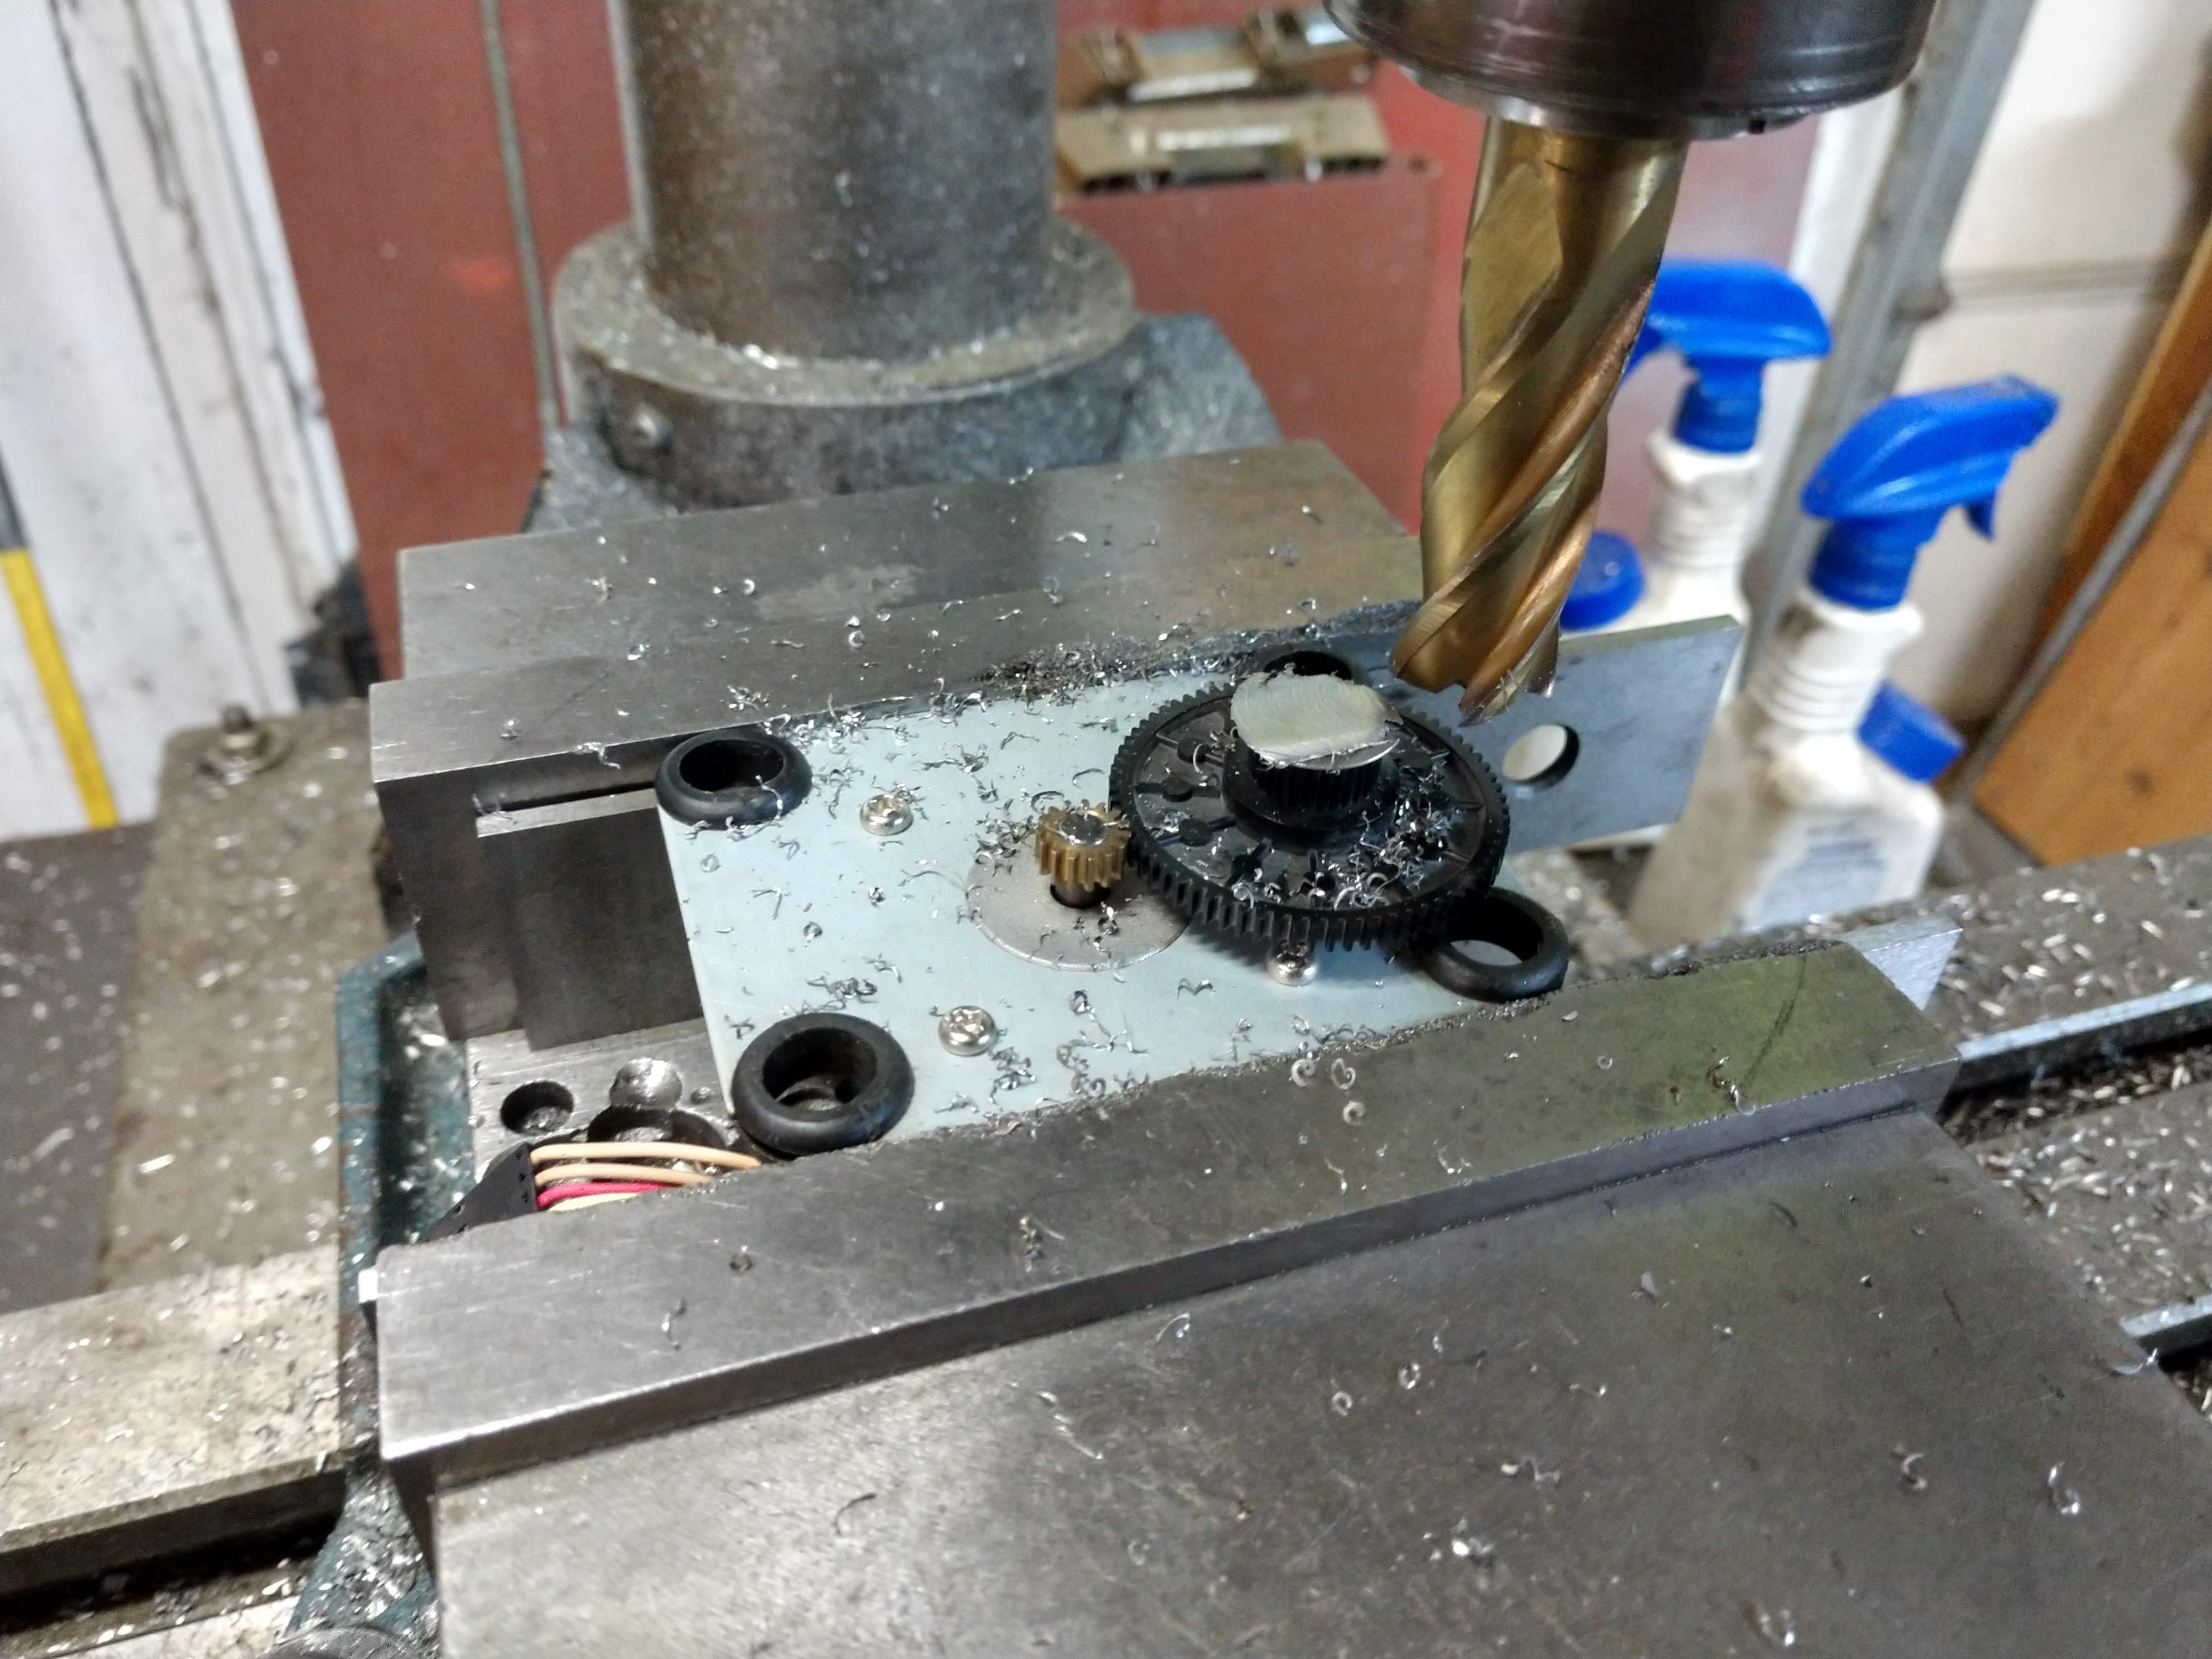
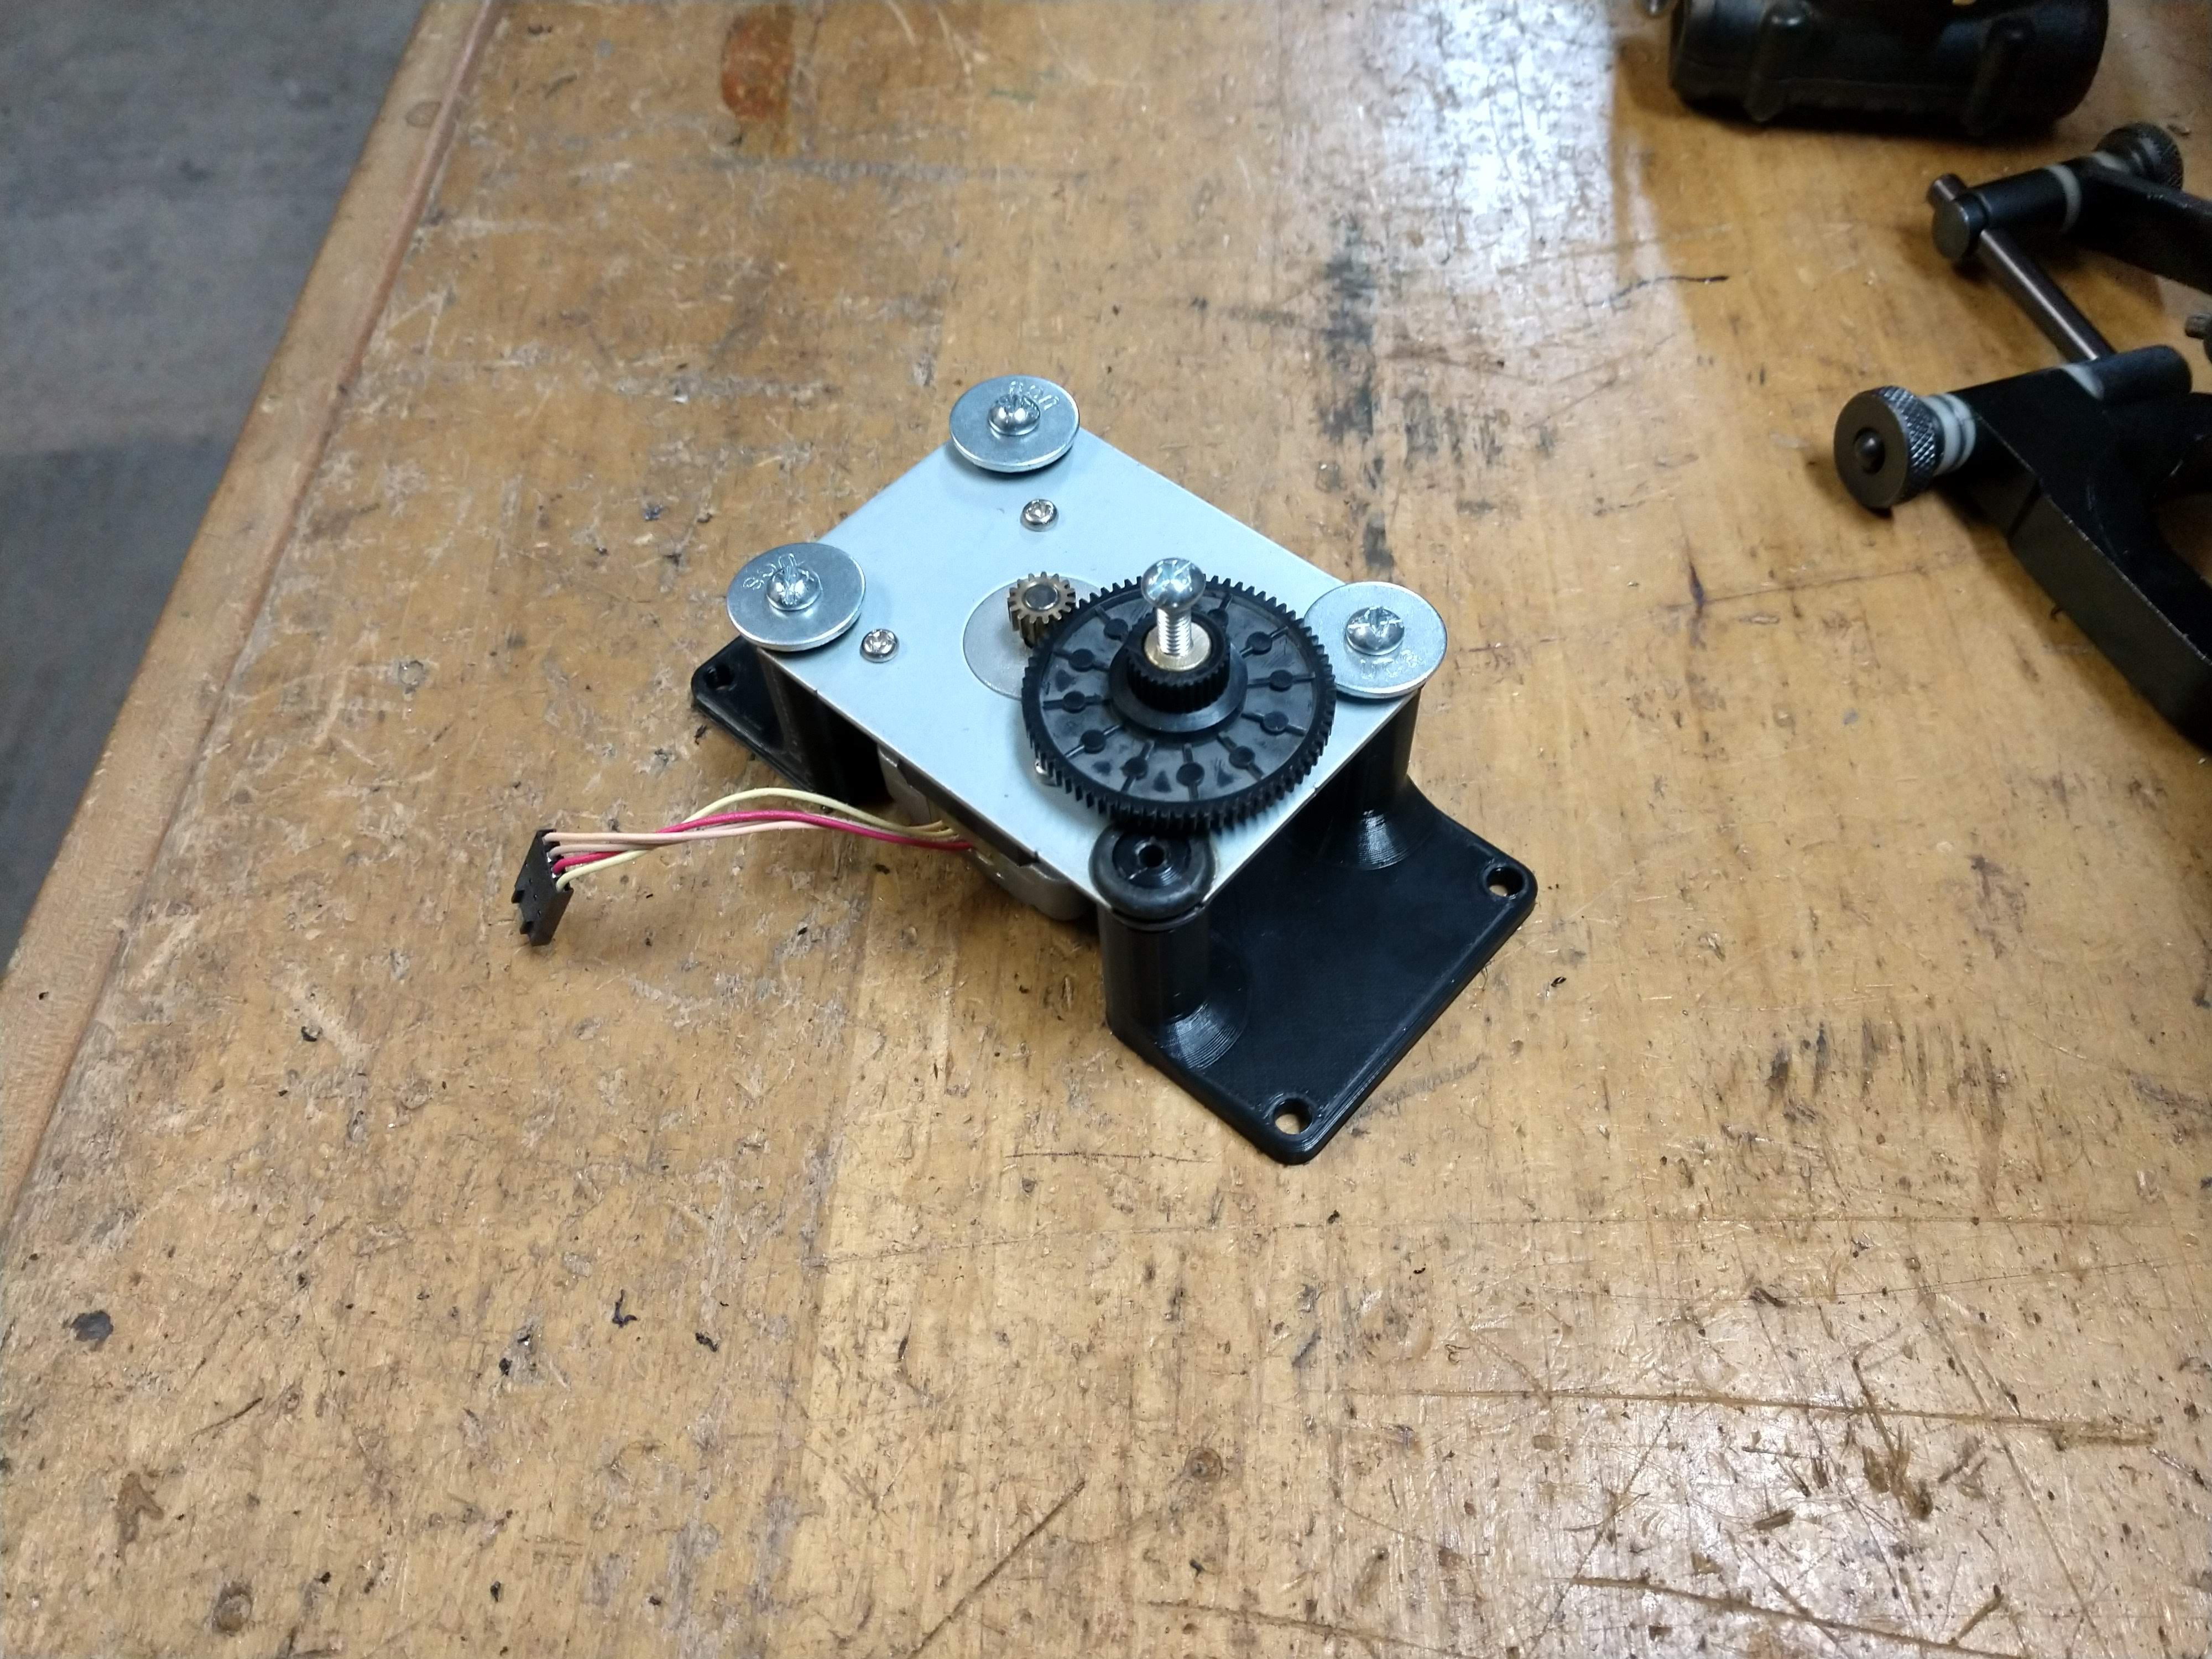
First, some more build information. The screws were added to more securely attach the gear to the camera mount adapter. There are 3 evenly spaced around the turning axis. It was a little snug but the height was enough for the screws to clear:
![]()
Wire management was a seat of my pants design. With a machining background, I have to think differently with the 3D printer. With that, I am more willing to try and fail at printing as it is only a small amount of design time. Sure the printing takes a while, but I don't have to dedicate time working in the shop to machine a part.
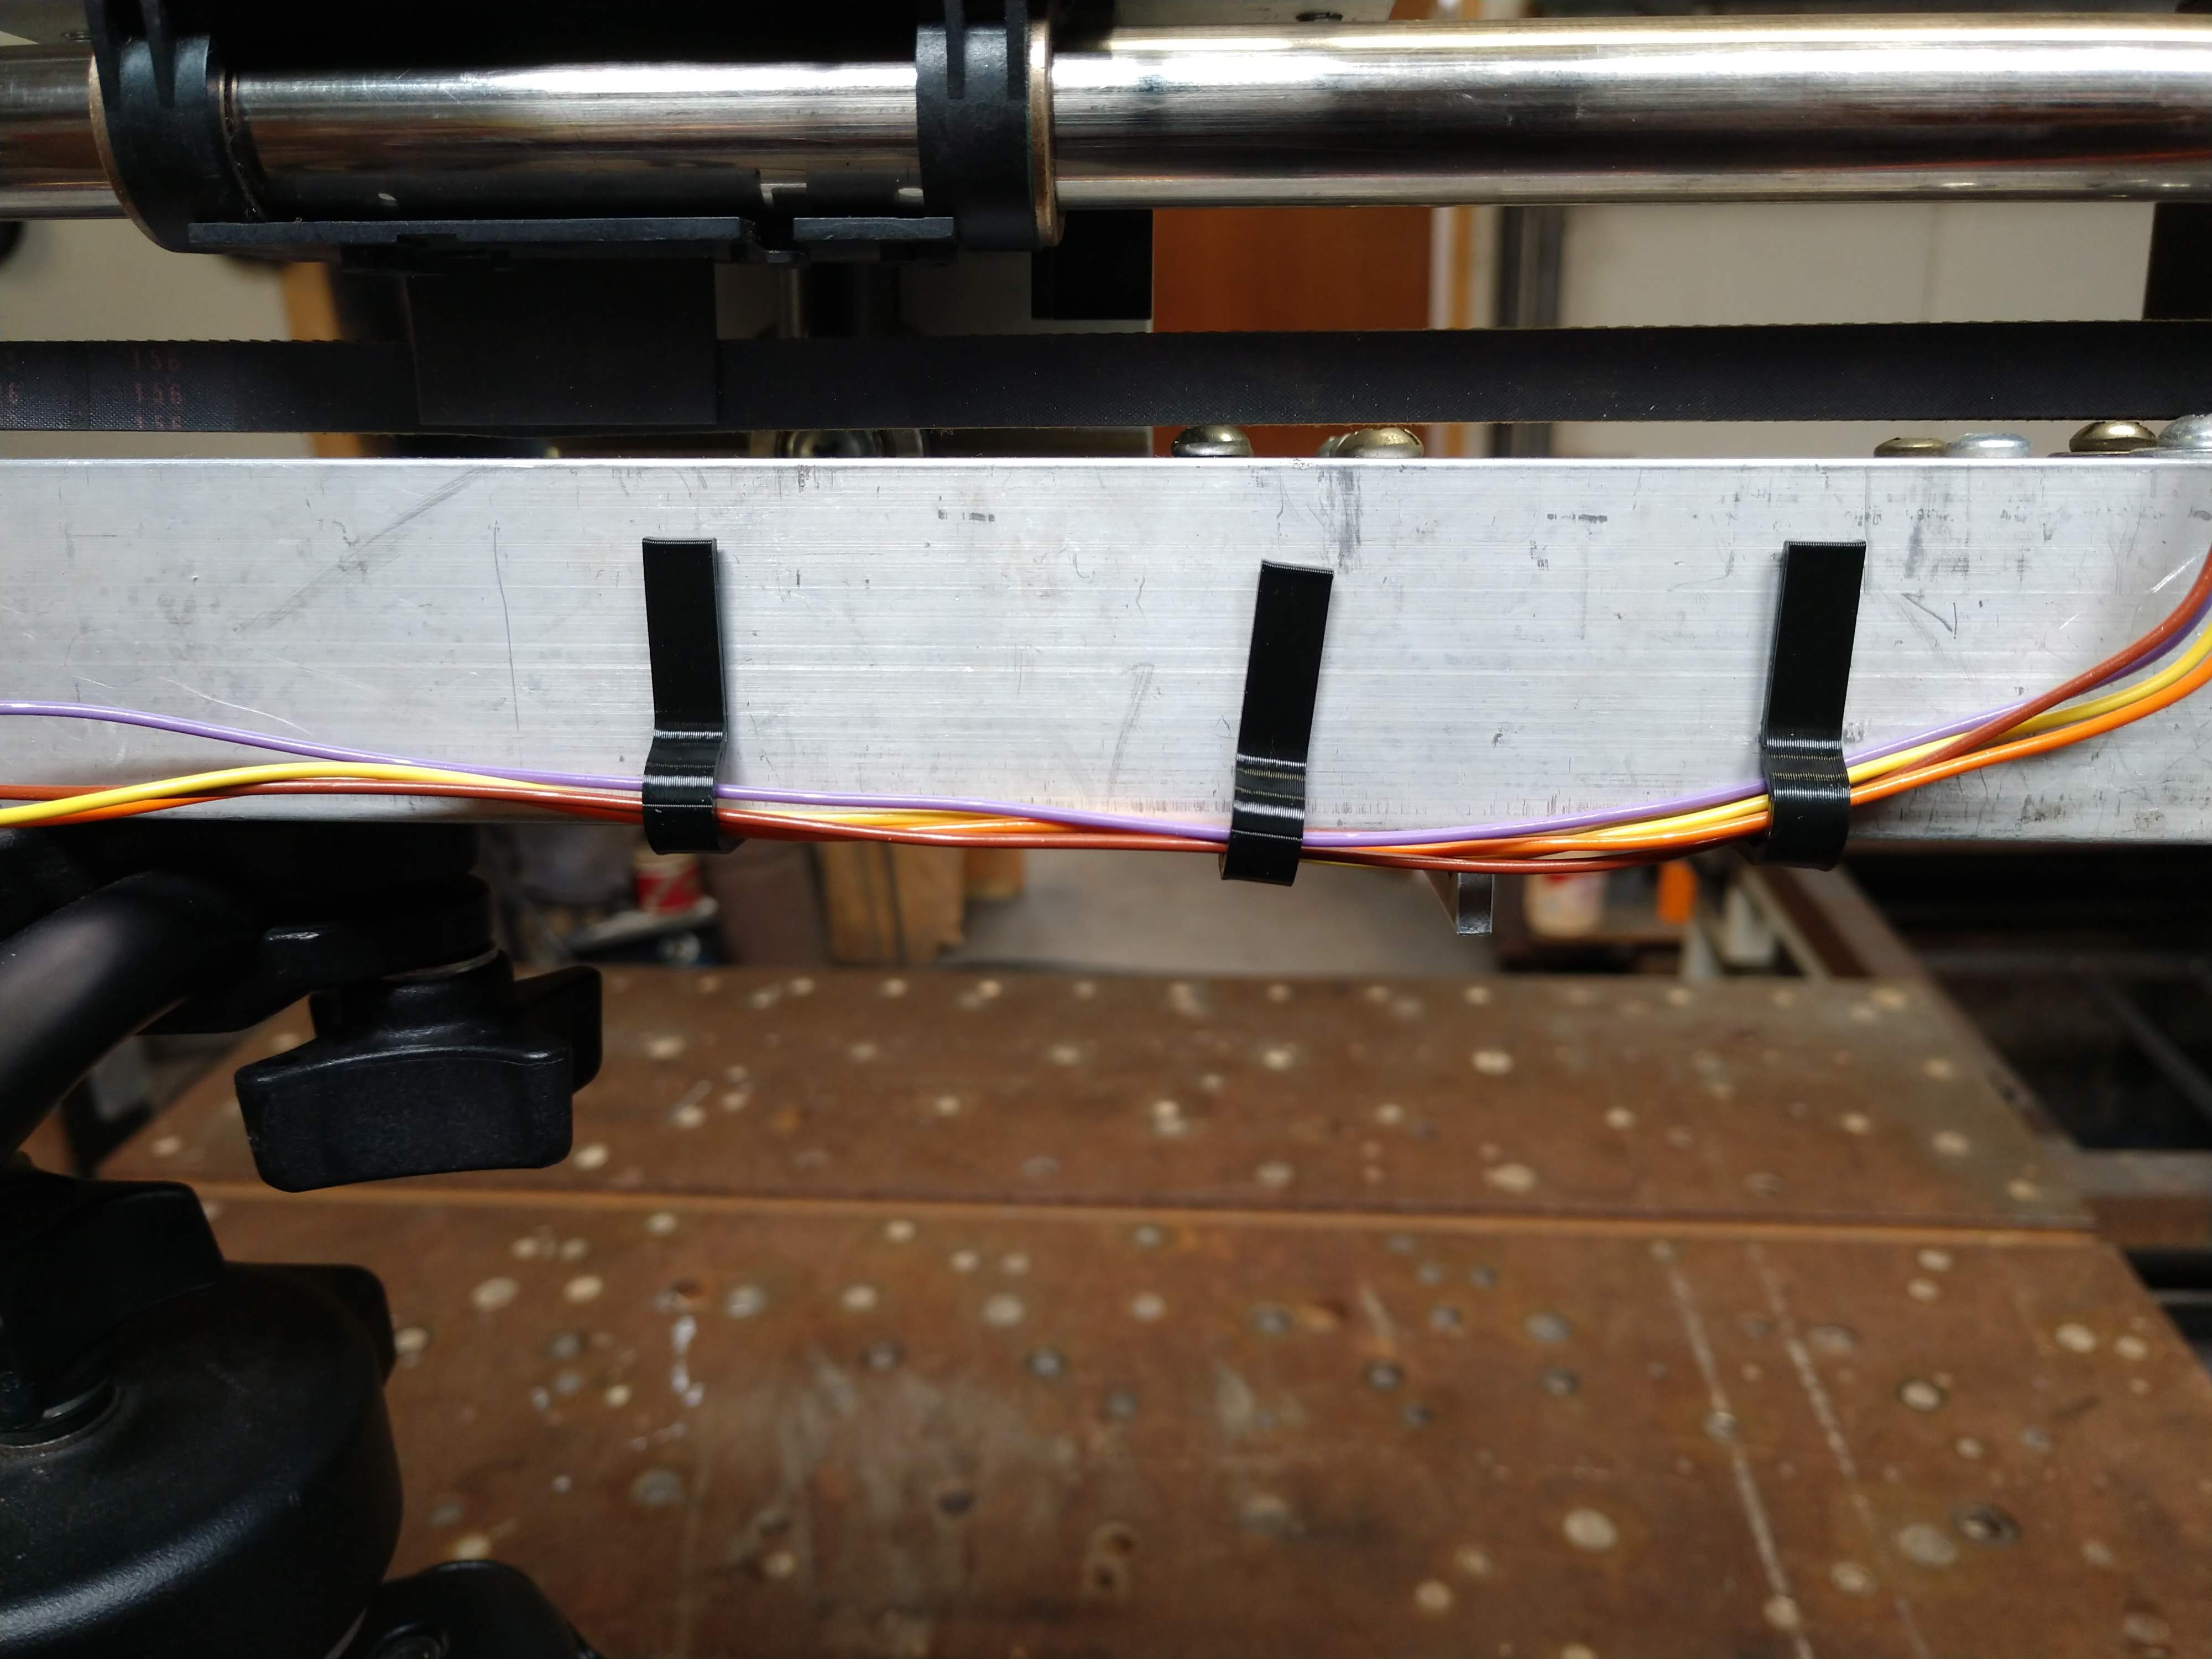
That said, I decided to print some cable management. There are 3 wire clips (is that the name?) that just slid over the edge of the aluminum angle:
![]()
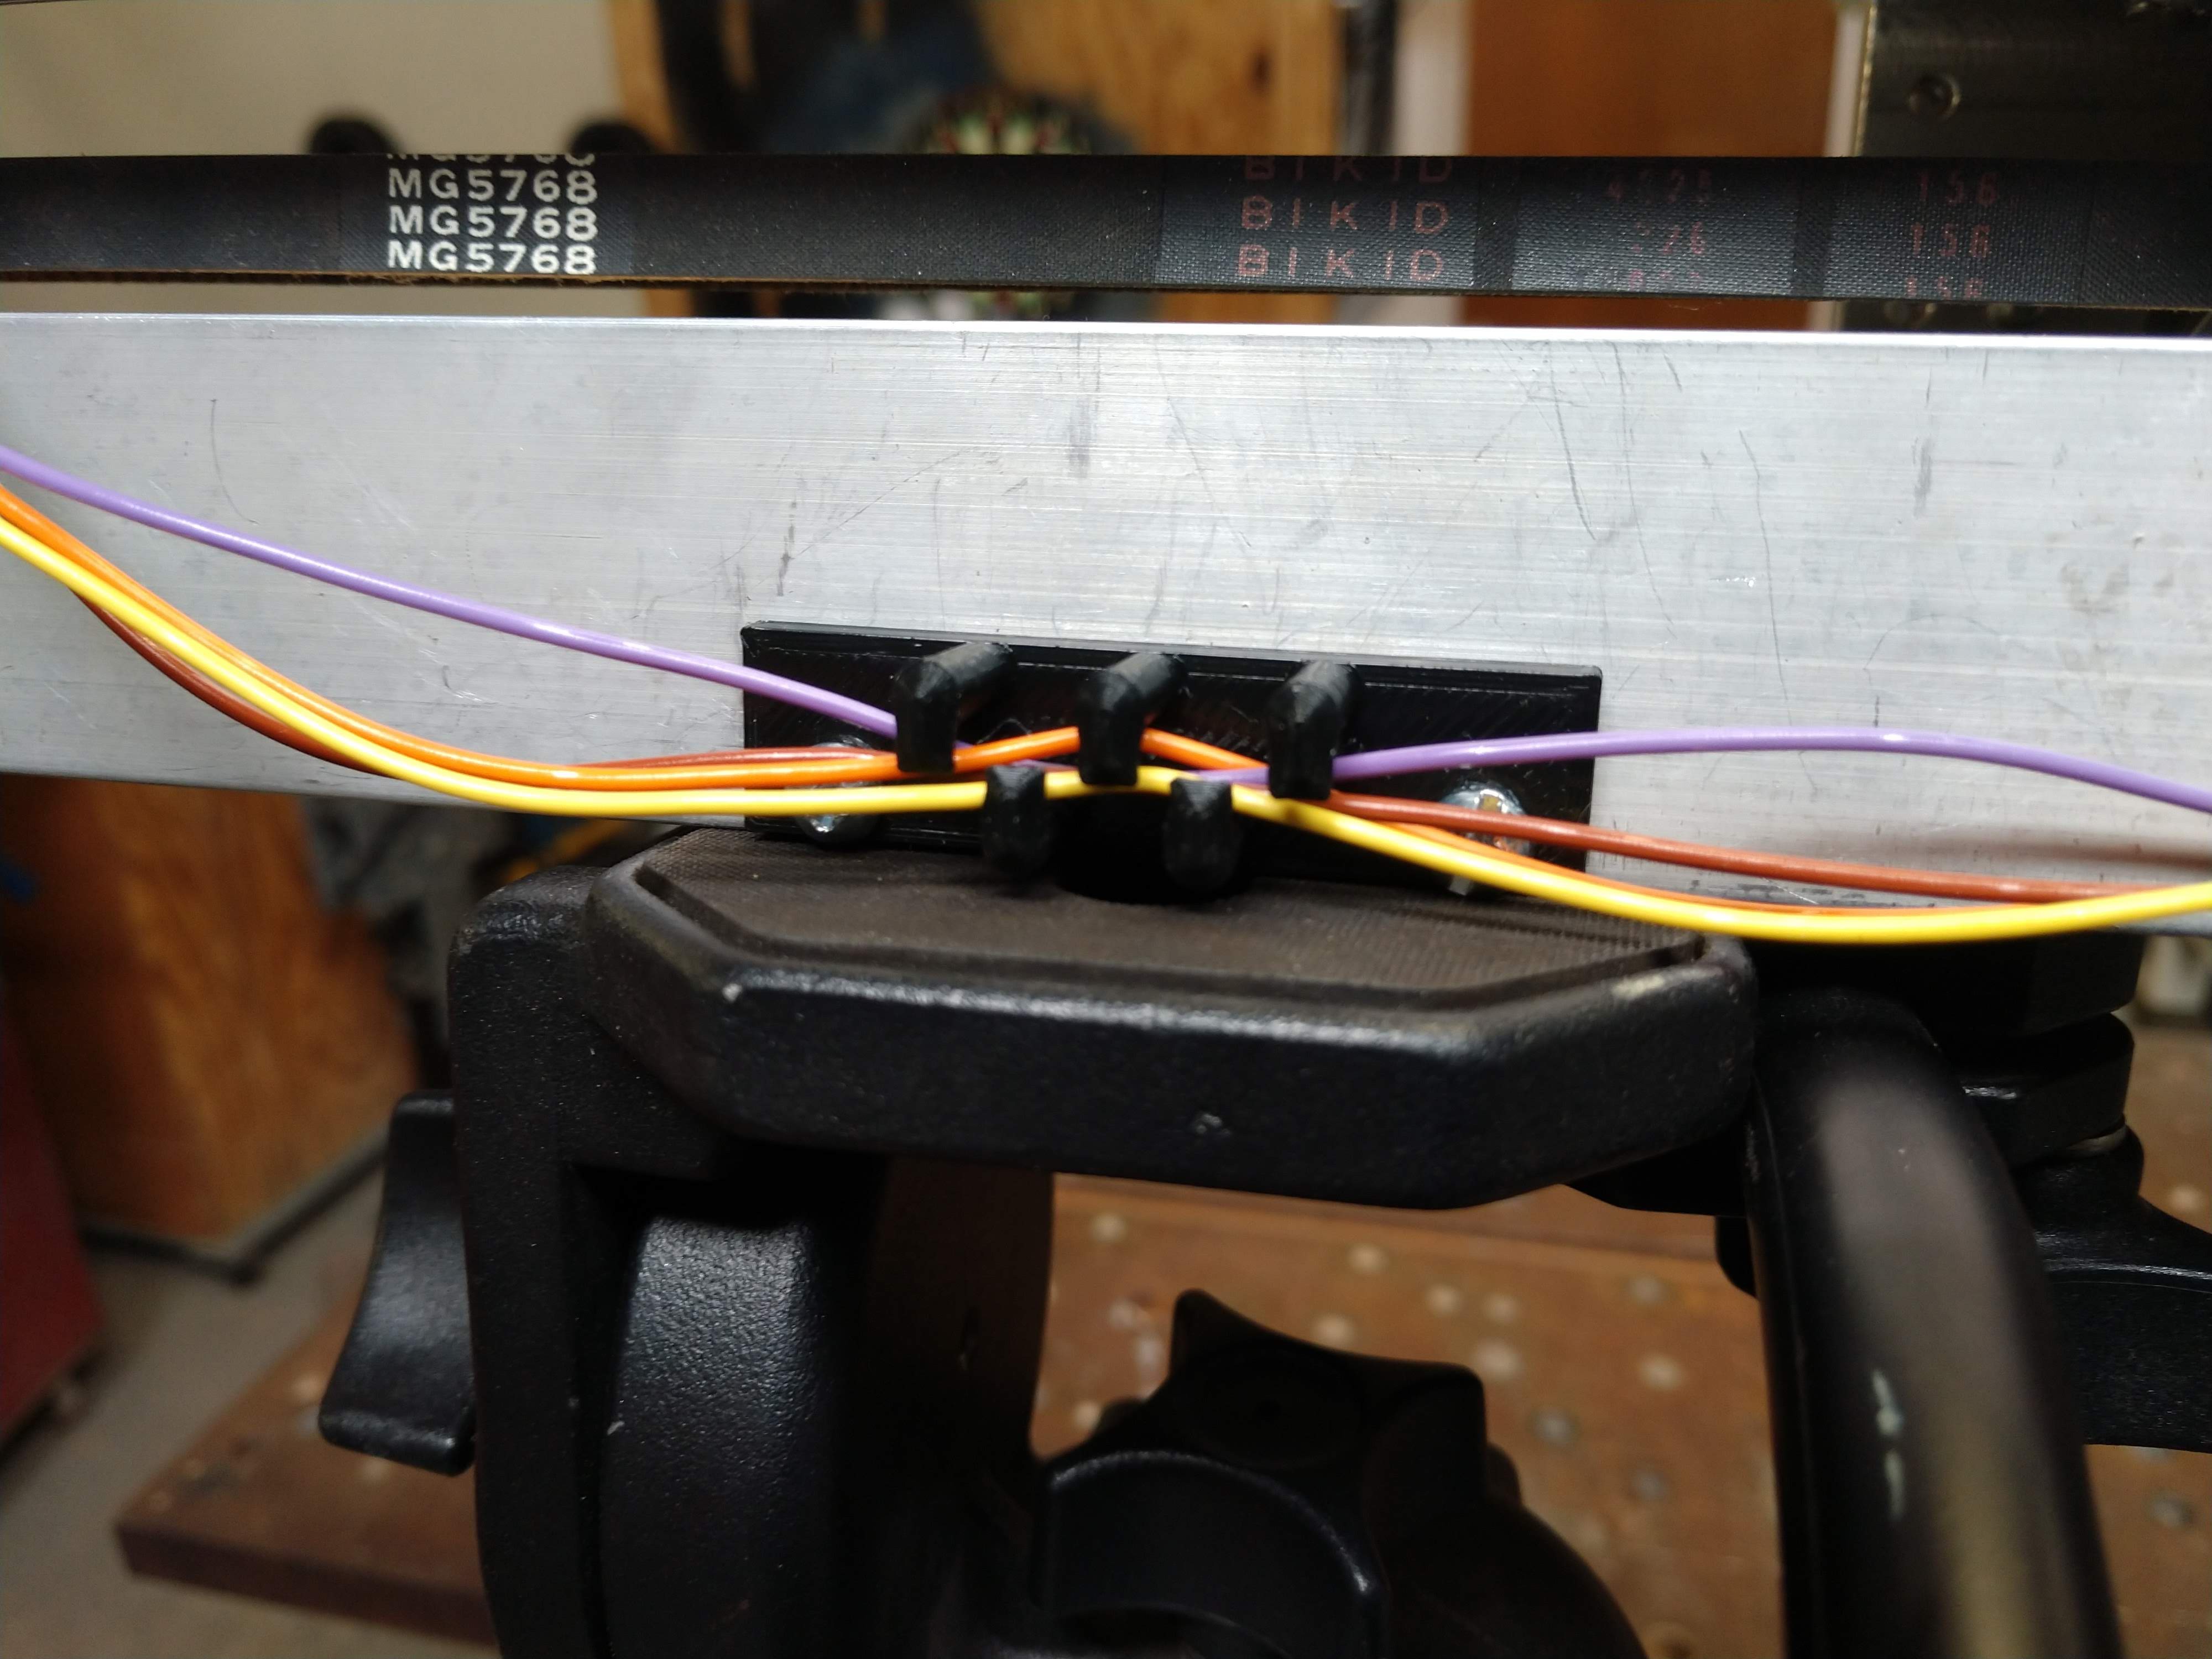
They are fairly loose, but use will tell if something else will be needed. The odd wiring management device I conceived next was based on having access to two holes that I could mount something to. Not wanting to print it on end, this is what was come up with:
![]()
So far so good. . .
The program for the slide was updated multiple times and is available on the github page listed under details on the main page. Not being my native mindset (programming), if you want to chip in and help me with the program, feel free to reach out to me.
As for the current state of the project, a short video is below. I first tried 90 degree rotation and then 45 degree rotation over the linear axis travel. I like the effect of the latter and will plan on using that for some videos in the future. If anything, I might change it to a lower angle for objects further away:
Future wants:
1. Synchronize both axis better. The program takes the time between steps of the linear axis and then calculates the time between steps for the rotary axis. This looks to lead to error of synching. Looking for ideas.
2. Create some sort of user interface. Could be using the LED's, adding buttons or adding an app over bluetooth. Also looking for ideas. Keeping in mind that, if I am using this device, I want if to be changed quickly and easily.
All and all the effect is there and I am liking where this is going. Hopefully more to come.
-
Rotating Axis 1
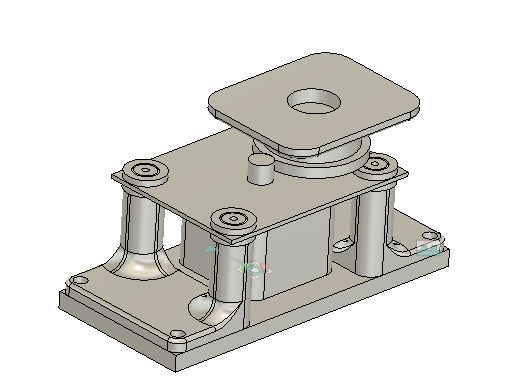
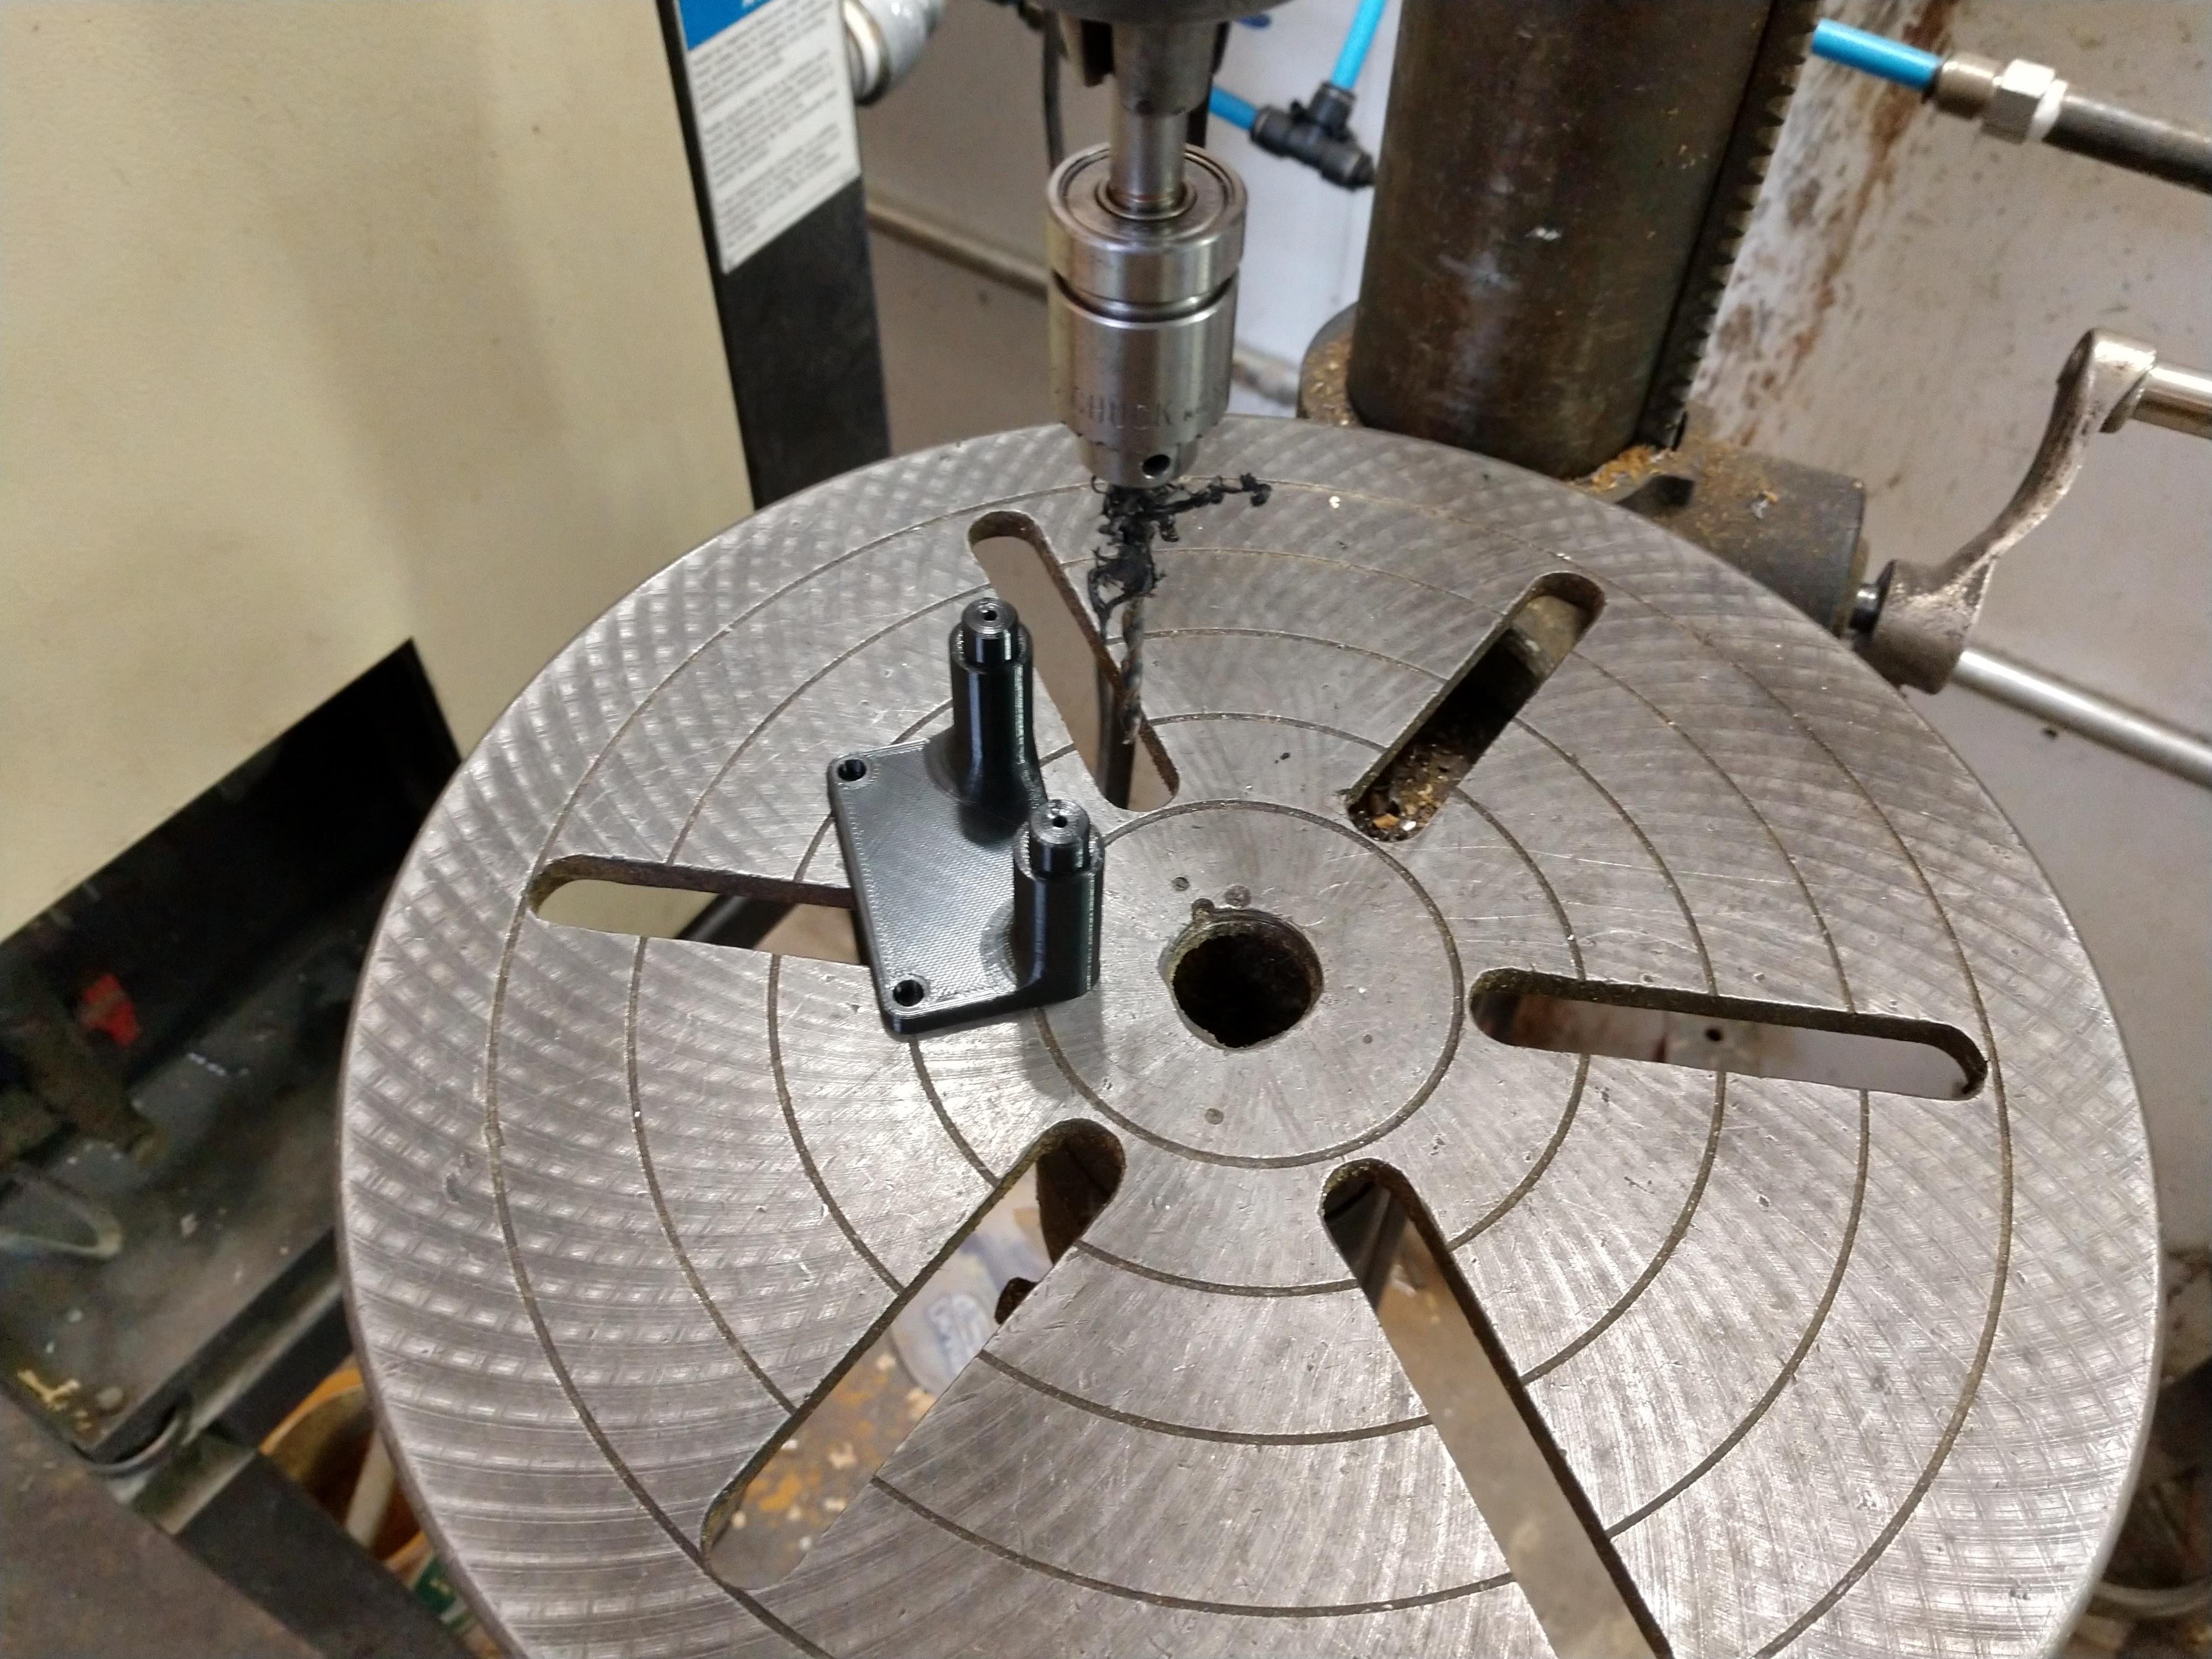
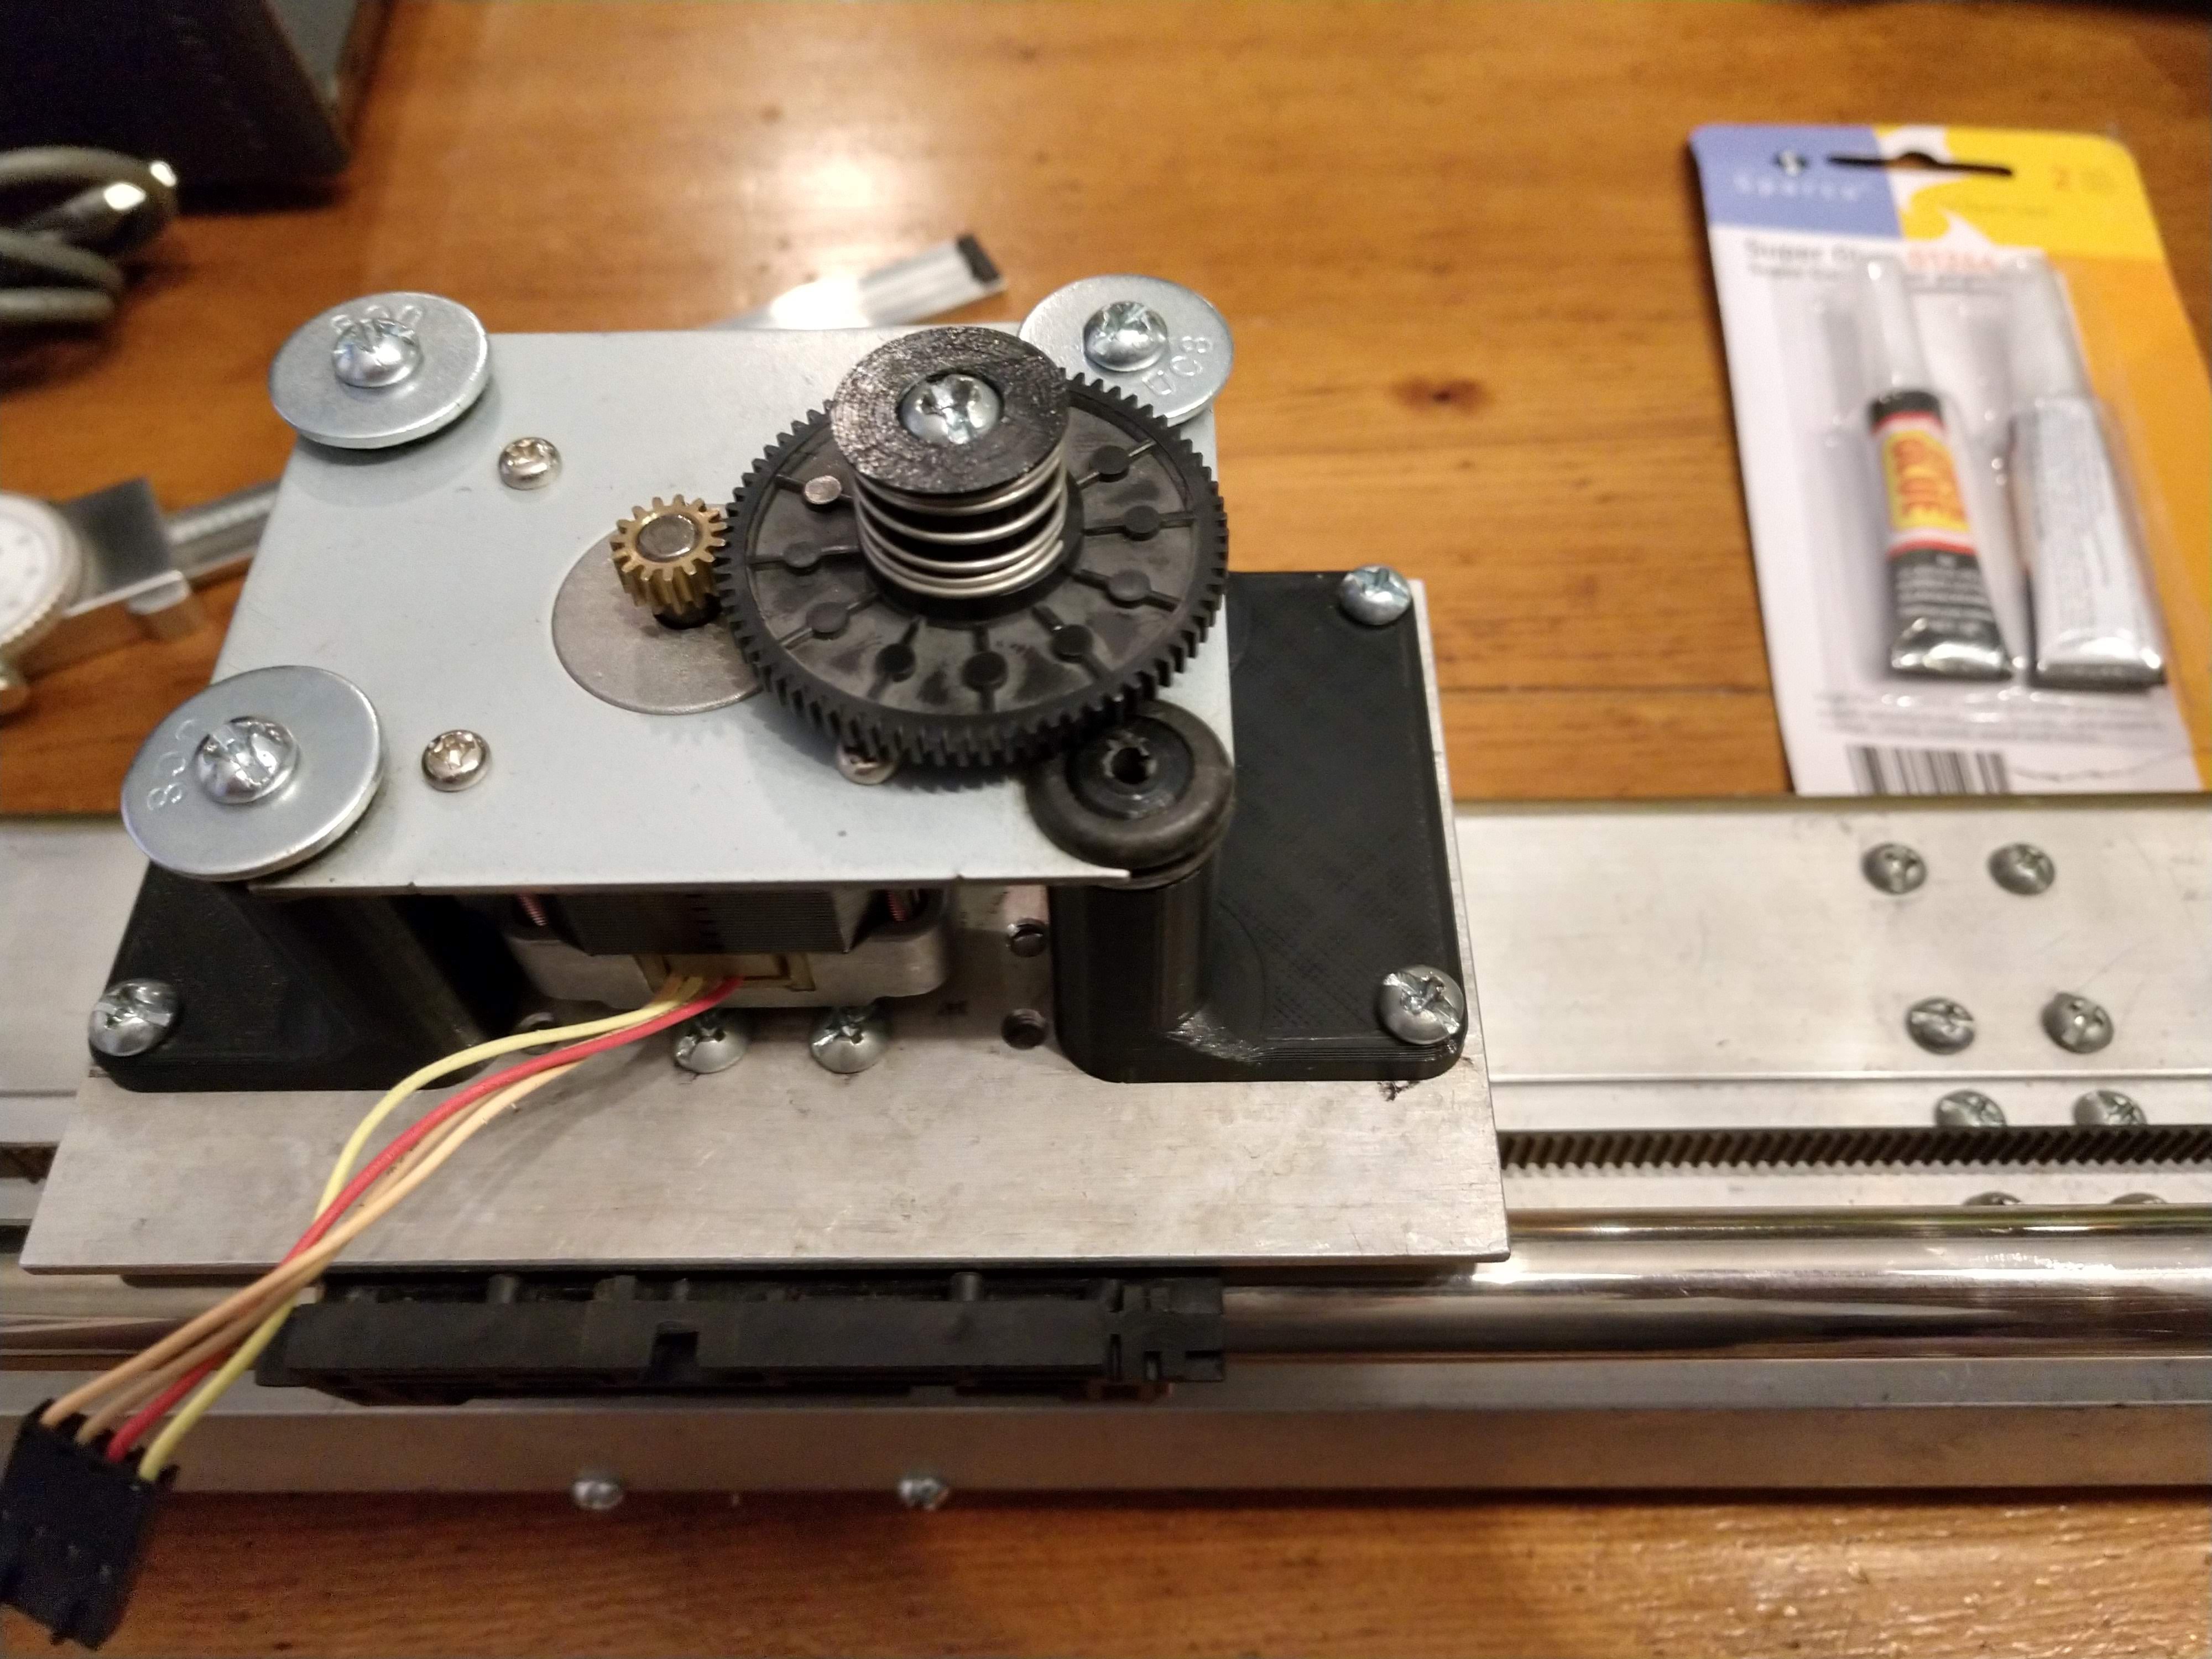
02/24/2020 at 01:55 • 0 commentsThe rotating axis for the camera is in progress. The junk pile was full of steppers, but only had one decent reducer. The gears meshing has a little backlash in it, but I am curious to see if it will work for the end effect of the video. It also has a little play axially, but a spring tensioner should help mitigate some of that. Using Fusion, the design that I came up with is below:
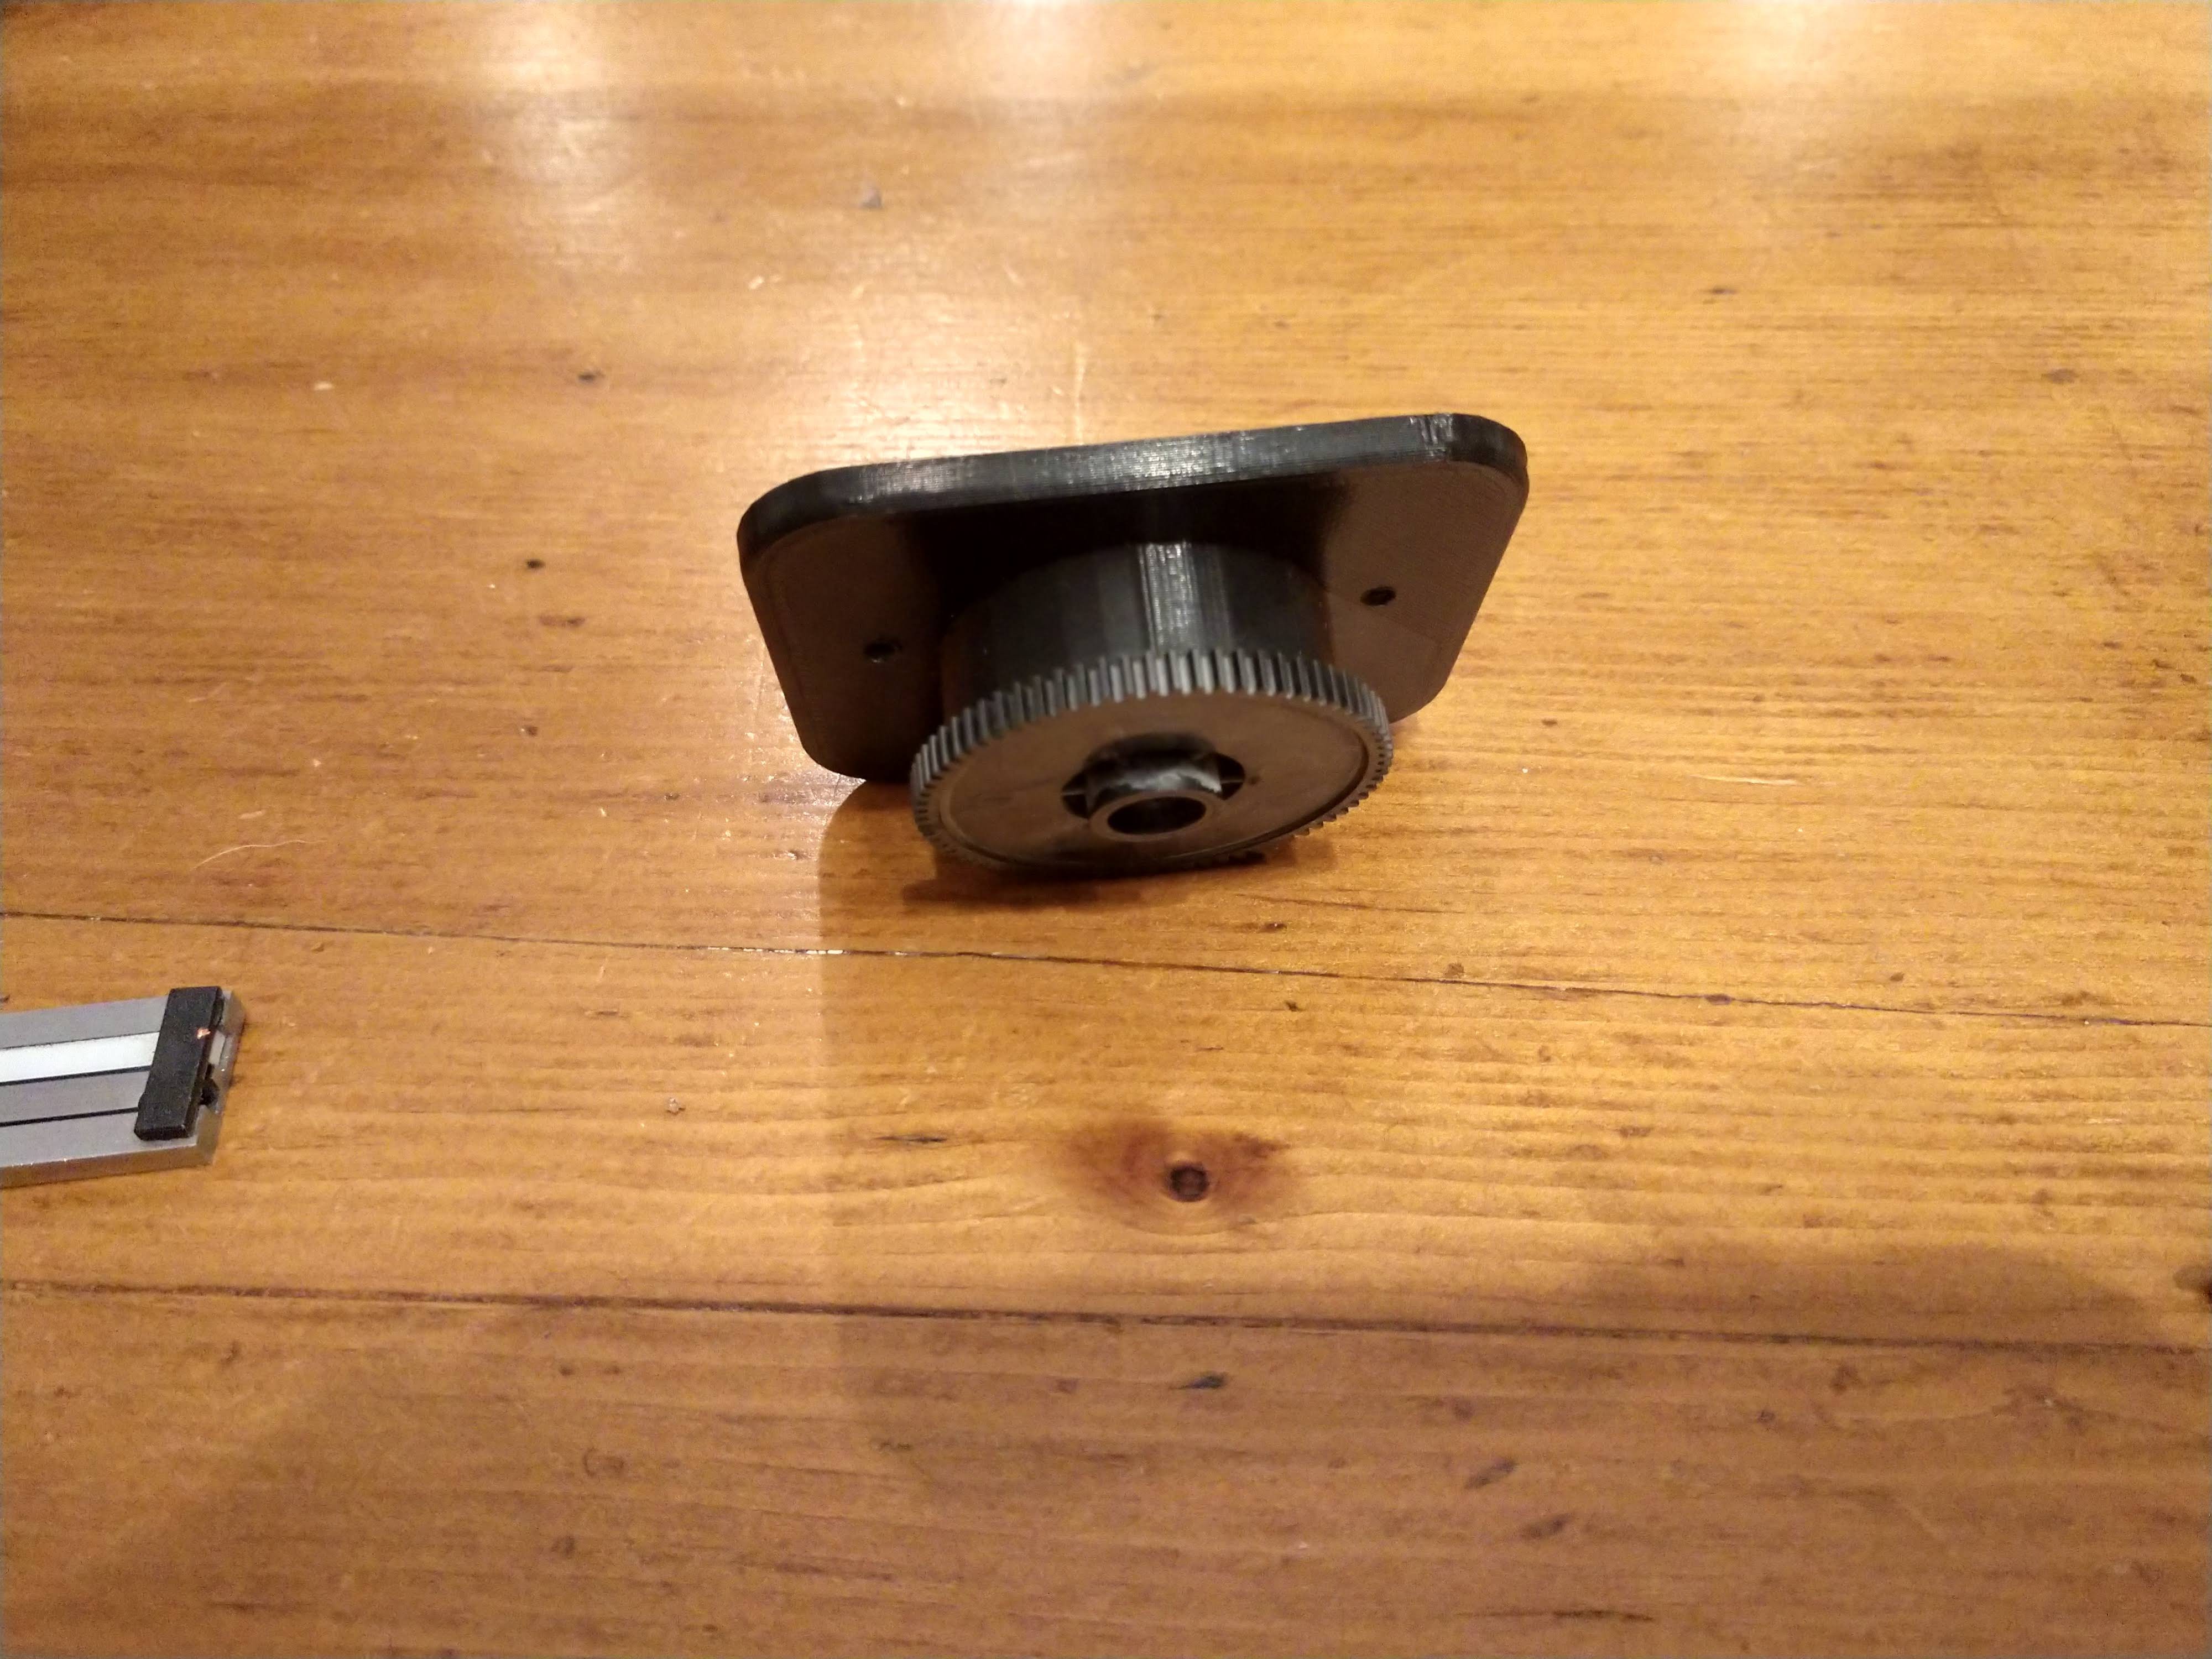
The risers were 3D printed and then drilled/tapped for 8-32 screws.
![]()
![]()
Checking clearances with the risers mounted:
![]()
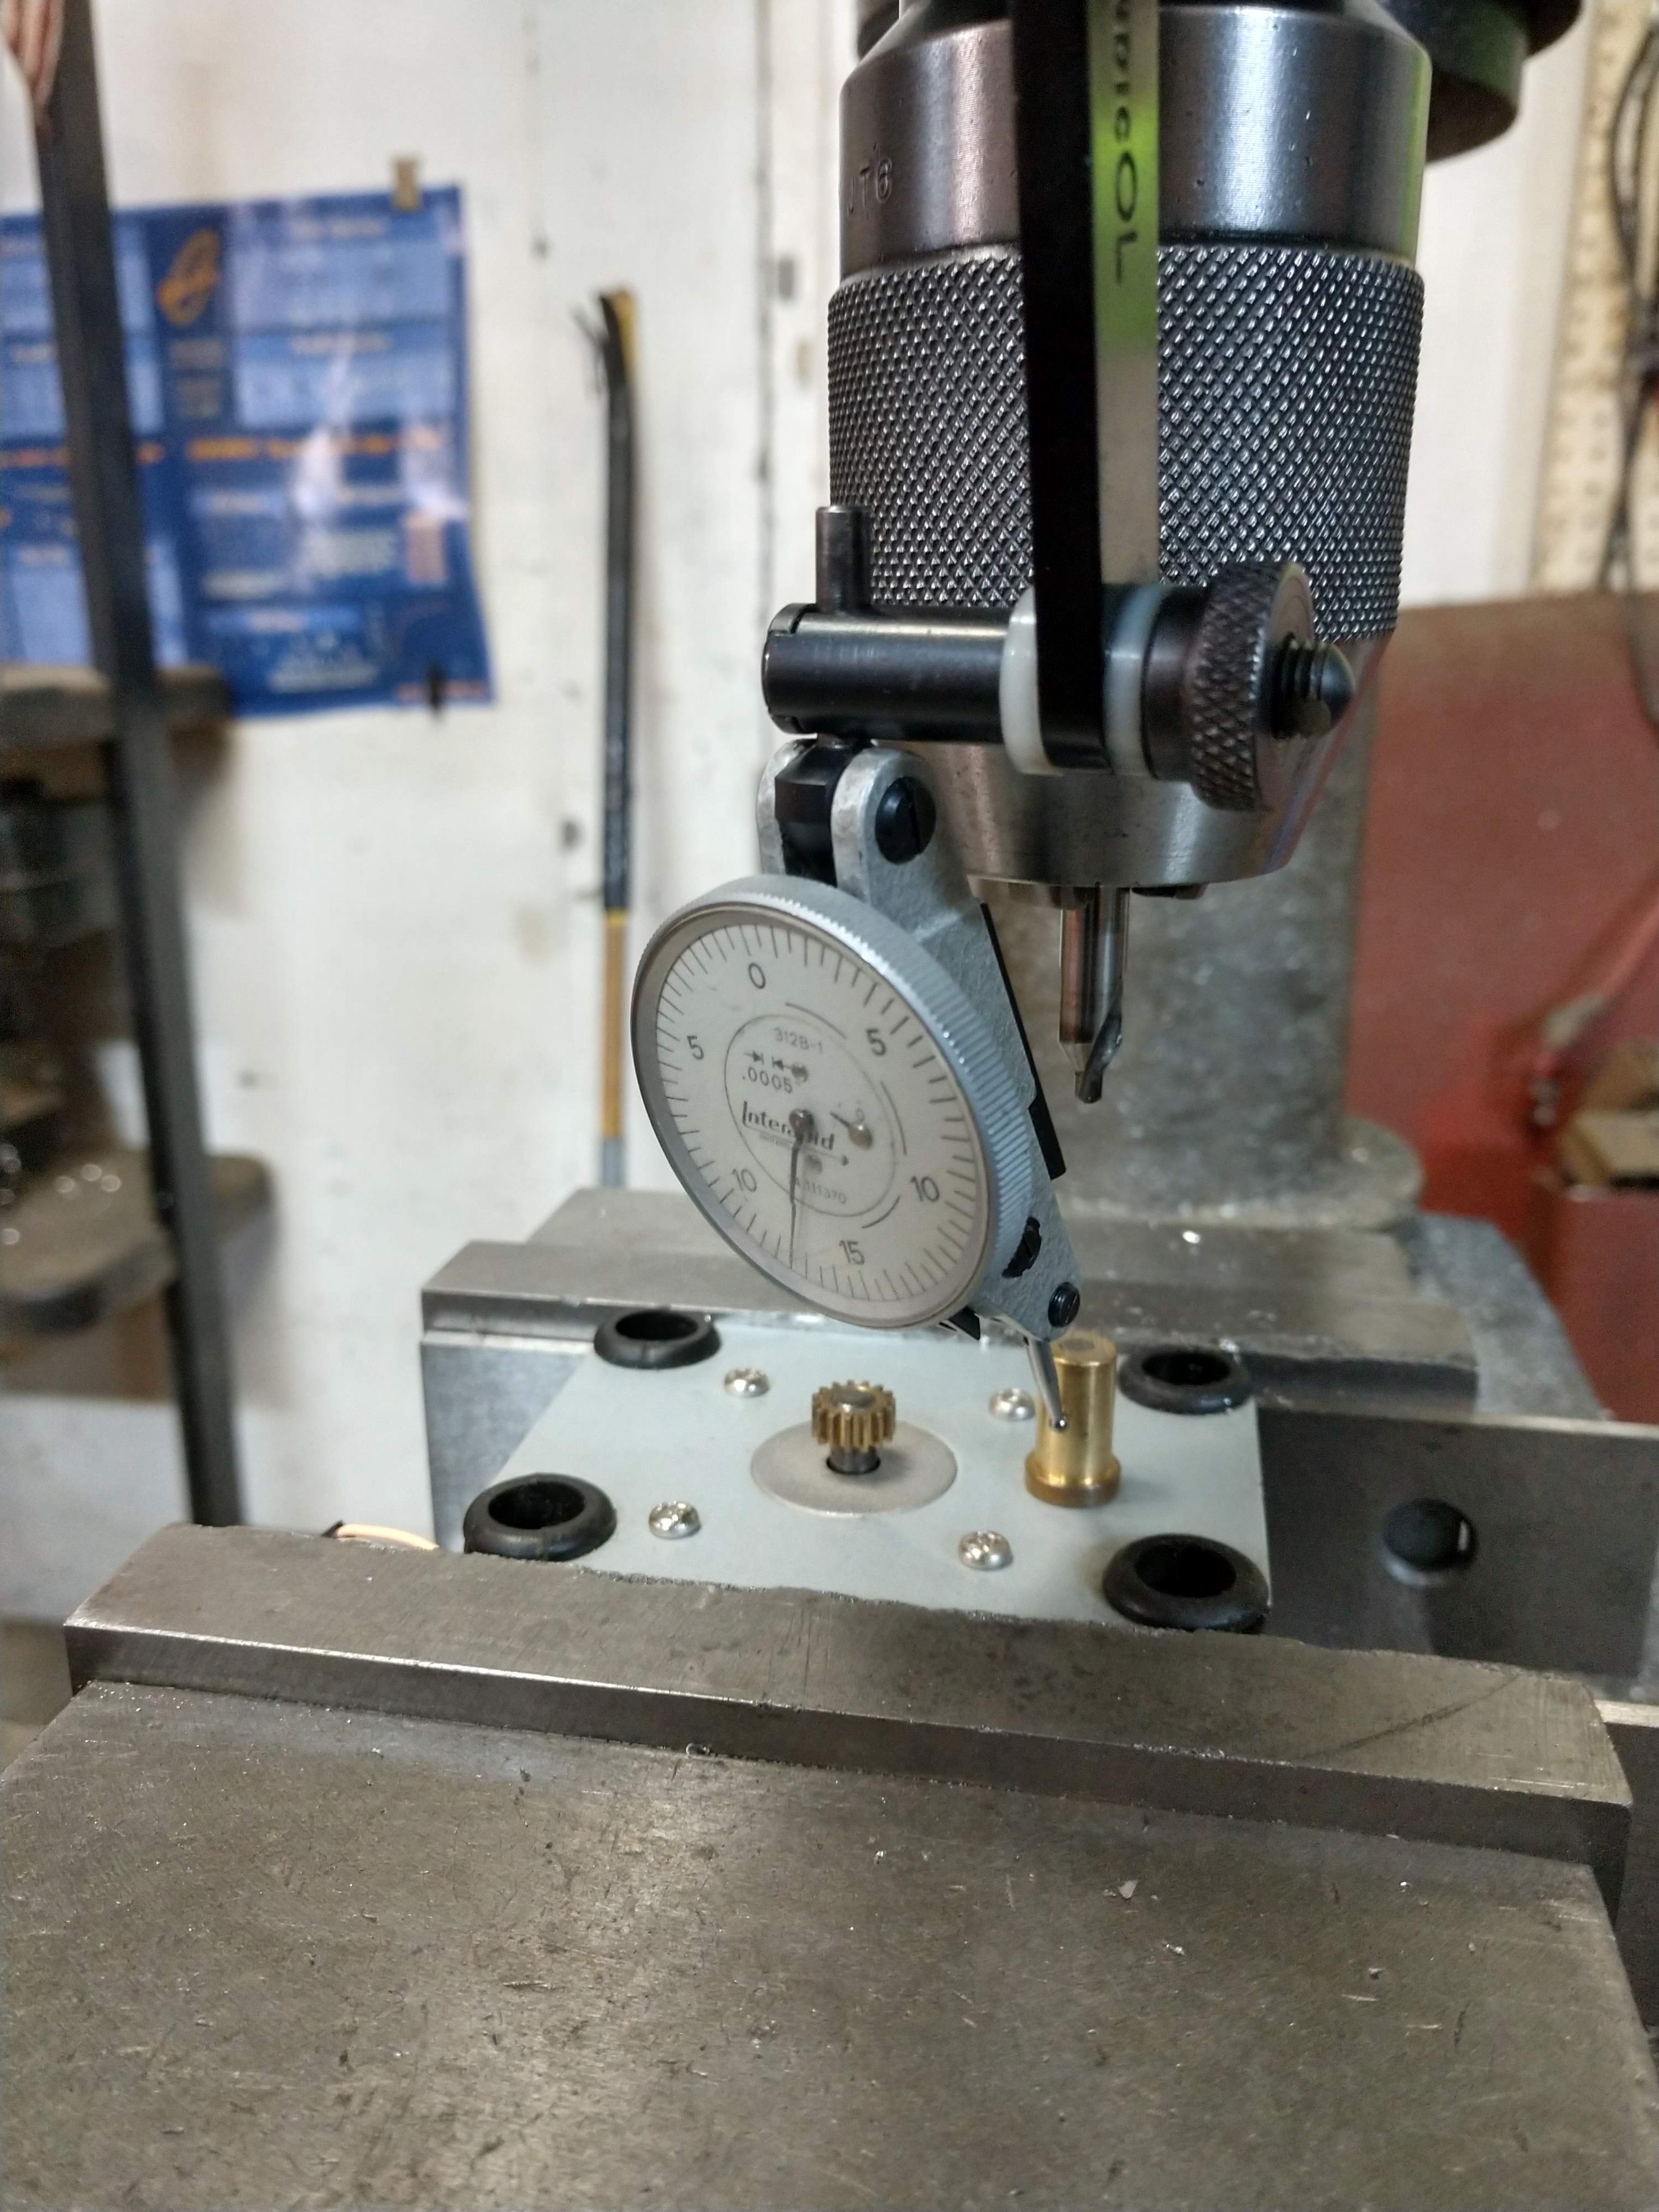
Seeing no real issues, I moved forward with machining off the gear retainer that looks to be press fit into the shaft:
![]()
With the cap machined off, the gear could be removed and the shaft indicated in to drill/tap an 8-32 hole:
![]()
A screw in the freshly tapped hole:
![]()
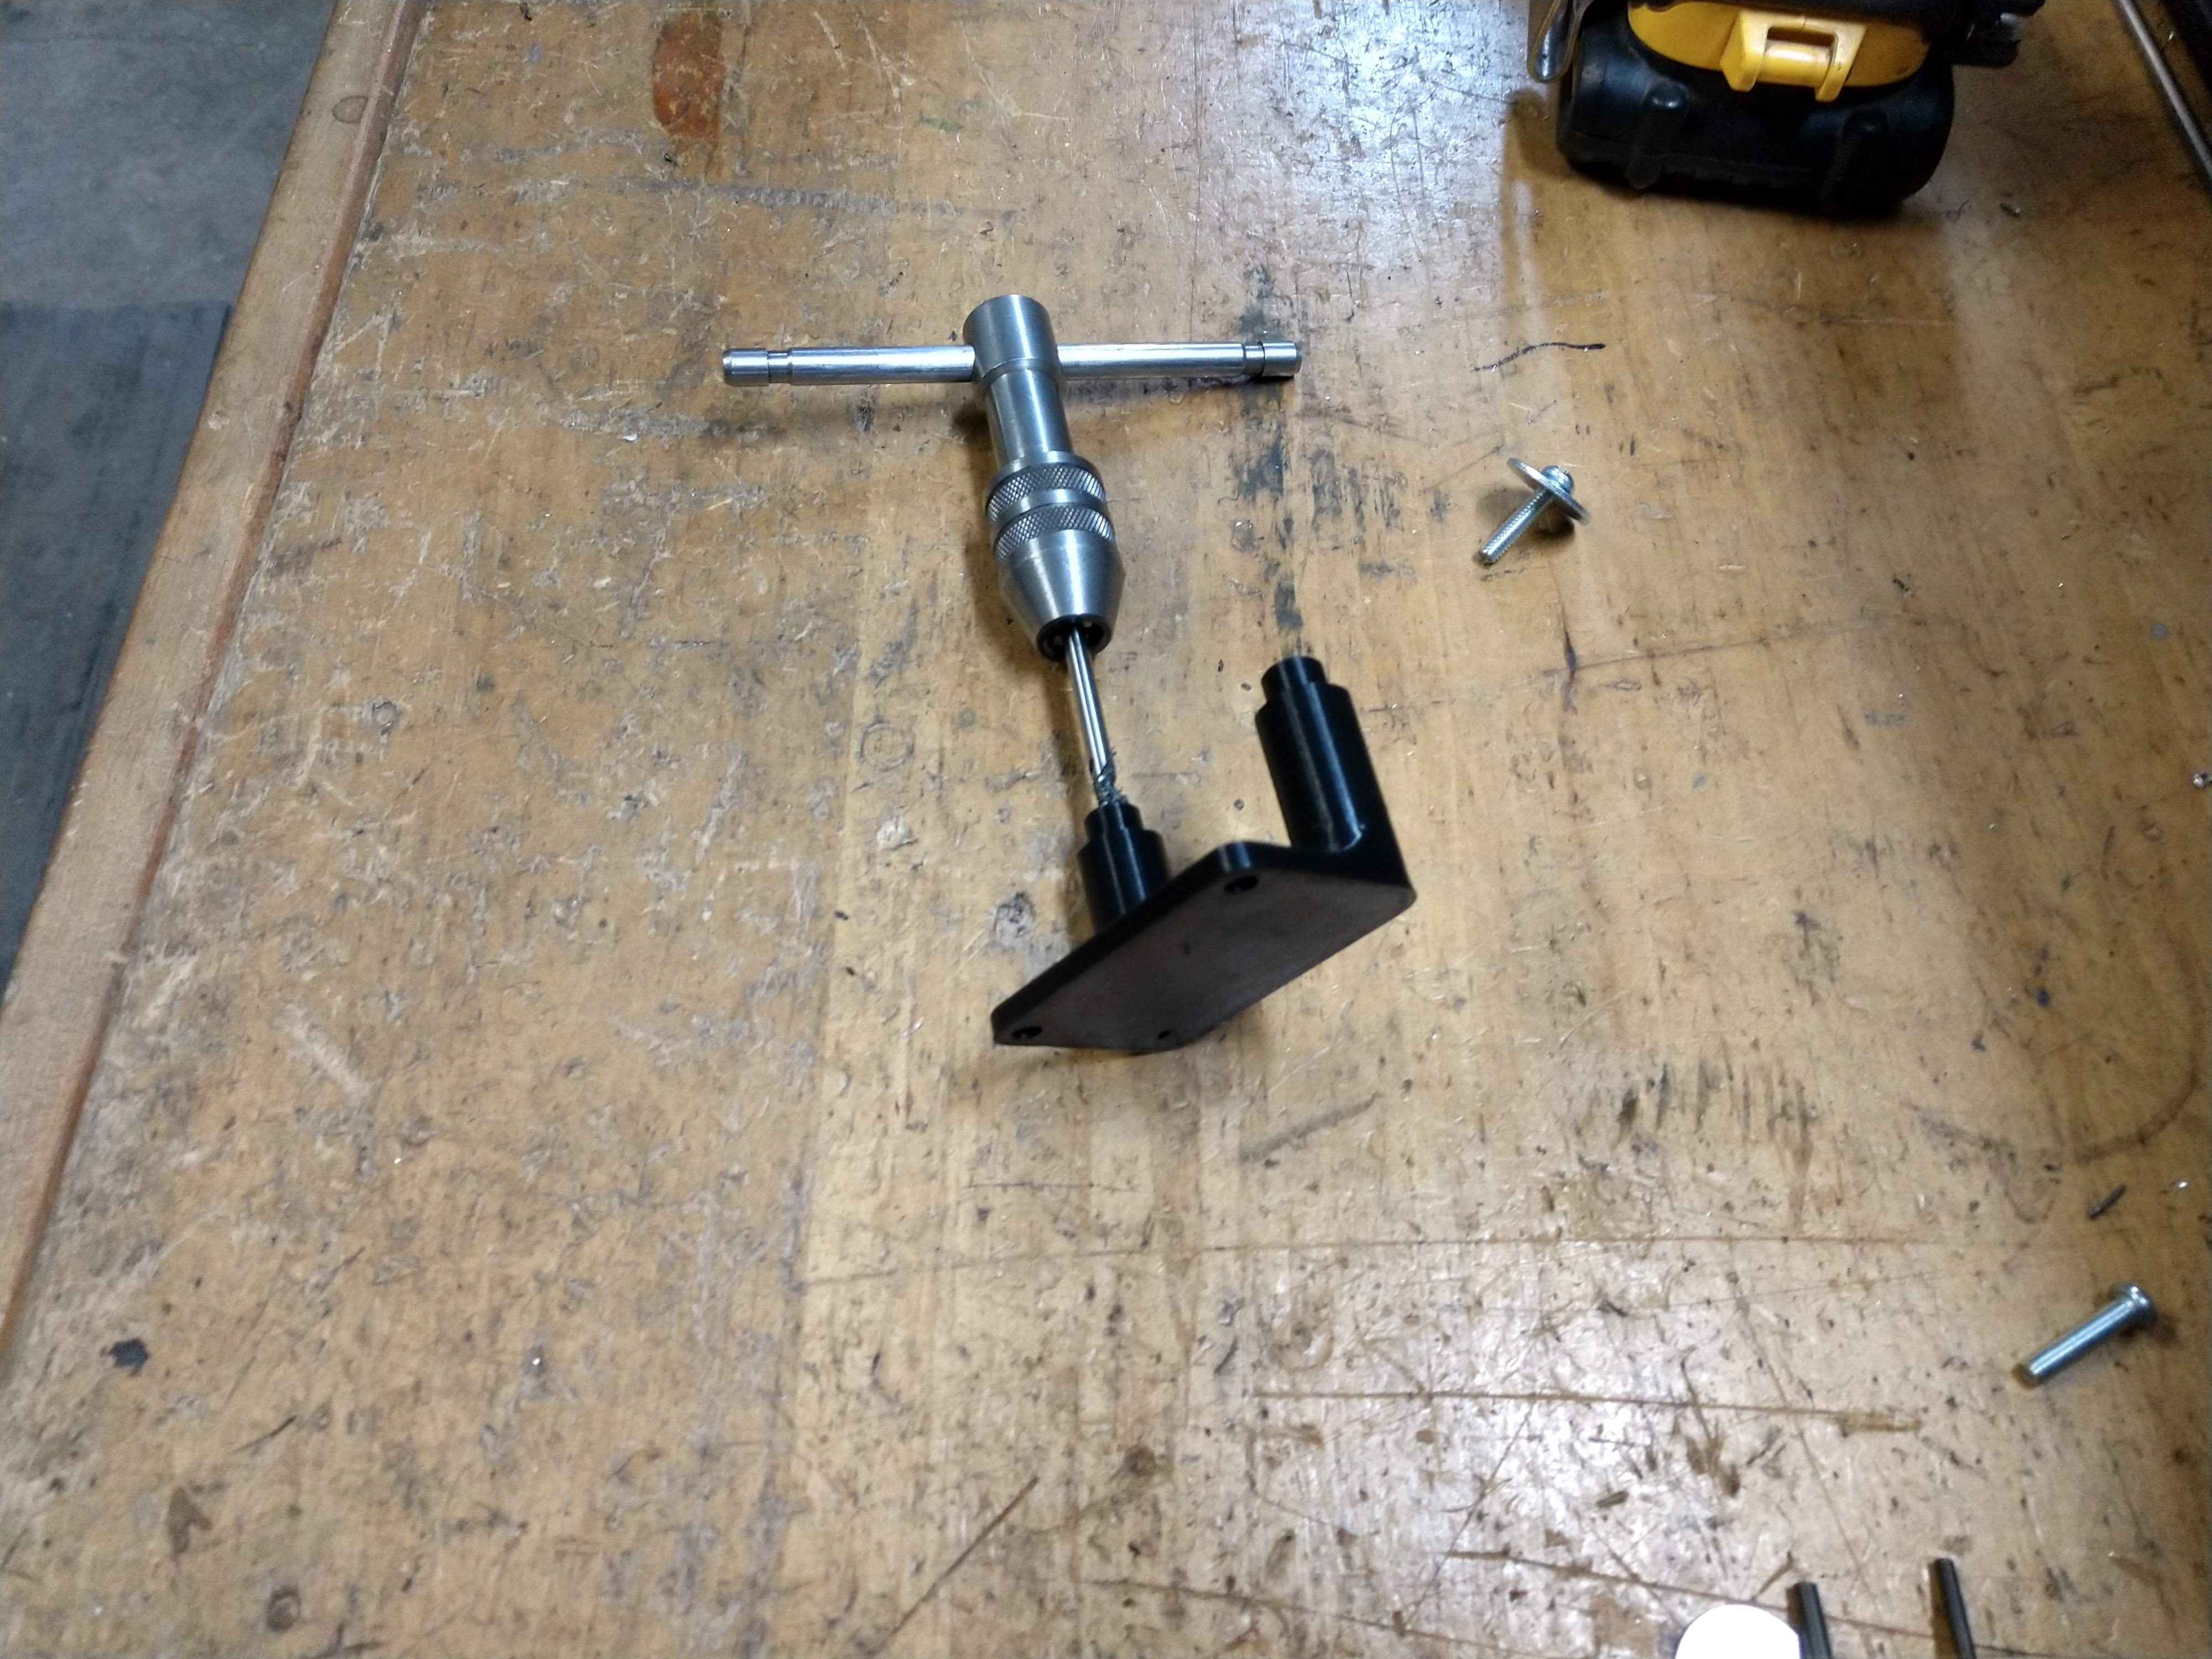
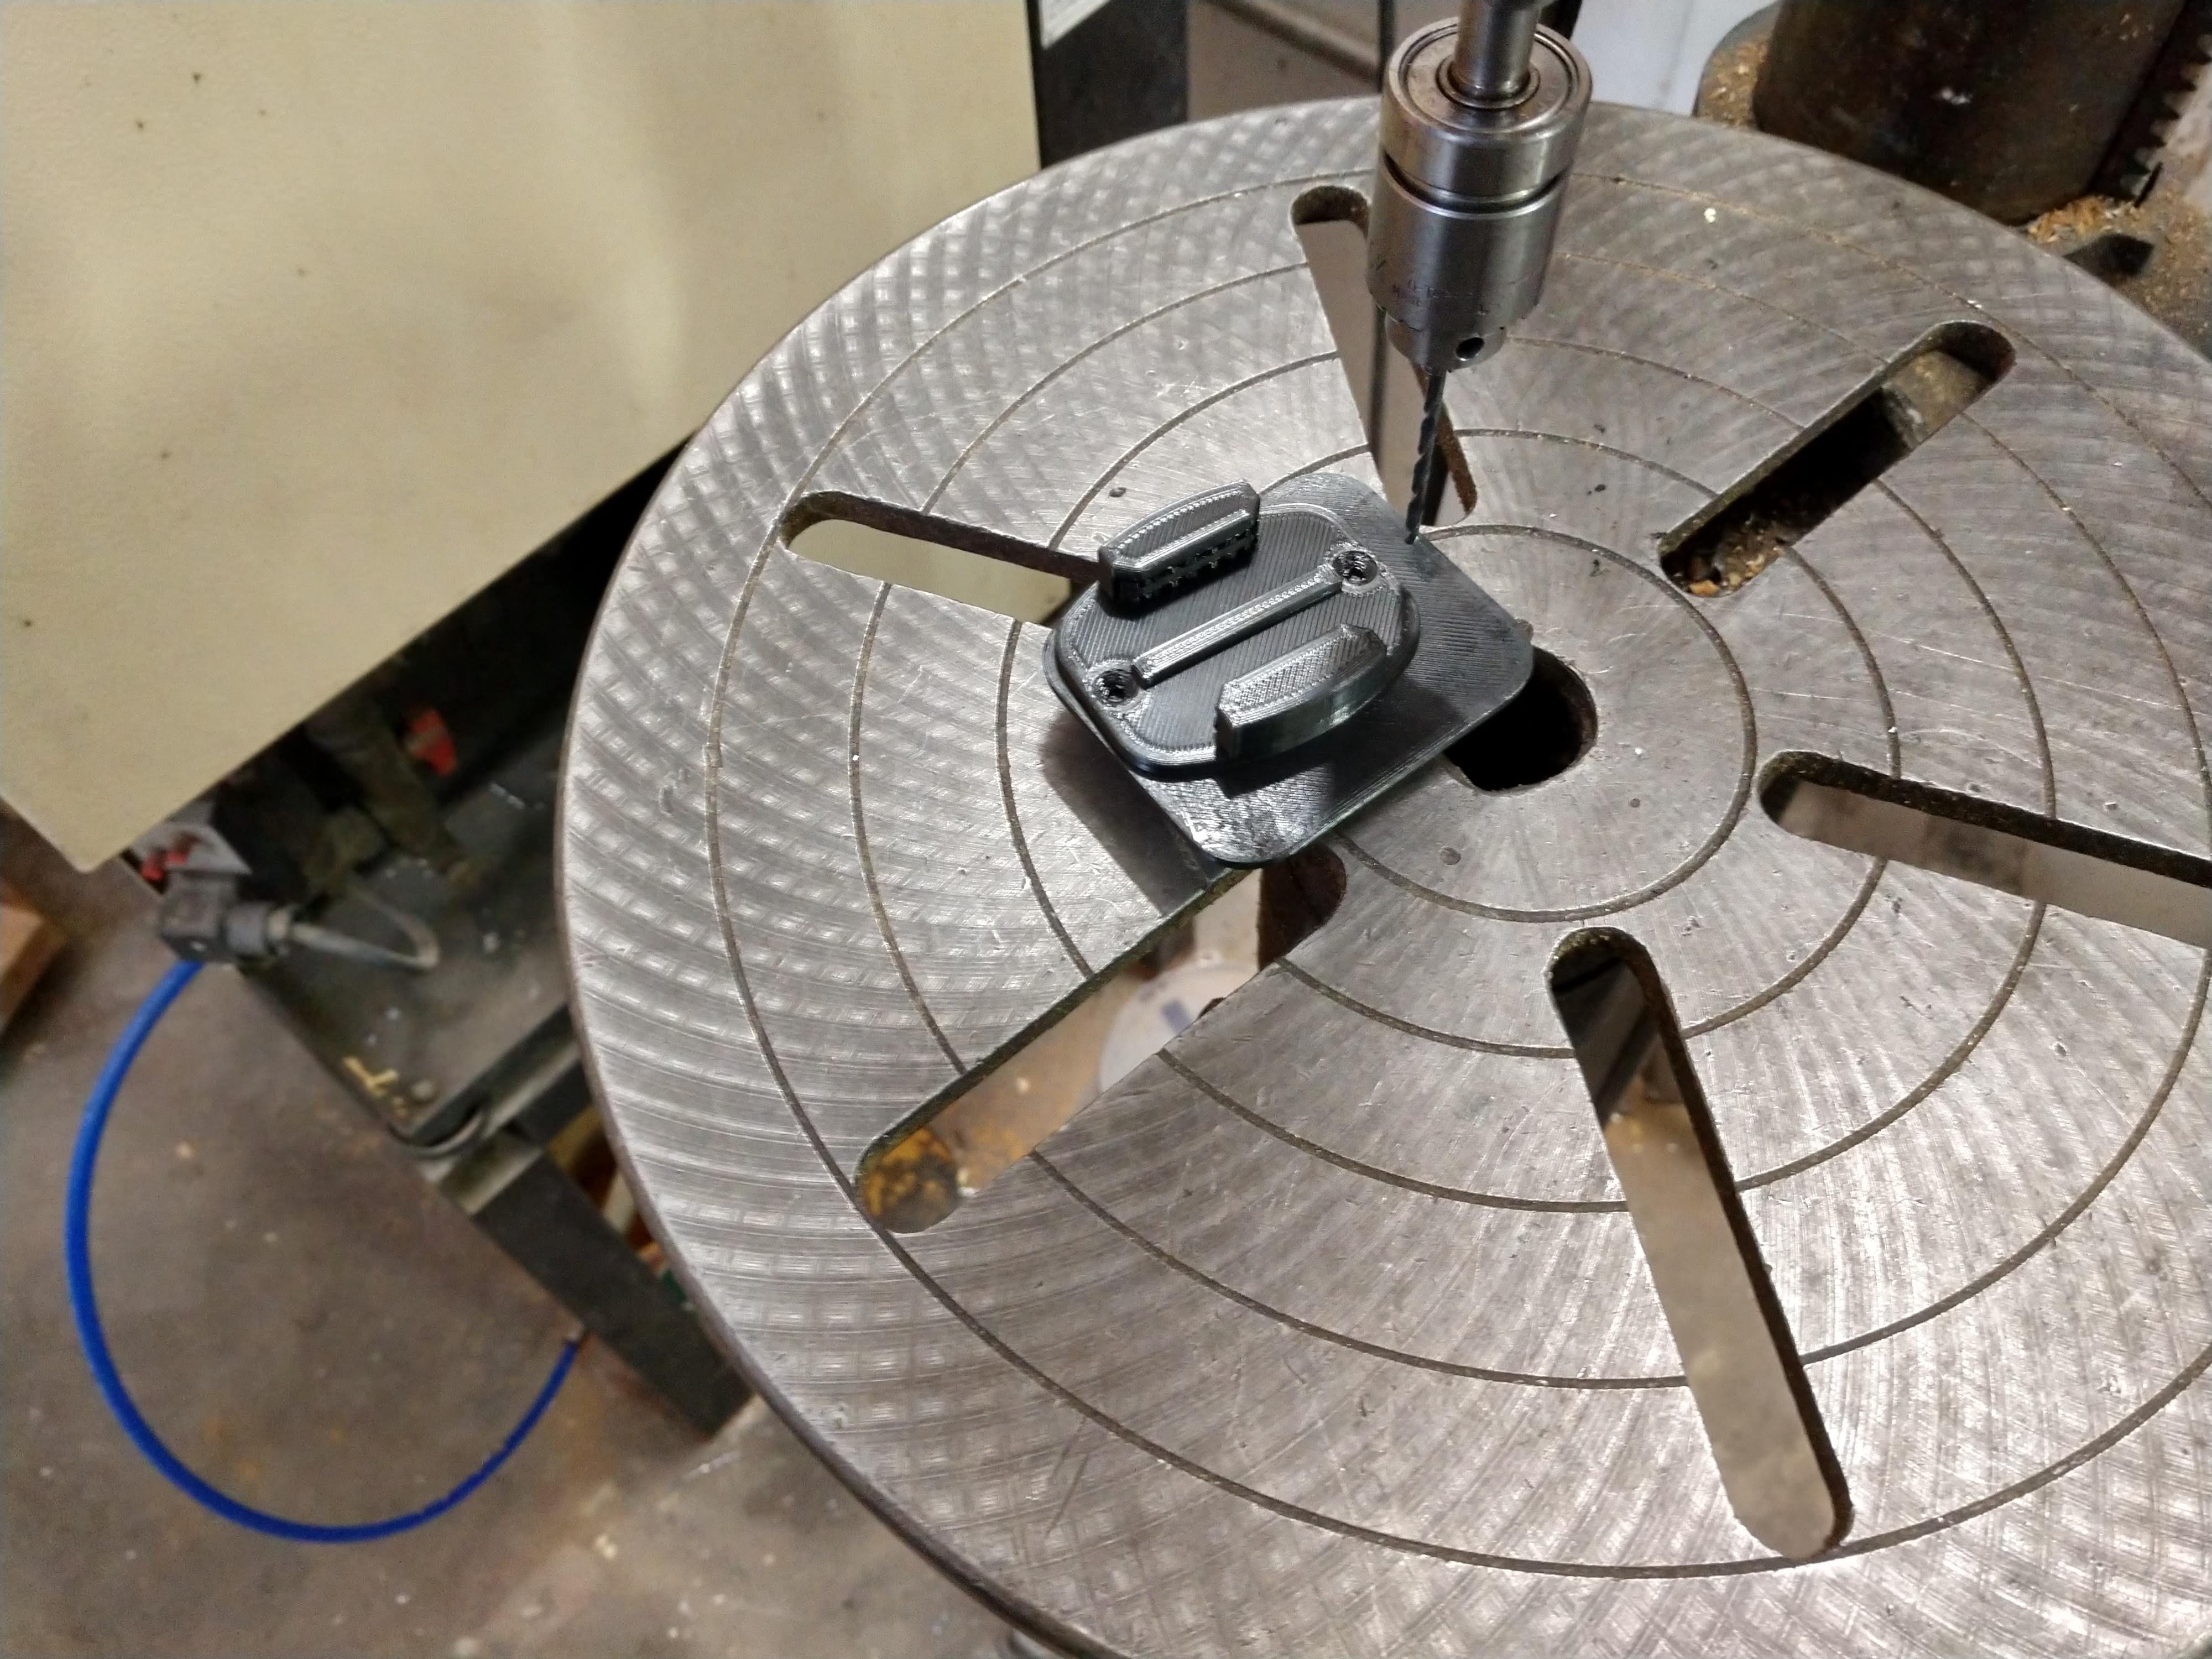
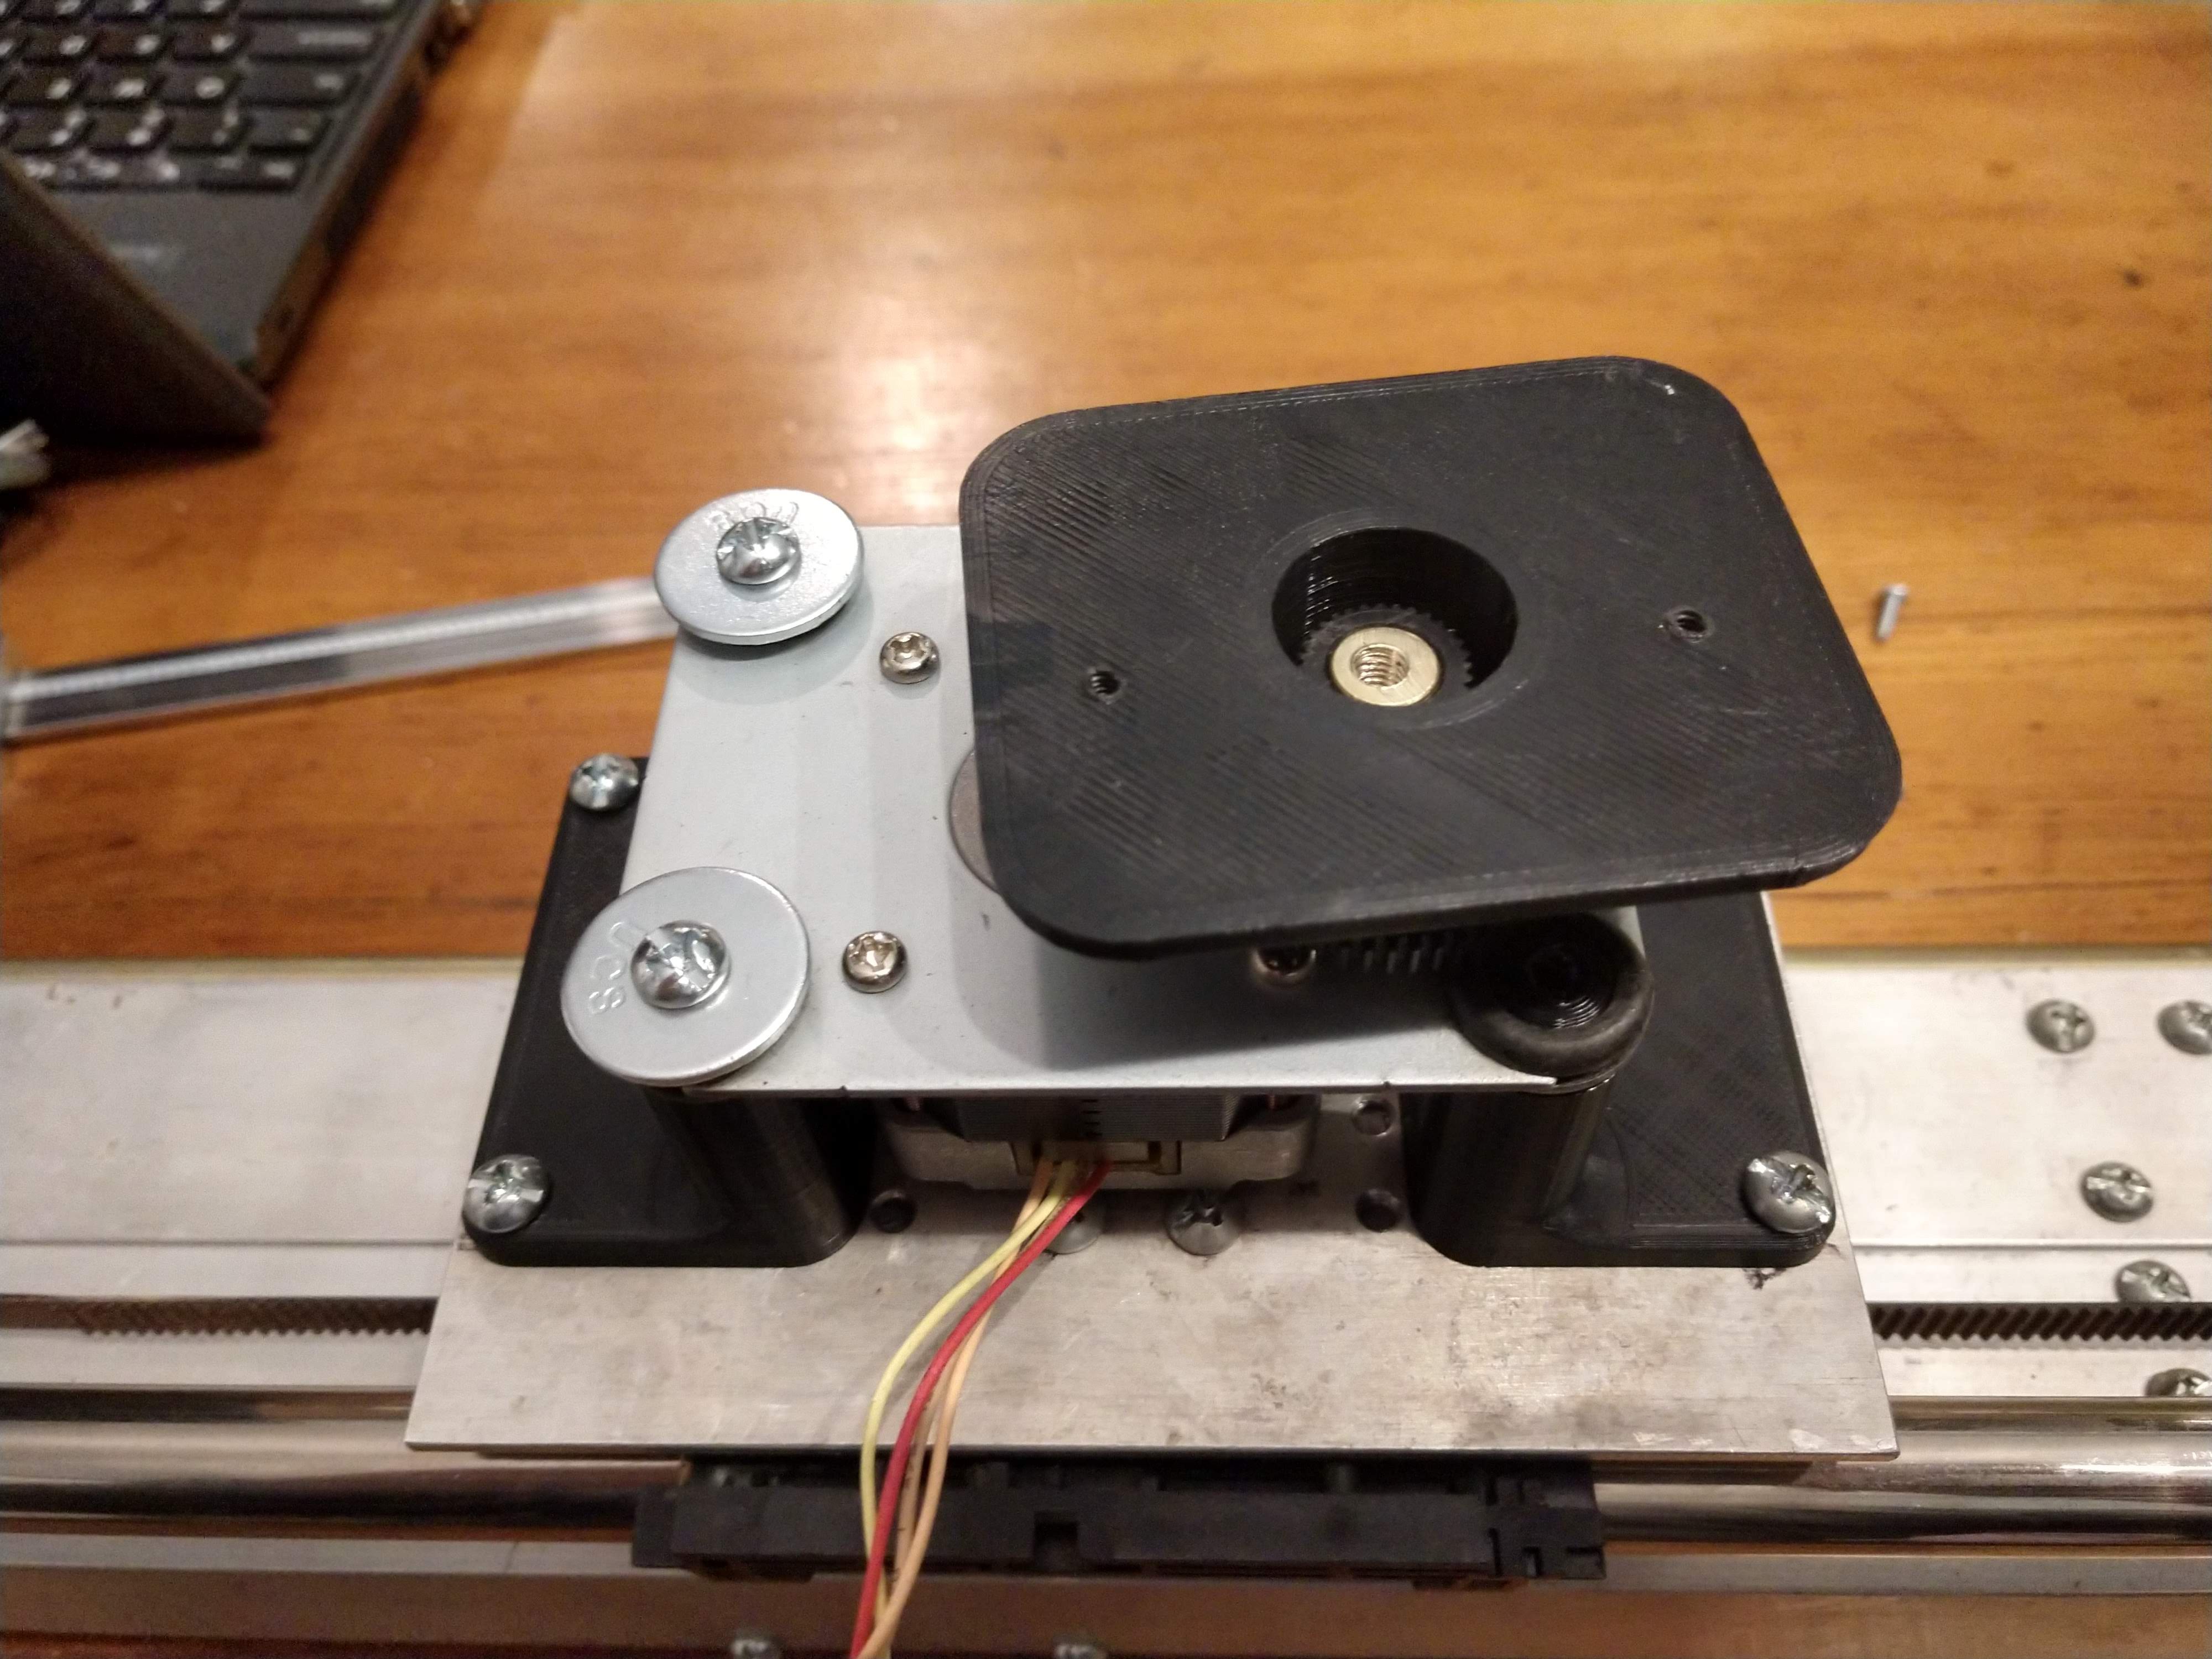
The camera mount will be mounted to the adapter that is super glued to the top of the gear. . . But first the adapter needs holes located, drilled and tapped for 4-40 FHCS:
![]()
Camera mount attached to adapter:
![]()
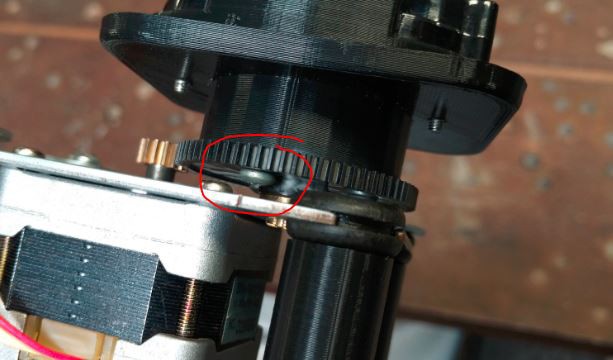
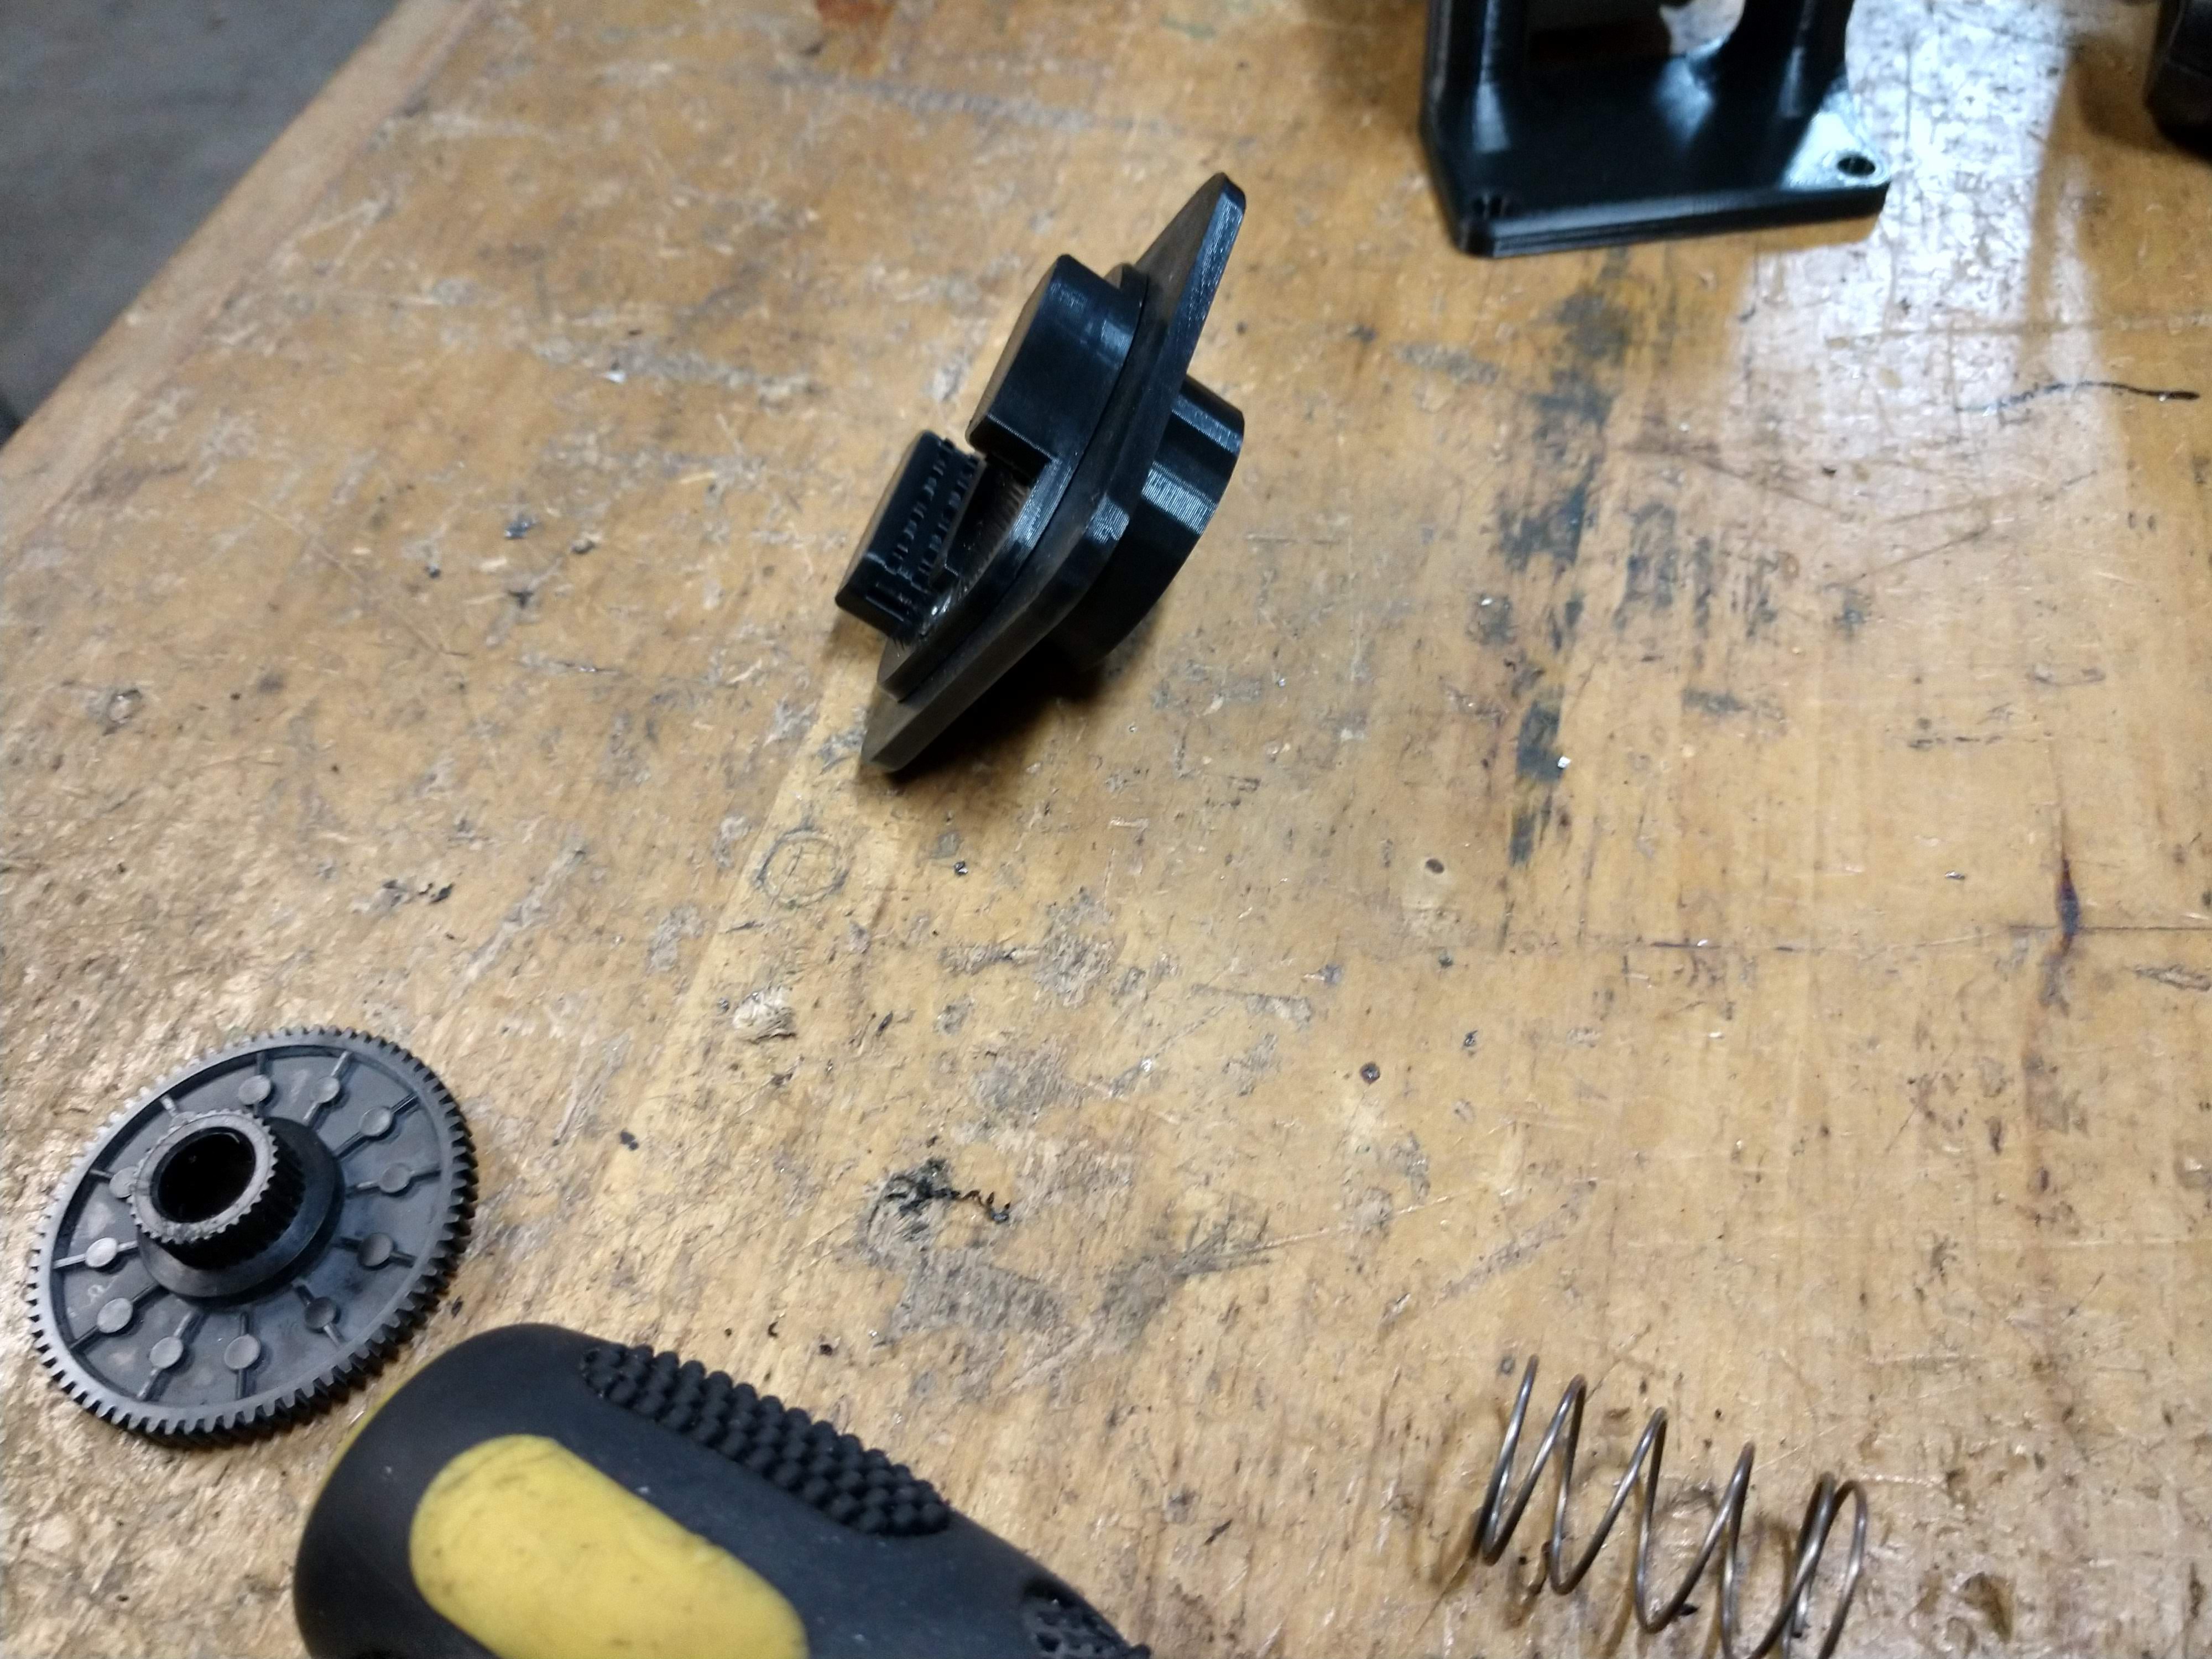
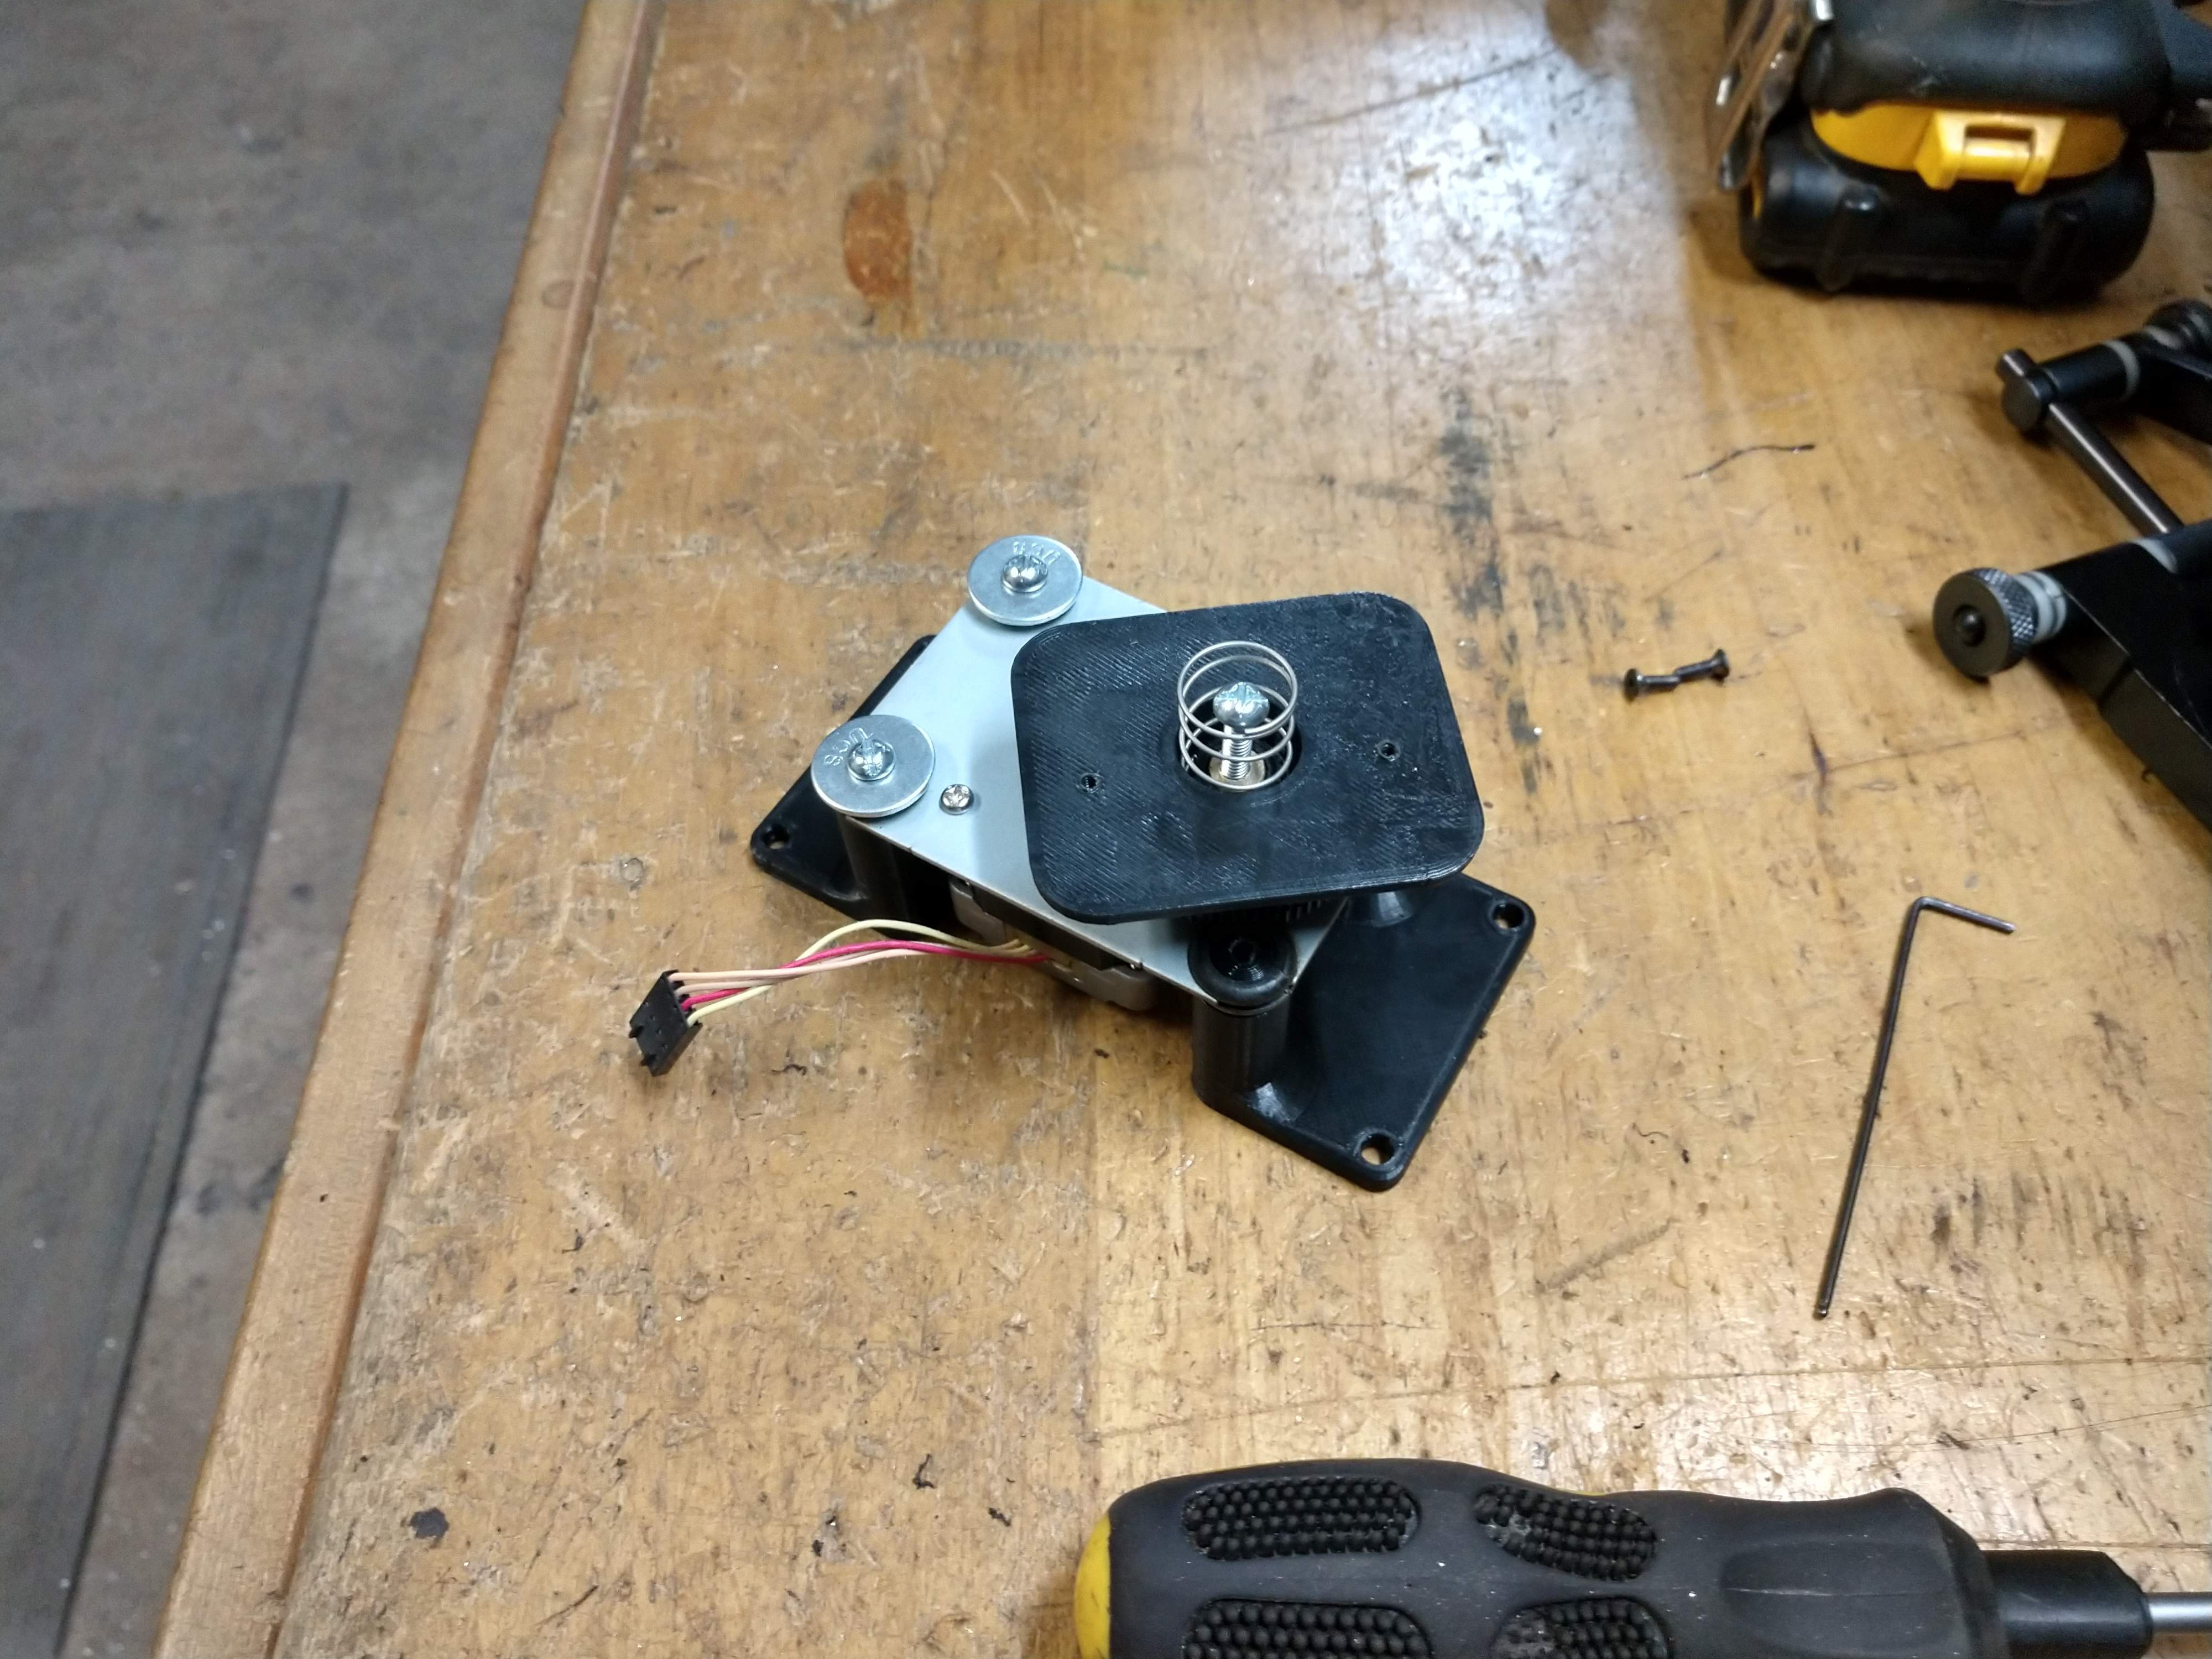
The camera mount was removed to finish out the spring tensioner on the gear. This tensioner is meant to keep the gear pushed down at all times and remove some play that I was concerned about:
![]()
A washer was 3D printed to retain the spring:
![]()
With the screw and spring removed, the adapter was super glued to the top of the gear:
![]()
![]()
Before mounting the camera to the adapter, I plan on drilling and tapping 4-40 holes that will help attach the gear to the adapter.
Next up is to get wiring ran to the stepper motor and update the code to allow for a single pot control both axis for the time being.
-
Camera Video on Slide
02/02/2020 at 14:47 • 0 commentsHere is a video with the camera mounted to the slide. This was set to the fastest speed.
The upper part of the tripod was at its lowest height.
-
Slide Functioning
02/01/2020 at 02:49 • 0 commentsHere is a short clip of the slide moving back and forth. Towards the end of the video, I adjust the pot through the different stages and the carriage changes speed to match them.