-
Part 1 finished! Time to Test!
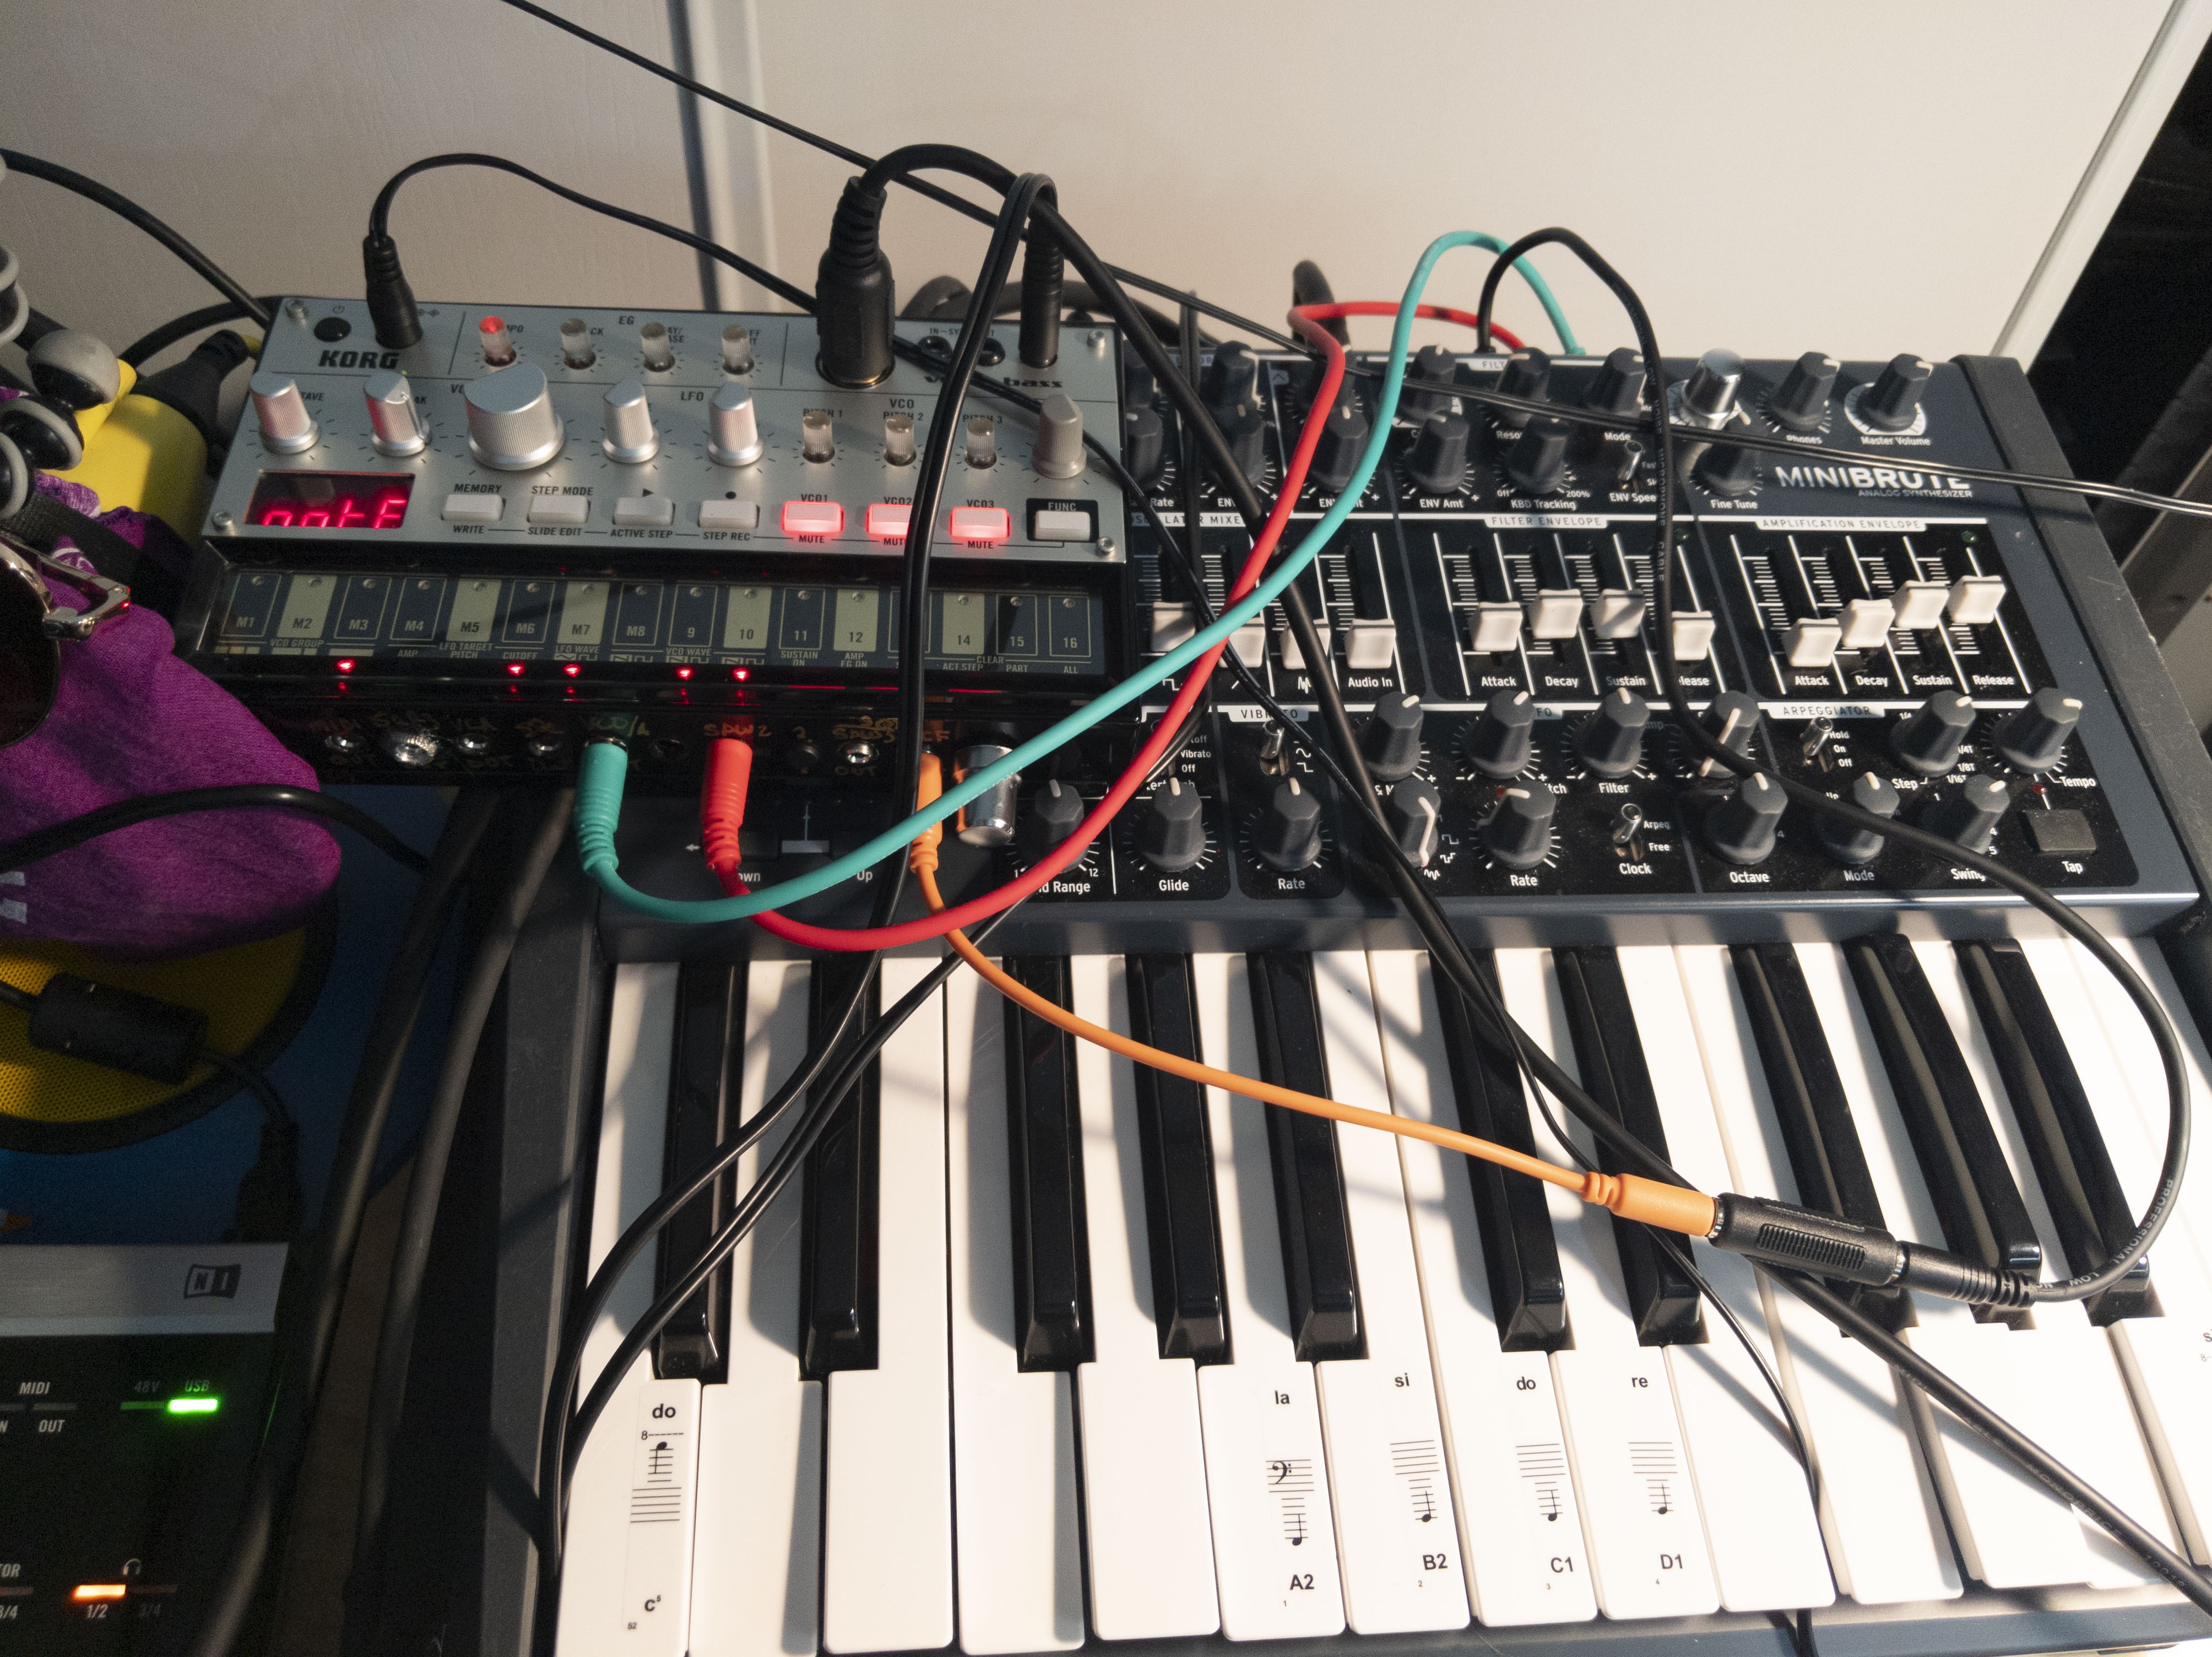
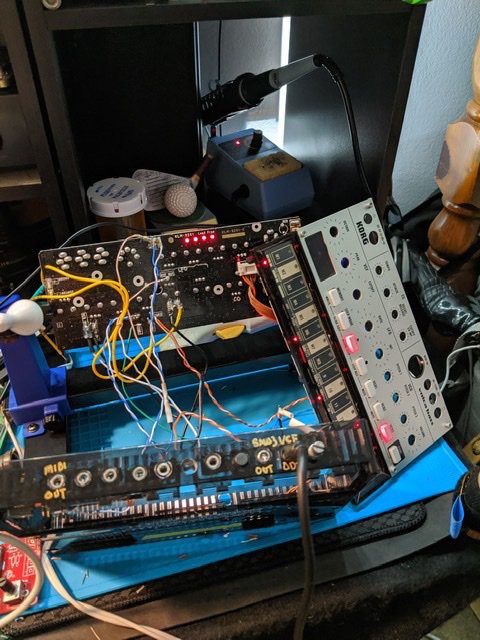
02/11/2020 at 07:48 • 0 commentsSo I finished adding all the wires tried and tired to seal the case(too many wires) and thats that. I hooked it up to the miniBrute and away it went! OMG its ruff. I mean gritty rough.... wow... it really changes the color of the unit.
![]()
Last night...
I am adding an audio file I recorded just now after I got it plugged in. Its not anything really musical just some interesting bass and tons of frequency overlap with all the crossing and modulation from both synths. Its the odd in my space oddity. I also added one little bit of the vocoder before I put it in the case.
-
SNÖ Tip: Don’t forget your ground!
02/10/2020 at 08:09 • 0 commentsOne thing these battery capable devices that are working in different voltages through the PCB, grounding your new fantastical bonanza add-on. Yeah... no comment...
![]()
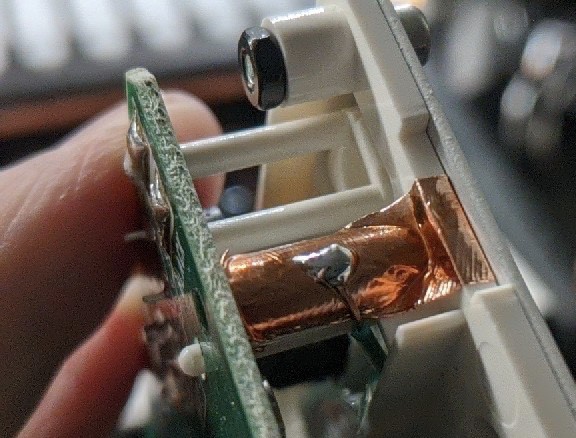
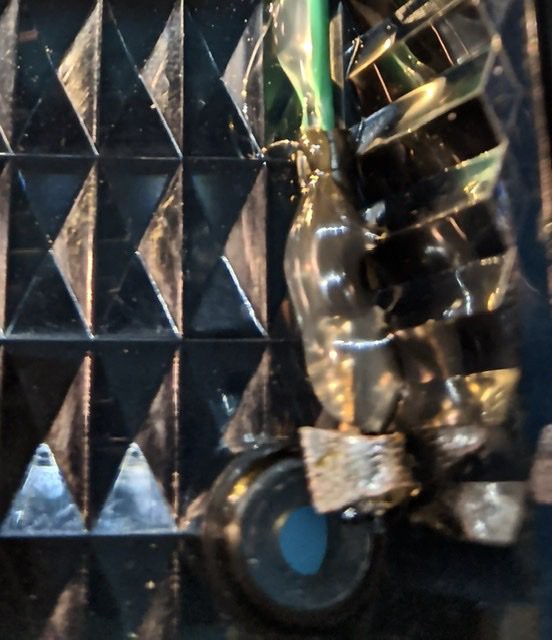
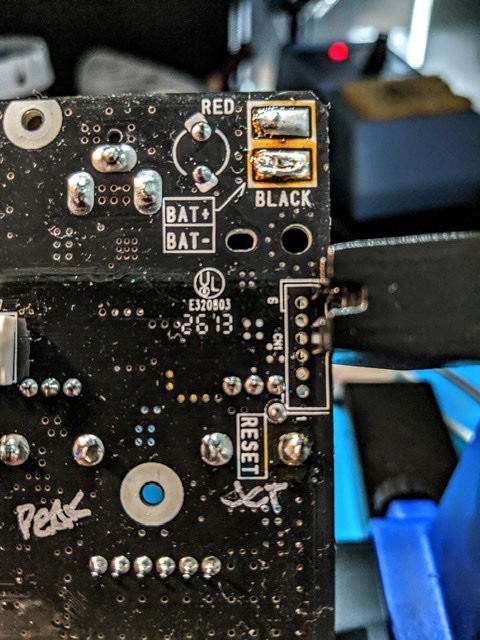
So, I found a good “re-use” Tip. See the lower right corner screw hole, that little piece of soldered copper, thats glued with a dab of hot glue and stuck to that particular screw hole.
Why that screw hole?
![]()
Well, thats one of two main grounds the Volca’s usually have.
Here is the one on the Volca Sample, the Volca Bass is on the back front plate as well.
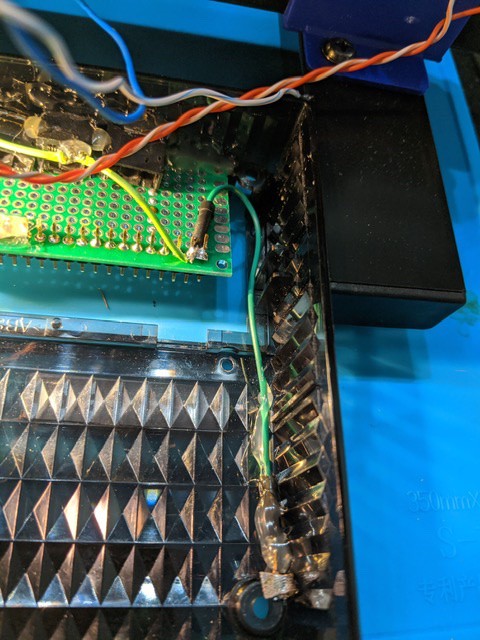
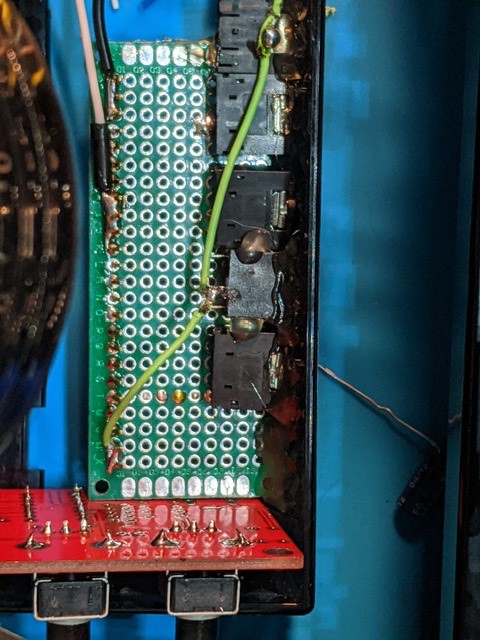
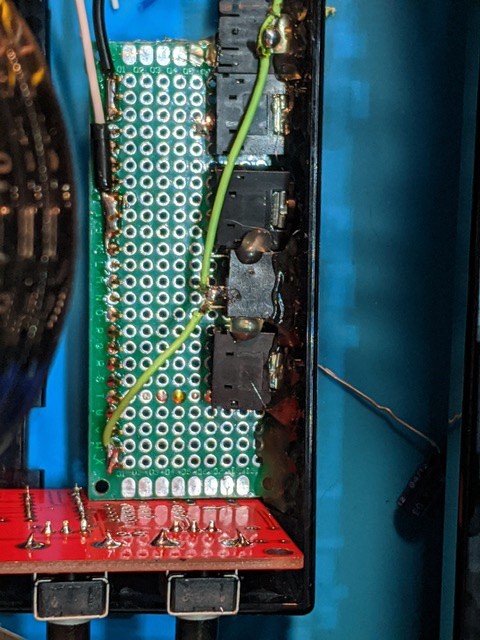
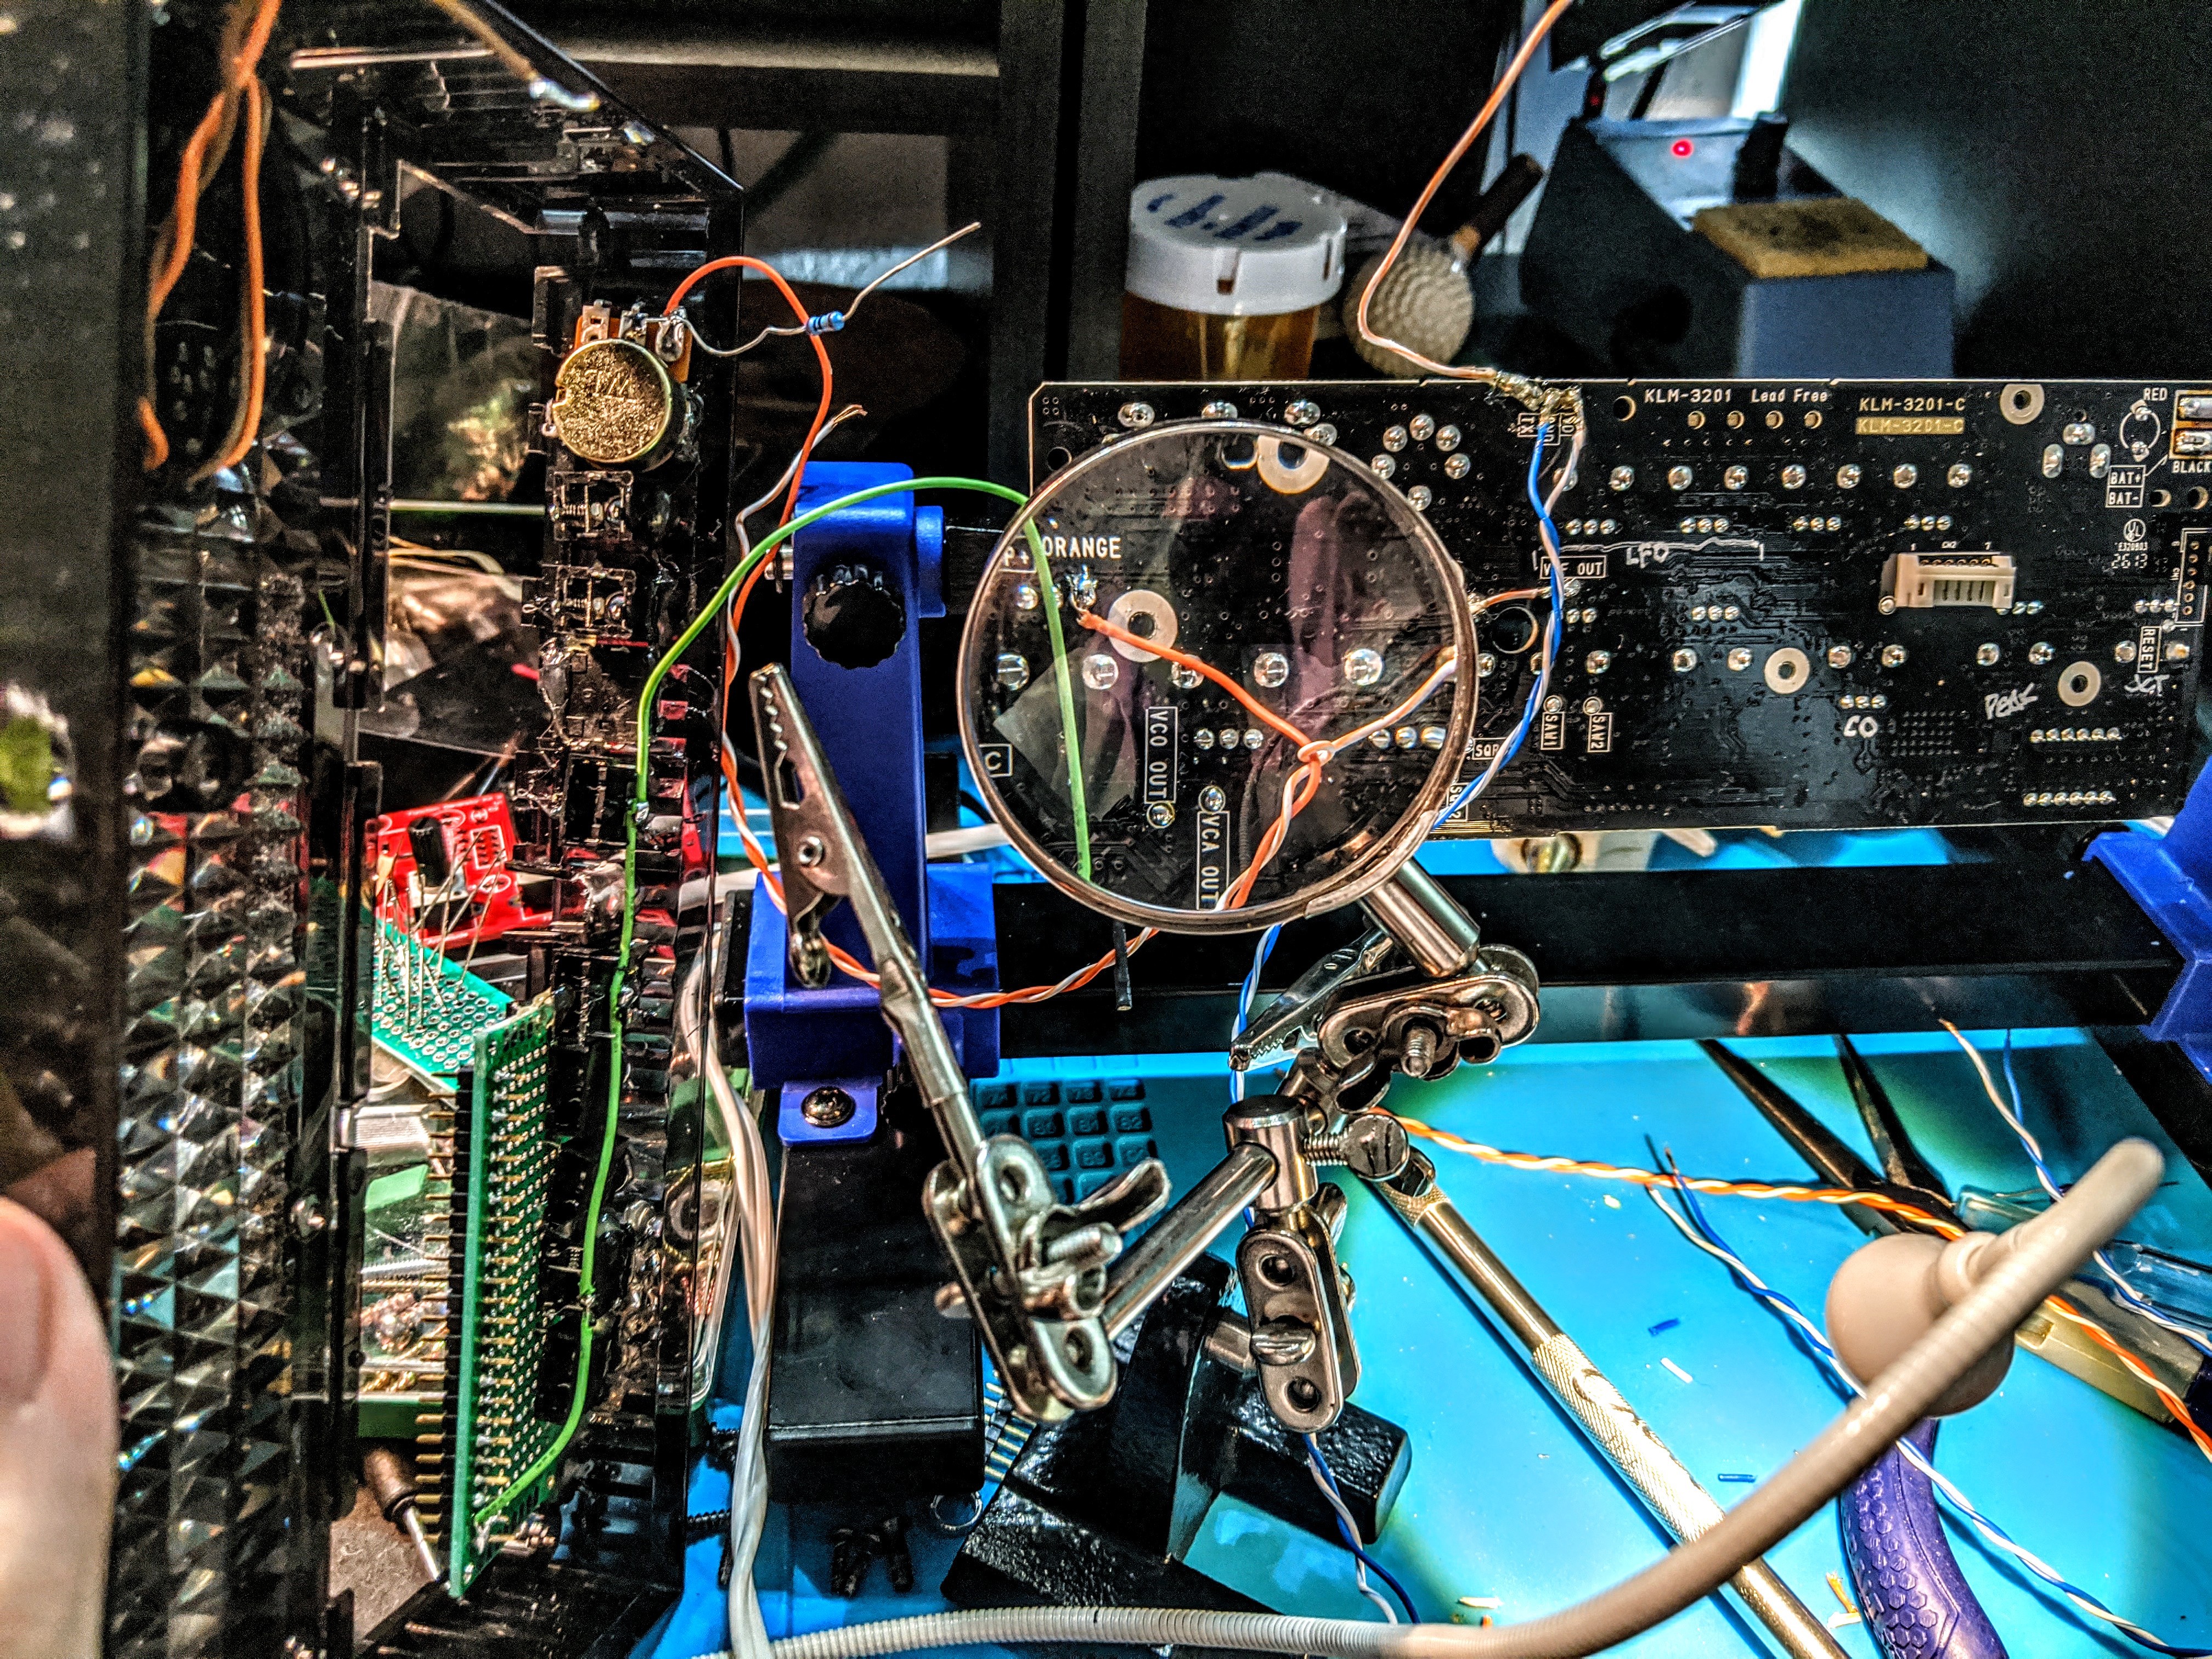
So on the Volca Base it lays on top of that little hole and anything there touches the copper. So I took a snippet of Solder Wick. Thats the cleaning copper that you use to clean PCB solder out of holes and stuff. It was saturated with solder so I squeezed it flat and glued it to the edge down the back of the lil’ stand-off on the base body. Then I ran the green wire over to a 2 pin ground that I soldered by combining two pins on the PCB add-on board I mounted in the Battery compartment.
![]()
Snipped the tips off some patch cables I had to make shorties to solder to the wick, and then over to the PCB board.
This allowed me to daisy chain my grounds on my jacks with just one wire. Easy Peasy.
![]()
-
...and one more thing...
02/10/2020 at 07:52 • 0 commentsSo I have power!!! OMy
![]()
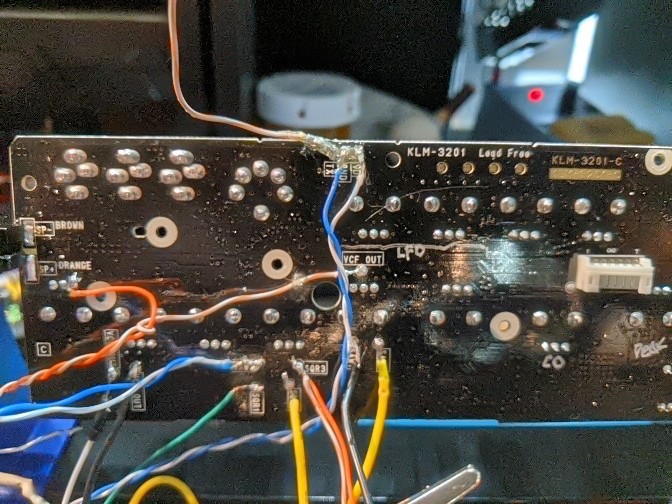
It transmitted midi so thats good. The VCF out worked with the MiniBRUTE. Thats 2! The Saw 3 OUT is next. Based on some good advice from another tinkerer, I am taking my time, one port at a time, testing each function as I add....
That was my first mistake on the Volca Sample. “Let’s do 20 things at once, what could go wrong?” Yeah... lesson learned.
-
KORG Volca Bass CV+Mods+More Progress! Pics and details
02/10/2020 at 03:11 • 1 comment![]()
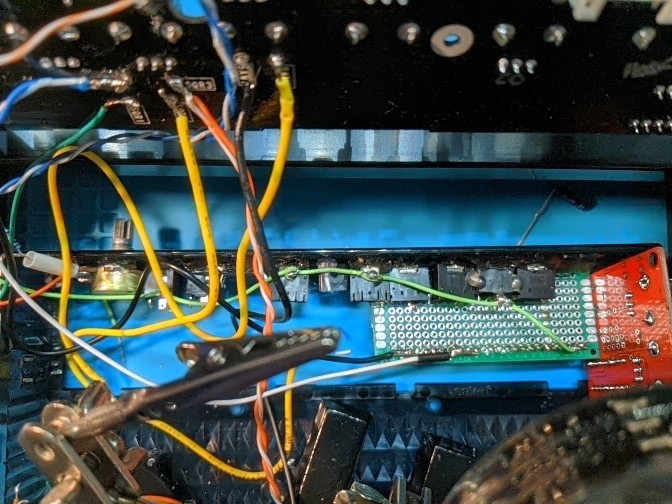
Added all the ports including Many extra, extra ports! by adding 2 wires to SAW3, SQR3
![]()
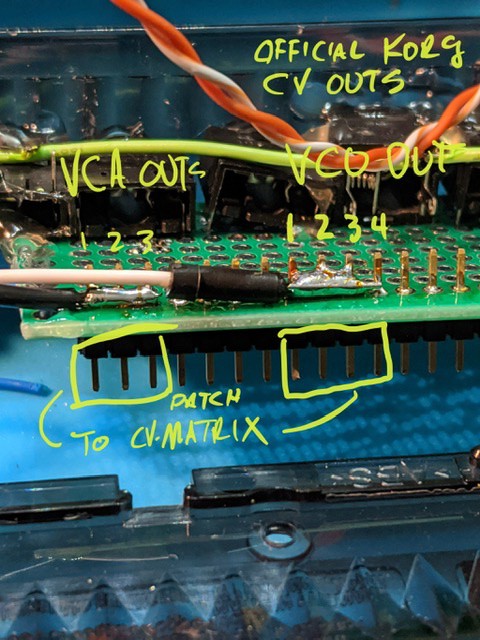
Added 3 VCA Ports and 3 Patch points, 4 VCO ports, and 4 VCO patch points
Running the Patch points to the surface of the front plate, thats where the micro-styling will be hard. Going to use breakout boards for a matrix board patch panel. OR I am going to destroy this VOlca Bass. I got a 50/50 chance so thank goodness these can be had for a song on Reverb. (In comparison to say a MiniMoog lol)
![]()
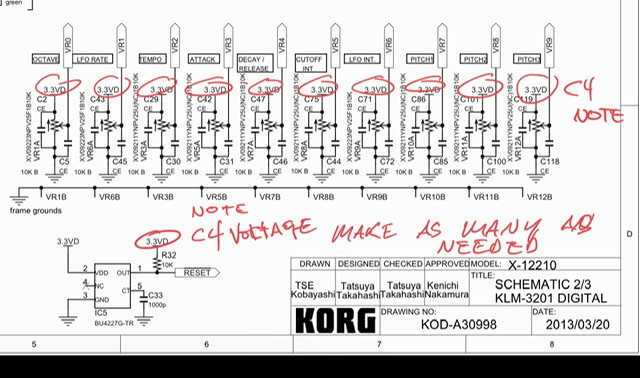
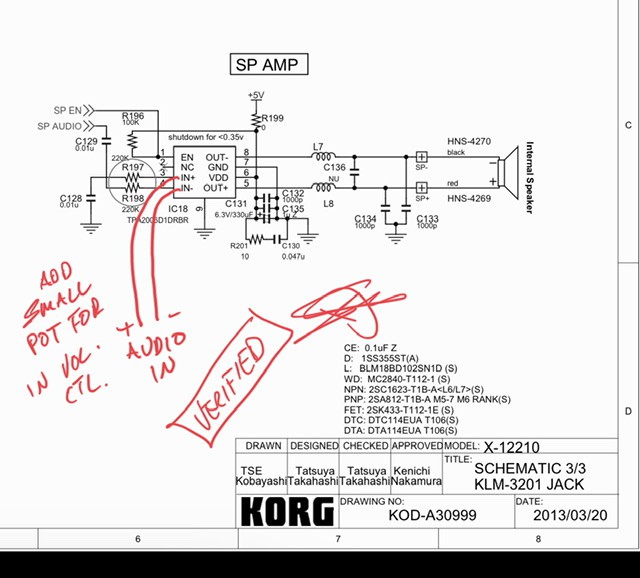
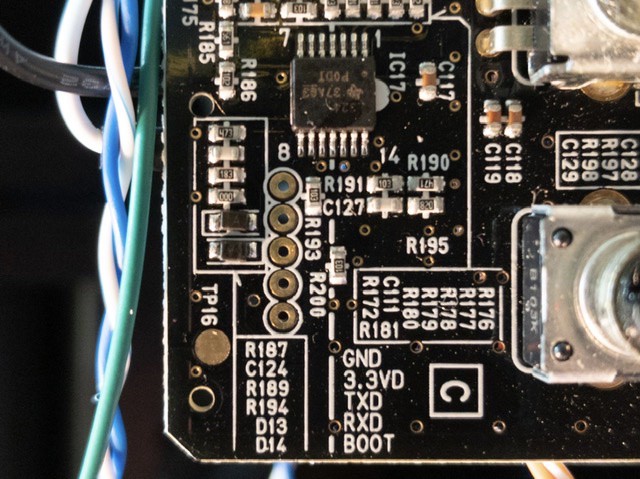
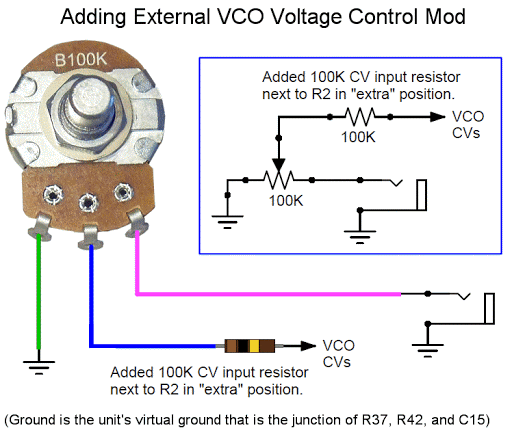
Some more info from the schematics for those who need it![]()
![]()
![]()
![]()
![]()
3.3V is the C4 note CV out. Also these boards are mostly divided in to 3.3, 6.5, 5v . The 5V seems very stable all over so adding an UNO or GrandCentral is so tempting at this stage but I must wait :) but not long....one thing at a time...right?
![]()
Remember vendors list CV outs as VCO as well... Lest not forget. In Korgs case it was intentional. If you want you can manually wire each VCO separately as well. I will be doing that on the Volca Kick when it arrives this week. That’s where the dreams come true.
-
More progress Pics
02/07/2020 at 05:30 • 0 comments![]()
Yeah its uneven, but it will sound pretty awesome.
-
Mounting the output jacks, pots, button of unknown, and...
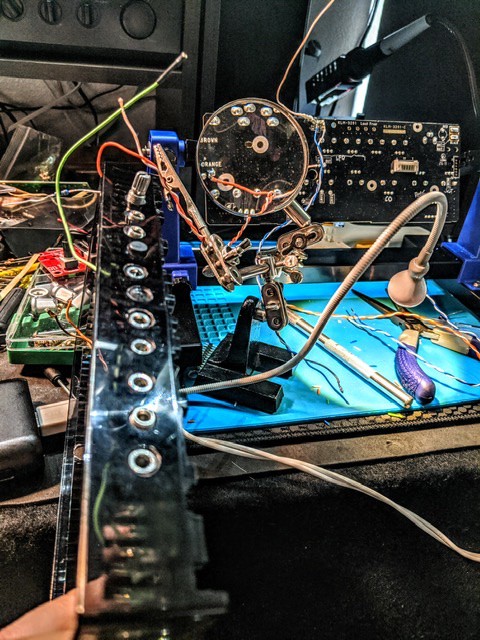
02/07/2020 at 05:27 • 0 commentsHere are some images of the process so far.
I am adding some extra items to the Volca Bass such as this little dude I found.
![]()
![]()
Yeah it’s not pretty right now. It gets better in the end. I hope.. lol
 DarSwede