-
Yet another audible dice tower
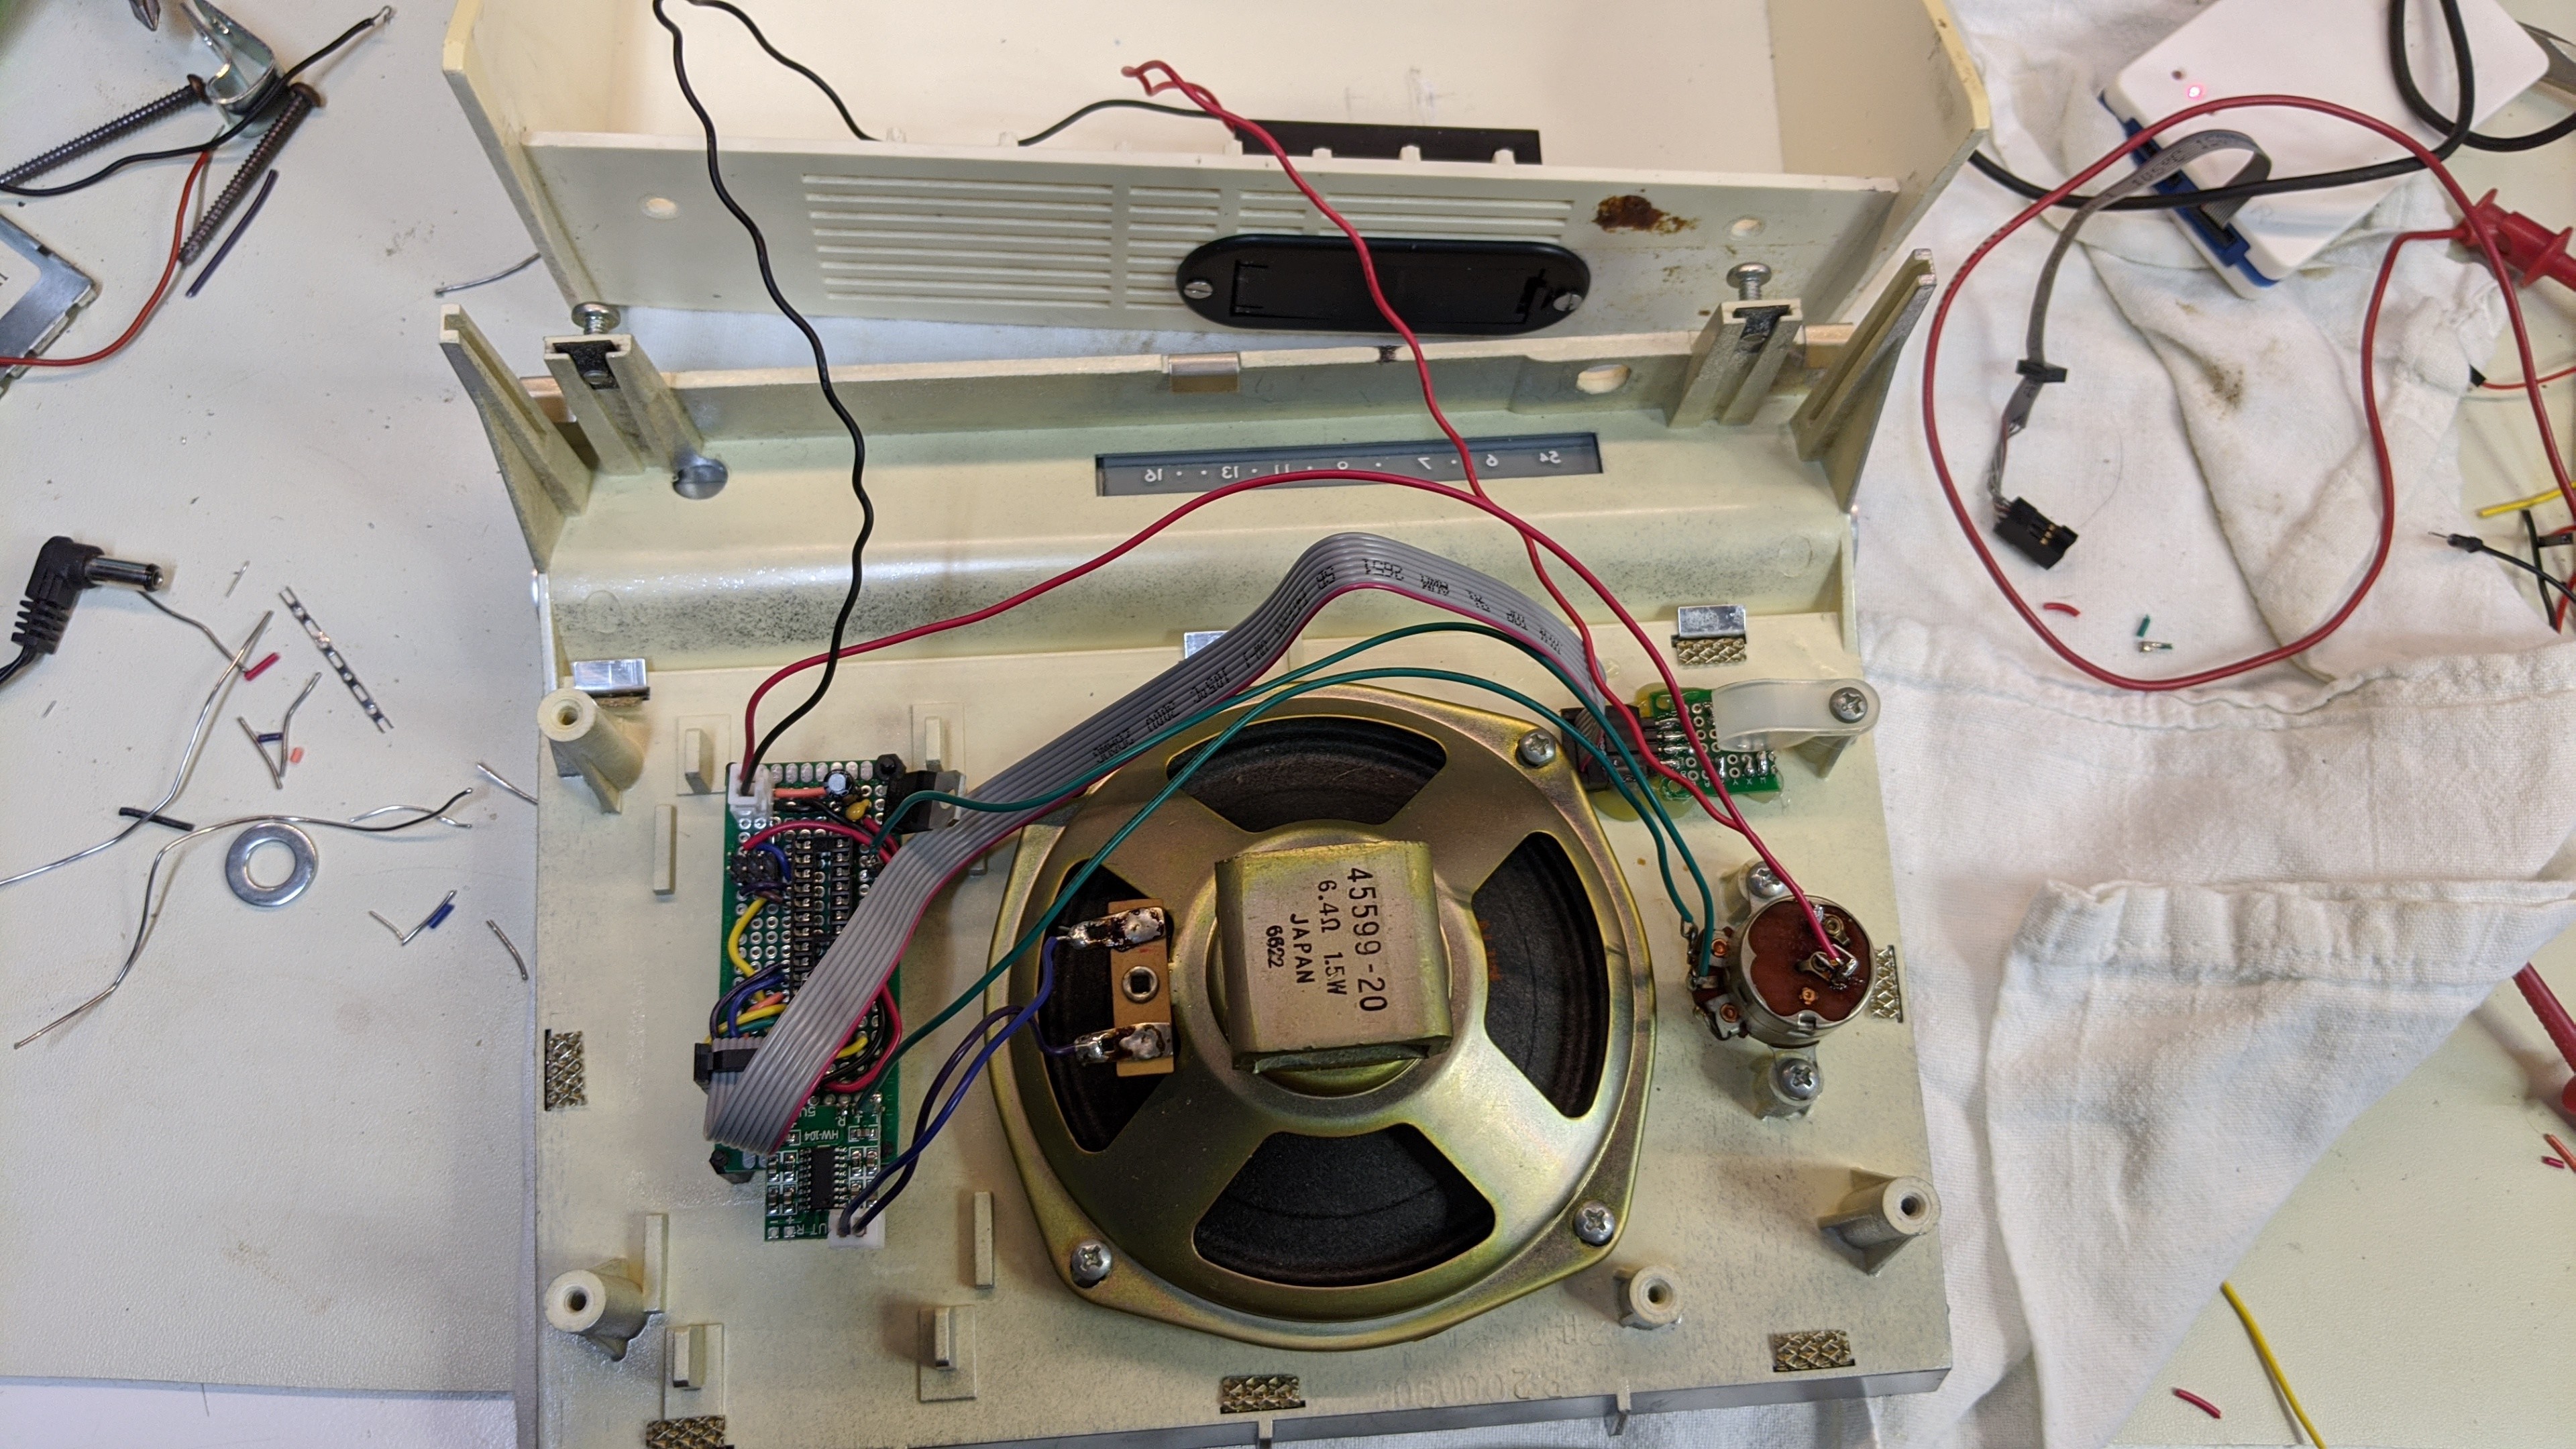
06/28/2022 at 08:02 • 0 commentsHere's yet another audible dice tower I built by request for a vision impaired gamer. This one is built using the case and original speaker for a Heathkit HD-16 code oscillator. The HD-16 was available as a kit in the late 60's and early seventies. It was used by HAM radio operators to practice morse code.
-
Admiral Digital Dice Tower...
07/03/2020 at 12:17 • 0 commentsI built another audible digital dice tower in an old Admiral tabletop AM radio case. This one has no display like the original version of the tower. I like the simplicity of the towers without the display.
-
More Sears Silvertone Digital Dice Towers...
05/26/2020 at 08:46 • 0 commentsI've been rather busy lately wrapping up one paying gig and starting another. However, I did find enough time the past few weeks to finish up a couple more dice towers based on 70's Sears radios. These add the display I demonstrated on the dice tower in the instrument enclosure a little while back. I fixed a problem with noise from the LED matrix interfering with the audio output. Adding some decoupling capacitors in a few strategic places (power and ground pins on the processor for instance) helped a lot. You'll notice that the display and the audio are no longer exclusive like the previous version.
I couldn't find those 7 segment LED panel mount bezels anywhere. You used to be able to buy those anywhere. I had to buy a couple cheap panel mount volt meters and steal the bezels to get these. You can buy those meters for about as cheap as the bezels were alone. So, I guess it's not a big deal.
-
Audible Dice Tower with Display
04/03/2020 at 06:22 • 0 commentsI have another Sears Silvertone radio case like the original one I built here. So, I'm going to build another audible digital dice tower with it. In the meantime, I got a request to add a display of some sort so it's possible to for a sighted person to confirm the roll results since the voice quality isn't perfect. So, I decided to build a tower using a slightly smaller case that simplifies the layout of the components. This way I could focus on the software updates to make these new features work and hardware changes would be easier.
So I built this little tower using a little sheet metal enclosure you can buy off Amazon or Ebay. It's powered by a single 9v battery, has a 3 digit 7 segment LED display, on/off volume combo switch/potentiometer, and uses the same 5 way joystick style switch to select the dice type, dice count, and initiate a roll.
While I updated the software adding the display, I also added power management to put the CPU in extended standby mode between user input and roll events. I also tweaked the voice algorithm to re-use the "D" sound and the ones digits 4, 6, 7, 8, and 9. For example, the device says "four dee" instead of "fourty". The result is almost indiscernible to the ear. This saved enough room to fit the rolling sound and the word "hundred" into the flash memory.
If there is any interest, I'll post the source code and some more notes on the components.
-
Making progress...
02/29/2020 at 23:40 • 0 commentsThe dice tower is mechanically and electrically complete now. I also developed the initial version of the firmware to test out how much sound I can pack into the little ATmega328 flash and if the voice can be understood consistently.
I am happy with the result so far. Here's a quick video demonstrating it.
There's a little more work to do trying to get all the audio packed into the flash that I would like. I got a few tricks I'd like to try. I also need to add some power management to the code so it will last a while on batteries. Look for another update in the next week or two.
-
Build, build, build!
02/20/2020 at 07:28 • 0 commentsGot busy building and didn't leave much time for an update. Here's a bunch a pictures and a few words about progress...
![]()
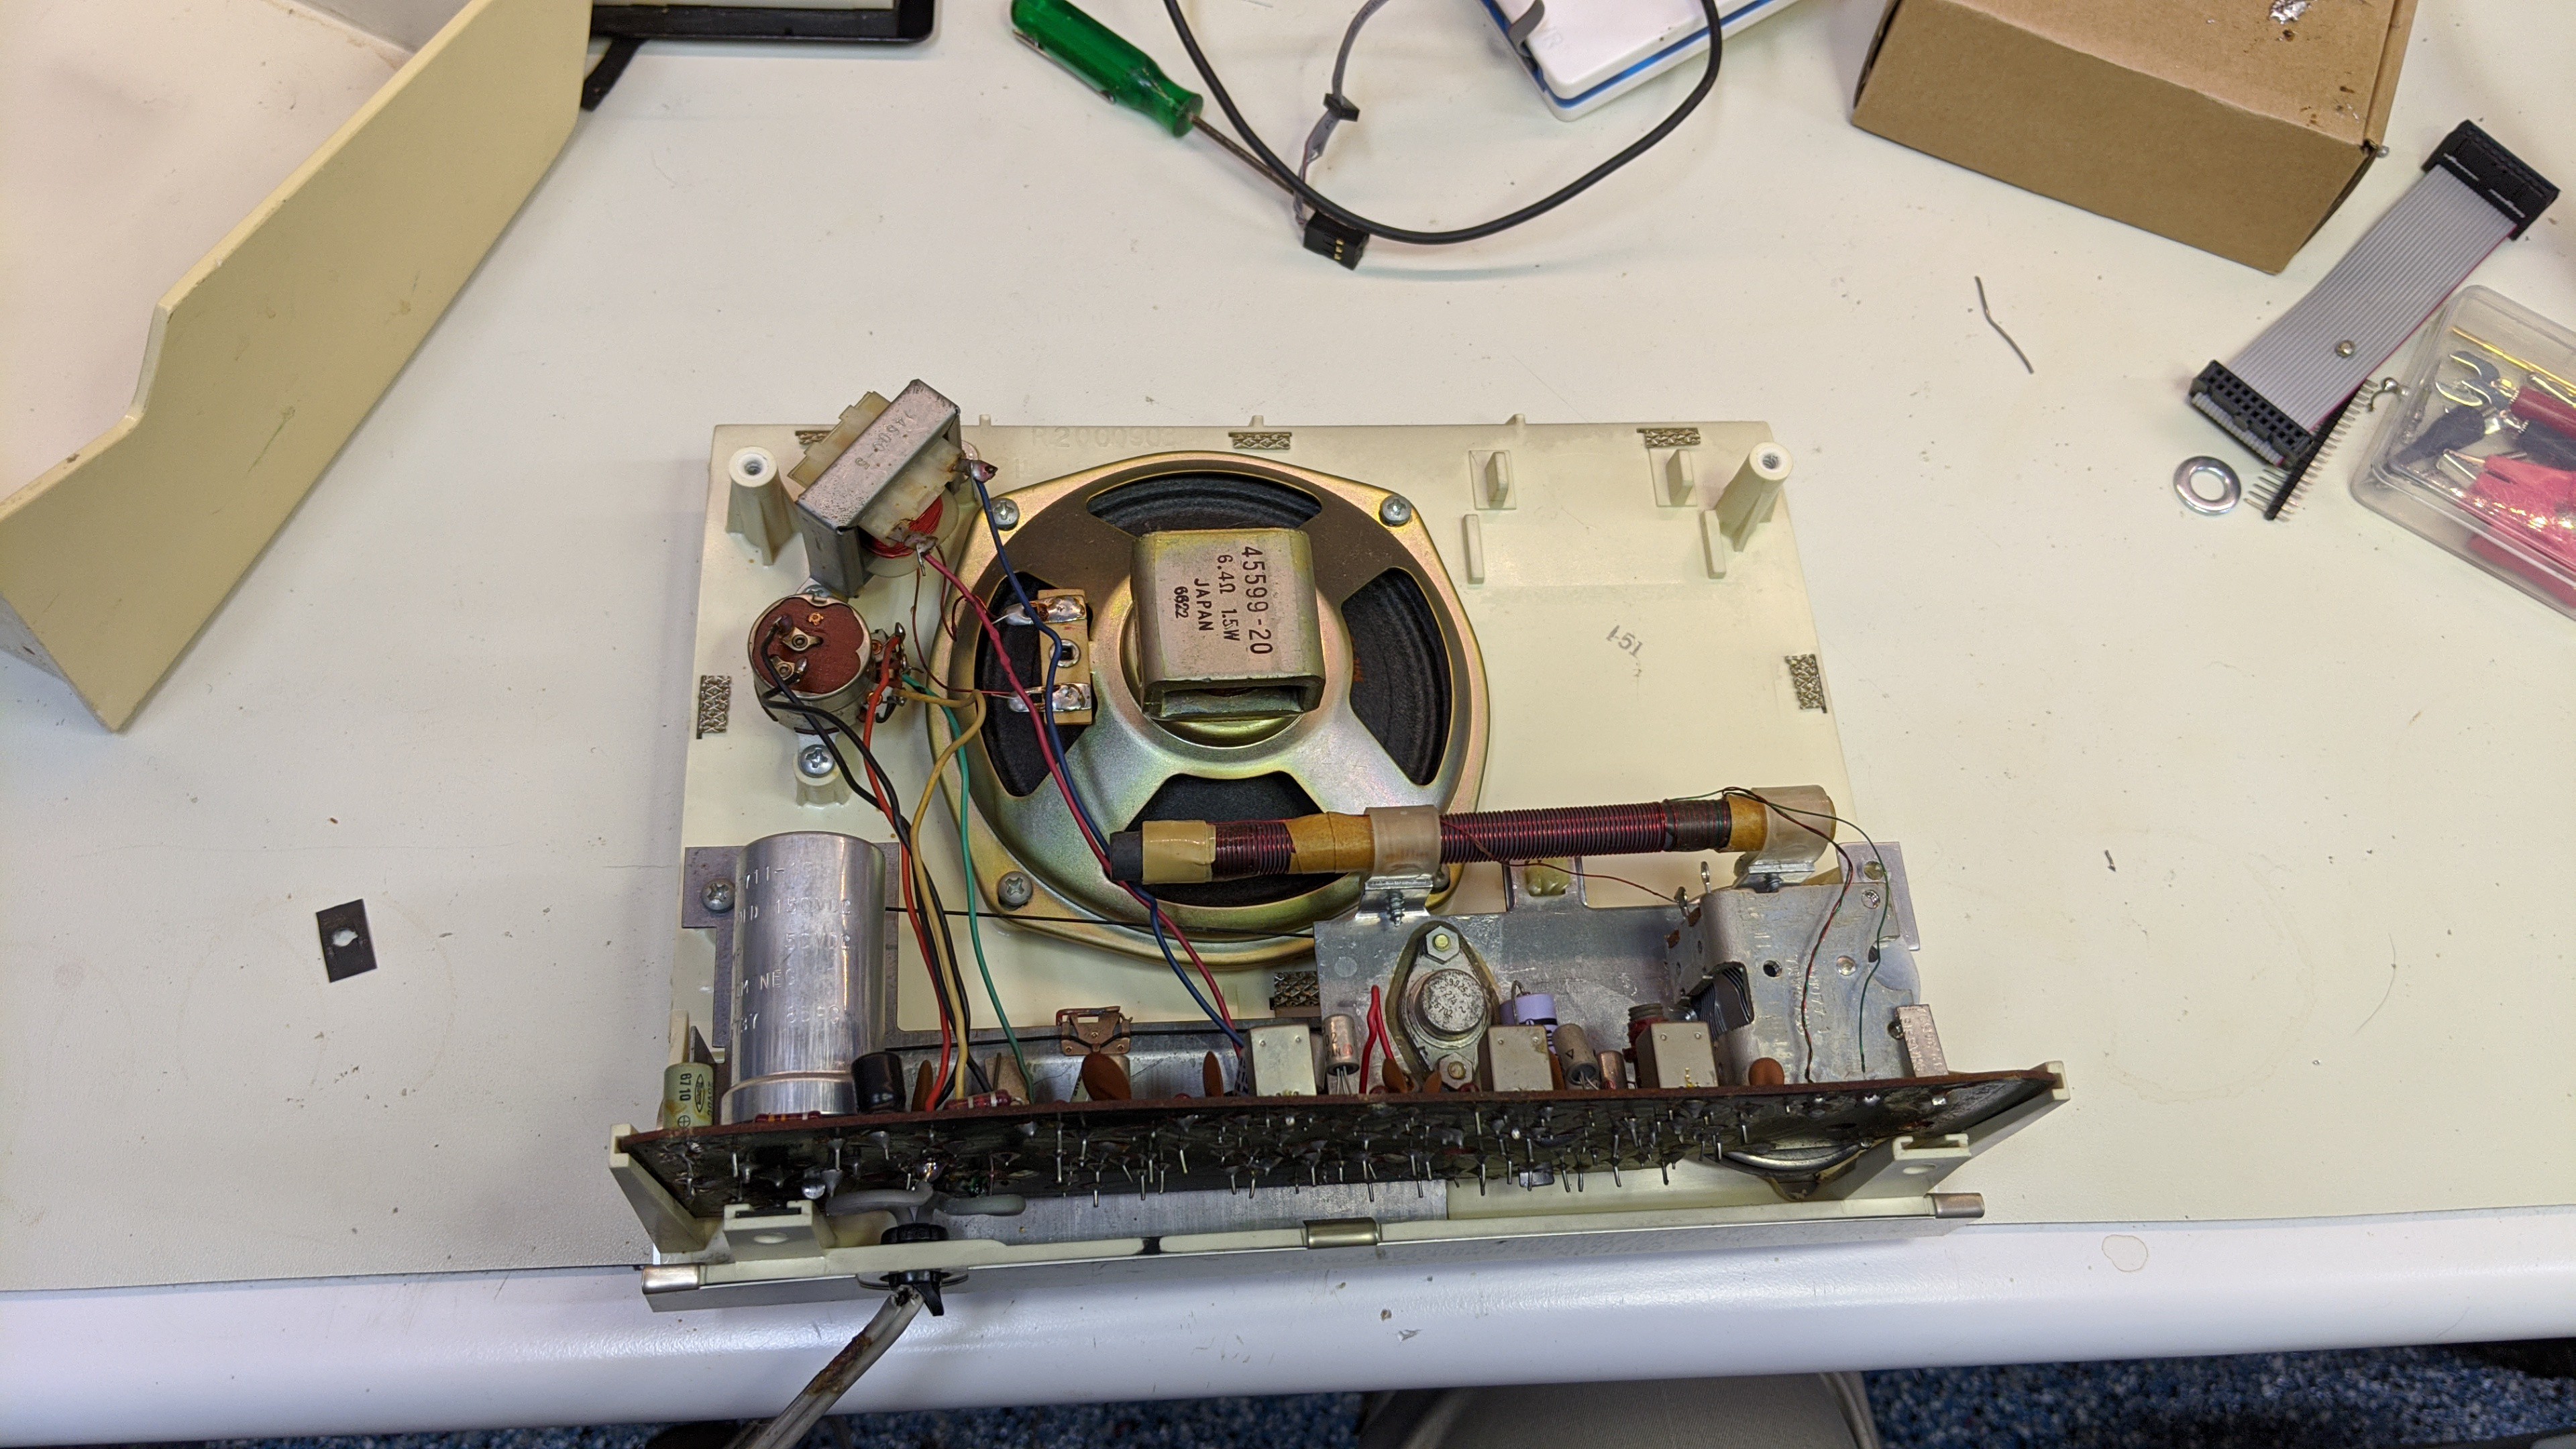
Here's everything inside the case. The radio, antenna, and transformer must go. Keeping the speaker and potentiometer(sp?) with on/off switch.
![]()
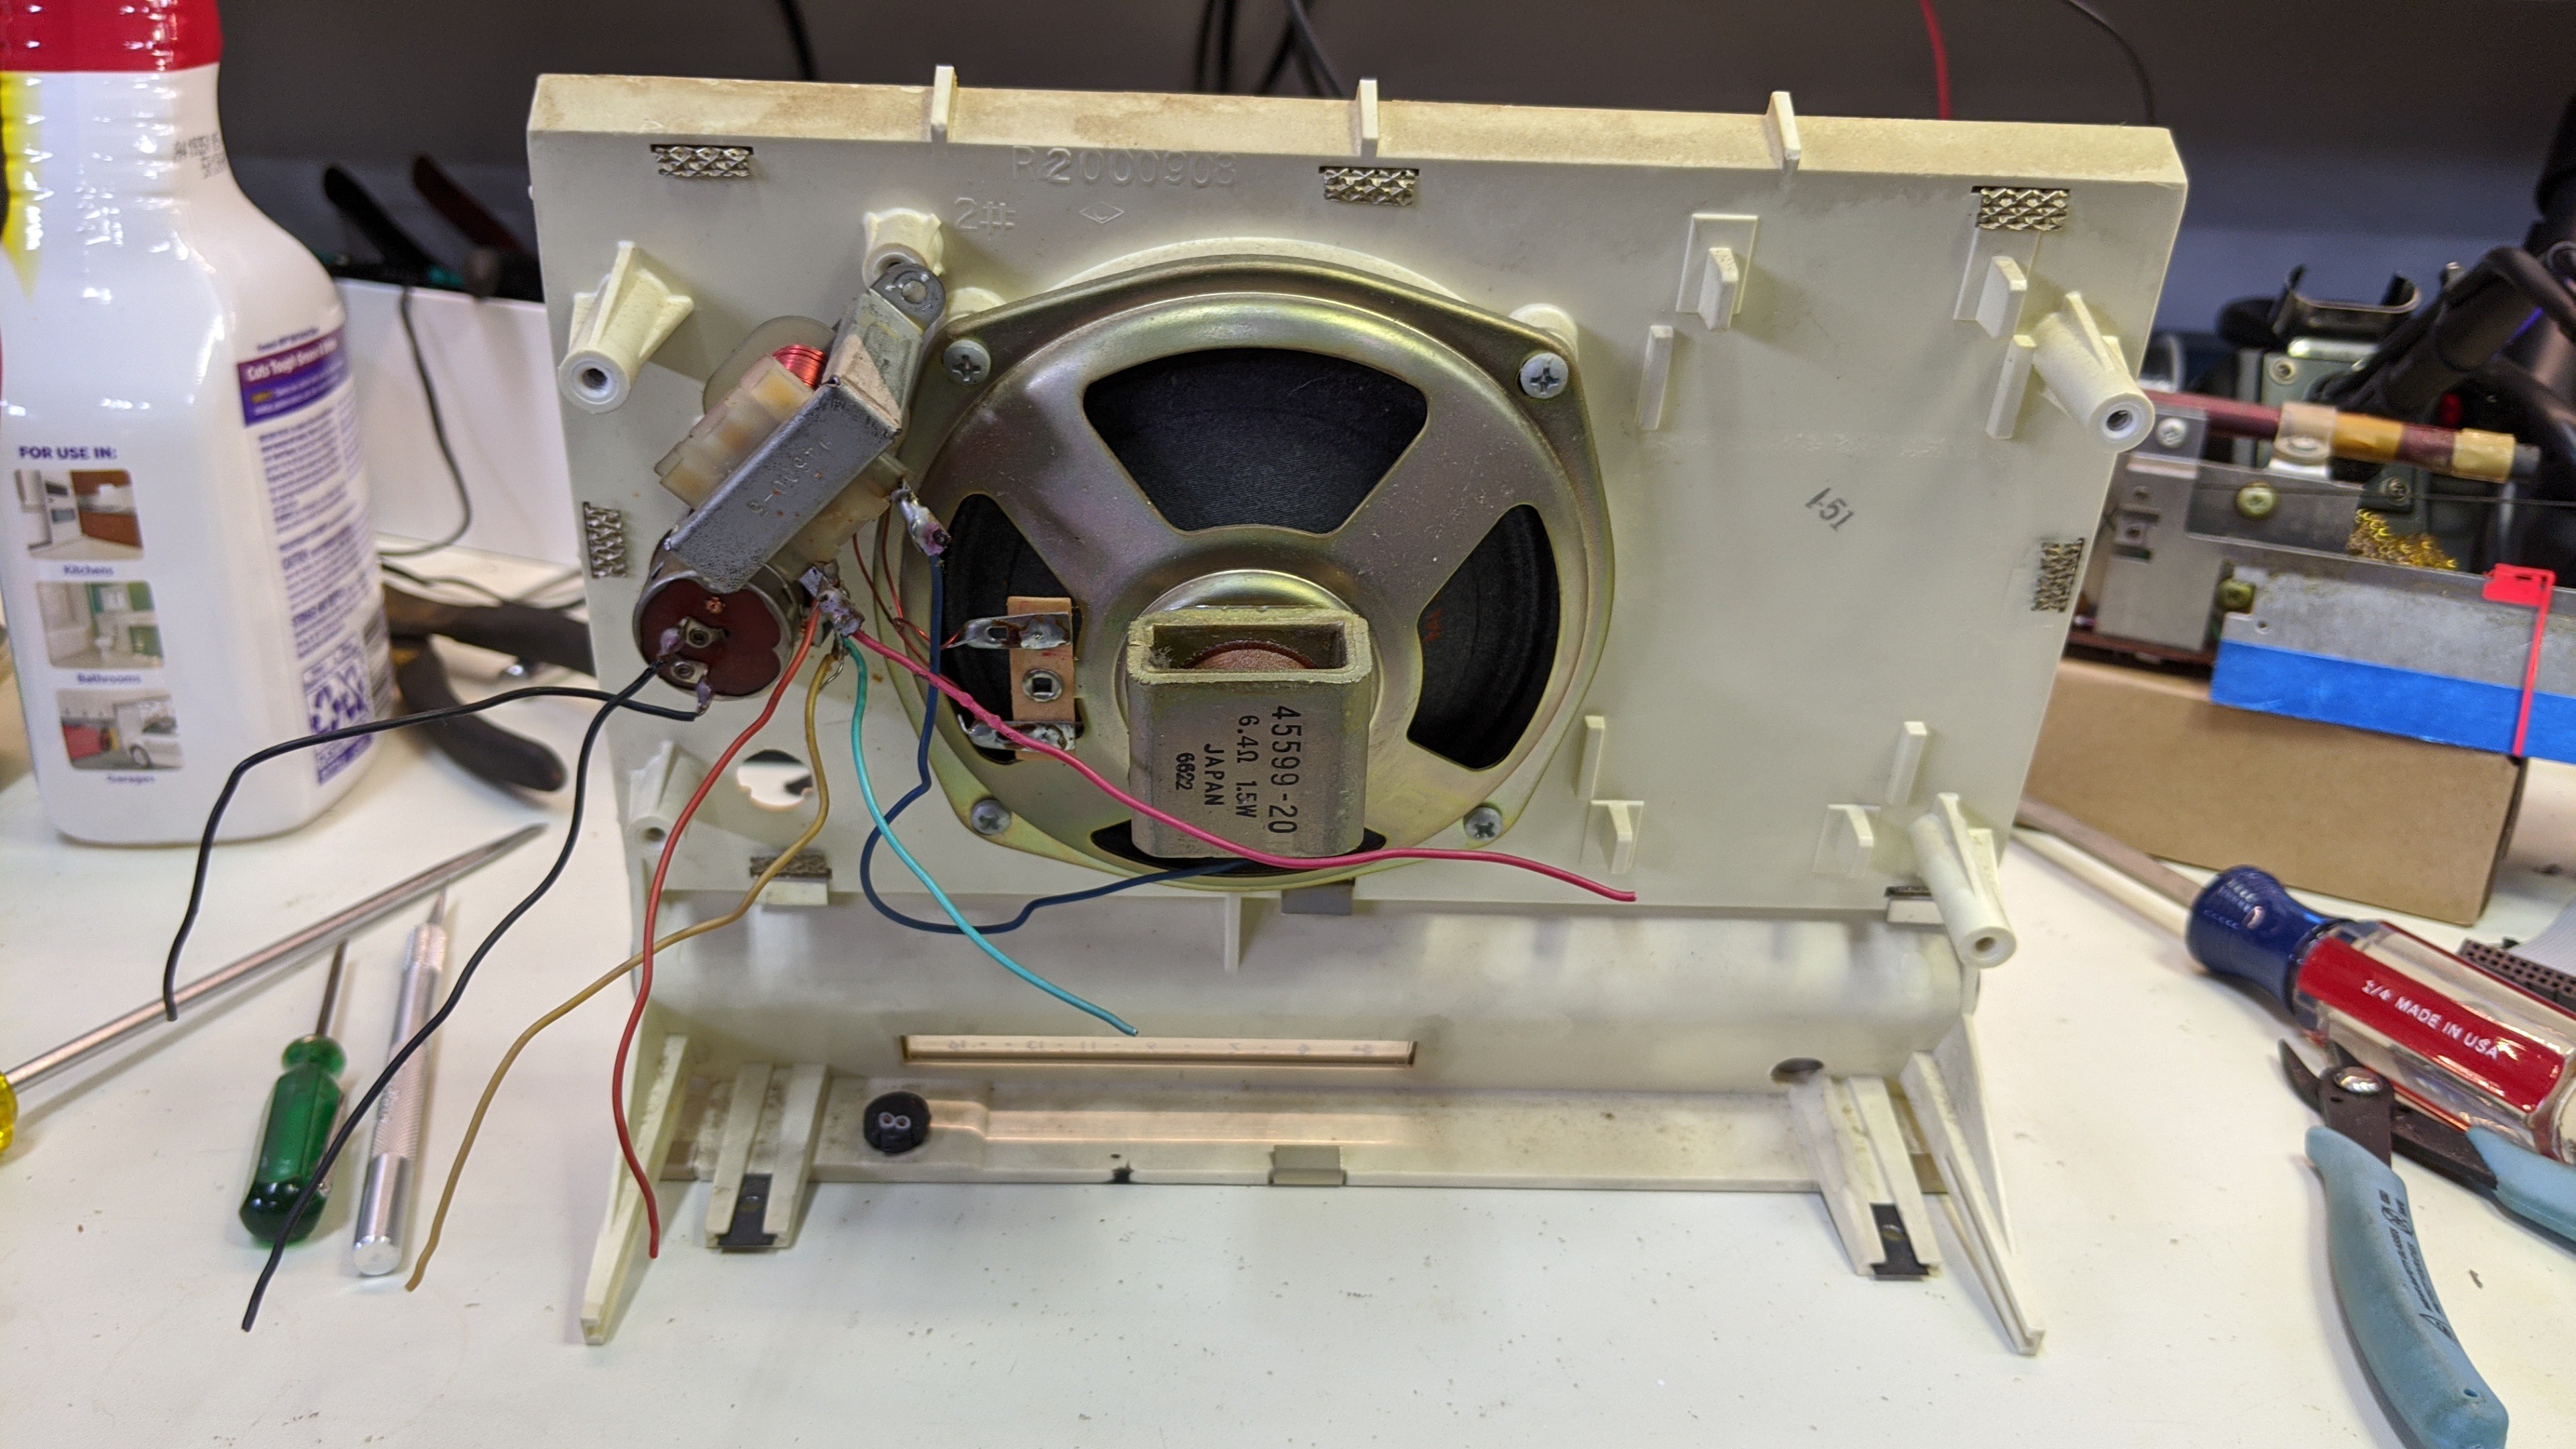
Making more room for new stuff.
![]()
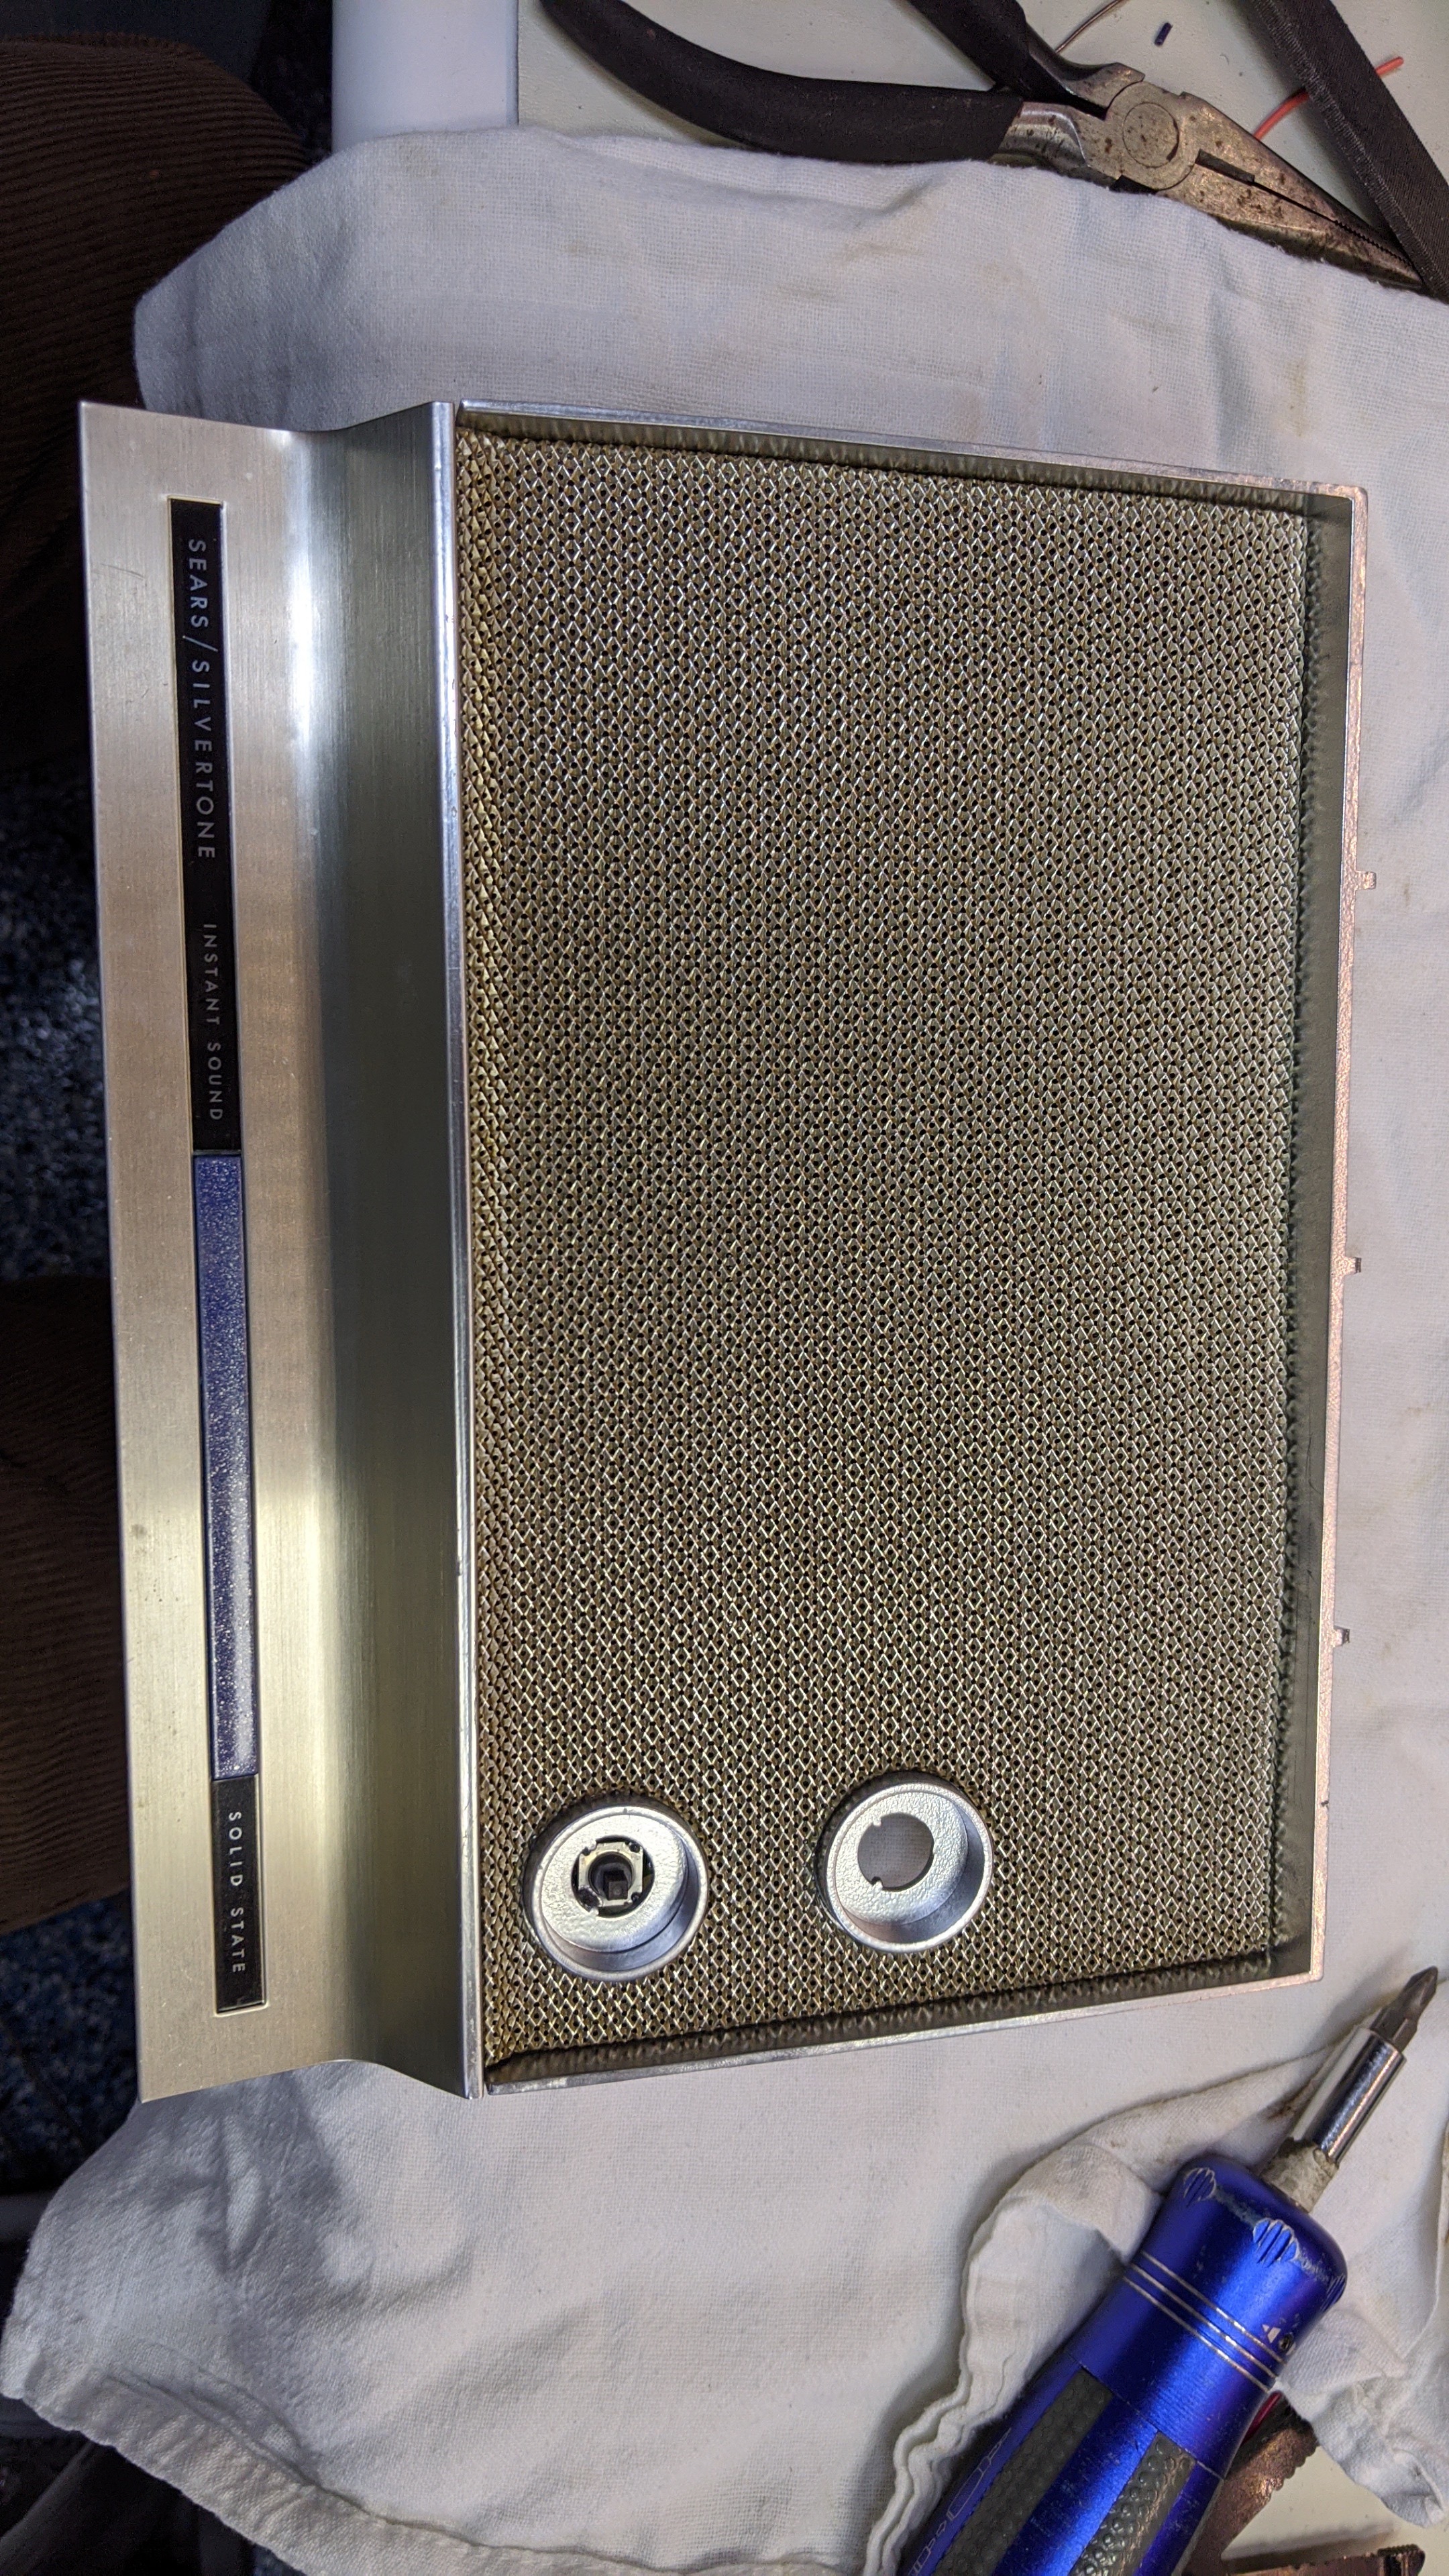
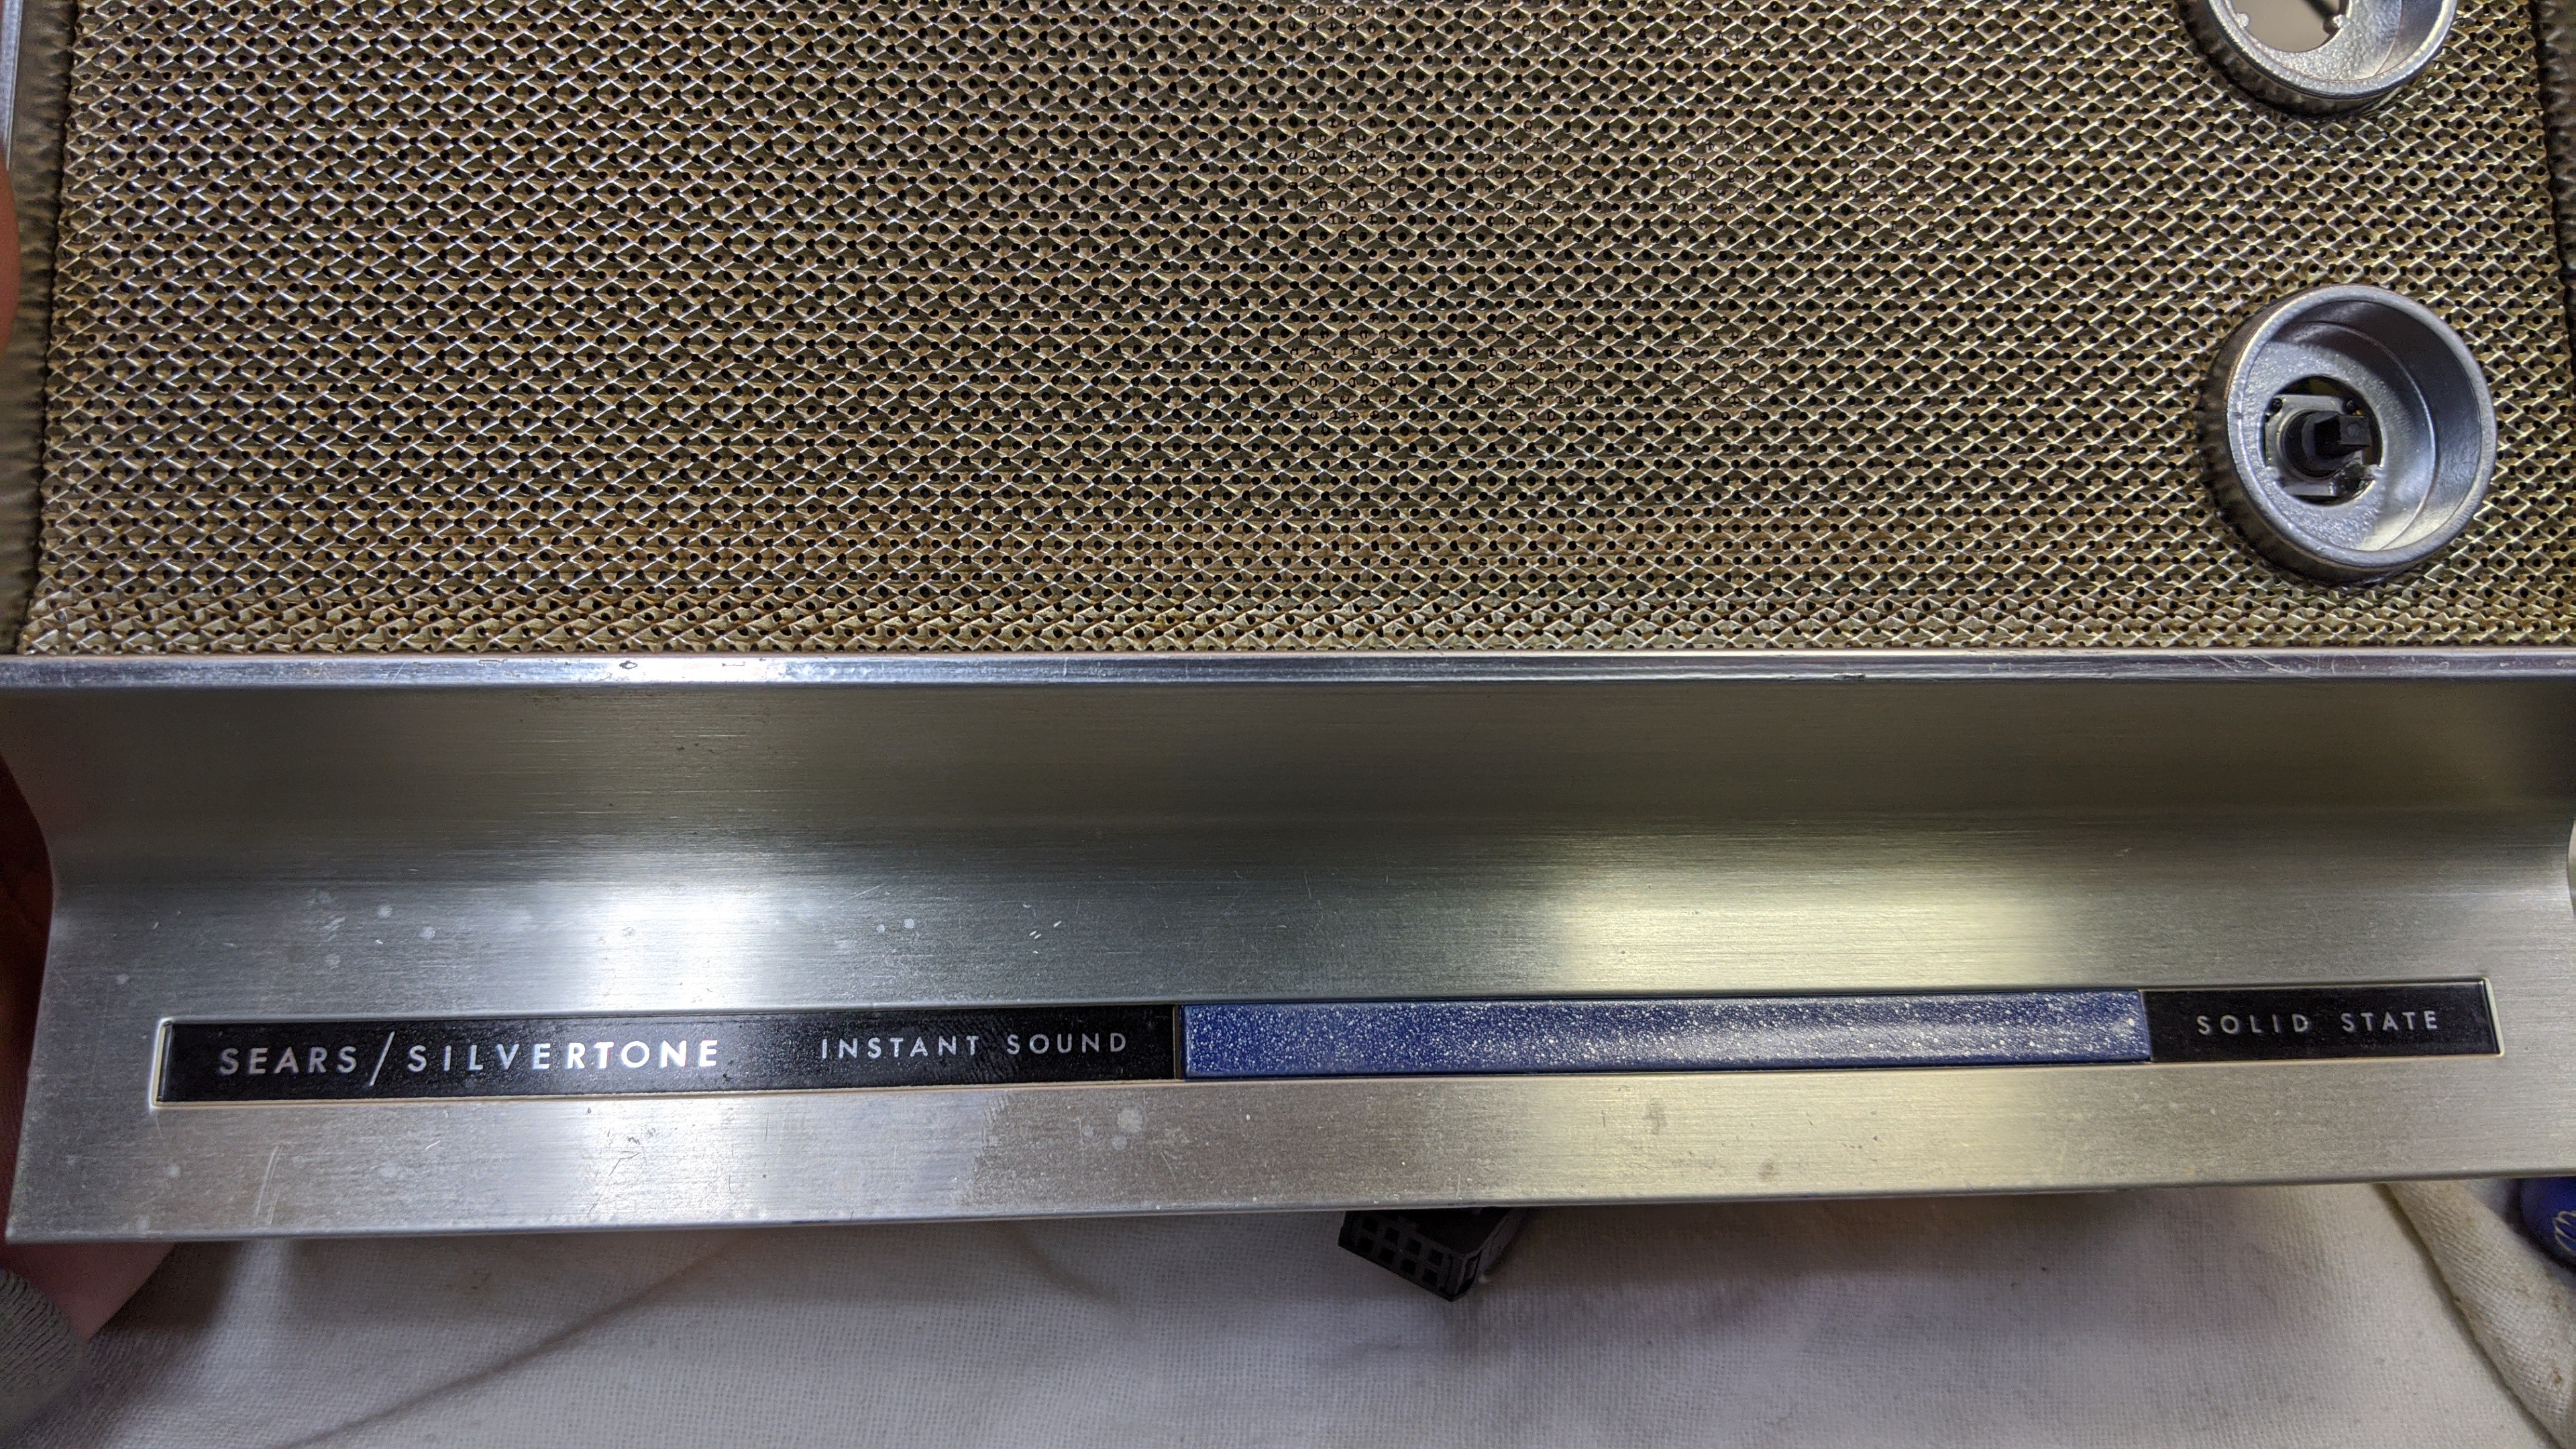
Removed the rest of the parts, speaker grill, and lower faceplate. Painted the front panel with some silver spray paint, painted the radio dial sight glass solid blue with a silver glitter (accidental over spray, left it because it looked cool), reassembled it all.
![]()
Sparkly blue where the radio tuning indicator used to be. New five way joystick like switch where the tuning knob used to be.
![]()
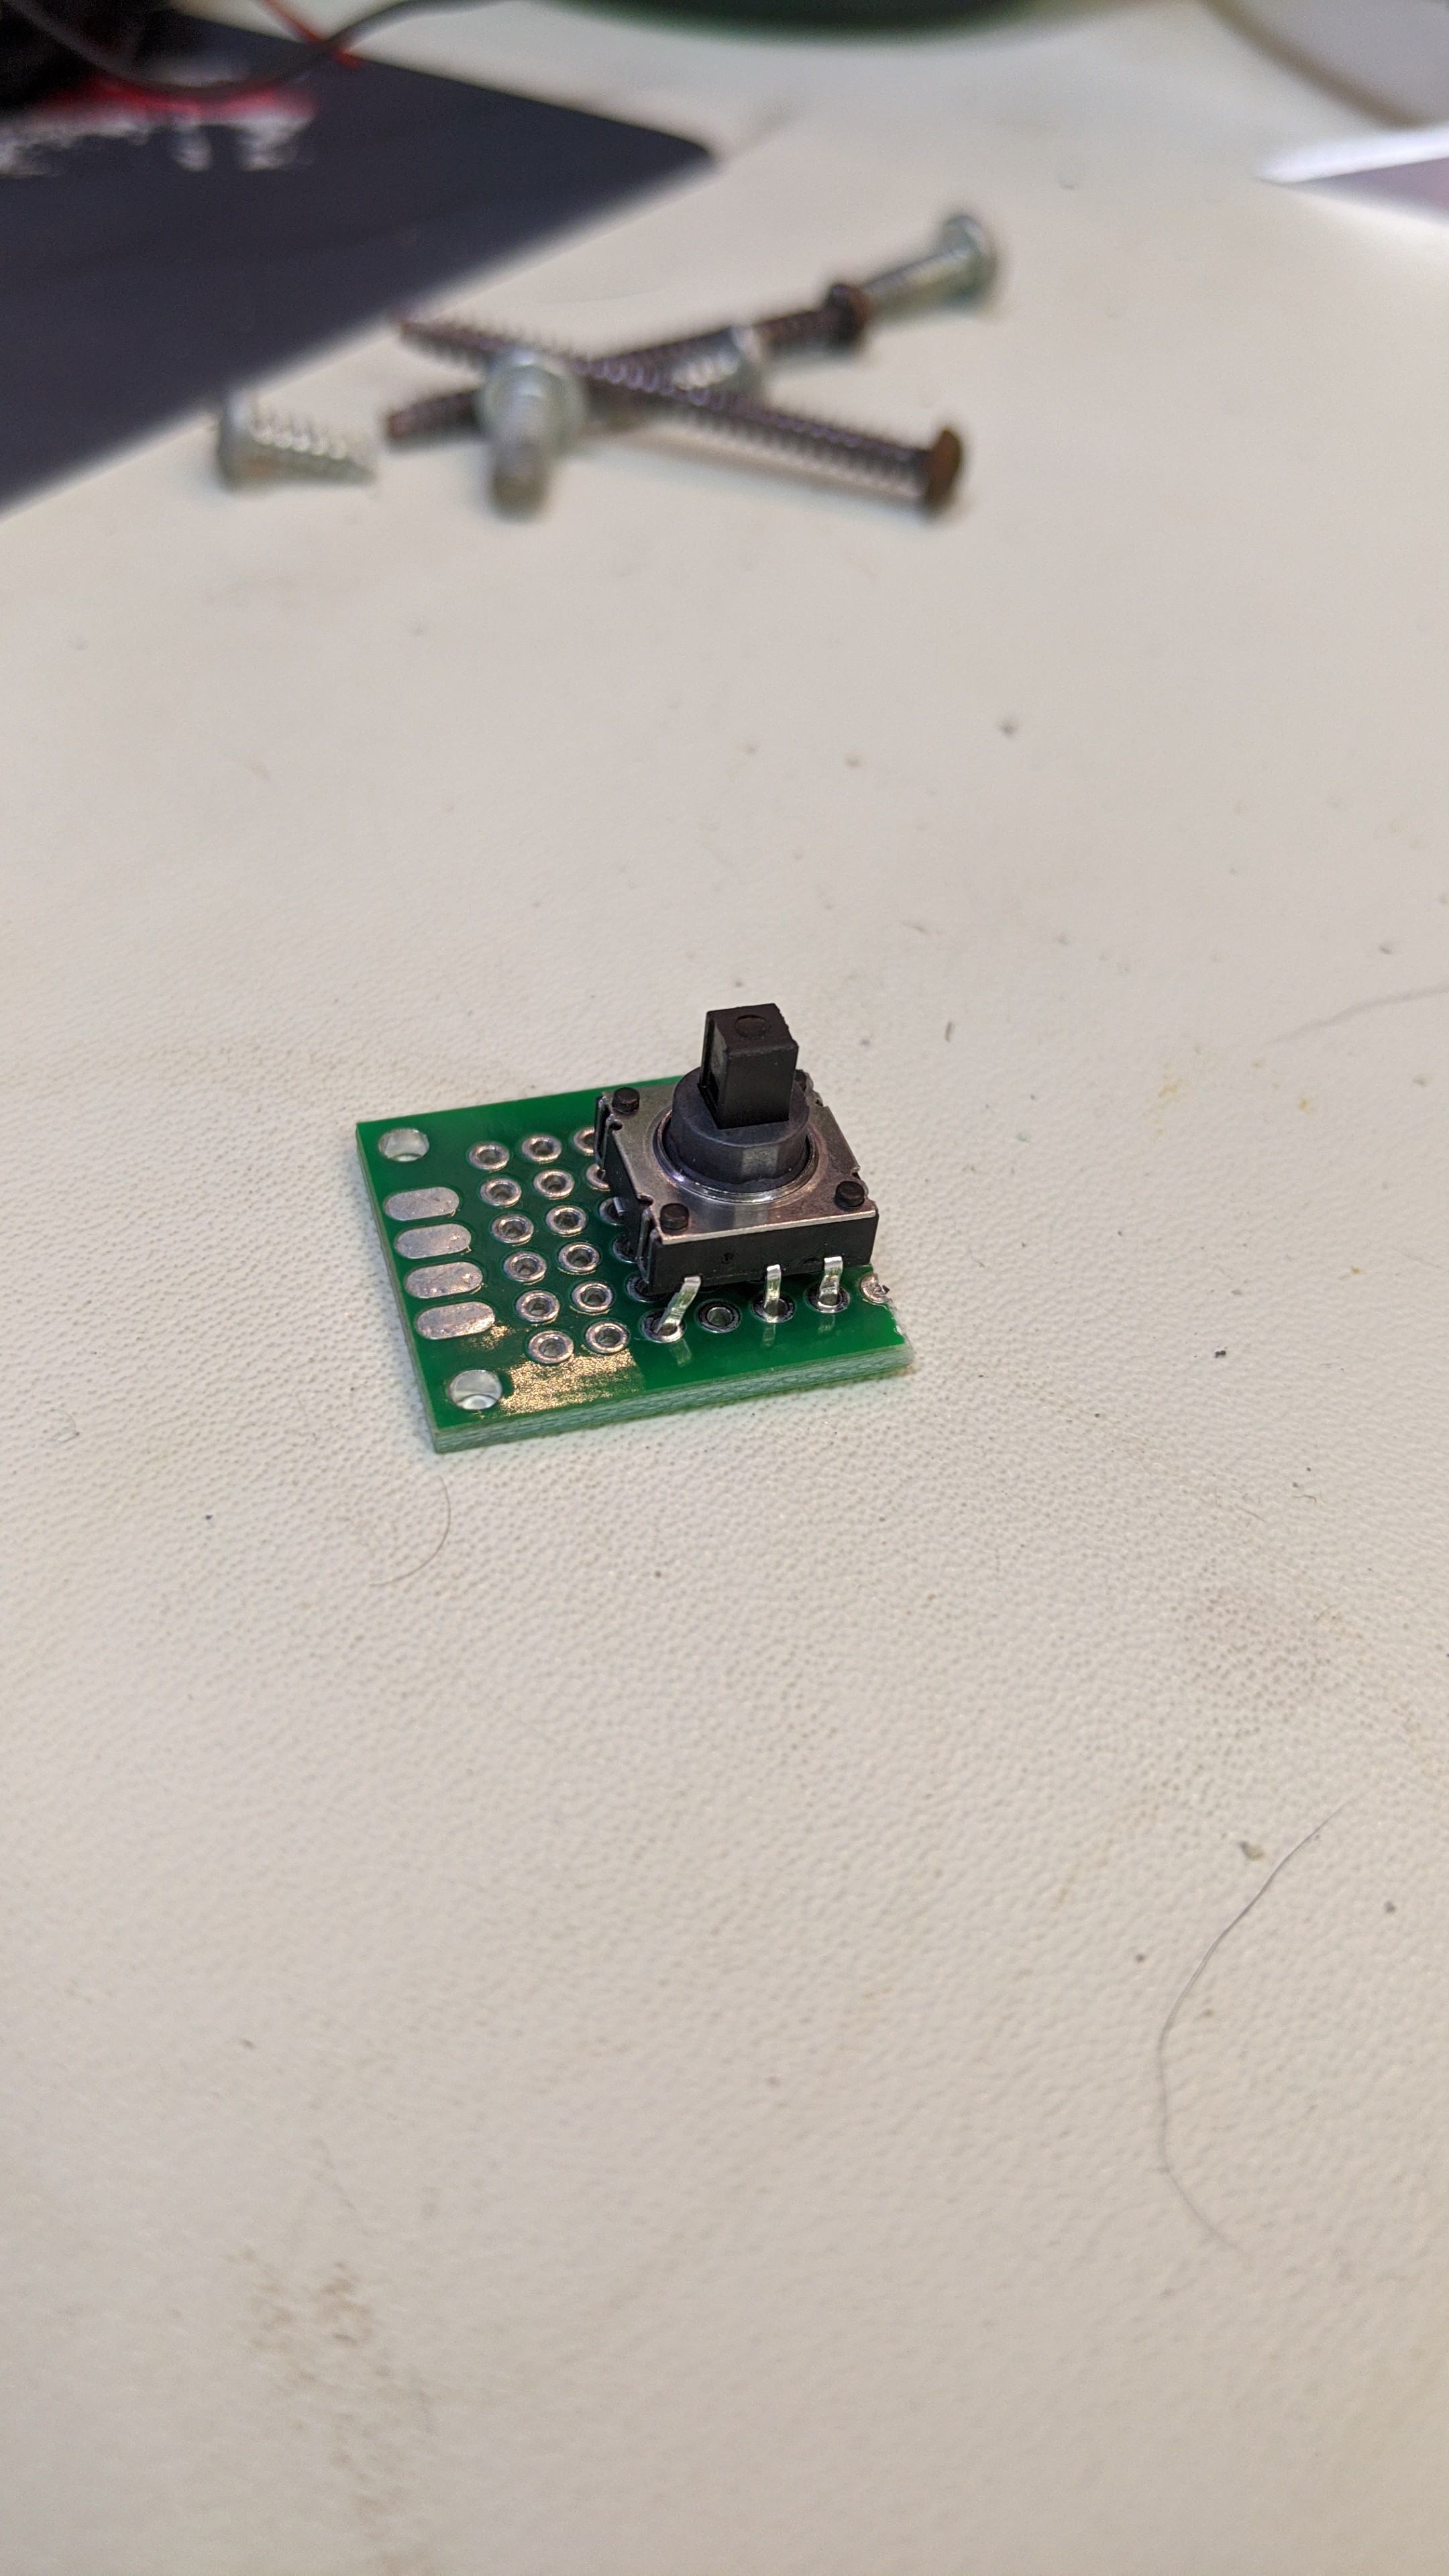
Close up of the 5 way switch before it was soldered to the protoboard.
![]()
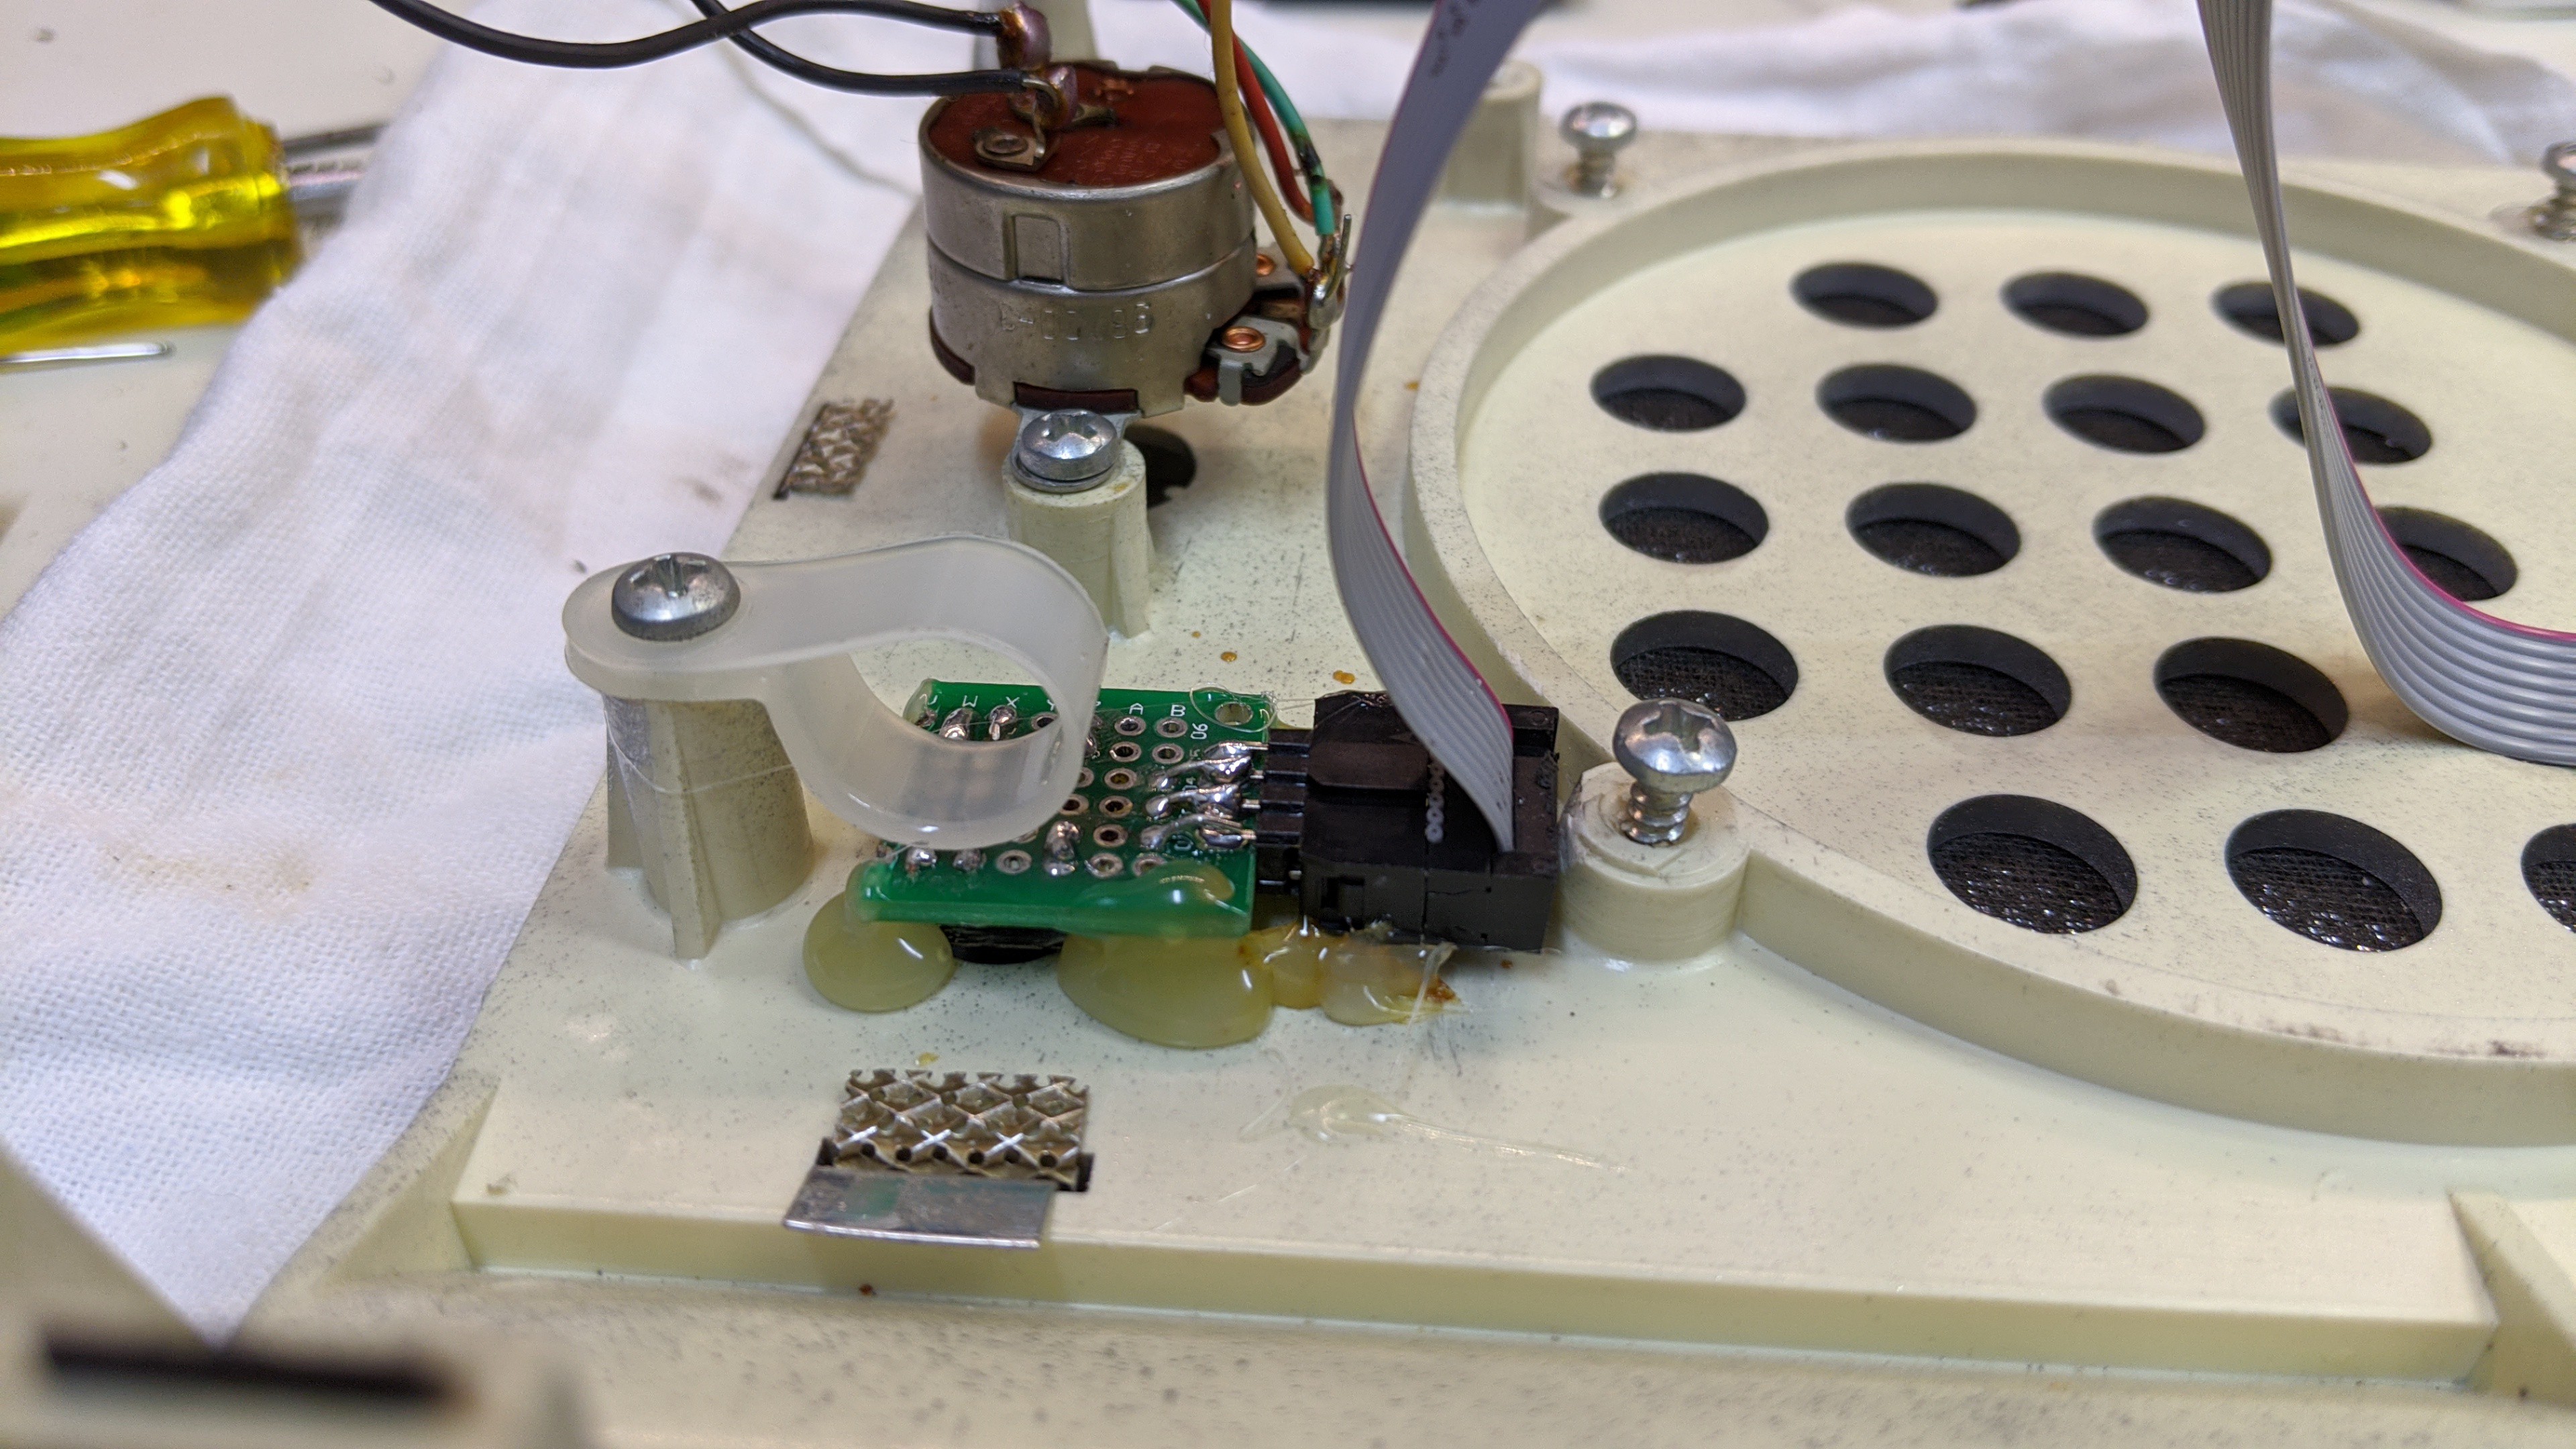
5 way switched mounted to the radio front panel where the tuning knob used to be. I used some hot glue and nylon cable clip to keep it in place.
![]()
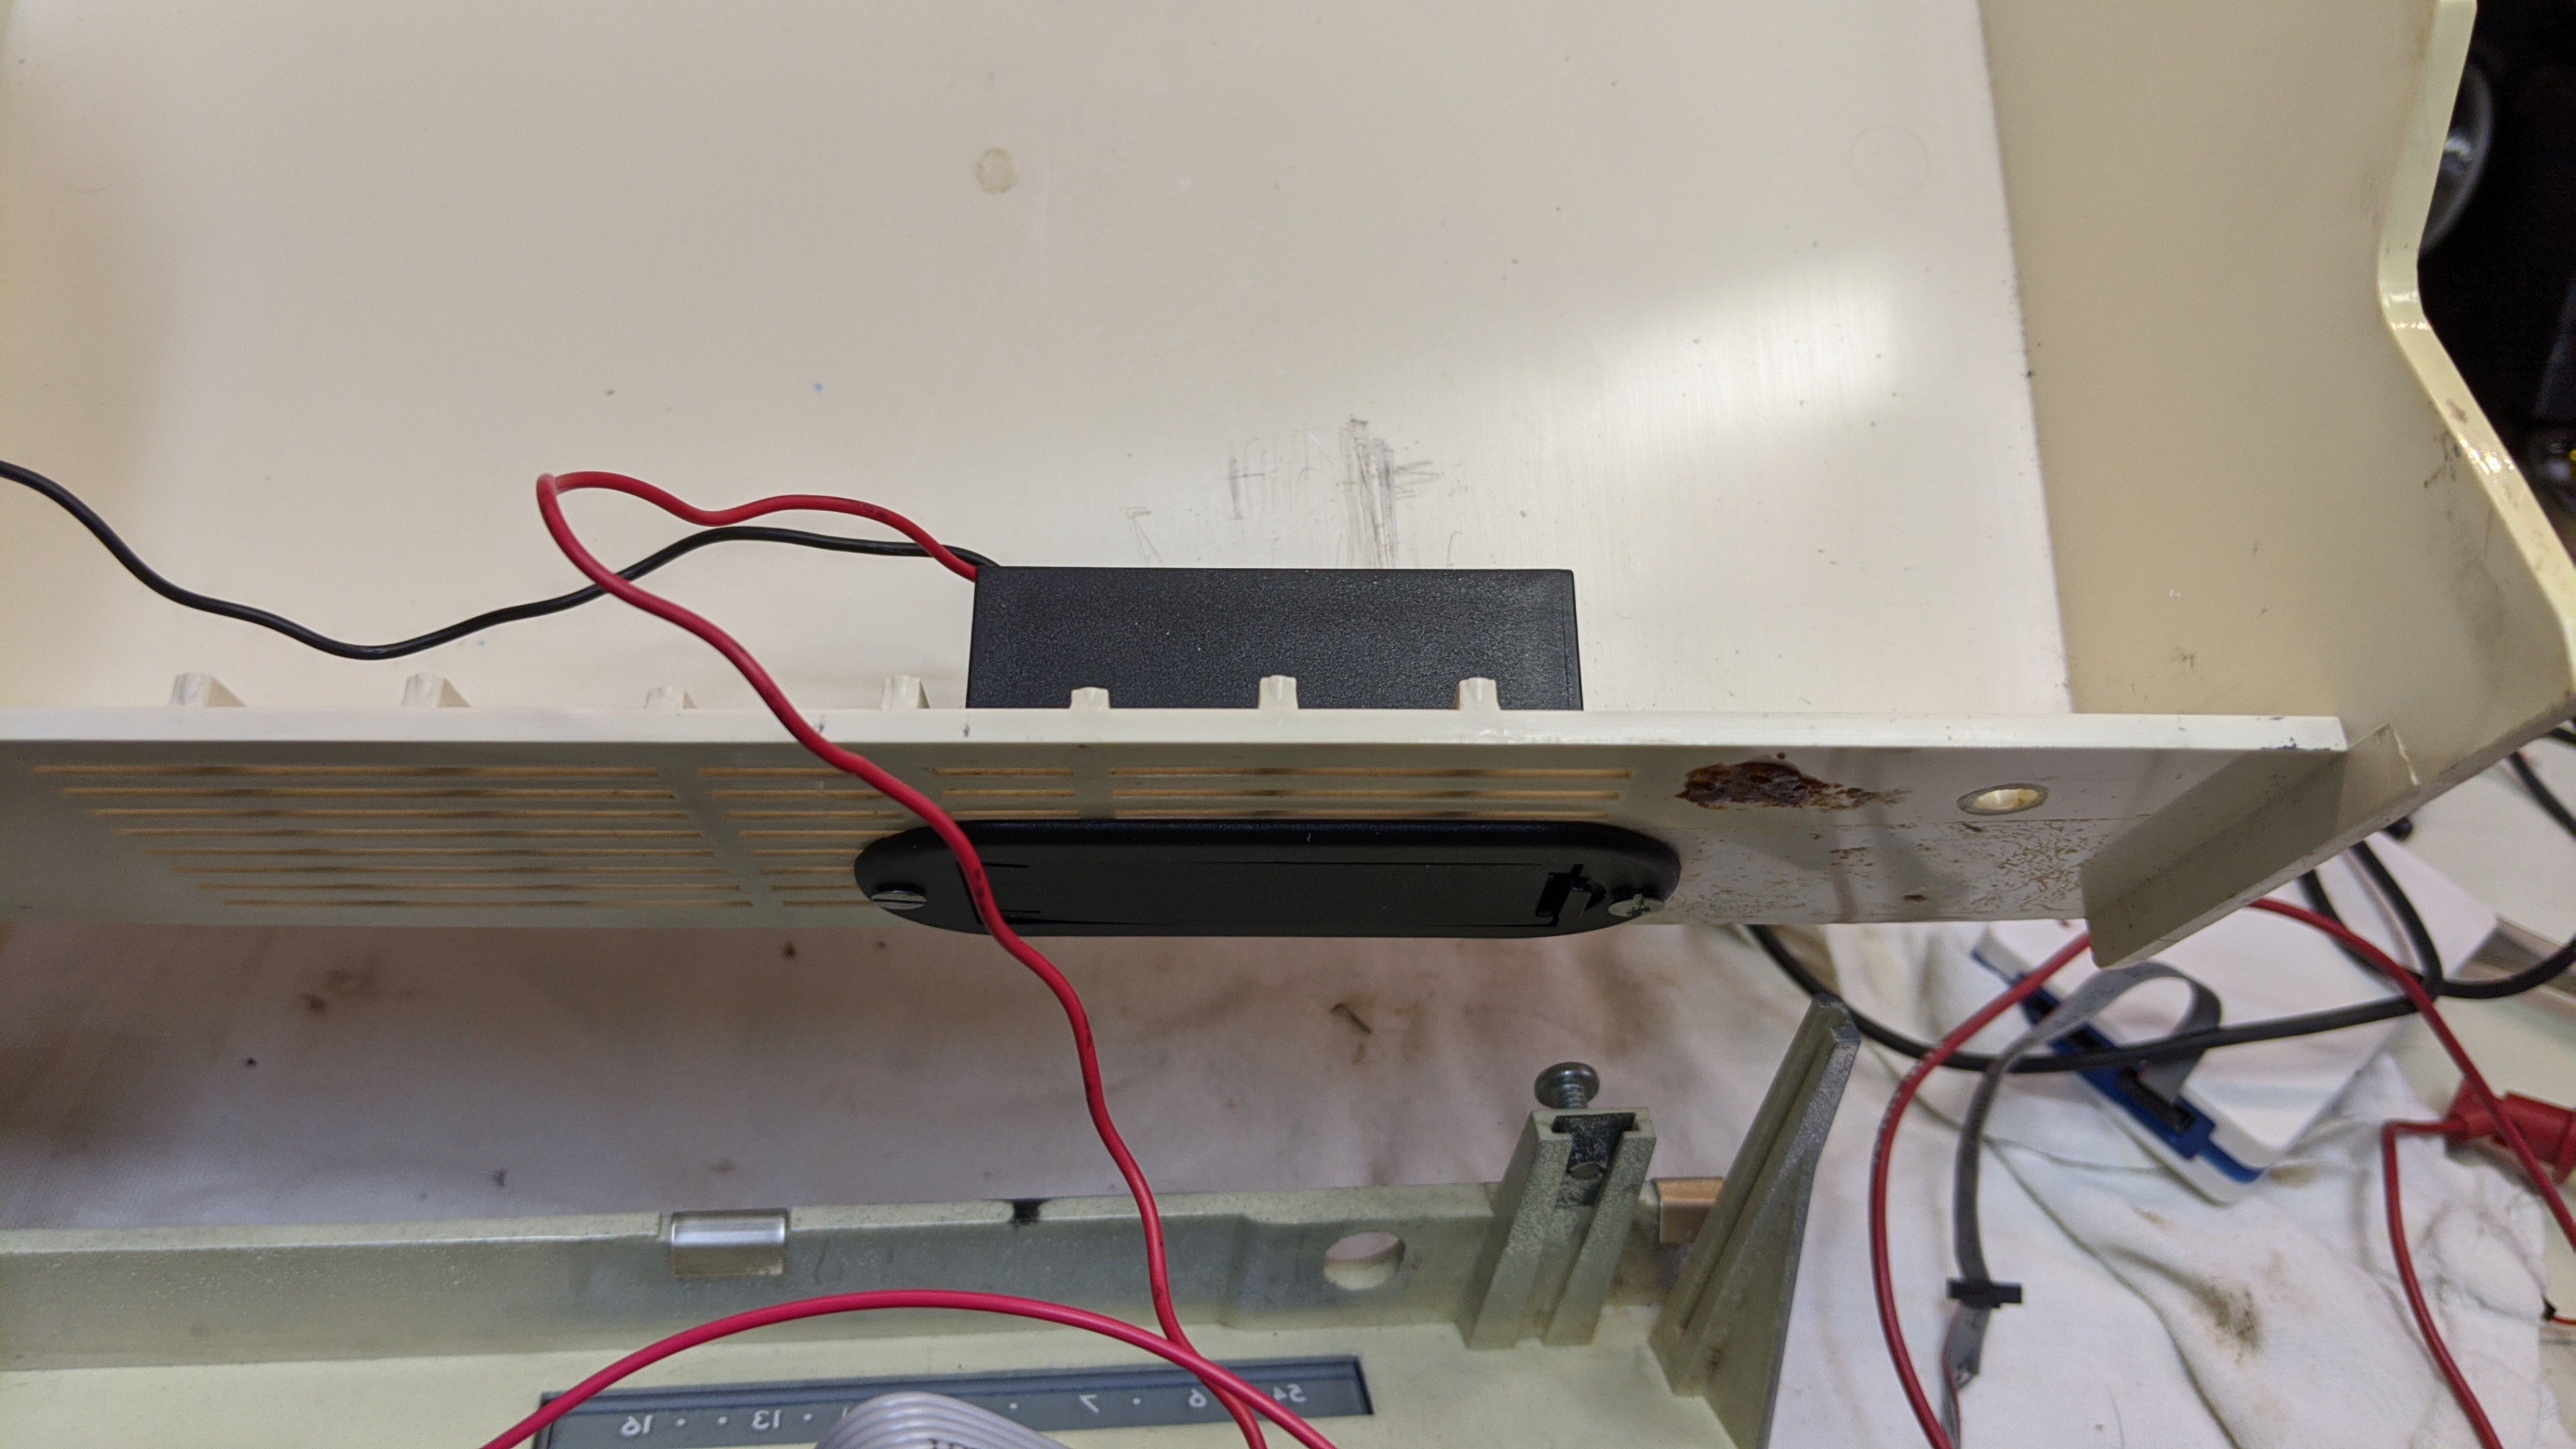
Installed an electric guitar style 9v battery holder in the base of the case.
![]()
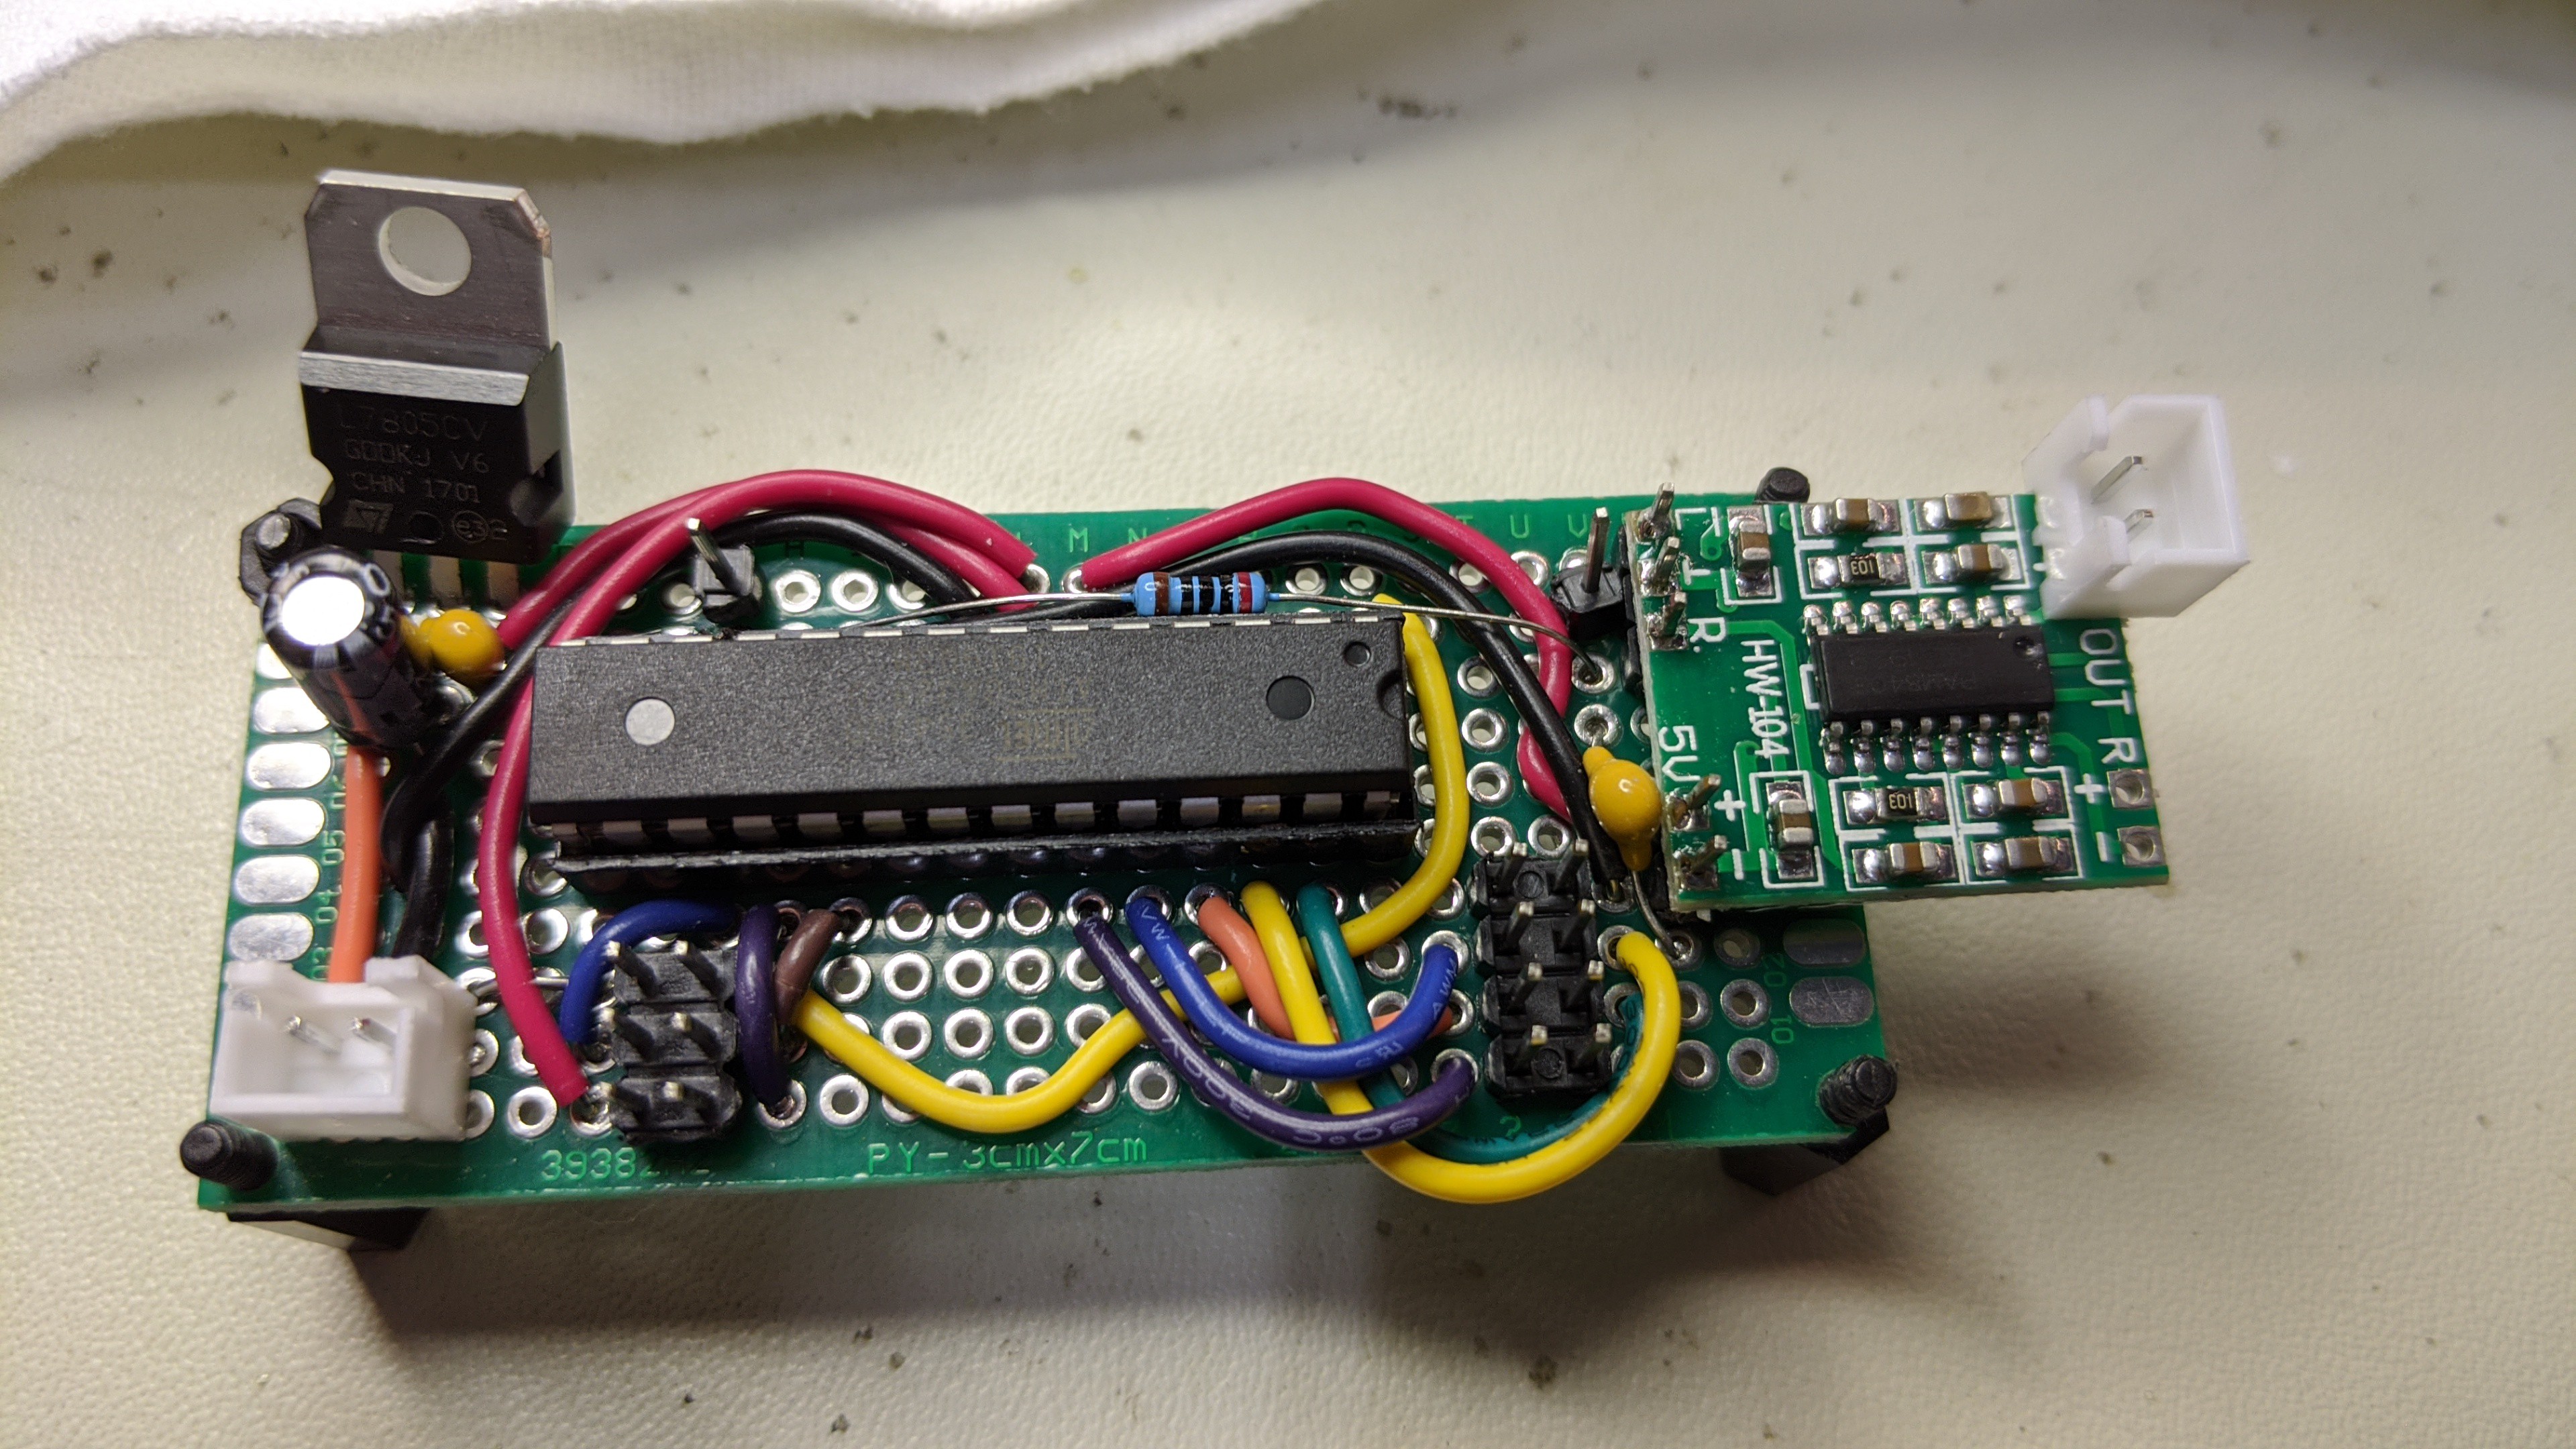
Controller board with ATmega328, voltage regulator to run off 9v battery, audio filter, audio amp, ISP connector for programming, and connector for 5 way switch all soldered up.
![]()
Roughly where everything will reside in the case.
Now it's time to start coding...
Sears Silvertone Audible Digital Dice Tower
Tabletop dice tower in a retro Sears Silvertone radio case with voice output
 John Anderson