This shows the idea:
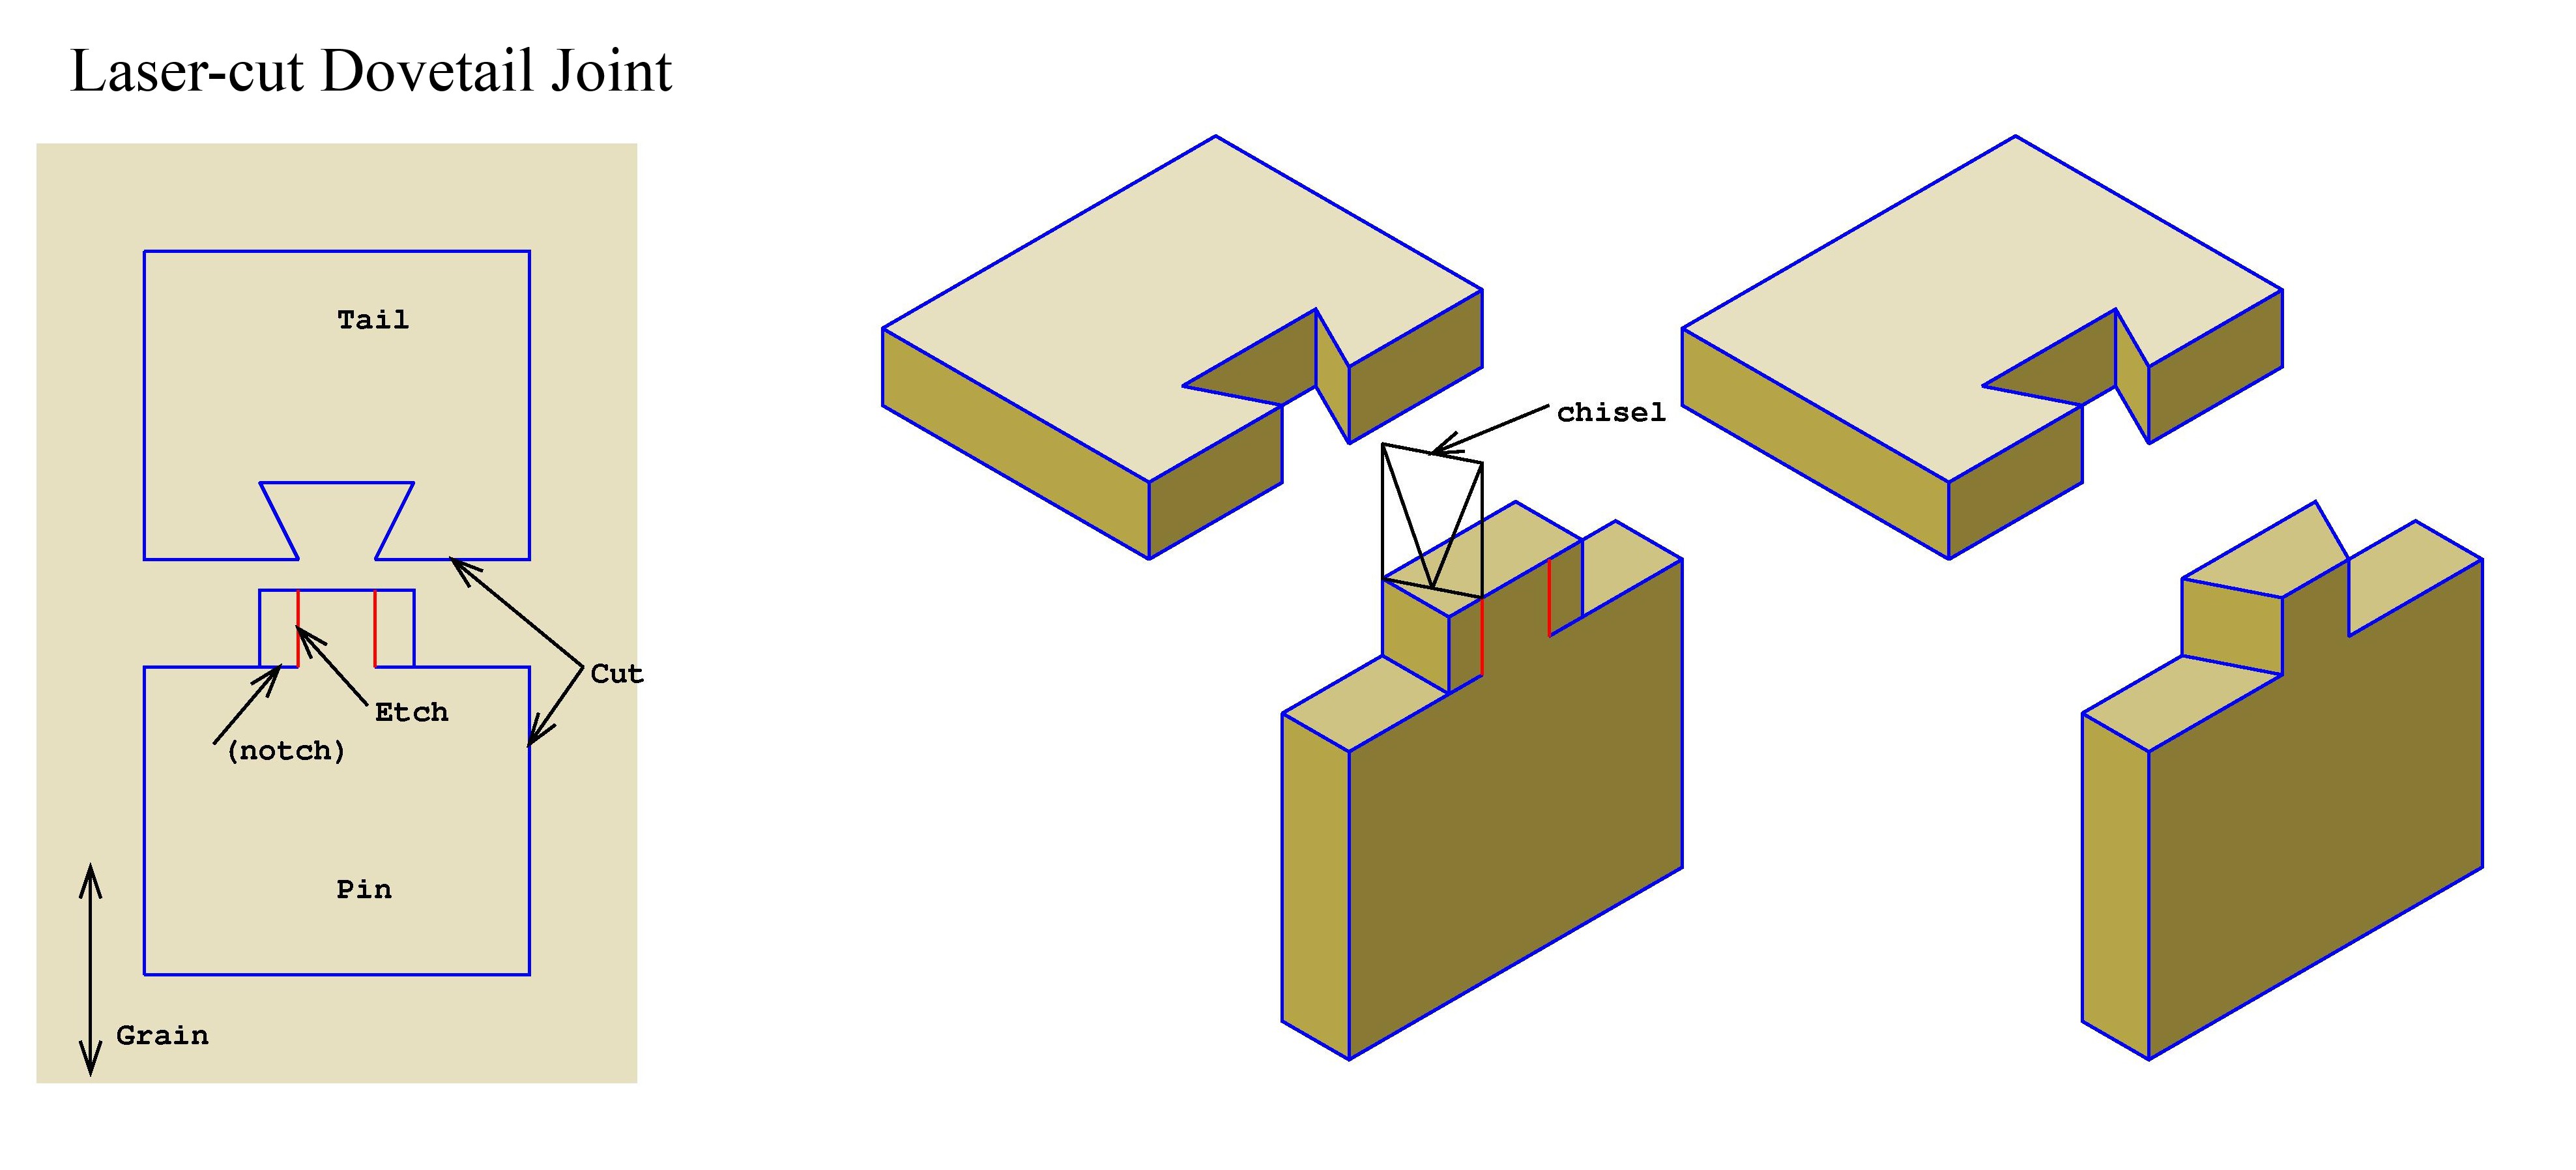
The tails are just 'V' shaped holes cut into the ends of the enclosure sides. But the pins require surfaces angled outside the plane of the laser. So, the trick is to cut them as rectangular tabs protruding from the ends of the other enclosure sides. The tabs need to run with the grain of the material. They are the width of the widest part of the tail's 'V's. At their bases, the tabs are notched either side, so the uncut width is that of the narrowest part of the tail's 'V's. Guide lines are etched from the ends of the notches to the tops of the tabs.
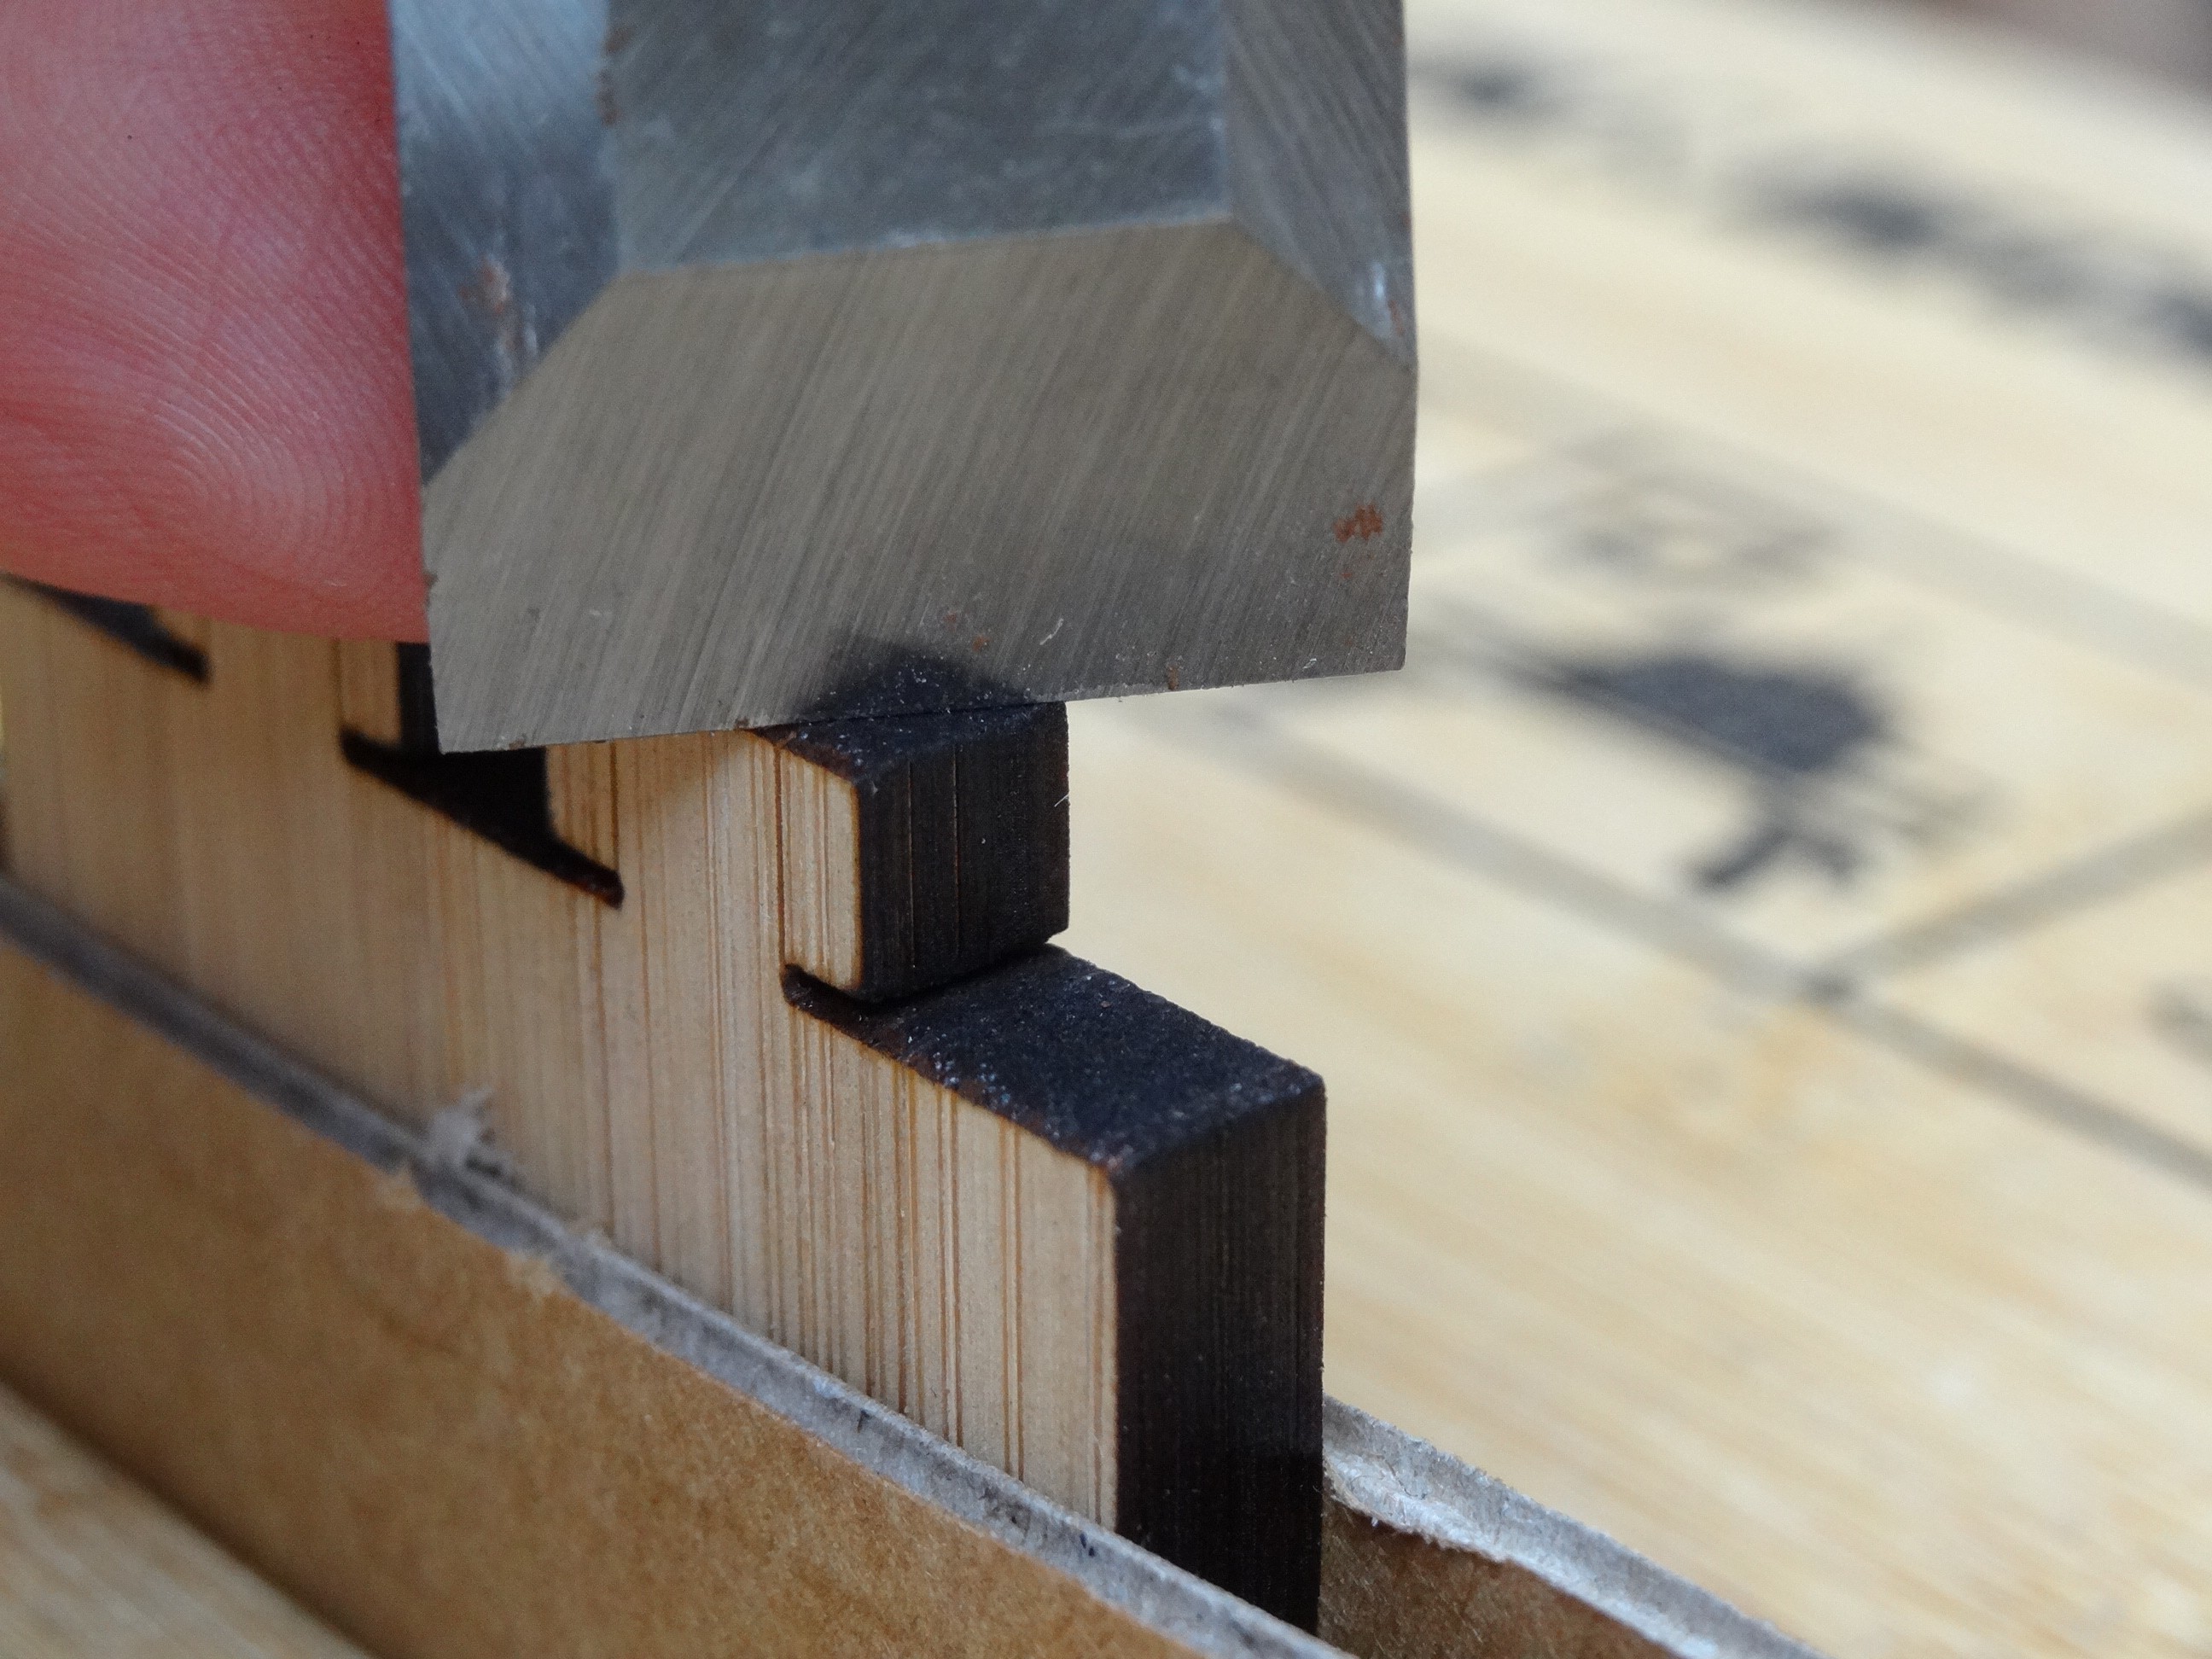
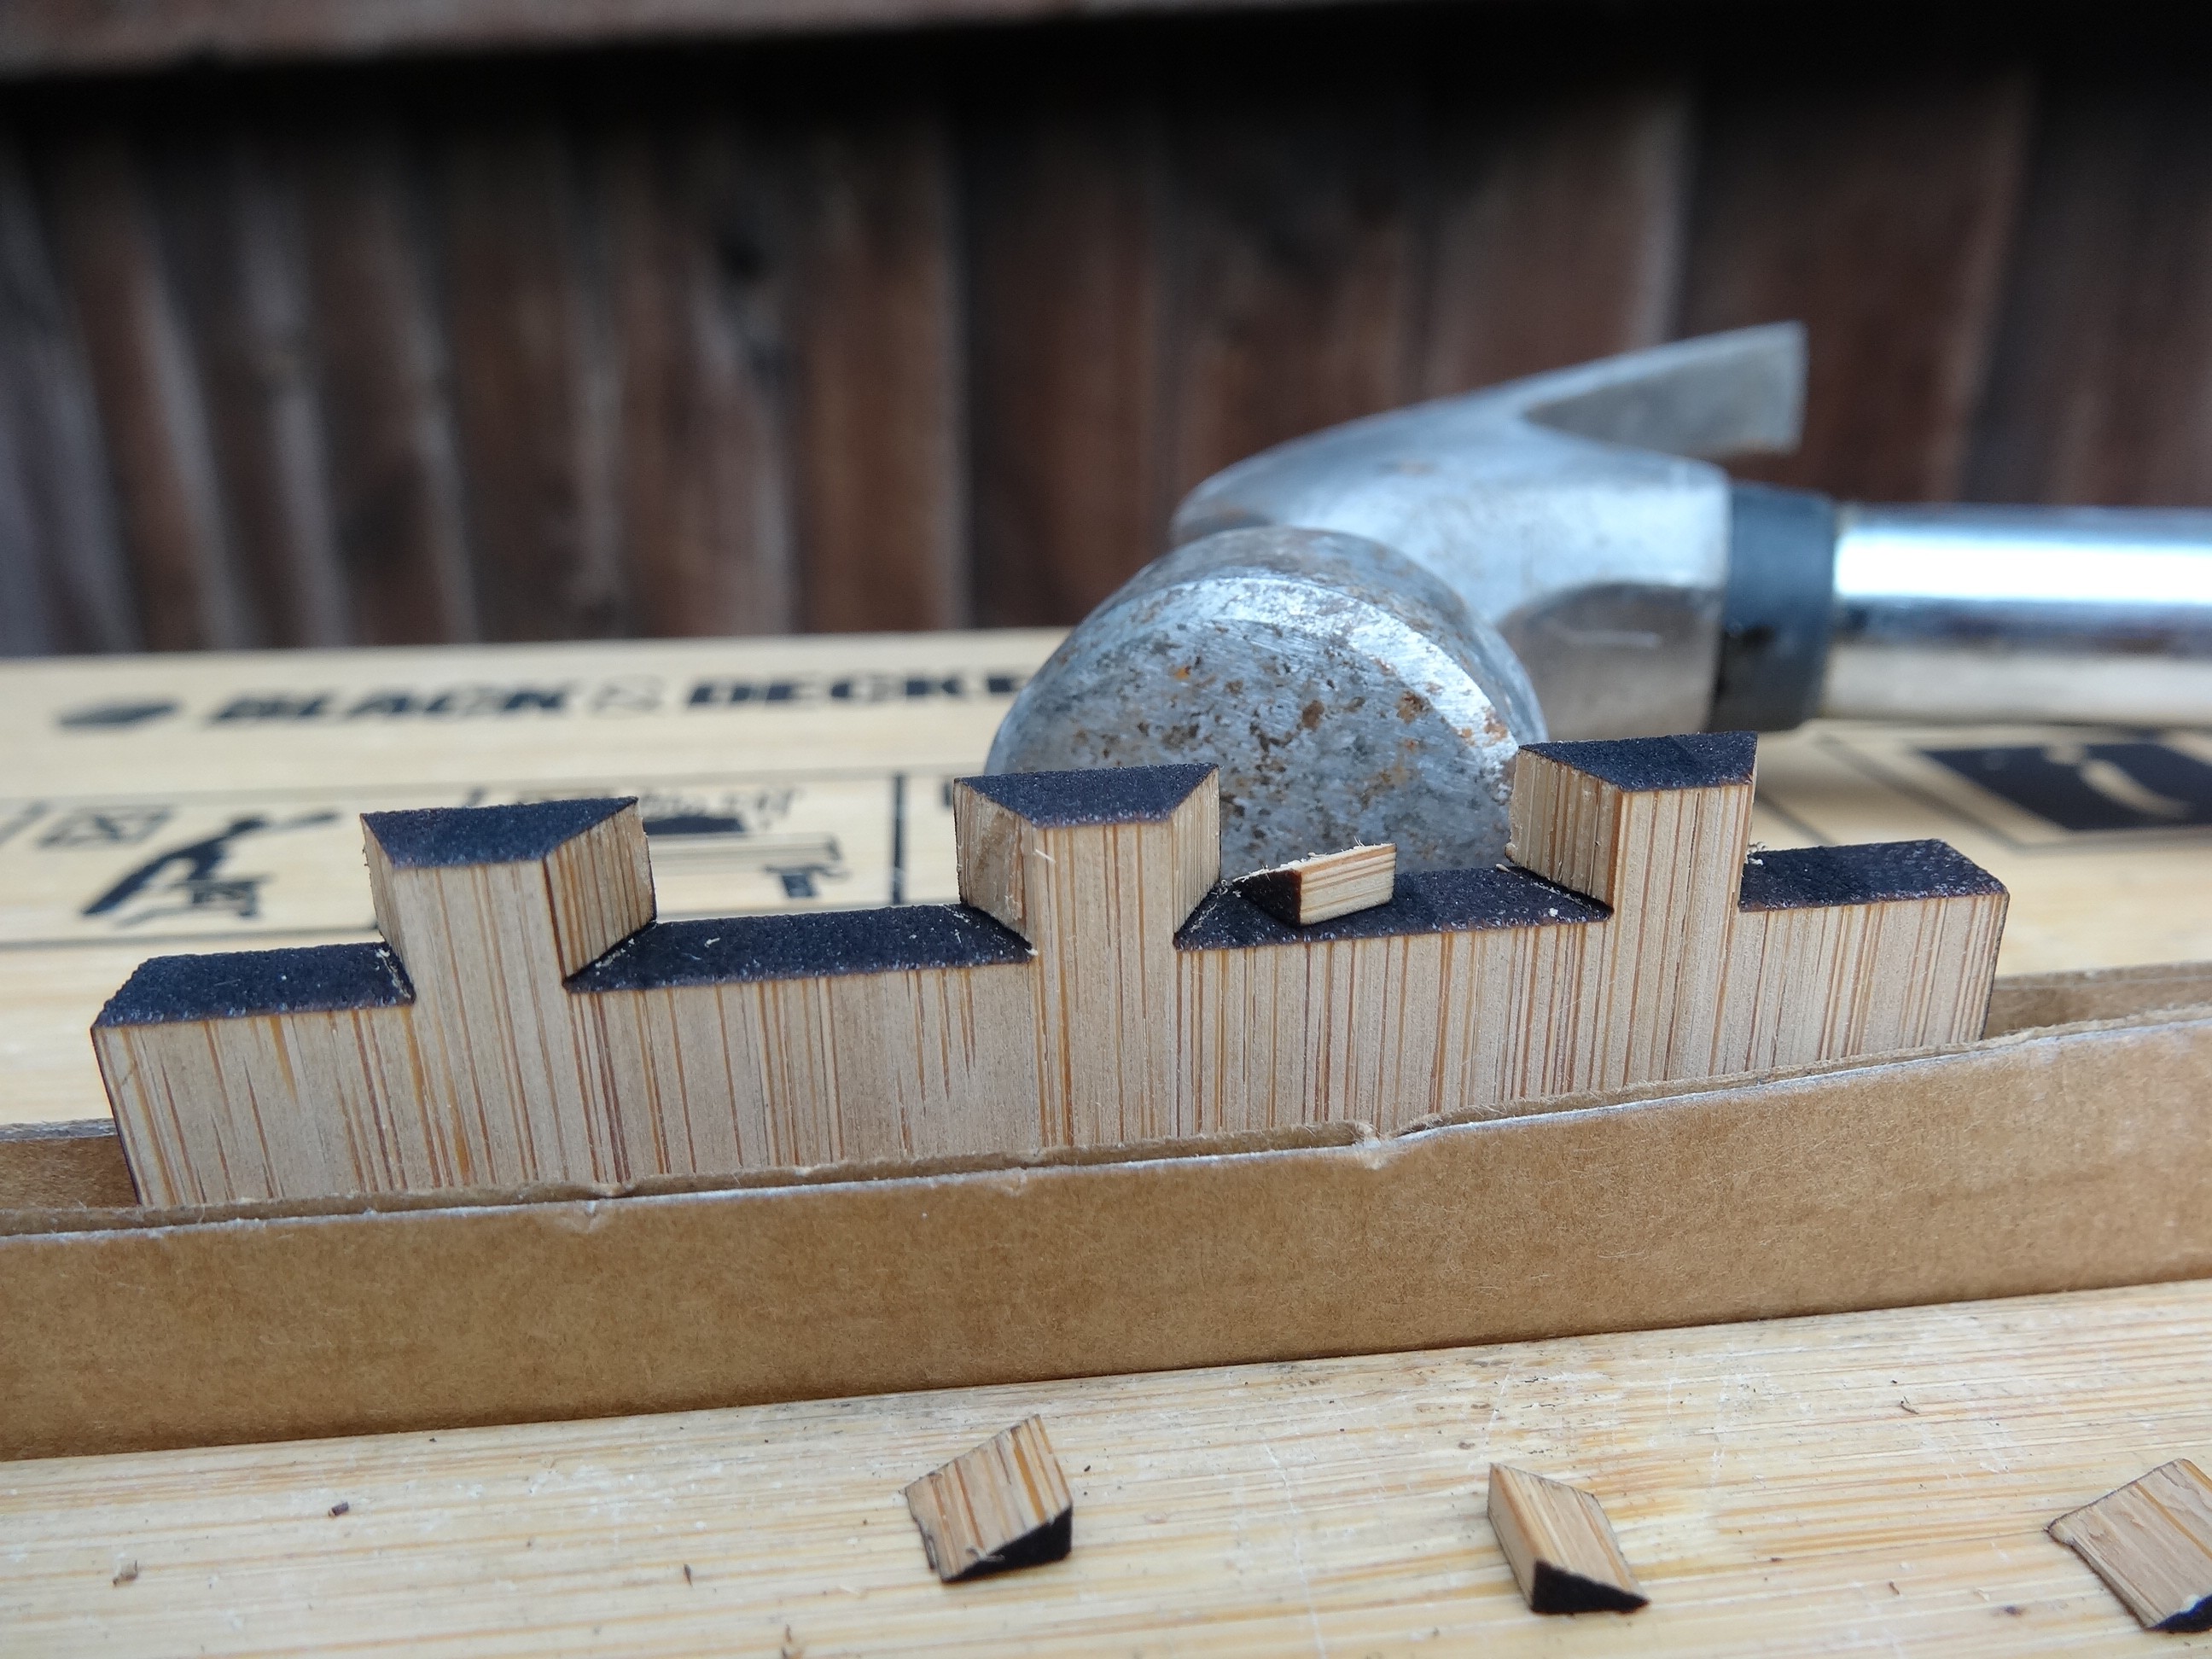
Once laser-cut, a chisel is used to split off small triangular pieces from the sides of the pins. The chisel blade goes from the guide line to the far corner. This is where some kind of grain is useful, the material cleaves fairly cleanly. The trick is to carefully align the blade, then hold it vertically and lightly tap.
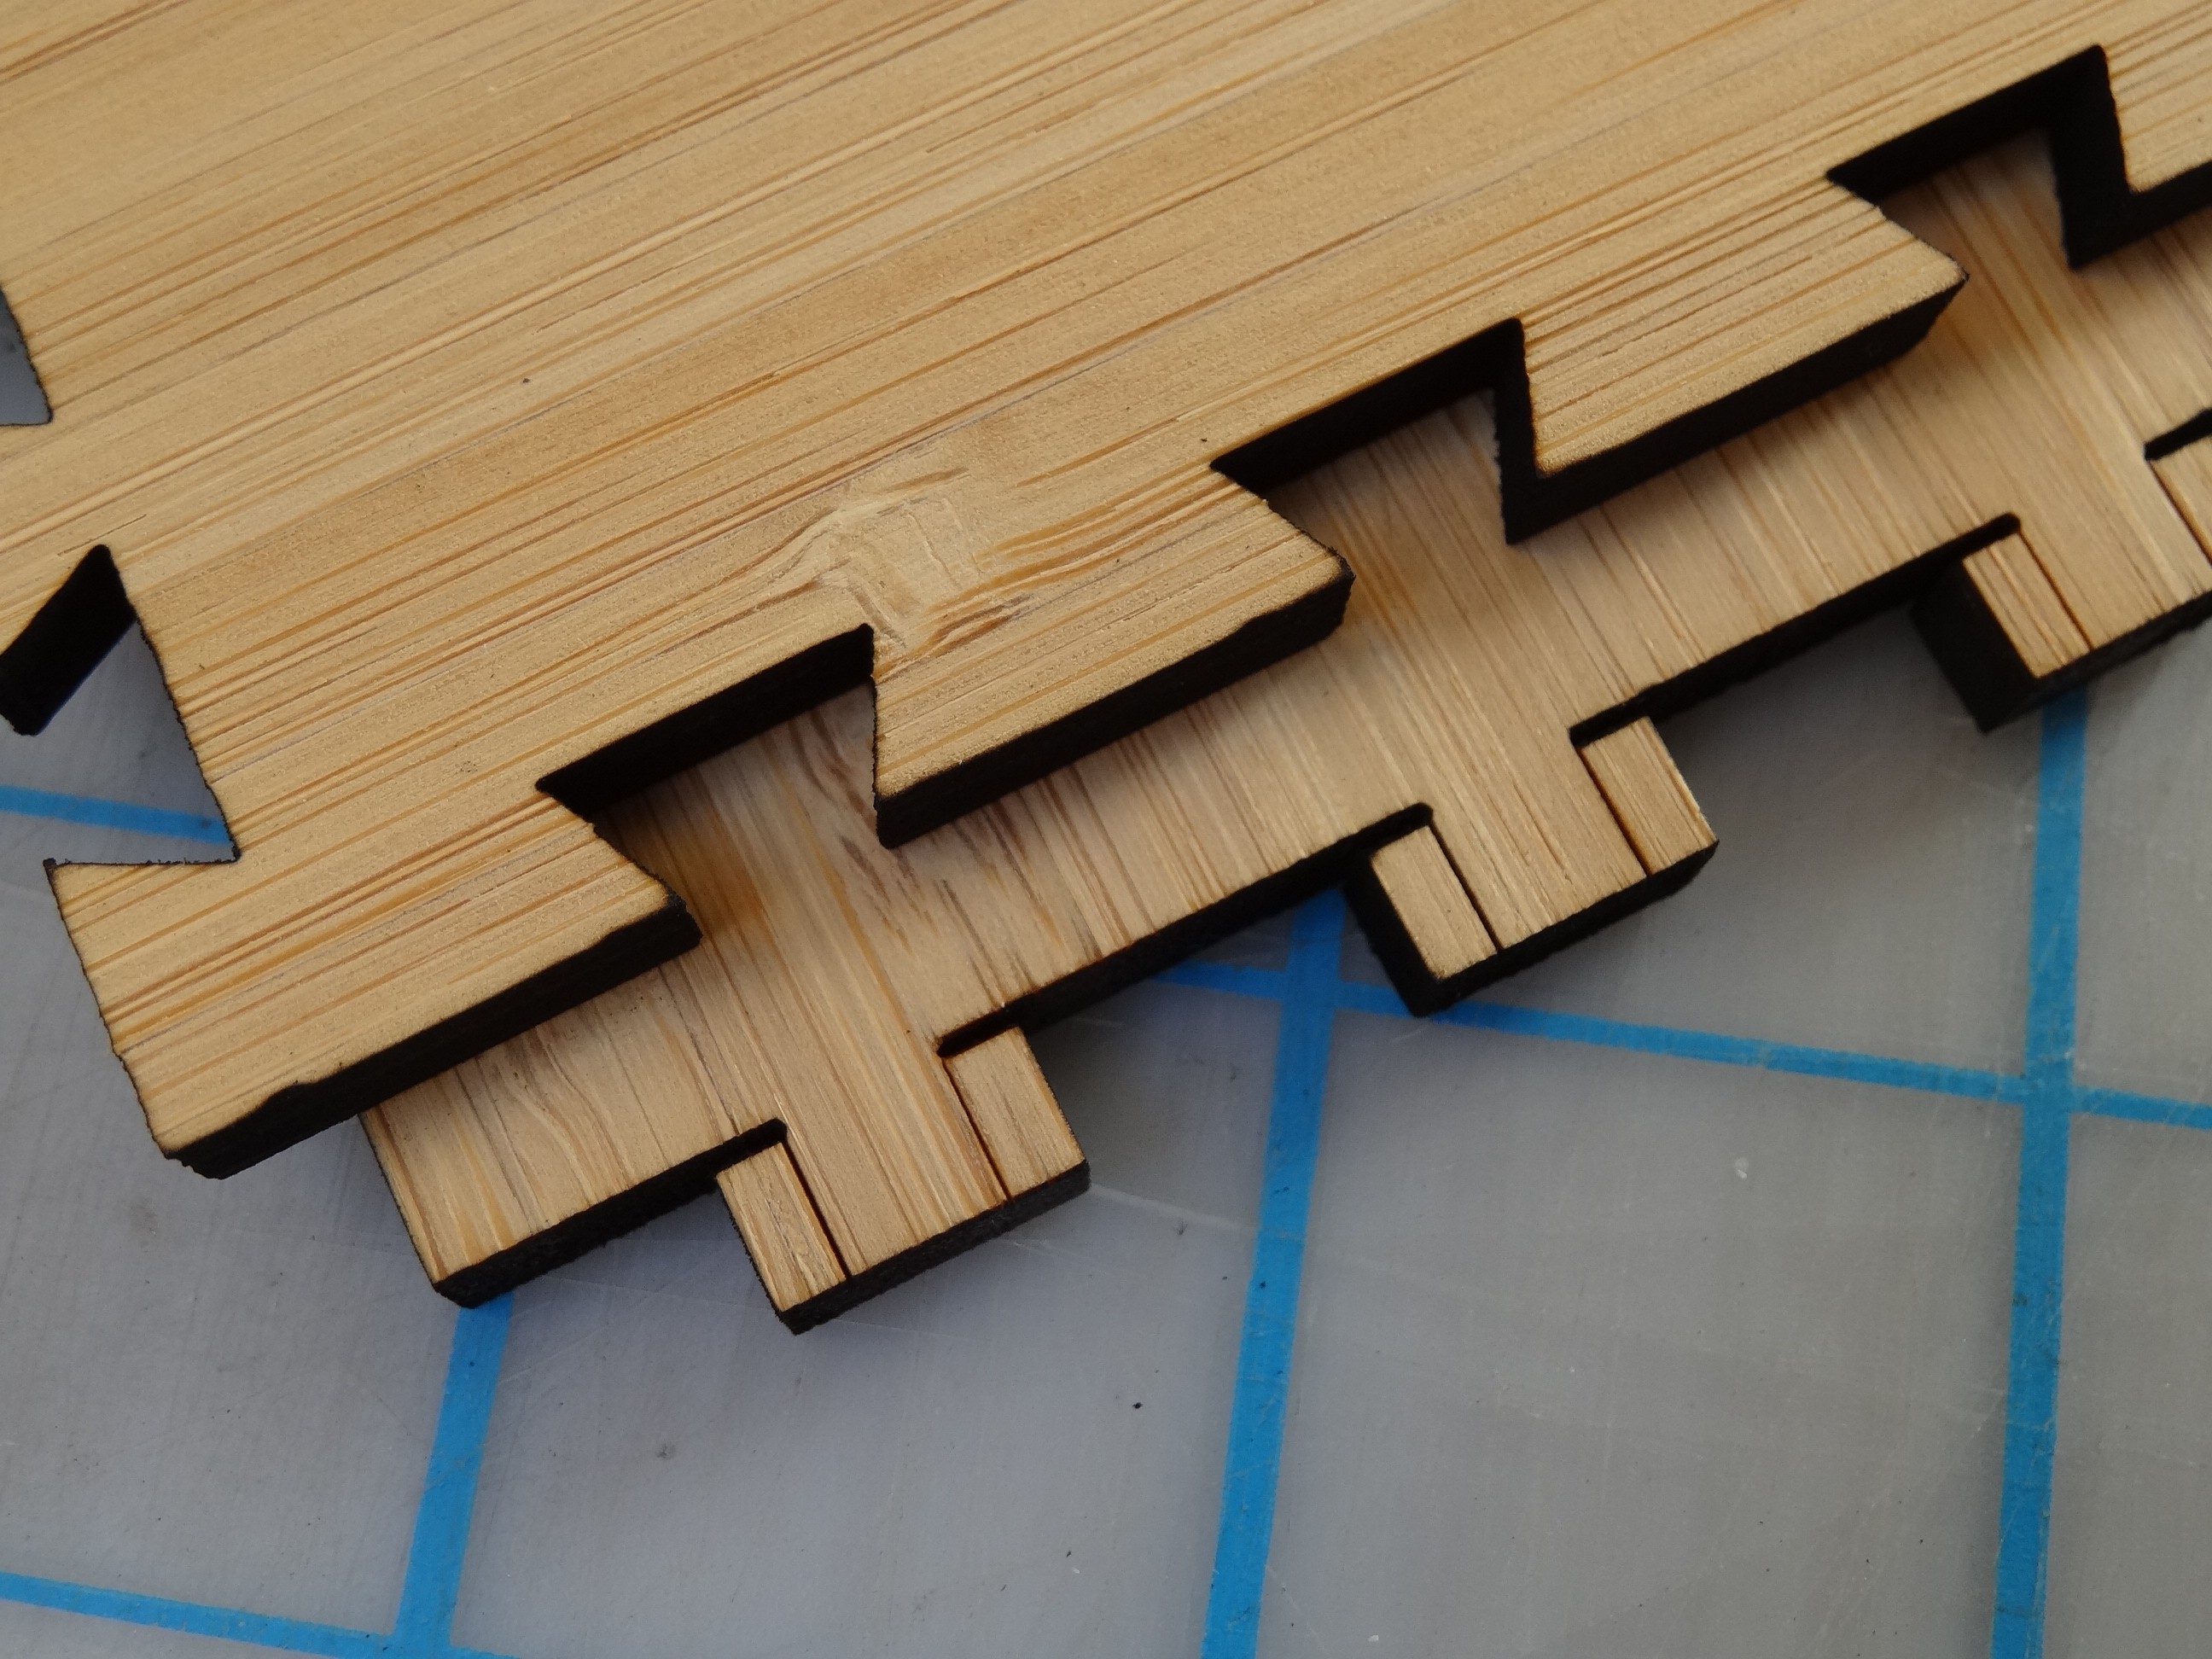
Test results (a simple box):
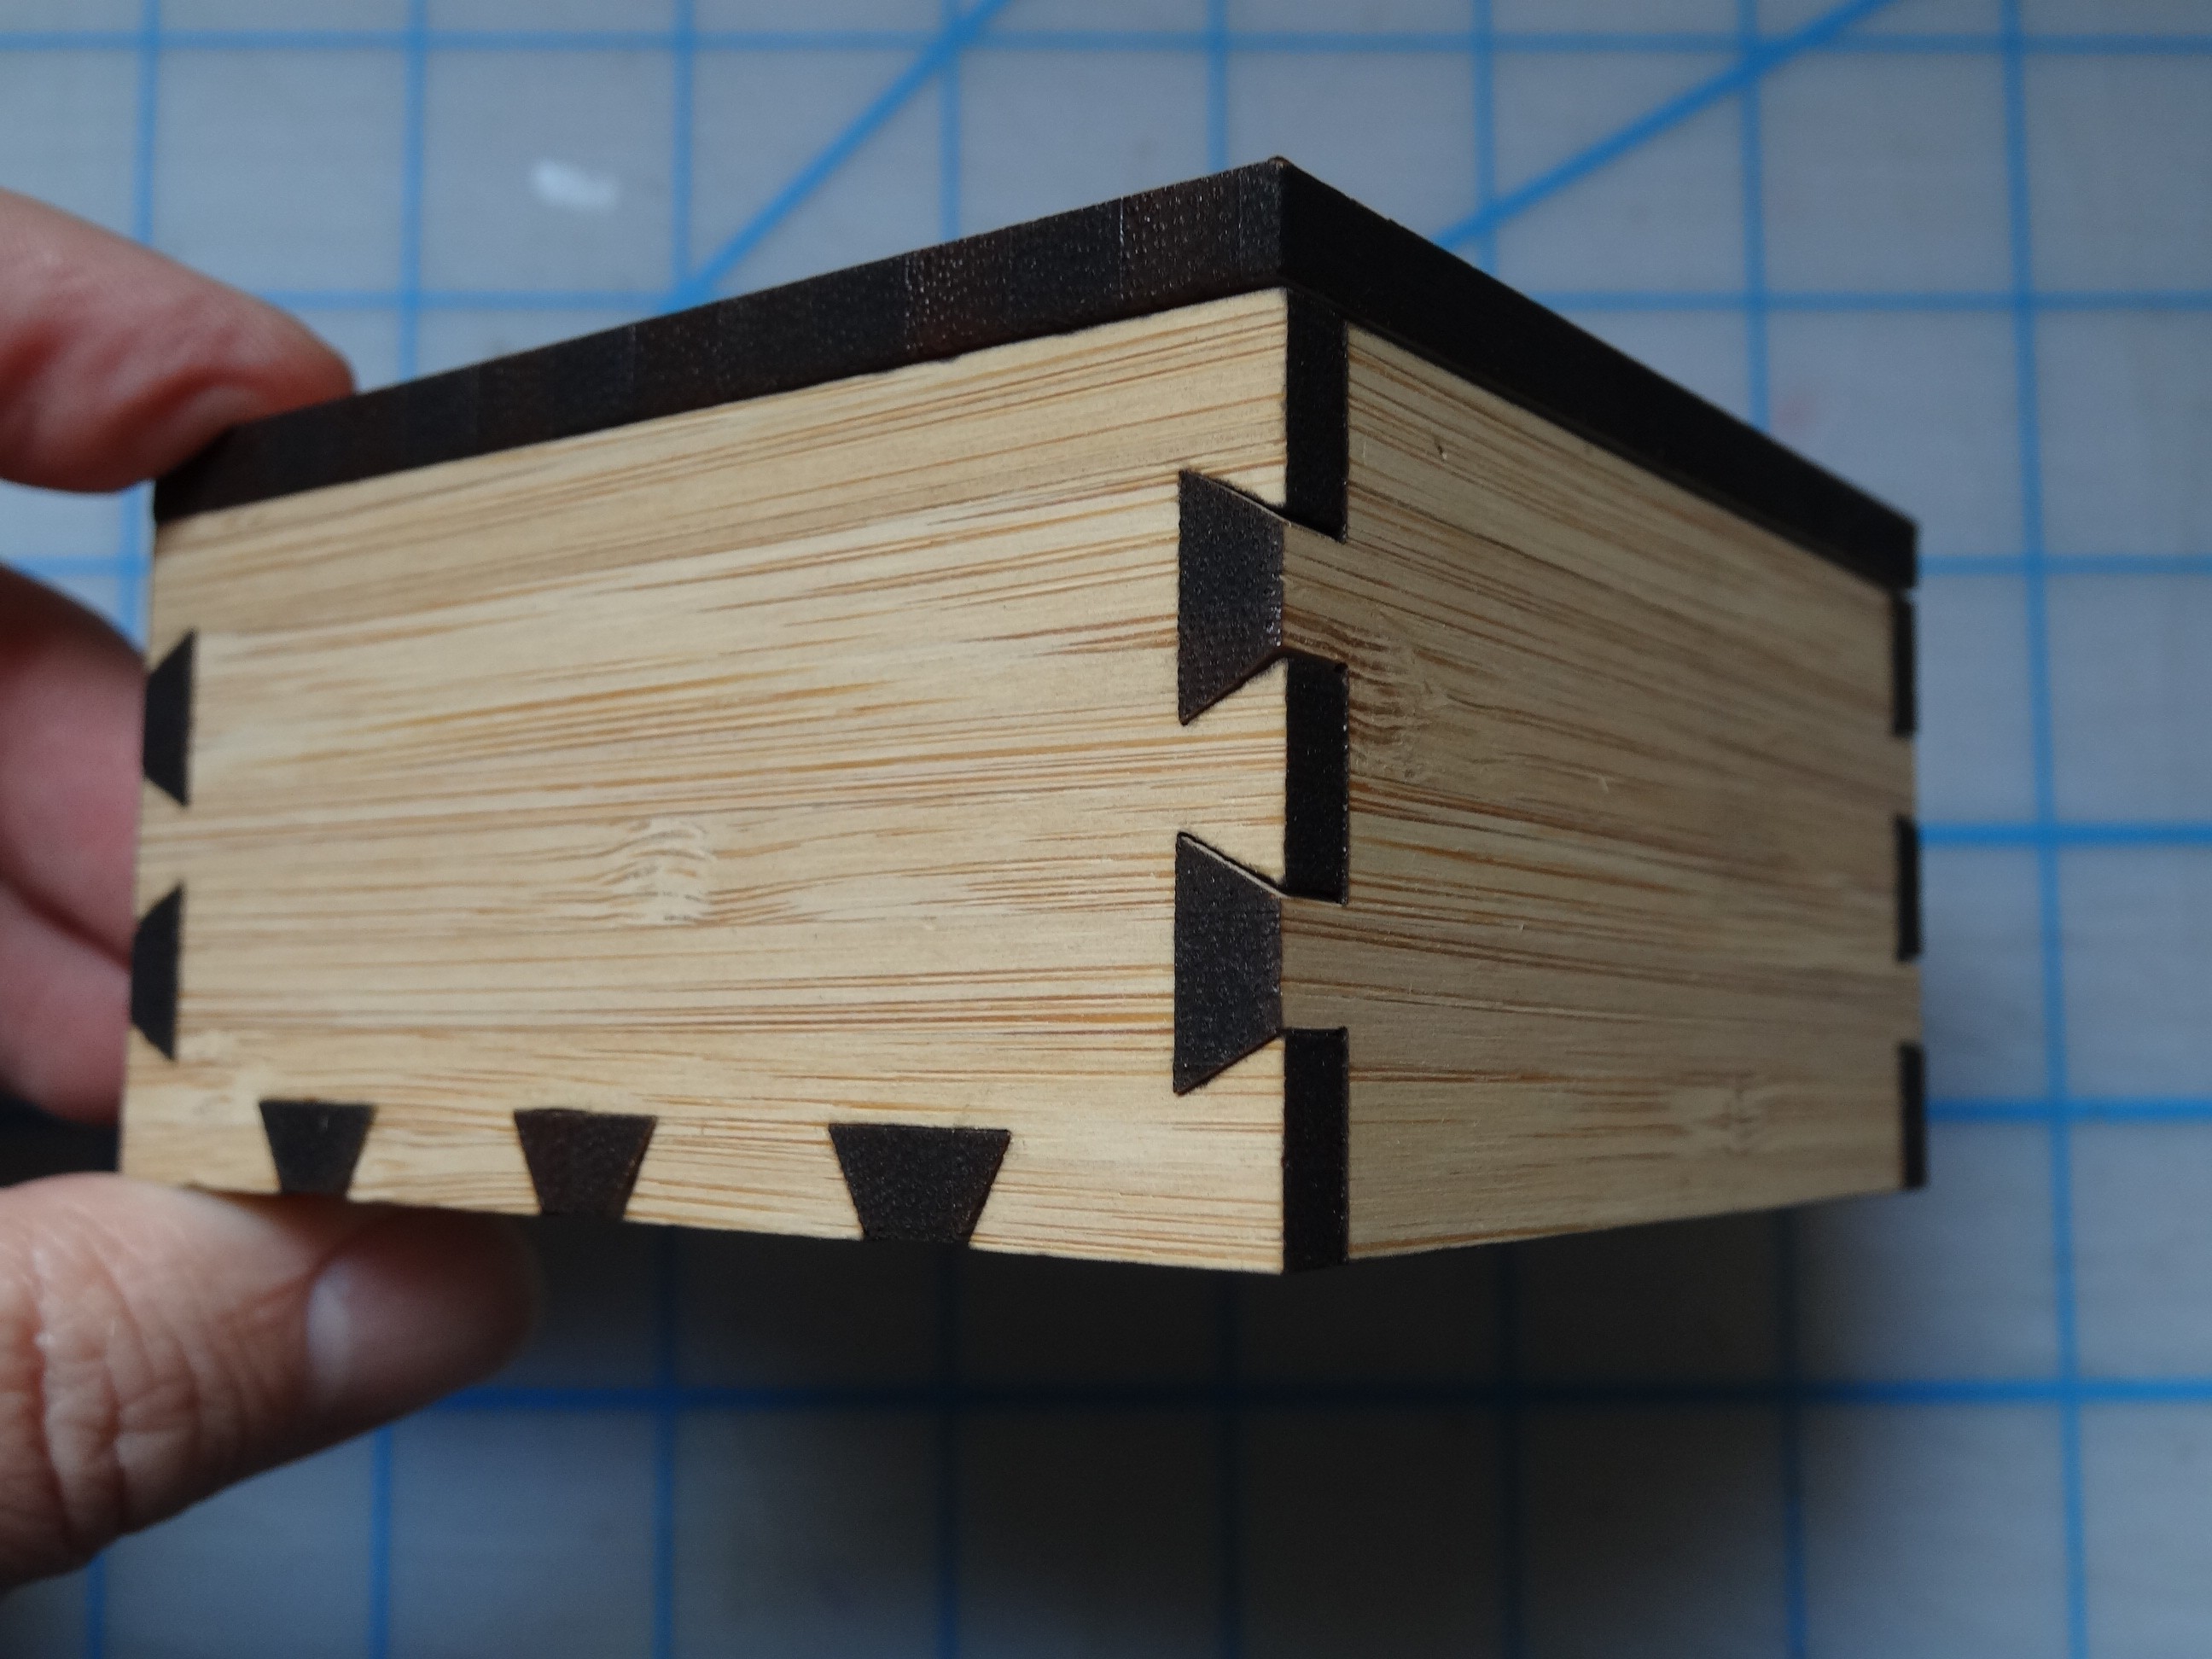
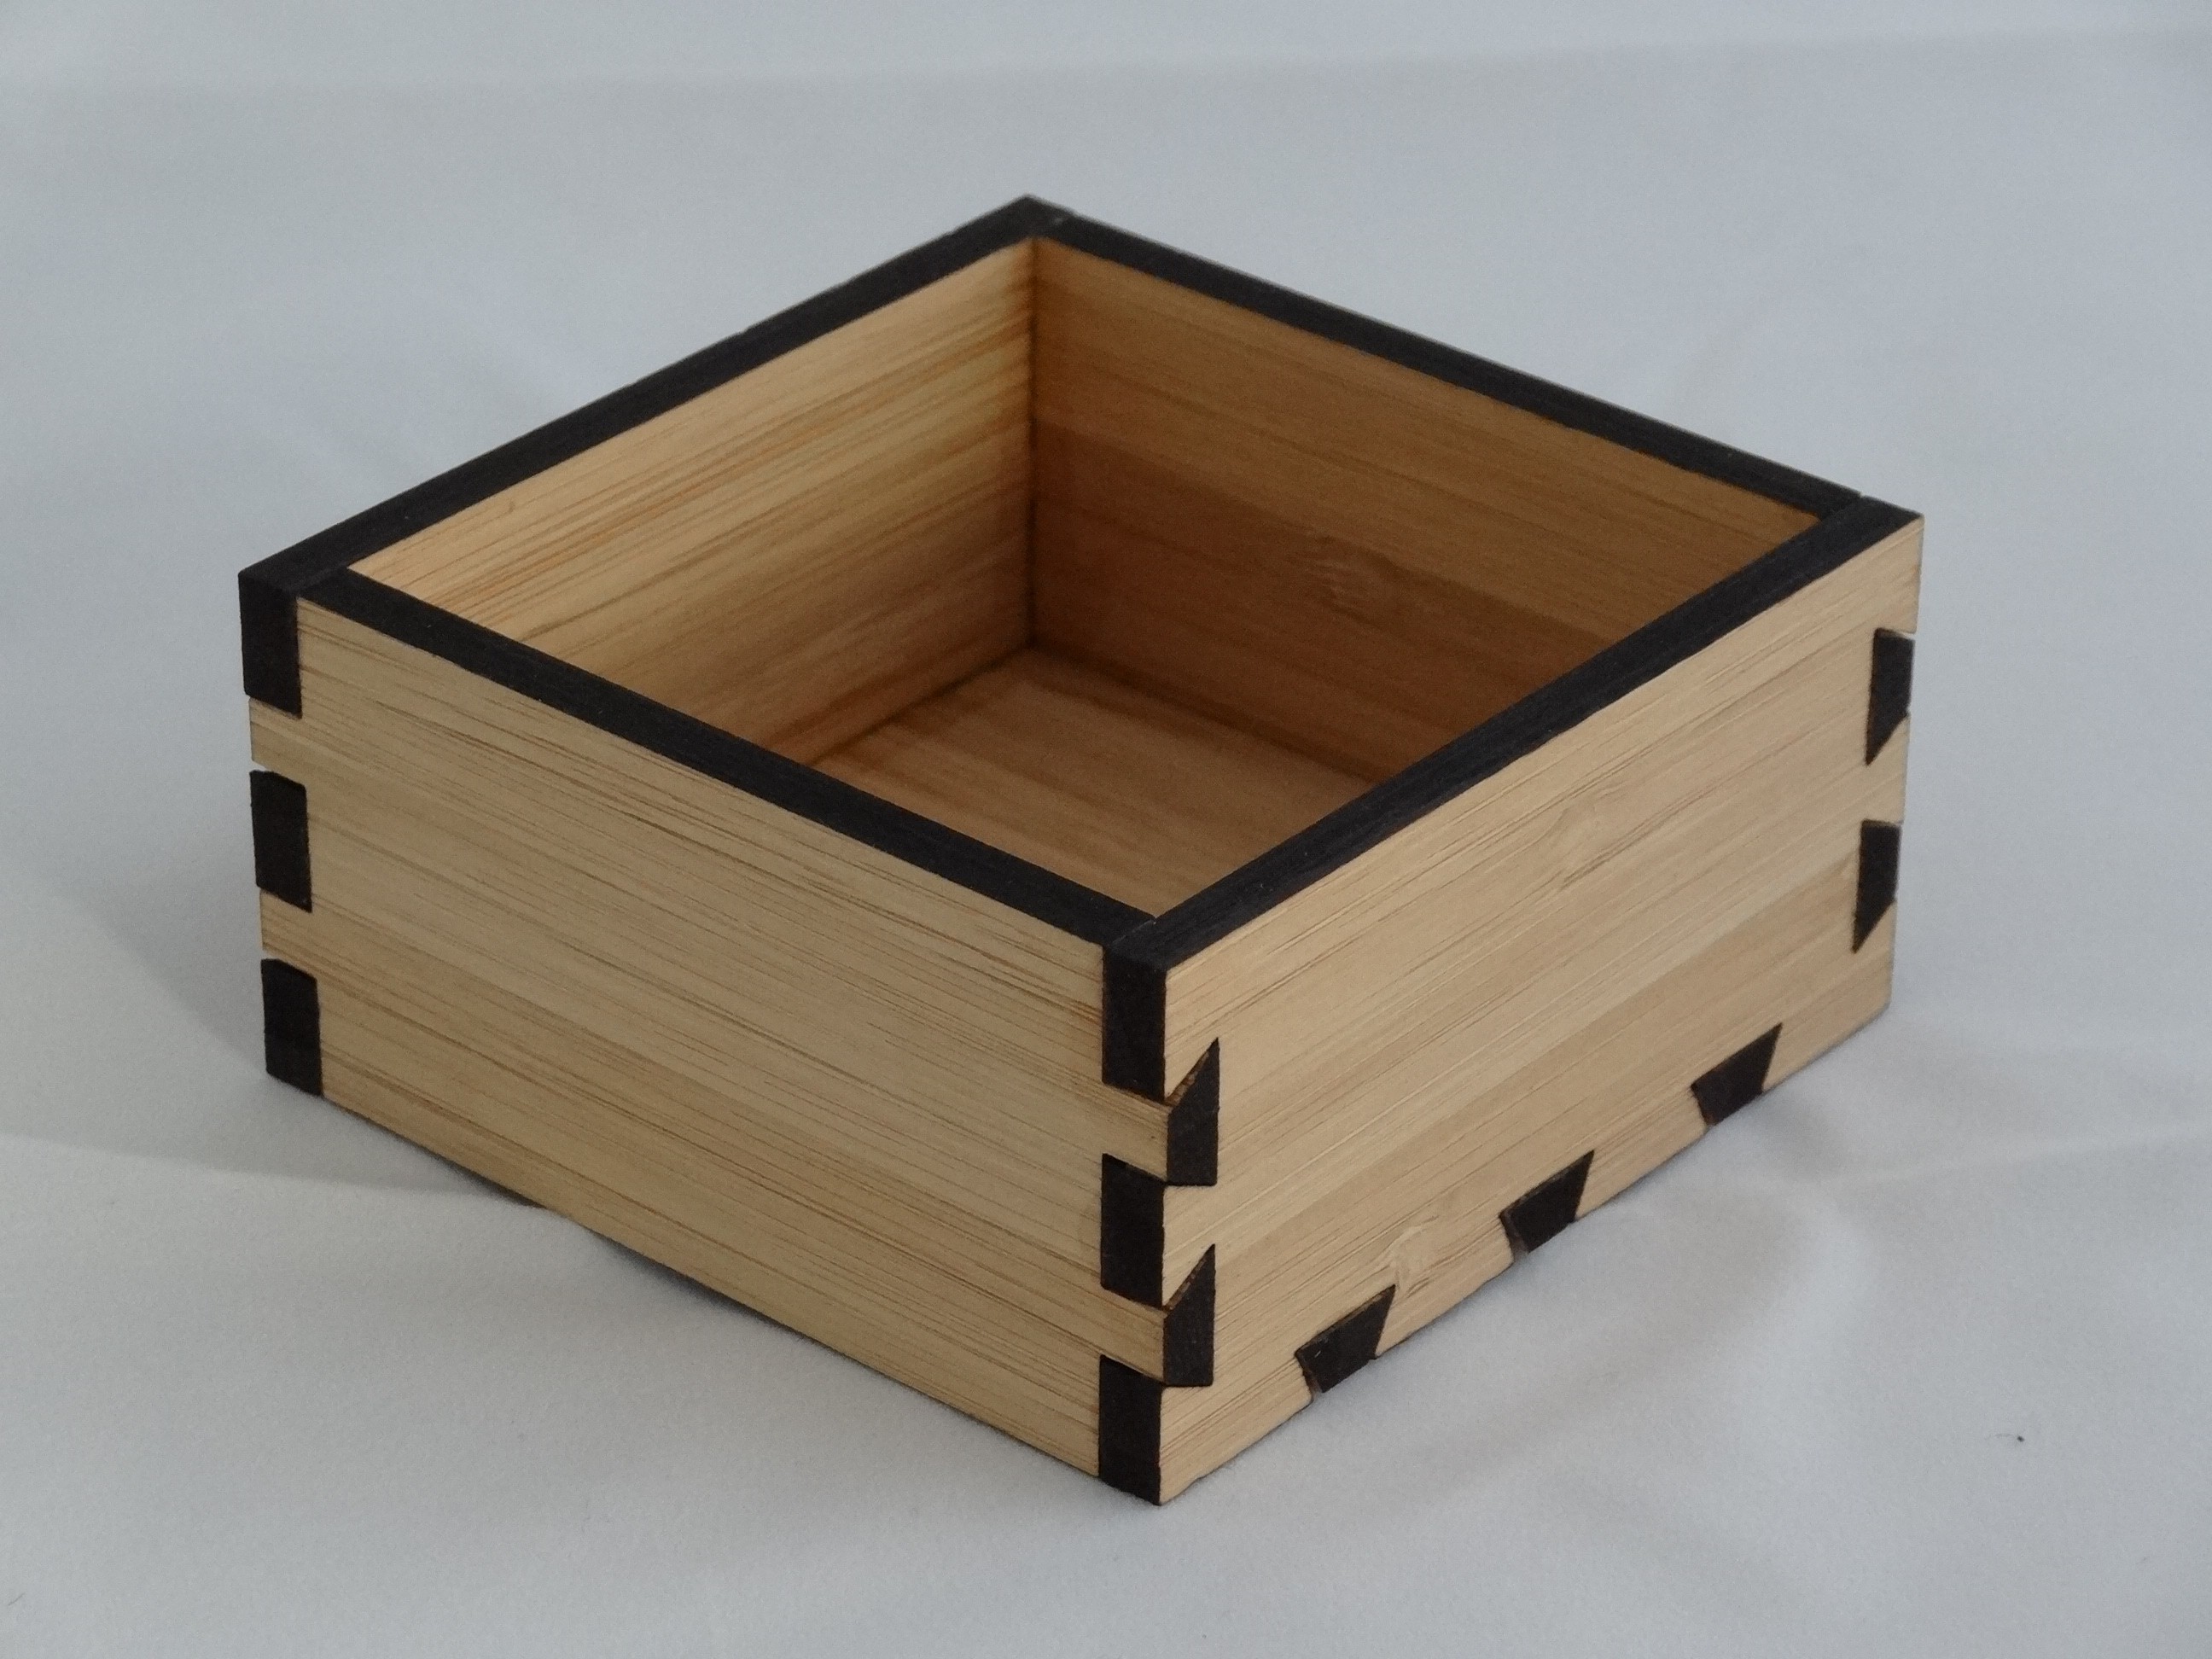
And the technique used for a Word Clock enclosure:
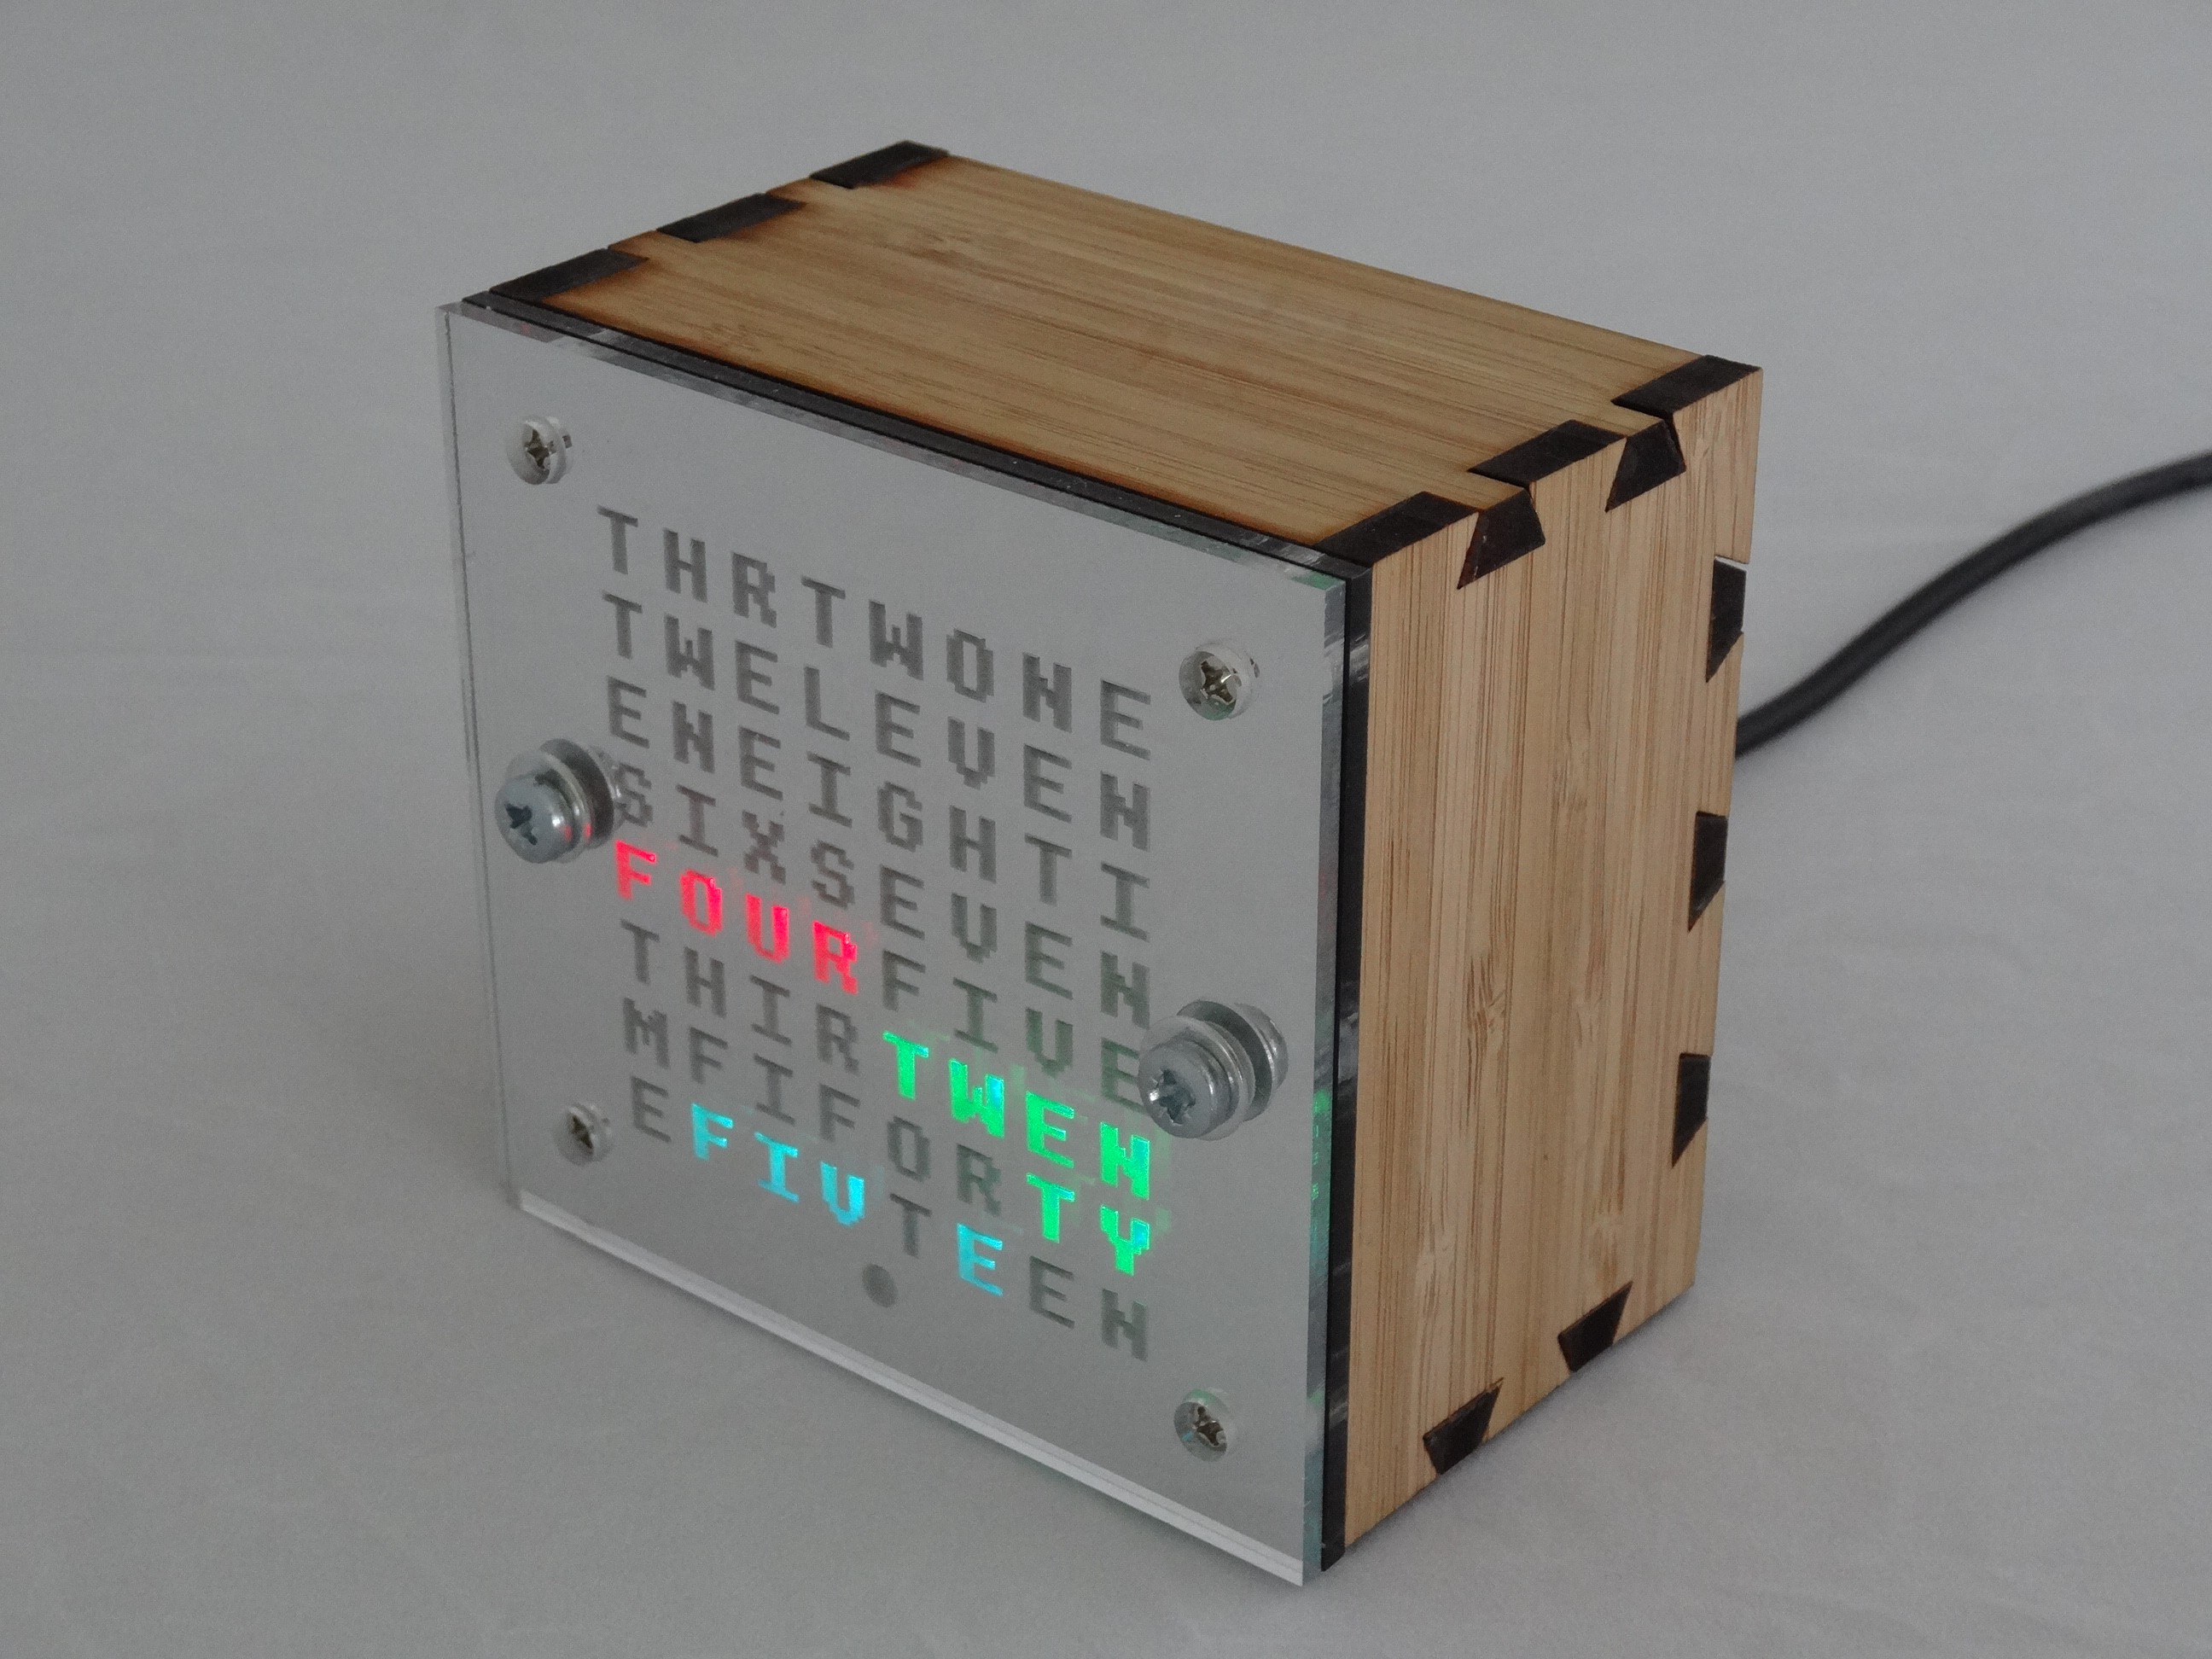
I used fairly beefy 6mm bamboo laminate. Other materials and thicknesses might work too, and less extreme angles.
I made no allowances for kerf and my chisel-tapping skills may not be perfect. More care would lead to better looking joints.
A further refinement I've not pursued is some kind of laser-cut jig to bolt across the piece to guide the chisel (kept it vertical etc).
 Mark Wilson



 Mark Langford
 Florian Festi
 Juan Noguera
 AndyMac
Excellent idea! Where did you get the clock faceplate and electronics to run it?