-
1Building a solar node
![]()
- Take the enclosure and remove the cover with a screwdriver
- Pass the big cable through the central cable gland as you face the enclosure with the cover removed and the cable glands at the top.
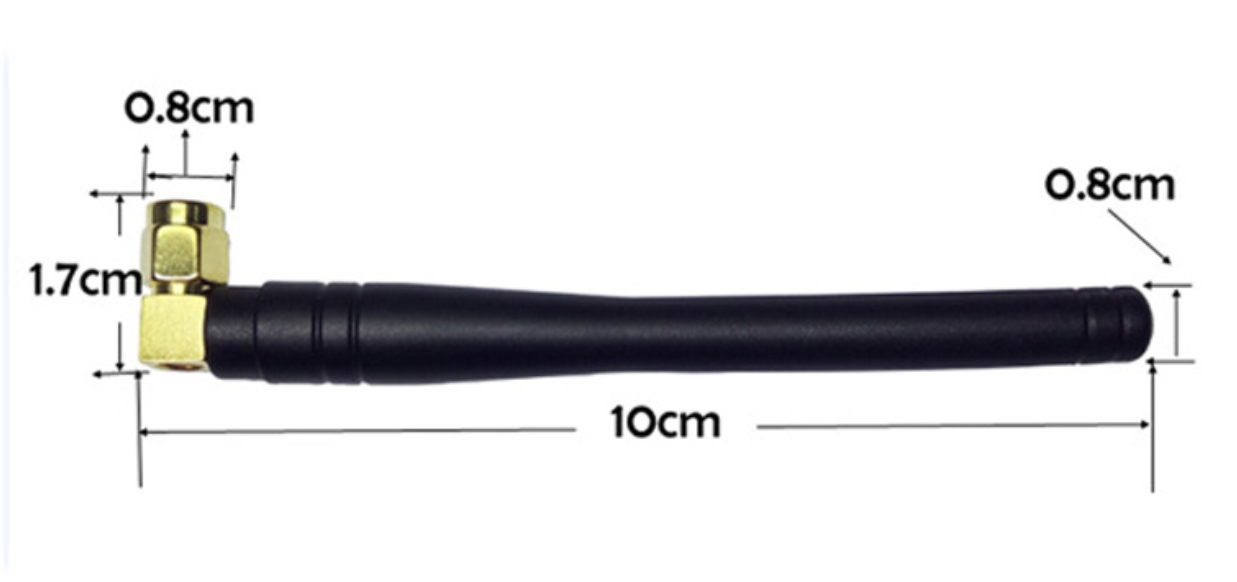
- Pass the short antenna through the right hand cable gland (this is unused, it's just to block the hole)
![]()
- Pass the long antenna through the left cable gland.
![]()
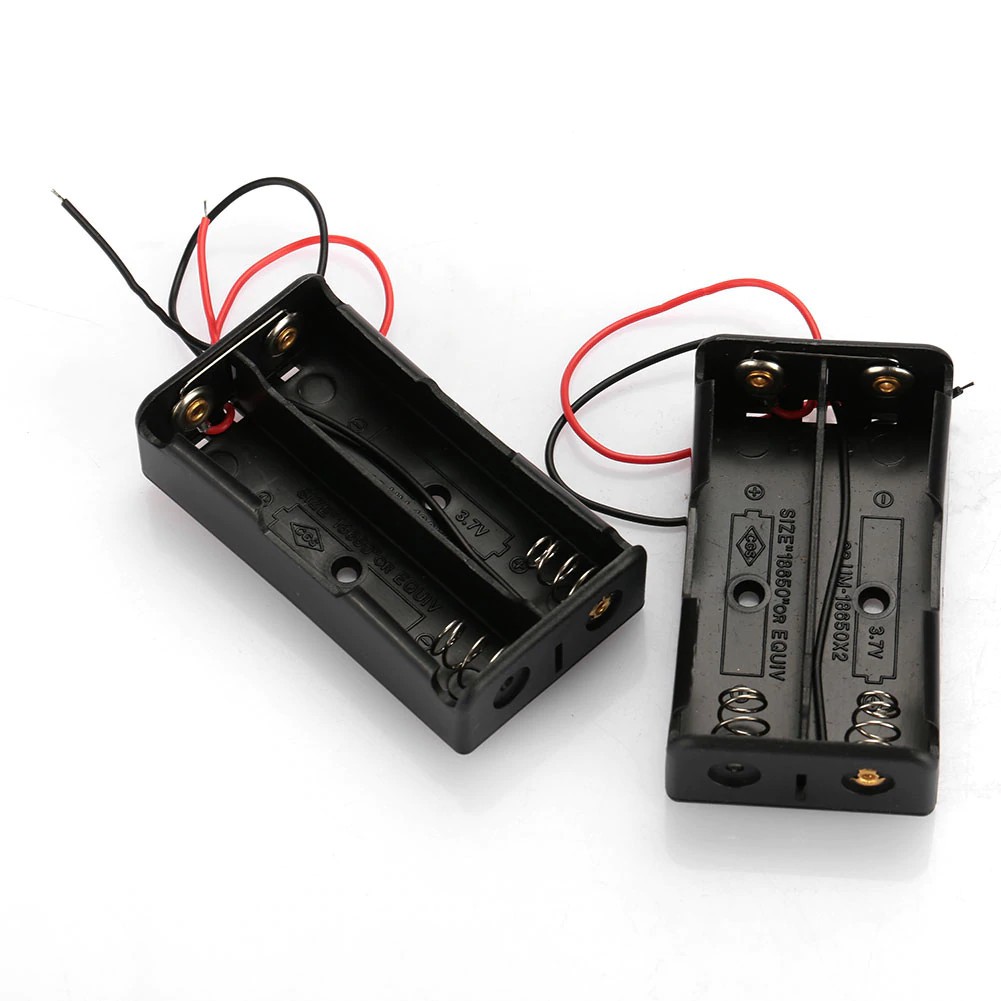
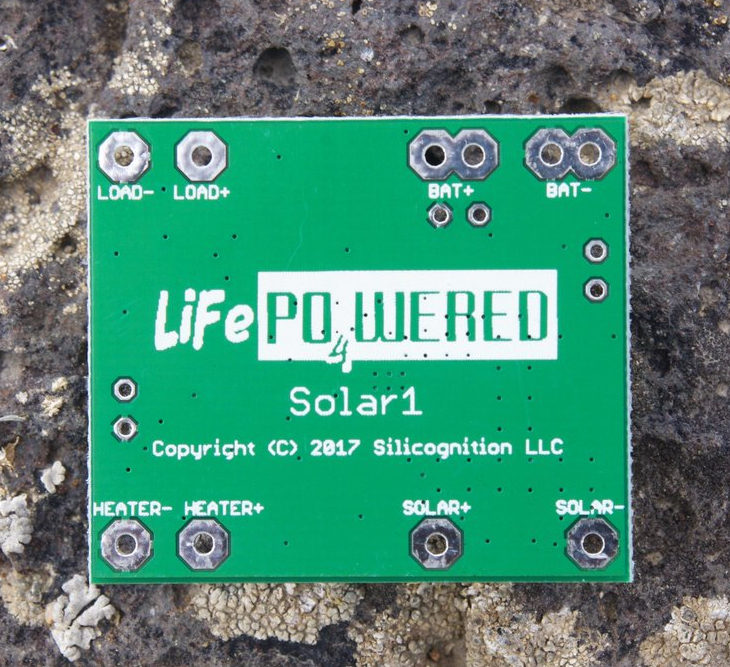
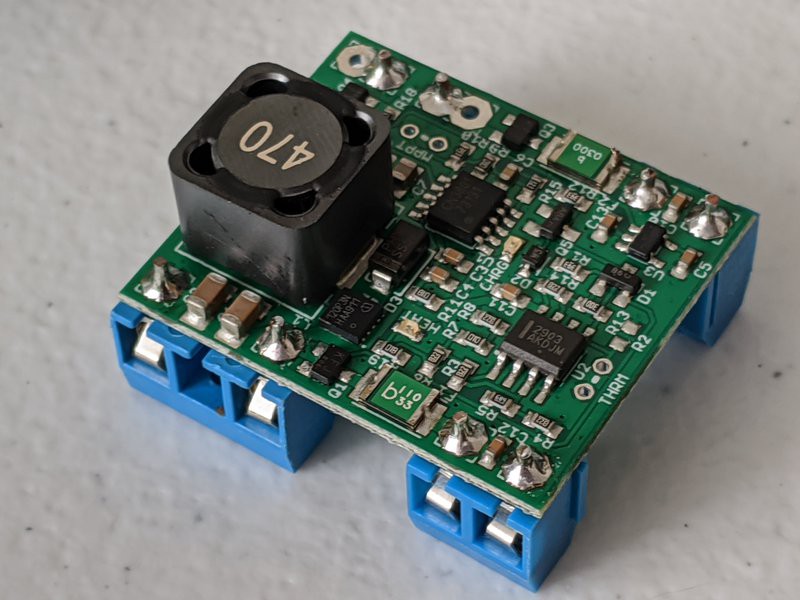
- Connect both the + (red) cables from the battery holders to the bat + terminal on the Solar1 charge controller
- Connect both the - (black) cables from the battery holders to the batt - terminal of the Solar1 charge controller.
![]()
![]()
- Insert the batteries into the holders
- Place the battery holders to the left of the enclosure. Secure with adhesive silicone.
- Connect the wires from the plug that came with the TTGO board to the + and - load output of the solar charge controller.
- Use a lump of silicone to attach the solar charge controller to the right-hand side of the enclosure.
- Connect the +/- wires from the large cable you passed through the cable gland to the +/- terminals on the solar charge controller.
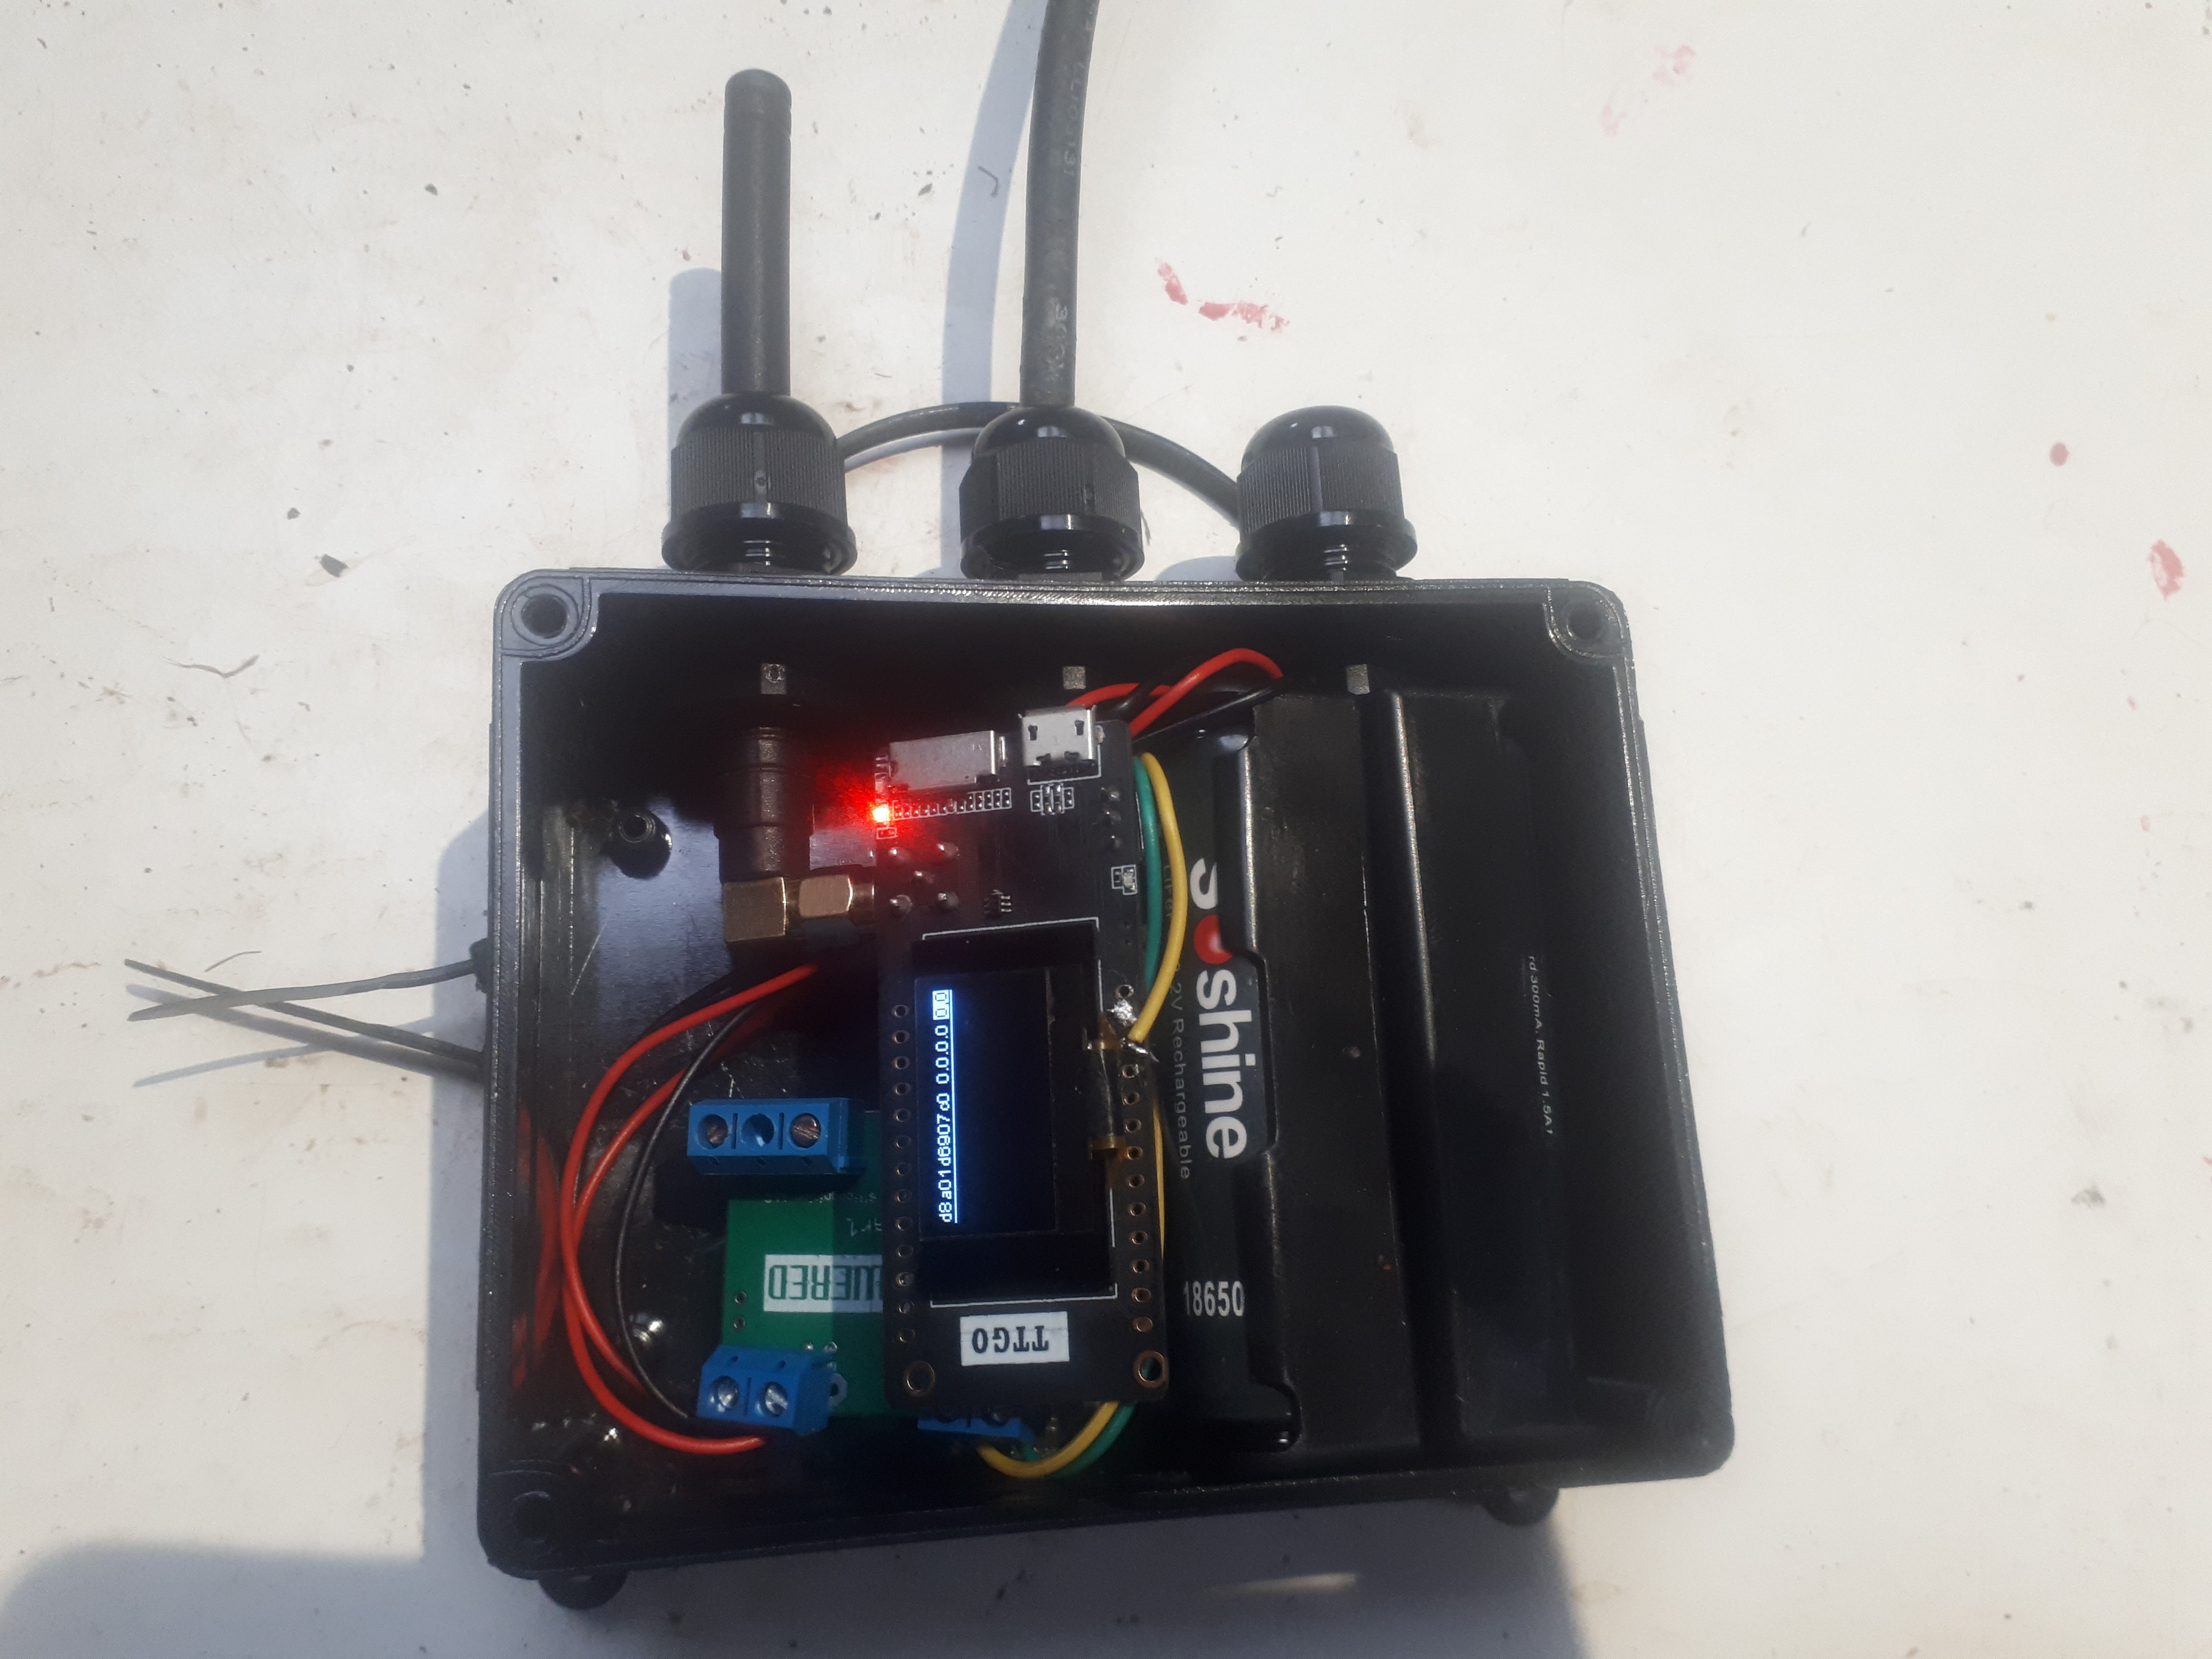
- Connect the plug to the TTGO dev board.
- Screw the TTGO dev board to the long antenna. Spin so it does not foul the lid.
- Check that the screen on the dev board is showing some information
- Tighten the cable glands
![]()
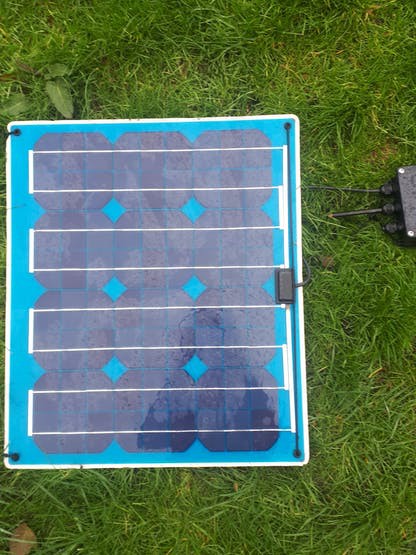
- Attach the 10w or 20w solar panel to the cable you have passed through the cable gland.
![]()
- Put the solar panel in the sun.
- Connect to the Wifi network that has been created and visit 192.168.4.1 in a browser, or launch the Android app and connect to Bluetooth if you have re-flashed the device.
Portable node
It should be possible to make a portable node from this box and this power bank but this is untested.
Disaster Radio - LoRa Mesh
A disaster-resilient communications network powered by the sun
 Samuk
Samuk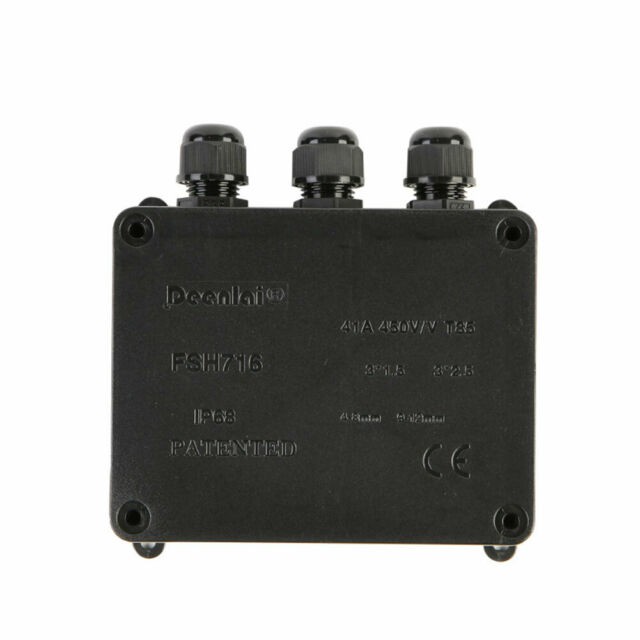
Discussions
Become a Hackaday.io Member
Create an account to leave a comment. Already have an account? Log In.