-
Into production...
02/03/2024 at 18:19 • 0 commentsWell, the last revisions to the PCB set have been made, and on Monday everything should have arrived so we can make the first 50 kits for daring beta-testers! But it will then still take a week for the packed-up kits to arrive at the fulfillment service we started to use to cut down on shipping costs...
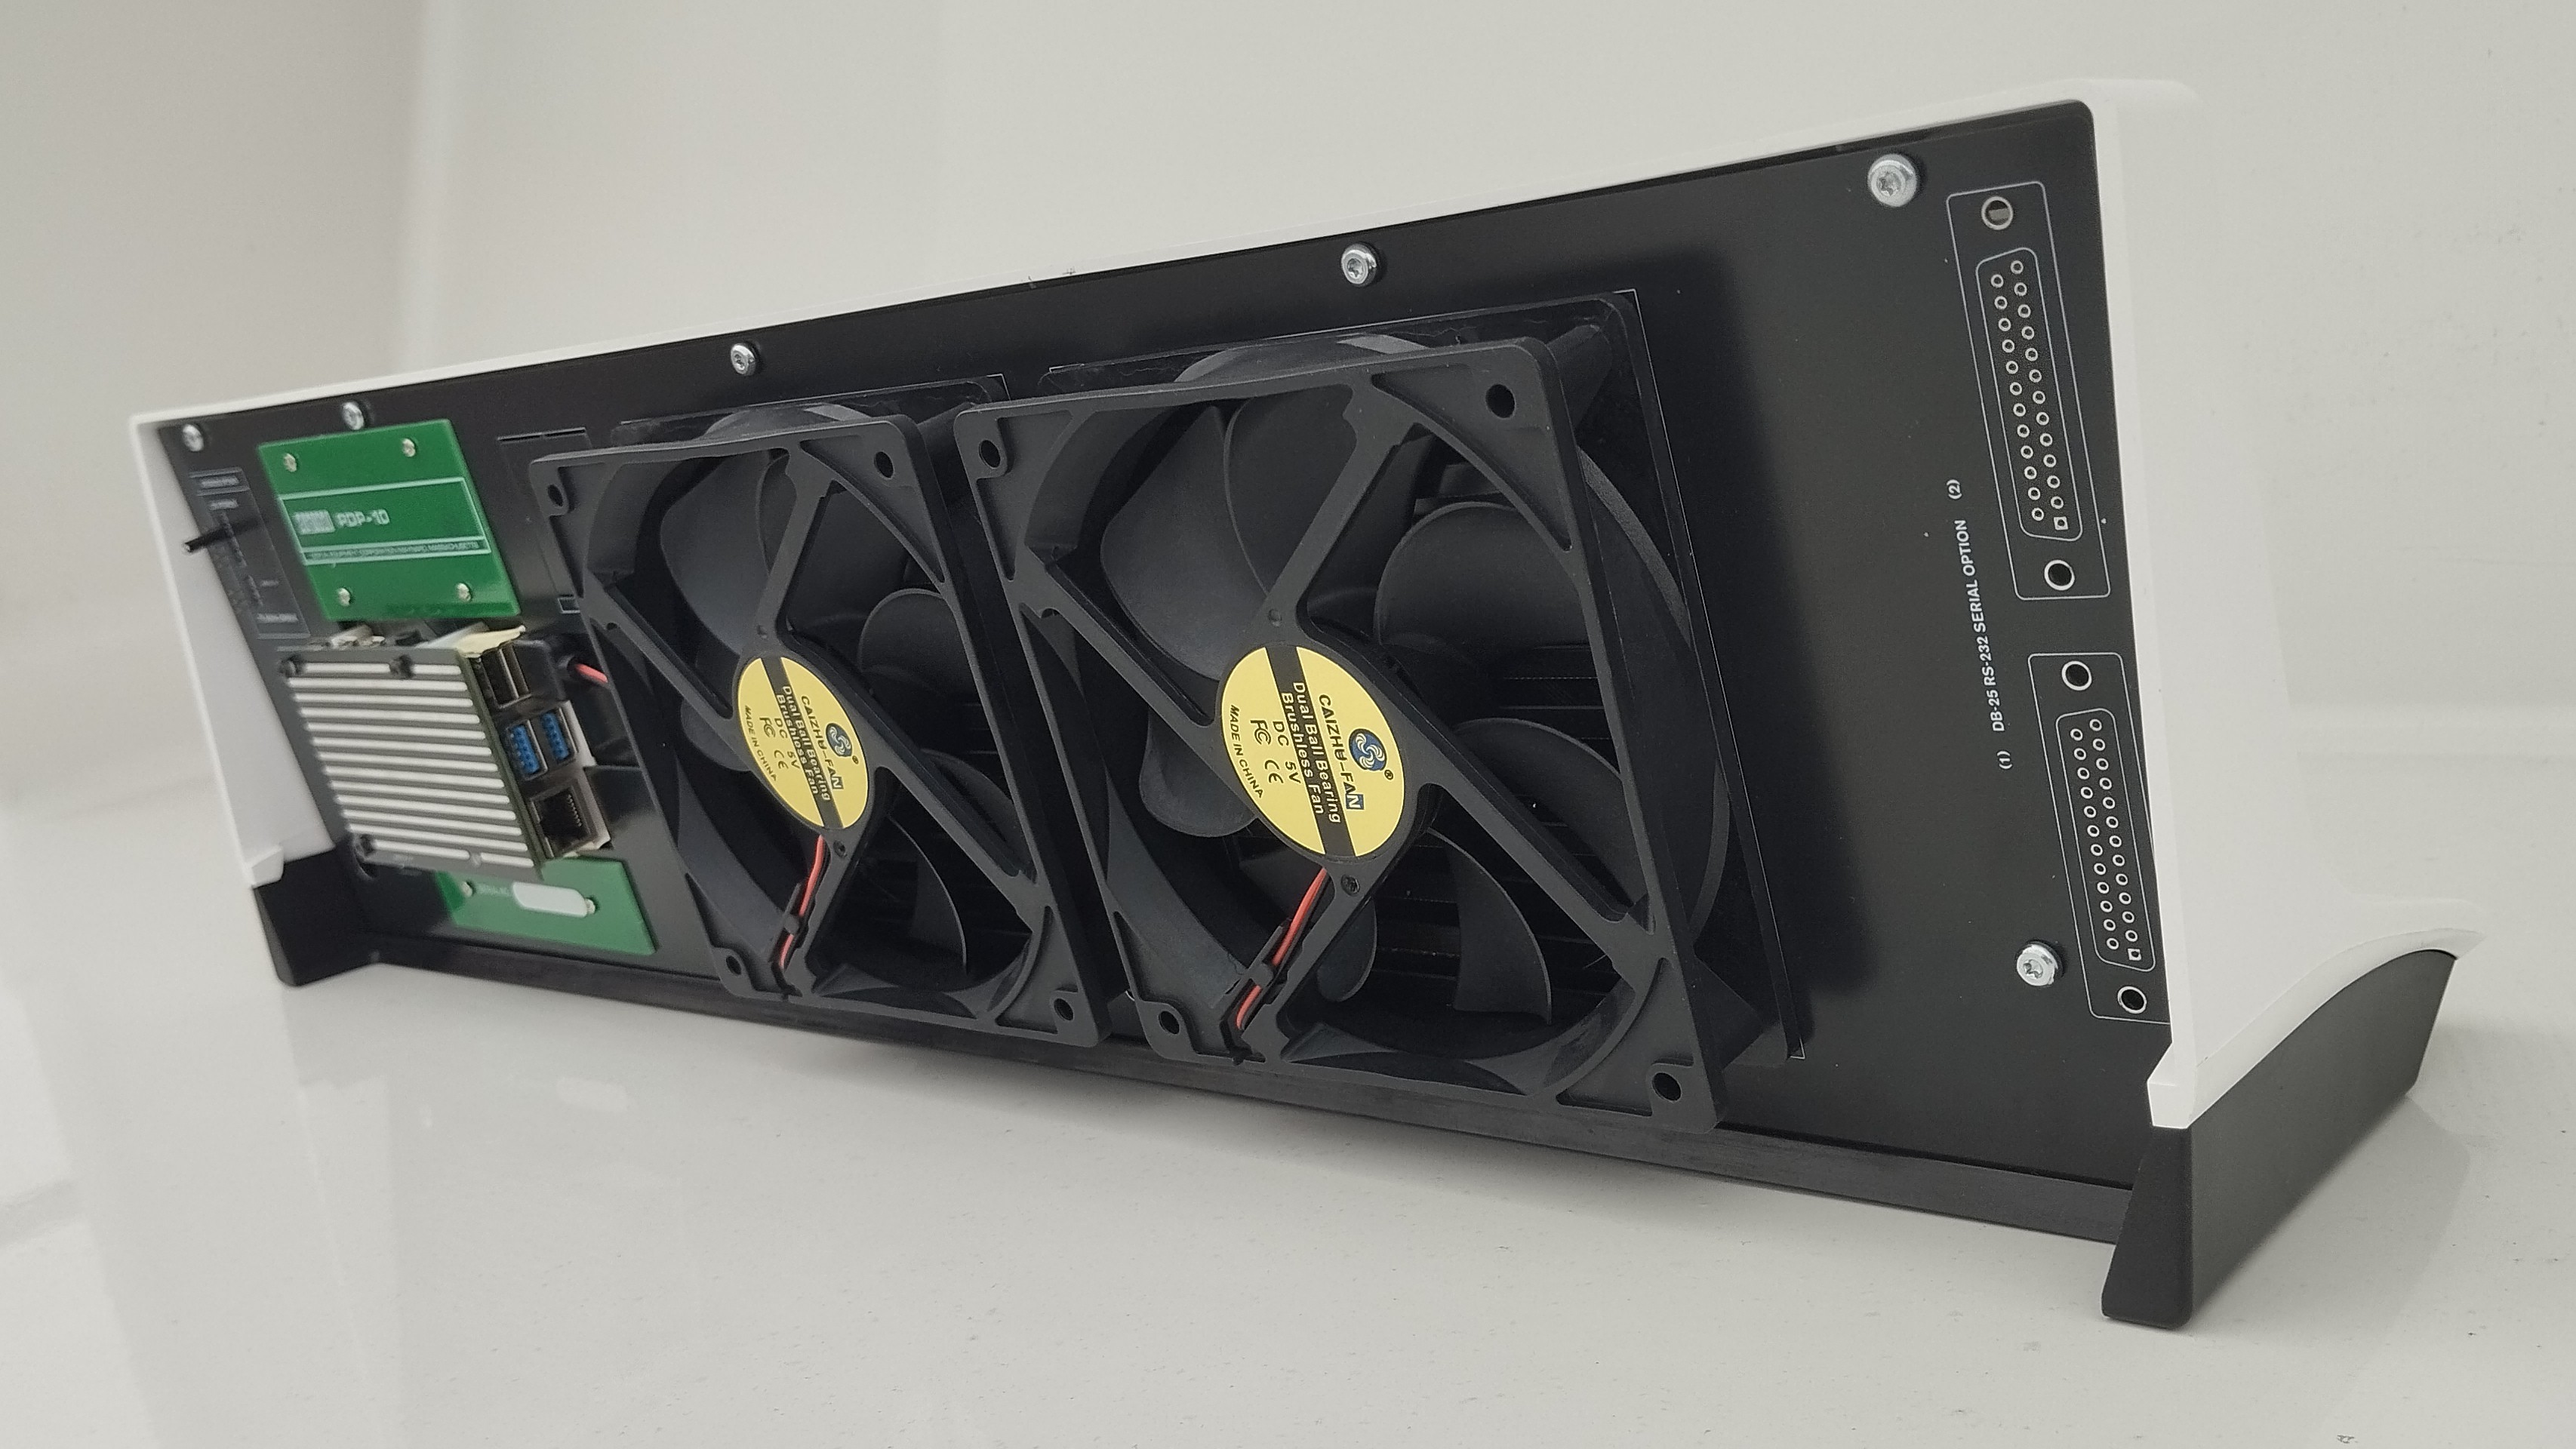
I spent the last couple of weeks on a seeming trivia: sound design. I want the PiDP-10 to give as much of a mainframe feeling as can be done in a desktop replica - a special ventilator raster in the back panel now gives a soft but - mainframish? - hum:
![]()
The fans are strictly optional, but with the arrival of the Raspberry Pi 5 that most people will mount inside, air flow is no longer completely unimportant. All the air that the fans suck out of the machine has to get in first, around the Pi. The main PCB behind the Pi also has some air vents.
But now - we await the container with PiDP-10 cases on Monday. It's been a long wait; this project page started in 2018. Just the injection mold cost us 18 months to finish. Ouch! But, I think it'll be worth it :-)
-
Done! (Mostly)
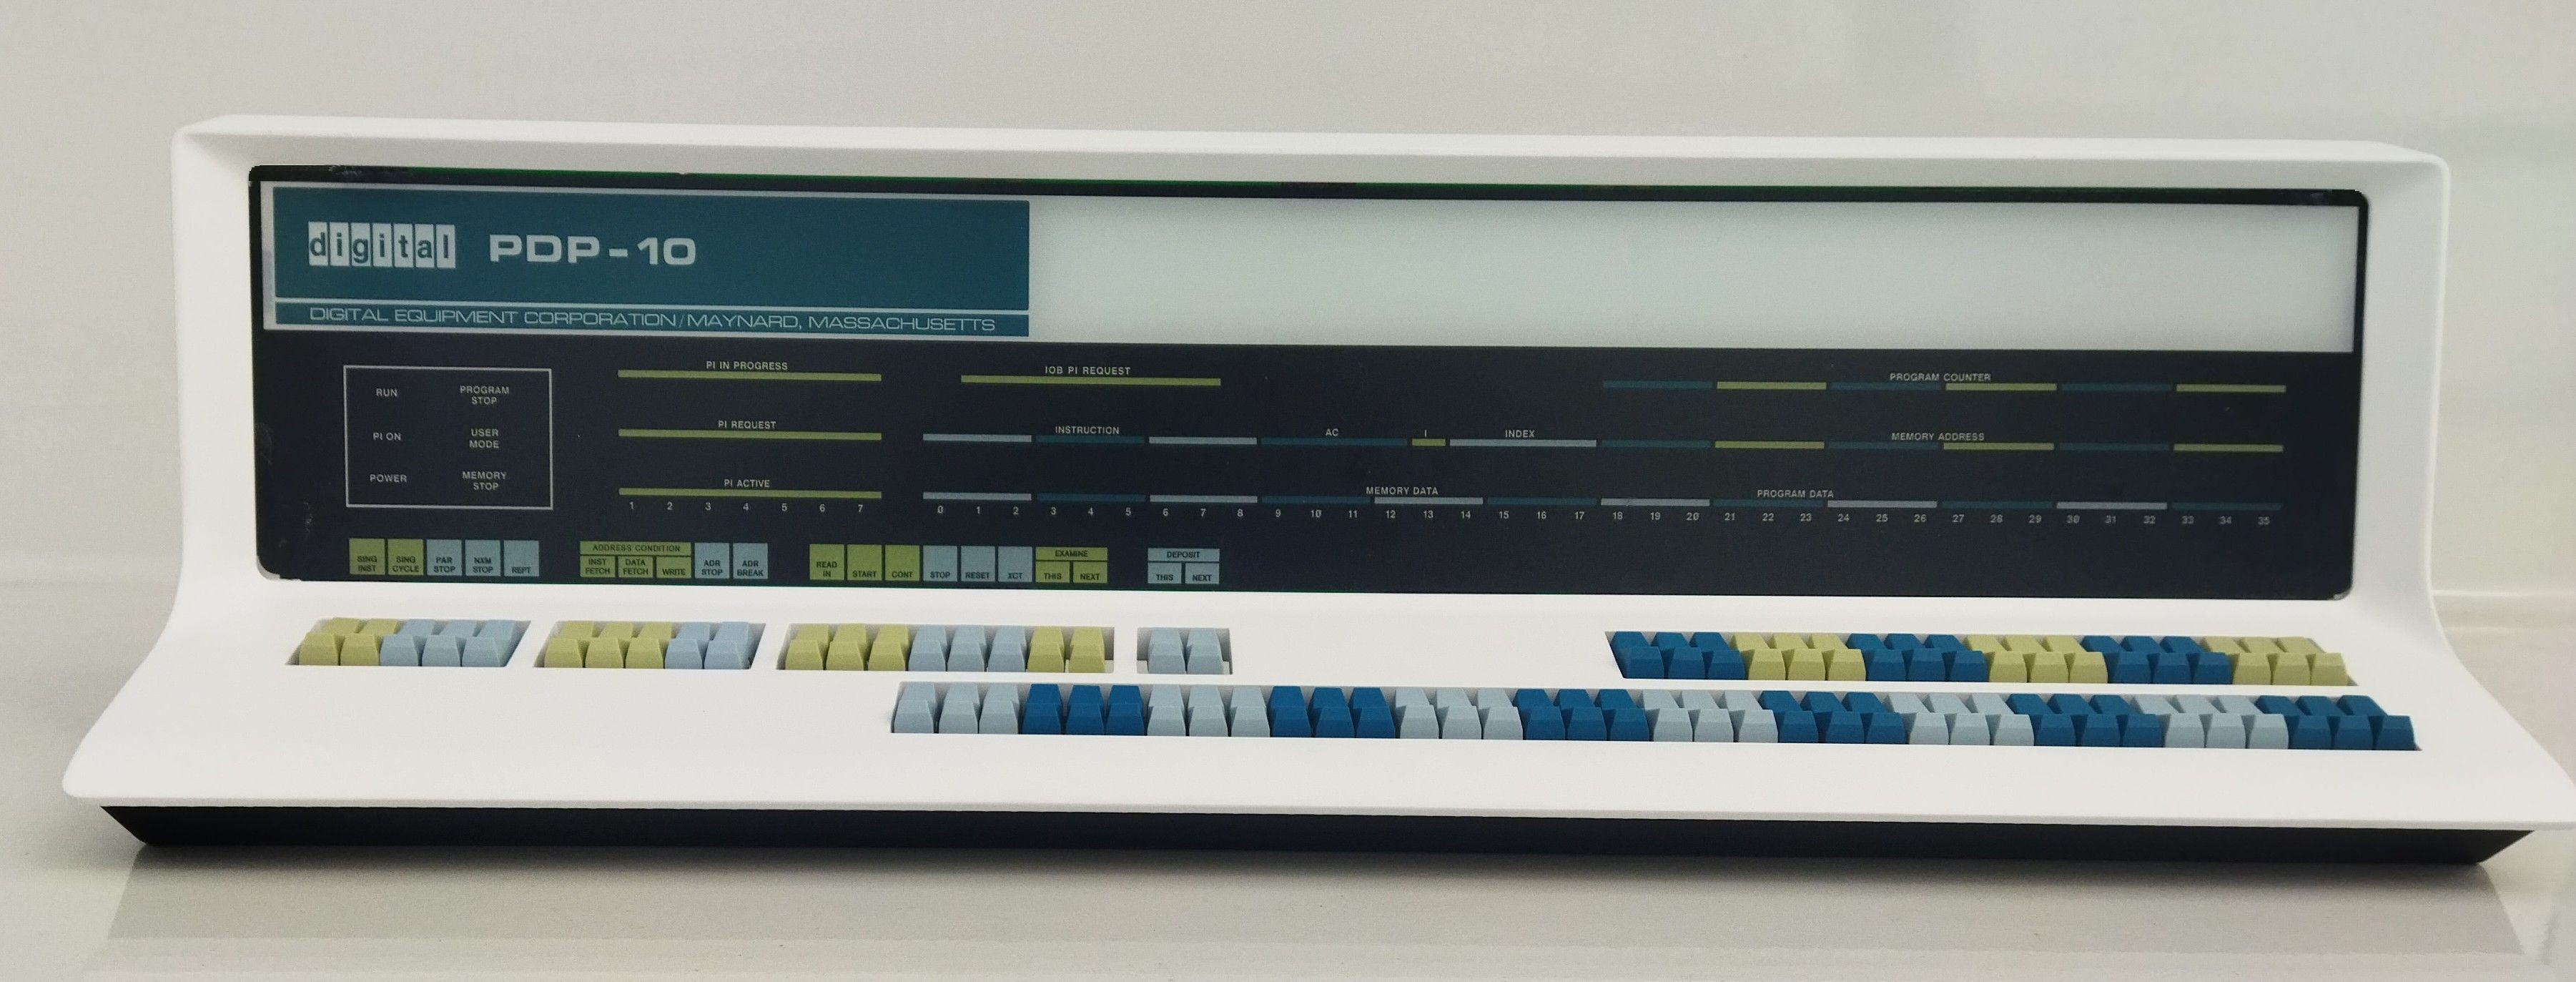
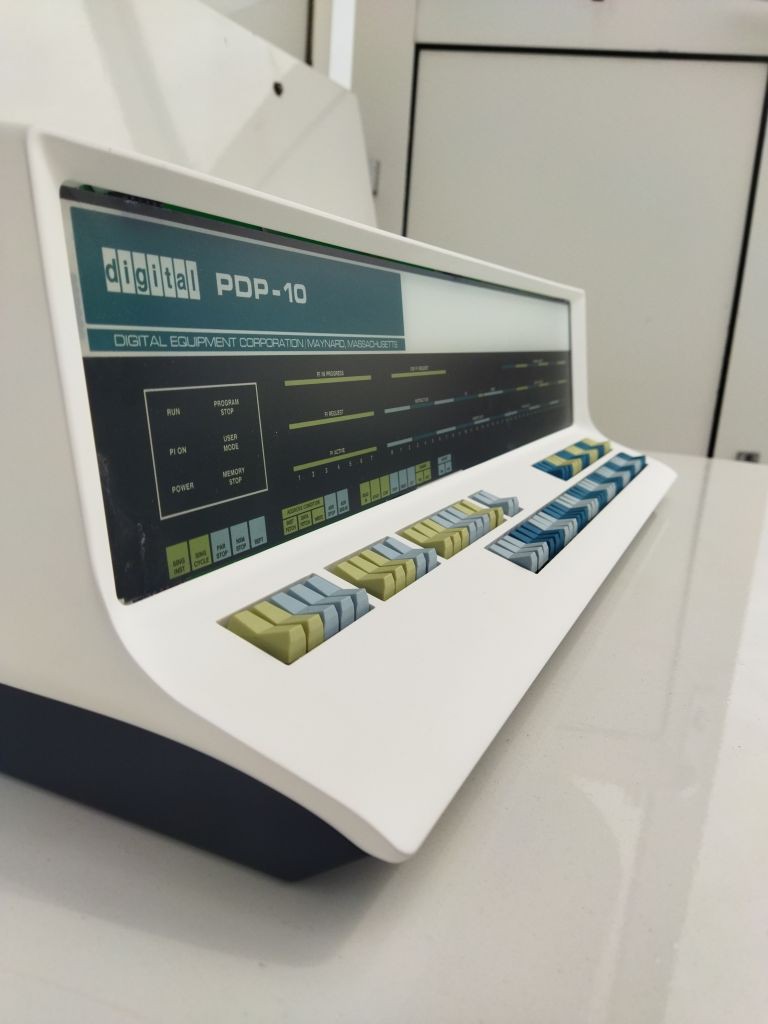
05/02/2023 at 22:19 • 1 commentToday the final prototype went through evaluation with the injection mold maker. There are some imperfections in this CNC-cut prototype, but they will be taken care of in the mold. I can't wait for the first samples to come back from the manufacturer. Alas, that will take 8 weeks or so.
![]()
Isn't she pretty? And just wait what this machine can do running ITS!
![]()
So - today was a good day!
-
An injection mold proved inevitable
04/21/2023 at 23:16 • 0 commentsIt has been nearly three years since my last update here! But in the mean time, the software is pretty much done (famous last words), we've been playing a lot with ITS and all its graphics fun (multi-player mazewar, spacewar, it really is amazing how much software there is to play with on a PDP-10. See here)
Although I promised myself never, ever, to do an injection mold again, that proved to be inevitable. So here is the CNC-cut prototype that will go into production in the coming weeks:
![Serial_no_0.jpg]()
Two molds, actually. A bottom, and a top part. To get all of the curves of the original properly made, I ended up needing professional help. The risk of cutting expensive injection molds with mistakes was too high, and 3D modeling the slight oddities of the 1966 original was also a bit beyond my skills.
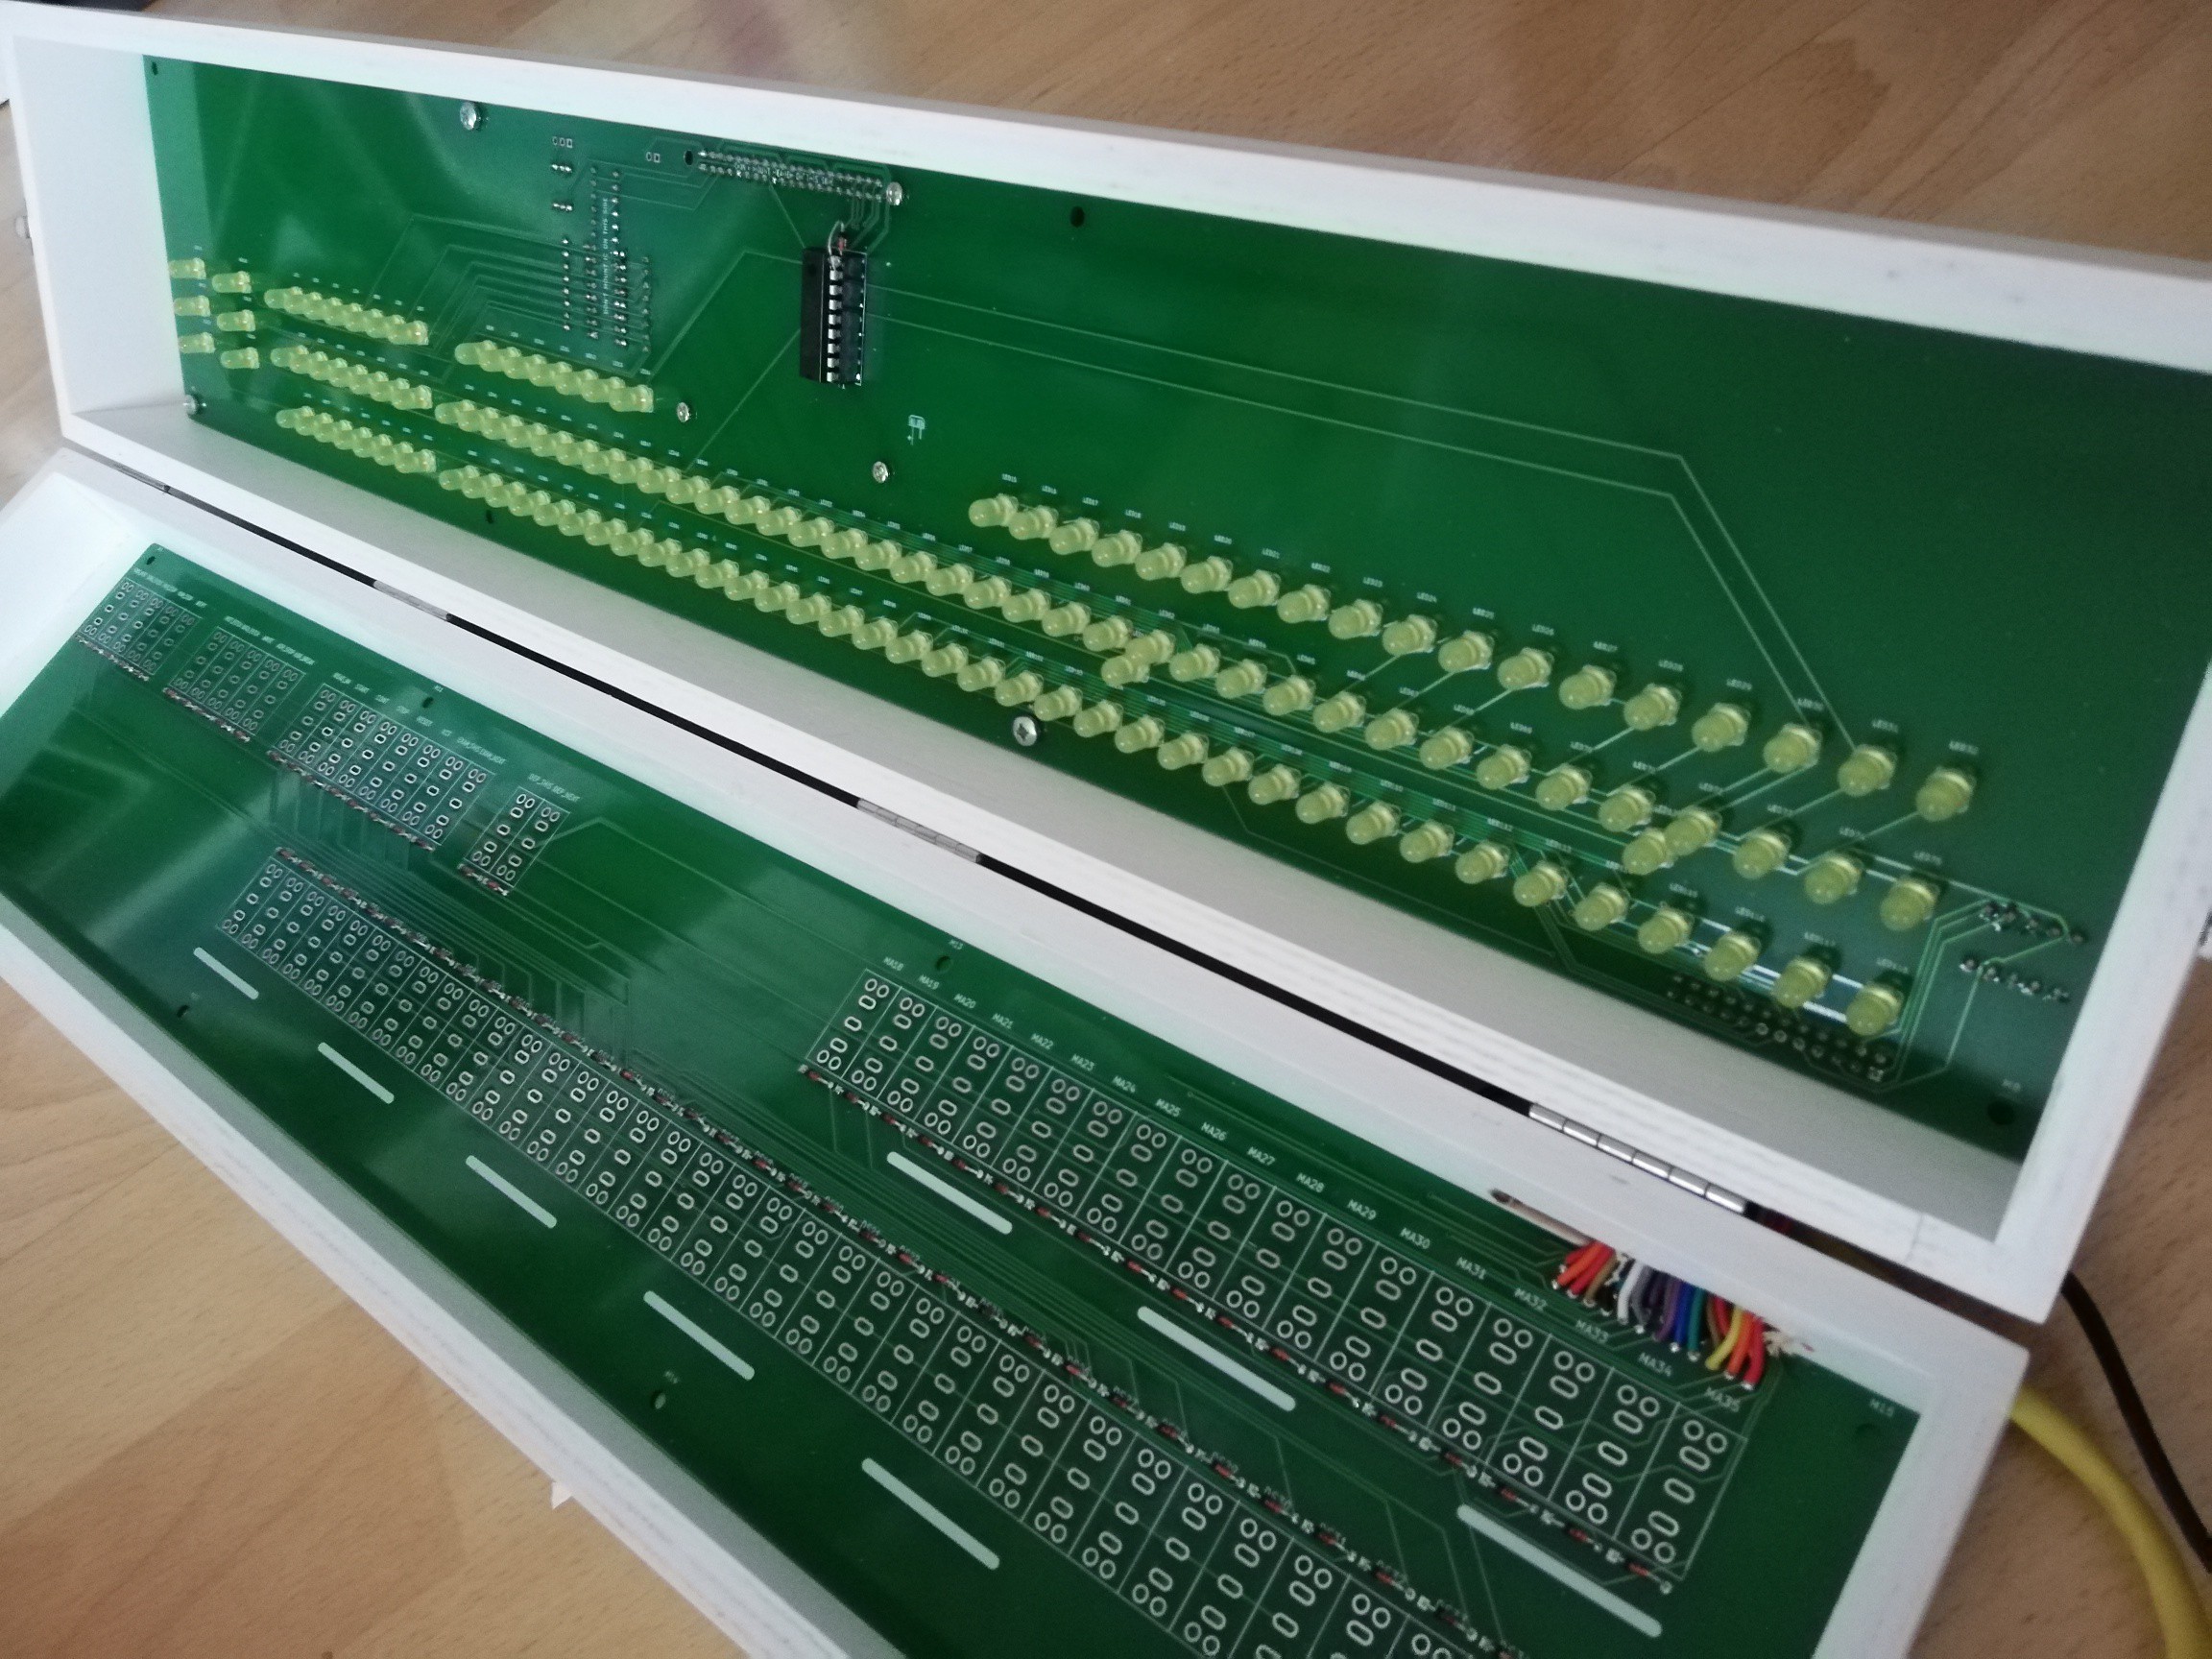
New PCBs have been spun to fit precisely in this case:
![]() 126 LEDs, and...
126 LEDs, and...![]()
... 74 switches. This is a big beast!
To be continued soon. Or join the PiDP-10 Google Group if you want to follow progress more closely.
-
It blinks!
03/05/2020 at 18:17 • 0 commentsProgress!
The PCBs are soldered up (minus the switches, but they do work) and the PiDP-10 started to do its first blinkies. Admittedly, it still thinks it is a PDP-8 with a novel panel layout (I used modified pidp8i software for testing), but blinkies nevertheless.
![]()
As it turns out, the new-to-me MCP23017 GPIO chip is really easy to control. Just a few lines of code; and the speed of the I2C bus is OK for this application. That was one concern: 24 bits of I/O a few hundred times per second, with enough time in-between to light up the LEDs in the multiplexing routine. I had to up the I2C clock on the Pi, but that was easy too. Everything is easy with a Raspberry Pi. Sometimes.
Hopefully, the switch panel cover gets through Customs soon. Then, I have a complete demo machine :)
Now on to modifying Richard Cornwell's KA10 simulator, so the machine can start to feel its 36 bits of simulated power! Oh, and soldering 72 switches. A chore I'd better get used to.


 126 LEDs, and...
