-
Rubble Alpha - "Handheld" Prototype
03/04/2020 at 08:54 • 0 comments![]()
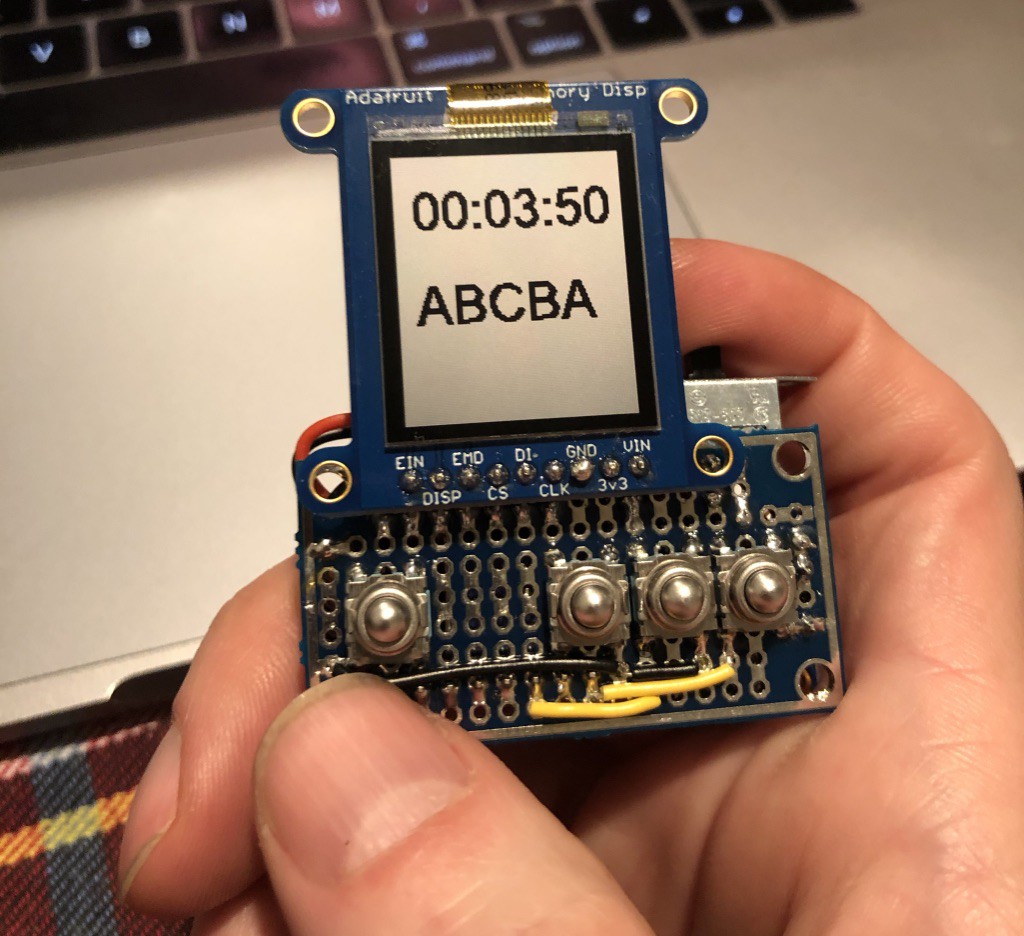
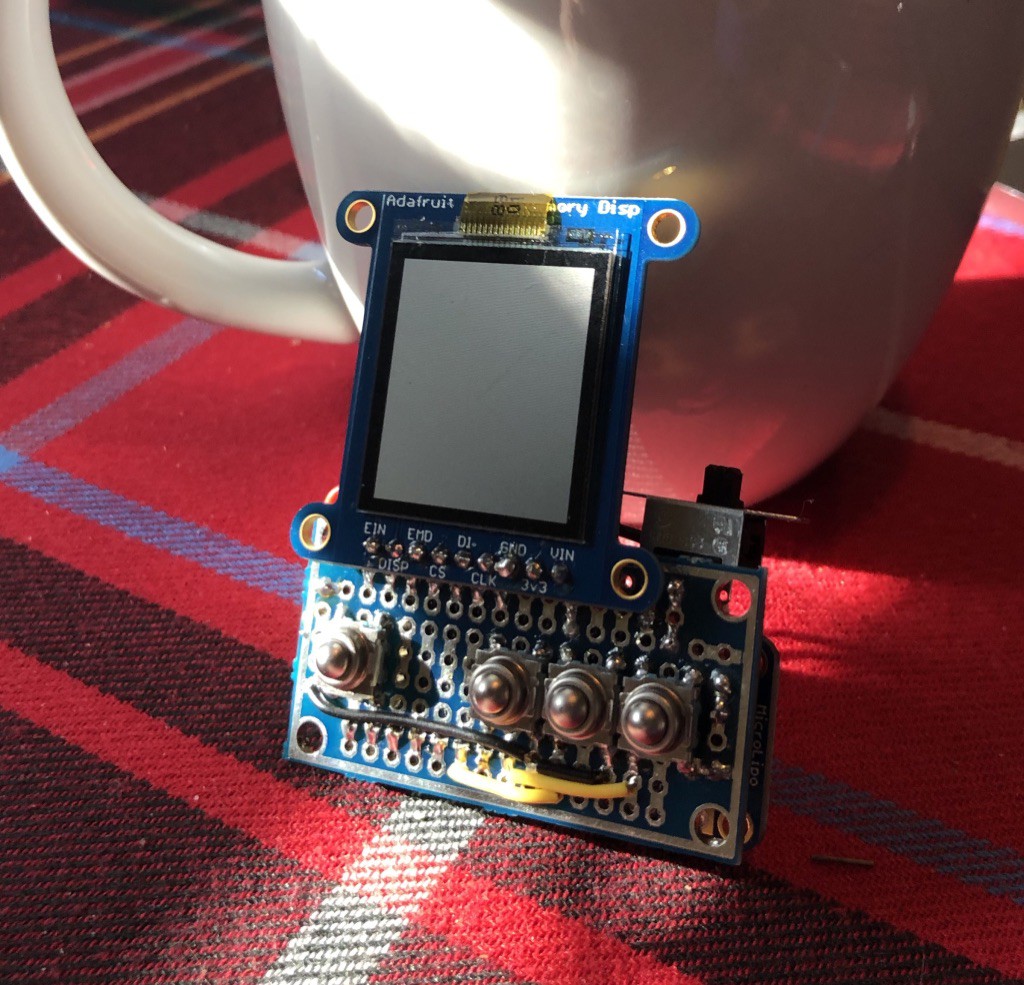
For my first "real" prototype, i wanted to build something small and completely self-contained. I'm still using entirely off-the-shelf breakout boards and through-hole soldering, so a watch form factor is difficult, but I figured I'd see how close I could get without putting in too much effort miniaturizing. I need it to hold itself together structurally without the need for a case/enclosure, so a central proto-board makes sense. Finally, I wanted to start tinkering with the nrf52832, the SoC/BLE module that I expect to be the core piece of my final device. So here's what I came up with - I'm calling it the "Rubble Alpha":
![]()
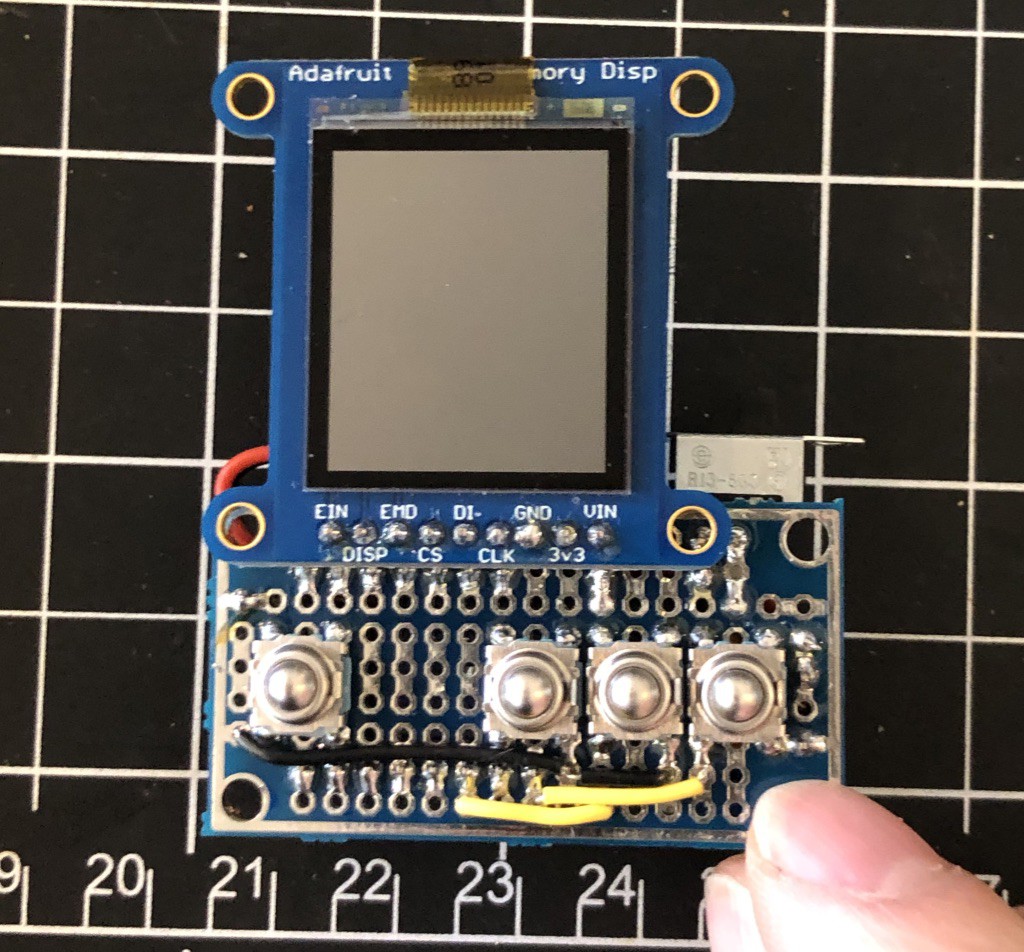
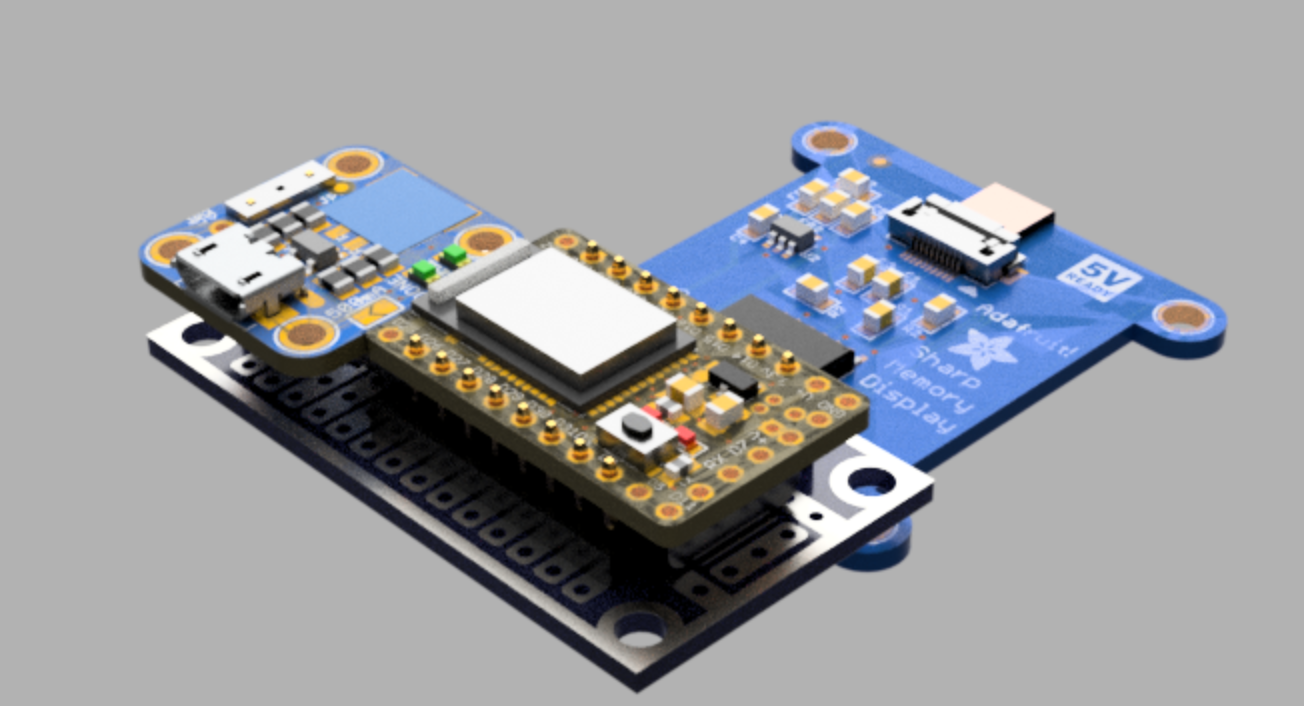
The central proto-board is from this adorable set of mini proto-boards made by Azzy's Electronics on Tindie. On the front, you can see the same Adafruit Sharp Memory Display breakout from the last prototype, along with 4 clicky metal tactile buttons. A few jumper wires were necessary to hook up the buttons and power leads. I also added a hard power switch to make sure I don't drain the batteries.
![]()
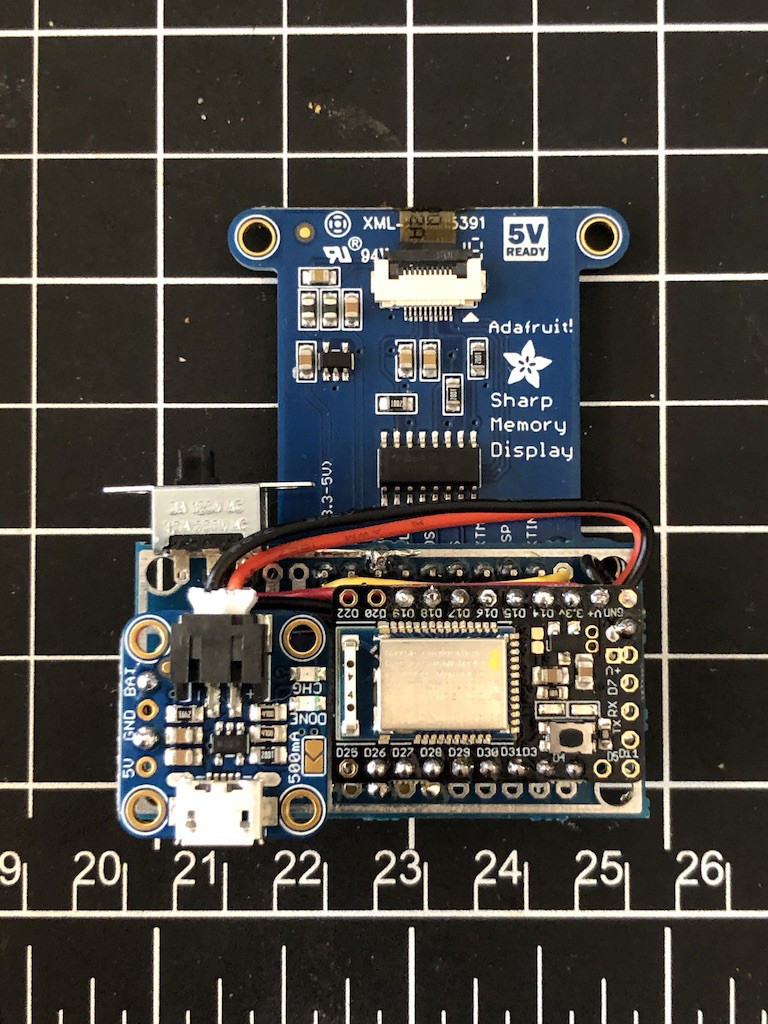
On the back of the board, you can see the heart of the device - an MDBT42Q breakout board with an nrf52832 SOC/BLE module on it. I recently discovered Espruino and decided it would be a good way to "ease myself" into embedded programming, since I'm already familiar with JS, and they conveniently sell this tiny nrf breakout board pre-flashed with an Espruino Javascript firmware/programming environment. It's amazingly easy to get started, and lets you send code to the device over-the-air with BLE, so I should never need to plug it in to program it!
![]()
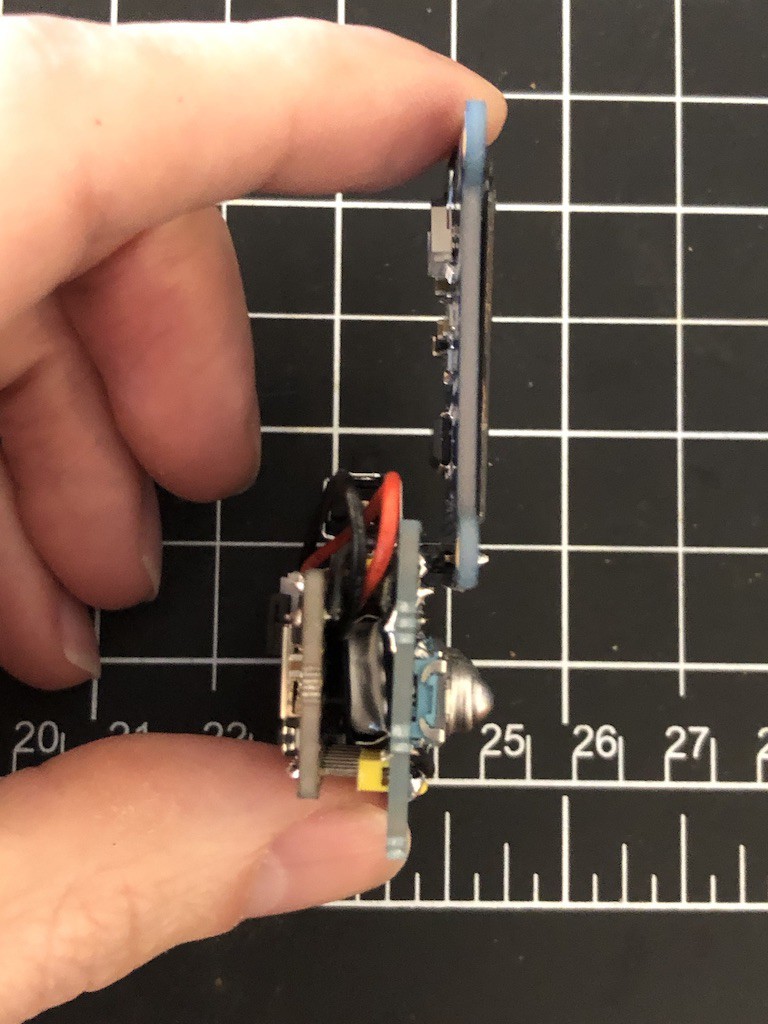
The back also contains a micro USB LiPo charger from Adafruit. The SoC breakout and charger are mounted to the board using male PCB headers as standoffs, with ~8mm of empty space under them. Into this space is tucked a tiny 401230 form-factor LiPo battery.
![]()
Overall, the build went surprisingly smoothly with no major screw-ups, and I was able to quickly bring it up, connect to it with Espruino, and get sample code running to read the buttons and write to the display. Next up, I need to dive into the software to decide my next steps. So far, I'm only able to use the display at ~2 fps, which is pretty limiting, so I need to determine whether this is an inherent limitation in the Espruino environment, or if I can improve their JS library for better performance.
BTW, if you want to build one of these yourself, it's quite easy and requires only basic soldering skills, so go for it! I modeled the whole thing in Fusion 360 and attached the F3Z file to this project, so check out the model for more details. I've basically described the parts list already - leave a comment if you can't figure out the required jumper wires. Hint: use a solder bridge to connect LCD GND to the ground plane which runs around the outside of the board.
![]()
-
Breadboarding with the Sharp Memory LCD
03/04/2020 at 08:12 • 1 commentOne of the first decisions I made on this project was to use a Sharp Memory LCD display, the same display technology used in the Pebble smartwatches. These displays fill a great niche IMO - they're sunlight-readable like e-ink, but they have a much faster refresh rate (can do smooth animations) and still use very low power.
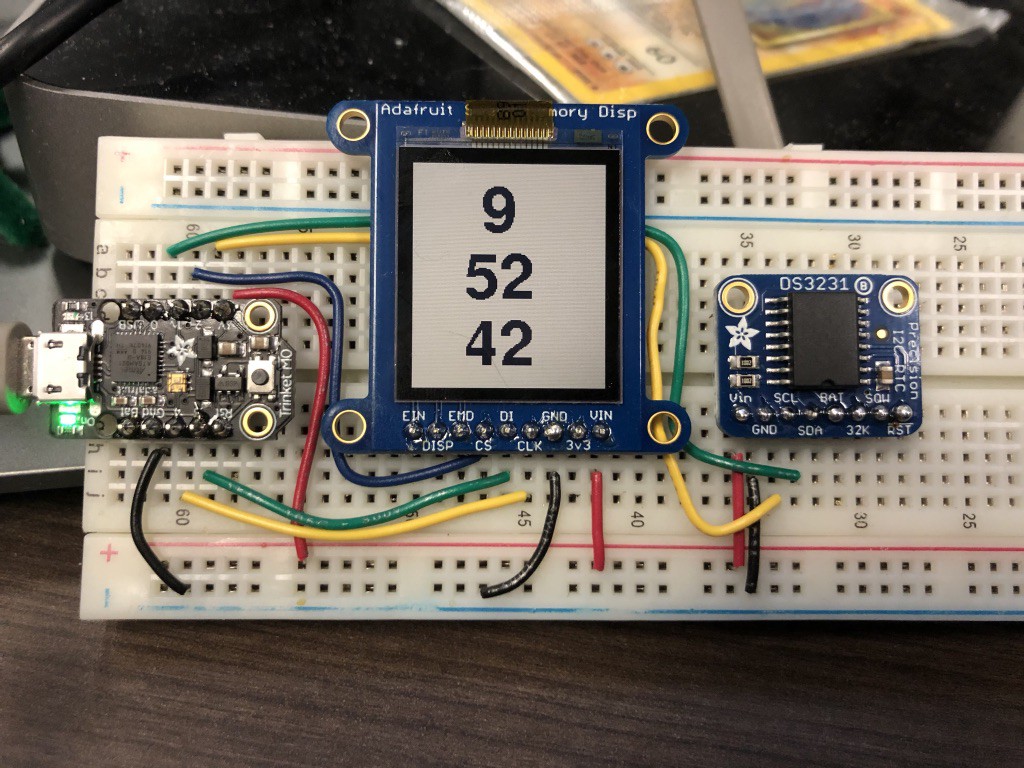
The easiest way to get started playing with this tech is to buy a breakout board from Adafruit ($25) and hook it up to an MCU with enough RAM to keep a framebuffer in it. I got started breadboarding it with a Trinket M0. The Trinket is pretty minimal, but it's enough to start tinkering with the hardware. I programmed it using Arduino and the Adafruit Sharp Memory Display code library.
I also wanted to experiment with an external low-power RTC for timekeeping, so I added a DS3231 breakout. The DS3231 communicates over I2C and, once again, comes with an easy-to-use Arduino library from Adafruit - see the tutorial for details.
So here's my first bit of hardware - a minimal Arduino clock on a breadboard!
![]()
