Ivan Stepaniuk
-
Less is more
04/07/2020 at 00:31 • 0 commentsI was about to close this project as done but I was annoyed at the fact that the thermostat was still reading just a bit over the room temperature because of the heat that the ESP generates.
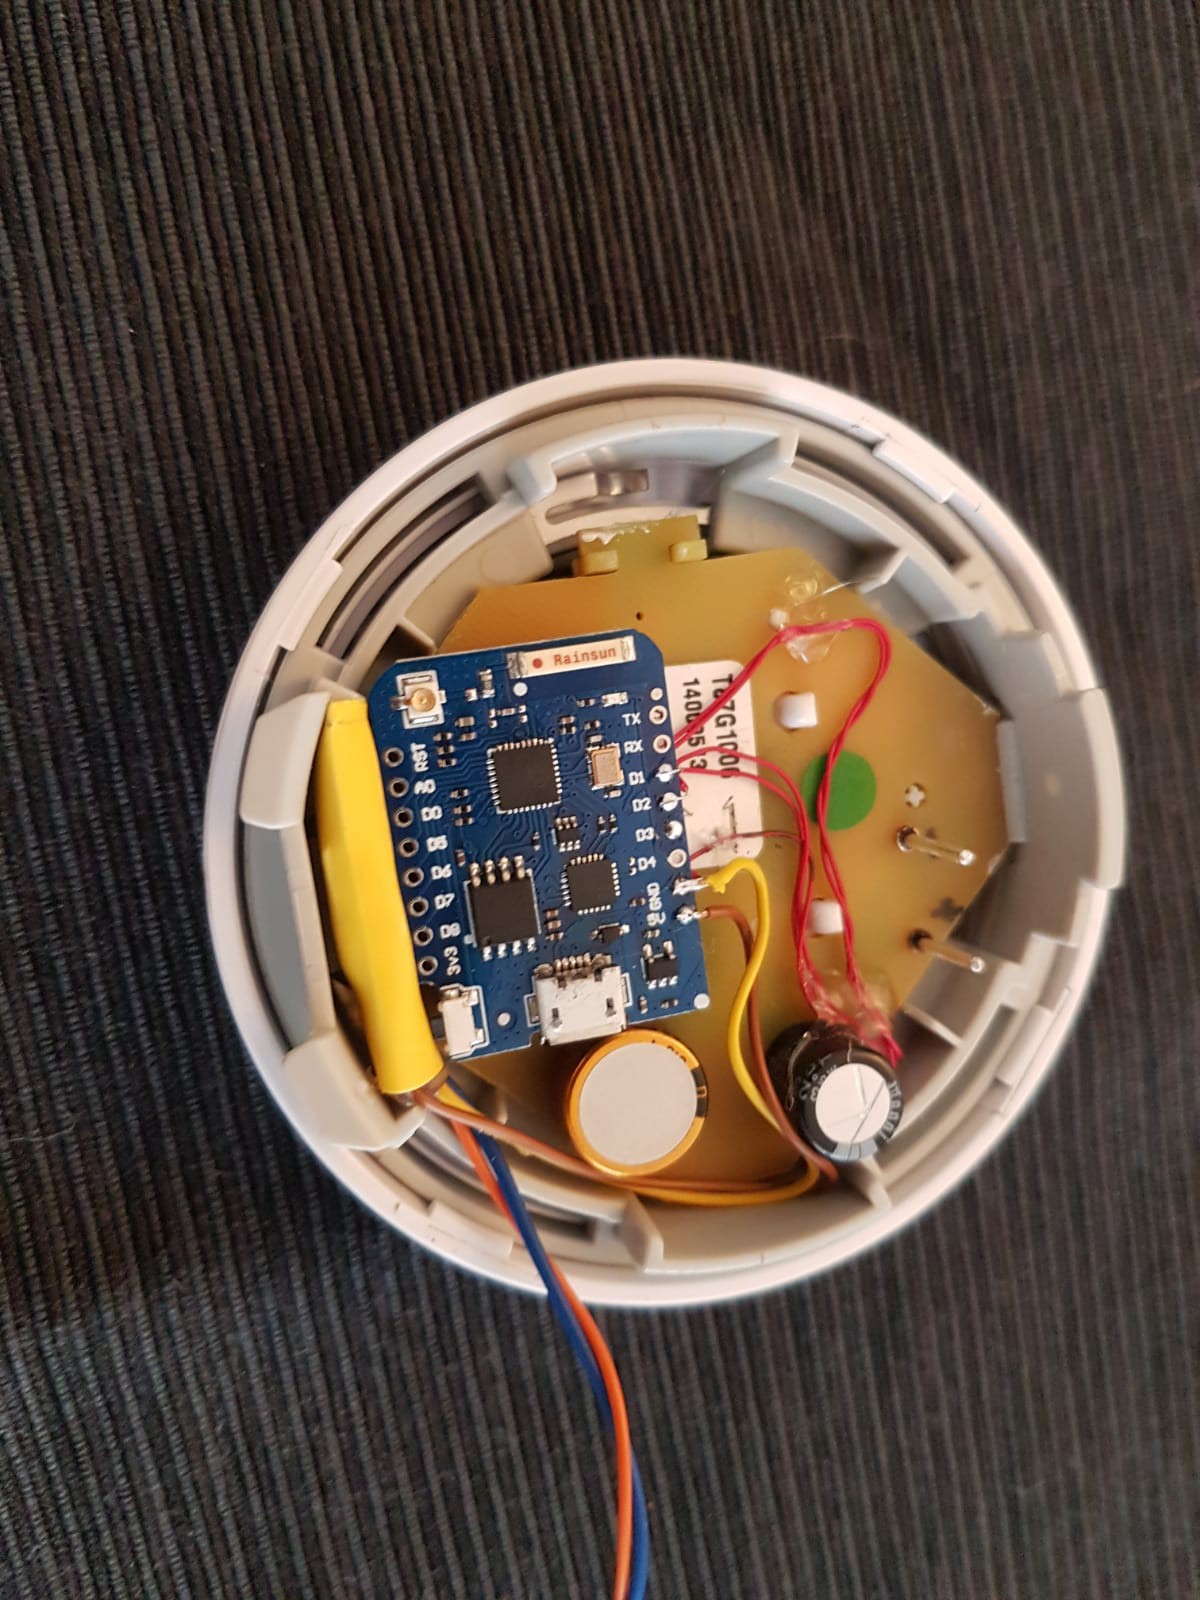
I gave the setup another thought and decided that it was better to cram a good old MAX232 instead of the WiFi-enabled mcu, I had 3 extra wires anyway and with a bit of effort, I can make them reach the Raspberry PI where Home Assistant and NodeRED are running. The encoder code stays the same, and I added some code to parse the serial input.
![]()
Smells like 1980s I also switched to an STM32 generic board, I would probably find better uses for the ESP board. I will keep both versions of firmware on GitHub for reference.
The heating is now working perfect with the much-more-colder STM32F103, right on time for spring when I don't need it.
-
Thermostat can be set
04/05/2020 at 00:38 • 0 comments
I had 5 wires to work with from the boiler room to the thermostat box, the original clever thermostat only needed two. Sending power to the micro-controller without adding dissipated power that could disturb the thermometer was a bit challenging.In the video, a last flight check before putting everything back together. You can see how the set point moves all the way to minimum and then advances to the set point. Check the project details (or the Github code!) if you wanna know what's going on.
-
Space cake
04/02/2020 at 01:19 • 0 commentsIt was my birthday recently and I got a nice cake. It came on a piece of cardboard with a metallic golden finish. When I saw it it immediately reminded me of the heat shields they use in satellites.

This cake was not a lie Imagination aside, I decided I will add a circular piece of this material between the thermostat mount plate and the wall, to further isolate the heat from the microcontroller from affecting the thermostat.
So far it seems to be working perfectly.
-
Things are heating up
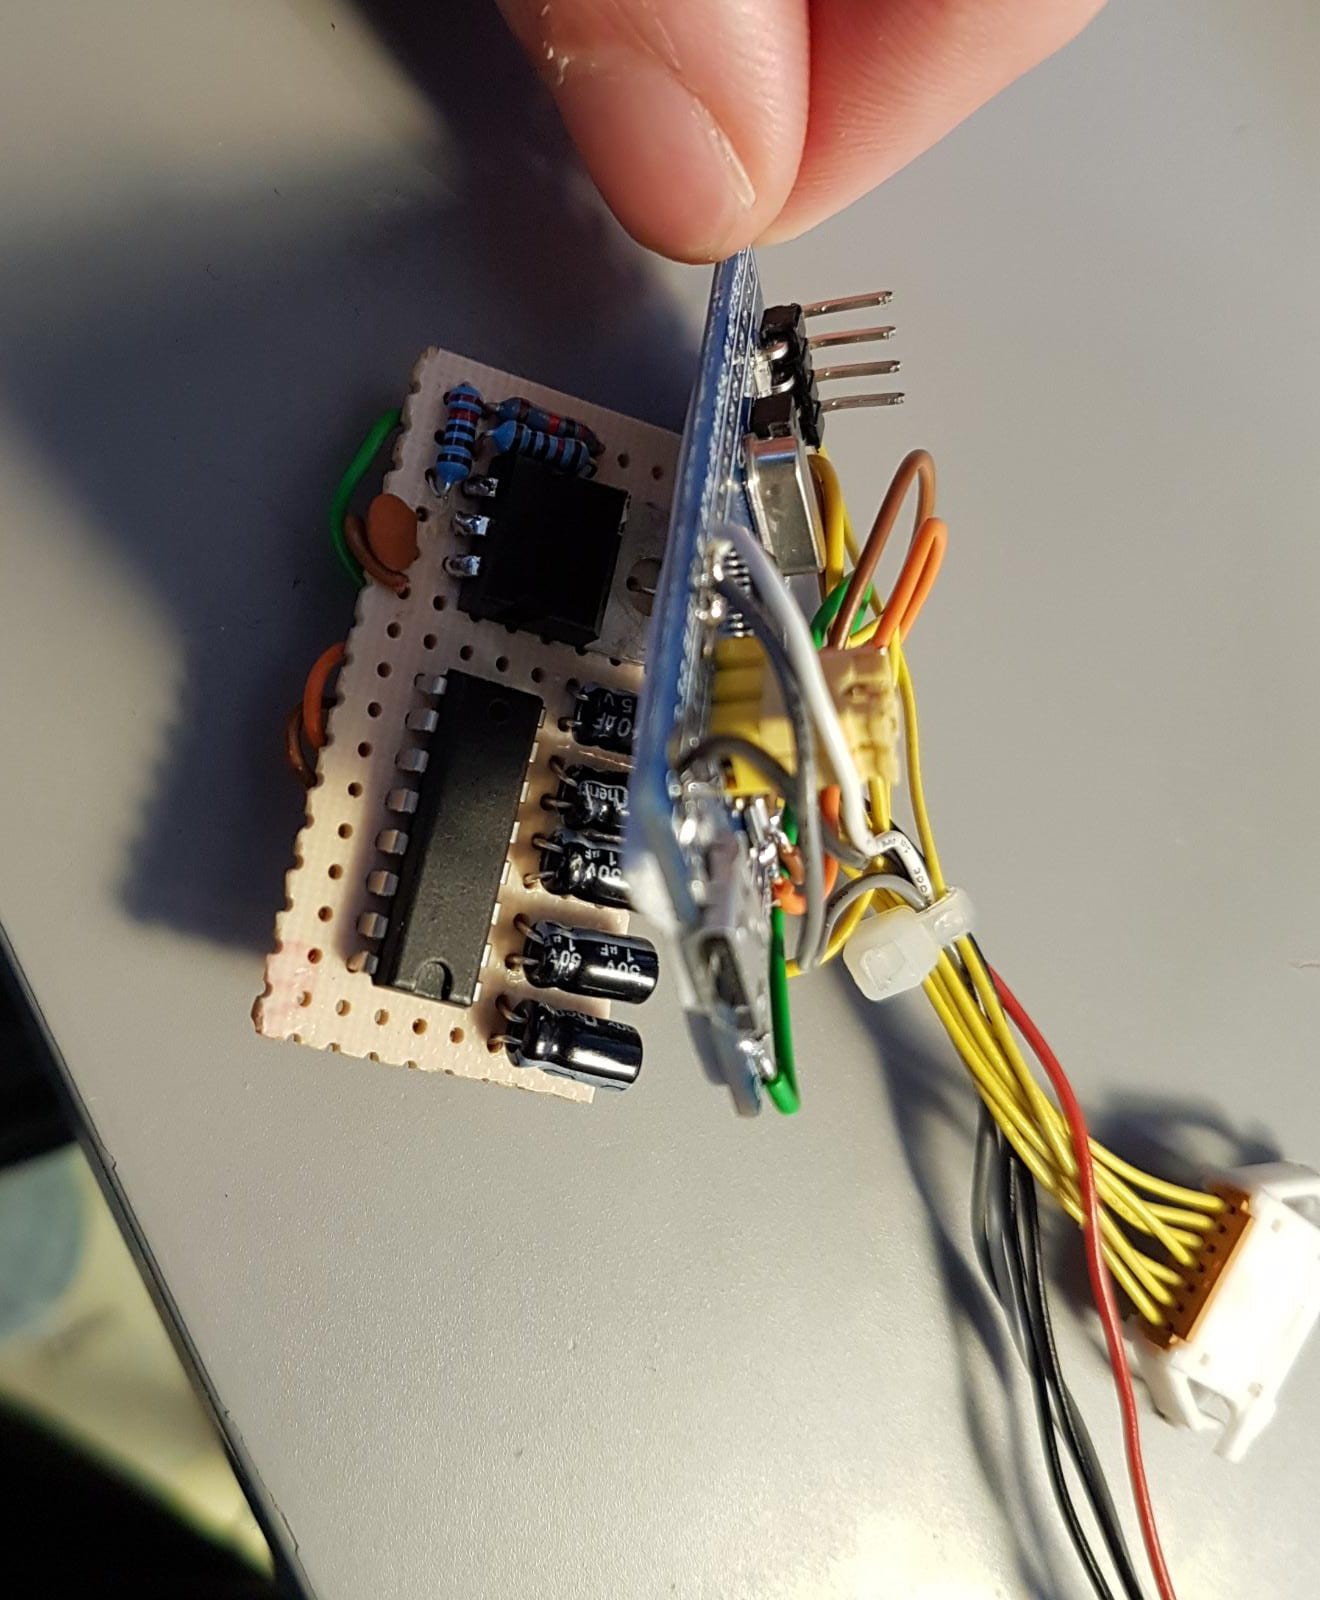
04/01/2020 at 16:28 • 0 commentsThe ESP8266 dissipates enough heat to skew my thermostat reading by almost 2 degrees Celsius, which is no fun.
I thought of beforehand and added a foam pad between the back of the thermostat and the Wemos board; this was however not enough.
![]()
You can't really see the pad on the picture but if you look at the wires you can see that they are not flush with the back of the thermostat PCB. The yellow heatshrink tube on the left is a voltage regulator, but it does not generate comparable heat.
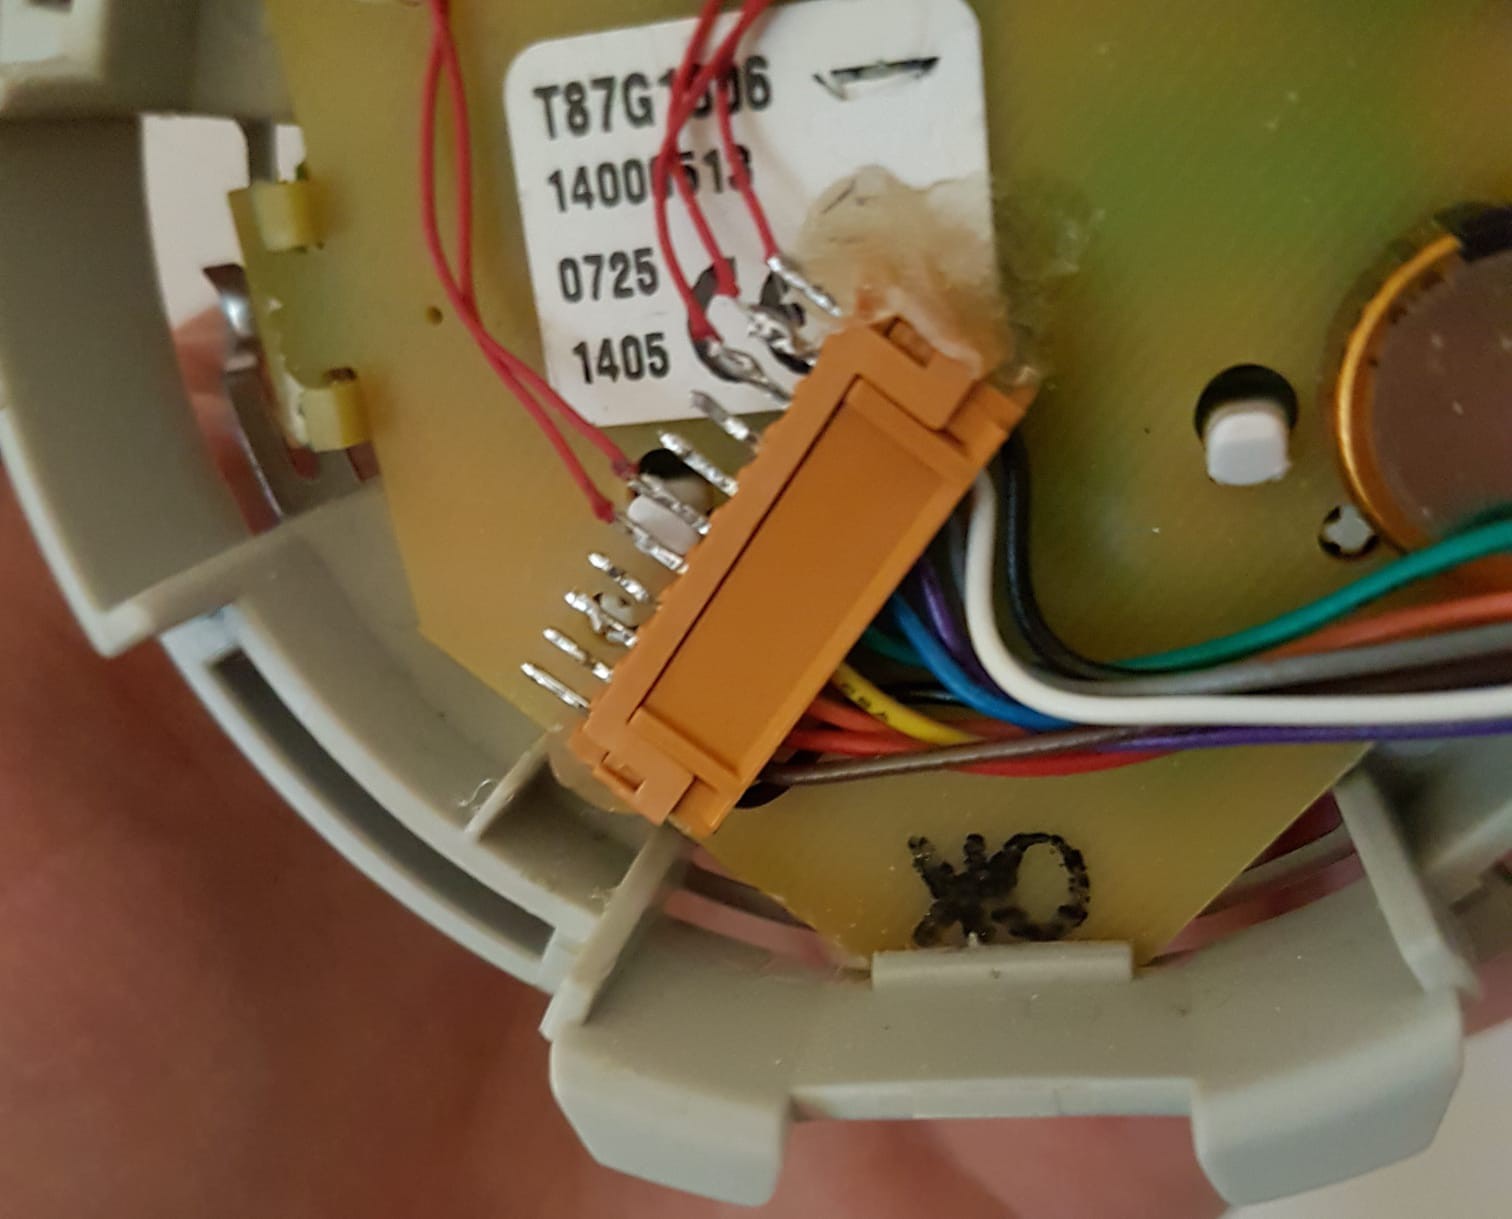
The solution I am trying is to put the whole thing behind the wall mounting plate, so literally inside the wall (I have brick and mortar walls). For this to be a bit more maintainable, I soldered a connector to the thermostat.
![]()
It's not a hack if you did not use the hot melt glue gun.
-
Status and TO-DO
03/31/2020 at 22:30 • 0 commentsSimulating steps on a quadrature encoder that has a real encoder attached is a bit tricky. I will add some explanations here because I think that is the interesting part.
This project is pretty much finished but I will add more data and videos. I am still figuring out the best way to use this site. The editor is really cumbersome, I wish this was markdown instead of this buggy HTML editor!
Old thermostat learns new tricks
Hacking my home's classic ON/OFF wall thermostat, right into 2020