 Guille

The 3d part you can download from thingiverse. There are no screw holes, which allow you to switch to another stepper motor.
All the parts was provide by digitspace.
Take Panoramic Photos with ESP32-CAM and use Python to stitch multiple photo into one final.
Already have an account? Log in.
To make the experience fit your profile, pick a username and tell us what interests you.

The 3d part you can download from thingiverse. There are no screw holes, which allow you to switch to another stepper motor.
All the parts was provide by digitspace.

This is an example of how is the output photo. By default the Python program take 16 photo and output only one; this is made with 24 input photos.
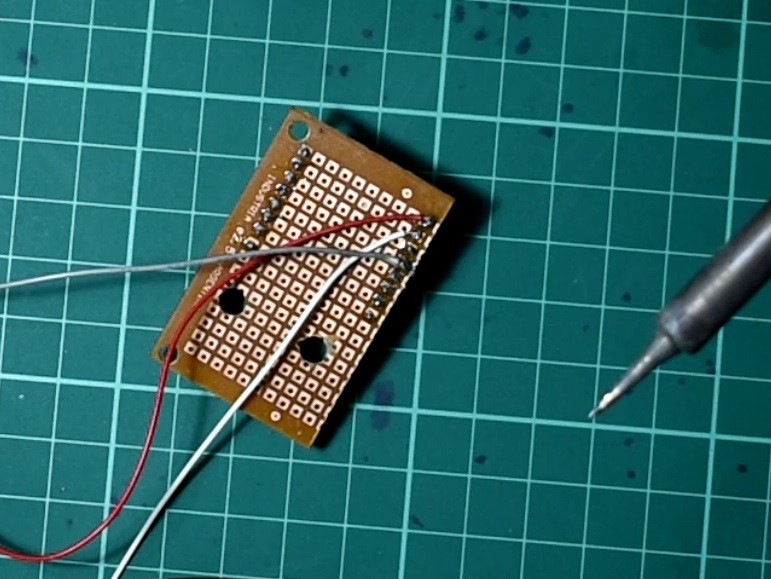
In my experience, the range of the WiFi signal range with this device was very poor, especially when it is necessary to download many images at the same time. Maybe it is a problem with my router.You need yo solders the headers to the pcb, six cables: 2 for power (VCC and GND) and four for control the stepper motor. I put small capacitor in the power connector of the ESP32-CAM.
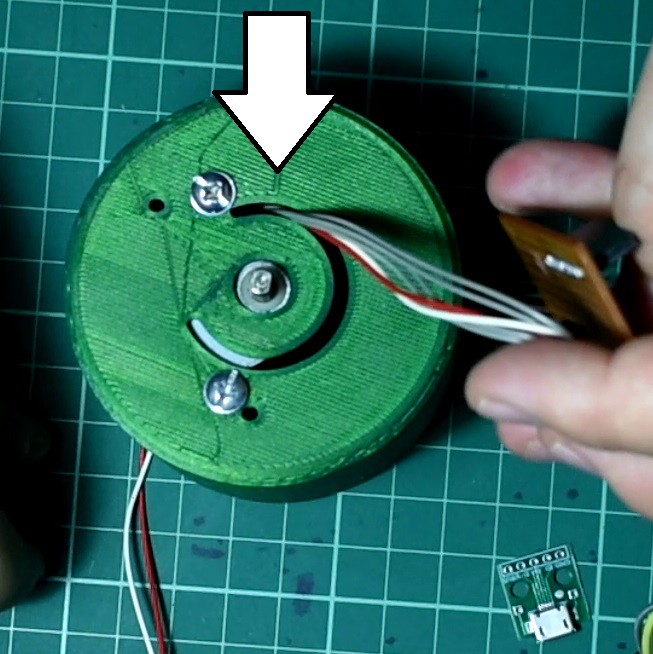
I presented the engine in the 3D model, a mark where the screws will be. Then use the drill to make the holes.
Be sure to run the wires through the 3d piece before crimping the connectors.

Thank you. The color is metallic army green, the brand is Printalod.
Hi. Nice project! (Right now I'm working on designing a daughter board for ESP-32 for long-term fixed point observation.)
And may I ask what the name of this wonderful green filament is?