-
1Conveyor System assembly
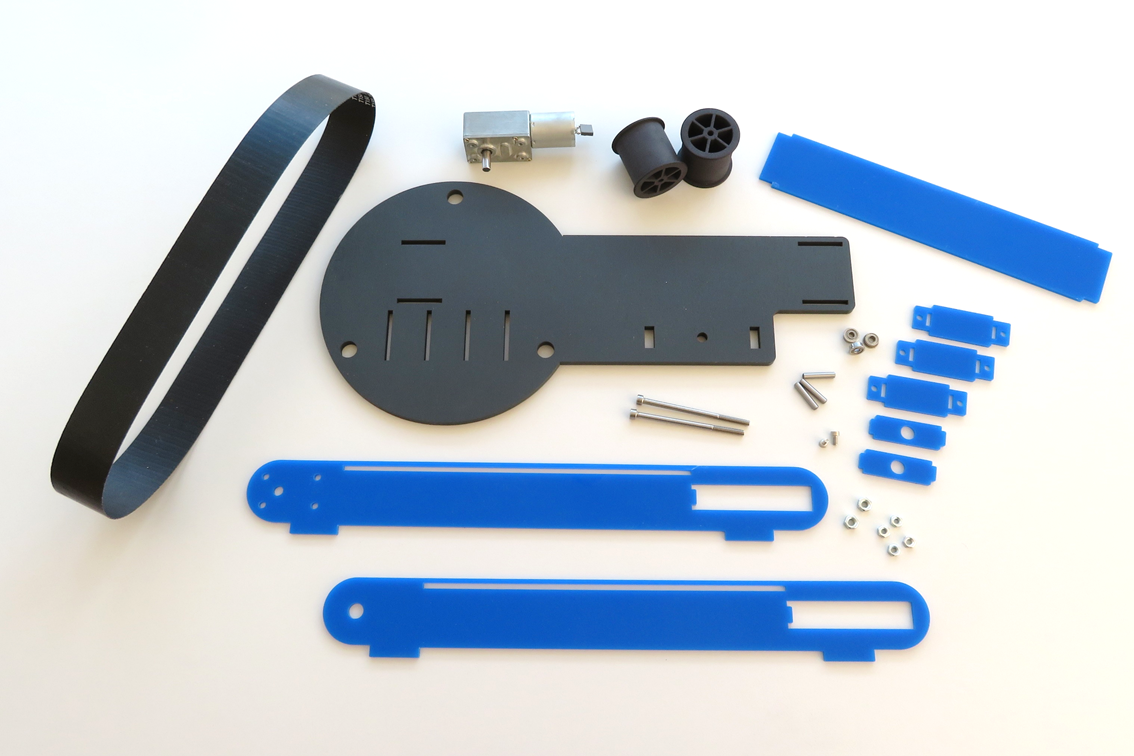
The Conveyor System for Delta-Robot One is designed as a kit. The pluggable mechanical solution make the assembly fast and easy. Choose the colours of some parts to give the system an individual look. All in all building this system provides you with a short practical, educational and interesting experience. Now it‘s time to build your own conveyor system!
How to build your conveyor? No worrys we create a wiki...
Wiki: >>>Conveyor System Wiki<<<
Conveyor System assembly video clip
-
2Lasercutting Parts
How to get the layers? There are many ways...
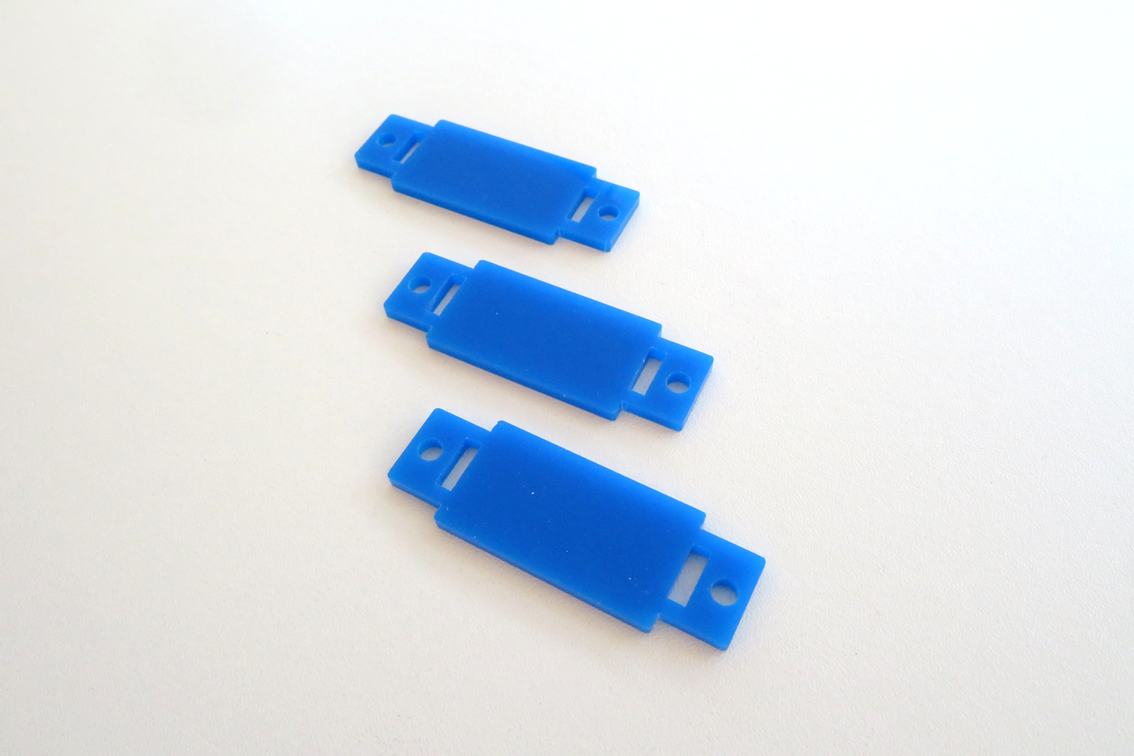
- You can use a lasercutter in a Techshop/Makerspace or your School/University
- We ordered from cutcraft a few times so we can recommend this service
- We don't try it but with a 3D-Printer it has to be possible to create the layers too
Be creative and choose your own design to build an individual Conveyor System.
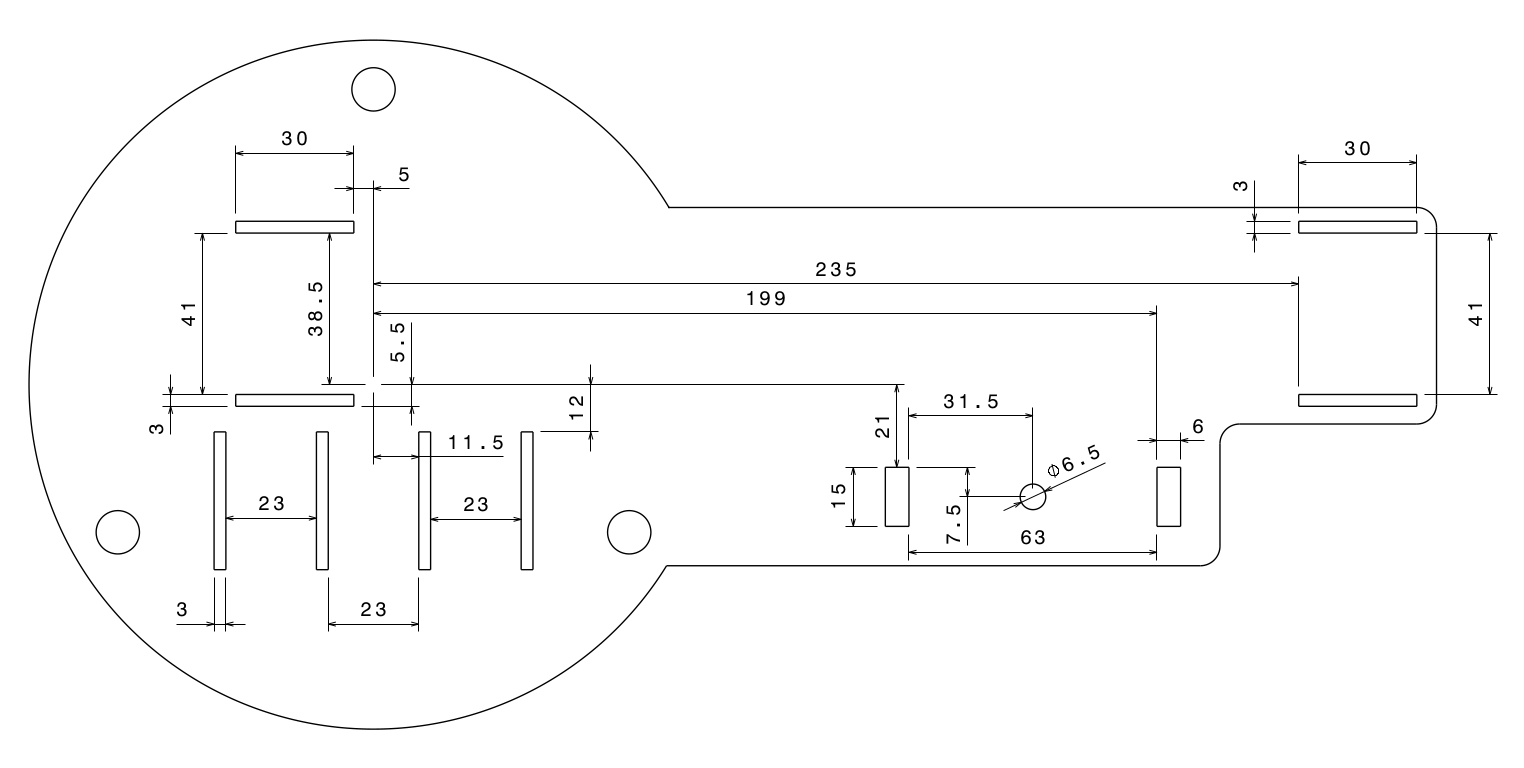
All drawings of the layer system are availible...
![]()
-
33D-Printed parts
How to get the parts? No problem...
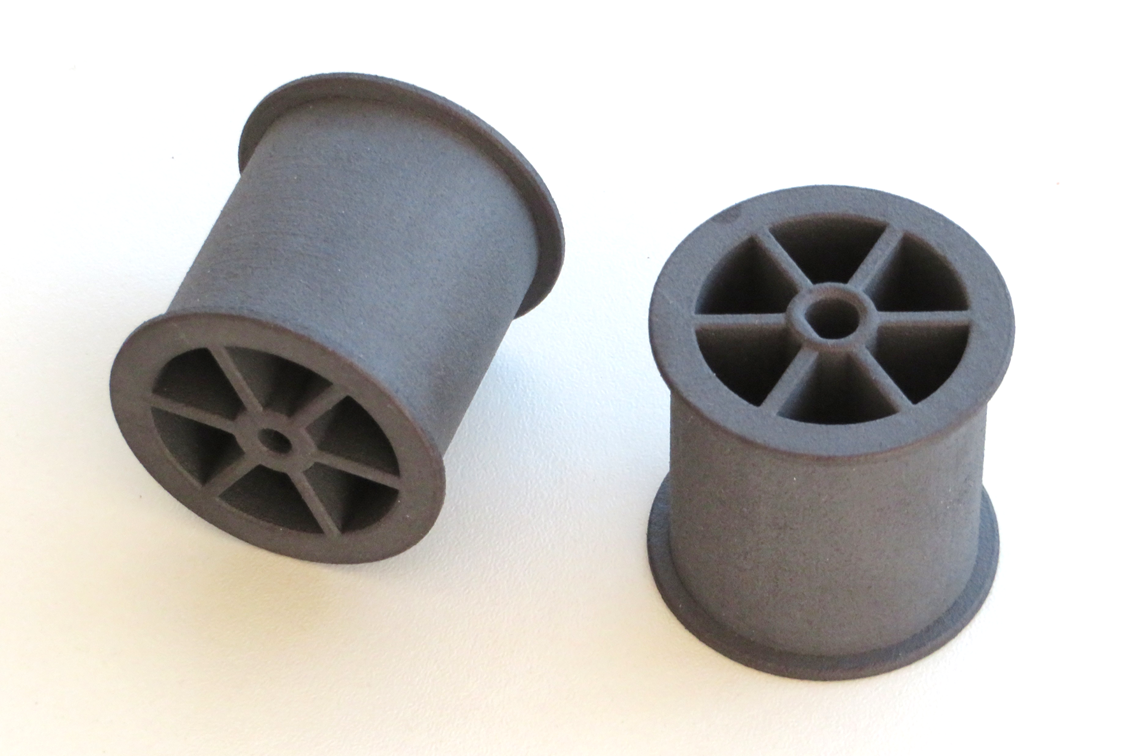
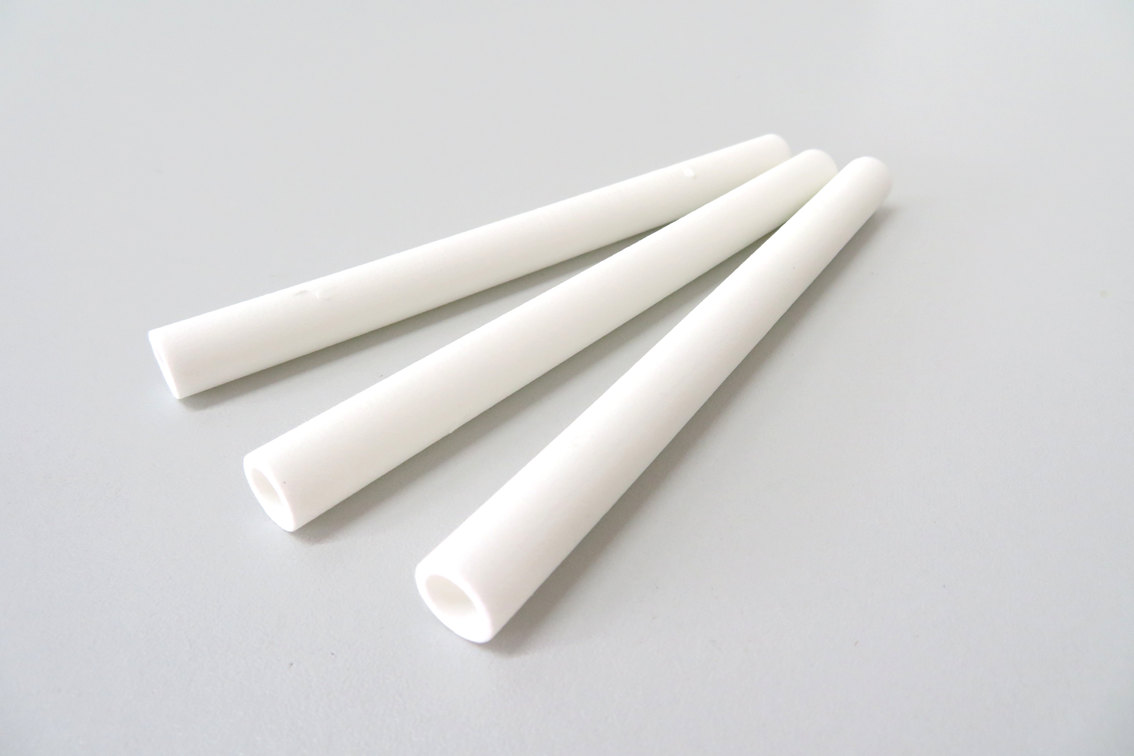
...we tested i.materialise.com and created some shop items so you can easily order the required parts using this links:
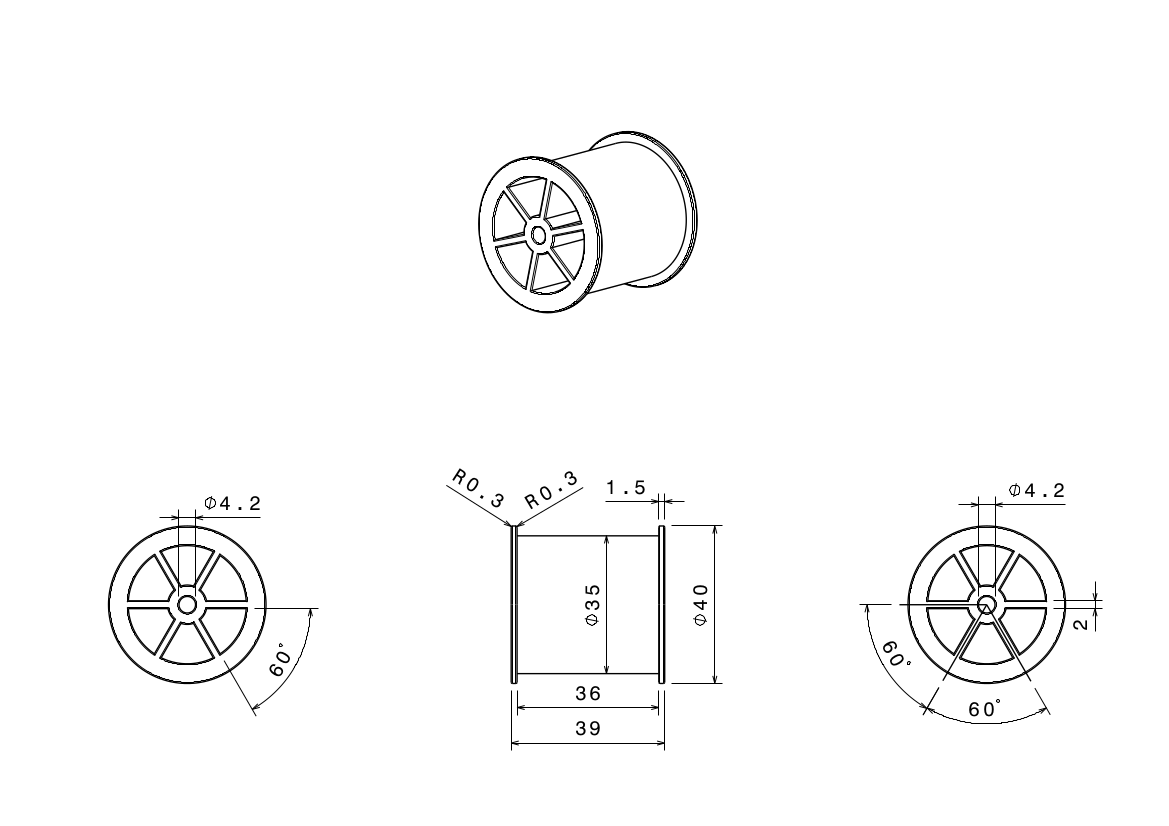
All drawings of the mechanics are availible...
![]()
Optional 3D-Printed parts
-
4Electronics
How to get the parts? The only electric part are the DC-Motor...
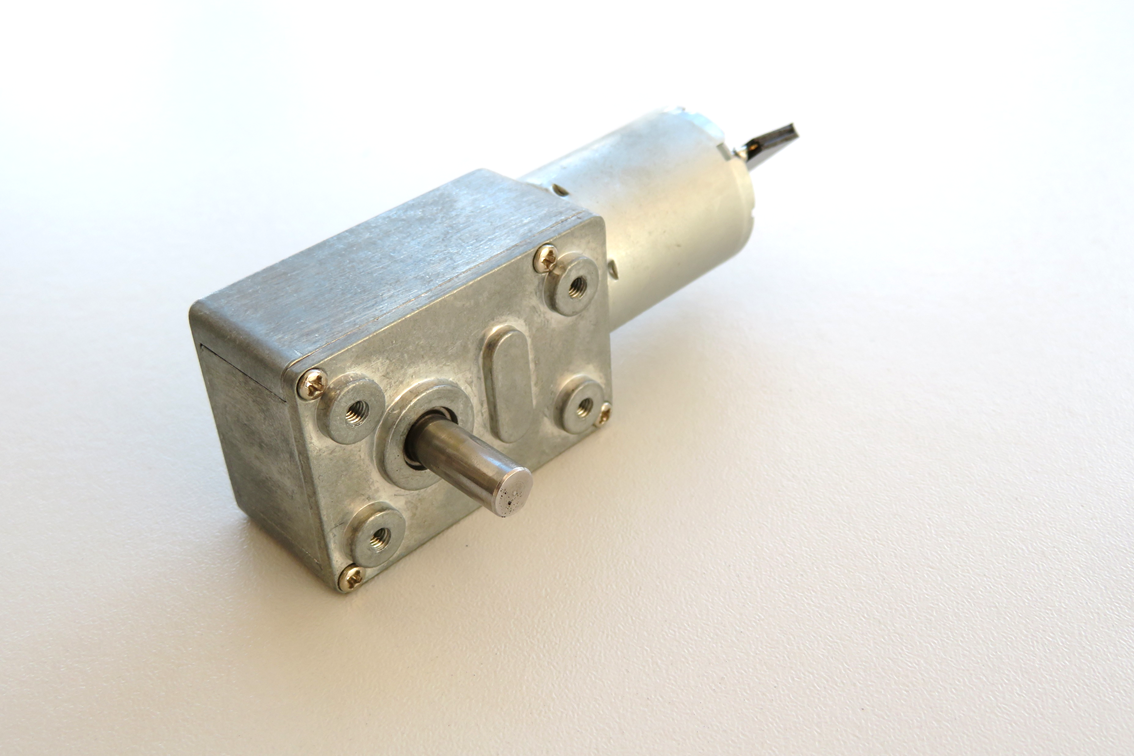
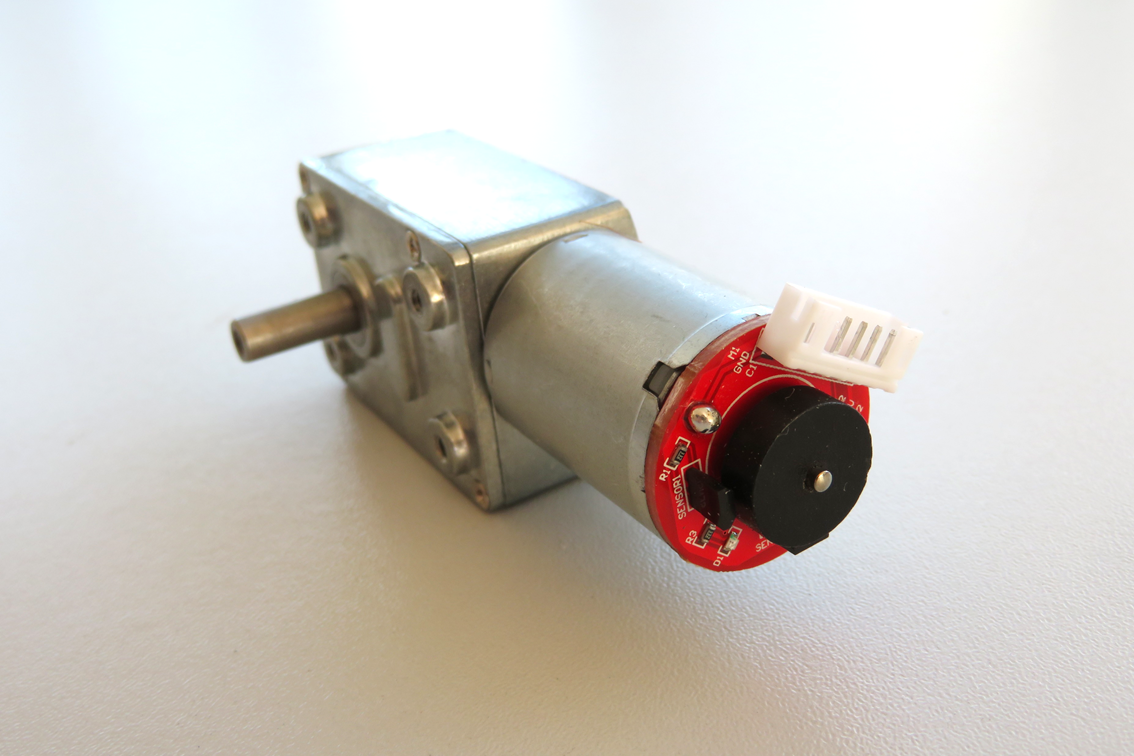
There are two recommended types of motors:
Option 1: DC-Motor without encoder 12V 62RPM
Option 2: DC-Motor with encoder 12V 100RPM
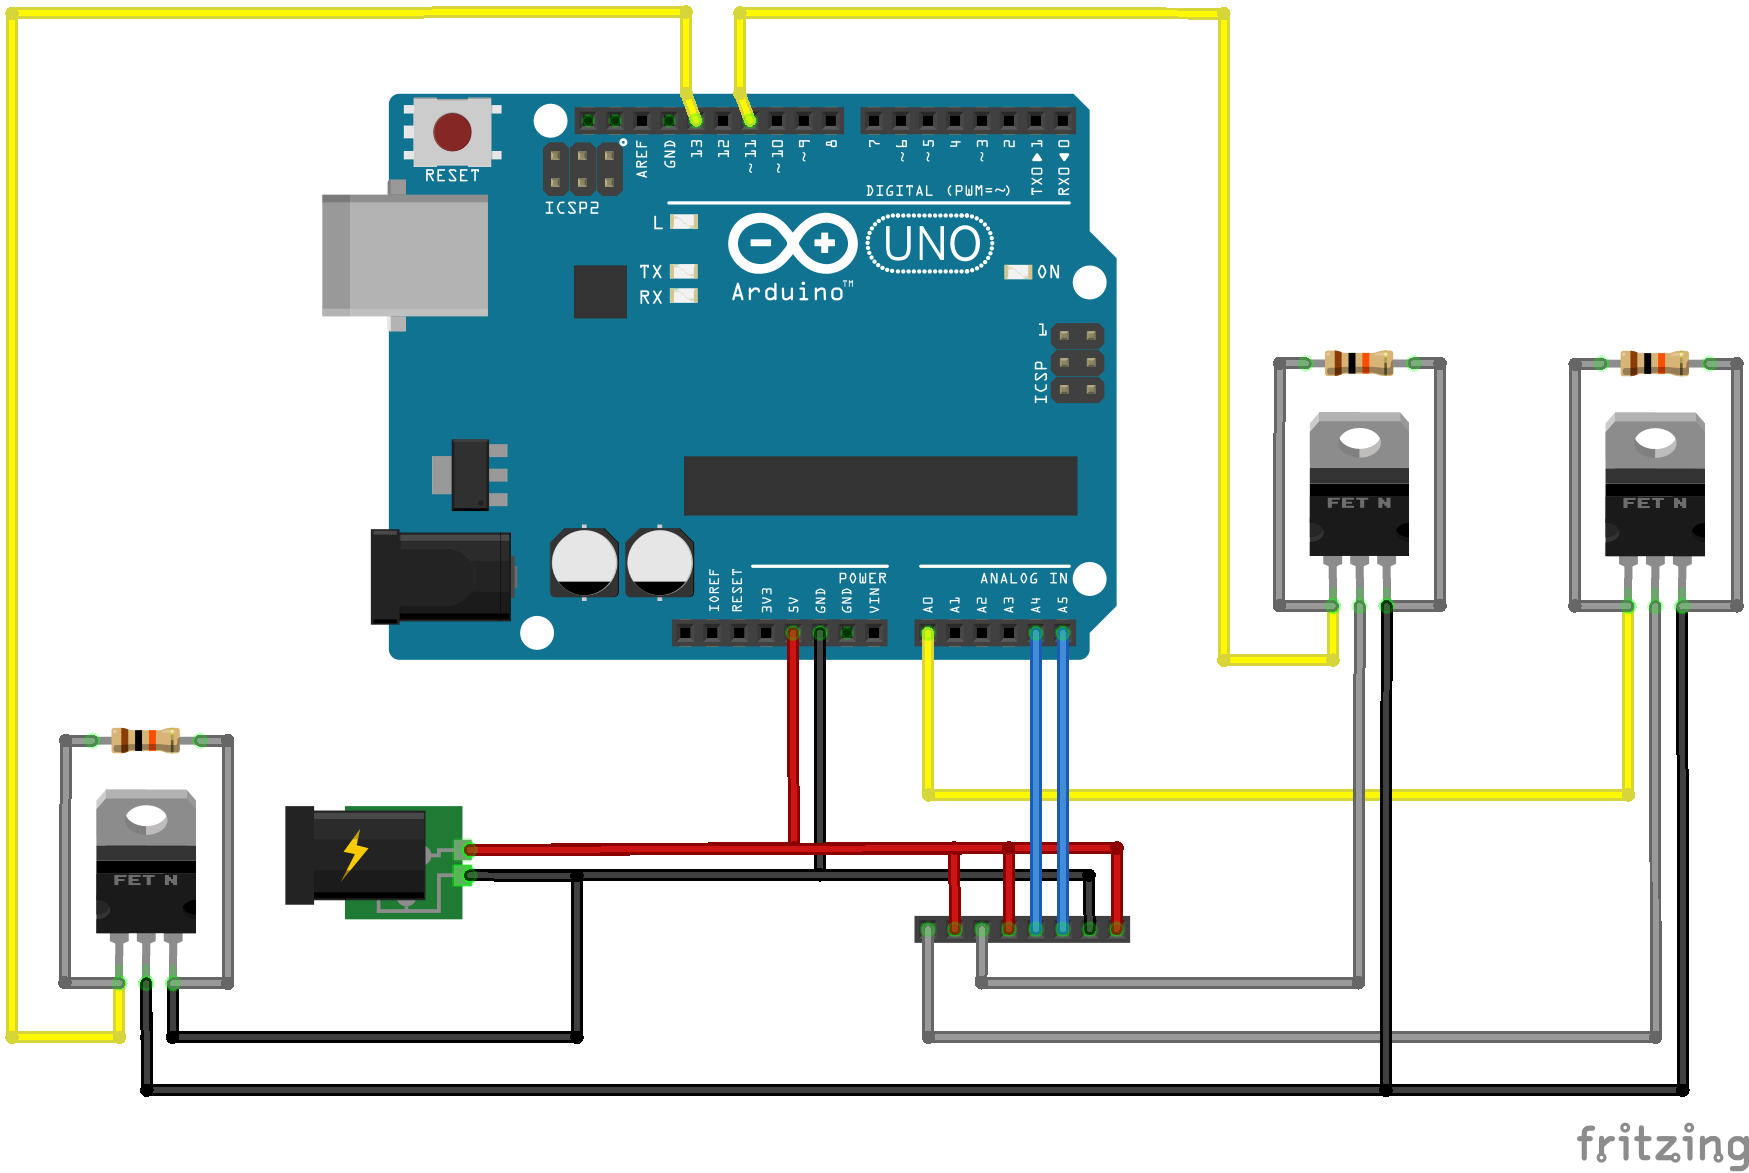
It is recommended to use the Conveyor System with Delta-Robot One. There is an hardware interface for external motors like the drive of Conveyor System. The picture below shows the schematics of this hardware interface. All Schematics for Delta Robot-One are availible also in a fritzing version...
![]()
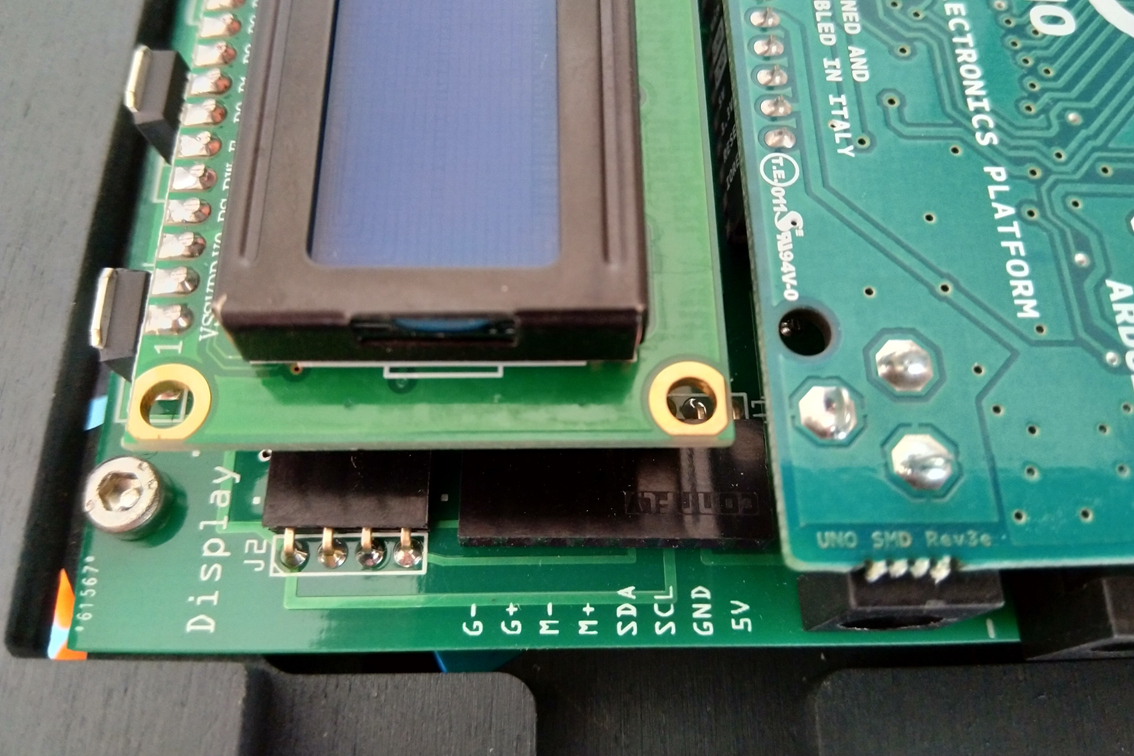
Delta-Robot One has an hardware interface on the circuit board to provide the usage of the conveyor system without any additional hardware like a motordriver or a power supply. Connect the DC-Motor of Conveyor System to your Delta-Robot One interface to M+(PWM max. 5V/4A) and M-(GND).
-
5Conveyor System and Arduino Library
(requires Delta-Robot One)
The Arduino Library for Delta-Robot One contains the code which provides the control of an external DC-Motor. So it is possible to use the conveyor system directl. If you would like to go more into detail you can do this without any problem because the software is open source.
Sourcecode: >>>One System Library<<<
We recommend to use the FullSystemDemo of OneSystemLibrary to do the first steps wit Delta-Robot One and Conveyor System. The basic functions to control the drive of Conveyor System are implemented in this demo. Use the menu of Delta-Robot One and navigate to Ext. Motor.
![]()
This function is controling an external motor connected to the pinout (M+, M-) of One Circuit Board (5V). Start and stop the motor by pressing the encoder button. Rotate the encoder to change the speed of the motor. Go back with center button.
In the next step you can write your own control function using the interface of OneSystemLibrary:
The following lines are showing the external motor example of the One System Library. Select this example at Arduino IDE to control Conveyor System.
//Create the DeltaRobotOne-Object DeltaRobotOne robot(0, 0, 0, 0, 0, 0, 0x27); void setup() { //Robot setup robot.setup(); //Power main circuit robot.power.mainOn(); //Move the robot to the home position (X=0.0,Y=0.0,Z=85.0) robot.move.ptp(home); //Clear the display robot.display.clear(); //Print out some information on display robot.display.printLine1(F("External Motor")); //Wait for 2 seconds robot.functions.waitFor(2000); } void loop() { //This example shows you how to use an external motor on the robot interface //Connect a DC-Motor to interface pins M+ (5V max) and M- (Ground) //The motor speed can be set beetween 1 and 255 //Set a high motor speed int speedValue = 255; //Start the motor // if you have a high motorspeed you can use this function in this way robot.extmotor.start(speedValue); //Wait for 2 seconds robot.functions.waitFor(2000); //Stop the motor robot.extmotor.stop(); //Wait for 2 seconds robot.functions.waitFor(2000); //Set a slow motor speed speedValue = 50; //If you have a slow motorspeed you can use the startup parameter //to set a high speed for 500 milliseconds to start the motor //Start the motor with startup function robot.extmotor.start(speedValue,true); //Wait for 2 seconds robot.functions.waitFor(2000); //Set a normal motor speed speedValue = 150; //Change the speed of the motor while the motor is running robot.extmotor.setSpeed(speedValue); //Wait for 2 seconds robot.functions.waitFor(2000); //Stop the motor robot.extmotor.stop(); //Wait for 2 seconds robot.functions.waitFor(2000); } -
6Python package one-easy-protocol
(requires Delta-Robot One)
A Python package provides the communication protocol with a high level interface to control Delta-Robot One from other systems. So you can control the robot and/or the Conveyor System easily from a system like a Raspberry Pi via USB. Use python package manager to install one-easy-protocol on your system:
Python 2 -> pip install one-easy-protocol
Python 3 -> pip3 install one-easy-protocol
Sourcecode, Tutorials and Documentation of One Easy Protocol:
>>>One Easy Protocol Python<<<
For C++ version of One Easy Protocol have a look at:
Please use the introduction at the links above to setup your remote control system. Here is an example how Conveyor System could be controled using one-easy-protocol.
//External motor control
robot.extmotor.start();
robot.functions.waitFor(2000);
robot.extmotor.setSpeed(50.0); //0.0-255.0
robot.functions.waitFor(2000);
robot.extmotor.stop();
Conveyor System for Delta-Robot One
Additional system for Delta-Robot One to transport things into the robots workingspace
 Pascal Buerger

Discussions
Become a Hackaday.io Member
Create an account to leave a comment. Already have an account? Log In.