Close
0%
0%

Greek Vocabulary Reviewer

Greek language vocabulary reviewer via an interactive panel game with arcade pushbuttons, LCD screens, LEDs and more.

Similar projects worth following
This project involves creating an interactive panel game with Arduino components to help review Greek vocabulary in a fun way that feels similar to an arcade game. You can add vocabulary words and associated images / voice recordings to the code base as you learn them, so this project can always be expanded upon.

A very warm thanks to my sponsor, Digitspace, for helping support this project by providing electrical components from their online store. Parts used for this project can be found in the components section down below. Unboxing details are in the Project logs section.

Considering that children (ages 6-12) typically understand around 12,000 words, I quickly began to realize that this would be no easy project. What makes this project more difficult, is the fact that there are no agreed upon lists of words to introduce based on grade level. So I ended up compiling my own list of words and split them up into different categories (e.g. animals, body parts, colors, etc.). I thought it would also be nice to include some kind of metric to score each word on, so the words could also be split up by levels of difficulty. For adding in difficulty rankings, I found Datayze's Word Analyzer to be the most useful. This analyzer allows you to type in a word and see its familiarity ranking based on text data from over 60,000 public ebooks found in Project Gutenberg

The vocabulary words used in this game are written into the code base itself for the prototype. Words added thus far came from my collection of Greek language books. Over time I hope to add in more words and categories.

Voice recordings were a solo effort, recorded from my mobile device (iPhone X). Looks like those 8 years of Greek school finally paid off! Images for each word were found online through Creative Commons.

ve_walk.mp3

MPEG Video - 35.19 kB - 09/14/2020 at 14:09

Download

ve_give.mp3

MPEG Video - 29.00 kB - 09/14/2020 at 14:09

Download

ve_want.mp3

MPEG Video - 24.50 kB - 09/14/2020 at 14:09

Download

ve_swim.mp3

MPEG Video - 28.44 kB - 09/14/2020 at 14:09

Download

ve_come.mp3

MPEG Video - 25.63 kB - 09/14/2020 at 14:09

Download

View all 96 files

View all 7 components

  • GVR: Game Design

    Angeliki Beyko05/03/2020 at 21:34 0 comments

    The game will start off with some flashing alternating lights and an audio cue asking the player to select a Level (buttons for levels 1-5 are off to the side of the panel).  After the player selects a level, they will see the level they selected displayed in the upper left hand corner and the next audio cue will ask the player to select the amount of words they wish to review (10, 20, 30, 40, 50, 60). These buttons are also off to the side of the panel. 

    Next, an audio cue will ask the player to select a category (i.e. food, action, places, time, etc.) and mention they can scroll through different categories by pressing the back and forth arrows (these arrows will have capacitive touch sensors underneath). 

    After a category is selected, a word will appear in Greek in the top right corner LCD display as well as hear the word through the speakers. The player then has to select which of the four screens shows the correct depiction of the word. All images displayed will belong to the same category as the word being presented. There will be a button to the right side of each screen that a player can press (until I figure out how to turn the whole screen into a button so that it would feel like an arcade button). 

    If the player selects the correct response, an audio cue will be presented and the next LED will light up. The LEDs will start lighting up from the bottom right hand corner, progressing to the left, then up, then to the right, then down.

    If the player selects an incorrect response, an audio cue will play and the last lit LED will turn off. 

  • Digitspace Sponsor: Unboxing

    Angeliki Beyko05/03/2020 at 20:50 0 comments

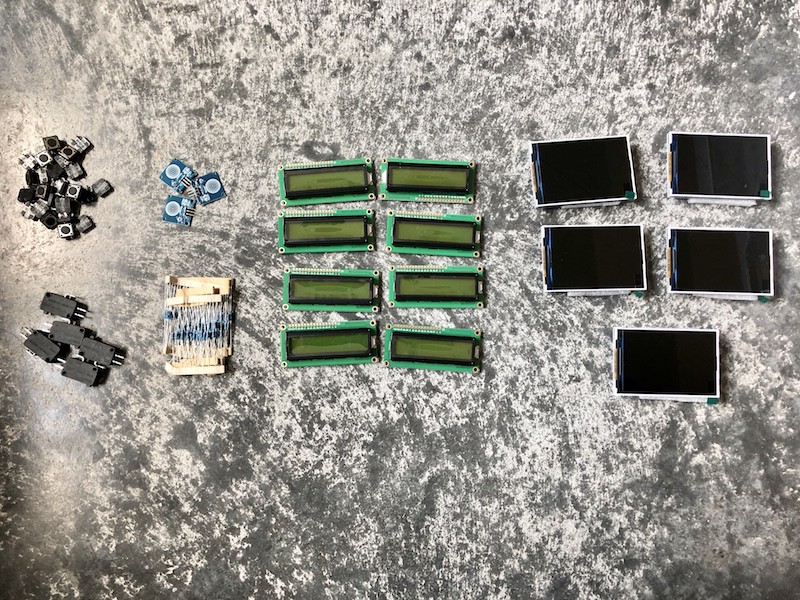
    Parts Ordered from Digitspace:

    Quantity: 6   Tactile Switch (Push Button)

    Quantity: 5    3 Terminal Microswitch

    Quantity: 5    300 Ohm Resistor

    Quantity: 8    1602 LCD Yellow Green Character Display

    Quantity: 3    1-Channel Digital Touch Capacitive Sensor Module

    Quantity: 5    Arduino Uno/Mega2560 Compatible 3.5" TFT LCD Shield

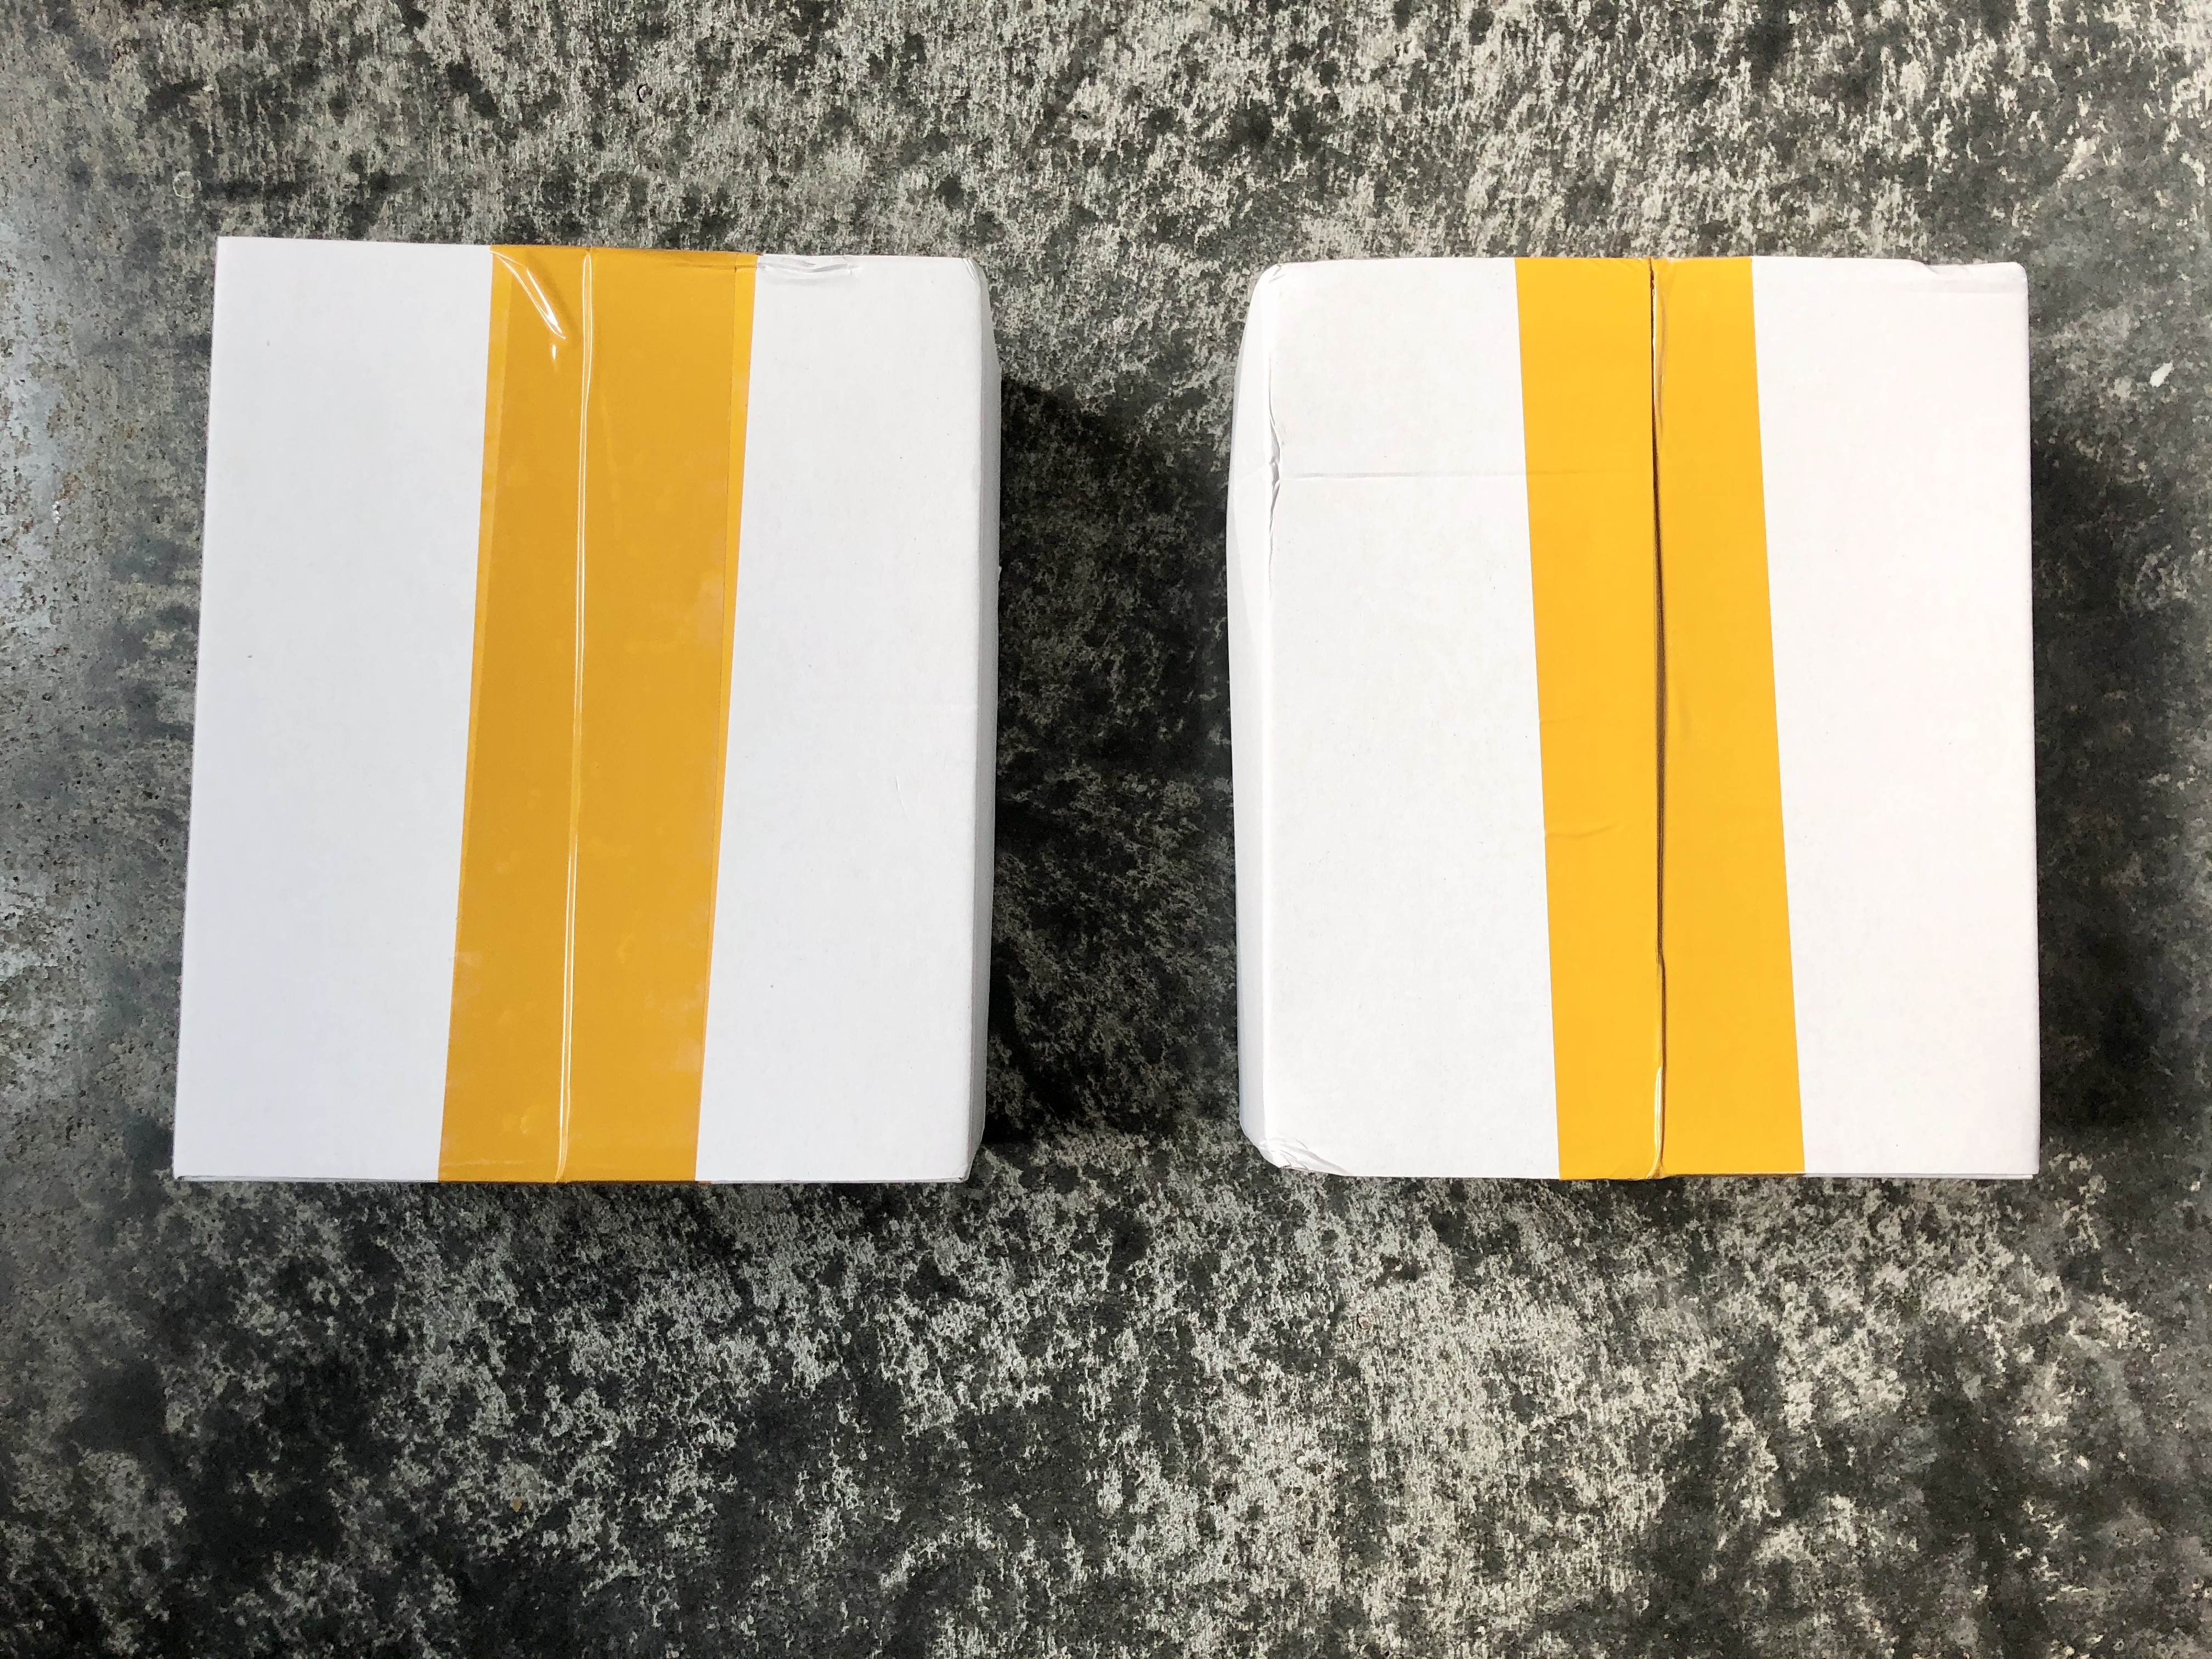
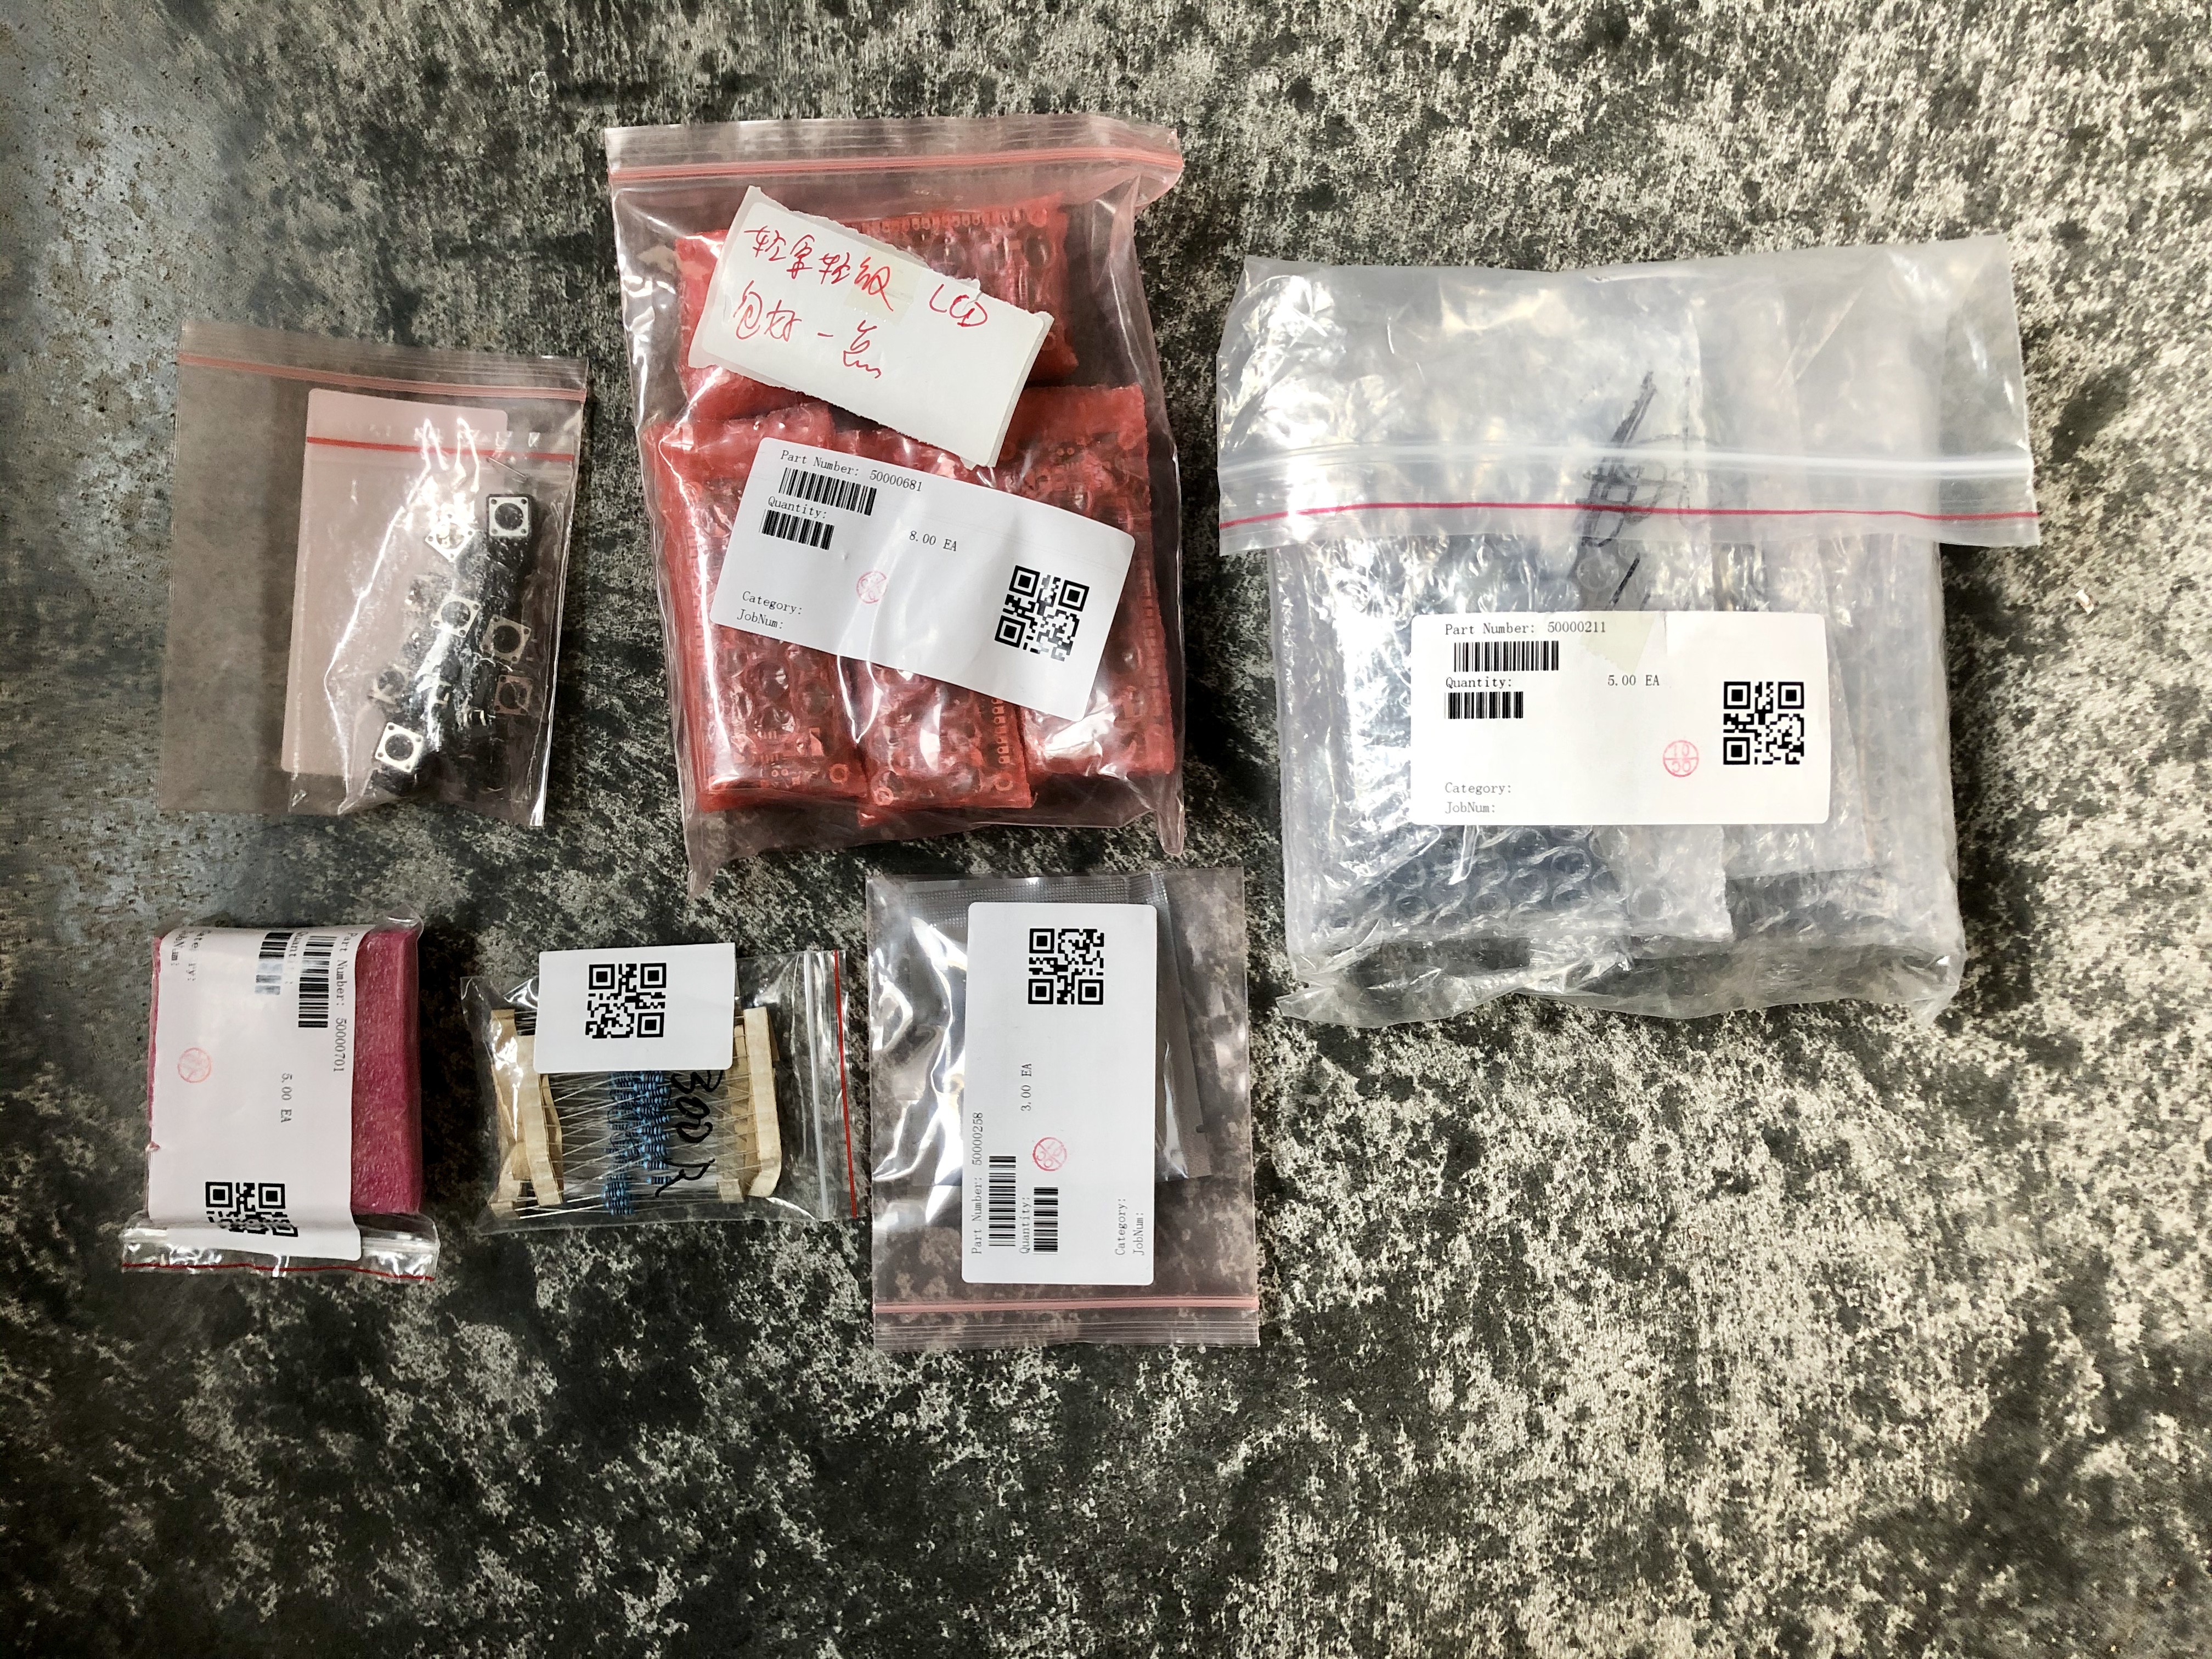
    Here are some photos of unboxing the parts that arrived:

    All of the parts were well packaged and the delivery from China took approximately less than a week using DHL shipping.

View all 2 project logs

  • 1
    Neopixel Strip - Setup and Testing

    Following this tutorial on Adafruit, test that the circuit for the led strip is working. 

    This is my modified code for this circuit so far:

    // Simple NeoPixel test.  Lights just a few pixels at a time so a
    // 1m strip can safely be powered from Arduino 5V pin.  Arduino
    // may nonetheless hiccup when LEDs are first connected and not
    // accept code.  So upload code first, unplug USB, connect pixels
    // to GND FIRST, then +5V and digital pin 6, then re-plug USB.
    // A working strip will show a few pixels moving down the line,
    // cycling between red, green and blue.  If you get no response,
    // might be connected to wrong end of strip (the end wires, if
    // any, are no indication -- look instead for the data direction
    // arrows printed on the strip).
    
    #include 
    
    #define PIN      6
    #define N_LEDS 136
    
    Adafruit_NeoPixel strip = Adafruit_NeoPixel(N_LEDS, PIN, NEO_GRB + NEO_KHZ800);
    
    void setup() {
      strip.begin();
    }
    
    void loop() {
      chase(strip.Color(255, 0, 0)); // Red
      chase(strip.Color(0, 255, 0)); // Green
      chase(strip.Color(0, 0, 255)); // Blue
    }
    
    static void chase(uint32_t c) {
      for(uint16_t i=0; i4; i++) {
          strip.setPixelColor(i  , c); // Draw new pixel
          strip.setPixelColor(i-4, 0); // Erase pixel a few steps back
          strip.show();
          delay(25);
      }
    }

    Here is a video of what the LEDs should look like when plugged into power, after you upload the code to the Arduino Mega:

  • 2
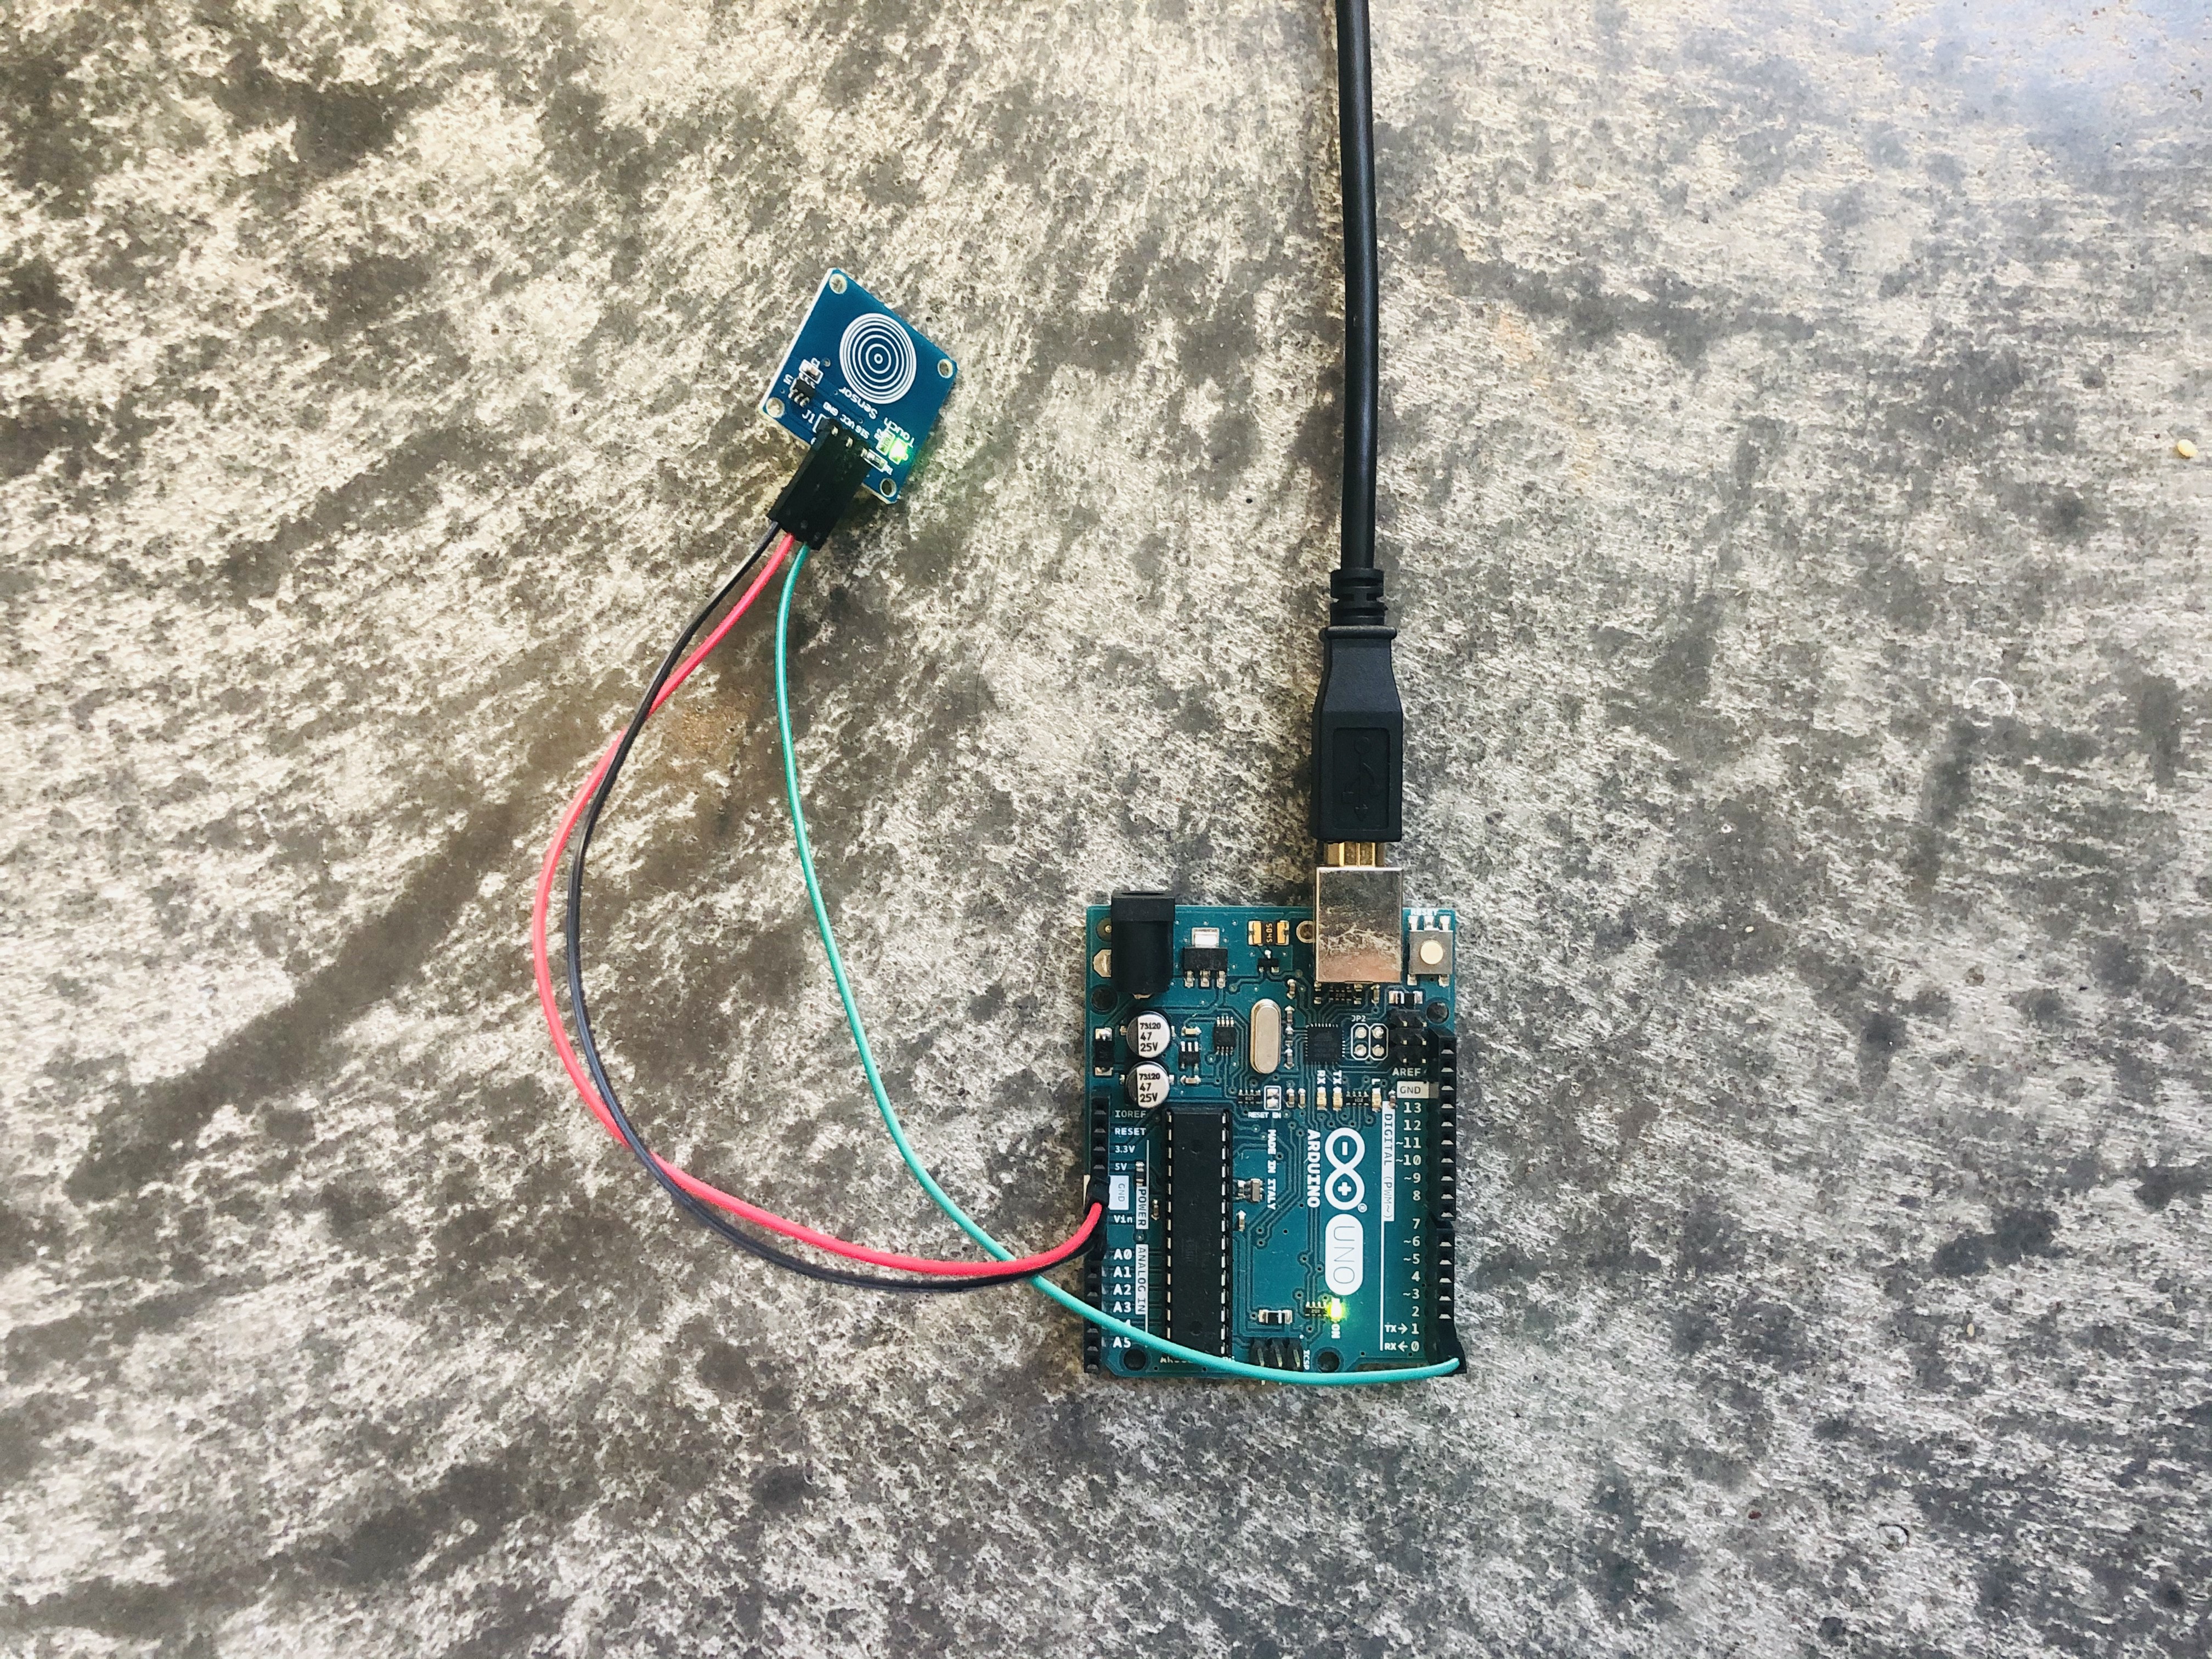
    Capacitive Touch Sensor Modules - Setup and Testing

    Code for testing the capacitive touch sensor module below:

    #define touchPin 2
      
    int ledPin = 13;
     
    void setup() {
      Serial.begin(9600);
      pinMode(ledPin, OUTPUT);
      pinMode(touchPin, INPUT);
    }
     
    void loop() {
      int touchValue = digitalRead(touchPin);
      if (touchValue == HIGH) {
        Serial.println("TOUCHED");
        digitalWrite(ledPin, HIGH);
      } else {
        digitalWrite(ledPin, LOW);
      }
      delay(350);
    }

    Video demo:

  • 3
    Music Maker MP3 Shield - Setup and Testing

    Code below modified from player_simple example under the VS1053 library examples. Instructions on how to find this are here:

    https://learn.adafruit.com/adafruit-music-maker-shield-vs1053-mp3-wav-wave-ogg-vorbis-player/installing-software

    Note: Your music player files that are stored on your SD card must follow a 8.3 format. That is: up to 8 characters max, followed by a dot, followed by a 3 letter extension. For example: "track001.mp3".

    /*************************************************** 
      This is an example for the Adafruit VS1053 Codec Breakout
    
      Designed specifically to work with the Adafruit VS1053 Codec Breakout 
      ----> https://www.adafruit.com/products/1381
    
      Adafruit invests time and resources providing this open source code, 
      please support Adafruit and open-source hardware by purchasing 
      products from Adafruit!
    
      Written by Limor Fried/Ladyada for Adafruit Industries.  
      BSD license, all text above must be included in any redistribution
     ****************************************************/
    
    // include SPI, MP3 and SD libraries
    #include 
    #include 
    #include 
    
    // These are the pins used for the music maker shield
    #define SHIELD_RESET  -1      // VS1053 reset pin (unused!)
    #define SHIELD_CS     7      // VS1053 chip select pin (output)
    #define SHIELD_DCS    6      // VS1053 Data/command select pin (output)
    
    // These are common pins between breakout and shield
    #define CARDCS 4     // Card chip select pin
    #define DREQ 3       // VS1053 Data request, ideally an Interrupt pin
    
    Adafruit_VS1053_FilePlayer musicPlayer = 
      Adafruit_VS1053_FilePlayer(SHIELD_RESET, SHIELD_CS, SHIELD_DCS, DREQ, CARDCS);
      
    void setup() {
      Serial.begin(9600);
      Serial.println("Adafruit VS1053 Simple Test");
    
      if (! musicPlayer.begin()) { // initialise the music player
         Serial.println(F("Couldn't find VS1053, do you have the right pins defined?"));
         while (1);
      }
      
      Serial.println(F("VS1053 found"));
      
       if (!SD.begin(CARDCS)) {
        Serial.println(F("SD failed, or not present"));
        while (1);  // don't do anything more
      }
      
      // Set volume for left, right channels. lower numbers == louder volume!
      musicPlayer.setVolume(1,1);
    }
    
    void loop() {
      Serial.println(F("Playing pro00001"));
      musicPlayer.playFullFile("prompts/pro00001.mp3");
      delay(1000);
    }
    

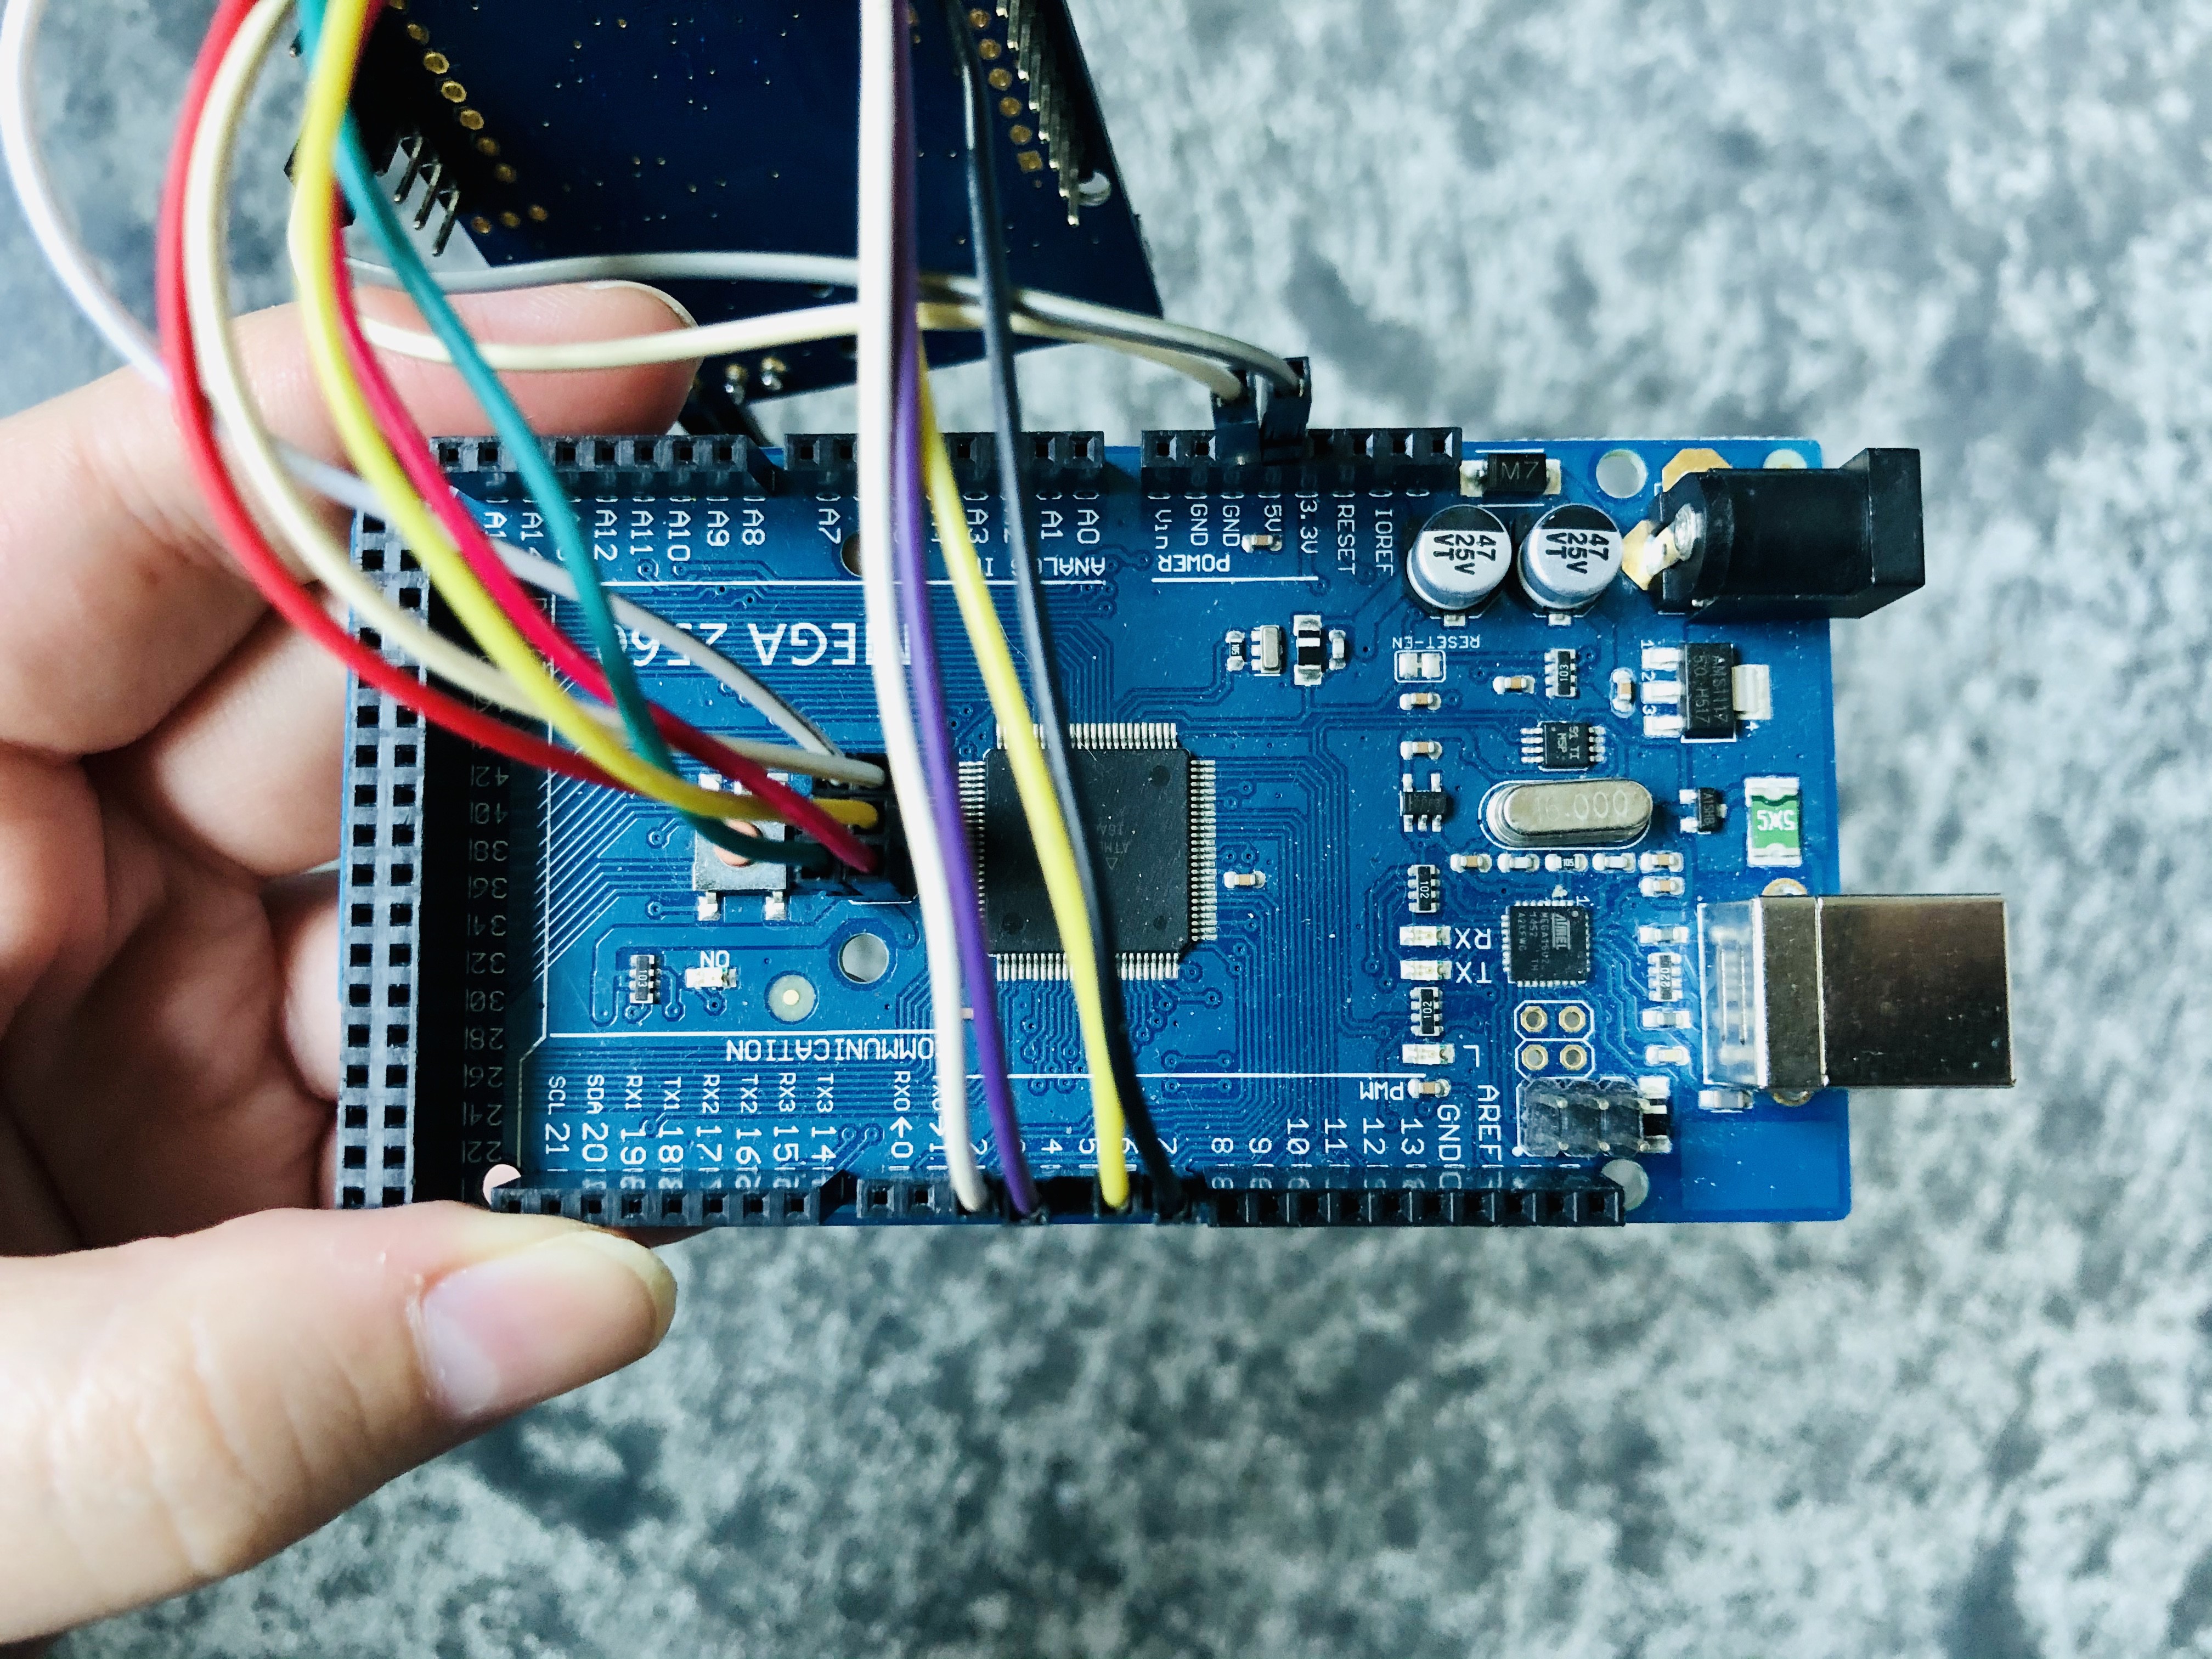
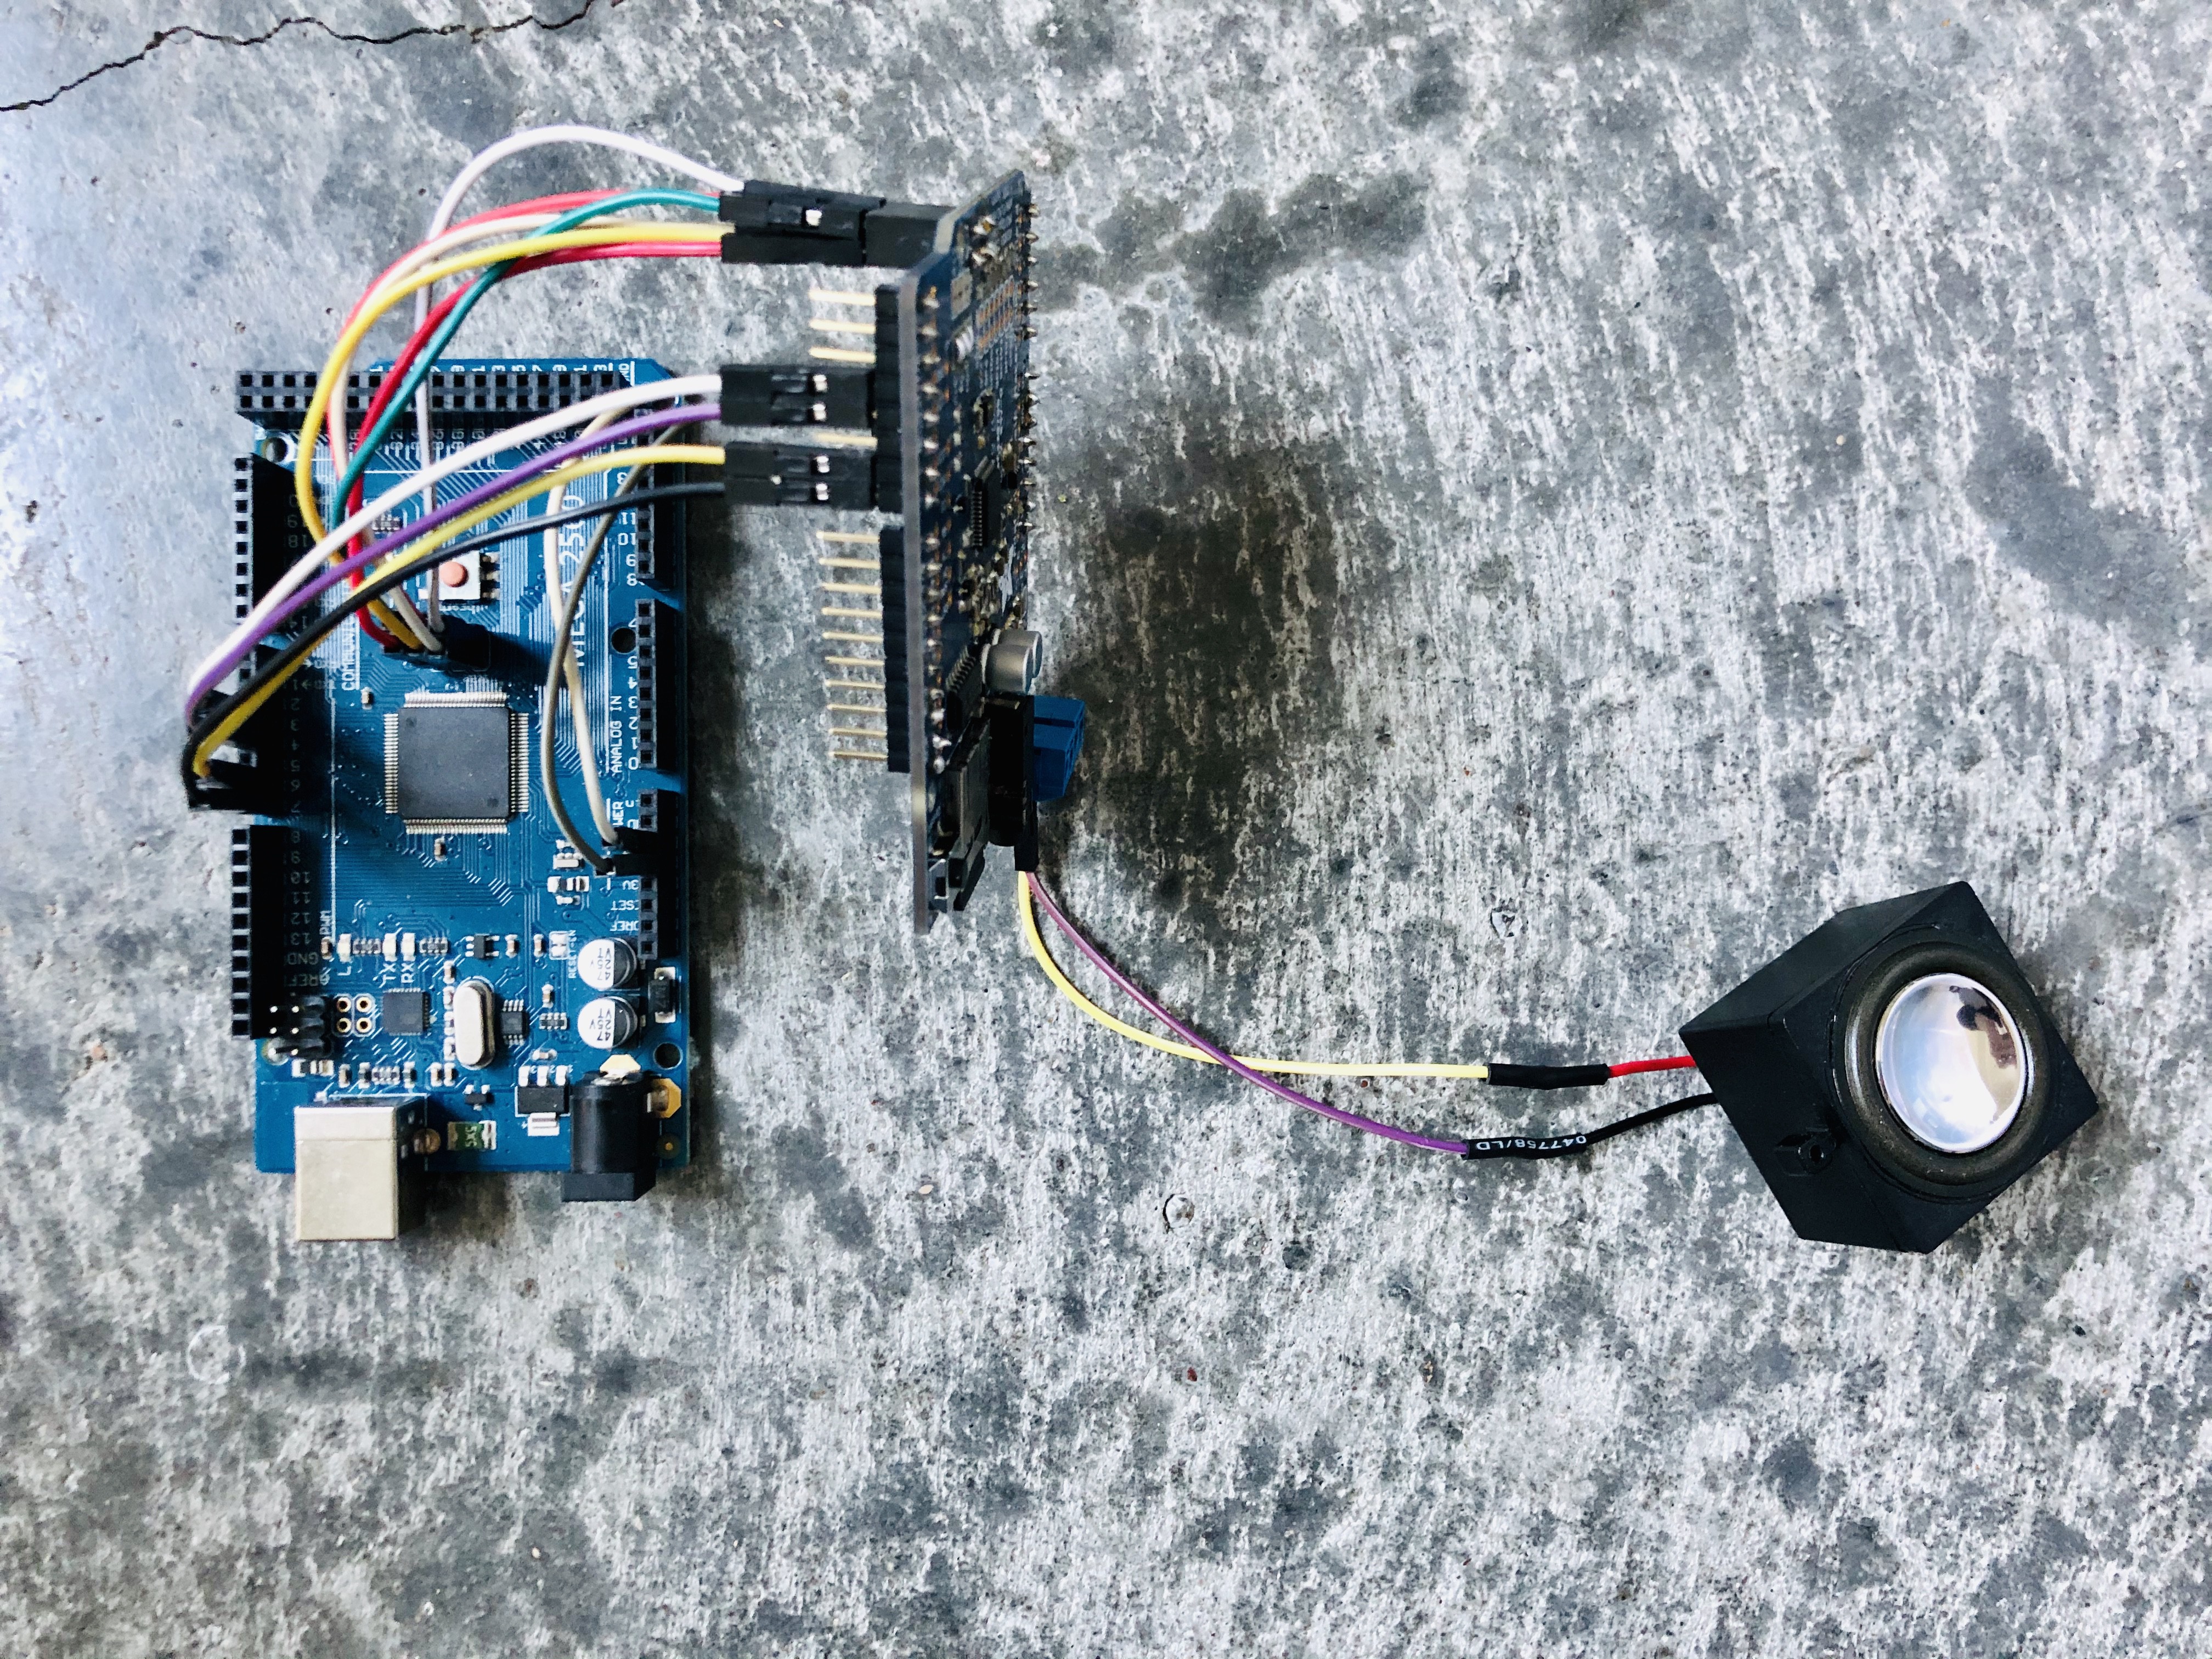
    There is some extra soldering you have to do, to play music on the music maker mp3 shield by Adafruit on the Arduino Mega 2560. Basically you want to solder across the ICSP jumpers on the shield. See link below for more info and instructions:

    https://learn.adafruit.com/adafruit-music-maker-shield-vs1053-mp3-wav-wave-ogg-vorbis-player/pinouts

    In the files section of this project, you can find all 96 greek word recordings (12 recordings for each of the 8 categories).

View all 9 instructions

Enjoy this project?

Share

Discussions

Similar Projects

Does this project spark your interest?

Become a member to follow this project and never miss any updates