 Dylan Radcliffe
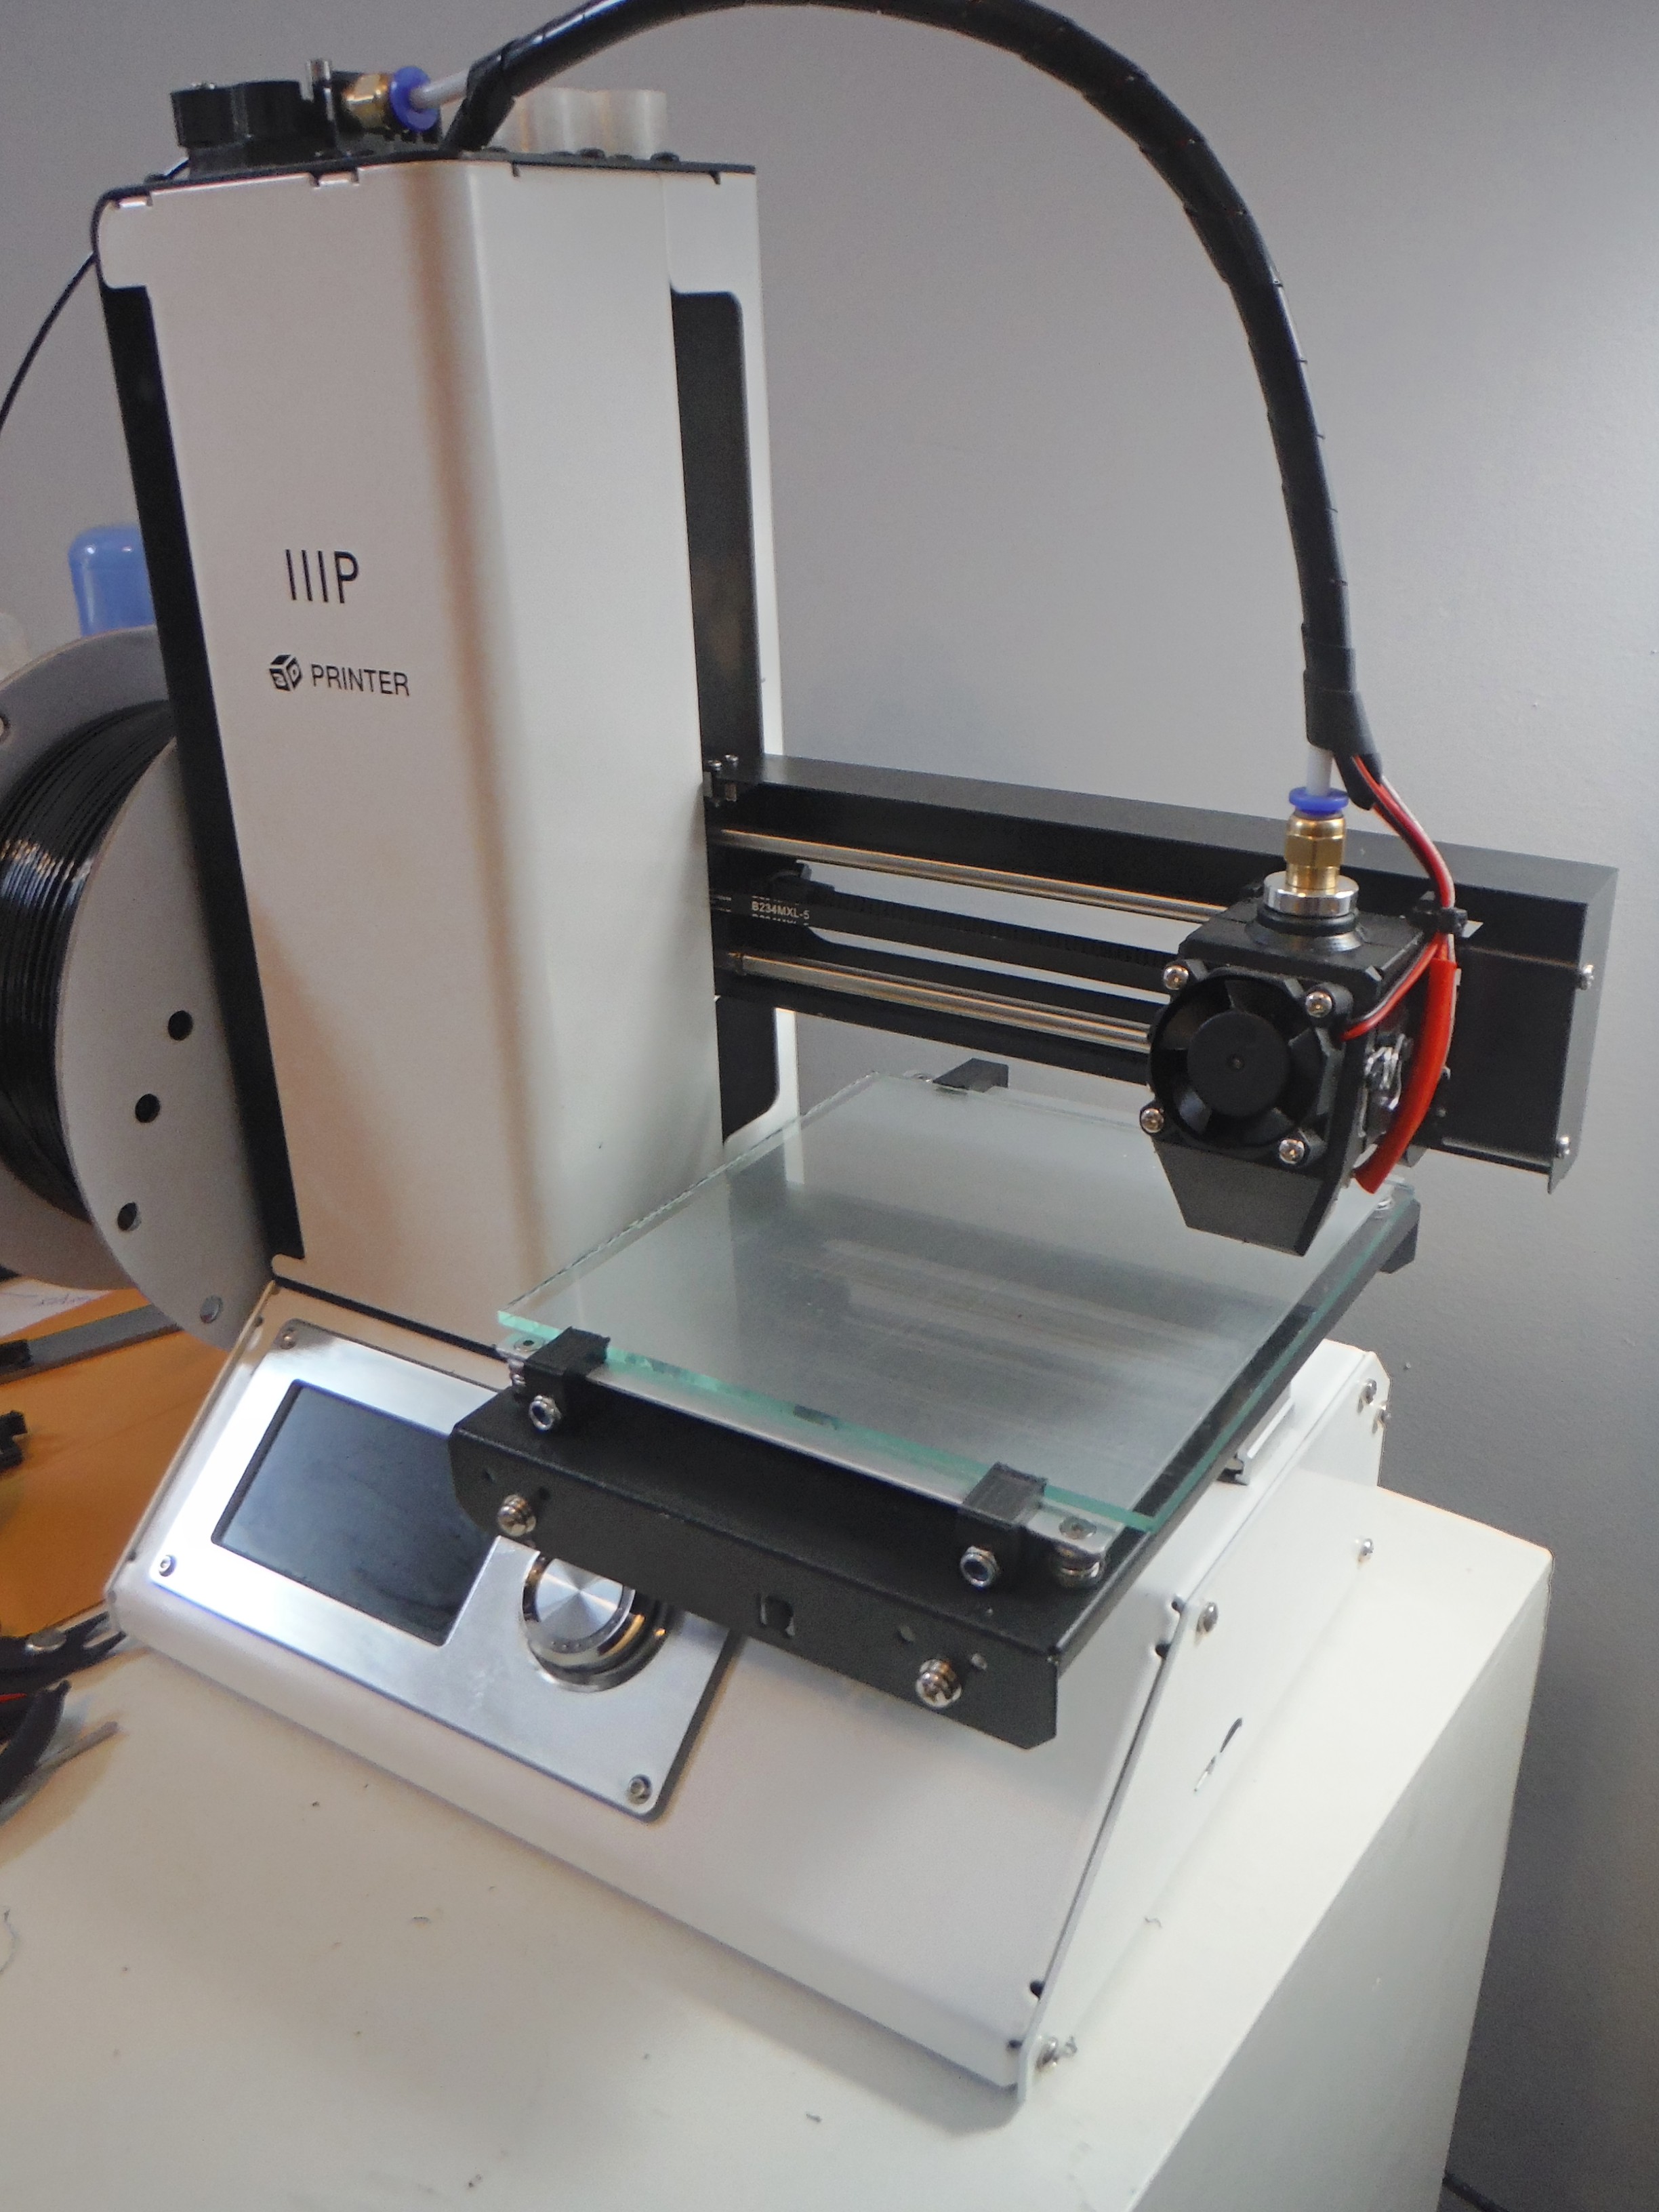
Over the past several months I’ve been working with the Monoprice Select Mini V2 it is a solid printer right out of the box especially for the price. Despite all of the amazing things about this printer, it does come with a couple of small flaws, many of which can be fixed for pennies with a simple print and some cheap hardware. Today we’ll look at the glass bed upgrade.
There are a plethora of upgrades that can be found on thingiverse.com for this printer, which is a testament to the incredible community around it. Not all mods are created equal, and I’ll be going over a couple of the ones that I’ve settled on to fix some of the common issues.
First up is a glass bed upgrade. The stock build plate on the mini has great bed adhesion, however the aluminum bed has a tendency to warp and deform in funny ways, especially at higher bed temperatures. It very quickly got so bad on my printer that it became apparent that it needed to be fixed. Using alligator clips and a glass bed was a quick and easy temporary solution to the problem, however the clearance of the z axis gantry was not enough to make this a long term fix as they severely reduced the size of the Y axis and had a tendency to come loose as the build surface moved back and forth.
The Build:
I explored a couple of printable solutions to the problem and I settled on ntdesign’s glass bedclips. These bedclips get around the problem of shifting on the Y axis, as many other solutions rely on spring power to force the bed into position which still allows a slight amount of play in the y-axis. With this mod the glass build plate is rock solid and has virtually no play. There are two downsides to this mod that I decided I could live with. First, the bed is difficult to remove once installed, I rarely remove the bed, so this wasn’t an issue. Second you need to be fairly precise when cutting the glass bed, if you cut the glass a little two small, it will allow the plate to shift while printing.
Materials You Need:
- 140mm x 140mm x 3mm glass sheet (Getting the dimensions as close as possible is important on this fix)
- 4 M4 Nuts
- 2 M4 nylock nuts.
- 2 M4 Washers
- 2 180mm M4 Threaded rod
- Goo-Gone (Recommended)
- Printed bedclips in PETG (PLA parts will warp under the heat of the bed)
- Printed 3mm bed spacer such as this one.
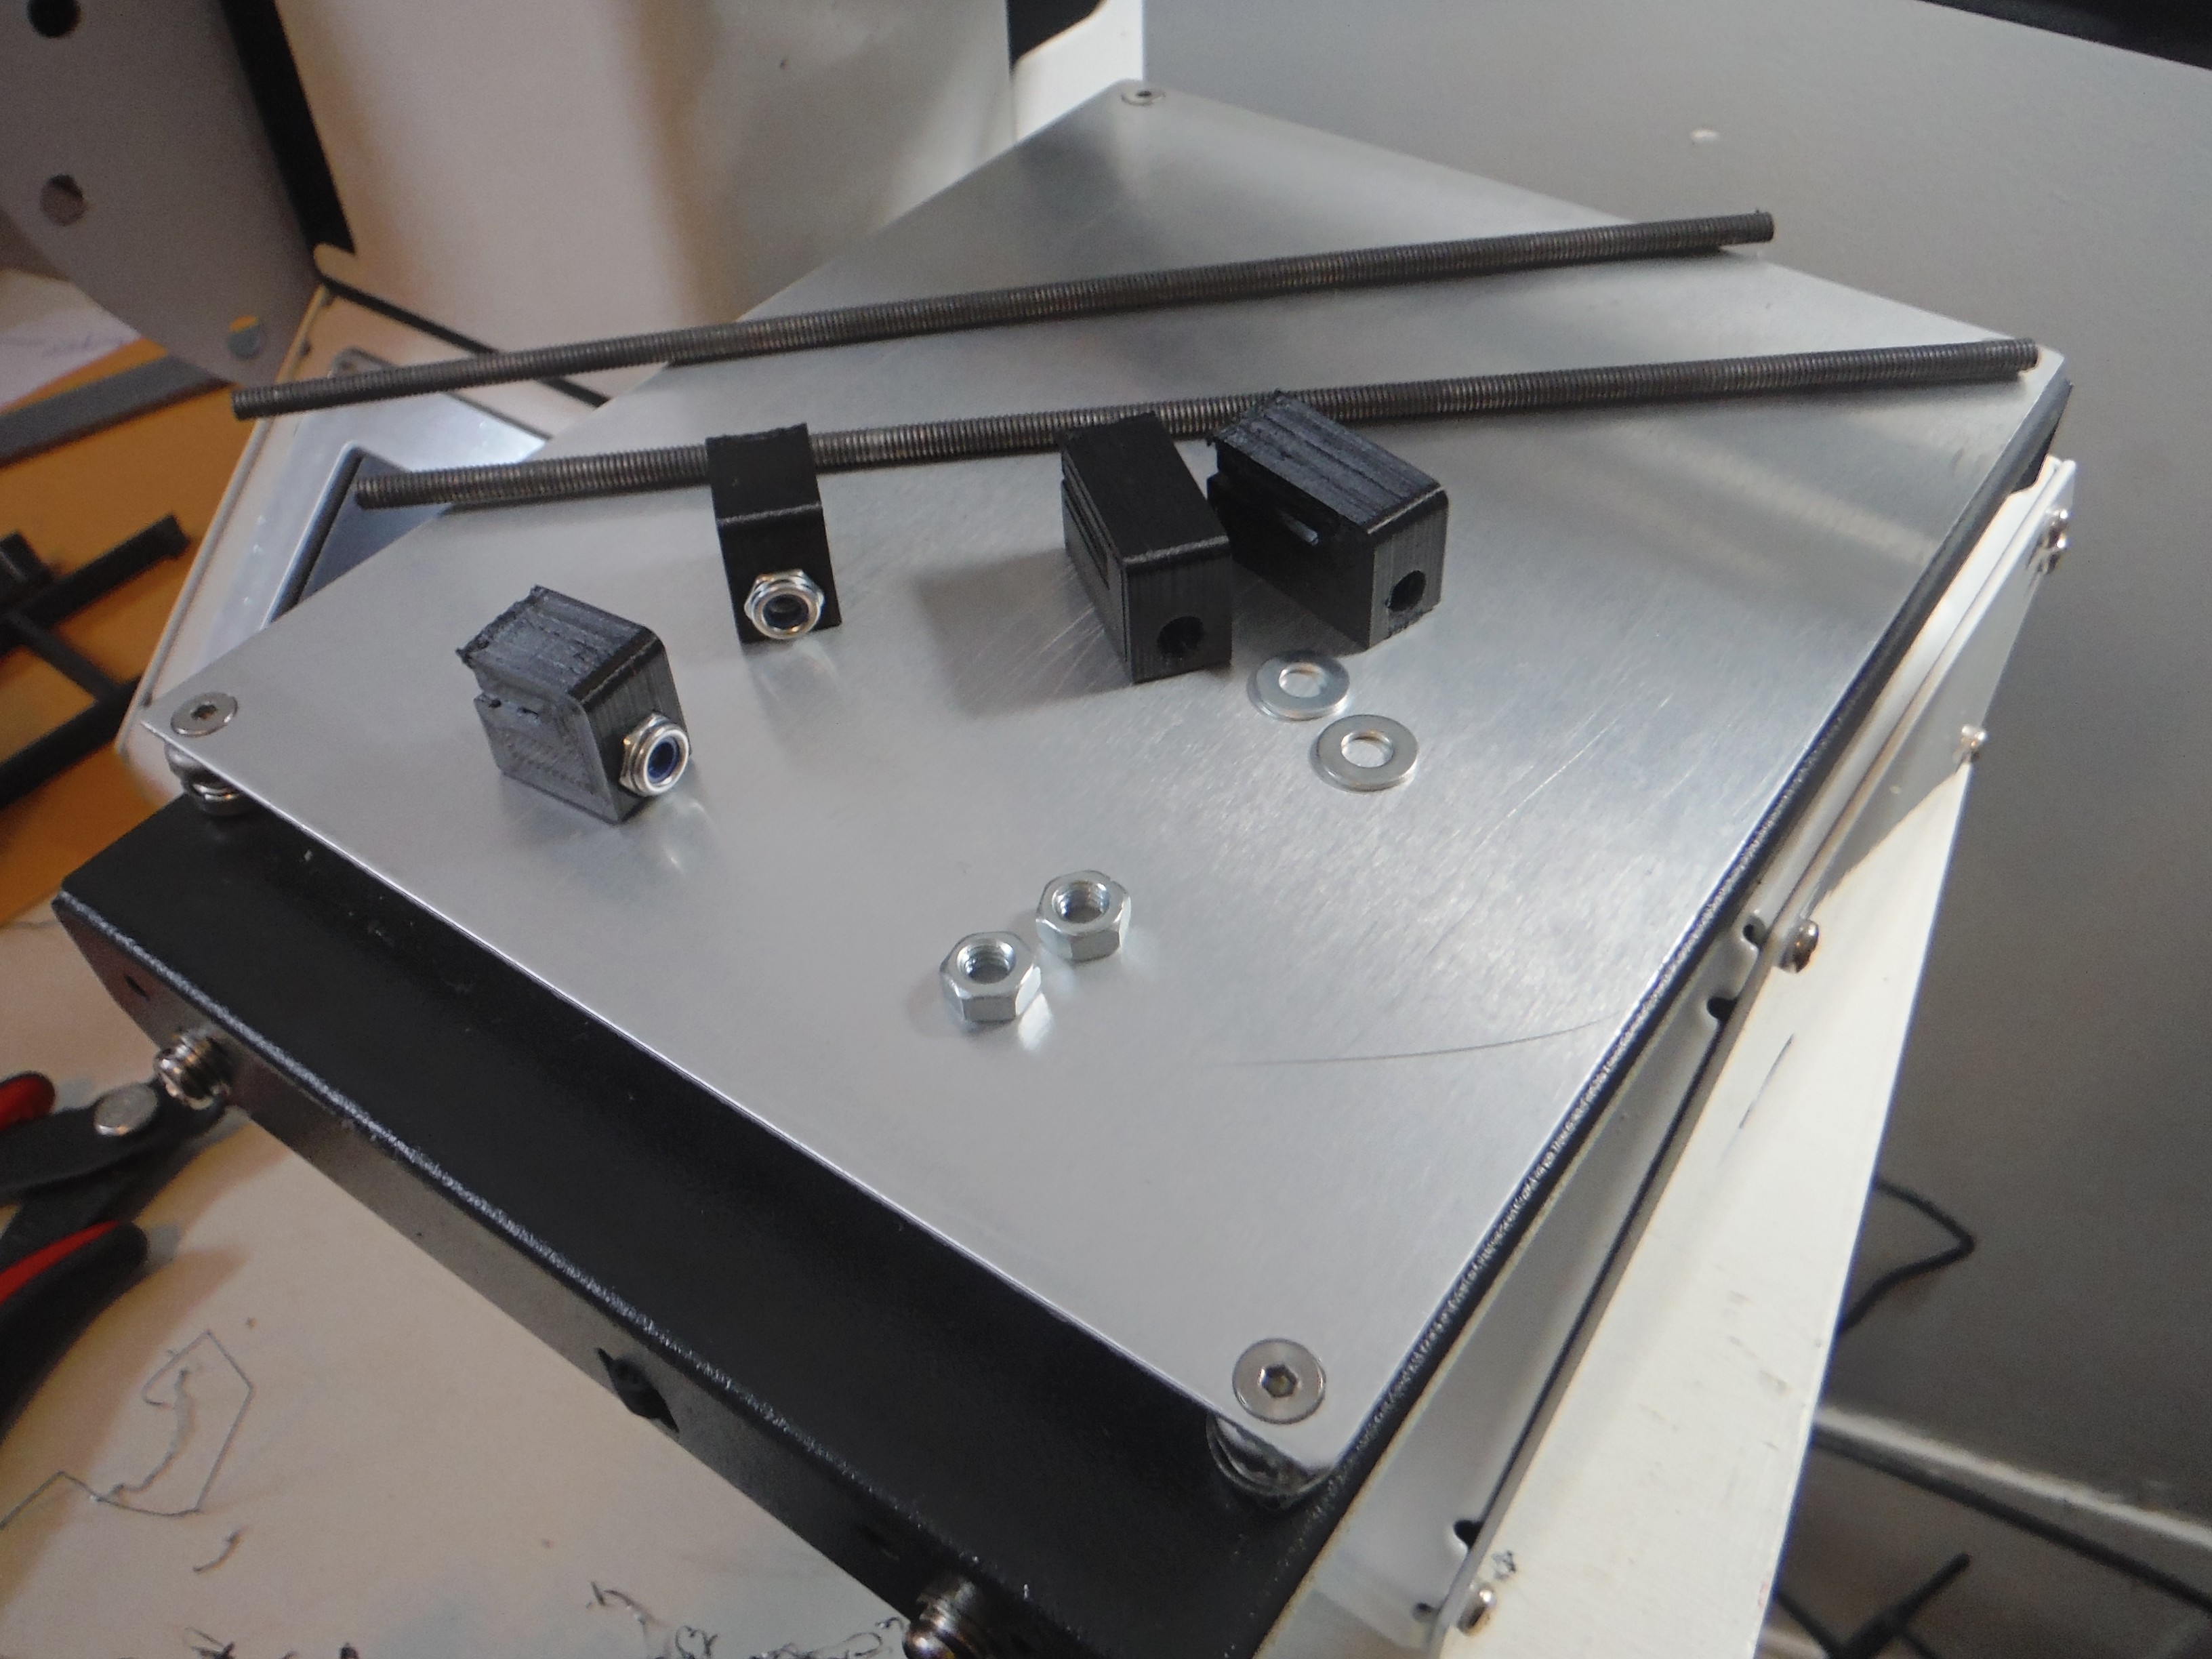
I’d recommend as with many mods you start by moving the Z axis gantry to a higher position. Start by removing the build tack surface on the mini to reveal the aluminum surface. You will likely need to use some goo gone to completely clean the surface. Once you get it to the point as it appears below you can install the parts.
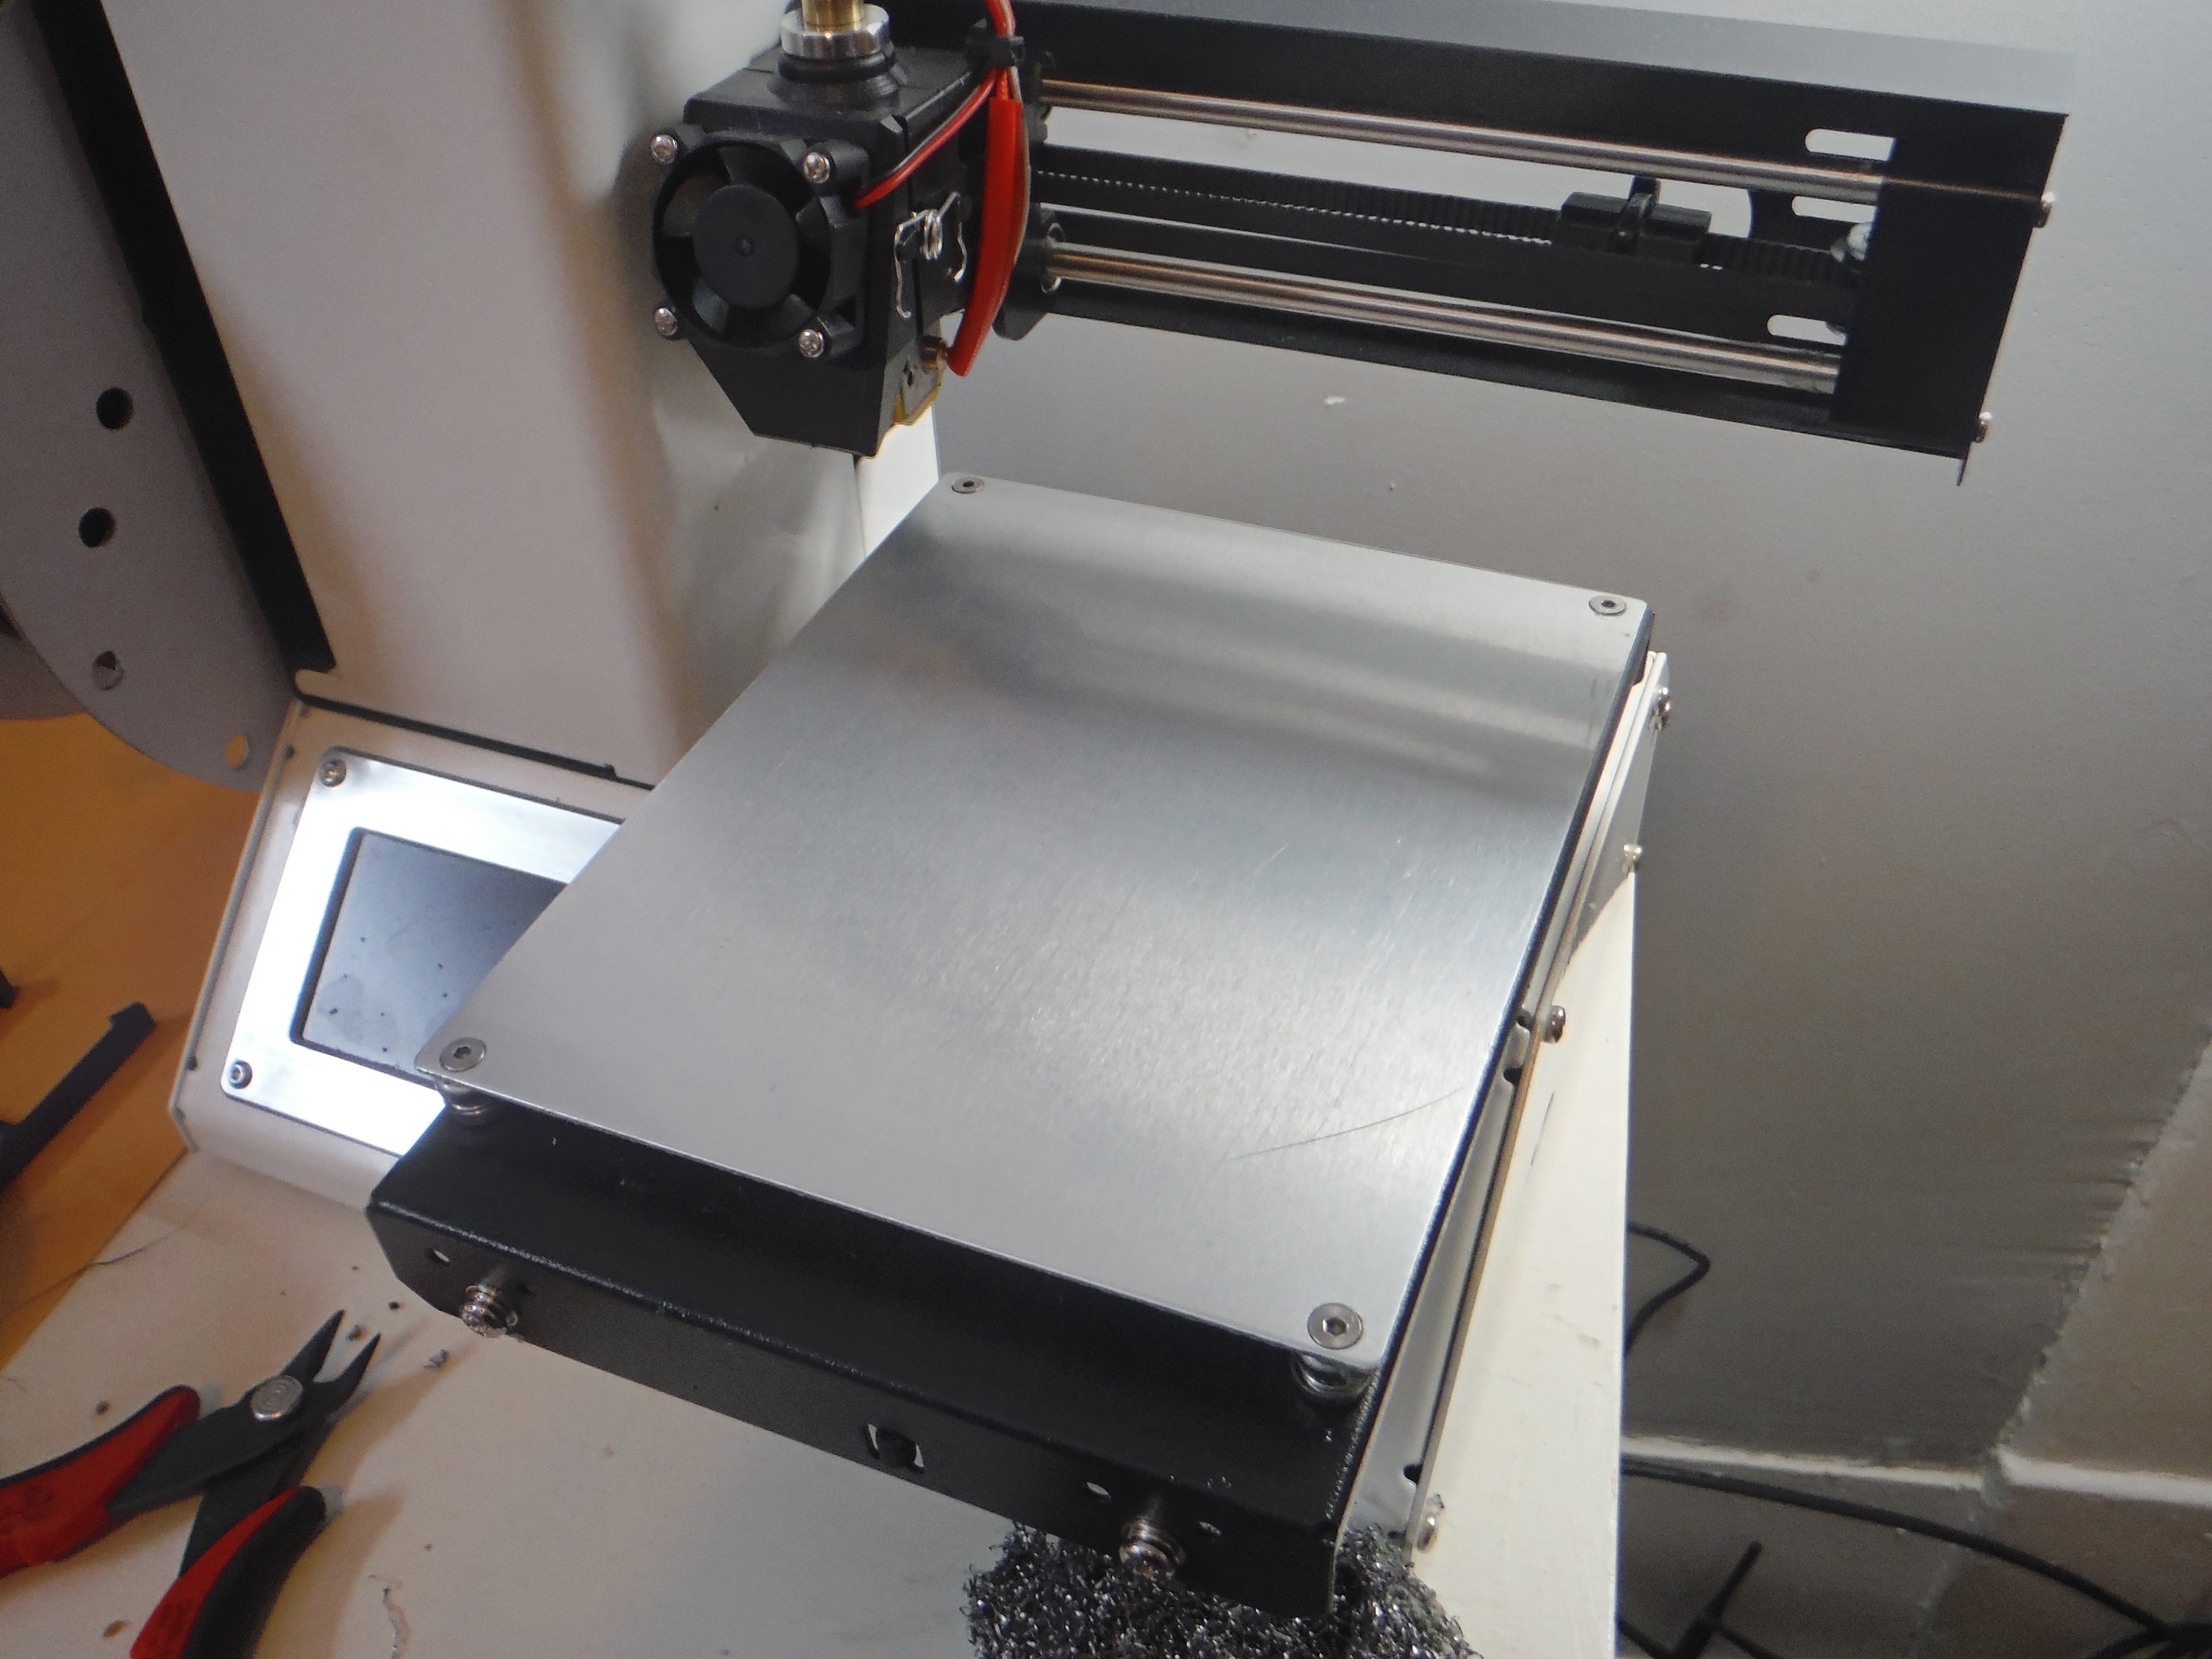
Place the threaded rods below the bed and install them on the front bed clips. Be sure to install the nylock nuts on the outside face of the clips. Loosely place the back brackets on the threaded rods and place the glass bed in place. Tighten the entire assembly together and it should appear as in the above picture.
The glass bed is rock solid and I have been using it for a couple months now. The absence of any play in the build surface means parts come out with a bit less Z layer banding than on many of the other bed clip options. Additionally the bed rarely requires any adjustments to its height. A quick spritz of hairspray once every so often will keep this bed printing rock solid parts. Once you have the bed in place you can truly press start and leave it be. Next up we’ll look at the E3Dv6 extruder carriage designed by U.S Water Rockets.
Discussions
Become a Hackaday.io Member
Create an account to leave a comment. Already have an account? Log In.