Rendering 16x16 pixel graphics at 60 FPS via JavaScript on a hacked IKEA FREKVENS LED light.
I embarked on this project just about a week before Toronto went into shutdown due to the COVID-19 pandemic. I had already purchased the FREKVENS cube, with plans of doing something with it, while not being quite sure what. The entire project ended up being realized with just materials that were lying around. I mustered the courage to get cracking (and also kinda waited to share the fun, and also rely on his expertise) one weekend when my good friend Nick Matantsev came over. We pried open the box together, while somewhat exercising social distancing (Again, this was a week before things around there got really serious).
And it organically evolved into this Rube-Goldberg-like contraption, taking a long path to just rendering an animation on an LED screen:
- The author writes a time-based animation scene in JavaScript on a minimalistic rendering runtime using a web interface
- Upon submitting, the JavaScript is broadcast to rendering clients via WebSockets
- Inside the FREKVENS cube is a WiFi-connected Linux computer (Onion Omega 2+) that runs a Node.js daemon that picks up the JavaScript scene and starts sending rendered frames to a Node.js extension written in C++ (aka the driver)
- The driver uses GPIO to send pixel data to the LED controller
- All the clients send time synchronization requests to the server to be aware of the time delta to the one and only physical rendering client (the cube)
- Regardless of which screen (or the physical cube) you're looking at, all the rendering is in unison
All the code is open-source and the GitHub repository links are in the project details.
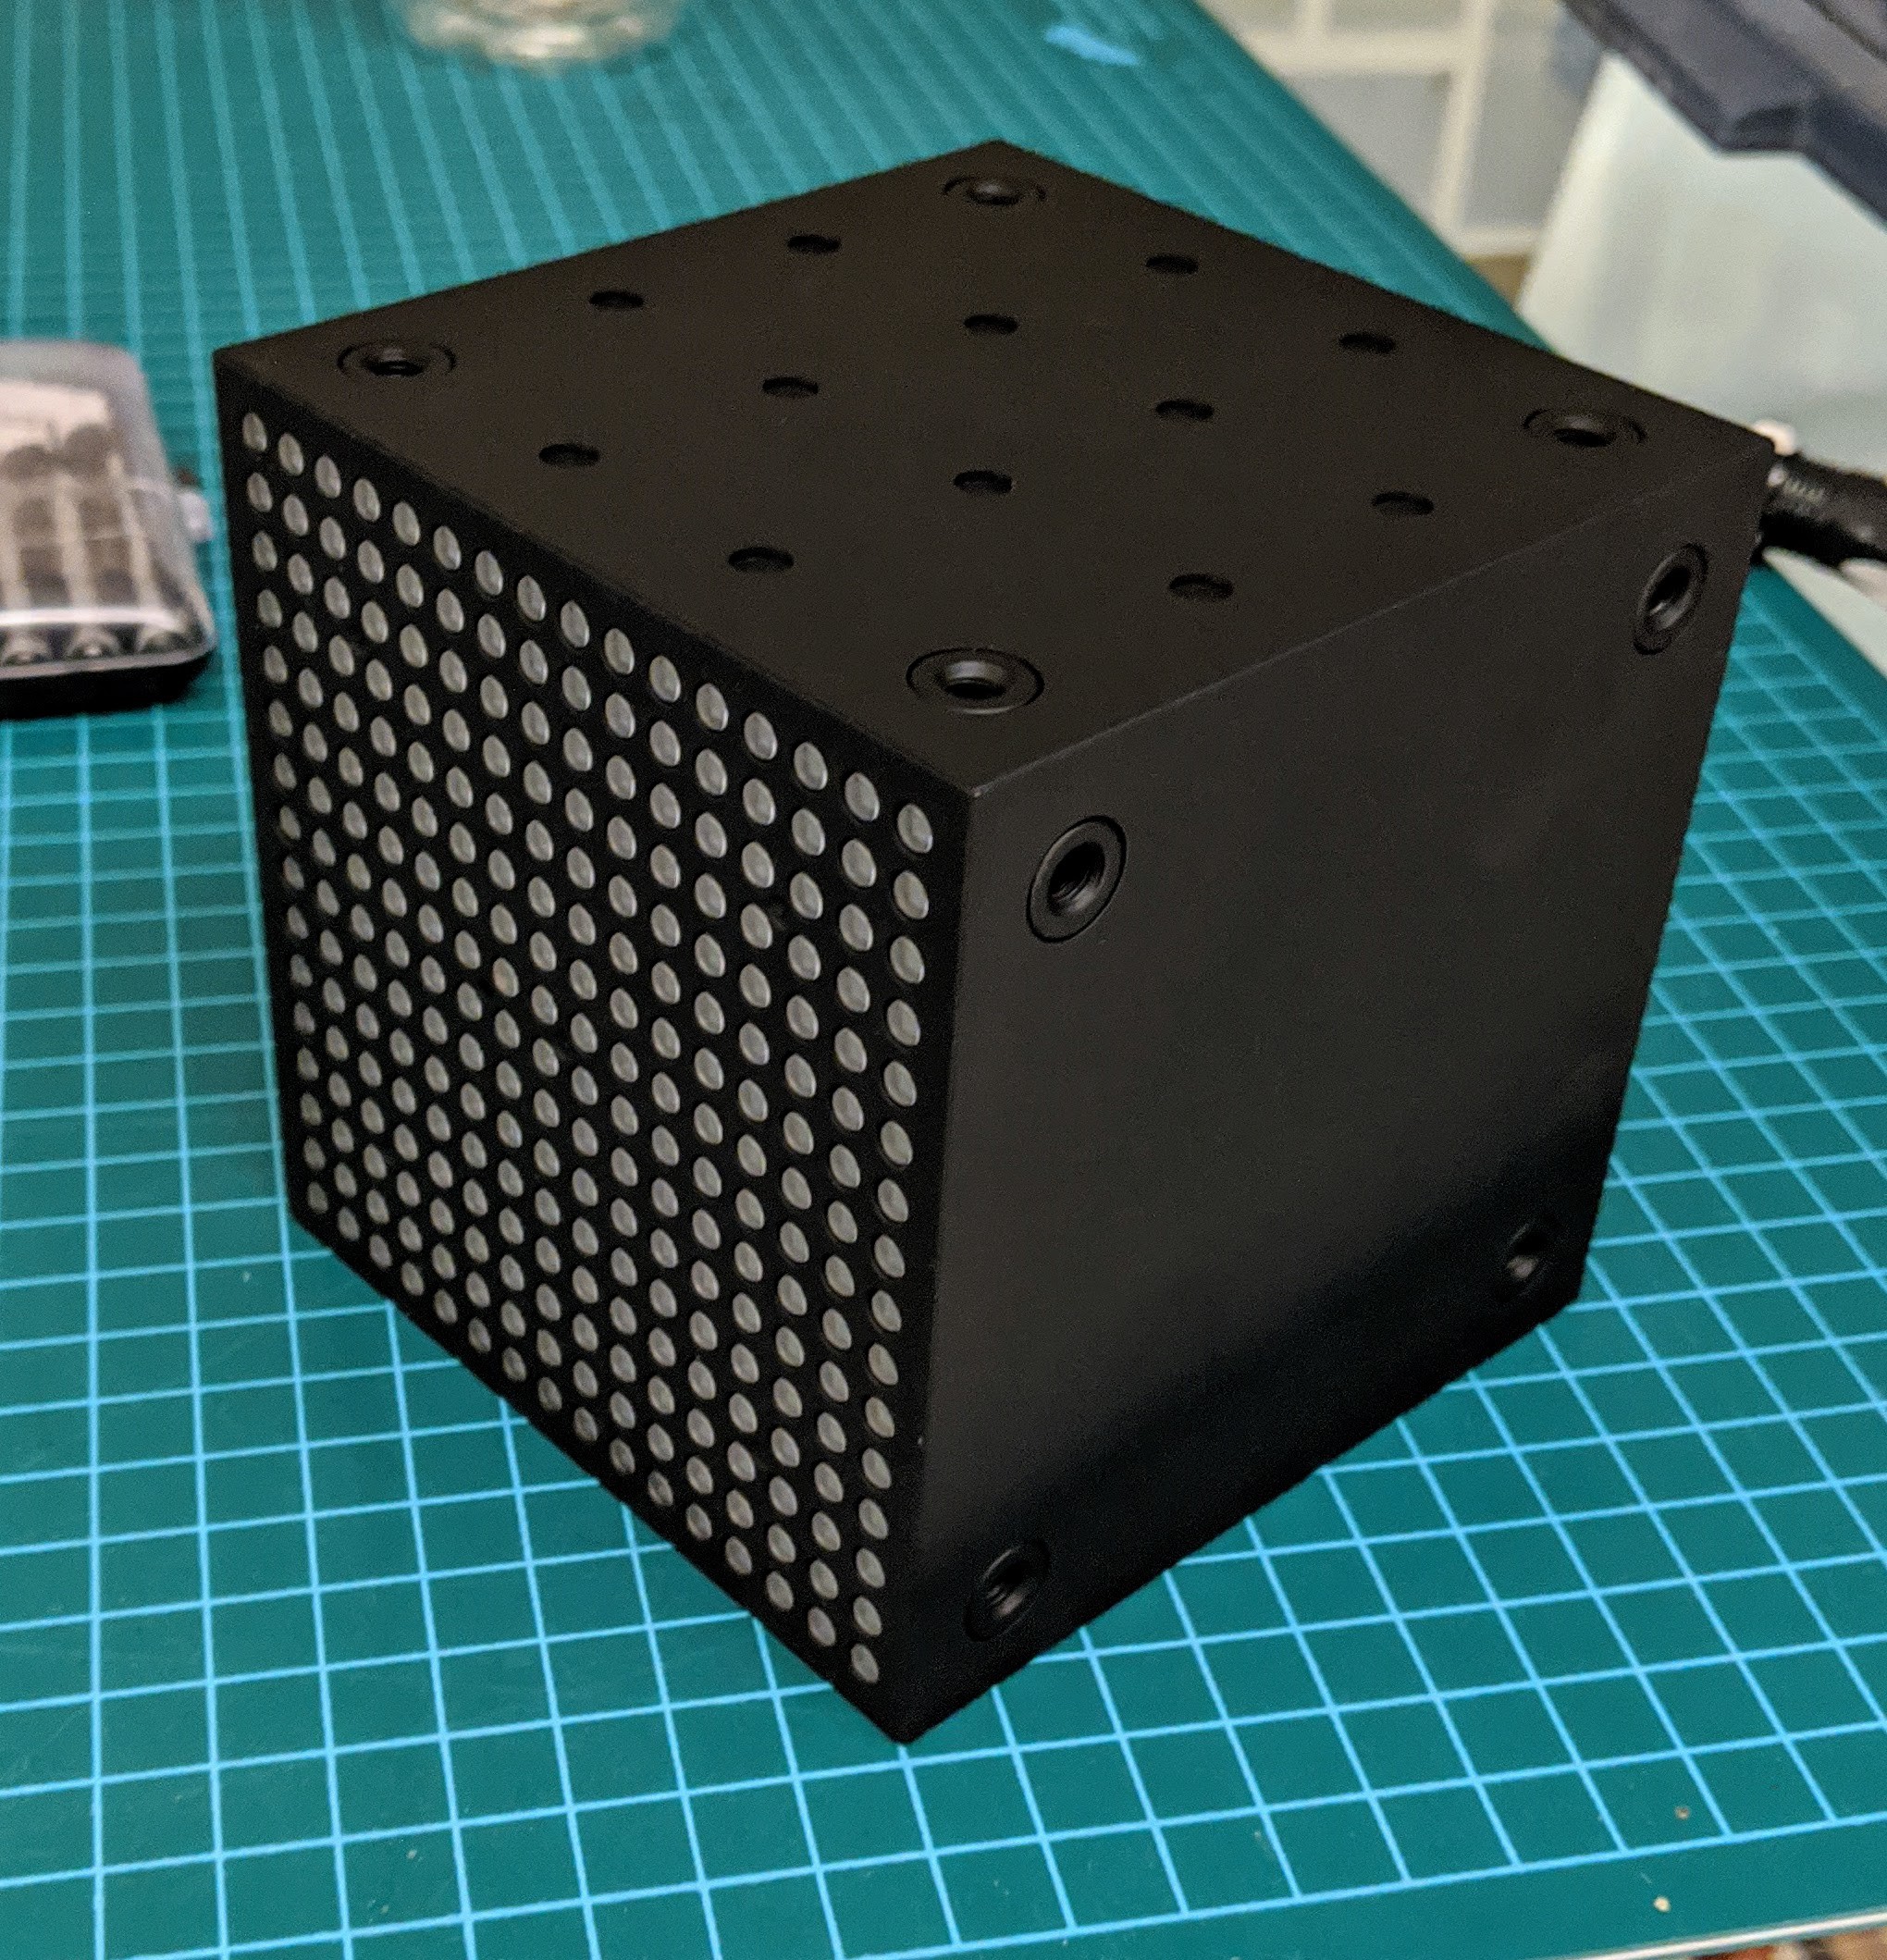
The original cube before disassembly:
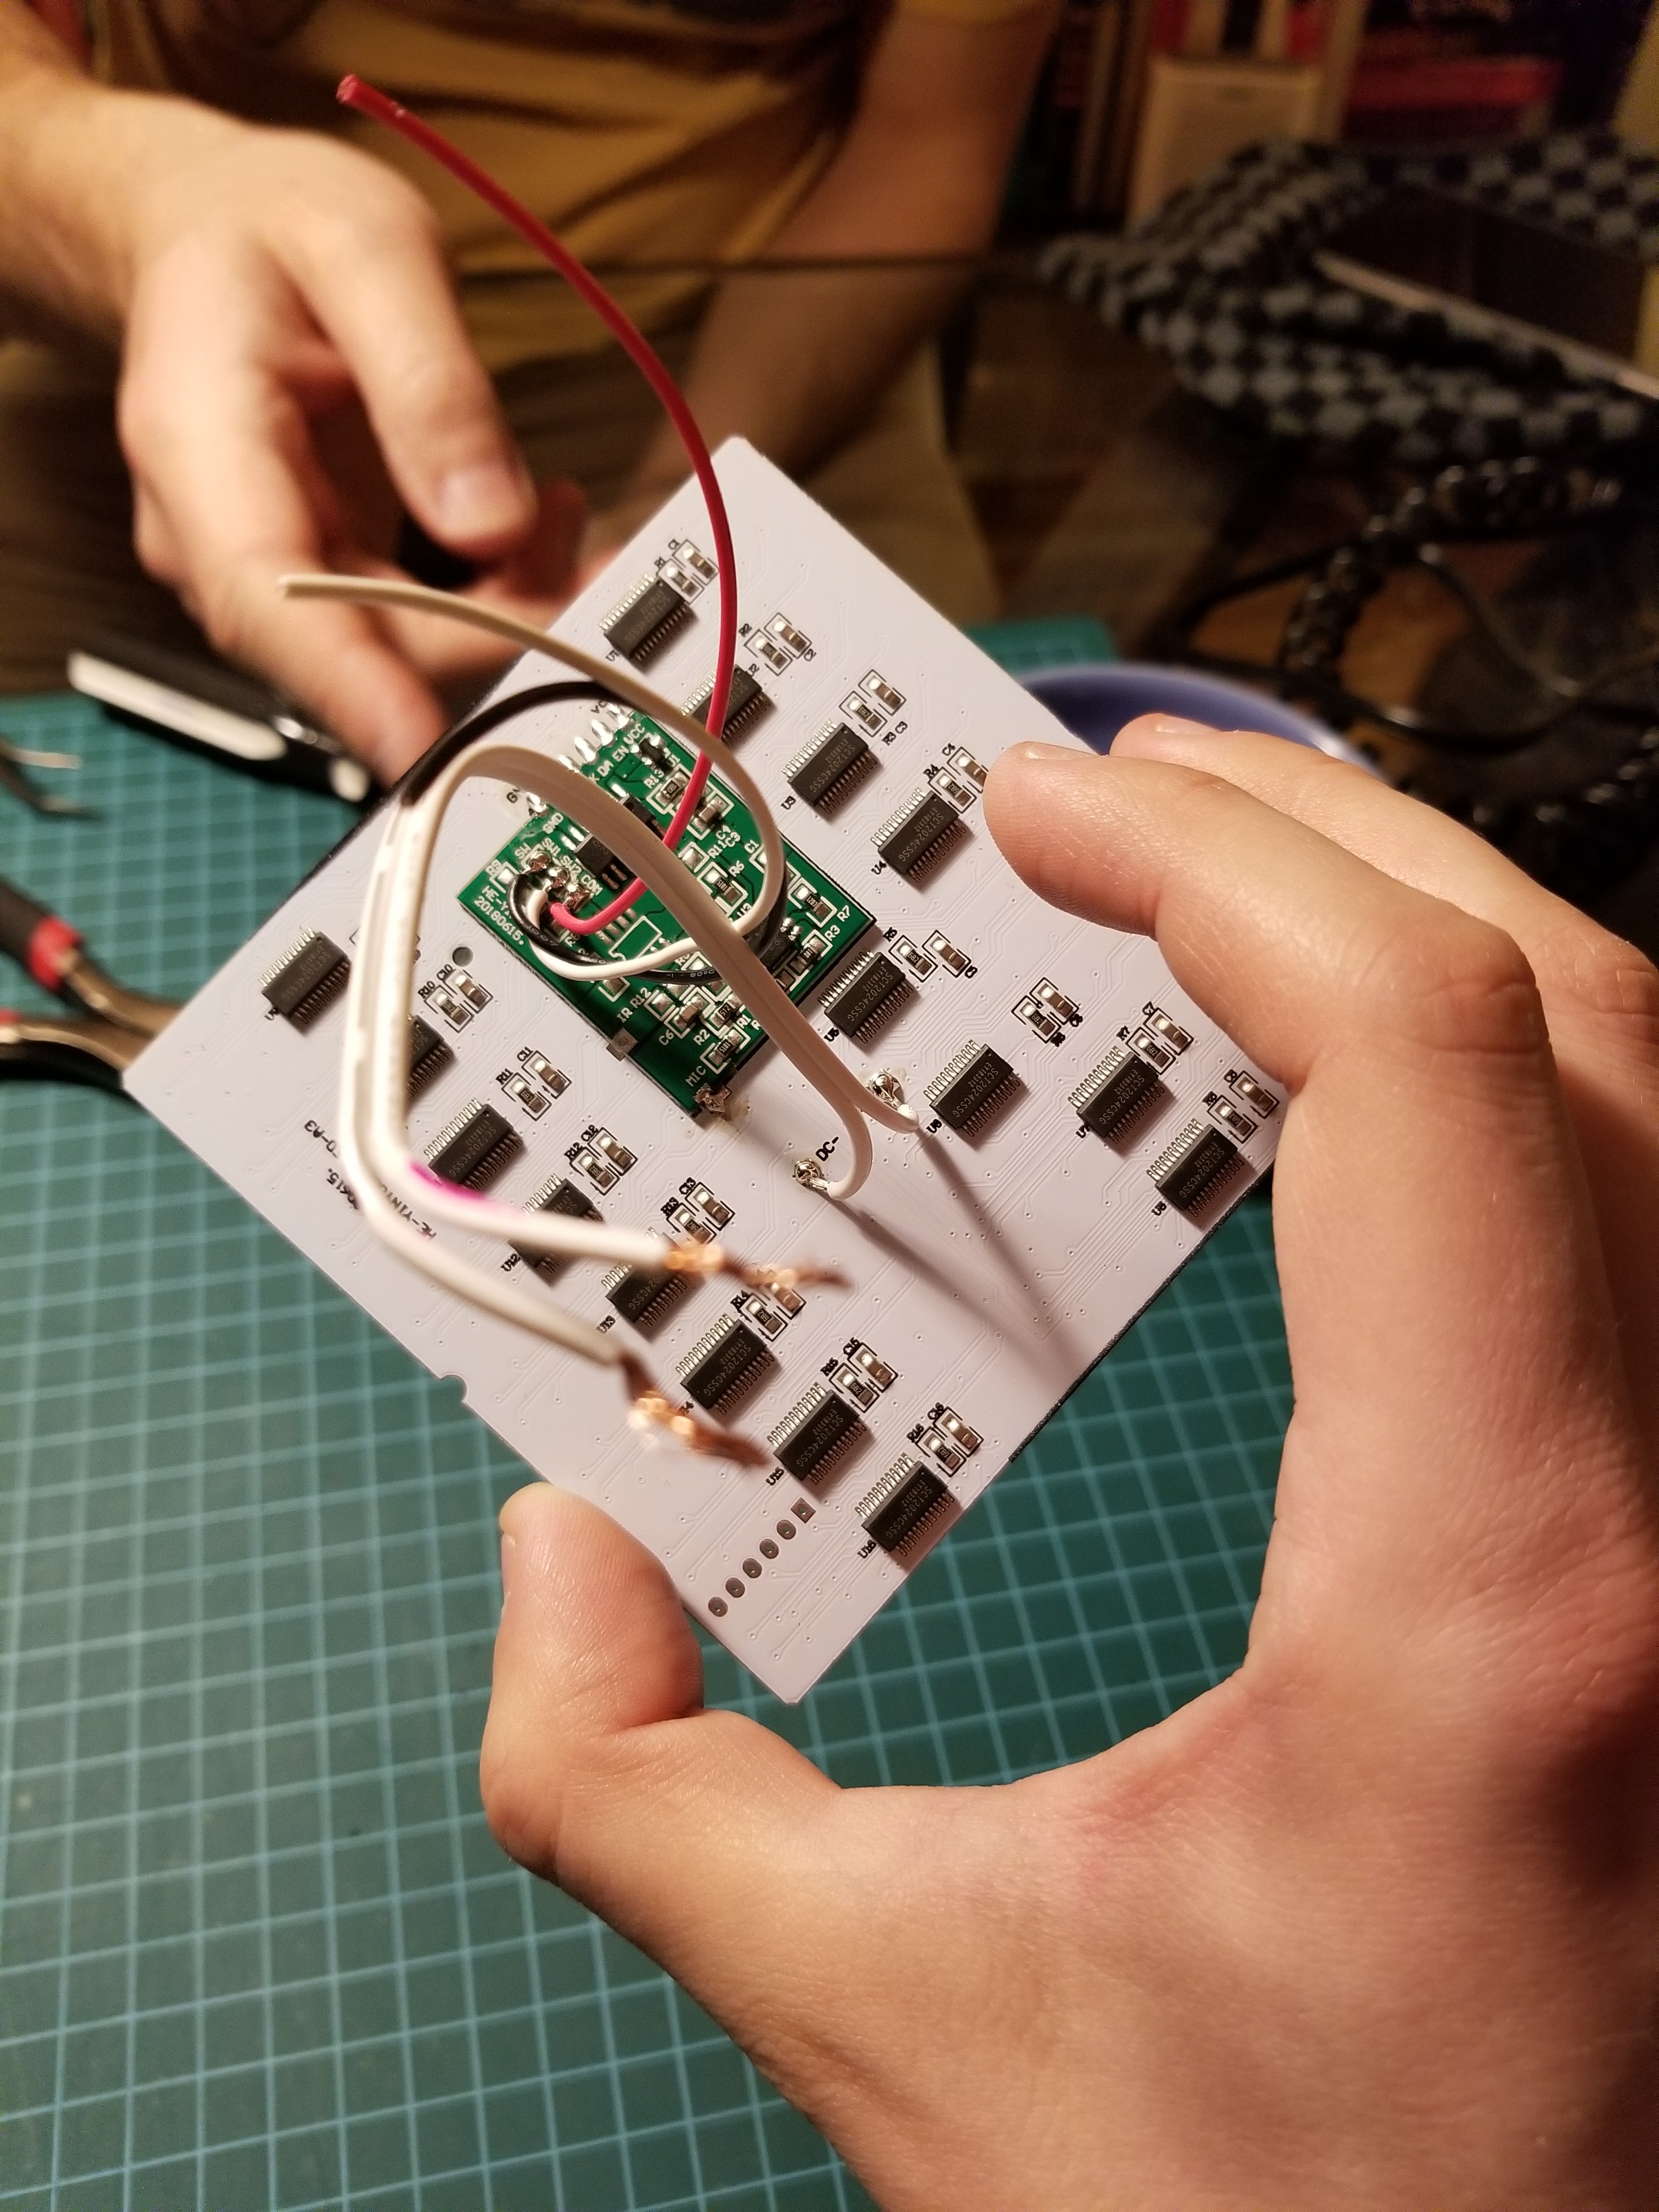
This is the LED controller (white) and the graphics controller (green) inside:
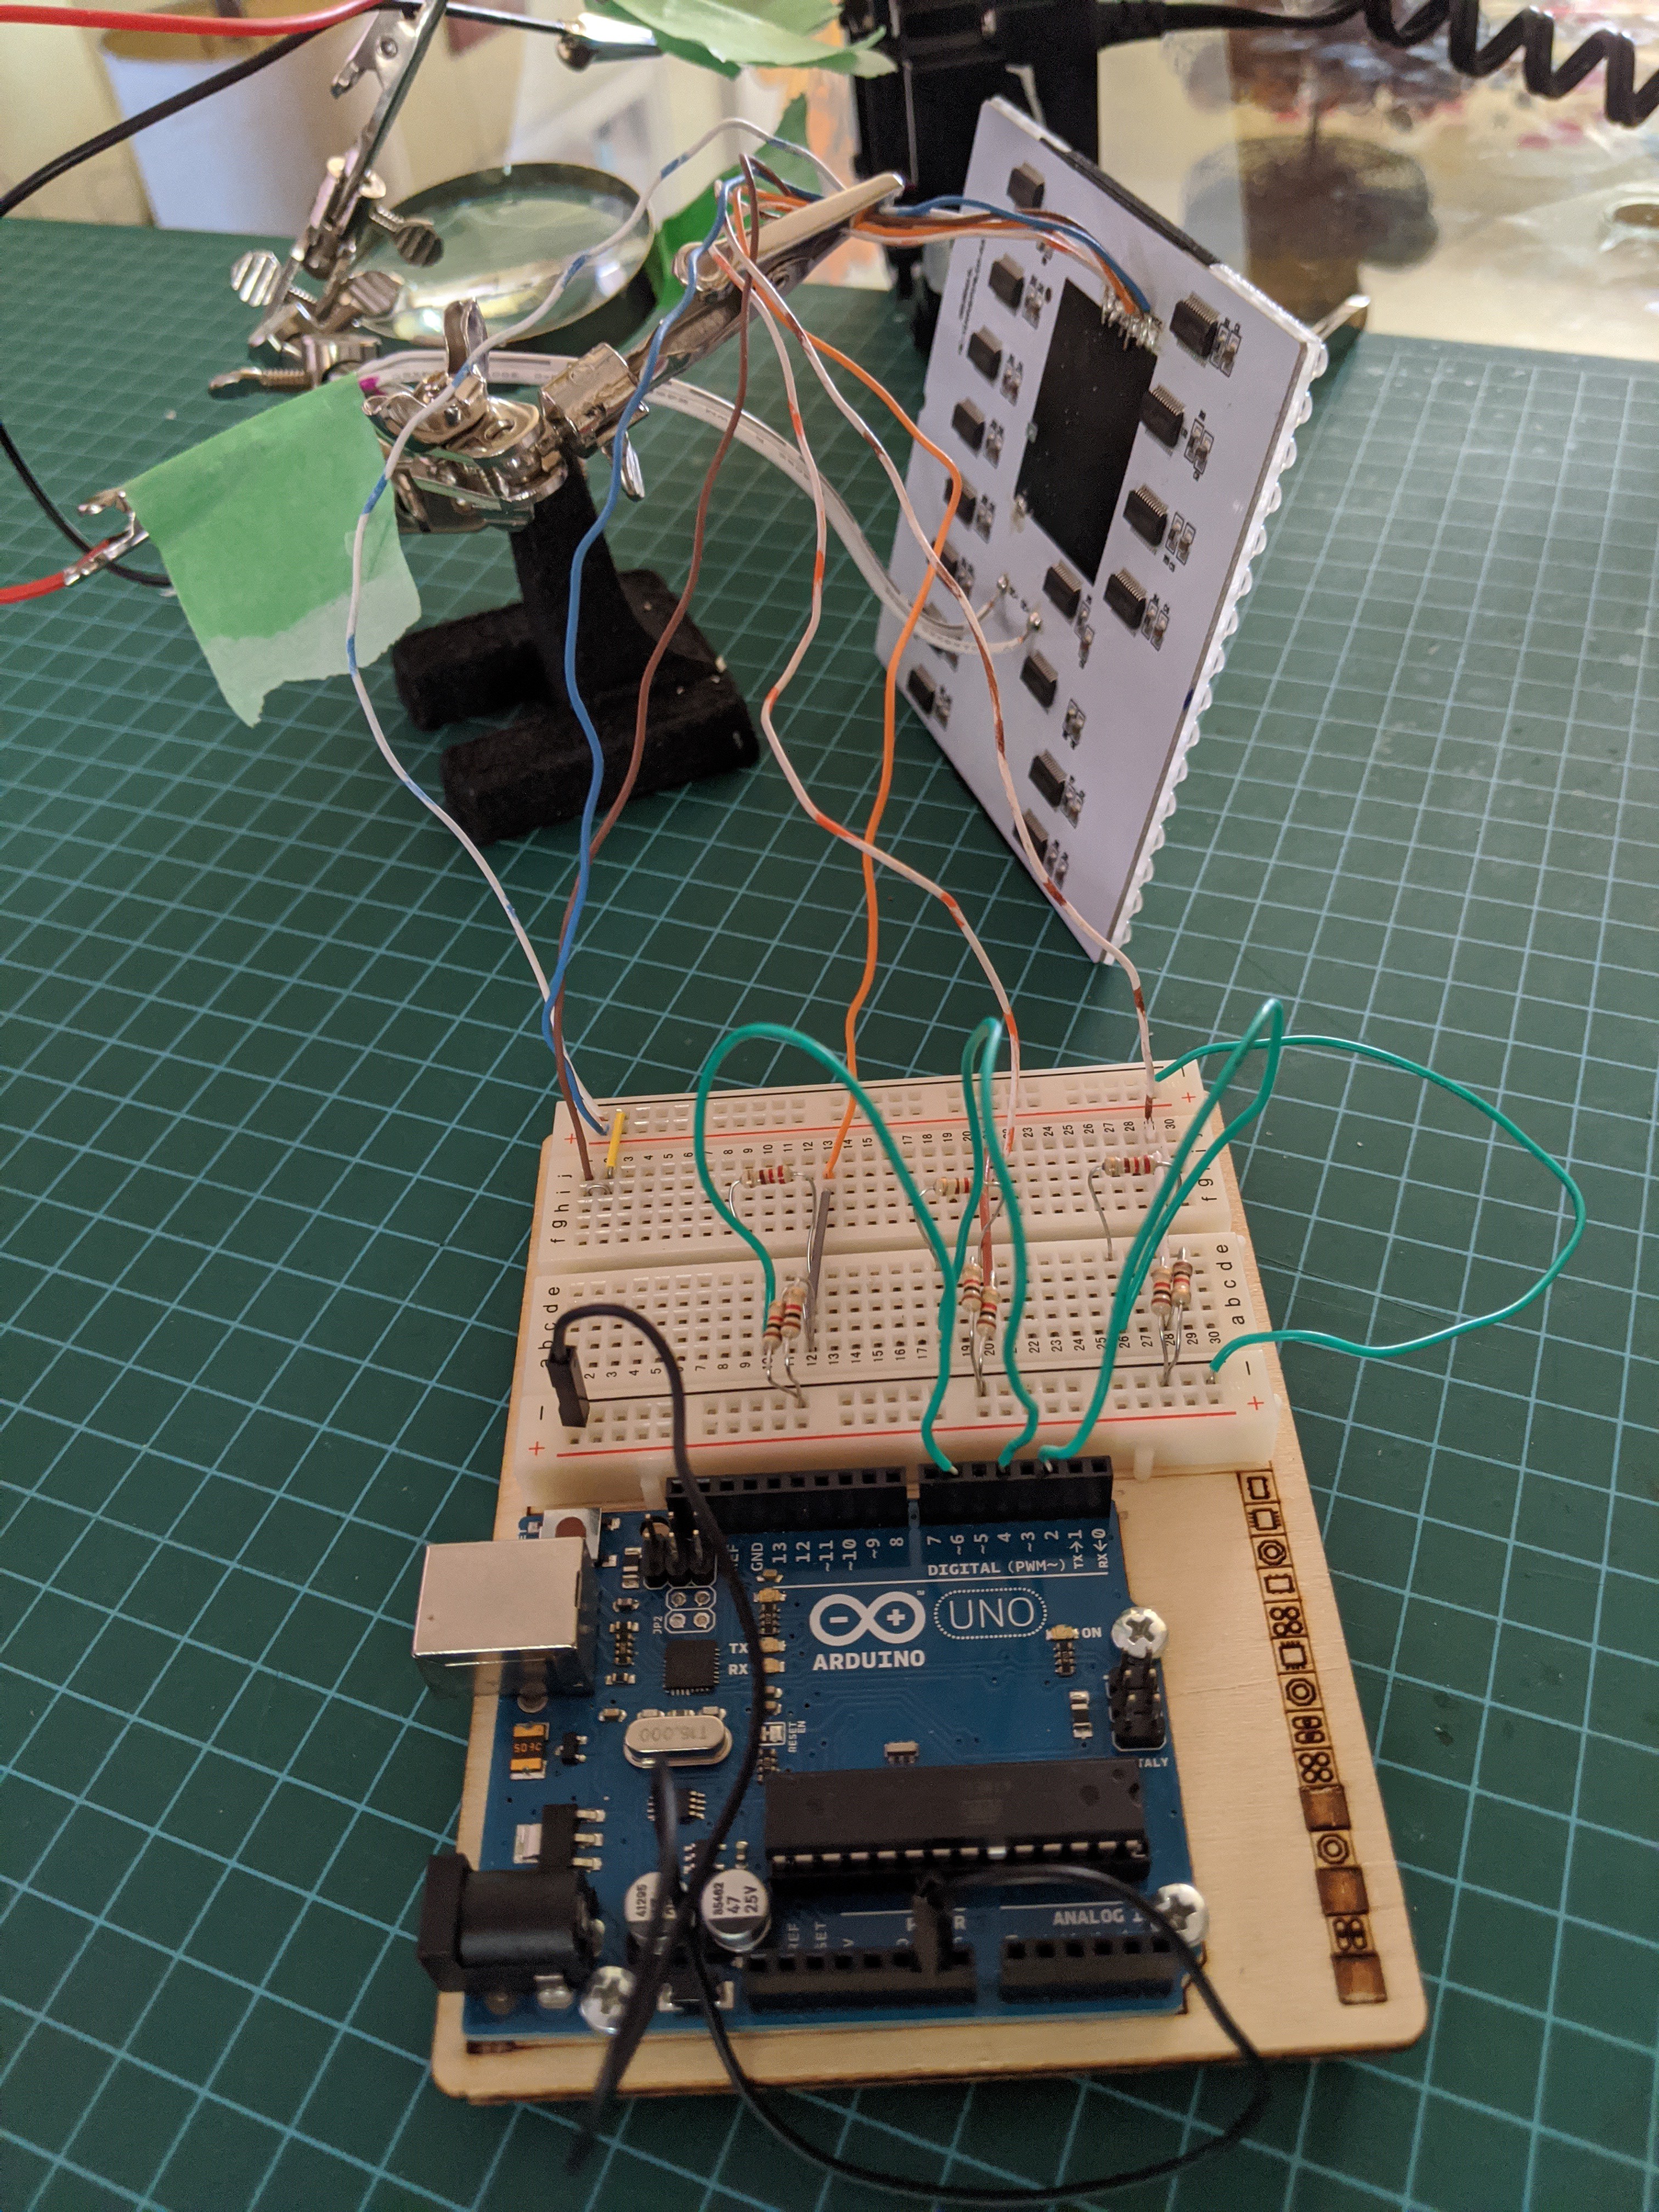
This is after replacing the graphics controller with an Arduino Uno prototype, timing code and electronics courtesy of Nick. Info on pinout + data transfer provided by Brent Marshall was also pivotal:
I continued the project on my own after that initial night of hacking.
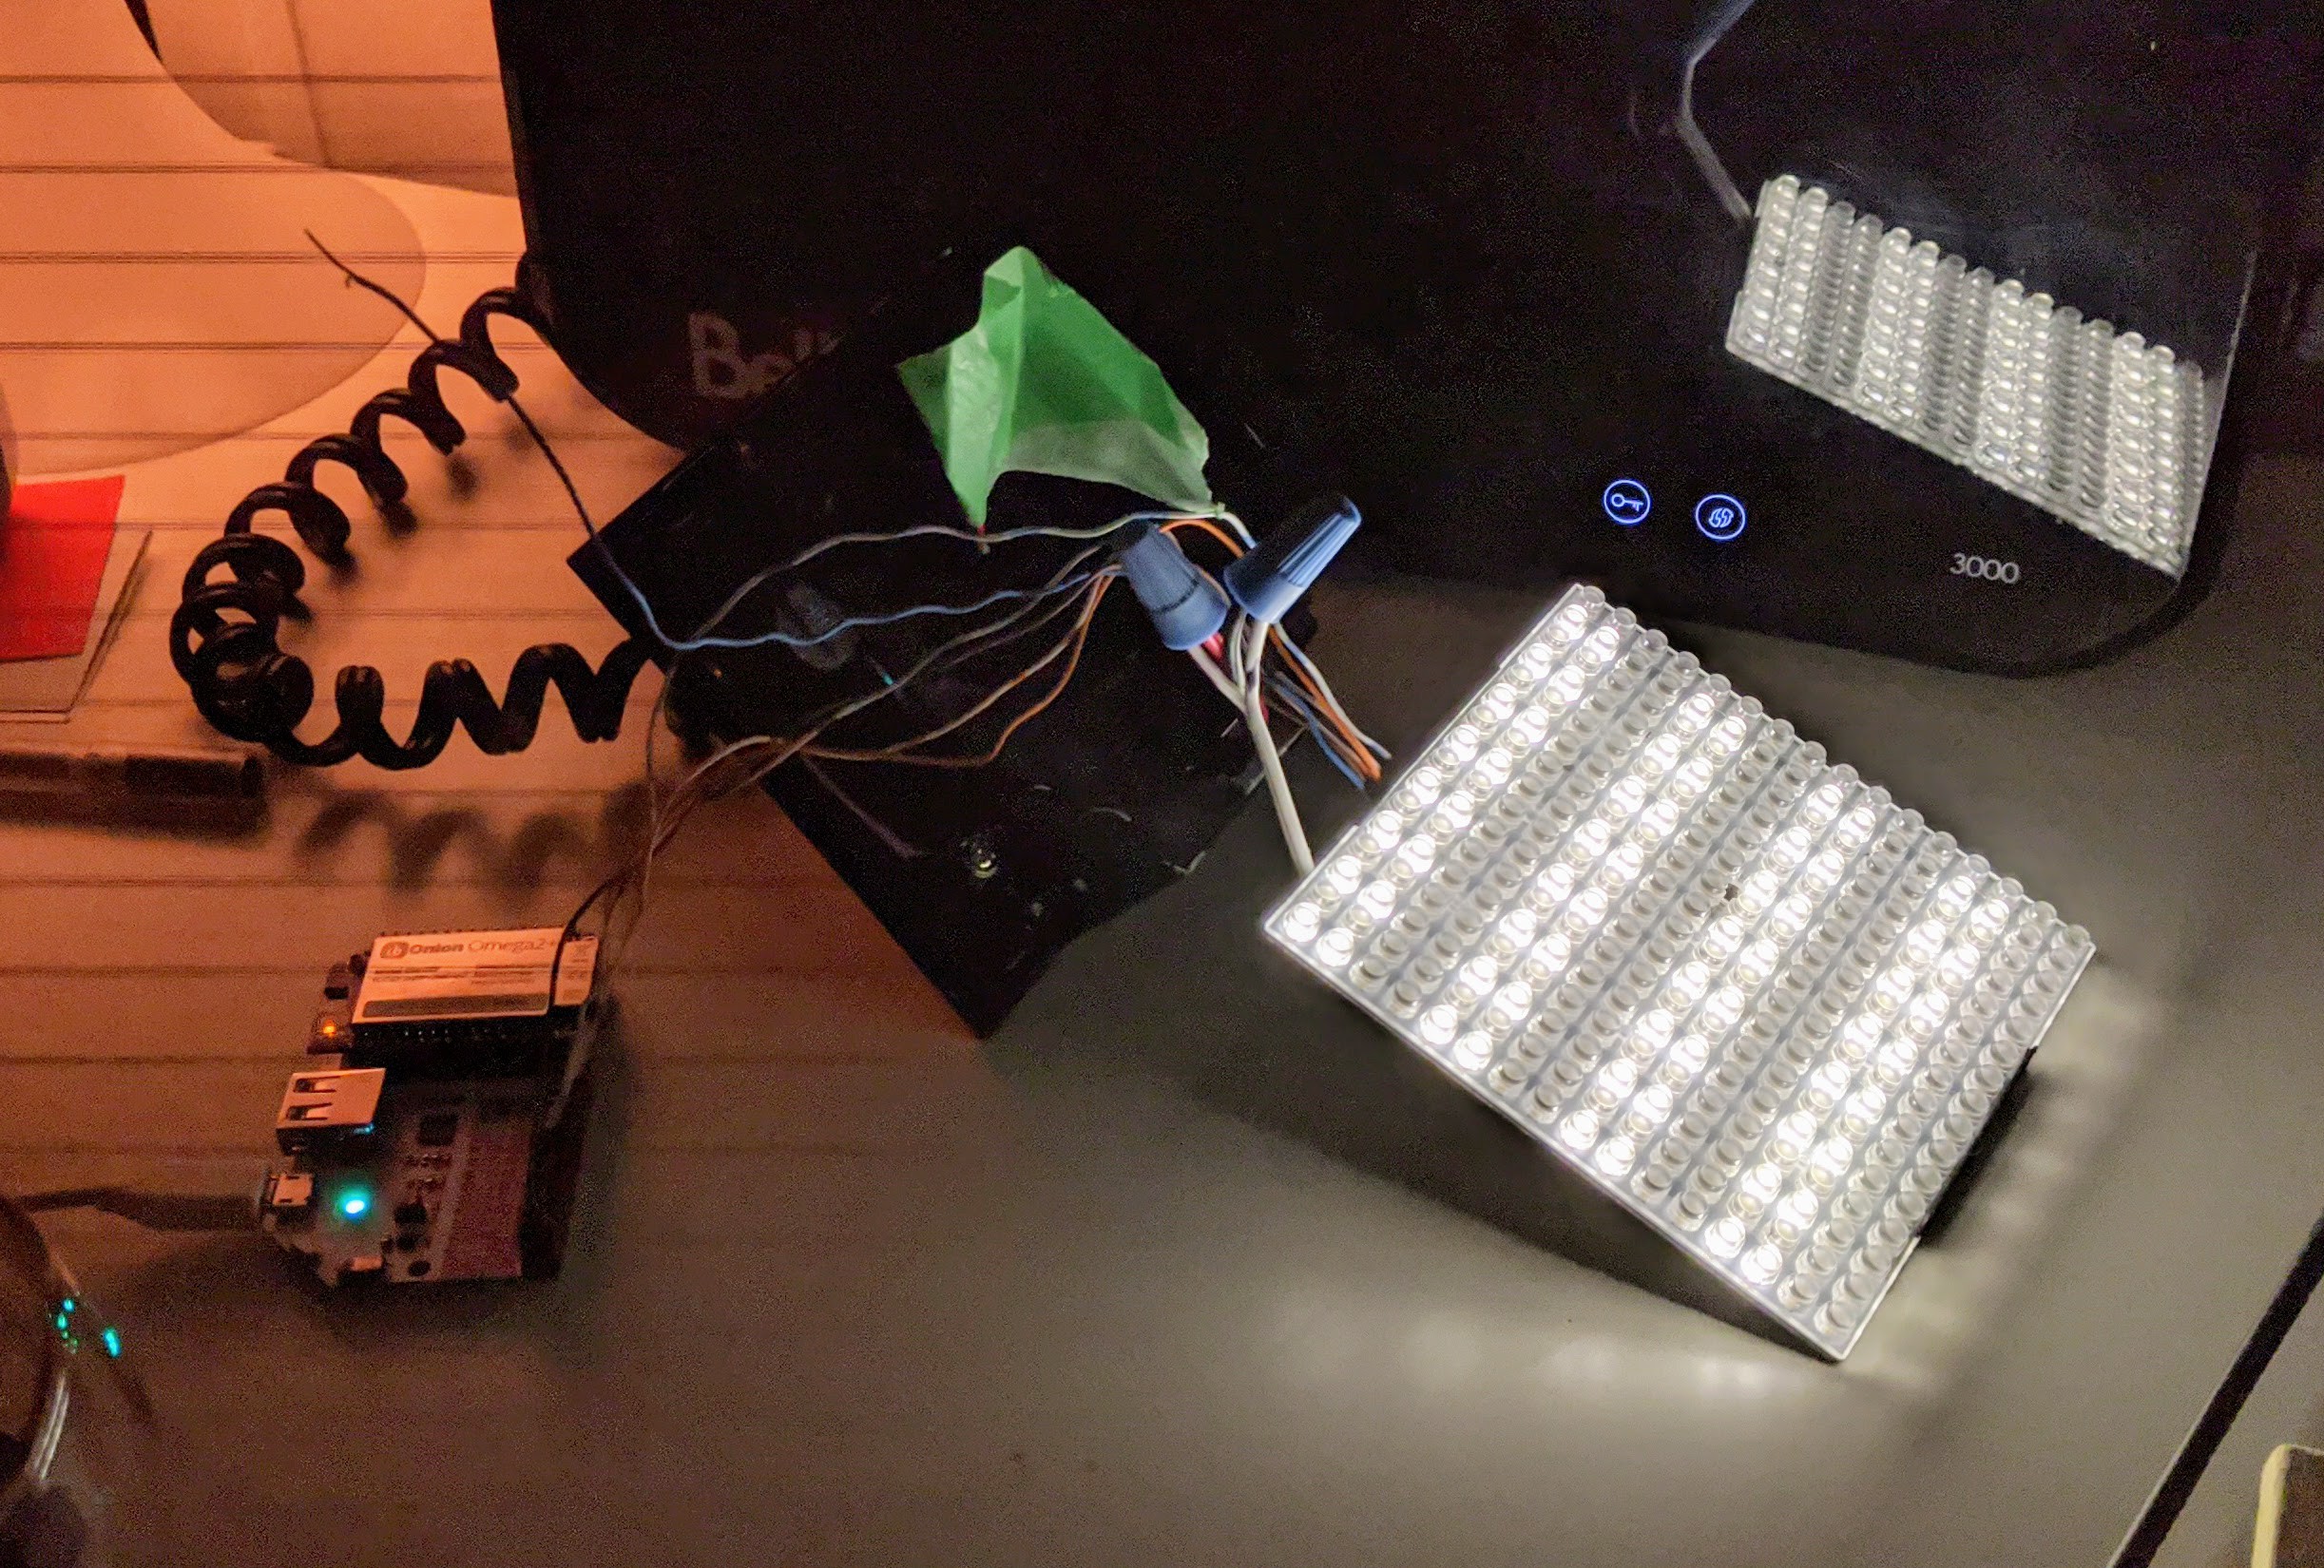
Switching to an Onion Omega 2+, rendering some test patterns:
Some case modding to pass in a USB-C cable to power the Omega:
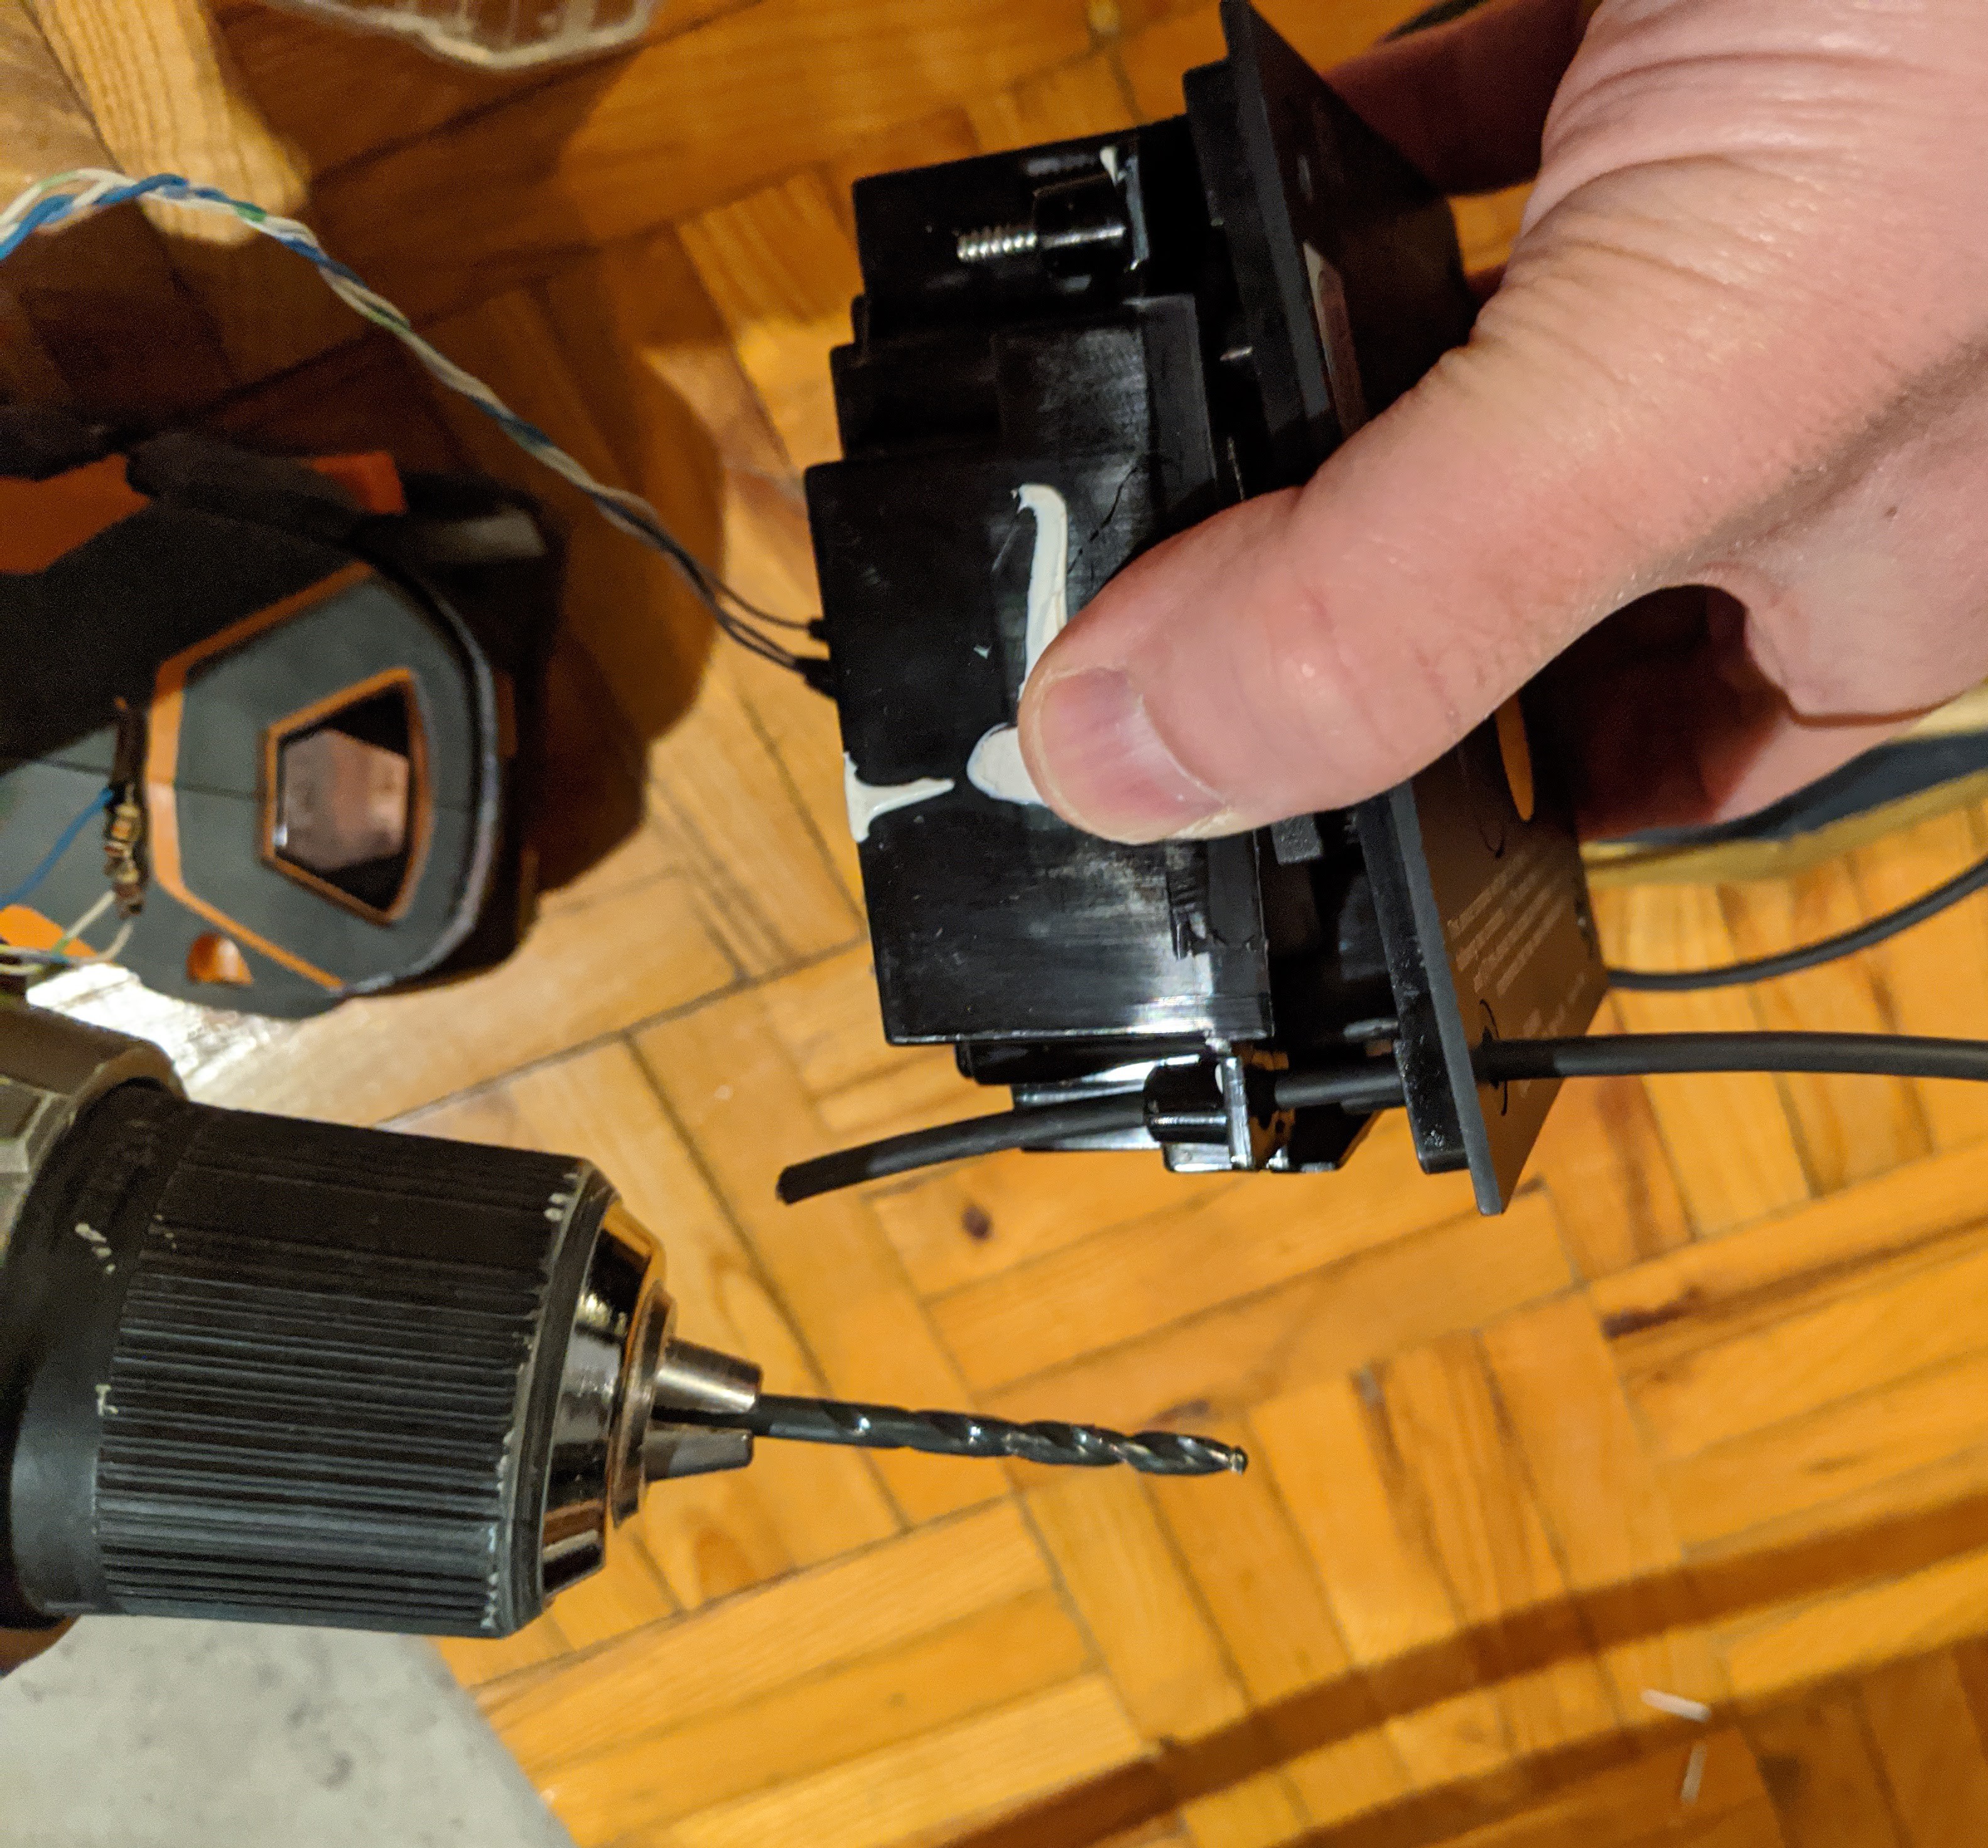
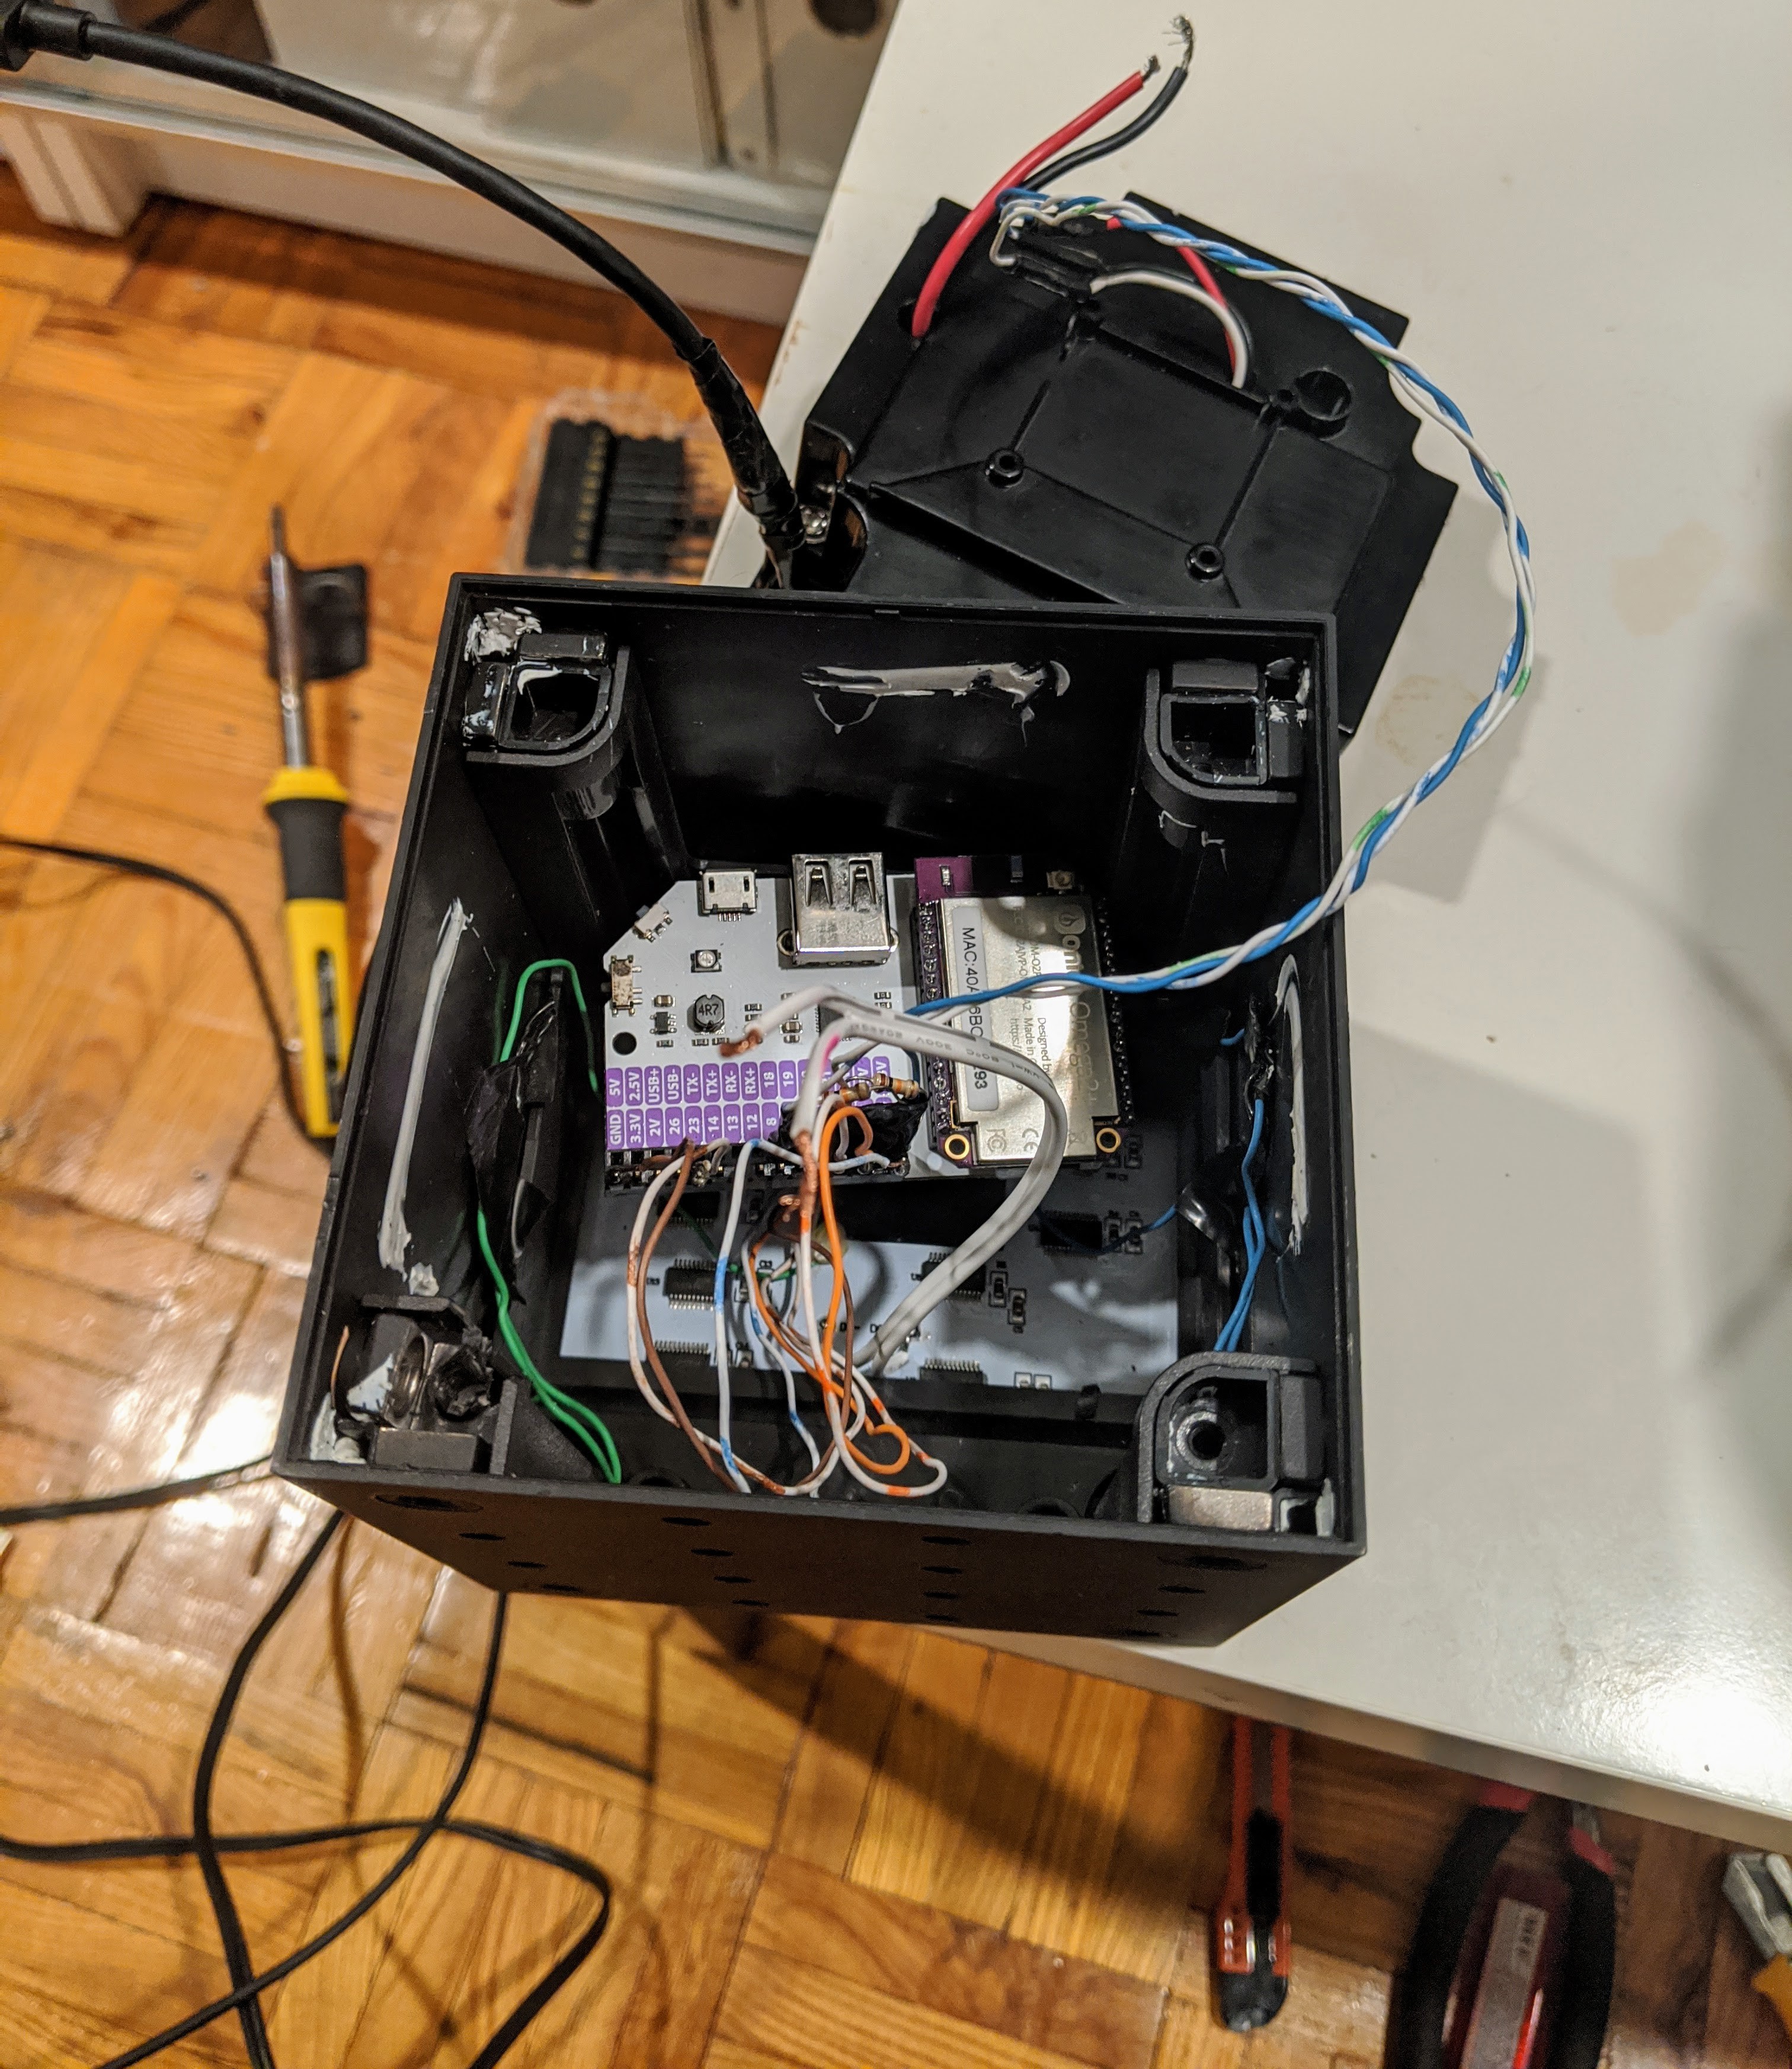
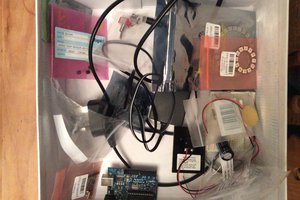
All the guts stuffed into the cube, with some really gnarly soldering job:
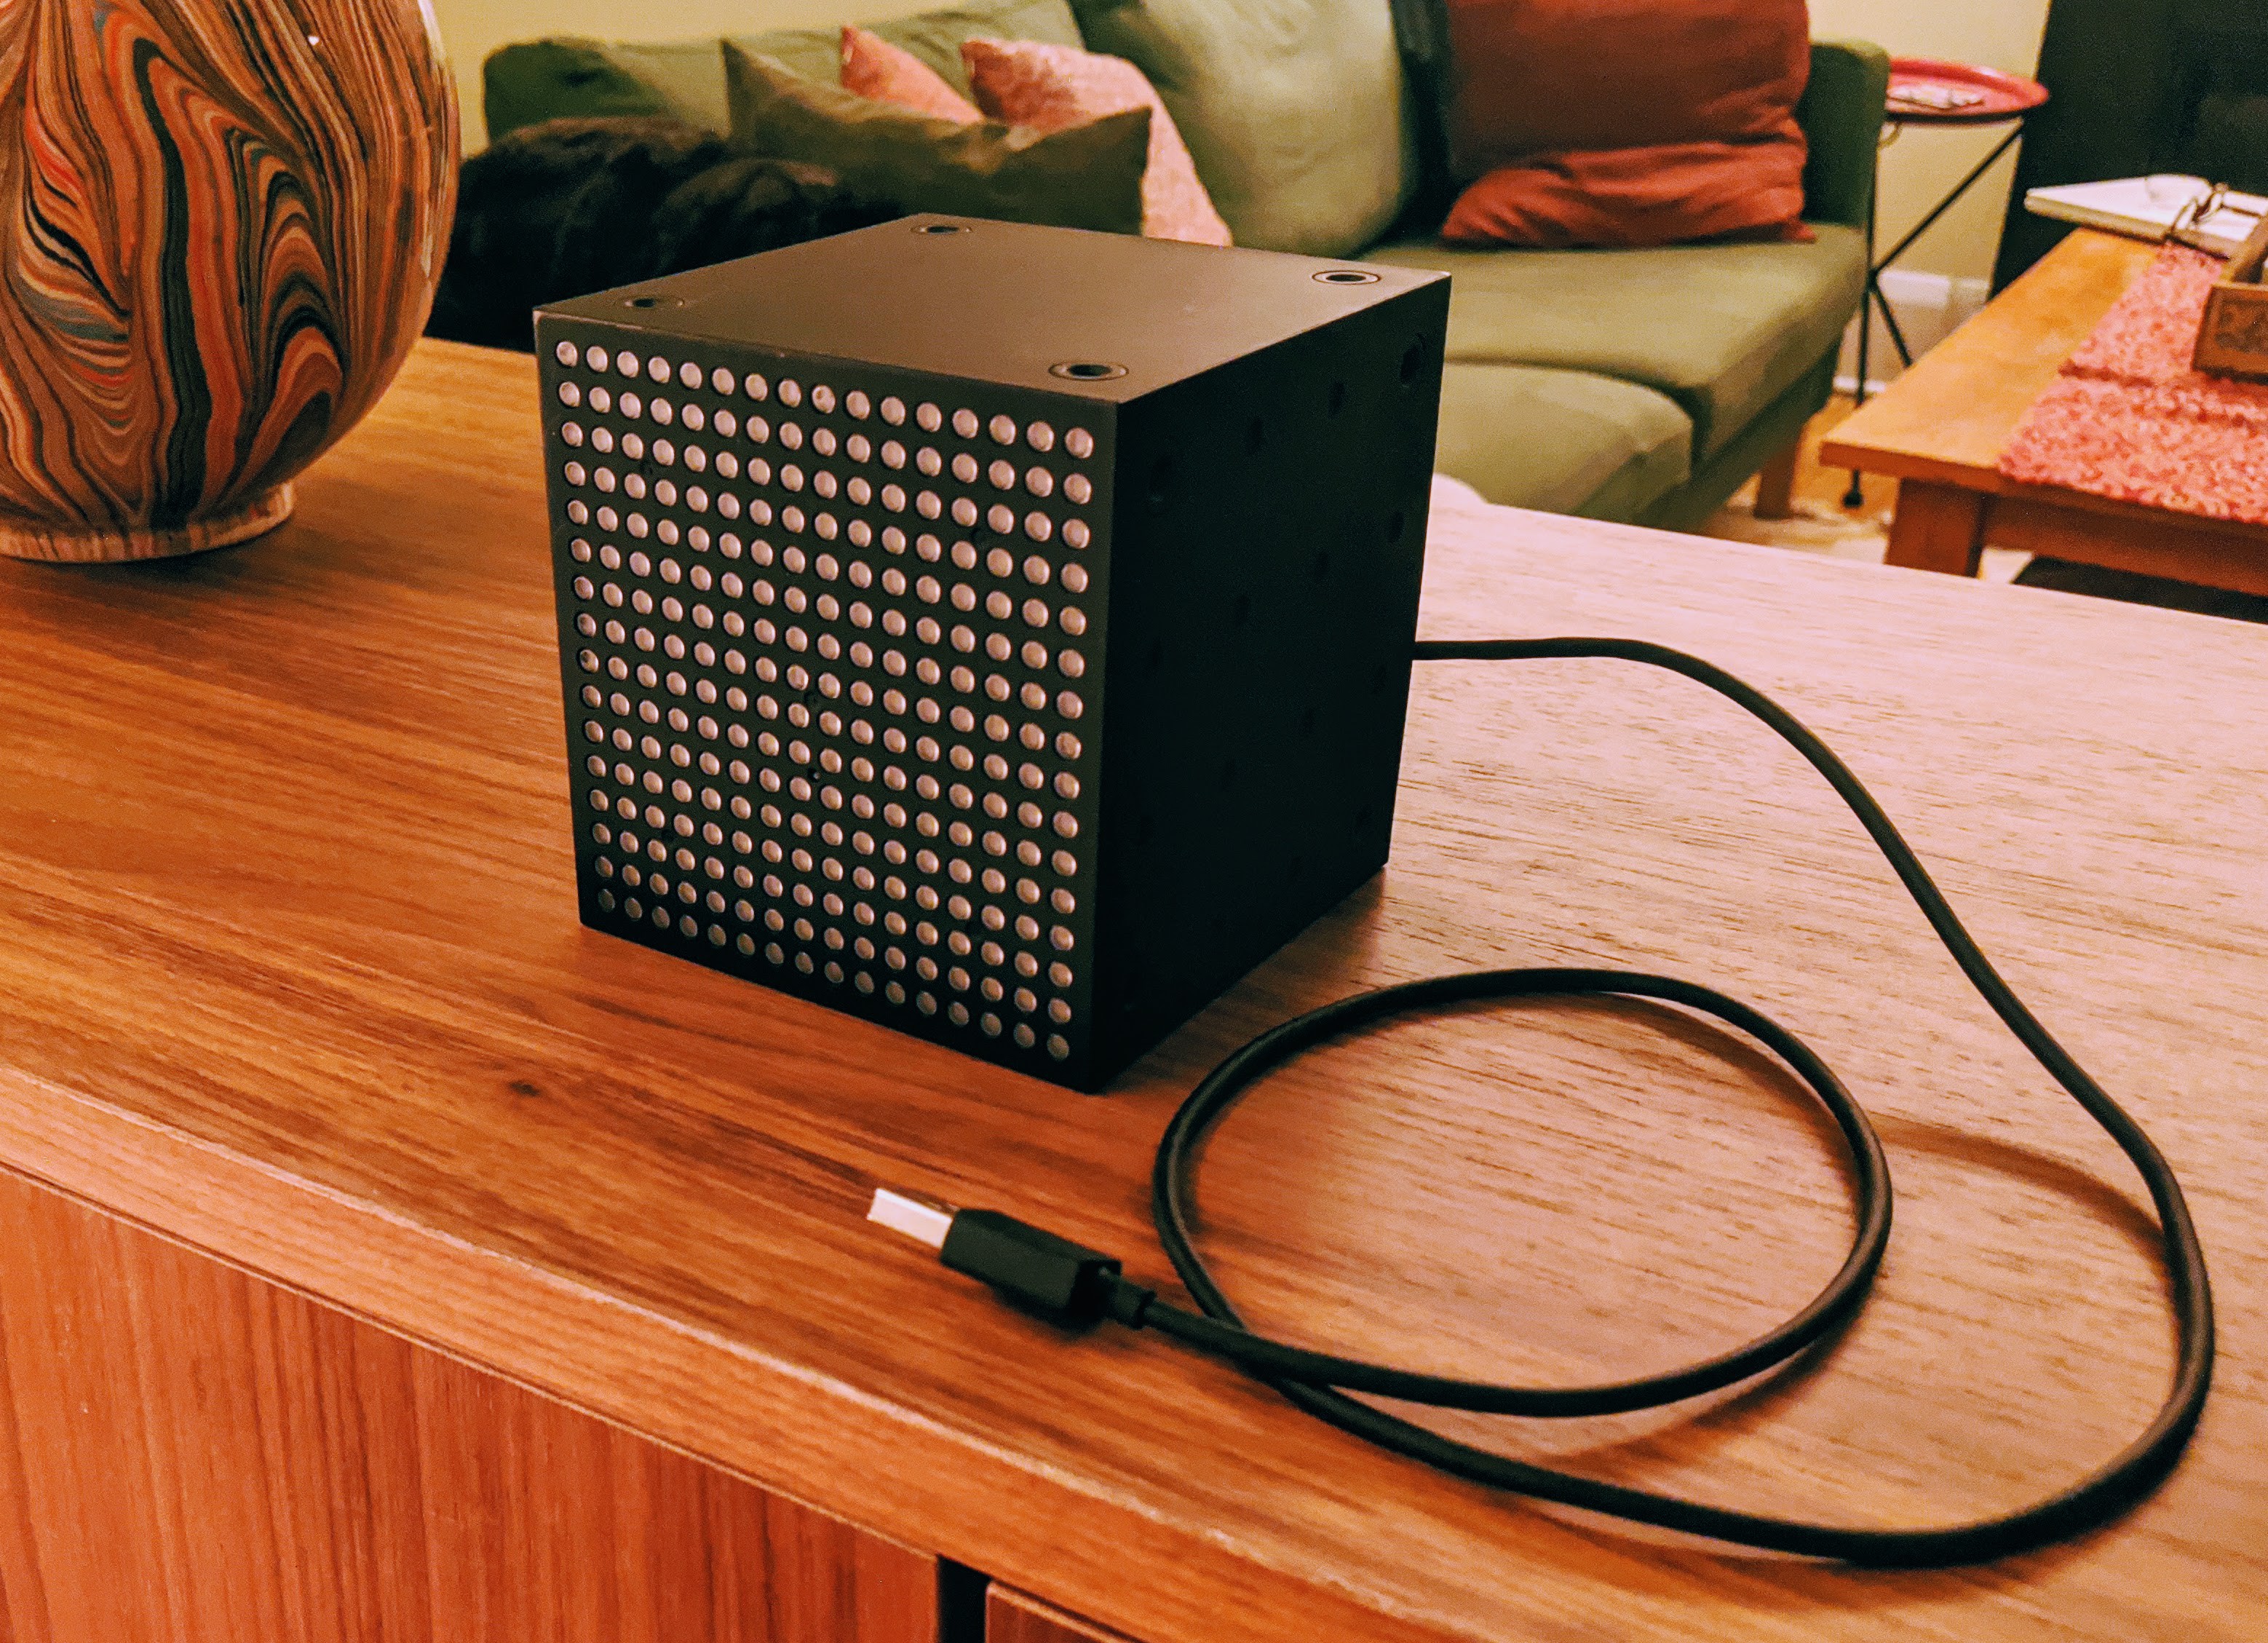
Cube closed, ugliness hidden:
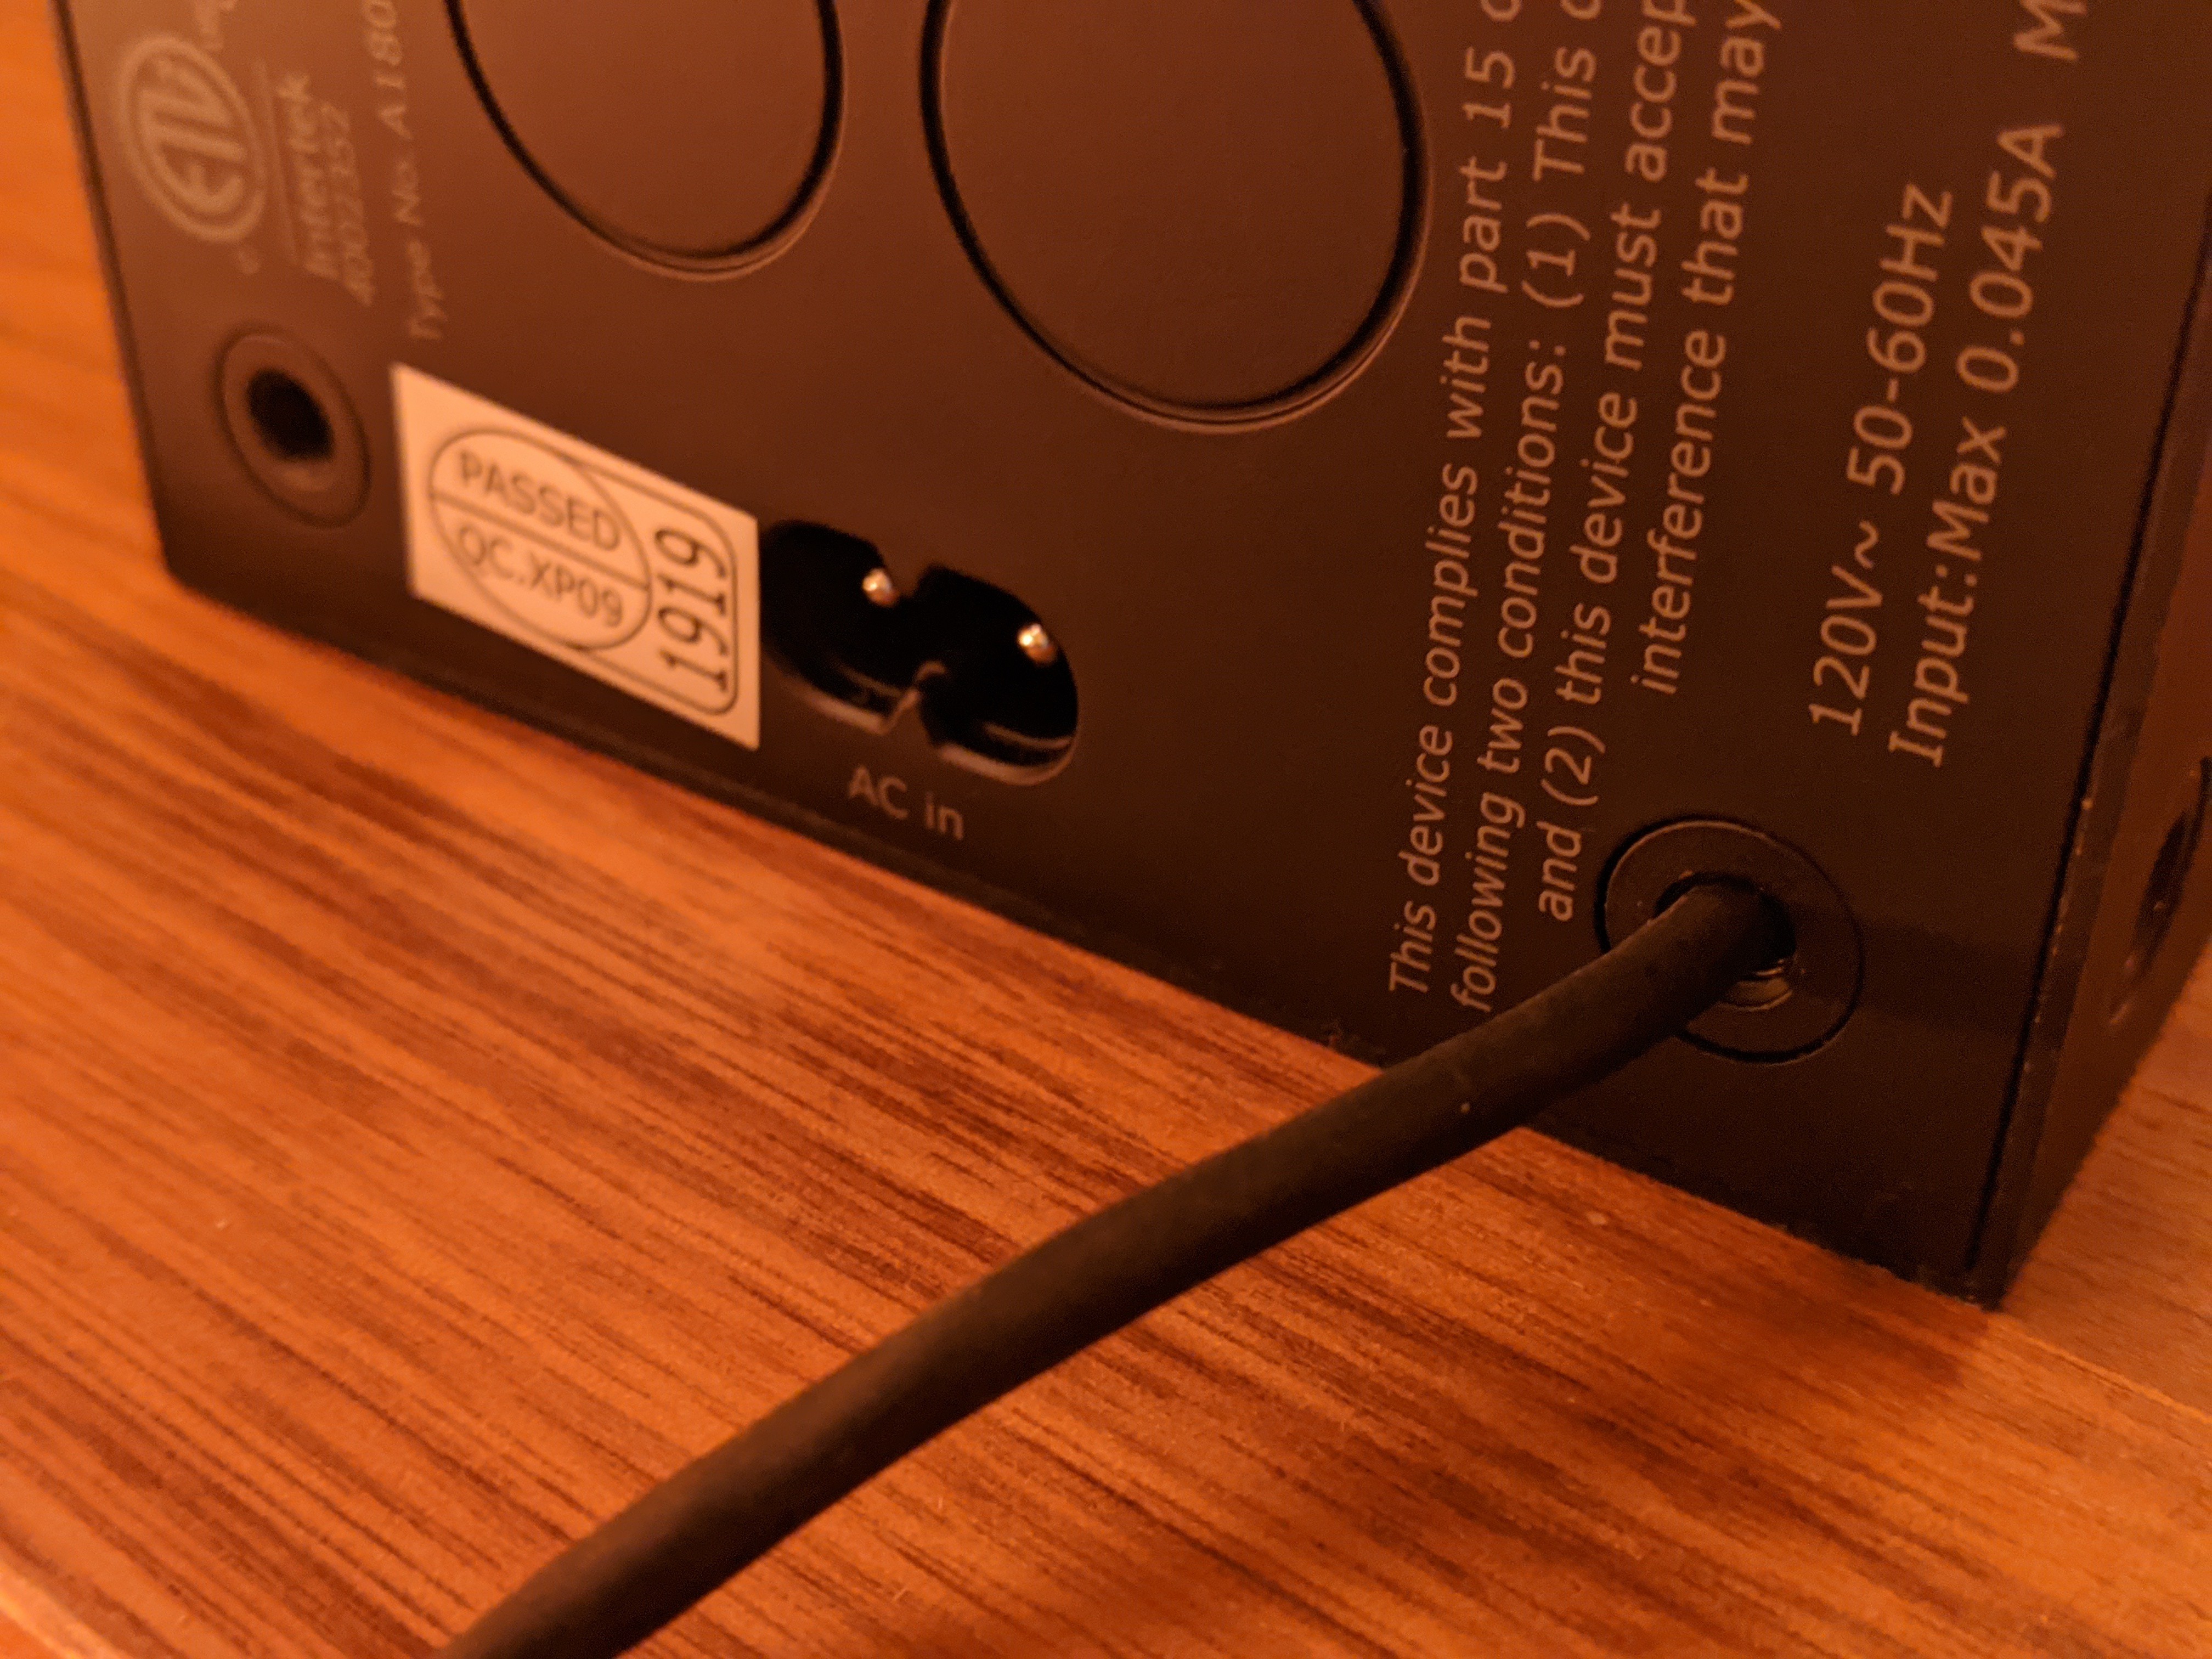
Custom hole with the USB cable sticking out. QC passed, warranty void:
Rendering some Sierpiński triangles as a test animation, with a piece of red paper taped to the face as a filter to avoid getting blinded by the extremely bright LEDs:
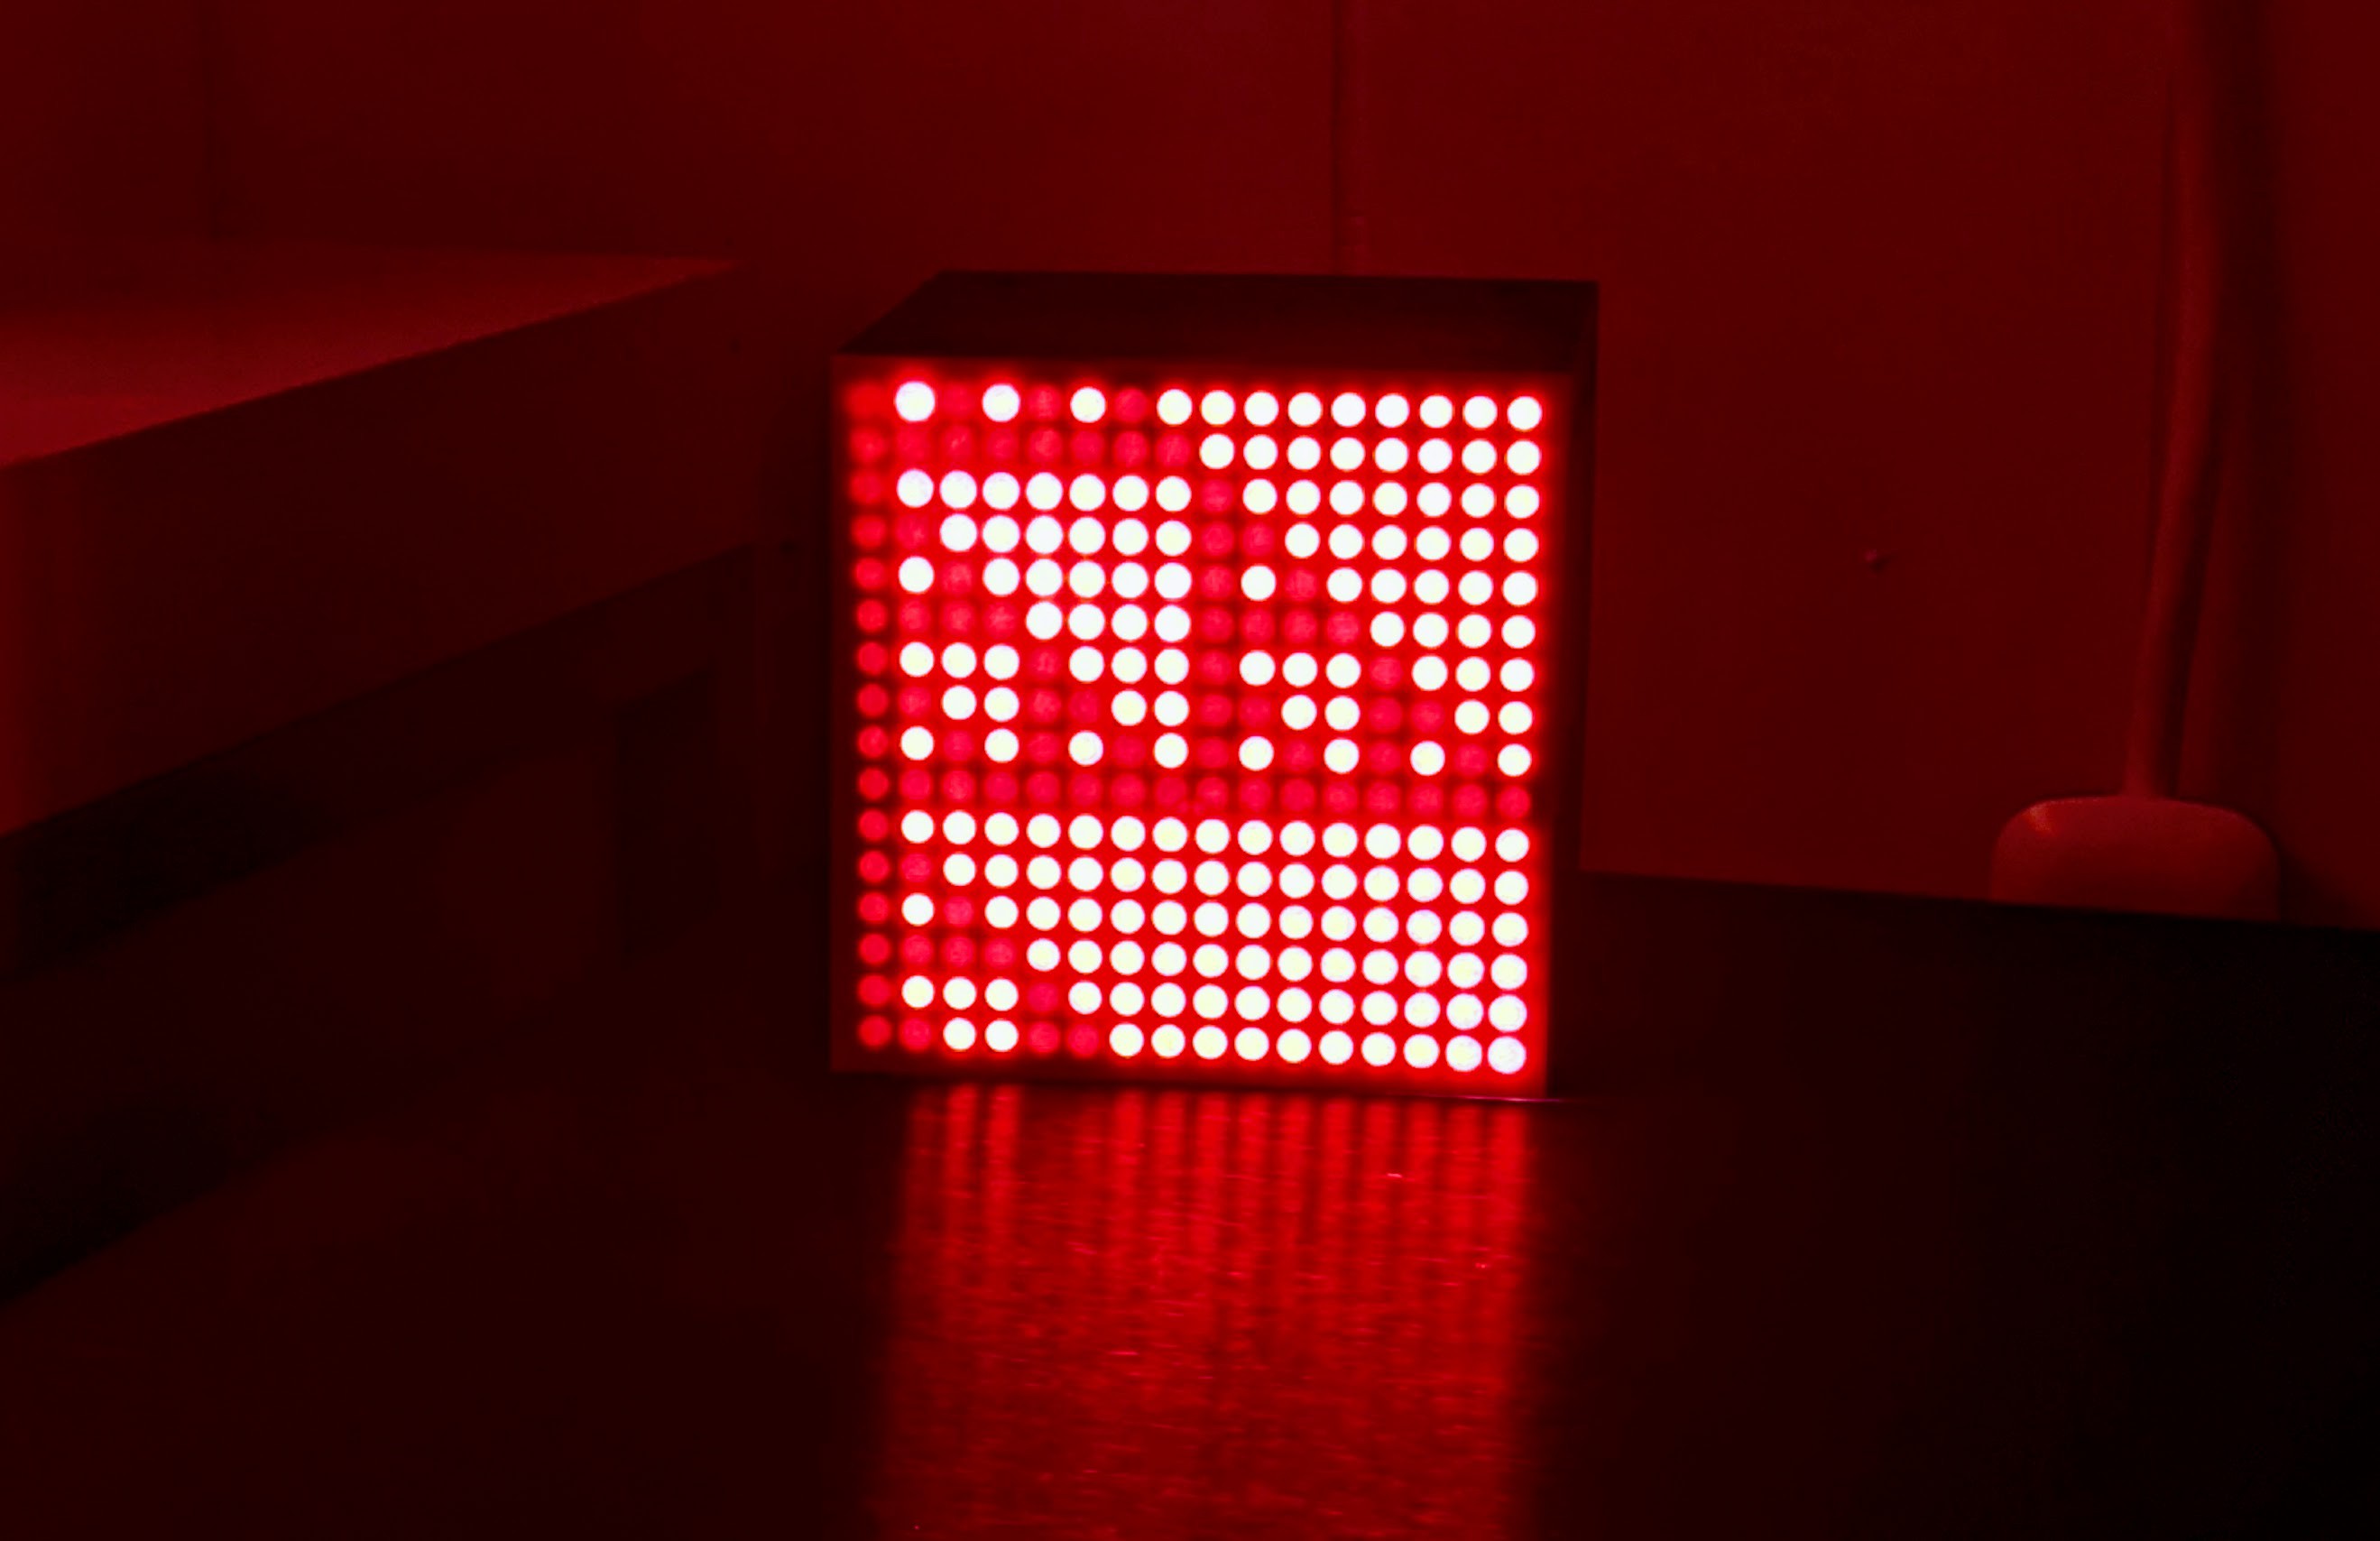
I also repurposed the buttons on the back:
- Red button: blanks the rendering on short press, powers off the Omega on long press
- Yellow button: cycles between different scenes on short press, reboots the Omega on long press
There are also status overlays rendered on top of the scenes:
- A blinking pixel on the top left indicates reconnection attempts to the WebSocket server
- Button presses are rendered as large circles (corresponding to the exact positions at the back)
- A pixel on the bottom left indicates a CPU choke or frames being dropped
Because writing JavaScript on an SSH connection to the Omega and then to restart the Node.js script was very cumbersome, I created this toolset to make pattern creation faster and more enjoyable:
- A WebSocket server running on Glitch
- A WebSocket client that emulates the cube, including light diffusion, and mirroring the rendering to the favicon for no reason, rendering on an HTML canvas
- A text mode emulator that kicks in when the Omega driver is run locally, again emulating the light diffusion in full ASCII art glory
- All clients time-synced to the Omega (continuously compensating for the latency of WebSockets over the Internet), rendering the same frame at the same time, with astounding accuracy
A happy tweak was to connect the USB power back to the cube's own power supply by using an old Apple iPad charger I found...
Read more » Ates Goral

 David Hopkins
 mechatroNick
 Jon Kunkee
Very cool! I'll have to wait until Ikea imports them into this country.