Close
0%
0%

Fluff M0

Cheapskate version of Adafruit Feather M0

Similar projects worth following

Adafruit makes really great prototyping boards, and especially their "Feather" series of boards is great. The pinout is actually designed, with a lot of thought put into it, and the boards are all top quality. They also contain a lot of stuff on them already, just in case you need it: LEDs, battery charger, debugging interface, STEMMA connectors, prototyping area, you name it. It means that while you are prototyping and you suddenly need any of this, it's there for you already and you don't have to go out of your way to find it. And the documentation is great as well, not to mention all the work that went into developing CircuitPython and a million libraries. But it comes at a price.

When you finish your project, and it turns out you don't need all those extra things in the end, it feels like a waste to leave that awesome (and relatively expensive) board in your project. That's why I'm making the Fluff. It has the same pinout as the feathers, but it literally only has five components on it — everything non-essential has been removed. Functionally it's a Trinket M0 with more pins and without the diodes. It's the cheapest possible Feather-compatible board that runs CircuitPython.

I'm making this for my own use, and I don't plan on selling it, but as usual all the design files are available, so you can make your own if you want to.

fluff_m0_v1.4_schem.pdf

schematic for version 1.4

Adobe Portable Document Format - 1.91 MB - 12/30/2021 at 19:47

Preview

fluff_m0_v1.5.fzz

Fritzing design.

x-fritzing-fzz - 104.03 kB - 11/26/2020 at 12:28

Download

fluff_m0_v1.4.zip

Gerber files.

Zip Archive - 103.73 kB - 07/09/2020 at 16:31

Download

fluff_m0_v1.4.fzz

Fritzing design.

x-fritzing-fzz - 102.90 kB - 07/09/2020 at 16:31

Download

fluff_m0_v1.4_pnp.xlsx

Pick-and-place positions.

sheet - 5.55 kB - 07/09/2020 at 16:31

Download

View all 6 files

  • 1 × ATSAMD21E18A-MU microcontroller
  • 2 × 1µF 0604 capacitor capacitor
  • 1 × AP2112K-3.3TRG1 low drop-out voltage regulator
  • 2 × 5.1kΩ 0604 resistor
  • 1 × 1kΩ 0604 resistor

View all 6 components

  • Pinout

    deʃhipu07/25/2020 at 18:09 0 comments

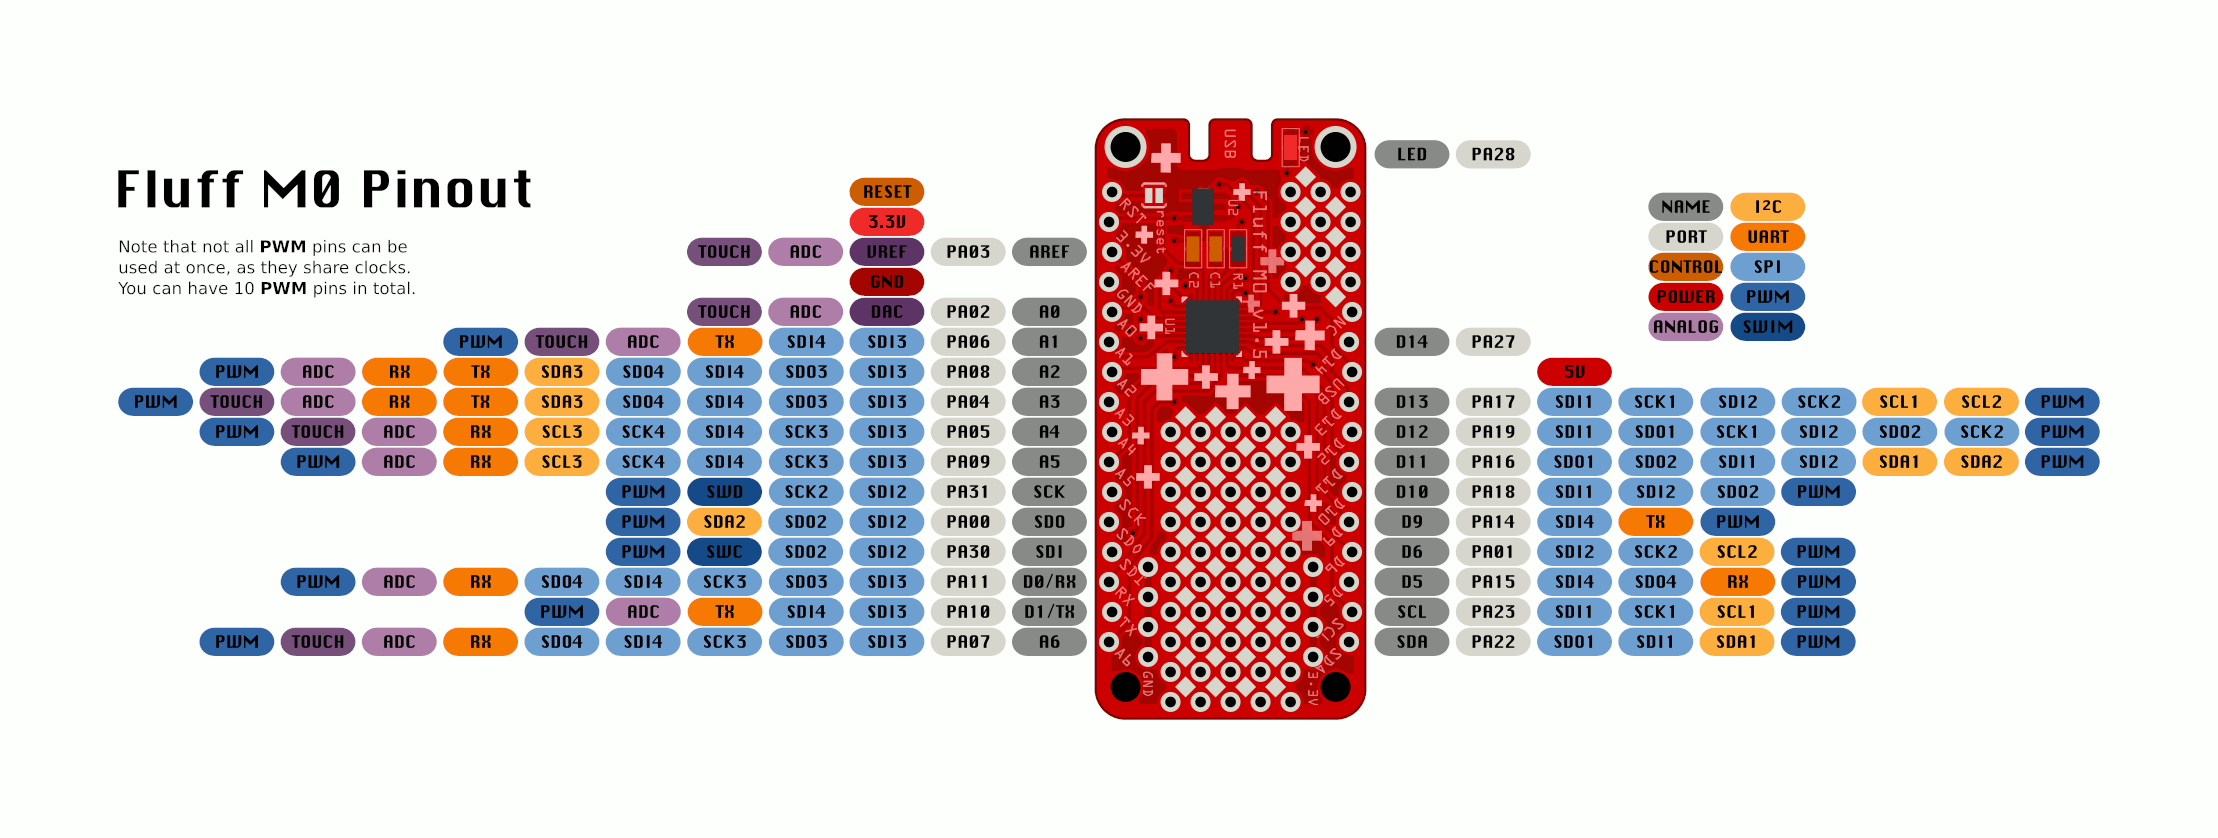
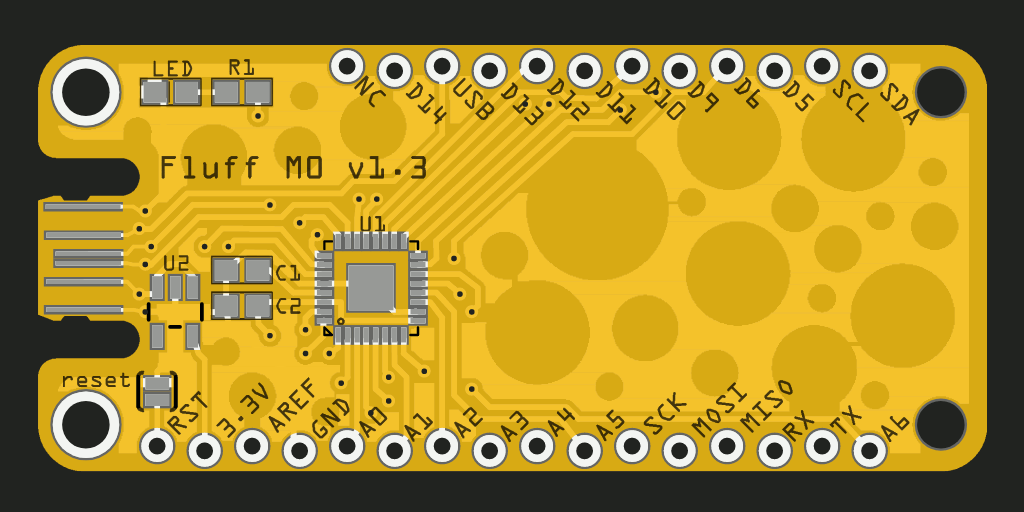
    To actually do something with a board, it's good to know which pin does what. The Feather standard already defines the functions of some pins, but they can do so much more. So here is a pinout with the most useful pin functions documented:

    Initially I tried to figure it all out from the datasheet, but I quickly noticed it's non-trivial. Some timers and some sercoms are used internally by CircuitPython, and some are not available in the version of the chip I'm using. So instead I decided to take a brute force approach, and wrote a simple program that just tries all the possible combinations.

    However, when it came to PWM, I simply gave up. The number of combinations is huge, especially since order of creating the PWM outputs matters, so I'm simply just marking which pins can have PWM at all. It's up to the user to check if the particular combination of pins they want to use for PWM is viable. I simply can't think of a way to present this information clearly in a graphical way.

  • Version 1.5

    deʃhipu07/22/2020 at 10:00 0 comments

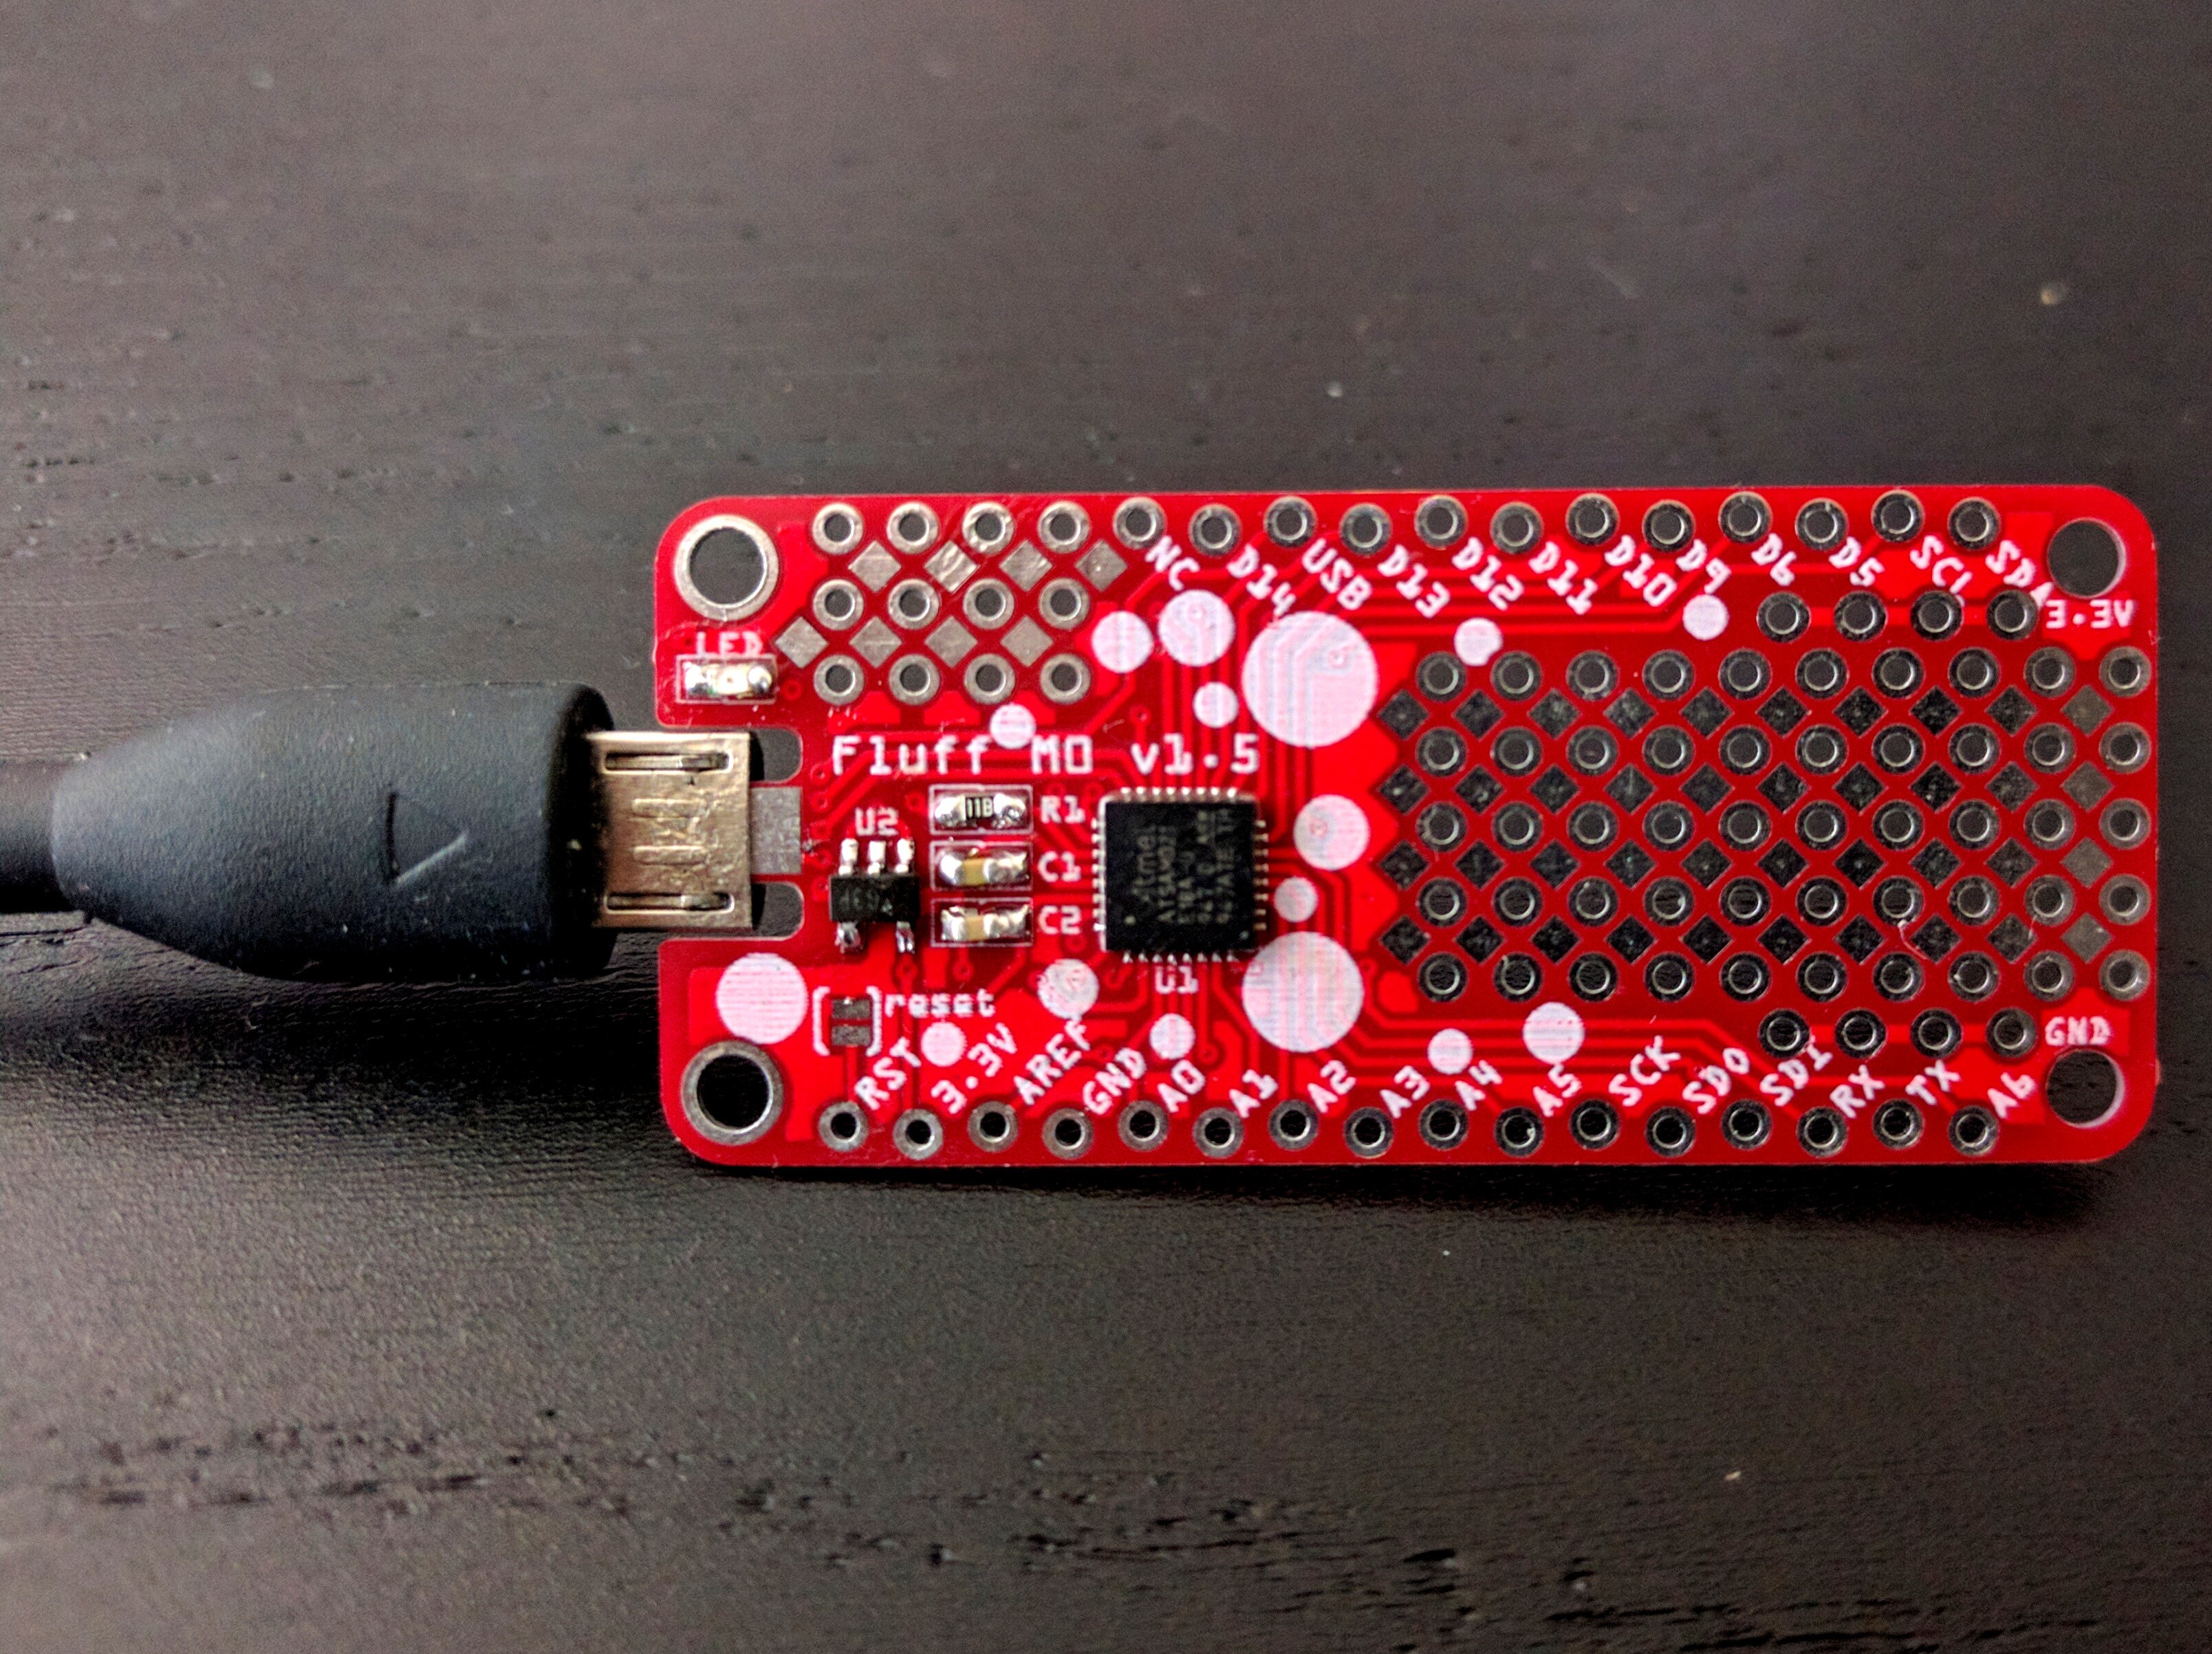
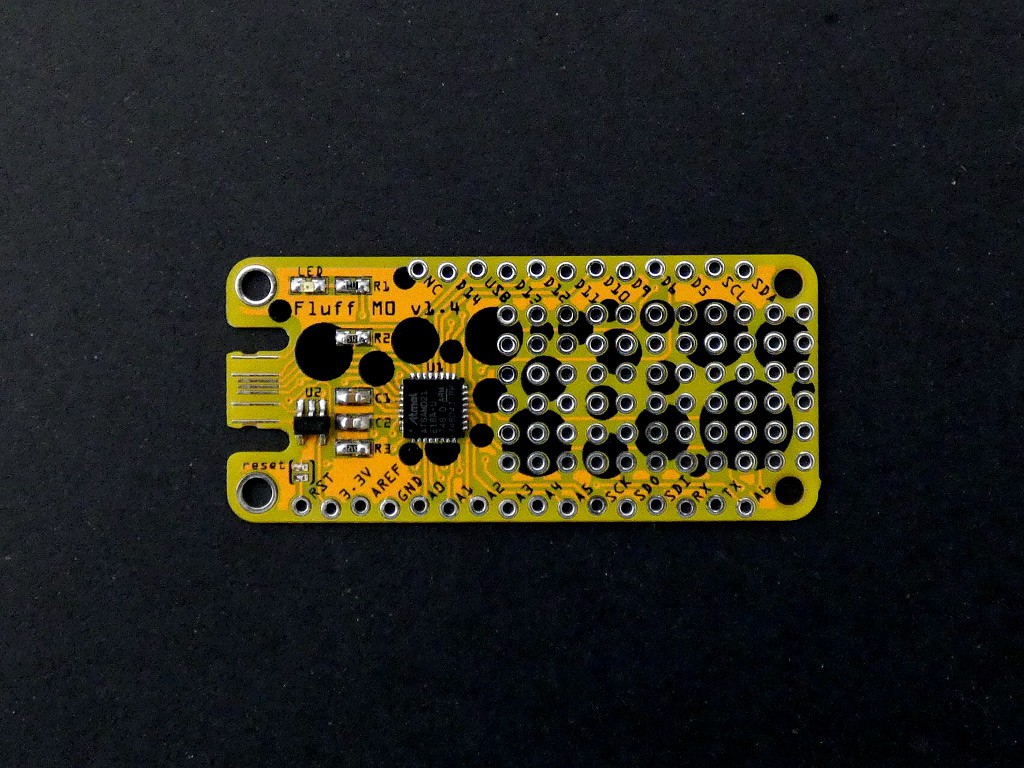
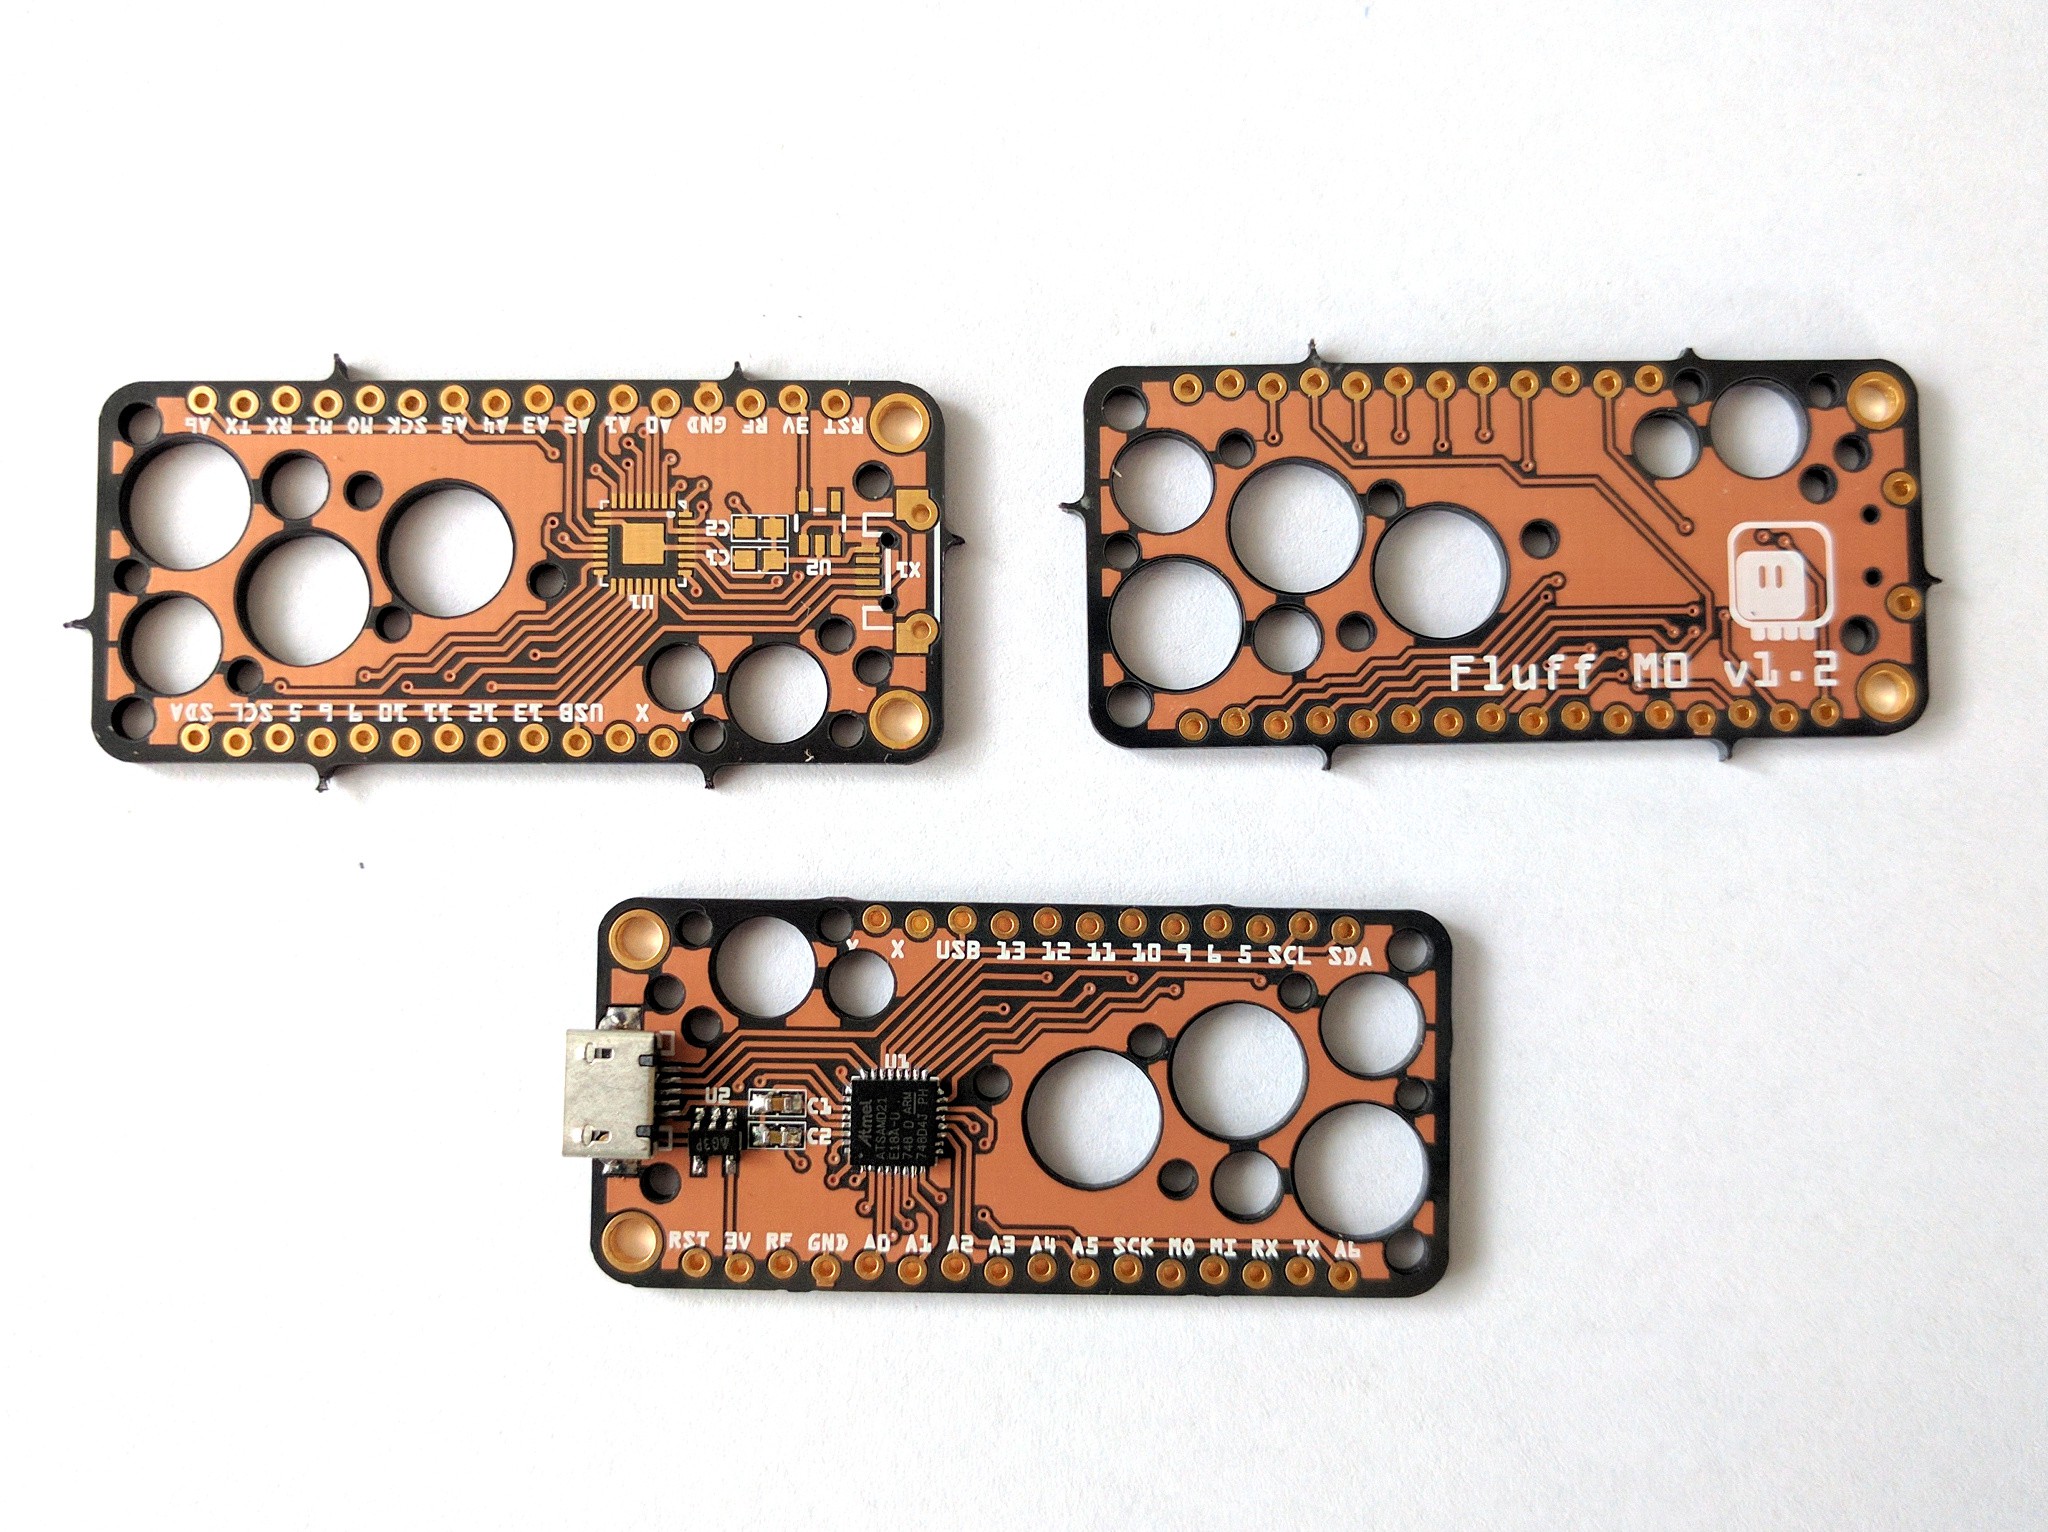
    The PCBs for the micro-USB version arrived:

    Some notes:

    • The connector works. Yay.
    • It's a little bit tight thickness-wise. More on that below.
    • I made it a little too deep — I can make it about 1.5mm smaller.
    • It's strong, even with the vias all lined up like that (later version has the vias more spread). It shouldn't break off.
    • There is a bit of sideways wobble possible, but it doesn't seem to cause any connection problems.
    • The width of the cutout is just right.
    • The pad on the top of the connector, that was supposed to connect to the shield, is useless, and can cause a short if the plug is inserted wrong way around.
    • I'm happy with the prototyping areas, I'm going to leave them like that.
    • The connector doesn't necessarily look like an USB connector, so I'm going to add a label to it describing it as such.
    • The staggering of the contacts, so that power gets connected before the signals, is superfluous, because they are already staggered in the plug. I will remove that.

    Now, speaking about the thickness of the connector, it seems to be on the edge of acceptable. The first insertion requires a bit of force and leaves marks on the contacts:

    This seems to be mostly to the thickness added by the HASL process of coating the contacts with solder. I hope that removing the pad from the other side will improve the situation here.

    Speaking of the board thickness, I also made some 0.8mm PCBs for the USB-C version, and it does sit in the plug much better, while still not being too tight, so that is the preferred thickness for that kind of connector for me.

  • Micro-USB

    deʃhipu07/17/2020 at 12:51 0 comments

    The last version is all correct — it has all the pins in the right places, the USB-C socket works well with the pull-down resistors in place, there is a large prototyping area and the staggered pin holes. Not much left to improve. However, if I think about the original goal of being a cheap replacement for the Feather M0 Basic to be left in projects or used for workshop, there is still some room for improvement, so I decided to try one more time.

    First of all, black silkscreen with yellow soldermask is uncommon combination (which is a damn shame, it looks much better than white silkscreen, and they use black silkscreen for white soldermask already anyways), so to get the cheesy looks I would need to pay extra for the uncommon color combination. So if I used a decoration that works well with other colors, I could save here.

    Second, USB-C cables are expensive, and USB-C ports are usually only on new and expensive devices. If I organize a workshop, I want it to be available for everyone, and not just the rich kids — so I would have to provide USB-C to USB-A cables (expensive). However, the same technique as used for the USB-C socket can be also used for the Micro-USB socket — you won't get the satisfying click when the plug is inserted, but otherwise it should work the same. And I can ditch the two resistors then!

    Third, the prototyping area on the Feather M0 Basic has some additional rails for power — that would be useful and help avoid some cable mess.

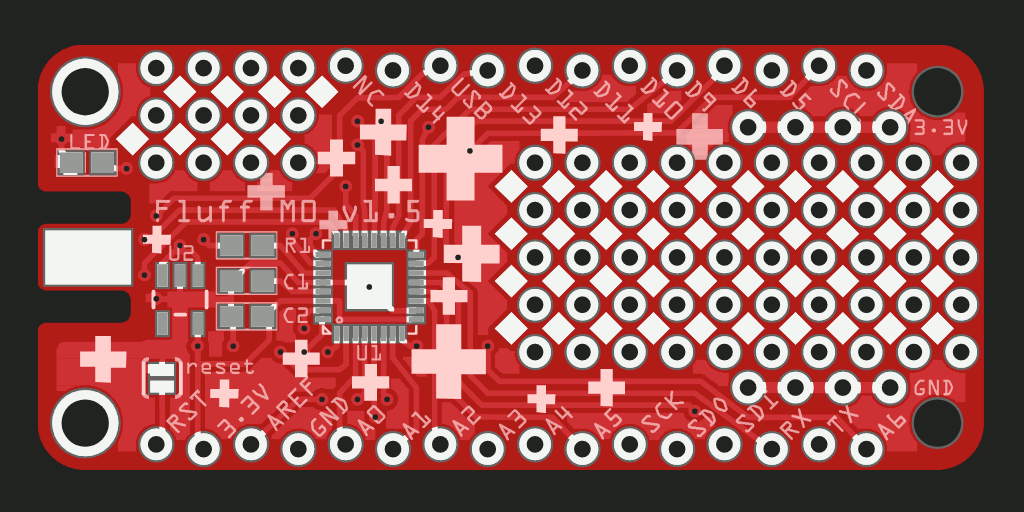
    So I designed this:

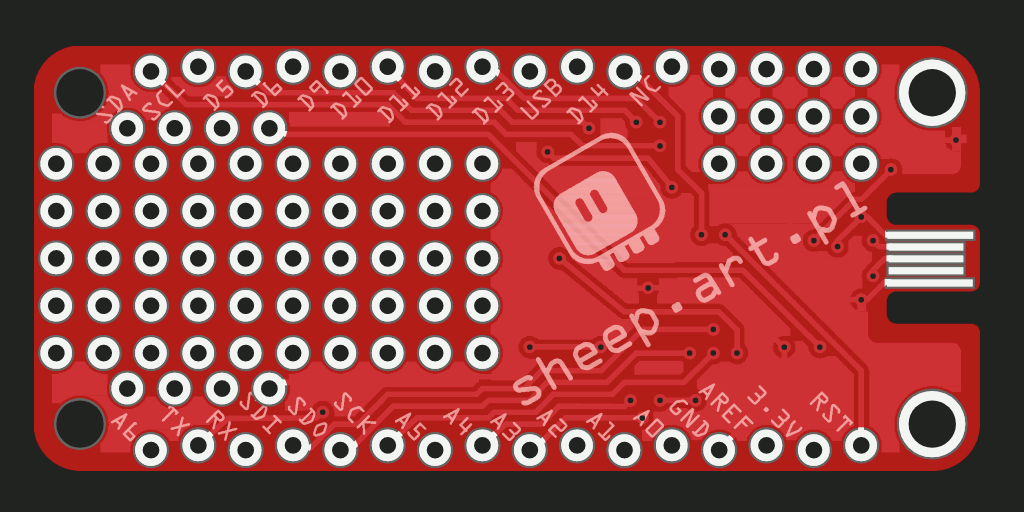
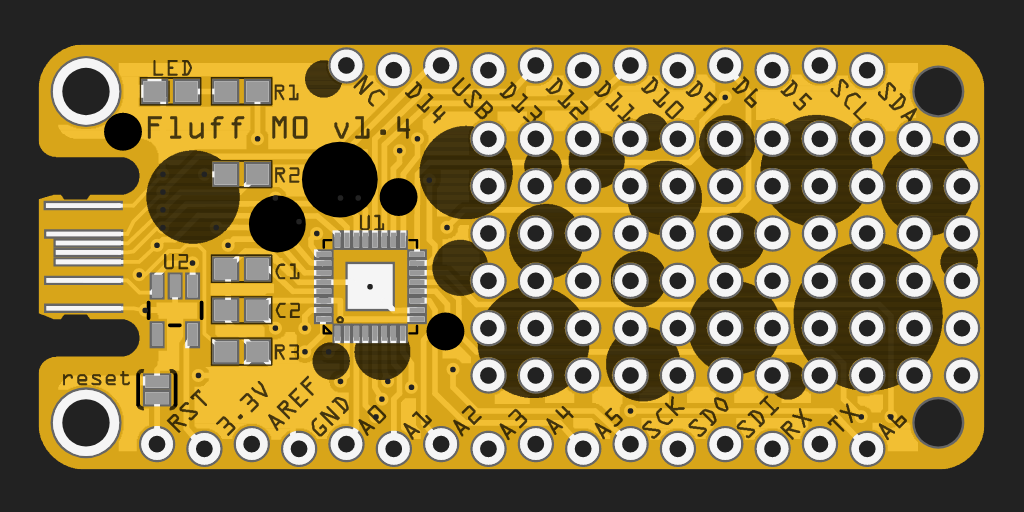
    This version is a little bit more obviously Swiss, uses micro-USB socket, and has a prototyping area with power rails and some extra pads in it for squeezing SMD components in there. It also has the LED in a position a little bit more similar to where original Feathers have it, and a second prototyping area where the battery socket normally goes. Otherwise it's all the same stuff as previously.

    The PCBs are ordered and I will be testing the prototypes as soon as they arrive. I will publish the designs if they test fine.

  • Version 1.4

    deʃhipu07/09/2020 at 16:30 0 comments

    After the fail with missing pulld-downs on CC pins for USB-C, I re-designed the board a little bit:

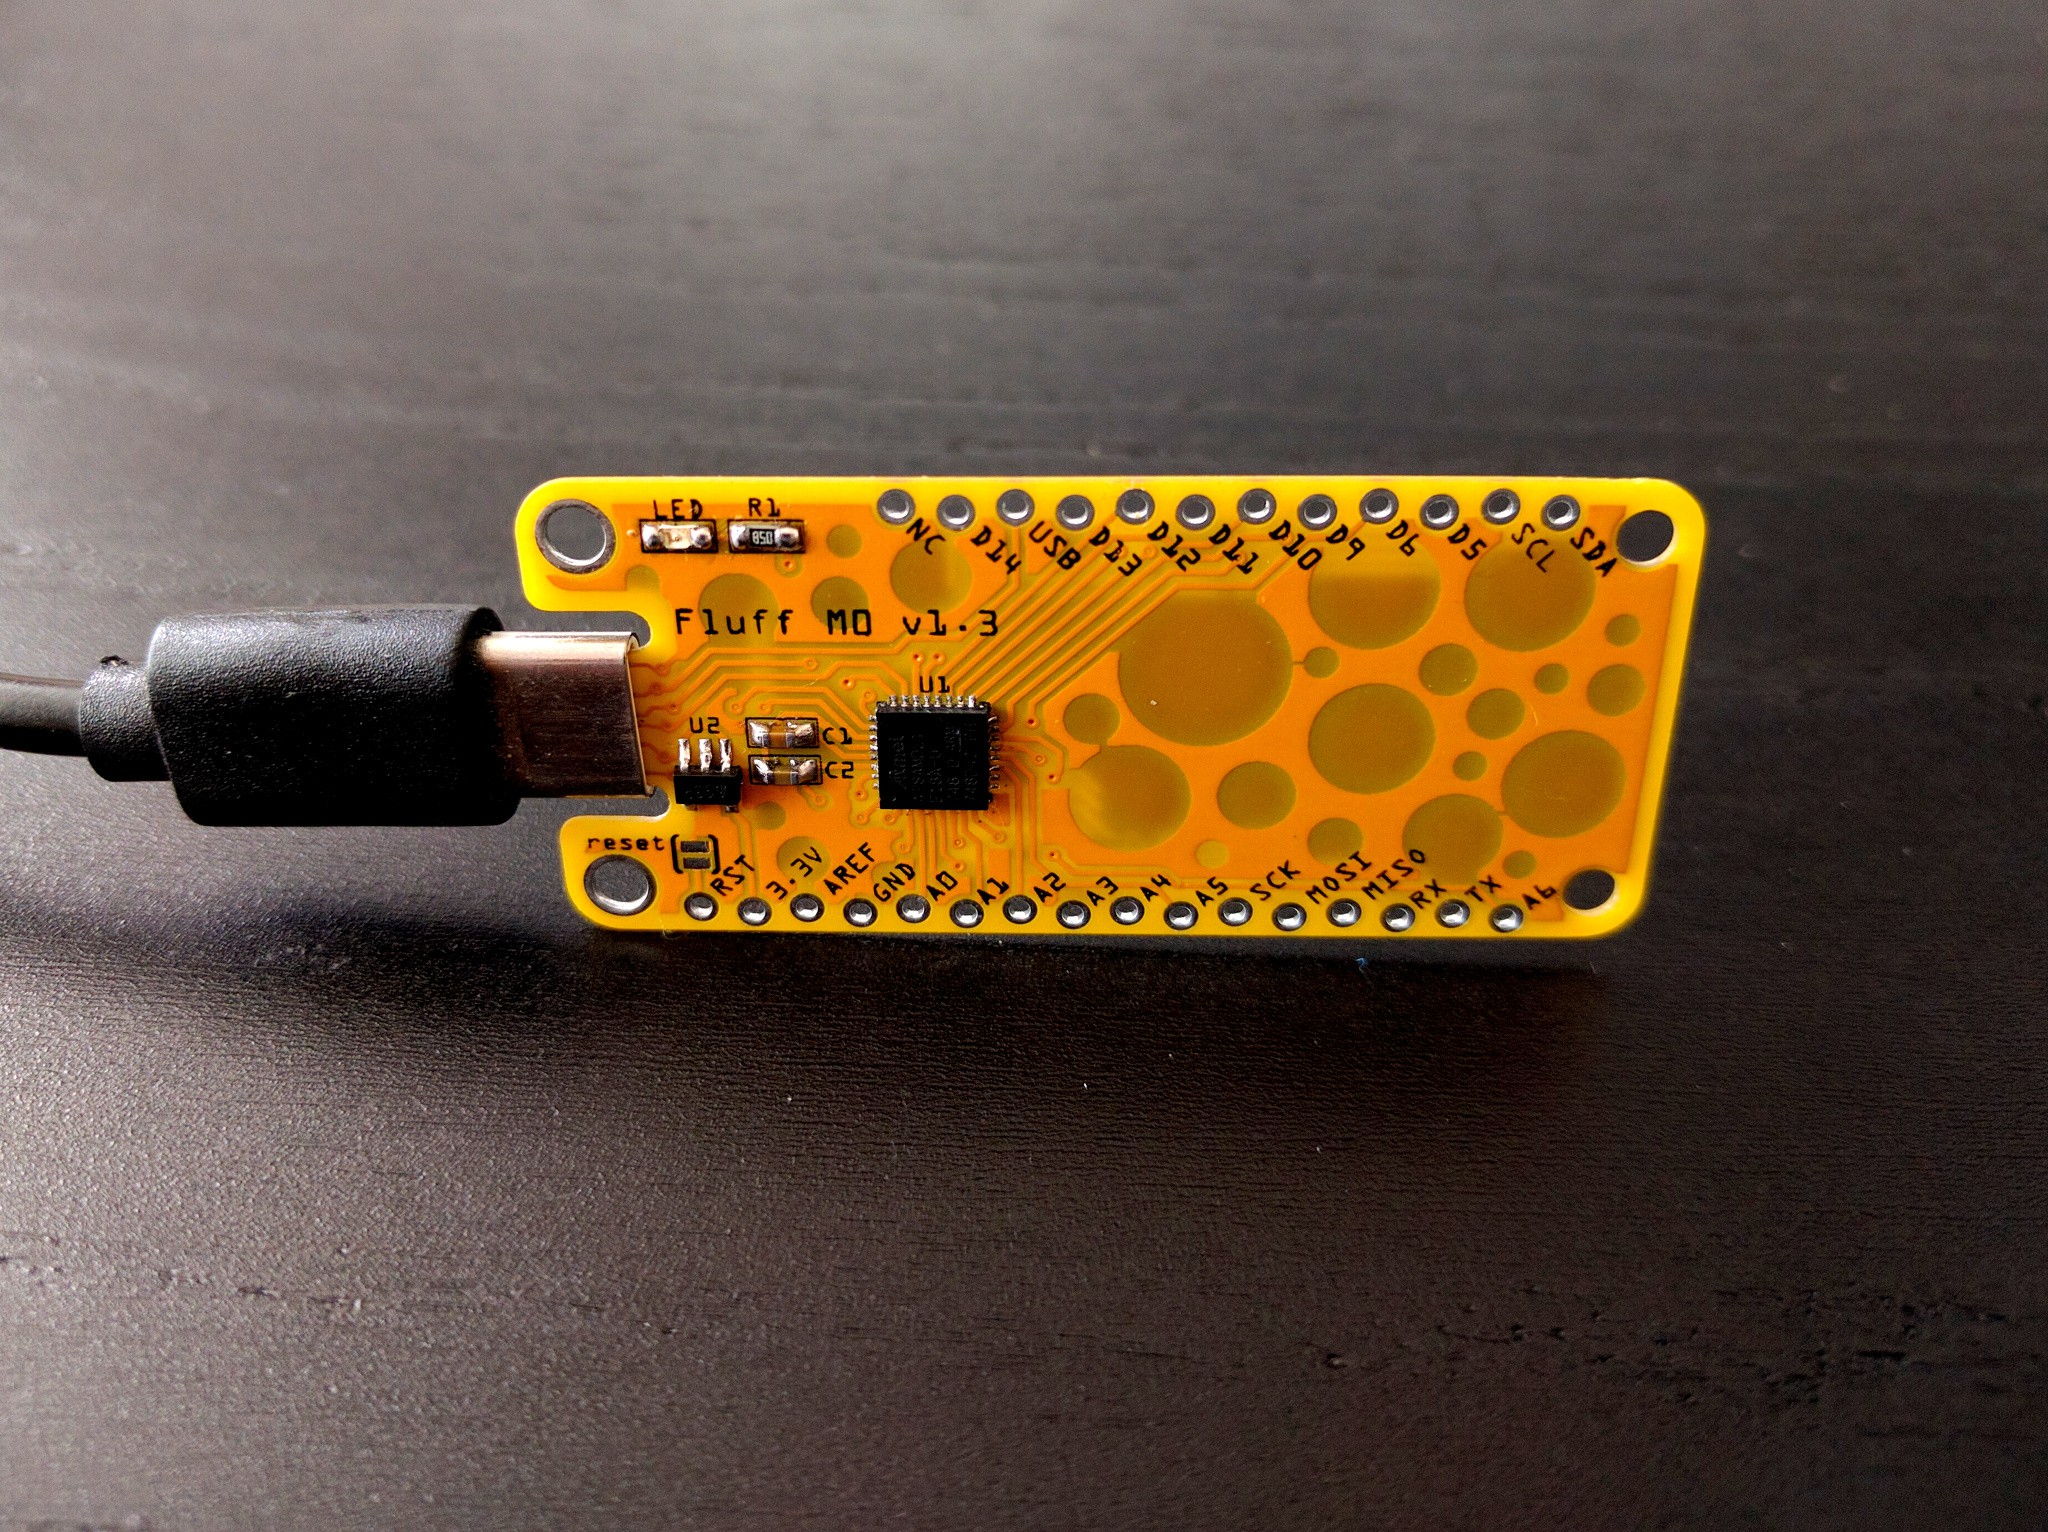
    There are now contacts and pull-downs for the CC pins, and I also added a large prototyping area in the empty part of the board. The holes are now just on the silkscreen. This time the boards arrived in a few days:

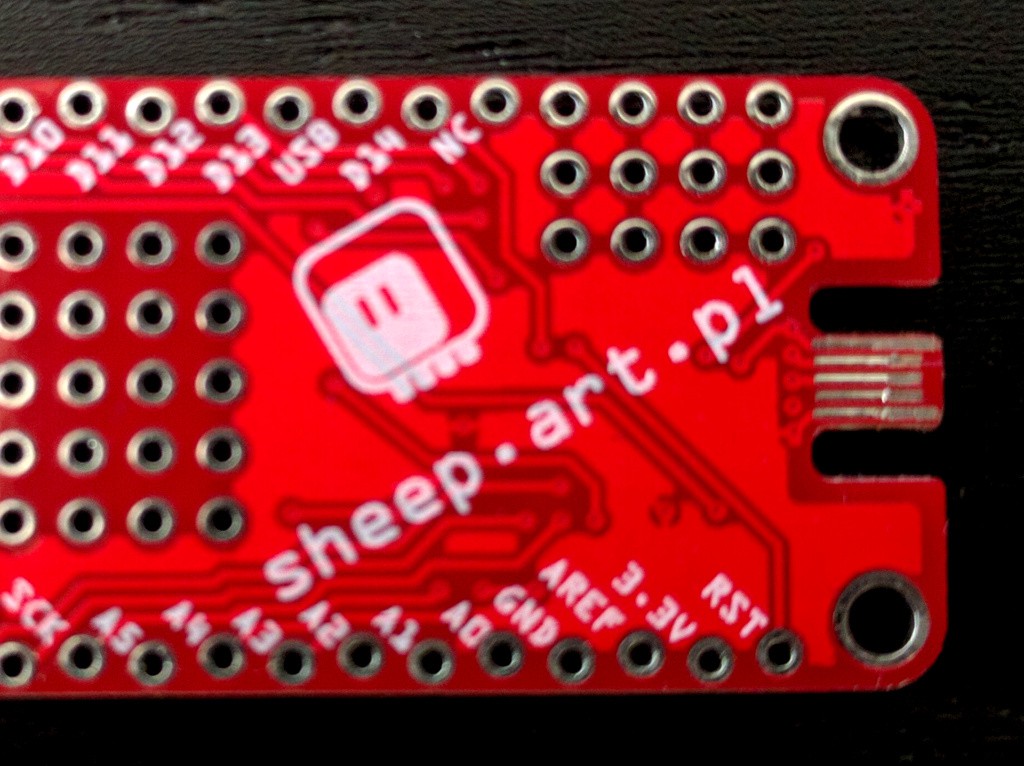
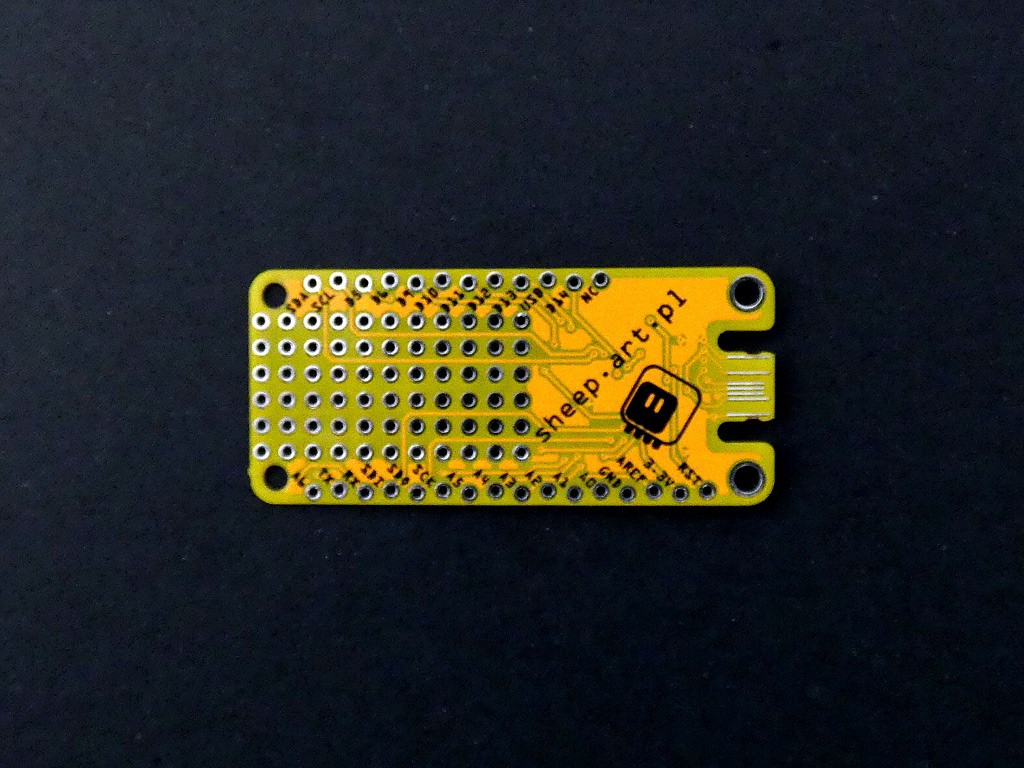
    I put the address of my website on the other side, so that I can use the very flat board as a kind of business card:

    That's pretty much it. The new version works perfectly fine both with USB 2.0 and actual USB-C ports. I'm publishing the fritzing design file, the gerbers and the BOM, so that anyone can make their own — you can find them in the downloads section of this page.

  • Version 1.3 Testing

    deʃhipu07/02/2020 at 15:21 0 comments

    The PCBs arrived after their 3-week trip around the Europe, and as usual I assembled and tested one. The good news is that it works very well with any USB-A to USB-C cable. The plug is a bit wobbly, because there is no metal sleeve to stabilize it, but it doesn't disconnect or otherwise cause problems. The CNC router was even precise enough to mill the small teeth on the sides of the socket, so it goes in with a slight click. I'm pretty happy with that.

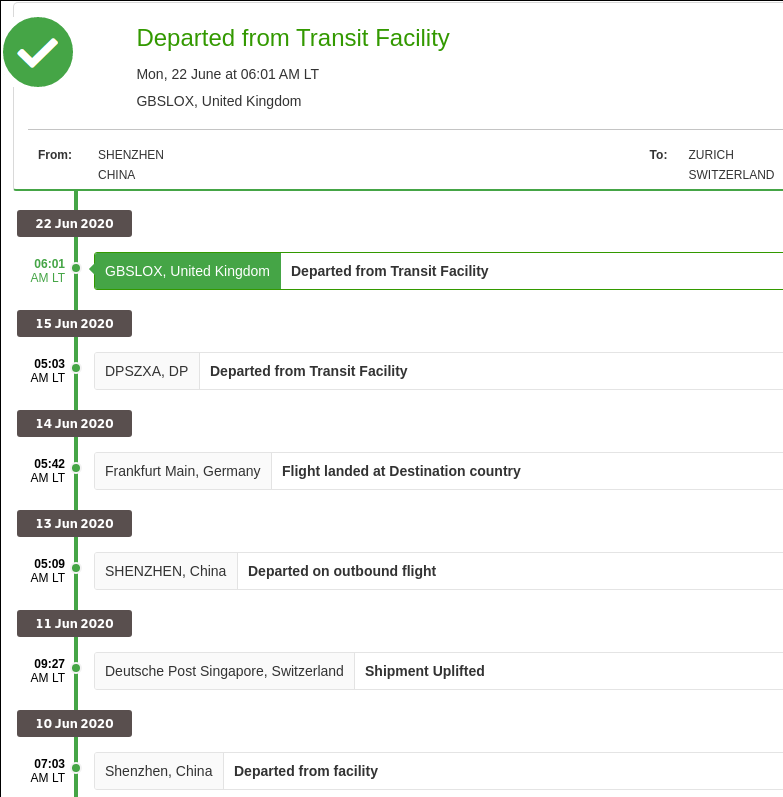
    The bad news is that it completely fails to work when connected to an actual USB-C socket with a proper USB-C cable. It simply doesn't receive any power. A little bit of research easily explains why: I didn't add pull-downs on the CC1 and CC2 pins, because I thought it's only needed for OTG devices. Turns out that the wording is a bit confusing, and it's required to have those resistors for USB 2.0 device to receive any power from an USB-C port.

    That means there will be version 1.4 of the board, and it means the parts count also raises — I need to squeeze 2 more resistors in there. I could probably get away with just one resistor — only one of CC1 or CC2 is ever connected — but I will make room for two, and use a bodge wire to see if it works also with one — I will need fewer prototypes that way.

  • Unexpected Delays

    deʃhipu06/23/2020 at 13:31 0 comments

  • Version 1.2

    deʃhipu06/14/2020 at 21:42 0 comments

    The PCBs for version 1.2 arrived from @oshpark now, and even though the version 1.3 will arrive tomorrow, I decided to assemble and test it. I used the nice clear soldermask on black FR4 option for the first time, and it does look pretty nice.

    The fix was simple enough, and now the SPI pins are correct and working. The next version will get rid of the micro-USB socket, and use a PCB socket for USB-C — we will see tomorrow how well that works.

  • Version 1.3 and USB Type-C

    deʃhipu06/03/2020 at 16:09 0 comments

    I'm still waiting for the PCB for the fixed version 1.2 from @oshpark, but in the meanwhile I had some ideas, both for improving the design, and for more use cases for this little board.

    The biggest part, apart from the microcontroller itself, and the only part I couldn't find in the @JLCPCB's parts library, is the USB socket. It sticks out of the PCB, it requires special handling, and it's the weakest spot from the mechanical point of view. It can also vary wildly in price, adding uncertainty to the pricing. So what are the alternatives?

    I remembered the experiments of @juan jesus with his PCB-based USB socket for his #Business Card Gamepad, and the tiny development boards sold by @bobricius that were inspired with it, and I had two realizations. First, I can do the PCB USB Type-C socket easily, especially since I already use the 0.6mm thick PCB.

    Second realization is about another use case for this. My main use case so far has been for personal use, because I need a board that breaks out all the pins of the QFN32 version of the SAMD21 chip, so that I can experiment with which pins can be used for what purposes in my projects. Plus I wanted something I could leave in finished projects without too much regret, and without coming back to them later to scavenge them for parts. Both those goals should be served well with the version 1.2, which breaks out three additional pins (AREF, A6 and D14), and only leaves one pin unused, but connected to a via, so I can still access it if I must (and it's a boring, GPIO-only pin). But now I have one more use case, that the new, flatter design should accommodate nicely: a business card.

    You see, with the whole back of the board free (and the holes plugged), I can put all my contact details on it. And then I can give those boards out to people who are interested in trying CircuitPython. I connected that last, usused, pin to a LED, so that the board can has something visible going on for it. I will probably write some kind of blinking program, that also uses the touch on analog pins for something (and maybe also the internal temperature sensor), so that the board is not boring with just power connected to it. And I can put a VCARD file with my contact details on its disk as well. And maybe some kind of text file with a CircuitPython primer and some links to the resources.

    I could also imagine a branded version of this board being a great giveaway on conferences and such.

  • Bootloader, Firmware and Version 1.2

    deʃhipu05/27/2020 at 00:05 0 comments

    The bootloader has been added to the Adafruit's fork, so now you can compile it yourself: https://github.com/adafruit/uf2-samdx1/pull/120

    Also, the board definition for CircuitPython has been added here: https://github.com/adafruit/circuitpython/pull/2945 — that assumes the correct SCK and MOSI pins, after swapping them.

    I ordered the corrected version 1.2 from OSHPark, and it's also available for order here: https://oshpark.com/shared_projects/SXflbZK4 — it's probably not the most price-efficient way to get it, if you panelize it and order from one of the cheap PCB fabs, you could get it really cheap, but with a really long wait.

    I even checked that JLCPCB has all the parts (except for the USB socket) in their library, so you could in theory get them to assemble it — except I have no idea how to convert Fritzing's pick-and-place file to one of the formats they require.

  • Oops!

    deʃhipu05/26/2020 at 01:14 0 comments

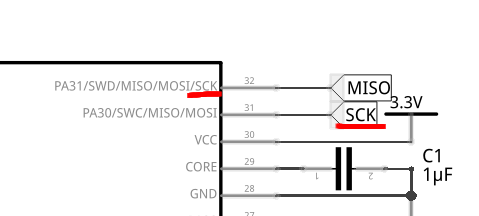
    Would you believe me if I told you that I made a pretty stupid (and easily avoided) mistake in this design? If you have followed any of my previous projects, this should be an obvious thing to you. Of course I made a stupid mistake, that's how I work after all! And you would be completely right! Here is a fragment of the schematic that I posted earlier, with one little detail marked in red. Does it strike it as somewhat odd, perhaps?

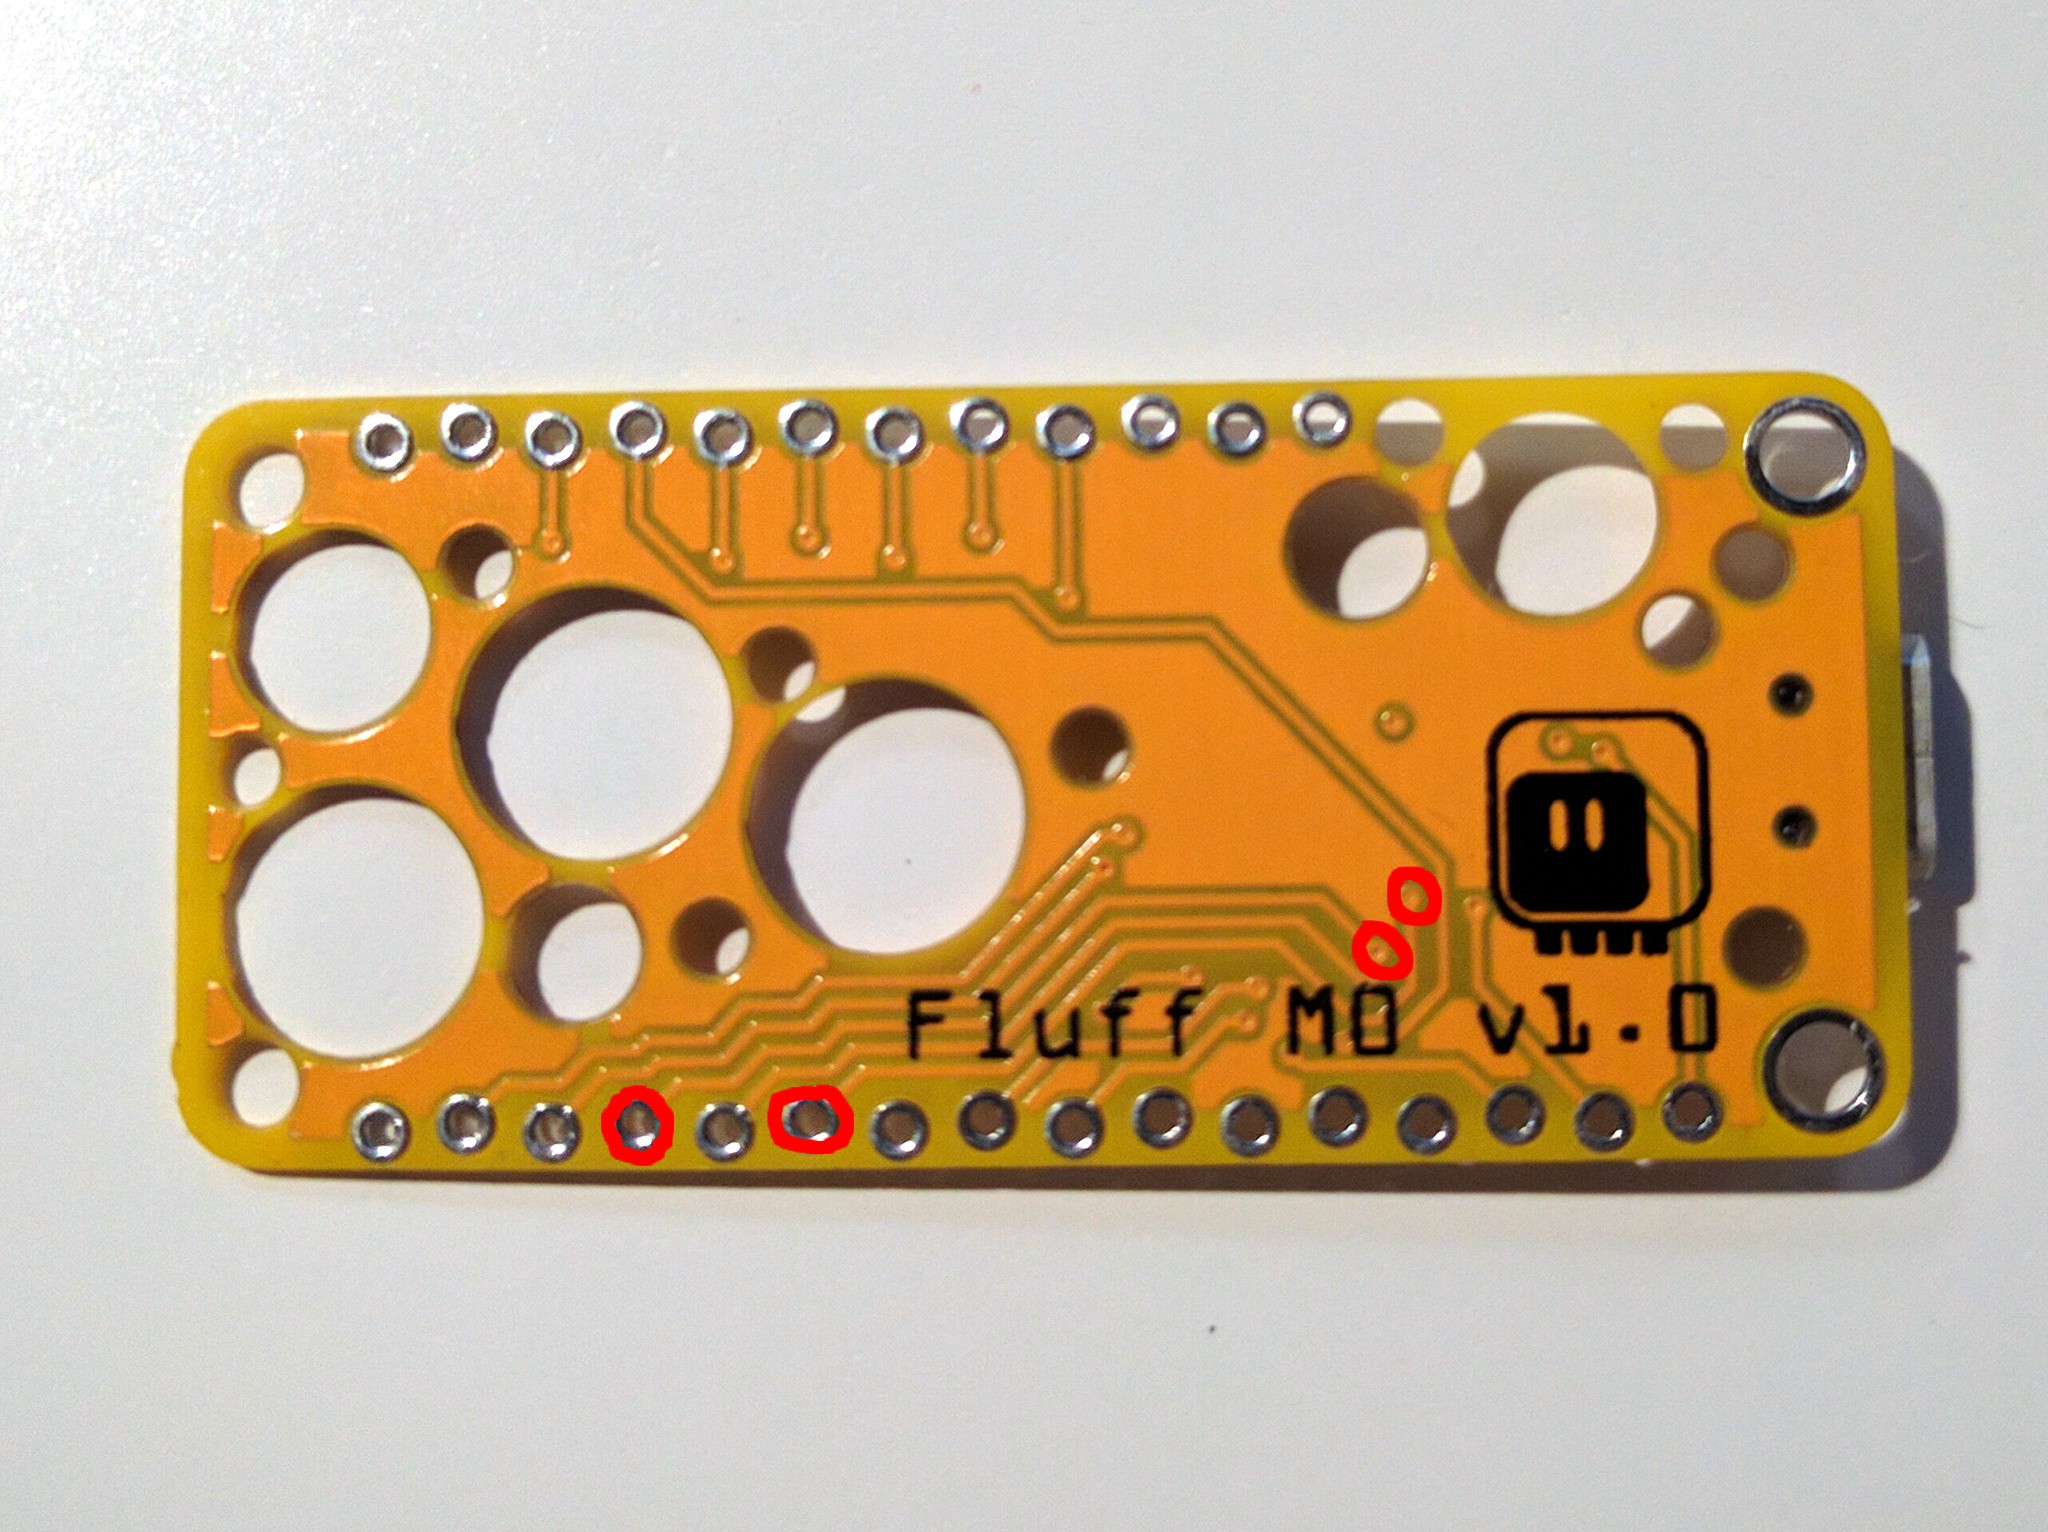
    Yes, I swapped MISO and SCK pins. No, any FeatherWing that uses SPI will not work with Fluff M0 v1.0 because of that. Sorry to anyone who used my gerbers. What can be done about it? Well, those are the tracks in real life:

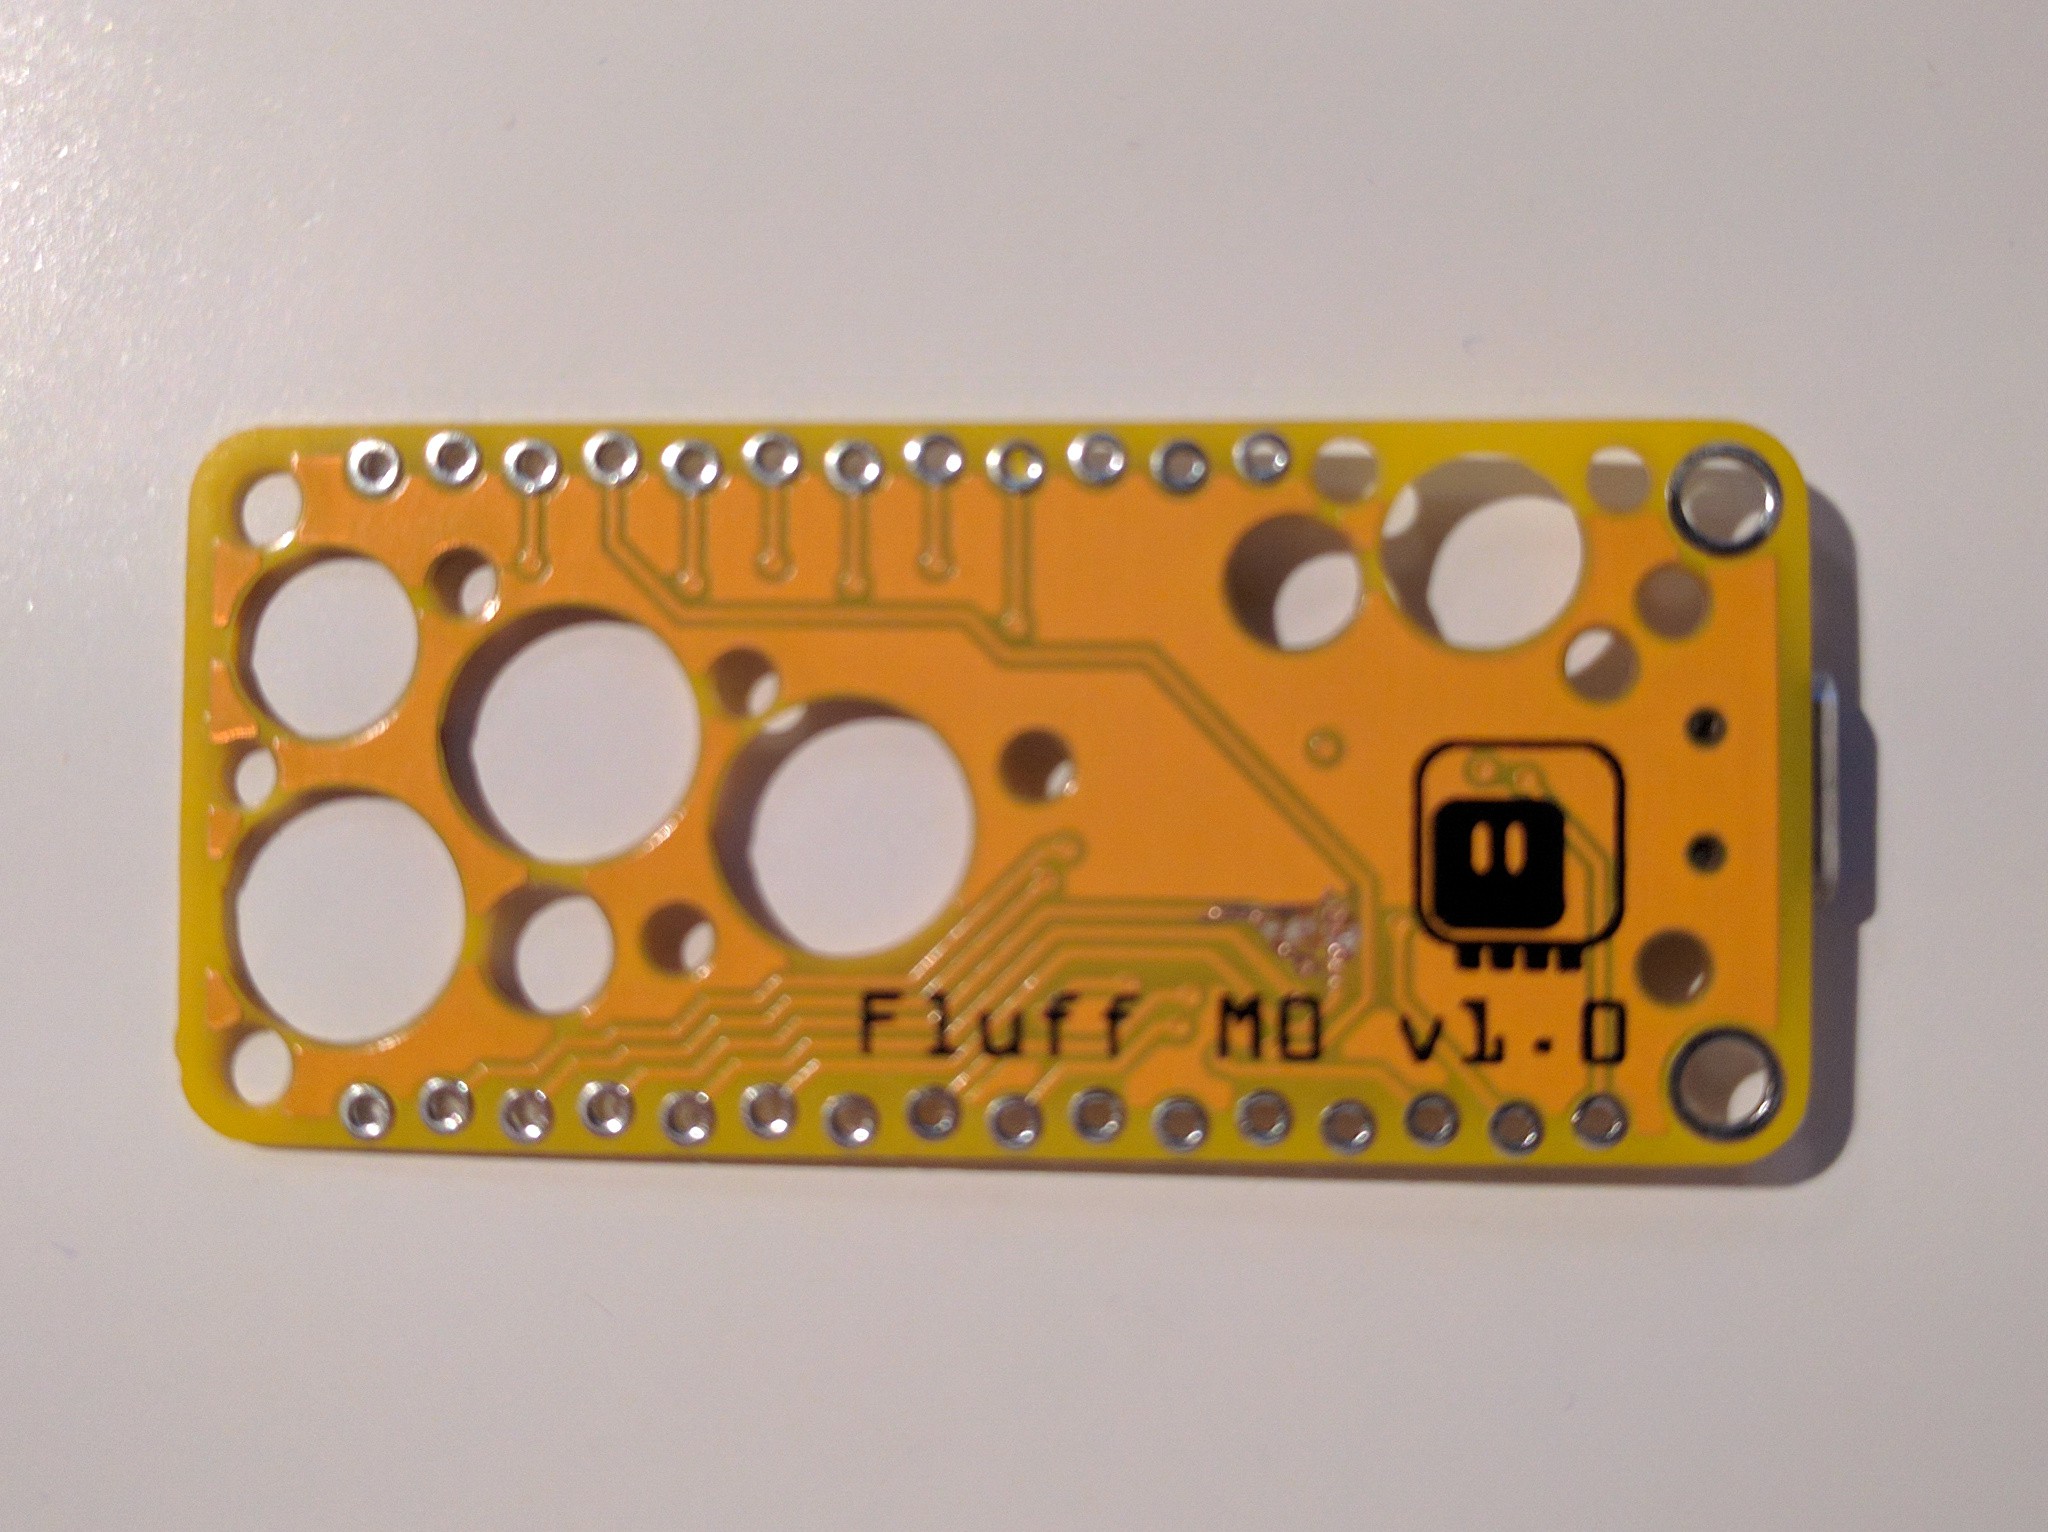
    What can you do when your project has a mistake like that? There is only one thing left to do: scrape it. With a sharp knife. Like this:

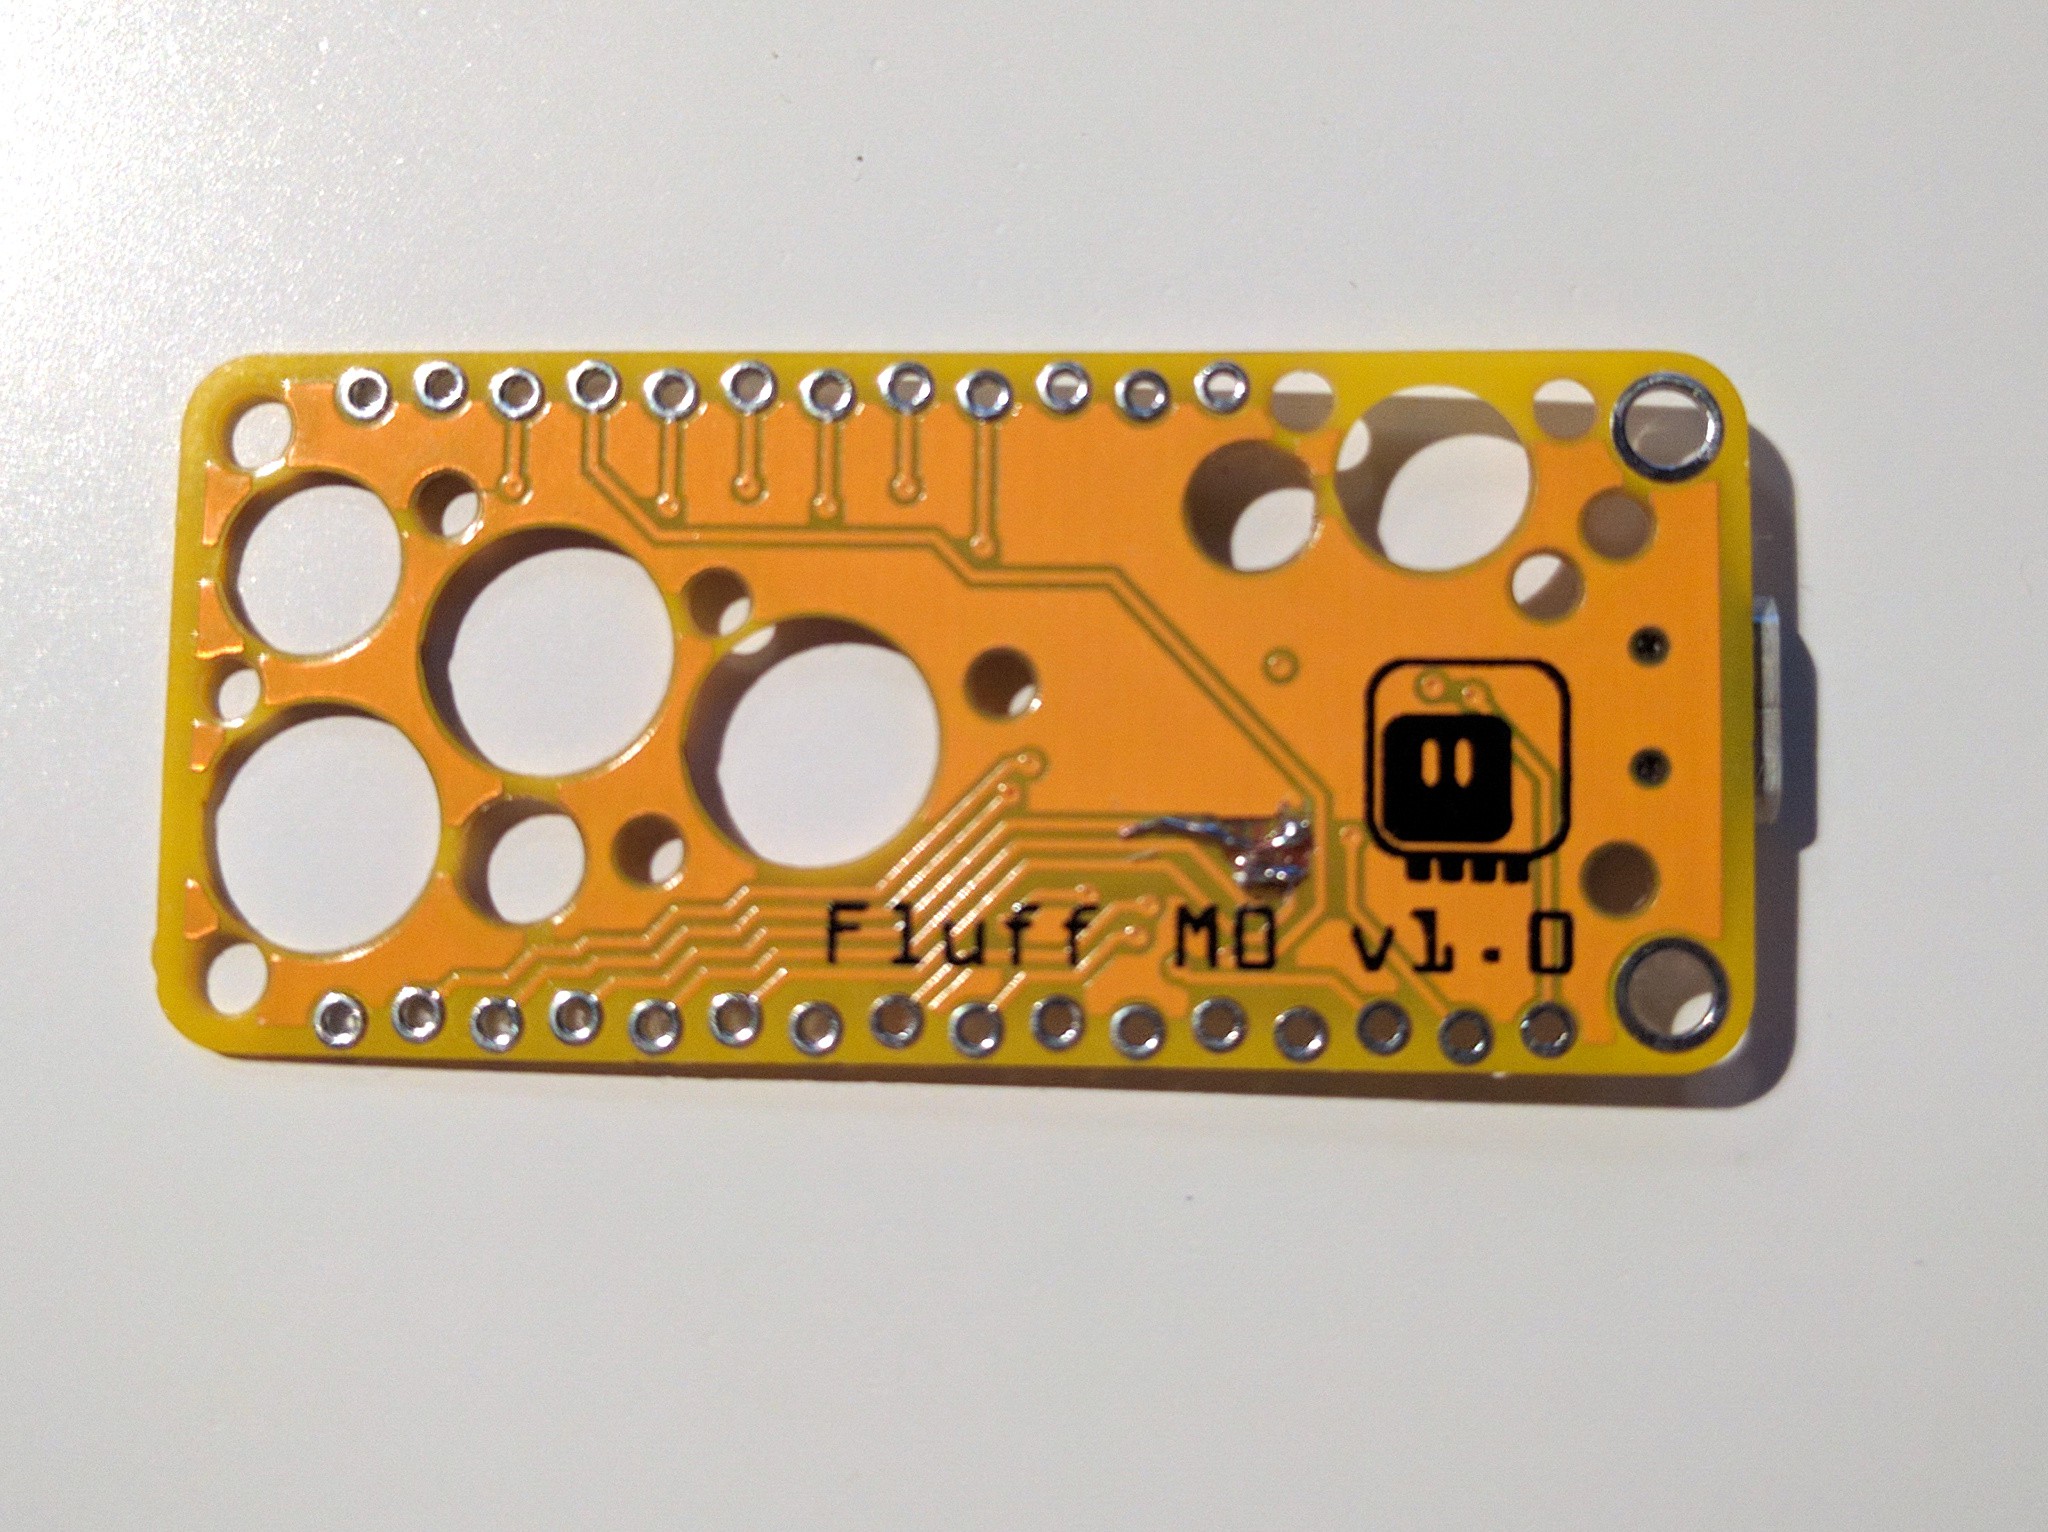
    (Sorry for potatocam.) And then you solder some thin wires to it, like this:

    And then you fix the firmware and the gerbers:

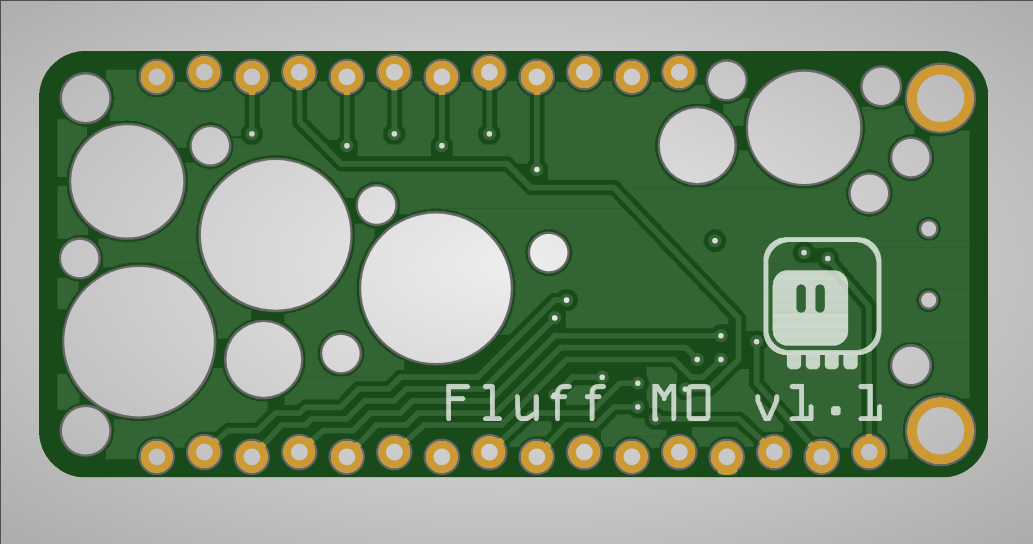
    It's a bit sad, because it's actually easier to route the correct pins. Oh well. In any case, version 1.1 is here:

View all 13 project logs

Enjoy this project?

Share

Discussions

kris-makes wrote 11/08/2021 at 08:27 point

Looks like its practical and easy to use. Does it work without cpython, with arduino ide?

  Are you sure? yes | no

deʃhipu wrote 11/08/2021 at 08:39 point

It should work if you write a board definition for Arduino for it. I haven't tried that.

  Are you sure? yes | no

bananana wrote 07/17/2020 at 19:52 point

Very nice job! 
I like especially the PCB replacement for USB C connector. 
Is there any way to get this part of the design as a library? :) 

  Are you sure? yes | no

deʃhipu wrote 07/17/2020 at 21:09 point

I'm doing it with a custom board outline and pads in Fritzing, but the original inventor of this idea made an Eagle library that could be of use to you: https://github.com/Pinuct/Eagle_PCB_USB_connectors/

  Are you sure? yes | no

MagicWolfi wrote 07/02/2020 at 16:08 point

Please use 2 resistors, one for each CC line. You'll avoid the same disaster that RaspberryPi had with their 1st version powered by USB-C, not working with certain USB-C power adapters. 

  Are you sure? yes | no

deʃhipu wrote 07/02/2020 at 18:24 point

I didn't look into what exactly was the problem with their hardware, because there was usually very little detail described in the articles — good to know it was this. Thanks for the advice.

  Are you sure? yes | no

MagicWolfi wrote 07/03/2020 at 00:50 point

No worries. Unrelated question: What font are you using in the terminal window in background title picture for this project? That looks like the most readable font ever.

  Are you sure? yes | no

deʃhipu wrote 07/03/2020 at 08:28 point

It is, it's called Terminus. Make sure to use a pixel font, not a TTF version, though.

  Are you sure? yes | no

Gerben wrote 05/05/2020 at 15:18 point

I could poke some holes in you PCB design, but it seems you beat me to it. q-;

  Are you sure? yes | no

bobricius wrote 05/04/2020 at 14:18 point

I am not cpython expert but I think D51 is much more cpython friendly + enough flash/ram with minimal price change

  Are you sure? yes | no

morgan wrote 05/04/2020 at 03:29 point

I've also had that feeling of wasting an overly capable devboard in a project for only needing one or two features.

  Are you sure? yes | no

bobricius wrote 05/03/2020 at 22:03 point

Nice, simple, clean ;) good job

  Are you sure? yes | no

deʃhipu wrote 05/03/2020 at 23:04 point

Thanks. We will see if it works when the PCB arrives.

  Are you sure? yes | no

bobricius wrote 05/04/2020 at 13:08 point

Waiting for Fluf M4 :) samd51j19>2xSpi I2c uart with access to all GPIO and without SPI flash and preconfigured st7735 :)

  Are you sure? yes | no

deʃhipu wrote 05/04/2020 at 13:51 point

But why? (I will probably do it anyways...)

  Are you sure? yes | no

Similar Projects

Does this project spark your interest?

Become a member to follow this project and never miss any updates