-
Catching up from 2019
05/06/2020 at 02:22 • 0 commentsAs stated in the project description, this project was started almost a year ago and is now being picked back up. This log will be describing what i have already done and have yet to complete.
CAD I plan to make two versions. the first version is very basic and for me to learn the things i need to know in order to make a very polished second version. The second of which will have stl files and instructions on sale for a small price ~$10. Here are the renders for this initial version.
As you can see this is a very basic model with not a lot of features.
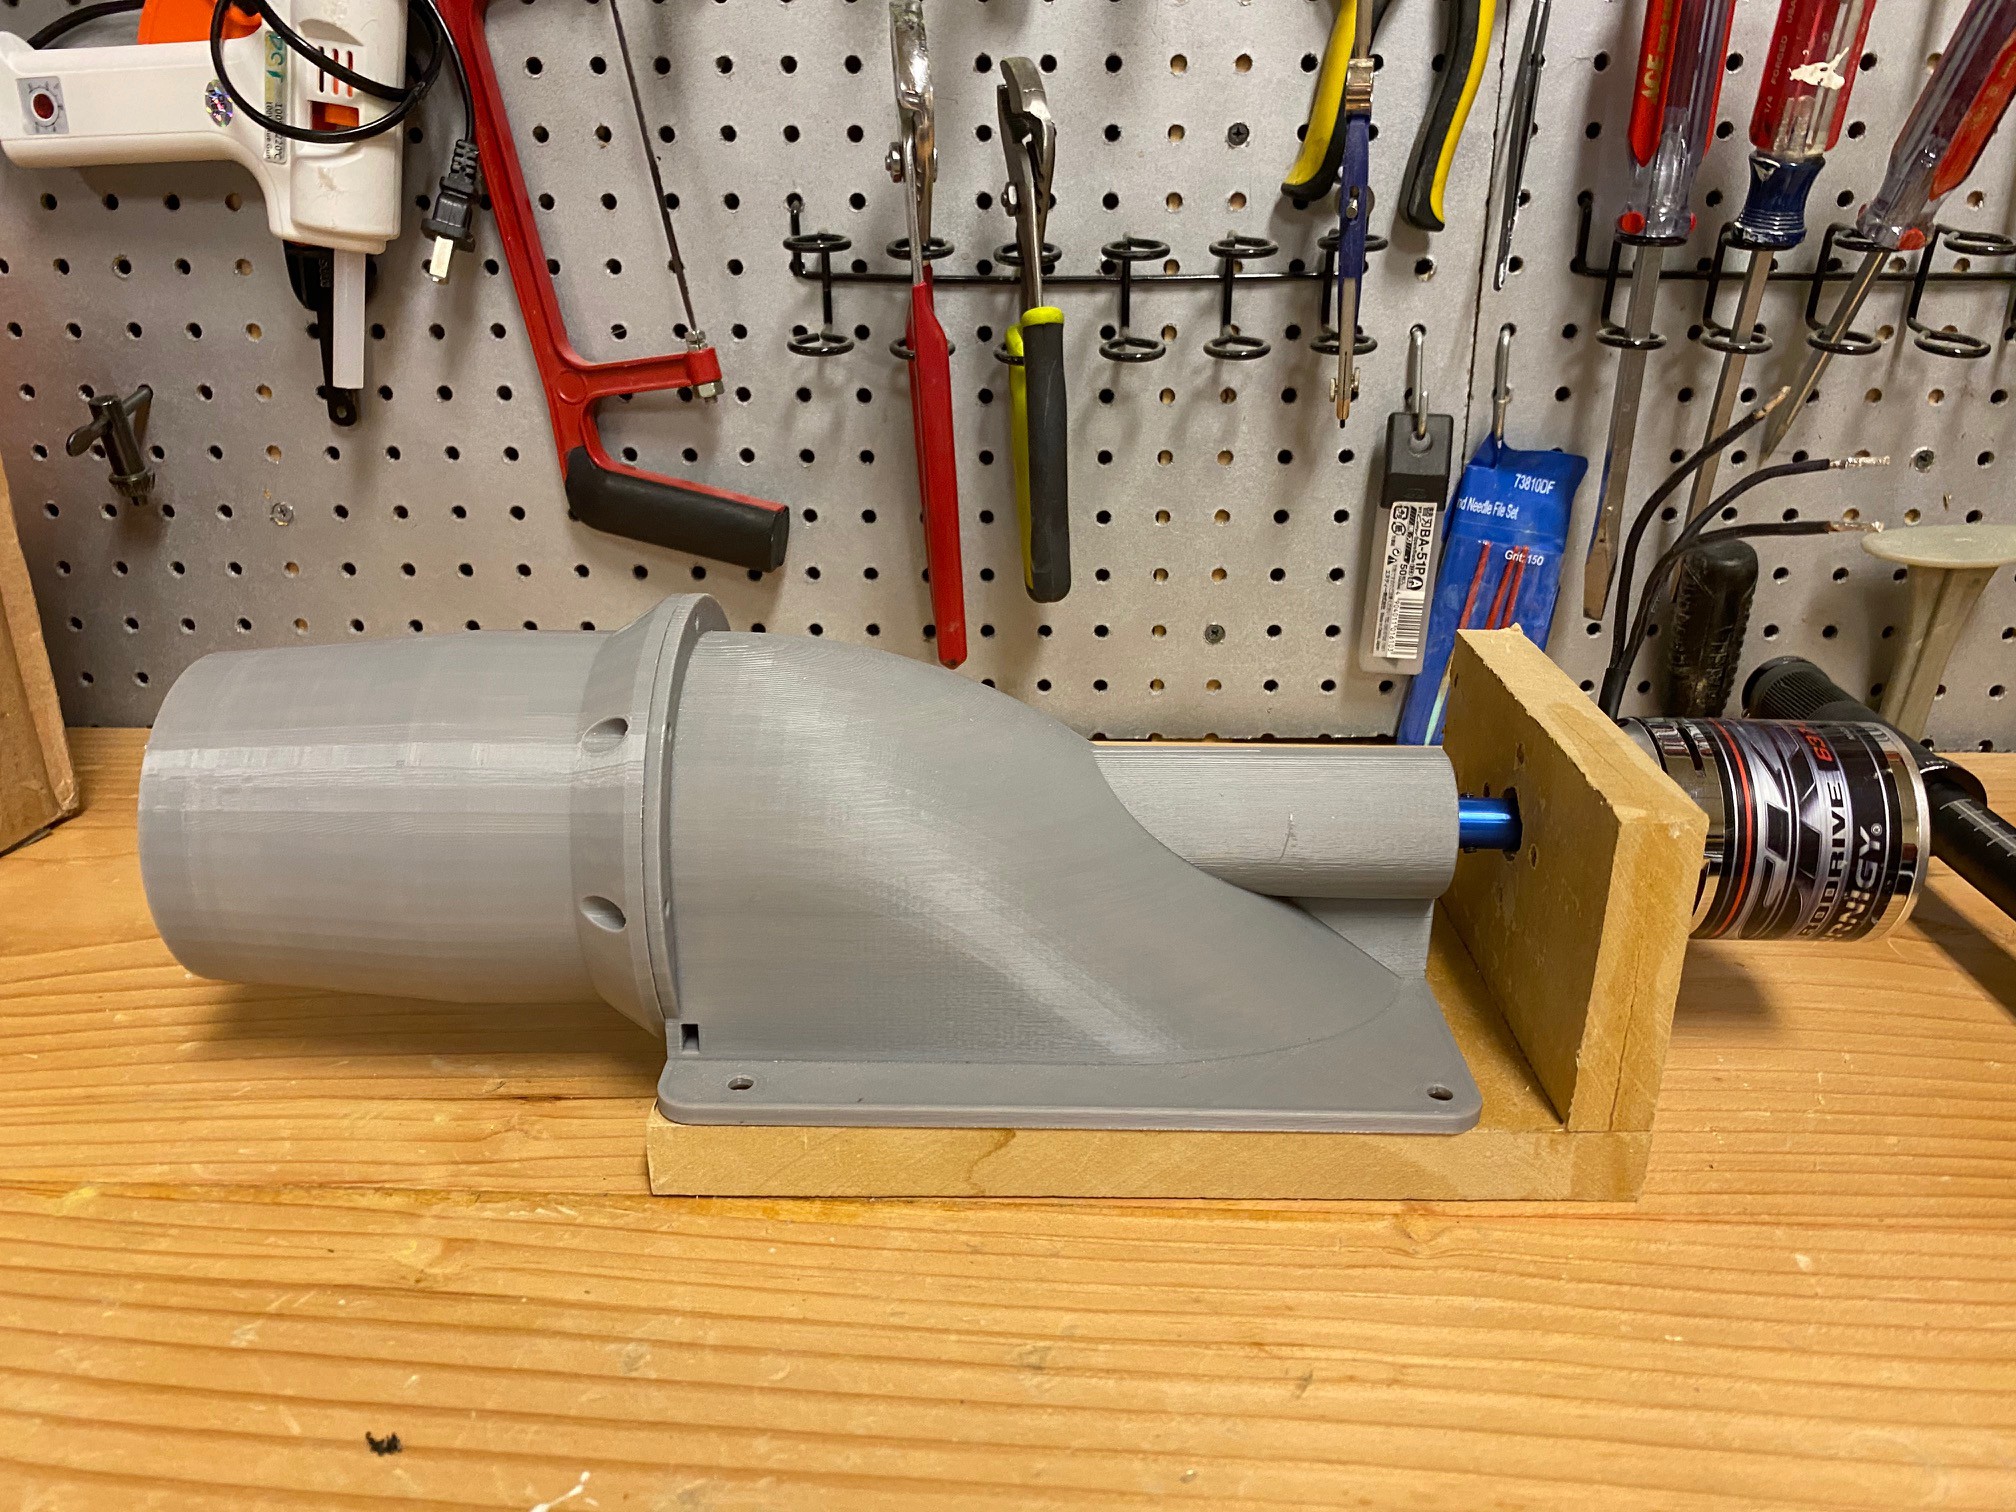
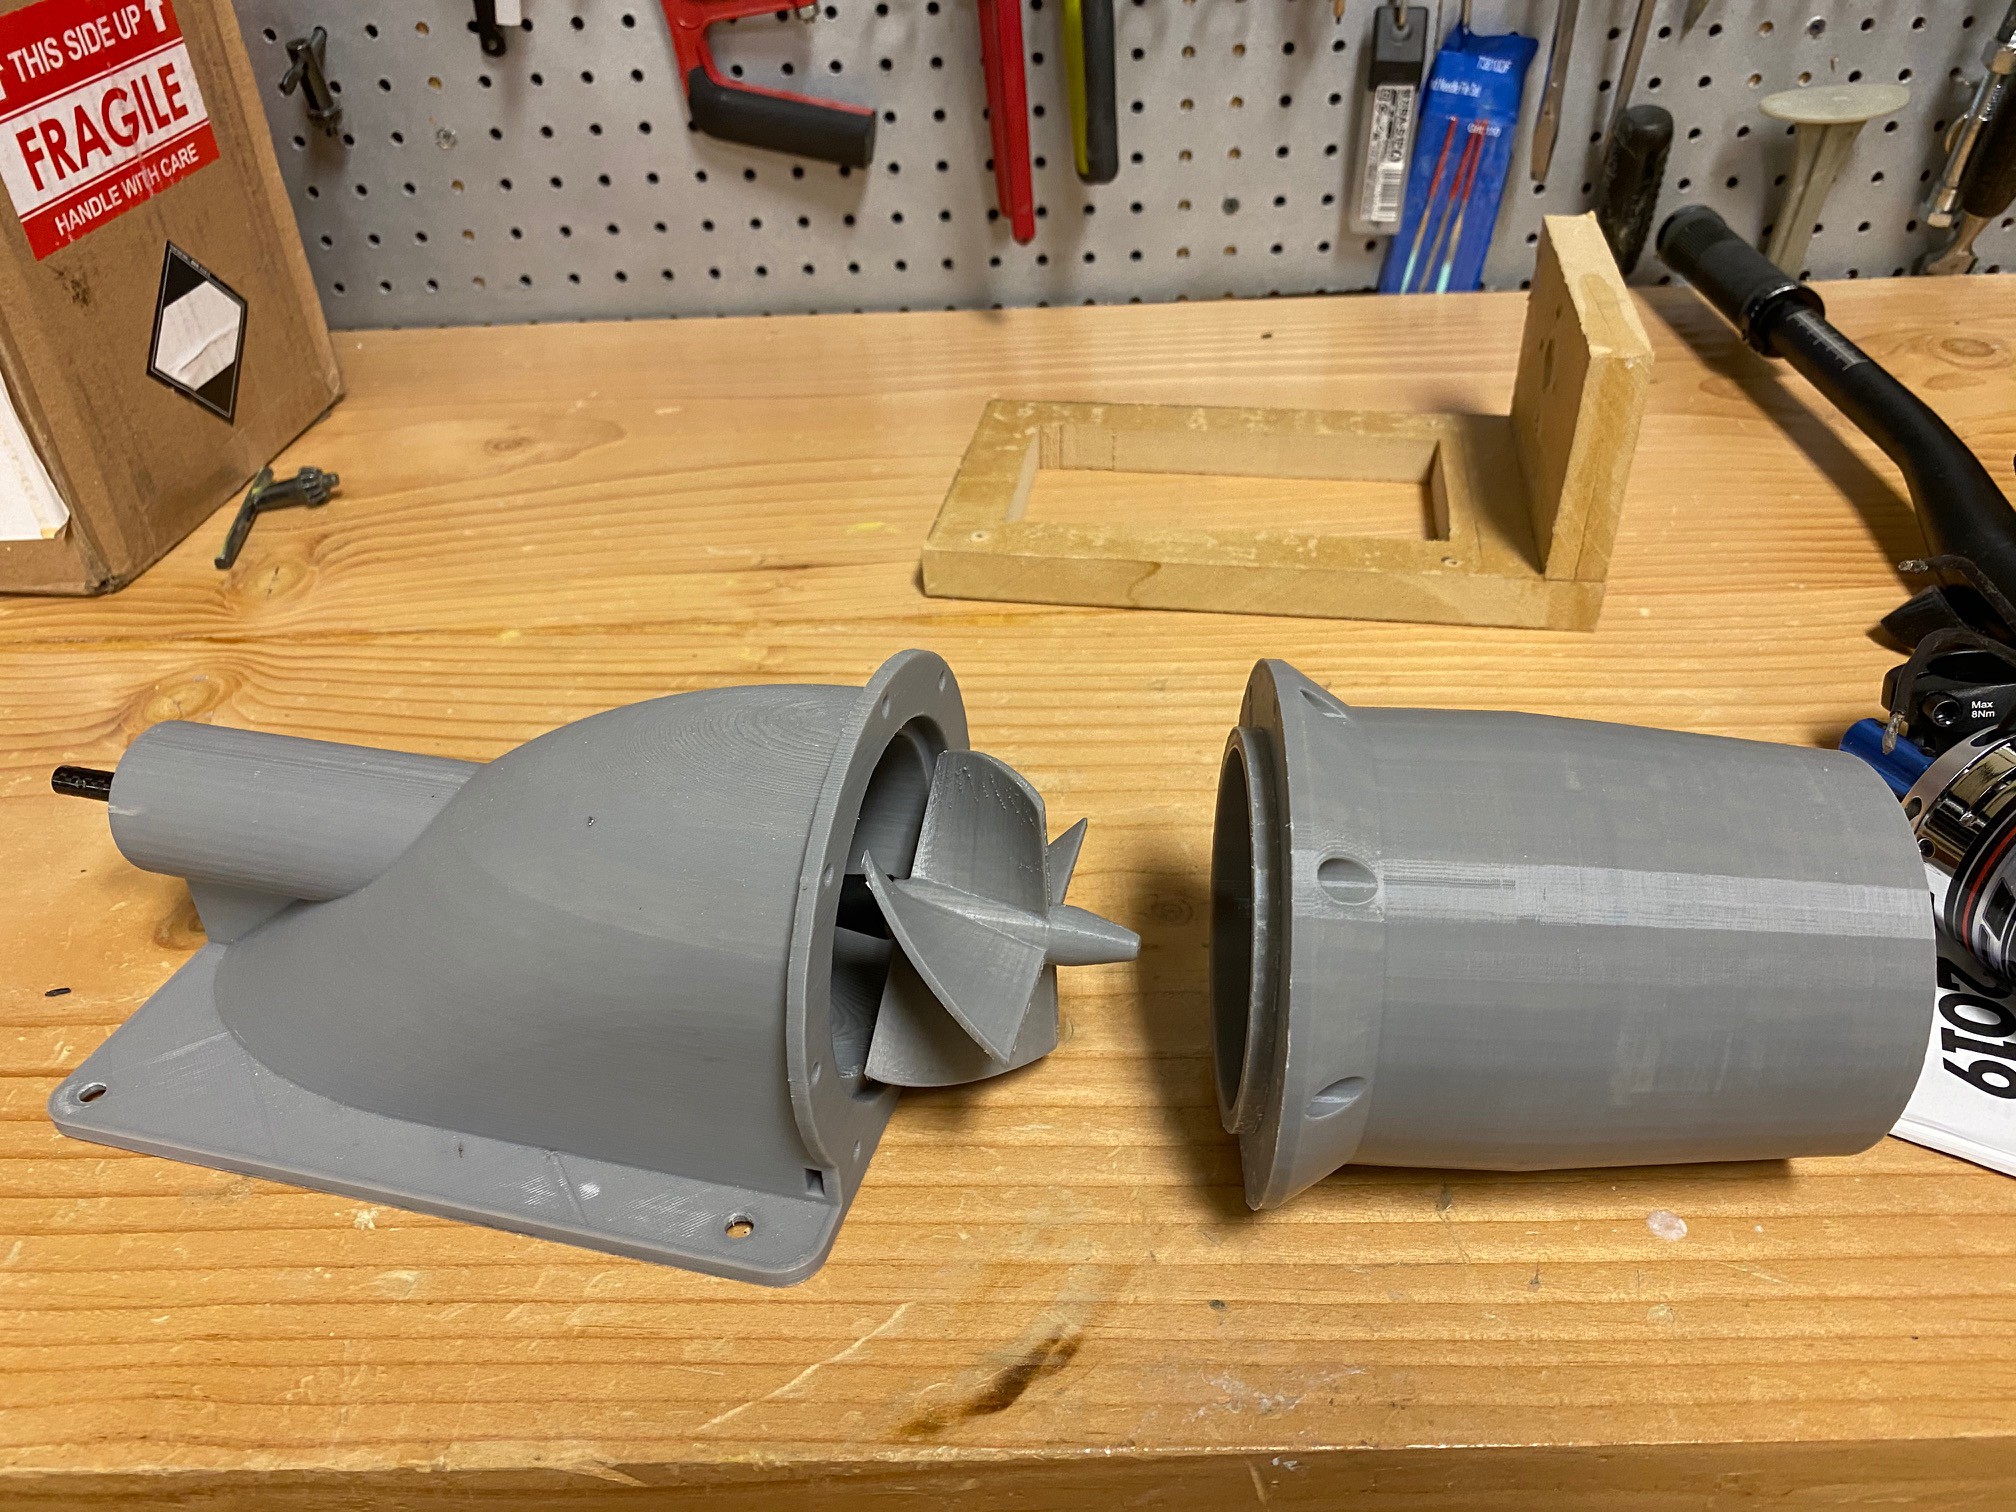
Hardware The drive train will consist of a brush-less motor, a hobby water cooled esc or possibly a vesc. The motor i will be using is a Turnigy aerodrive Sk3 6374 149kv. Quite the mouthful, but i chose this motor based on its very widespread availability and low cost. All the parts, prices, and links will be added to a BOM soon. The actual waterjet itself is not my design. i got it off thingiverse but sadly can no longer find the listing or the person who created it. If i cannot find the person i will repost it on thingiverse for everyone to use and state very clearly that it is not my design. Here are some pictures of the hardware put together.
![]()
![]()
This was thrust tested in a bathtub, but sadly i do not have any videos of that experiment. It will have plenty of power running of two 6s 5000mah hobby lipo batteries.
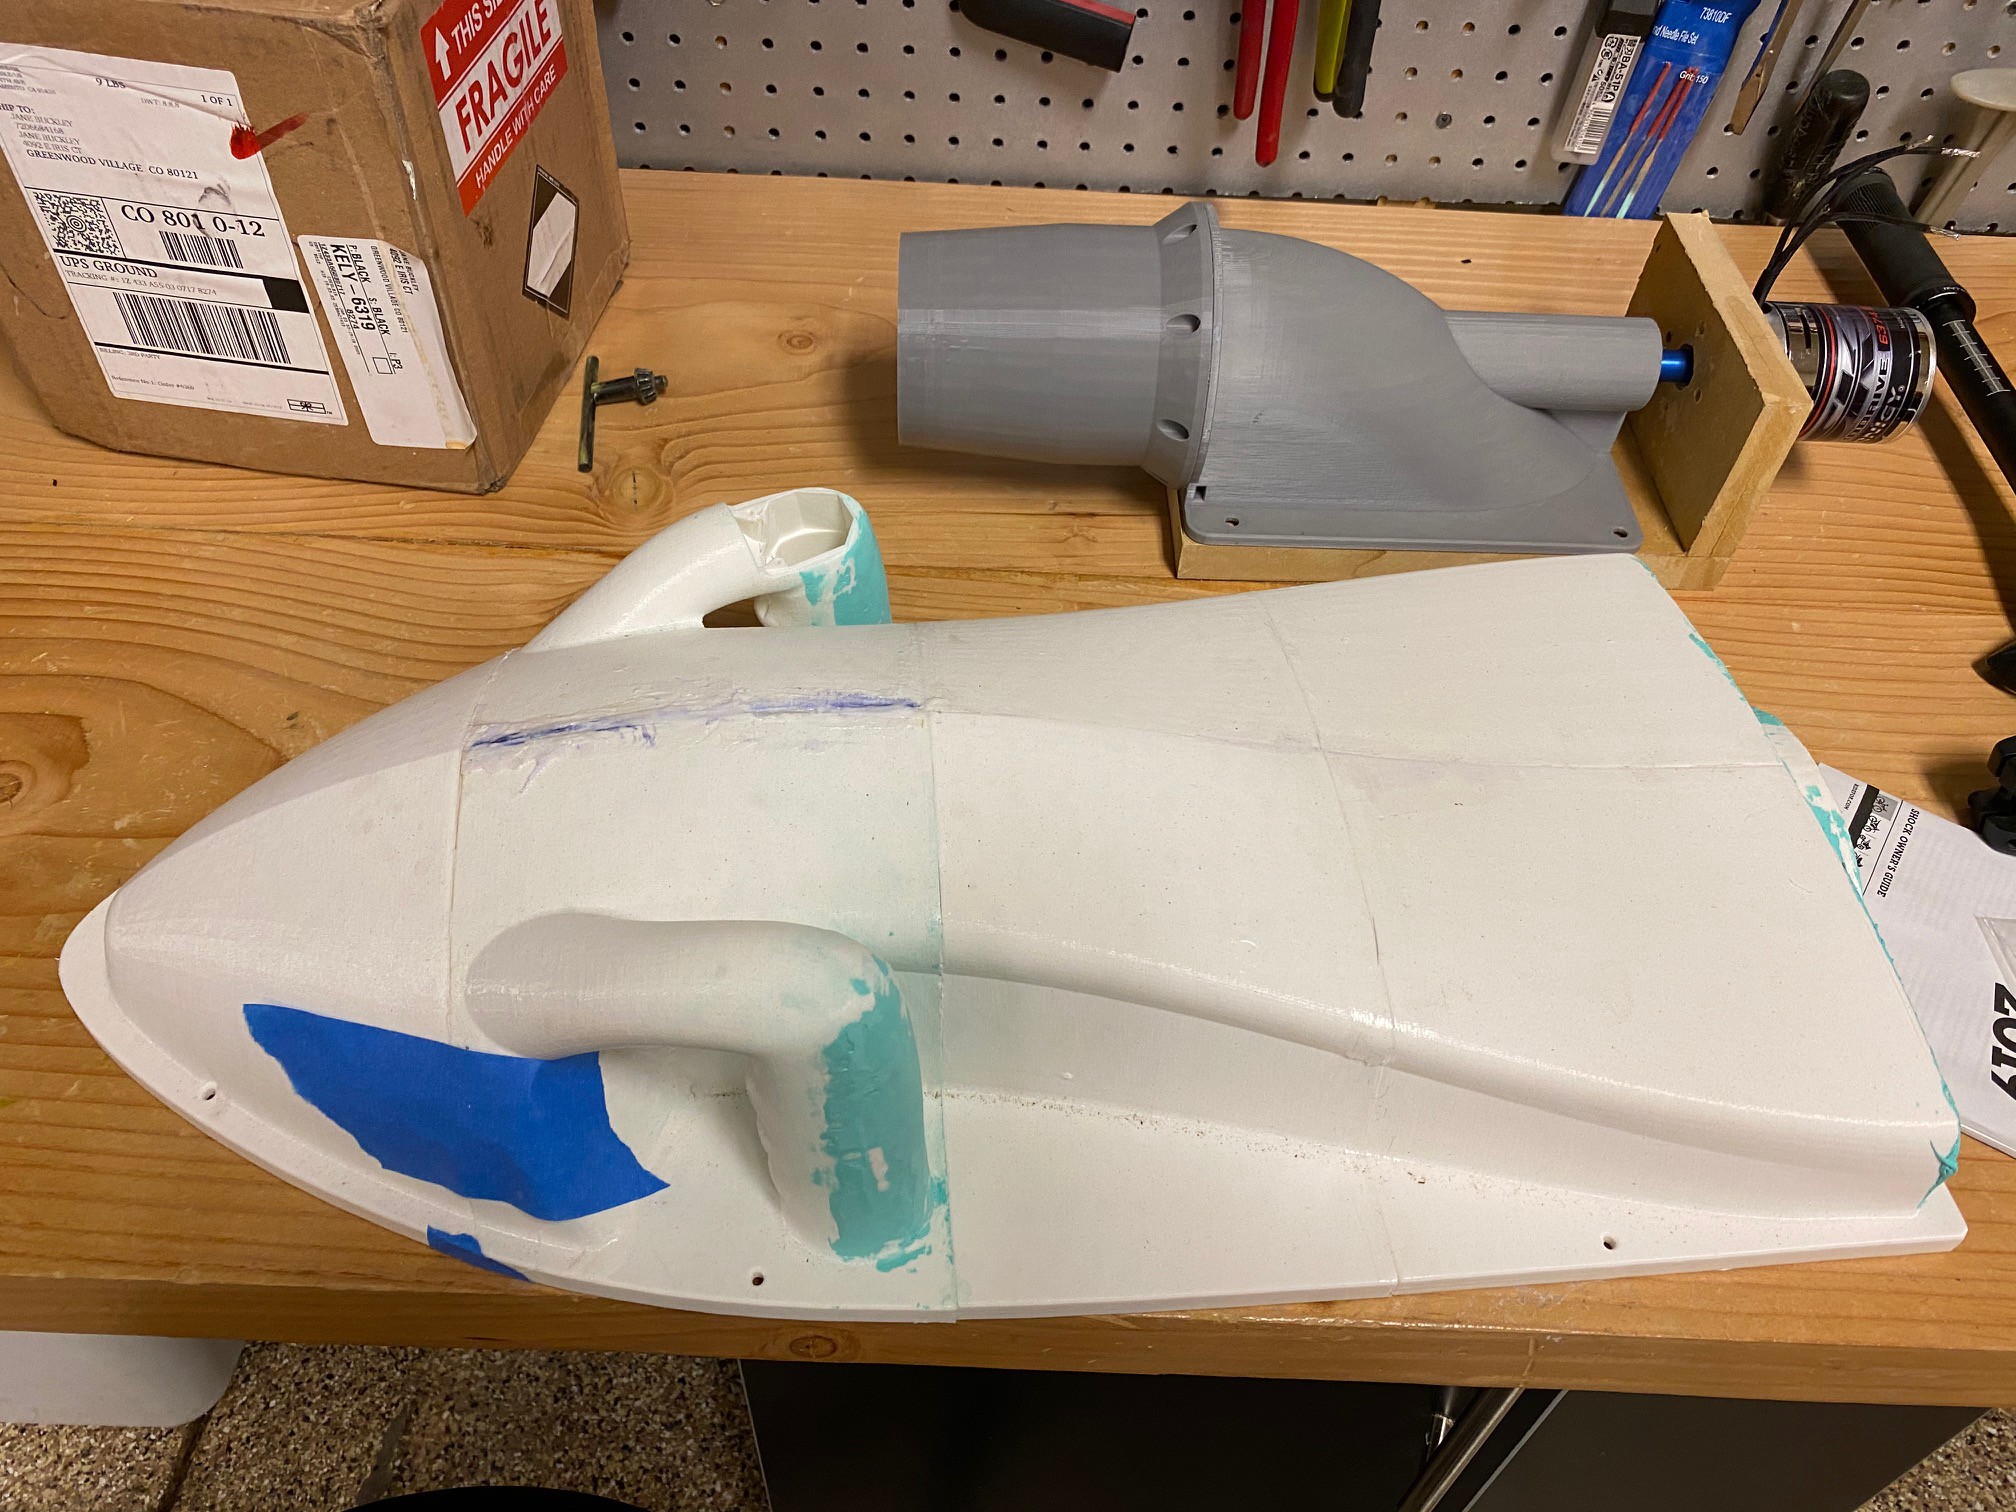
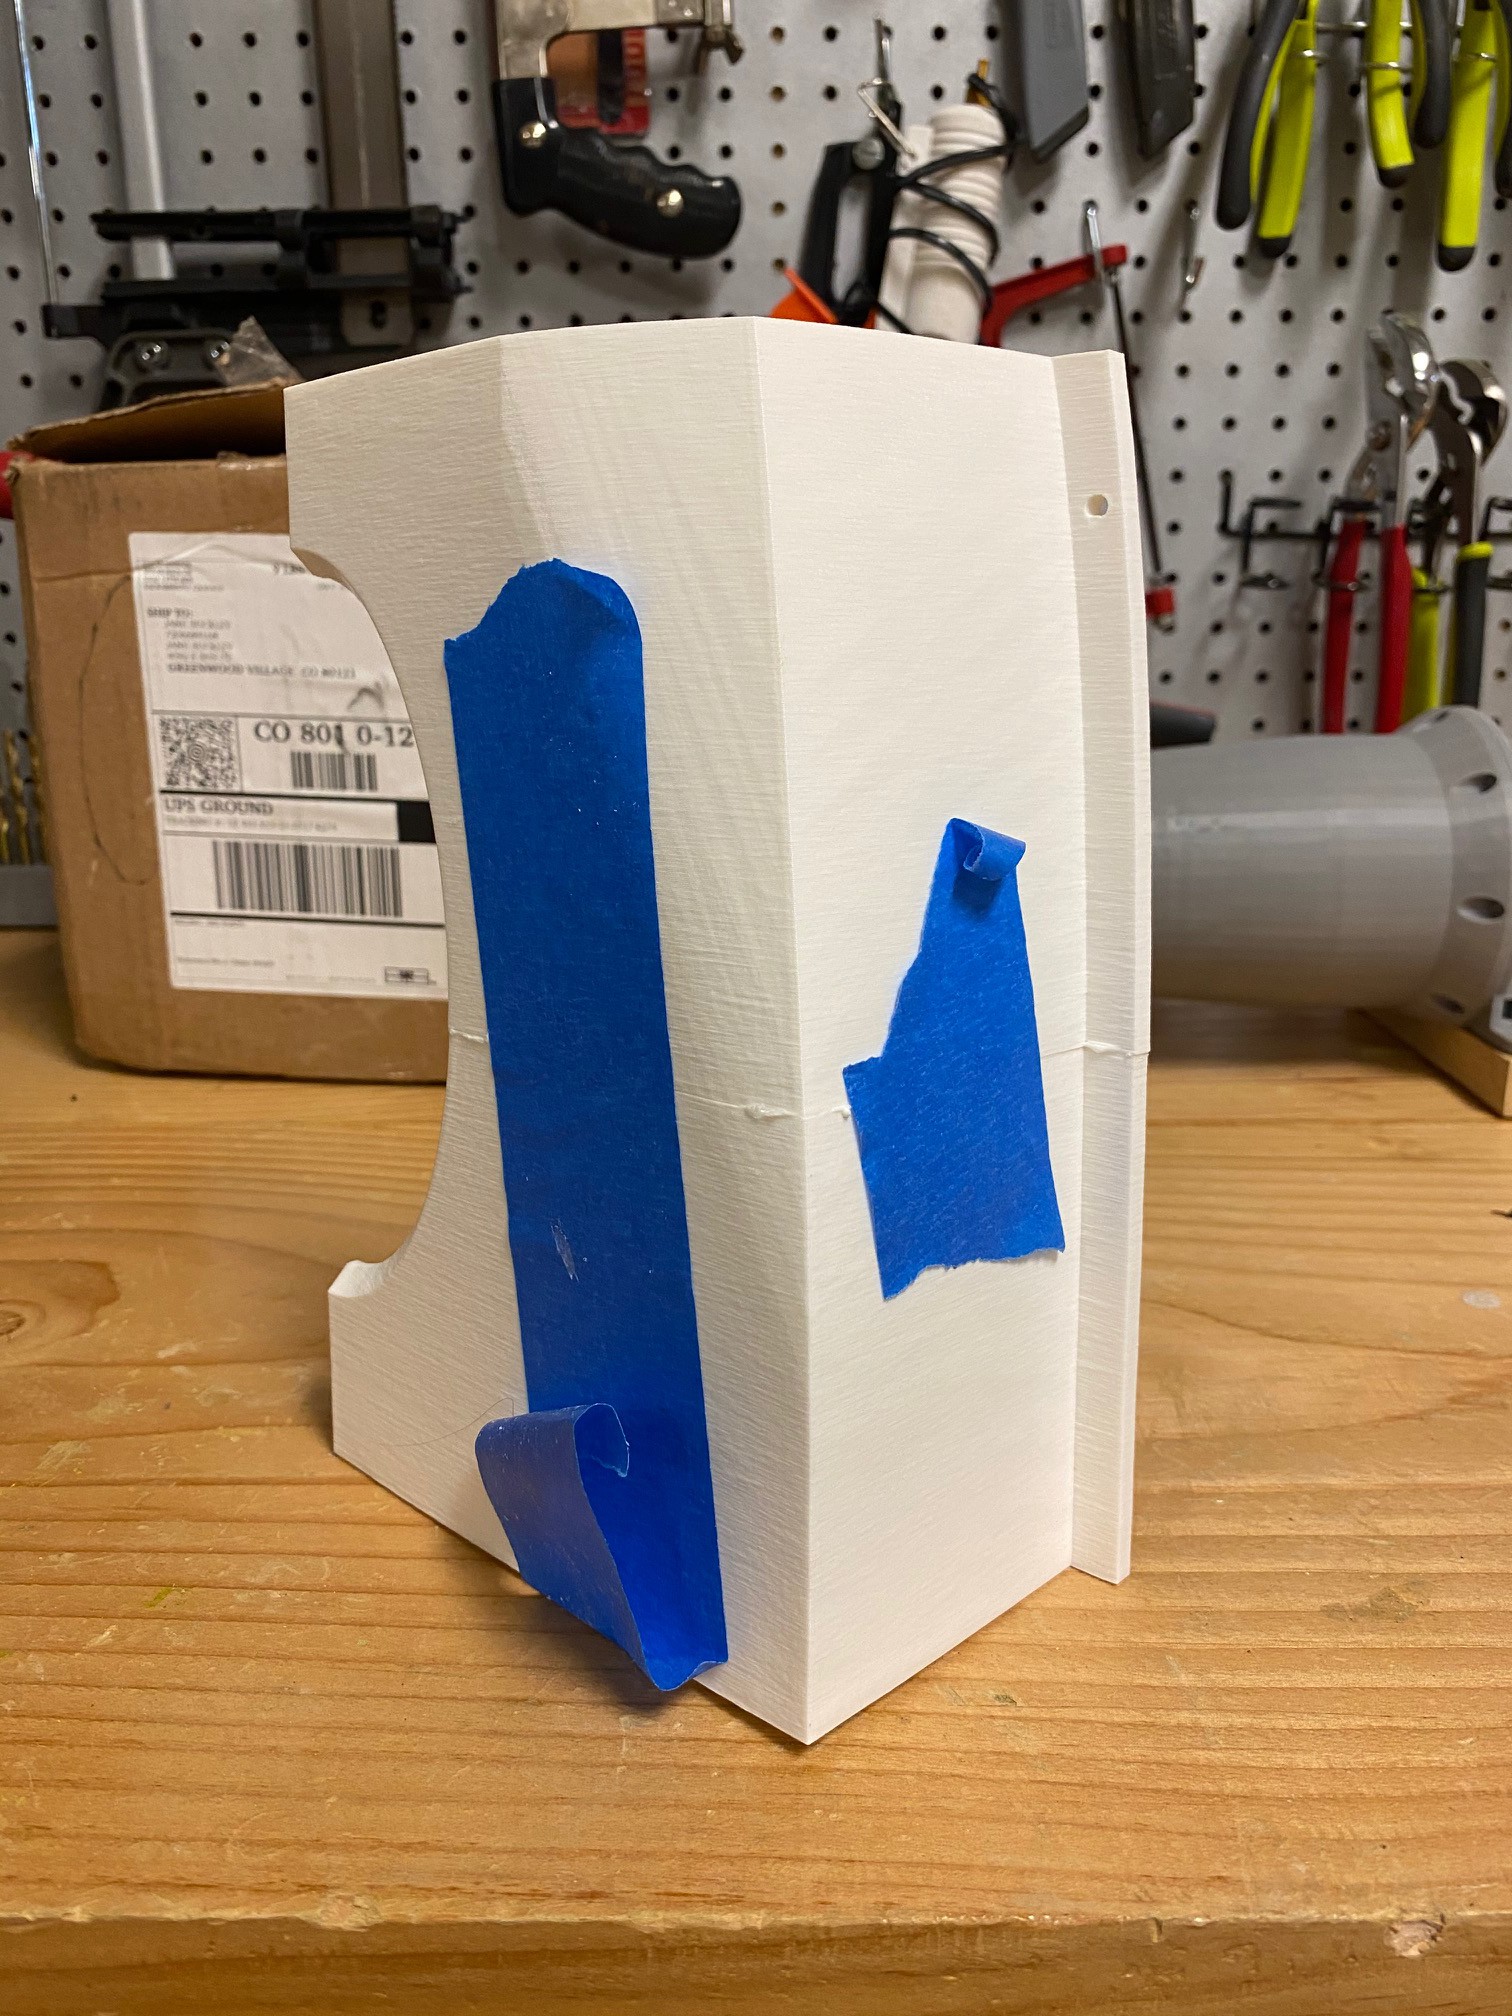
3d Printing The model is constructed out of two main peices bolted together in the middle. Both these parts are too big and complex to be printed in one go so i had to split the top half into 6, and the bottom half into 5 parts. Because these parts had to be joined together somehow, i decided to print them out of Abs so i could weld them together with acetone and they would be very strong. The parts were printed with a 0.6mm nozzle diameter and 0.4mm layer height on my Tevo Tornado. (Tornado has since been replaced with Prusia Mk3 Clone with an ikea lack enclosure for optimal Abs printing). Here are some pictures of the assembled printed parts.
![]()
![]()
I used abs slurry to join the parts together and thicker abs paste to fill any gaps. The joining surfaces were made flat with a belt sander for a cleanish connection. I used masking tape to hold the parts tightly together while the acetone evaporated.
What's Next? I still have to print and assemble the bottom shell. After this is done i will fill any gaps with abs paste and sand the whole thing smooth. After this i will use automotive filler for a cleaner appearance. After all this is done the entire thing will be covered with epoxy in order to water proof it as much as possible. In the next log i will talk more about electronics and water proofing. Thanks to everyone who read this and feel free to leave a comment as they really help me stay motivated.
Peace Out,
Peter
Handheld High Power Water Scooter
A small handheld water mobility device which uses a water jet that is portable, lightweight, and powerful .
 Peter Buckley
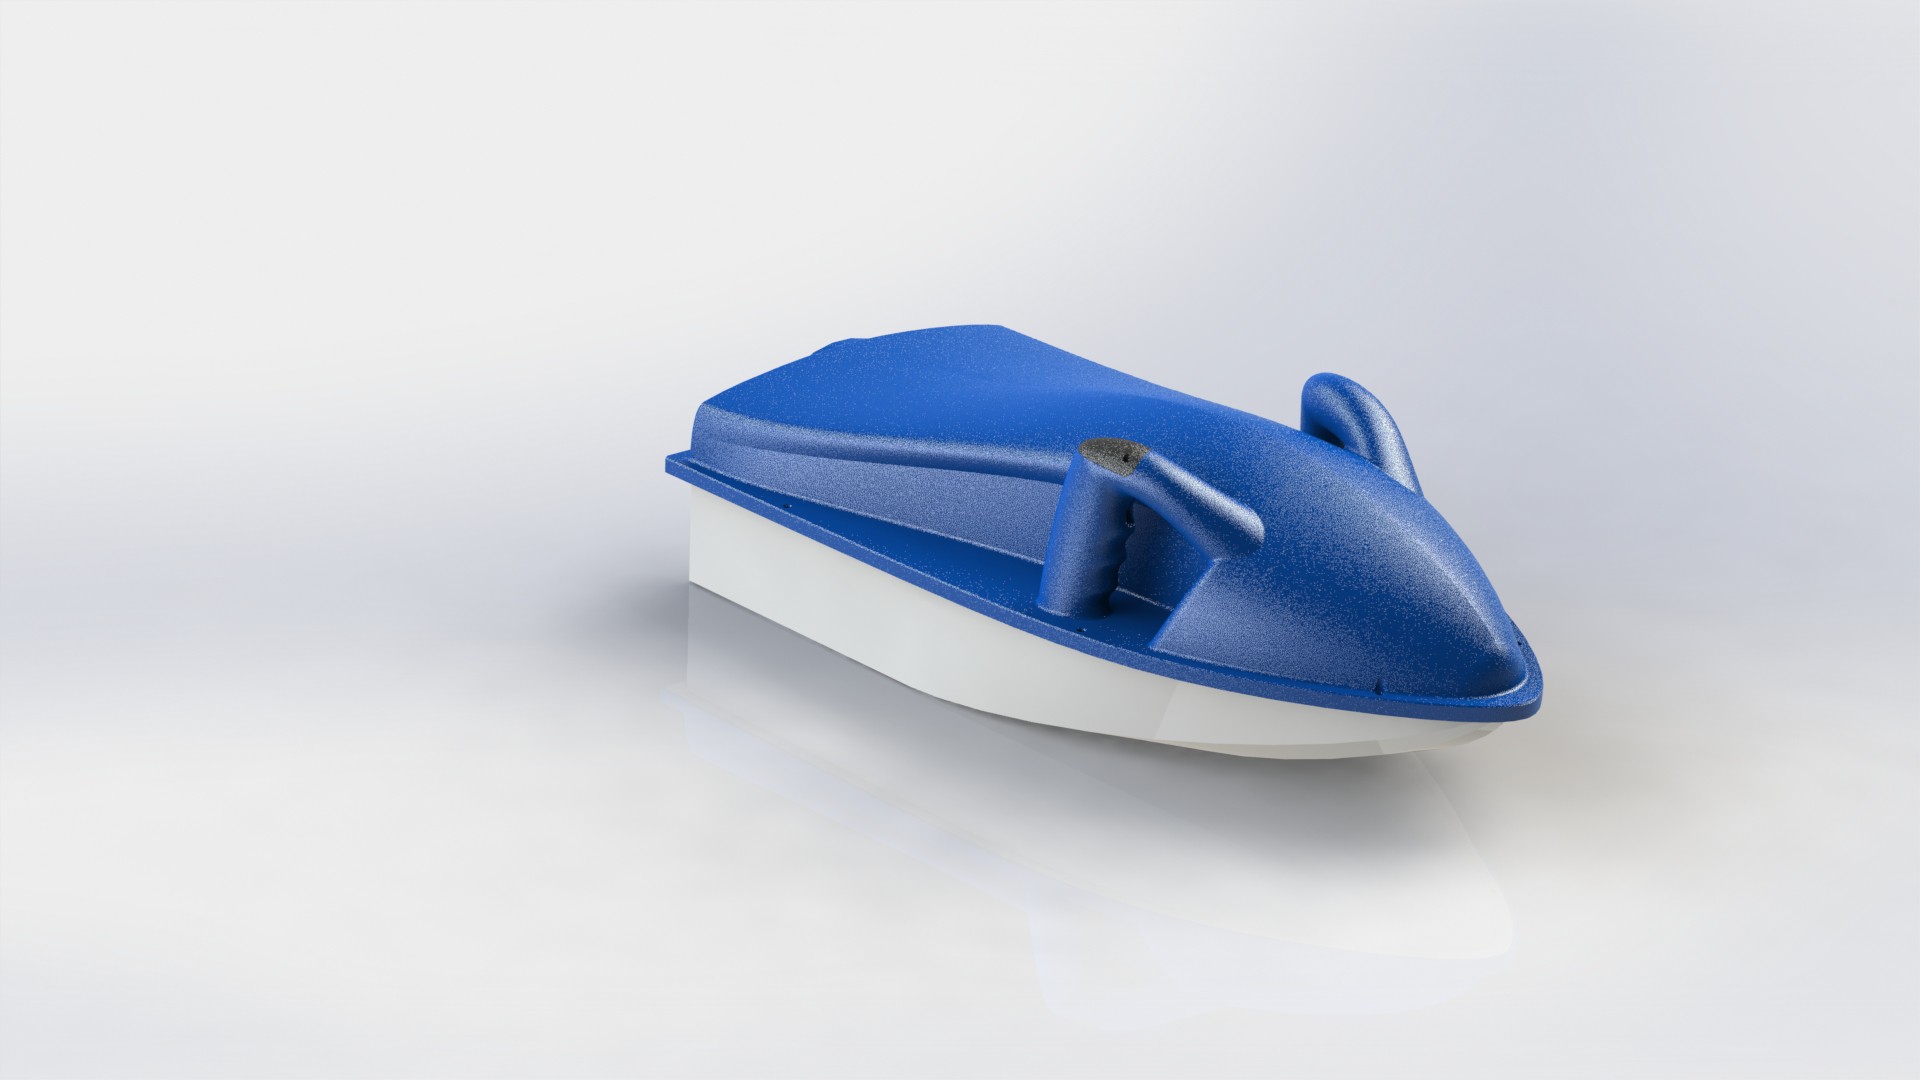
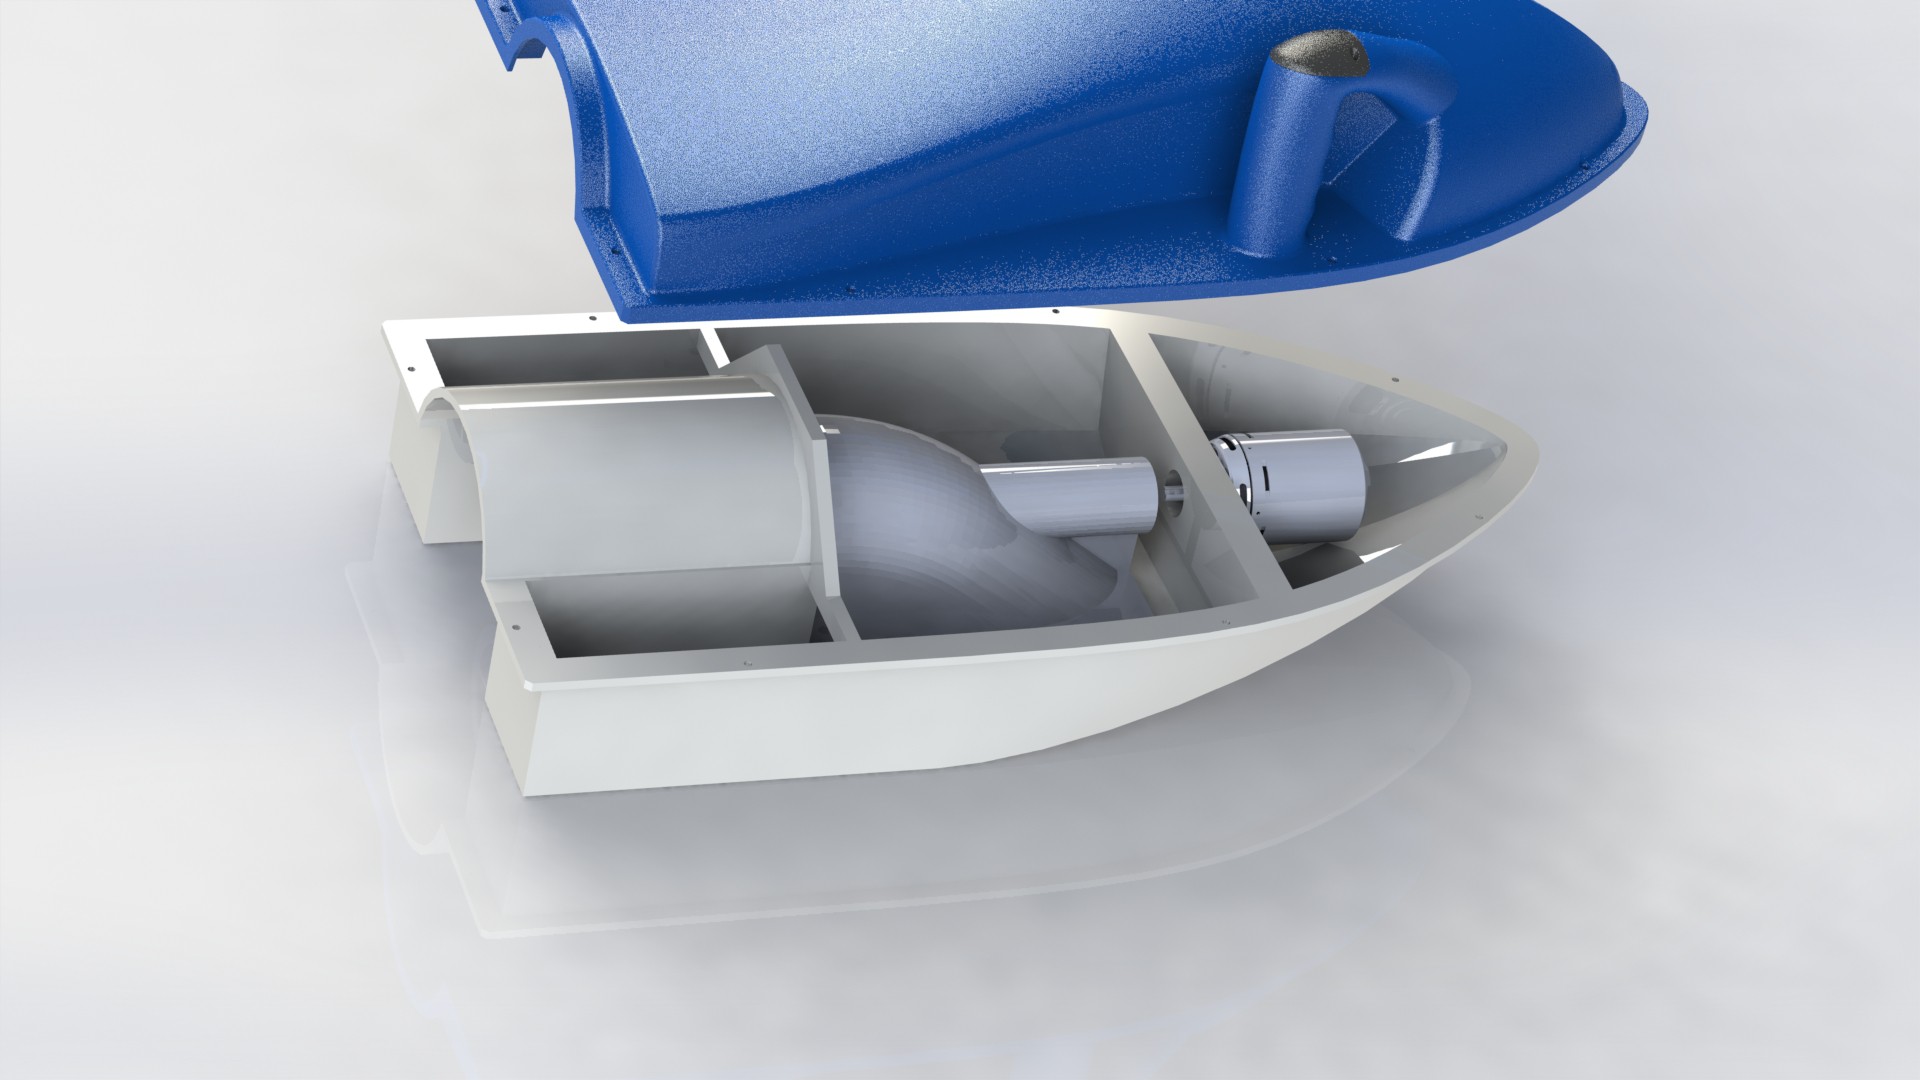 As you can see this is a very basic model with not a lot of features.