-
Nuclear (sort-of) UPS for the NAS
07/10/2020 at 09:34 • 0 commentsAll projects describing any sort of NAS setup usually stress the importance of feeding it through an UPS, even if it's not on 24/7.
Many of these homemade UPSes (especially the Pi-based) use repurposed USB power banks.
I found the idea interesting, except that my disks need 12V.
Then I realized that I had this Suaoki battery booster in the garage. This little lifesaver is quite impressive for its size and weight : it will start a car or motorbike with a totally flat battery, just like that. Also you can ignore it for weeks, and when you need it, its internal battery is still full.
It is charged through a 15V wall wart, has two 5V USB outputs and delivers 12V through an EC5 connector.
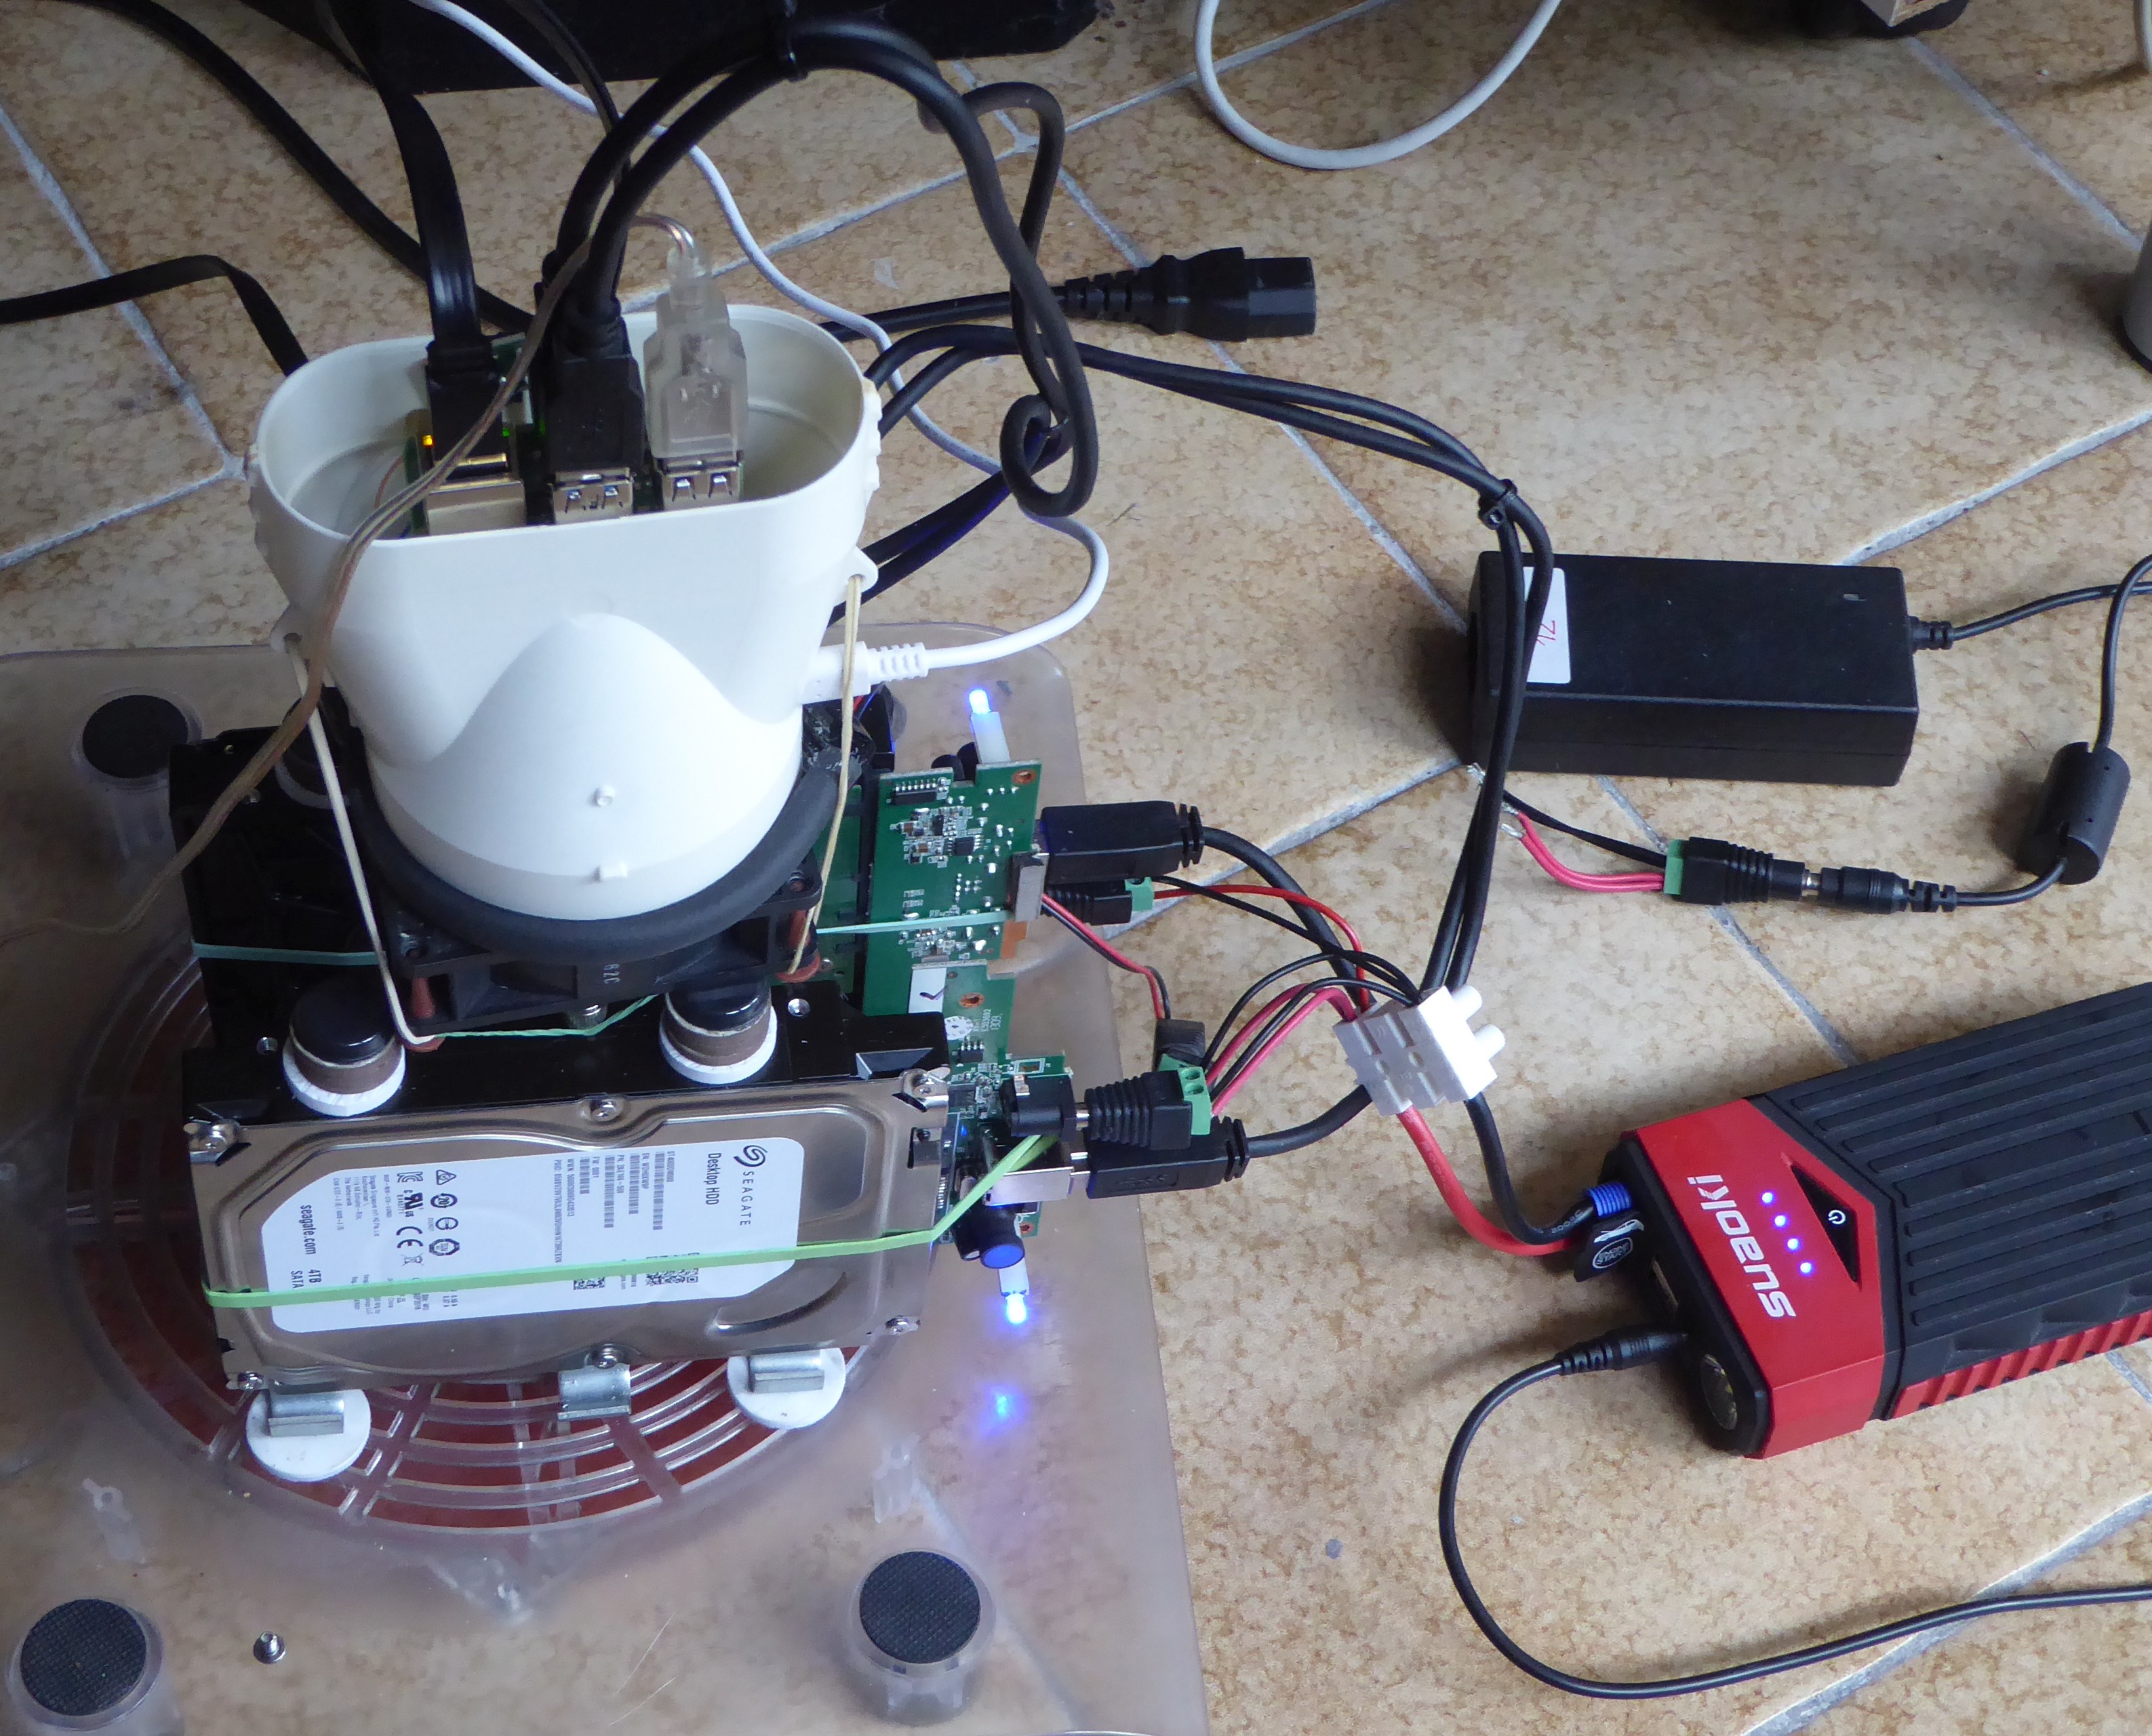
So of course I had to try as an UPS, by replacing the 12V PSU brick and its barrel connector by the booster with an EC5.
As you can see, the booster is feeding the disks and topping off its own battery via the 15V input (only the fourth LED is blinking).
I haven't used the USB ports yet, but they might be able to power a Pi4 with a double connector, will check that.
Okay, y'all can relax now, this should be the last update -- barring an unexpected SATA solution for the Pi coming out of nowhere, obviously :-)
-
Two-tier vertical cooling for a NAS
07/06/2020 at 14:24 • 0 commentsHi folks,
Yes, yet another "update" (seems I can't stop tinkering with this thing :)
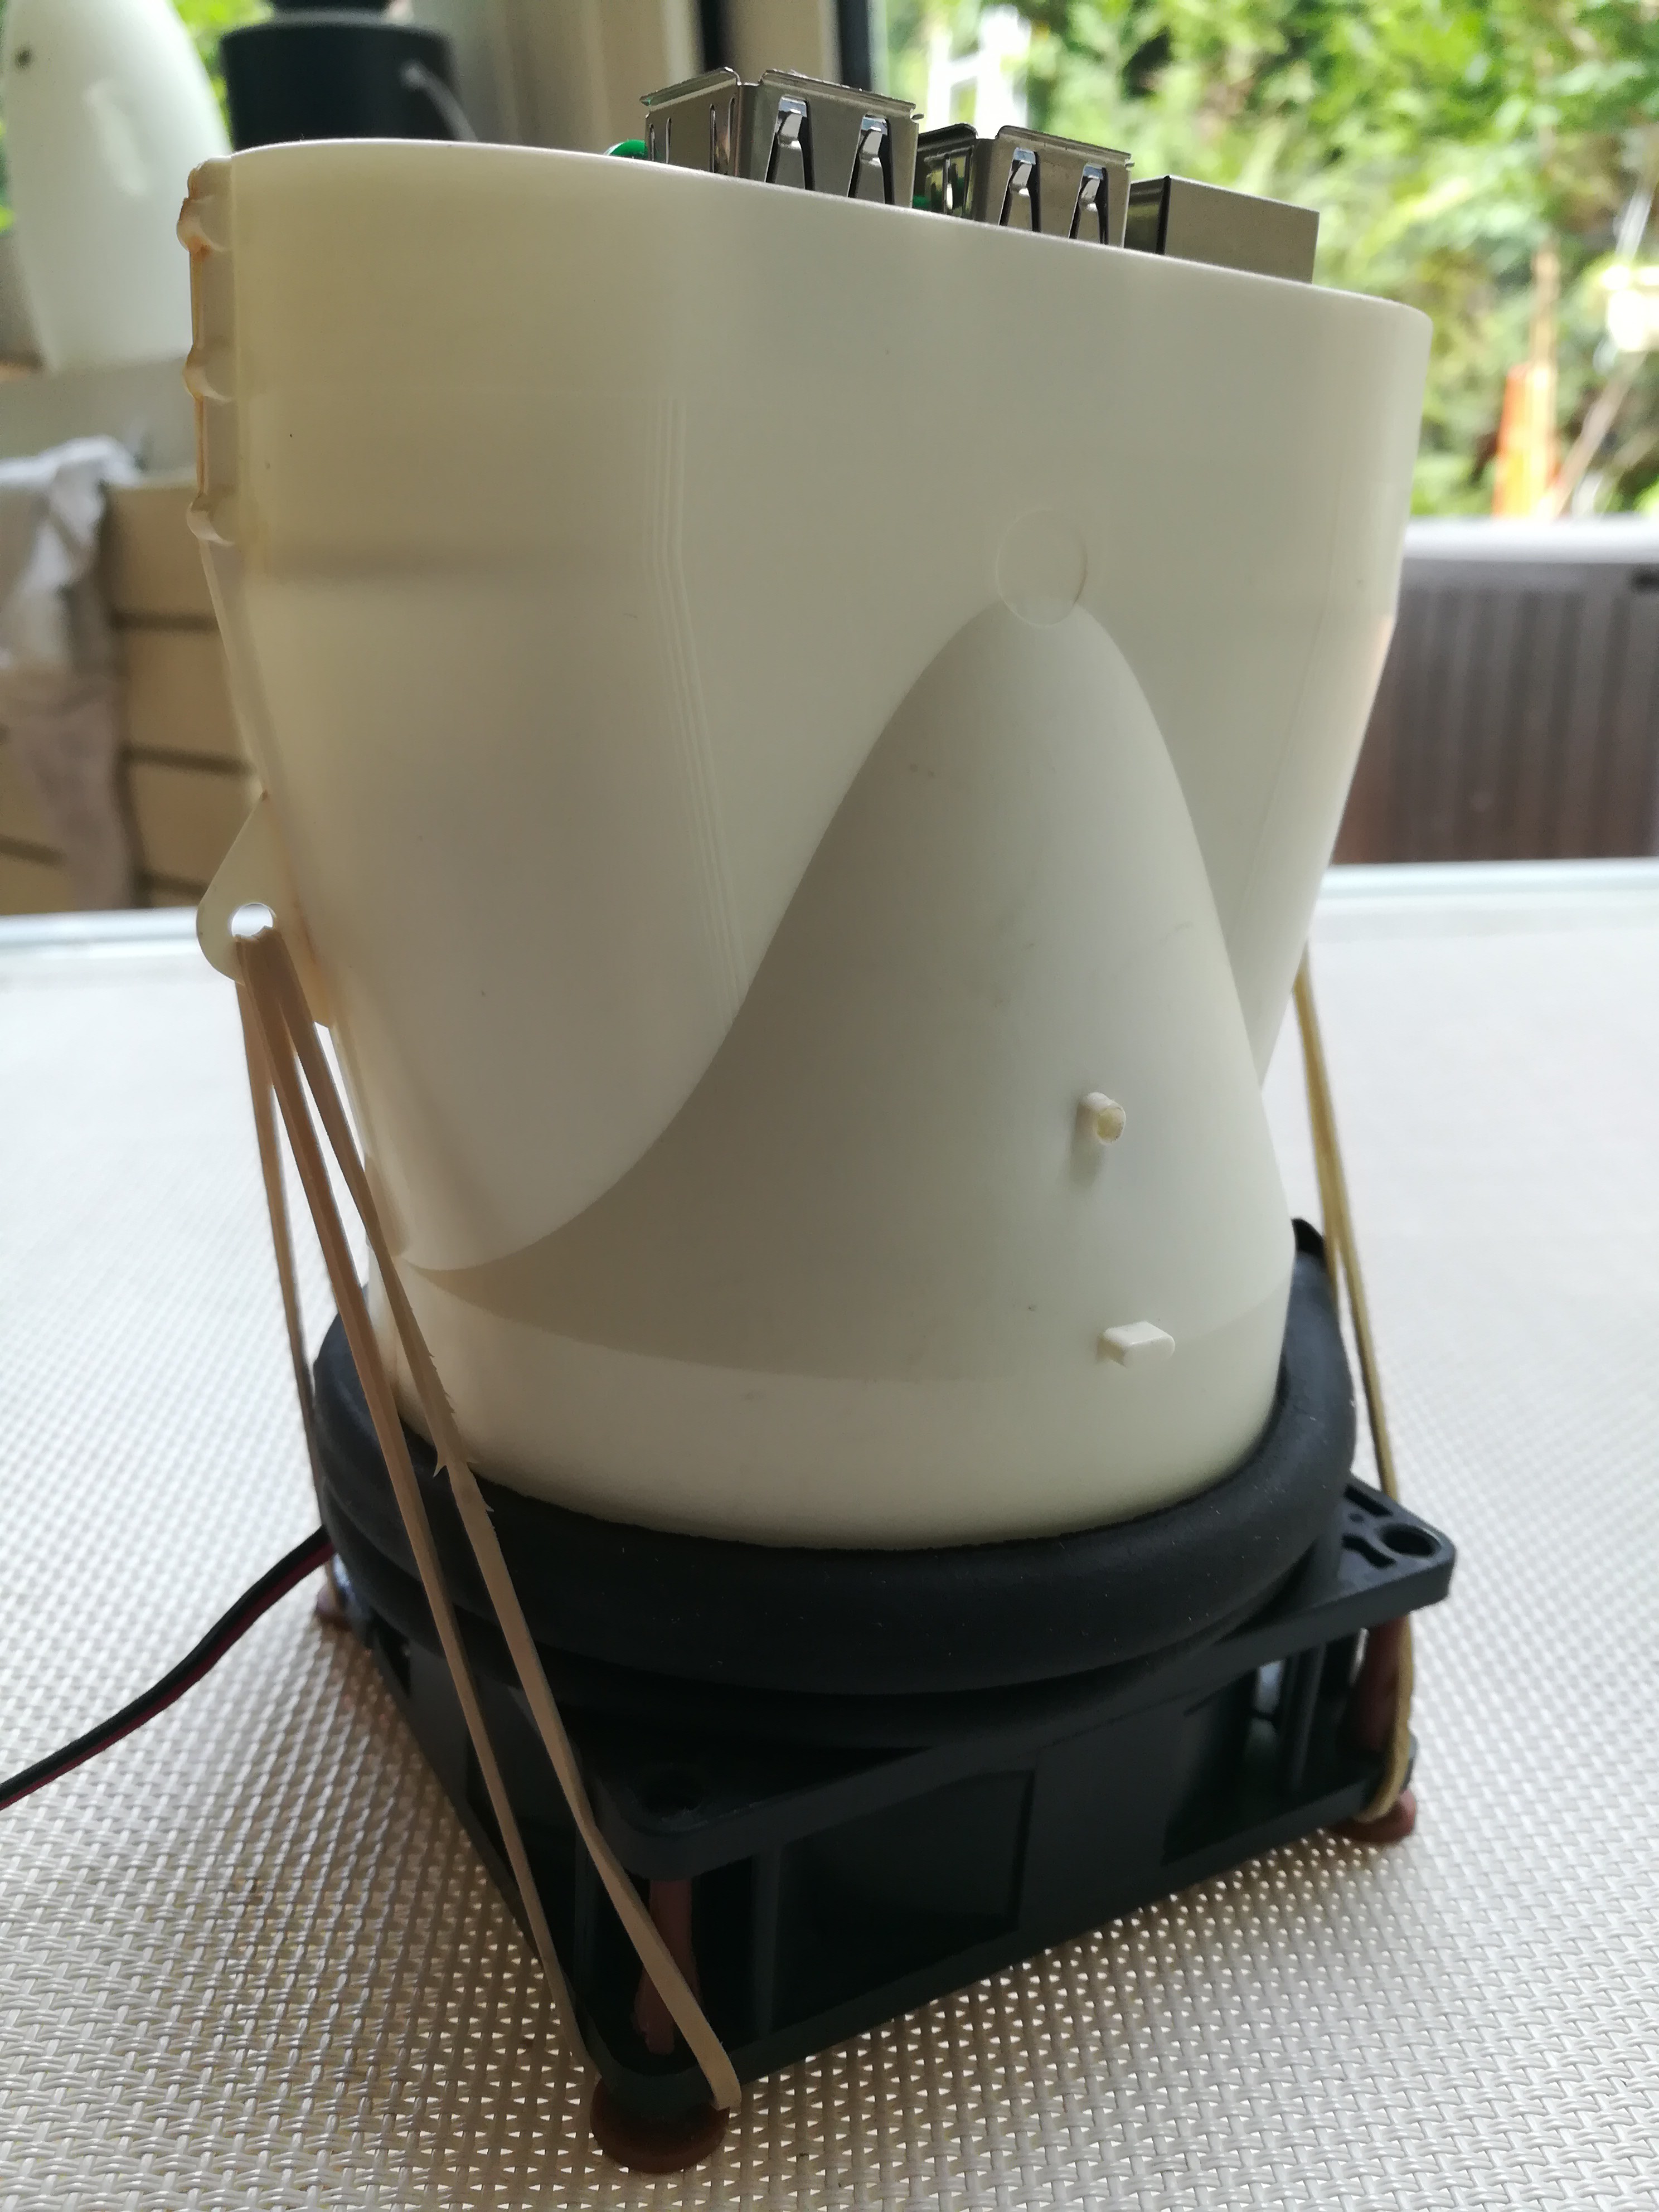
This one's codename is "the more green rubber bands the better".So, after I finished the system/software set-up for the NAS, I became dissatisfied with the temperature readings I was getting for the drives.
This was clearly due to the lack of air vents and fans in the enclosures (these will make some fine raspberry cases some day :-).
At the rear behind the round grill they have a holder for a 3x3cm fan, and I had one lying around so I gave it a try.
But the airflow was non-existent and even at 5V the racket was unbearable.
So I opened the enclosures and extracted the disks with their SATA2USB3 boards.While mulling over a new mode of assembly I "saw the light" :
if vertical cooling is good for a raspberry 4, it should also be good for hard disks, right ?And it so happens I had this large "laptop cooler" USB fan in the "will come in handy someday" parts bin...
The fan is not loud but quite large at 20 cm in diameter : so the airflow will cover the entire length and both sides of both disks.
It can be powered by an USB2 port on the Pi.
I also found some metal parts with rounded ends like feet, which I screwed to the bottom of the disks as a stand.
This assembly is rock-stable.When I placed the Pi/funnel/fan assembly and its feet on top of the disks, however, that was anything but :-)
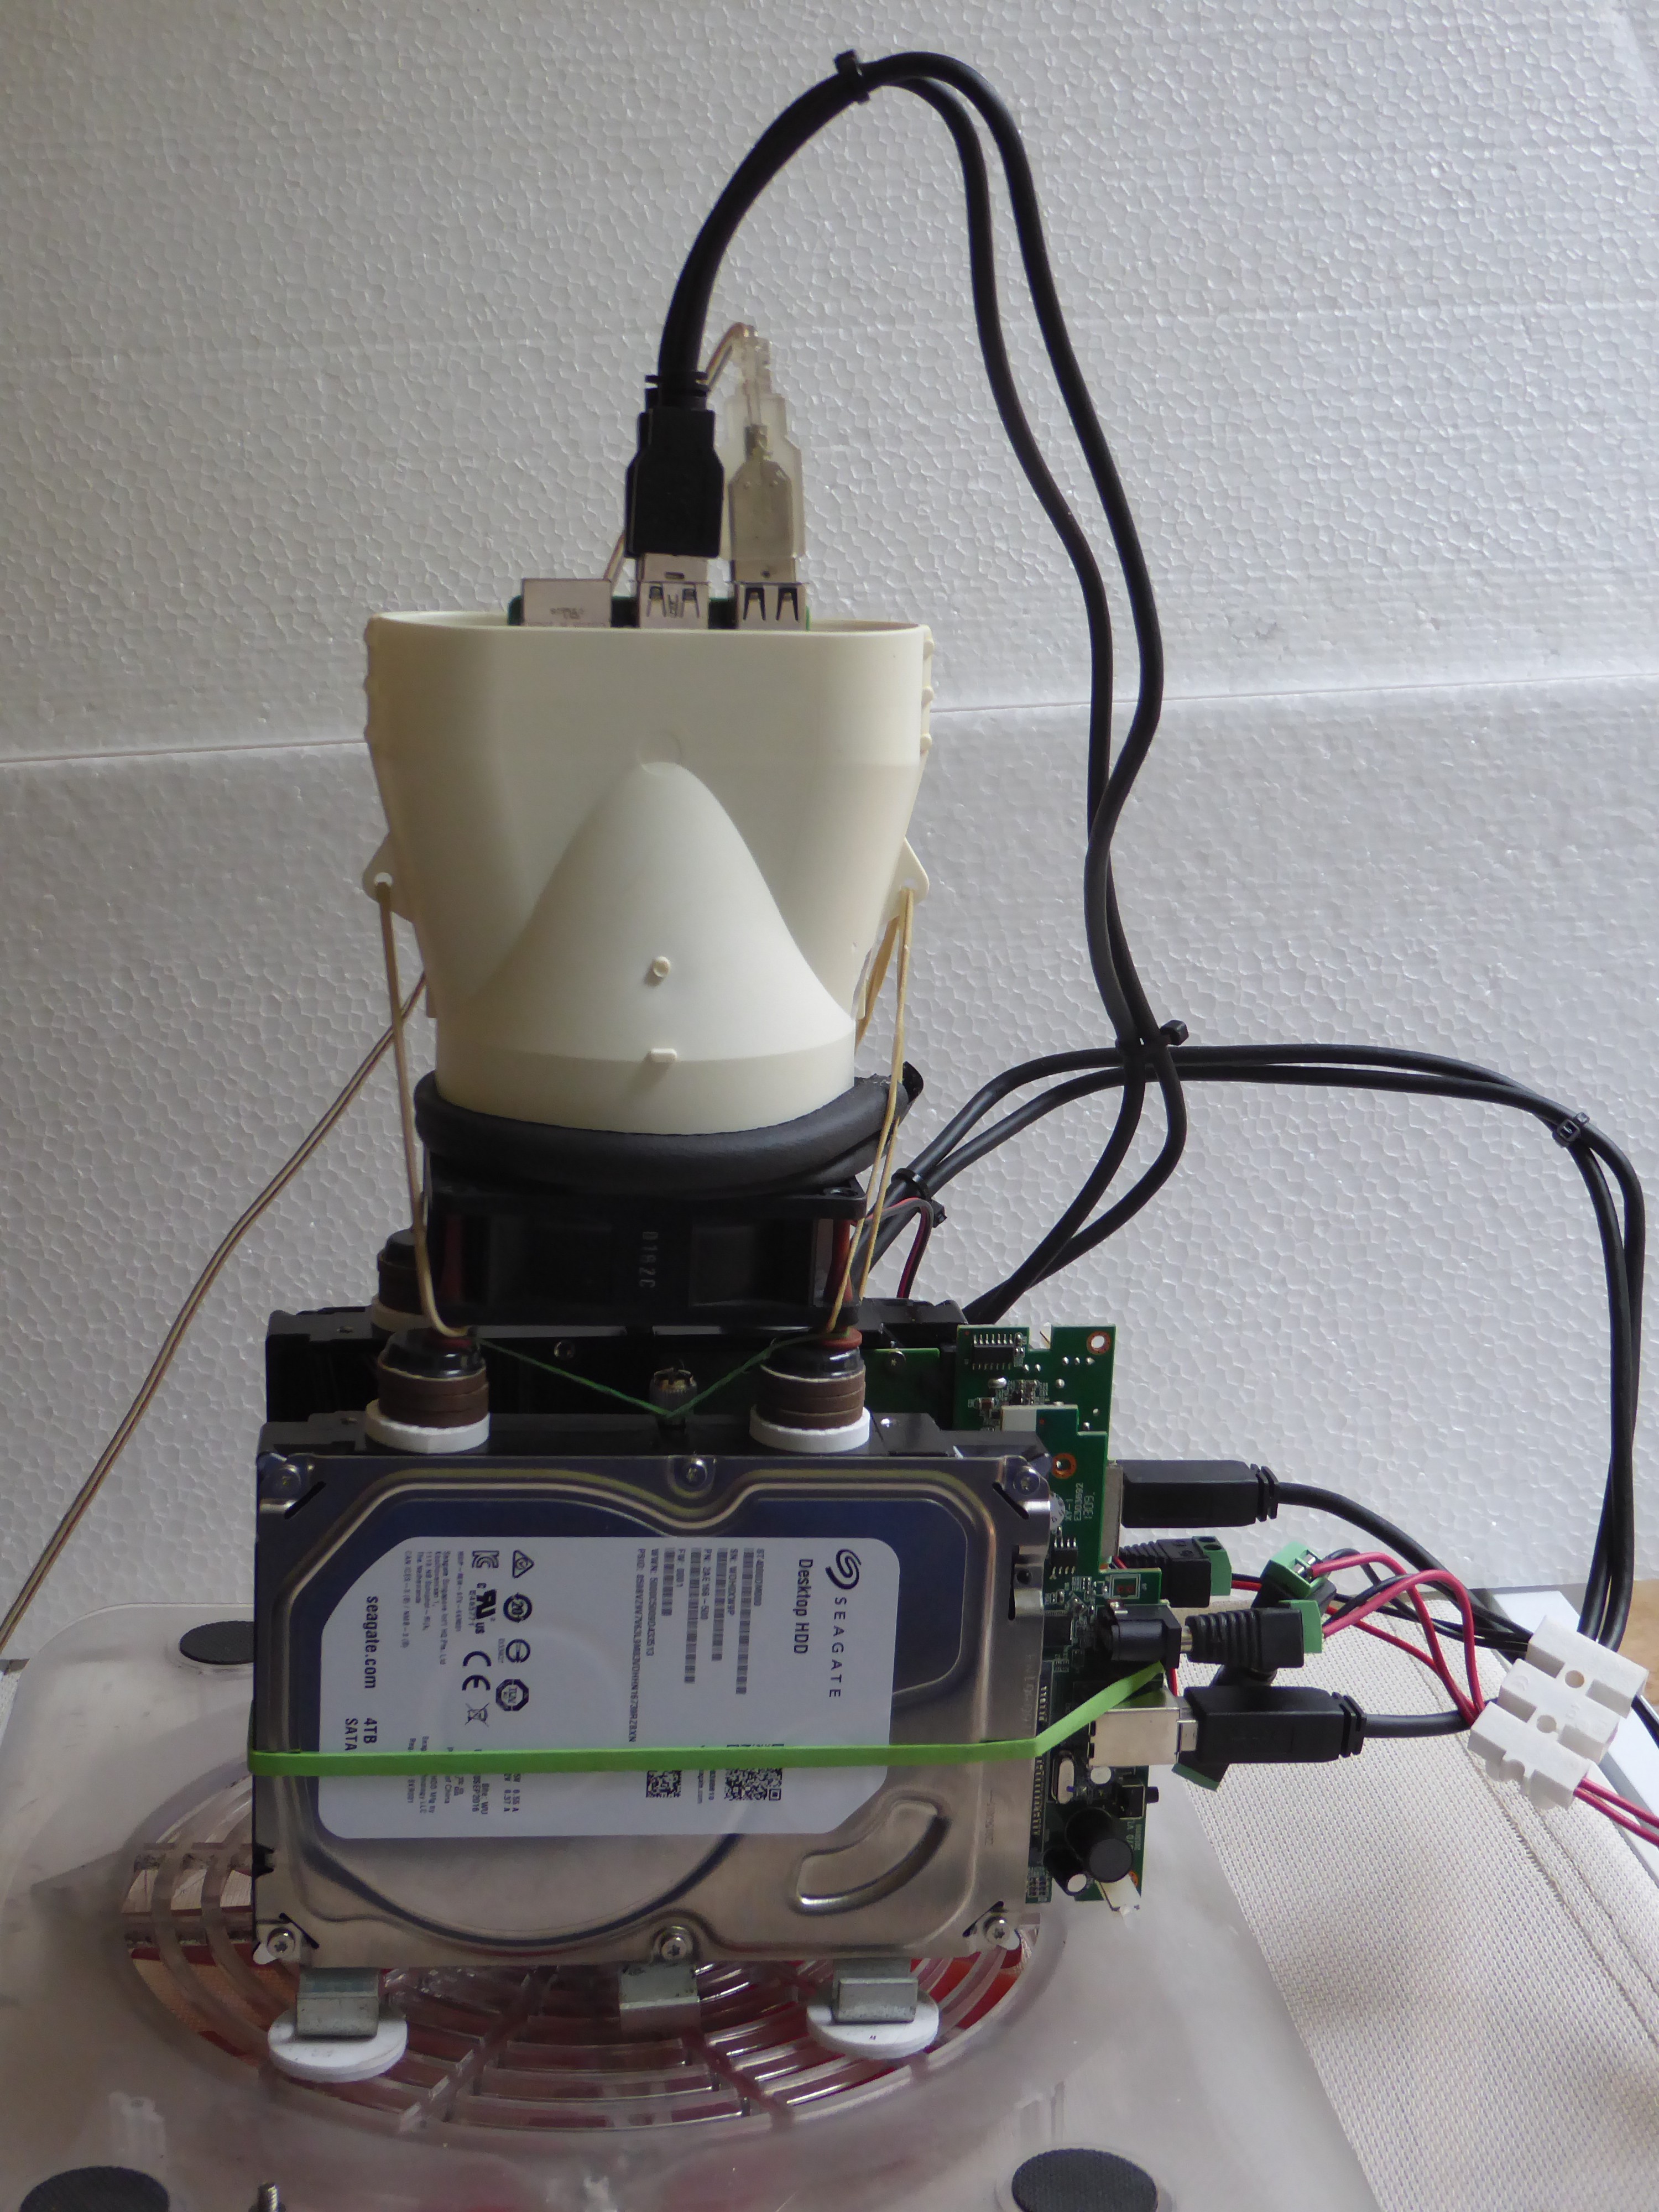
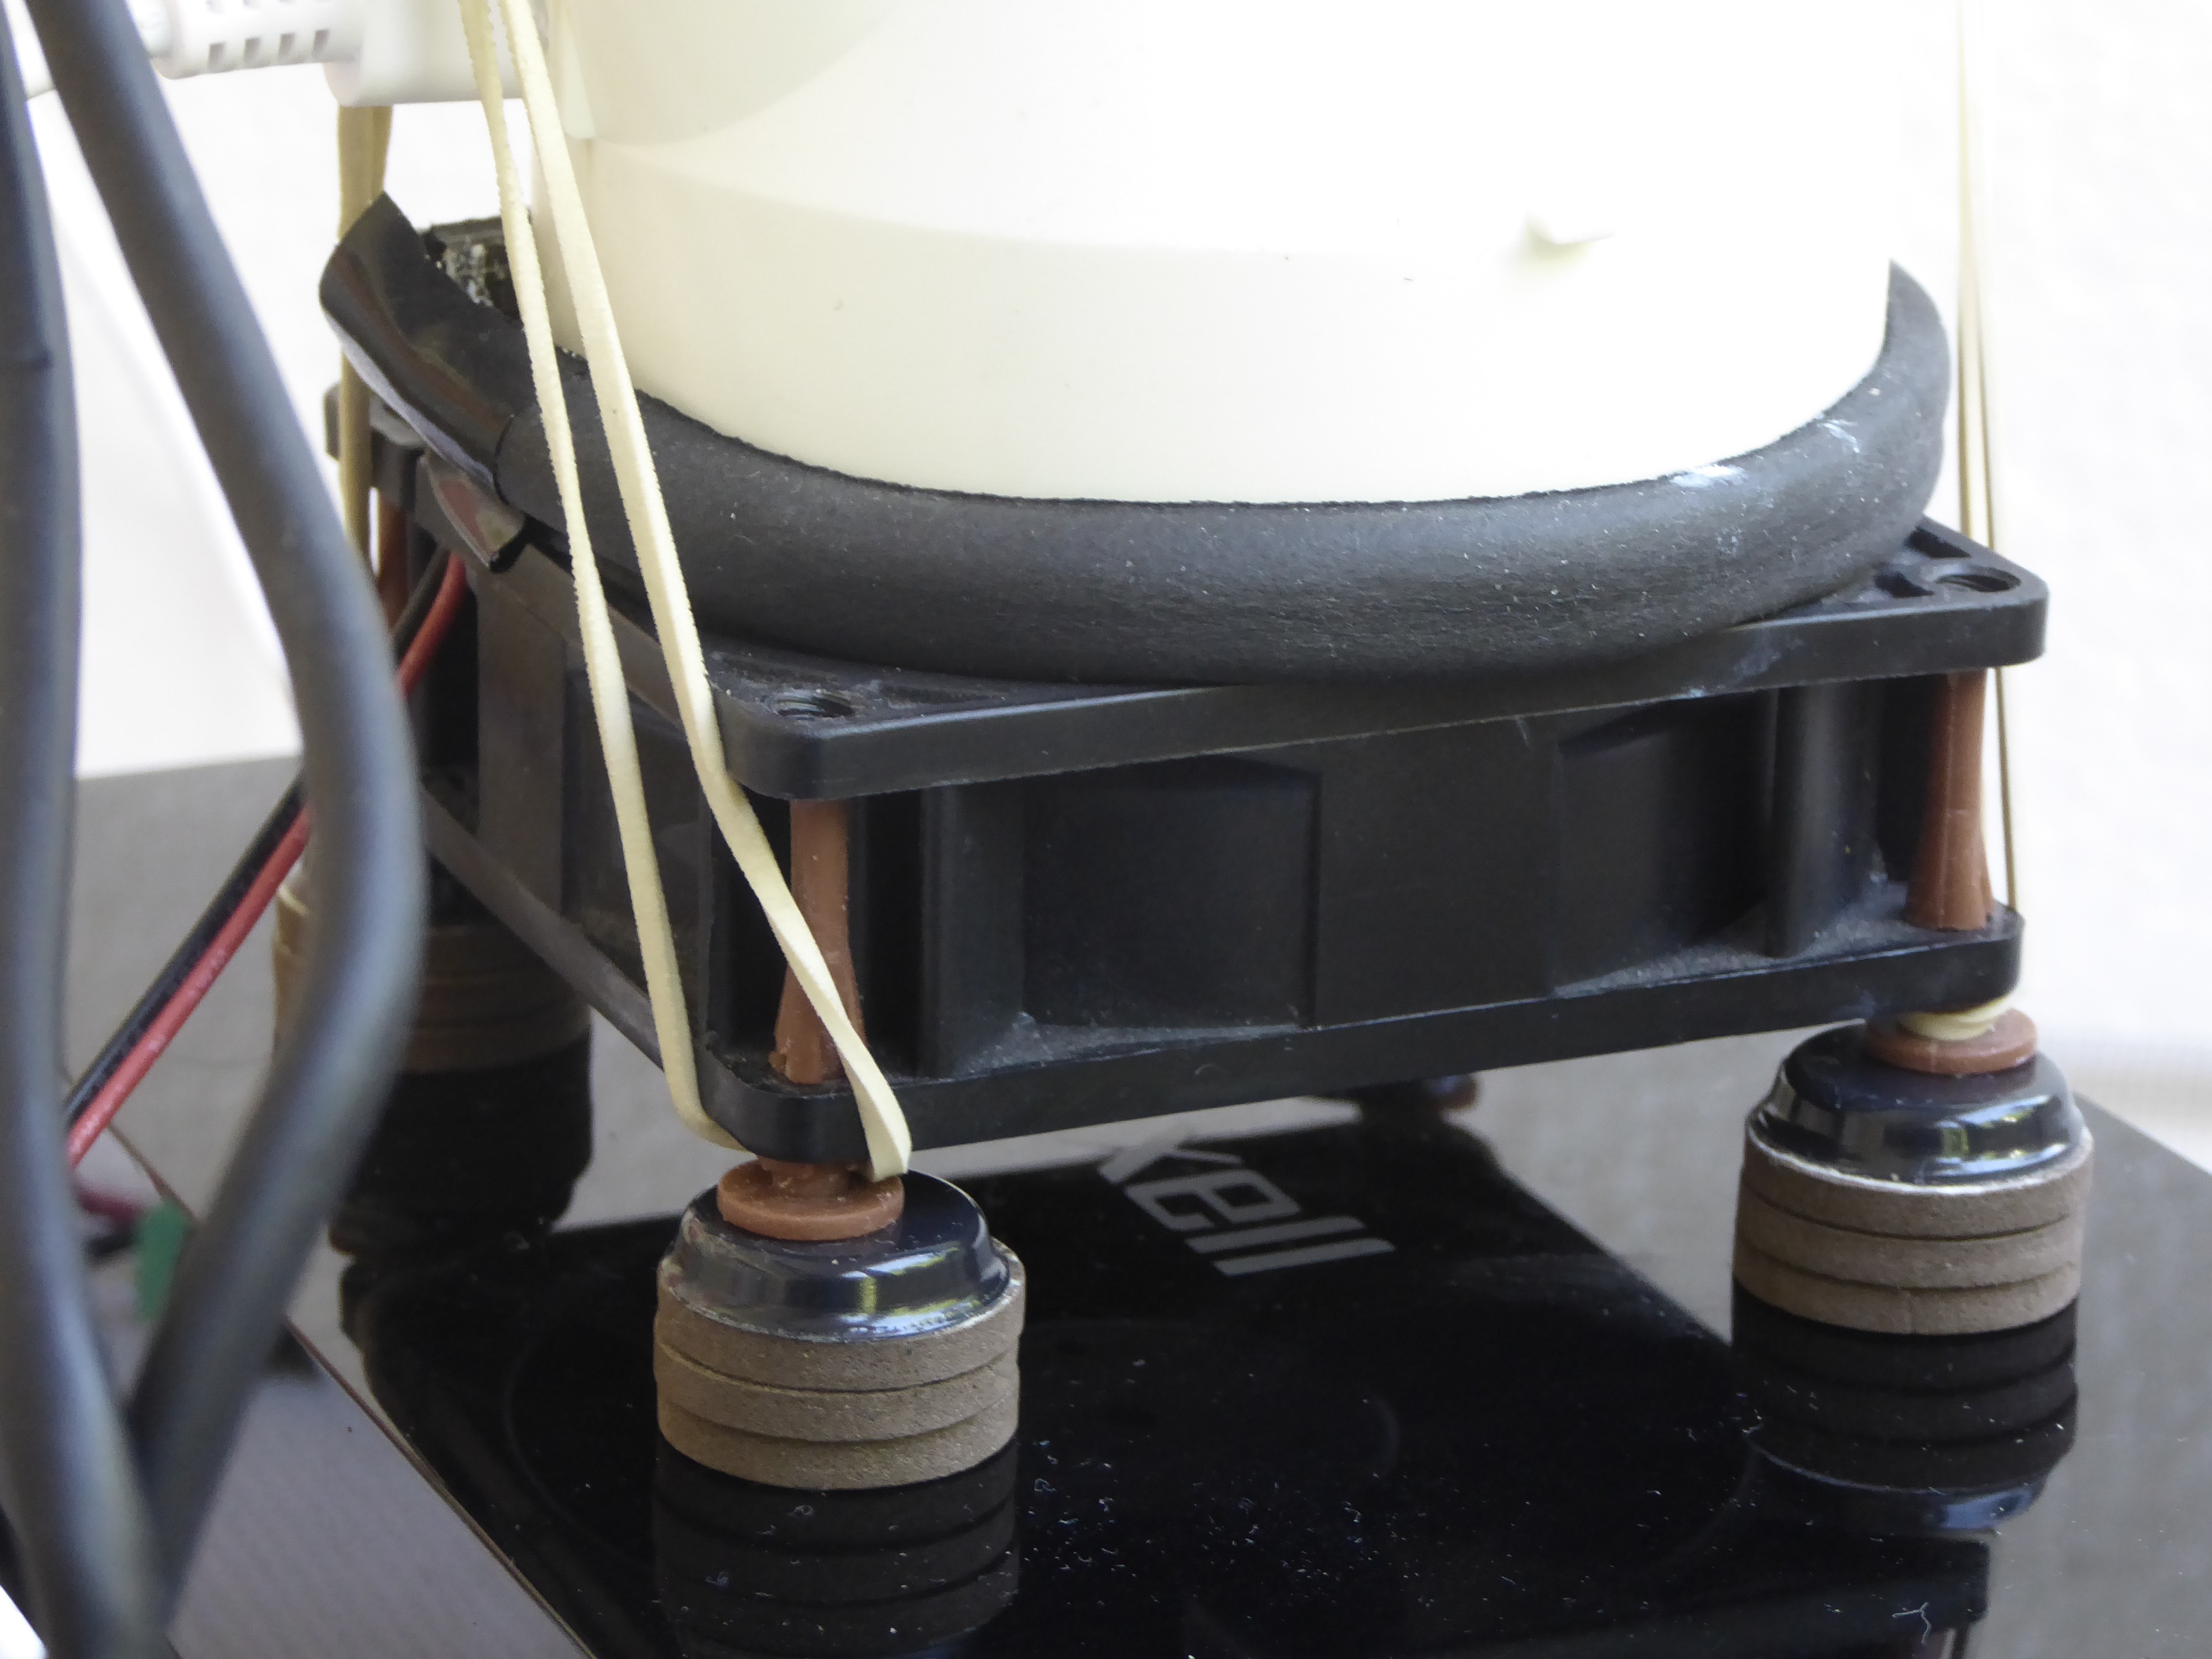
So I added the two fat screws at the top center of the disks, then wrapped a rubber band around both, then again around each of the fan rubber feet... definitely not as easy as it sounds :-)Also, I had a problem with one of the SATA/USB boards, which tended to lean off the SATA port due to the weight of the cables.
(these board are normally screwed to the enclosure base and also held in place by the disks).
So of course I just added another rubber band around each disk and its board, to keep them snugly mated :)After that I did a two-way rsync (local redundancy) between the two drives, and was happy to see that the temp levels and stability were in a totally different league than those I had when using the enclosures.
So there you have it, a two-tier vertical cooling powerhouse... it's getting bigger and higher with each upgrade, gotta stop somewhere :-)
-
Nuclear-style NAS
06/22/2020 at 10:23 • 0 commentsHi all,
I finally got around to actually *do* something with this ground-breaking concept, and tried my hand at using it as a home NAS :-)
First I swapped the Pi3 board I used for the an actual Pi4, and repurposed two 4TB disks in USB enclosures I had lying around.
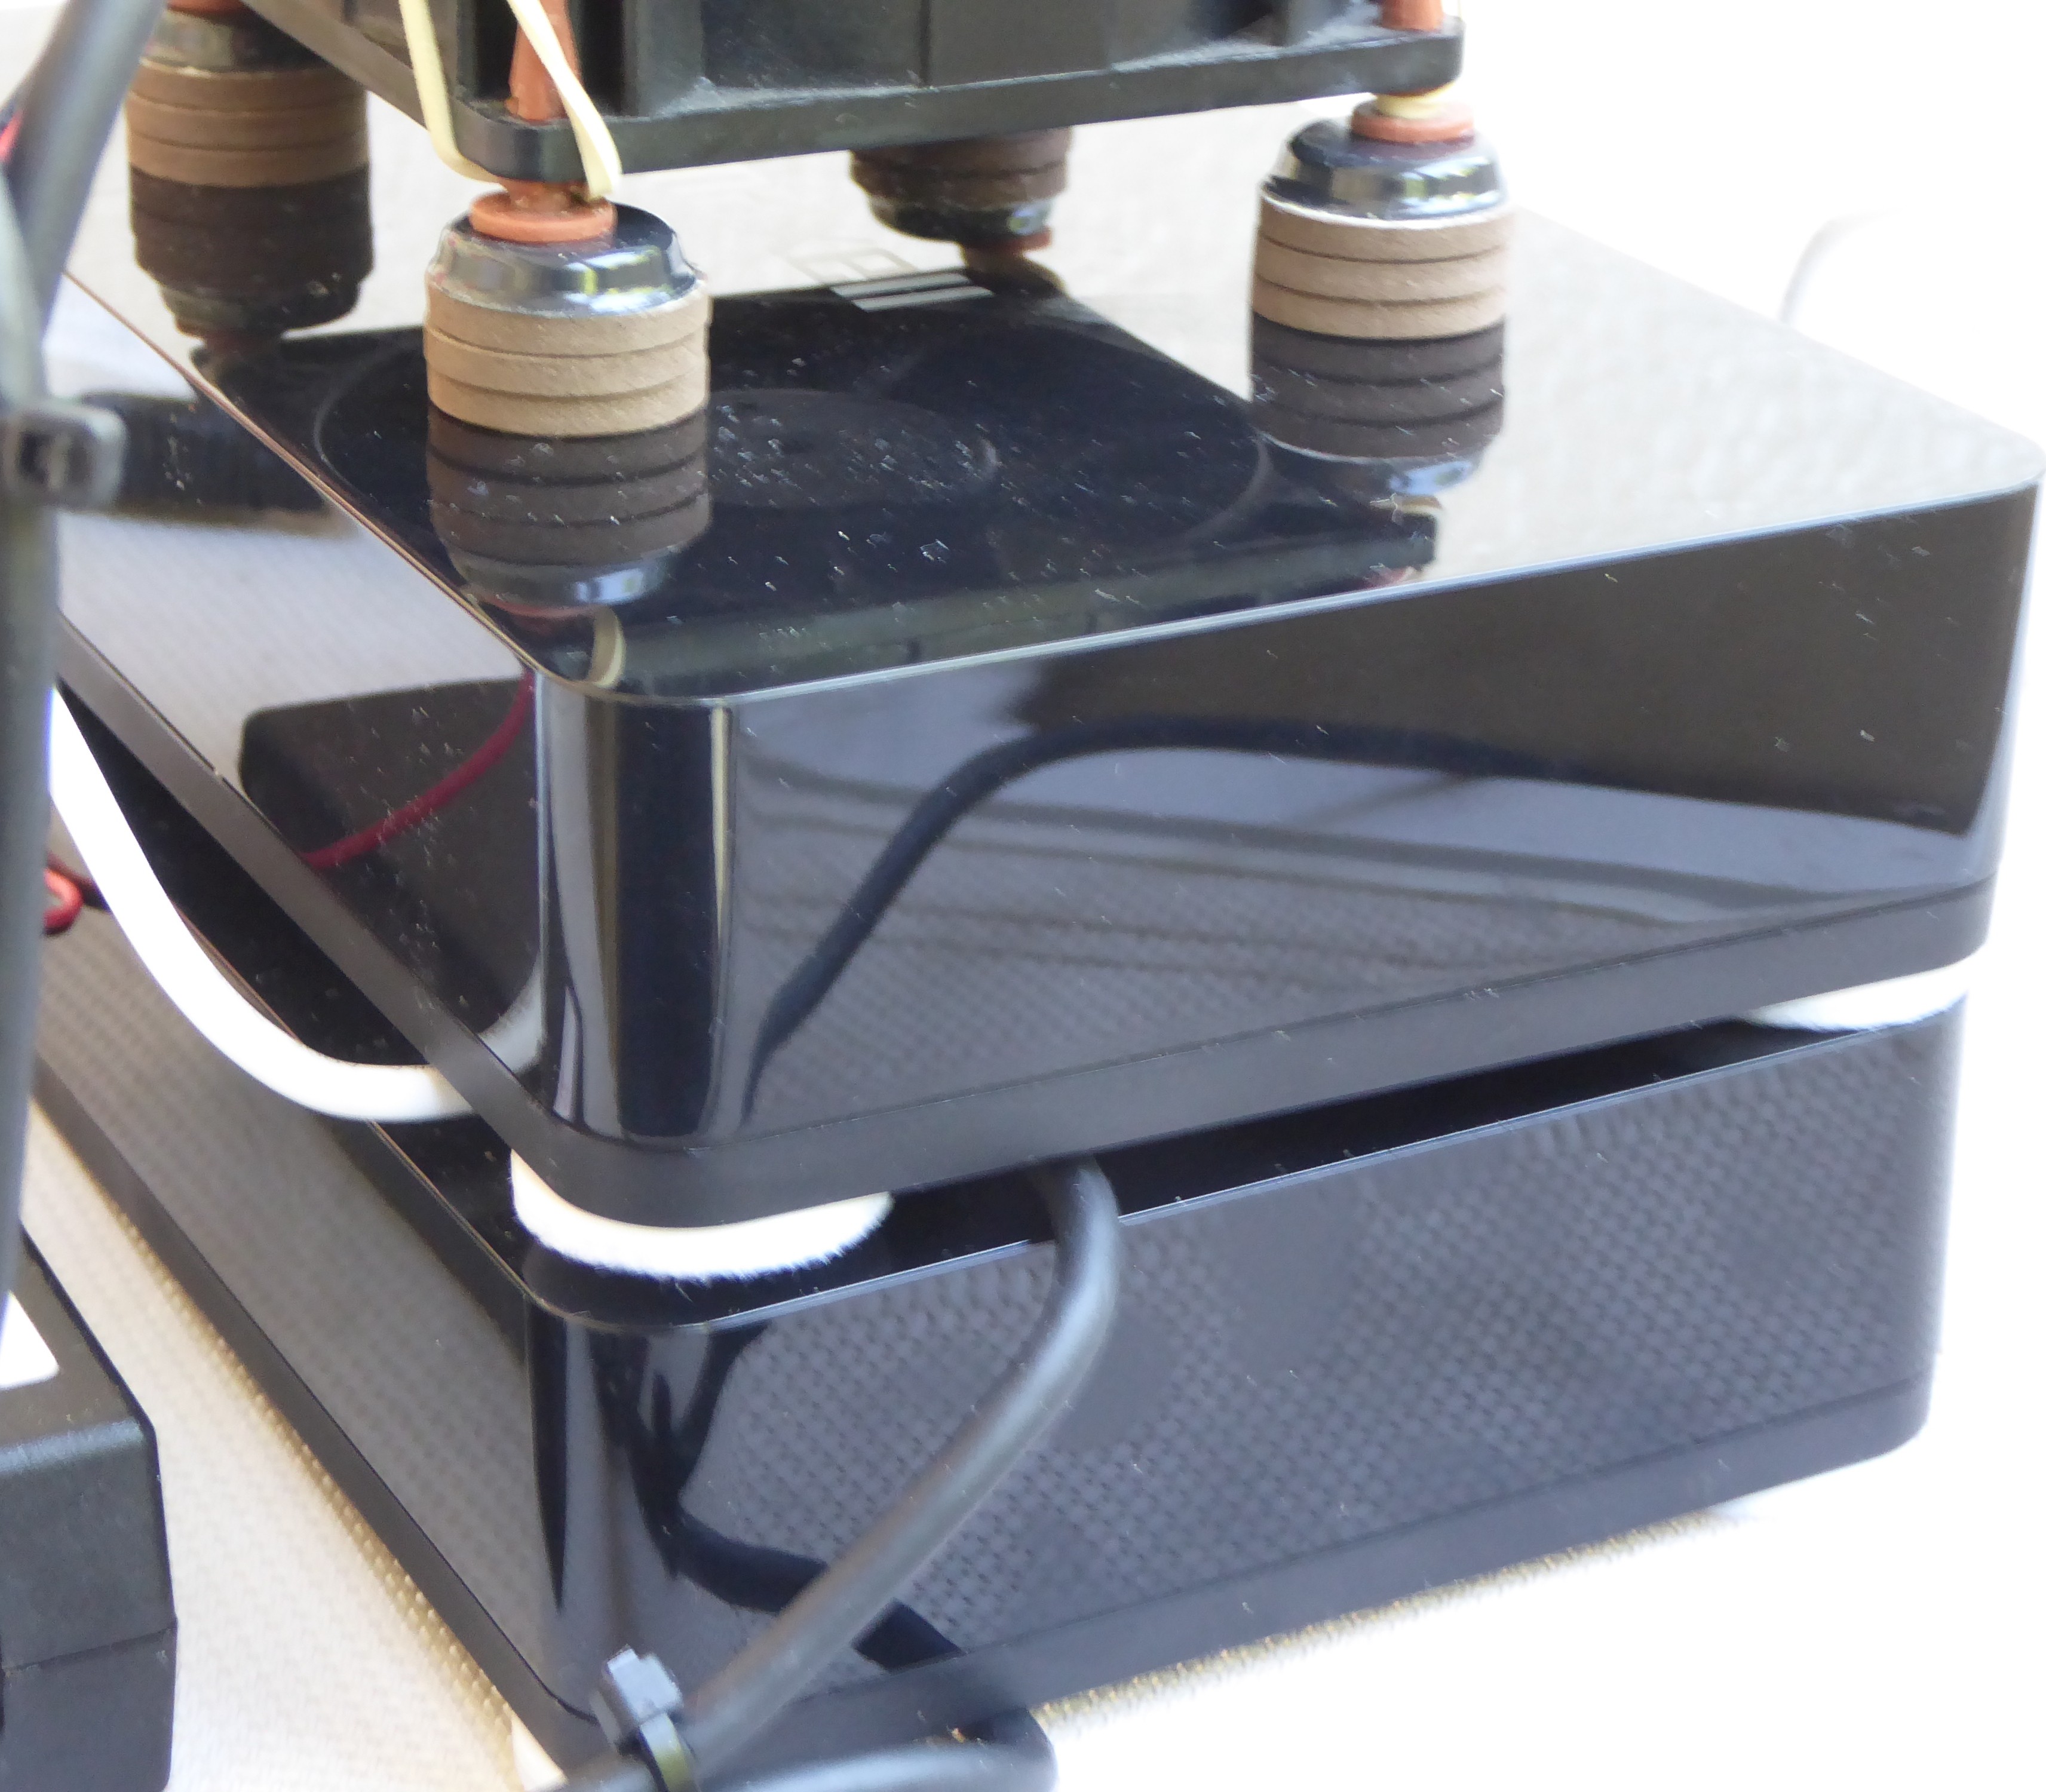
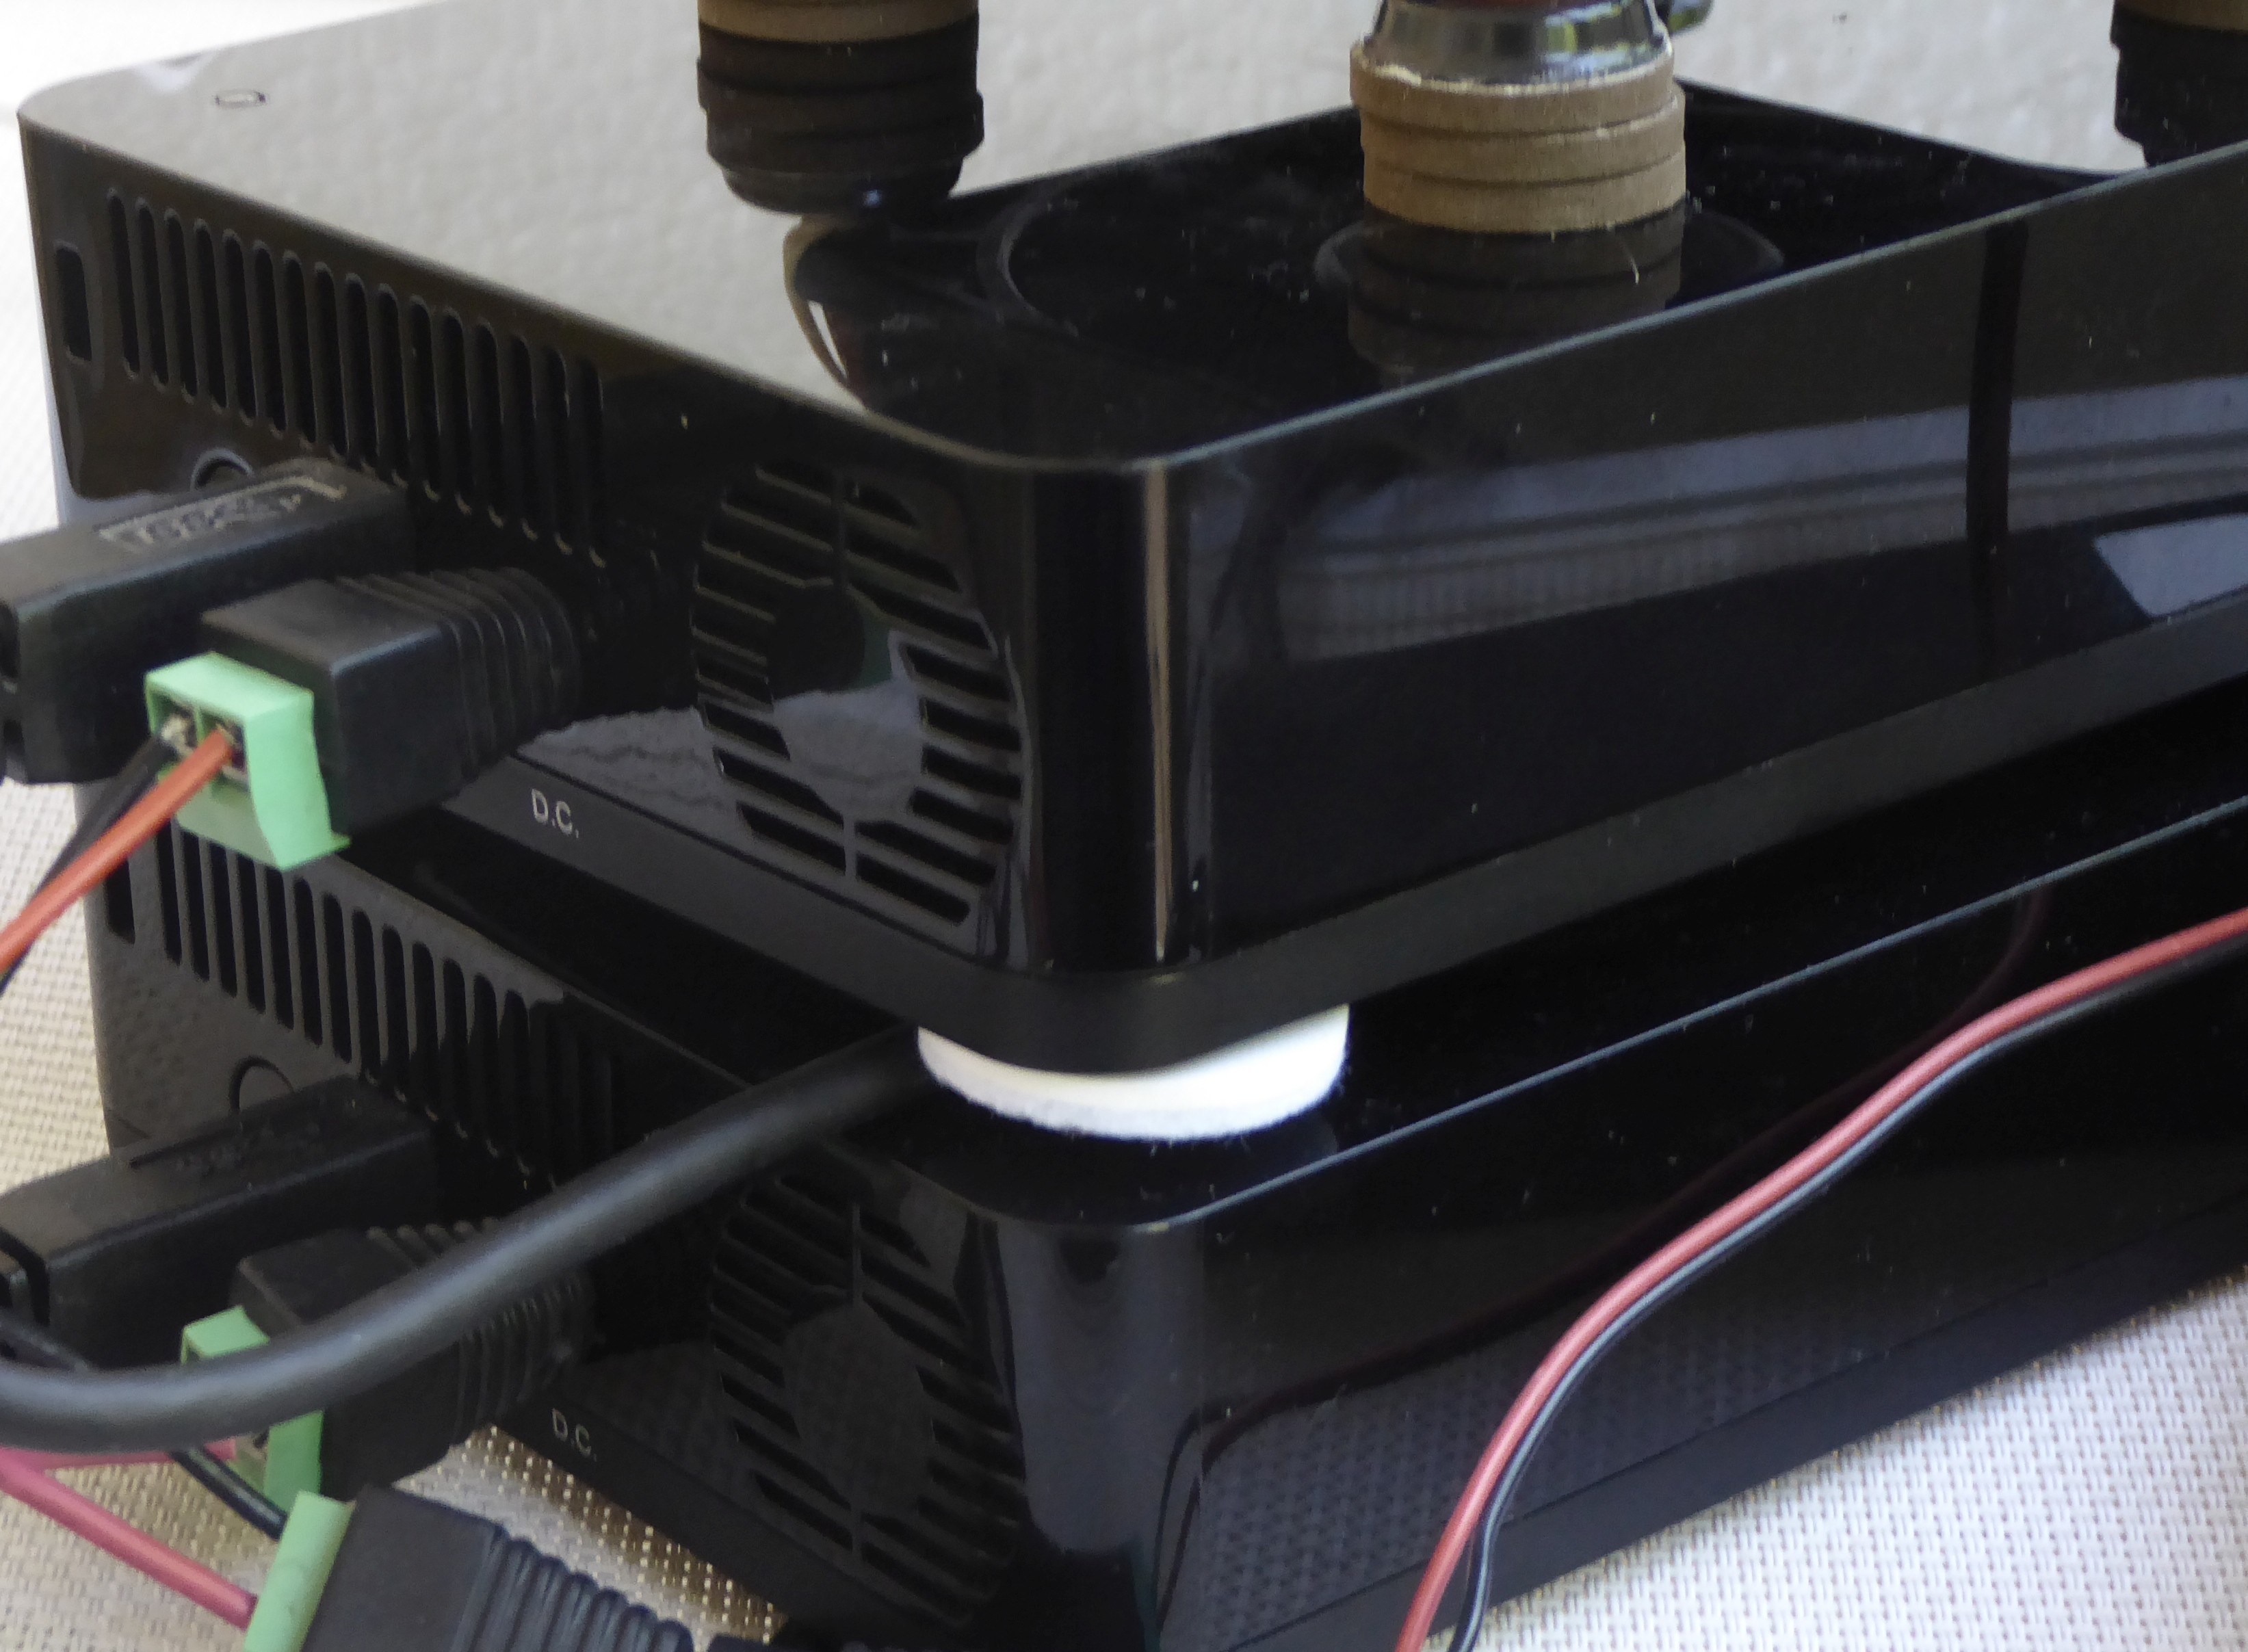
These heavy boxes were useful for some cable management of sorts, especially the thick USB3 and PSU cords stuck beneath.
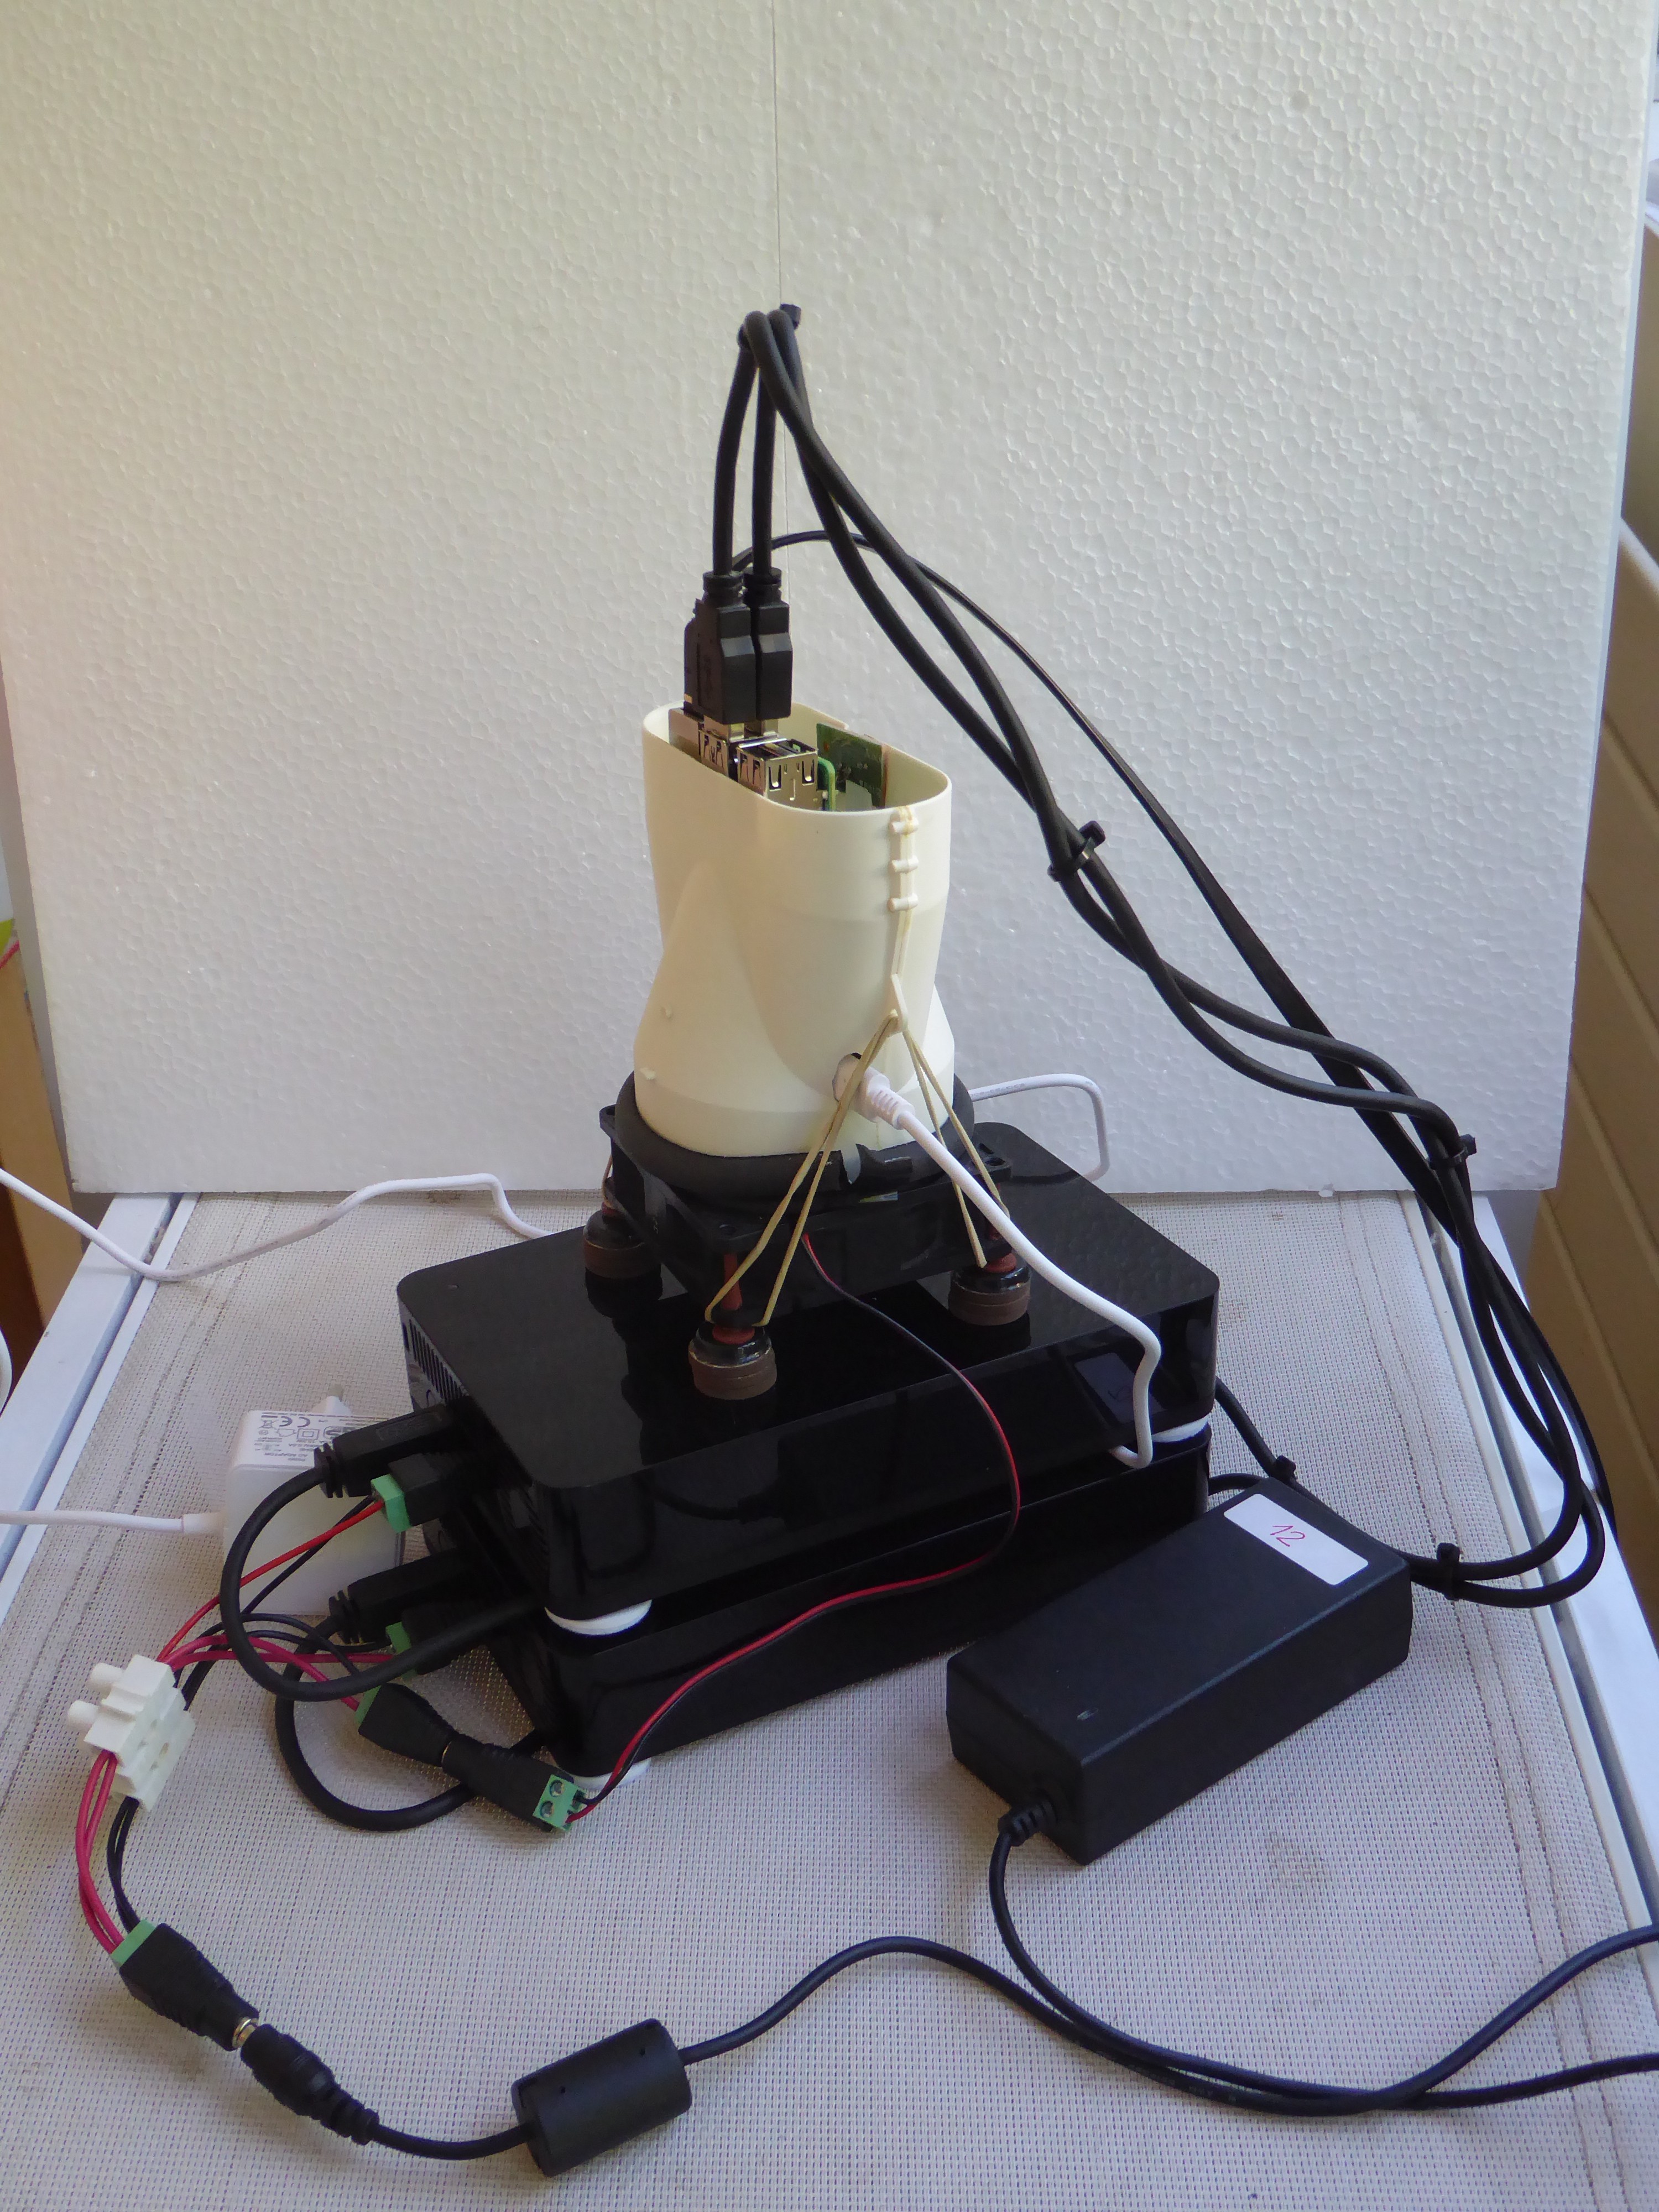
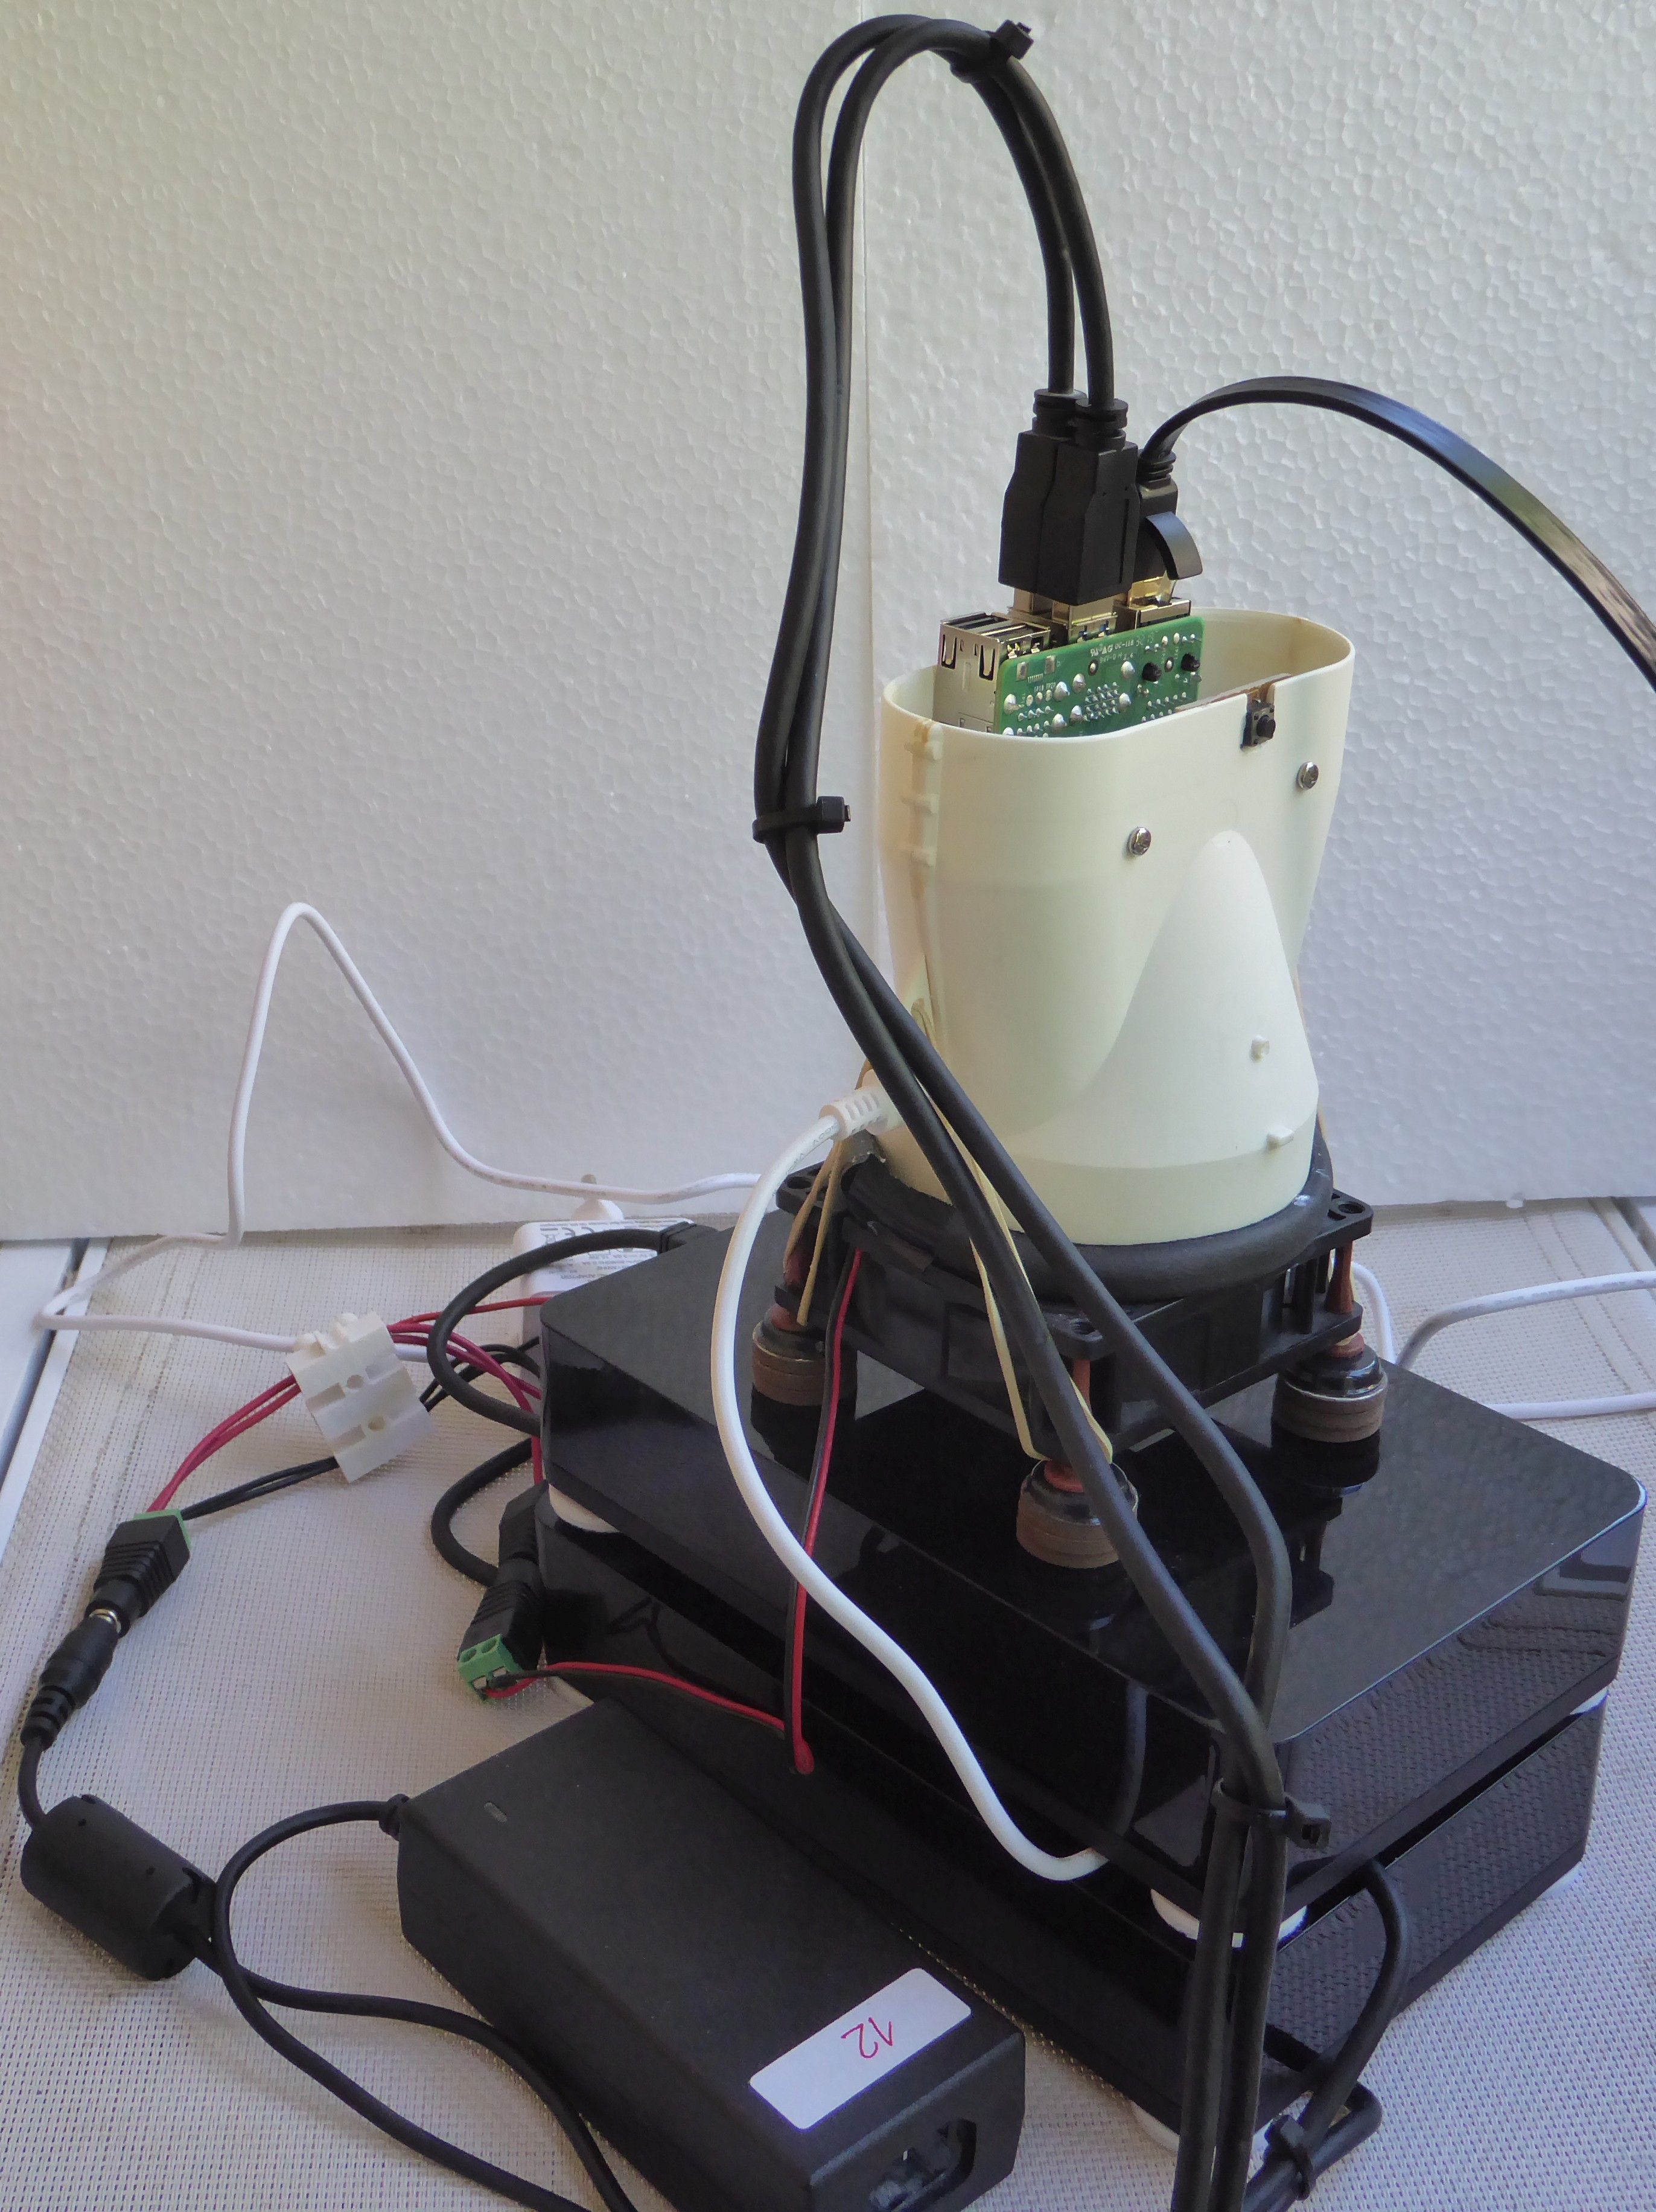
As you can see, the Pi4 has its own PSU coming in through the base of the funnel, while the two disks and the fan all share a common 12V-3.33A brick. And yes, I admit that splitter is definitely ghetto :-)
Now a view from the other side, just to show I also got around to trimming that PCB with the on/off button :-)
The original topic if this "project" was cooling, and this pic shows an unexpected change in this regard :
In the mock-up, the fan was standing on the four brown rubber feet, a few millimetres from the base... and in the early tests, I realized this was severely restricting the air intake. Several times I had need to lift the fan/funnel assembly, holding it from the top, and each time I felt the airflow increase dramatically. Well, Duh, right ? :-)
So I scraped around and found those 4+12 plastic and felt feet, which lifted the fan base over 2cm above the base.
With the Pi4 running, I saw an immediate difference of -2 °Celsius in CPU temps.
Finally, I also added felt padding under the HDD enclosures, as the original rubber stands were really tiny.
I didn't want them to press on the cables going underneath, and hopefully the additional convection airflow will help prevent overheating.
I'm not *that* hopeful though, as the only openings on theses enclosures are at the back, and I'm not even sure there are fans behind those round ones :-)
[ Edit ] - I just found a video showing how to open the enclosures, there is no fan, just the round opening :-)
-
Improve fan/funnel coupling
05/22/2020 at 10:27 • 0 commentsI did a simple but (I think) useful update recently :
One detail that was bothering me is that the diameter of the funnel base was less than the fan's aperture (you can see that if you zoom on gallery pic #6).
So potentially a fraction of the airflow would be lost outside the funnel.
Also, the plastic-on-plastic contact of the funnel base with the fan top was a bit slippery.
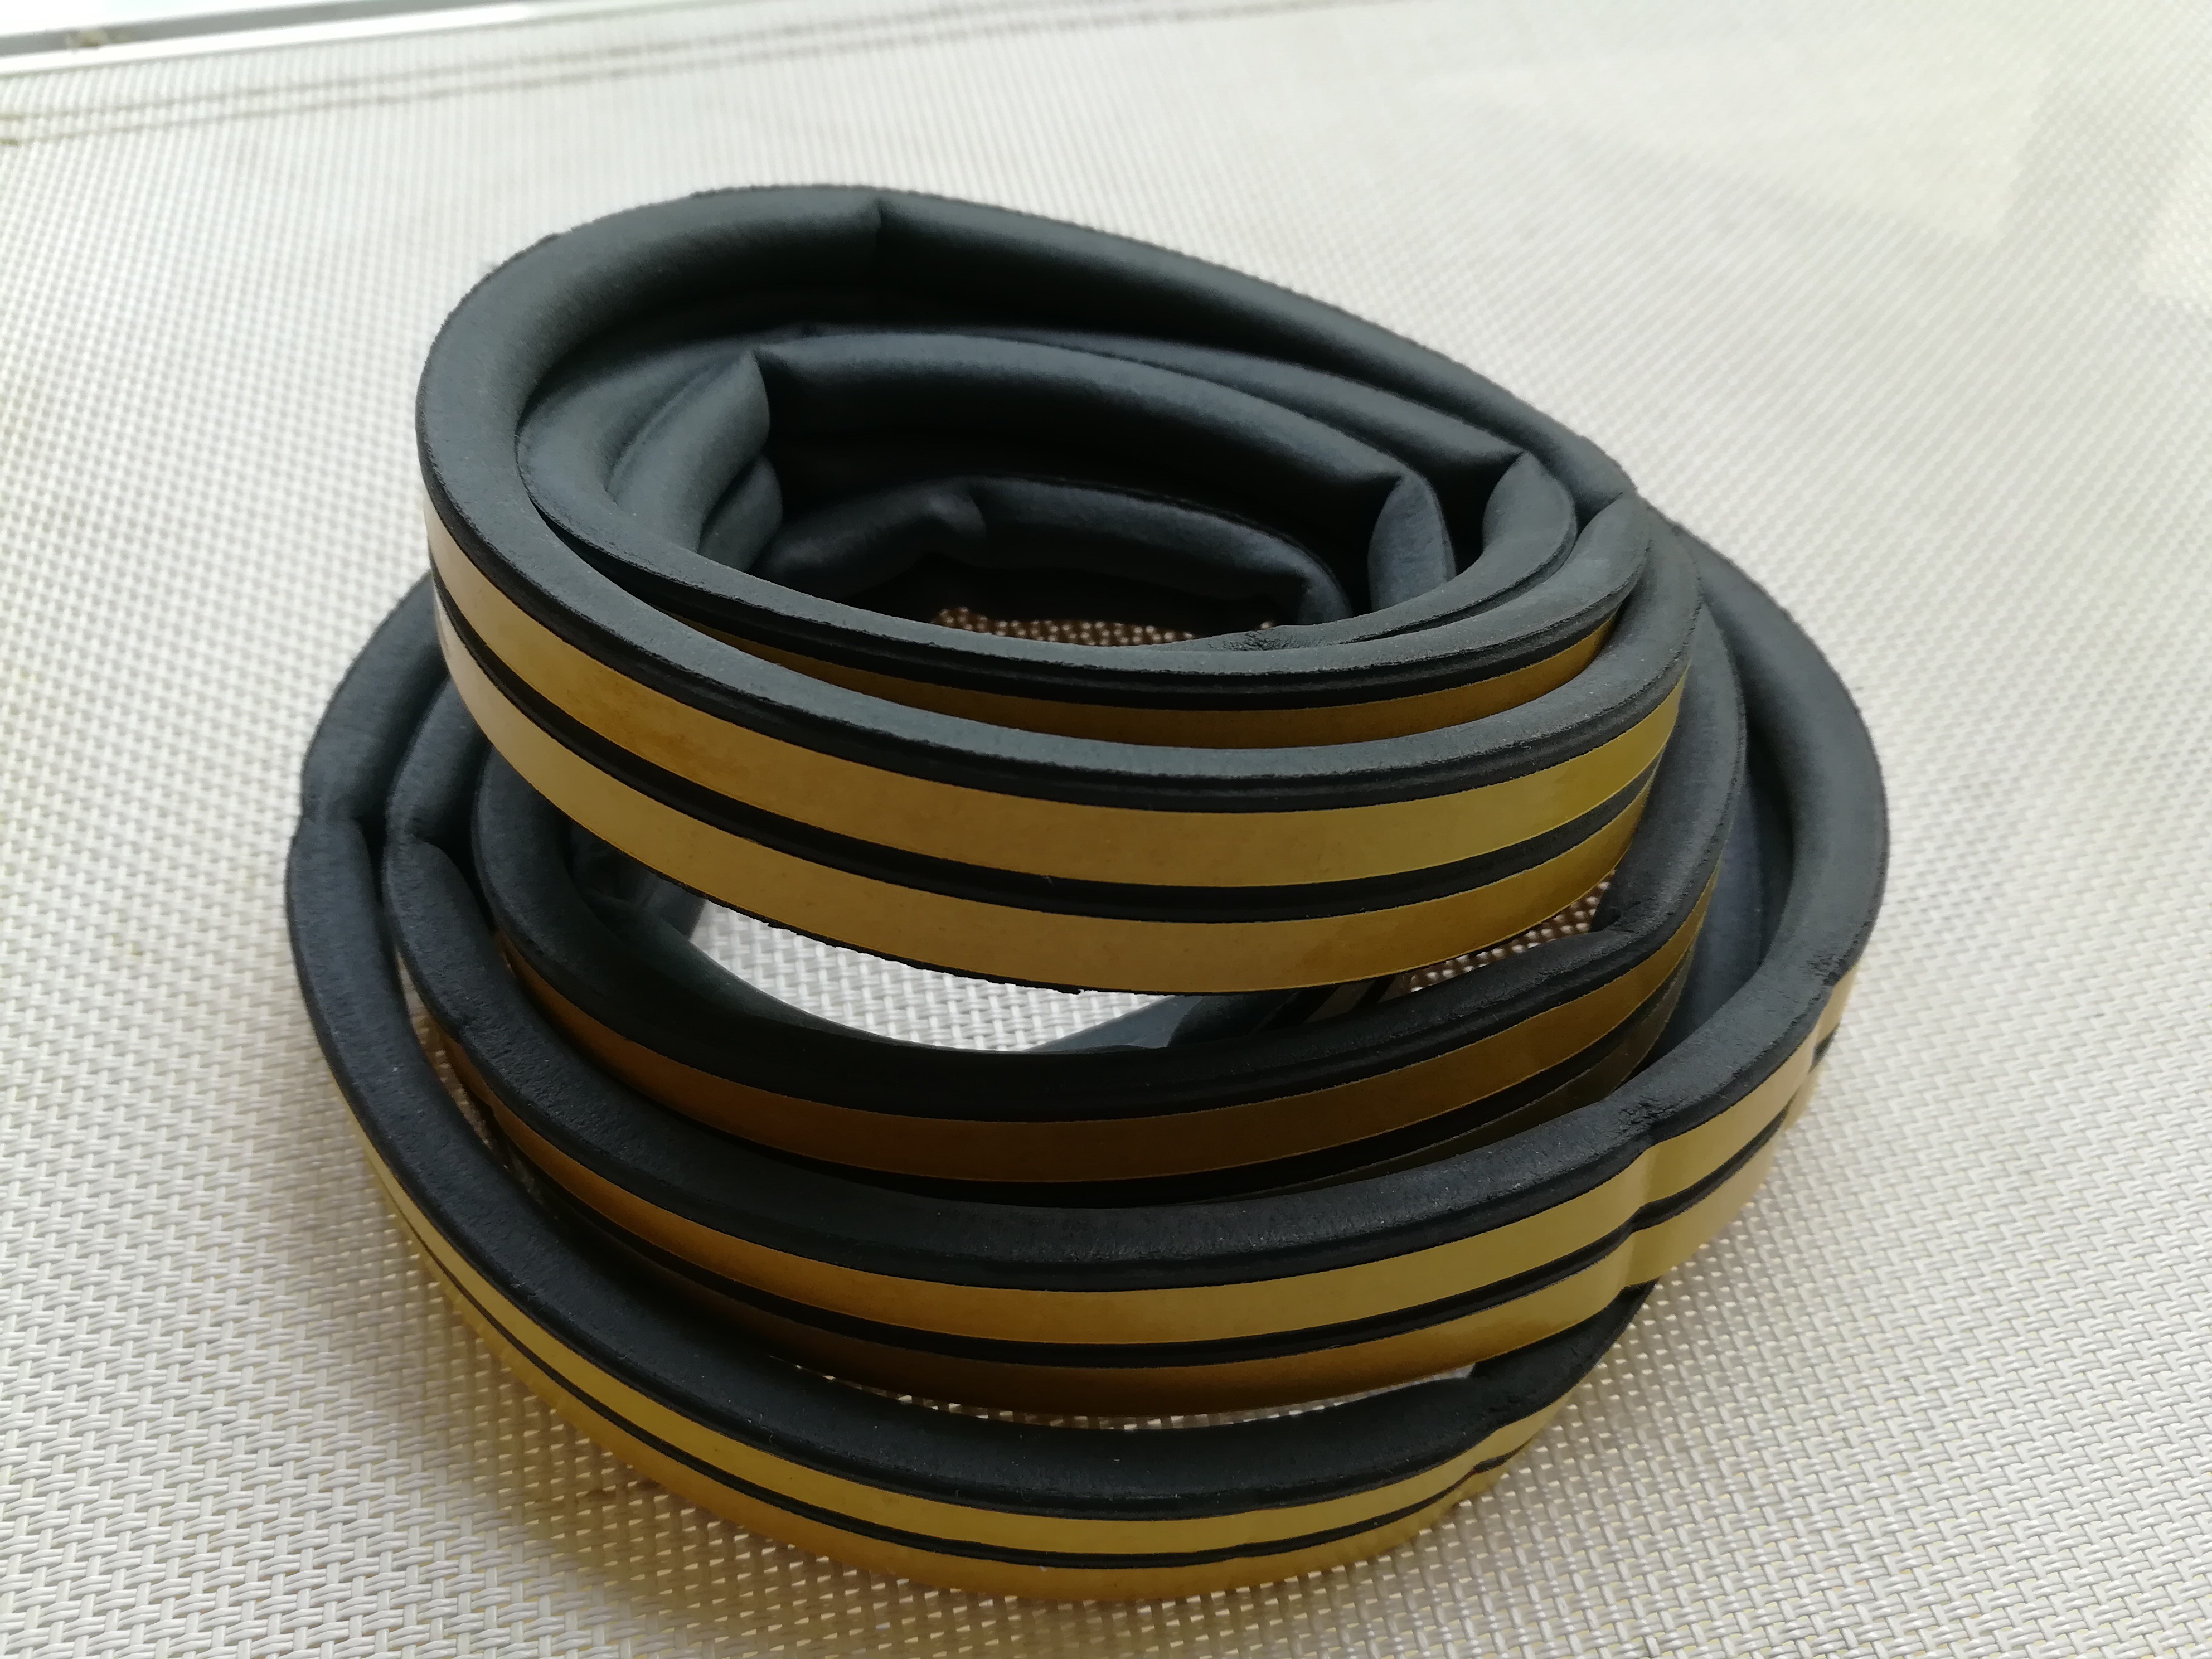
While puttering around in my workshop I came across this sizeable length of rubber insulation :
![]()
As you can see it is has two parallel tubes, and under each one is a sticky track (under the yellow cover. So I cut a length of the funnel's outside circumference, and stuck one tube outside and the other underneath / inside :
![]()
This way all of the fan airflow goes into the funnel, and the coupling between the two is really snug :-)
Nuclear-style cooling for the Raspberry Pi4
A tinkerer's approach to vertical cooling :)
 fpp
fpp