Close
0%
0%

Bluetooth Beacon proximity gateway

Detect beacons and control things without touching anything!

Similar projects worth following
This project is based on ESP32 and use Bluetooth Beacon scanner to collect beacons data to control things.

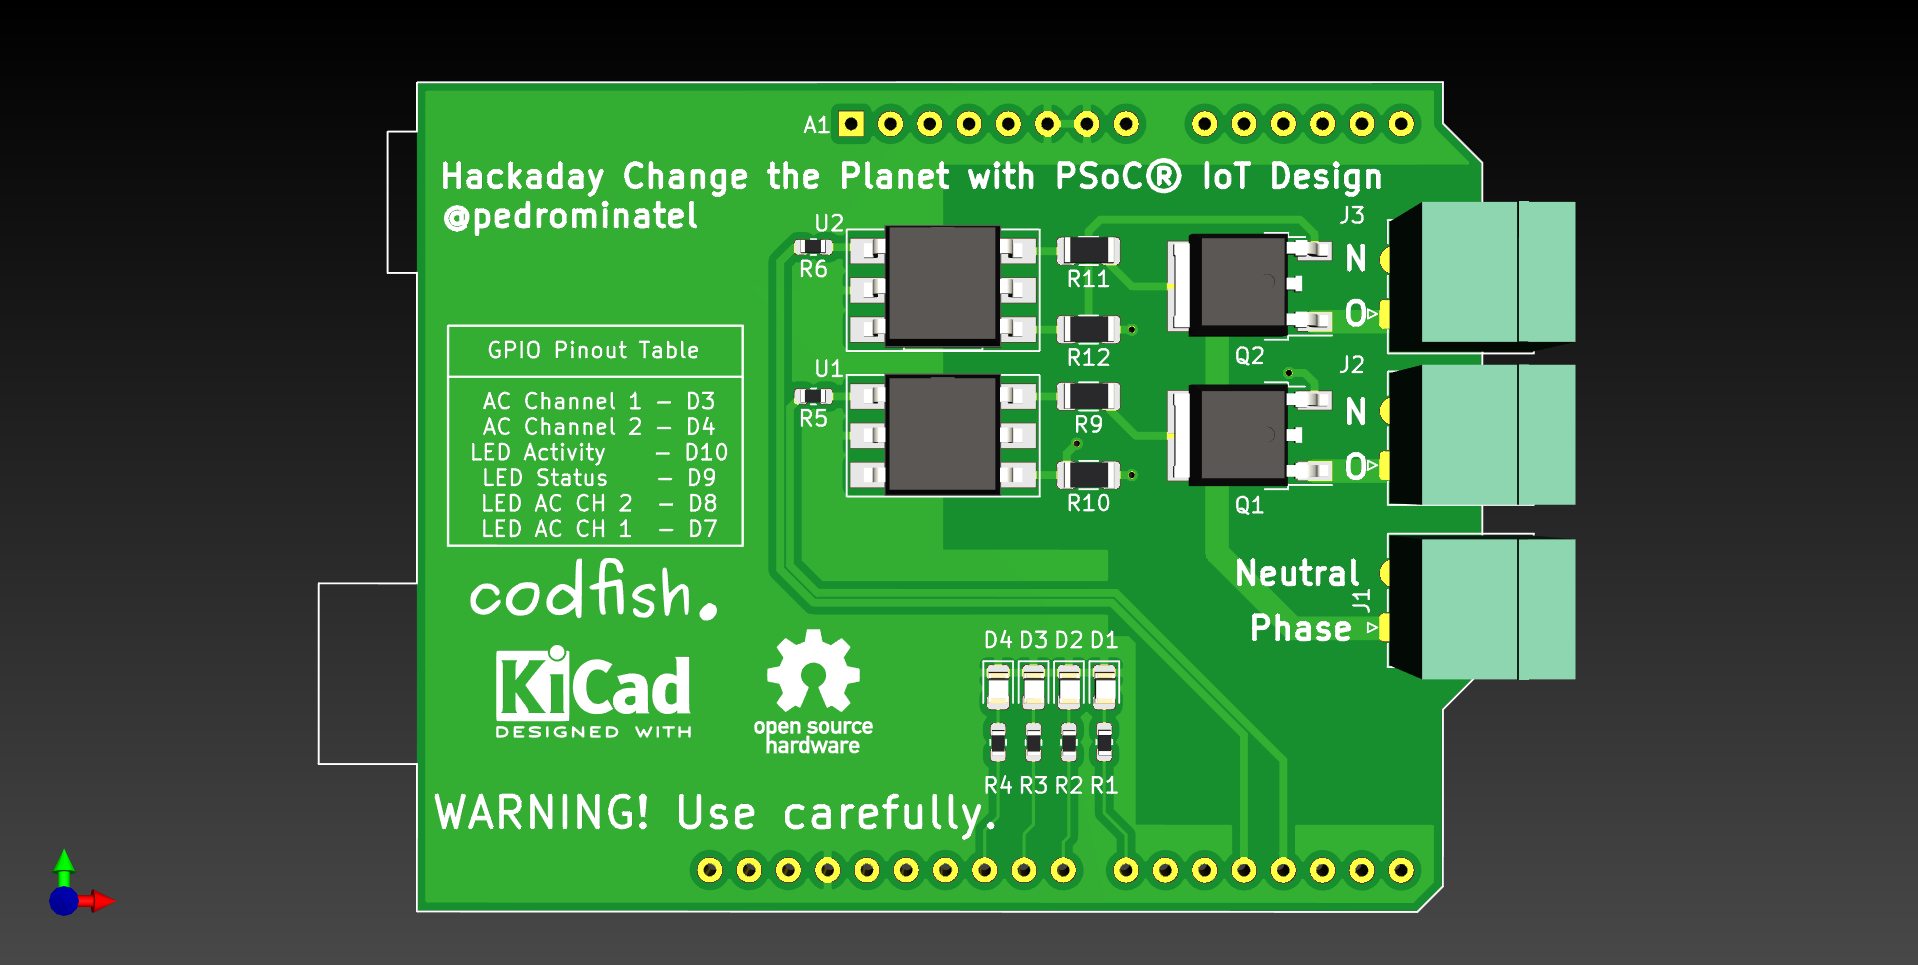
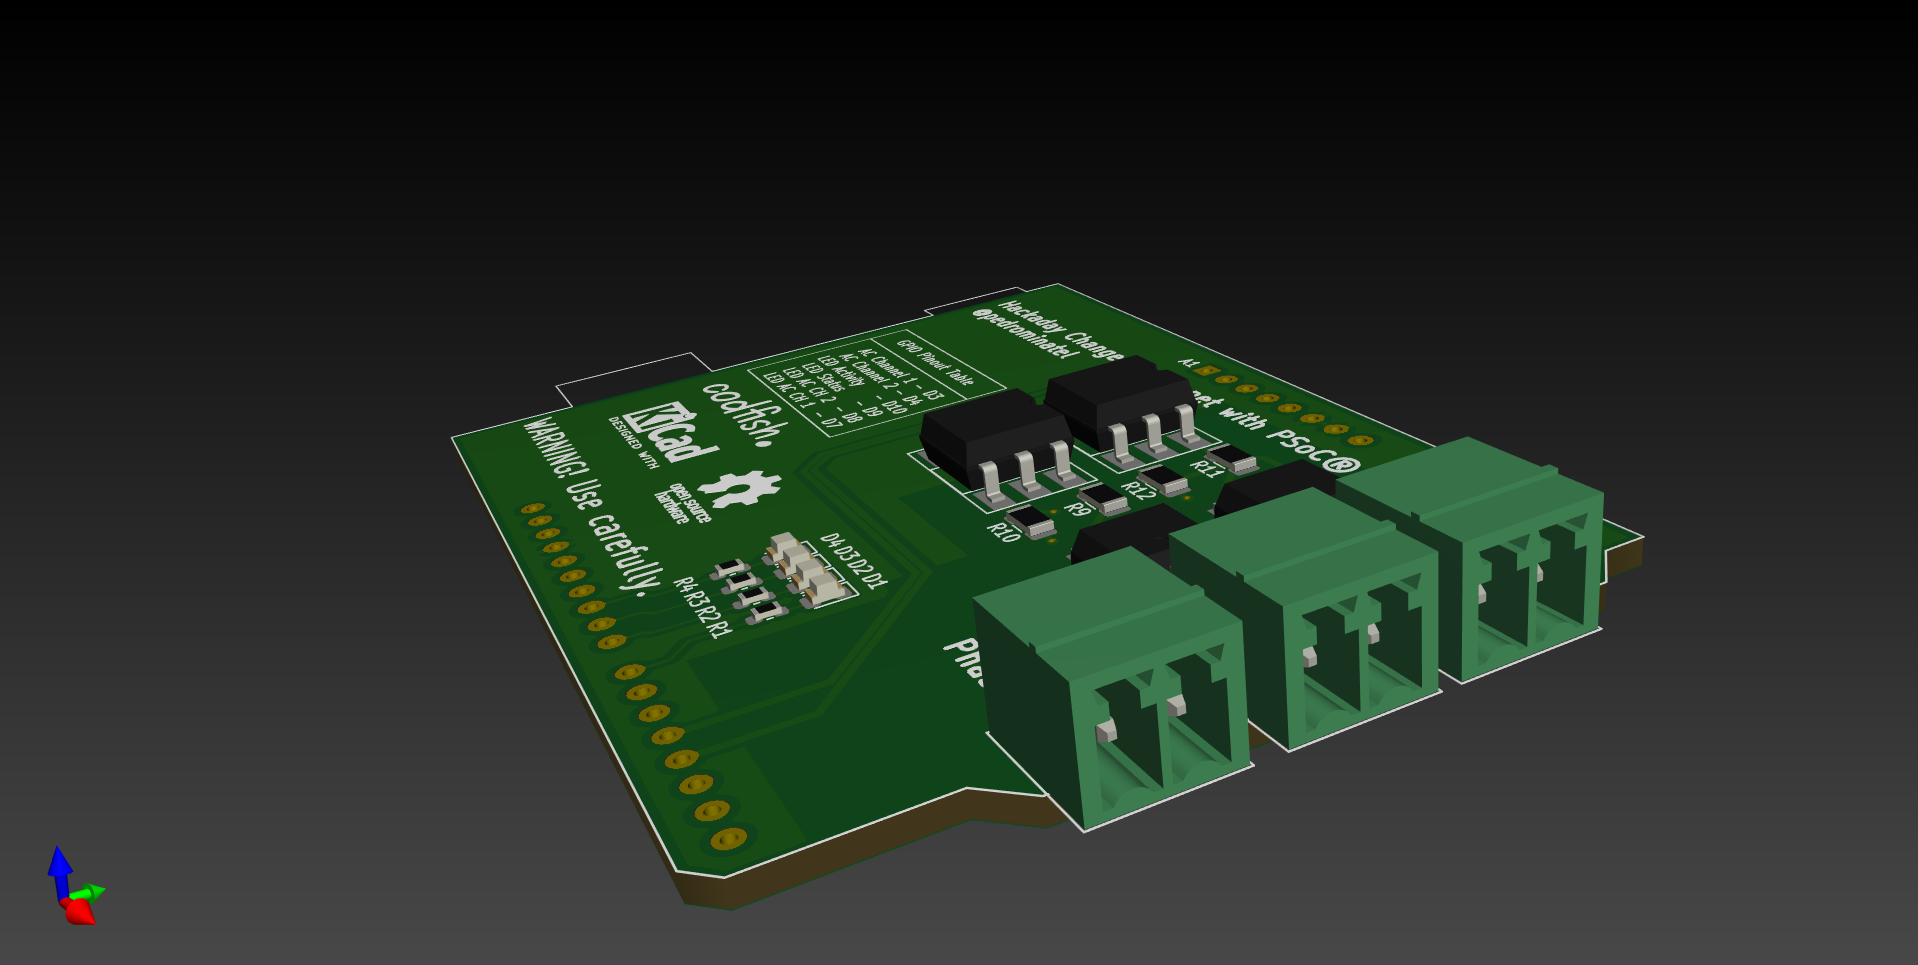
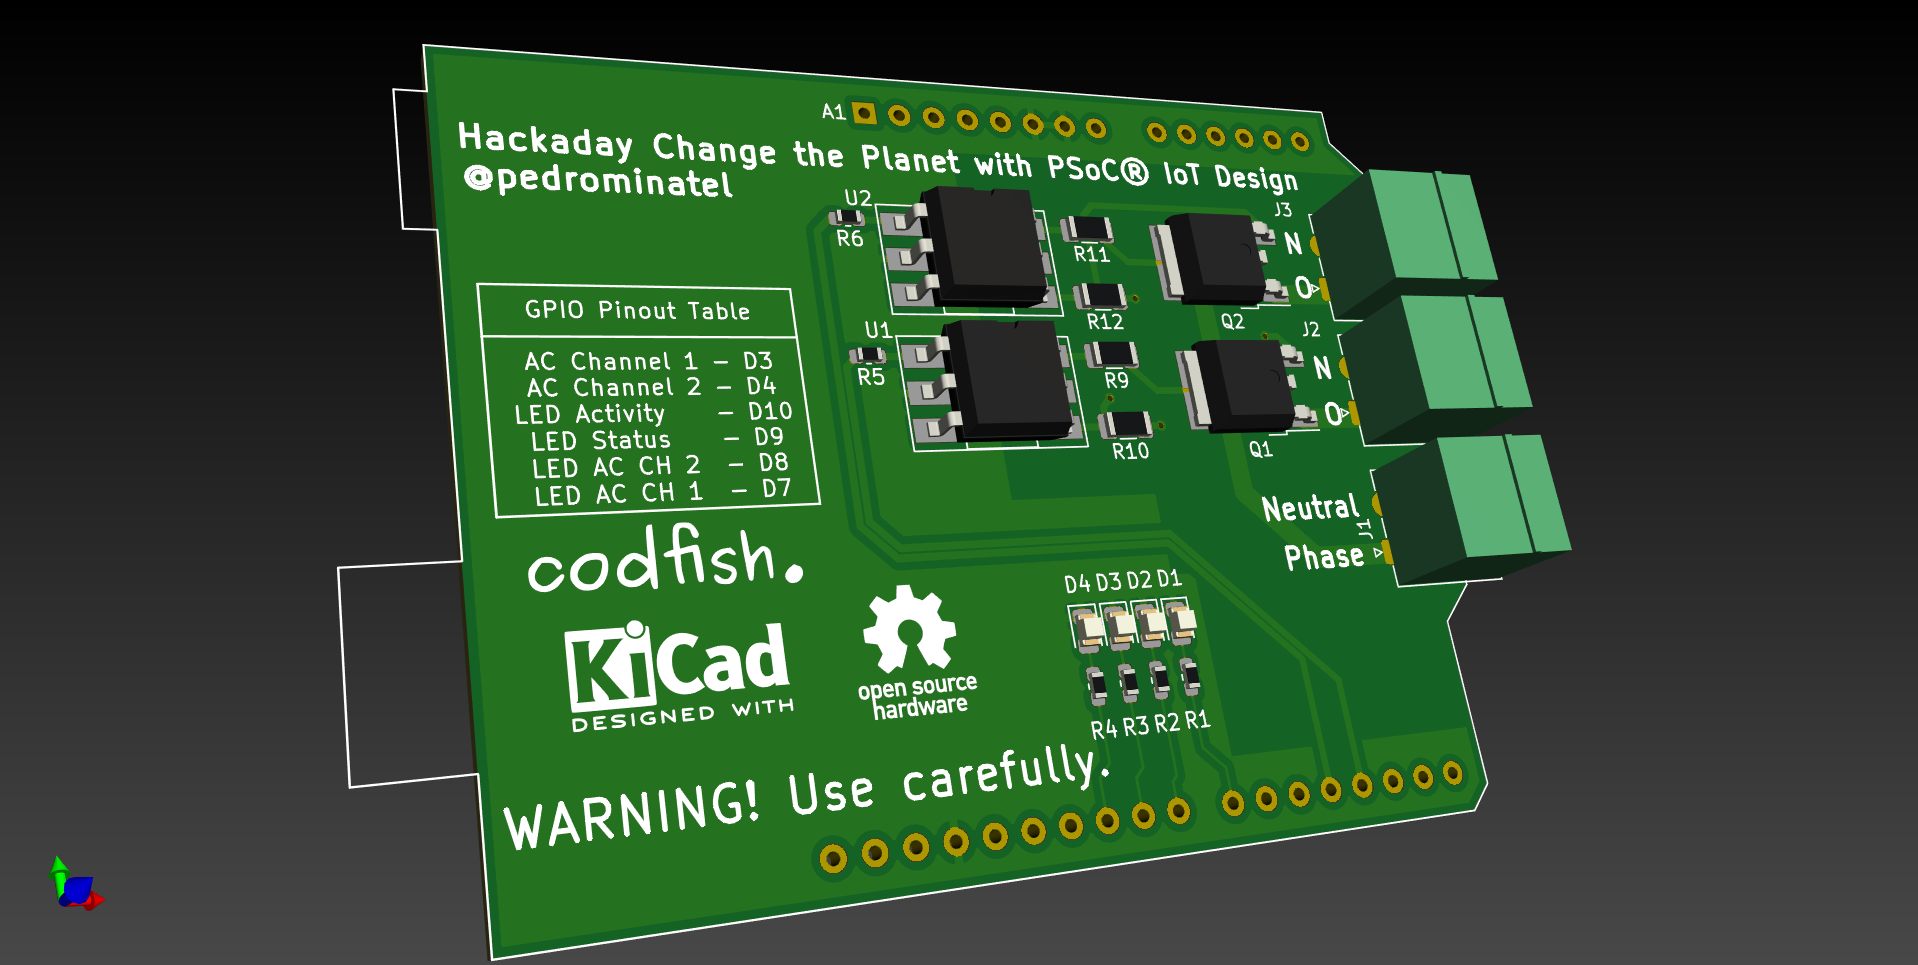
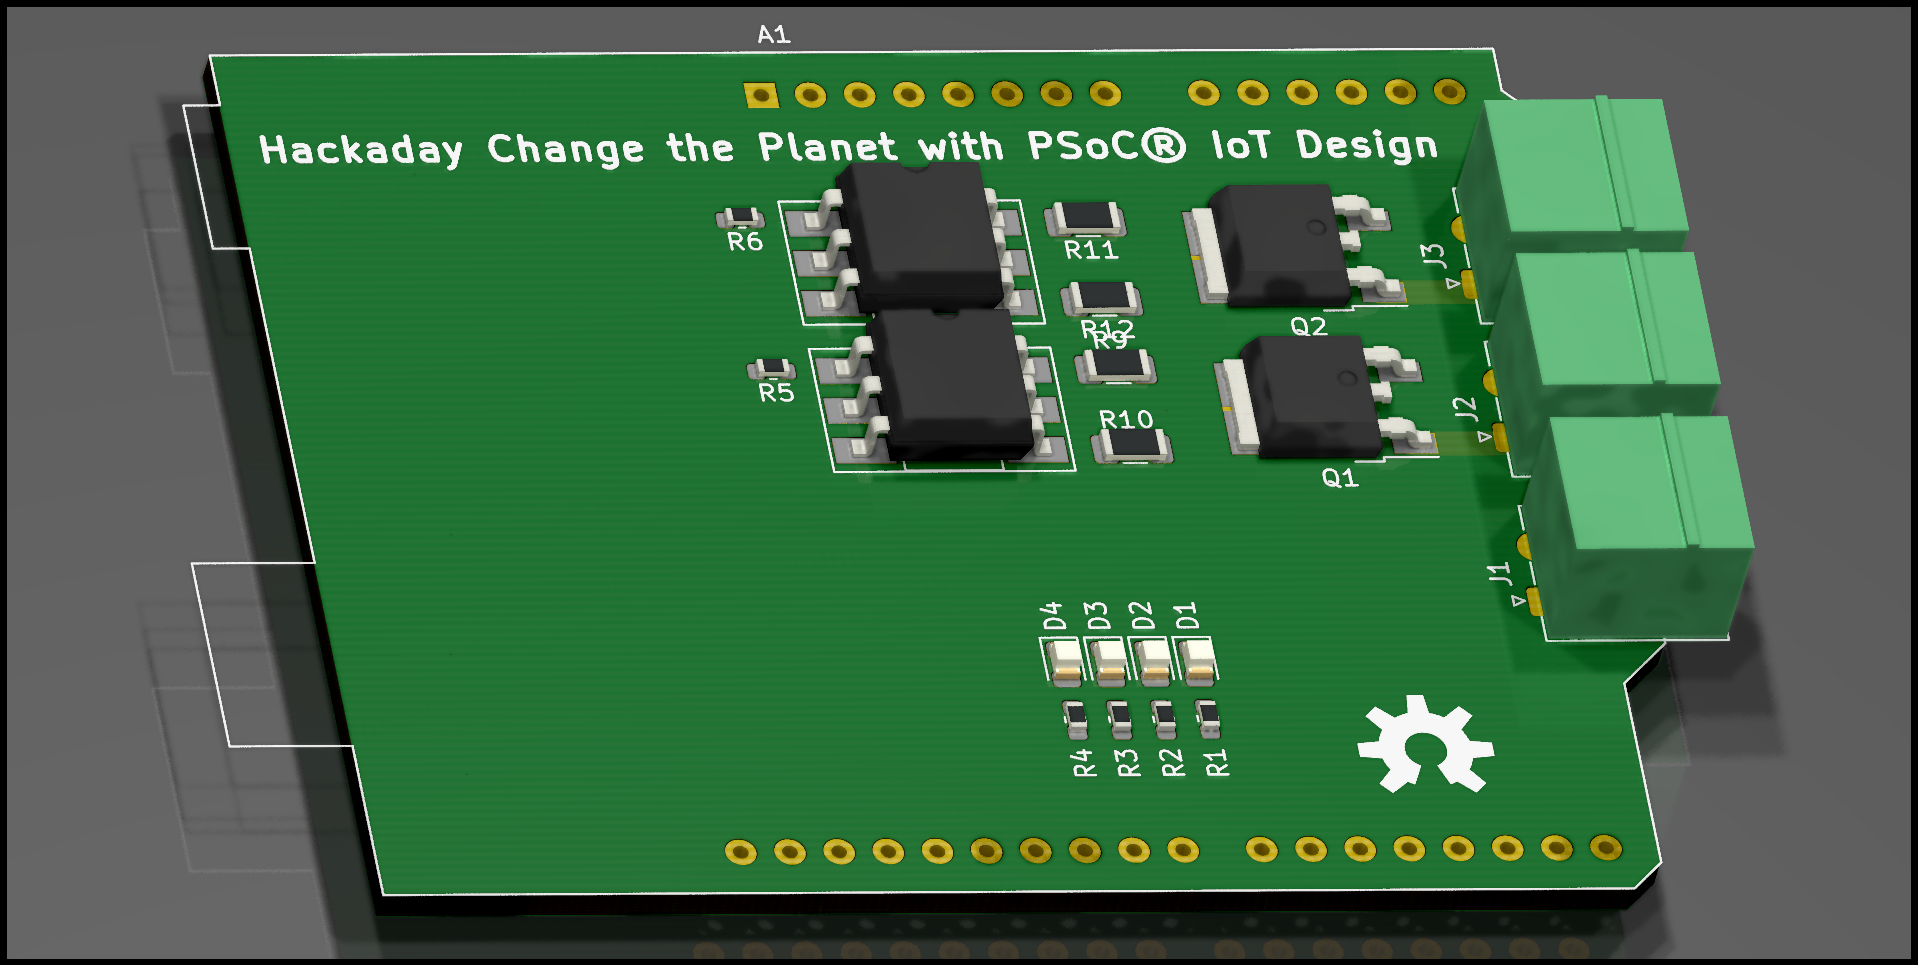
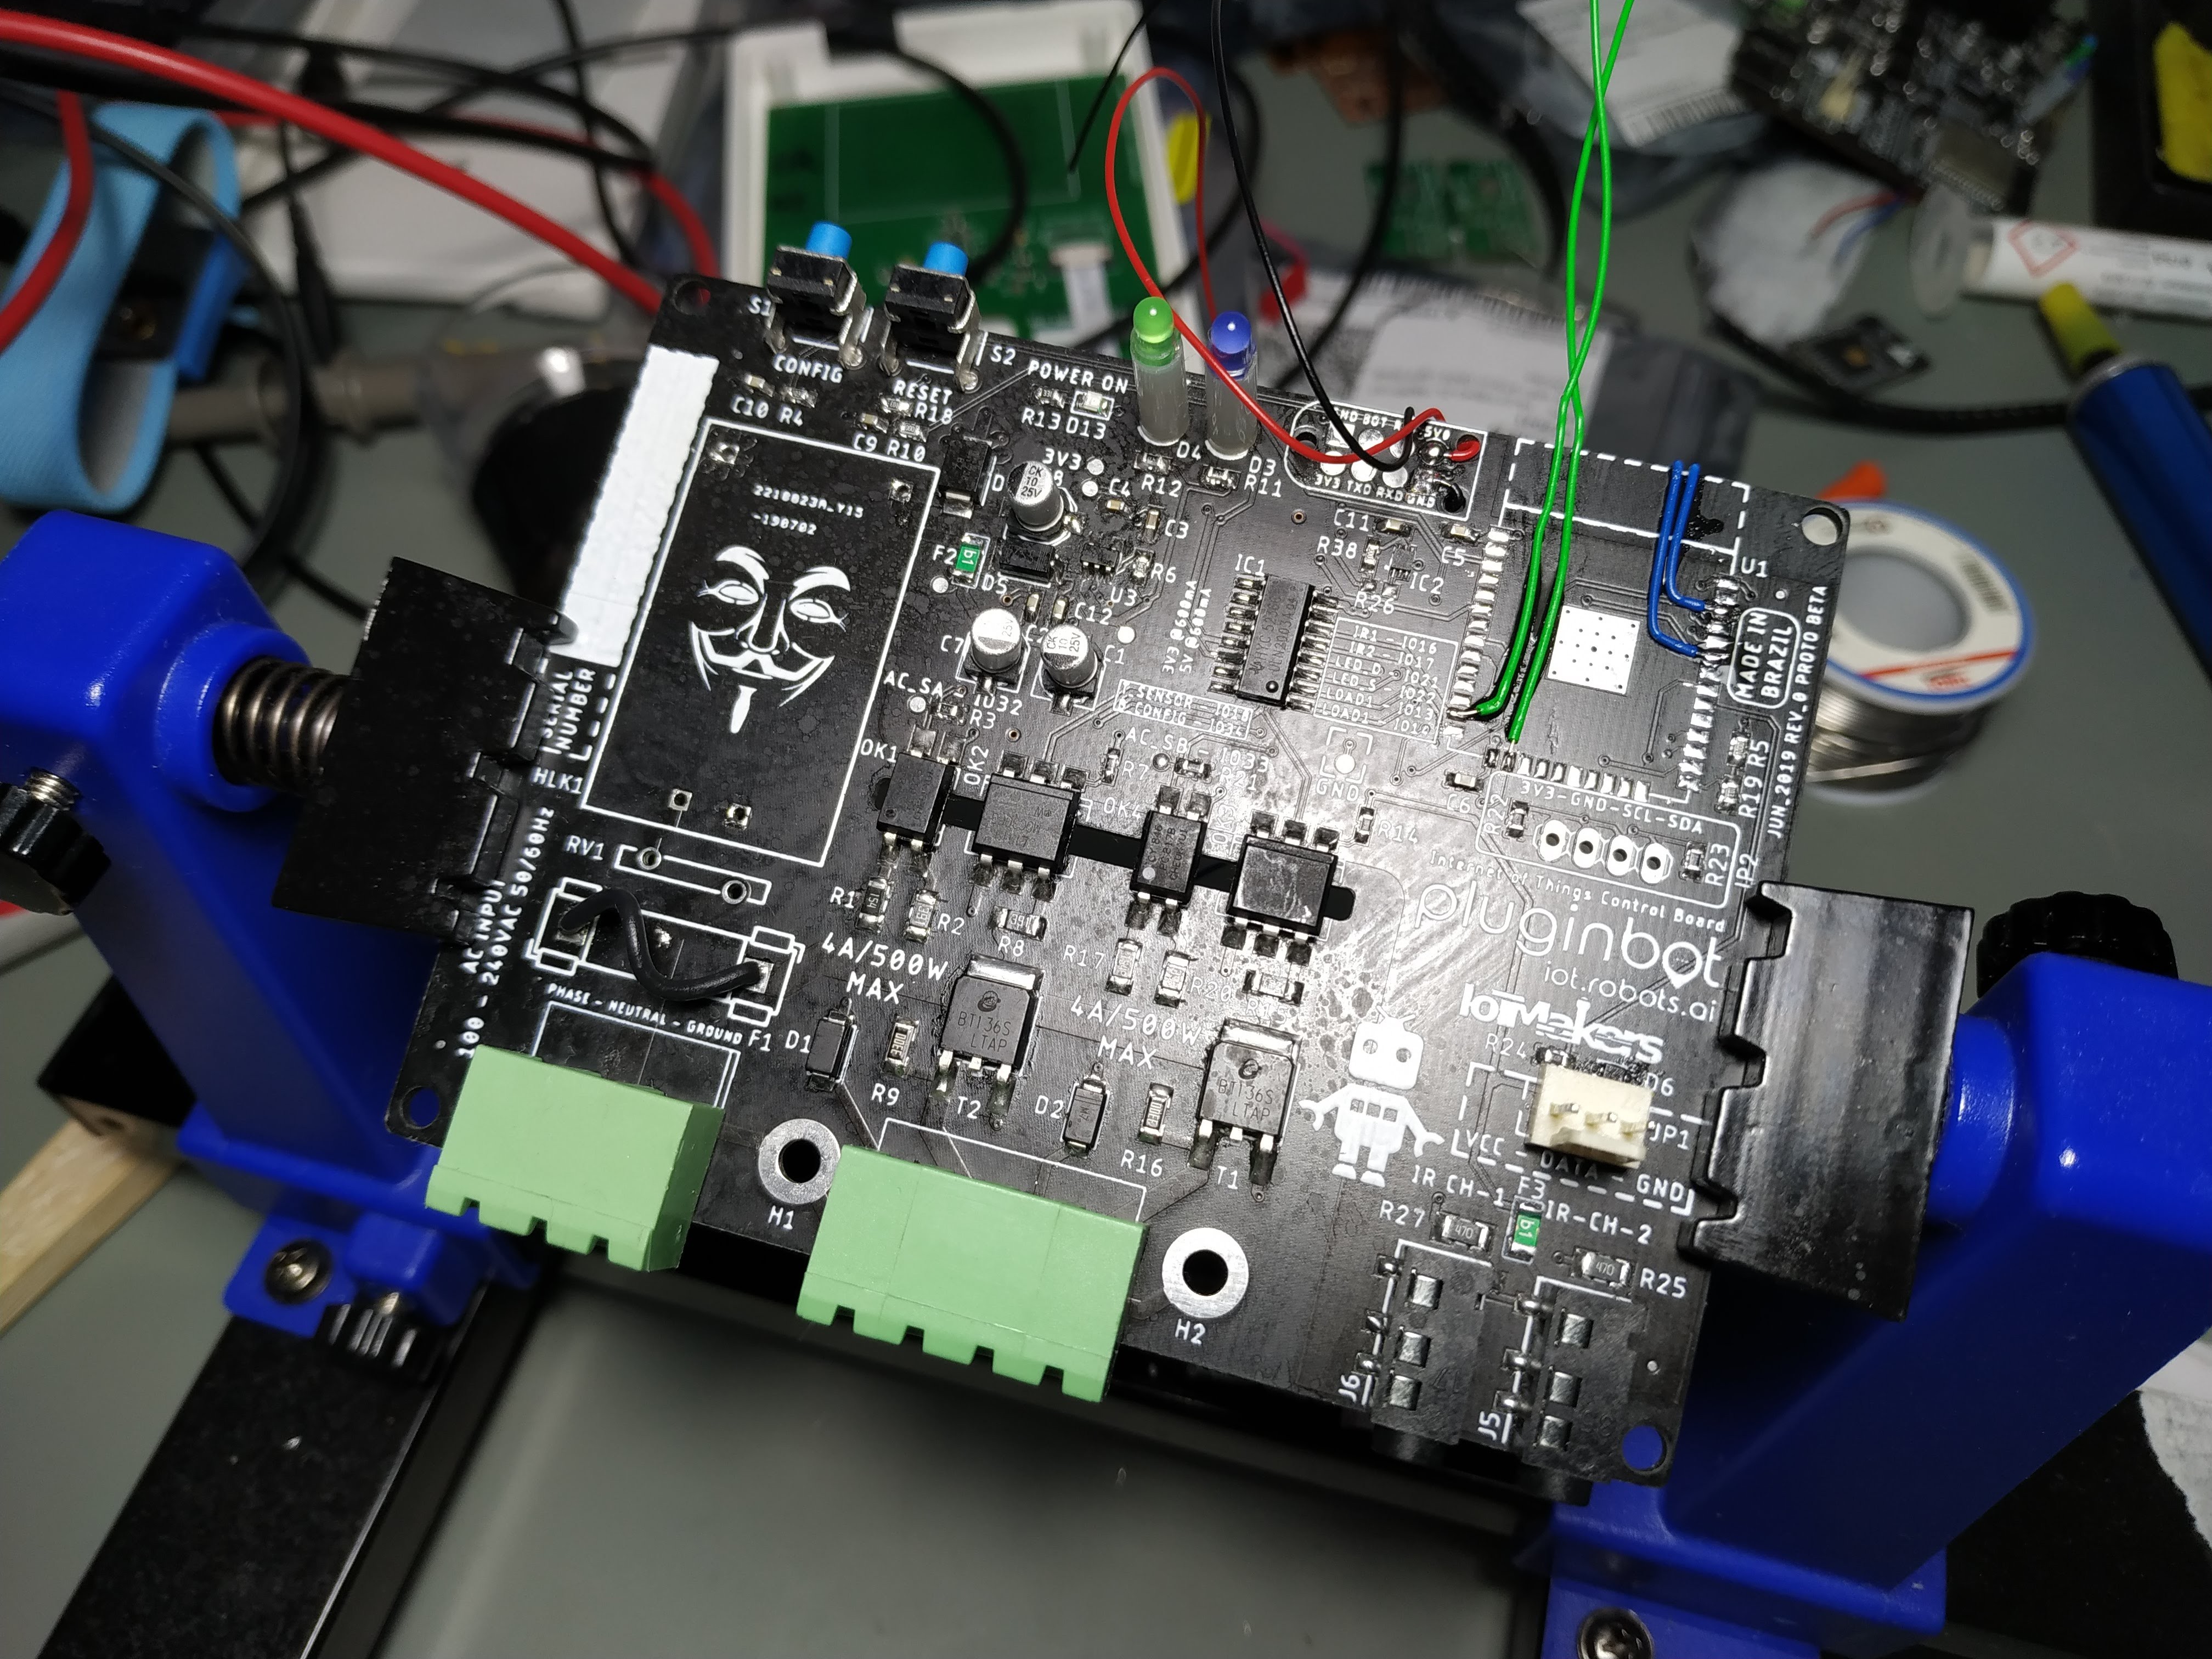
We provide 2 AC channels for small appliances loads (up to 4A each) and 2 channels for IR emitters.
The integrated AC/DC power supply helps when installing on ceiling or outdoors.

There is also 2 input channels using optocouples to detect inputs from AC or DC loads.

We can also add a oneWire sensor, like the Dallas DS18B20 and a OLED display on the board.

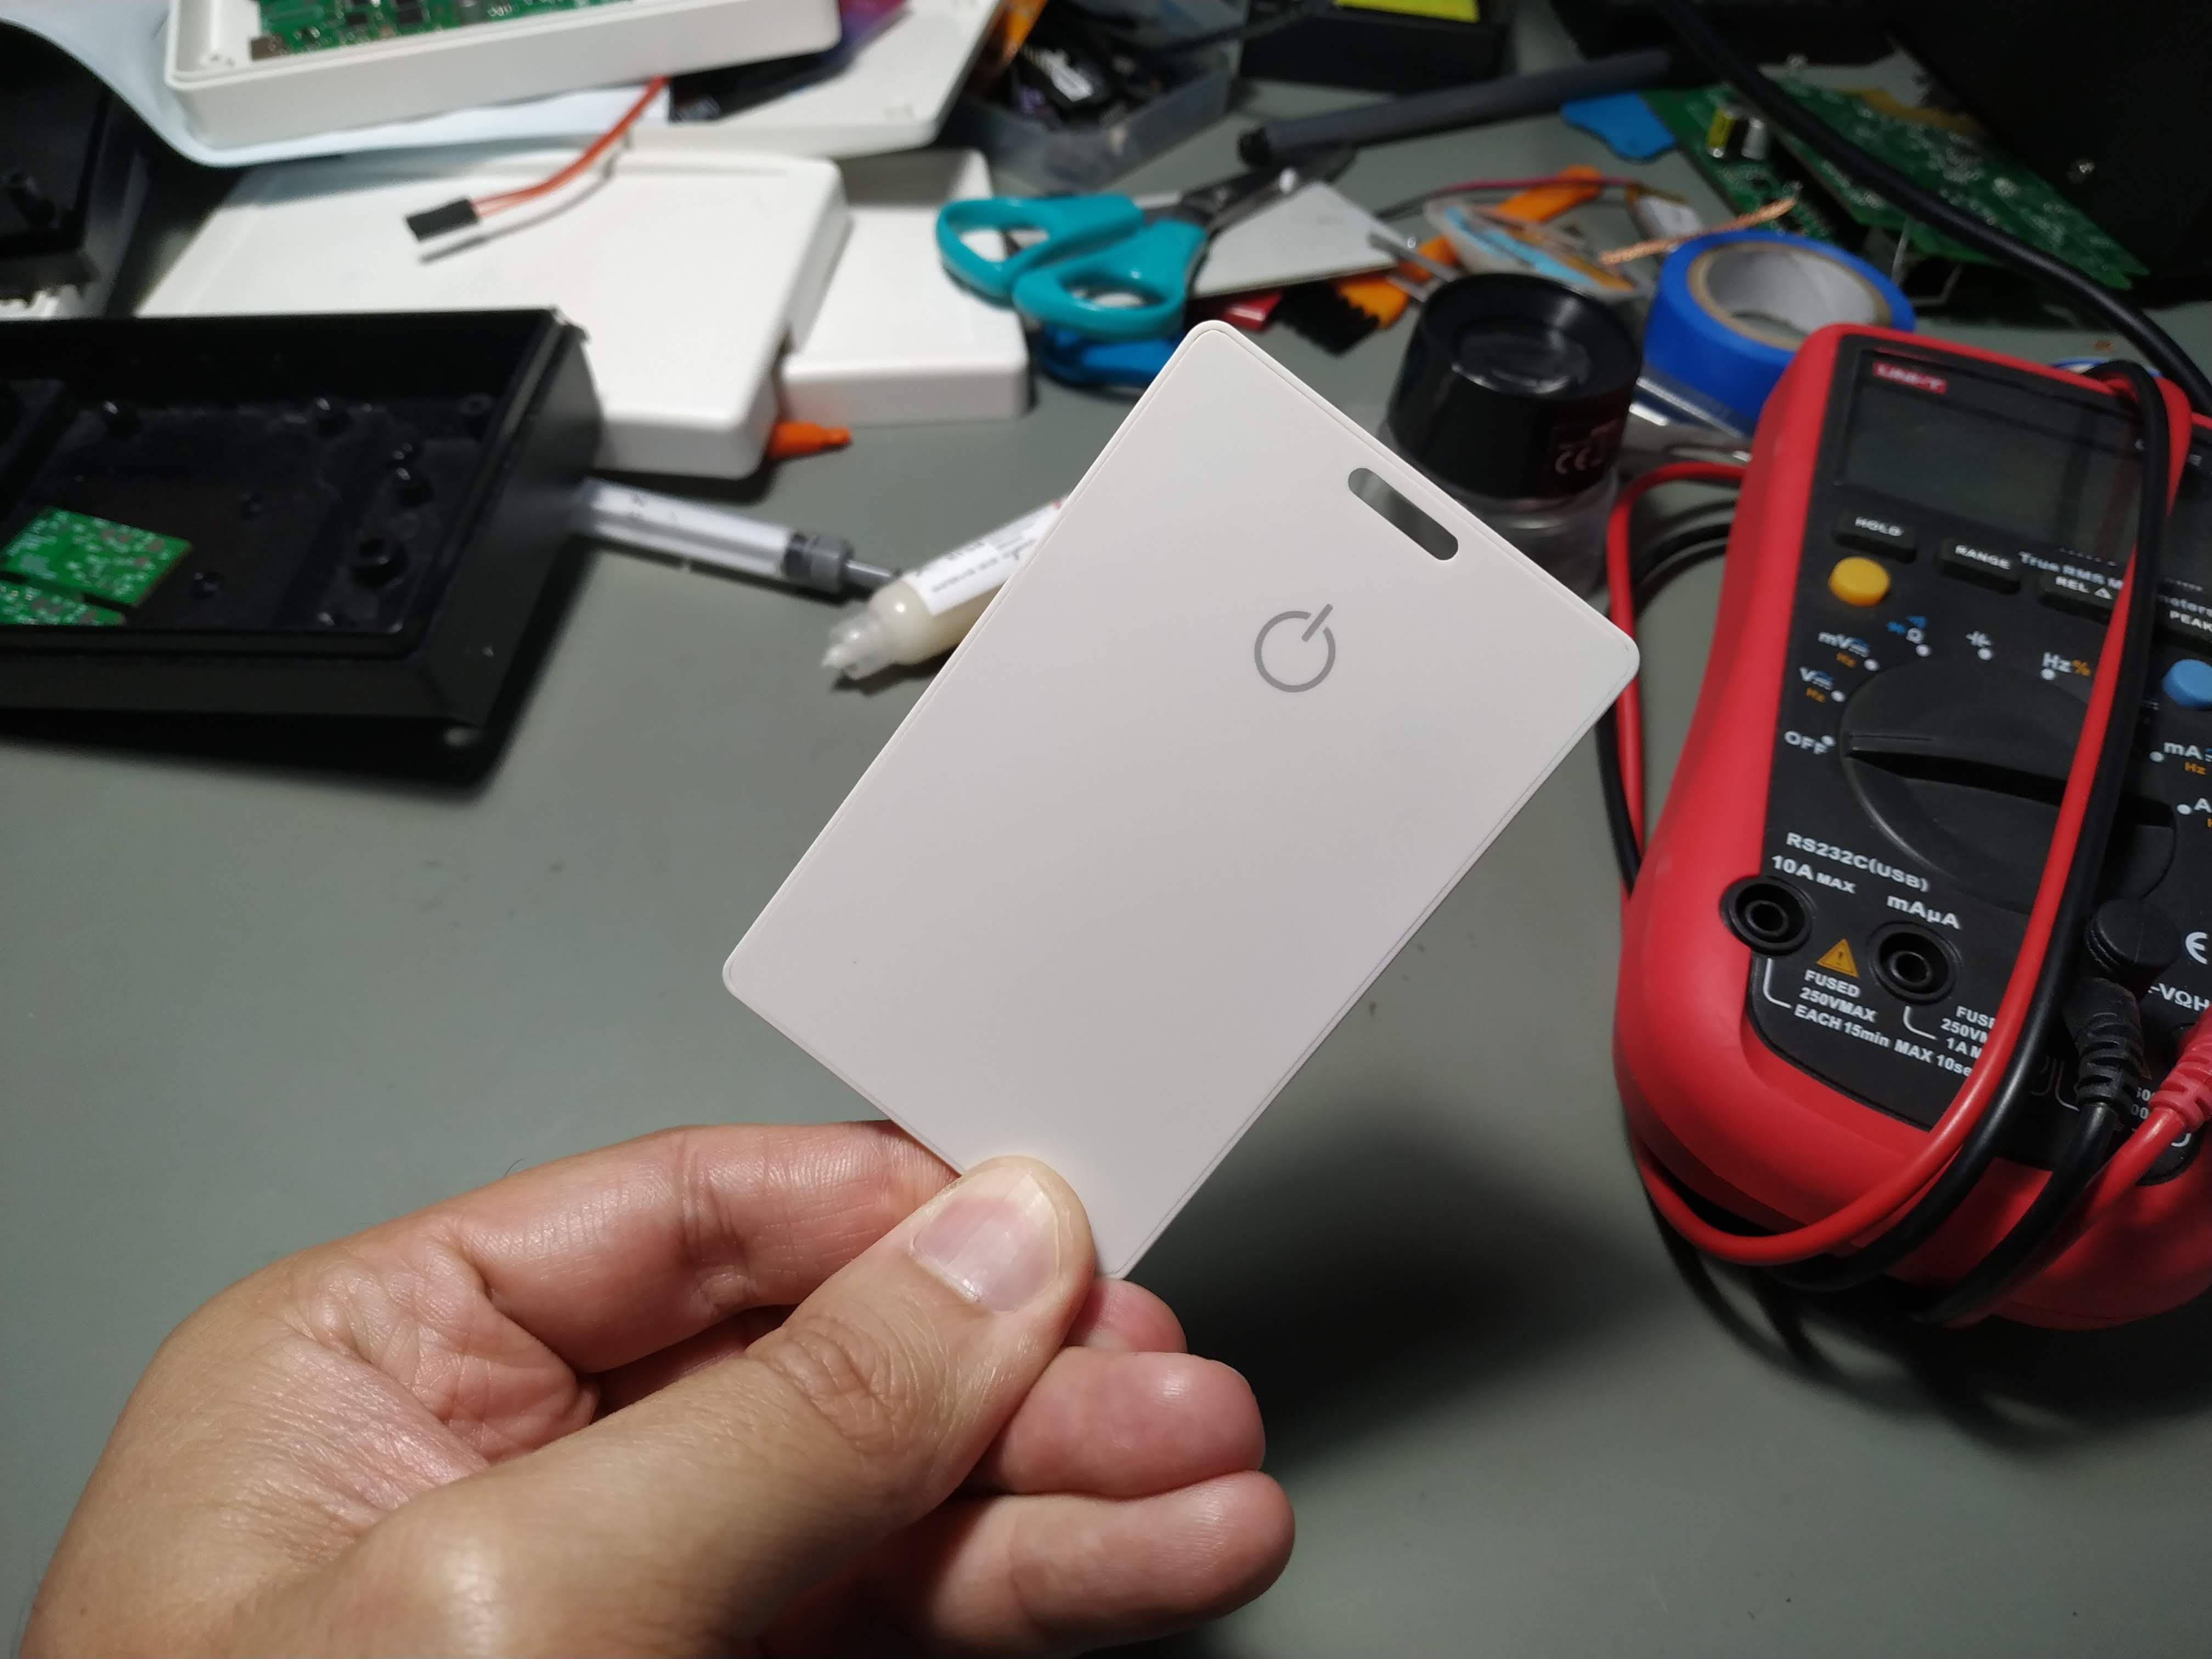
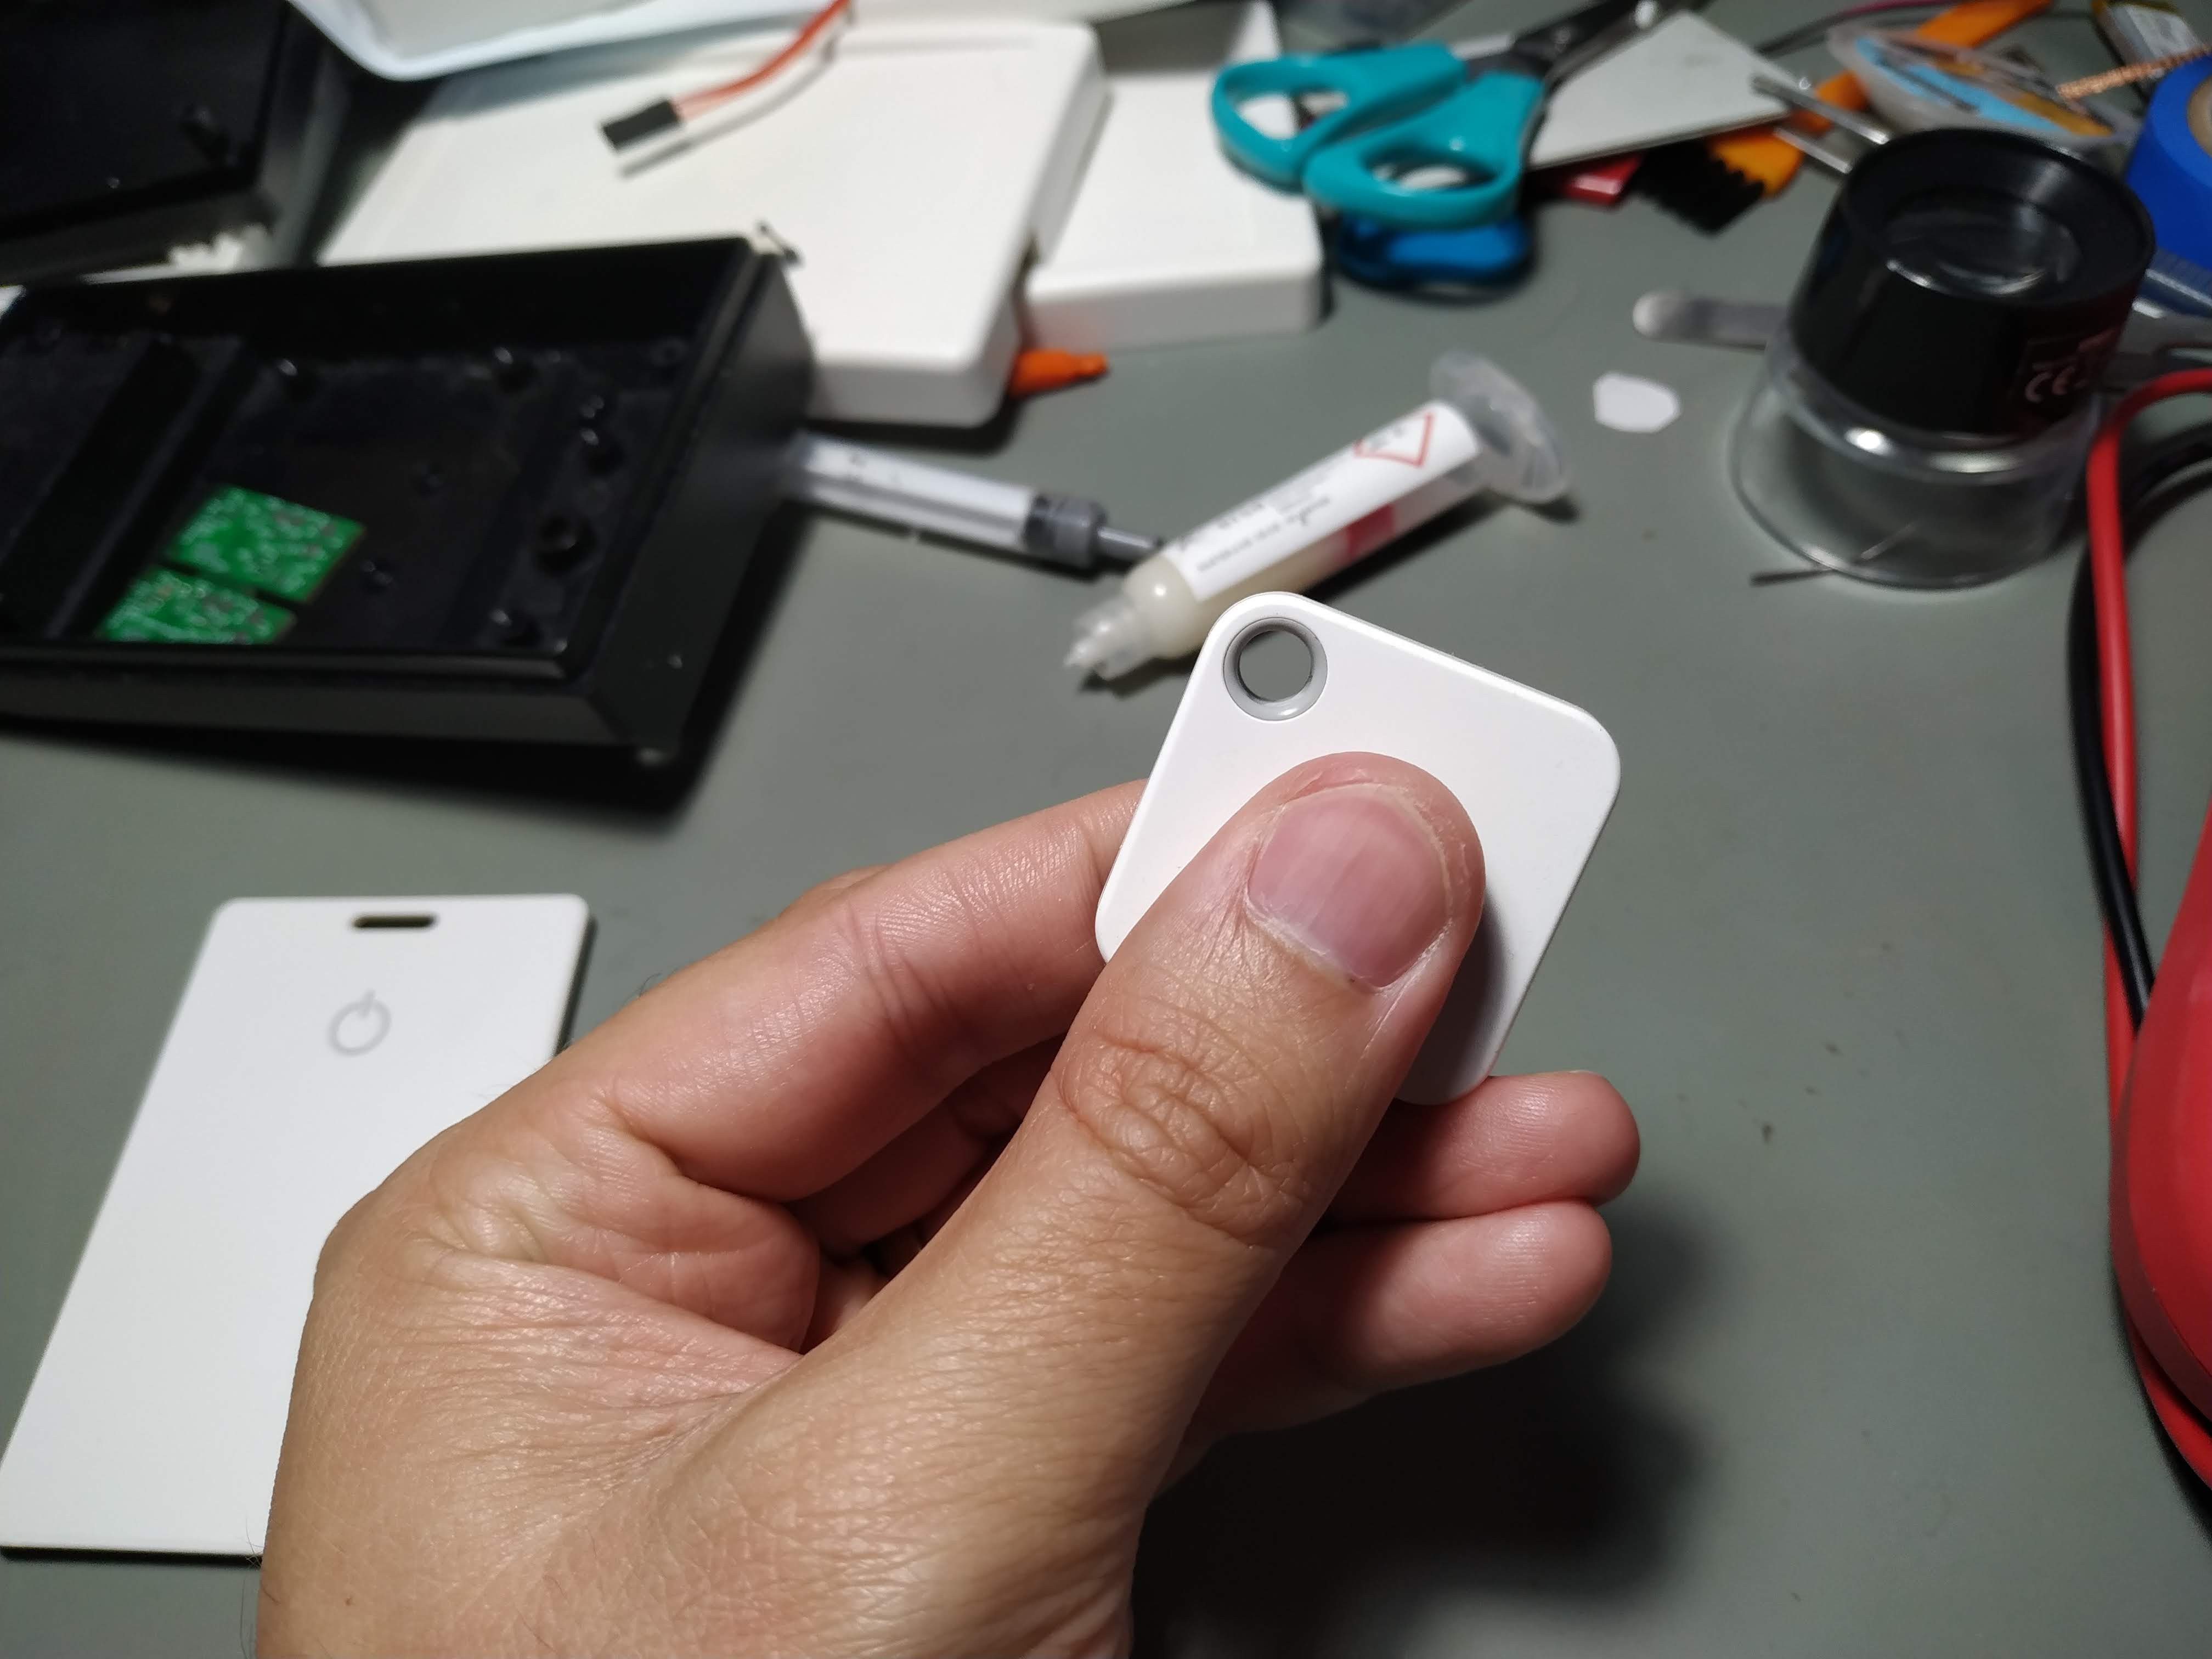
The idea is to provide an interface to control things without touching or making any contact, like lighting automation in your garage using your smartphone beacon emitter app or a hardware beacon. We also plan to use the beacon data and upload to the cloud for checking and checkout control.

The hardware is in development phase and we are trying to improve the local processing capabilities, maybe increasing the microcontroller power by changing it.


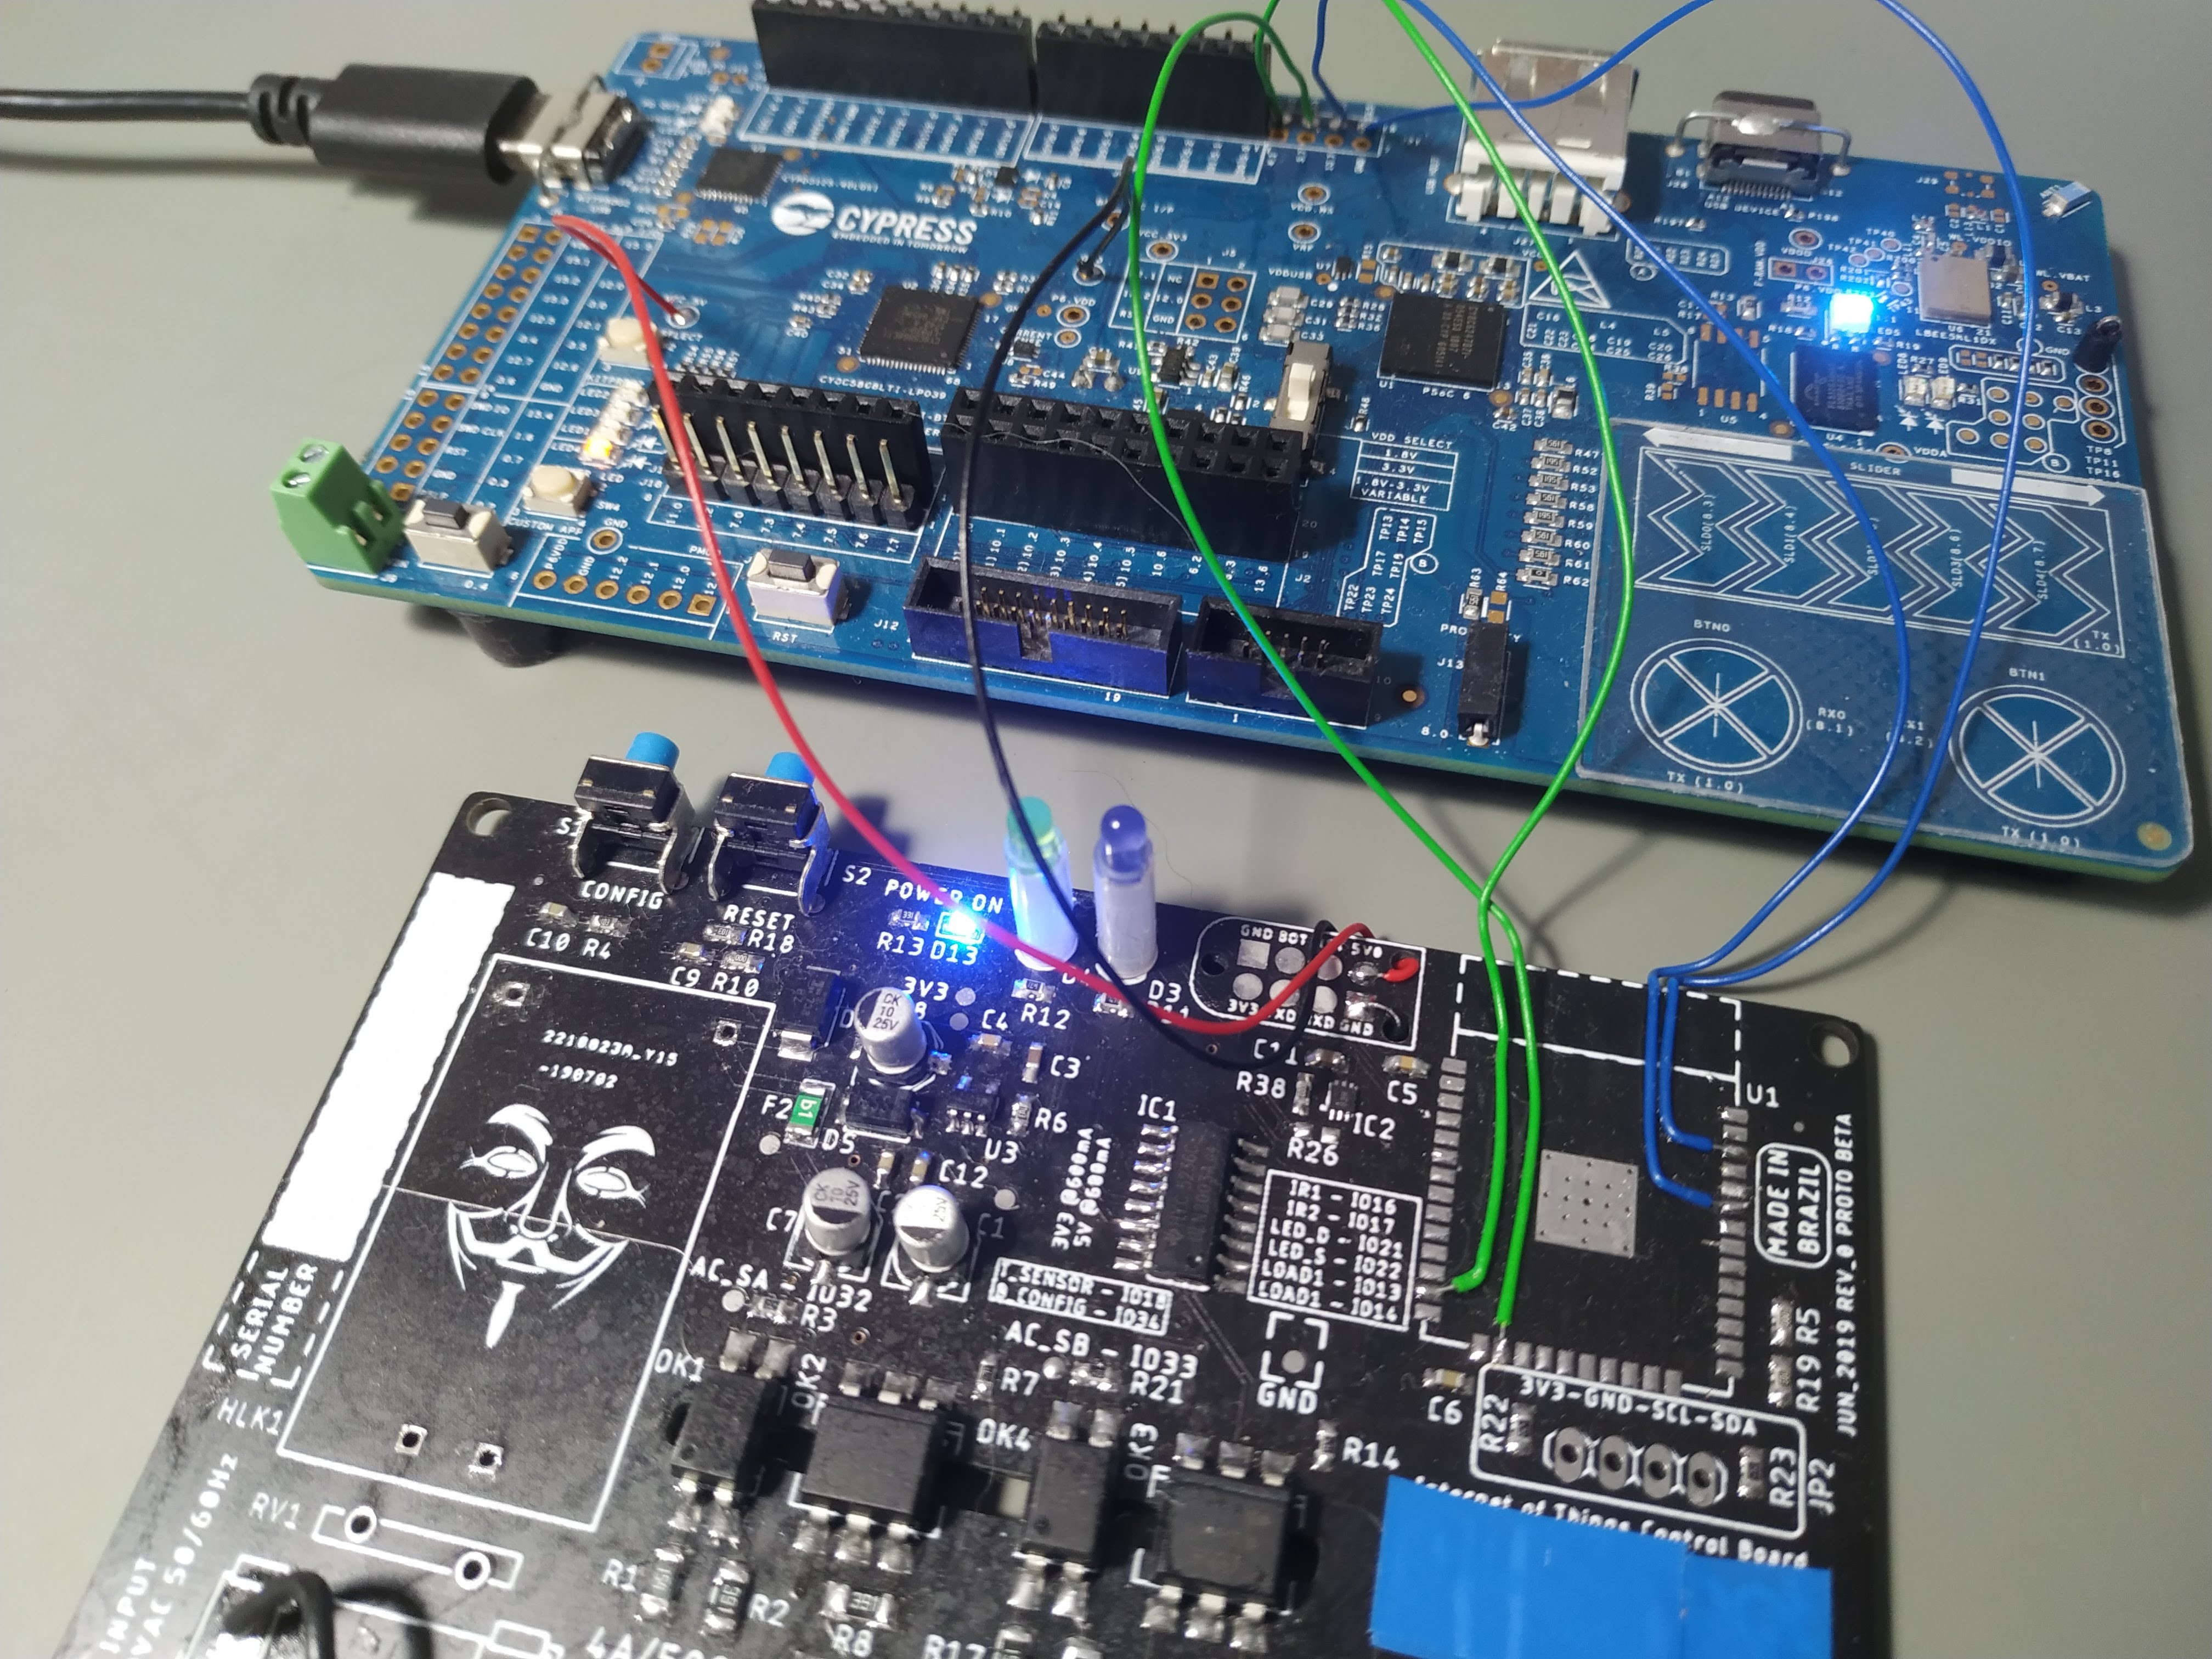
Disclaimer: For the Change the Planet with PSoC® IoT Design, we will redesign the hardware to use the Cypress’ PSoC® 6 Wi-Fi/Bluetooth module on it. We will redesign using KiCAD.


We believe that on our new world in 2020, due the pandemic with COVID-19, we are going to change the way that we interact with things, and using this tech, we can avoid contact with others. This project can be used to detect presence and control lights, without touching the light switch.

This will be very helpful in home, commercial and others building with a lot of human interaction. He hope that this can avoid proximity and human interaction.


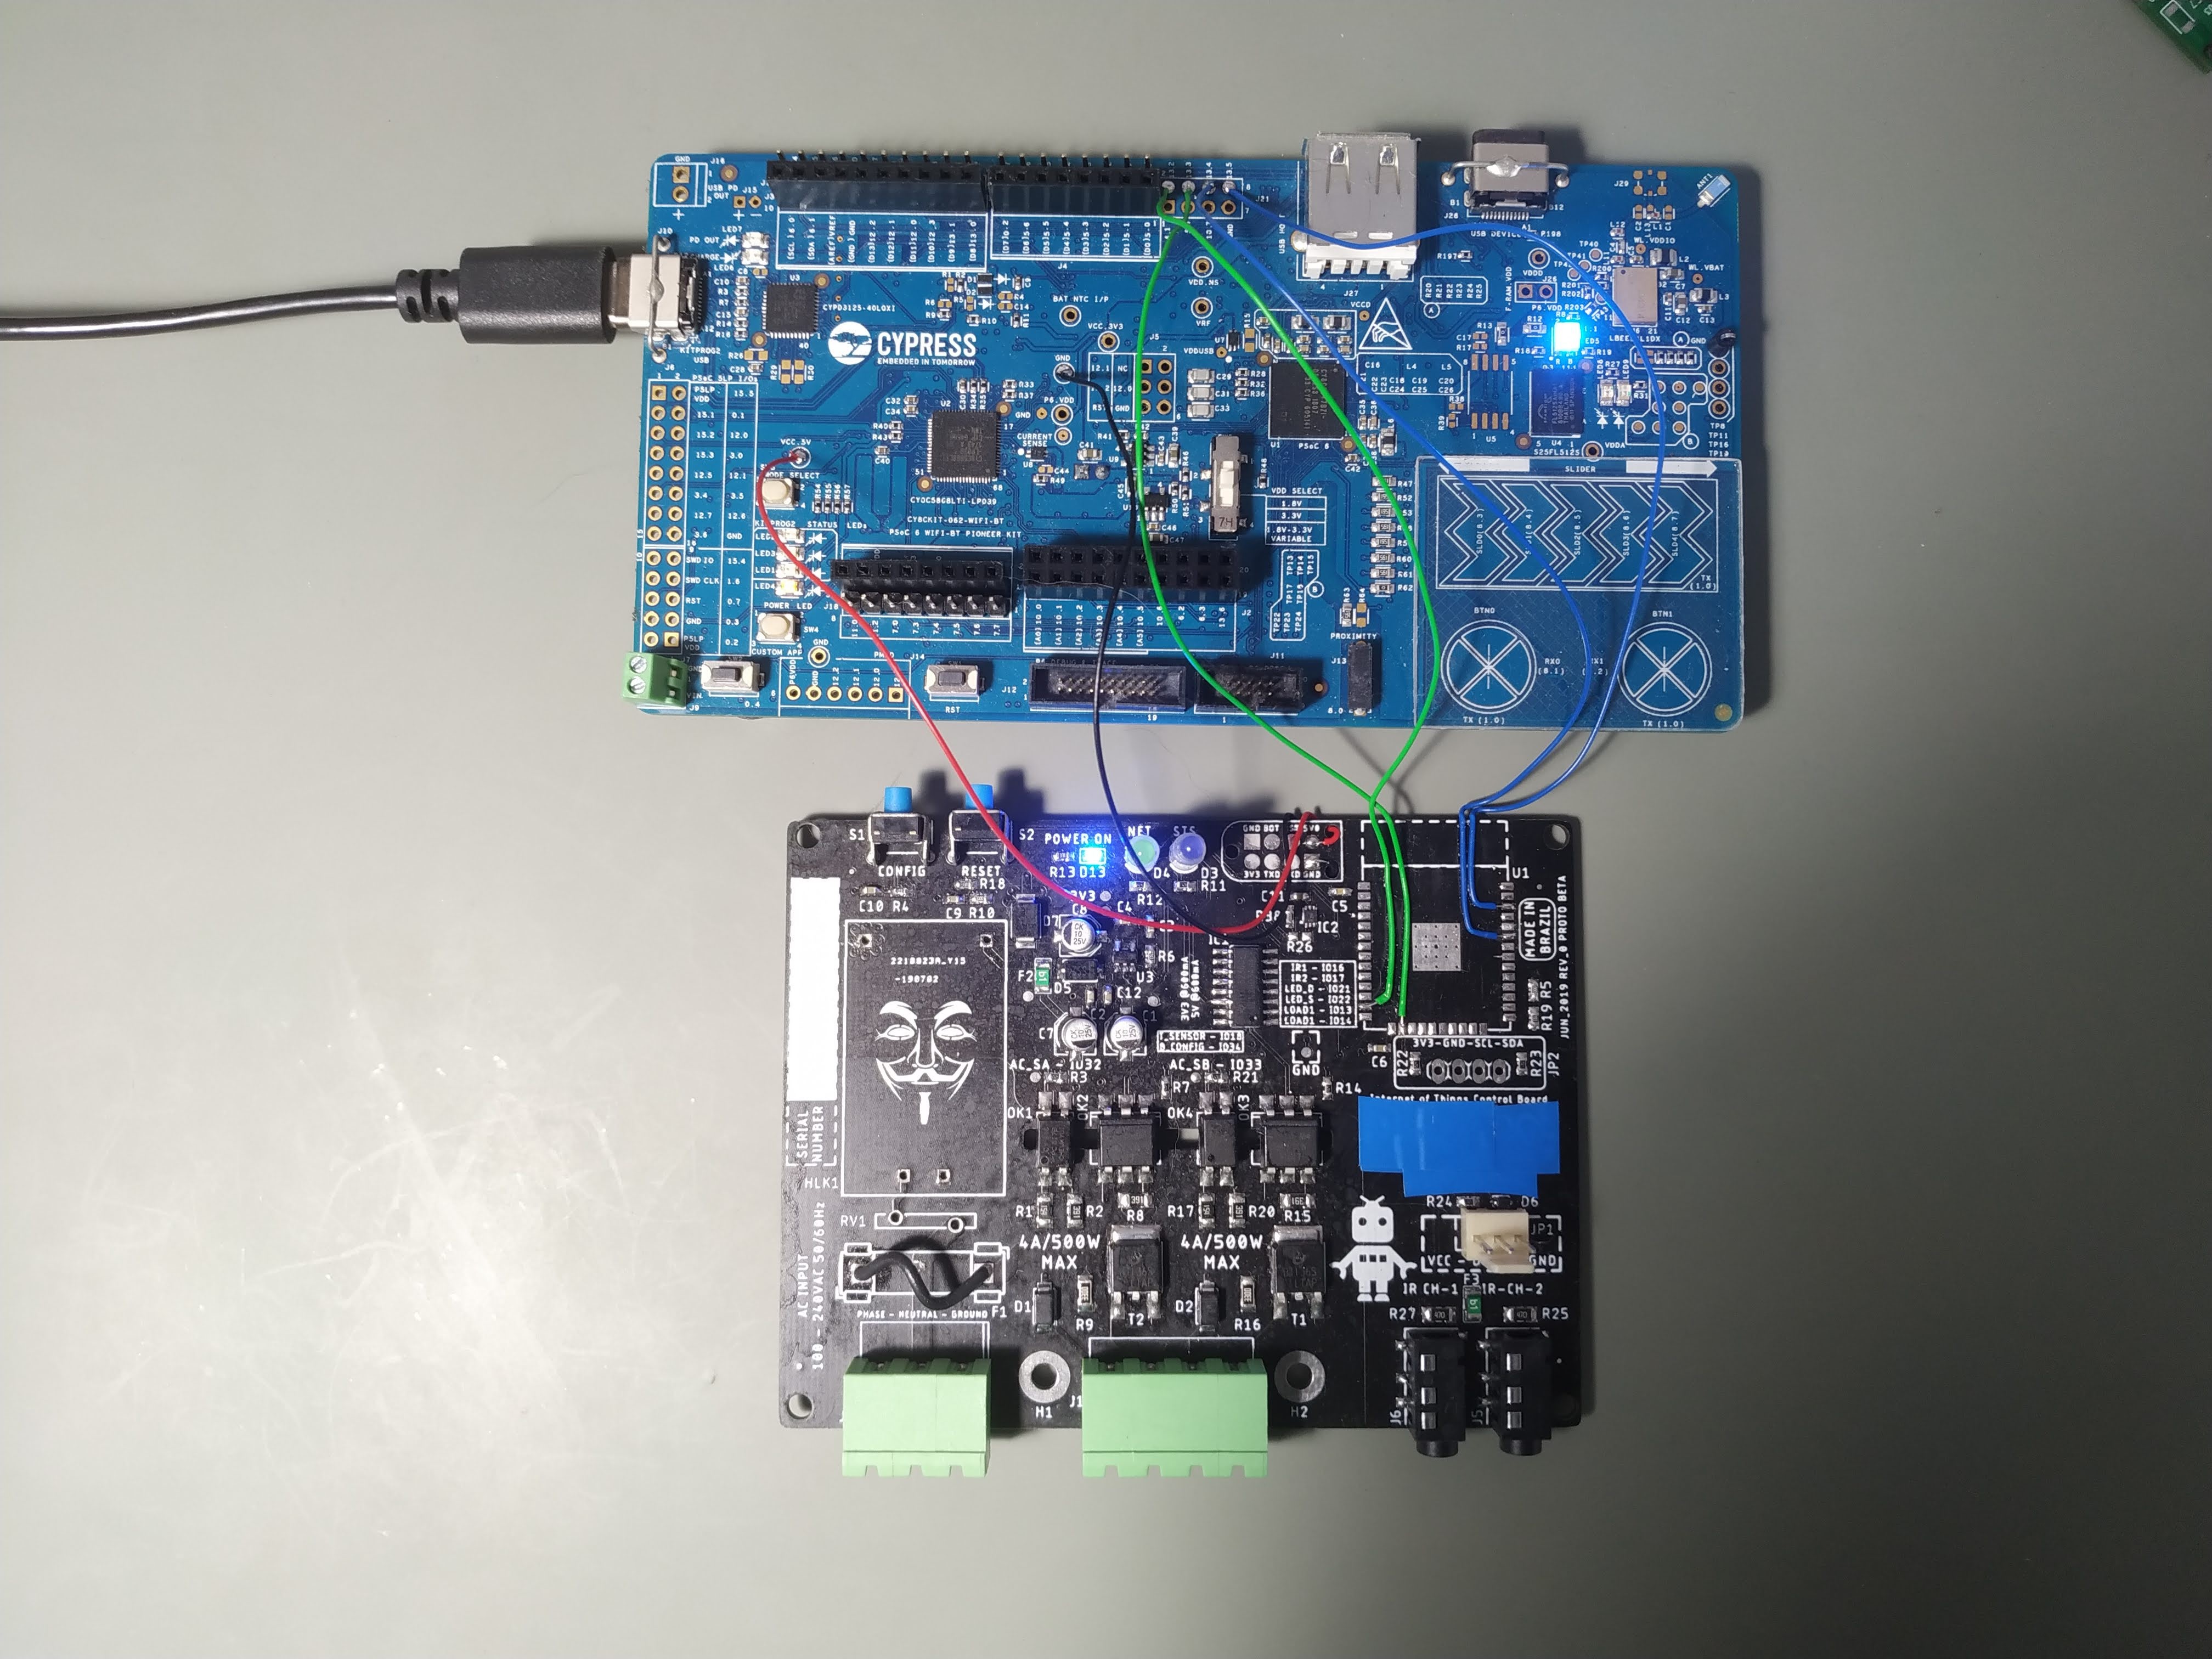
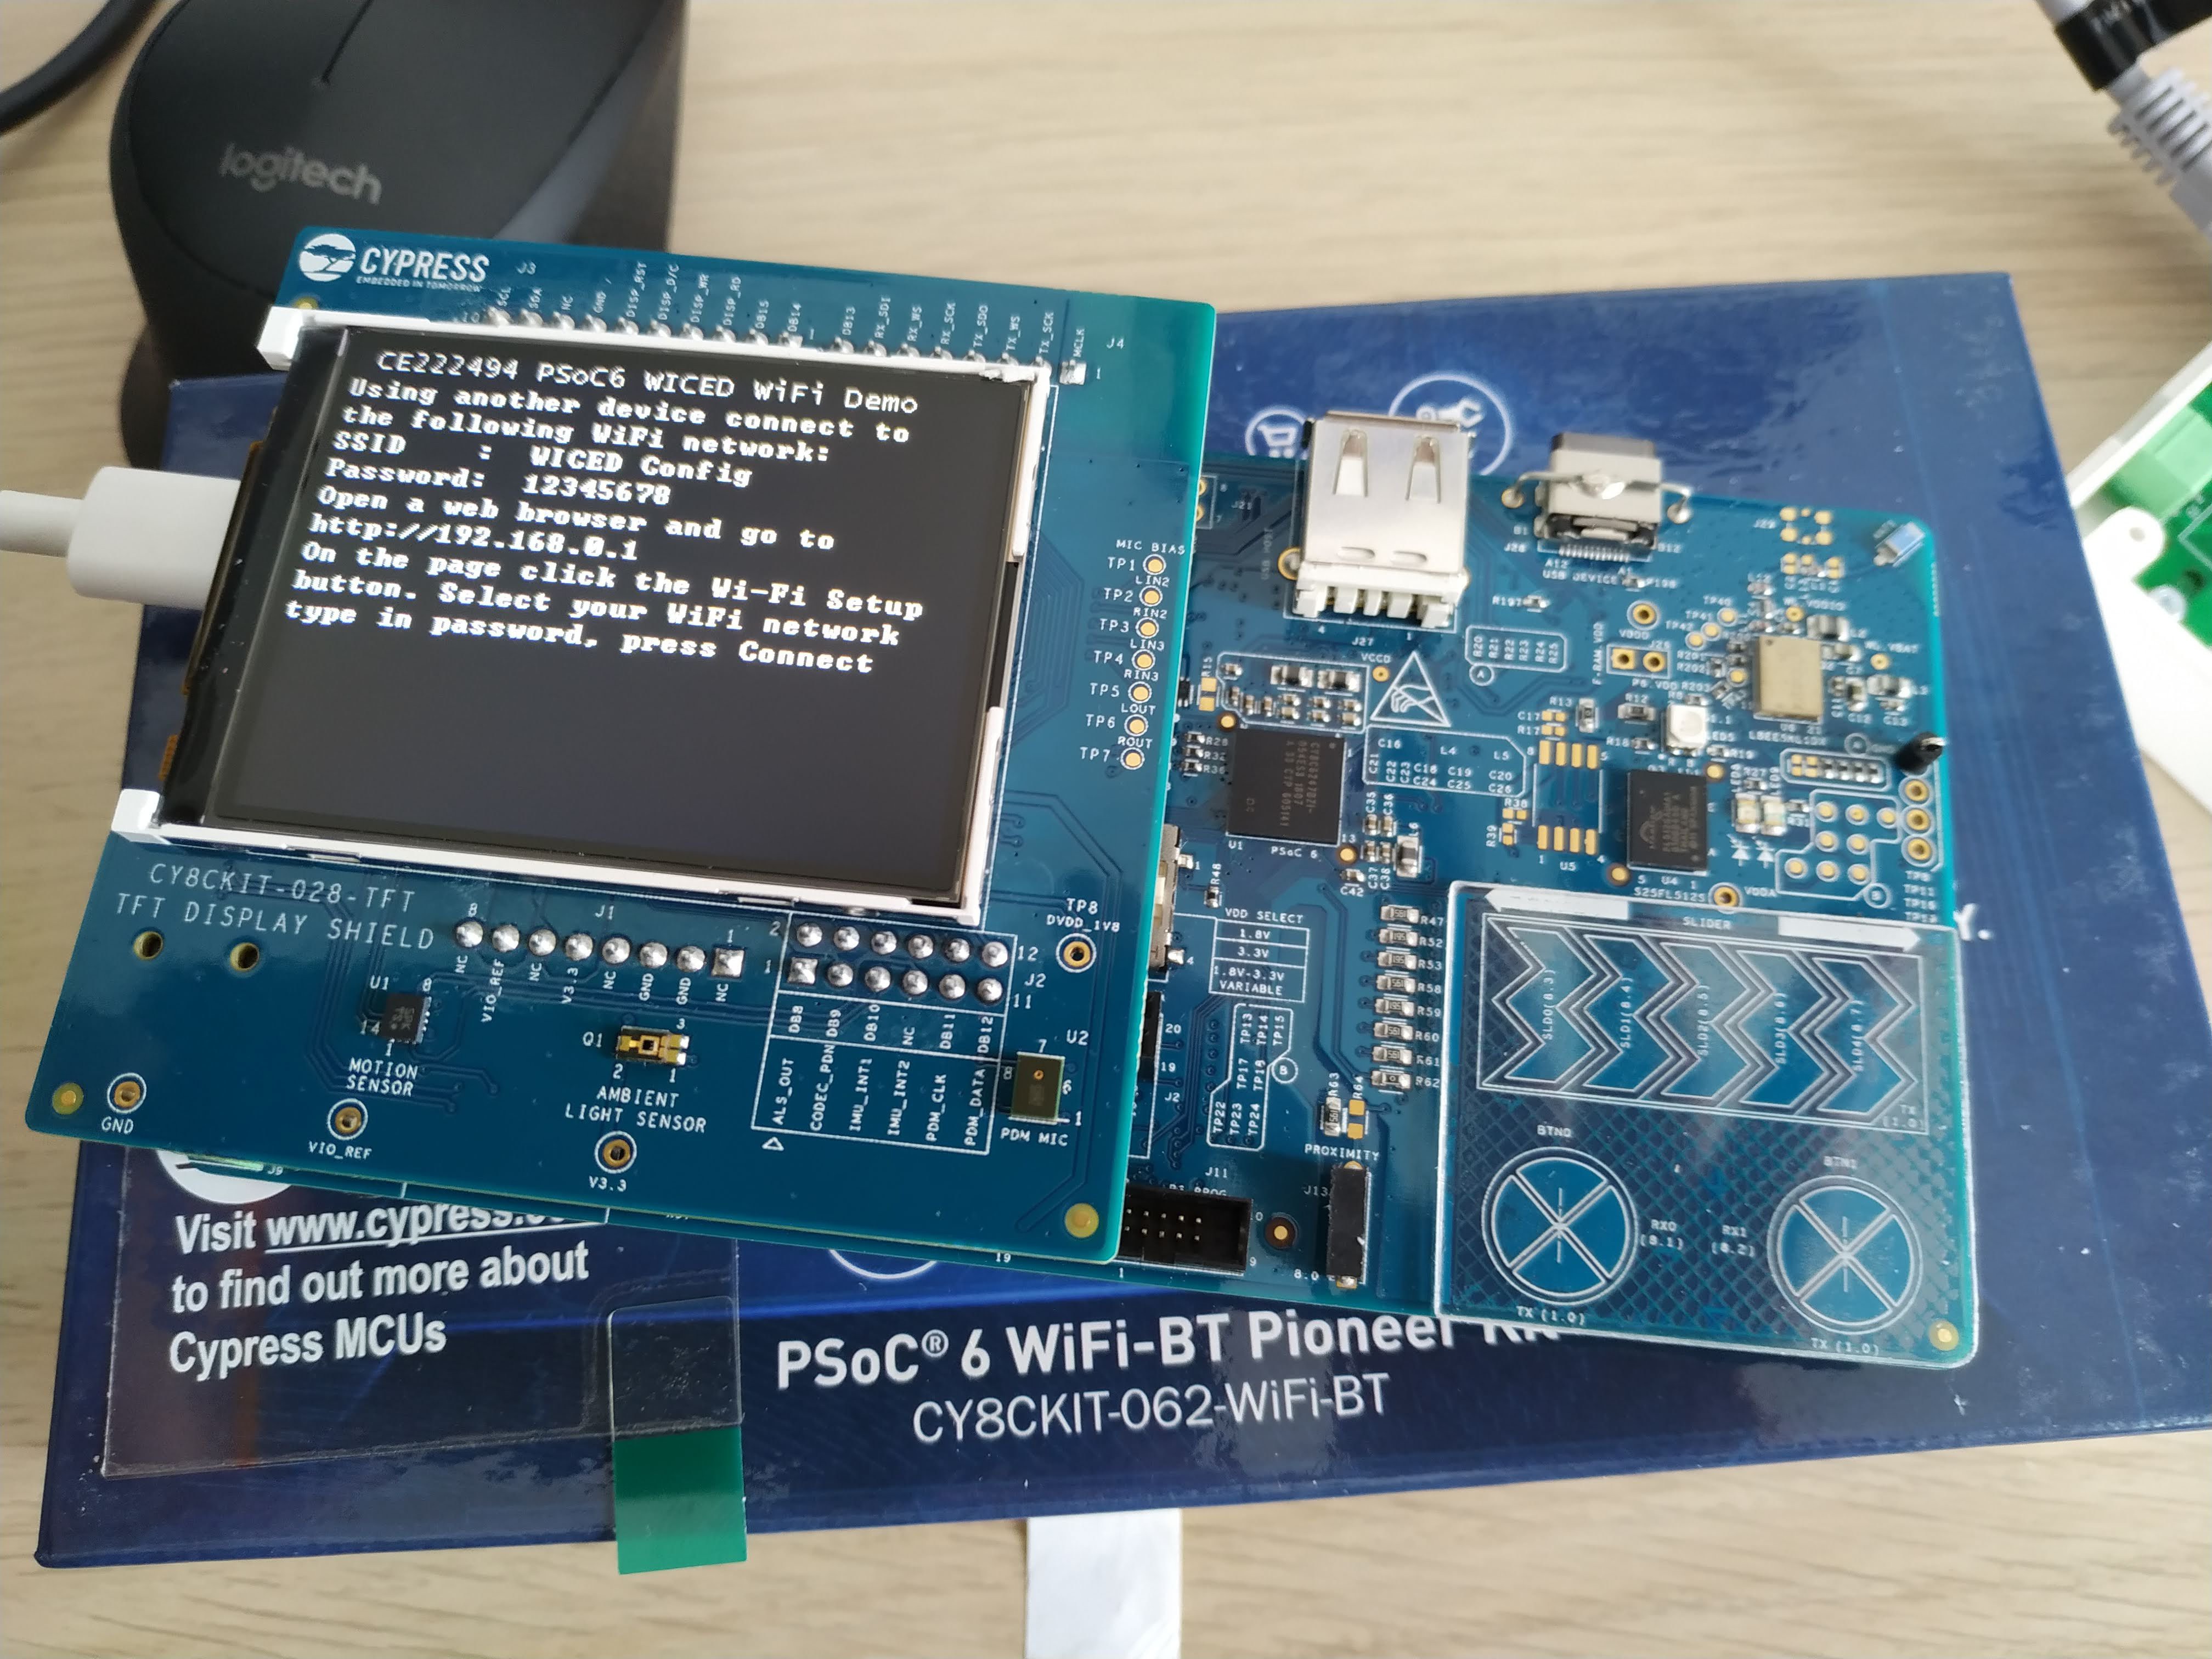
For the contest, we plan to use the CY8CKIT-062-WIFI-BT or both boards. You decide!


The very first version based on ESP32 (by Eagle CAD) "Soon will be KiCAD!!!!"
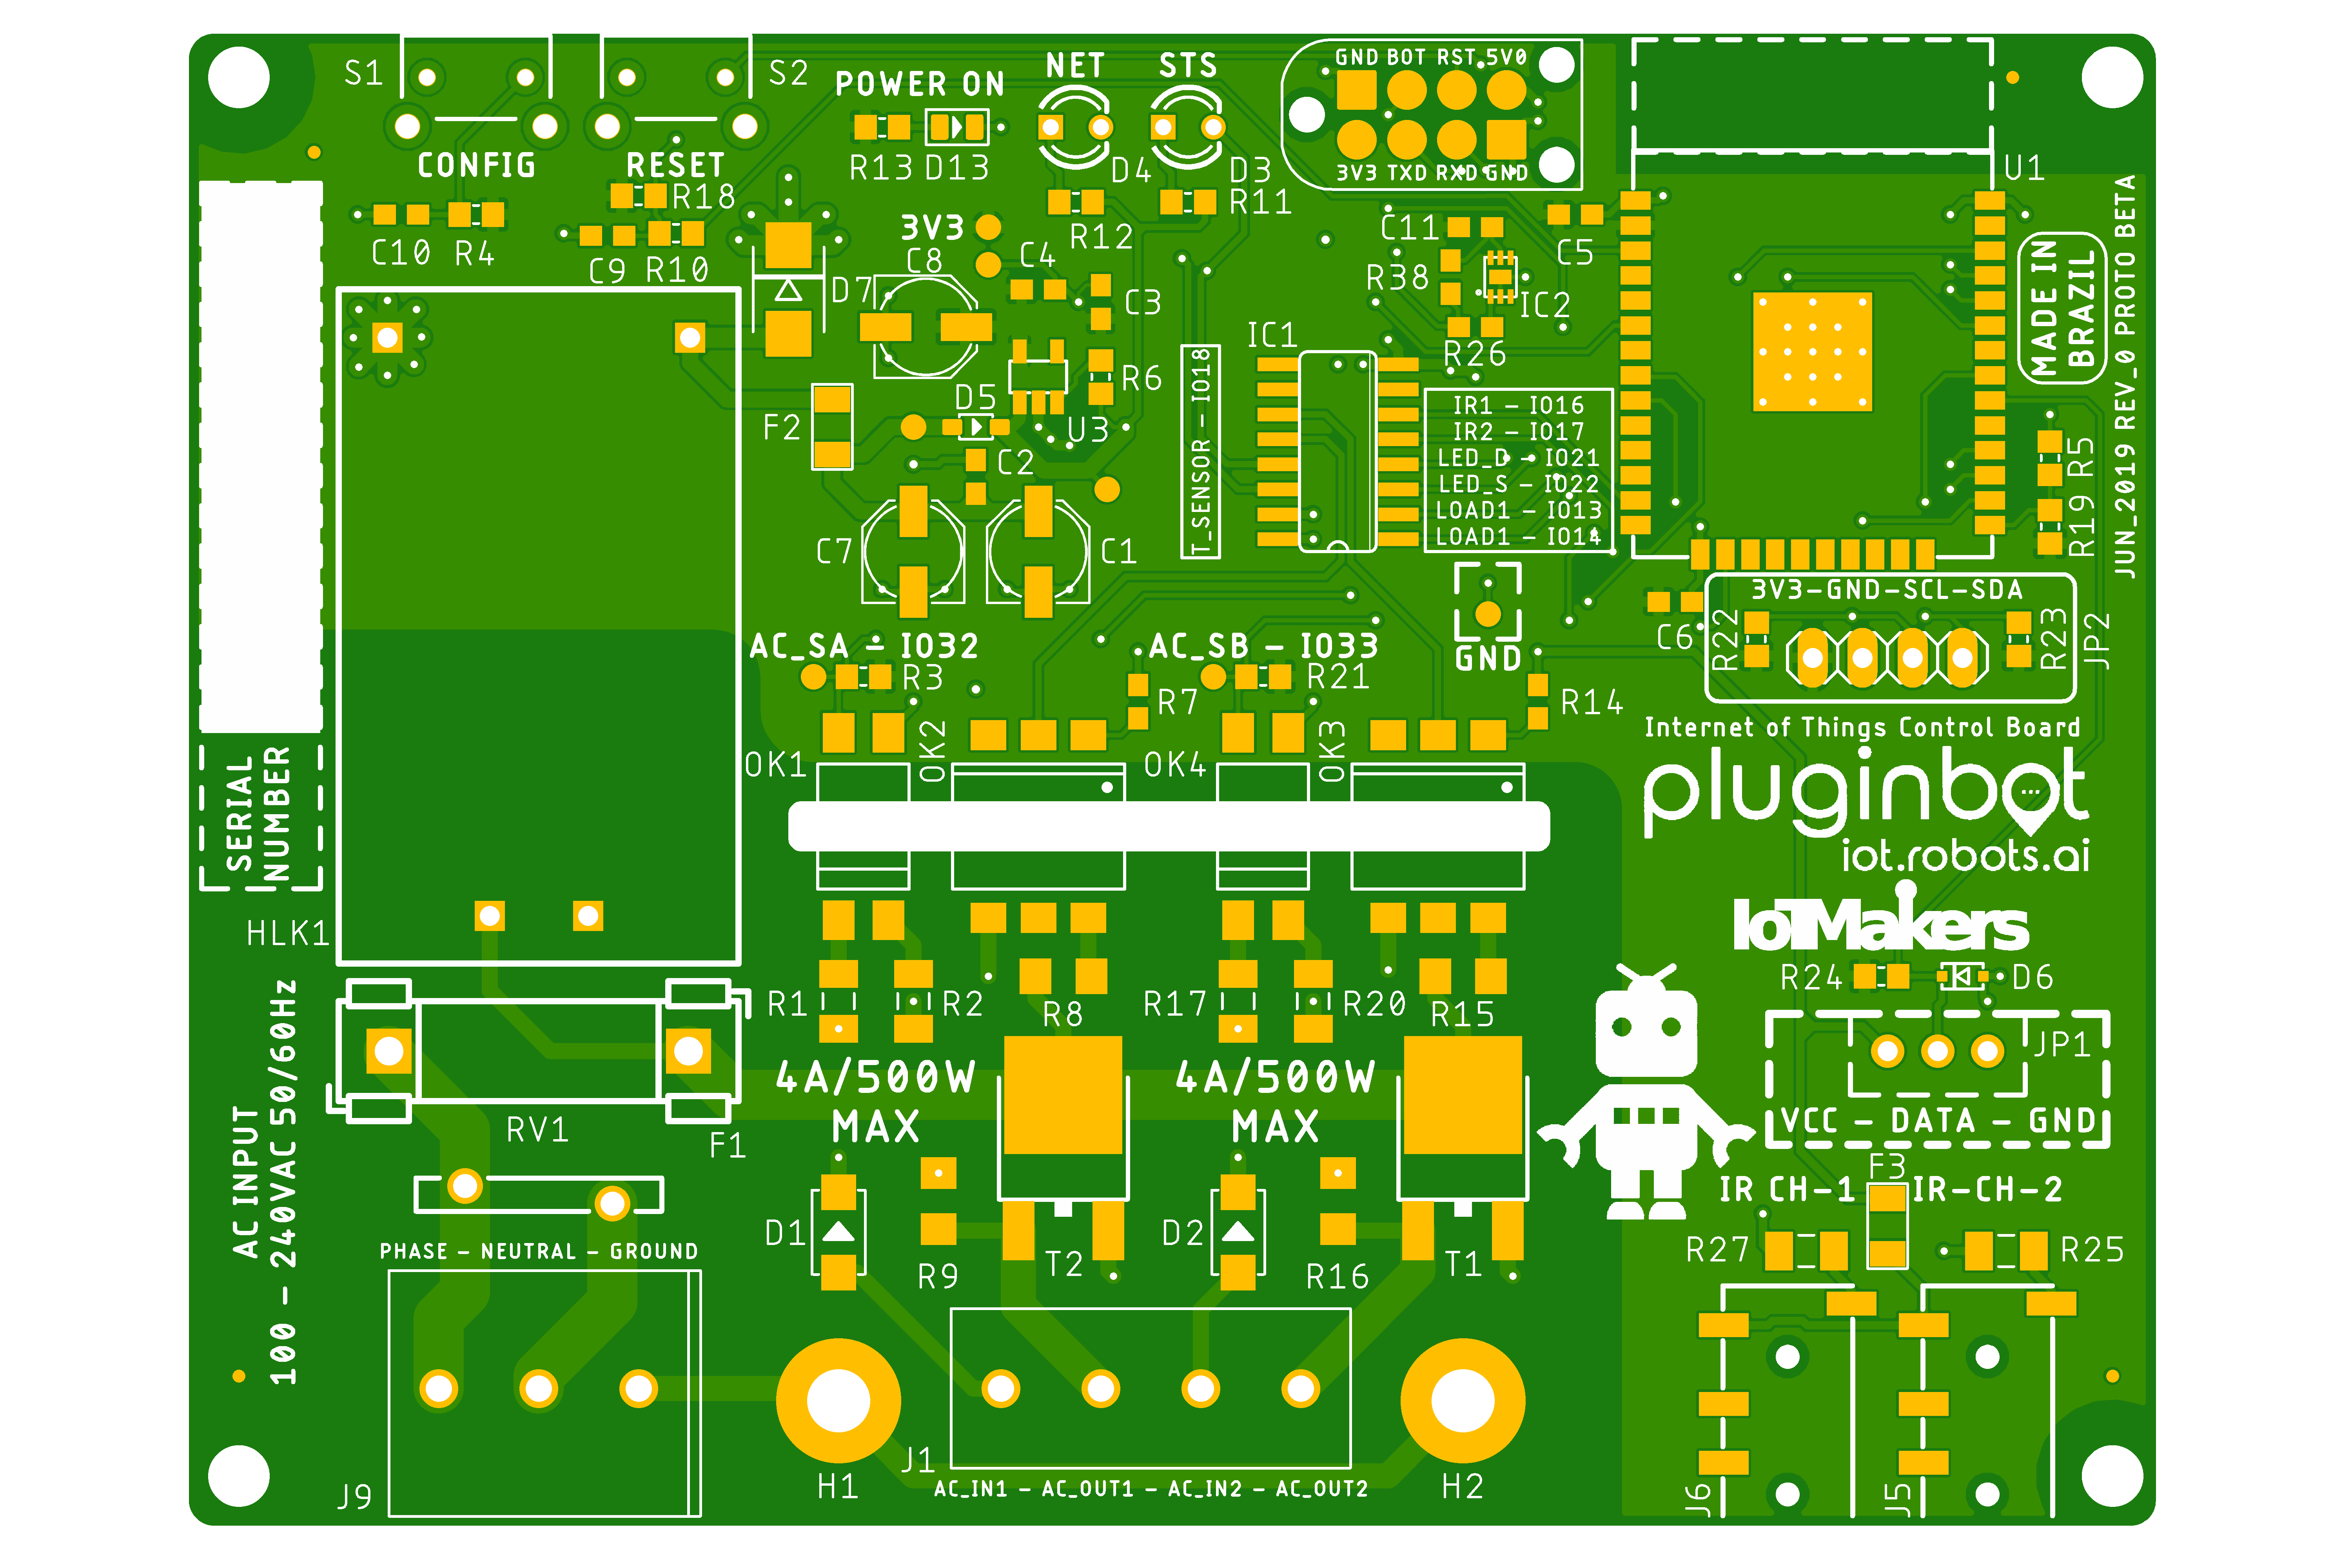


This project is based on the ESP32 SoC (8MB flash) with WiFi and Bluetooth radios.

Peripherals used on this prototype:

  • 2 outputs for AC loads using 4A TRIACs
  • 2 inputs for AC/DC detection using optocouples
  • 2 IR outputs for infrared emitters (P2 jack)
  • 1 oneWire for temperature sensor
  • 1 I2C pinout for OLED displays
  • 2 LEDs for user debug
  • 2 buttons for reset and user configuration

The firmware is still under development and its based on the ESP-IDF.

The main features will be:

  • Load control based on beacons detection
  • Beacon detection notification
  • Sensor acquisition and publish on the cloud
  • Beacon filtering based on MAC address (to avoid fake devices)
  • Some security features with crypto (must be feature)
  • Alarms like "geofence"
  • Remote control and timer features

The firmware project will be host on my personal GitHub account: https://github.com/pedrominatel

psoc6_beacon_gateway-GERBER.zip

GERBER files

Zip Archive - 114.45 kB - 08/23/2020 at 10:33

Download

BOM_psoc6_beacon_gateway.xlsx

BOM

sheet - 5.71 kB - 08/23/2020 at 10:32

Download

psoc6_beacon_gateway.pdf

Electrical scheme for the AC load shield

Adobe Portable Document Format - 38.79 kB - 08/20/2020 at 15:29

Preview

psoc6_beacon_gateway.png

Portable Network Graphics (PNG) - 742.44 kB - 08/20/2020 at 15:26

Preview

psoc6_beacon_gateway2.png

Portable Network Graphics (PNG) - 491.02 kB - 08/20/2020 at 15:26

Preview

View all 7 files

  • 1 × PSoC6 CY8CKIT-062-WiFi-BT
  • 2 × TRIAC 4A 400V
  • 2 × MOC3063 Opto and Fiber Optic Semiconductors and ICs / Optocouplers and Optoisolators
  • 4 × 0805 RED LED

View all 9 project logs

  • 1
    Project Architecture - High Level

    This project consists of a device capable to detect the presence of a human or a specific object using Bluetooth Beacon. This project can be used in a environment that is not intended to have any physical contact to a light switch or any other object that requires physical interaction, for example, a room in a hospital or a highly contaminated area.

    The main objective of this project is to create a safe environment that the user doesn't need to touch the switch surface to turn on the light. The idea to use this technique is to give some access control and tracking feature, instead using a simple movement sensor.

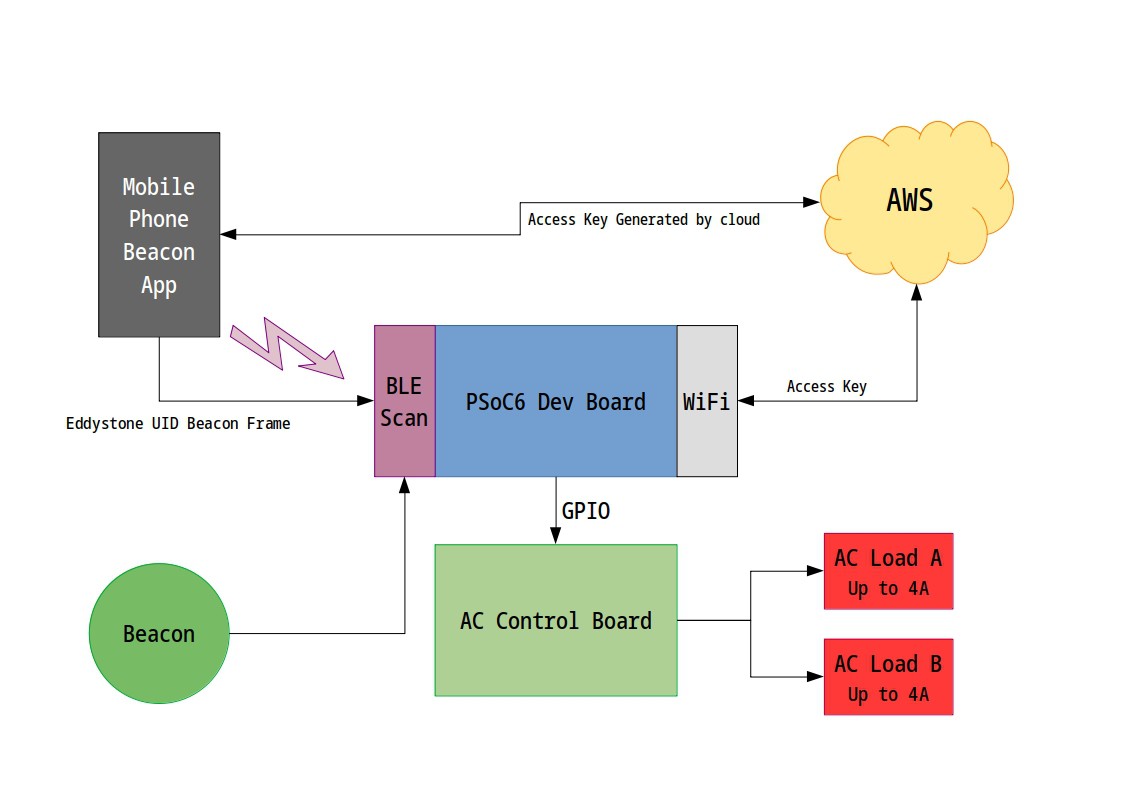
    The basic architecture is a device capable to scan for Eddystone UID beacons around 10 meters (or less) and verify if that beacon is an authorized device to interact with the object. The authorization consists on a shared key between the beacon and the control boards.

    In case of dedicated beacons, the shared key is fixed and cannot be changed (I will figure out a secure way to do that).

    The picture below shows the desired architecture:

    Once a beacon is detected, the state of the light will change to ON if its OFF, and start a timer since the beacon is no longer detected. Once the timer reaches the specified amount of time, the light will shutoff.

    Also a detection event will be sent do the cloud for tracking and indoor positioning location. This could help to detect if a person was close to a place that is contaminated and then let the administrator know about the risks and keep the contact tracing under control.

  • 2
    Understanding the BLE scan


    Most of the BLE devices are broadcasting information packages through the air. These packages contains information about the device itself and some devices can broadcast advertisement packages; some to show you a store sale or even to share their location.

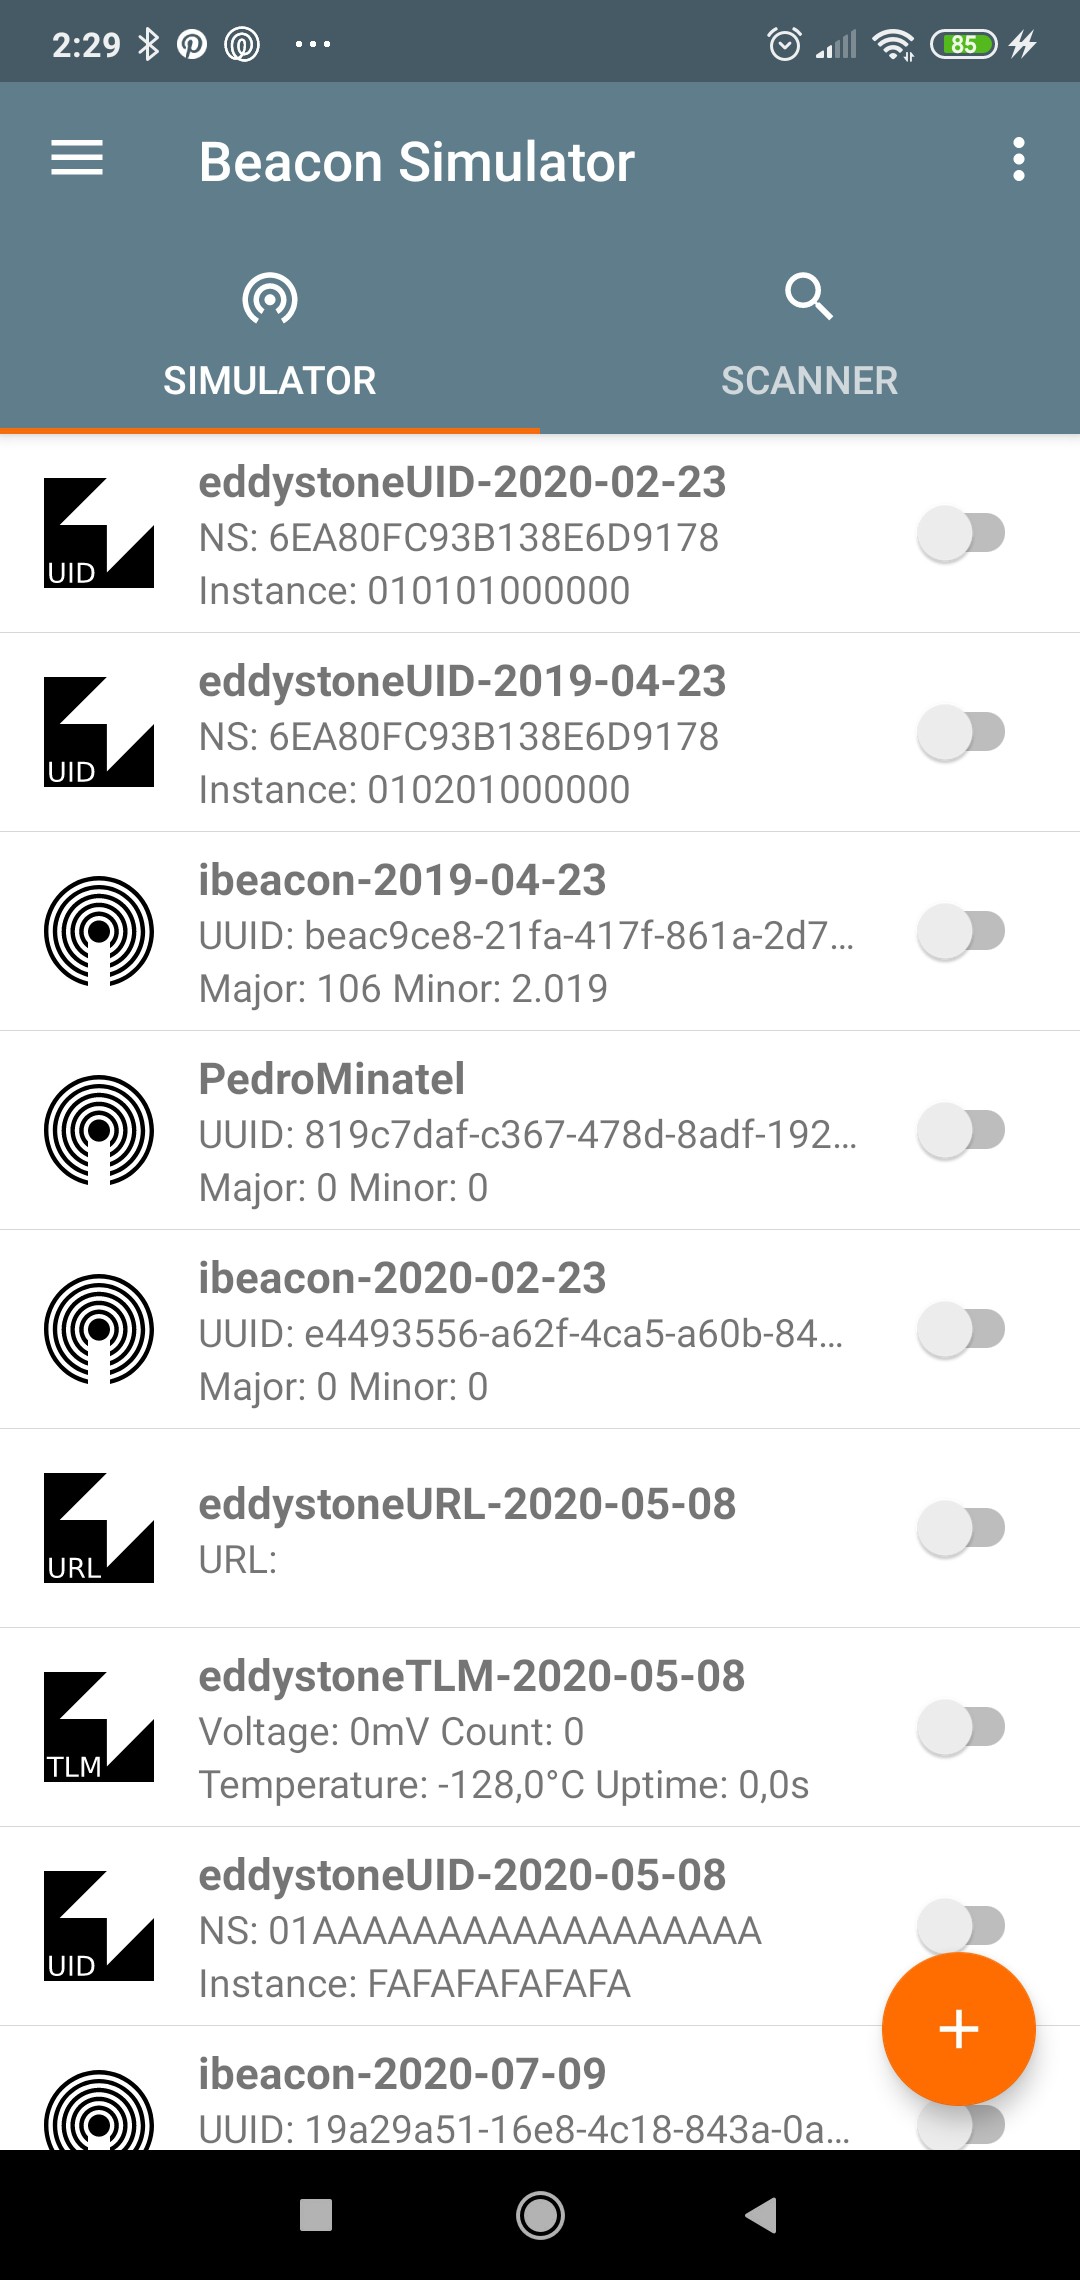
    This kind of BLE device that broadcast advertisement packages are called beacon. A beacon device could be a smartphone with a specific app running or a dedicated hardware.

    To capture those packages, we can use a mobile phone app or use some kind of scanner. In my case, it will be done by the gateway.

    Now I will describe how to collect those packages using the PSoC6 development board.

    You can clone my GitHub repo to get all the code here: Beacon Gateway PSoC6 on GitHub

    As a start point, we are going to use the WICED platform from CYPRESS to simplify our development. To know more about the WICED, see the link below:

    Getting started ez-ble wiced modules

    Before starting to scan for BLE devices, we need to understand that are two kinds of BLE scan: passive and active.

    The passive scan just reads for devices without sending them any request. In the active scan, it is possible to request more information from the device. So, the active scan is more viable for applications that require pairing.

    For our case, we will use the passive scan, since all the beacons are broadcasting the advertised package.

    DISCLAIMER: I’m not going to show all the WICED configuration because you can find on my GitHub and this instruction will be large and boring.

    To start a passive scan we can use this WICED function:

    wiced_bt_ble_scan(BTM_BLE_SCAN_TYPE_HIGH_DUTY, WICED_TRUE, scan_result_callback);

    Using this function, you need to use the scan result callback to manage all received information from the scanning. If you use this function, you will notice that you are not receiving any advertisement from beacon devices.

    This happens because this function shows only the connectable devices and most of the beacons aren’t connectable. To solve this, we need to use the observe mode to collect all the broadcast advertisement from the beacon devices.

    To start a passive scan on the observe mode function, we use the following function:

    wiced_bt_ble_observe(WICED_TRUE, 0, scan_result_callback);

    Ensure to set the “duration” argument to “0” for a continuous scan.

    Now we can read all advertisement from the beacon devices!

  • 3
    ​ Decoding Eddystone UID

    Before
    decoding the advertisement data, we need to understand what is
    Eddystone.

    Eddystone was created by Google as a open format to be used on Android and iPhone devices. On the format specification, 4 different format are described.

    • Eddystone-UID – Used for identification.
    • Eddystone-TLM – Used for telemetry.
    • Eddystone-URL – Used to share URL (compressed).
    • Eddystone-EID – Used for time based location devices.

    To see more about the format specification, see the link: Google Eddystone

    For this project we are going to use the Eddystone-UID.

    Eddystone-UID

    Once we are collecting all packages, is time to filter only the Eddystone advertisement.

    To collect the advertisement data we use the following function:

    static void scan_result_callback(wiced_bt_ble_scan_results_t *scan_res, uint8_t *p_adv_data)
    {
        printf("Found %02X:%02X:%02X:%02X:%02X:%02X RSSI: %d [%d]:             ",scan_res->remote_bd_addr[0],scan_res->remote_bd_addr[1],scan_res->remote_bd_addr[2],
    
    scan_res->remote_bd_addr[3],scan_res->remote_bd_addr[4],scan_res->remote_bd_addr[5], scan_res->rssi, p_adv_data[4]);
        
        if(scan_res->rssi > -100){
            eddy_decodeUID(p_adv_data);
        }
    }

    After collecting the p_adv_data, is time to decode the UID package.

    Maybe this is not the best approach for decoding UID, but we are trying to show a basic overview. Feel free to submit a push request on my GitHub repo!

    void eddy_decodeUID(uint8_t *pkt){
        if((pkt[2]==EDDY_BYTE_16B_UID)&&pkt[6]==EDDY_BYTE_16B_UID){
            eddy_printRaw(pkt);
            if(pkt[20]==0xca){
                app_controlLoadChannel(LOAD_A, CYBSP_LED_STATE_OFF);
                app_timerLoadAReset();
            } else if(pkt[20]==0xfa){
                app_controlLoadChannel(LOAD_B, CYBSP_LED_STATE_OFF);
                app_timerLoadBReset();
            }
        }
    }

    Output example:

    Found 5A:B7:84:F4:C2:9A RSSI: -69  [0]: 03 03 AA FE 15 16 AA FE   00 BF 07 1B 95 9D 8A 92 58 2E 18 67  FAFAFAFAFAFA
    Found 53:BD:40:23:1A:47 RSSI: -69  [0]: 03 03 AA FE 15 16 AA FE   00 BF C7 00 10 E2 CD F5 F2 3B EE 23  CACACACACACA

    This simple filter was based on the frame format, like in the picture below:


    This is a work in progress and I’ll add and update this instruction.

    After receiving the expected message on the namespace and instance id, I change the load (AC device connected like a light or any other electrical device) to the ON state and a timeout timer is started since no more data from that device is detected.

    Using this approach, I can turn on and off any device by detecting a beacon close to the gateway.

    To increase the security, we plan to add a shared key to encrypt the content on the namespace and instance id to avoid fake devices or replication attacks. This approach works very well on smartphones connected to the cloud but not so good for standalone beacons devices (maybe using some OTP “one-time password”).

    Please, leave your comment down below to improve this project!

View all 4 instructions

Enjoy this project?

Share

Discussions

Similar Projects

Does this project spark your interest?

Become a member to follow this project and never miss any updates