 Mukesh Sankhla
-
1Circuit Connection:
*Make the connections as shown in circuit diagram.
*You can use WS2812B LED Strip instead of individual LEDs.
*The Data pin is connected to pin D4 of ESP8266,GND to GND and 5v to Vin of the NodeMCU.
*Make sure that you use 4 LEDs for each wall(4 LEDs x 4 walls = 16 LEDs),7 LEDs for cloud and 2 LEDs for Sun/Moon(3D printed Small Circe).
*The ESP8266 board is placed under the base , the base has a 3D printed cover to cover it.
![]()
-
2Codeing:
*Open the code given in Arduino IDE.
*Code: https: https://drive.google.com/file/d/1MlS570K5l1ZHv9XbCG5qR2Kd_7NdueyC/view?usp=sharing
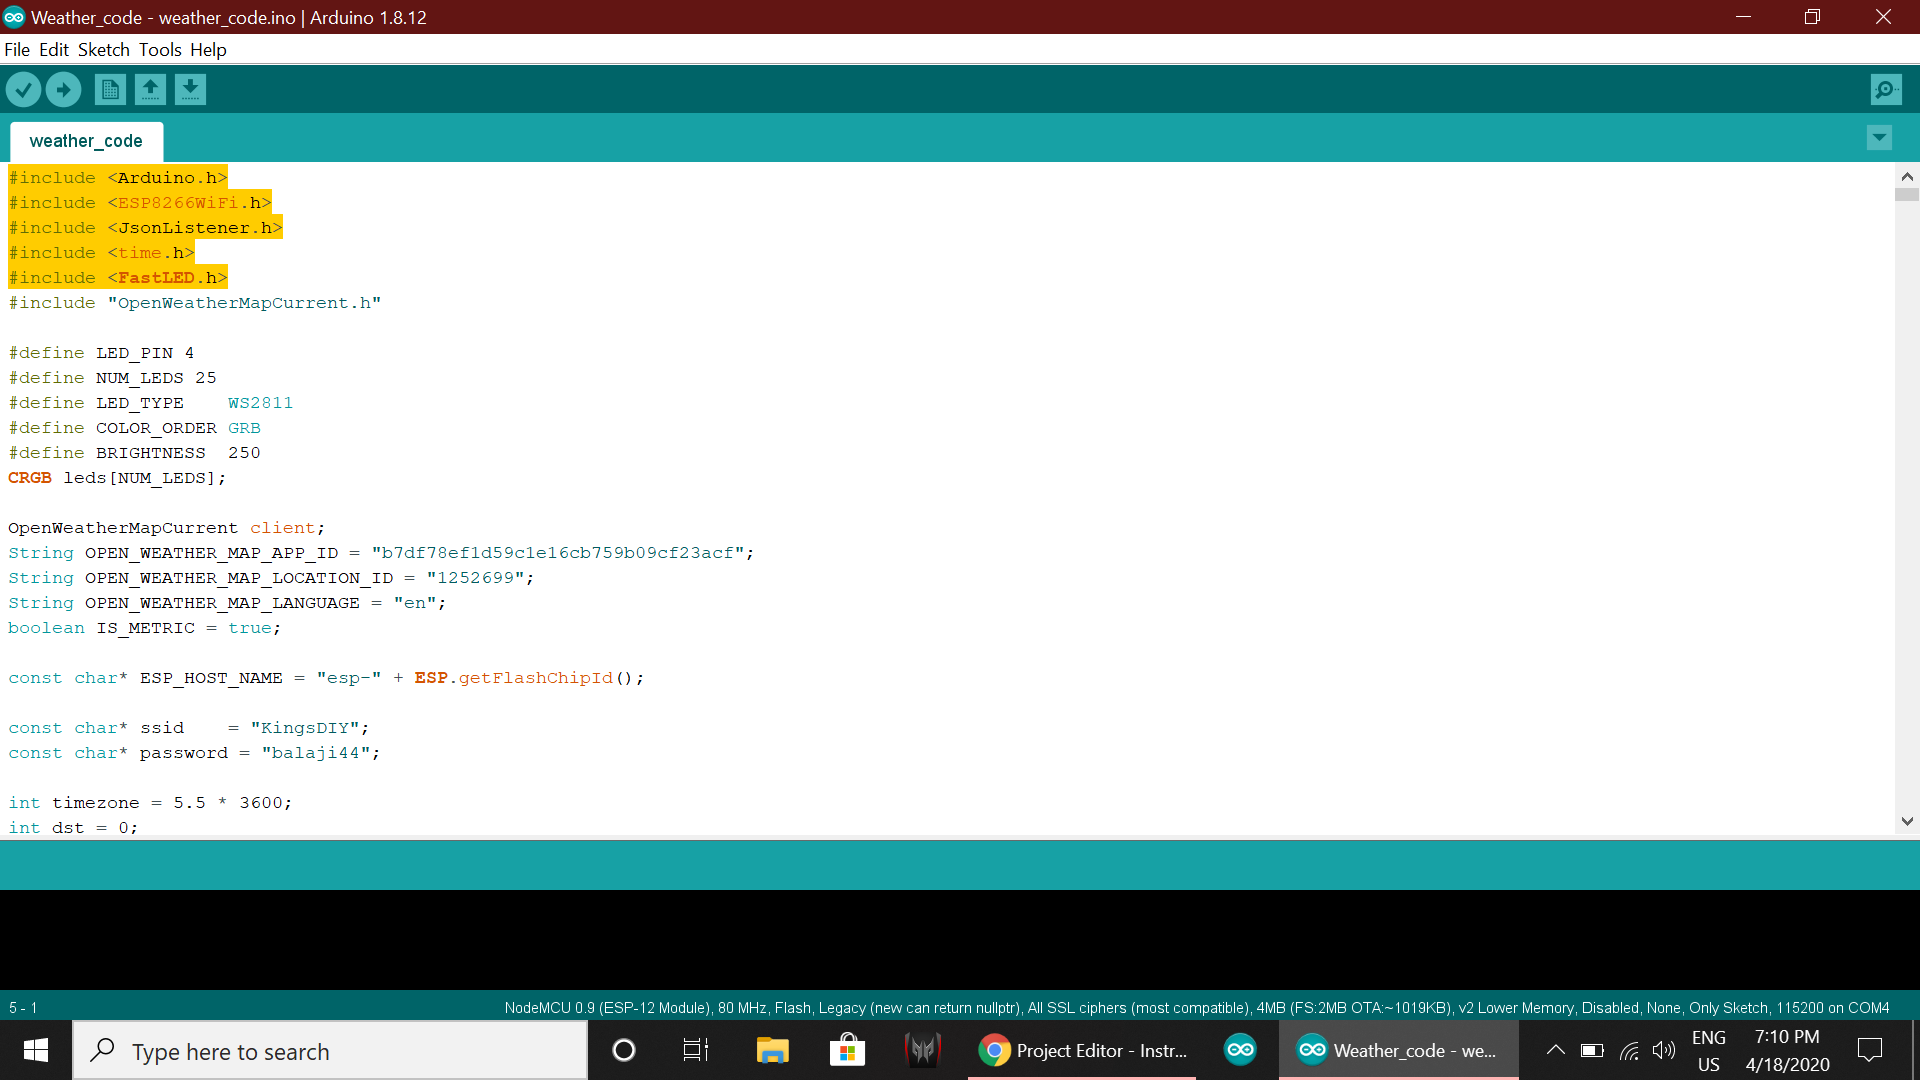
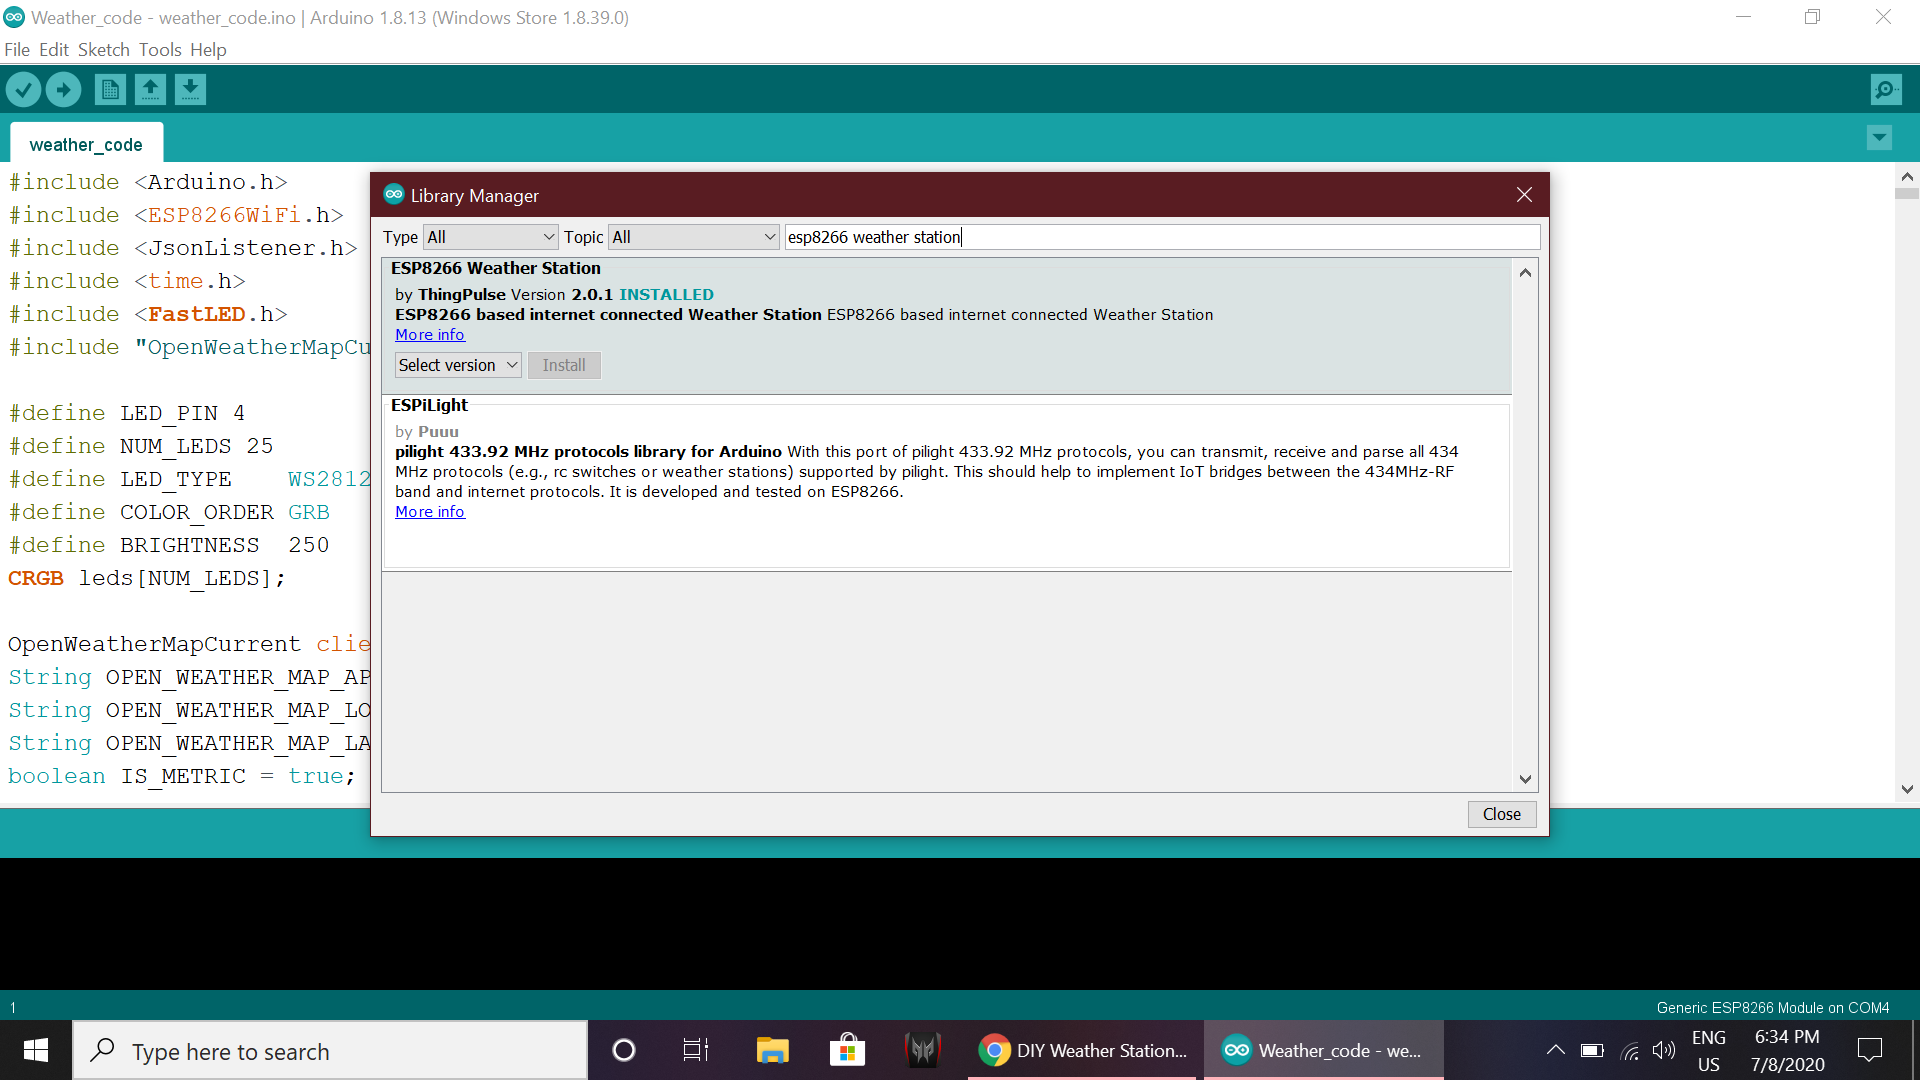
*Make sure that you have included every library's that are mentioned in the code.
![]()
![]()
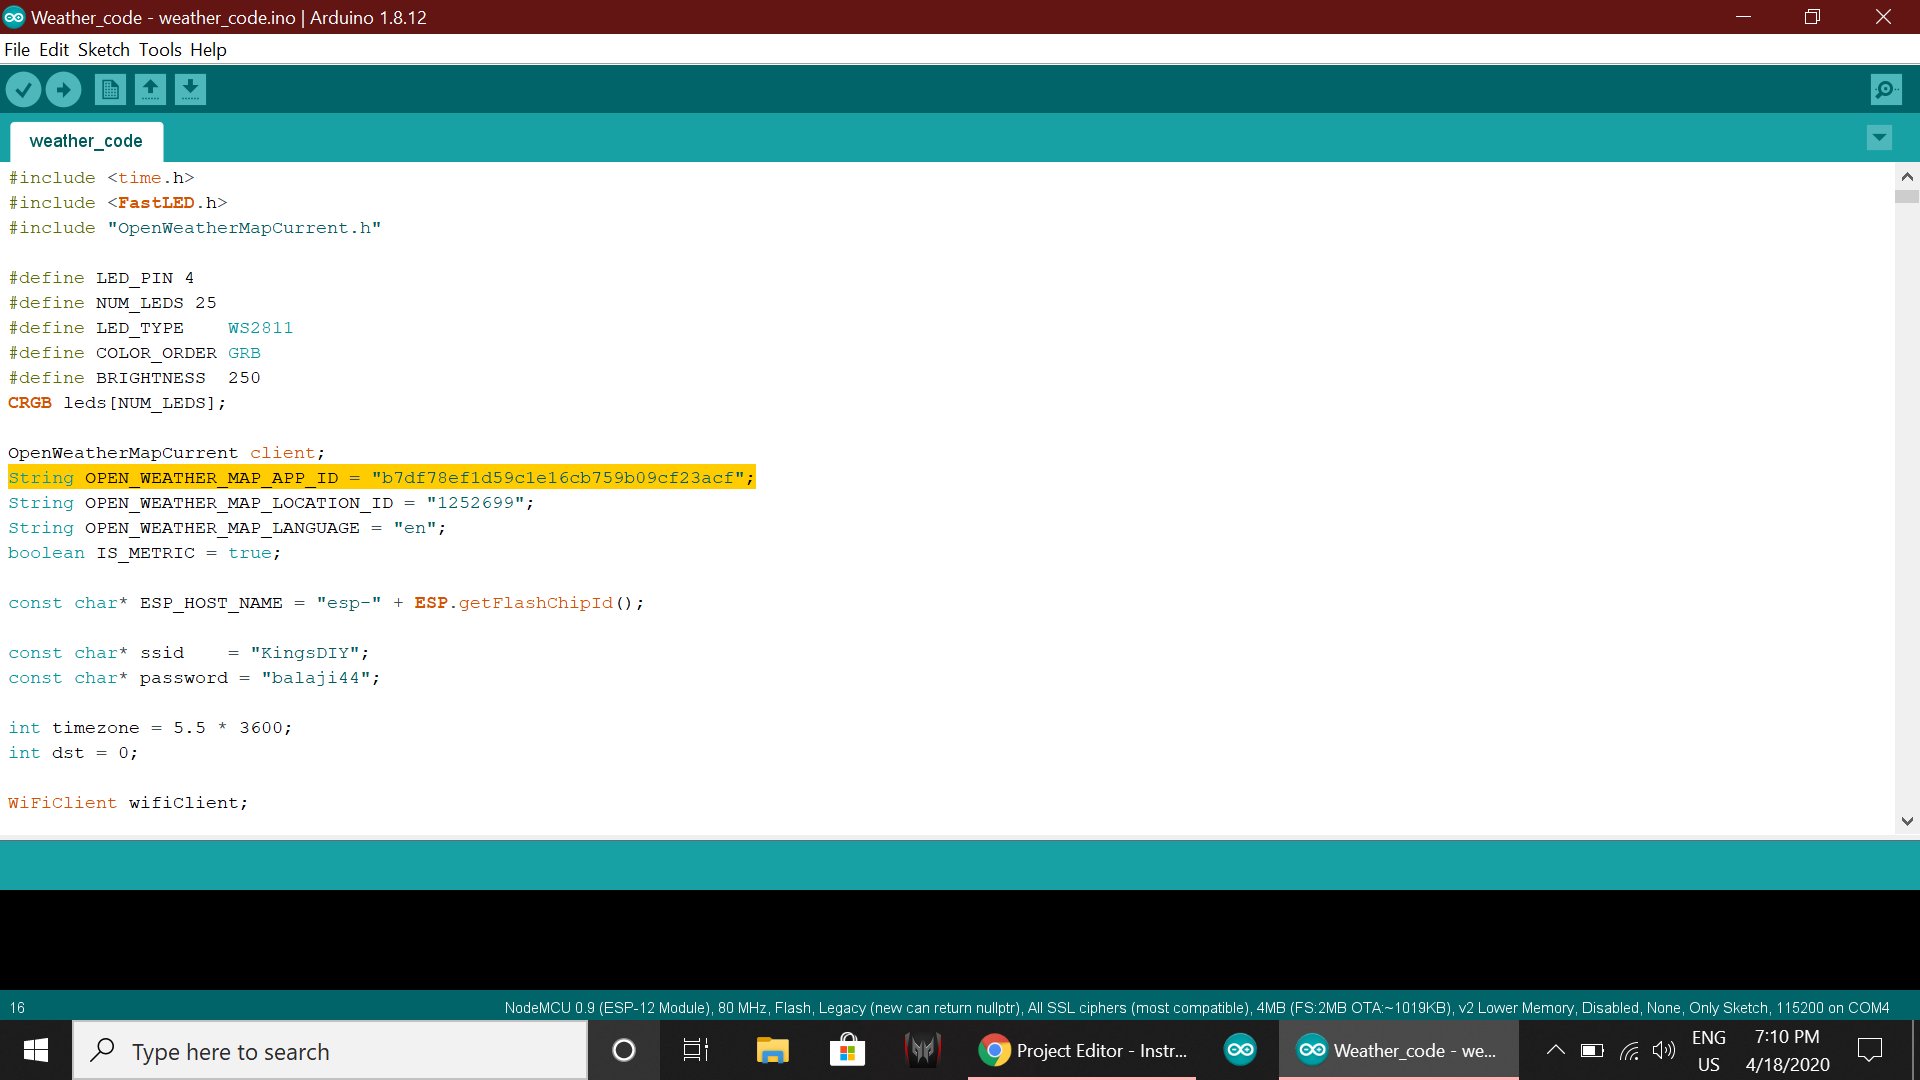
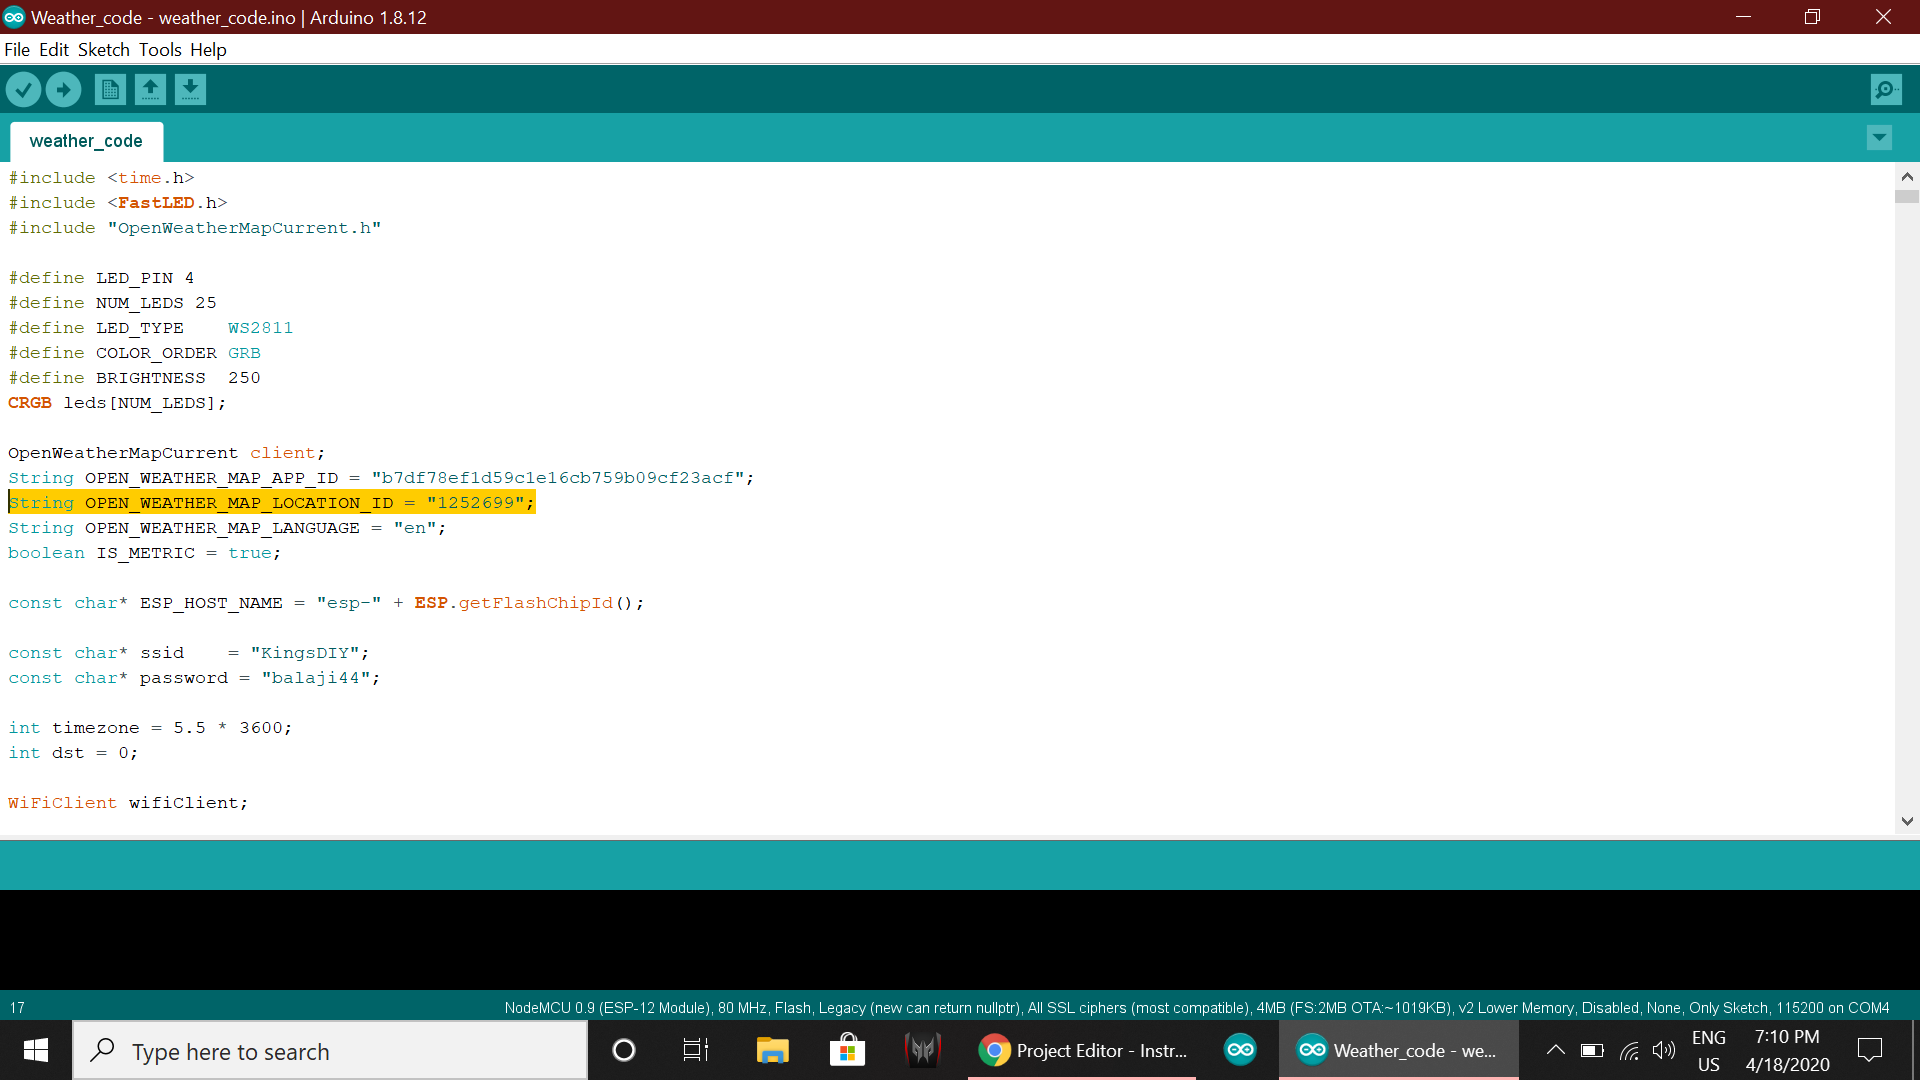
*Now you have to edit this
String OPEN_WEATHER_MAP_APP_ID = "App_ID";
String OPEN_WEATHER_MAP_LOCATION_ID = "Location_ID";![]()
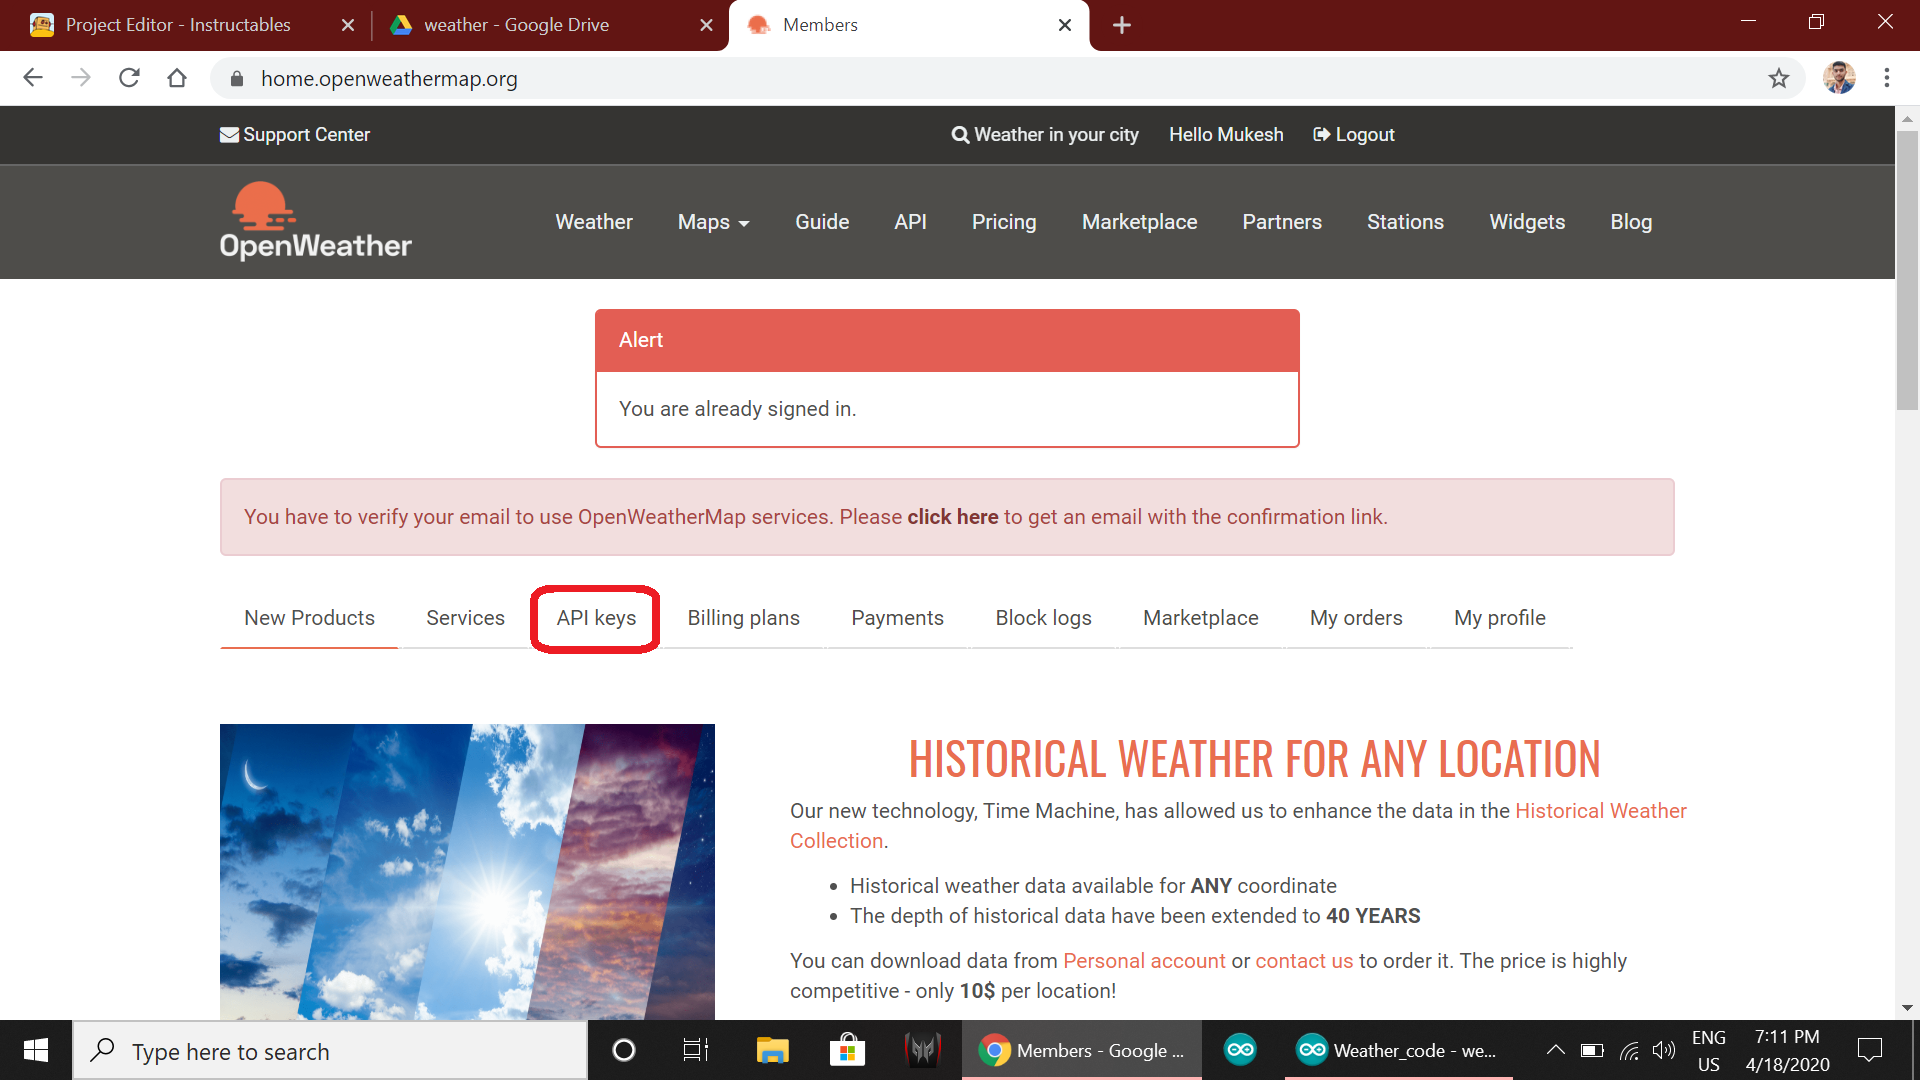
*Open the browser and search for www.openweathermap.org.
*Create a account and login into that website.
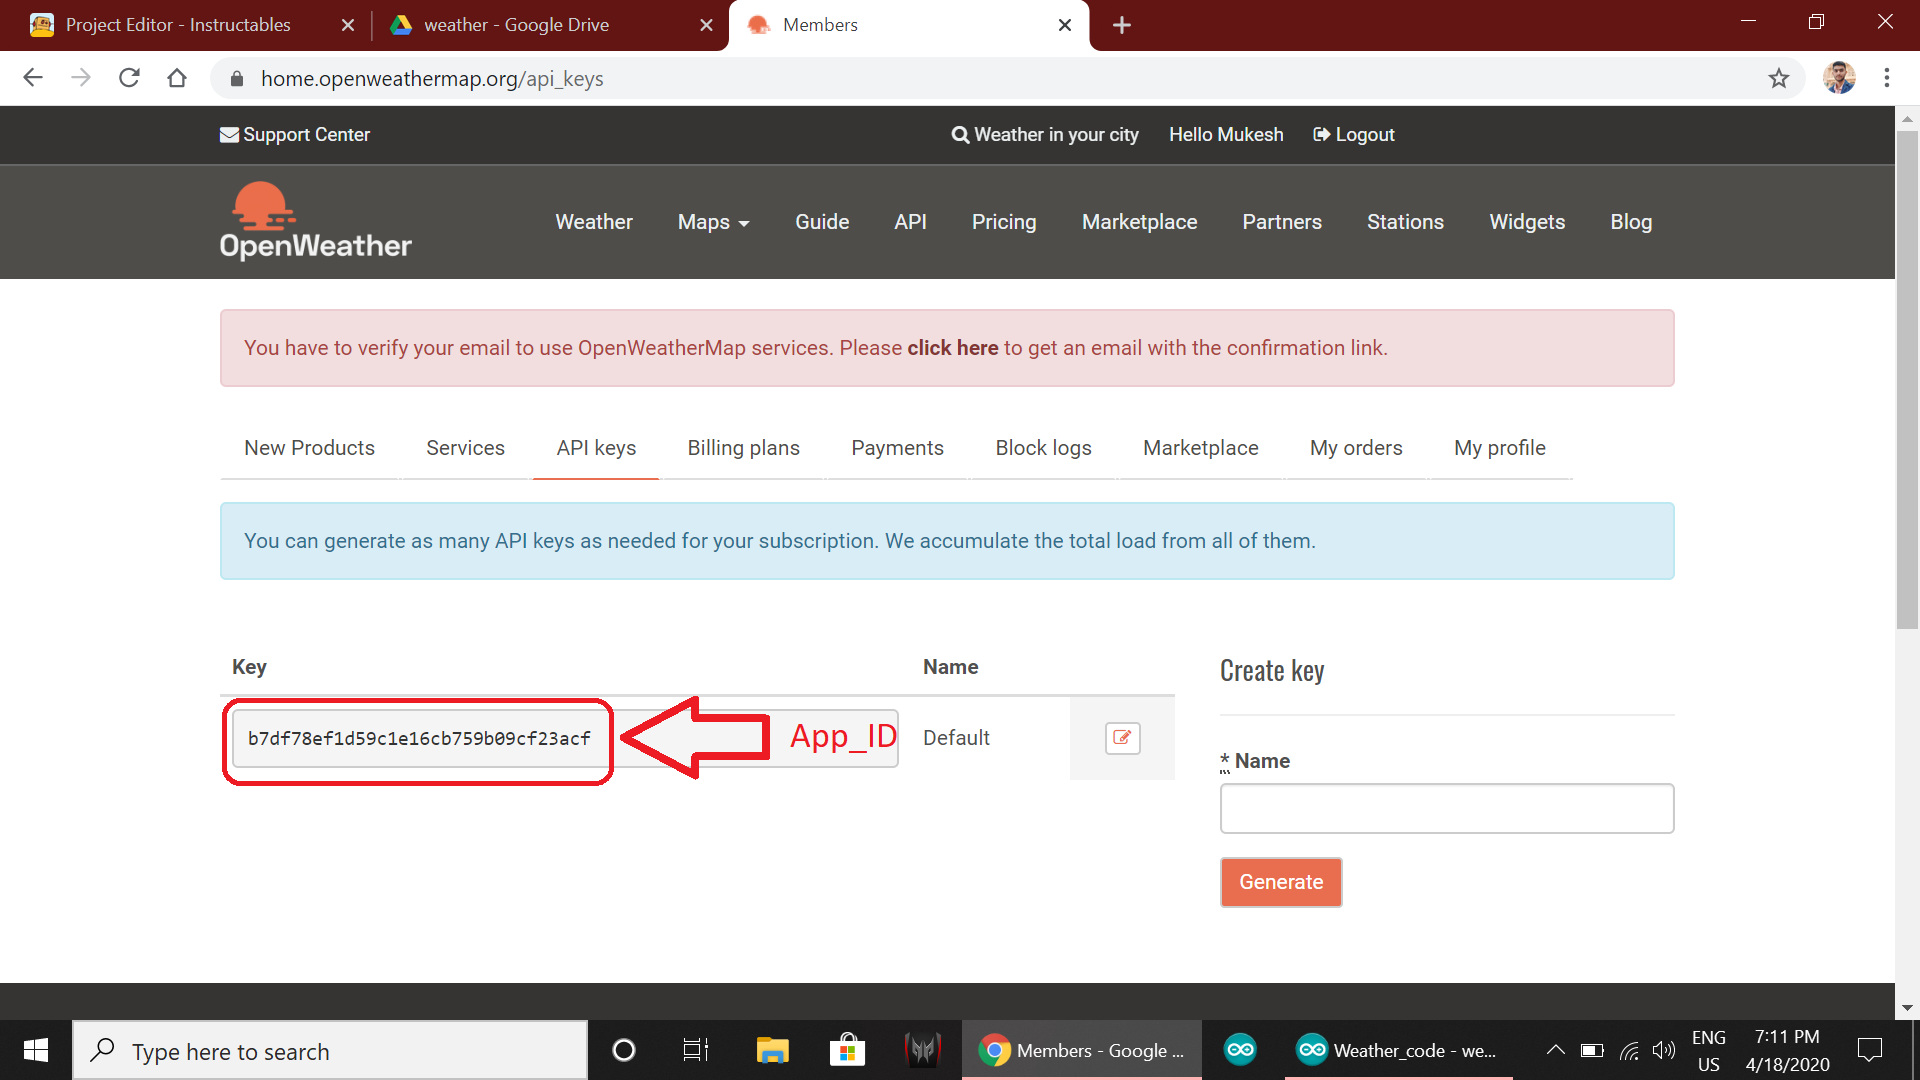
*Click on API keys copy the key and paste in the program at APP_ID.
![]()
![]()
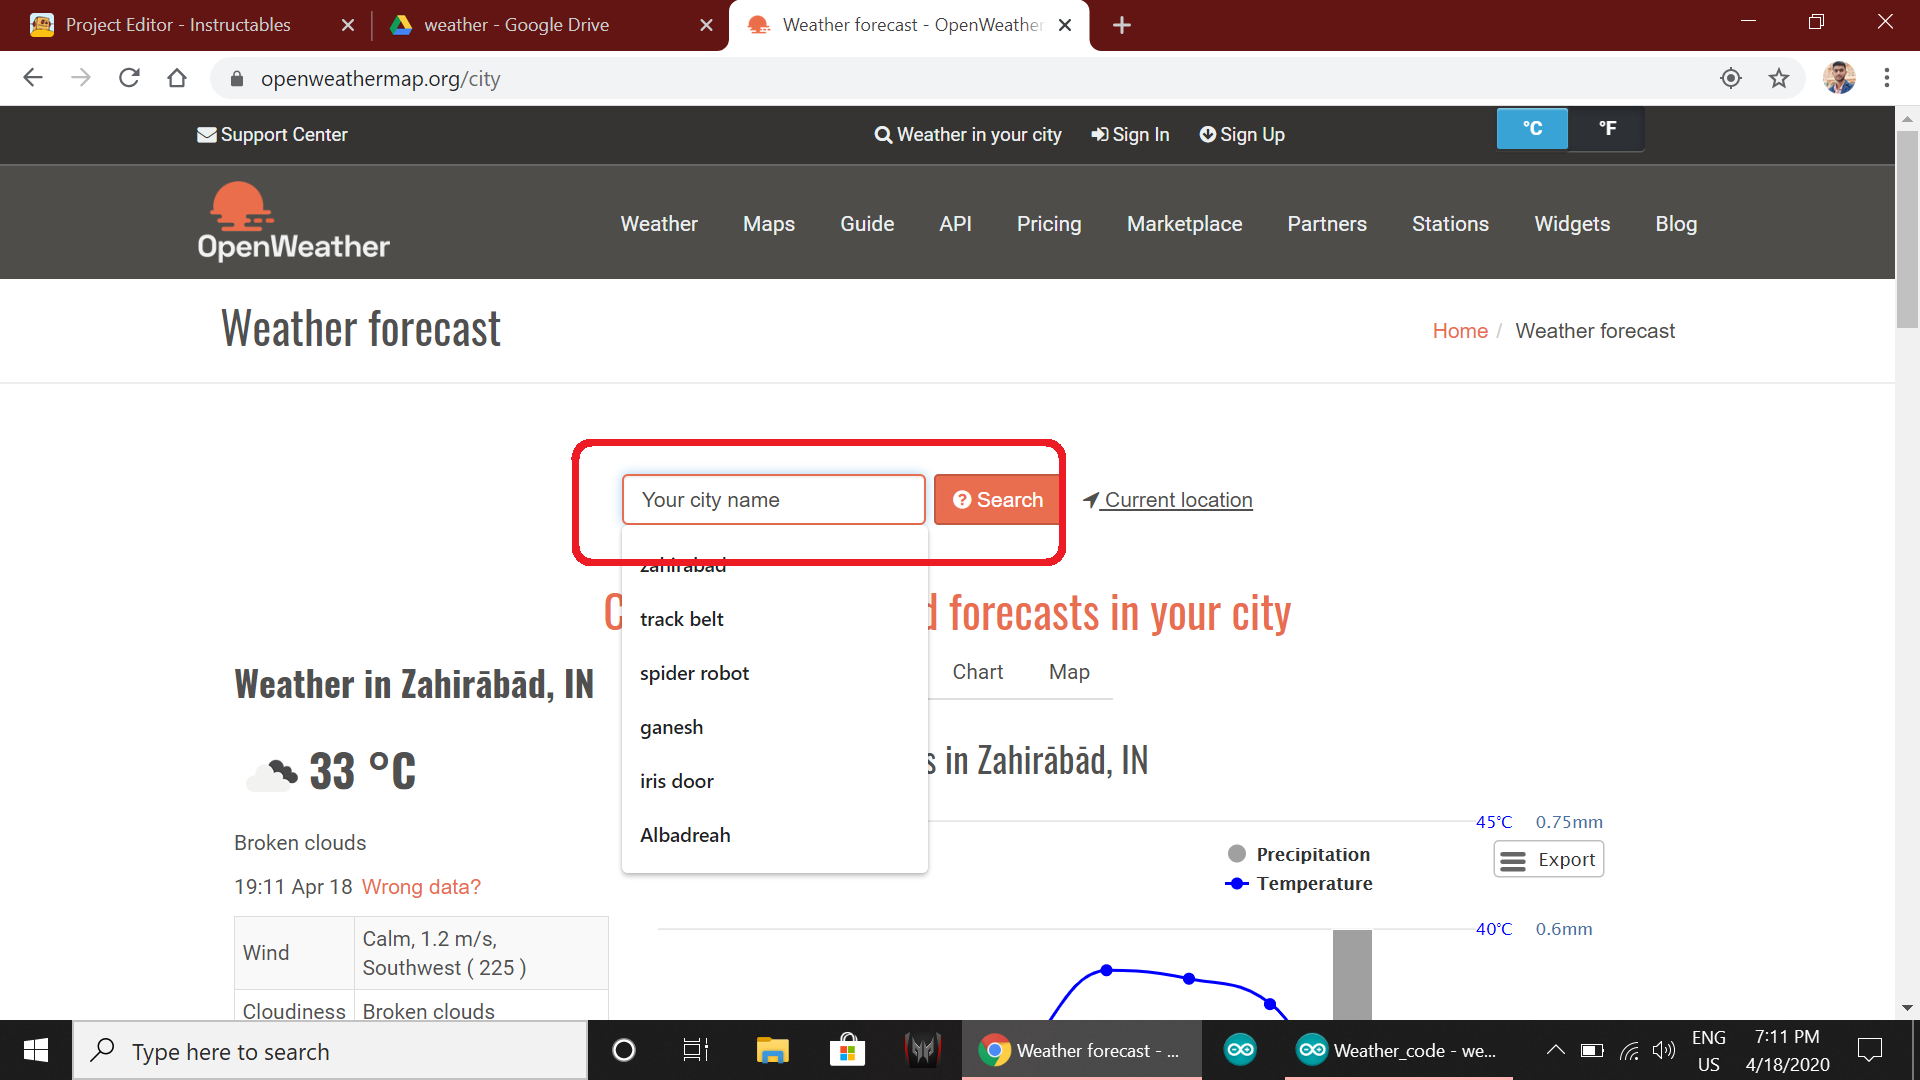
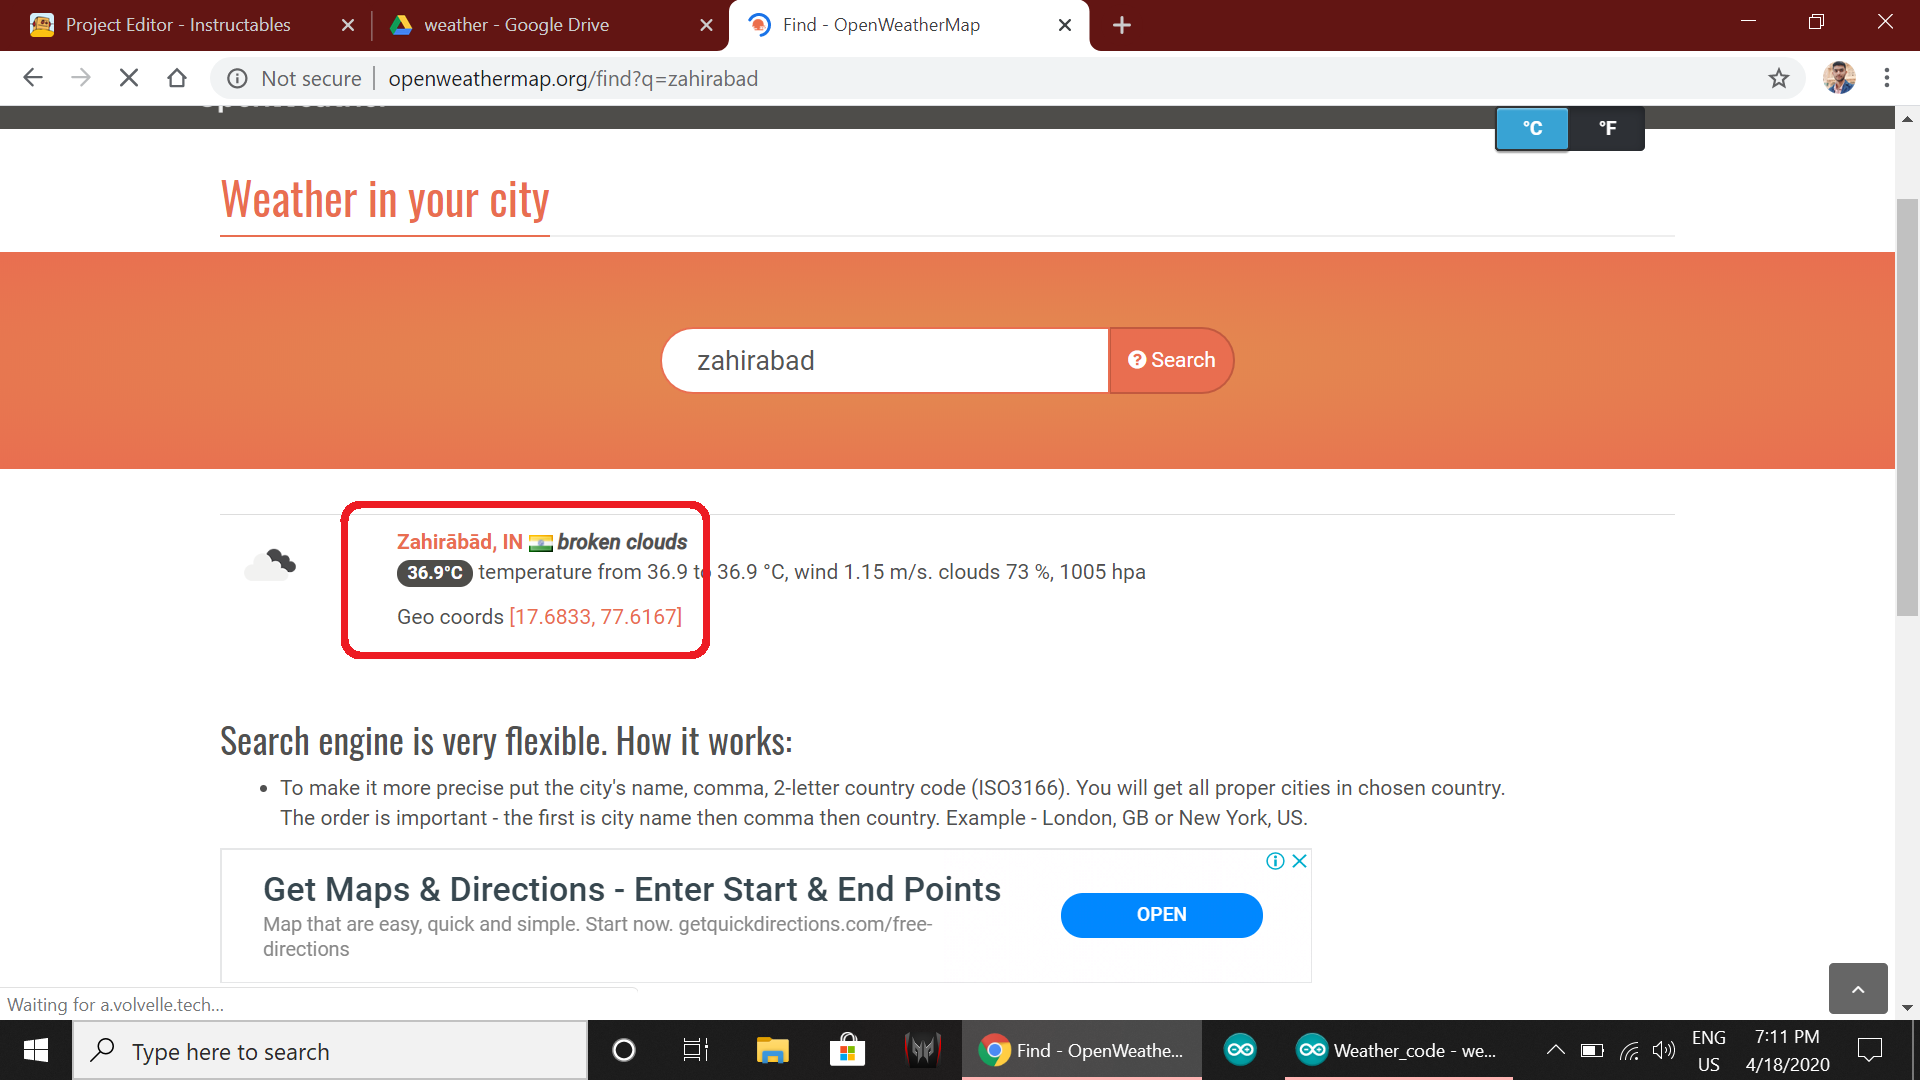
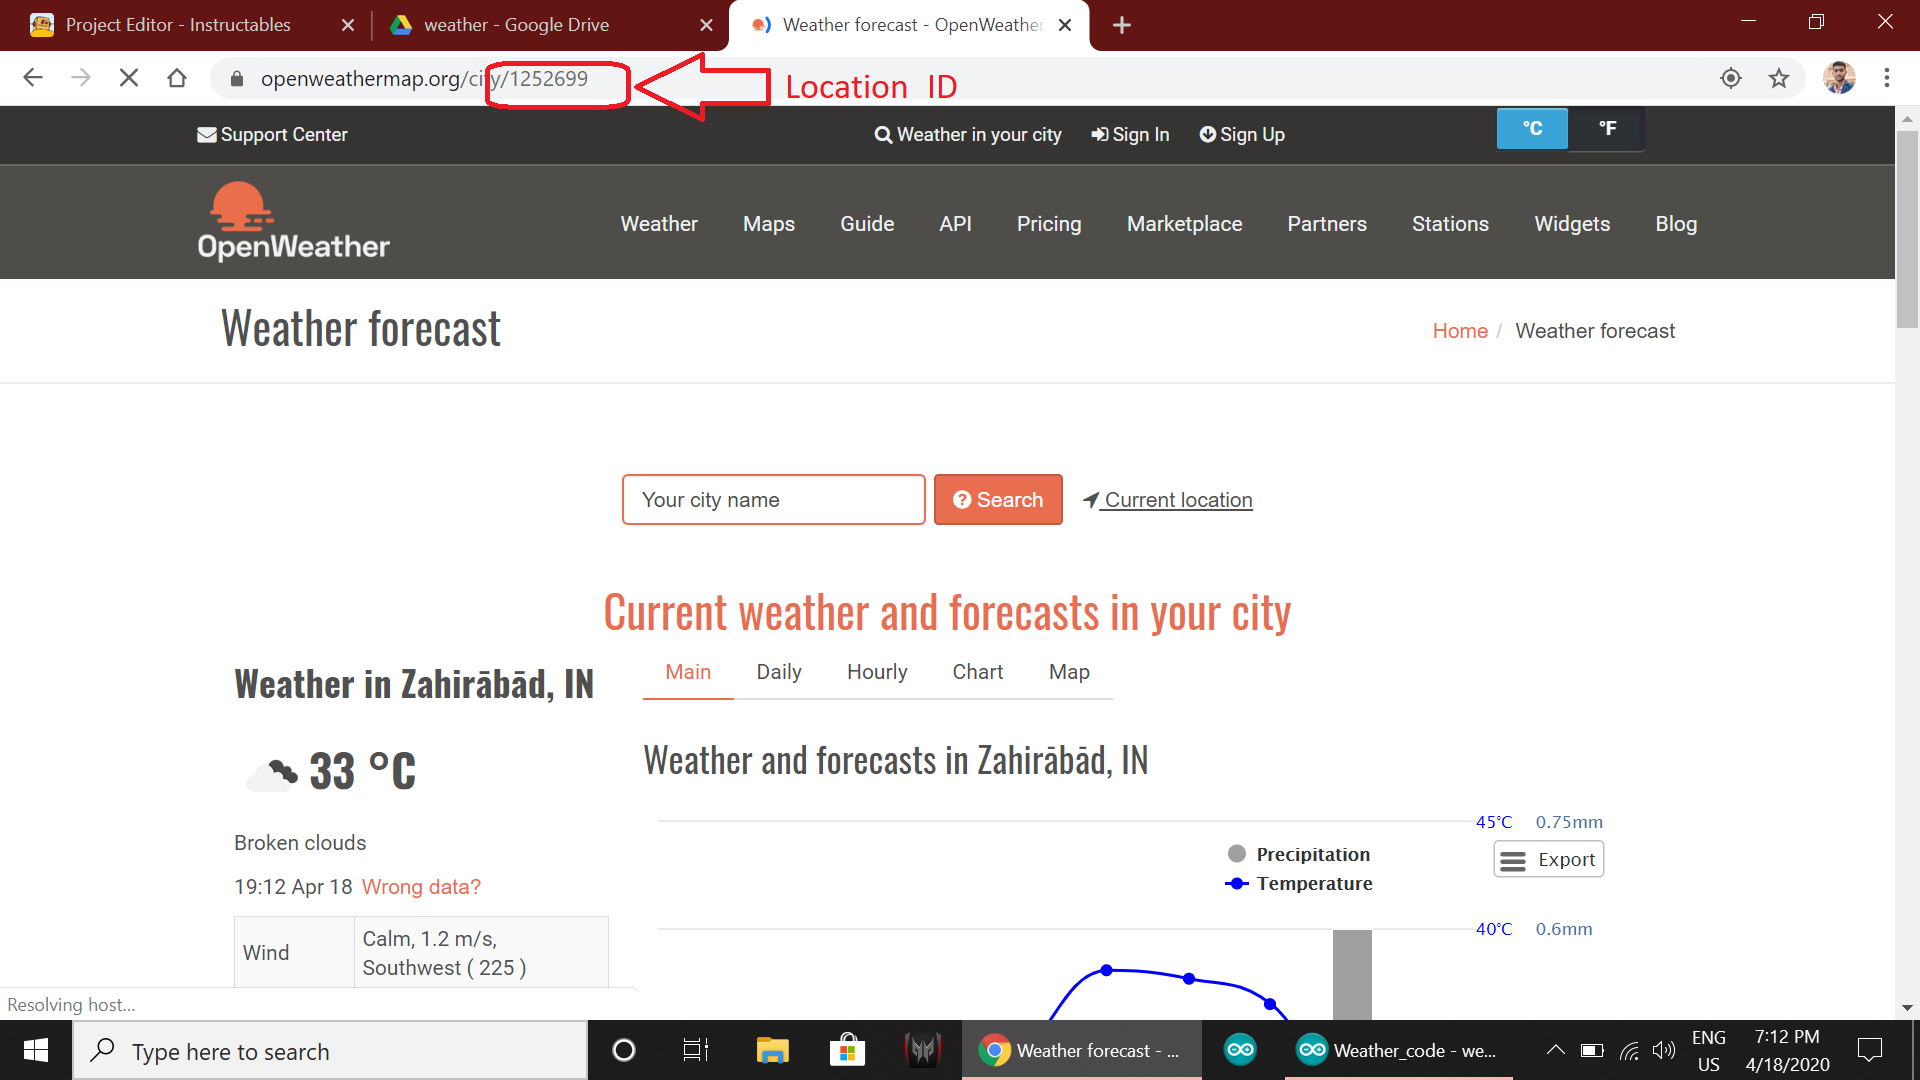
*In the same website search your location open the result and copy the last number from URL and paste it at LOCATION_ID.
![]()
![]()
![]()
![]()
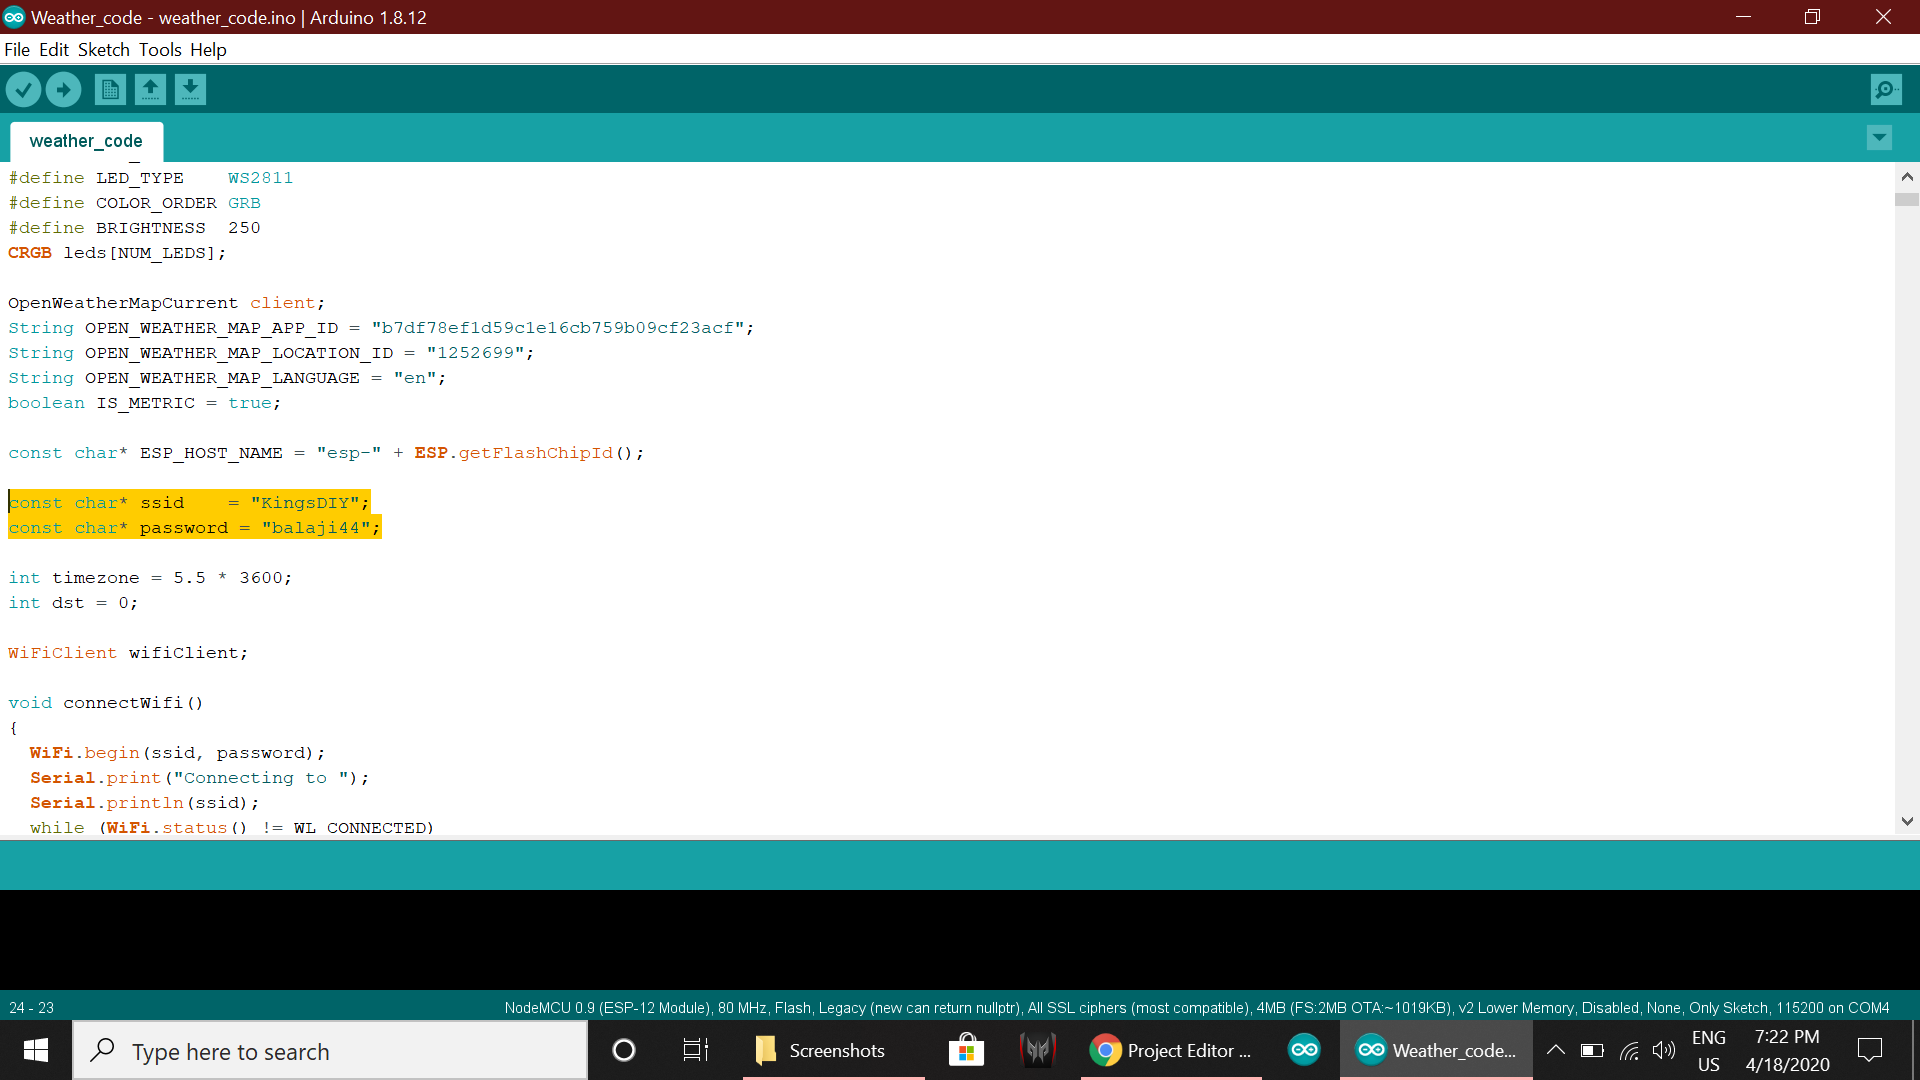
*The MAP_ID and LOCATION_ID will be similar to mine.
*Enter your Wifi_name at ssid and your Wifi password.
const char* ssid = "Wifi_name";
const char* password = "password";![]()
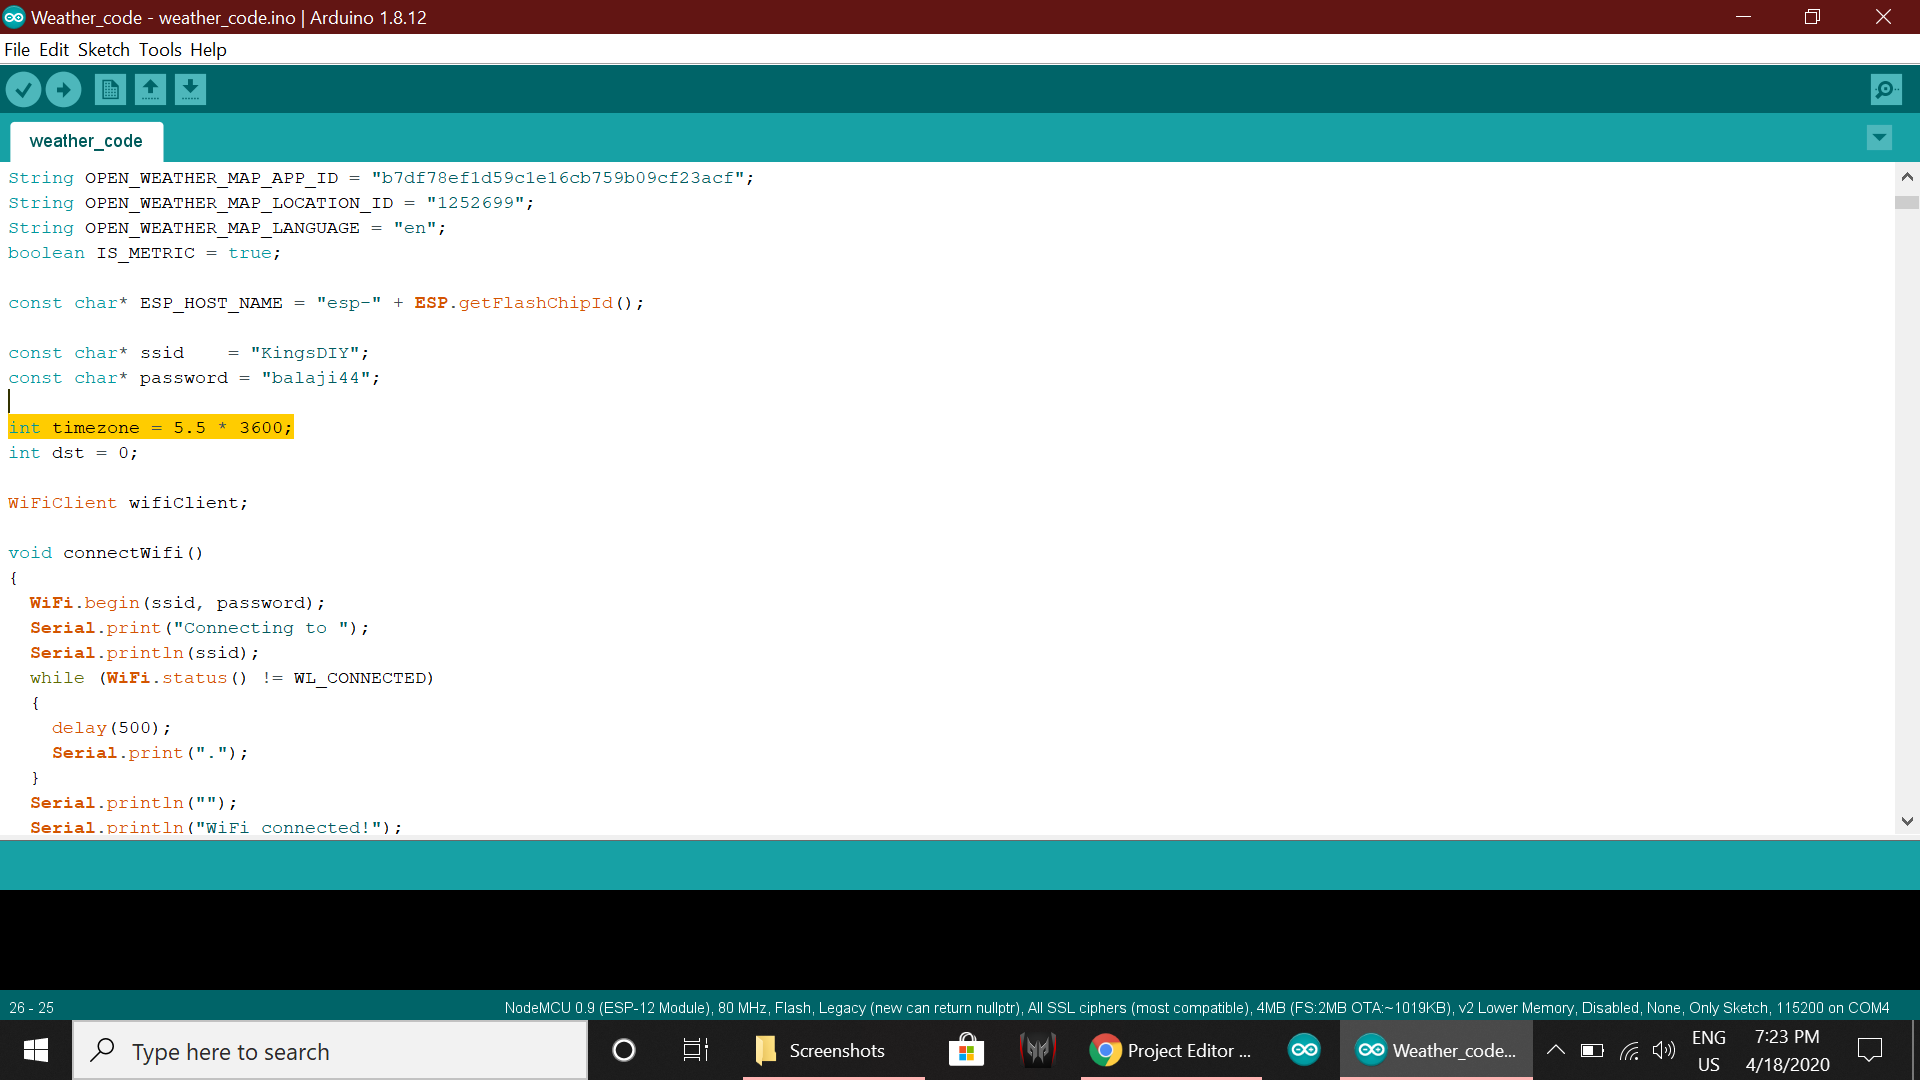
*Now change the Time zone as per your country Time Zone
int timezone = 5.5 * 3600;
As per India the Time Zone is 5:30 so I have typed 5.5 similarly you can type your Time Zone.
![]()
*Now connect the ESP8266 to your PC, select the port and upload the code.
-
3Powering:
I have used 5V micro USB Charger for powering this device.
-
4Note:
Make Sure to 3D print cloud set the infill value to 0% in slicing software.
DIY Weather Station In The Form Of Desk Plant.
A Weather Station Which simulate the real-time weather of your location by changing the colors of the showpiece.

Discussions
Become a Hackaday.io Member
Create an account to leave a comment. Already have an account? Log In.