-
1Remove head from M.24 rivet and file the end smooth
![]()
Bottom rivet: before, Top rivet: After
-
2Trim the length of the other end to less than 0.4"
![]()
-
3Disassemble the thumb stick mechanism
Desolder the thumb stick mechanism from PCB from your game controller.
![]()
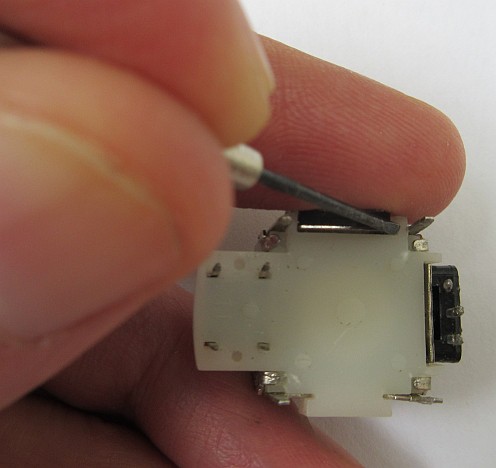
There are 4 metal tabs holding the bottom piece. Use a small screw driver to pry it open.
![]()
The dowel for centering the stick was broken off. It has to be replaced.
-
4Drill through the stick
Drill through the part with a 1/16" (1.5mm) dia. drill bit
-
5Insert the rivet into the bottom
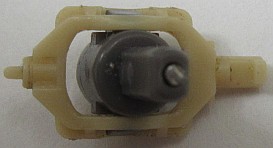
It should look like this when the nail side of the rivet goes in.
This is what it looks like from the top side. Keep the nail side below 0.4".
-
6Reassemble the thumb stick
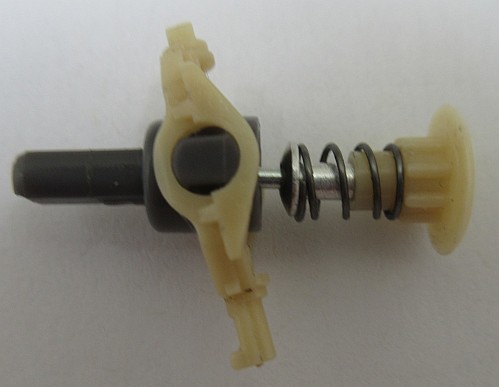
This is the order it goes in. You can superglue the rivet to the stick if you want to, but mine seems fine without.
Reassemble the thumb stick (reversing step 3), it should look like this.
-
7Step 7
Resolder it back to the controller and recalibrate if needed. You are now done!
The left stick has been replaced as it is the stick I keep on breaking. I had to fix up some broken traces that I broke previously.
Fixing thumb stick on game controller
The thumb sticks on my Xbox game controller breaks after a while and no longer centering. This hack fixes it with a metal part.
 K.C. Lee


Discussions
Become a Hackaday.io Member
Create an account to leave a comment. Already have an account? Log In.