-
Belated project build log 00.
06/03/2020 at 00:12 • 0 commentsAlthough I took all the pictures of the build and everything, I was more worried about pressing it into service to help my local groups get faceshield parts made. To be honest these logs are more for my benefit so I know what I did and have reference material whenever I need it. I have had this printer a while now, and it's gotten quite a few mods from stock, and now that I have the time to go through it all, let's start at the beginning!
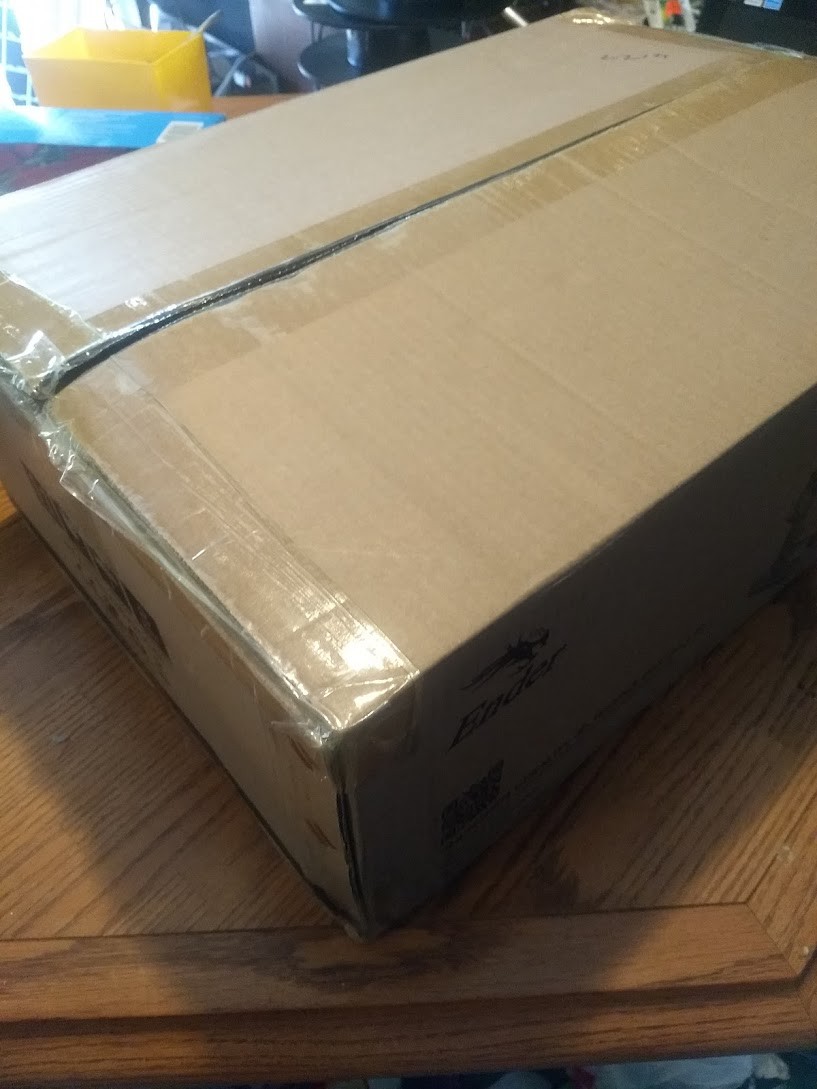
I cut open the package
![]()
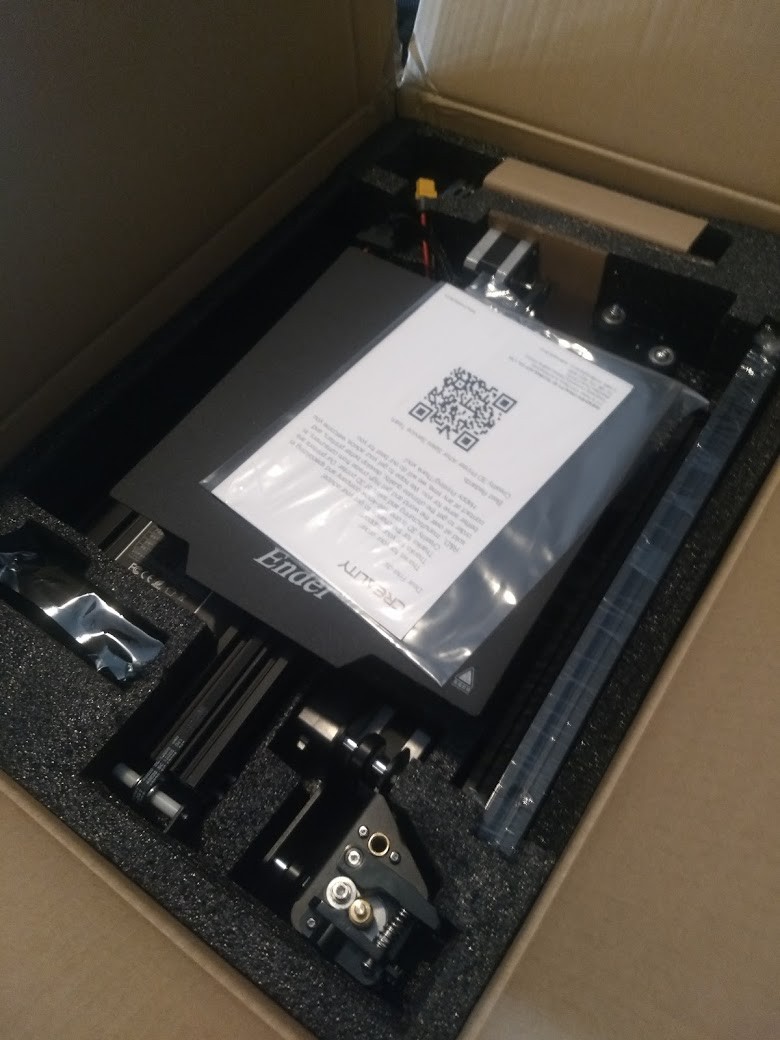
I Love the smell of that weird funky chinese grease......
![]()
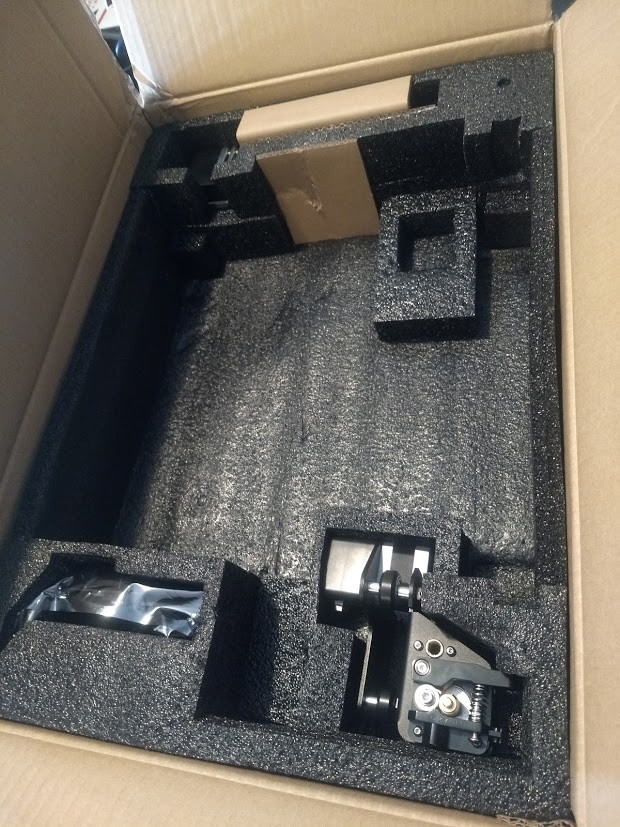
SMELLS LIKE 3D PRINTING!
![]()
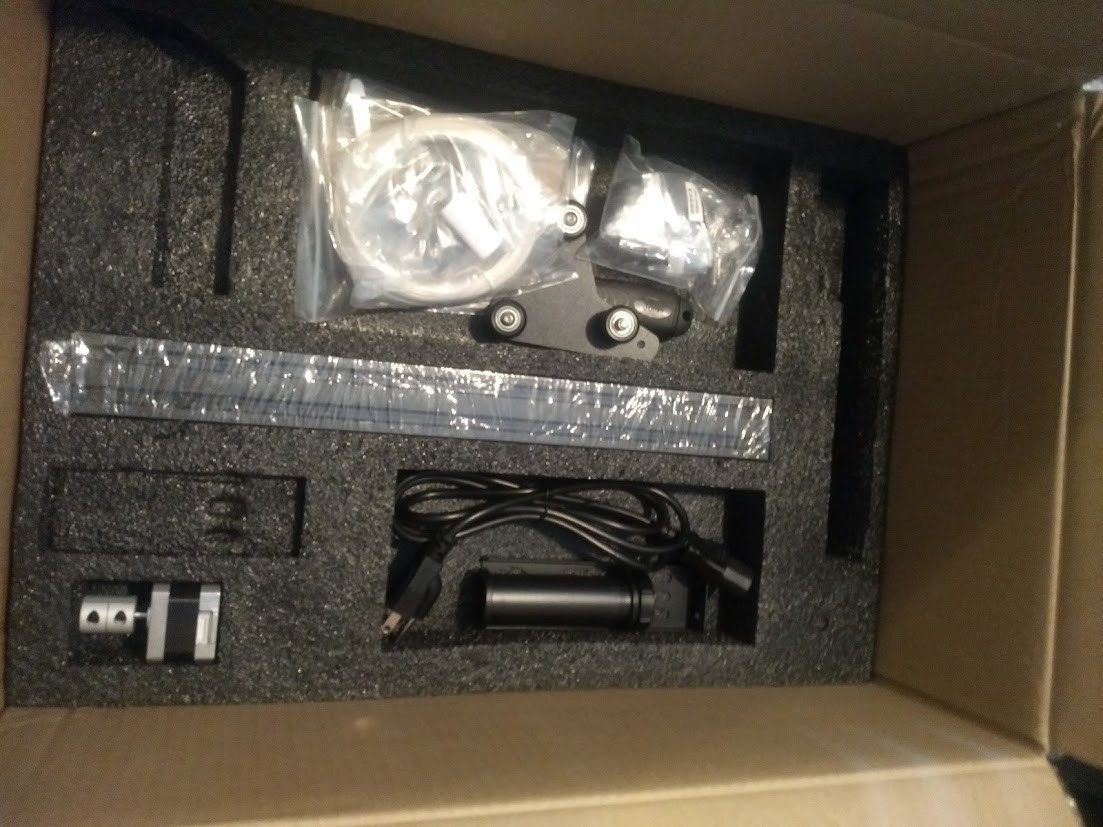
Now that we've got that out of the way, let's make sure everything is in here...
![]()
![]()
Oh I guess they don't give you as much filament with this as they did the Ender 5. Not a dealbreaker though, I mean this box is WAY smaller than the Ender 5 box was. Time to put stuff together.
![]()
![]()
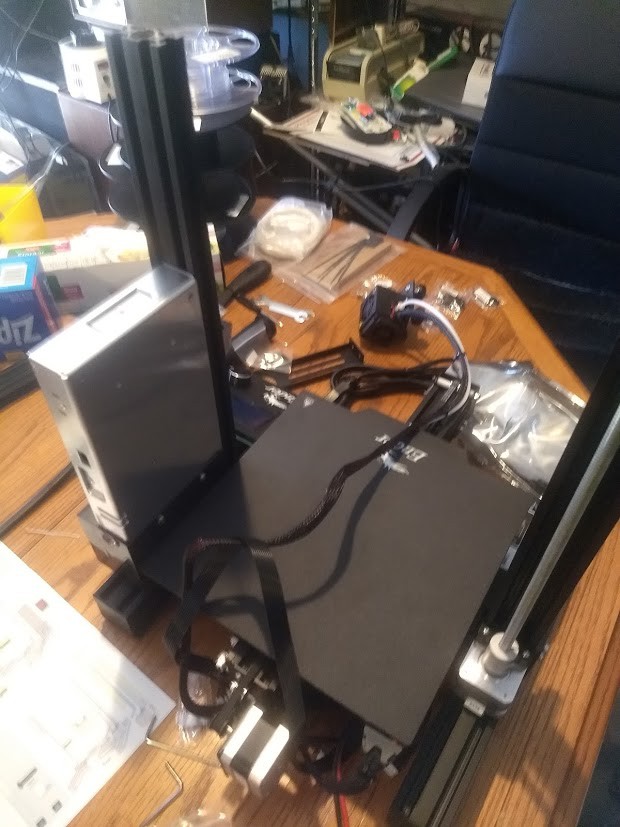
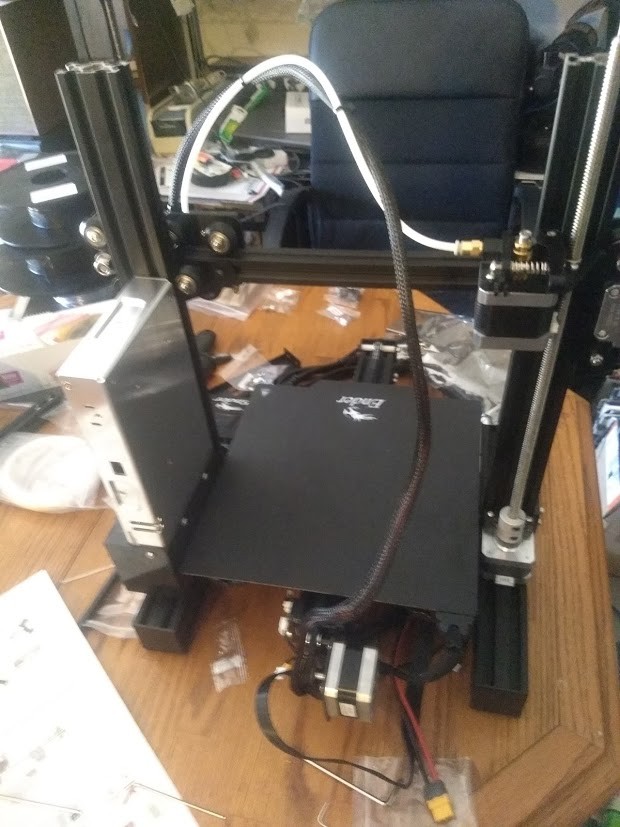
Not bad, it's starting to look like a 3D printer. Let's get the Z axis mounted up.
![]()
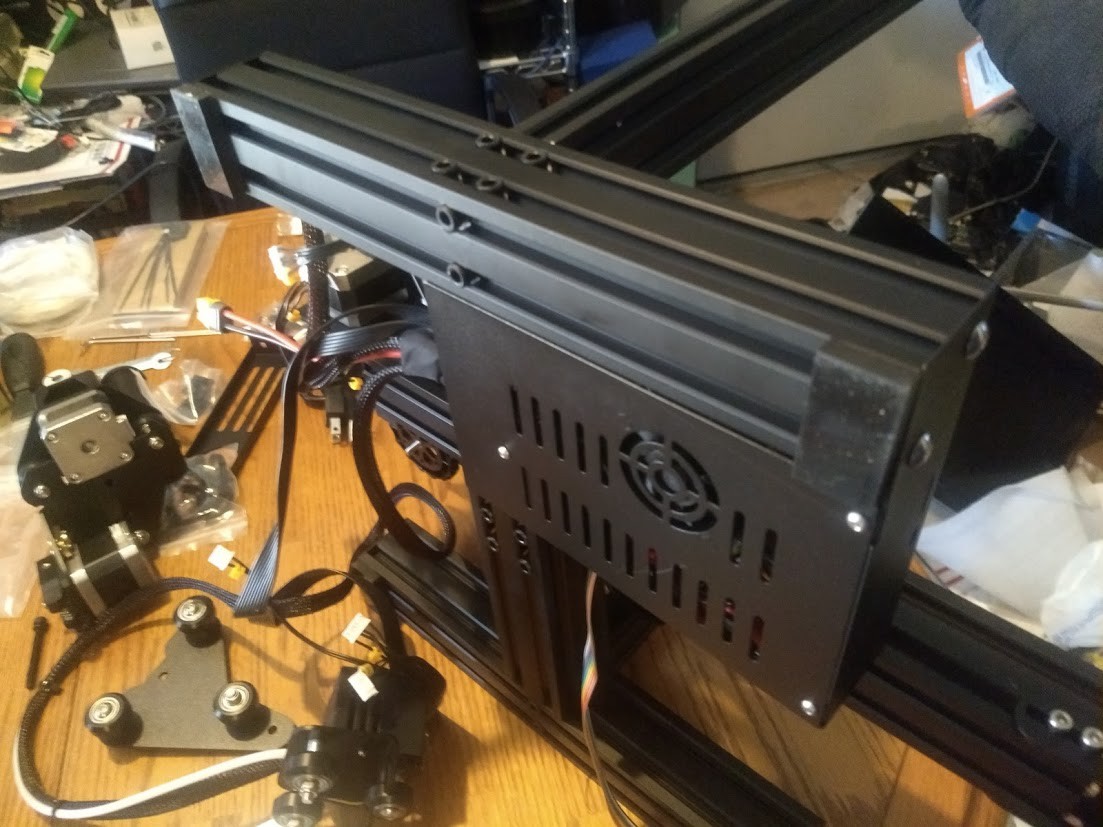
I'm clearly making a mistake here in the order things need to be assembled in, stop past self!!!!
![]()
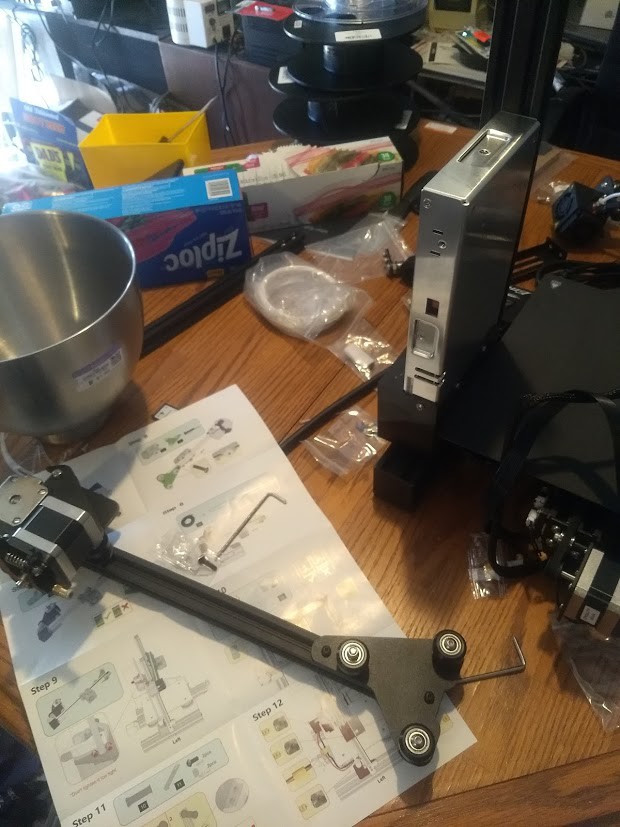
It's at this point I realize that I have not been successful in building a time machine. Past self will not listen to reason and is instead pressing ahead.
![]()
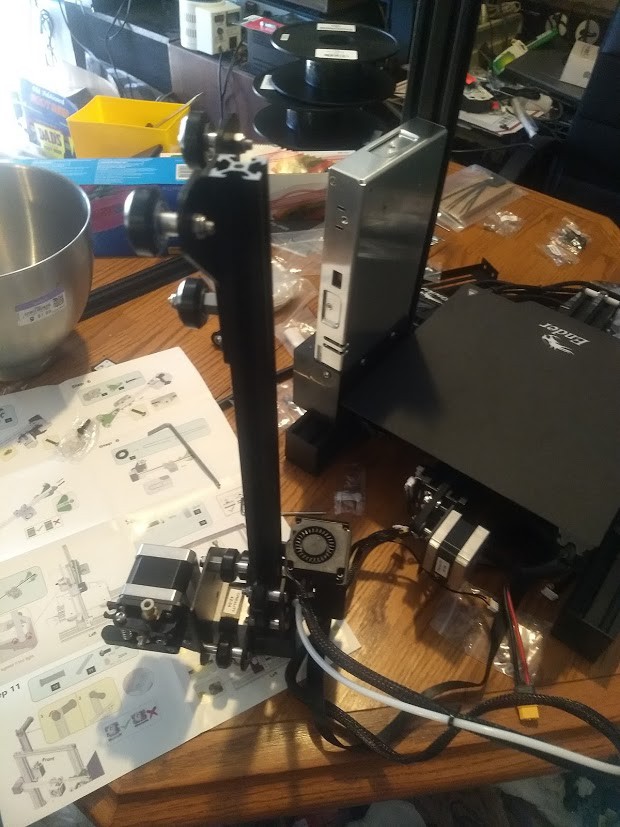
Past self has realized his mistake, and has taken apart the X axis to install the printing head assembly. Good job!
![]()
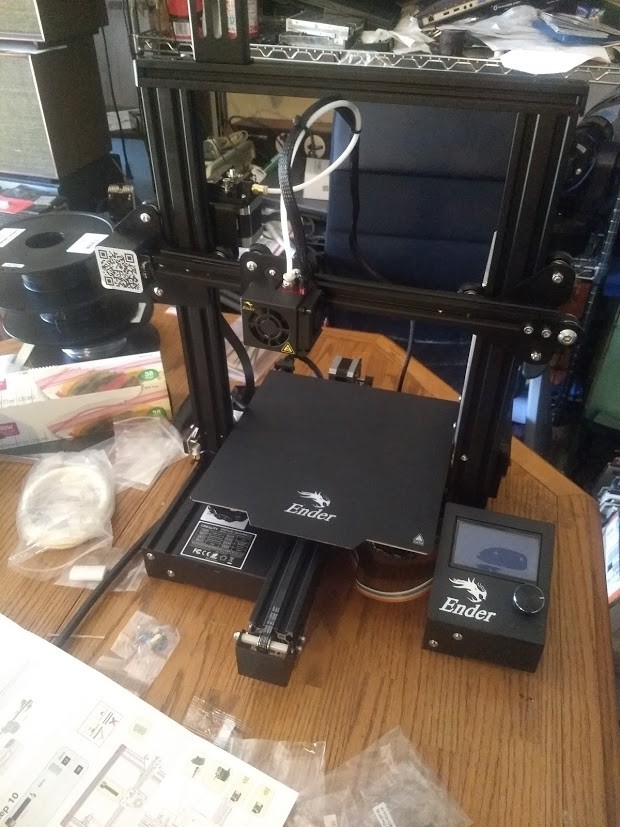
Getting there!
![]()
Got the top bar on, cables are getting plugged in, life is good.
![]()
Smoke test time!
![]()
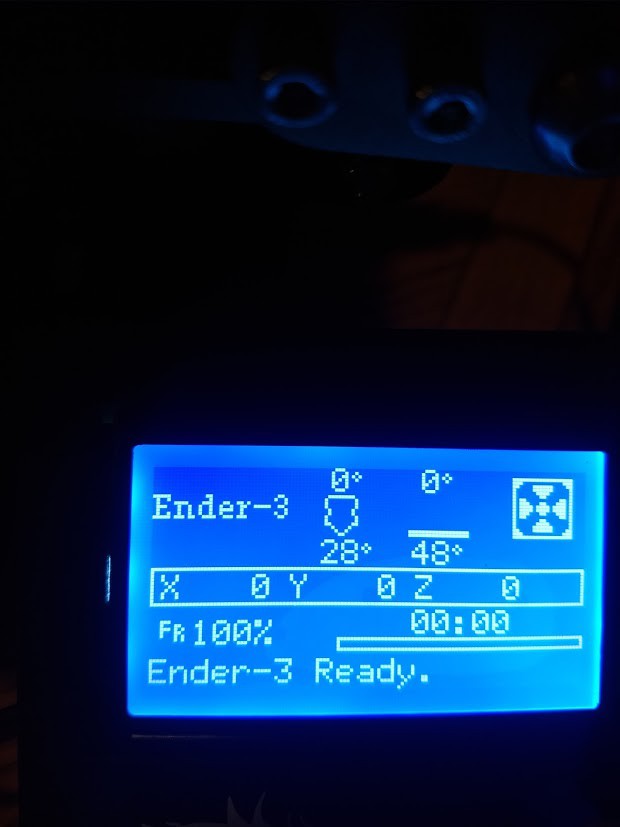
Okay, nothing exploded, it homed properly, now we need to get some firmware on here I feel comfortable with.
I then used a USBtinyISP to program a bootloader onto it (Board installed inside printer was the v 1.1.4 board), downloaded a fresh copy of Marlin from their github site, copied the appropriate config files over, into it for the "Ender 3", and sent it over via USB.
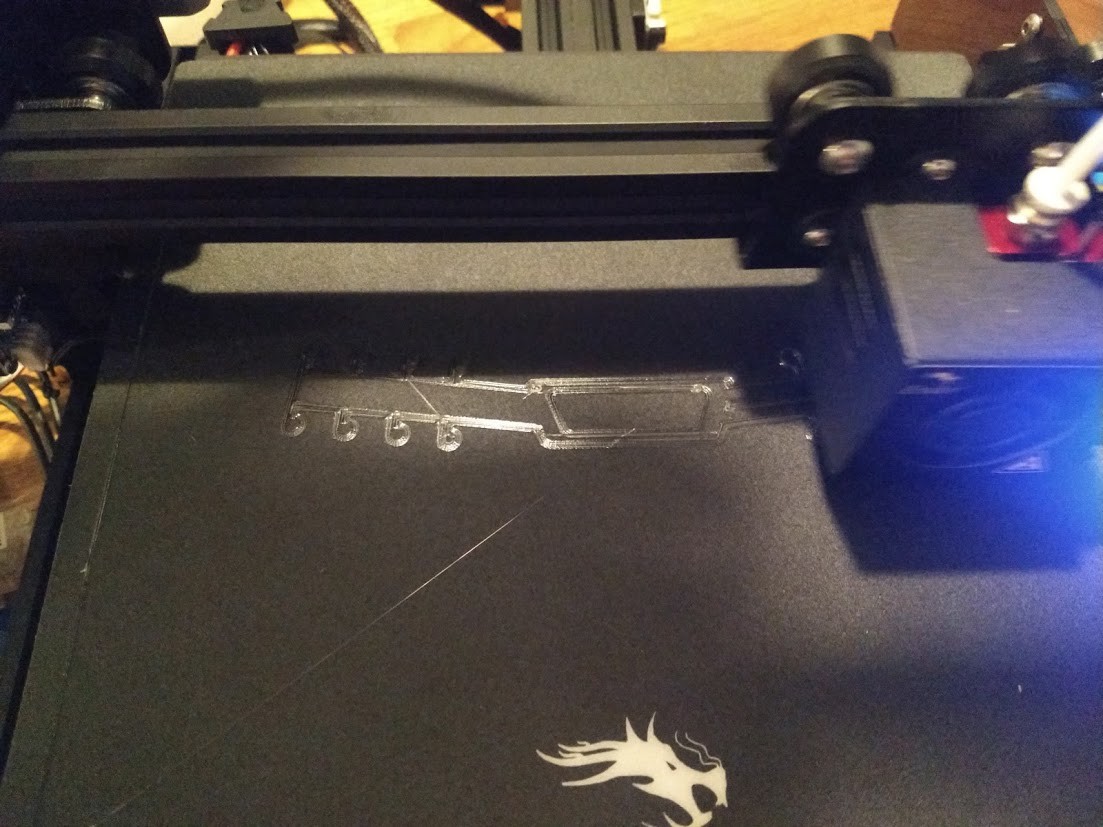
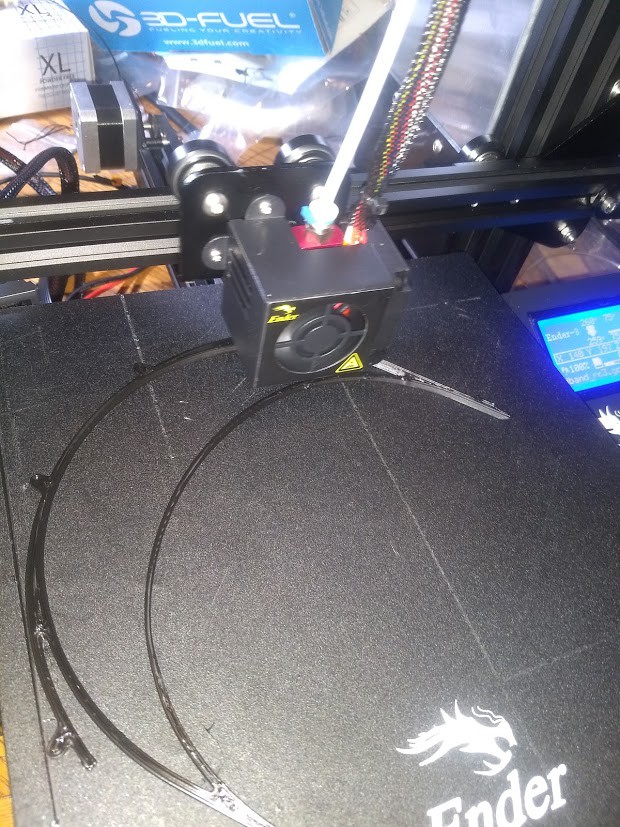
Here is the first attempt at a print:
![]()
It all worked fairly well, although I would get a overtemp warning if I tried to print too quickly after stopping a print due to the thermal protection being a little too paranoid. I did not get this fixed, as it got a .6mm nozzle and spent a lot of time going through PETG making faceshield headband parts.
![]()
The bed got chewed up pretty good in the end, I cannot say that these types of flexible magnetic beds are good for beginners, or PETG. Had a rather steep learning curve, learned that you should remove stuff with the bed hot if it's PETG! Anyway what I am saying is get one to learn on that way you have a chance of not destroying the second one!
![]()
^ Poor printbed, it had no idea what horrors it would see.
Putting together my Creality Ender 3 Pro
The process of assembling my Creality Ender 3 Pro 3D printer
 cprossu