-
13D Printing:
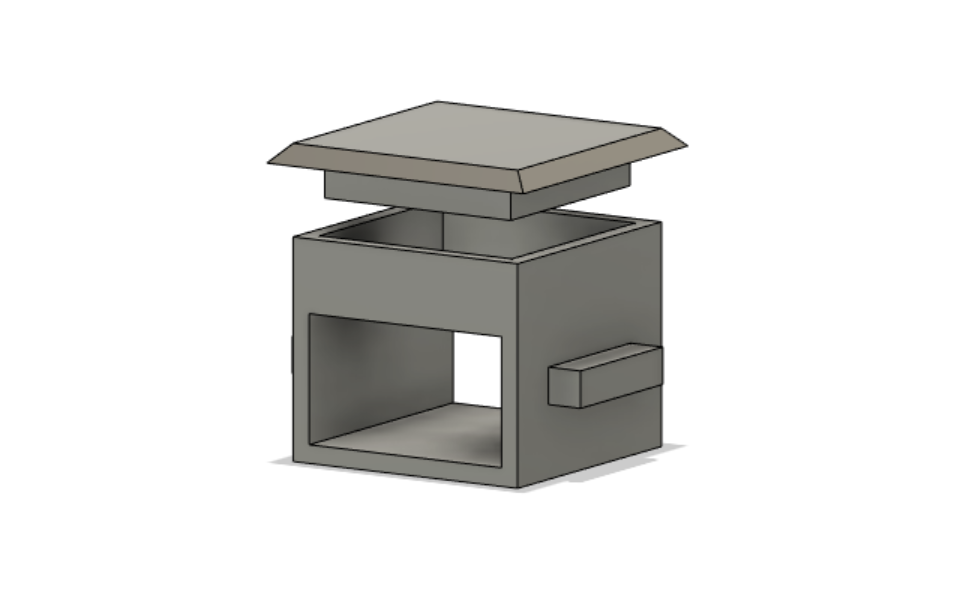
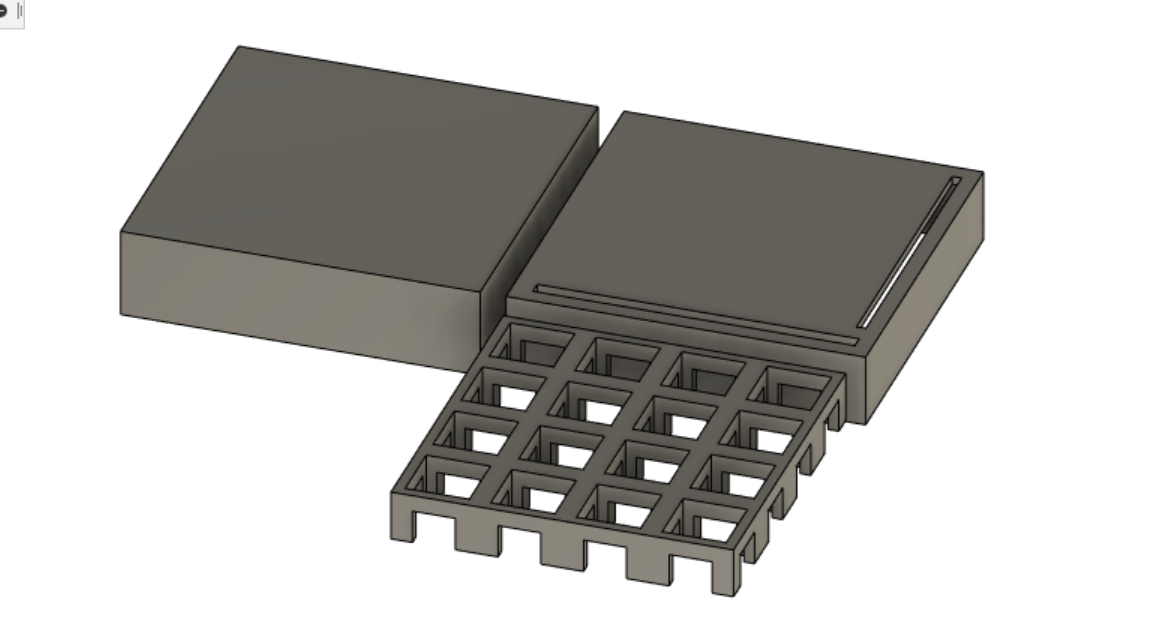
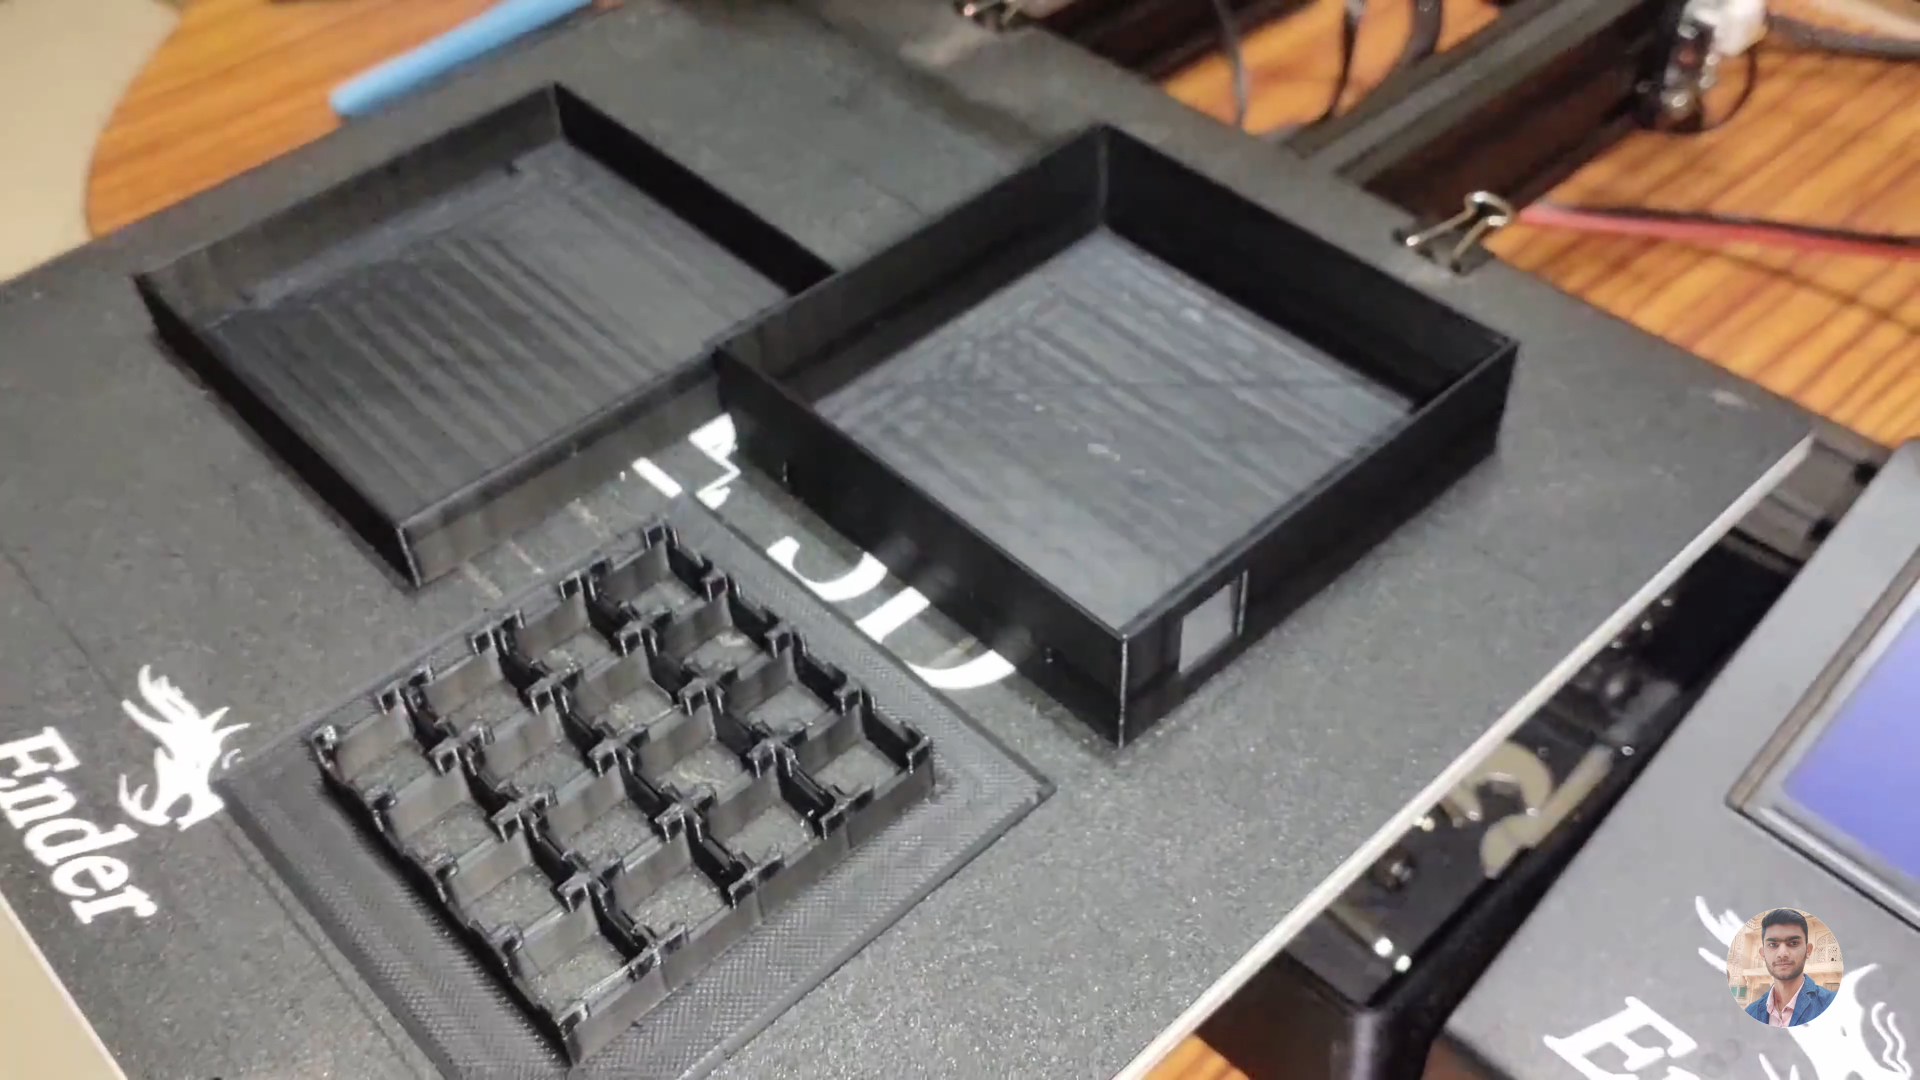
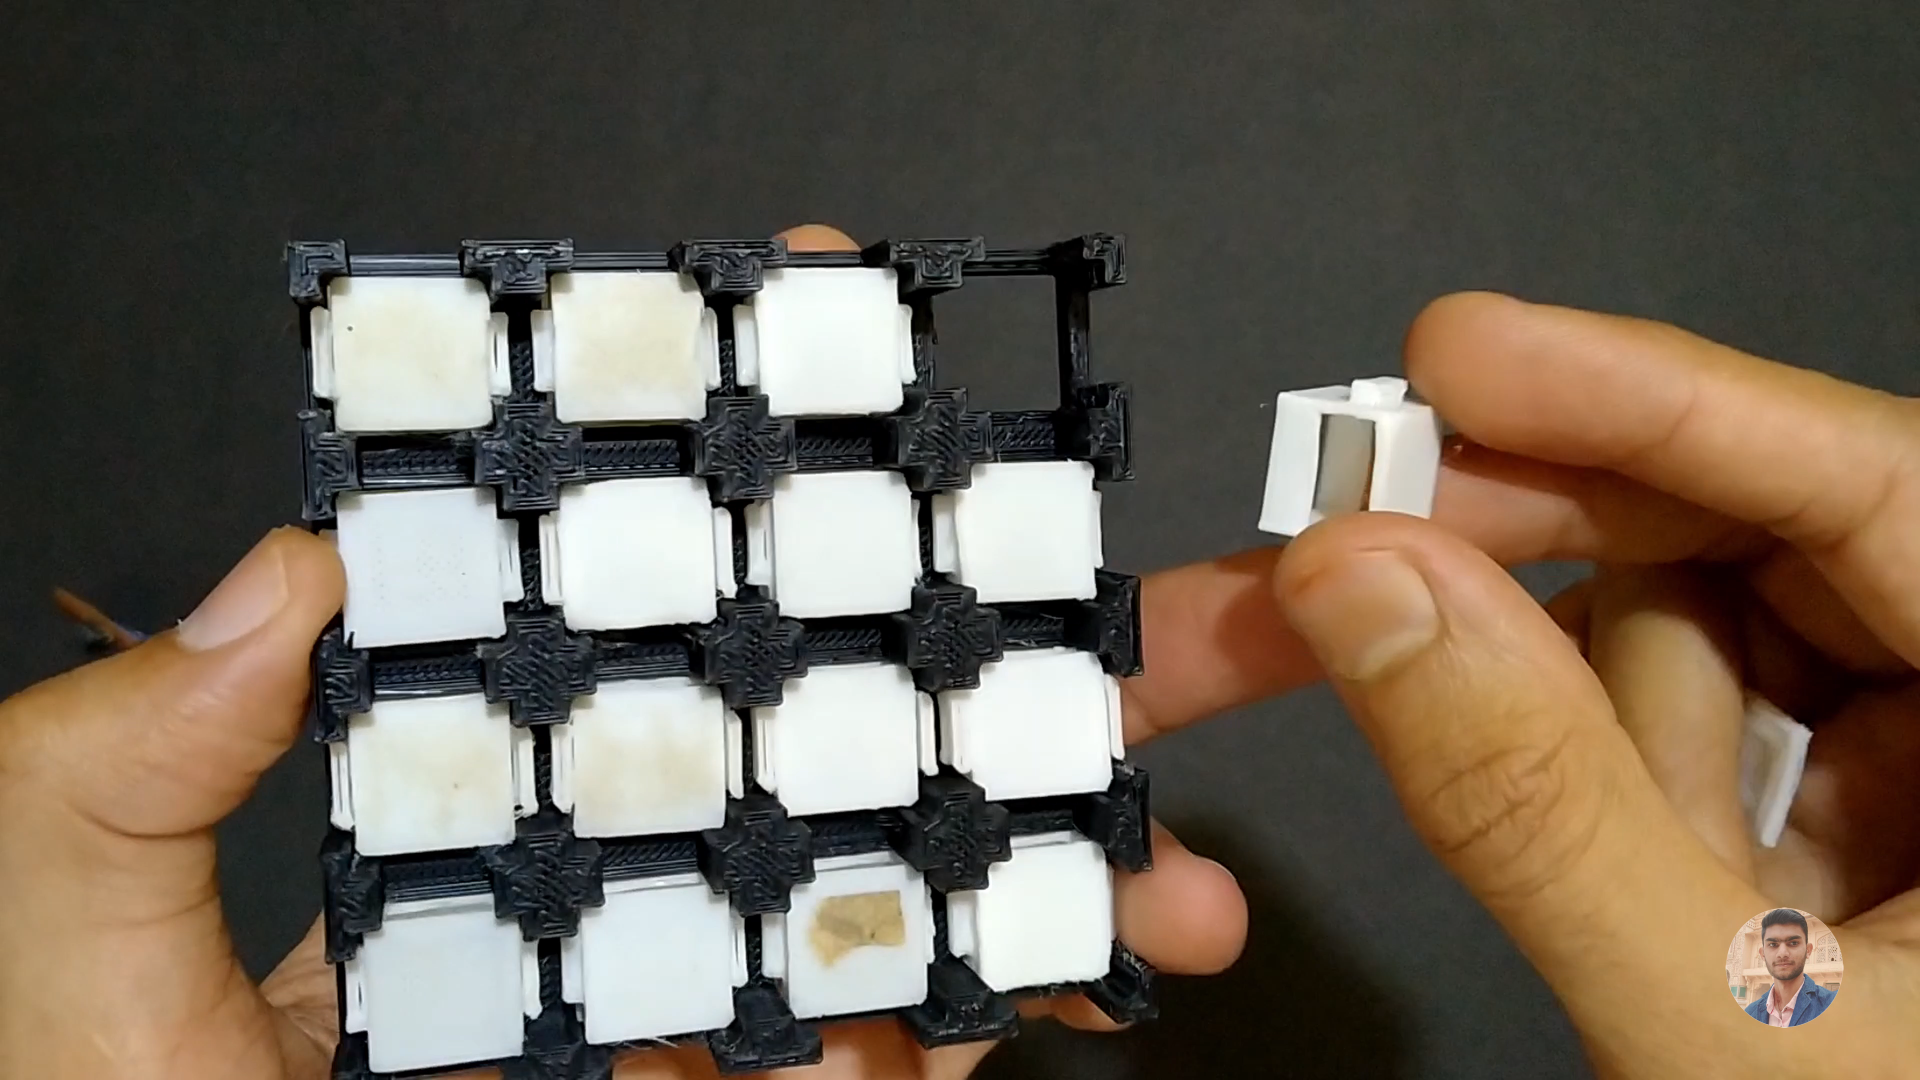
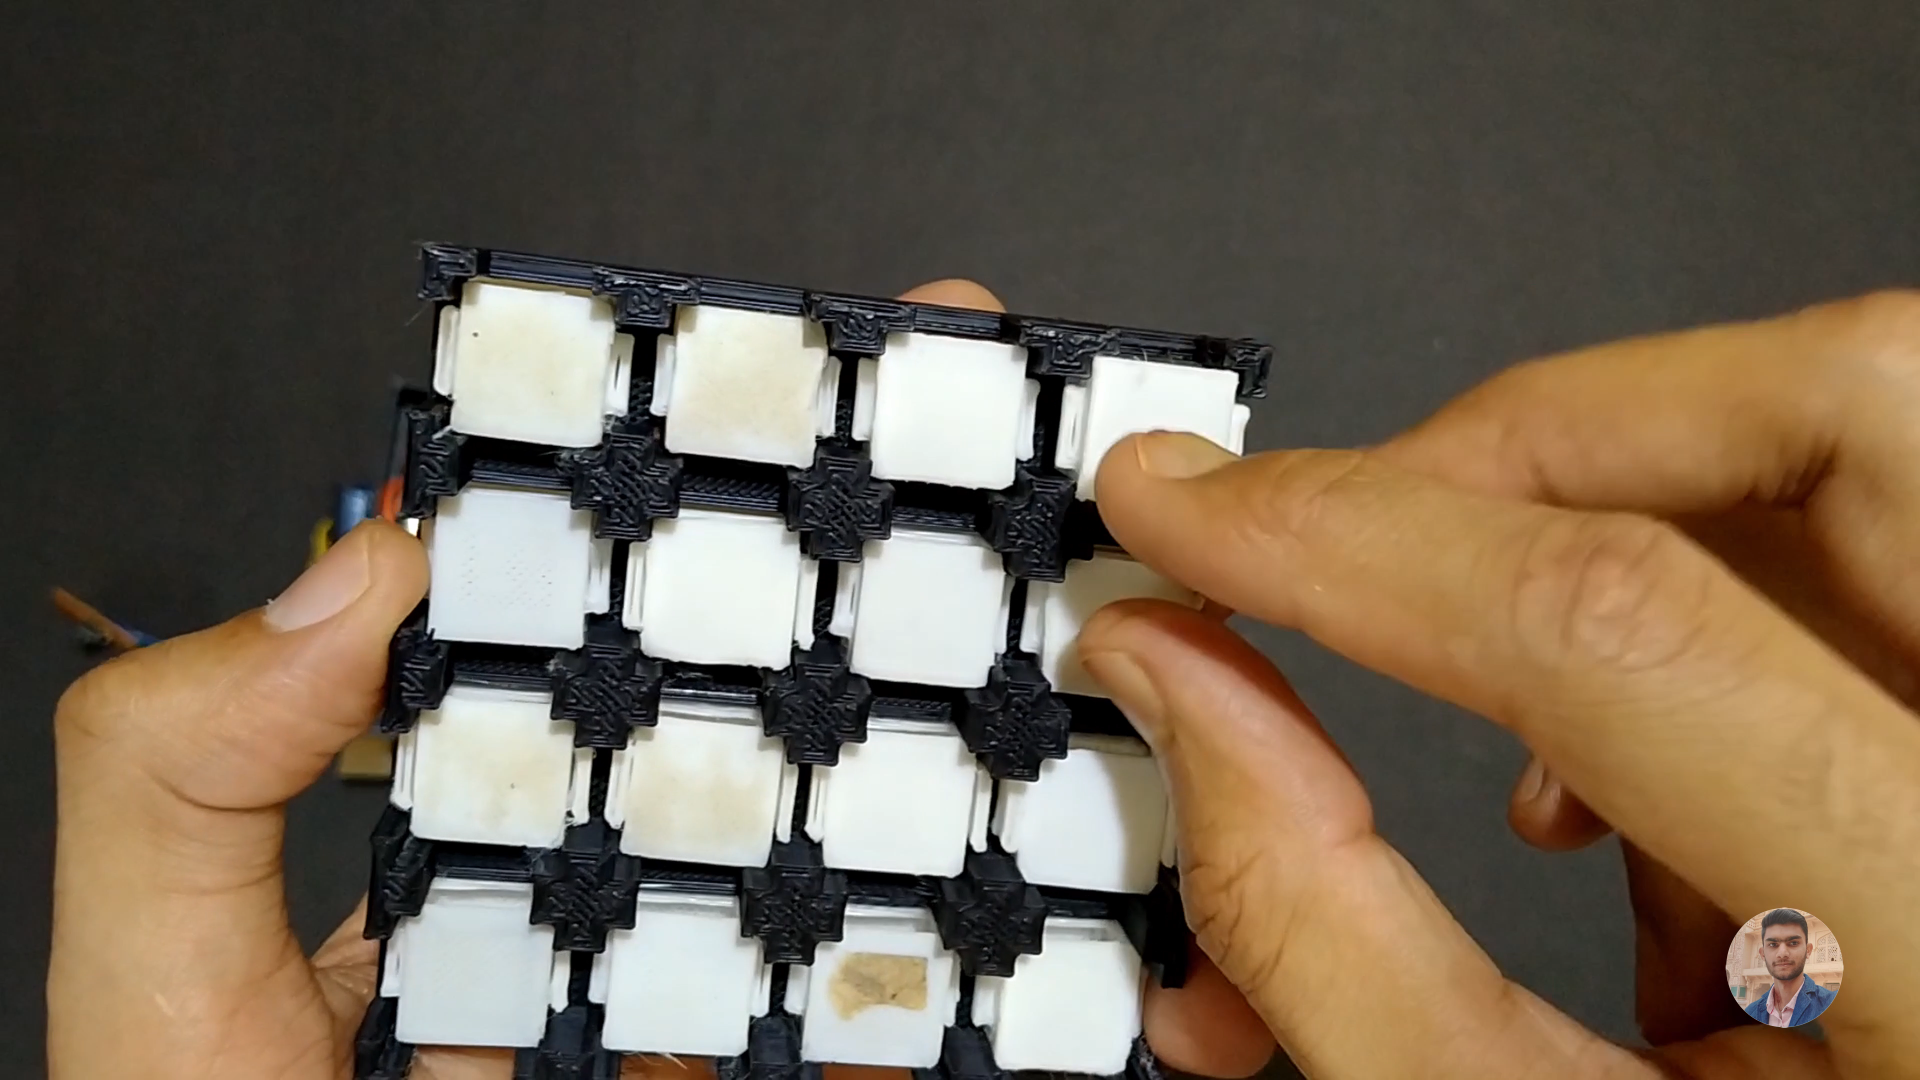
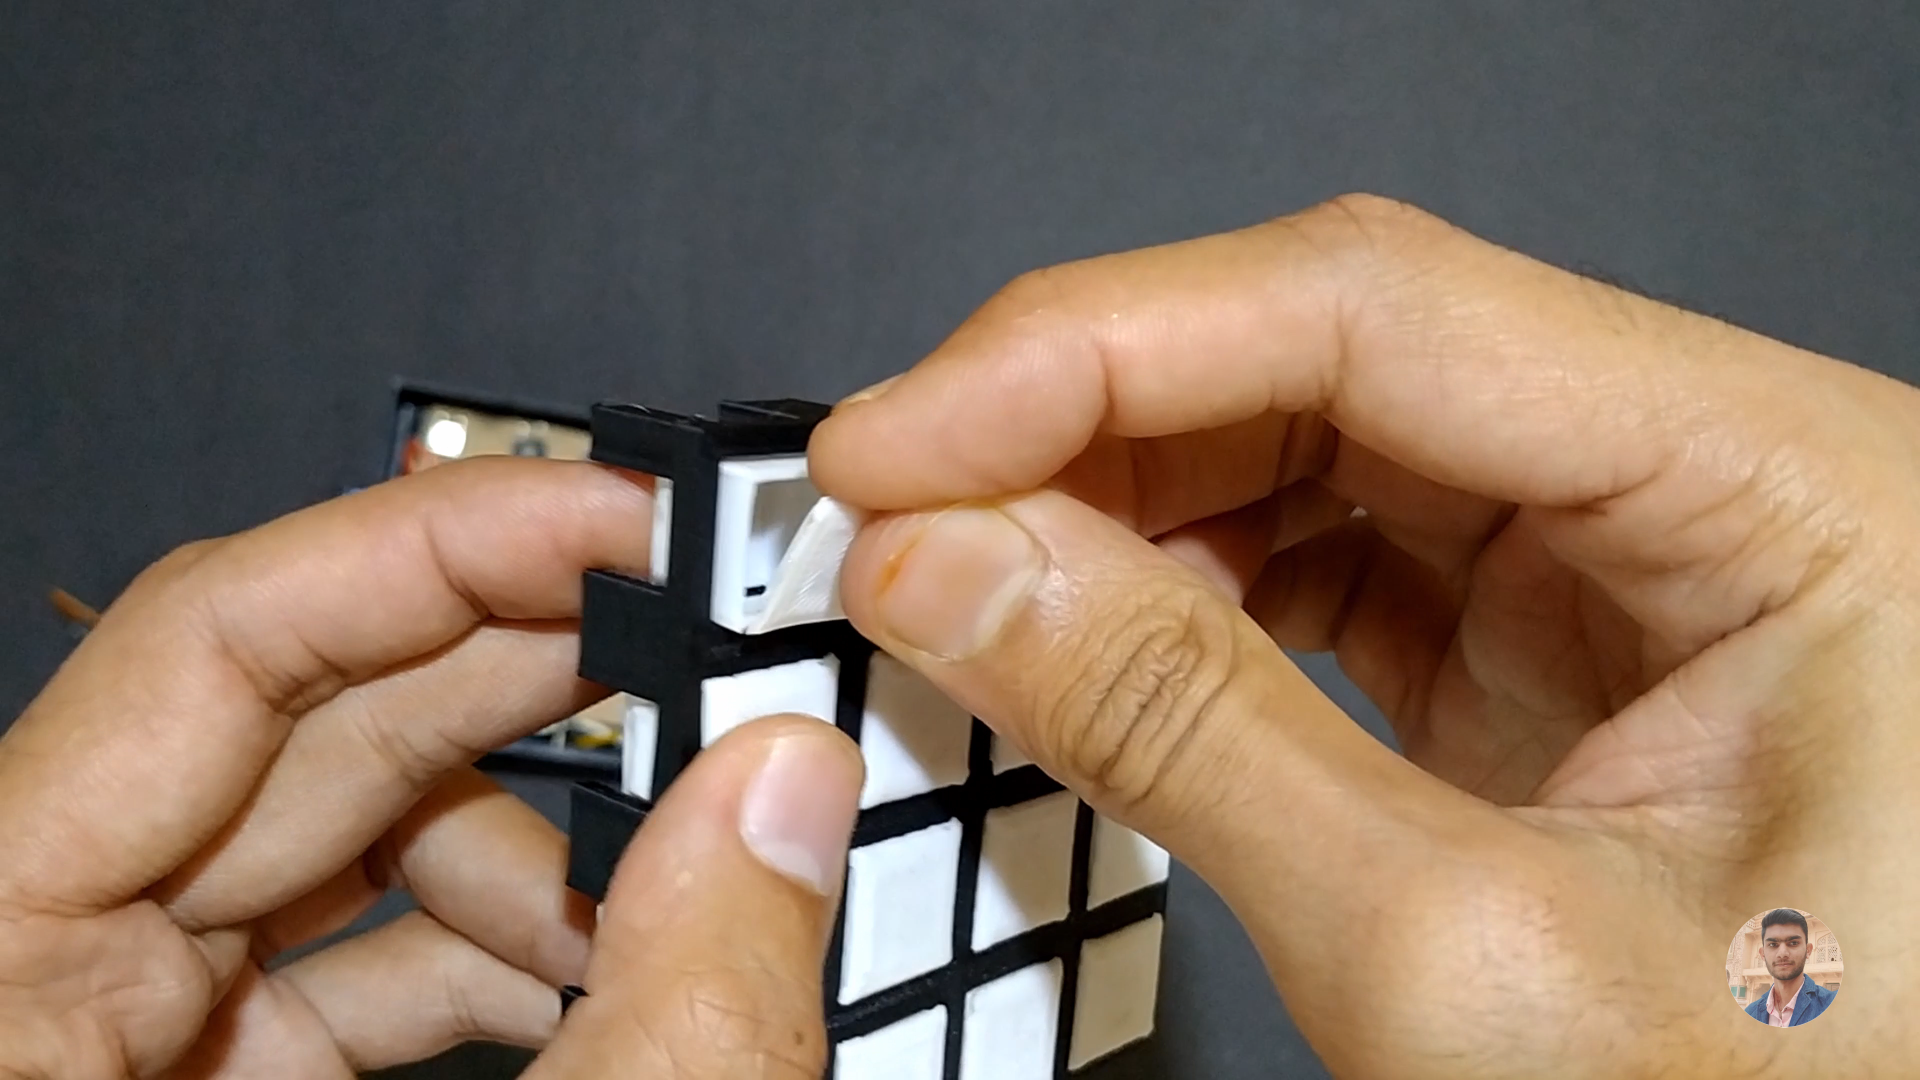
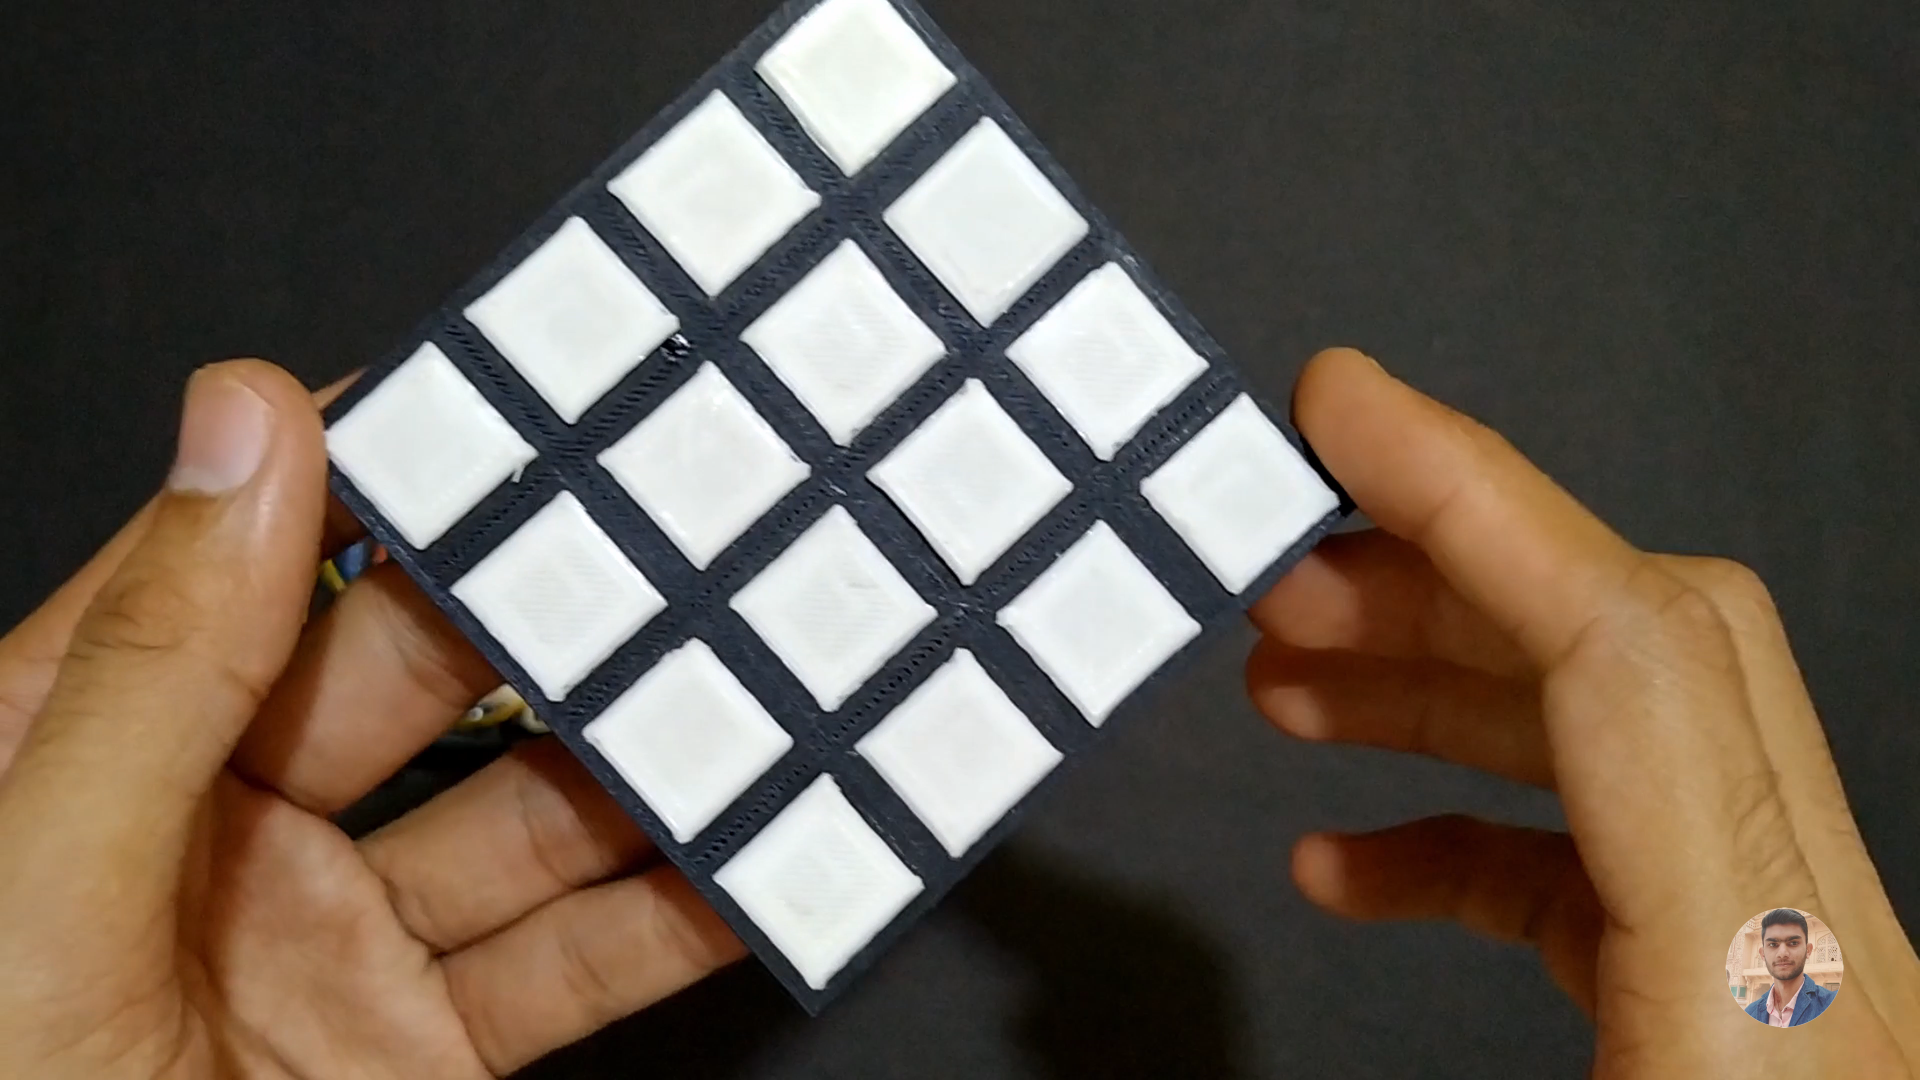
- 3D print all the parts provided in the link below.
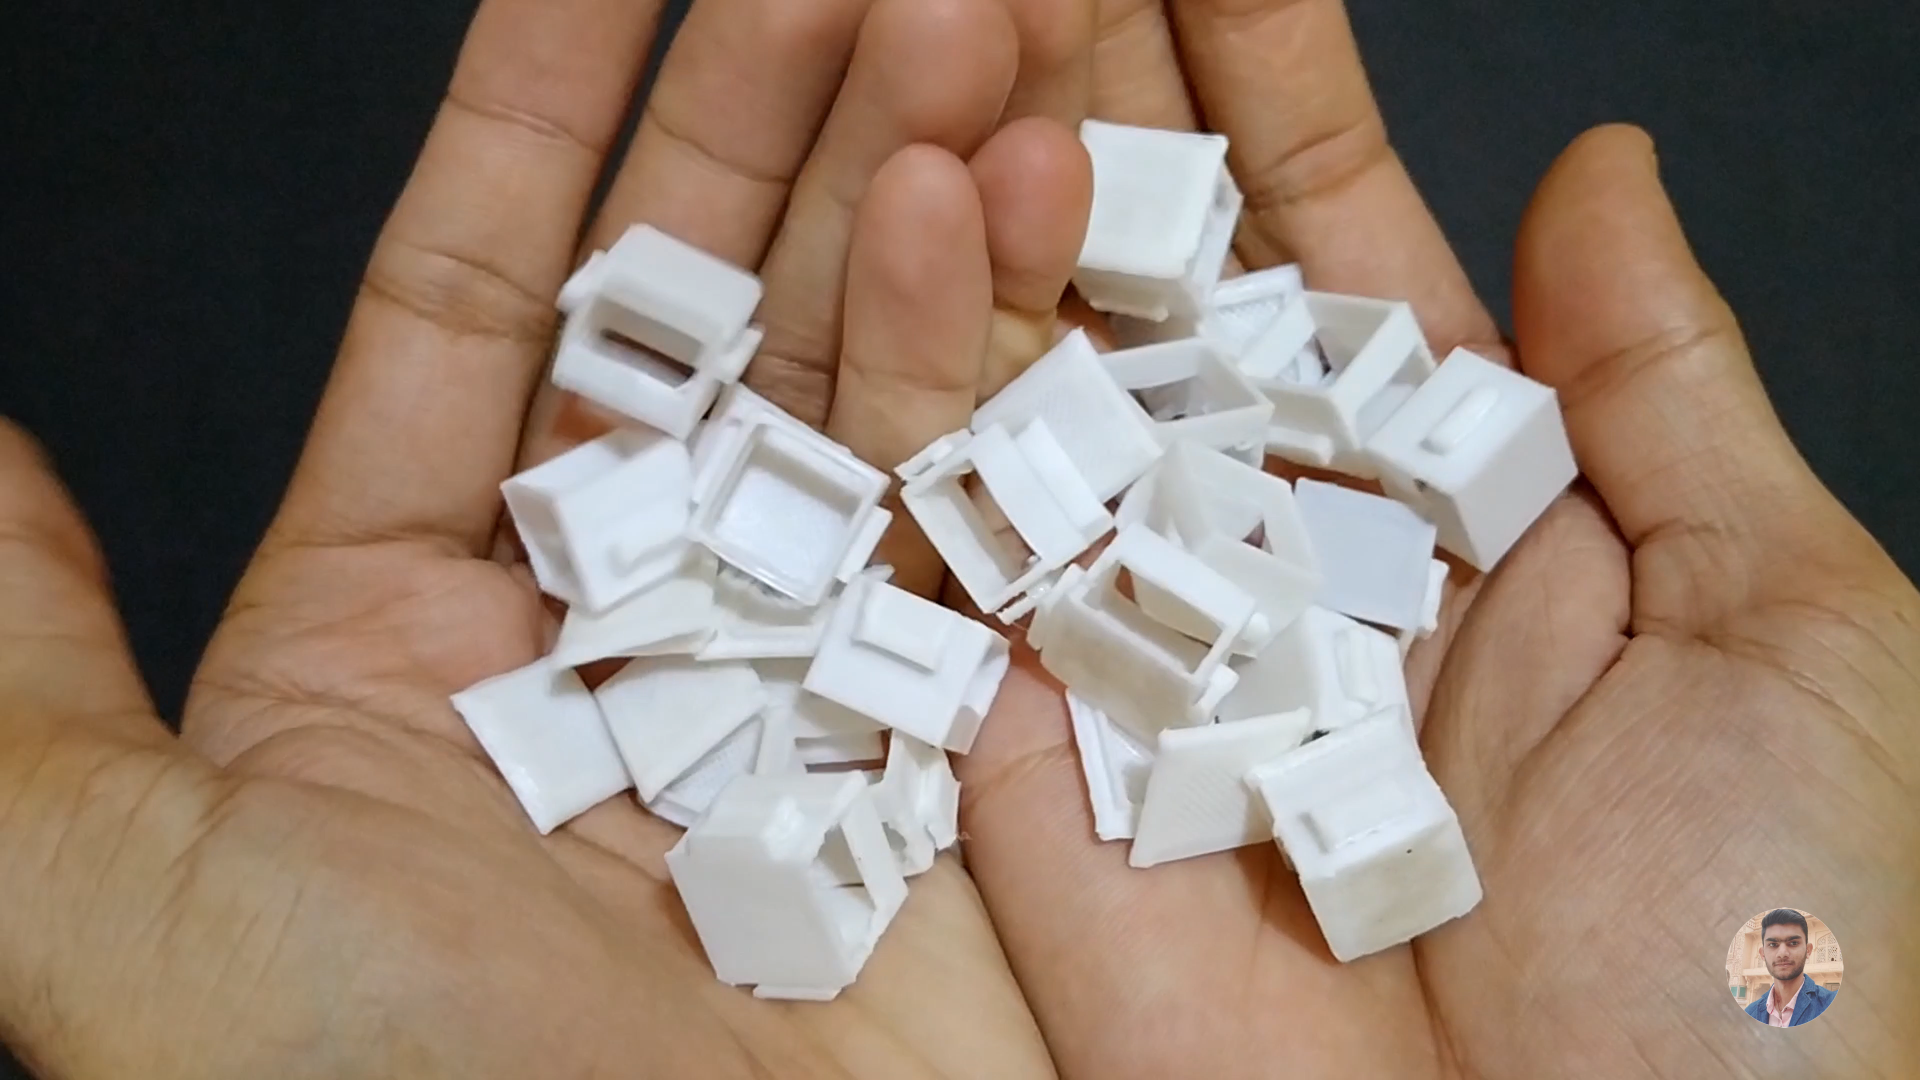
- 3D Print 16 small button in white PLA and remaining parts can be 3D printed in any color you want.
- After printing all the parts install all the 16 white buttons in the array using some fast glue.
![]()
![]()
![]()
![]()
![]()
![]()
![]()
![]()
-
2Making Push Buttons KeyPad :
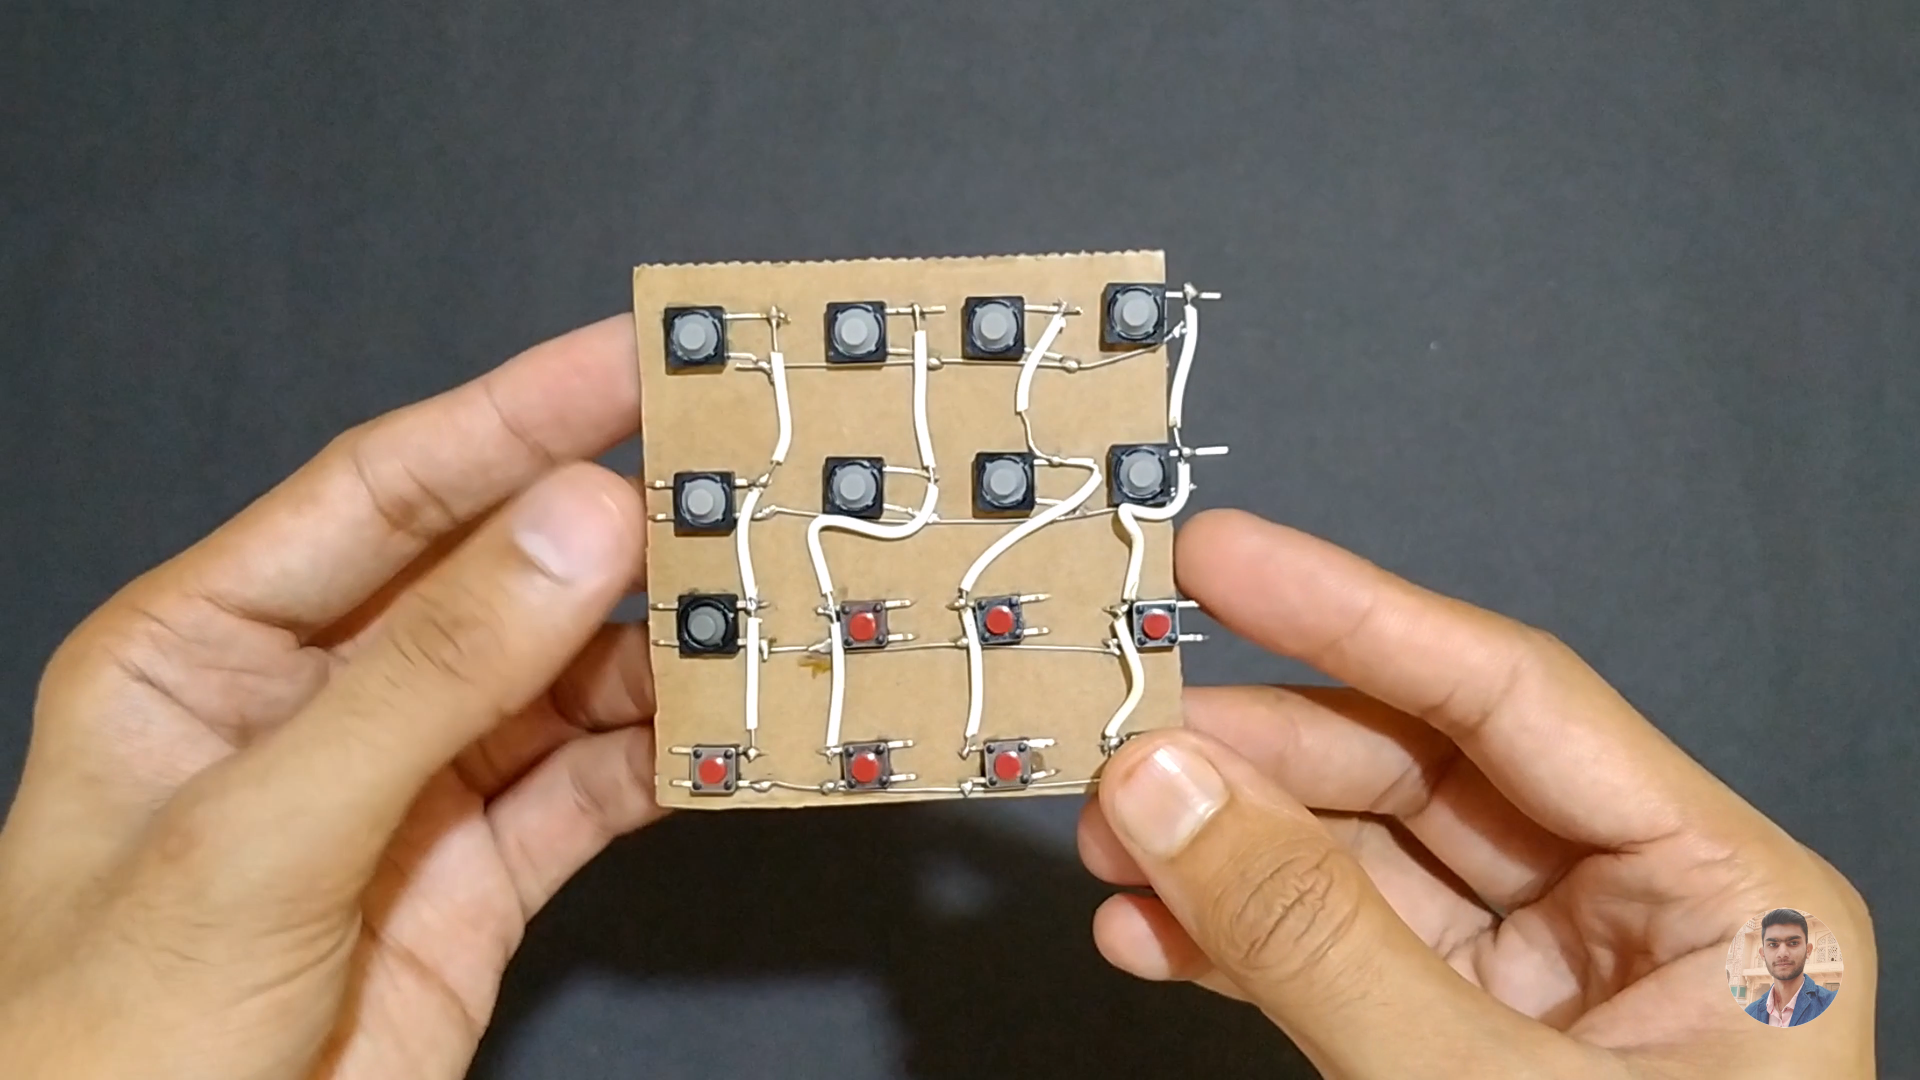
- Take a piece of cardboard,mark the positions with respect to 3D printed array on the cardboard.
- Glue all the 16 push buttons on the cardboard on the marked positions.
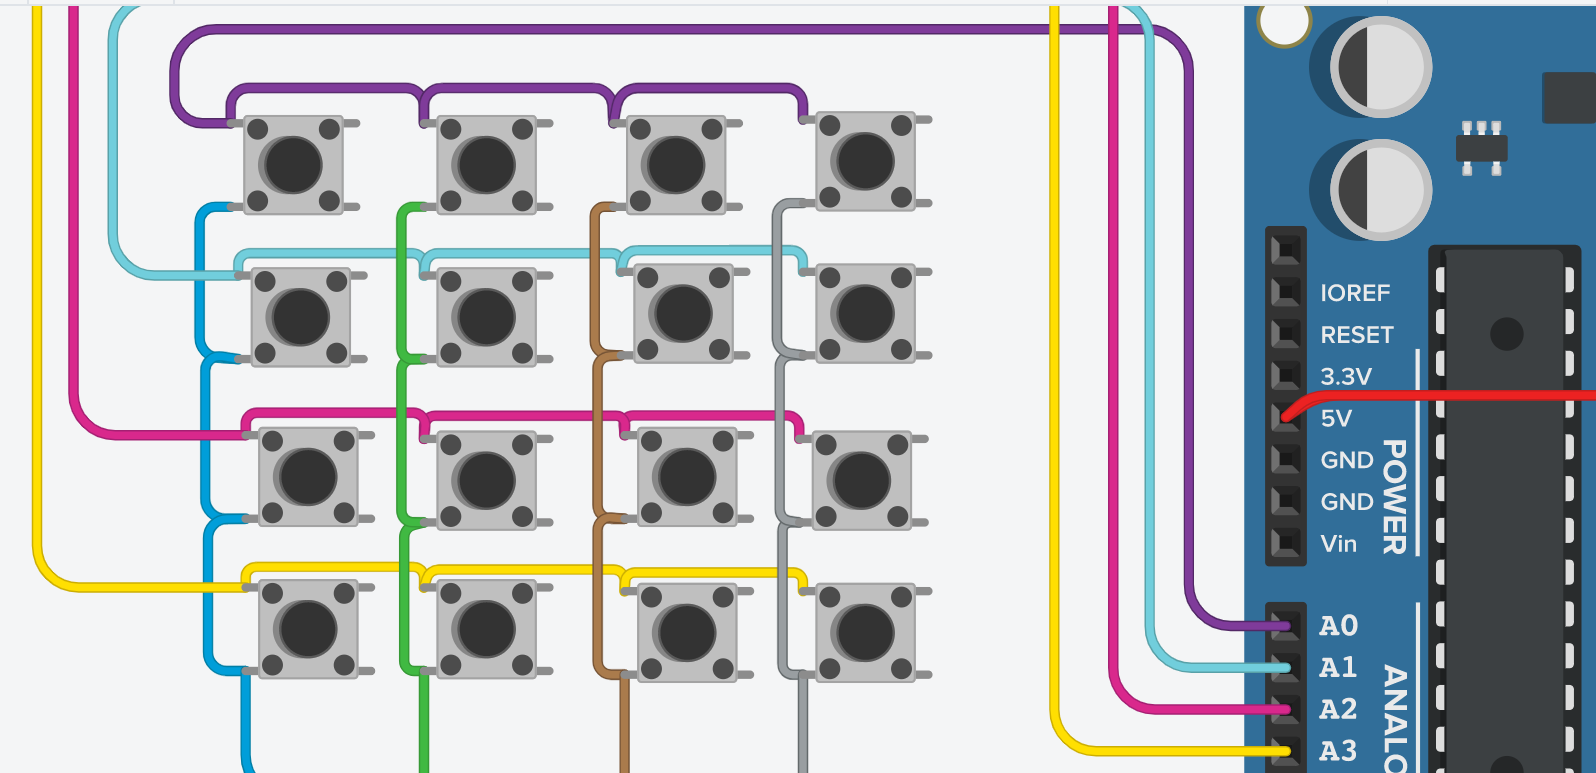
- Make all the connections by soldering the buttons with the help of some wires.
![]()
![]()
-
3Circuit Connection:
![]()
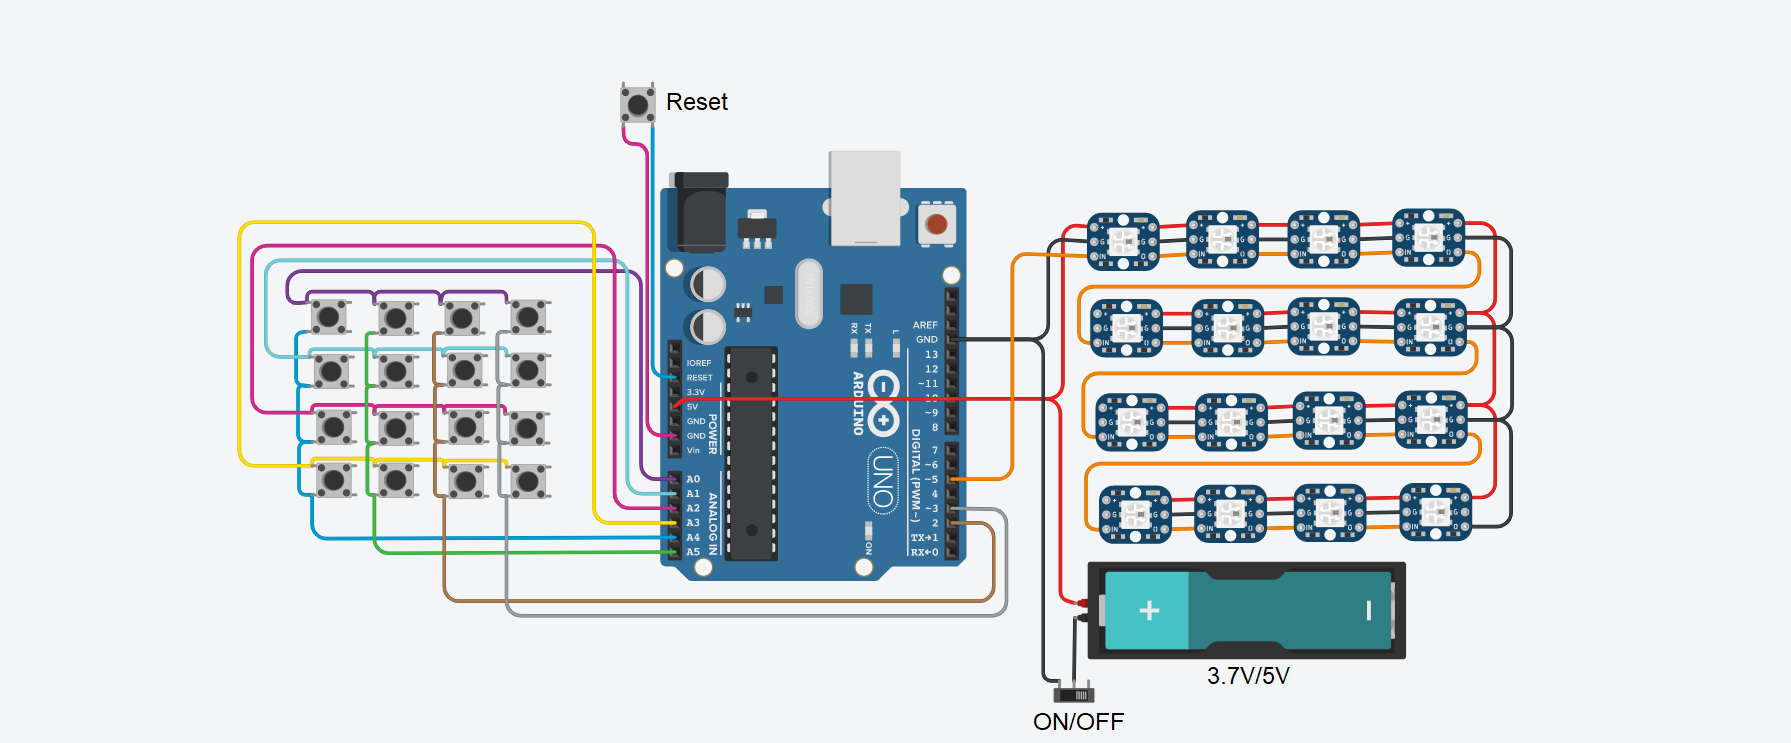
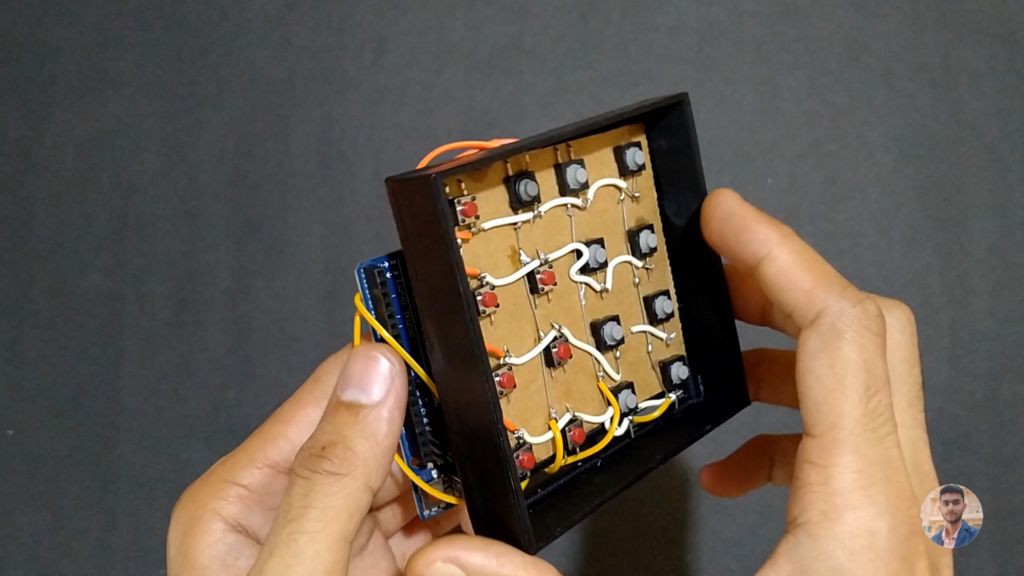
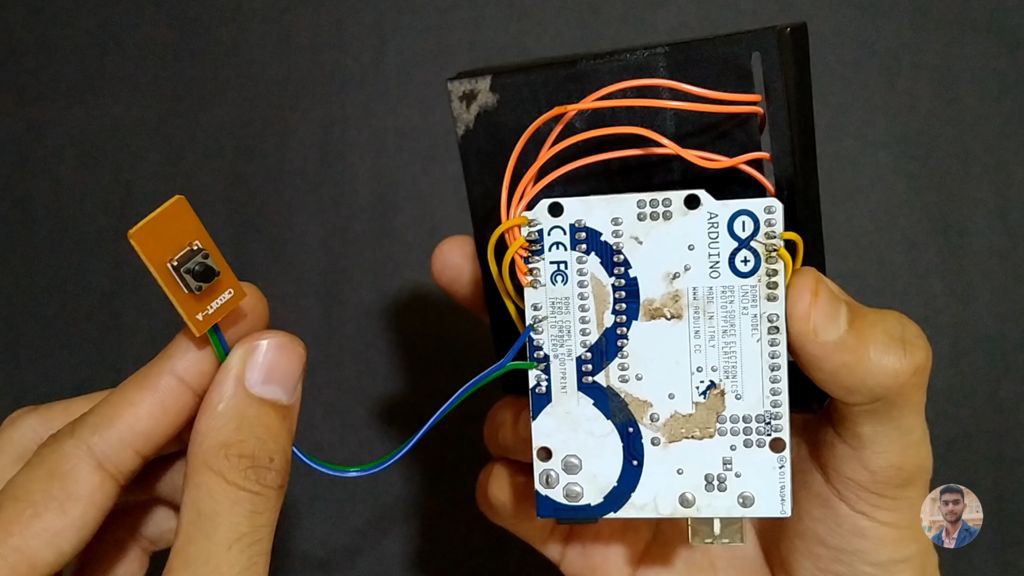
- Connect the push buttons keypad to Arduino Uno as shown in circuit diagram.(R1~A0,R2~A1,R3~A2,R4~A3,C1~A4,C2~A5,C3~Pin 2,C4~Pin 3).
- Also take a extra push button(Reset Button) and connect to Arduino.(Reset,GND).
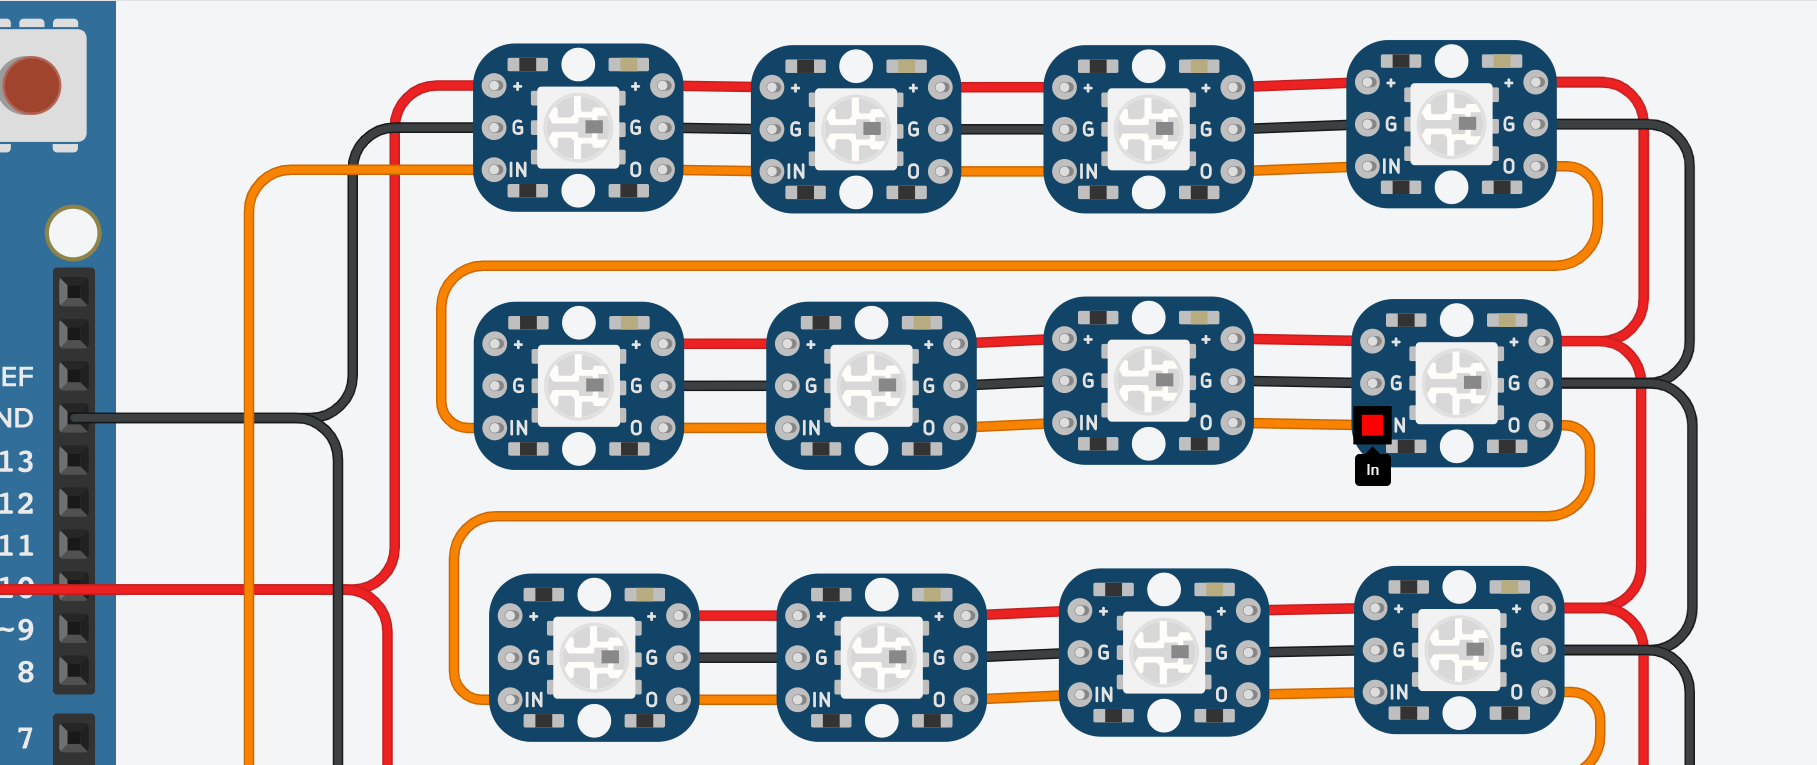
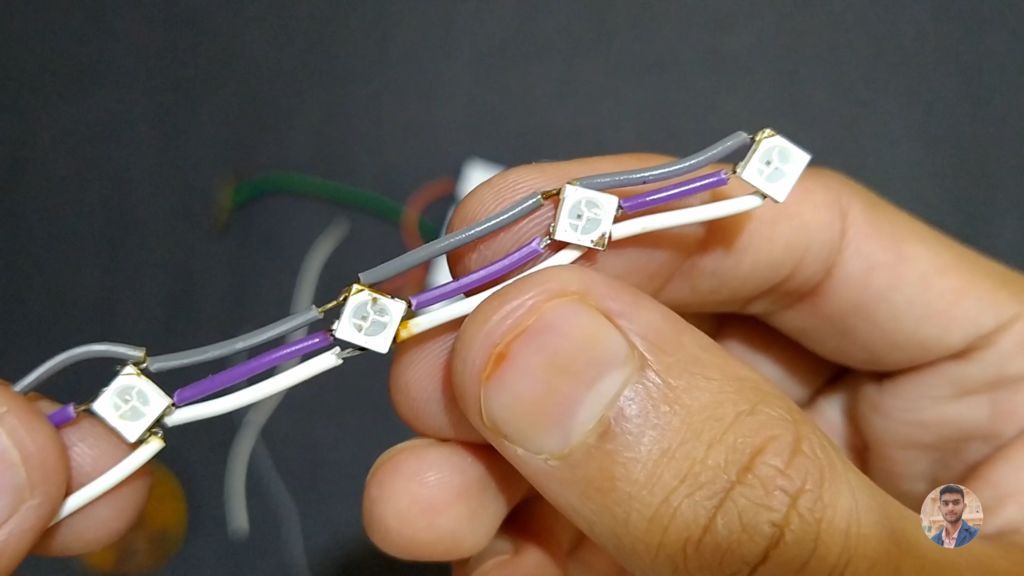
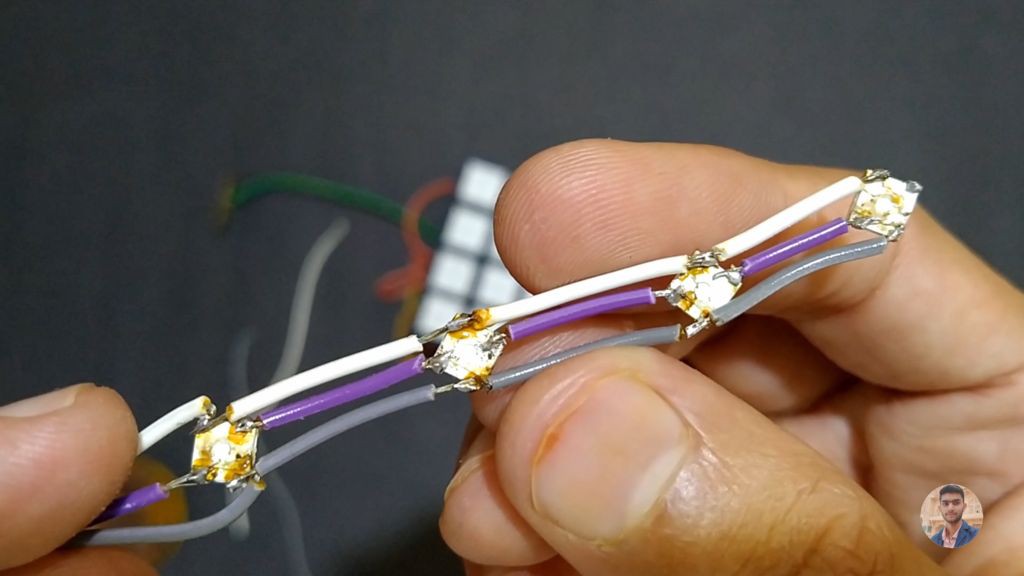
- Connect all the pixel LEDs.(-Ve/GND~GND,+Ve/5V~5V,Data In~Pin 5).
- I have used WS2812b LEDs,You can use the led strips which may be more convenient to use.
- Connect 3.7V/5V Batter with a ON/OFF Switch.
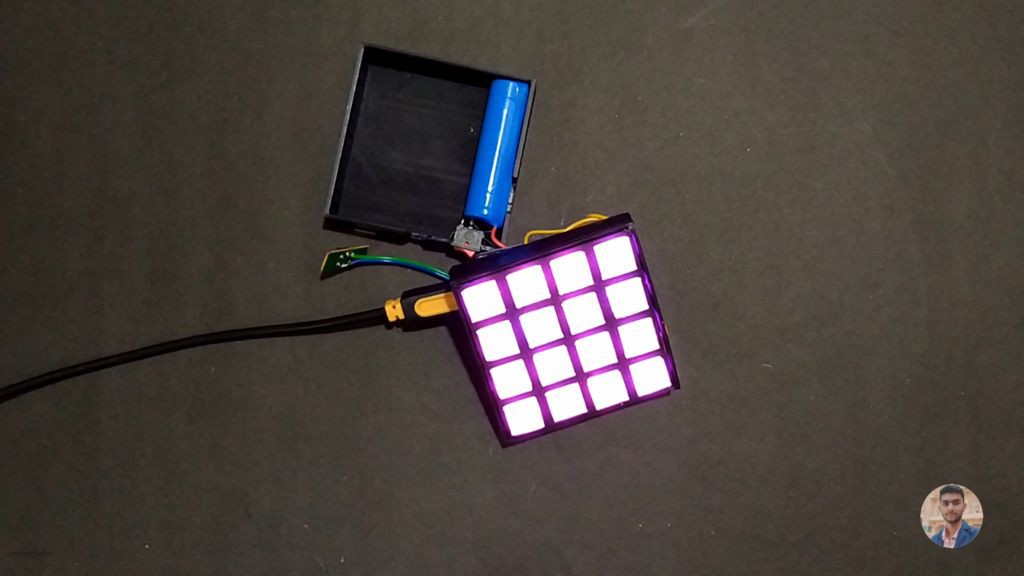
- Insert All the LEDs in each white 3D printed Buttons,one LED per each button.
![]()
![]()
![]()
![]()
![]()
![]()
-
4Code:
- Open the code in Arduino IDE : https://drive.google.com/drive/folders/1KeANdMzzXC...
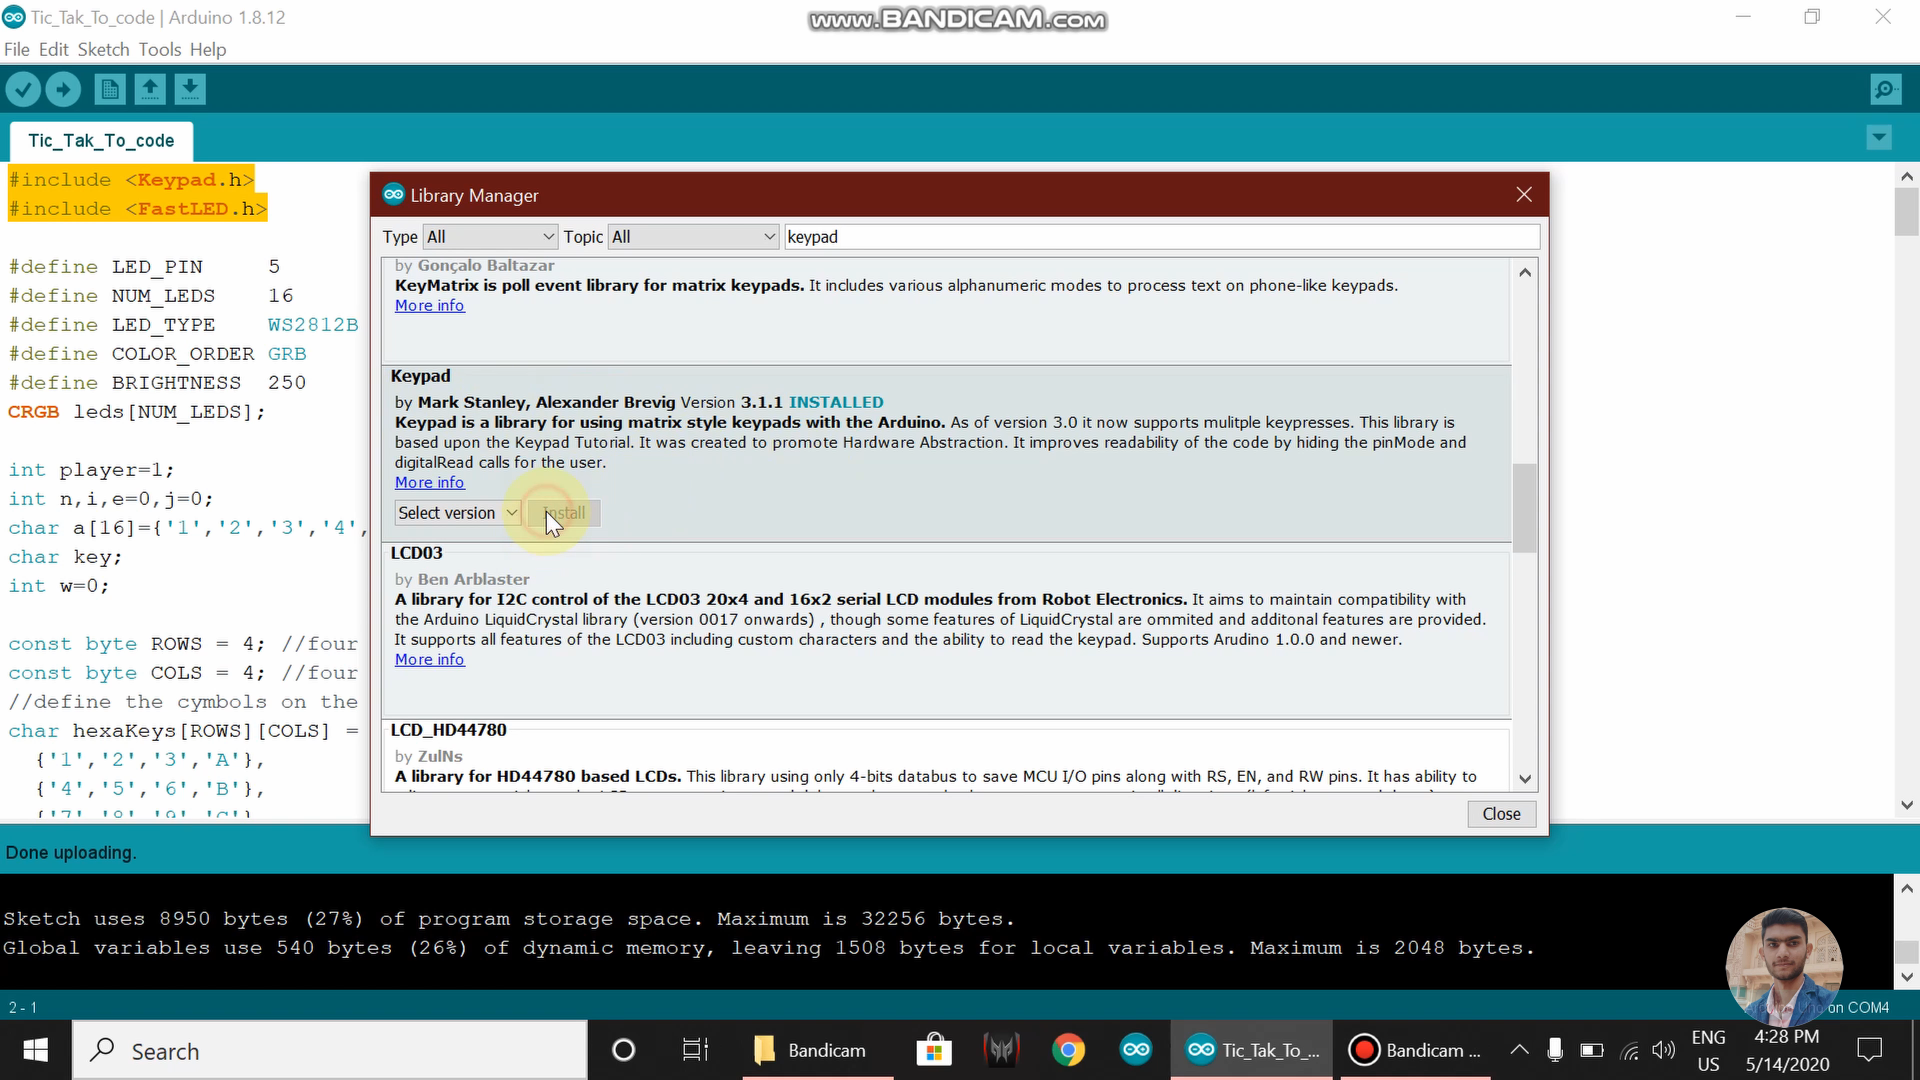
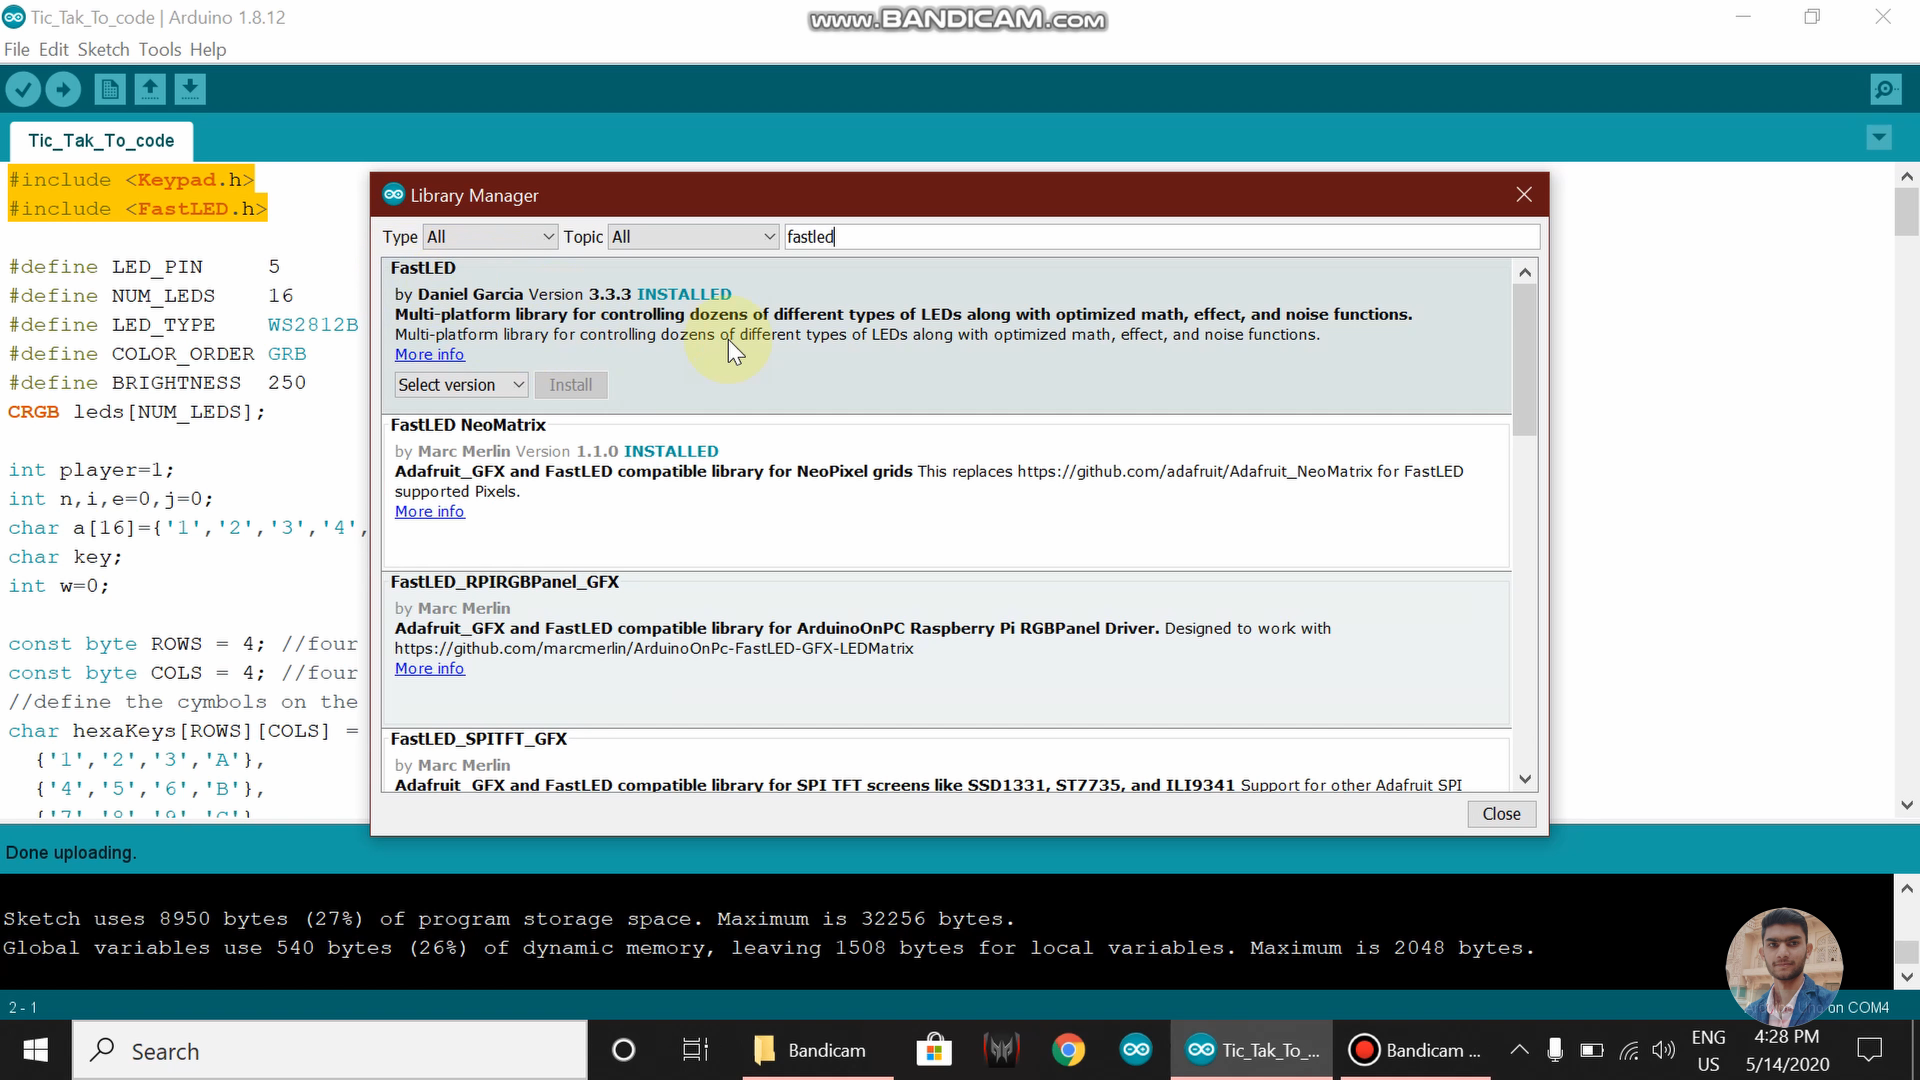
- Install the KeyPad library and FastLED library into the Arduino IDE.
- Connect Arduino Uno to your PC.
- Select Board Type and Port.
- Upload the code.
![]()
![]()
-
5Rules to Play:
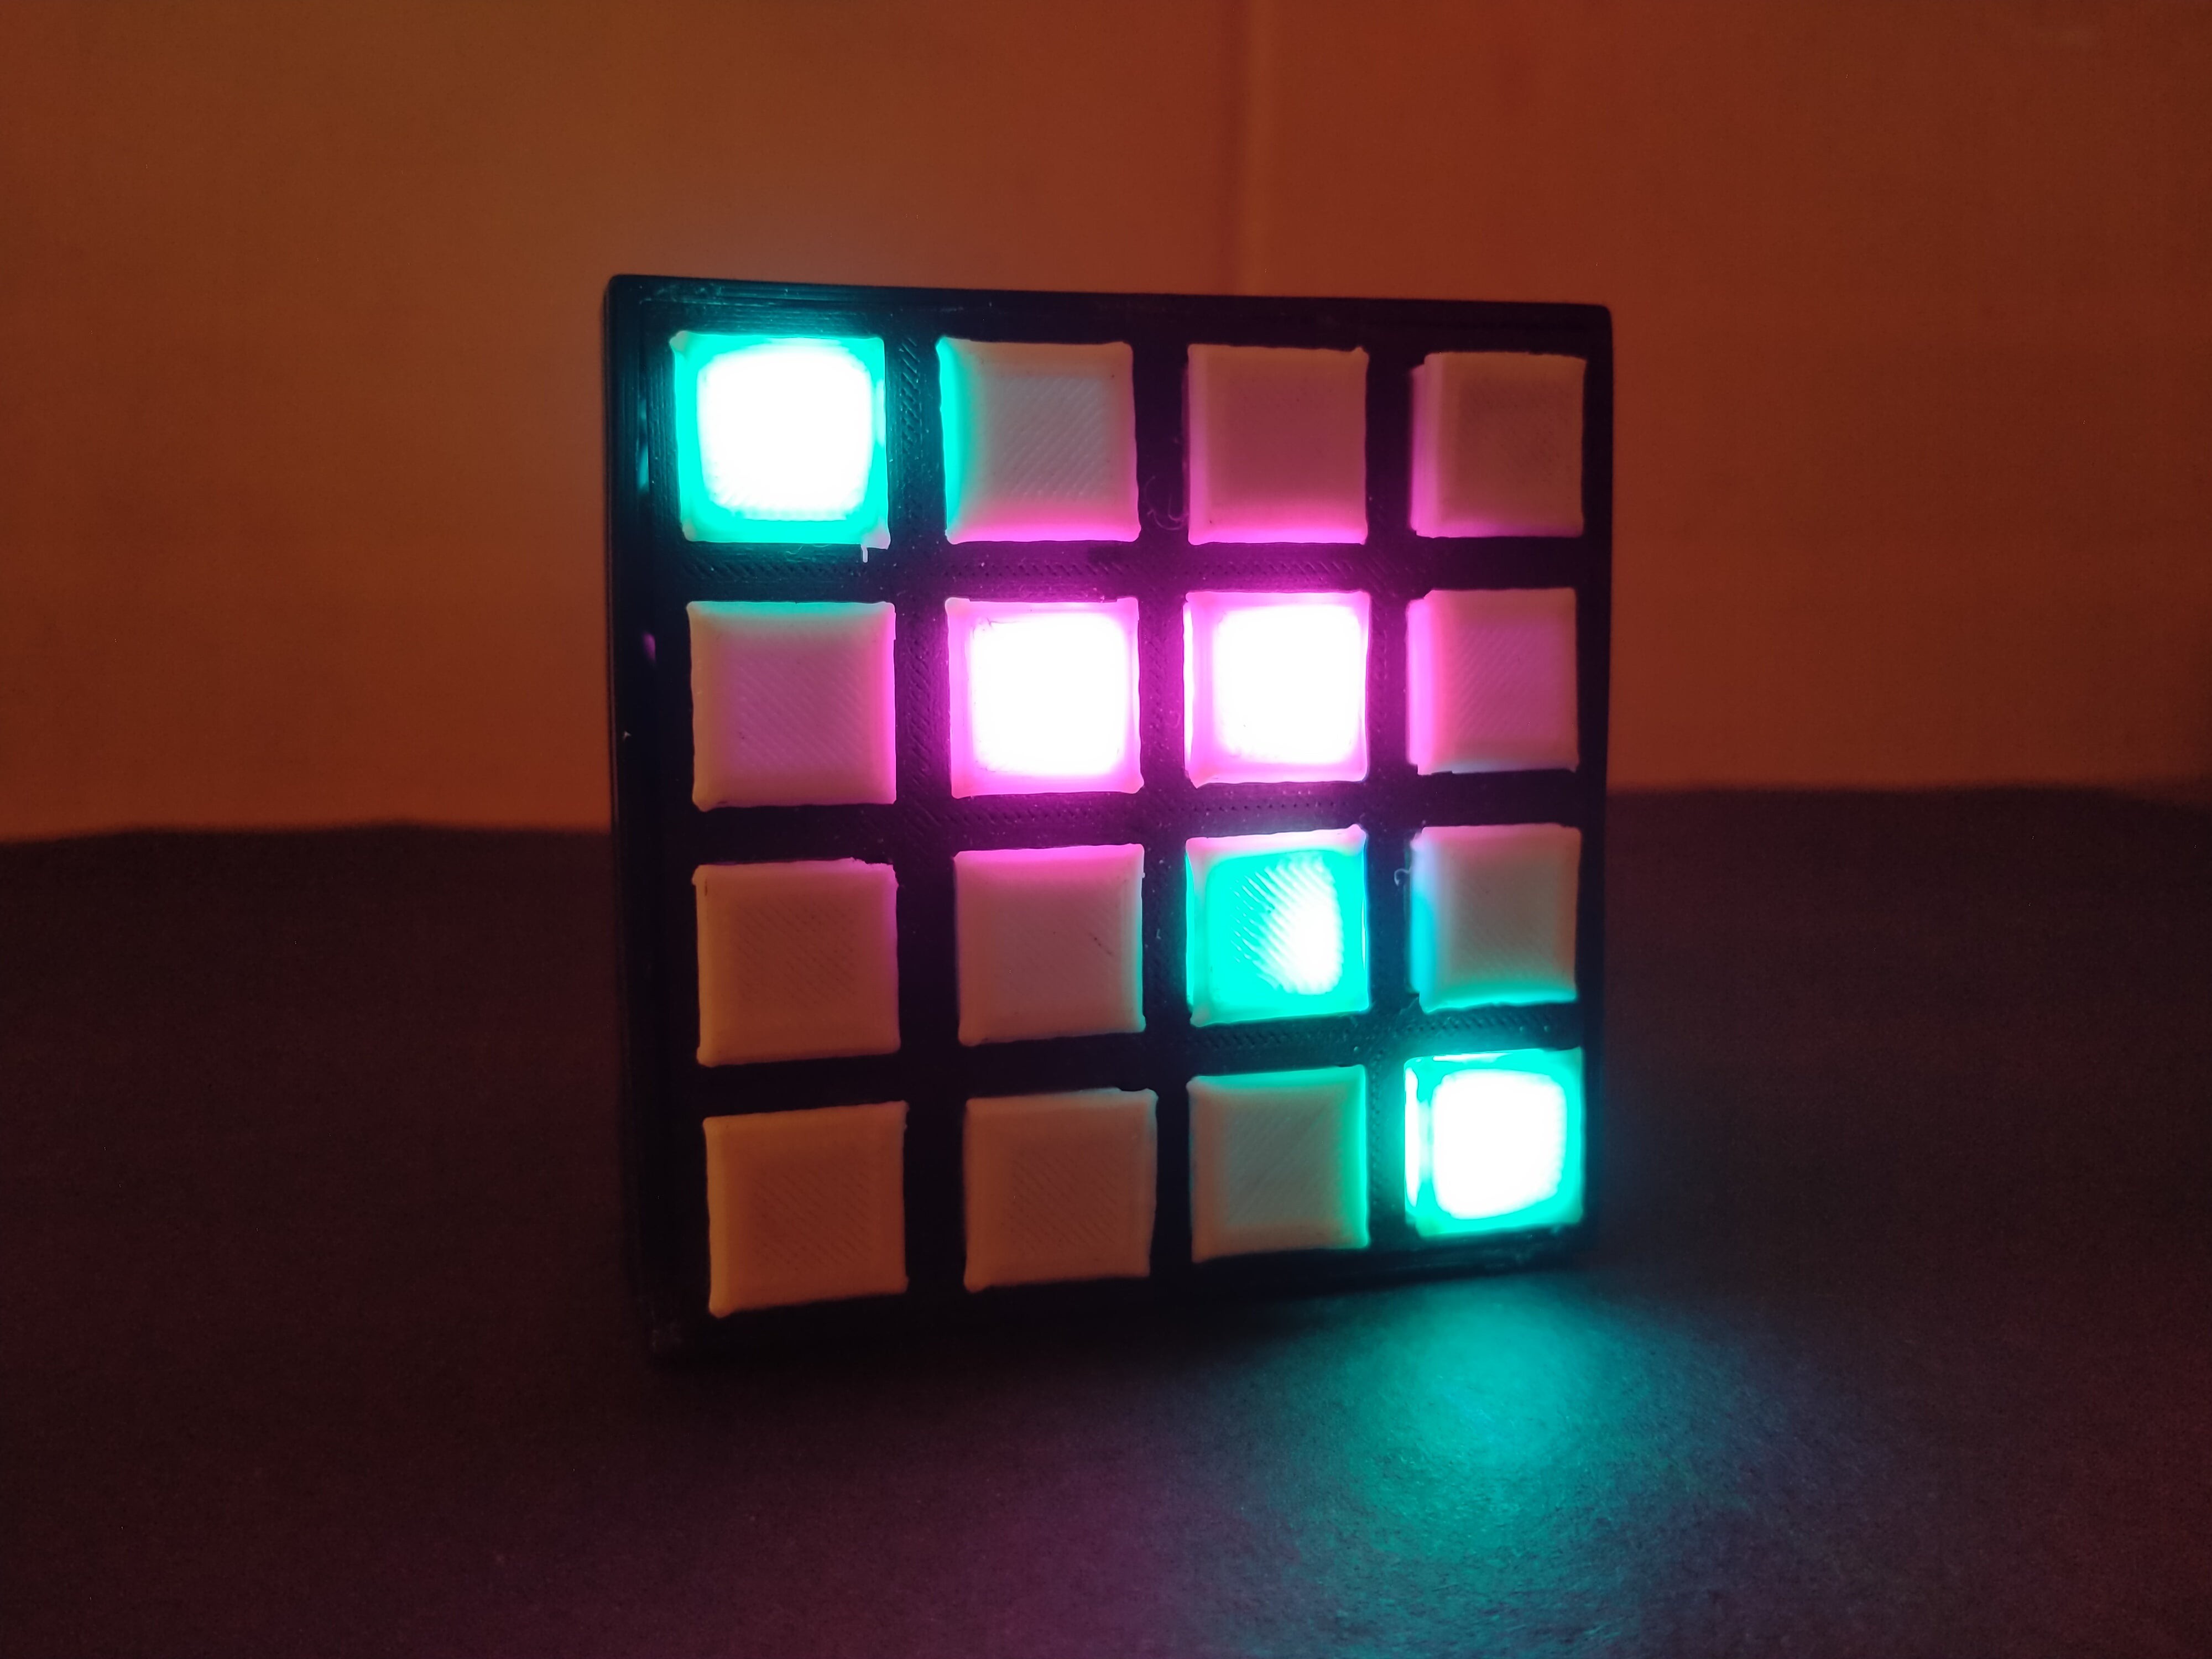
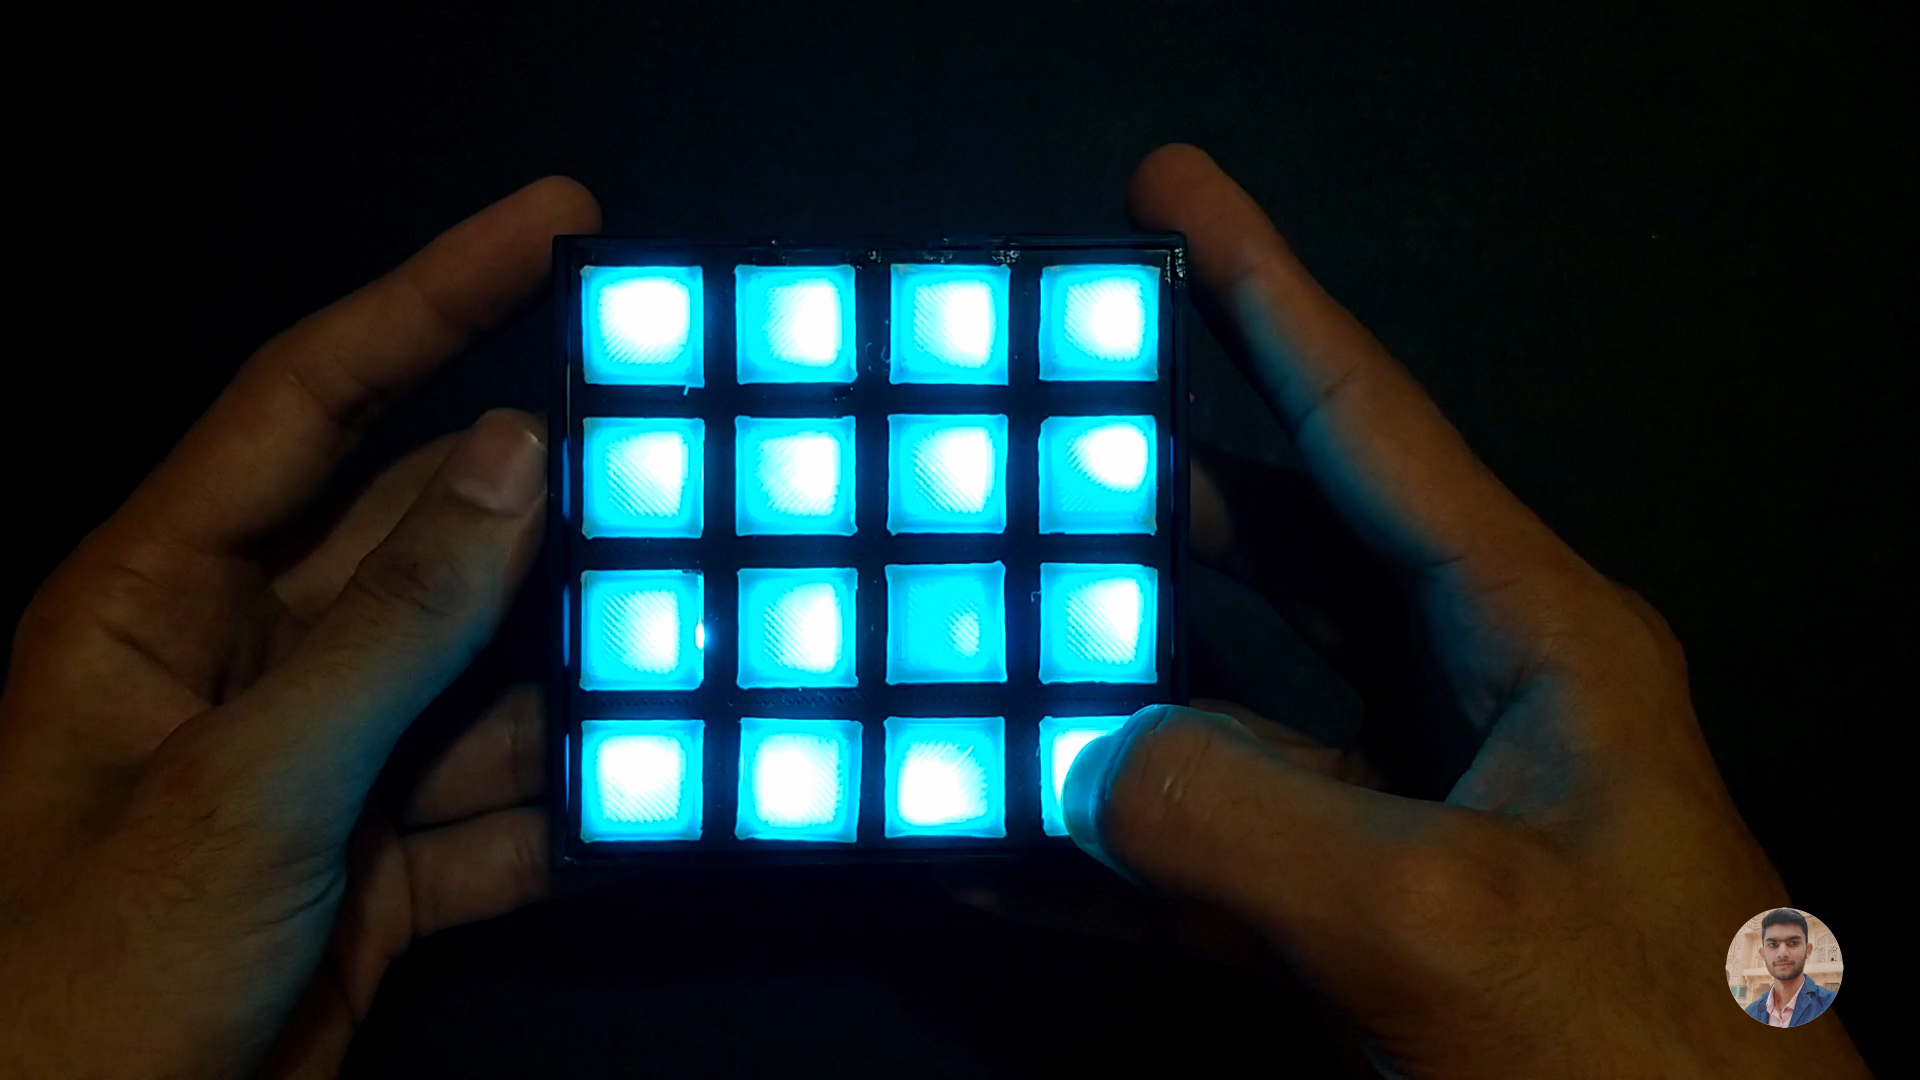
- Sky Blue represents Player 1.
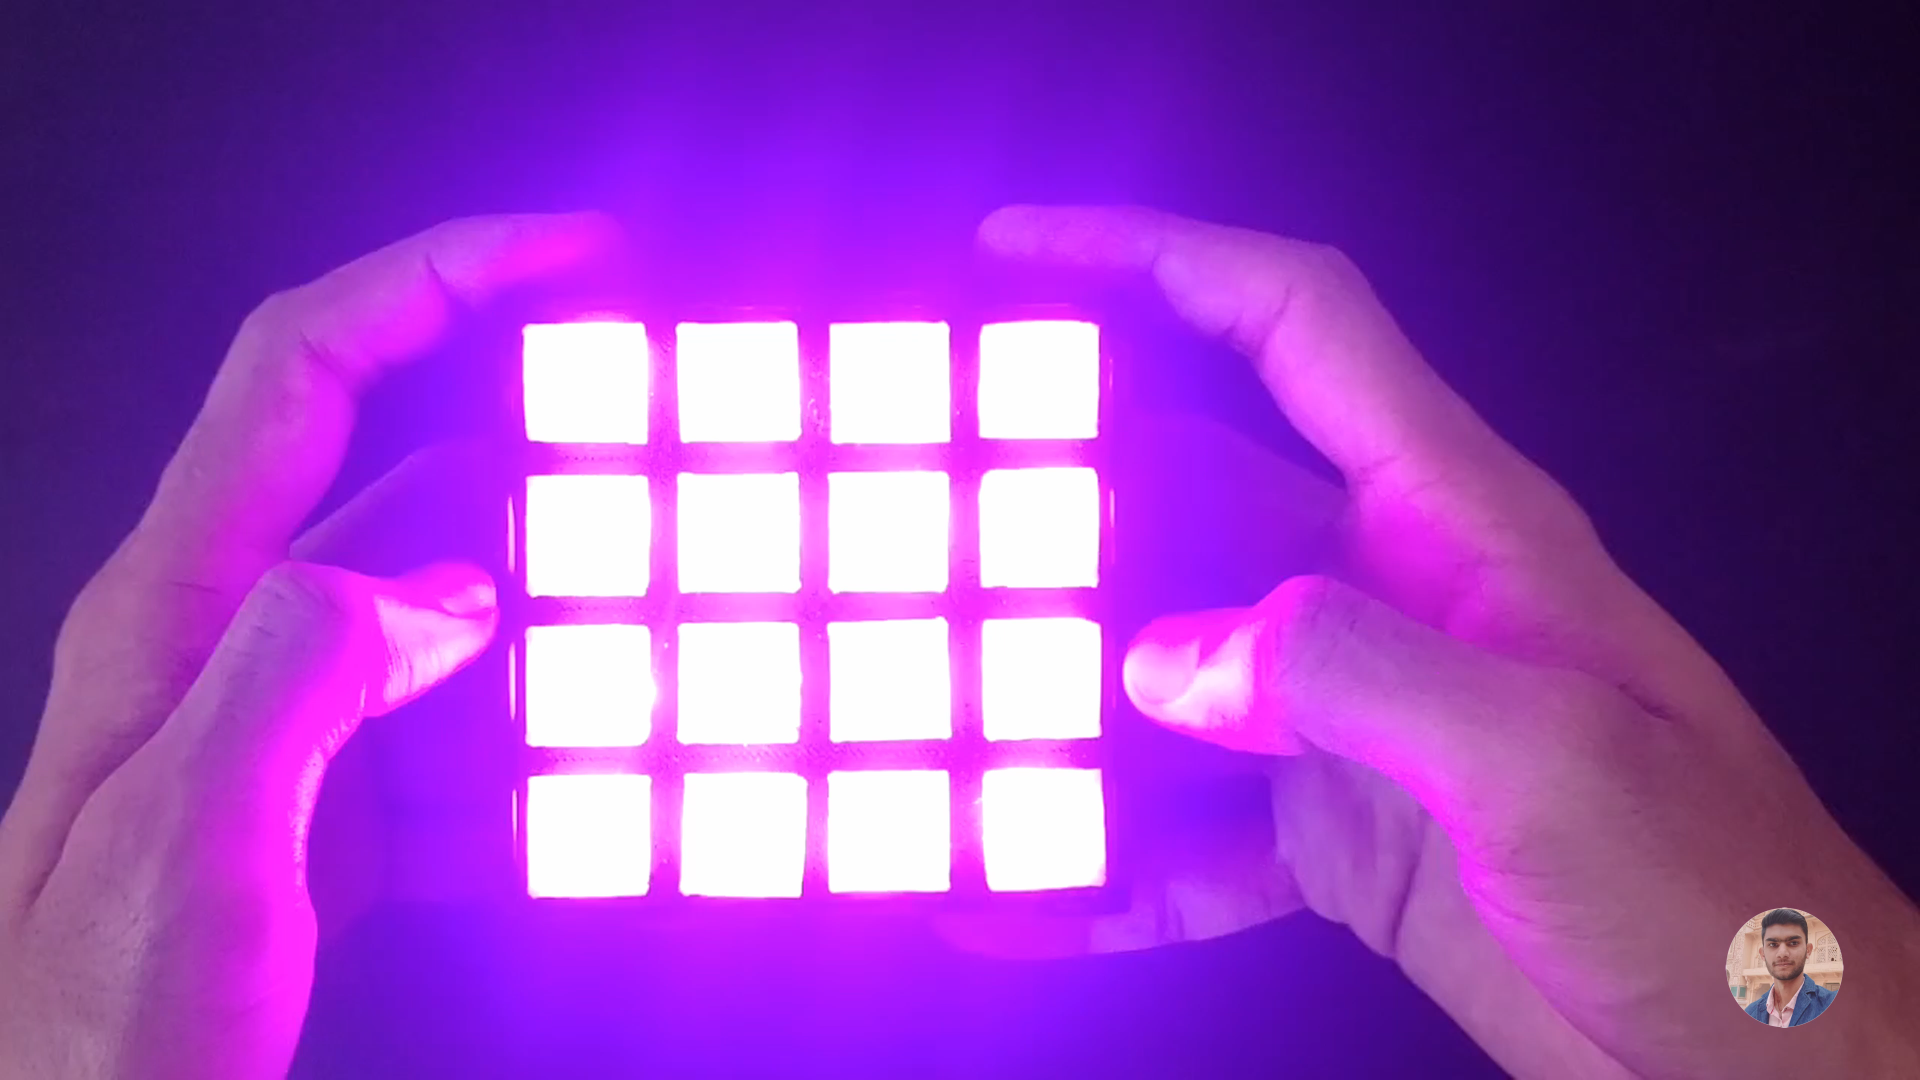
- Pink represents Player 2.
- Players should not push the button which is already been pushed.
- If any player wins the matrix will animate with his color.
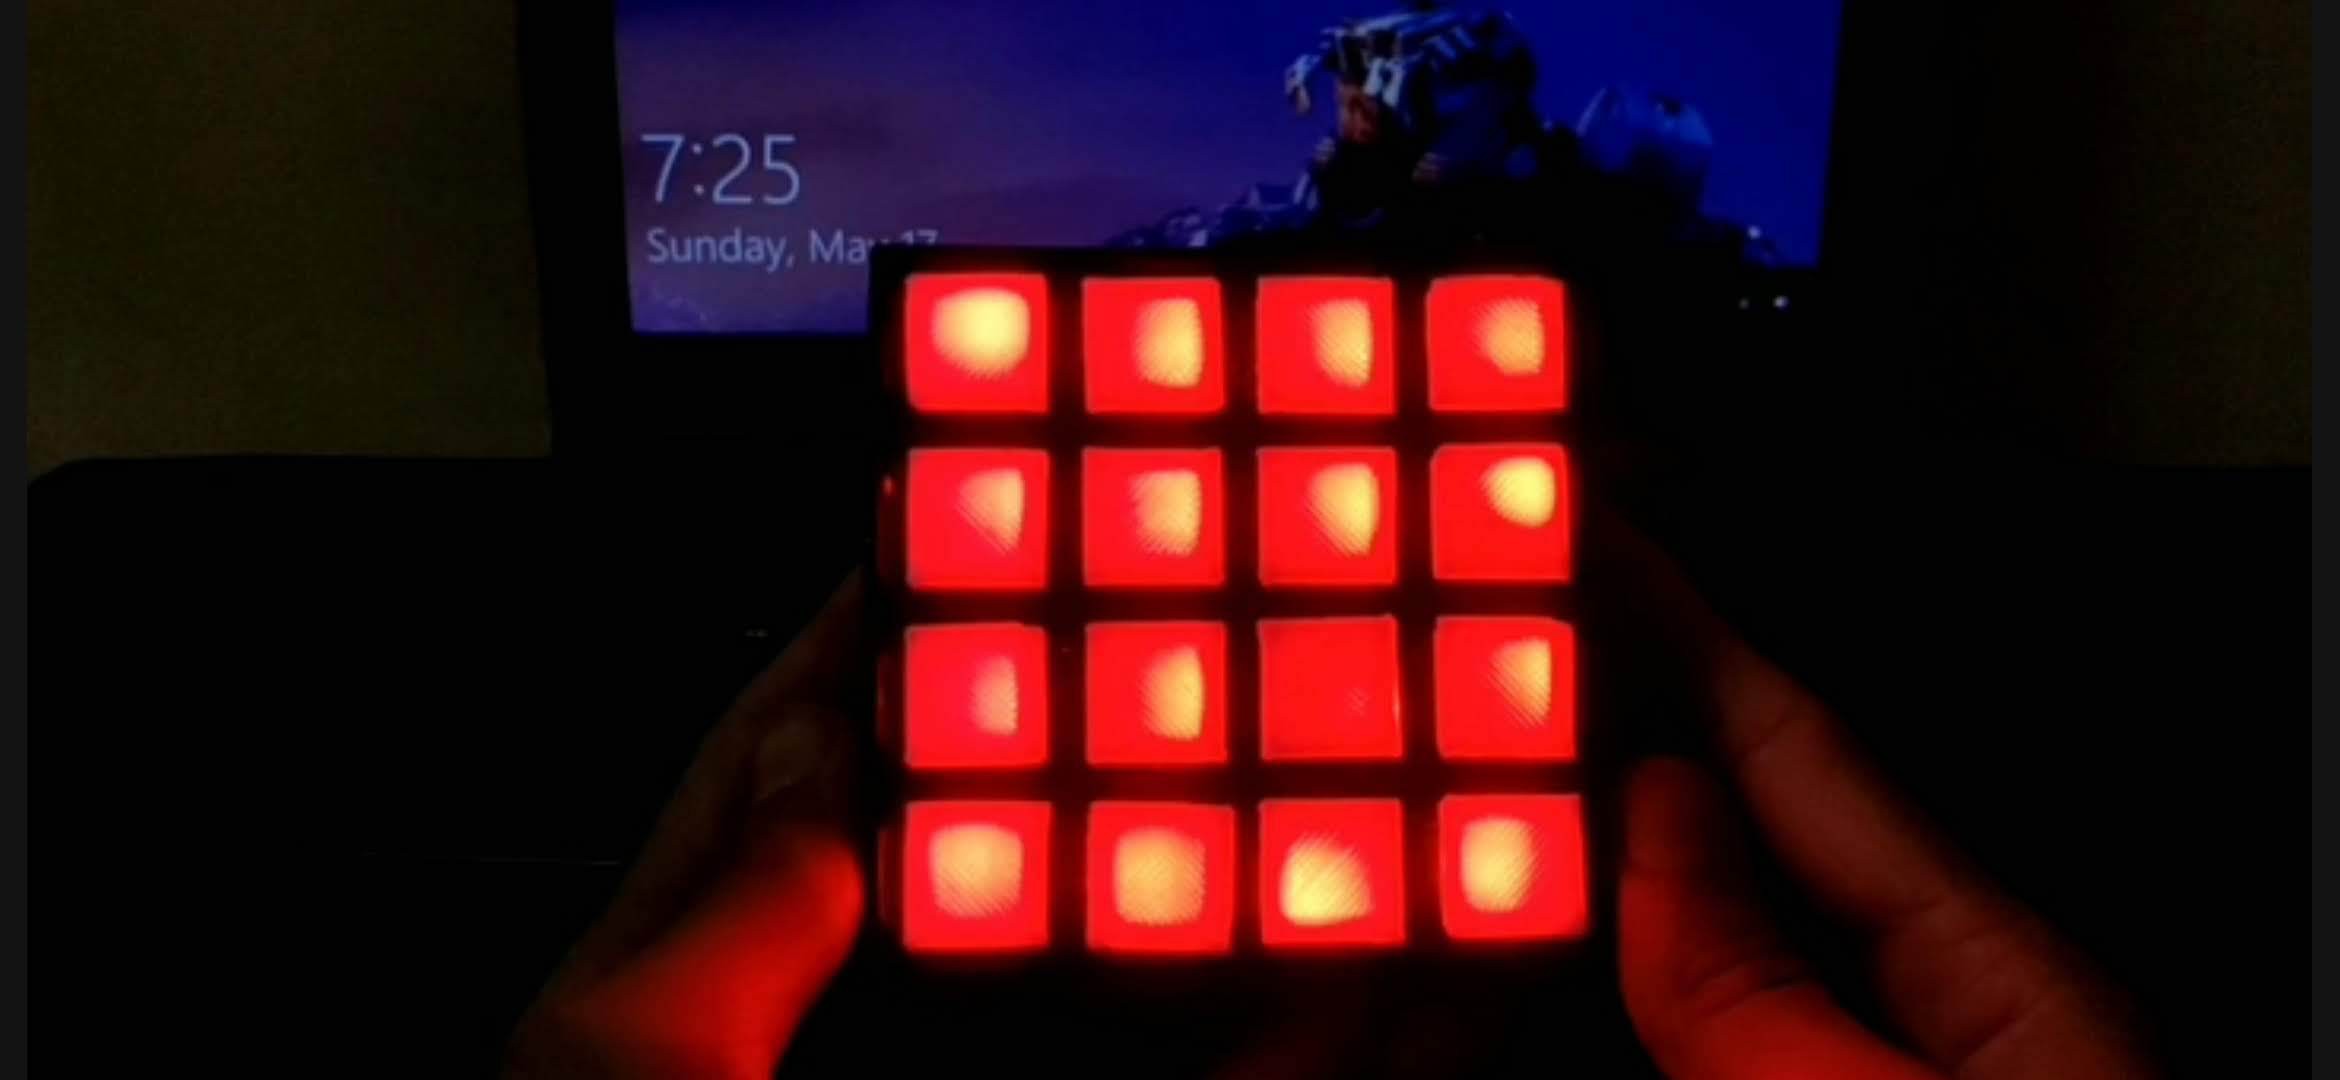
- If Game is draw then matrix will animate with red color.
![]()
![]()
![]()
![]()
 Mukesh Sankhla
Discussions
Become a Hackaday.io Member
Create an account to leave a comment. Already have an account? Log In.