This is the first PCB I've soldered using a stencil. It was the best option as soldering a QFN by hand is really difficult.
Applying the solder past is much easier than I thought. The most crucial part is aligning the stencil. Once it is perfectly aligned, you hold it firmly in place and smear the paste all over it using a credit card. Filling all the holes in the stencil goes pretty well.
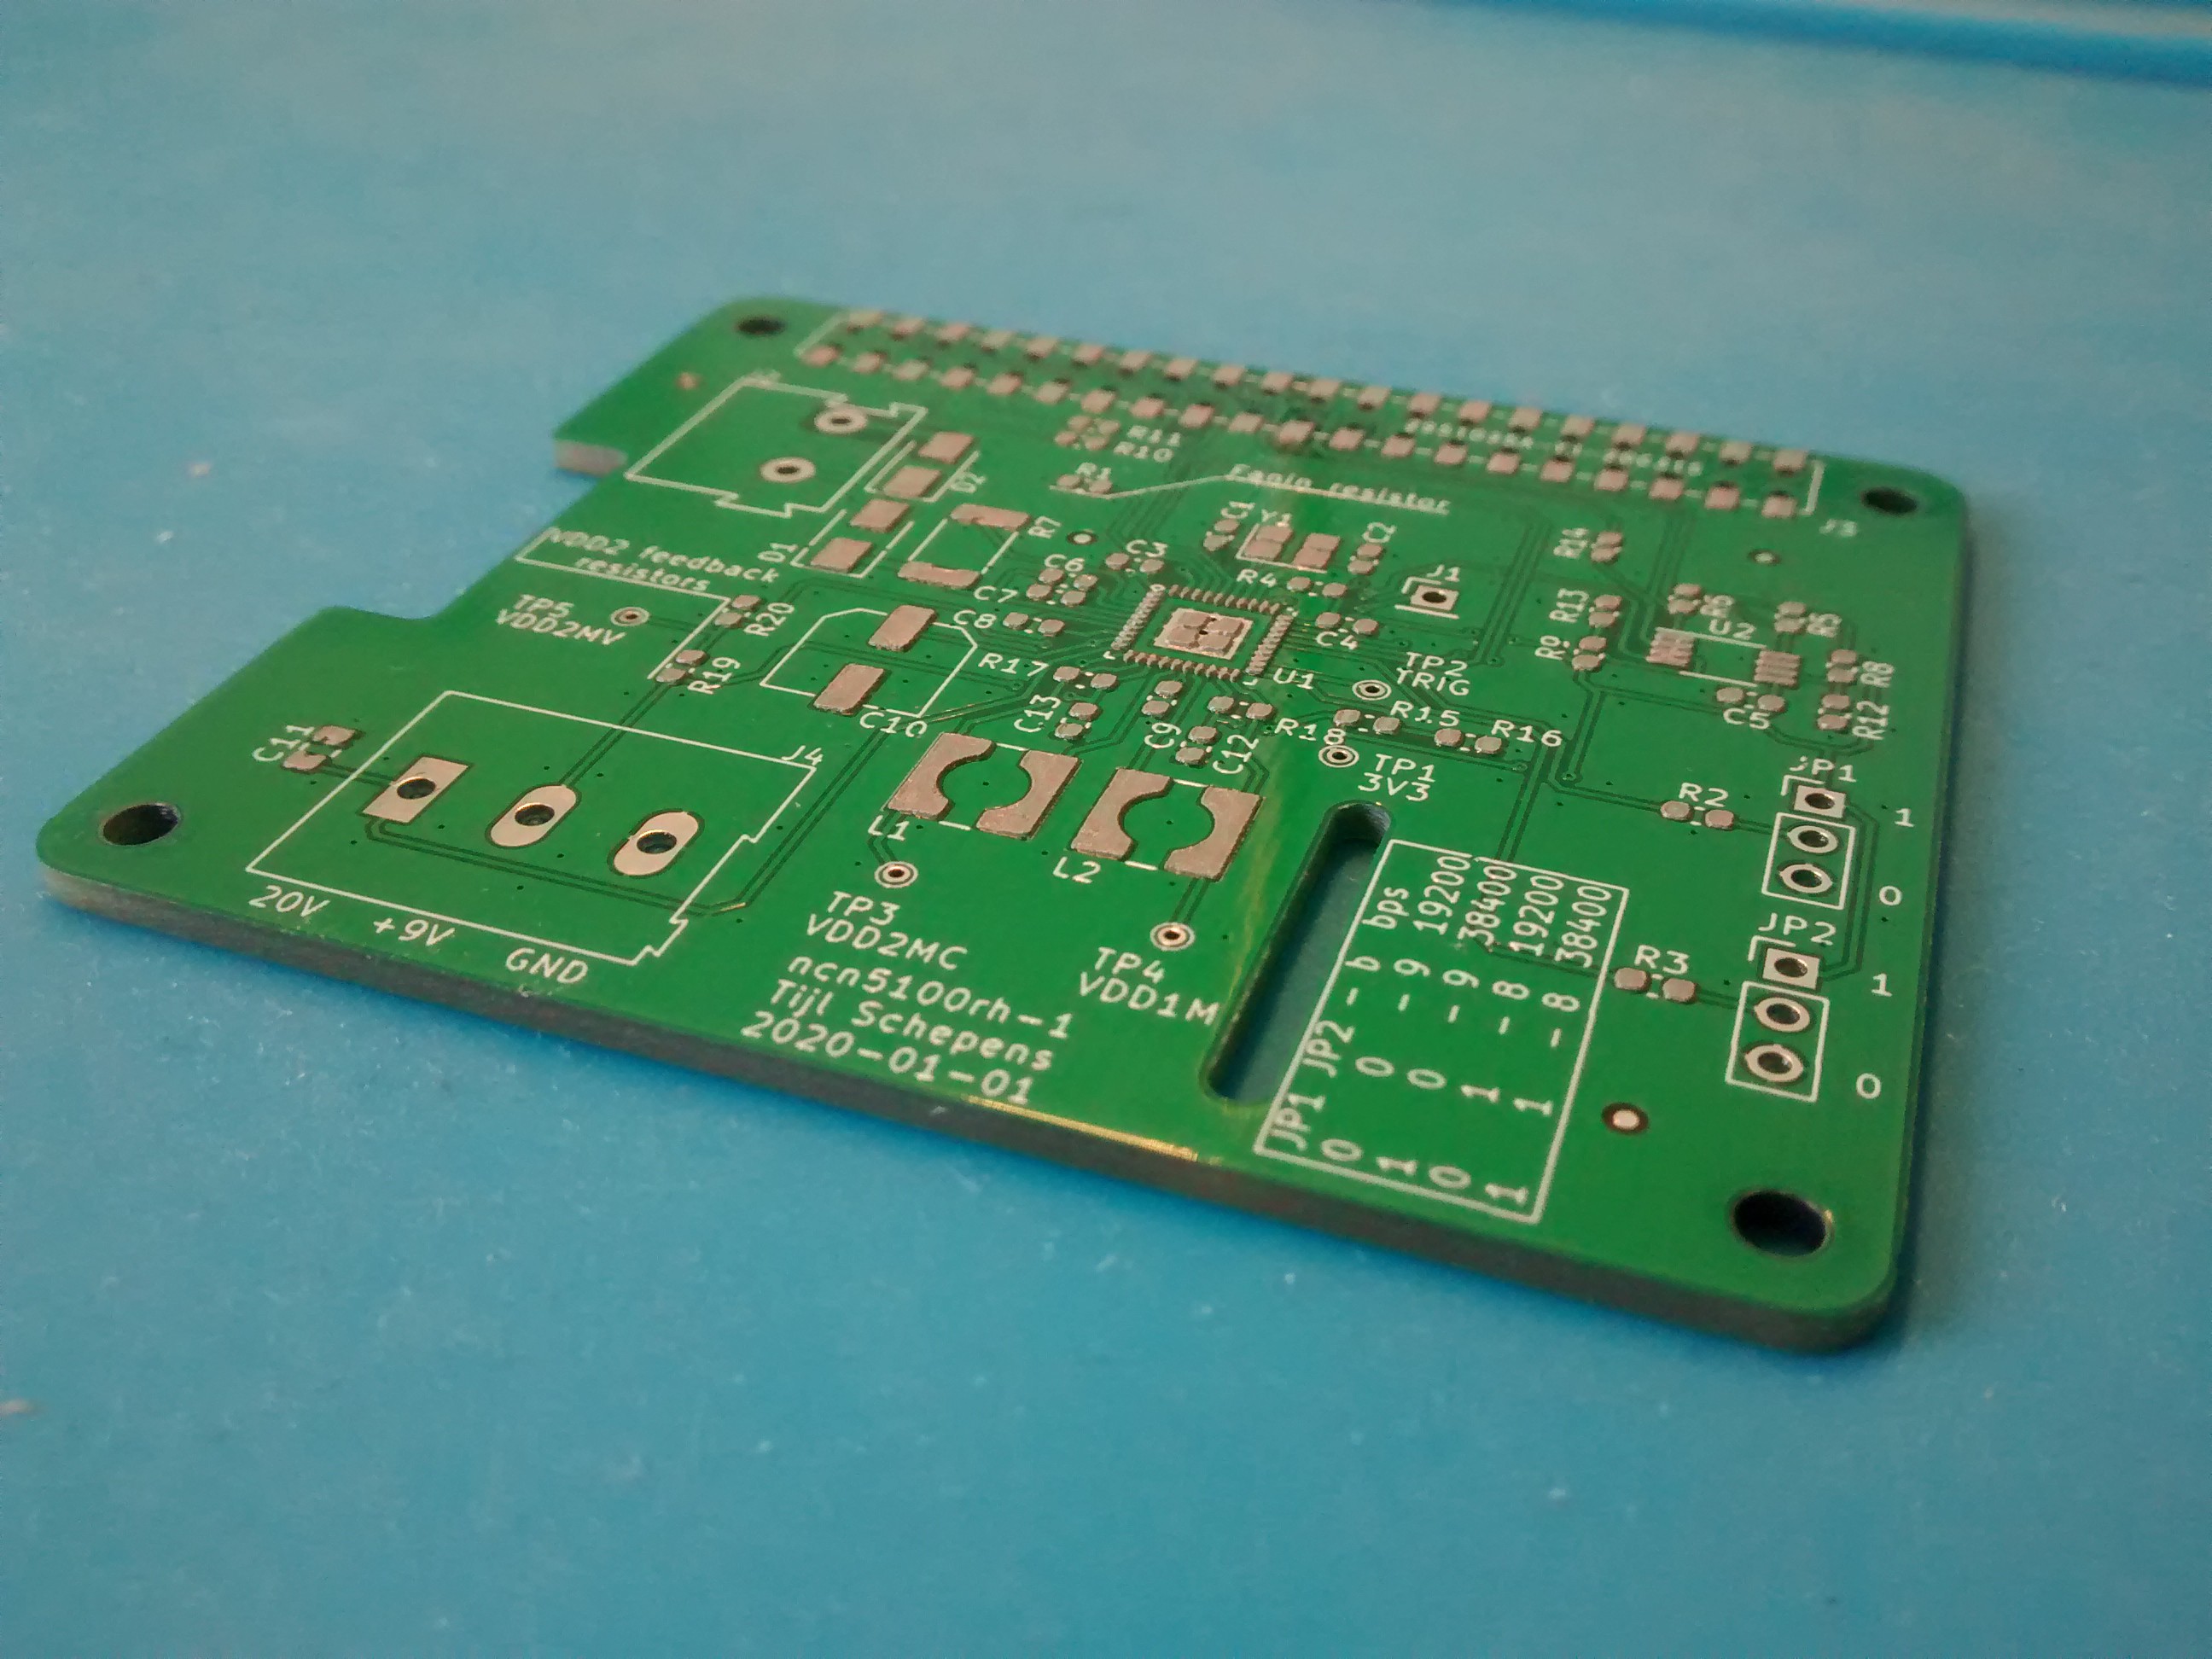
After applying the solder paste, I've used my cheap USB microscope with a 3D printed stand to place all the components.
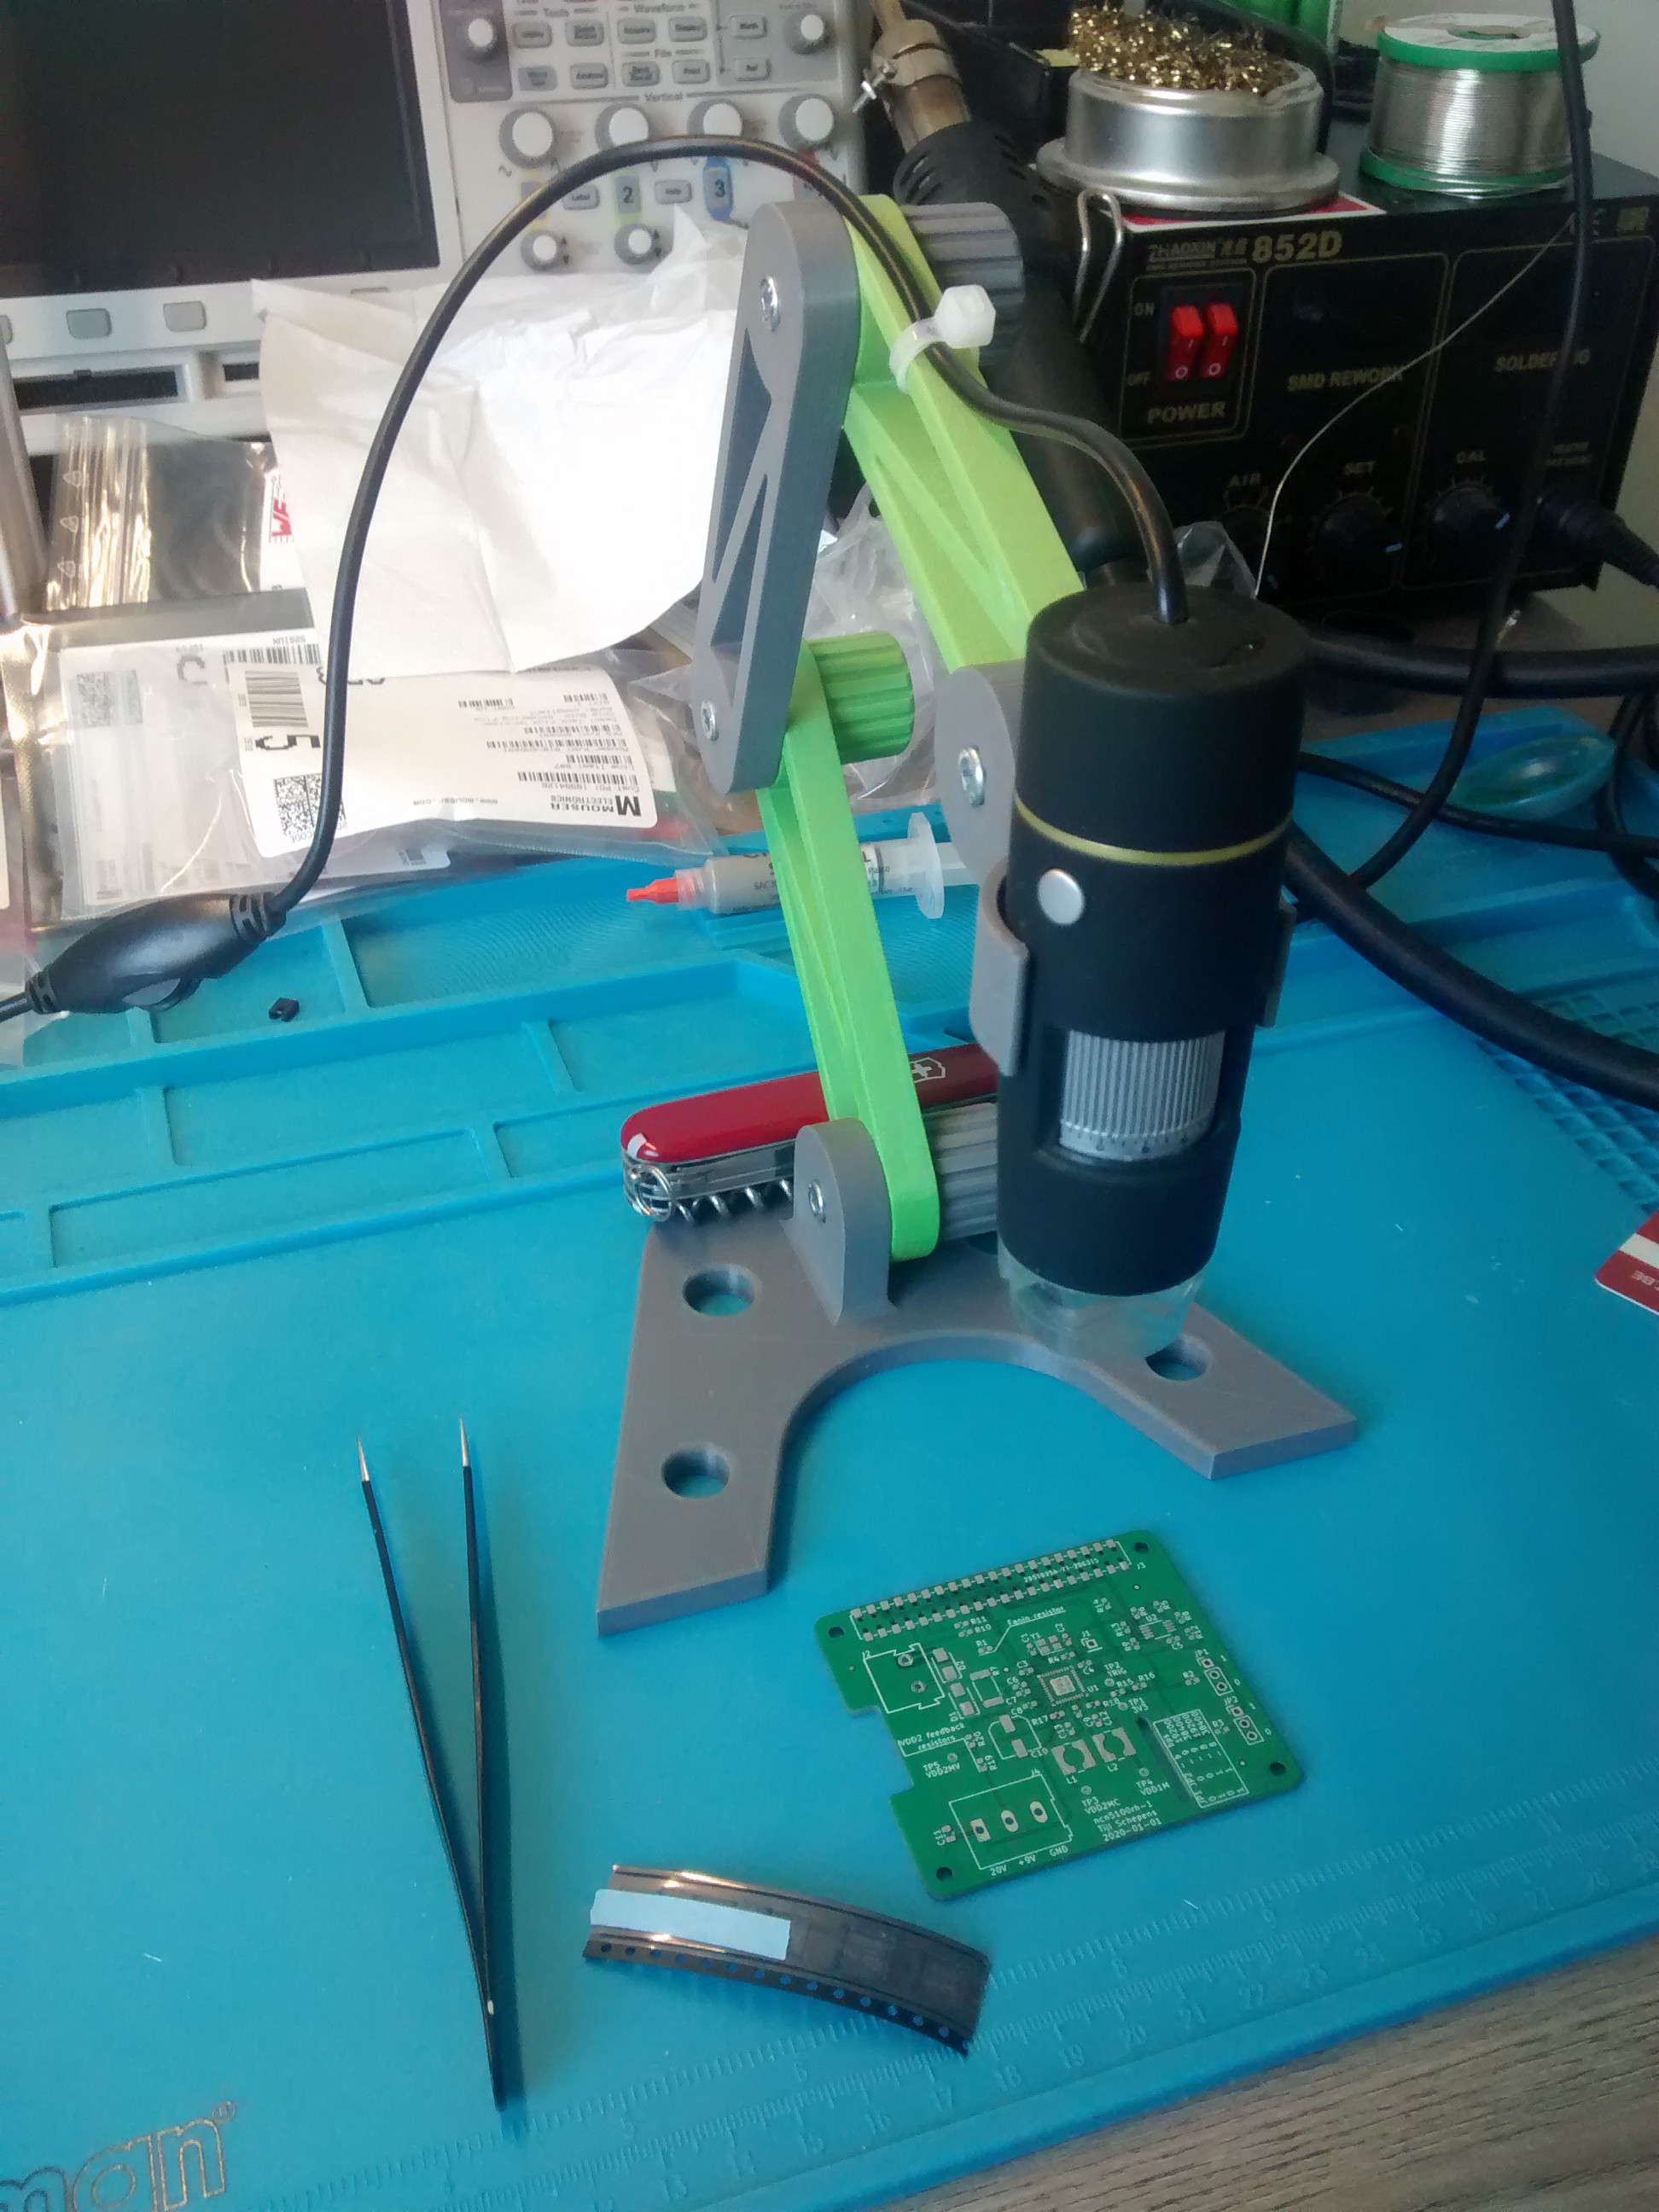
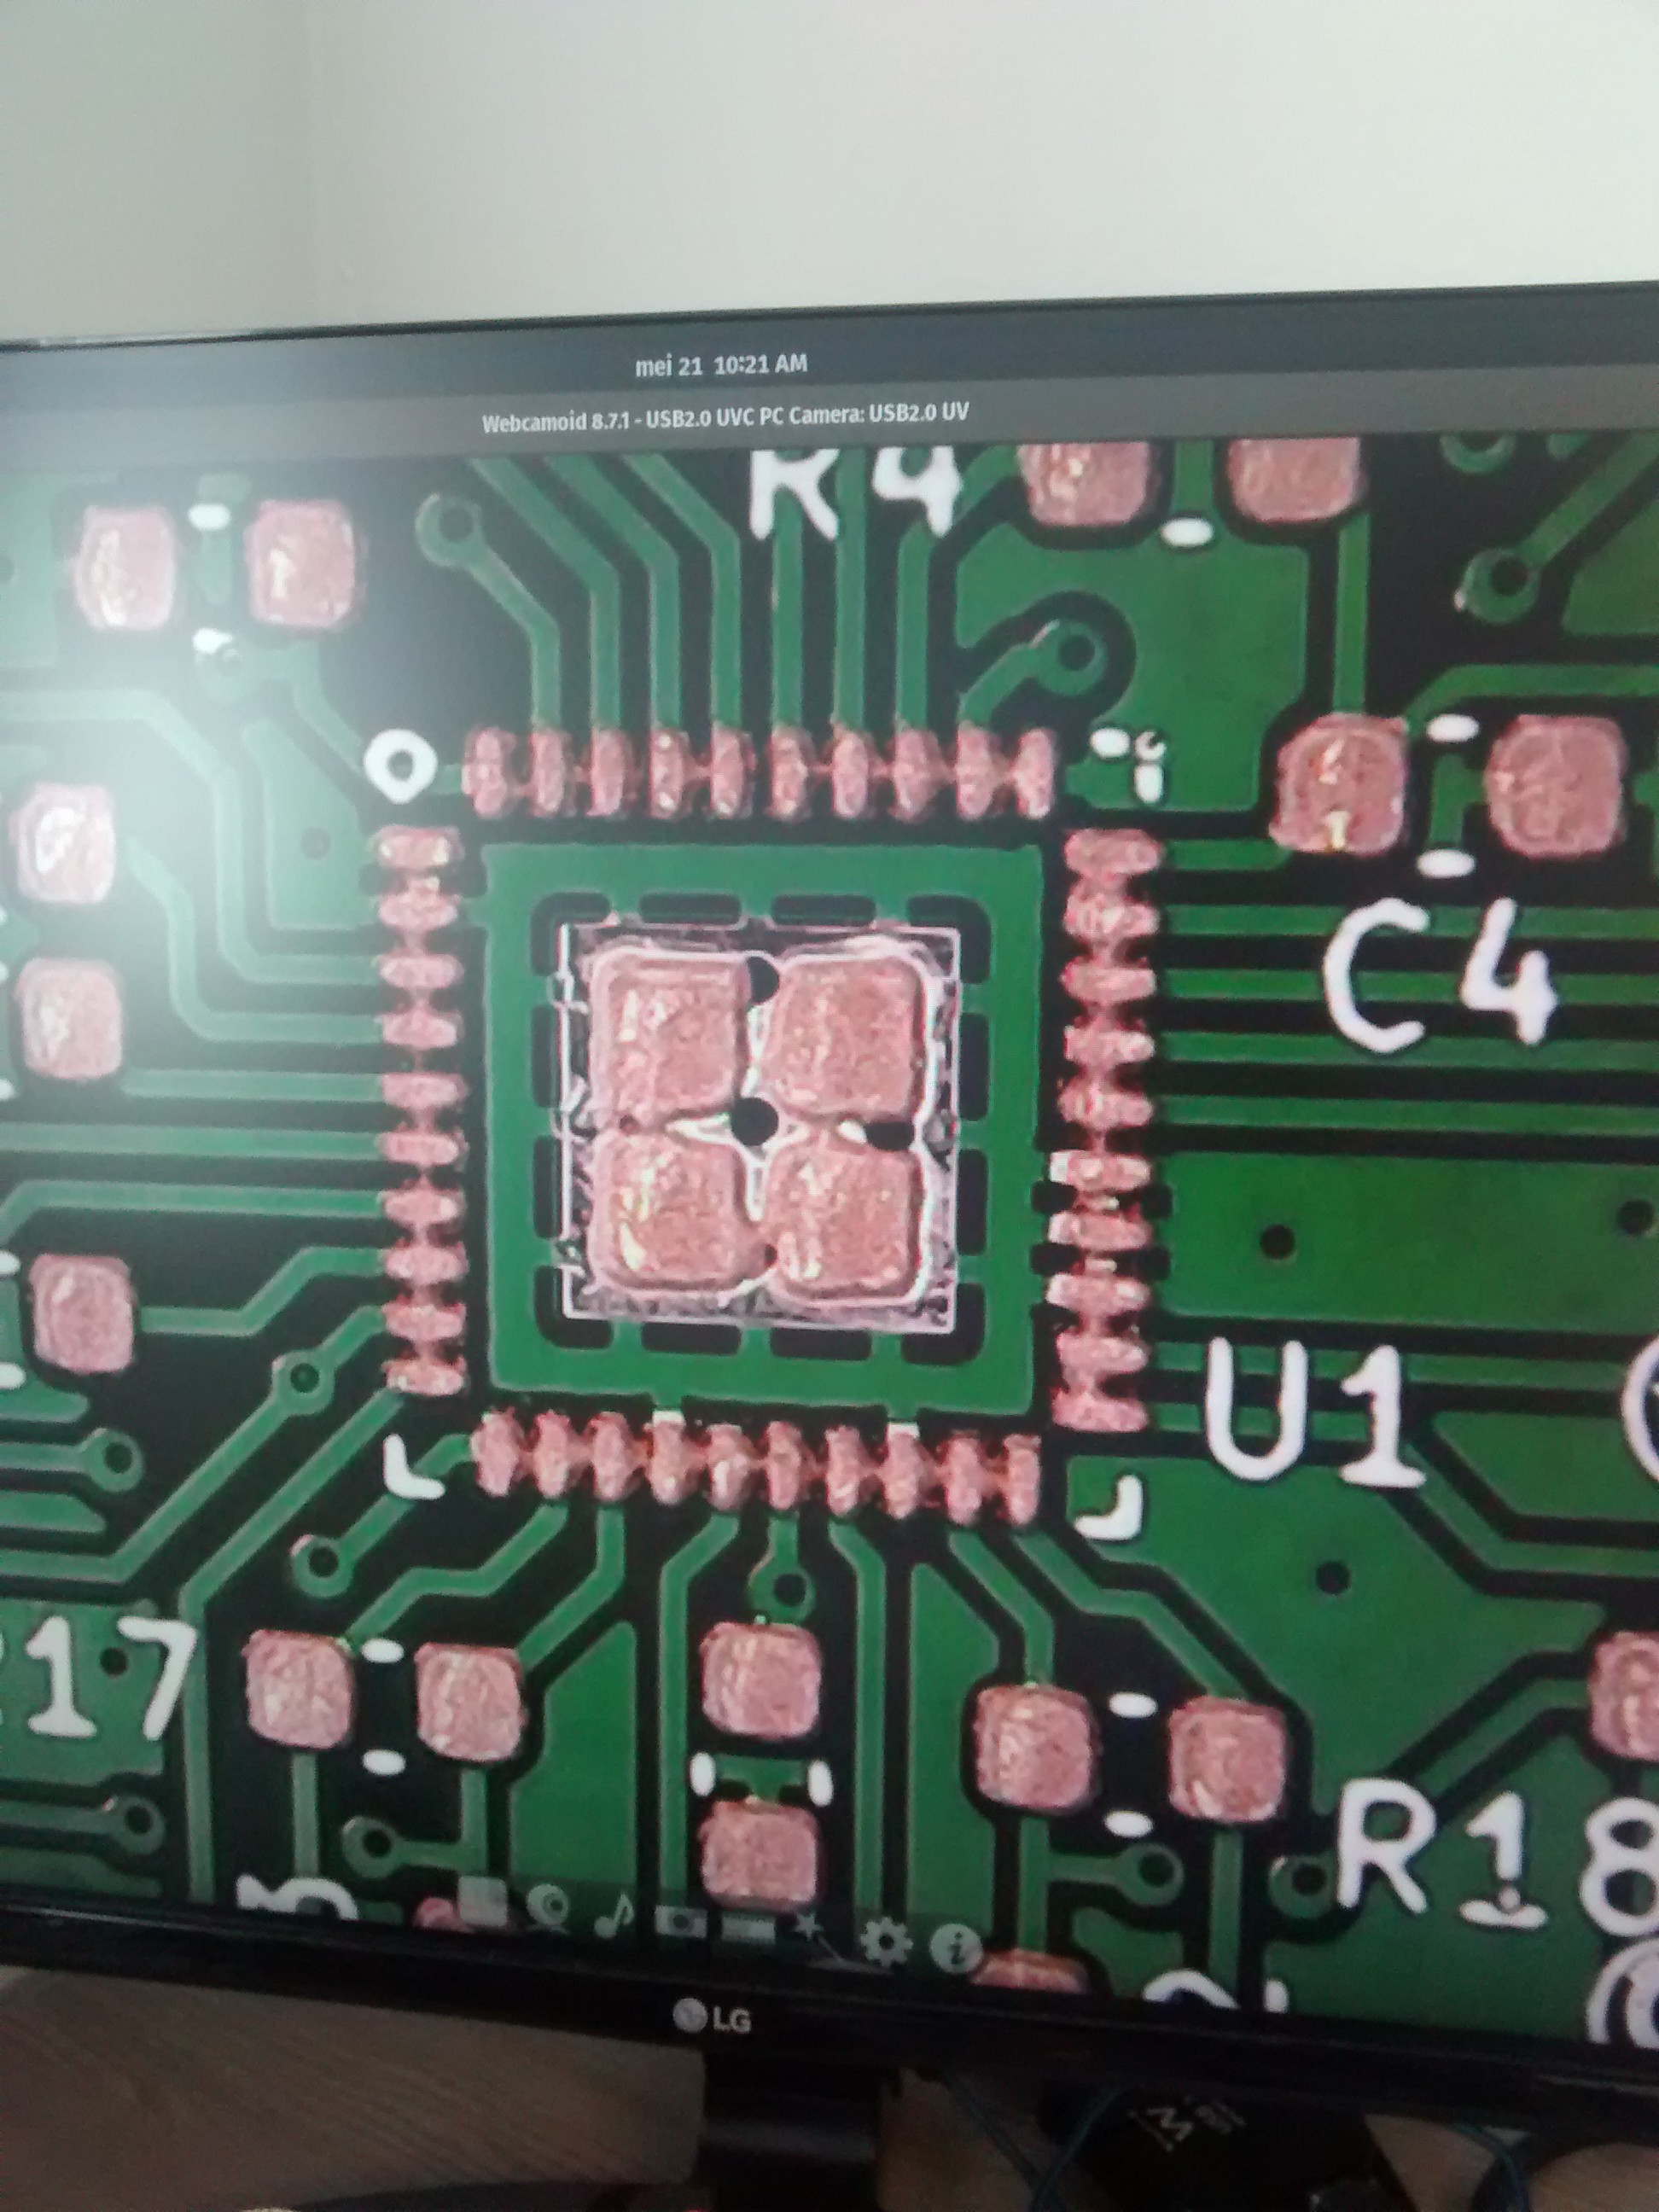
Using this setup worked pretty well to get all the components in place.
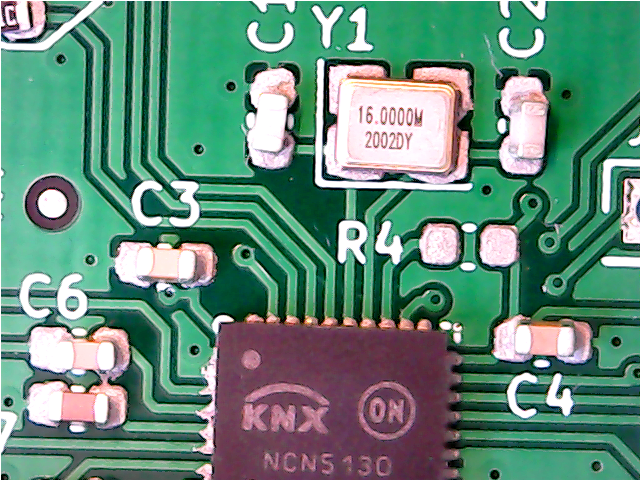
Then using a hot air gun all the components got soldered really well!
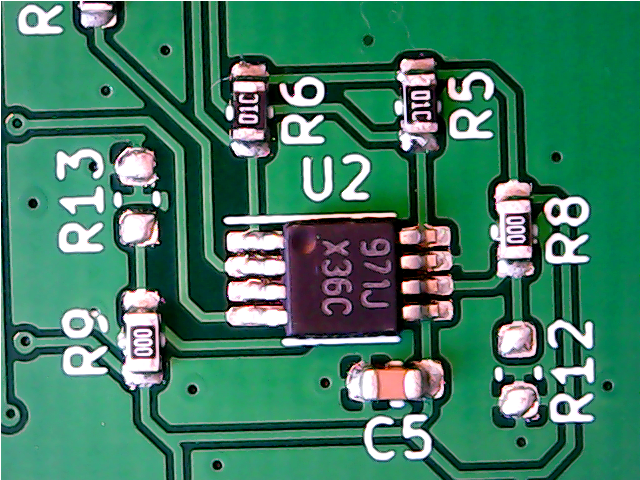
The only component that required some extra work was the NCN5130. At first I misaligned it on the pads and pushed it into place. This caused the solder paste to smear out a bit on once side. So I had some shorts here.
To solve this, I applied a lot of flux on all four side and re-heated it using my hot air gun. This caused most of the solder to flow correctly into place. There were still some shorts, but they were quickly solved by removing them with some soldering wick and a soldering iron.
 Tijl Schepens
Discussions
Become a Hackaday.io Member
Create an account to leave a comment. Already have an account? Log In.