Close
0%
0%

KNX Raspberry Pi HAT

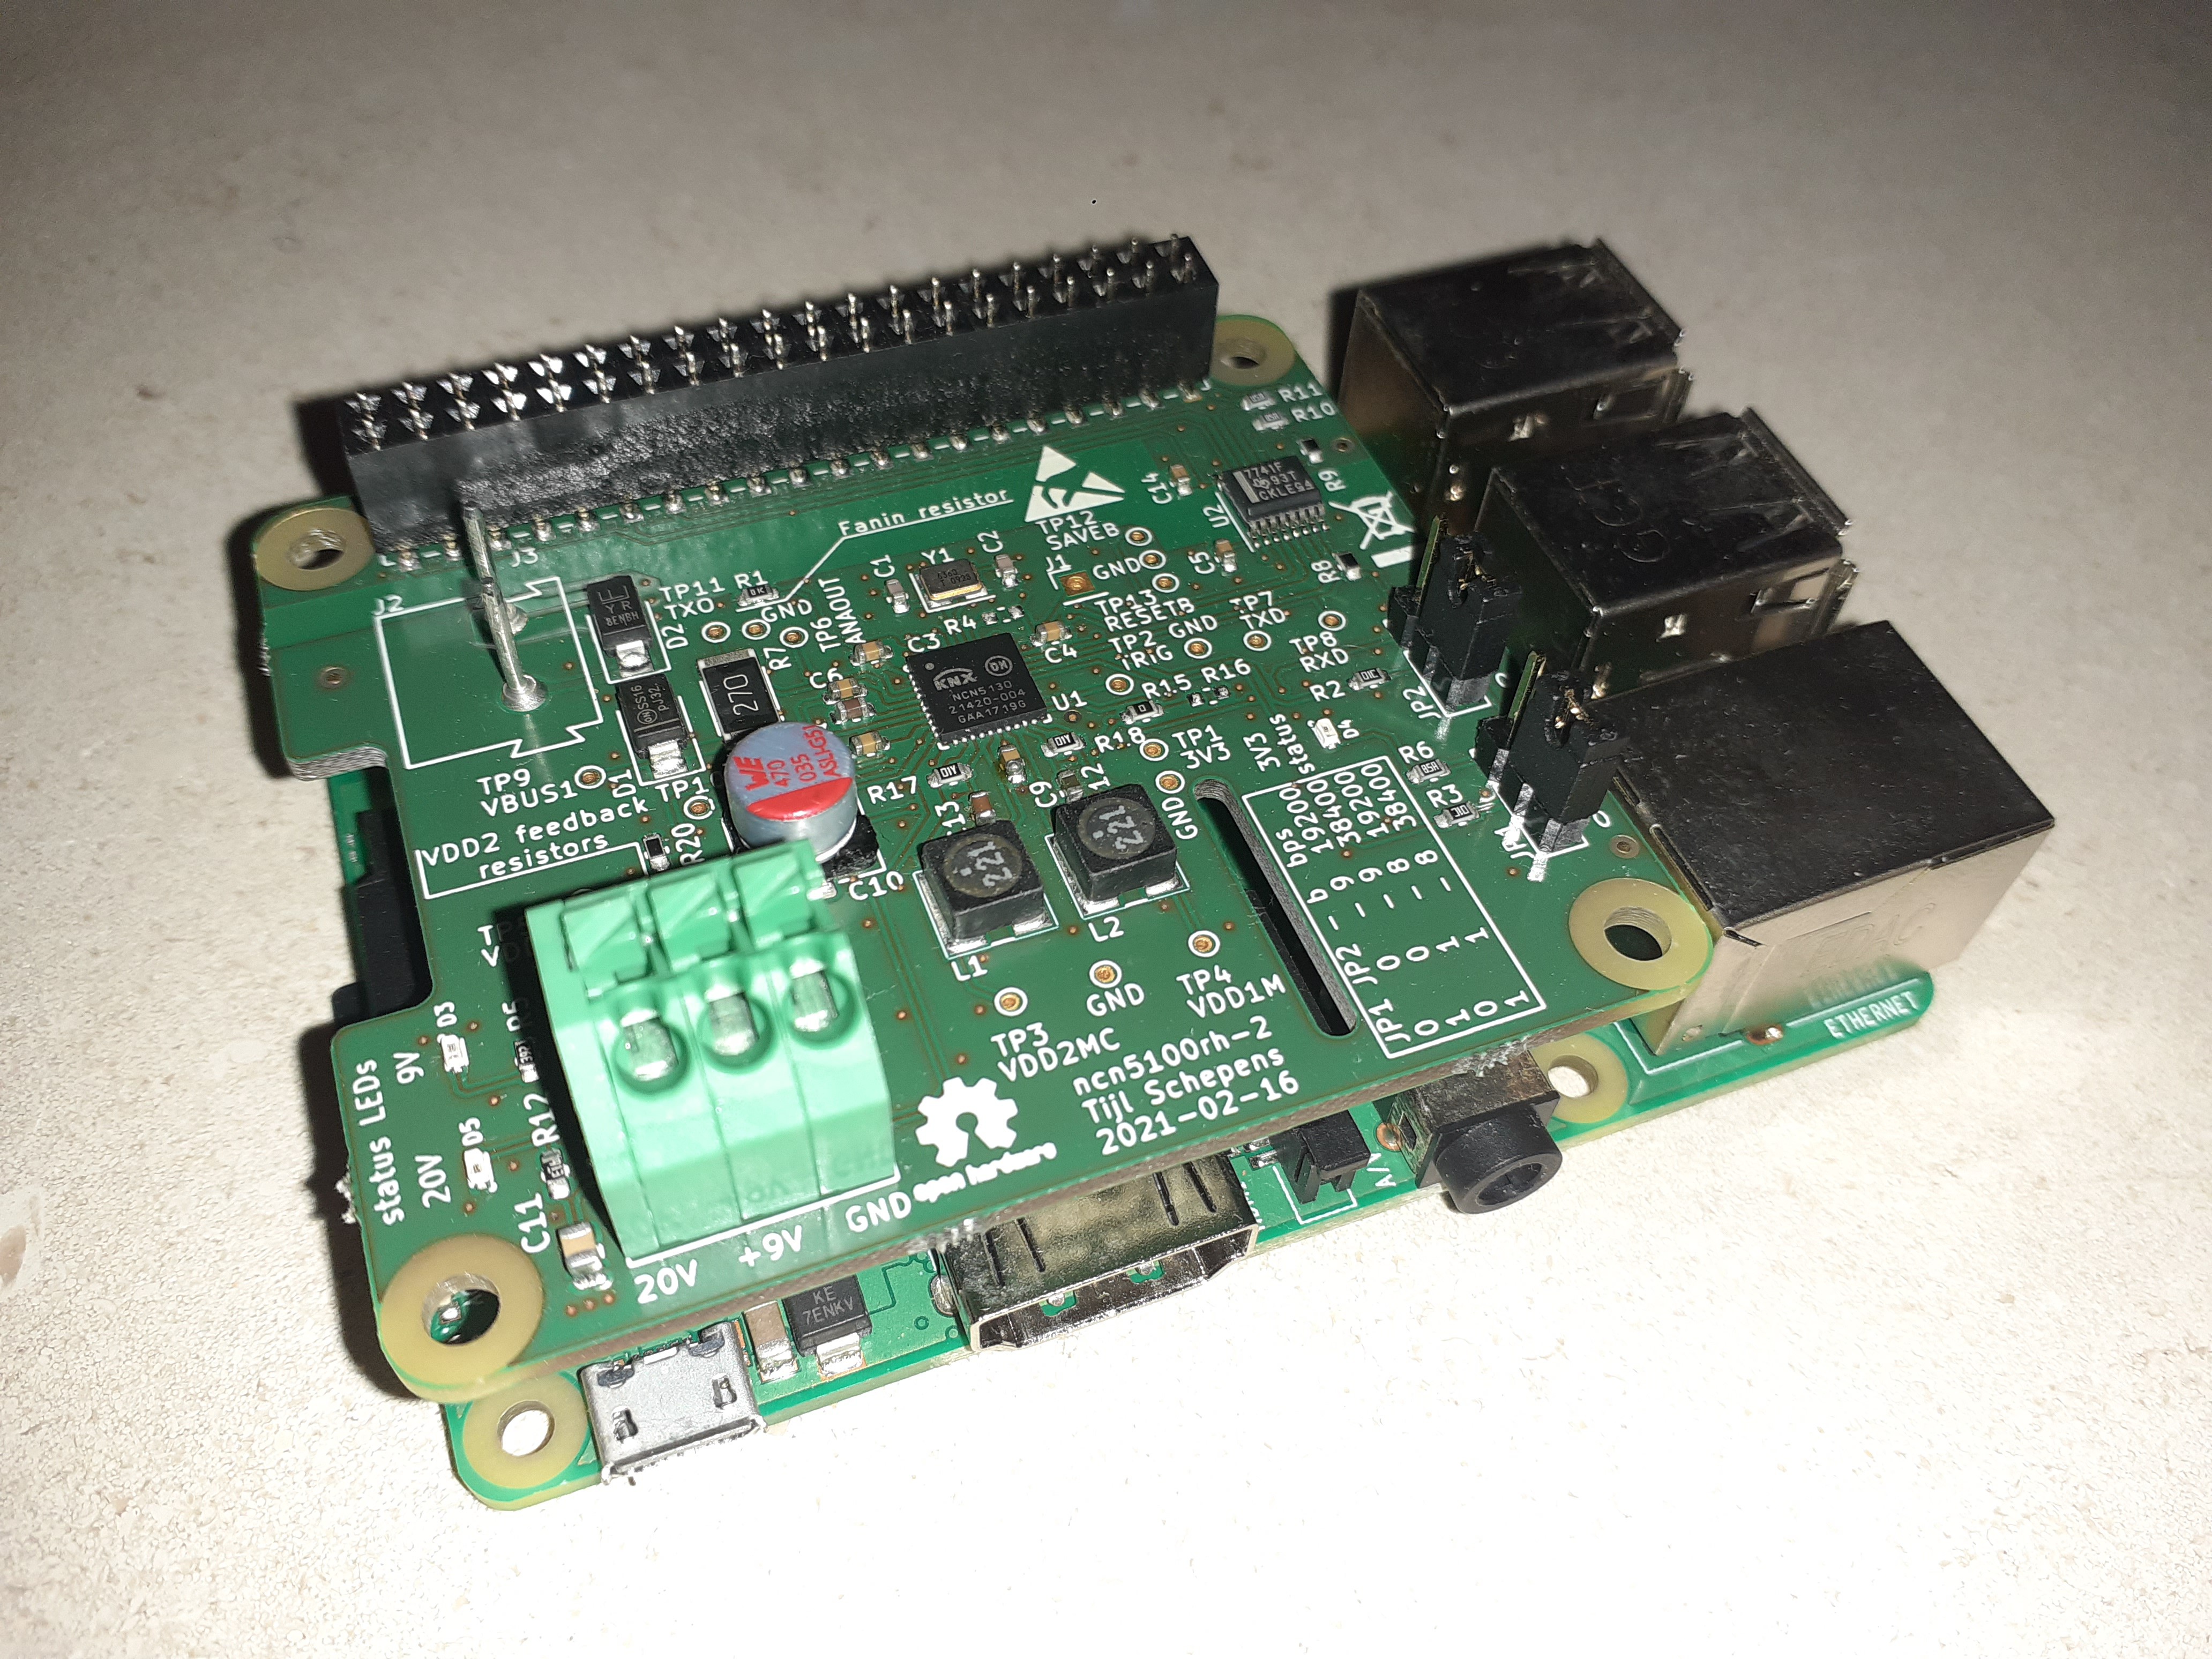
A HAT to easily interface a Raspberry Pi with a KNX bus.

Public Chat
Similar projects worth following
Starting from
$67.00
cpu20 has 55 orders / 1reviews
Ships from Belgium
KNX is an open home and building automation standard. This makes the protocol very interesting as it ensures interoperability between devices from different manufacturers. It also avoids vendor lock-in as is the case with many other home automation systems.

Some software projects such as KNXD and Calimero Server, make it possible to communicate on a KNX bus from a PC. They can be used on a standard desktop PC, but more interestingly also on SBCs such as the Raspberry Pi. This makes it possible to make a small Embedded Linux system which operates in a KNX system.

Most projects I saw on the internet using KNXD or Calimero Server, used a bus coupler and interfaced it with wires to a Raspberry Pi or some other system. This sparked the idea to make a Raspberry Pi HAT which can be used to interface directly with a KNX bus. No wires, just plug and play.

The goal of the project is to build Raspberry Pi HAT to interface with a KNX bus. Running OpenHAB on the RPi would be cool!

The Raspberry Pi HAT is built around the NCN5130 transceiver from ON Semiconductor. It has a part of the MAC layer implemented, which makes it easier to develop software for it. Communication is done through either UART or SPI. Every piece of software I've seen communicates over UART, so we will ignore the SPI portion.

No isolation was used between the Raspberry Pi and the transceiver. It would increase the development effort significantly and I did not see the advantage as of now. Maybe in the future if it seems necessary it can be added, but I don't think so...

As the Raspberry Pi is the most popular SBC out there, it was easy to select it as the preferred platform. The KNXD software is also compatible with the Raspberry Pi as well as OpenHAB.

The ultimate goals is to get KNXD working with the HAT and interface OpenHAB with KNXD. This would make it possible to control stuff on a KNX network using OpenHAB.

ncn5100rh-2.pdf

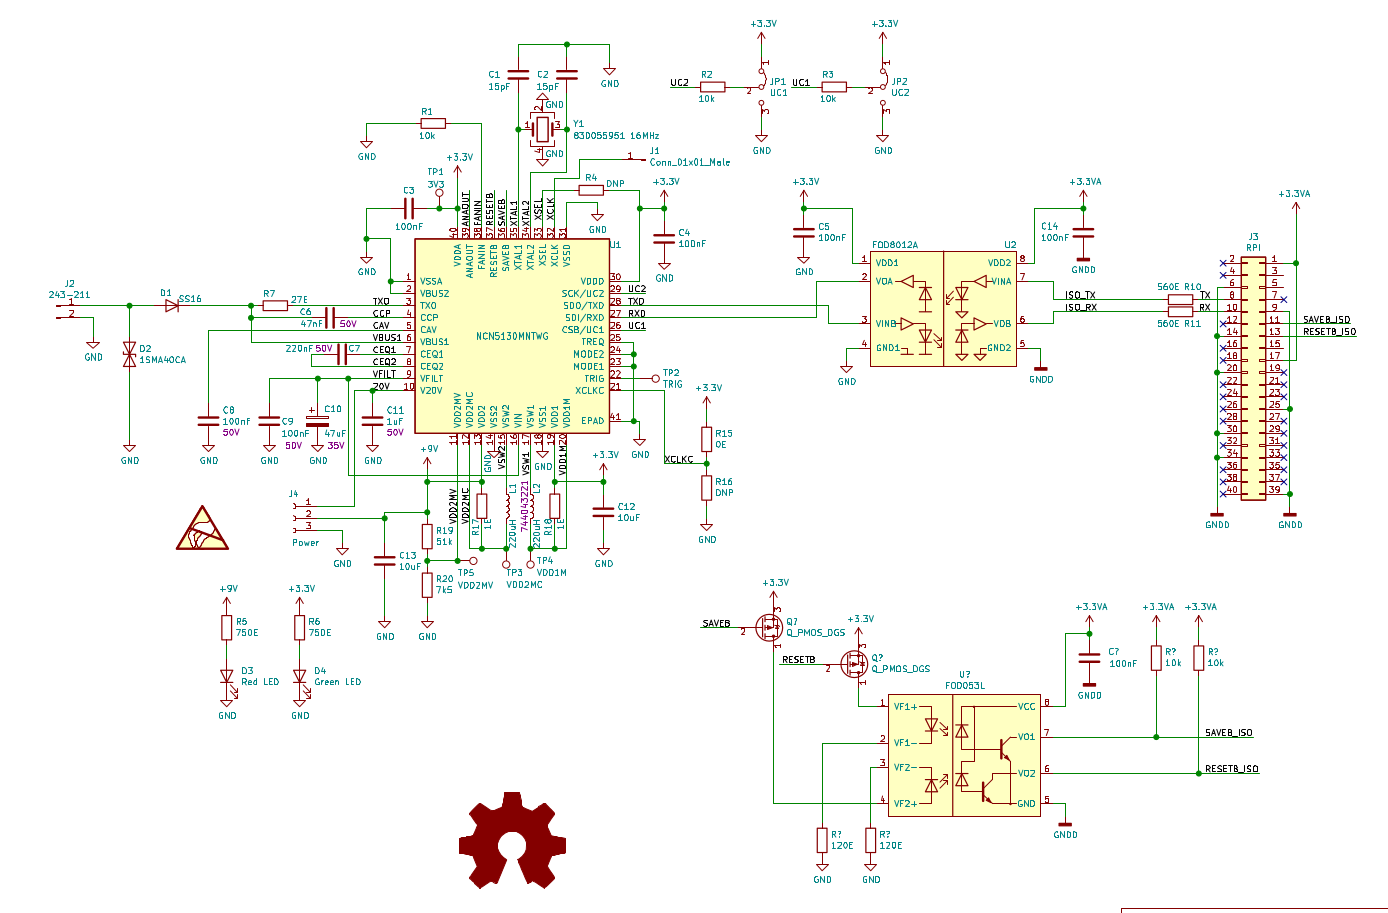
Schematic of the board with functional isolation.

Adobe Portable Document Format - 75.03 kB - 01/17/2021 at 19:32

Preview

ncn5100rh-1.pdf

Schematic

Adobe Portable Document Format - 64.20 kB - 05/22/2020 at 16:58

Preview

  • Soldered new PCB

    Tijl Schepens03/04/2021 at 18:26 0 comments

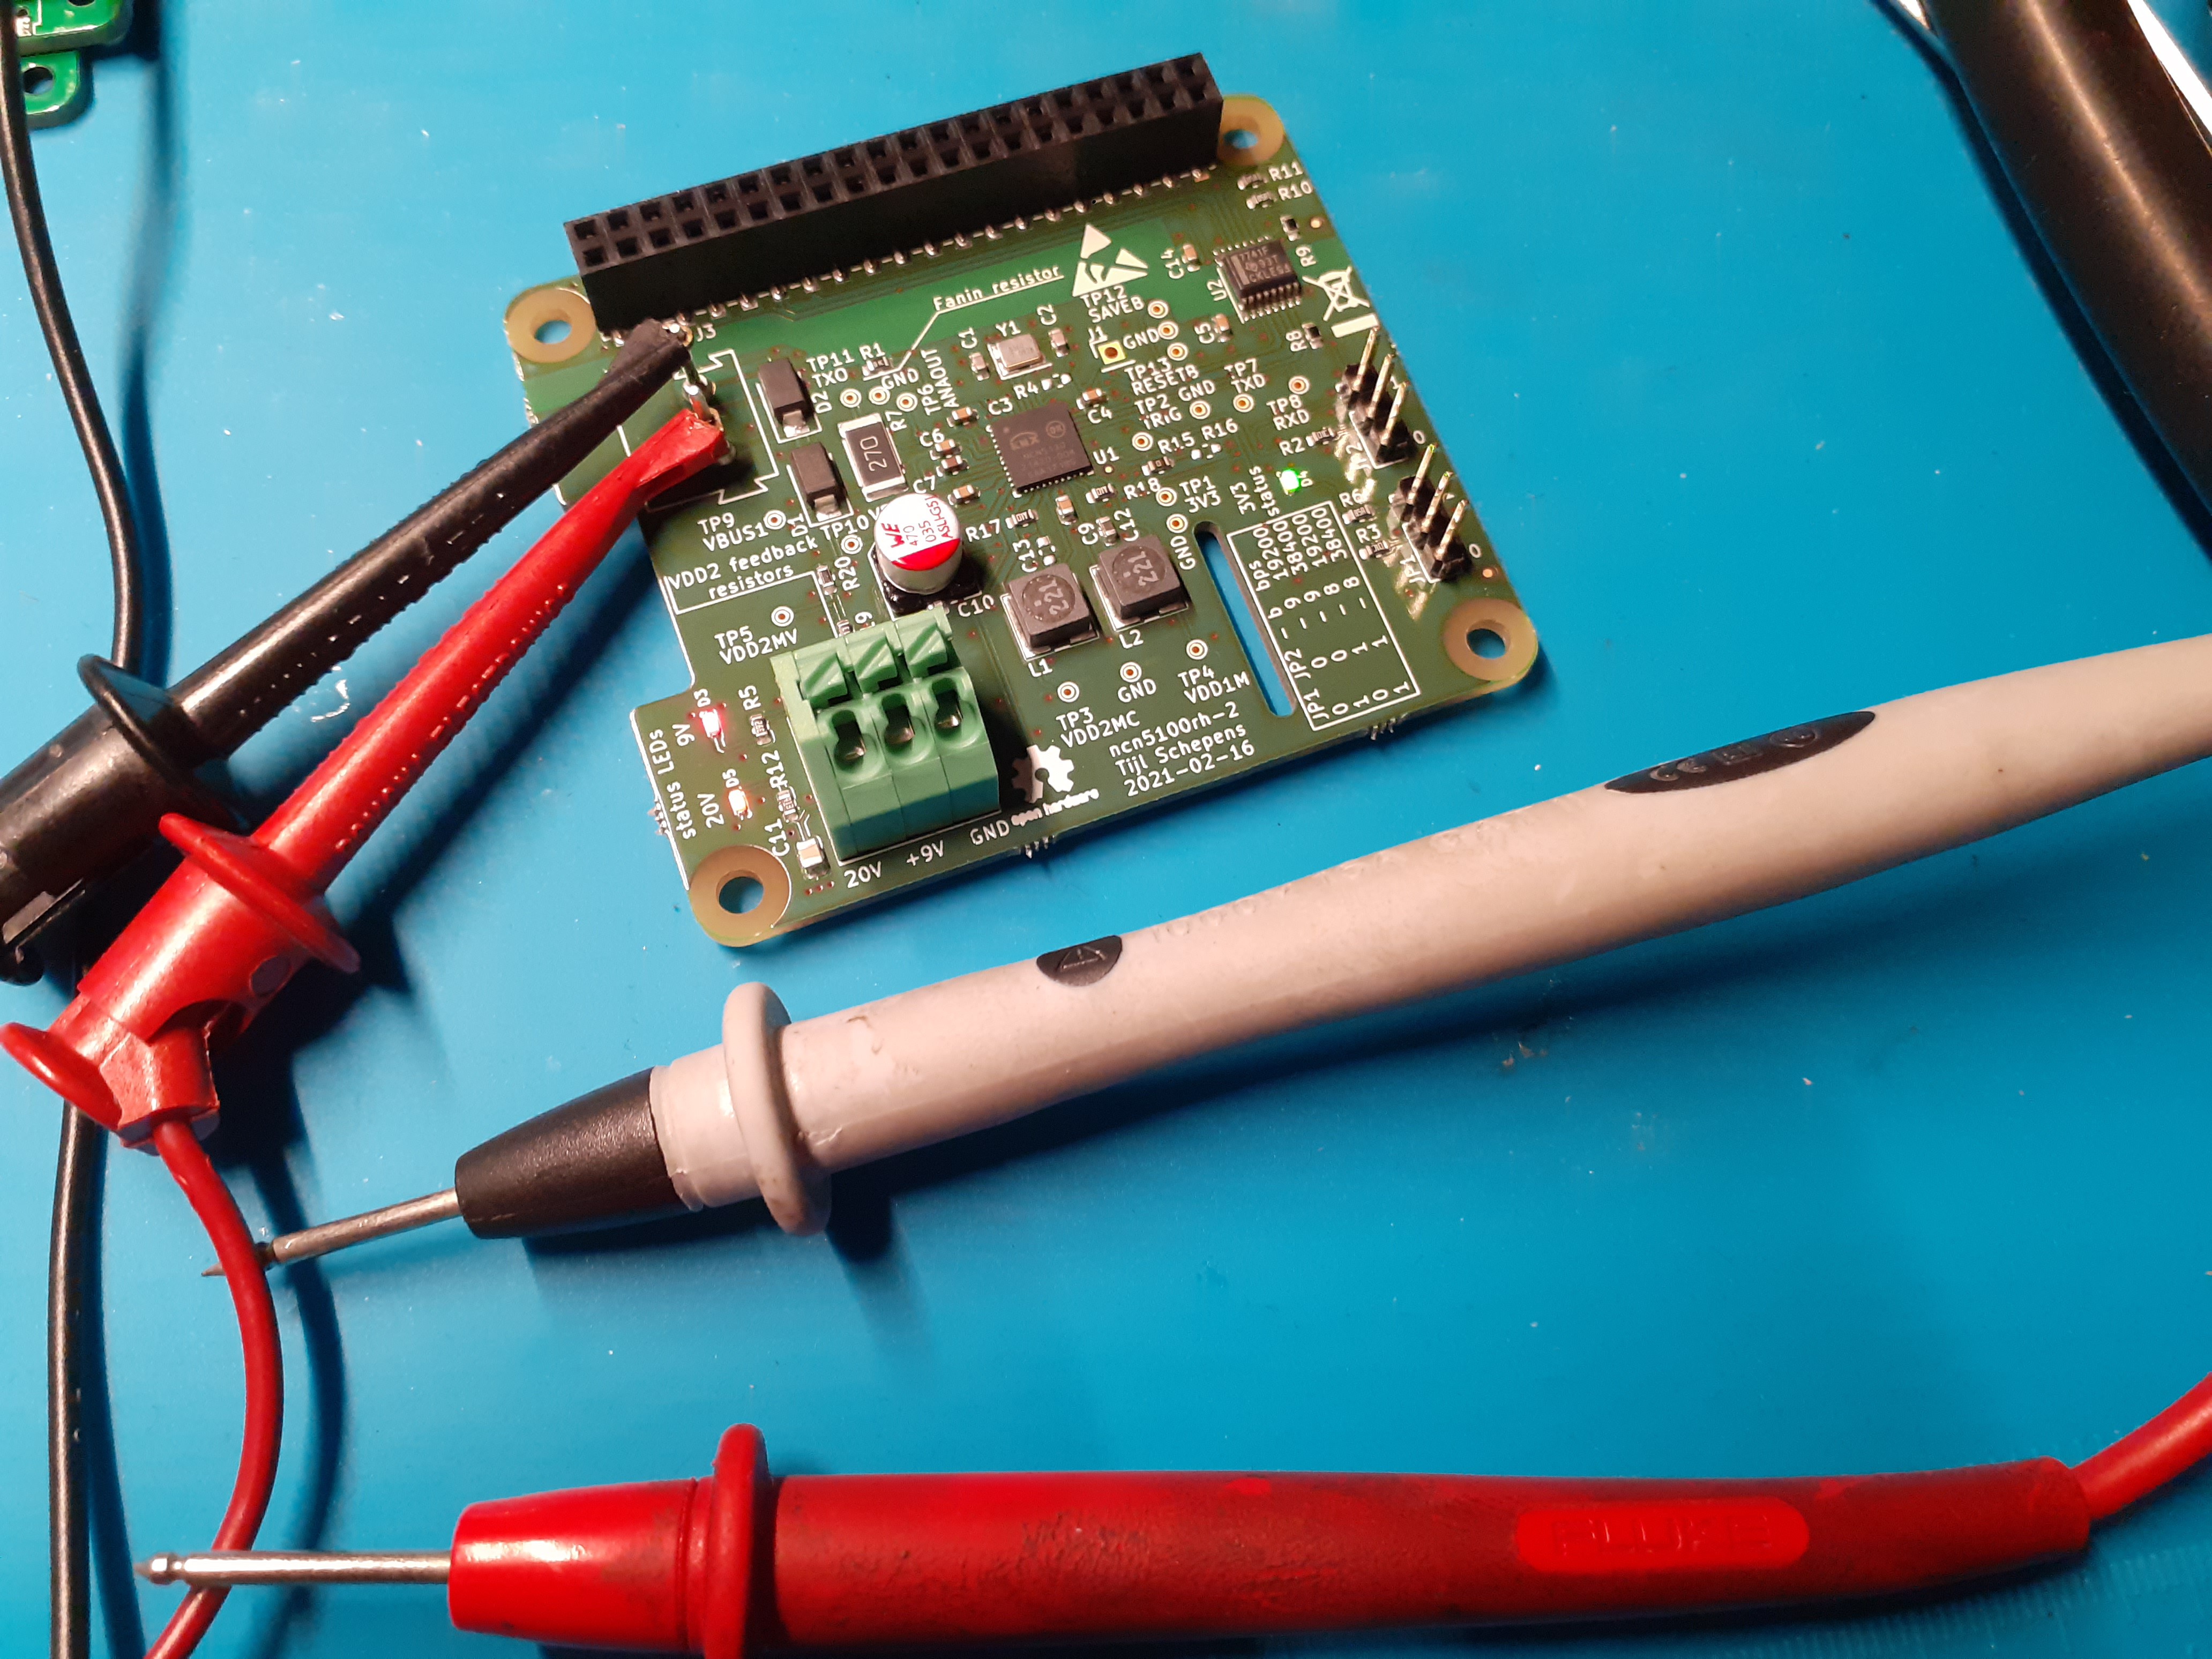
    Today I started soldering the new PCB. I started of with one as a prototype.

    While placing the components I saw that I made a mistake. For the VDD2 regulator I selected a 10 uF 6.3 V capacitor. But the regulator is configured for 9 V. On the previous design I made the same mistake but never spotted it. So the ceramic capacitor on ncn5100rh-1 is probably toast now...
    I'll have to look into ordering a 25 V variant. There are many available on Mouser.

    So for the time being I did not solder C13. After powering up the VDD2 regulator is not working, but this is quite logical as the capacitor is not present... The 20 V regulator and the 3.3 V are present and operational! The TXD line on the transceiver side is high which is good!

    Now it's time to hook it up to a Raspberry Pi and see what happens.

  • New PCBs

    Tijl Schepens03/02/2021 at 17:29 0 comments

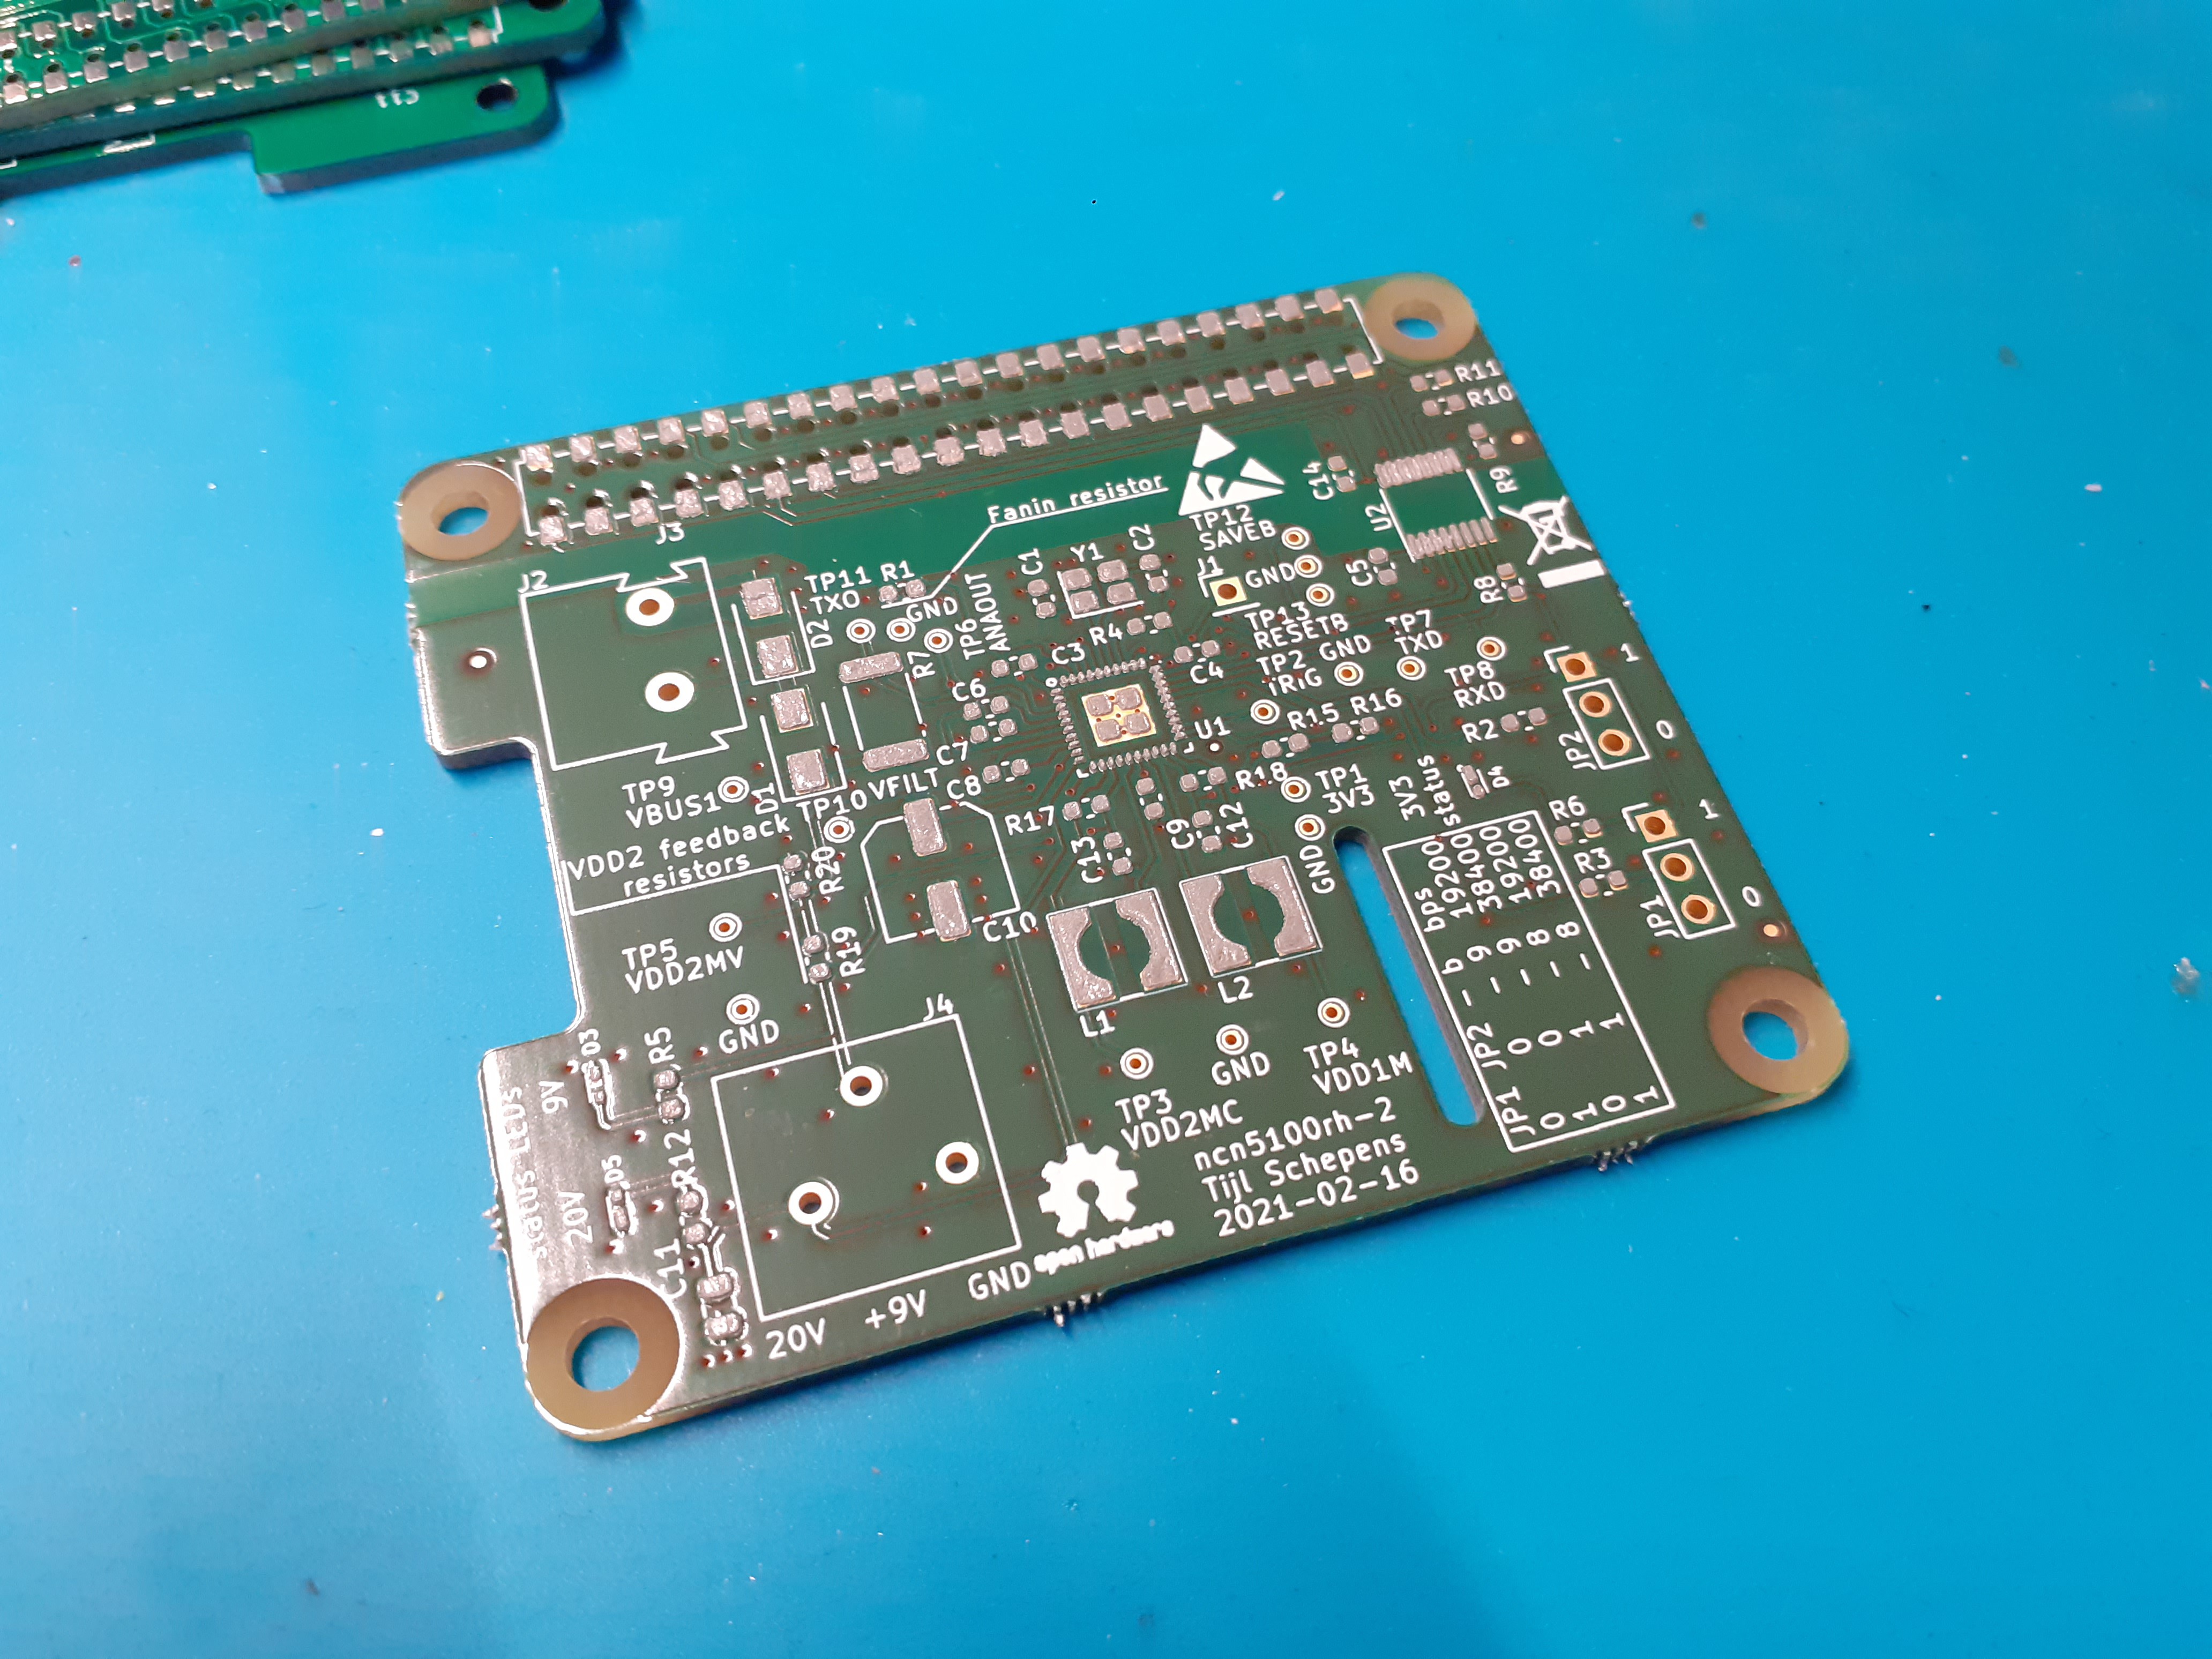
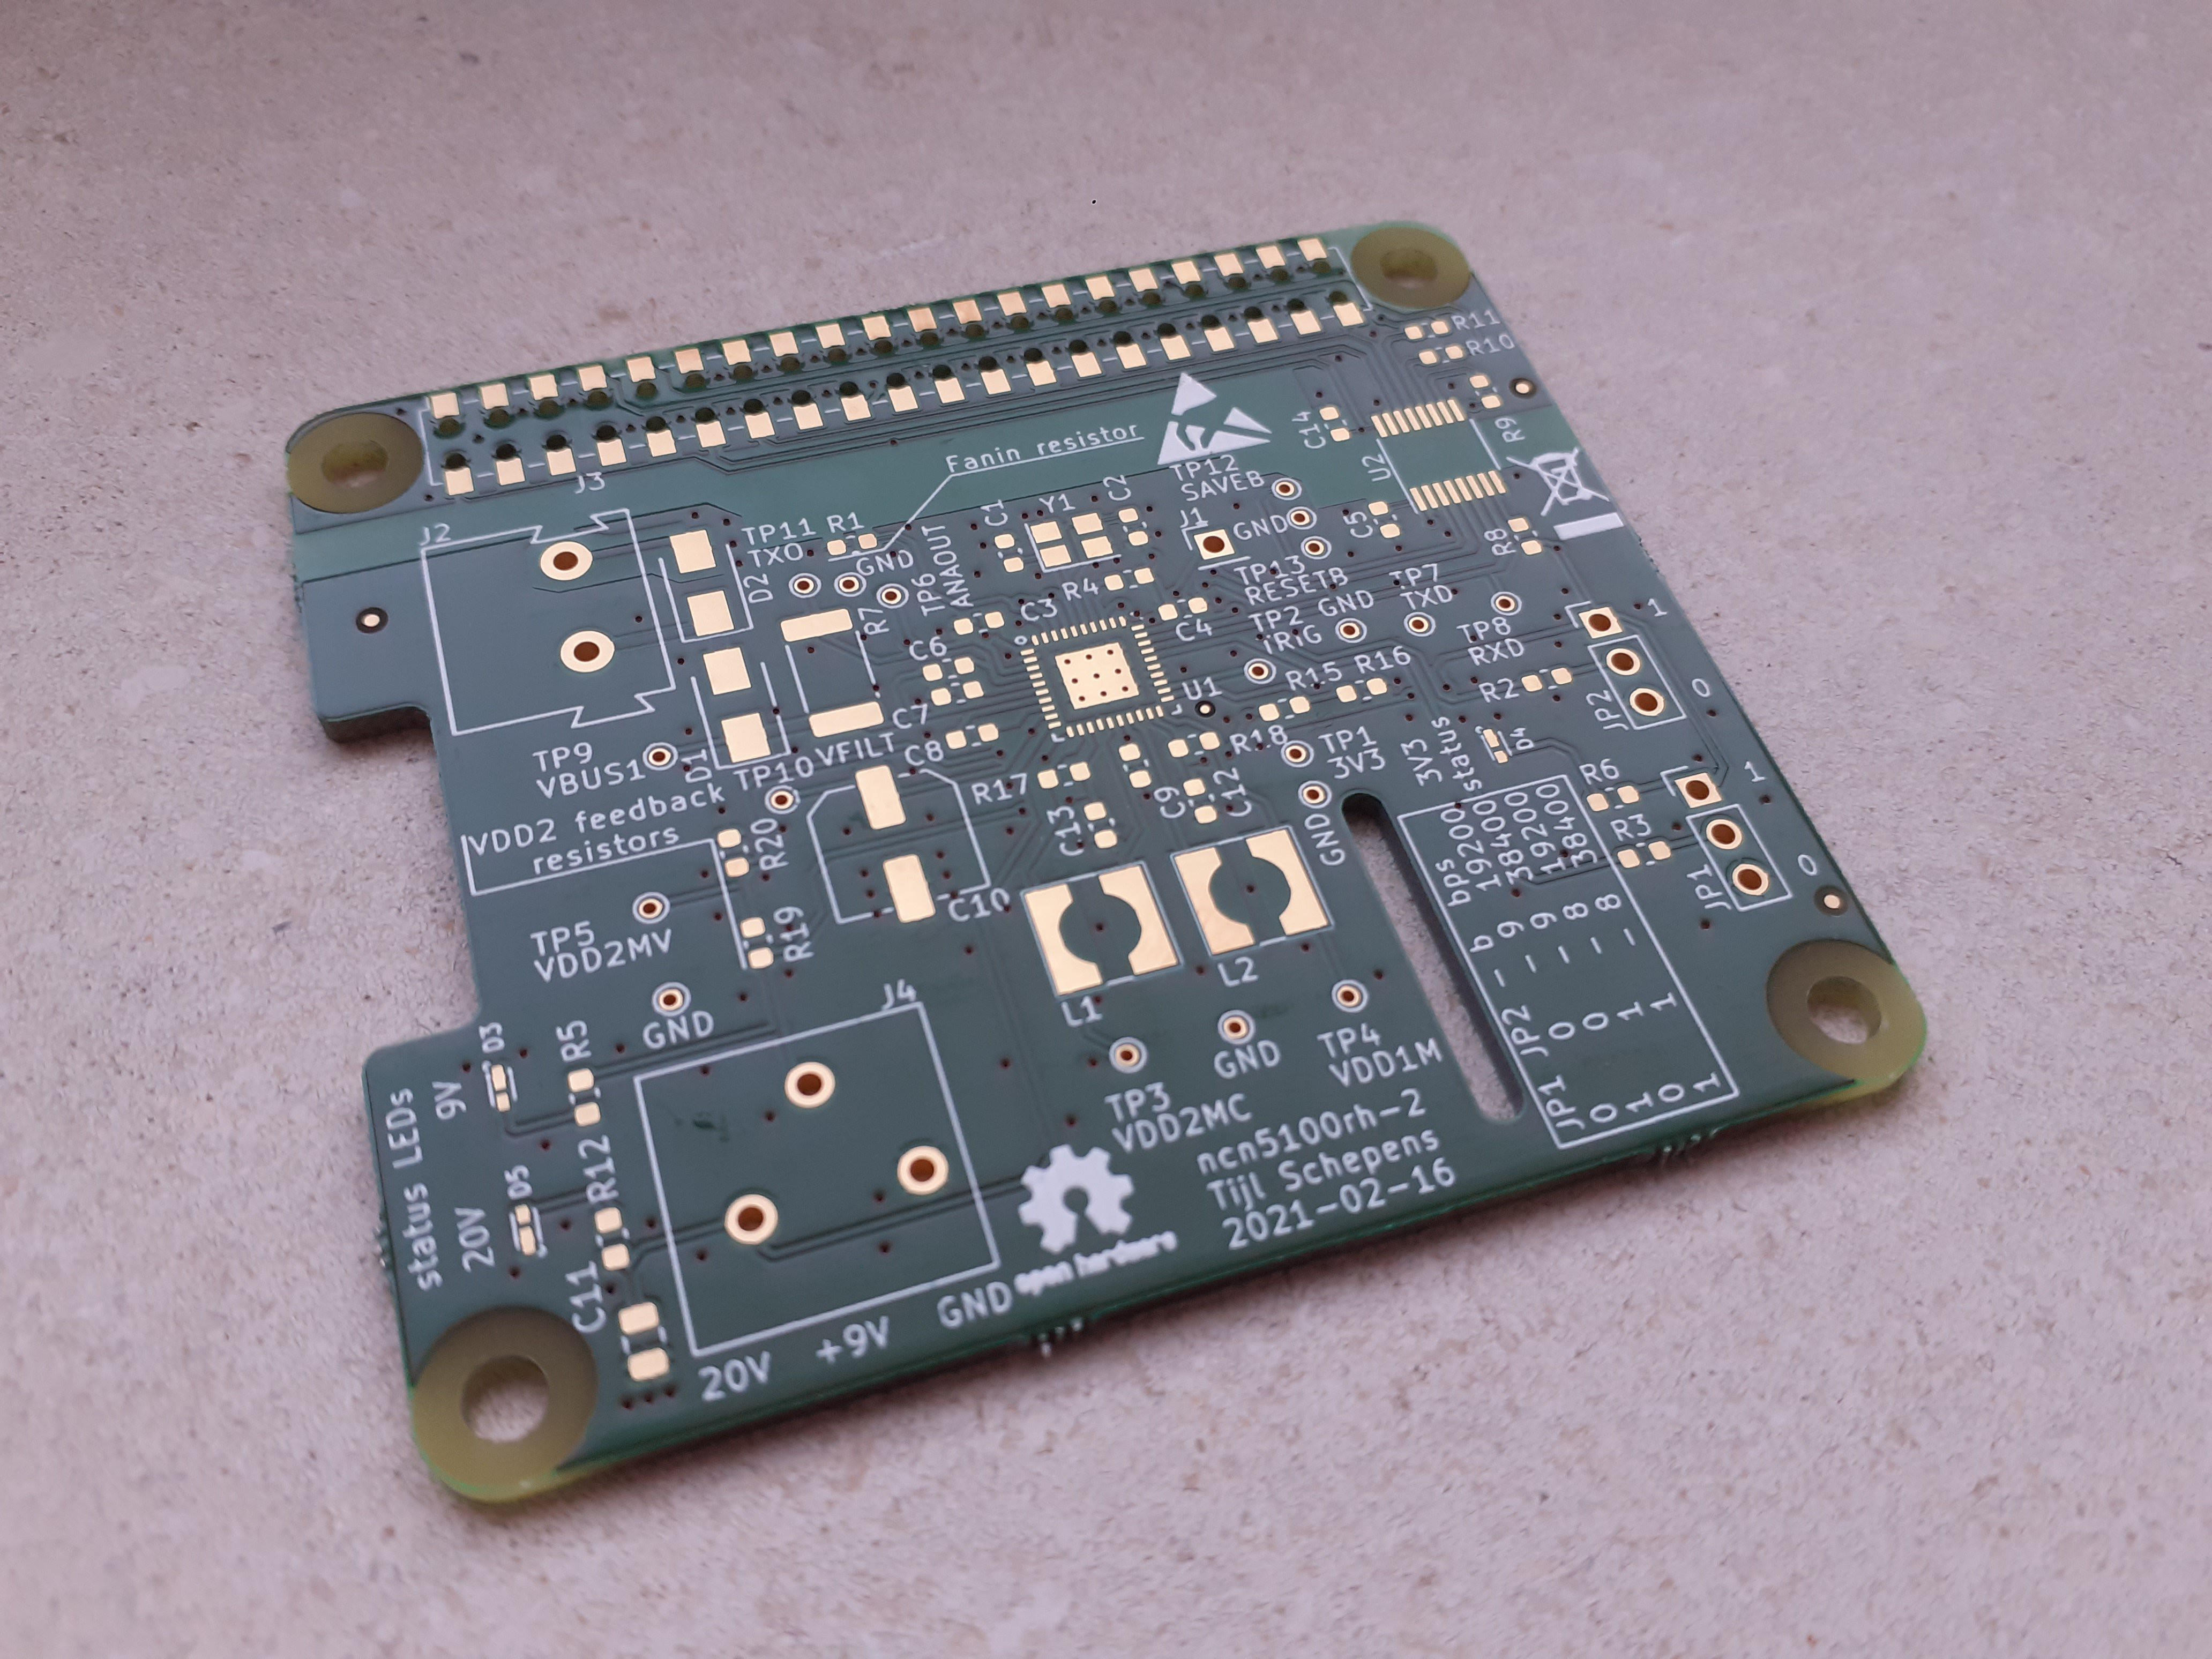
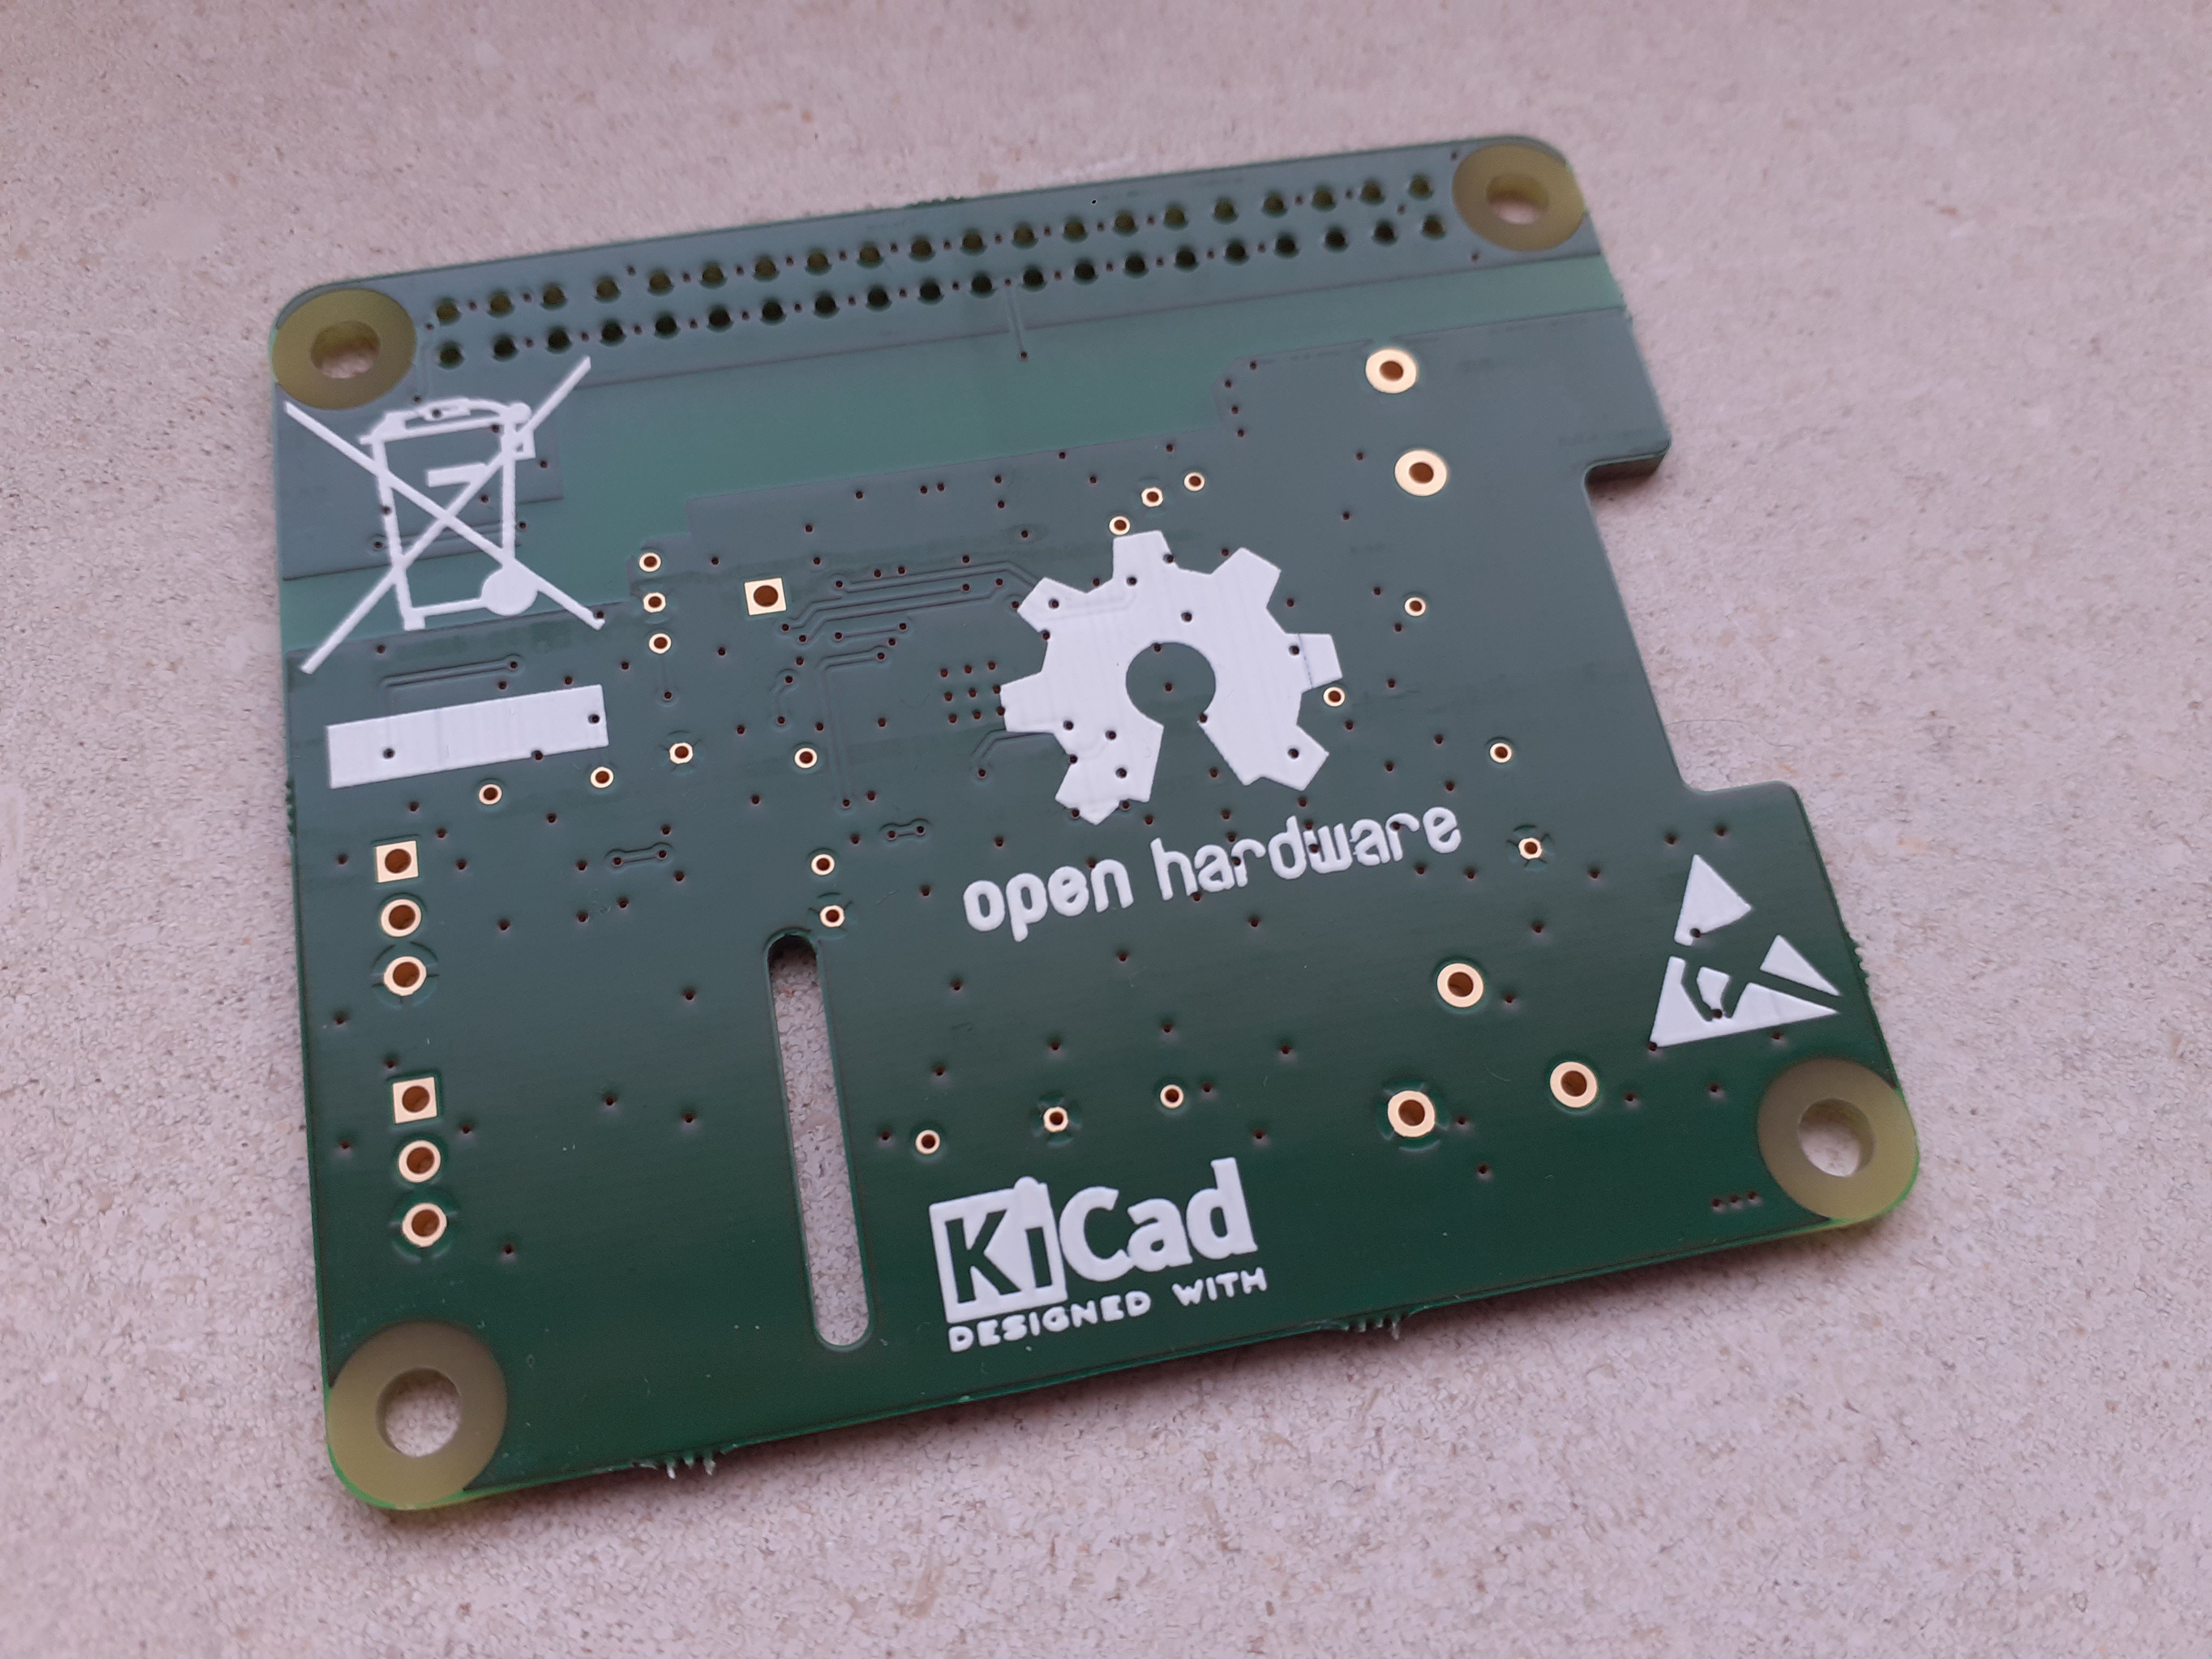
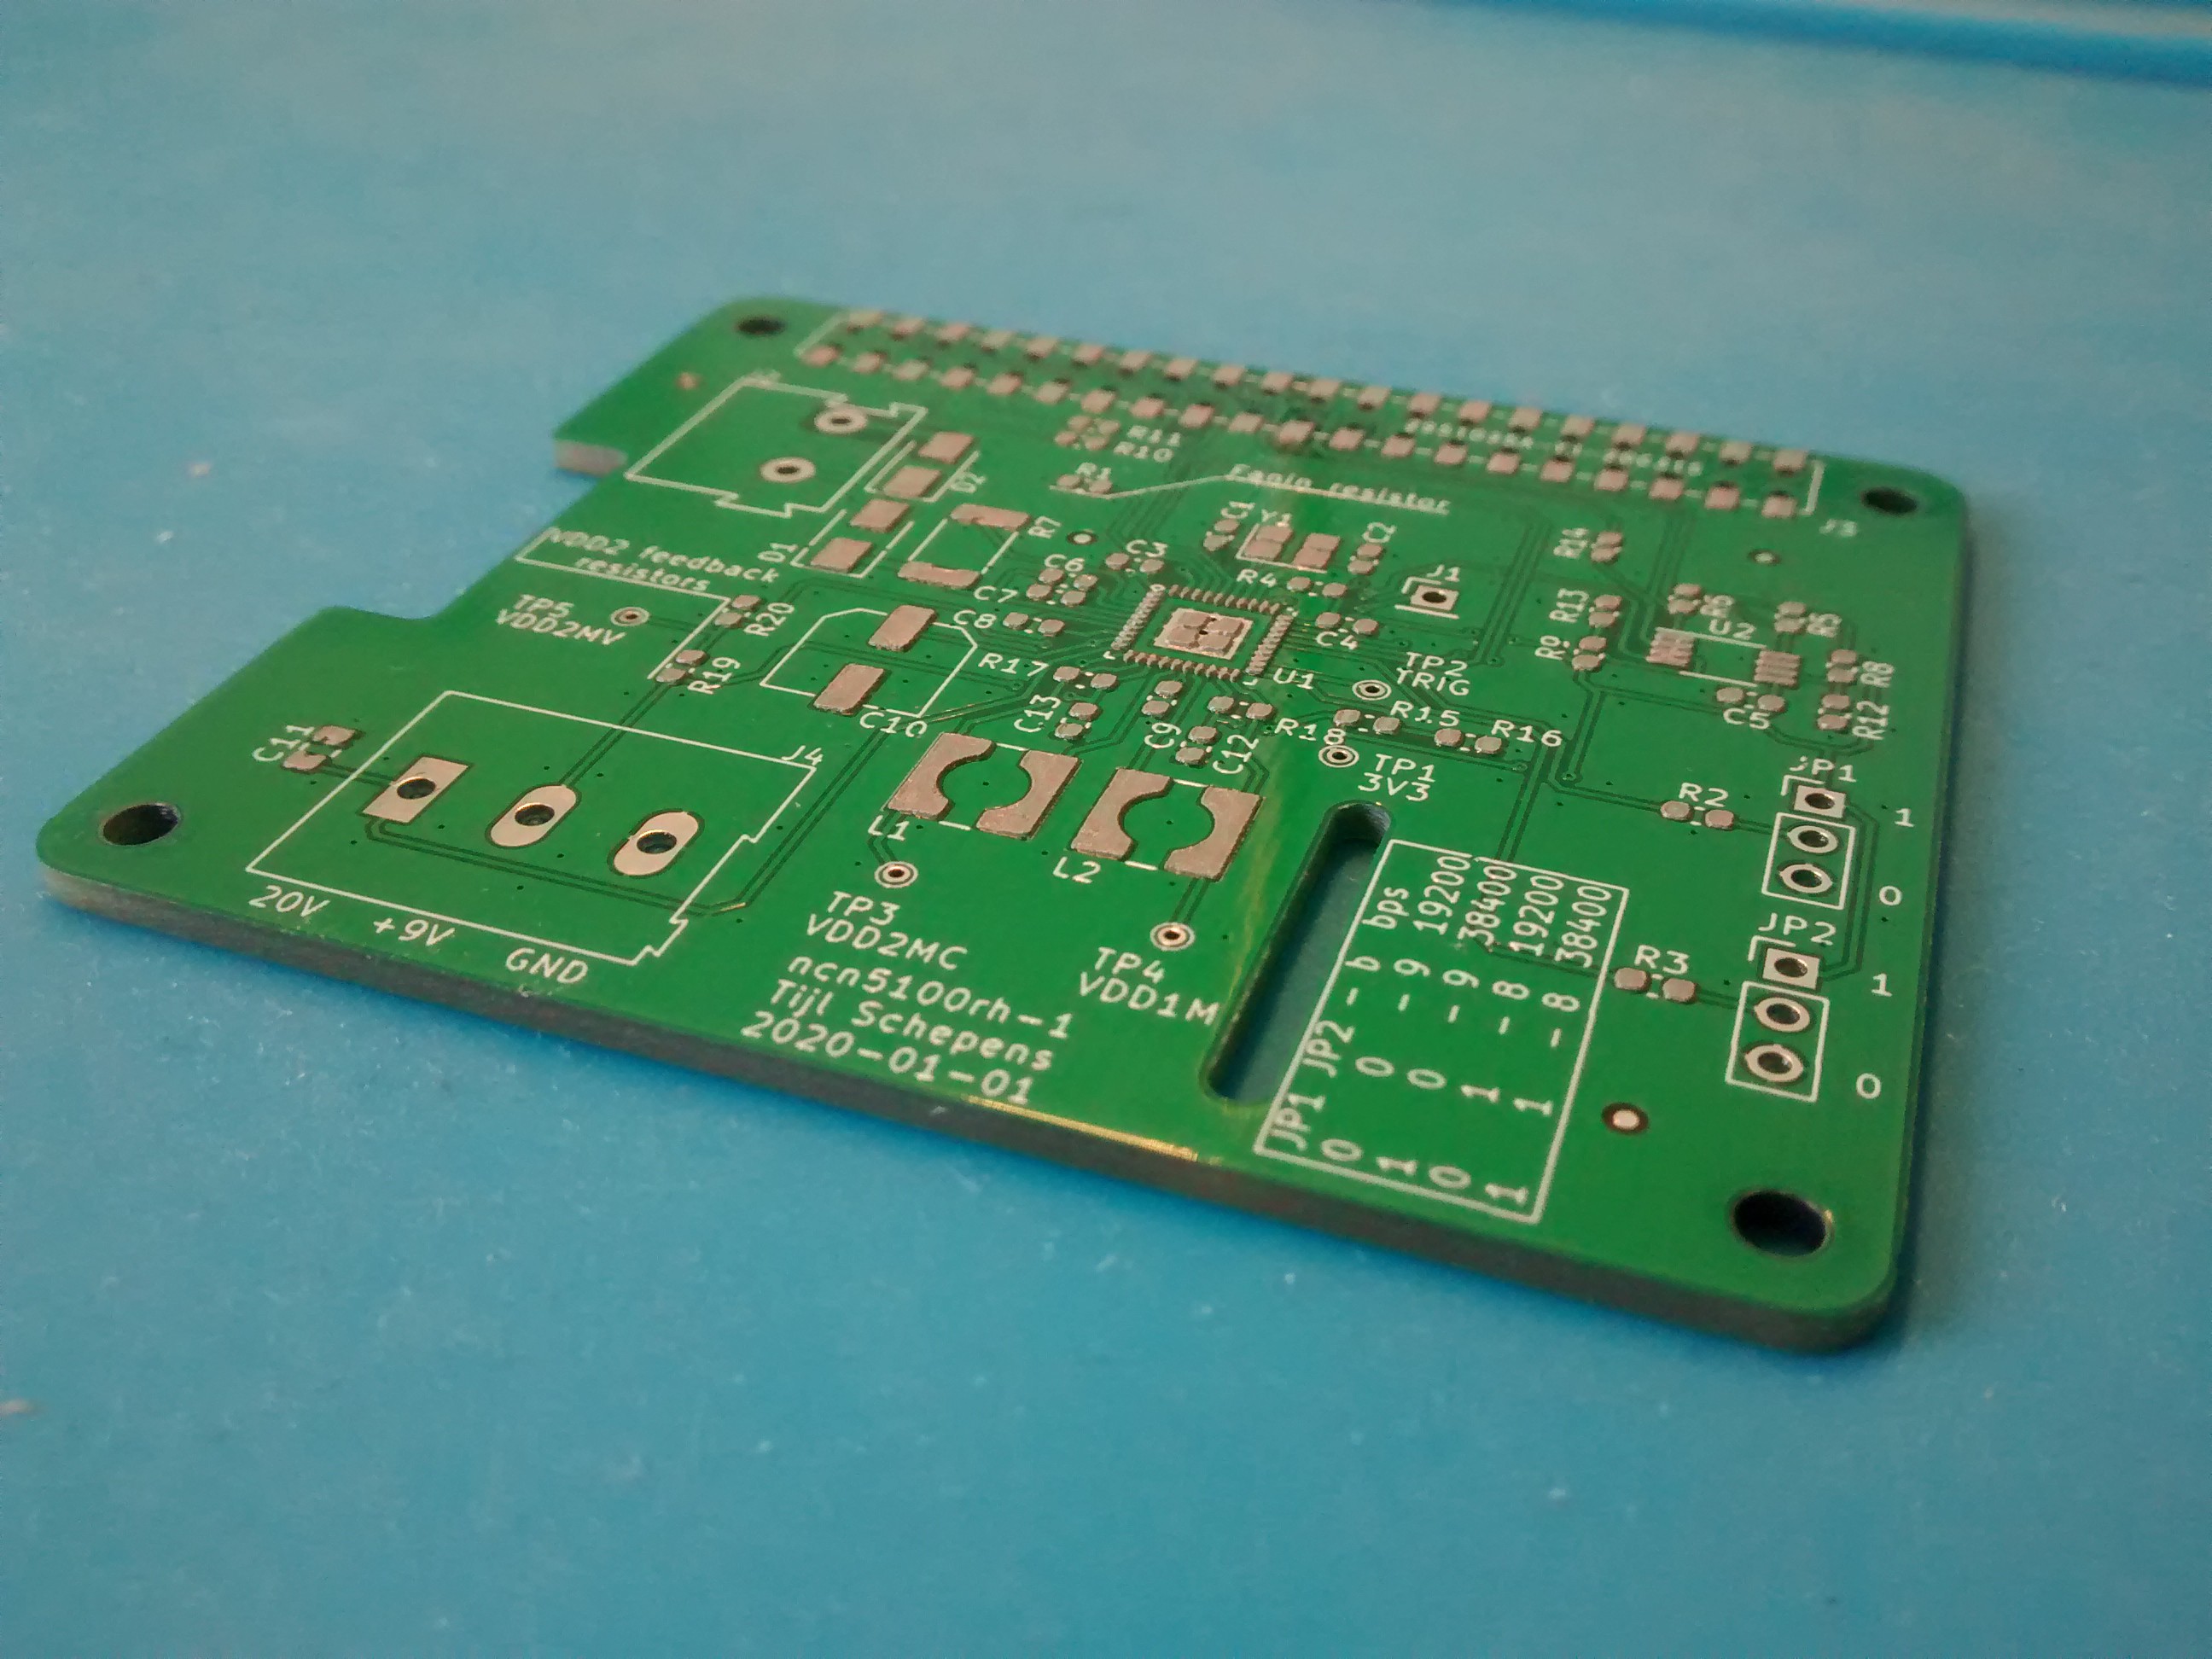
    So the new PCBs arrived!

    They are looking really good! Now lets hope that soldering goes well also.

    I want to thank the people from Aisler for helping me out! I had some issues while uploading the project and they immediately helped me out and were very responsive.

  • New design ready!

    Tijl Schepens01/24/2021 at 09:44 0 comments

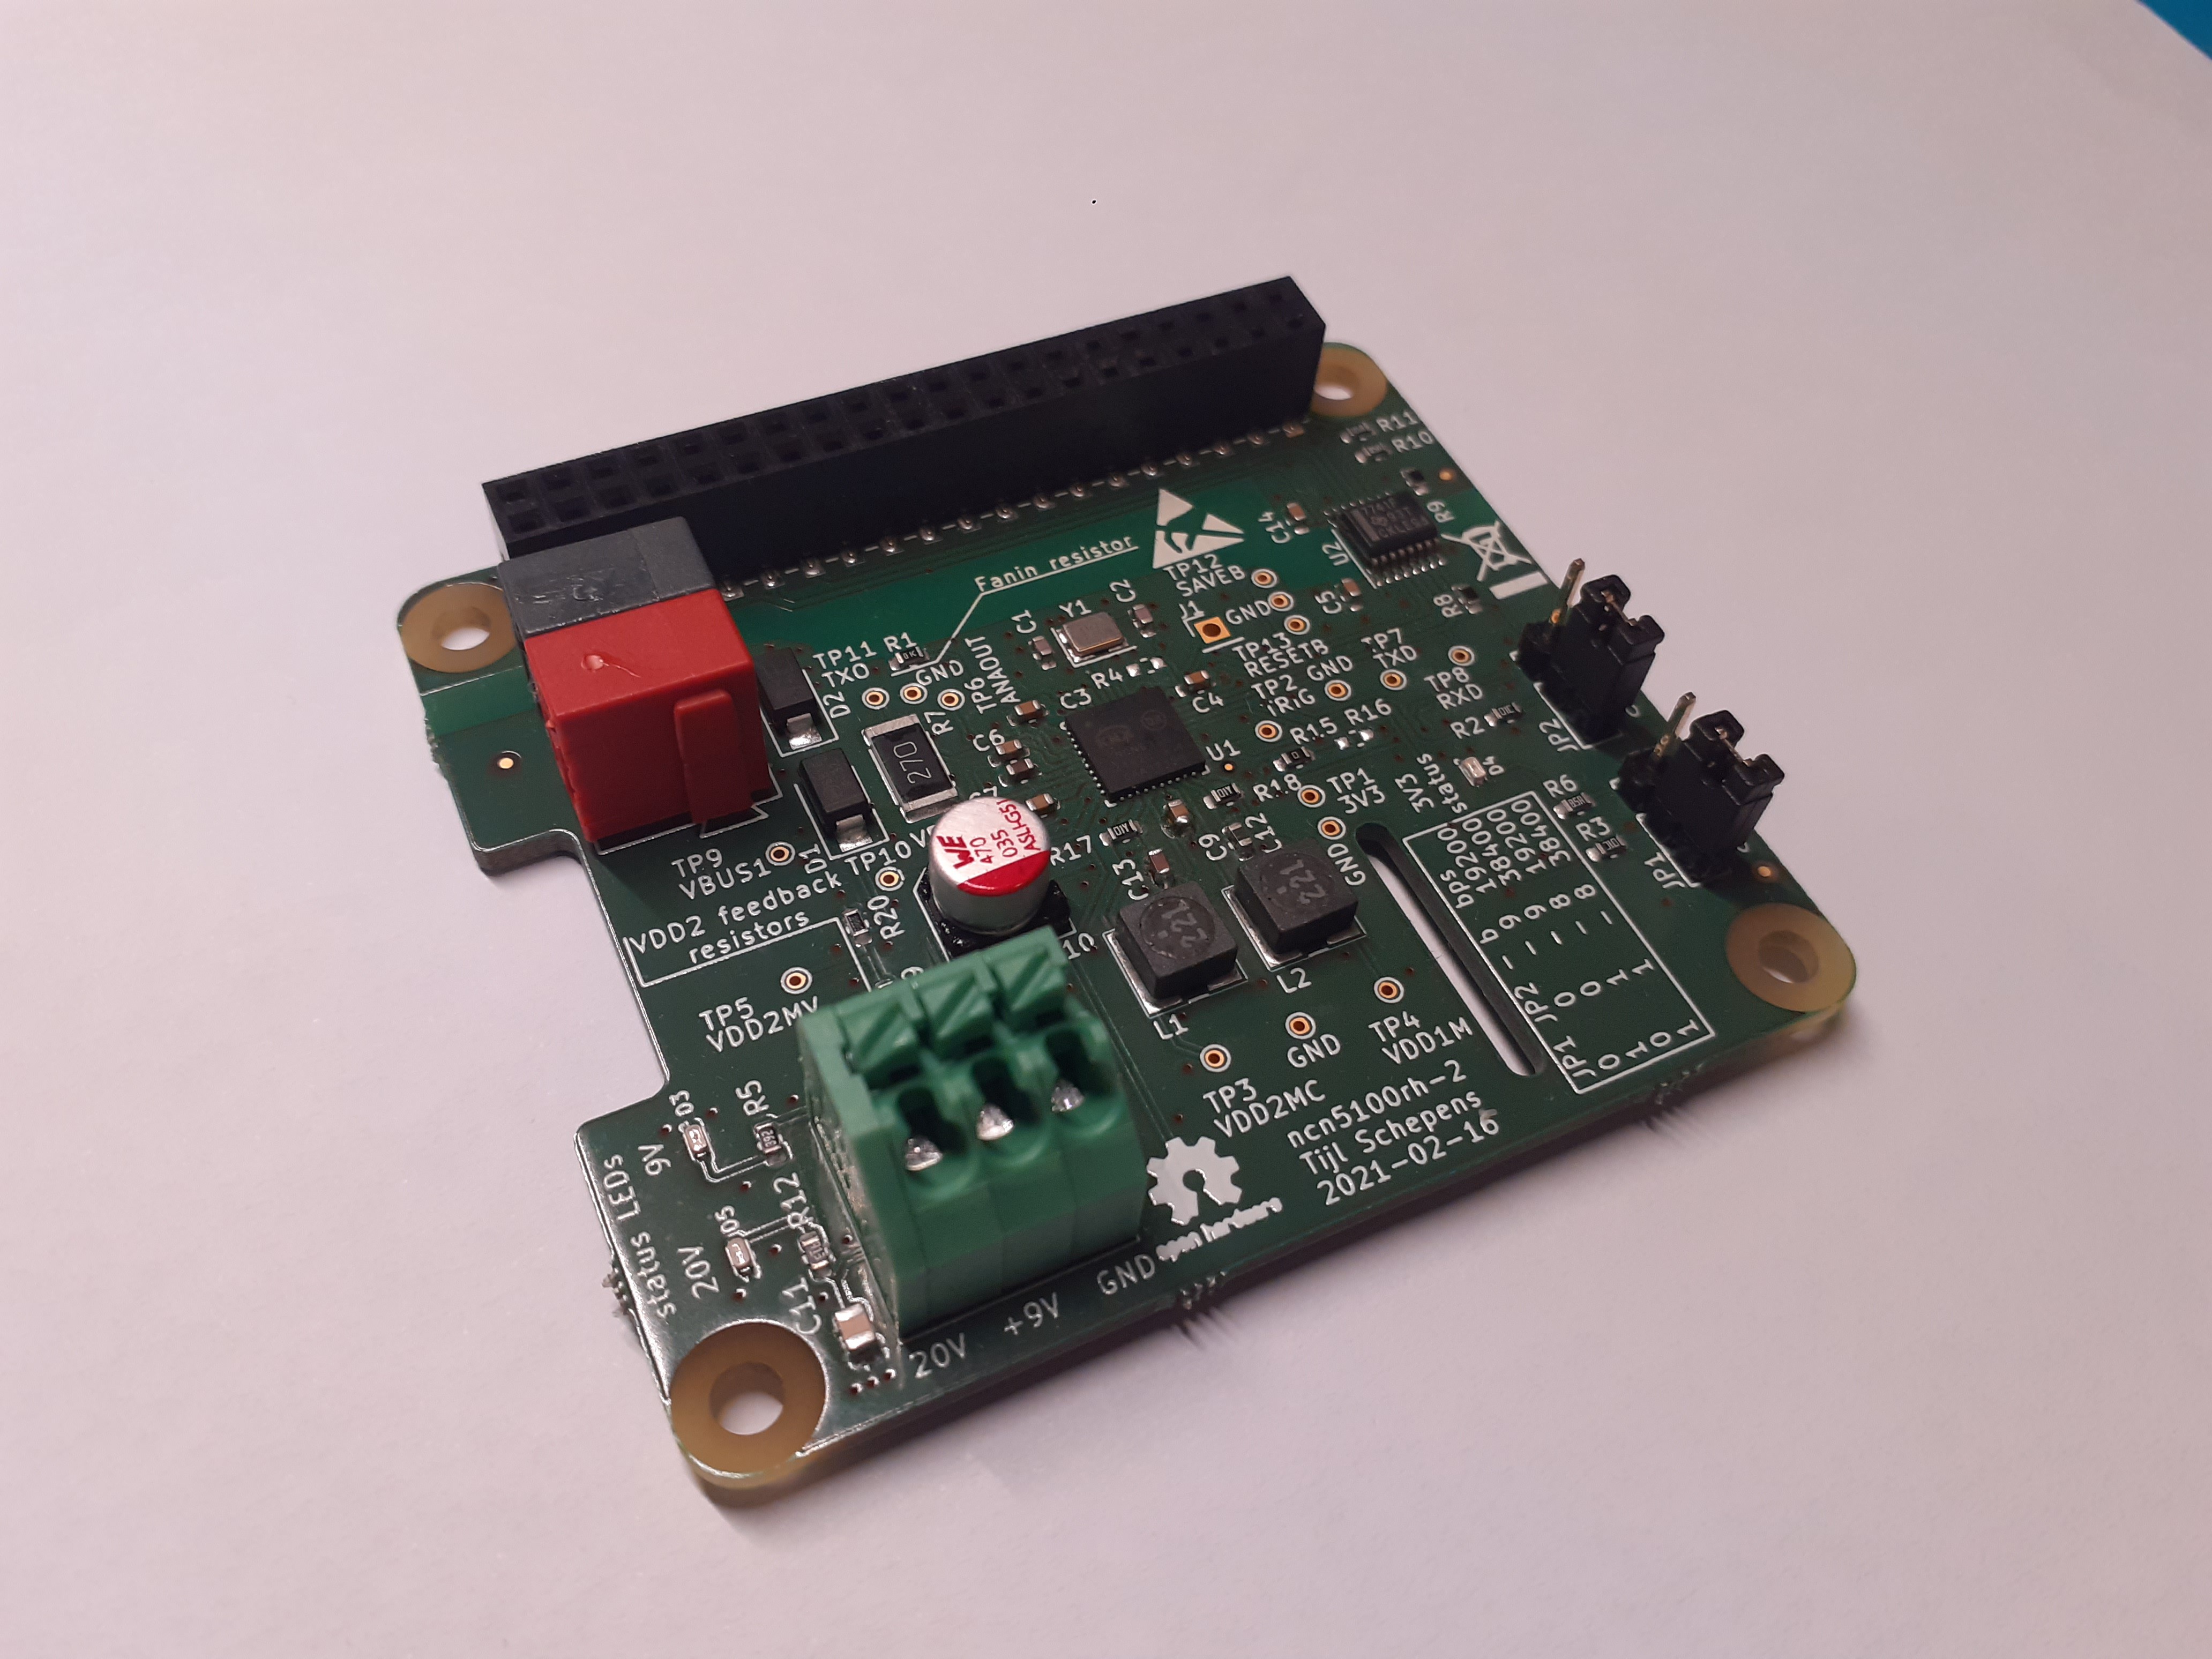
    The new design using isolation is now ready. You can find it on the projects GitLab page. The new design is called ncn5100rh-2.

    I've thrown out the opto-couplers on recommendation of @Sean McVeigh. The digital isolator is much more compact and uses the same amount of power as the logic gate opto-couplers.
    Exclusively using opto-couplers (not the logic gate versions) would lower power consumption, but would greatly increase board space. I am in favour of lowering the BoM count and board space in exchange for slightly higher power consumption.

    I will be looking into producing the board and assembling it in the coming month.

  • Adding isolation

    Tijl Schepens01/17/2021 at 19:32 6 comments

    A new schematic is available under ncn5100rh-2. This is the new design which will contain functional isolation between the KNX transceiver and the Raspberry Pi. The design is available on the GitLab project page.


    I will be working on the layout for this design in the coming weeks.

  • Working with OpenHAB

    Tijl Schepens06/30/2020 at 16:16 0 comments

    Everything seems to be working well with OpenHAB!!!

    It took me quite some effort to get it fully working. There are many little details that need to be right or else it just won't work. Enabling logging for both KNXD and OpenHAB really helps in finding the root cause of the issue.

    After installation KNXD will start automatically as a service. The options that KNXD uses to start are defined in /etc/knxd.conf My configuration is currently:

    KNXD_OPTS="--eibaddr=1.1.12 -E 1.1.1:5 -n RPihat -D -T -R -S -i --layer2=tpuarts:/dev/ttyKNX1"

     Note that while debugging it is interesting to stop the service with the command "systemctl stop knxd.service" and run KNXD from the command line. This way you can enable debugging with the -t option.

    Once KNXD is running, you will see it pop up as a possible interface in ETS. This makes it possible to use the Raspberry Pi + HAT as a wireless KNX programming device. You can monitor and program networks wirelessly!

    Note that the option -E specifies the addresses KNXD assigns to clients that connect to it through tunneling and such. Do not assign these addresses to physical devices on your KNX bus. This will create collisions which keep you wondering day and night why it won't work...

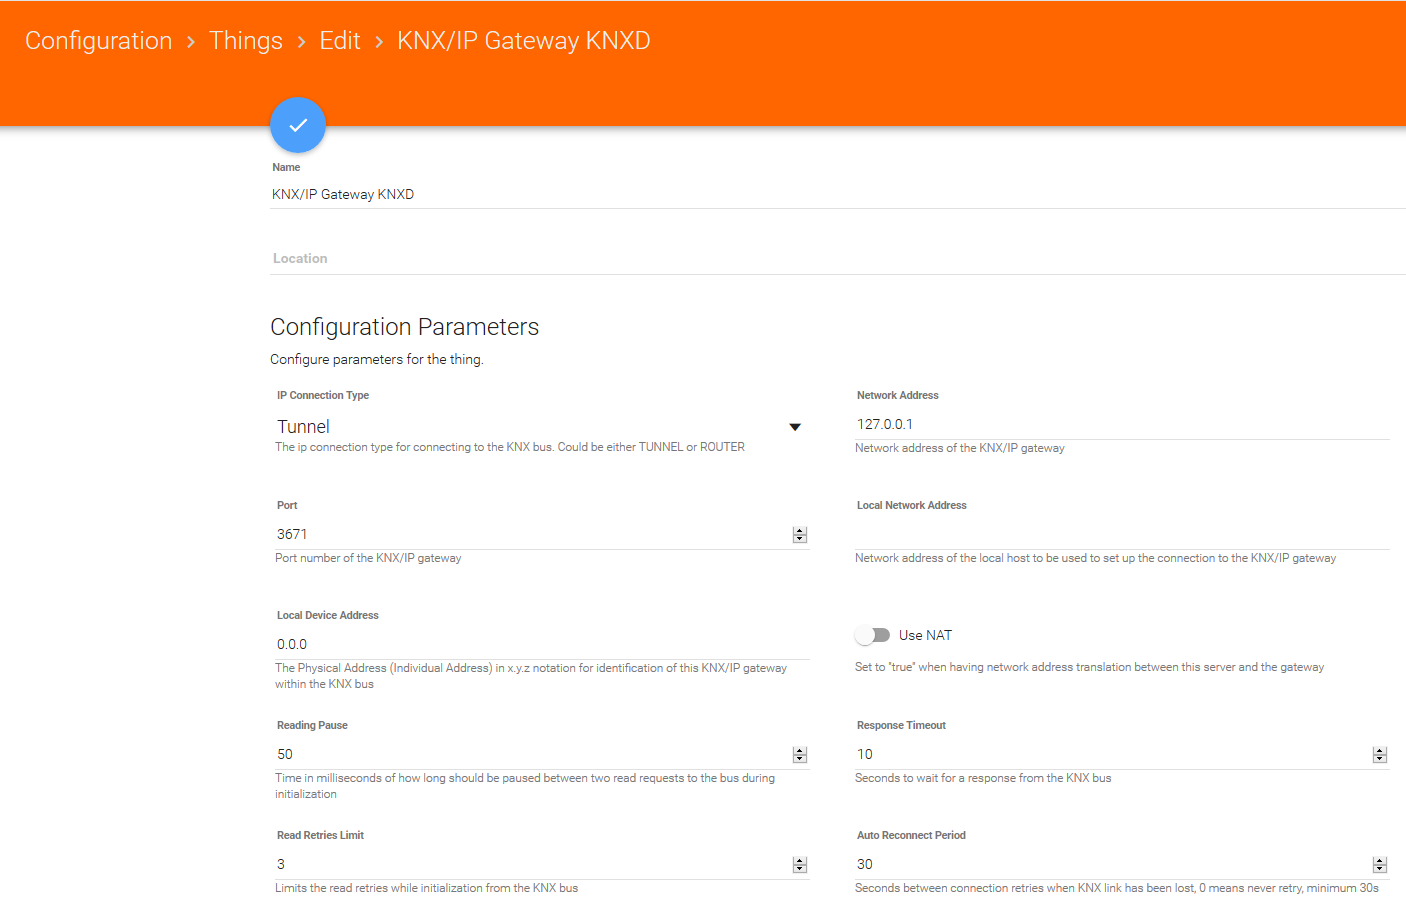
    Getting OpenHAB to communicate with KNXD is fairly easy. After installing the KNX addon, you can instantiate a KNX/IP Gateway in the Things tab under Configuration. As KNXD and OpenHAB are running on the same Raspberry Pi, the Network Address is just the local host 127.0.0.1
    If you run both on a different system, the Network Address has to be the one of the system running KNXD. Of course both systems must be in the same network.

    All the other settings are ok by default, except for the Local Device Address. First I thought this had to be the individual address that is assigned to KNXD. But that caused a lot of trouble. After browsing on the internet I found that it is best to leave it at 0.0.0 and have KNXD assign the address by itself.

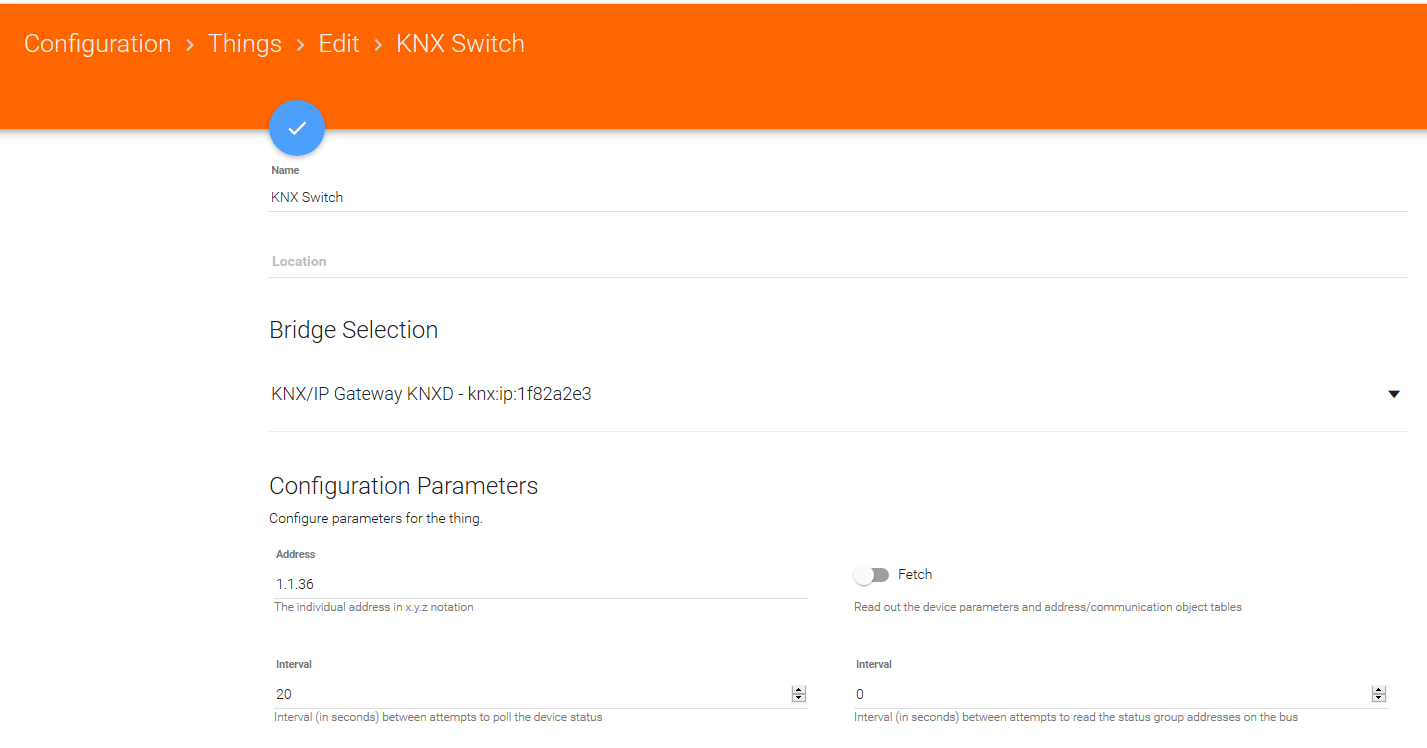
    Once the connection has been made with KNXD, it is possible to set up a KNX Device. My device is a KNX switch.
    Select the right bridge to communicate with. Normally there will only be one bridge, which is the one we just set up with KNXD.

    The address, is the individual address of your KNX device. OpenHAB will poll this address to see if the device is up and running on the bus. If you just want to send messages on the bus and not have OpenHAB poll your actuator on the bus, leave the Address blank.
    Here you don't have to define yet what your device does. That is done by assigning channels.

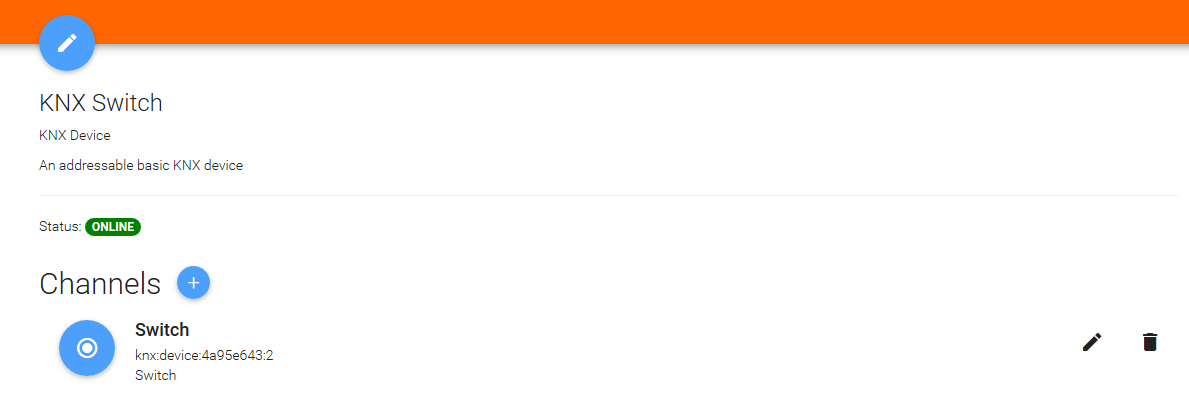
    Once both of these are set up, OpenHAB should show them as online:

    When everything shows up as online it means that OpenHAB is able to reach everything on the KNX bus. The hardware part is mostly done here now. This means all the hardware is working properly and the software can interact with it.

    Assigning group addresses to communicate on the bus, is done by clicking on your device and adding a channel. The channel can be a switch, blind,...

    Every channel gets assigned a group address and can then be assigned to a control element in the HABPanel or some other UI in OpenHAB.

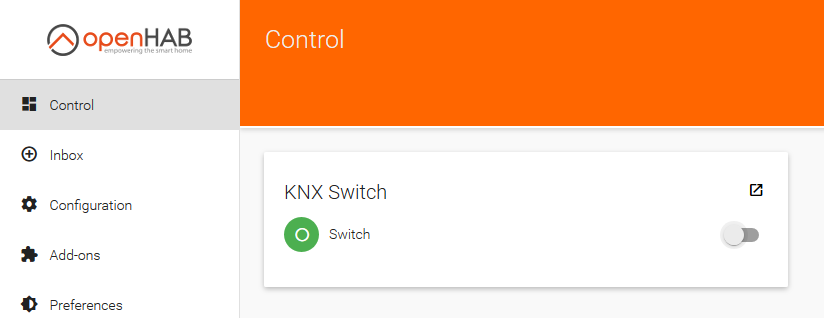
    In the control tab you can control your newly assigned channel. This is only used for testing. Controlling your installation is done through one of the OpenHAB UIs you can build. If you push the button next to your element you should see some messages appearing on the KNX bus. On the image below you can see the on/off commands being sent.

    The messages that come before the on/off commands, are coming from OpenHAB. They are used by OpenHAB to poll the status of your device. This is then used to show in the UI if the device is online or not.

    As now everything is working, I'll look into making a step by step guide on how to set everything up.

  • Another mistake...

    Tijl Schepens06/25/2020 at 17:02 0 comments

    It seems that I swapped the pin out of the Raspberry Pi header. Pin 1 should be Pin 2 and vice versa. So in the schematic I had to mirror the header around the y-axis. The schematics and the PCB on GitLab have been updated.

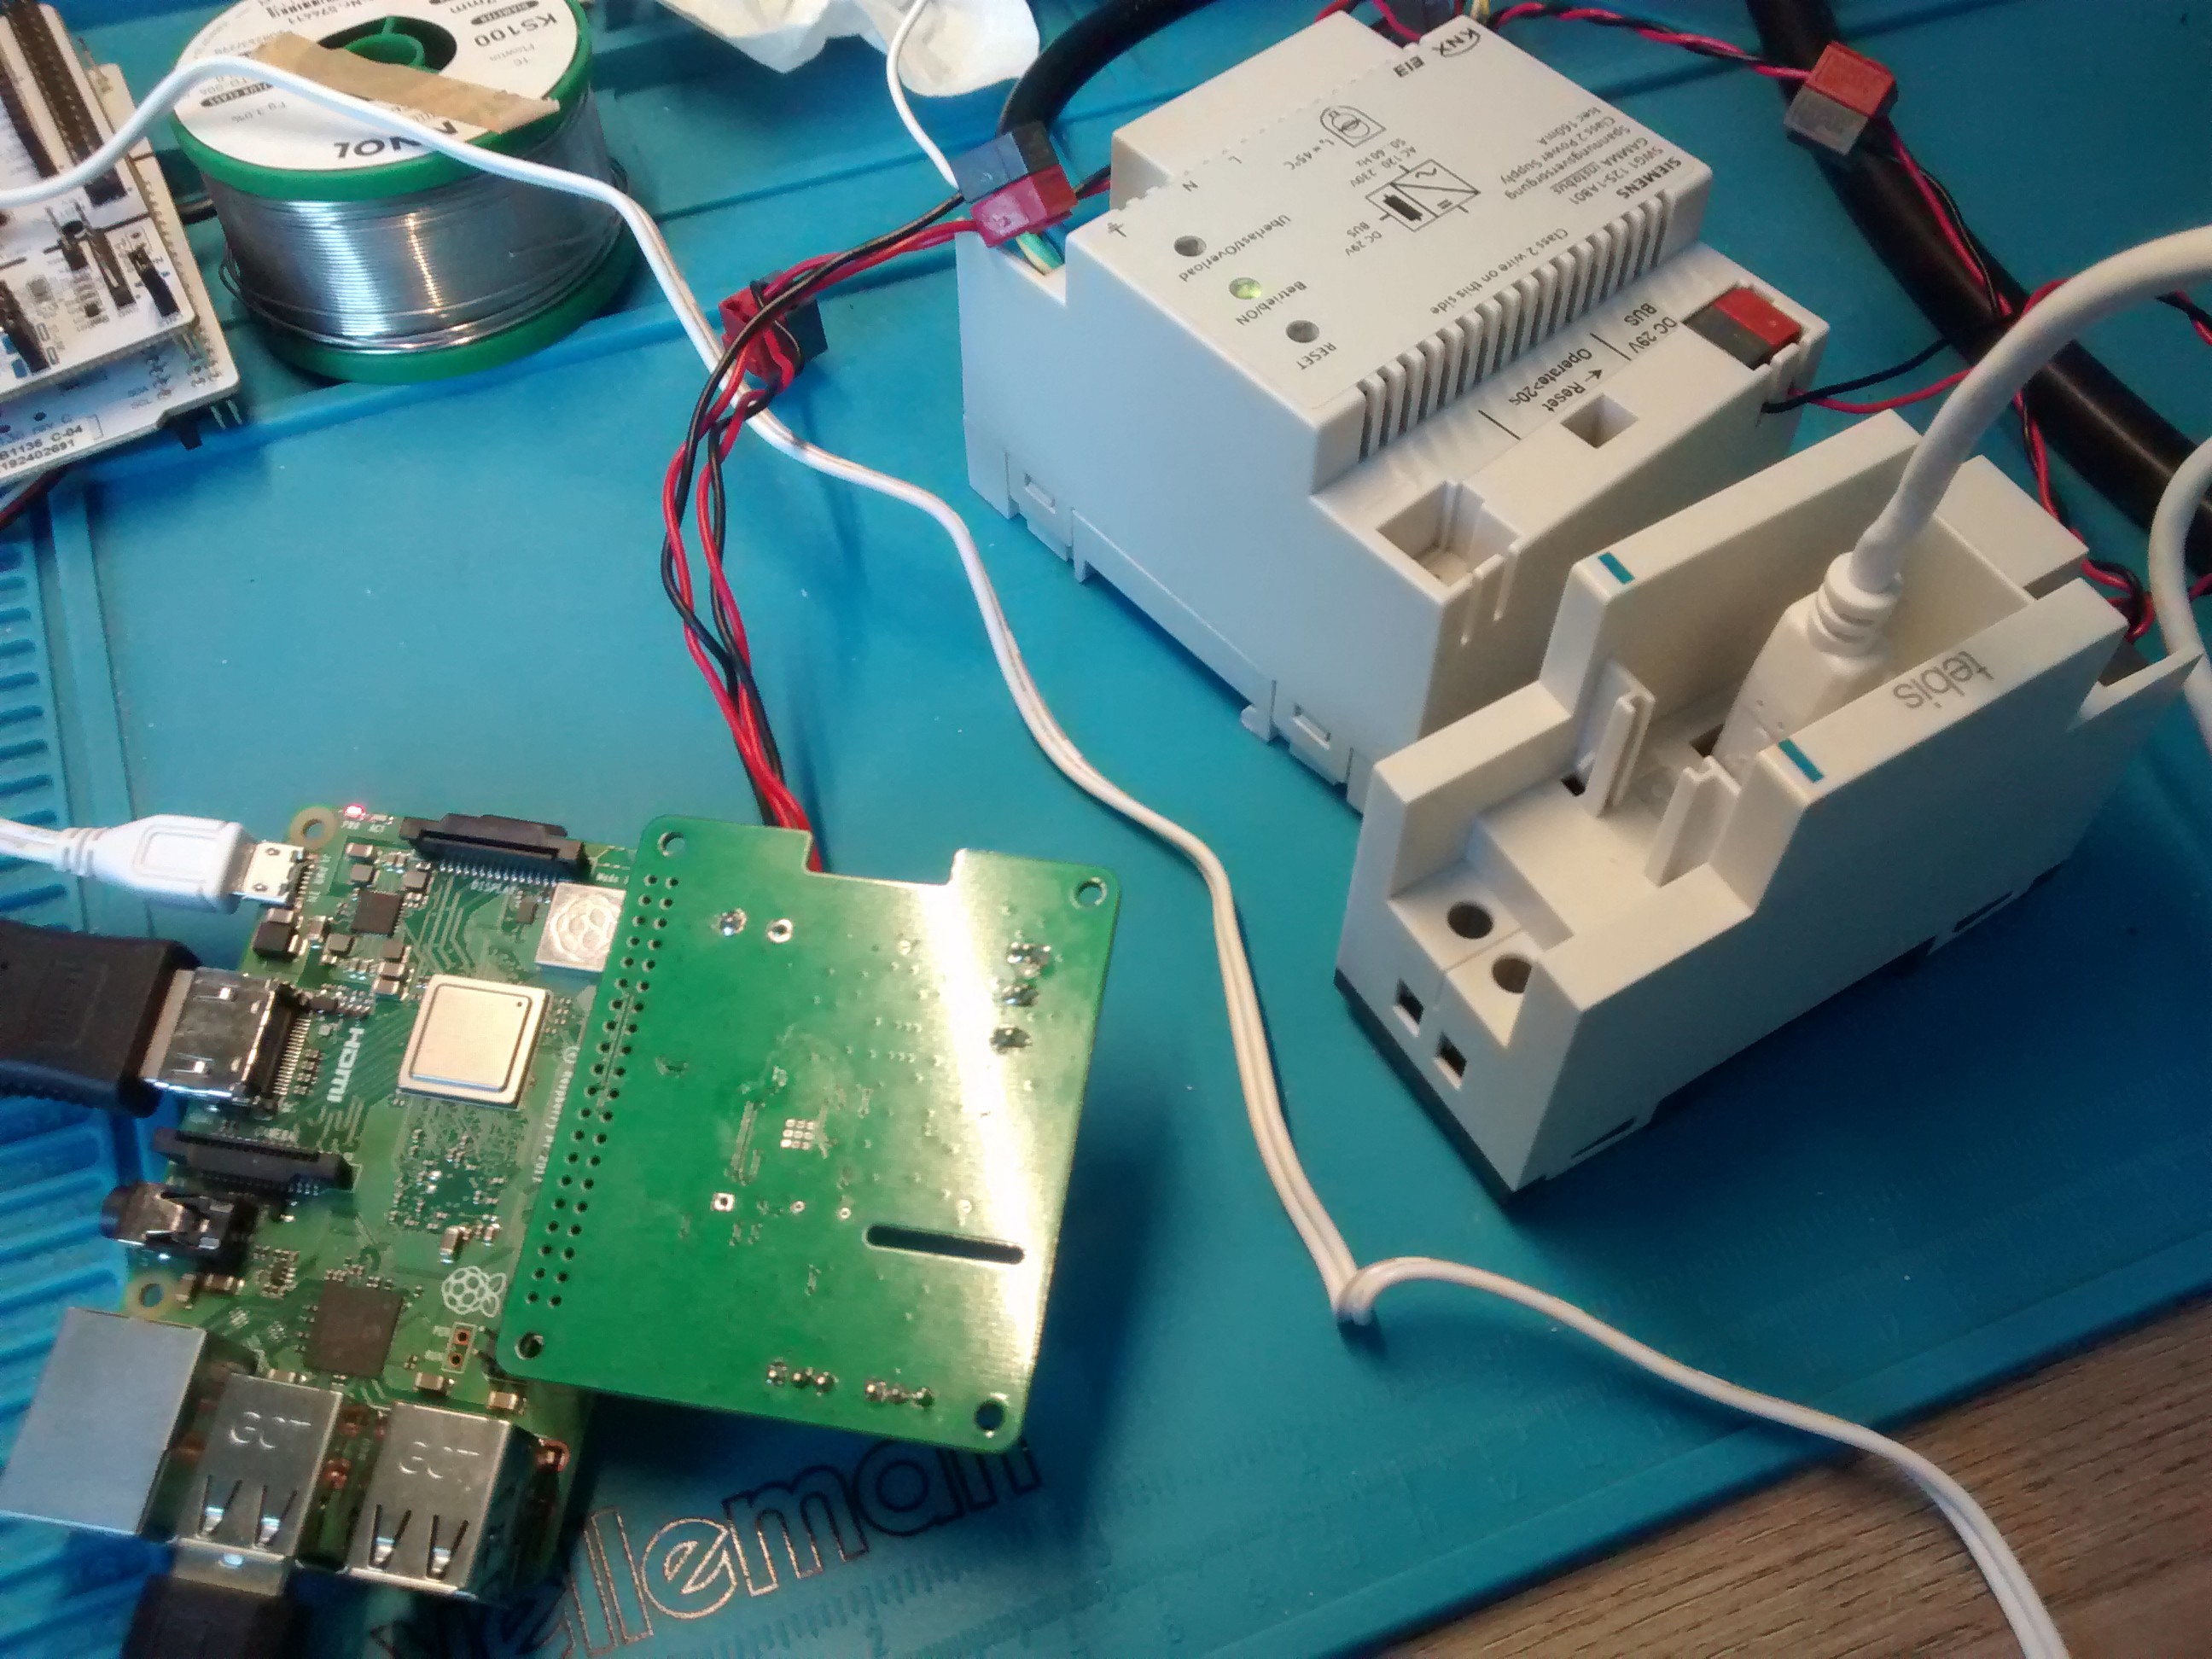
    I guess that means that I have to put the shield upside down onto the Raspberry Pi to work with it. It looks silly, but hey it works ;-)
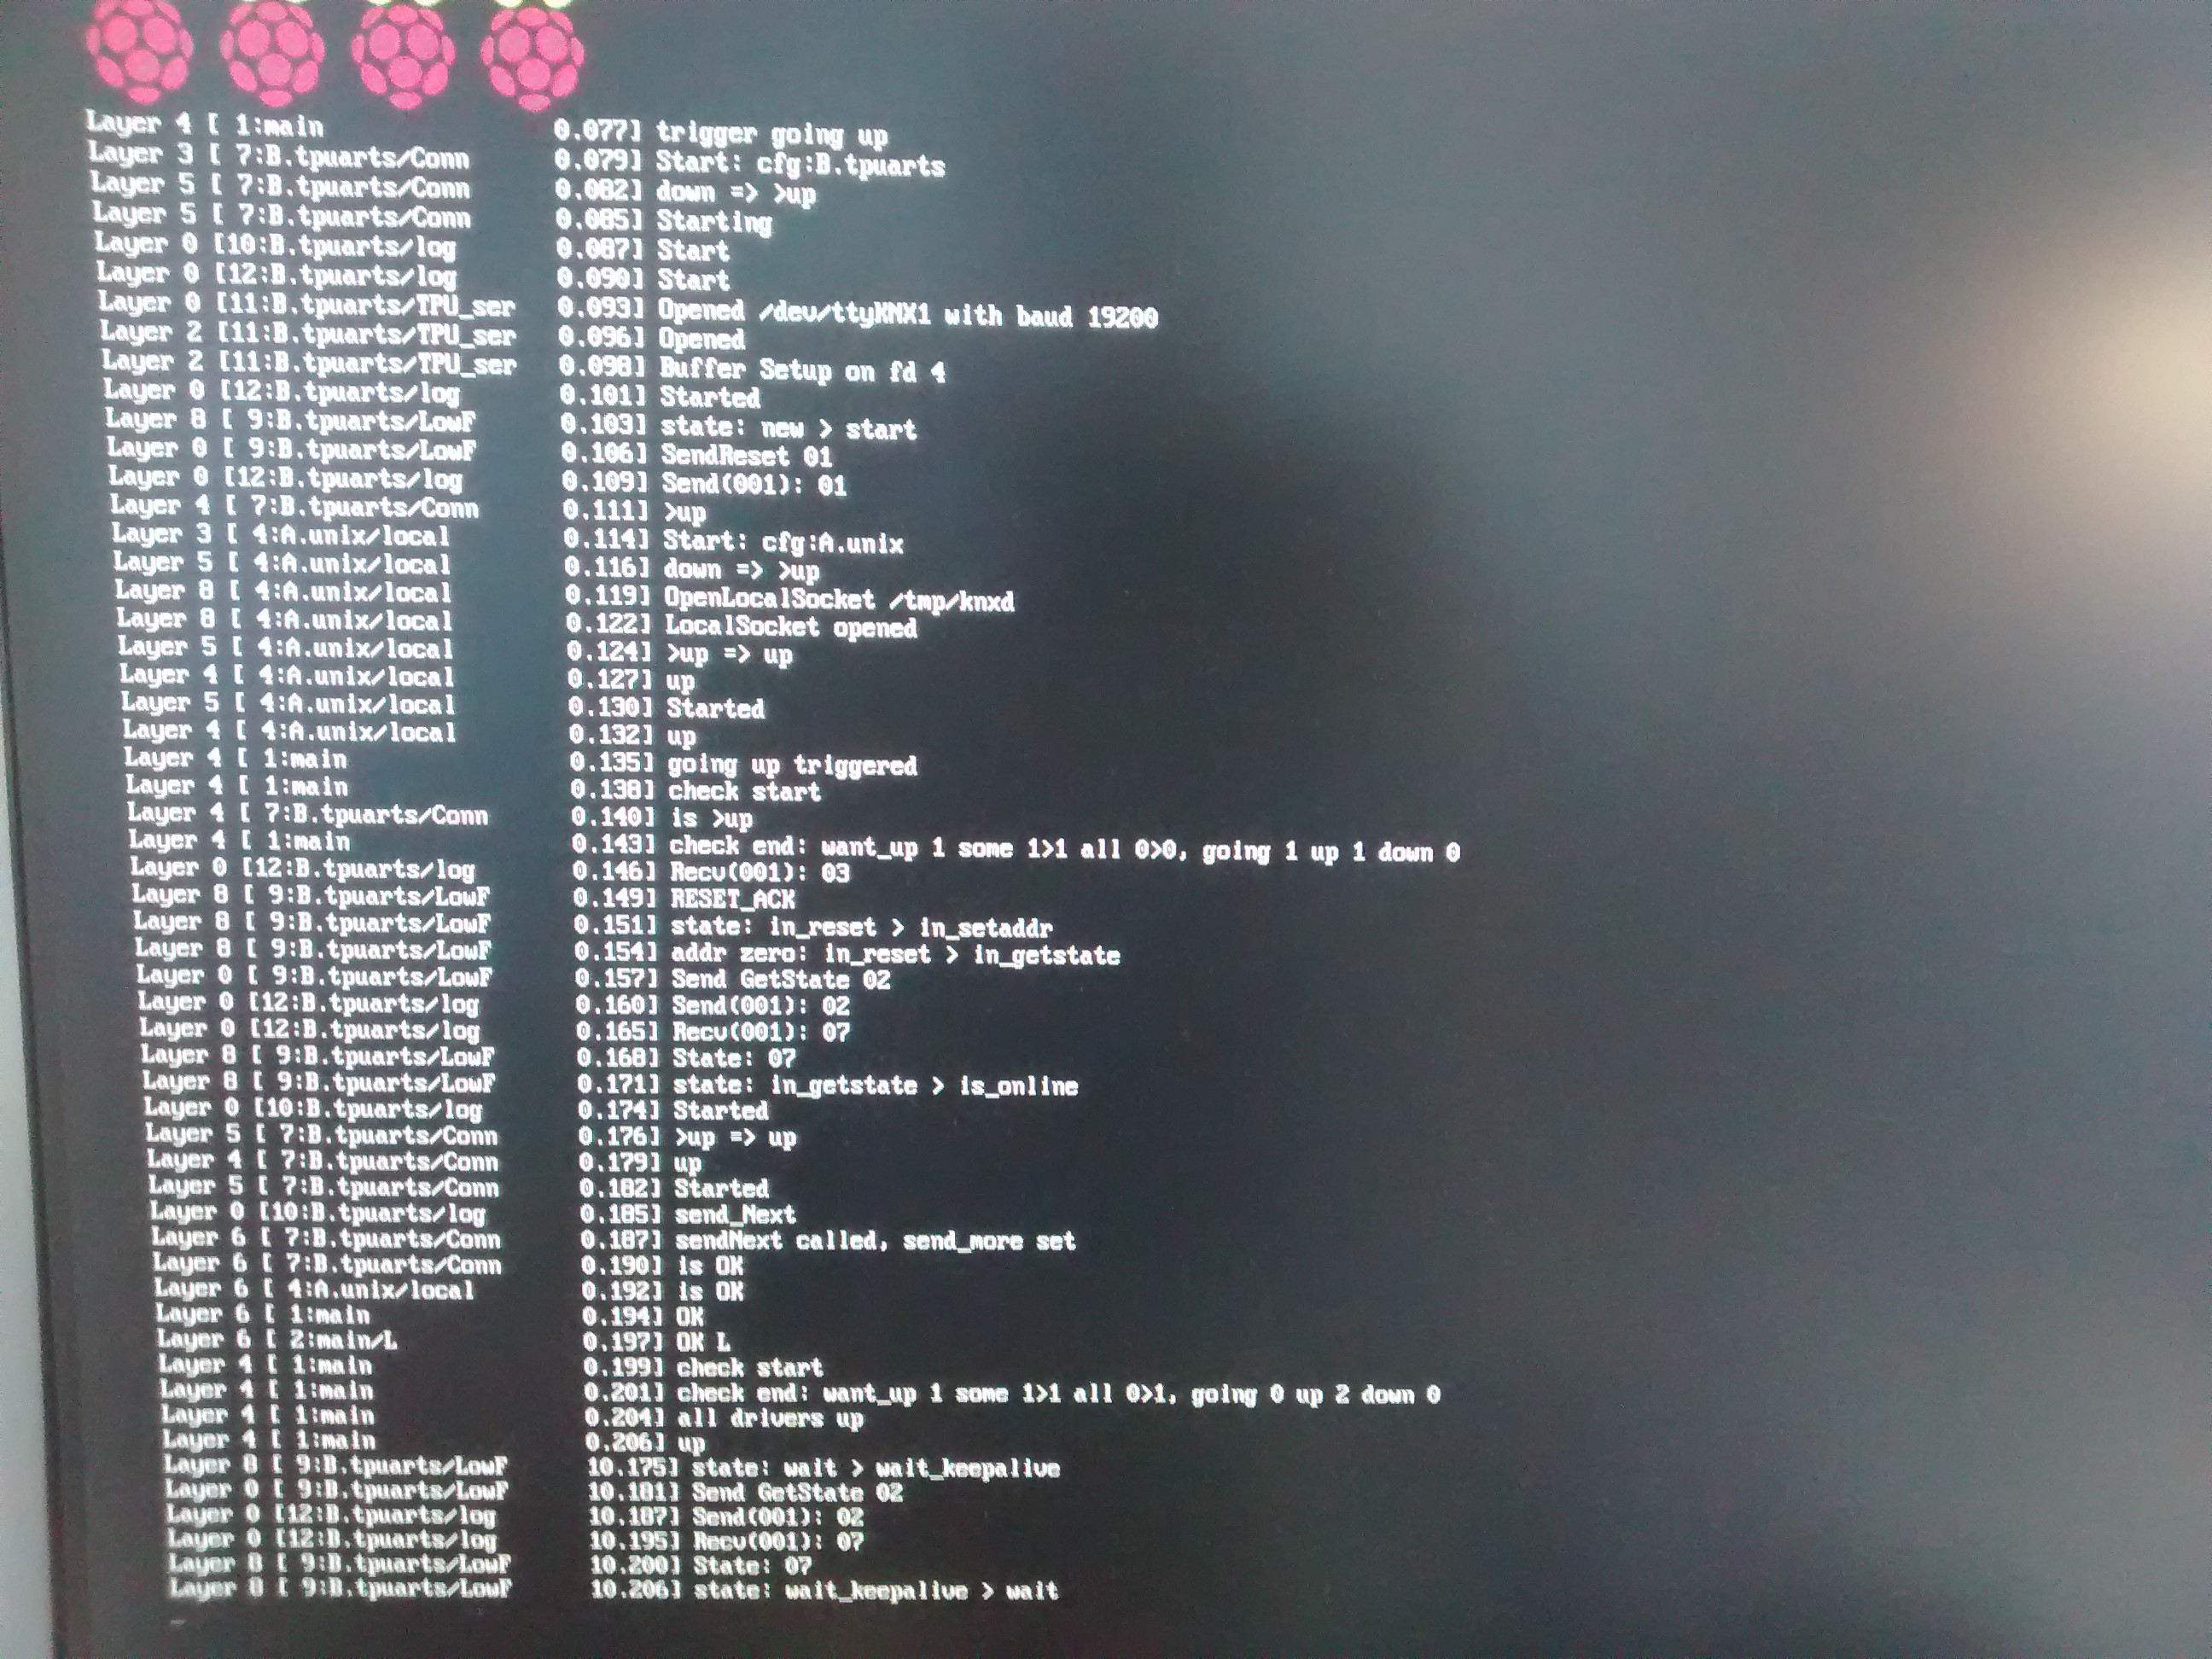
    Installing KNXD was pretty straight forward. The installation instructions on their Github page are very clear. After fiddling around with it, I got it working with the shield! At first it didn't work, but I selected the wrong baud rate.
    KNXD by default communicates at 19200bps and an even parity bit. So the jumpers on the shield must both be set to 0.

    To test if everything is working I connected a simple KNX power supply to the shield.


    I also connected a KNX USB interface to the bus, but I don't have ETS on my Linux PC, so it is useless for now...


    When starting KNXD from the command line it is easy to see if everything is working by adding the option:

    --trace=1023

     If KNXD detects an error during startup (due to an incorrect baud rate for example) it will report what it received and what it expected to receive. After a couple of failed attempts KNXD will exit.

    If the communication is successful, the process will keep running and report what you can see in the figure above. Every couple of seconds it will request the transceivers status by sending 0x02. If everything is normal, it should respond with 0x07. This way the Raspberry Pi knows that everything is up and running.

    Now that it is possible to get KNXD communicating with the shield, we can configure KNXD to listen on a socket and try to get OpenHAB to communicate with it. But first lets get this Pi connected to my home network so I can SSH into it instead of having to hook up an external screen.

    It seems like we are getting somewhere :-)

    One thing that might be good to note for an update of the shield, is to add a power LED. It really helps to see if things are powered or not. Even though the shield is upside down currently :-P

  • It's alive!

    Tijl Schepens05/23/2020 at 13:10 0 comments

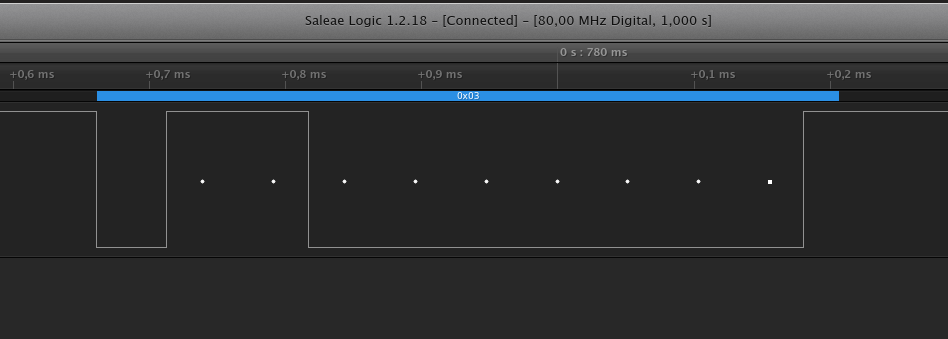
    After solving the crystal issue, I just connected a KNX power supply to the board and measured on the TXD pin of the NCN5130 using my logic analyzer.

    Seems like it is working:

    After startup, the transceiver sends a U_Reset.Ind signal (0x03 hex) to the micrcontroller to indicate everything is ok and it has booted. This means that the HAT is up and running!!!

    Now the next step is to plug it onto a Raspberry Pi and to get it communicating with KNXD.

  • Wrong crystal connections

    Tijl Schepens05/23/2020 at 13:06 0 comments

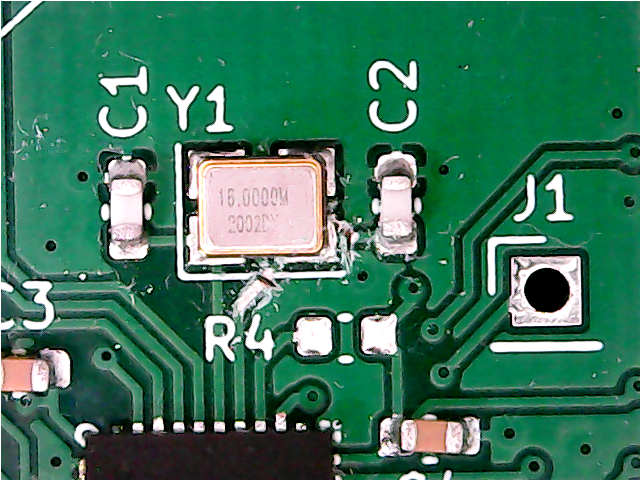
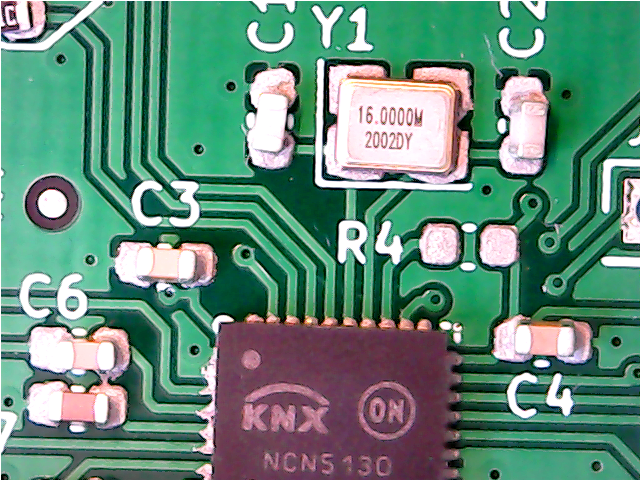
    After some measurements I found out that on one pin of the two pins there was no oscillating signal. It seems I made a mistake while drawing the schematic in KiCAD. I've selected a crystal symbol which has only two pins. These two pins got connector to pads 1 and 2 of the footprint. But the crystal is connected between pads 1 and 3 of the footprint.
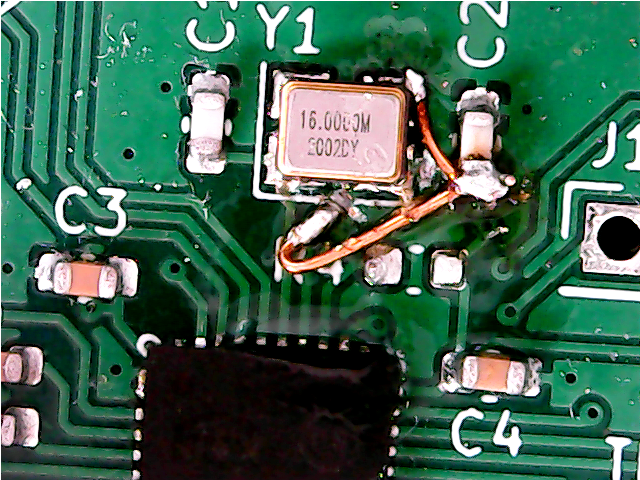
    The only option is to do some patching using some wire.

    First cut the tracks:

    Then re-wire using some patching wires:

    I did not bother to connect the other two pads to GND. They are now floating. This is bad for EMC, but at the moment I don't really care. As long as it works I'm happy :-)

  • SMT soldering

    Tijl Schepens05/23/2020 at 13:02 0 comments

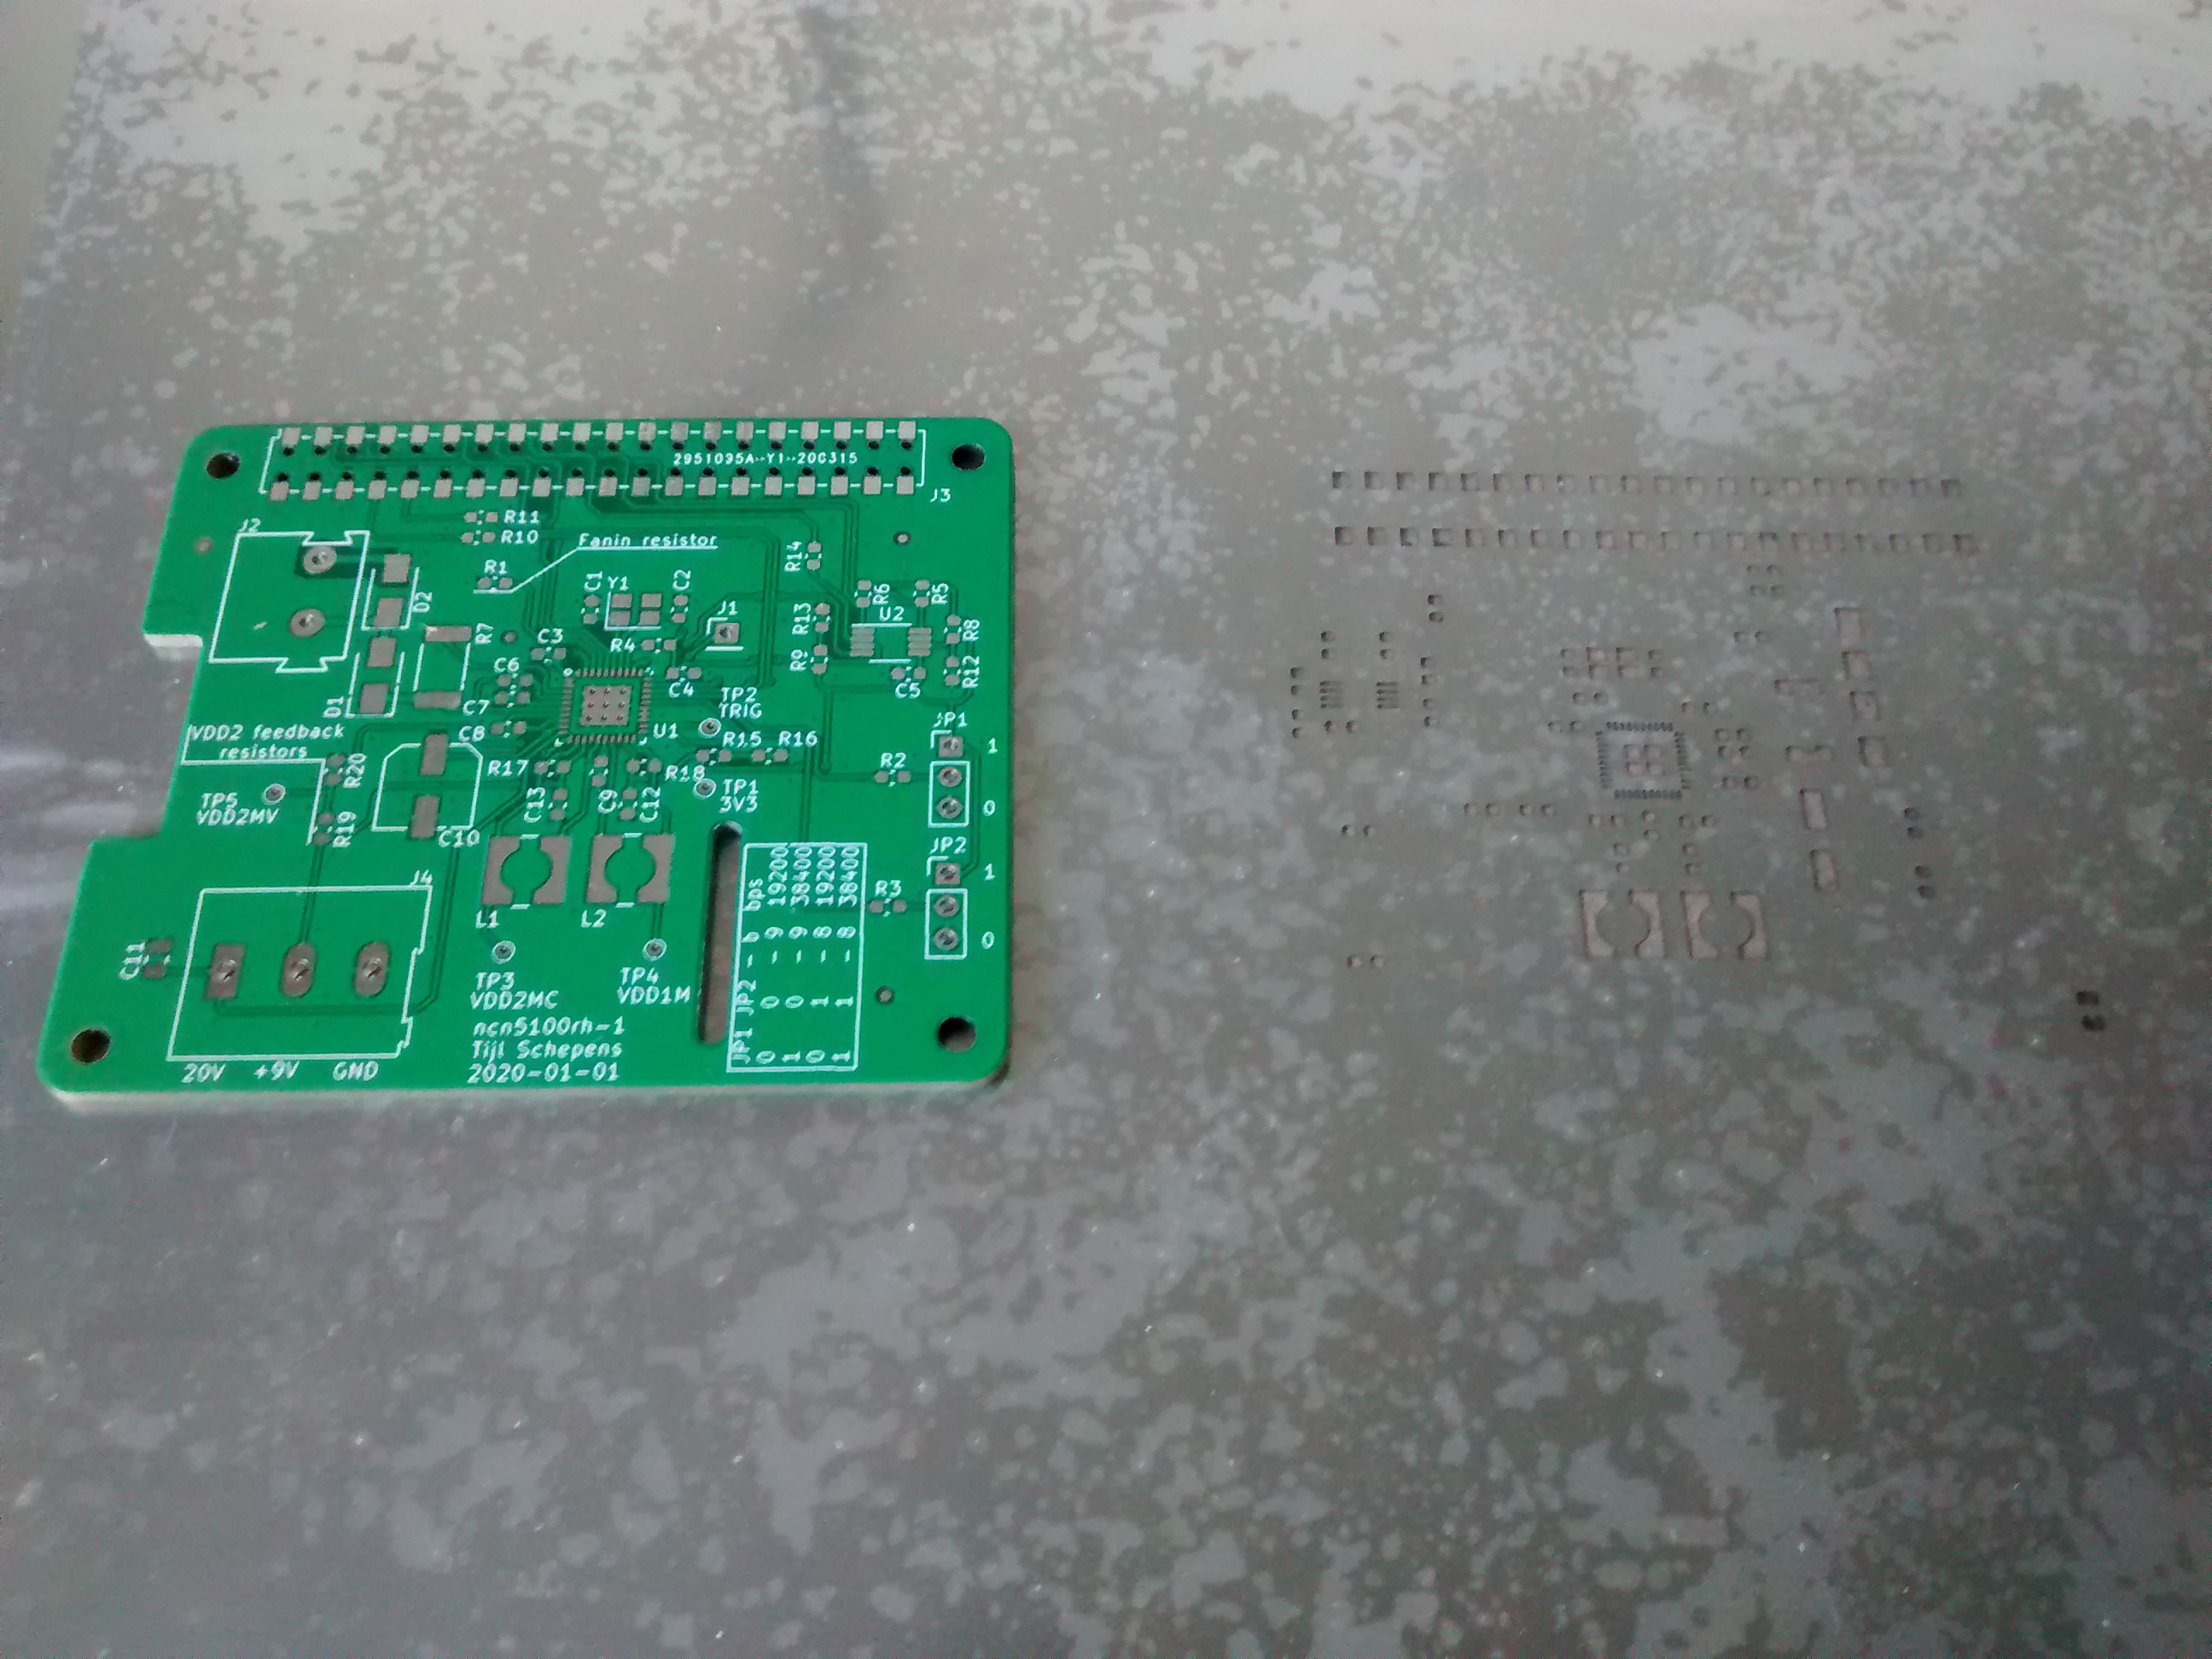
    This is the first PCB I've soldered using a stencil. It was the best option as soldering a QFN by hand is really difficult.

    Applying the solder past is much easier than I thought. The most crucial part is aligning the stencil. Once it is perfectly aligned, you hold it firmly in place and smear the paste all over it using a credit card. Filling all the holes in the stencil goes pretty well.

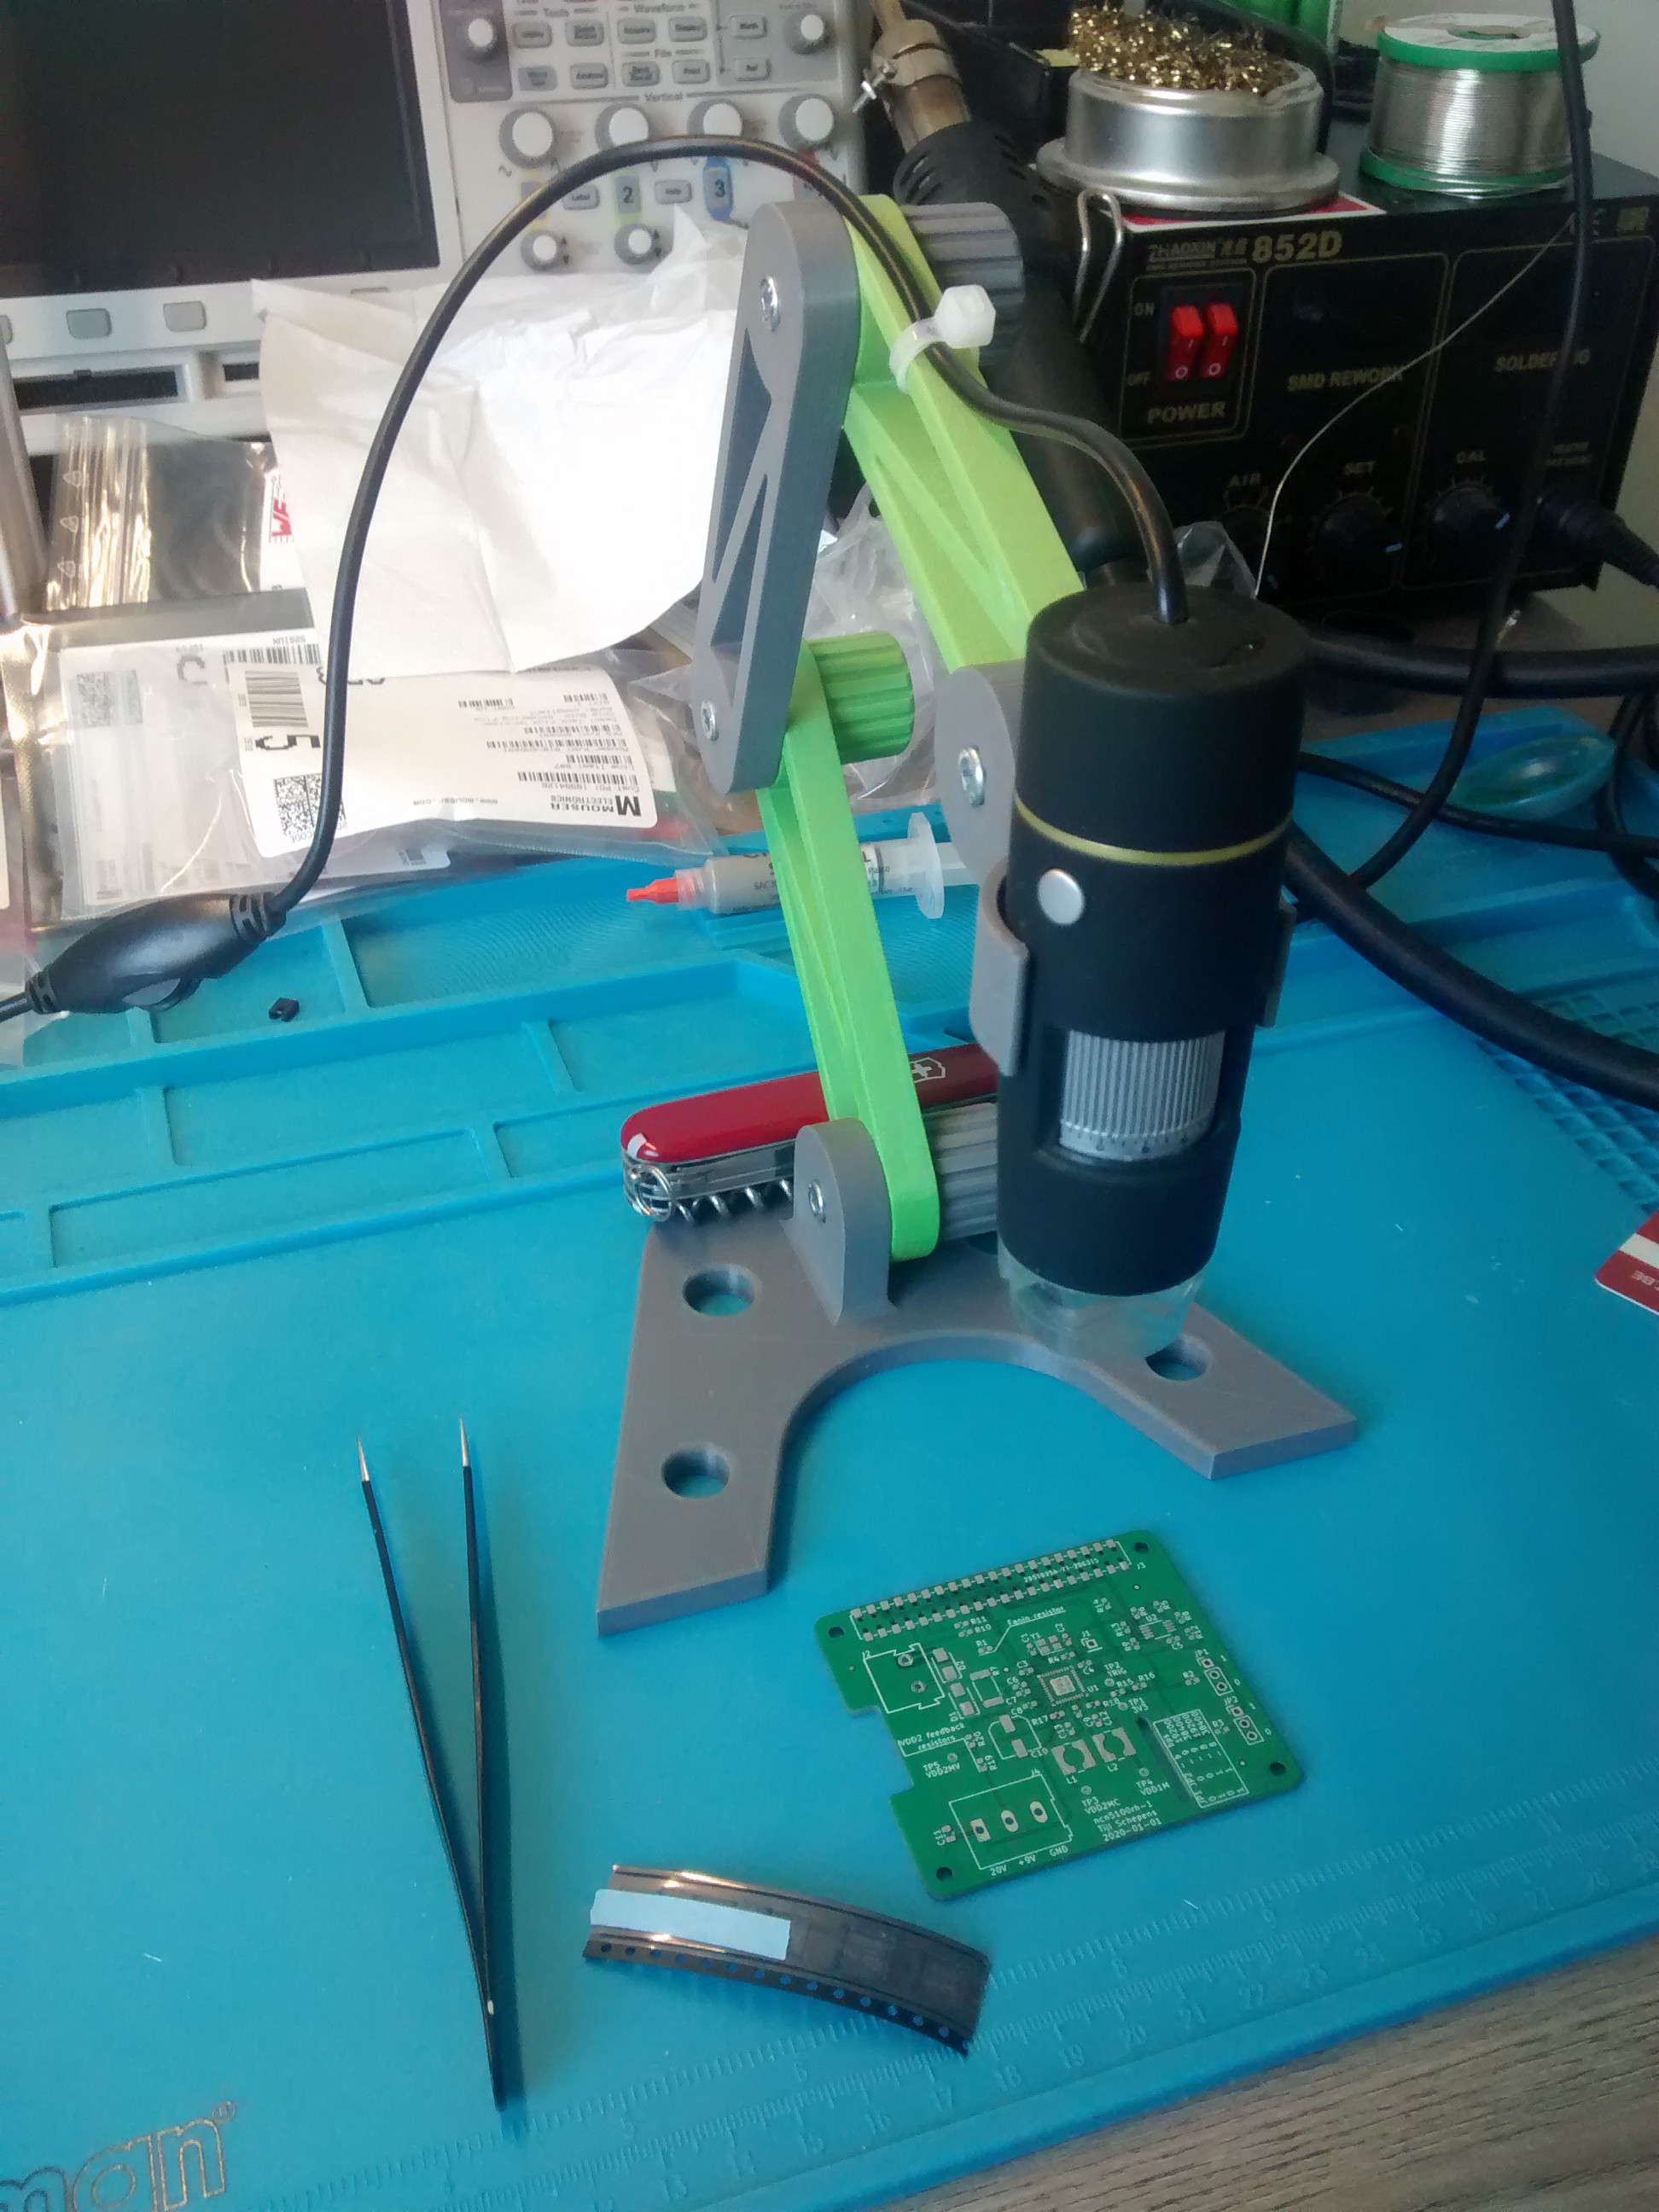
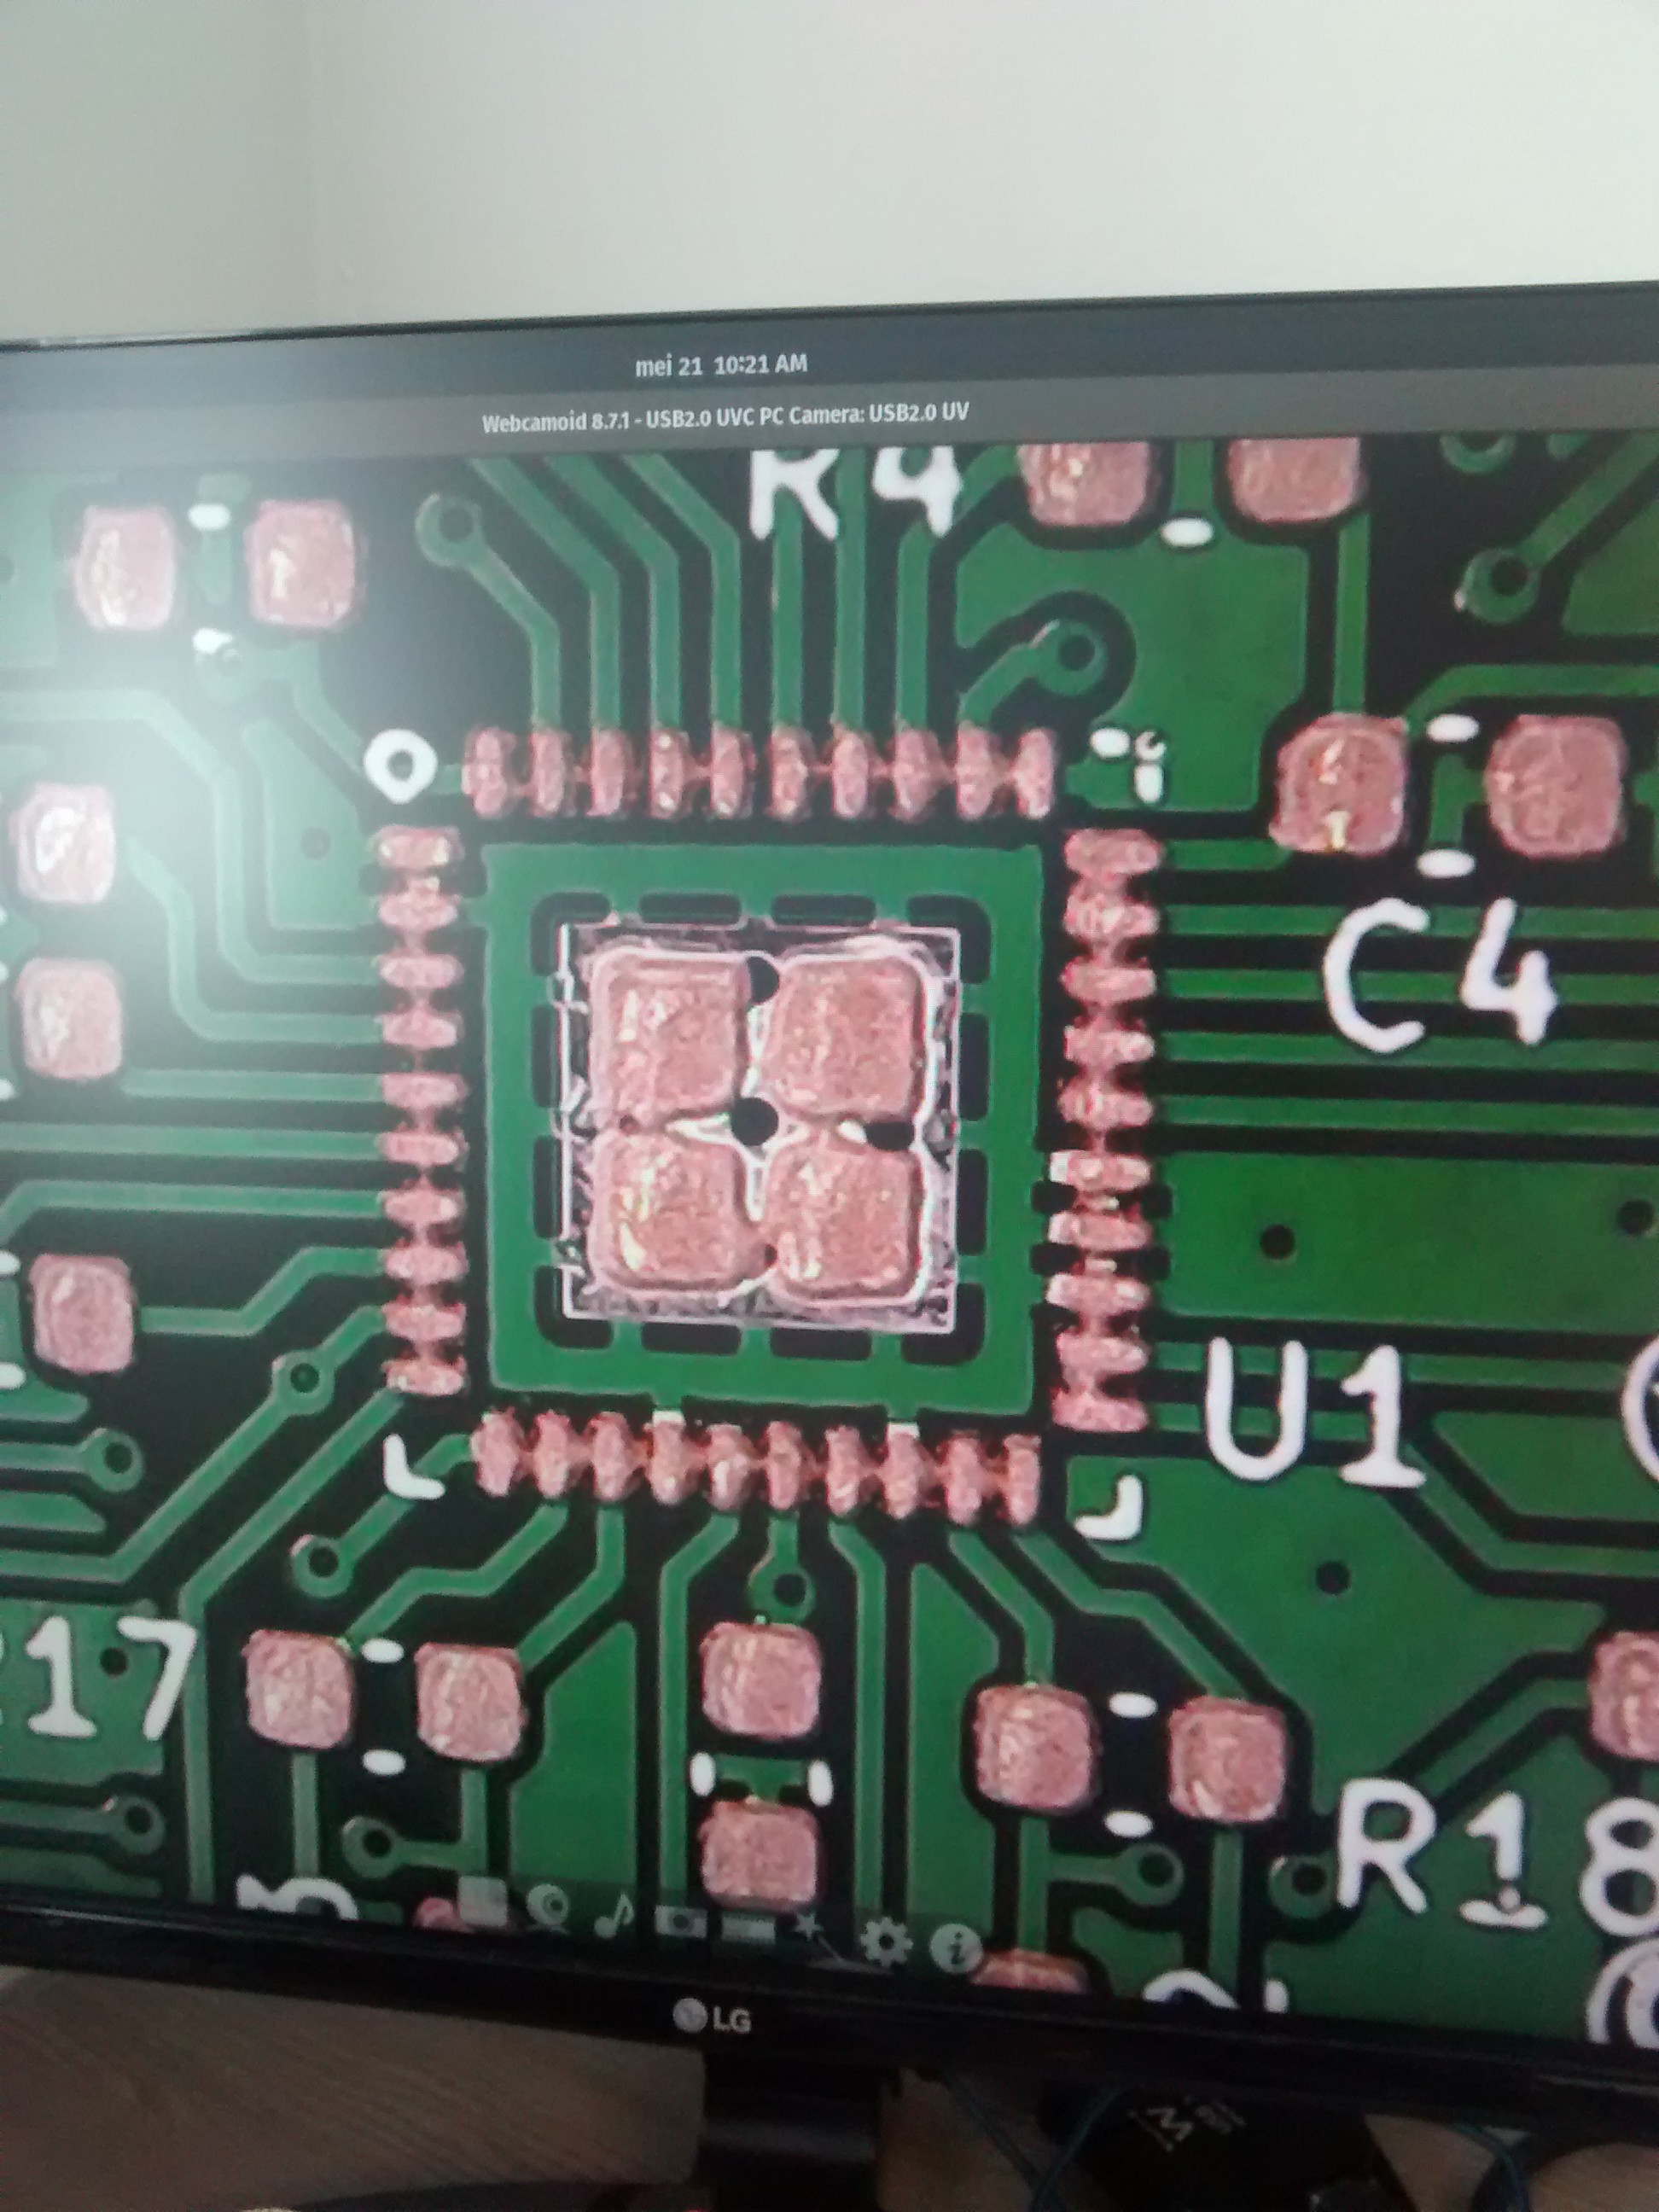
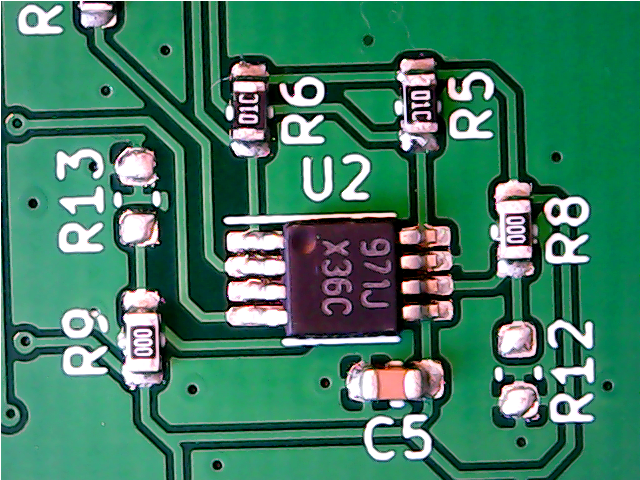
    After applying the solder paste, I've used my cheap USB microscope with a 3D printed stand to place all the components.

    Using this setup worked pretty well to get all the components in place.

    Then using a hot air gun all the components got soldered really well!

    The only component that required some extra work was the NCN5130. At first I misaligned it on the pads and pushed it into place. This caused the solder paste to smear out a bit on once side. So I had some shorts here.
    To solve this, I applied a lot of flux on all four side and re-heated it using my hot air gun. This caused most of the solder to flow correctly into place. There were still some shorts, but they were quickly solved by removing them with some soldering wick and a soldering iron.

  • PCB production and Component sourcing

    Tijl Schepens05/23/2020 at 10:14 0 comments

    I don't have much experience with PCB manufacturers. The only manufacturer I've used in the past is Eurocircuits. However for hobby projects they are really expensive. So I looked for other alternatives.


    One popular and cheap PCB manufacturer I came by is JLCPCB. It is a Chinese manufacturer which also does PCB assembly. I've looked at their assembly service, but they can only use components they have in stock and it's rather expensive for my taste.
    After two weeks the PCB and the stencil arrived. The quality of both were looking really good!

    For the components I looked at Mouser. They deliver free for order over 50 euros in Europe. As I was ordering soldering paste and flux also it was fairly easy to go over 50 euro.
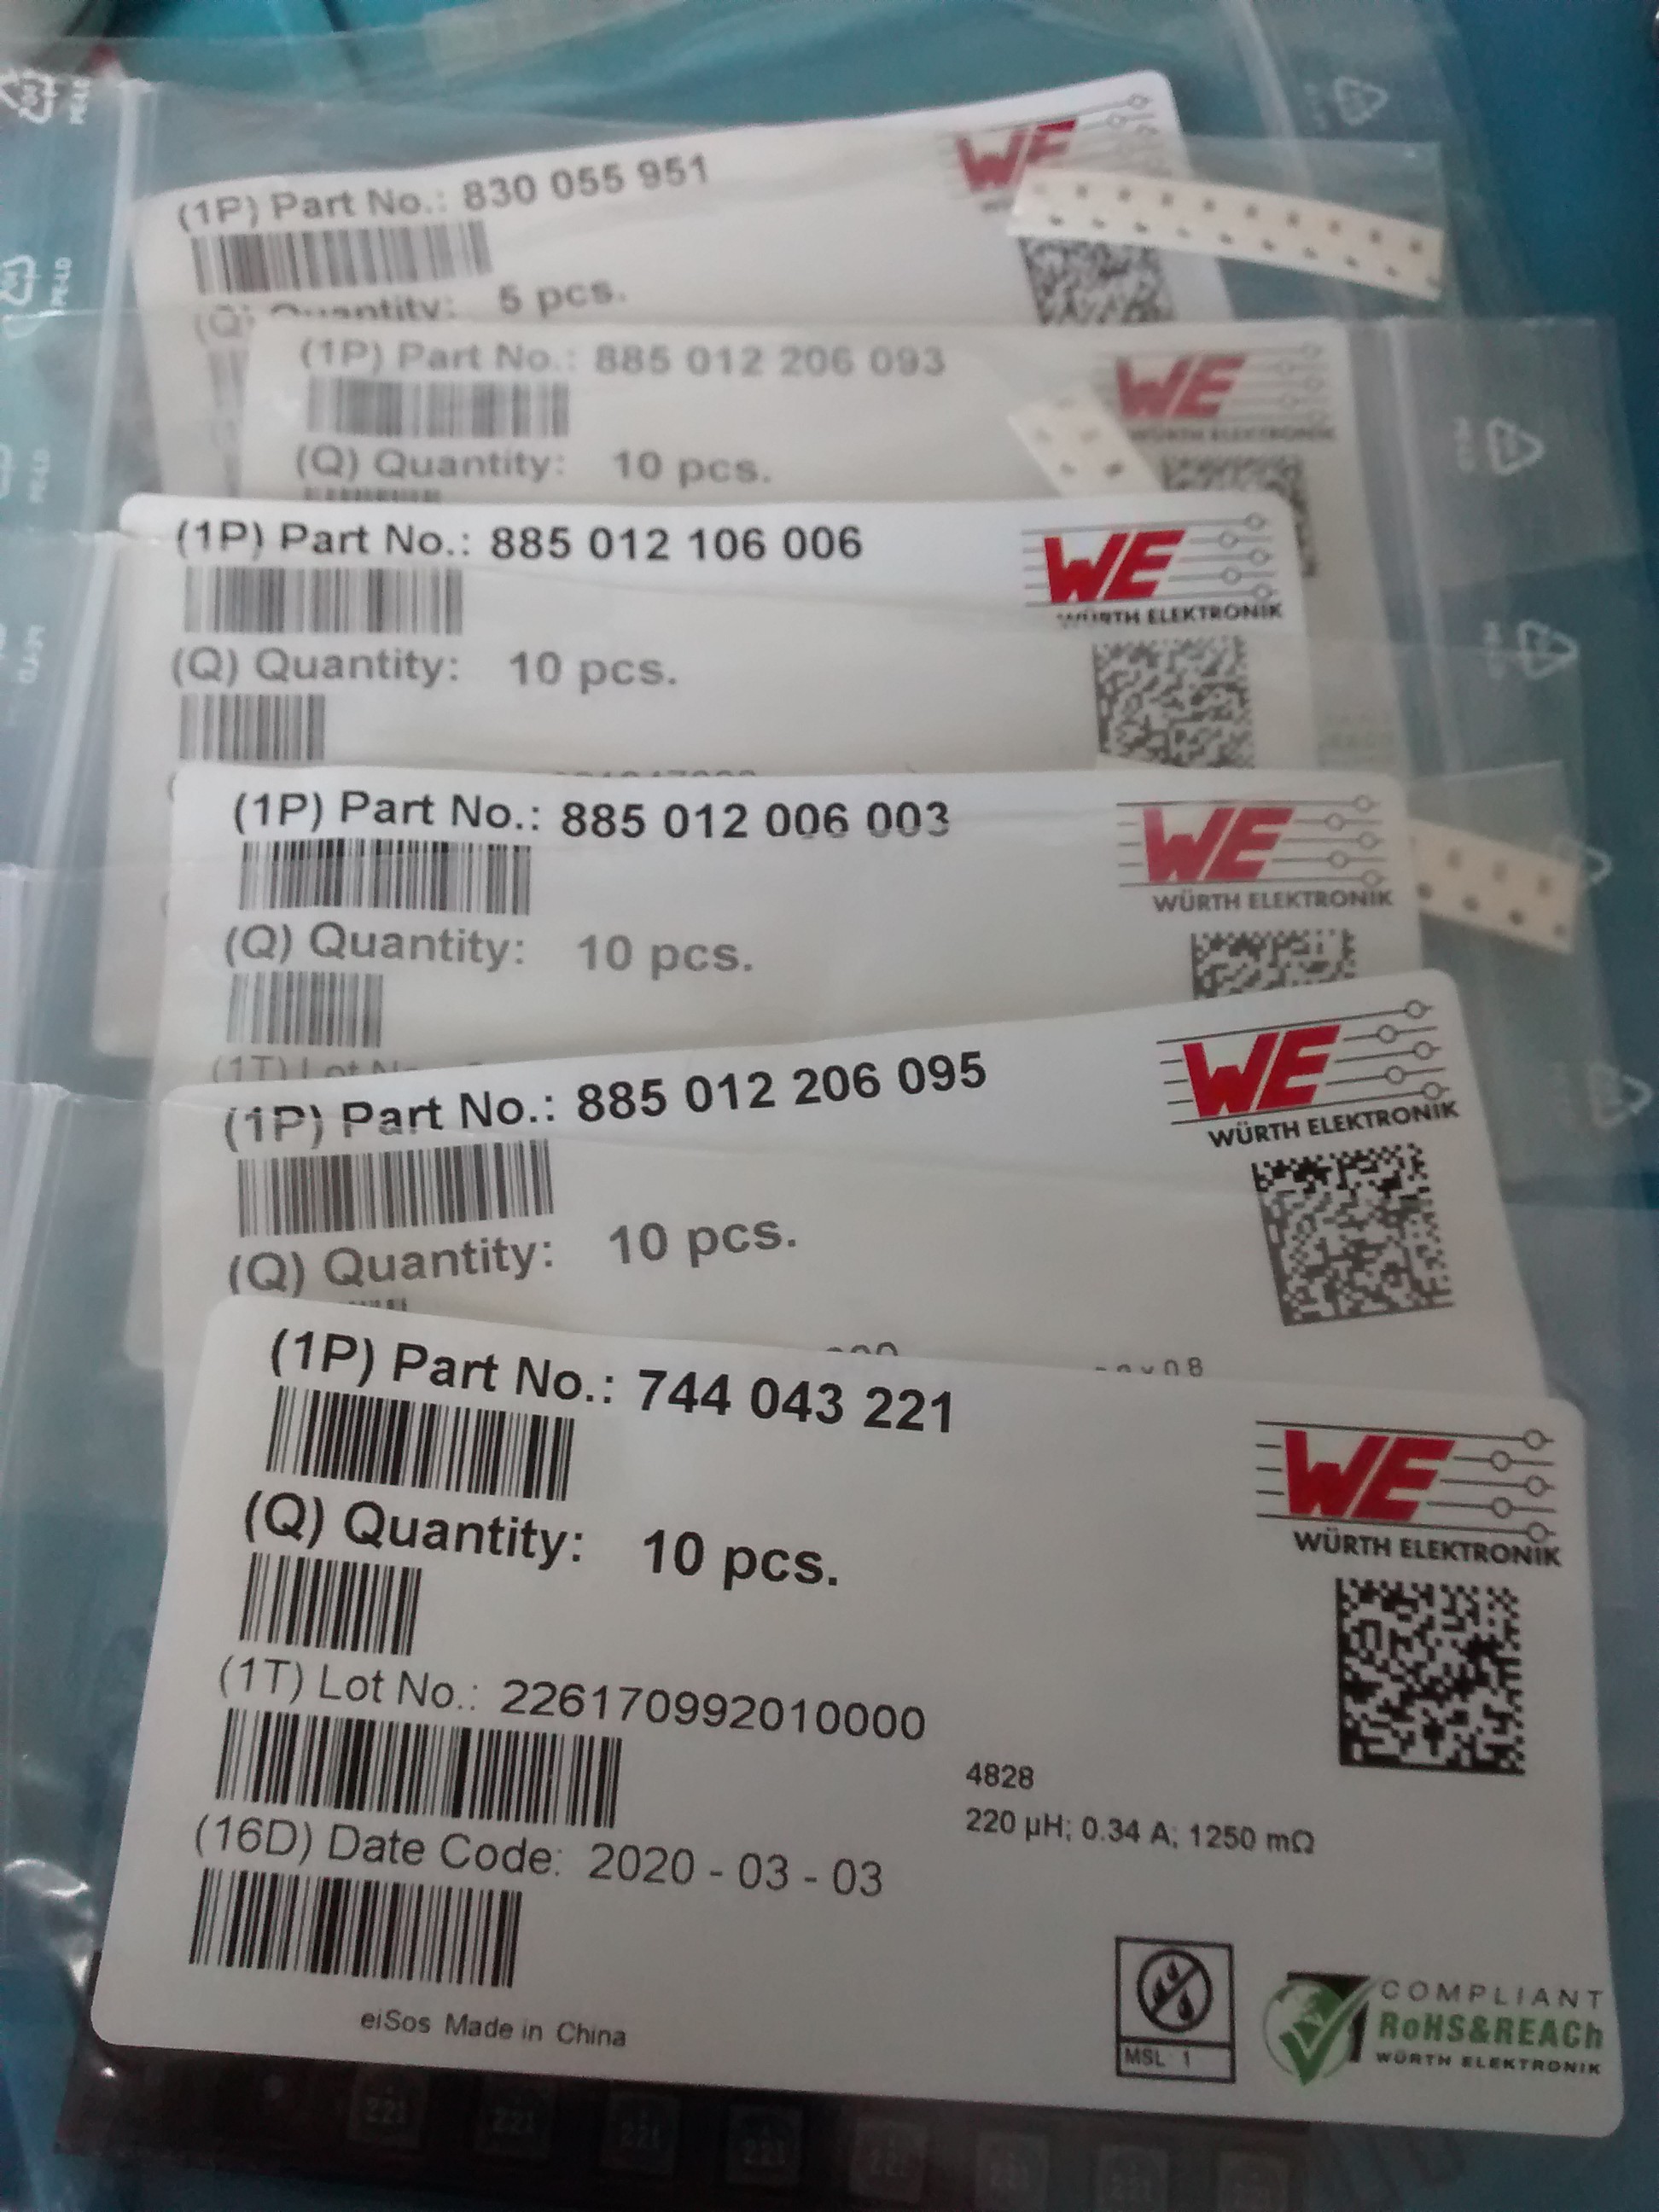
    For some specific components I got some samples from Wurth Elektronik for which I am really thankful!

View all 11 project logs

  • 1
    Solder the board.

    Either solder a board manually or buy an assembled board.

    Also make sure to buy an Adafruit 2223 Raspberry Pi stacking header, or a similar header from another manufacturer. Otherwise you cannot connect the board to the Raspberry Pi!

  • 2
    Stack the board on the Raspberry Pi.

    Now shove the Raspberry Pi stacking header on the GPIO pins header of the Raspberry Pi.

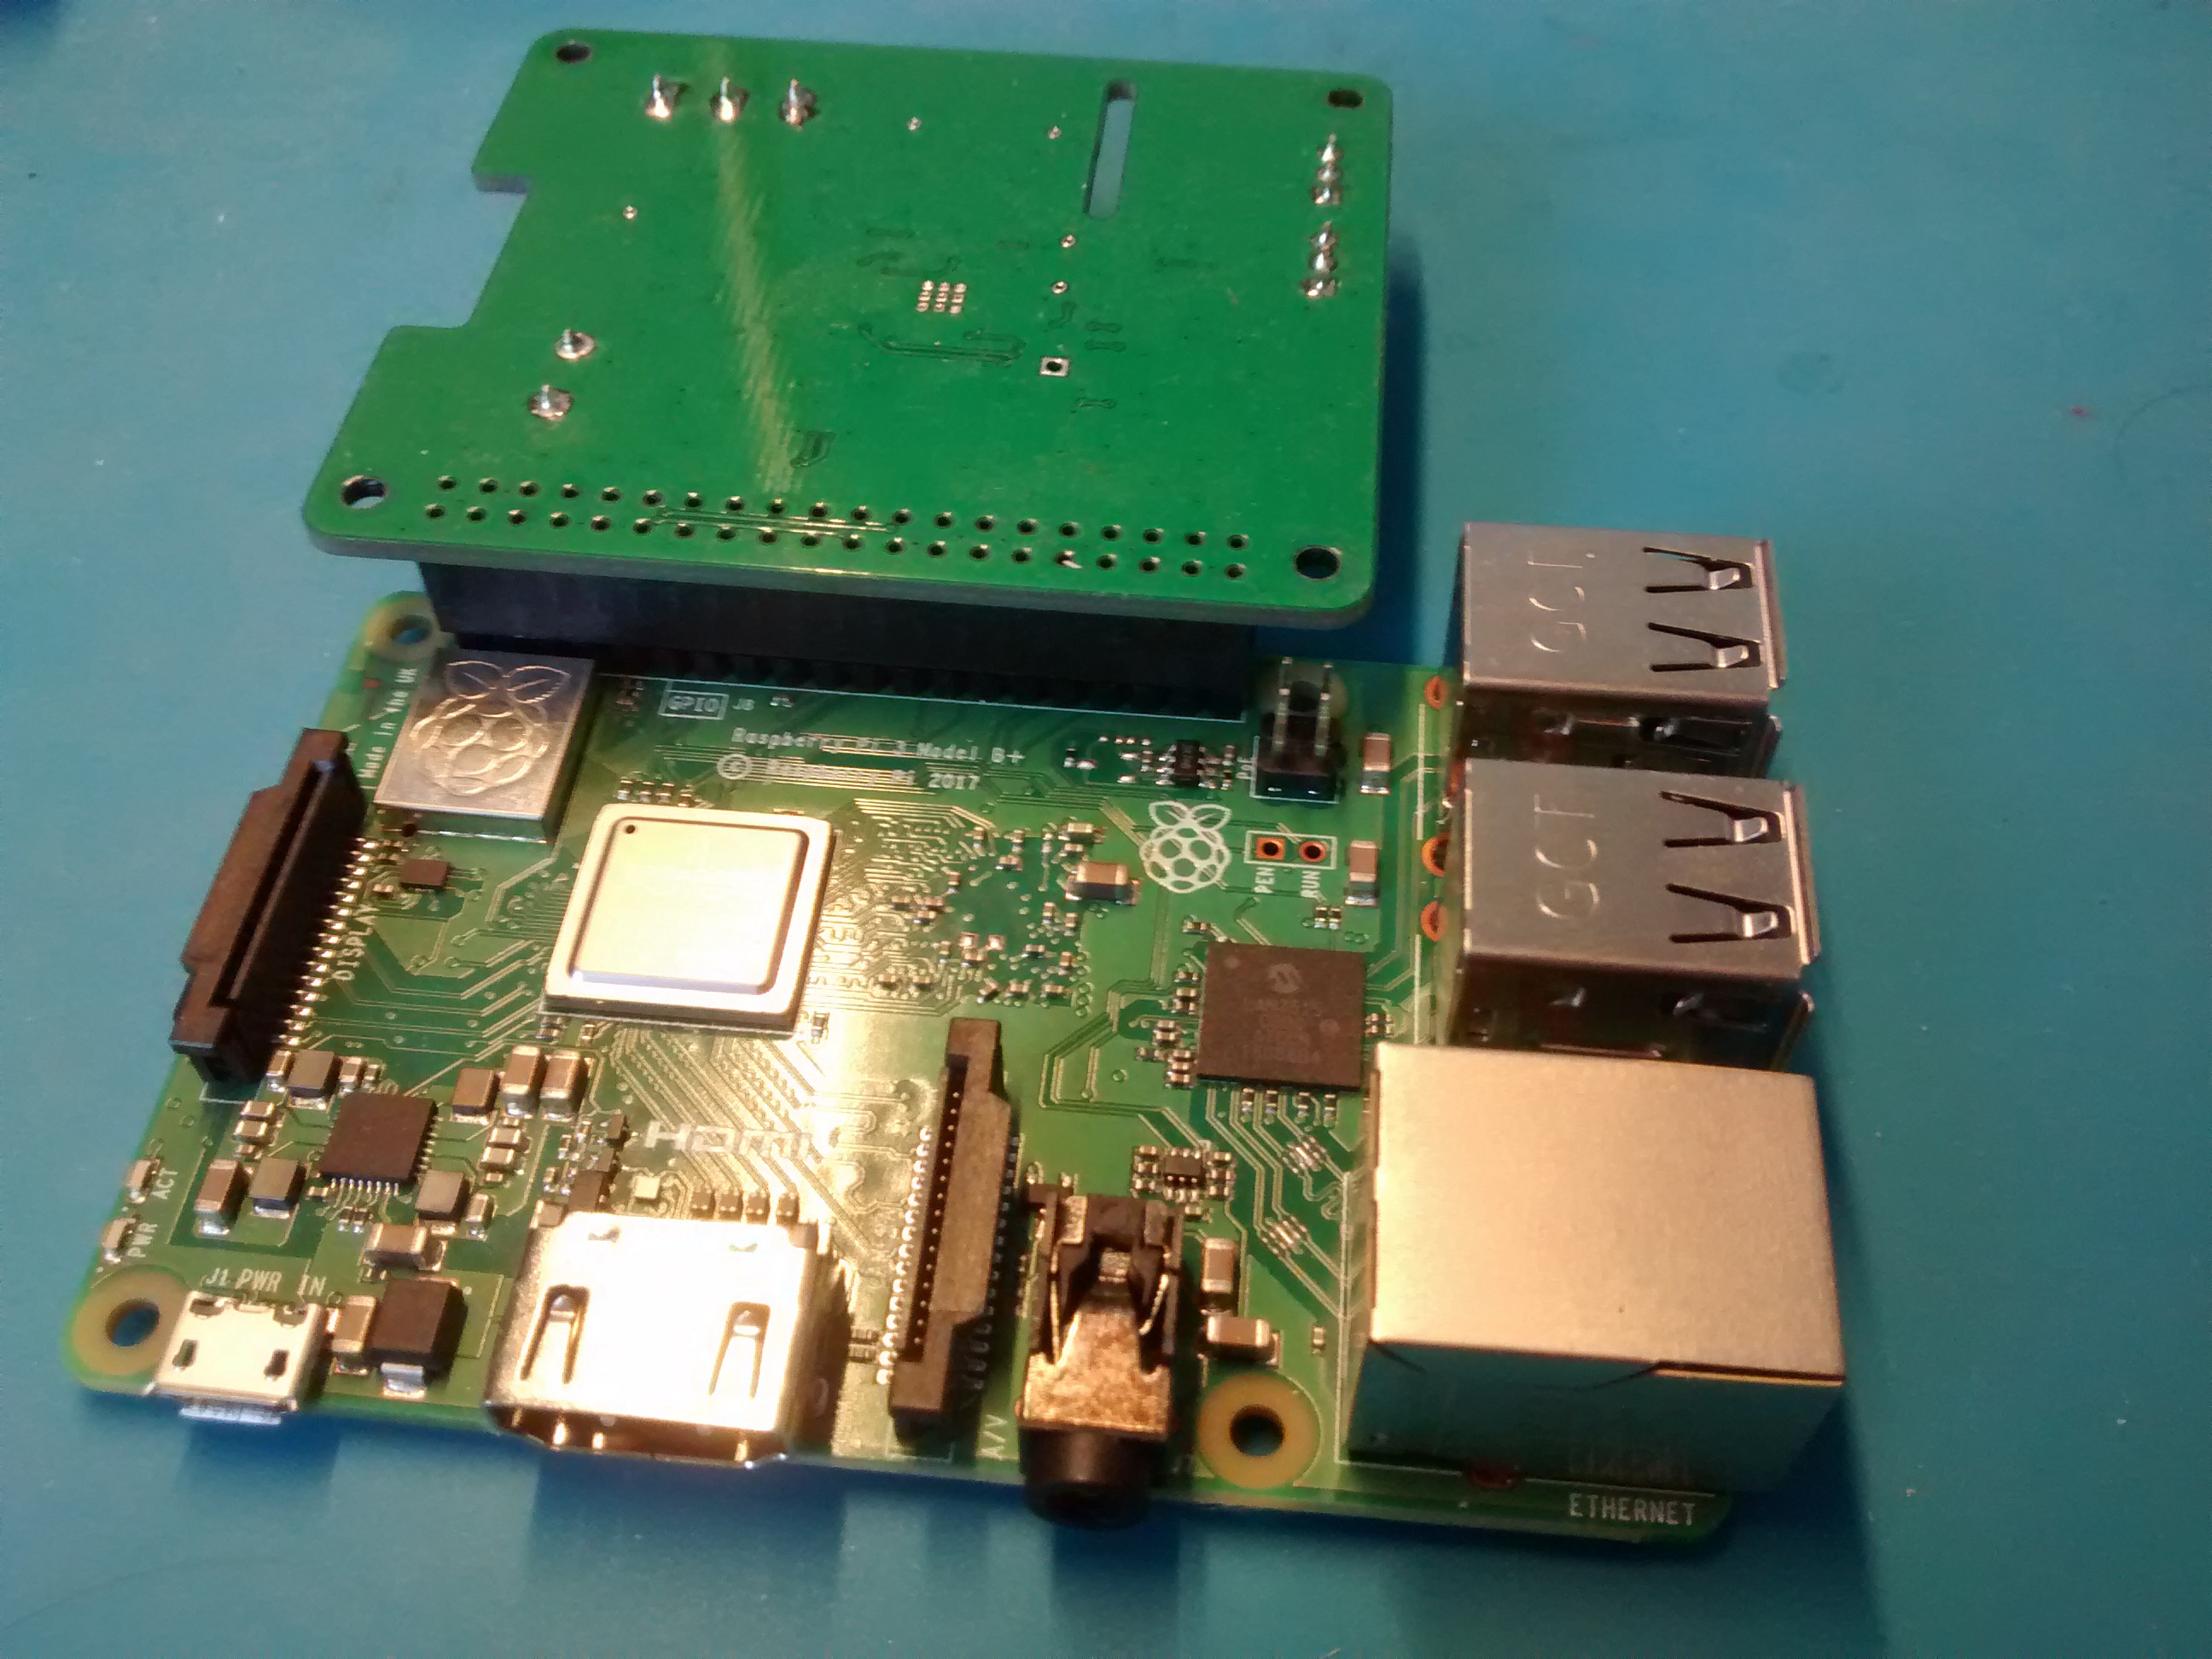
    Now shove the KNX Raspberry Pi HAT onto the long header pins as shown in the picture above. Make sure that the mounting holes on the HAT align with the ones on the Raspberry Pi. Connecting it in any other direction, will damage the HAT or even the Raspberry Pi!

  • 3
    Connecting the Power Supplies.

    The KNX Raspberry Pi HAT and the Raspberry Pi itself need to be supplied separately. Both are functionally isolated from each other by the ISO7741.

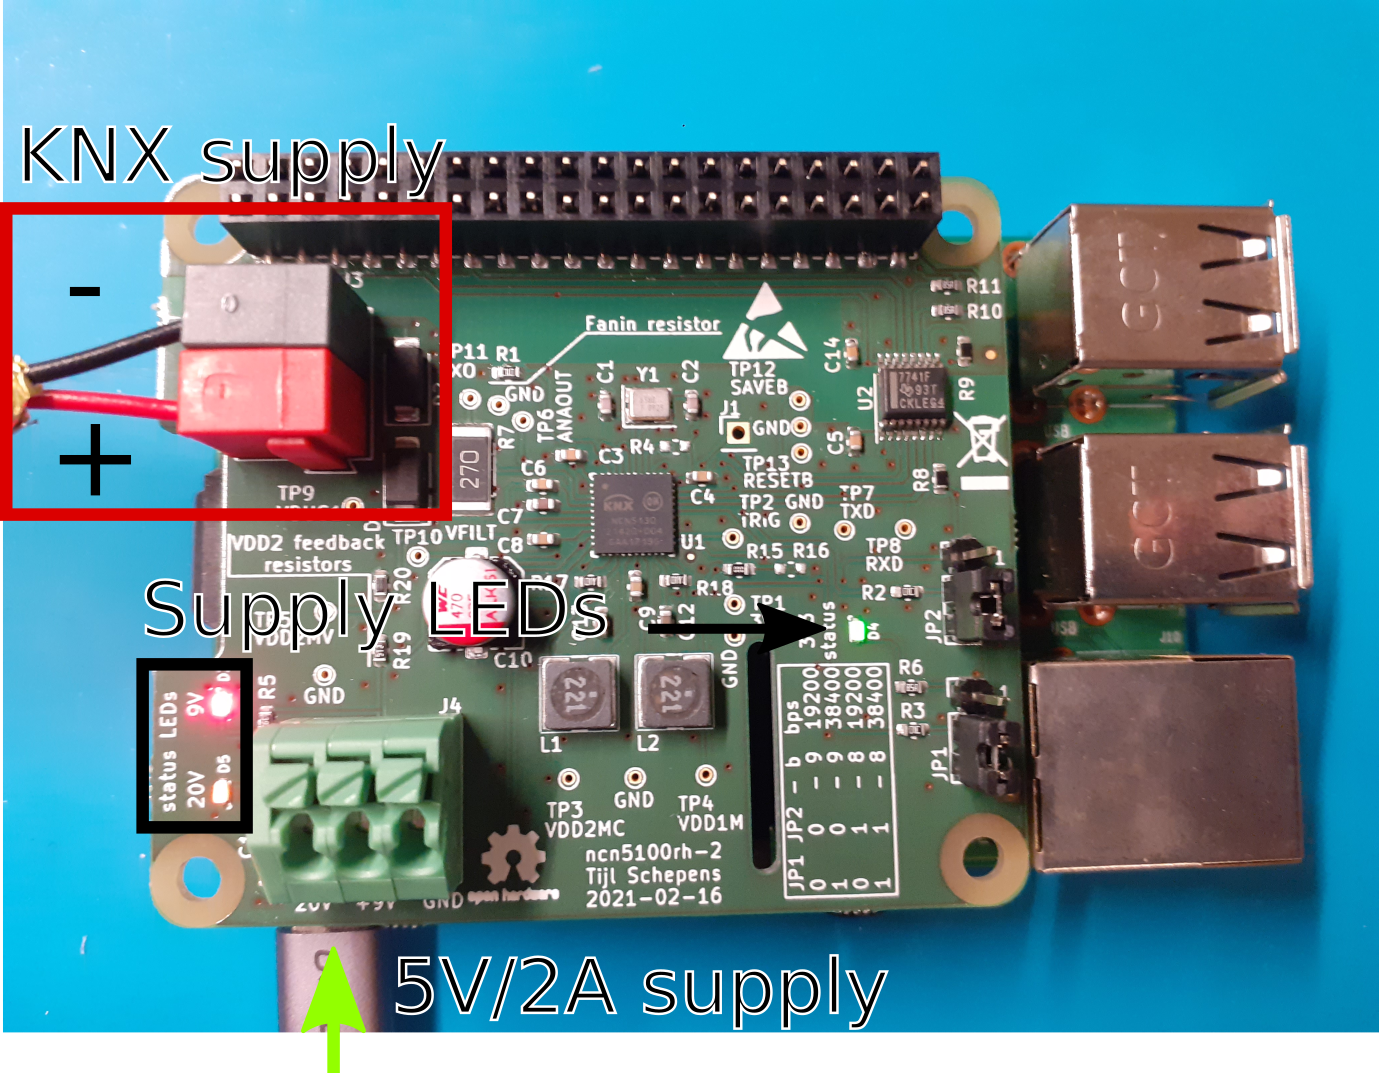
    The HAT is supplied through the KNX bus. On the top left of the shield, there are two 1 mm terminal pins to connect the bus. Normally a red/grey Wago connector is used to plug onto these pins. Make sure to respect the RIGHT POLARITY when connecting the KNX bus!

    The above image shows how to connect the bus properly.
    Note that it is possible to supply the HAT through a lab power supply, but communication will then NOT be possible. To communicate on the bus a special KNX choke is needed in series with the power supply. Normally every KNX supply sold these days contains this by default.

    Supply the Raspberry Pi with a 5 V USB power supply through its micro USB or USB-C connector.

View all 9 instructions

Enjoy this project?

Share

Discussions

jim wrote 08/30/2024 at 03:31 point

Received the KNX HAT for rPi.  All the instructions are for openHAB.  Has anyone installed this HAT and KNXD in Home Assistant?  I am struggling with the KNXD install with HA. Any help is appreciated.

  Are you sure? yes | no

ramagiripavan123 wrote 06/11/2024 at 12:01 point

Hi Tijl,

I am going to create this setup using KNX/IP interface rather than KNX-USB interface ,Is it possible to Create this setup with KNX-IP interface ?If yes what changes I should do in the  procedure to implement this project ?

Thanks ,

Pavan

  Are you sure? yes | no

ramagiripavan123 wrote 06/11/2024 at 12:02 point

Hi Micheal,

I am going to create this setup using KNX/IP interface rather than KNX-USB interface ,Is it possible to Create this setup with KNX-IP interface ?If yes what changes I should do in the  procedure to implement this project ?

Thanks ,

Pavan

  Are you sure? yes | no

Moshiko wrote 03/05/2024 at 23:55 point

Hi its possible to working with Home assistant?

  Are you sure? yes | no

Ivan wrote 02/20/2024 at 16:36 point

Hello Tijl, I have just ordered one to use it in my home automation system and I'm waiting for it to arrive. Can I use it with a temperature sensor, like https://projects.raspberrypi.org/en/projects/build-your-own-weather-station/2 or https://raspberrypi-guide.github.io/electronics/temperature-monitoring ?

  Are you sure? yes | no

max wrote 07/05/2023 at 08:04 point

I am using your board (works great, even as KNX IP interface!),
now i have to connect powermeter to TTL - does your hat uses TTL (pins 3,5,8,10) or are they free?

  Are you sure? yes | no

Tijl Schepens wrote 07/05/2023 at 19:40 point

Hello Max, The HAT uses pins 8 and 10 for UART communication so those are occupied. But most RPi versions have multiple UARTS.: https://pinout.xyz/pinout/uart#
Just use another UART for your power meter and adjust which pins are used in software.

  Are you sure? yes | no

krzychus wrote 10/26/2022 at 18:51 point

Would it be possible to use with RPi A version? - Just bought the board (thanks for a quick delivery) and realized I just have bunch of them and not a newer RPi  and of course stacking 1:1 is not possible.. I could probably remove/desolder the yellow composite connector and connect GND in the needed points?

  Are you sure? yes | no

krzychus wrote 10/26/2022 at 21:36 point

Confirmed, it works without the need of any bridges to the lacking pins after removal of the composite socket.

  Are you sure? yes | no

Michael Pasqualone wrote 09/25/2022 at 09:48 point

Hi Tijl,

Great project, I've just purchased one to play around with. Would your hat be capable of acting as an KNX IP Interface and compatible to connect to ETS?

Thanks,
Michael

  Are you sure? yes | no

max wrote 11/12/2021 at 10:19 point

Hello, If I buy the board will I get the new or old version?  25V capacitor for VDD?
Also, it should work with pi4?

  Are you sure? yes | no

Tijl Schepens wrote 11/12/2021 at 11:03 point

Hello Max, The boards shipping on Tindie are the new version. The capacitors are now 25V on all boards shipped. The boards should work with the Pi 4 without any issues. Kind regards, Tijl

  Are you sure? yes | no

max wrote 12/03/2021 at 08:30 point

Received the hat. Just finishing my setup and it works fine.

Migrated from my Intel server with smartVISU to raspberry with OpenHAB.

  Are you sure? yes | no

0W1 wrote 11/01/2021 at 11:56 point

Hello, where is the link to buy a ready made board ?

Thank you

Jean

  Are you sure? yes | no

Tijl Schepens wrote 11/02/2021 at 08:41 point

Hello 0W1,

You can buy the board on Tindie: https://www.tindie.com/products/cpu20/knx-raspberry-pi-hat/?utm_source=hackadayio&utm_medium=link&utm_campaign=project_buynow

Kind regards,

Tijl

  Are you sure? yes | no

Similar Projects

Does this project spark your interest?

Become a member to follow this project and never miss any updates