-
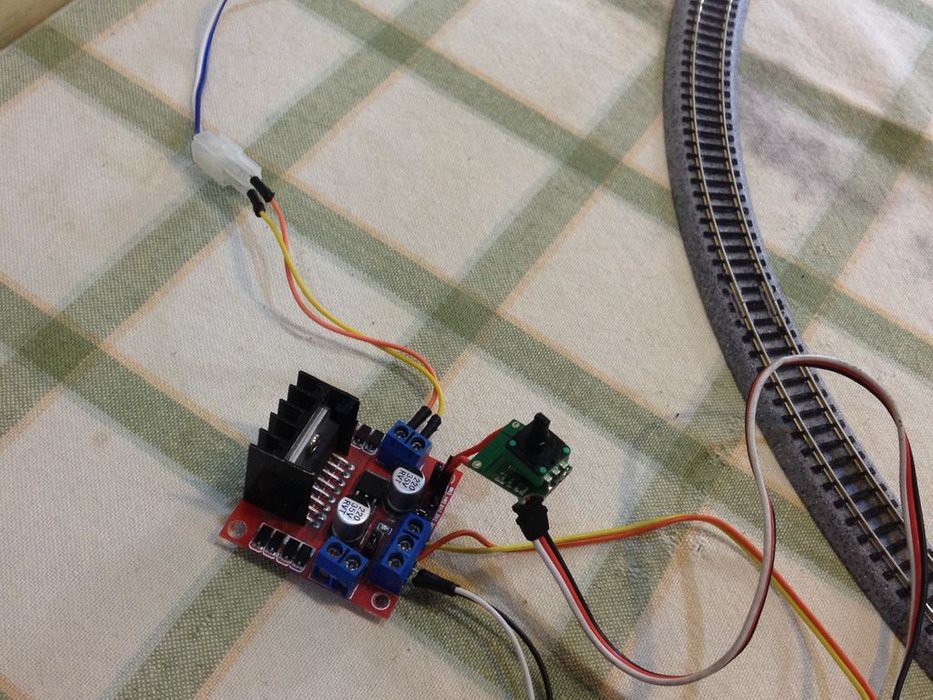
11Connect the Power Feeder Track to the Motor Driver
![]()
-
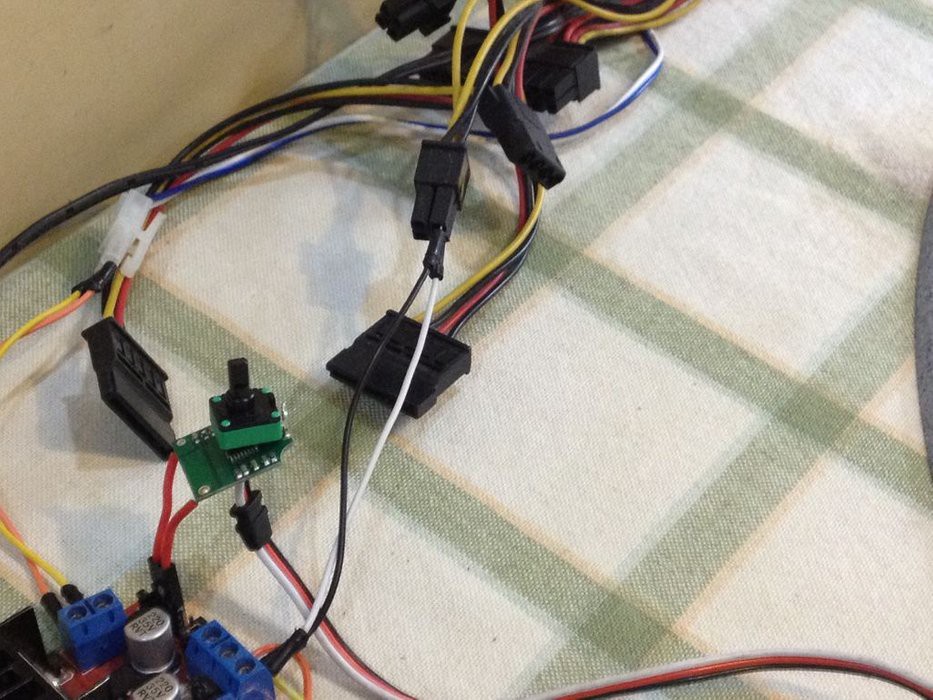
12Connect the Motor Driver's Power in to a 12-volt DC Power Supply
![]()
Here, I have used a computer's power supply to power the whole setup but you can also use a 12-volt power adapter.
-
13Get Your Train and Position It on the Tracks
![]()
You can also test your setup by just using the locomotive.
-
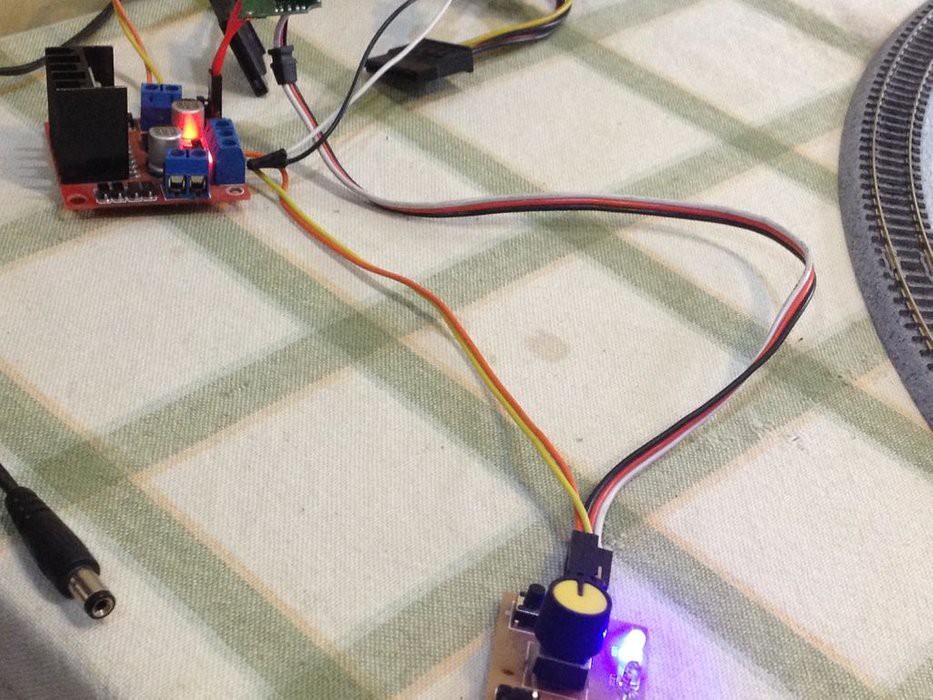
14Power Up the Setup
![]()
-
15Calibrate the Driver
![]()
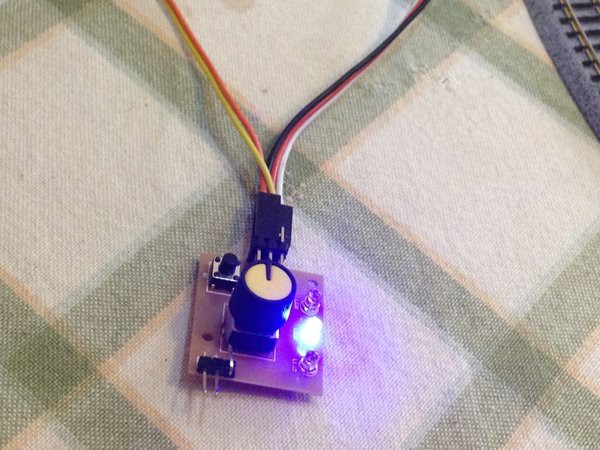
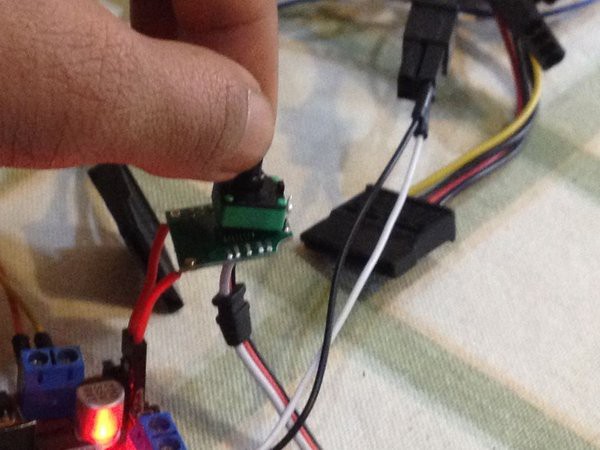
After powering on the setup, press the button on the servo tester once. The middle LED should light up and the servo tester will command the servo driver to move the motor at 90 degrees angle(As it would normally do in a regular servo motor).
![]()
Adjust the potentiometer on the servo driver until the locomotive stops moving.
-
16It's Done!
-
17What's Next?!
Since this model train driver uses a servo motor's driver board, it can easily be controlled using any microcontroller and can also be used with Wireless RC controllers to control the trains and even turnouts. Excited? Stay tuned for future projects related to this and all the best for your build!
HACKED! Servo Motor As Model Train Driver!
Make your own low-budget train controller by hacking a servo motor.
 KushagraK7

Discussions
Become a Hackaday.io Member
Create an account to leave a comment. Already have an account? Log In.