-
1Watch the Video
Watch the video to know how it should work.
-
2Get All the Stuff
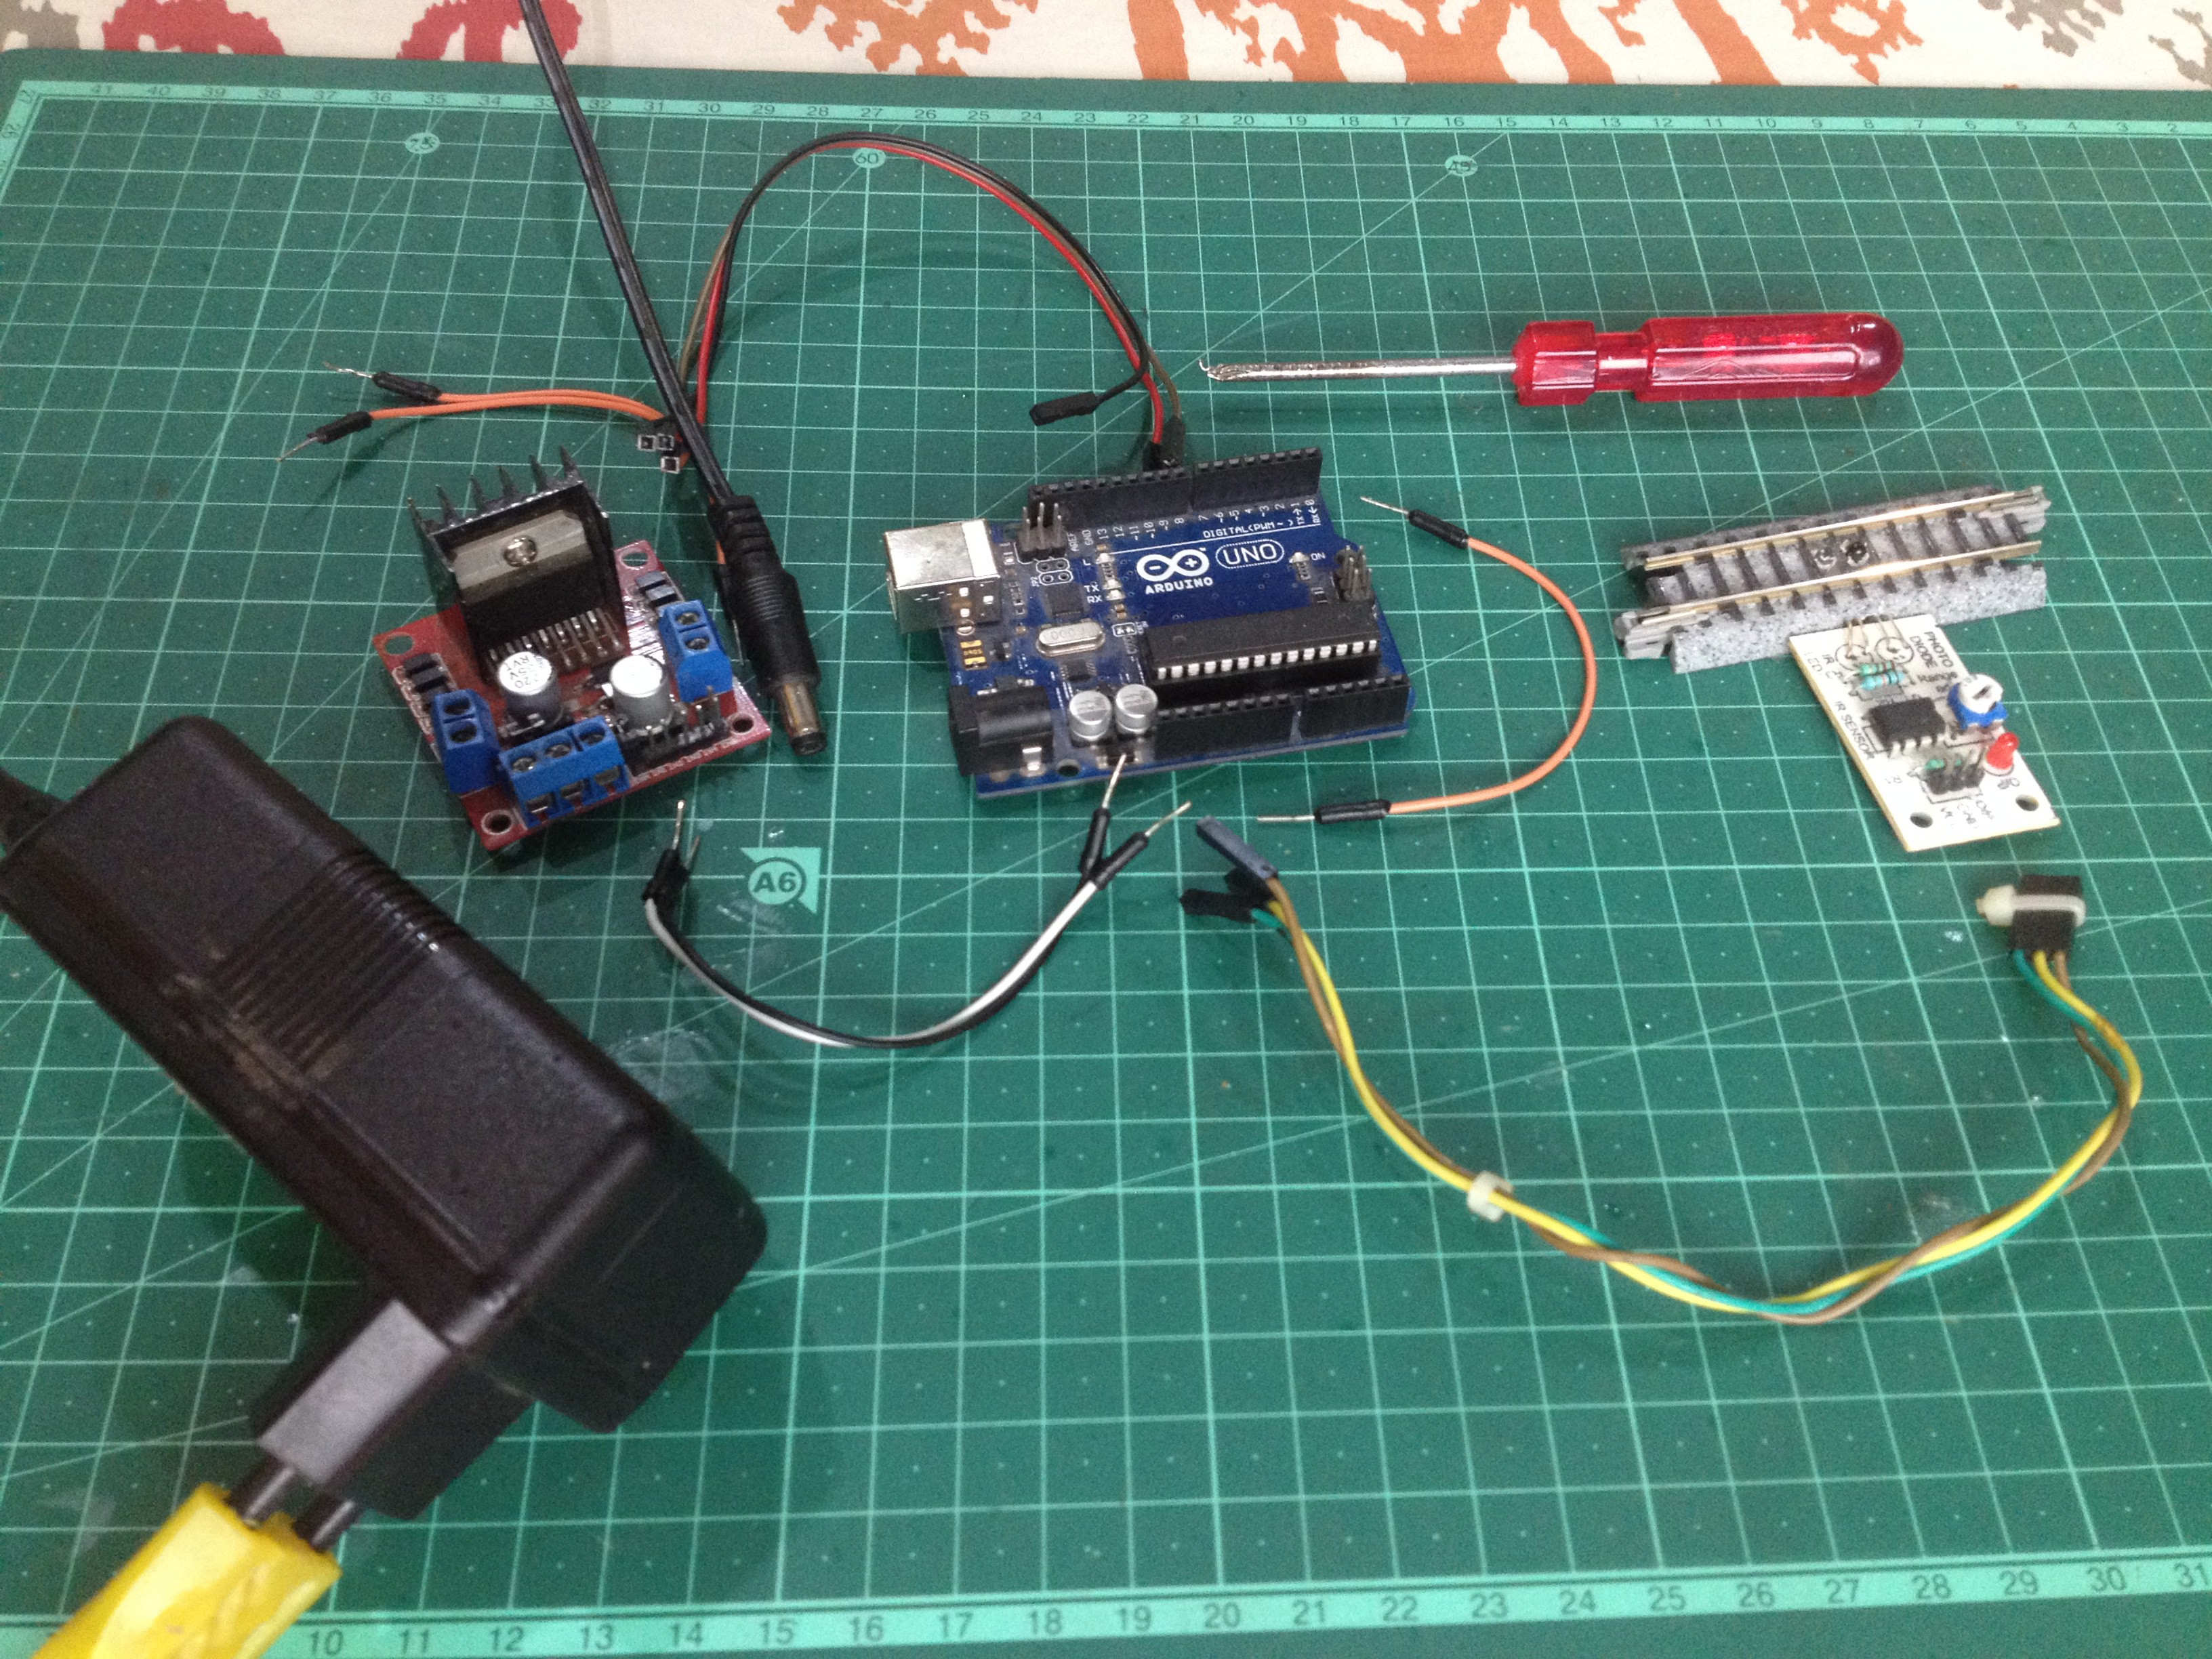
Here is the list of all the parts and components required for this project:
- An Arduino microcontroller
- An L293N motor driver module
- A 'sensored' track
- A 12-volt DC power source with a current capacity of at least 1A(1000mA)
- 6 male to female jumper wires (3 to connect the motor driver's signal inputs to the output pins of the Arduino board and the other 3 to connect the 'sensored' track's terminals to the Arduino board.)
- 4 male to male jumper wires(2 to connect the motor driver board to power and the other two to connect the motor drive's outputs to track power.)
- A crosshead screwdriver
- A computer(obviously ; )
- A suitable USB cable to connect the Arduino board to the computer
-
3Program the Arduino Microcontroller
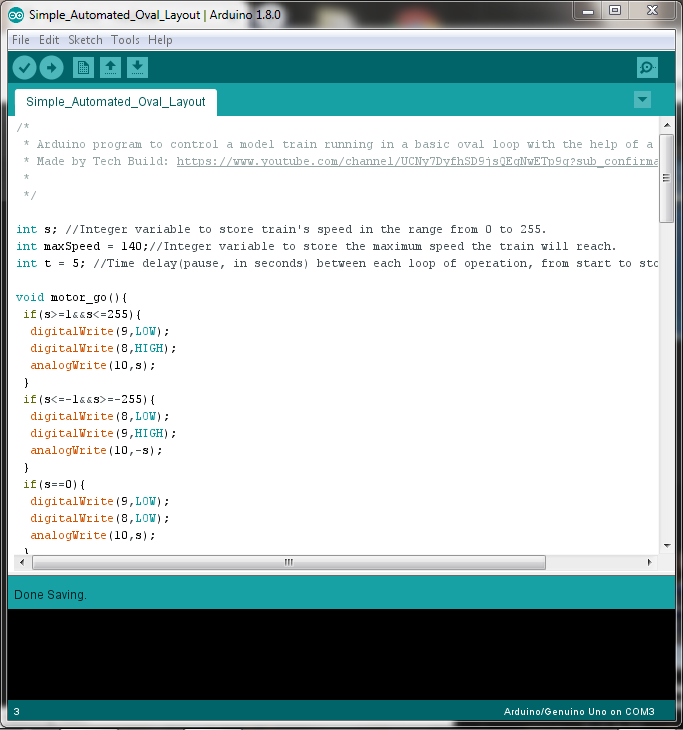
Make sure to go through the program carefully to understand how it works, later it will be fun to tweak it and make your own modifications.
/* * Arduino program to control a model train running in a basic oval loop with the help of a feedback sensor. * Made by Tech Build: https://www.youtube.com/channel/UCNy7DyfhSD9jsQEgNwETp9g?sub_confirmation=1 * */ int s; //Integer variable to store train's speed in the range from 0 to 255. int maxSpeed = 140;//Integer variable to store the maximum speed the train will reach. int t = 5; //Time delay(pause, in seconds) between each loop of operation, from start to stop. void motor_go(){ if(s>=1&&s<=255){ digitalWrite(9,LOW); digitalWrite(8,HIGH); analogWrite(10,s); } if(s<=-1&&s>=-255){ digitalWrite(8,LOW); digitalWrite(9,HIGH); analogWrite(10,-s); } if(s==0){ digitalWrite(9,LOW); digitalWrite(8,LOW); analogWrite(10,s); } } void setup() { // put your setup code here, to run once: pinMode(10,OUTPUT); pinMode(9,OUTPUT); pinMode(8,OUTPUT); pinMode(A0,INPUT); delay(2000); } void loop() { // put your main code here, to run repeatedly: for(s=0;s<=30;s++){ //Providing low voltage to the tracks to just turn on th locomotive's lights. motor_go(); delay(10); } delay(4000); for(s=s;s<=50;s++){ //Starting the train. motor_go(); delay(500); } delay(5000); for(s=s;s<=80;s++){ //Speeding up a bit. motor_go(); delay(500); } delay(1000); while(digitalRead(A0)==LOW); //Wait for the train to cross the 'sensored' track. for(s=s;s<=maxSpeed;s++){ //Speeding up the train to maximum speed value set in the beginning. motor_go(); delay(500); } delay(1000); while(digitalRead(A0)==LOW); //Wait for the train to cross the 'sensored' track. delay(2000); for(s=s;s!=100;s--){ //Slow down the train a bit. motor_go(); delay(1000); } delay(4000); while(digitalRead(A0)==LOW); //Wait for the train to cross the 'sensored' track. for(s=s;s!=80;s--){ //Slow down the train furthur. motor_go(); delay(500); } delay(4000); for(s=s;s!=60;s--){ //Slow down the train, preparing to stop. motor_go(); delay(500); } delay(1000); while(digitalRead(A0)==LOW); //Wait for the train to cross the 'sensored' track. delay(1000); for(s=s;s!=20;s--){ //Reduce the voltage on the tracks to just let the locomotive lights turned on. motor_go(); delay(250); } delay(1000); for(s=s;s!=0;s--){ //Stop the power supply to the track and power down the locomotive. motor_go(); delay(125/2); } delay(1000*t); //Wait for the set time before starting all over again. } -
4Set Up the Layout
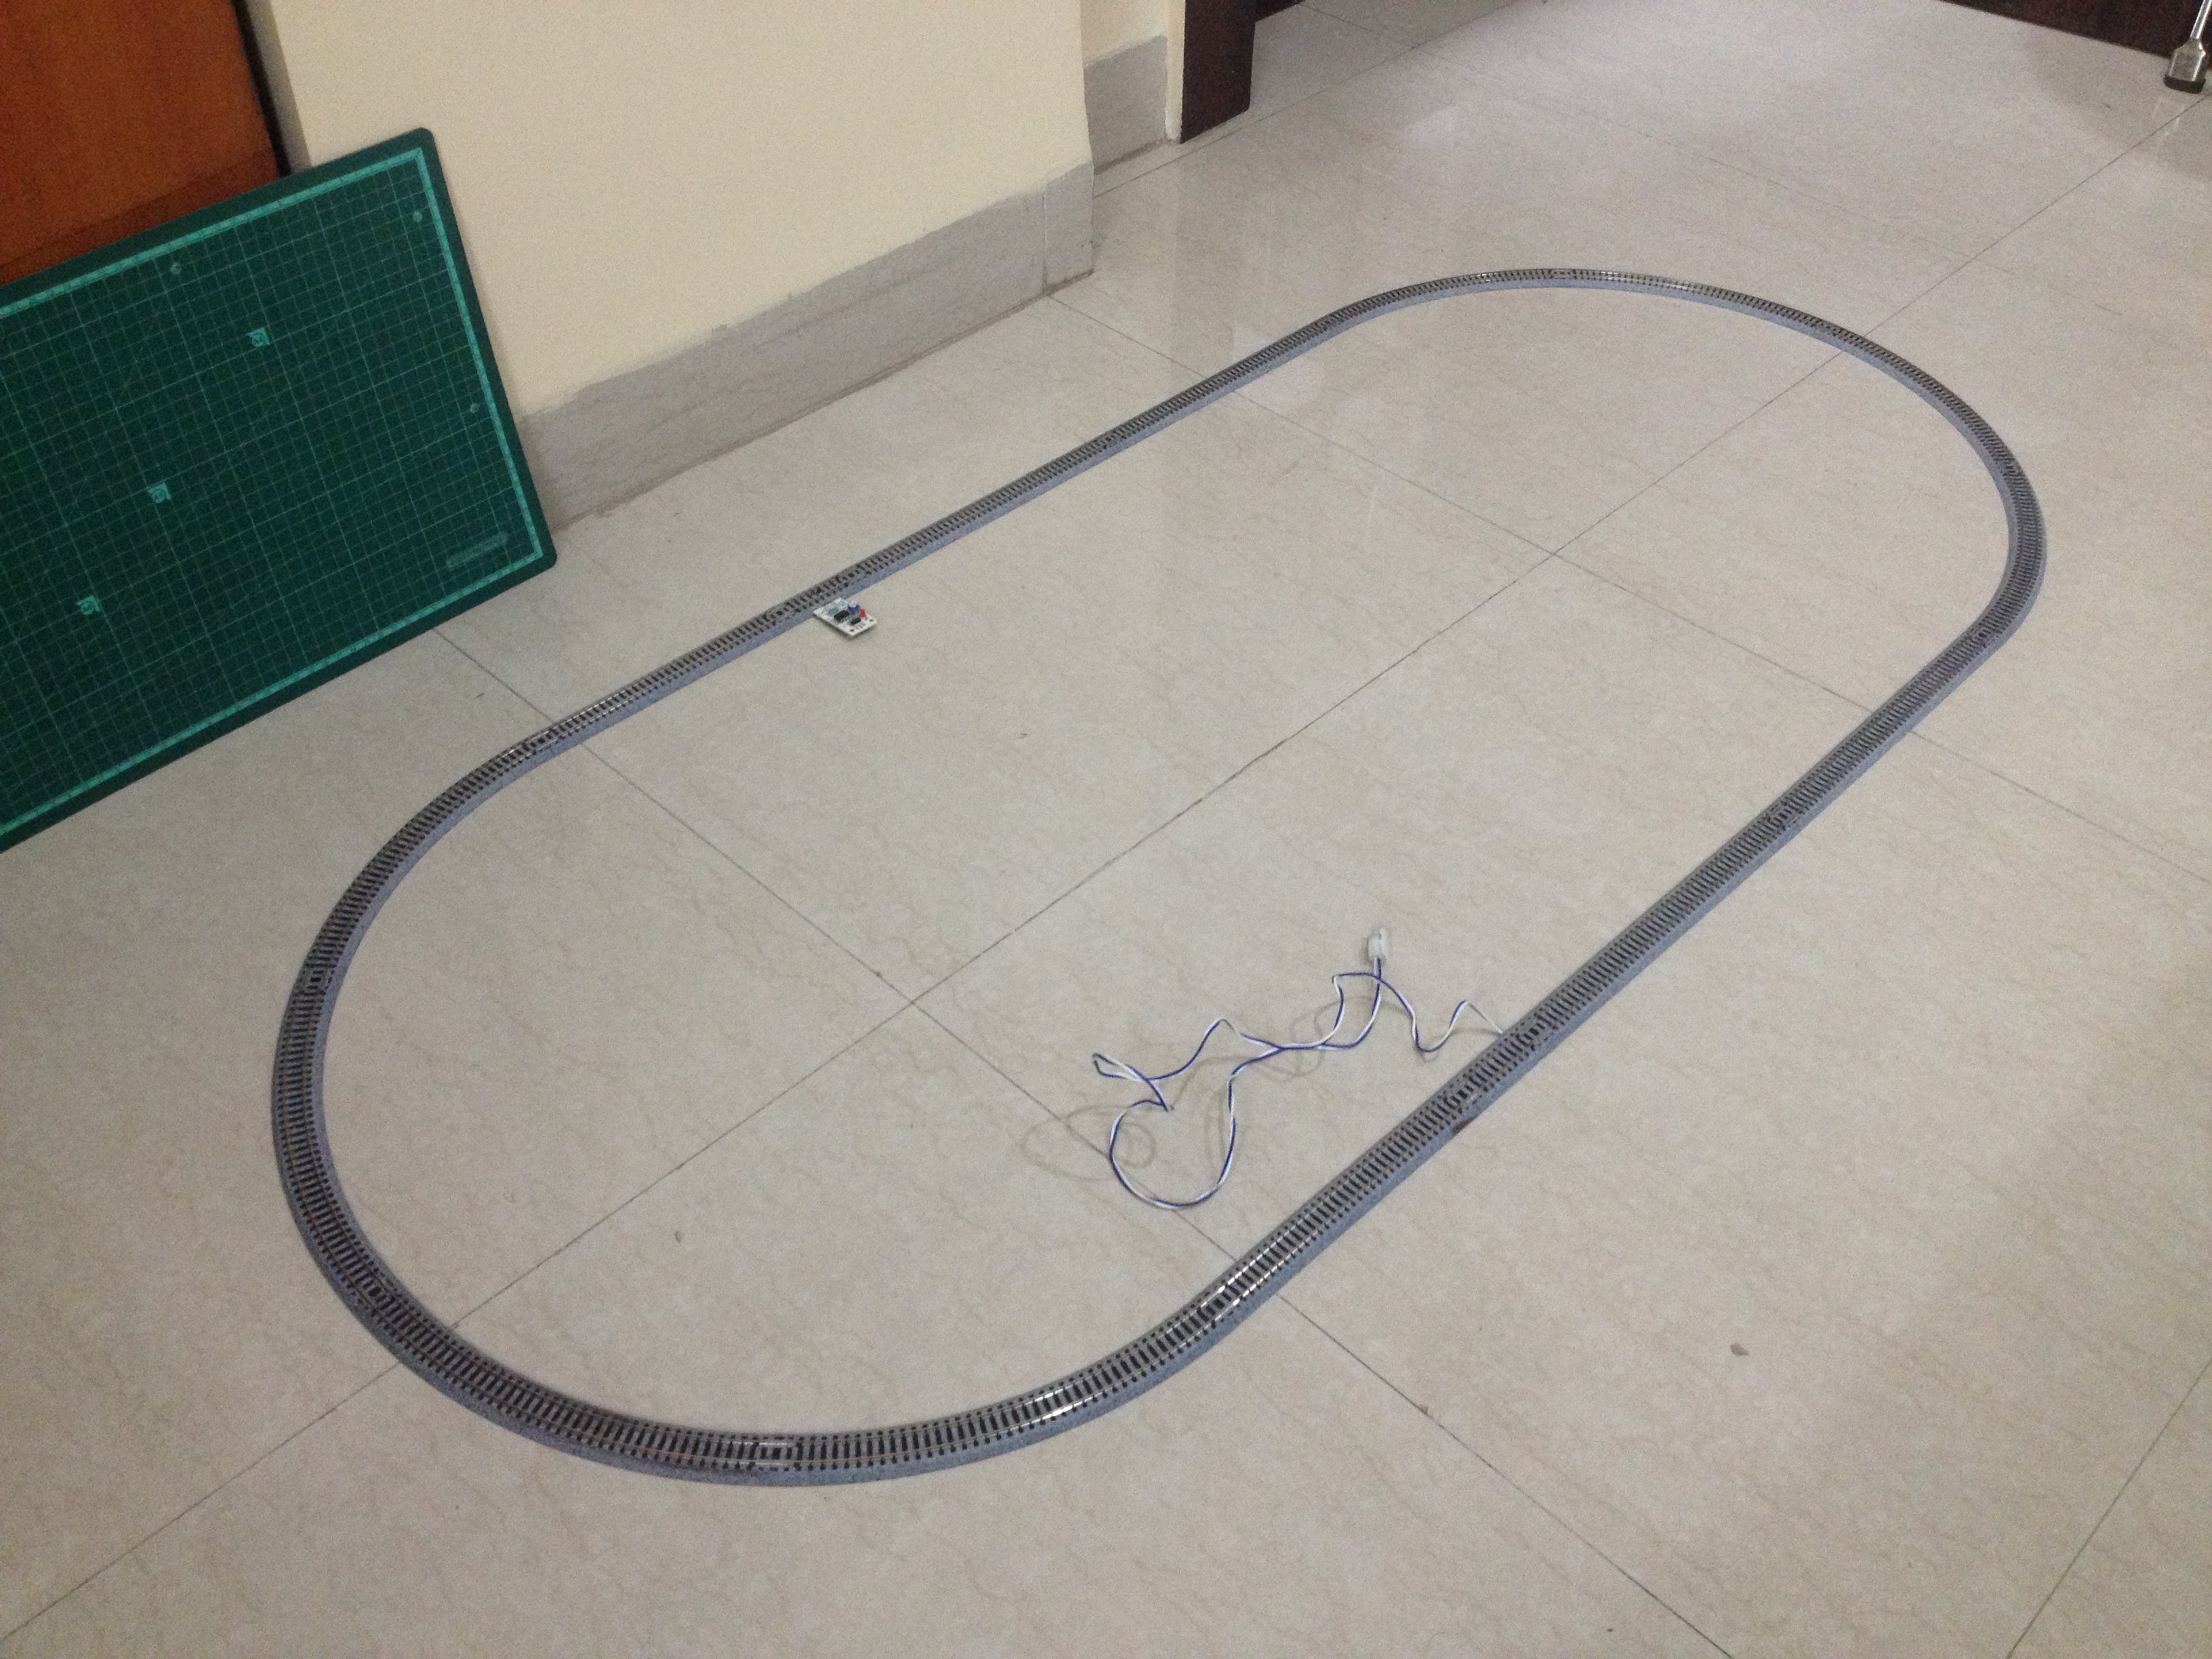
Make an oval loop of track as shown in the picture.
-
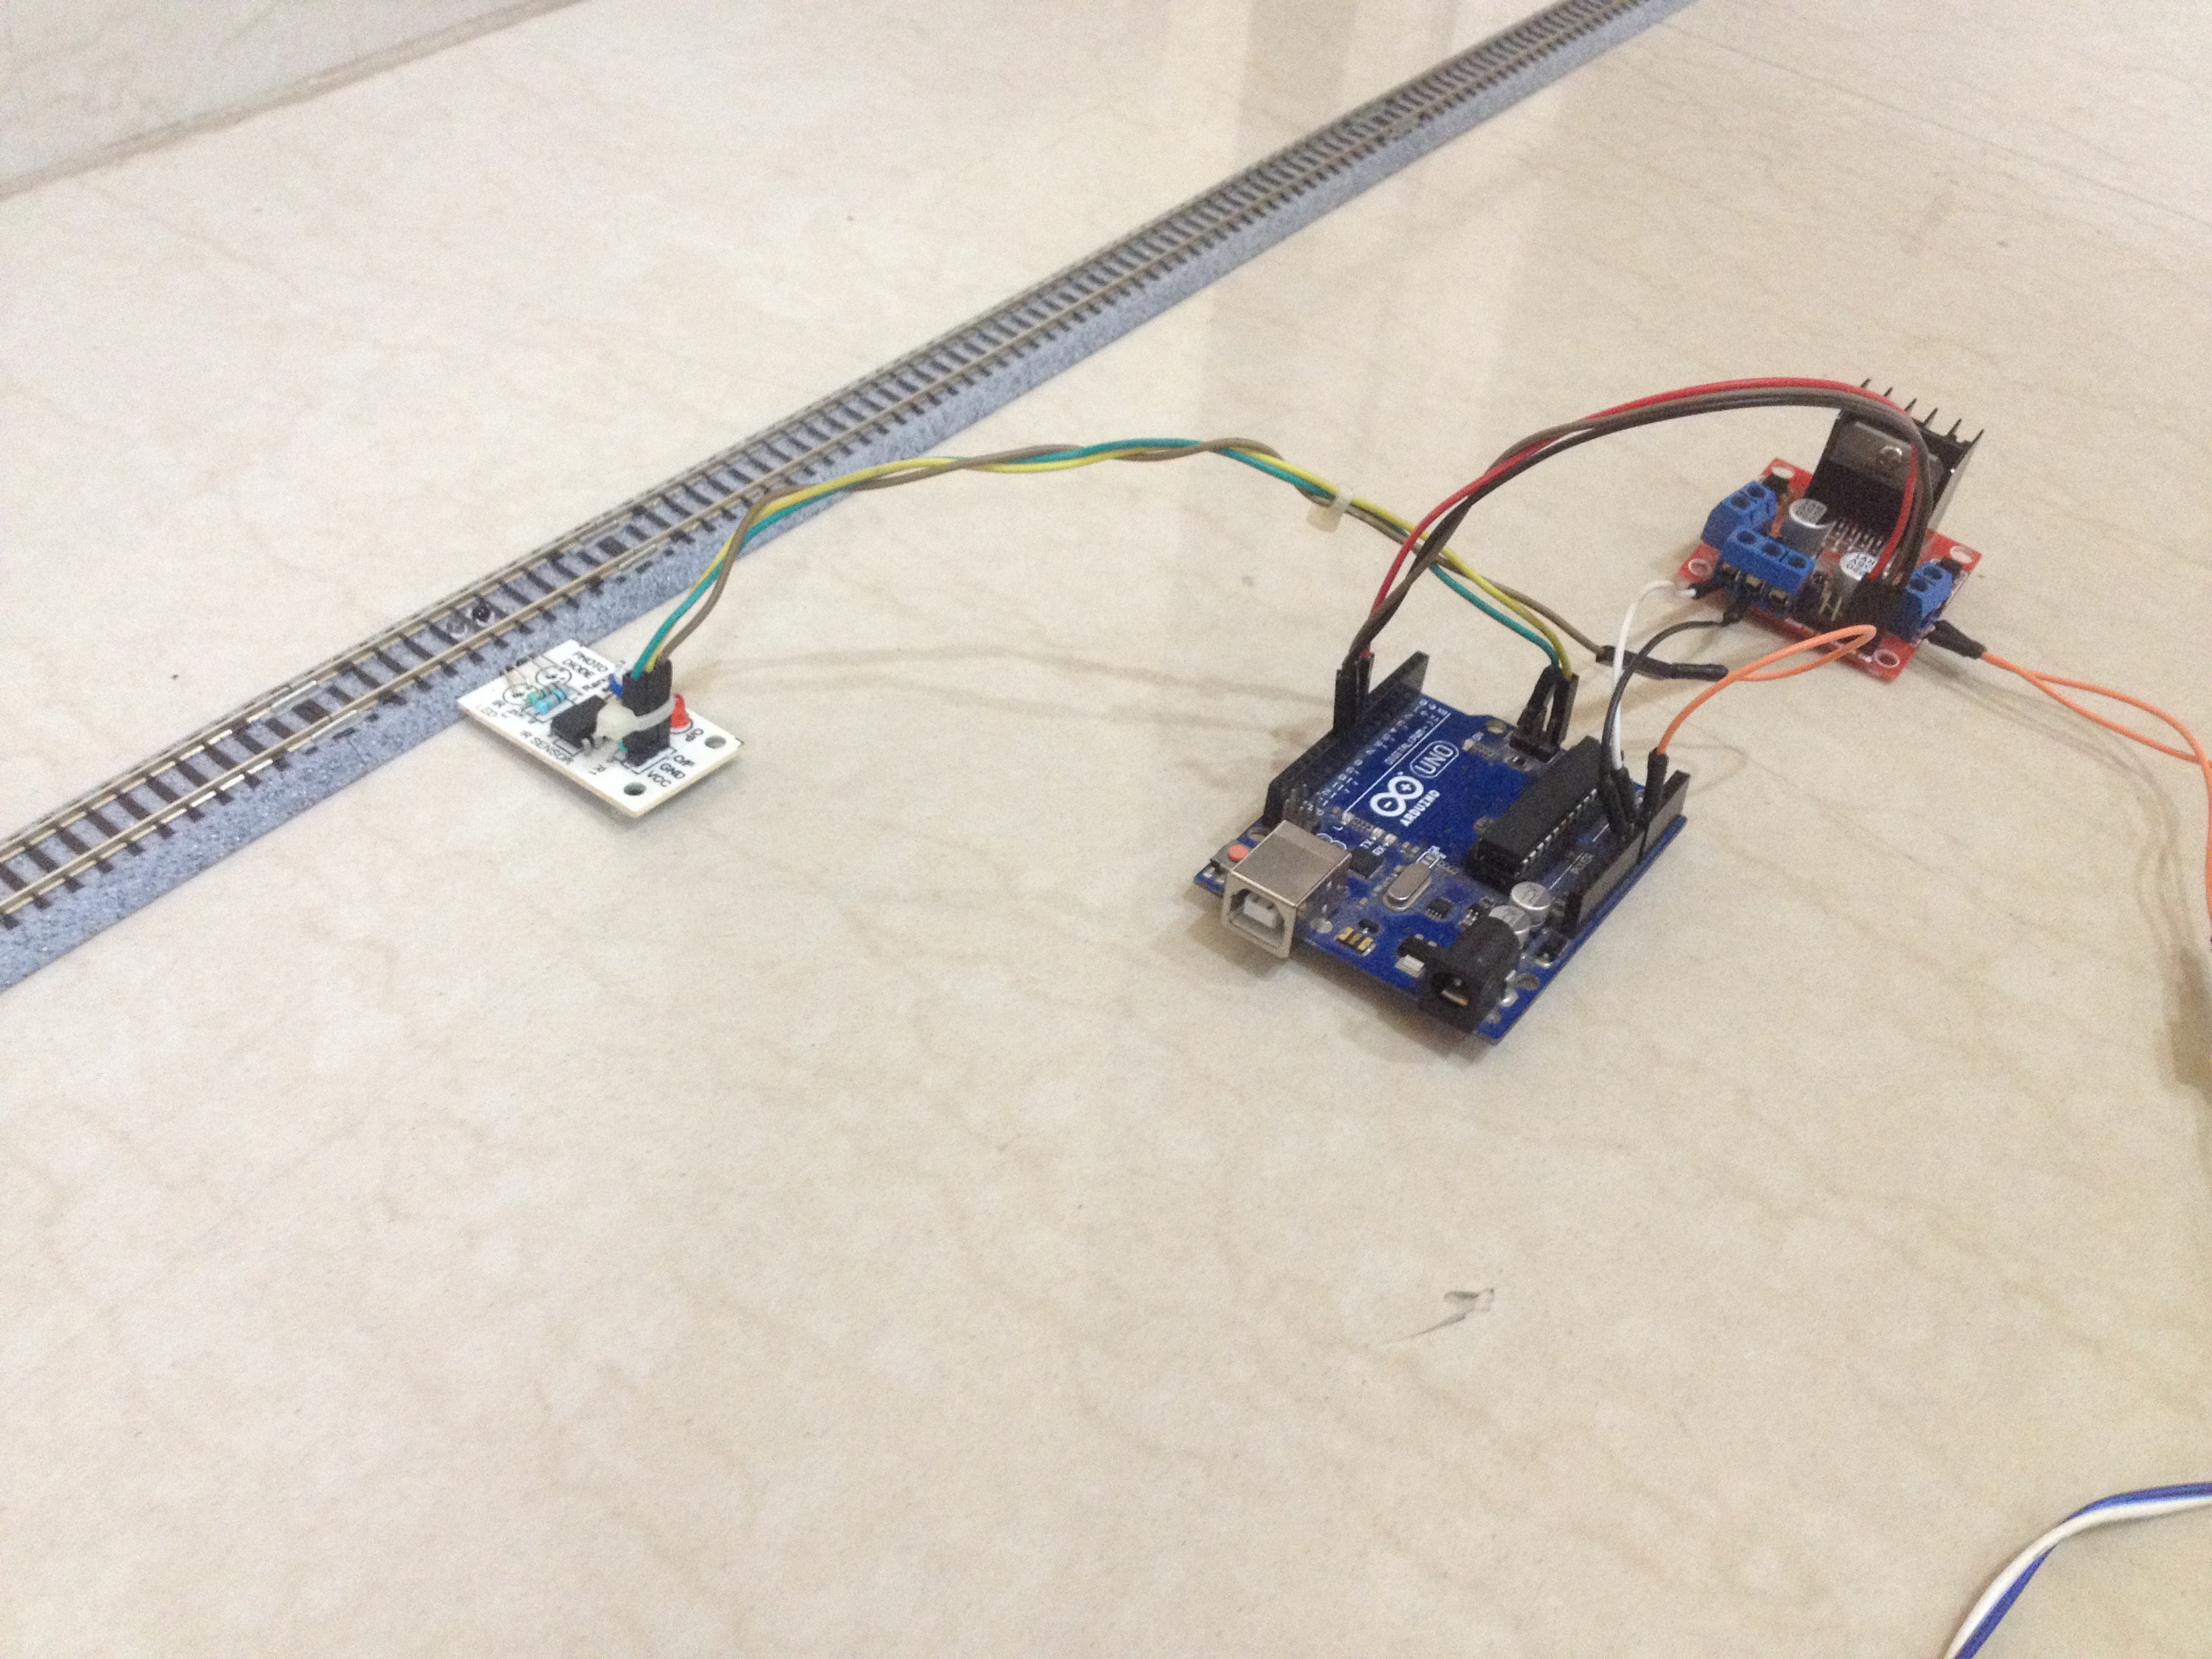
5Make Wiring Connections to the Motor Driver
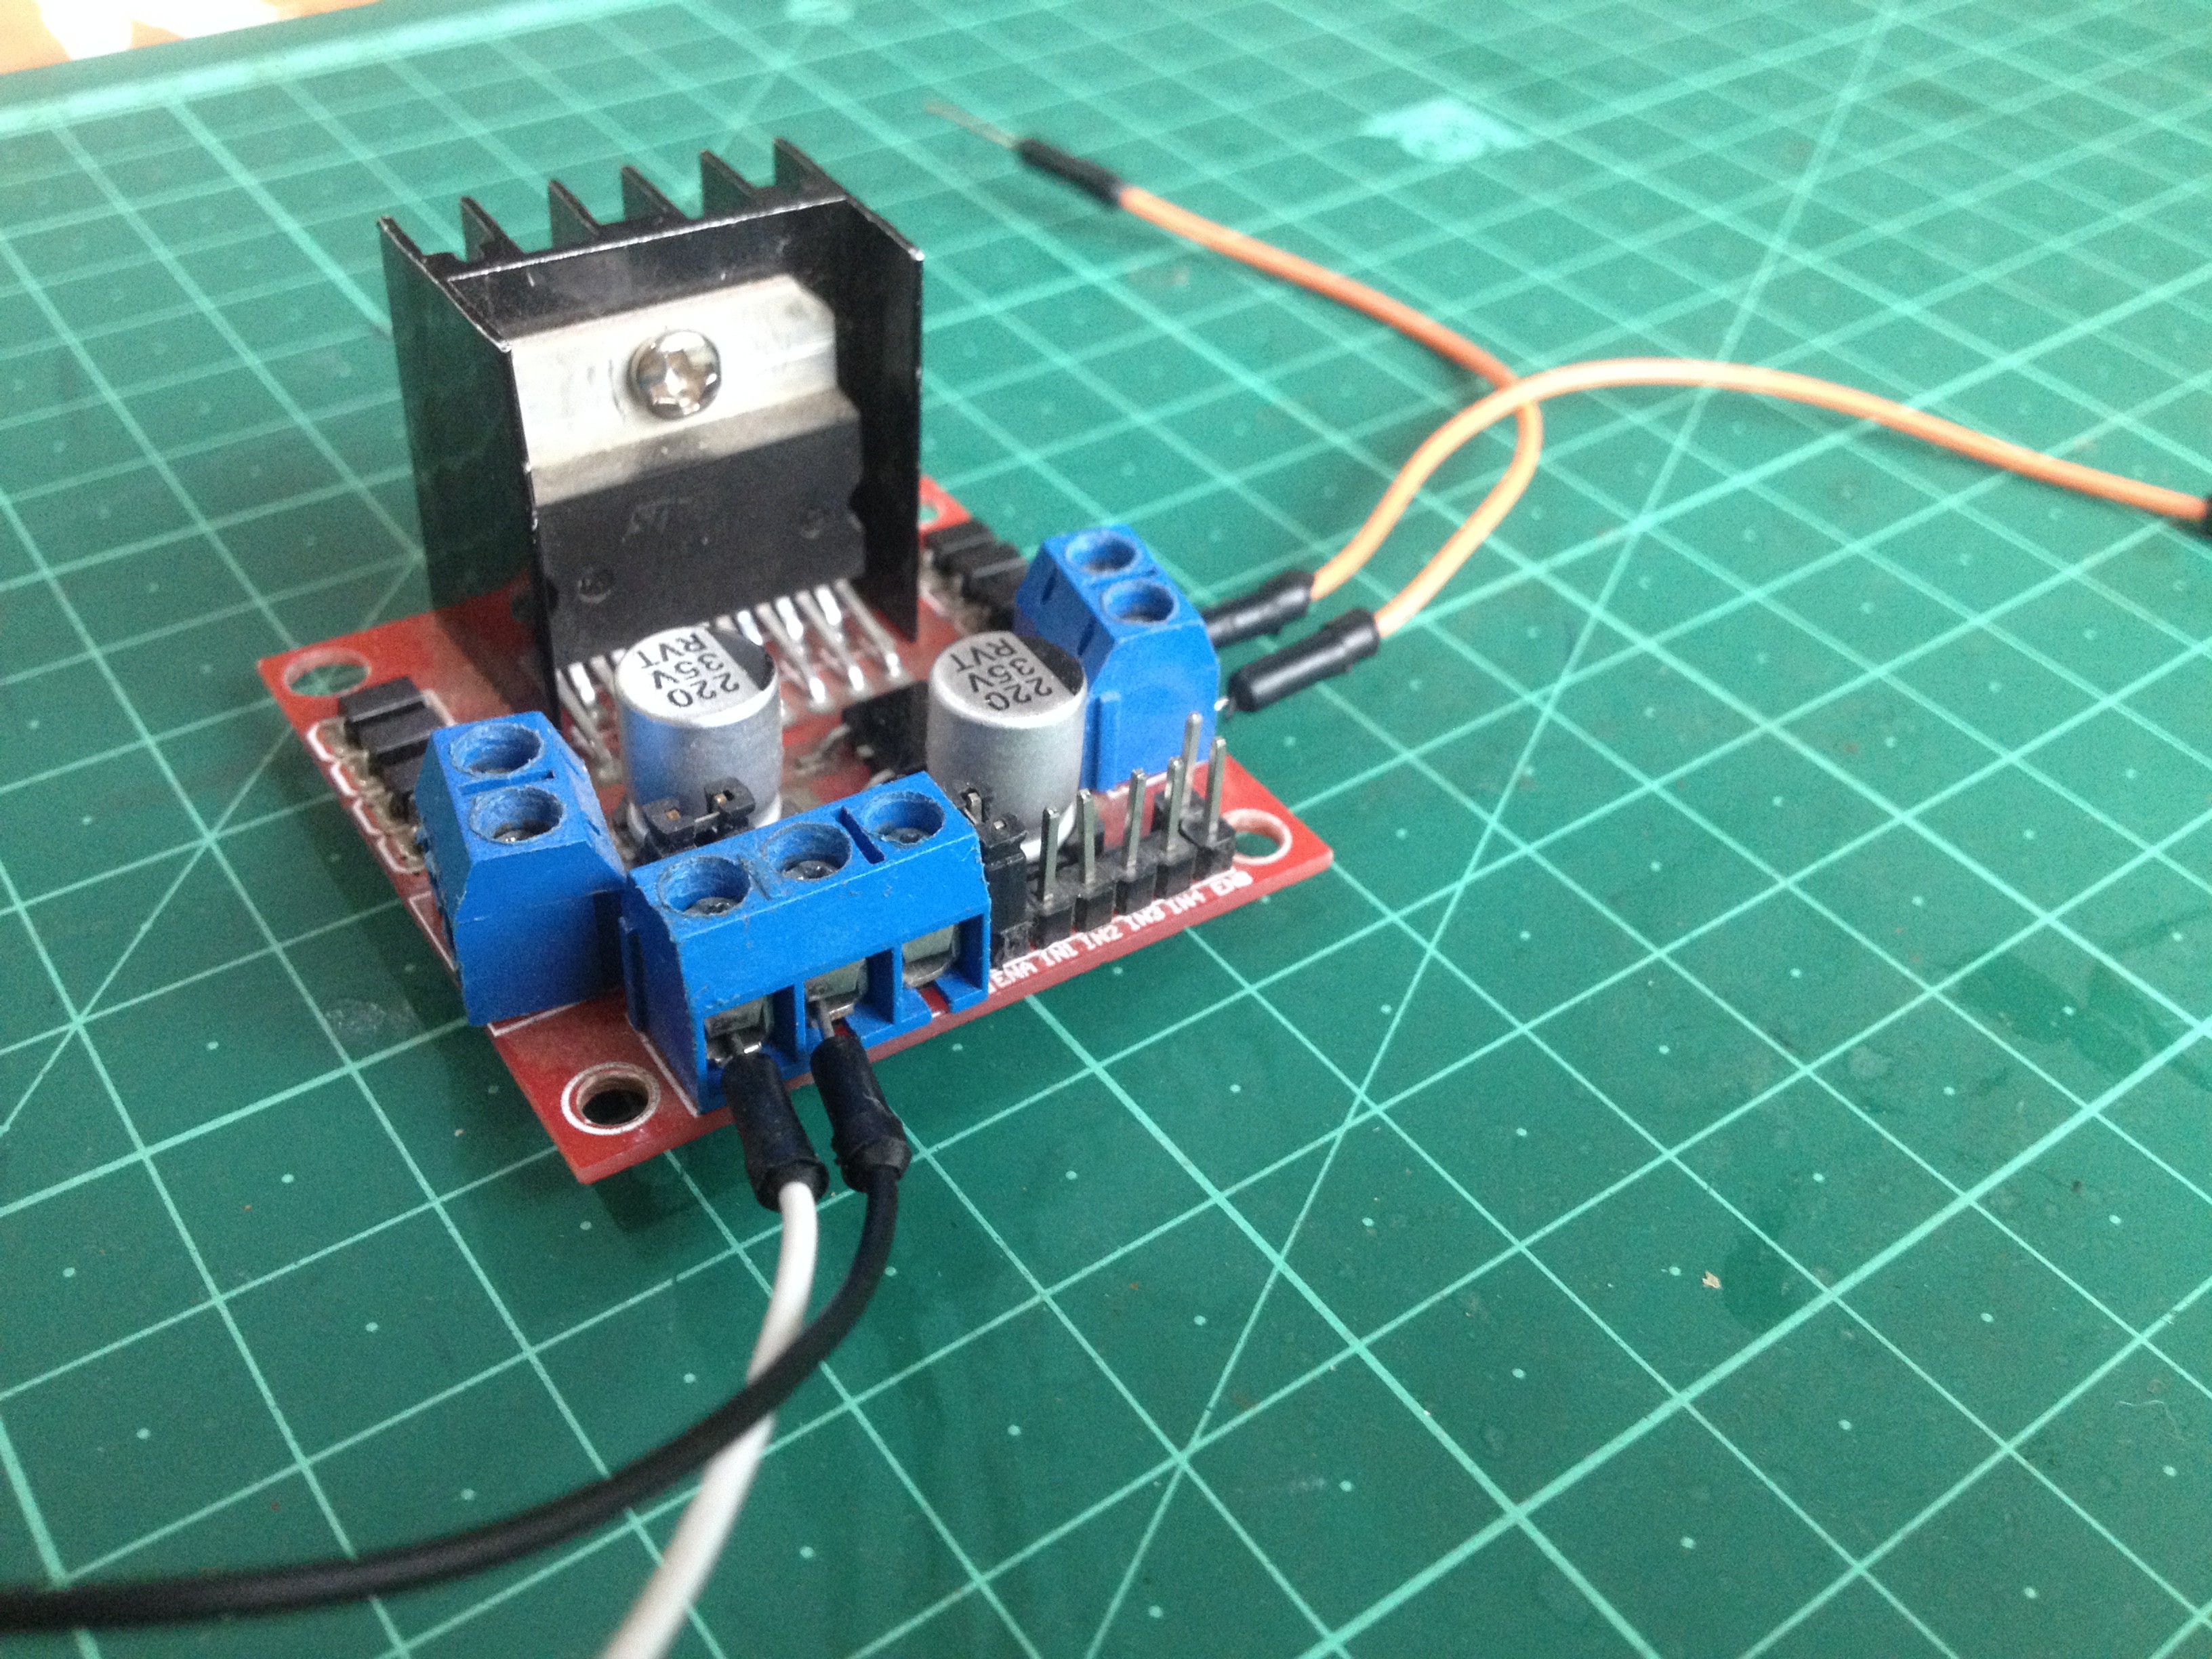
Remove the jumper connector from the pin marked 'ENB'.
Make the following connections:
- Connect the 'ENB' pin to pin D10 of the Arduino board.
- Connect the 'IN 3' pin to the pin D8 of the Arduino board.
- Connect the 'IN 4' pin to the pin D9 of the Arduino board.
-
6Connect Track Power Wires to the Motor Driver
Connect the output terminal's wires to the power feeder connector.
-
7Connect the 'sensored' Track to the Arduino
Make the following wiring connections:
- Connect the VCC pin to +5-volt pin of the Arduino board.
- Connect the GND pin to the GND pin of the Arduino board.
- Connect the OUT pin to the A0 pin of the Arduino board.
-
8Place the Train on the Tracks
Use a re-railer to make sure that the wheels of the train sit perfectly well on the tracks.
-
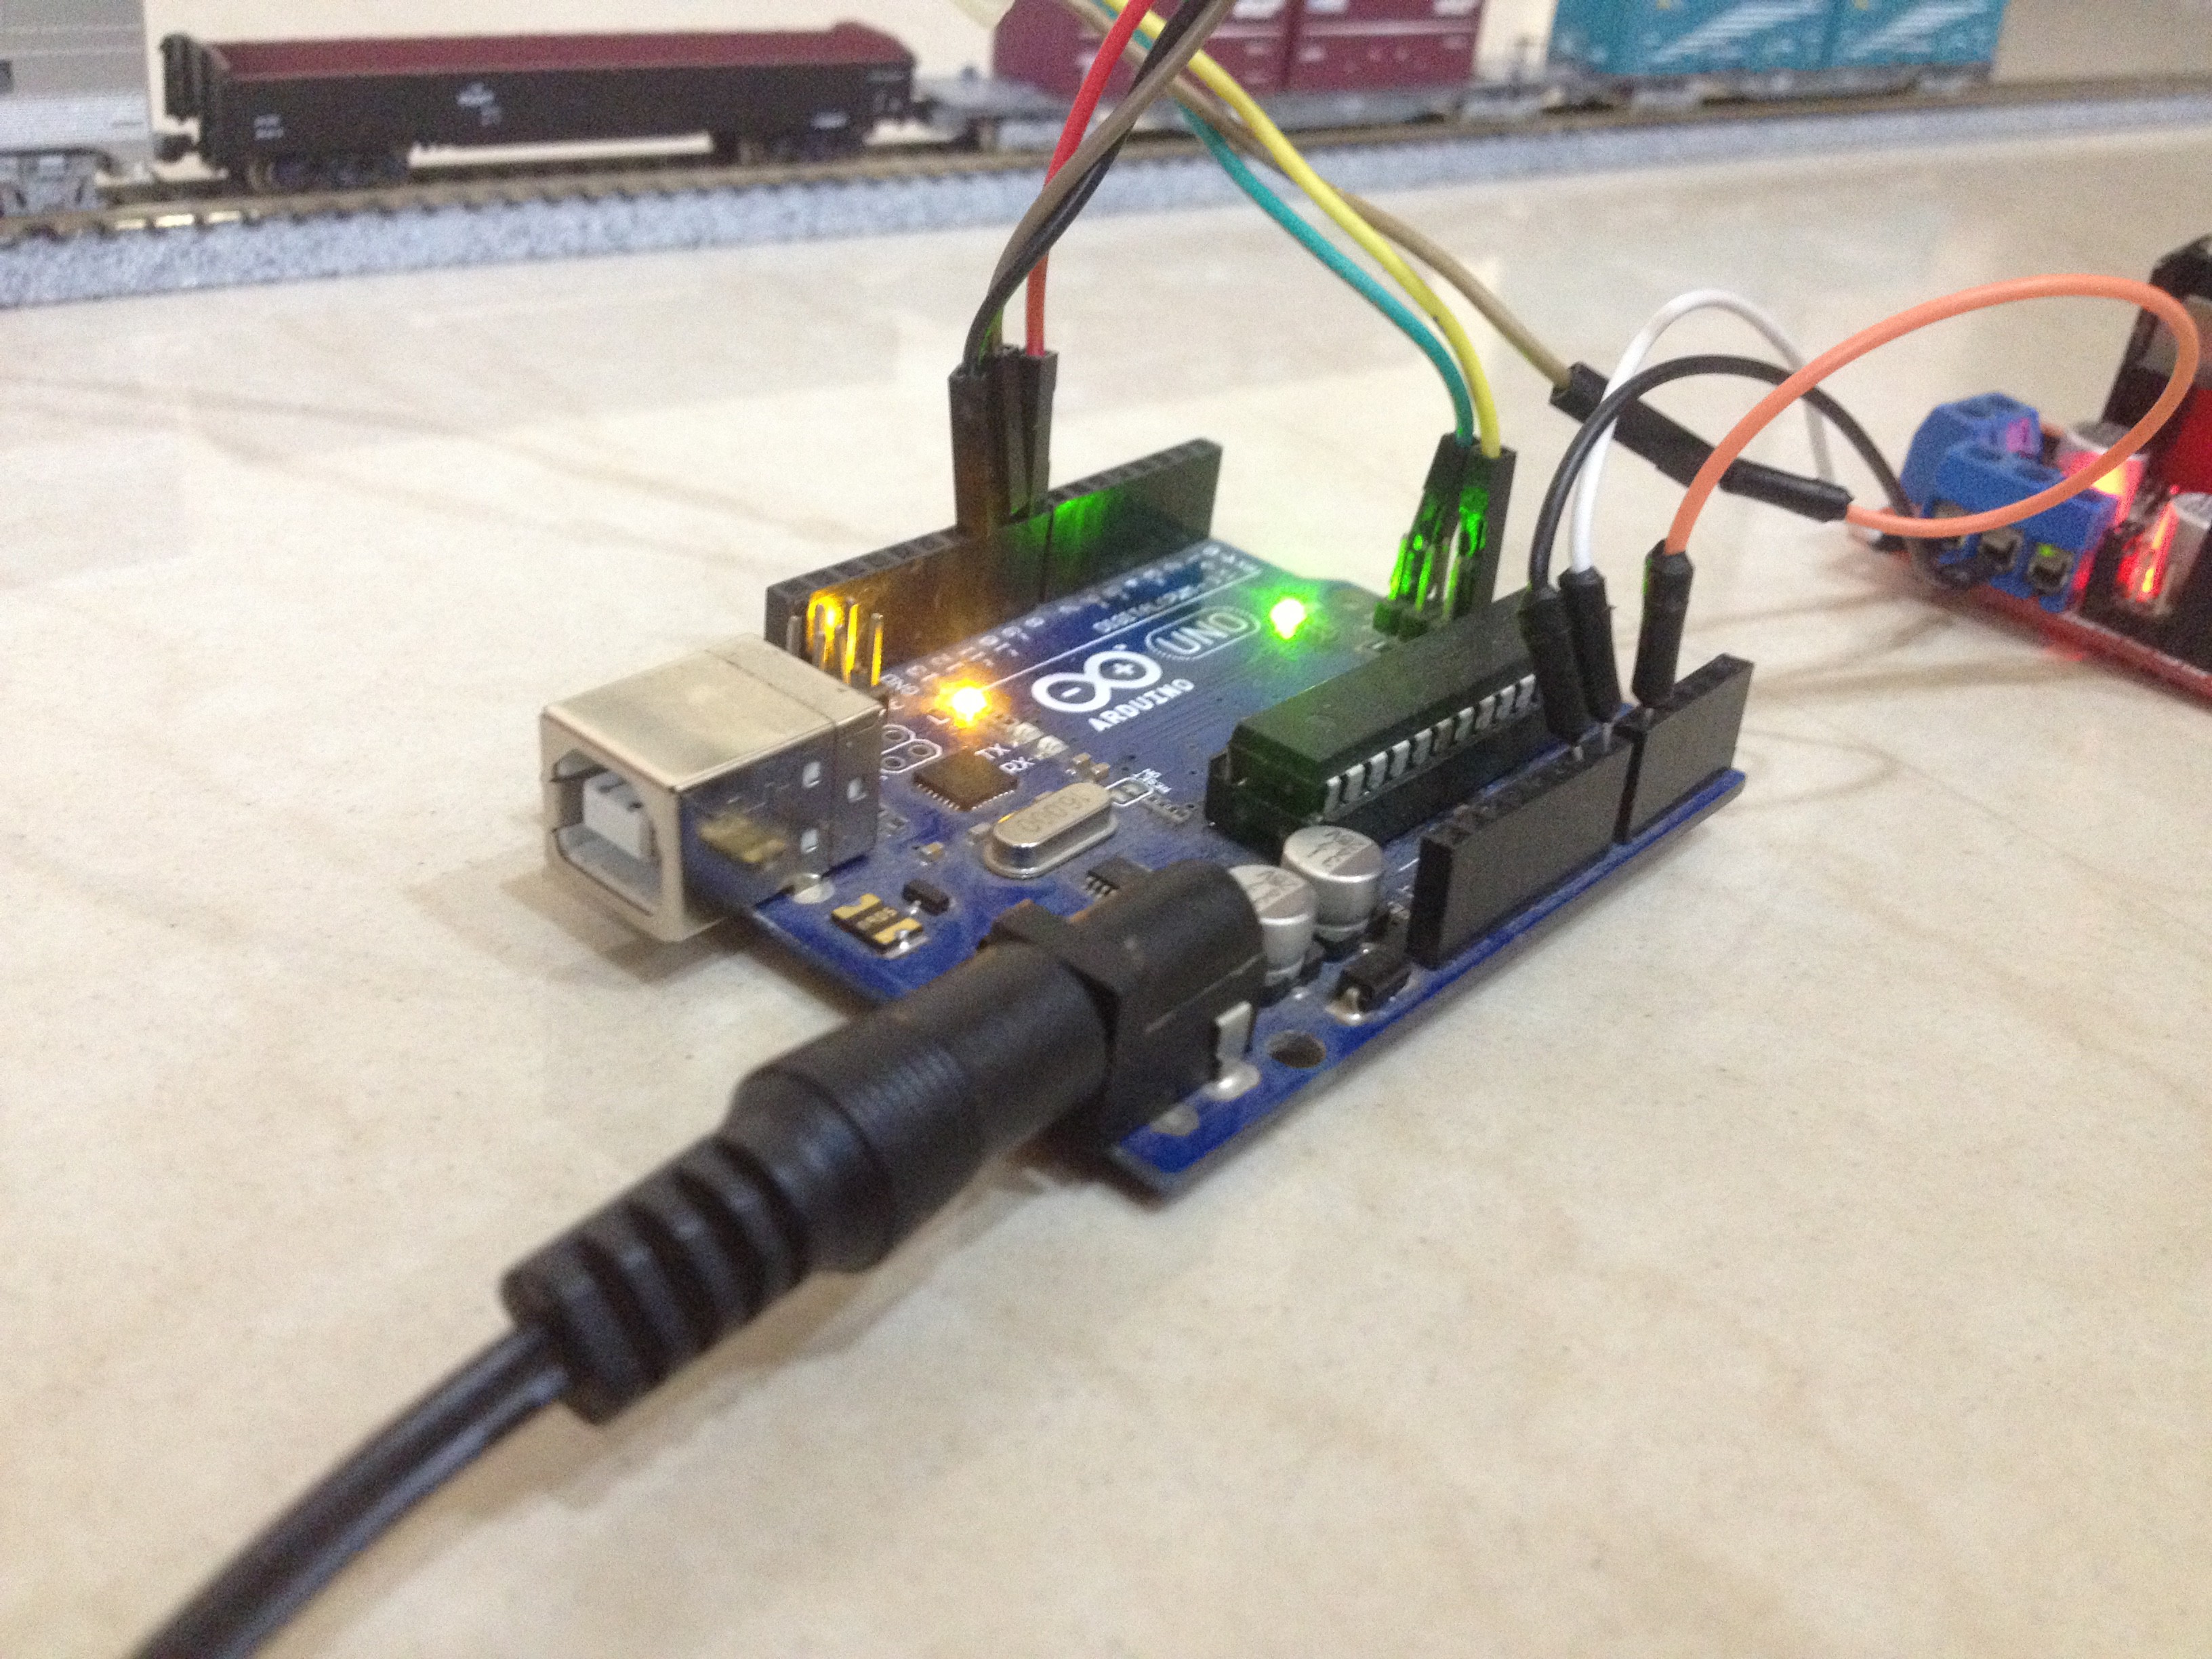
9Connect to Power and Turn It On
Make sure no wiring connections are loose. Connect the Arduino board's power input to the power supply and turn it on.
-
10Sit Back and Watch Your Train Running
Simple Automated Model Railway Layout
Here is a simple and easy way to get started with model railroad automation with Arduino.
 KushagraK7



Discussions
Become a Hackaday.io Member
Create an account to leave a comment. Already have an account? Log In.