-
13D Printing:
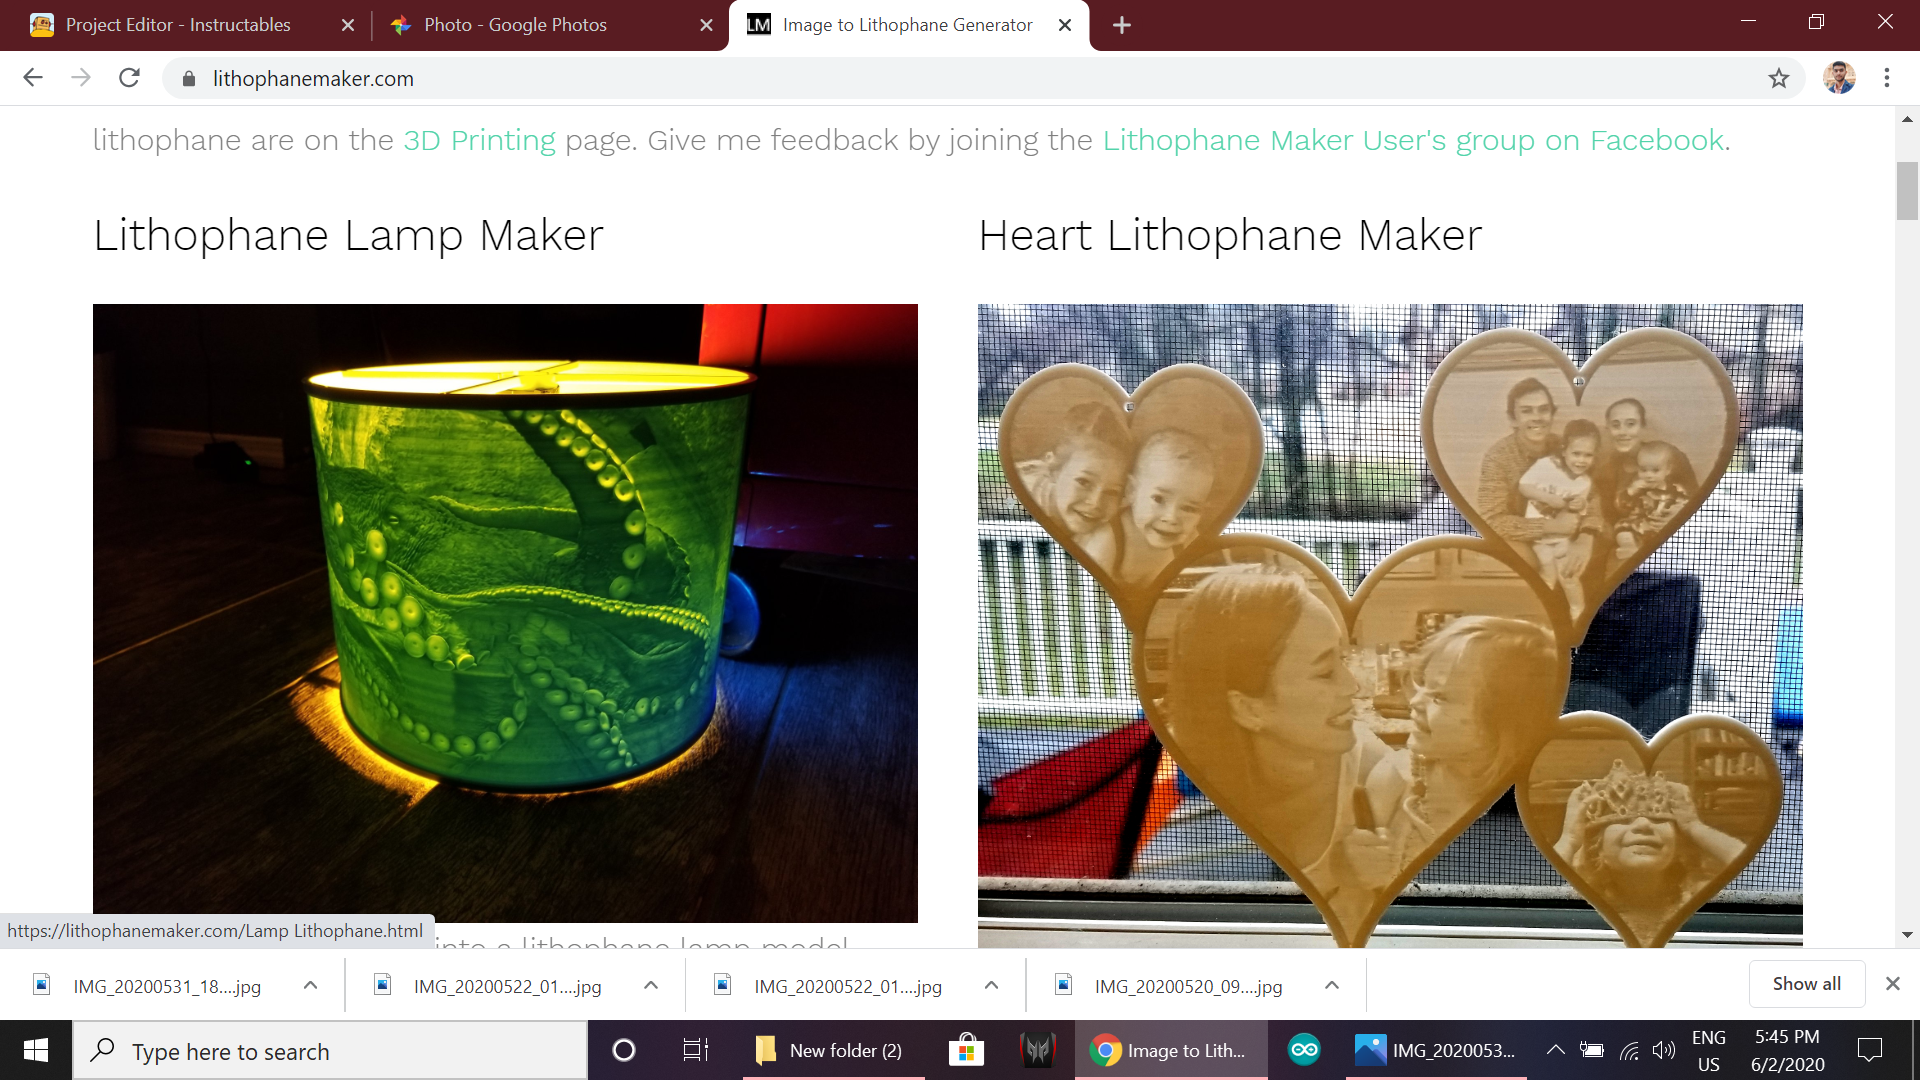
- Go to https://lithophanemaker.com/
![]()
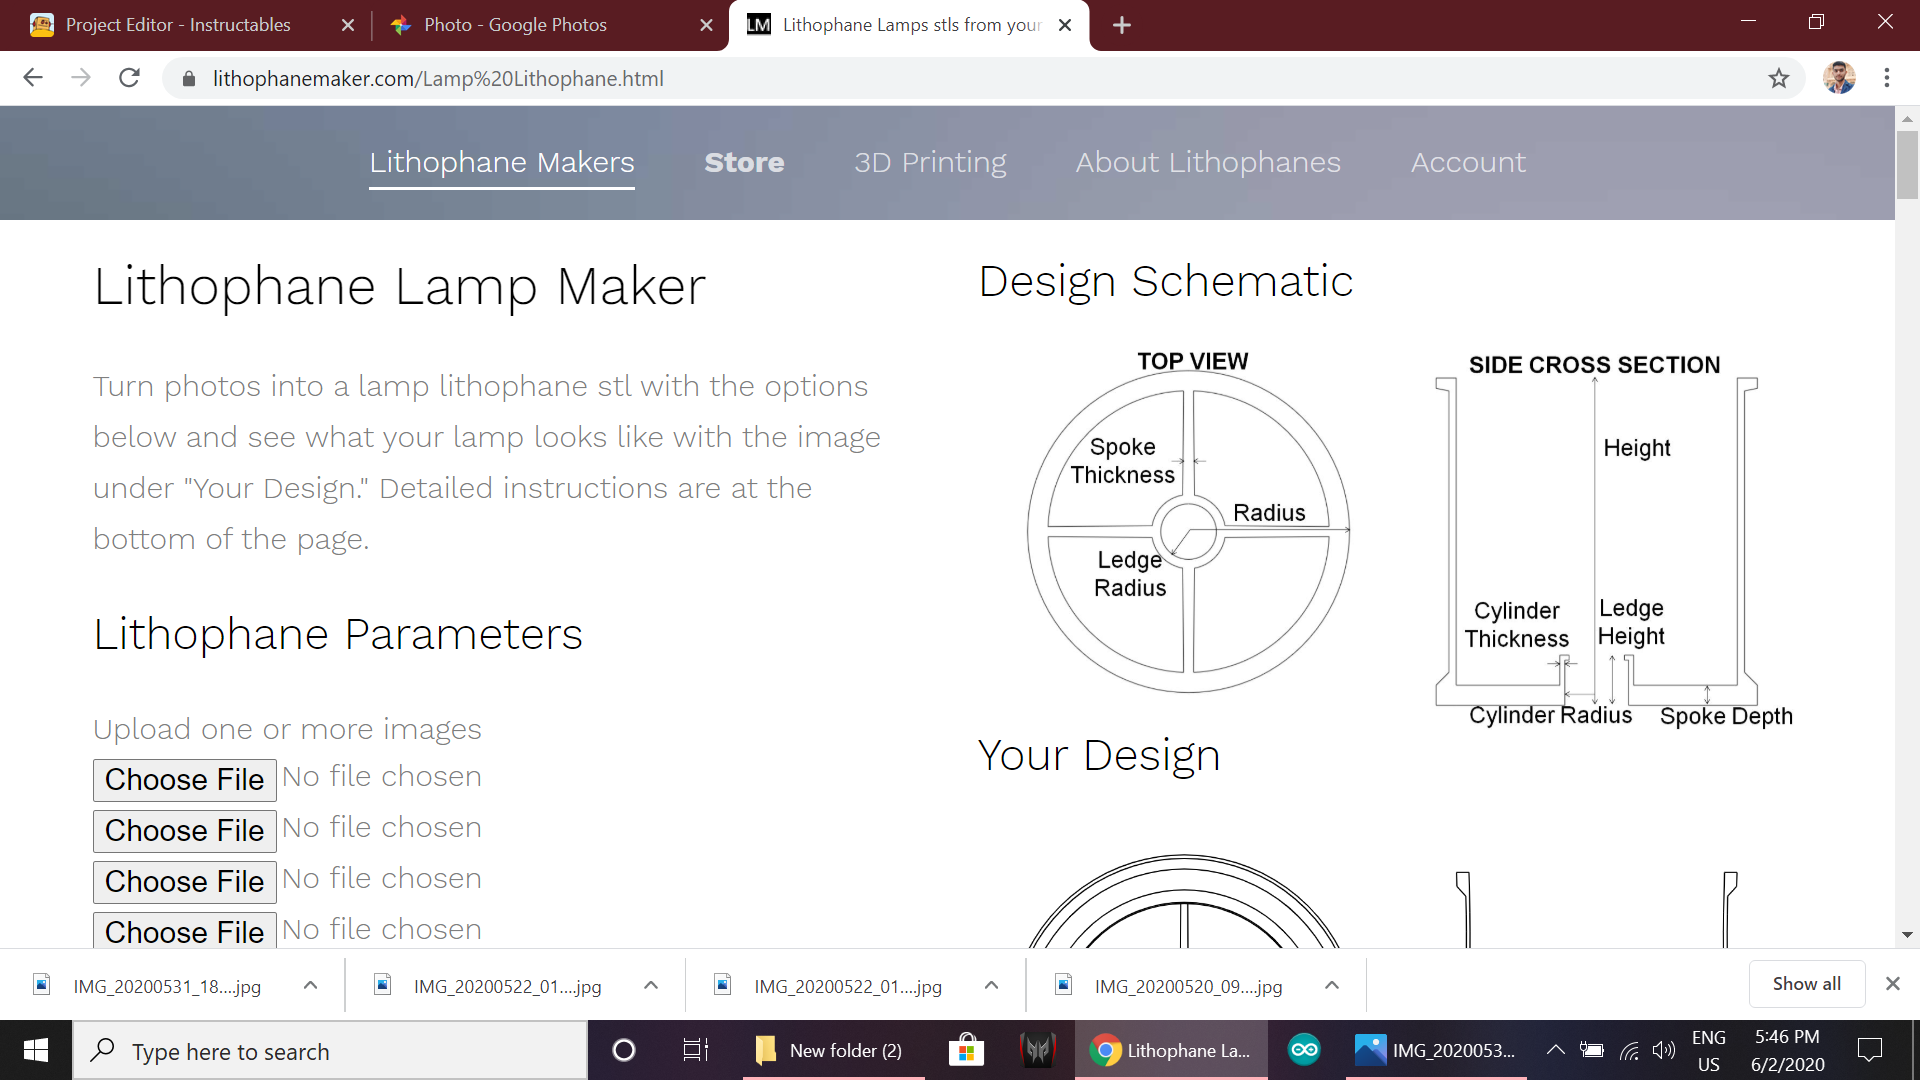
- Open Lithophane Lamp Maker Page.
- Choose the images you want to insert.
![]()
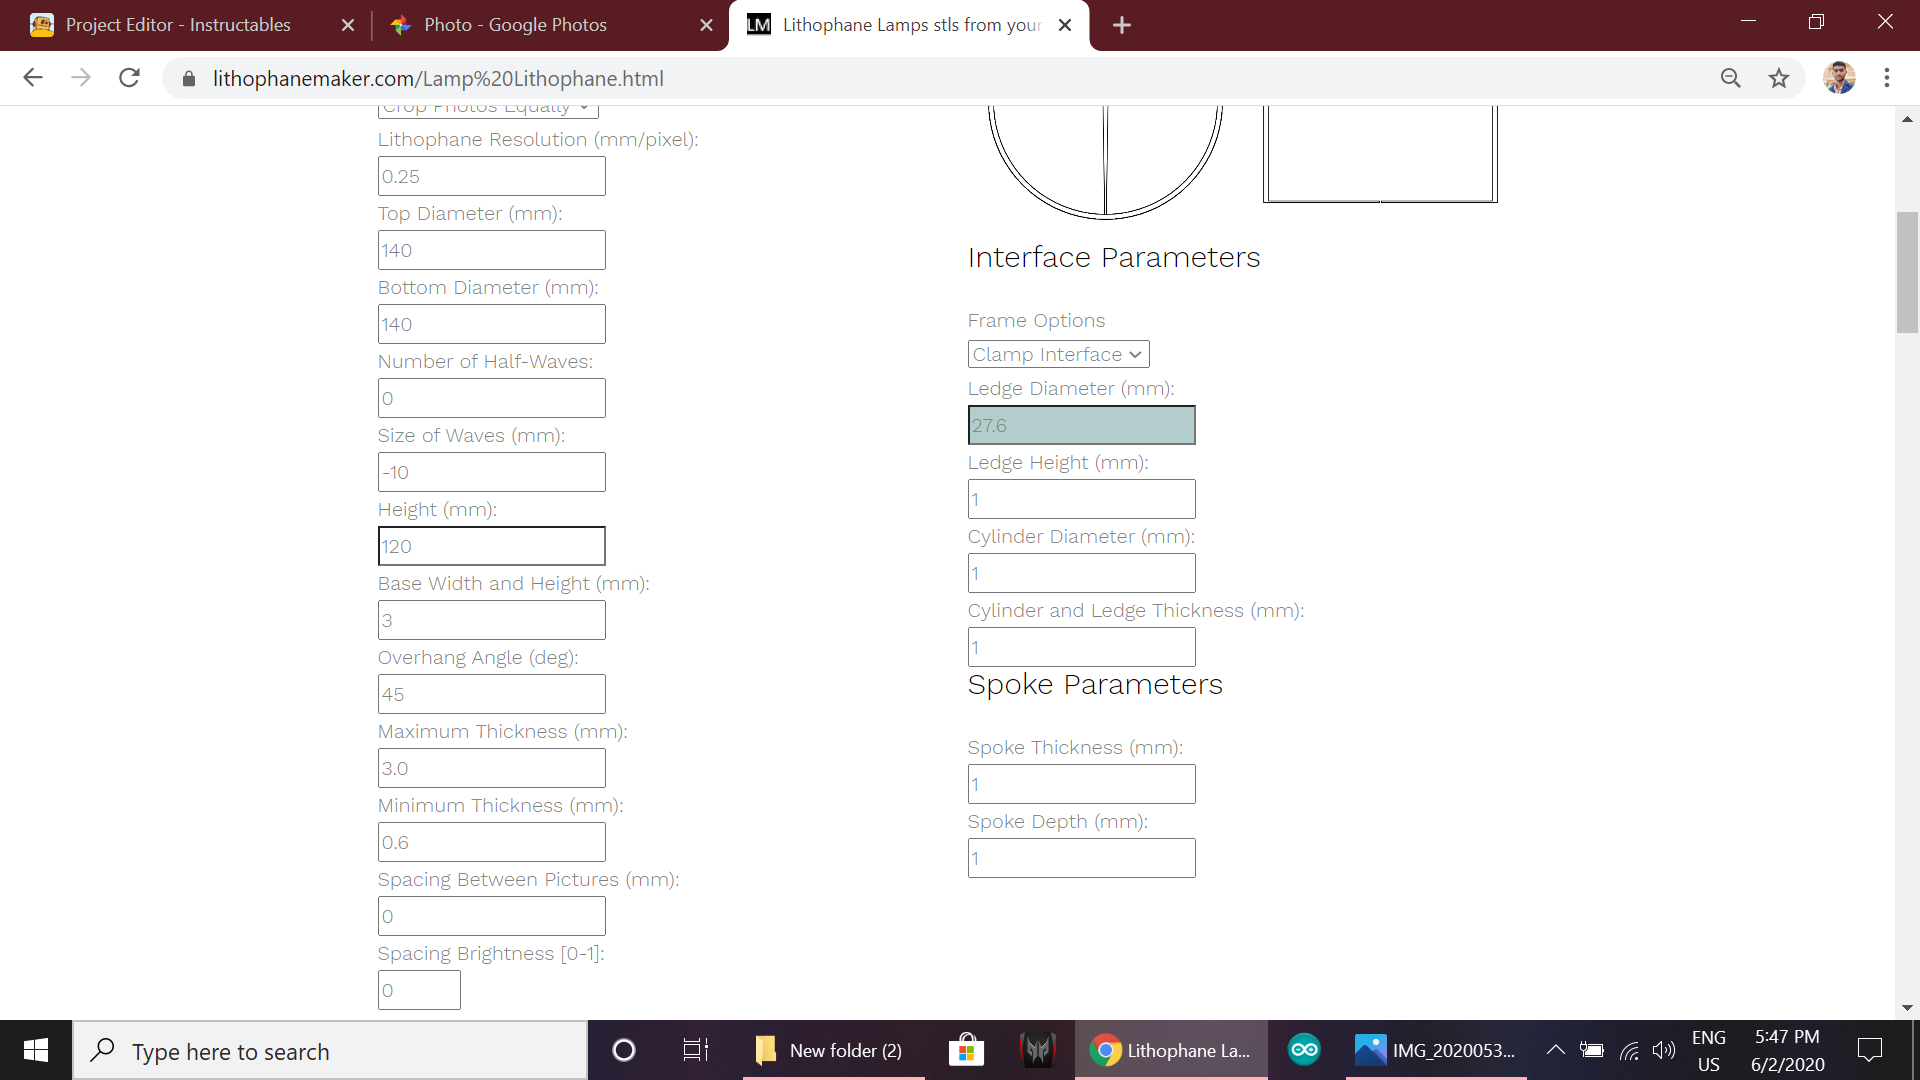
- Set all the dimension values as shown in image (as per my design).
![]()
- Login with your E-Mail ID and click on Create.stl.
![]()
- STL file will be downloaded.
- Link for floating table STL: https://drive.google.com/drive/folders/1TuedHUjSw...
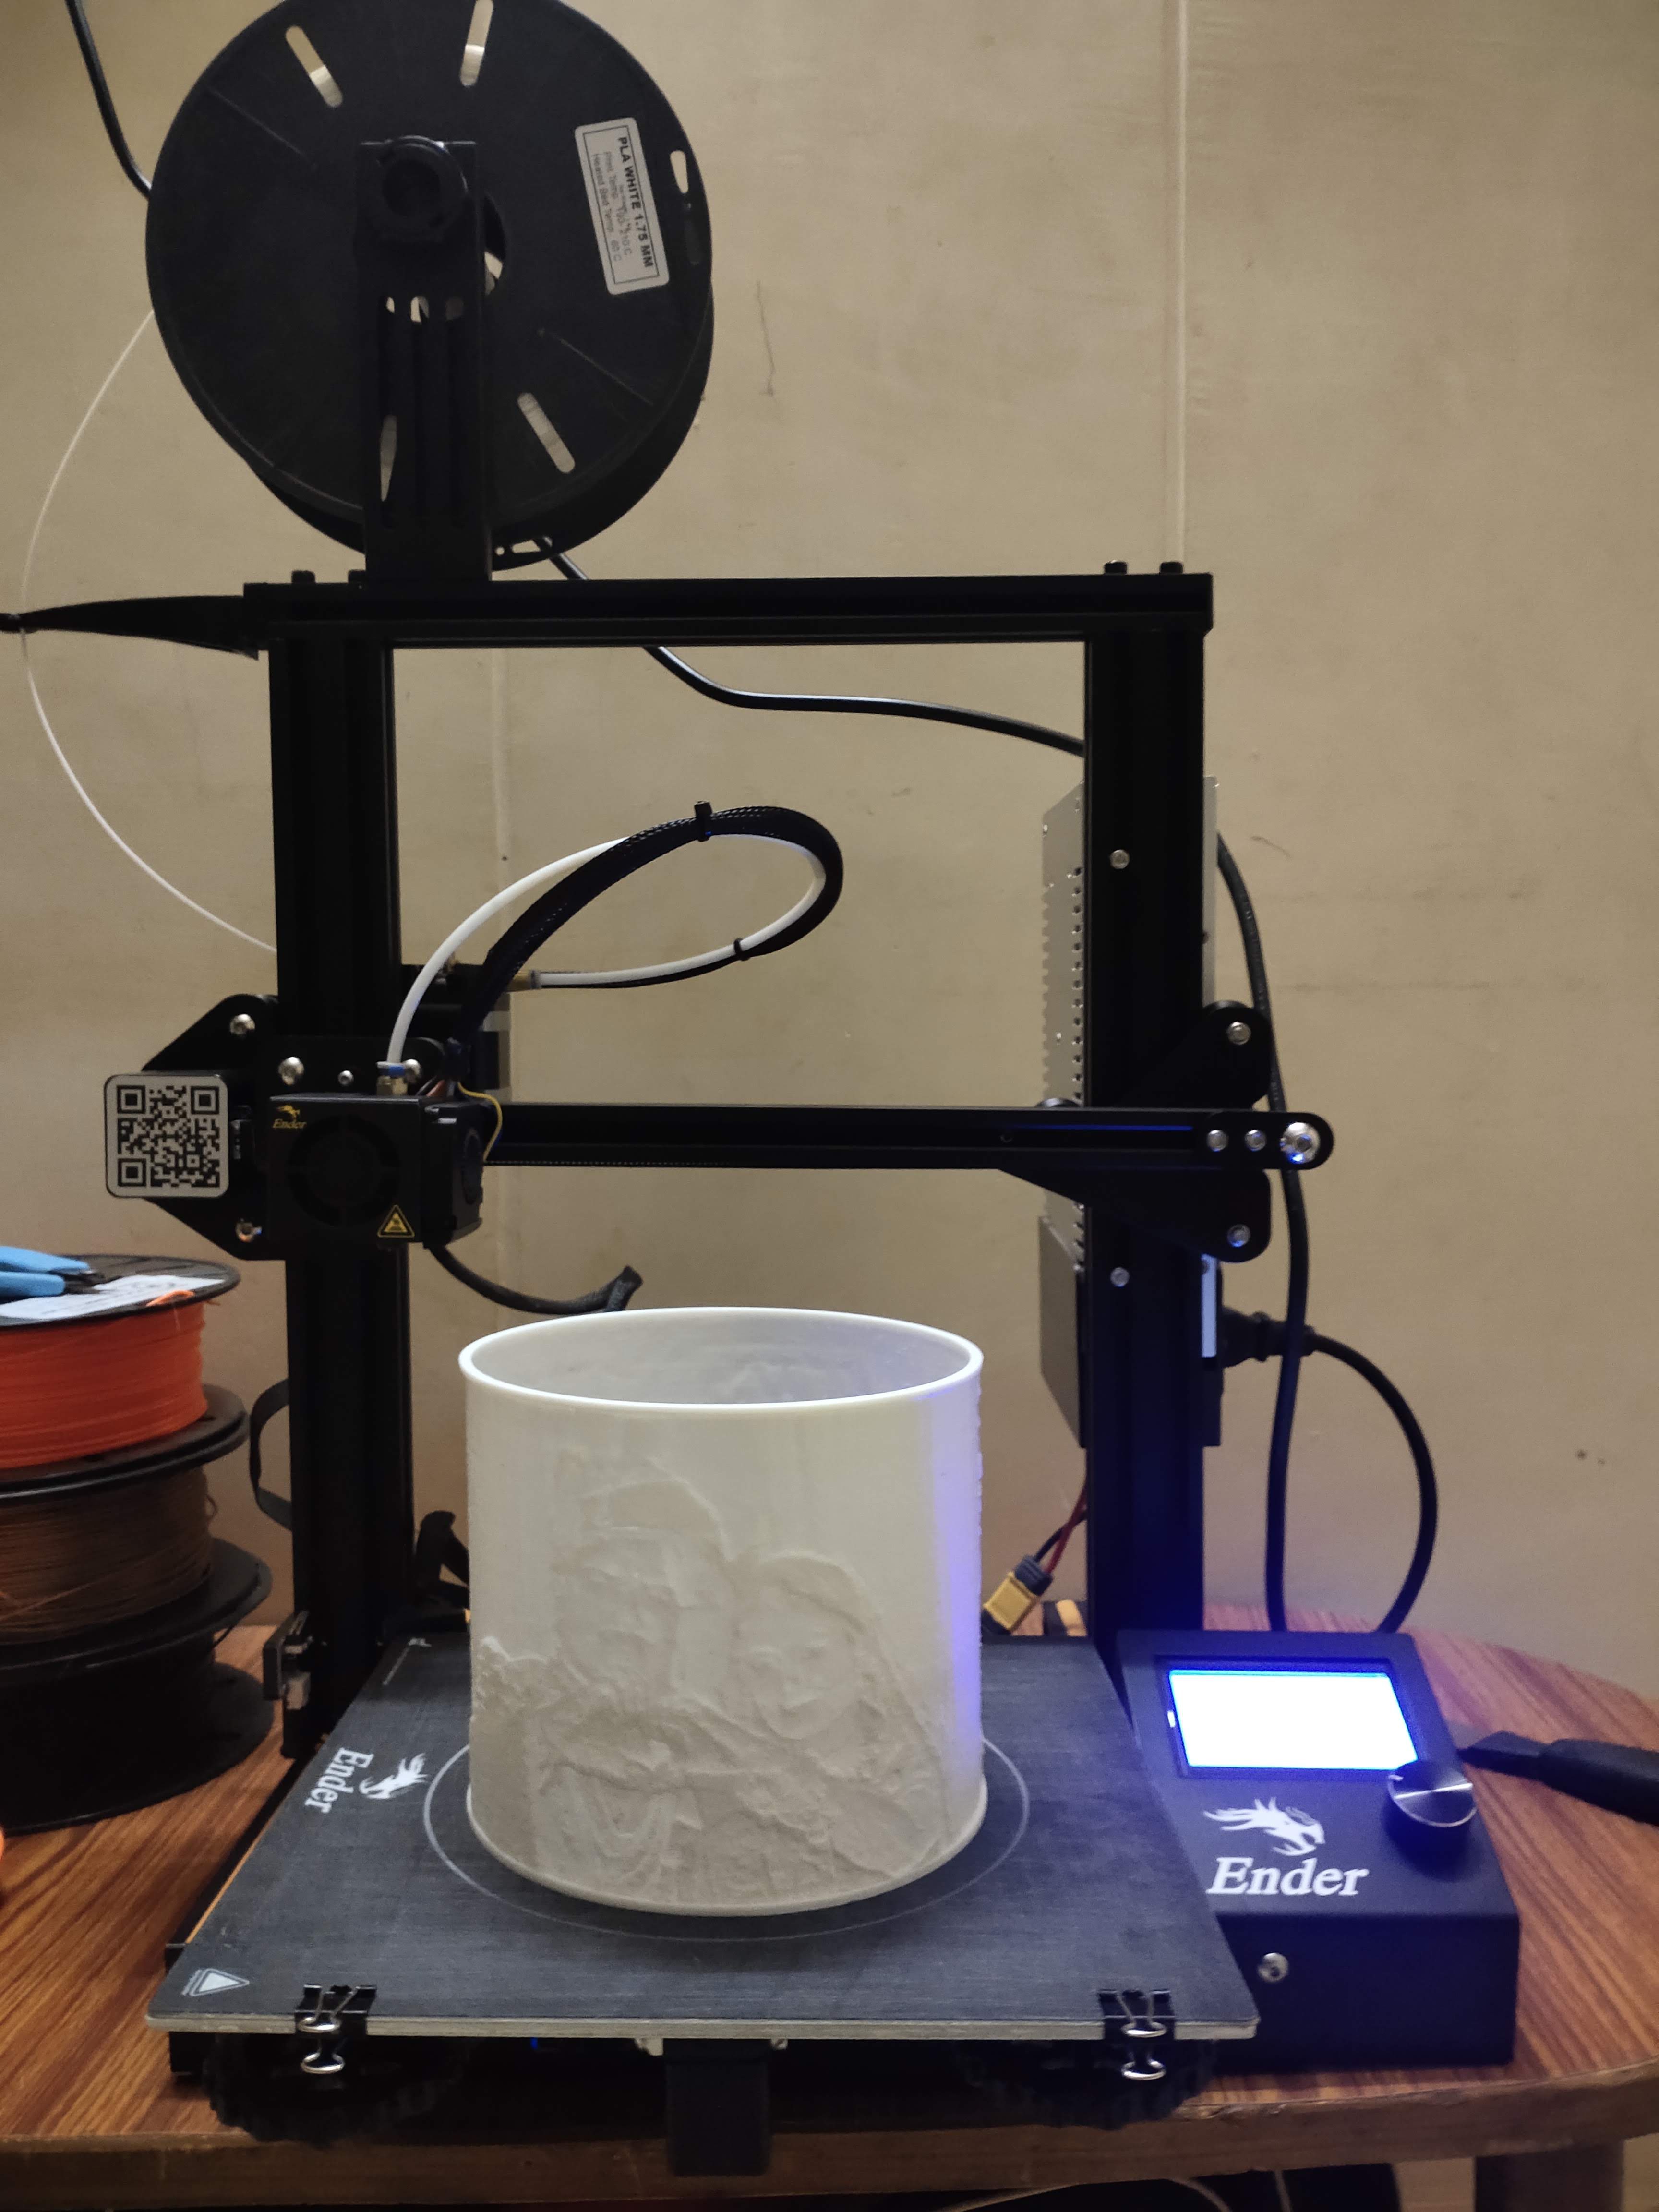
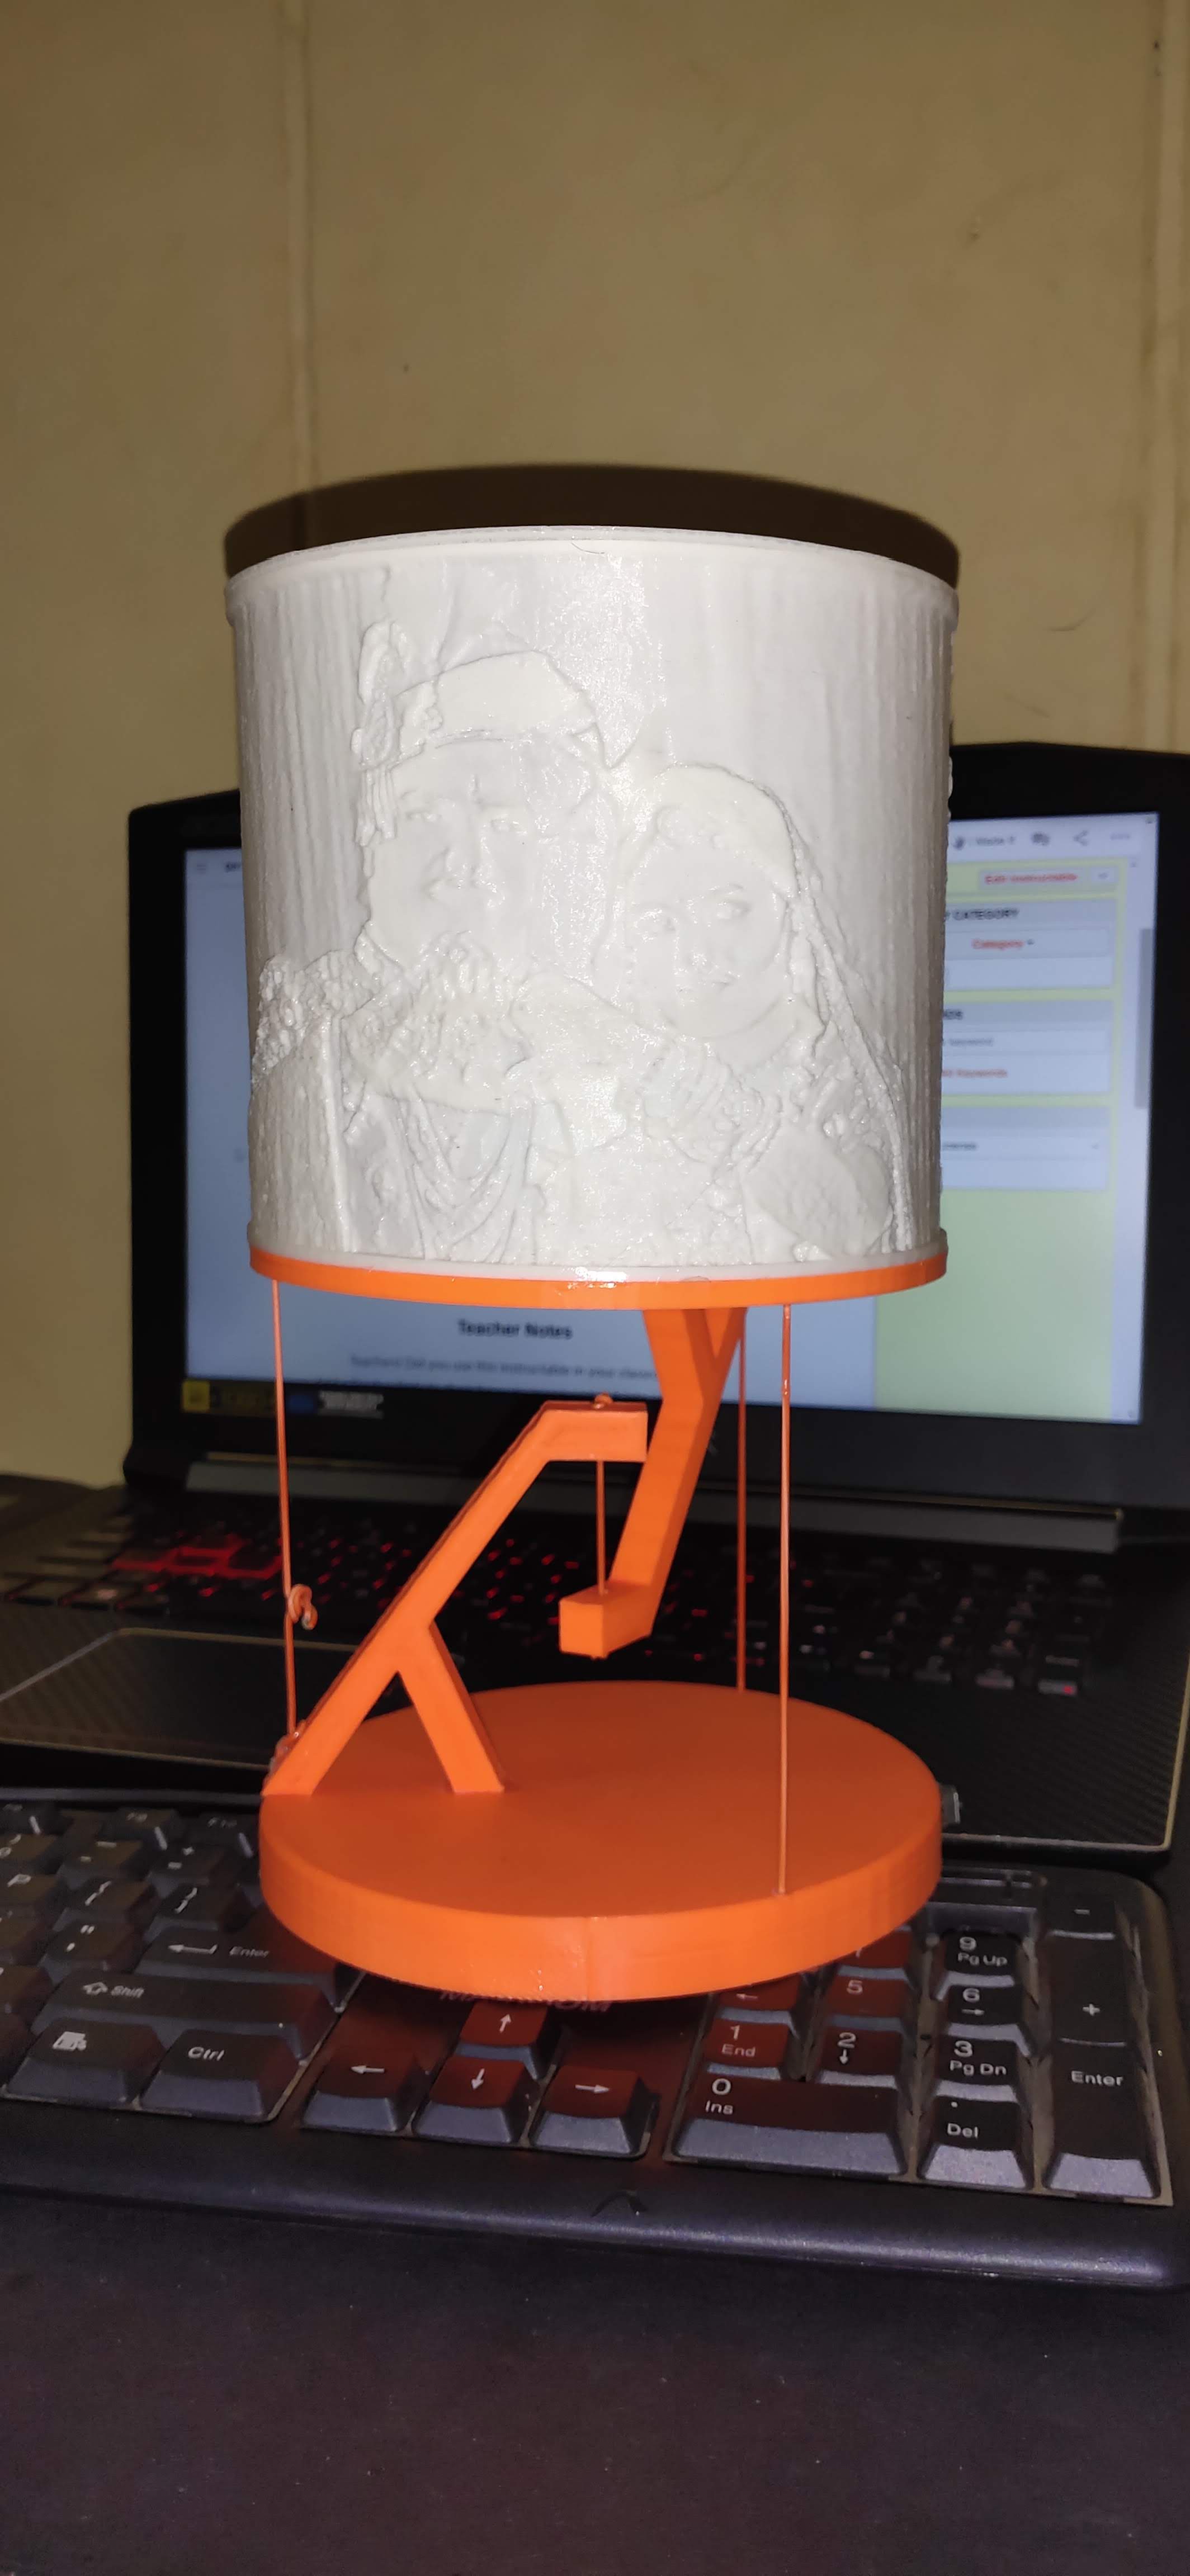
- 3D Print the lithophane in super quality.
![]()
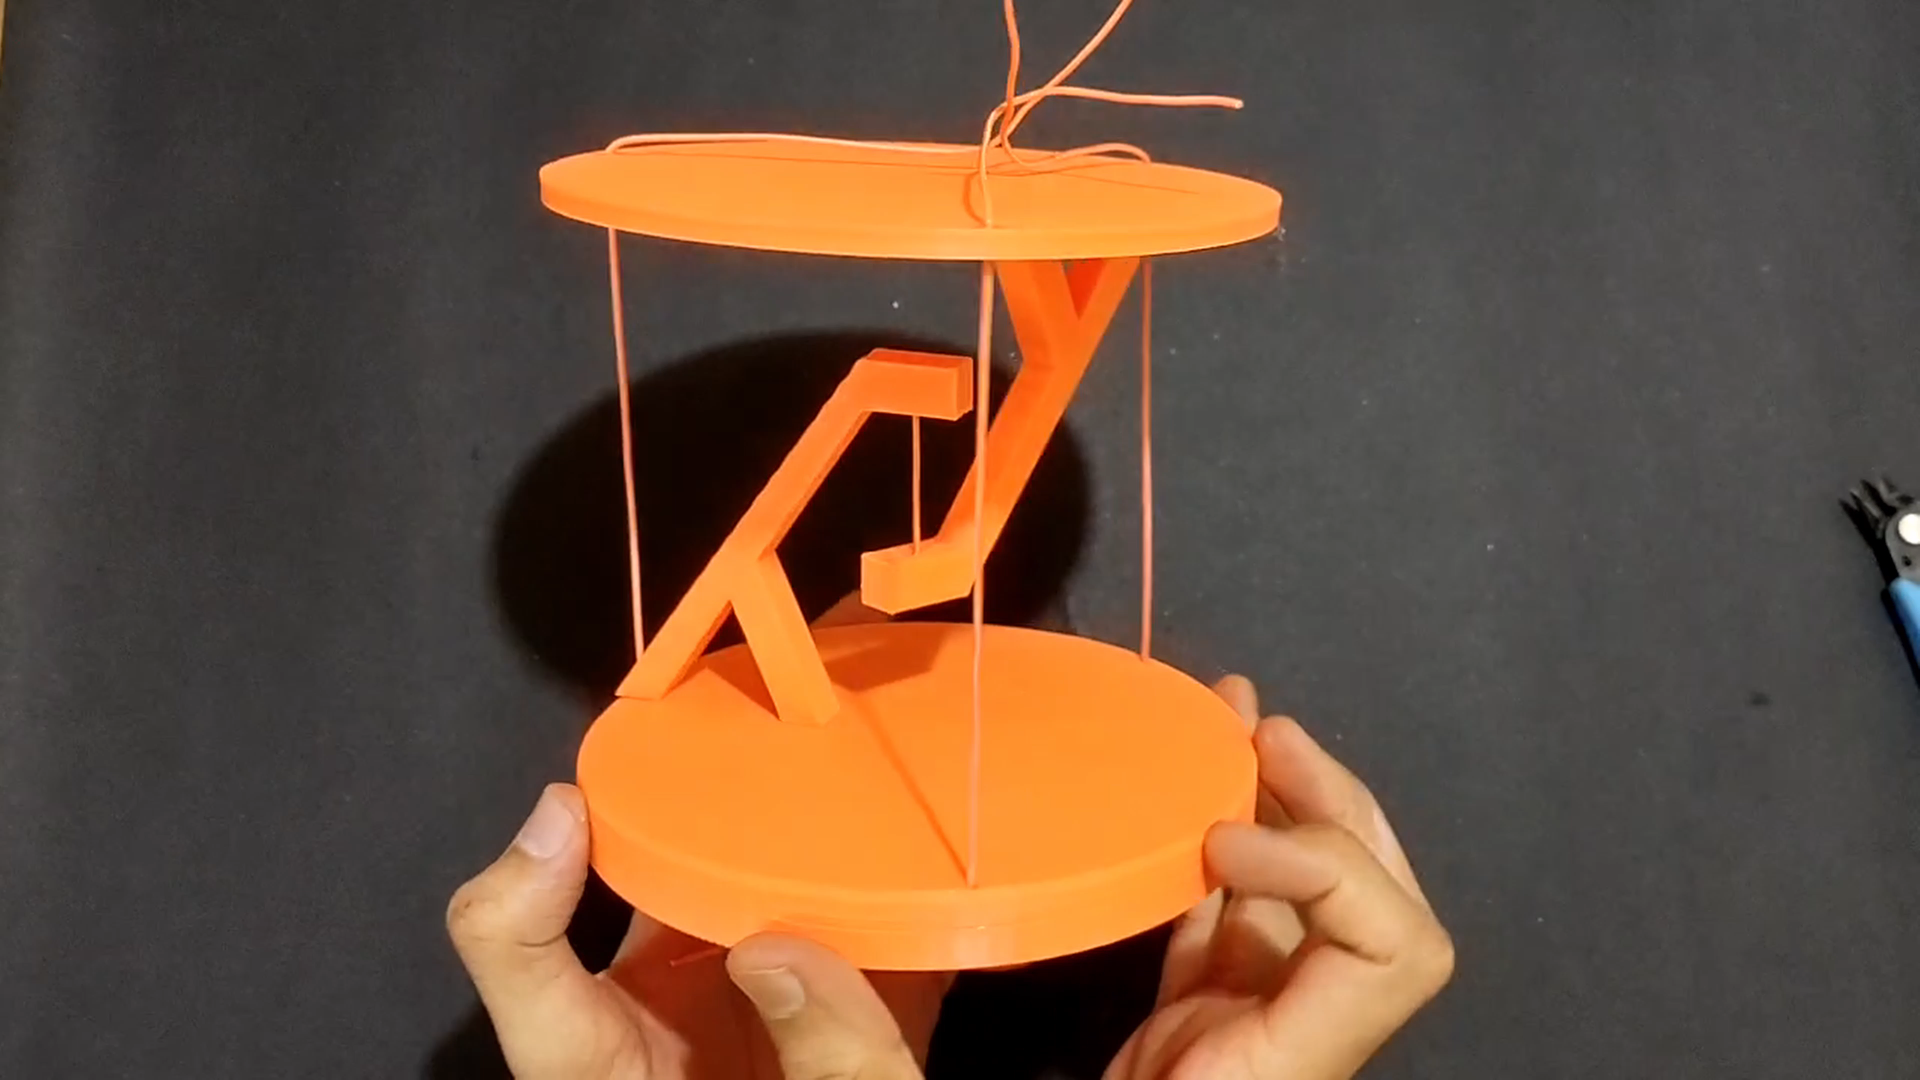
- 3D print the floating table.
- Make the floating table using wires instead of strings.
![]()
-
2Circuit Connections:
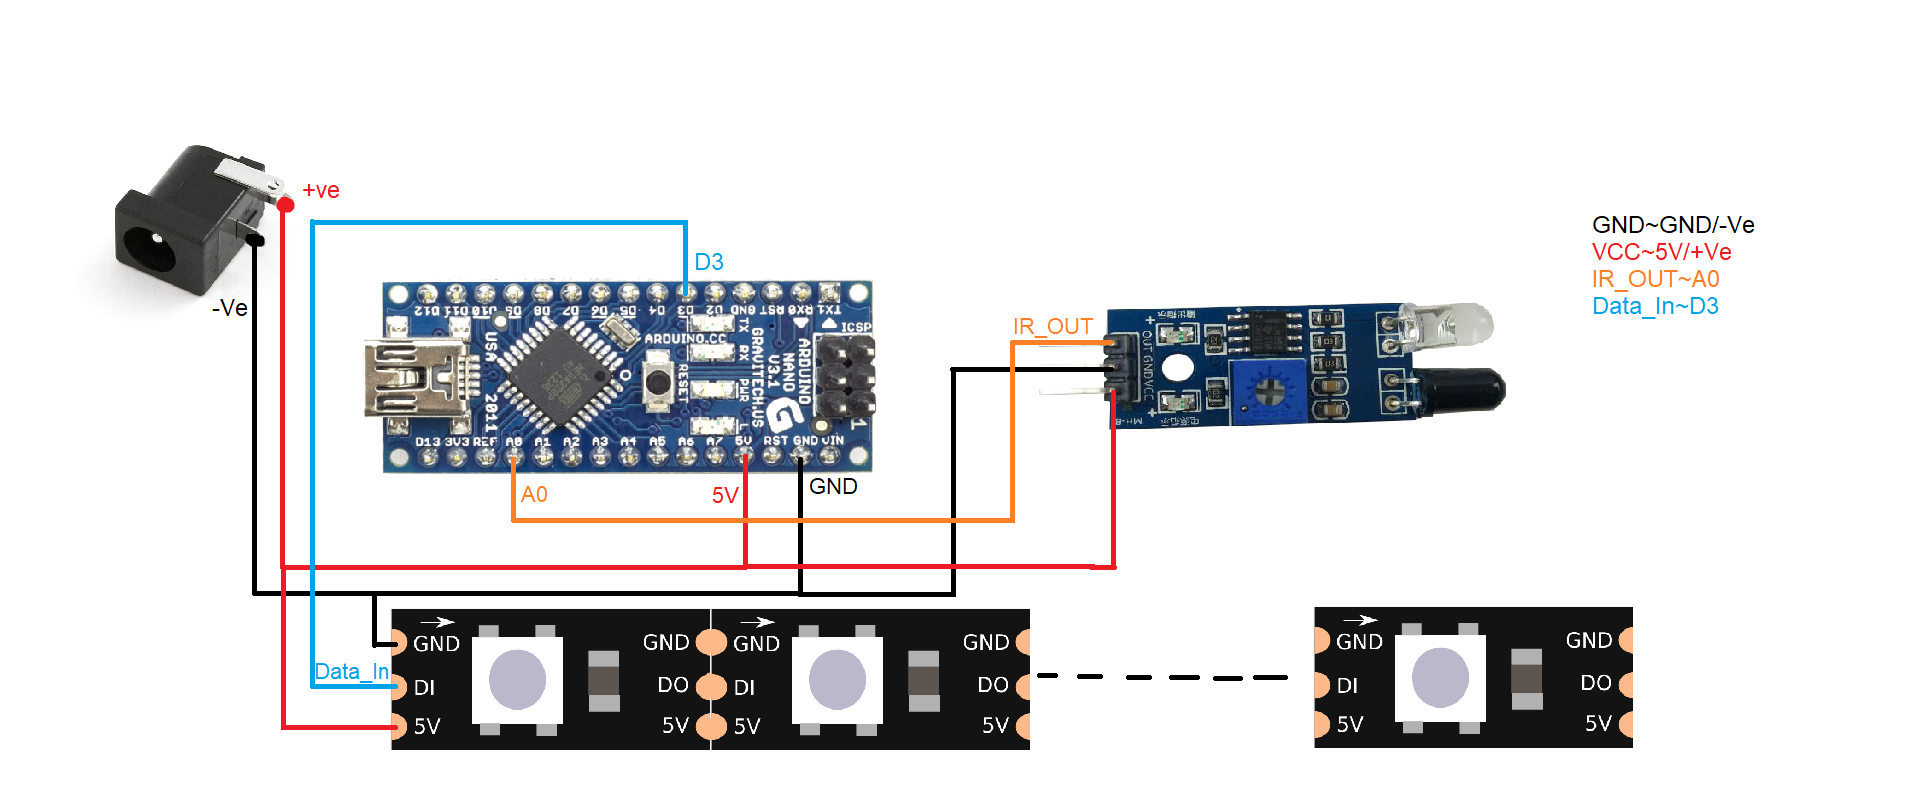
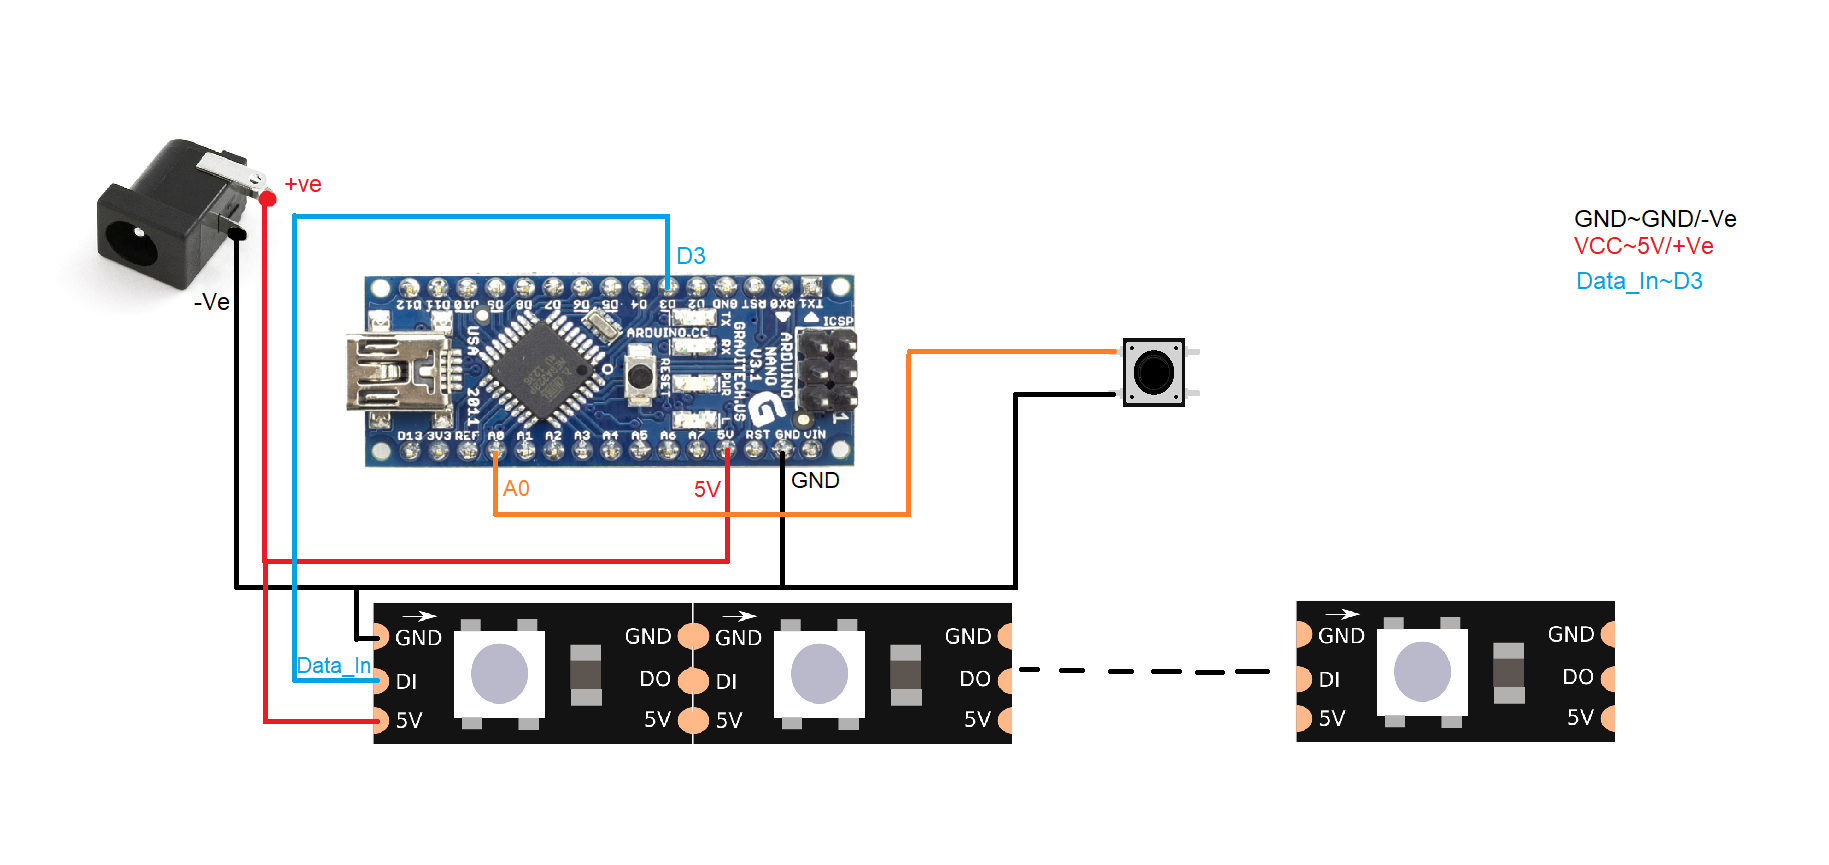
- You can choose the mode of triggering the lamp color modes either by push button or IR sensor.
- The code for both the option is same.
- Make all the connections as shown in circuit diagram.
- I have used WS2811 LEDs, I will recommend you to use any addressable LED Strip so that it can be more continent.
![]()
![]()
-
3Code:
![]()
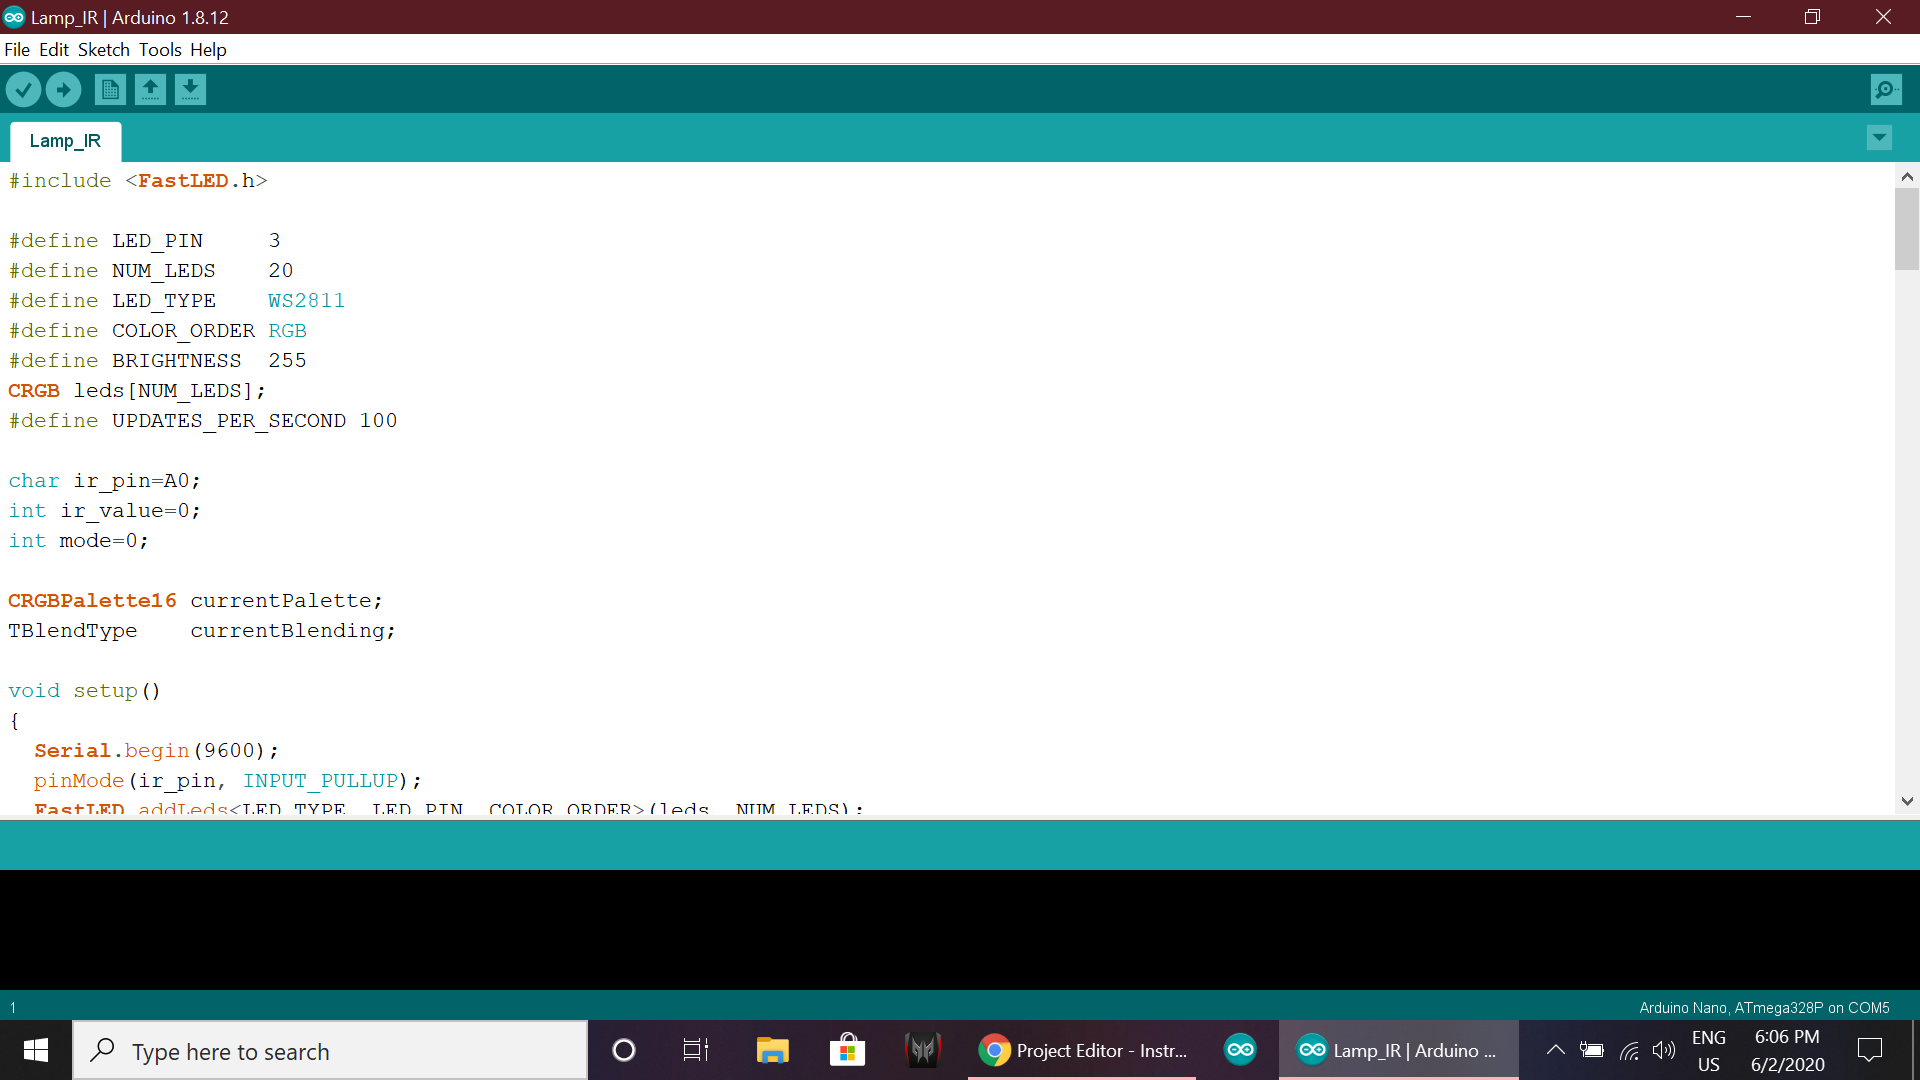
- Open the code in Arduino IDE: https://drive.google.com/drive/folders/1TuedHUjSwH...
- Make sure to install FastLED.h library in Arduino IDE.
- Connect your Arduino to PC and upload the code.
-
4Assembly:
- Make sure to check all the functions of circuit after uploading the code.
- Assemble everything together using glue.
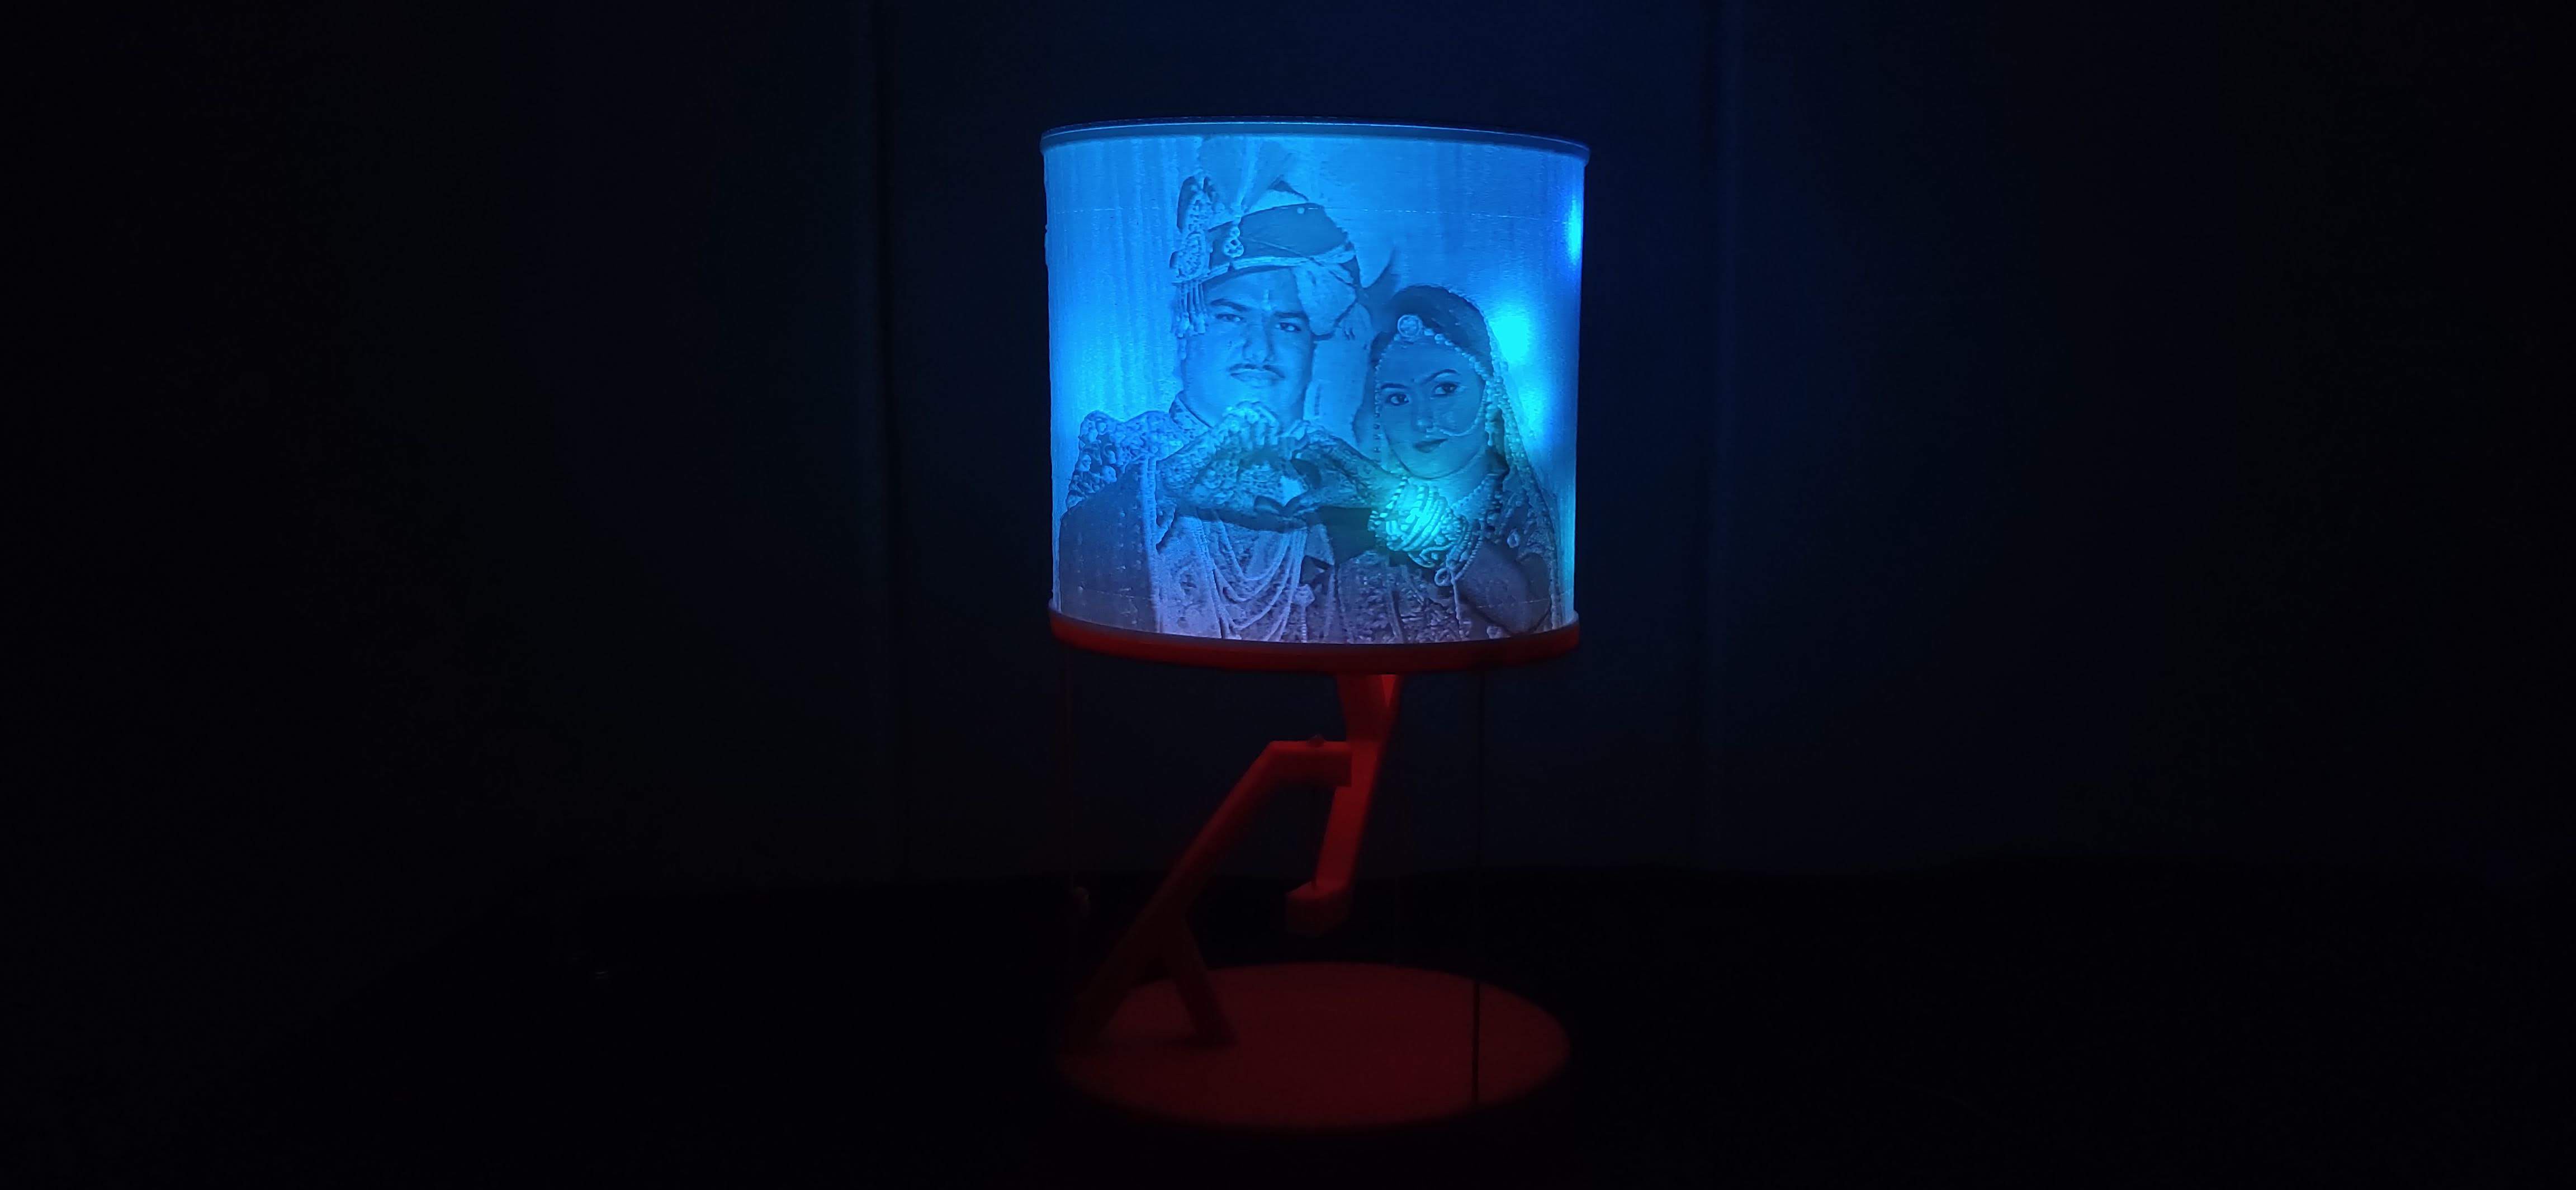
- That's it Lamp is ready.
- Use a 5V adapter to power the lamp.
![]()
![]()
 Mukesh Sankhla

Discussions
Become a Hackaday.io Member
Create an account to leave a comment. Already have an account? Log In.