-
1Step 1
First, hello!
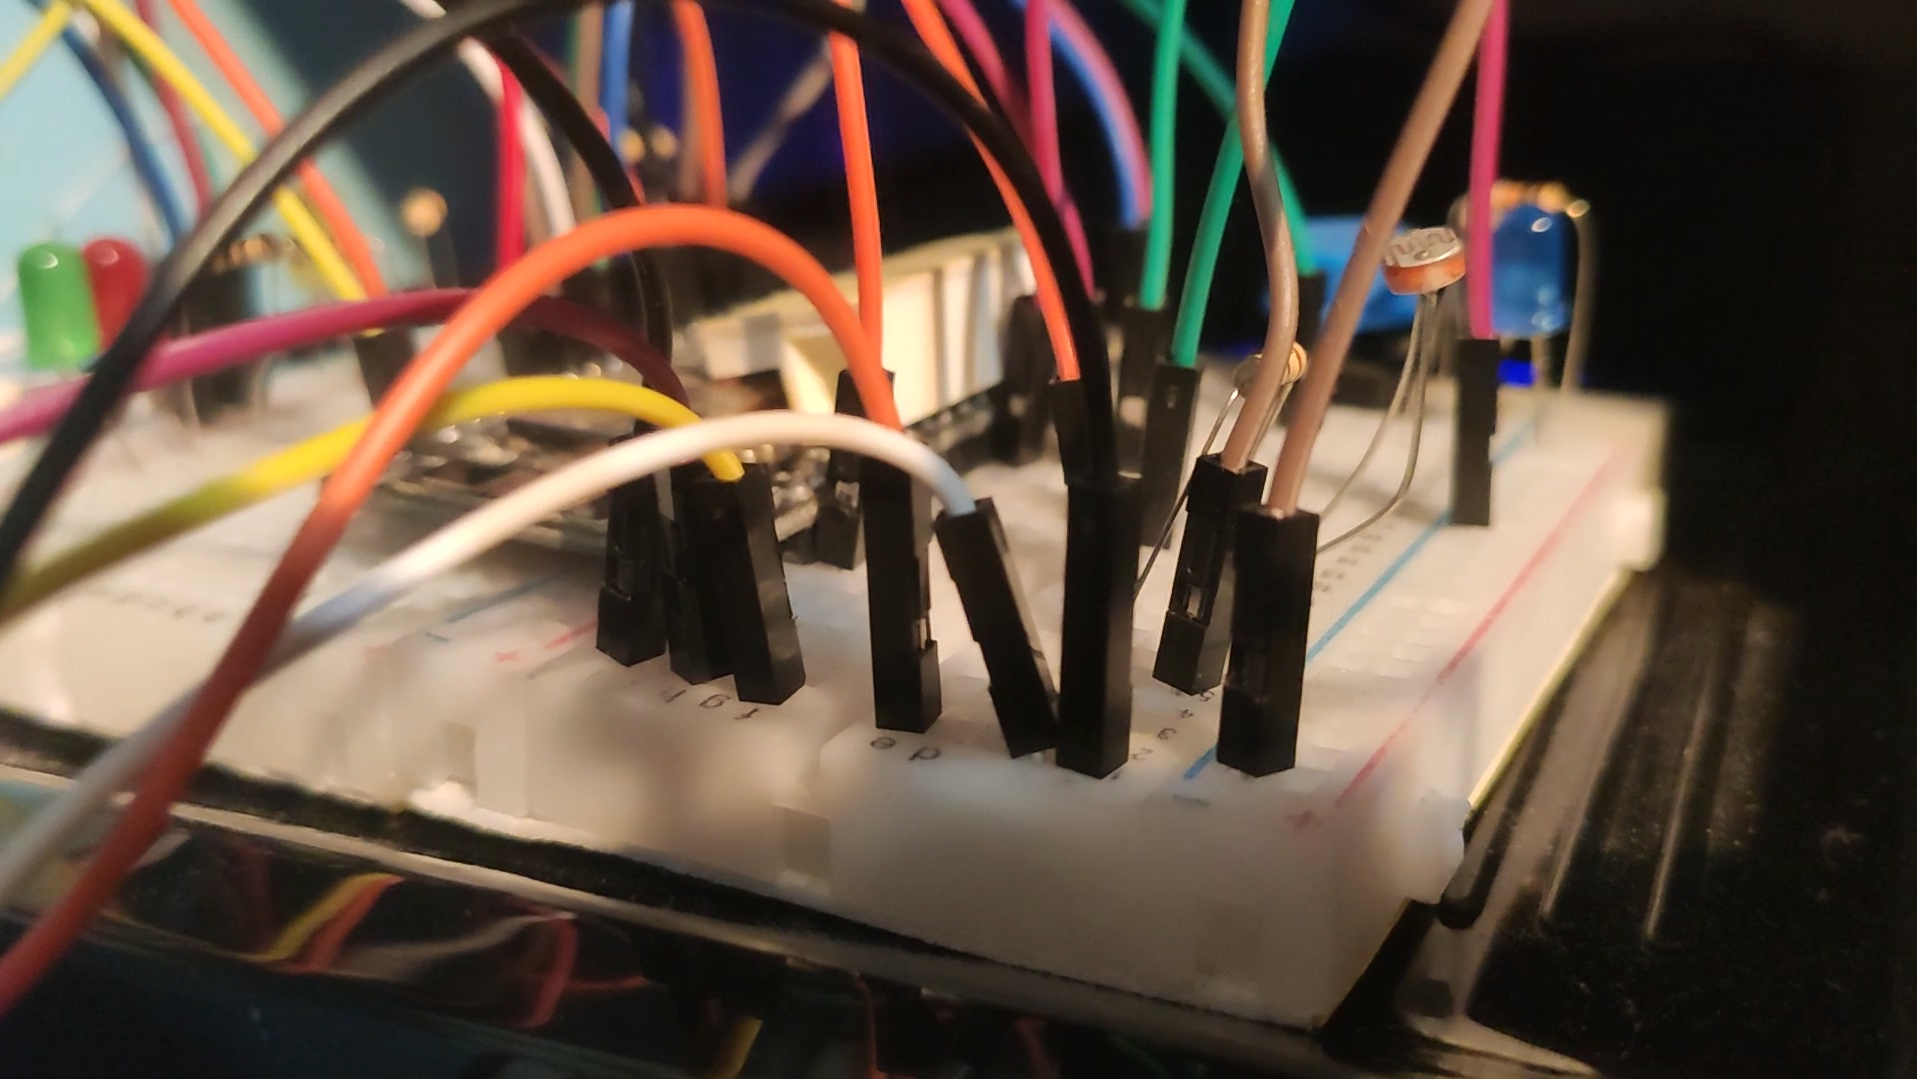
Check out all needed components and get them.
![]()
-
2Step 2
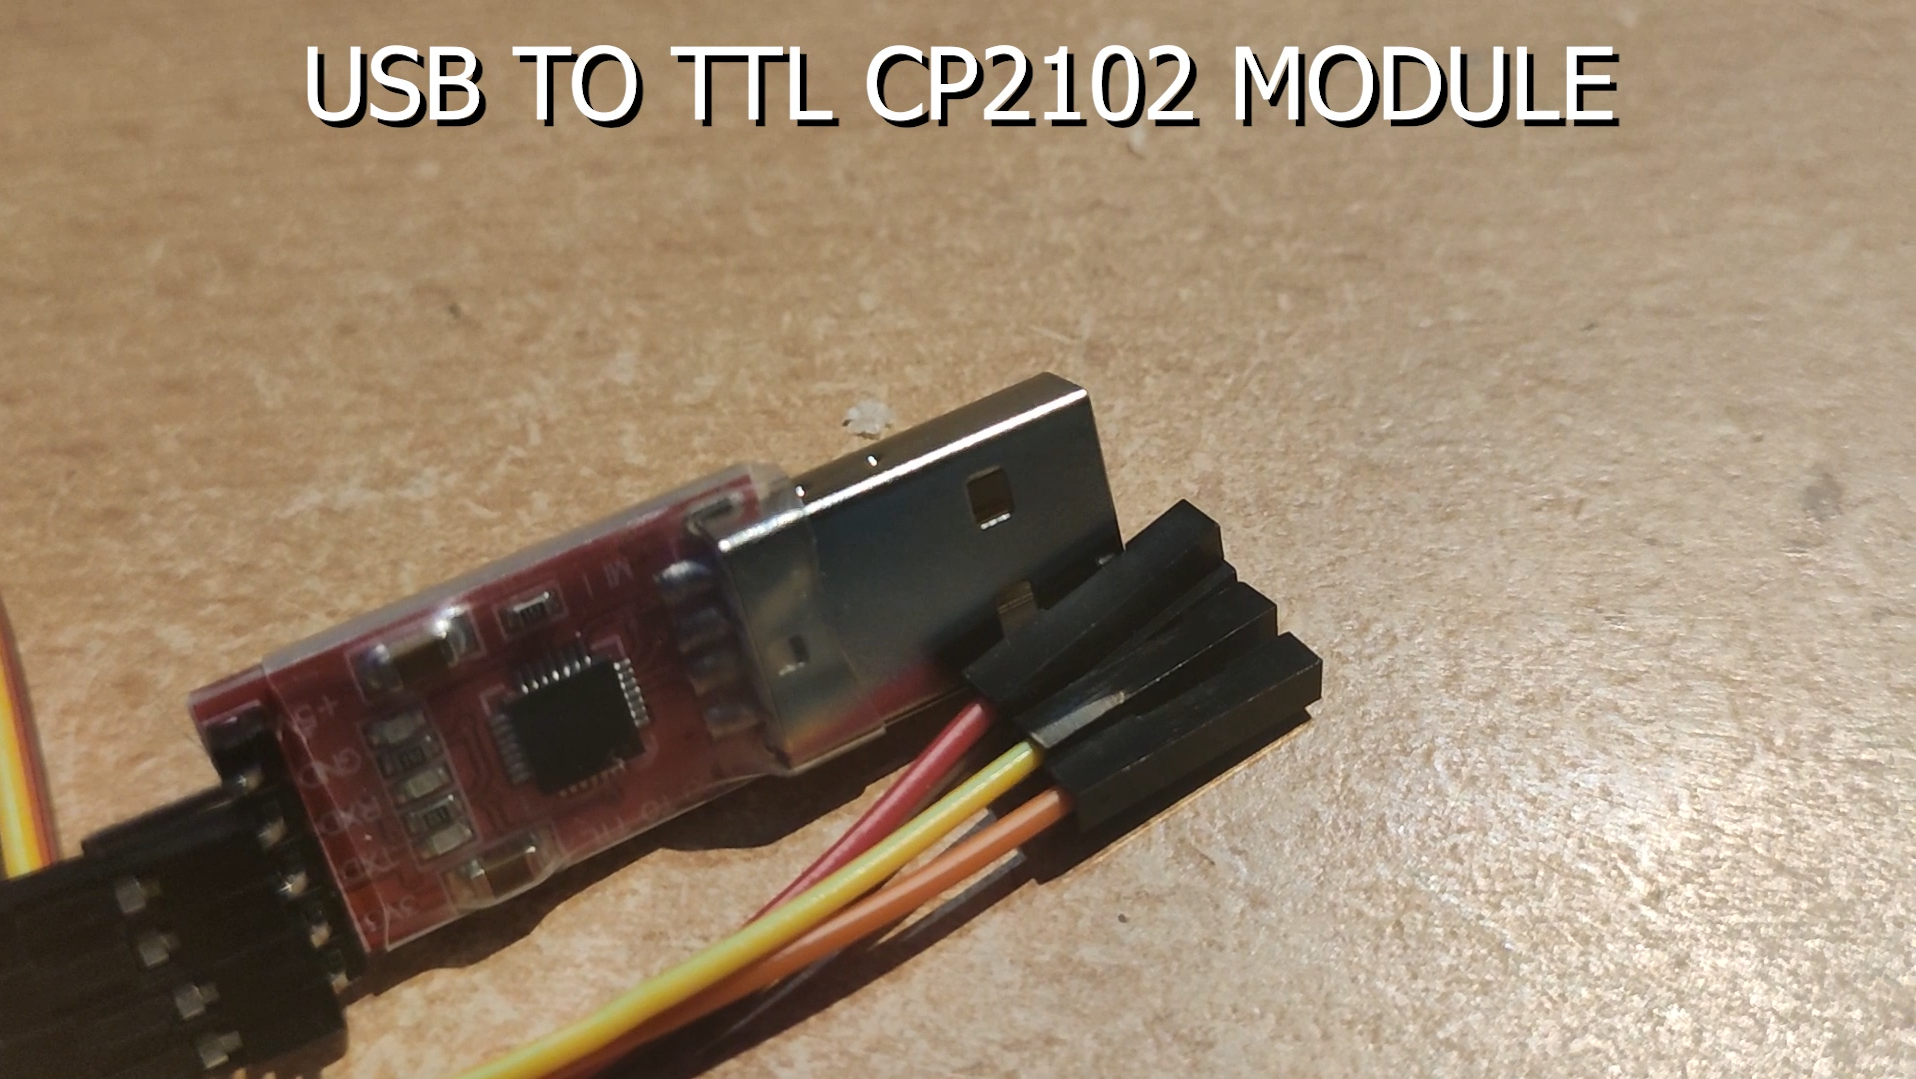
Insert USB to TTL module in your PC and check if Windows/Linux recognize USB to TTL module. If not, download (for Windows) Silabs Direct Driver For USB to TTL.
![]()
-
3Step 3
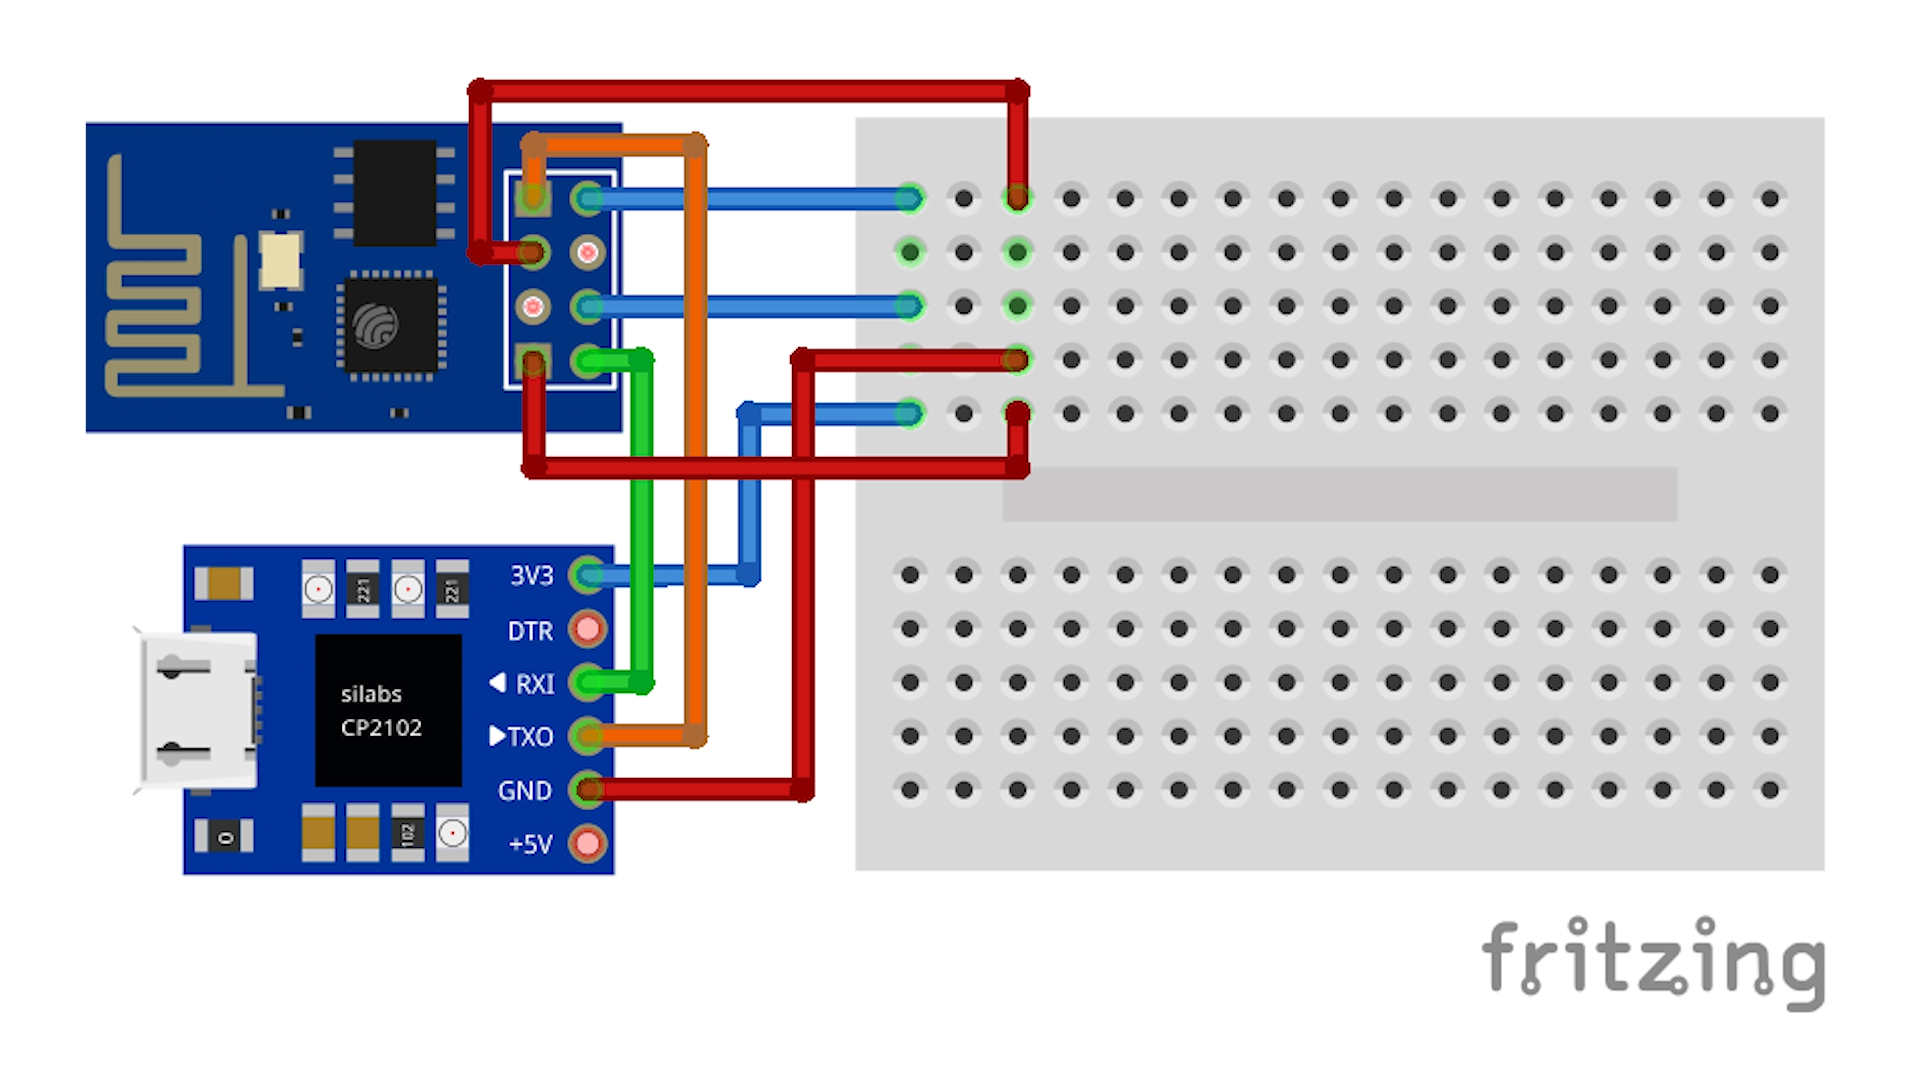
Connect all components according to this scheme.
![]()
-
4Step 4
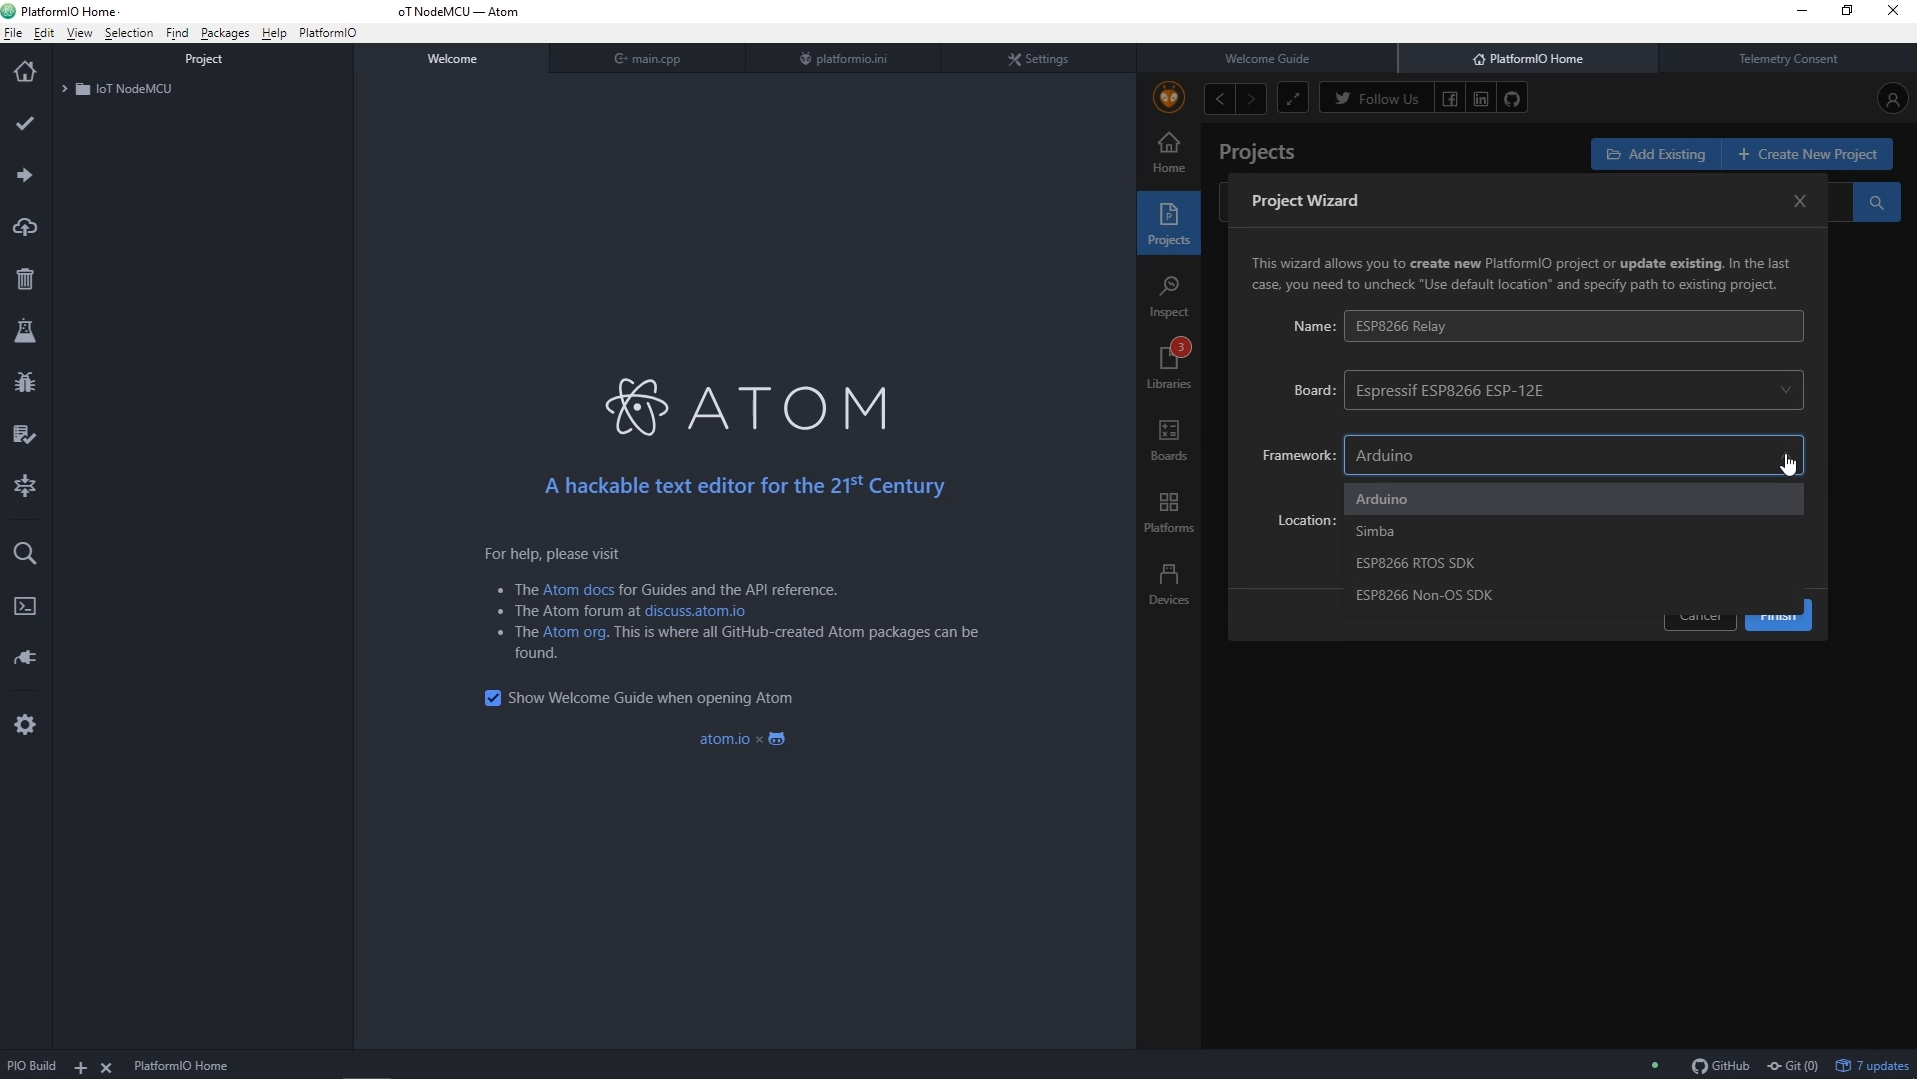
Same as in my previous project I'll use Atom, PlatformIO and Home Assistant with MQTT.
Install PlatformIO IDE for Atom, HomeAssistant + Python
Once more, you can follow this video to see more details about installation of HomeAssistant and Python. To follow step by step PlatformIO installation and to see how to upload simple blinking LED program check this video.
Please note that you don't need to use strictly PlatformIO IDE, but it will probably be easier for you to follow.
![]()
-
5Step 5
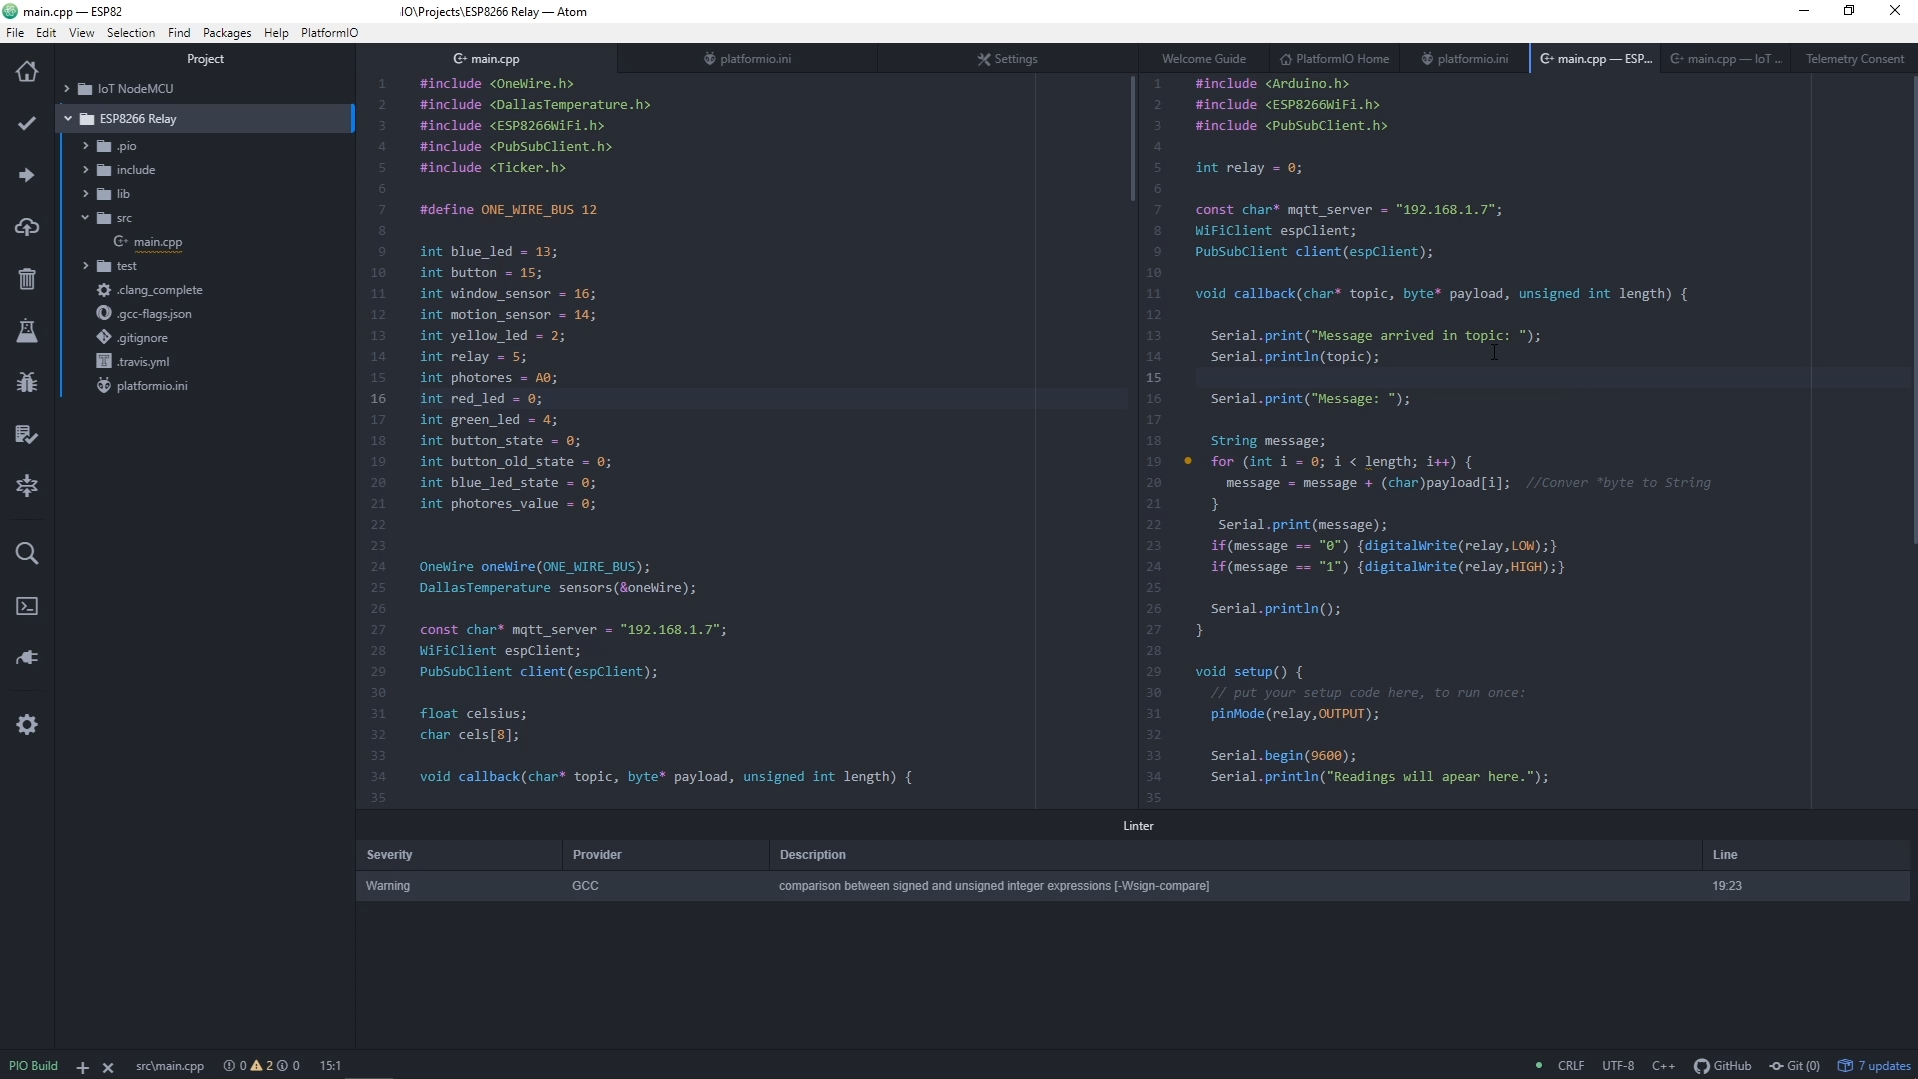
Copy code to main.cpp file from here.
Replace mqtt_server IP to IP of your PC on which the HomeAssistant is installed.
Replace SSID and password with your desired Wi-Fi SSID and password.
Build and if no errors upload to ESP8266EX.![]()
-
6Step 6
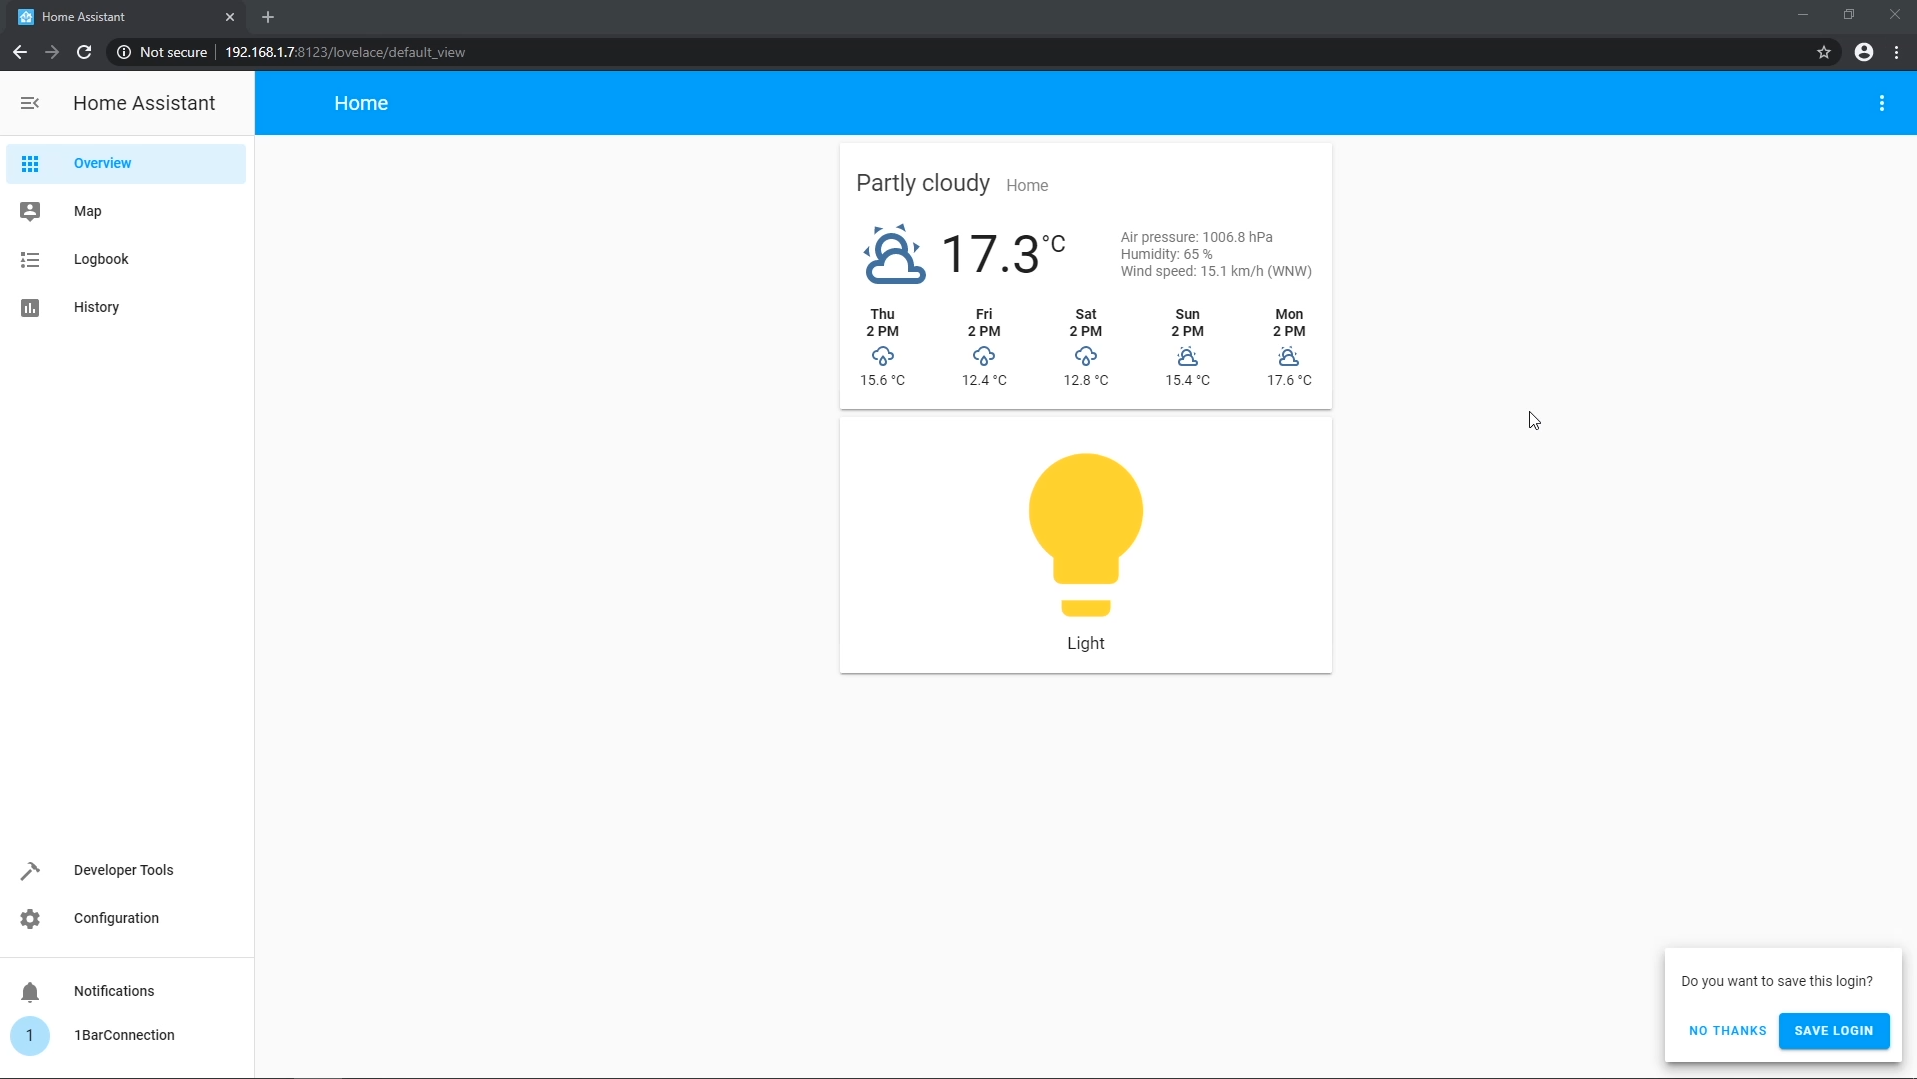
In windows search (start) write %appdata% and open .homeassistant folder. There you will find configuration.yaml. Open it and replace all content with this one.
Be careful if writing something additional because config is space sensitive! It must be structured within its rules.
Start HomeAssistant on your PC if it is not already started.
Enter IP of that PC and add port :8123 after it in browser.
In top right corner you will find option to configure UI.
Select that and again in top right corner find RAW config editor and replace its content with this one.![]()
-
7Step 7
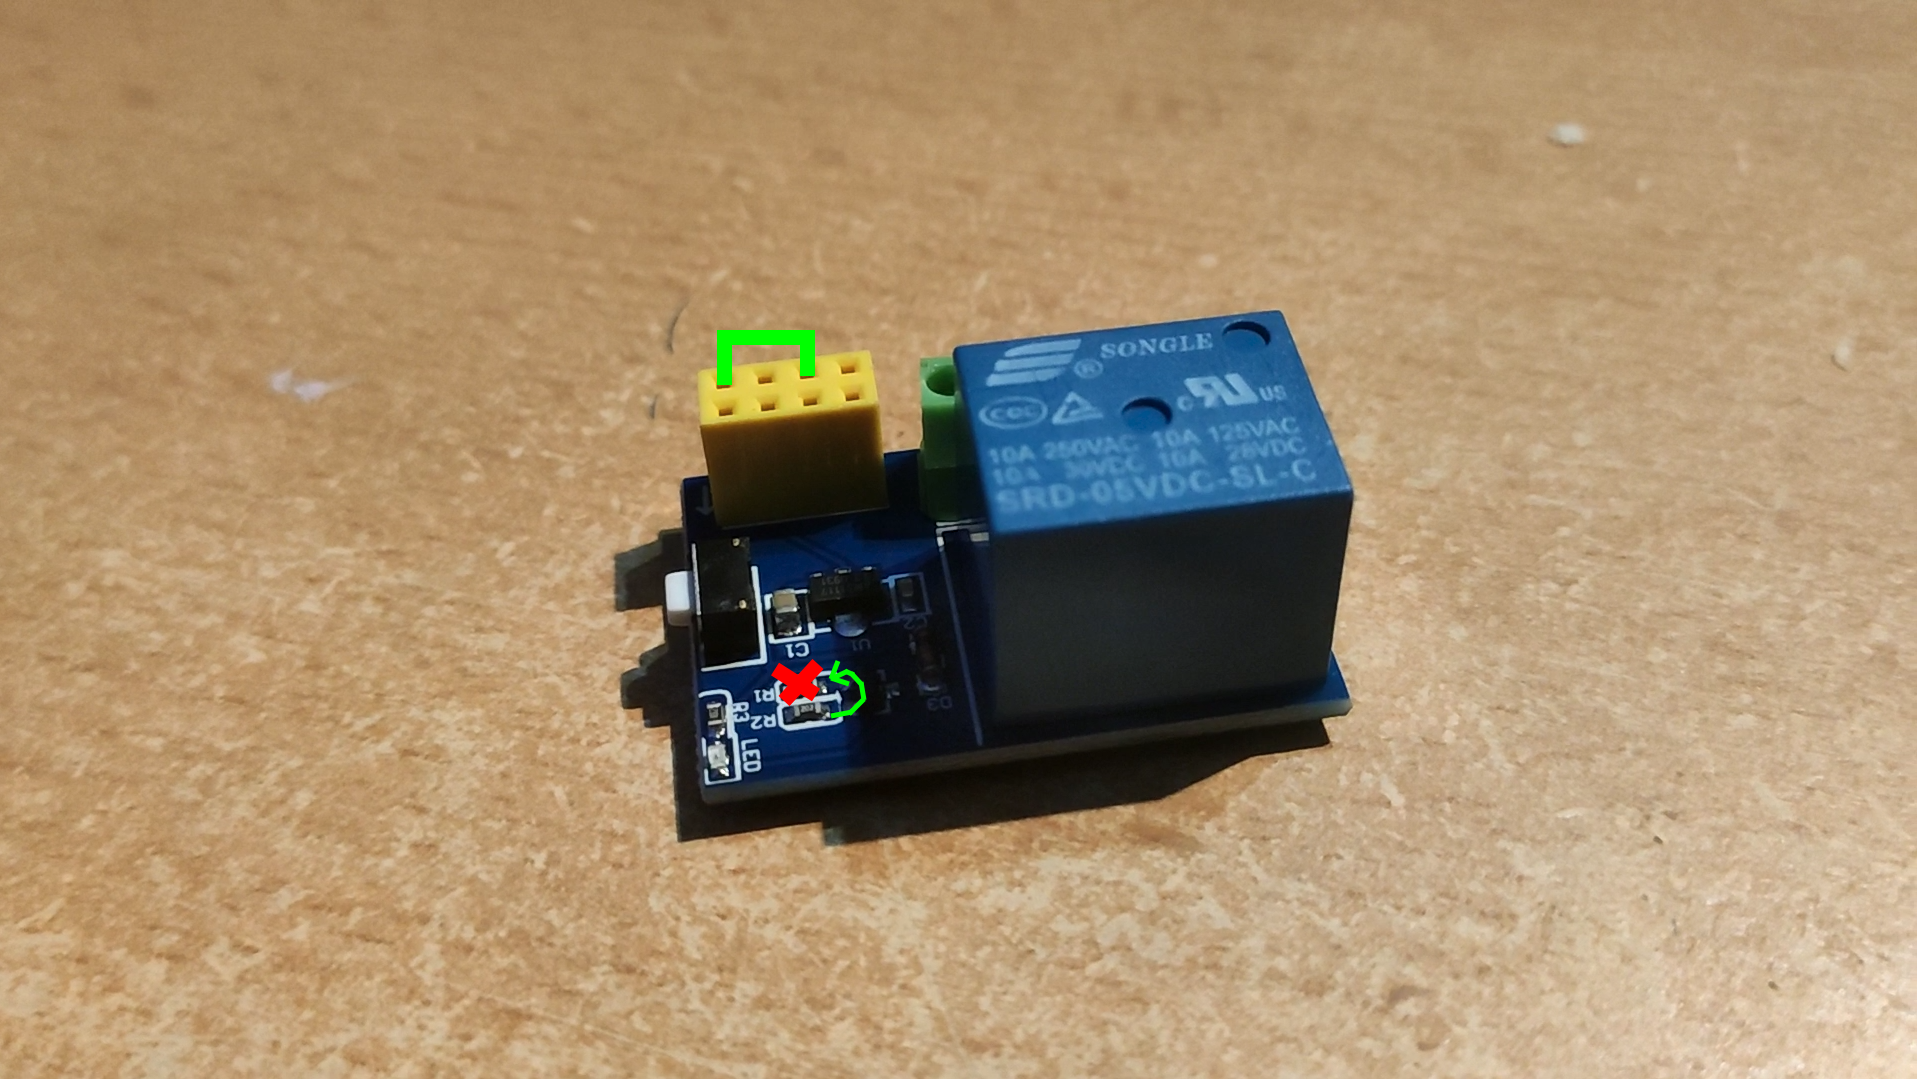
Fix cheap relay module. You can see how I did that in this video.
1. Solder CH_PD pin with 3V3 pin.
2. Remove (desolder) 10 KOhm resistor from R1 and add 2 KOhm resistor from R2 on R1 place, where 10KOhm resistor was before.![]()
-
8Step 8
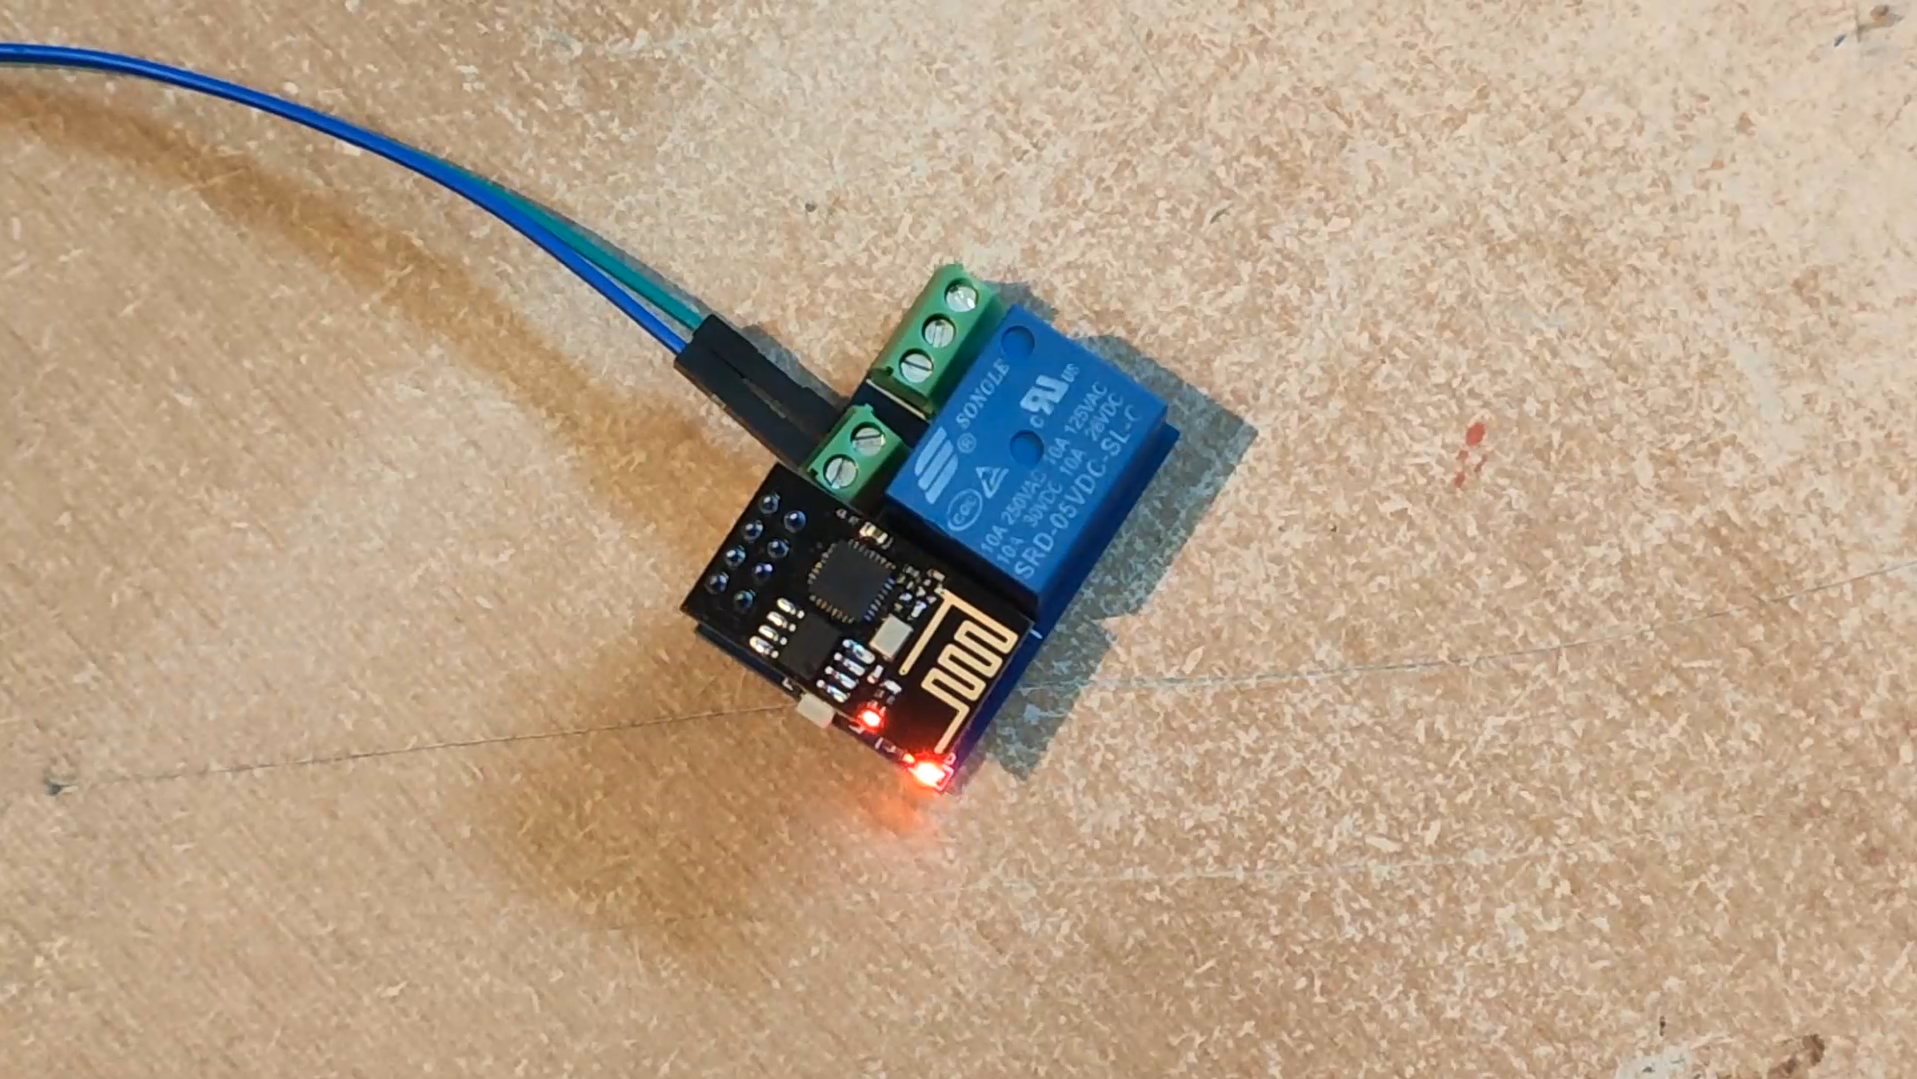
Connect ESP8266EX to relay module.
Connect 5V and GND from USB module to relay. Wait about 10-15 seconds and try to switch relay from Home Assistant.
If it wont work from first, try to unplug and plug USB module from PC.
Or you can also press RST button on relay module to start program on ESP8266EX again.![]()
-
9Step 9
Take care if working with AC and high voltage!
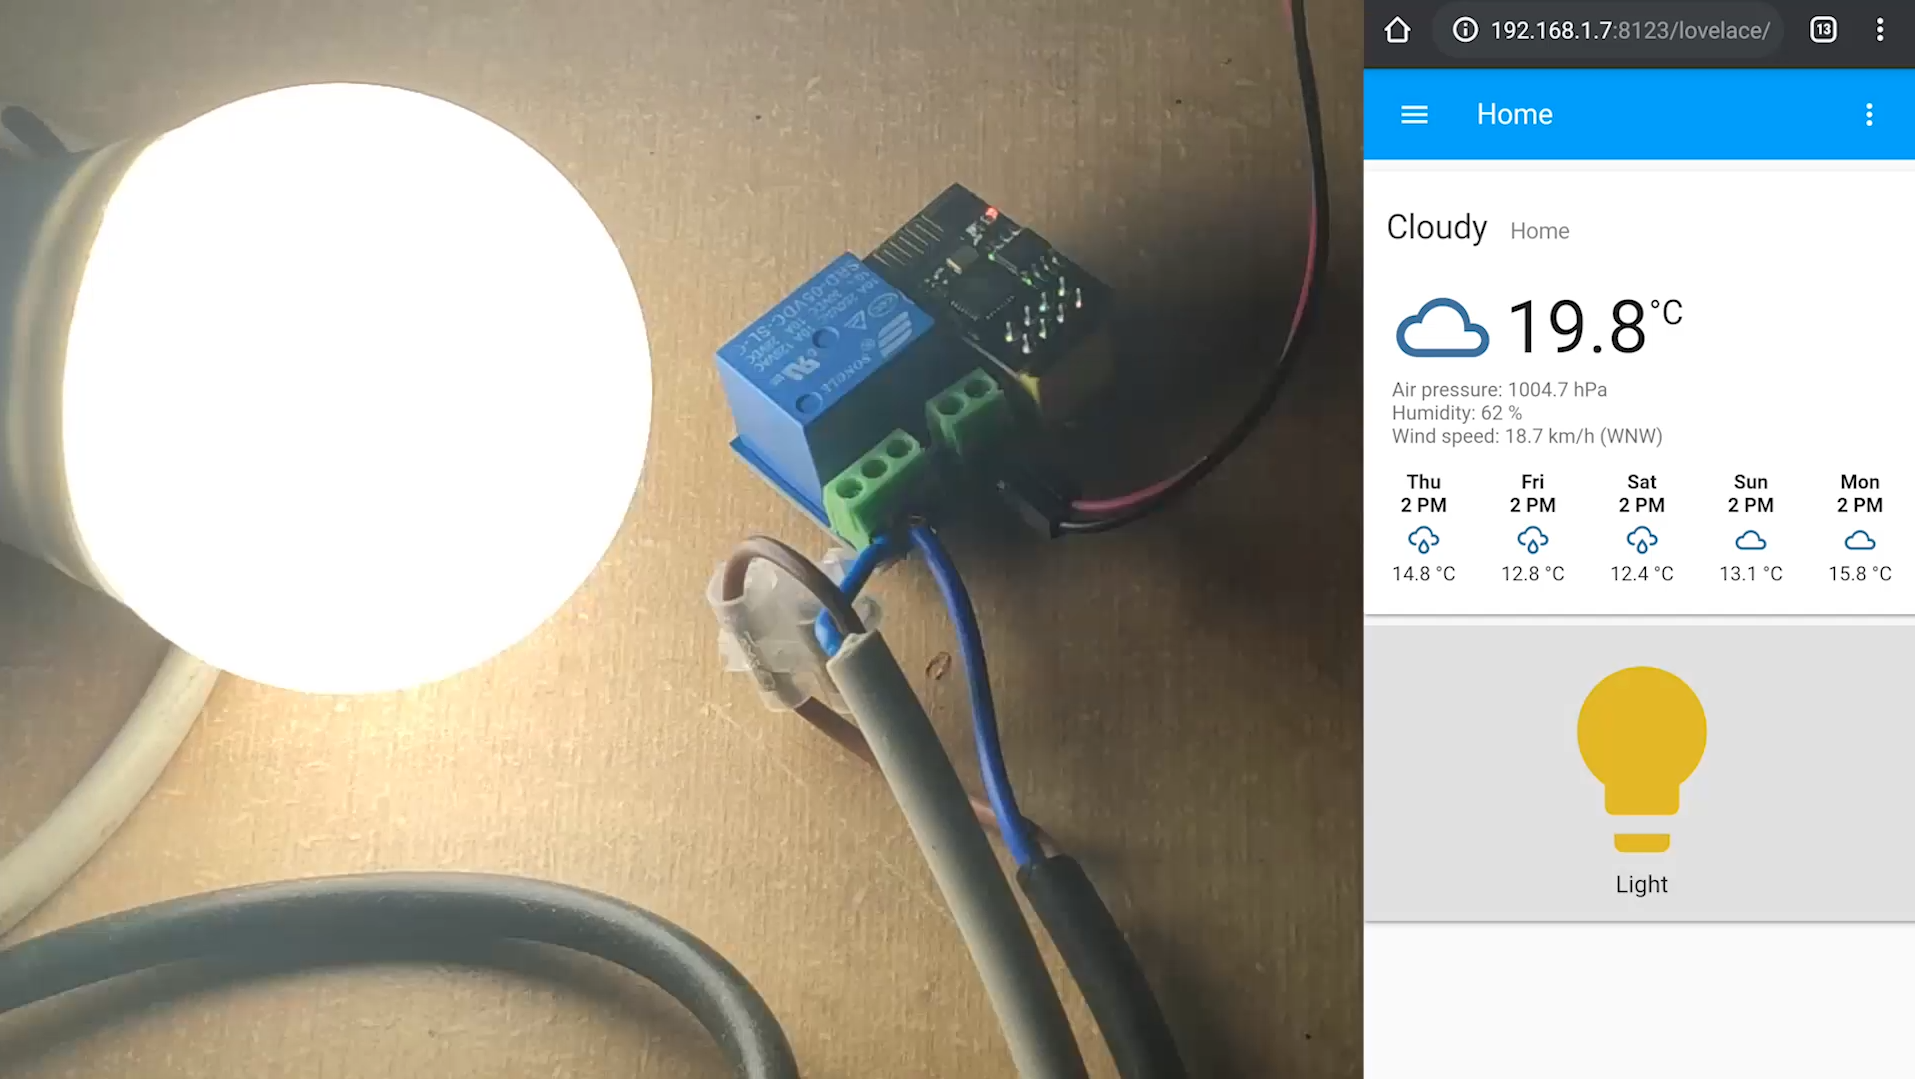
Here, you can connect lightbulb to relay module and open Home Assistant in Android and test switching from there.
![]()
ESP8266EX Fun With Relay Module, Home Assistant & MQTT
I was gonna write simple program, upload it to ESP8266, plug ESP8266 to relay and thing is gonna work. But things get complicated a little bit as you
 1BarConnection
Discussions
Become a Hackaday.io Member
Create an account to leave a comment. Already have an account? Log In.