Close
0%
0%

Light pen support for RetroPie

Can a Raspberry Pi with CRT display support 8-bit era light pen?

Public Chat
Similar projects worth following
This is investigation into providing light pen support as an input device for RetroPie/Raspberry Pi with CRT display. Imagine this - no more fingerprints on the screen!

I learn as I go, so feel free to send suggestions.

With support of an external chip (LM1881) to extract VSYNC and ODD/EVEN information from composite video signal it already works as good as on a C64.

About 25 years ago I was a happy user of a Commodore C128 with a 14" TV a my primary display. It was a CRT as there was no other kind.

Recently I have dug out some of the old computer stuff from the storage. Among other things I found there a Turbo Computer Lightpen for my C64/128. I have been using it as an input device for GEOS and it was like living in the techno future of the 21st century.

Lightpen was never precise enough to be used like a stylus for drawing, but it was good enough for pointing at menus, icons and marking text in text editing software geoWrite.

One of my RetroPie systems is connected to a tiny 5" portable TV. I got curious if I could find a way to use the light pen with at least some of these emulators.

This is a research project. Please feel free to fill in any gaps that I leave or correct my mistakes. Any input is welcome.

rpilp-20200702.tar.gz

Project files for 20200702 prototype

x-gzip - 114.74 kB - 07/02/2020 at 09:48

Download

gpiots_test.c

Playground for light pen with gpiots

C Source File - 3.44 kB - 06/07/2020 at 17:31

Download

  • 1 × LM1881 Application Specific ICs / Television ICs
  • 2 × 0.1uF capacitor
  • 1 × 680K resistor
  • 1 × RCA plug
  • 1 × RCA socket

View all 6 components

  • End of line

    Maciej Witkowiak05/24/2021 at 19:00 0 comments

    The research in this project is completed.

    Please go to the new project instead.

  • Native VSYNC event

    Maciej Witkowiak04/11/2021 at 21:26 0 comments

    Apparently there is a way to tie a function to hardware VSYNC event. I found it in a closed issue for Raspberry Pi userland: https://github.com/raspberrypi/userland/issues/218

    #include <stdio.h>
    #include <stdlib.h>
    #include <stdarg.h>
    #include <time.h>
    #include <assert.h>
    #include <unistd.h>
    #include <sys/time.h>
    
    #include "bcm_host.h"
    
    static DISPMANX_DISPLAY_HANDLE_T   display;
    unsigned long lasttime = 0;
    
    void vsync(DISPMANX_UPDATE_HANDLE_T u, void* arg) {
        struct timeval tv;
        gettimeofday(&tv, NULL);
        unsigned long microseconds = (tv.tv_sec*1000000)+tv.tv_usec;
        printf("%lu\tsync %lu\n", microseconds,microseconds-lasttime);
        lasttime = microseconds;
    }
    
    int main(void)
    {
        bcm_host_init();
        display = vc_dispmanx_display_open( 0 );
    
        vc_dispmanx_vsync_callback(display, vsync, NULL);
        sleep(1);
        vc_dispmanx_vsync_callback(display, NULL, NULL); // disable callback
    
        vc_dispmanx_display_close( display );
        return 0;
    } 

    To compile it you need to add paths to /opt/vc and link with libbcm_host.so, like

    gcc test.c -o test -I/opt/vc/include -L/opt/vc/lib -lbcm_host

    I have copied this code into my repository https://github.com/ytmytm/rpi-lightpen/blob/master/vsync-rpi.c

    That issue is closed and this snippet works for me. The output is about 20000us but not stable at all.

    There is a lot of jitter because the time is saved only in the userspace, not as quickly as possible in kernel. Even if I try to tie my routine somewhere in the kernel, I don't know how much time is needed to service these events. This is some kind of message queue between CPU and GPU. Unfortunately it's not as simple as a direct IRQ.

    So it's a good way to wait until VSYNC but it's not precise enough for lightpen needs.

  • Software stack cleanup

    Maciej Witkowiak07/05/2020 at 12:28 0 comments

    I have reorganized the code and pushed everything to Github.

    There are only three source files:

    1. rpi-lightpen.c - Linux kernel driver that will timestamp IRQs from VSYNC and the light pen sensor. From the time offset between those two events it calculates the difference in microseconds and divides it by 64 (timing of scanning one PAL line) and shows this as Y coordinate (row). The remainder from division is the X coordinate (column). The third result is the lightpen button state. All of this can be read from /dev/lightpen0 device.
    2. lp-int.py - this python3 pygame program will start with calibration and then will just show a text that follows light pen position
    3. lp-int-uinput.py - this python3 pygame program will start with calibration and then will convert numbers from /dev/lightpen0 into uinput events as if coming from a touchpad/touchscreen/tablet with absolute coordinates

    I tried to use lp-int-uinput.py with classic NES Duck Hunt game but the crosshair shakes uncontrollably. This is very strange considering that lp-int.py uses exactly the same code and the position of the text on the screen is rather stable.

    Enjoy: https://github.com/ytmytm/rpi-lightpen

  • Shaky software stack

    Maciej Witkowiak07/02/2020 at 09:45 0 comments

    The software side of this project is a hack on a hack right now.

    On the very bottom we have gpiots kernel module to timestamp interrupts from GPIO.

    One layer above there is a C program that I wrote that does the timing calculation and output x/y/button status to the standard output.

    One layer above there is a Python (Pygame) program that I wrote that takes this information from stdin and actually does something: a test/demo to show where it thinks lightpen is pointing at.

    That wasn't enough so I wrote another Python program that does the calibration and then passes the x/y/button states back into Linux kernel through uinput interface.

    So we've come a full circle - some information is decoded from gpio and timing inside the kernel, then goes through two userland processes just to be passed back into the kernel uinput subsystem to be made available for any software.

    I'm so proud of myself and modern ducktape software engineering.

    Read more »

  • The prototype, it works!

    Maciej Witkowiak07/02/2020 at 08:46 0 comments

    The LM1881 chips have arrived, so I was able to continue with this project. 

    I started with wiring LM1881 directly to RaspberryPi and it turned out that with gpiots I get quite stable timings so I think I will abandon the idea of separate AVR microcontroller for preprocessing.

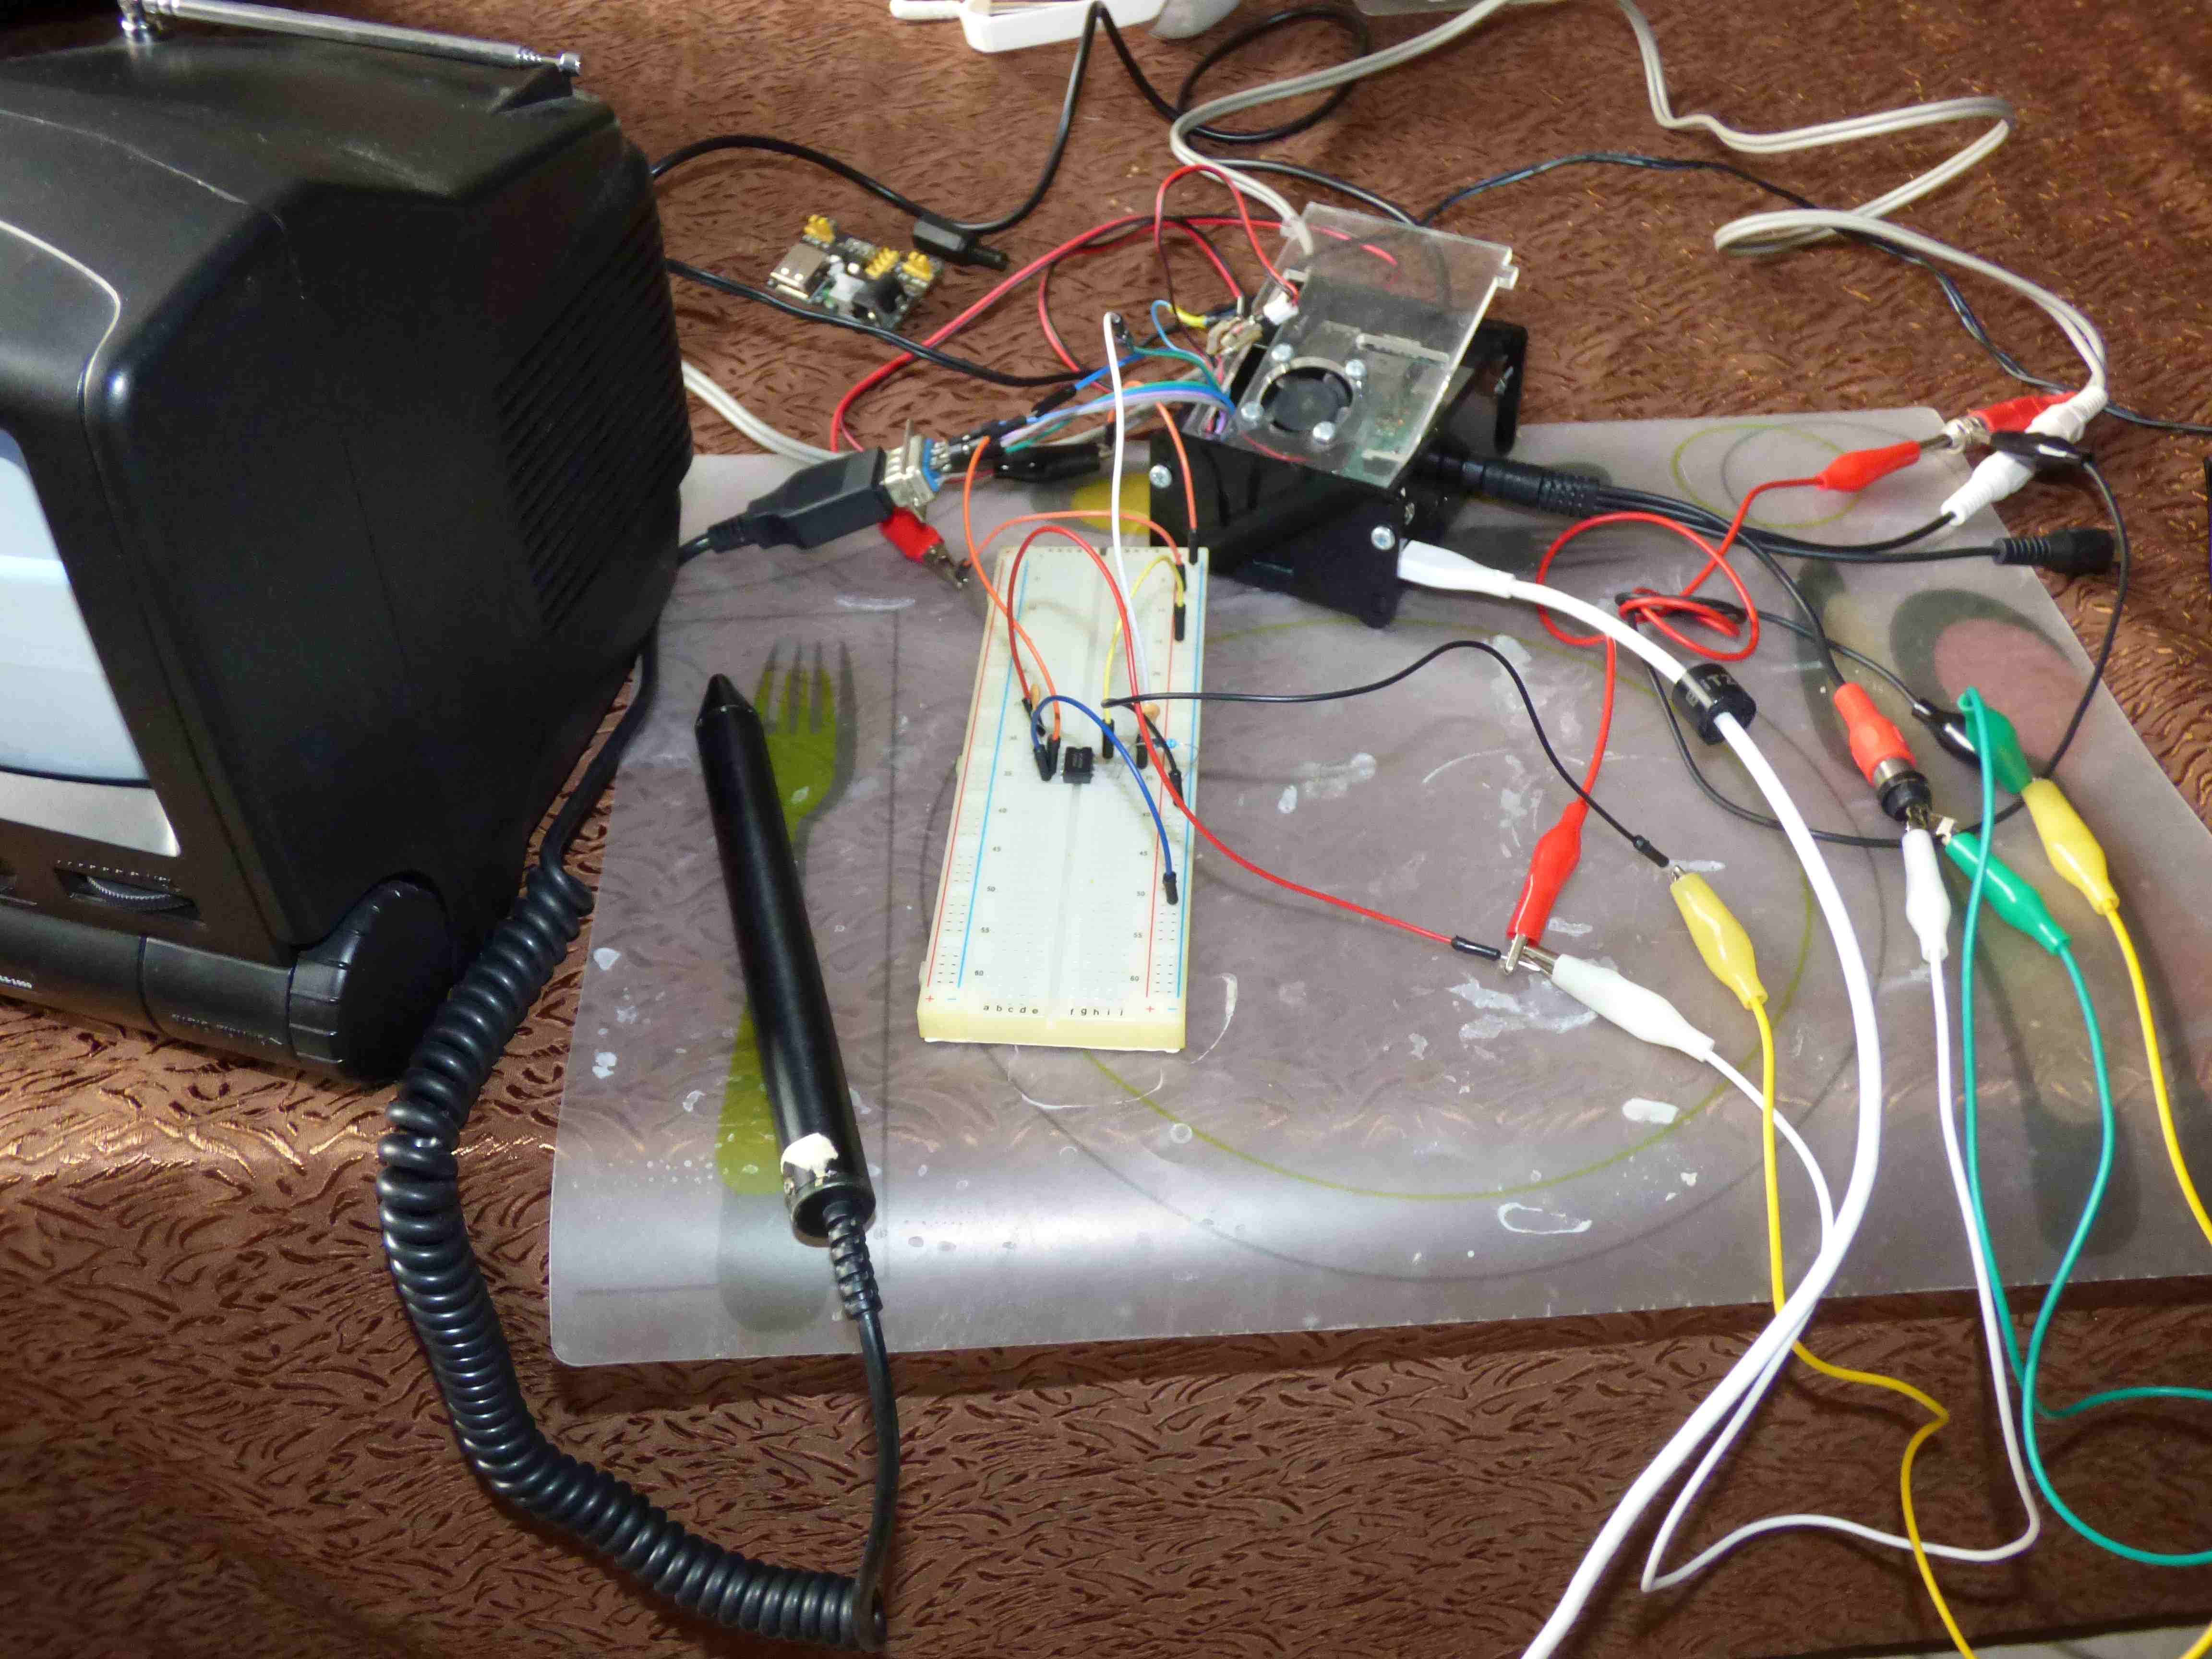
    This is how the prototype looks like:

    Read more »

  • No VSYNC? No problem.

    Maciej Witkowiak06/07/2020 at 17:20 0 comments

    (I'm waiting for delivery of LM1881 chips so this is all just speculation).

    Plan B

    Since I don't know how to use native VSYNC IRQ from RaspberryPi on Linux, and no timing is really guaranteed, obviously I need extra hardware for the lightpen support.

    My plan is to use an Arduino Pro Mini (ATTINY would do but I don't have any) with a specialized LM1881 chip to detect VSYNC out of composite signal delivered from RaspberyPi.

    LM1881 is video sync separator. It is able to decode composite video signal and provide sync signals. The datasheet is here.

    The Arduino should:

    1. Start internal timer
    2. Reset timer on VSYNC interrupt (just before that store internal timer value for calibration)
    3. Wait for light pen sensor signal interrupt
    4. Read internal timer

    Using the timer value between two consecutive VSYNCs and time between last VSYNC and light sensor we should be able (after some calibration) to determine X/Y coordinates of the electron beam with an accuracy at least as good as on C64/128.

    There is plenty of time for calculations, as the light pen sensor event happens only 50 (or 60) times per second.

    The communication of Arduino with RaspberyPi would happen over I2C. Arduino would provide timer values or calculated coordinates on demand.

    There are some Arduino projects with LM1881 already:

    https://www.open-electronics.org/a-video-overlay-shield-for-arduino/

  • Wait, VSYNC

    Maciej Witkowiak06/07/2020 at 17:11 0 comments

    If you had a look at the code attached to the previous log entry you will see that the way I try to determine the length of one frame is quite convoluted.

    This is all because there is no easy access to VSYNC interrupt on the Raspberry Pi under Linux.

    All I found was an exchange that the support is there in the firmware: 

    https://github.com/raspberrypi/firmware/issues/67

    and someone was able to use it when running bare metal software, not Linux:

    https://github.com/rsta2/circle/issues/50

    But I don't know how to hook and timestamp this IRQ in Linux kernel.

    If I could do it, I would simply take the difference between timestamp of light trigger IRQ and VSYNC IRQ and calculate beam position out of that.

    If someone knows how to do it, please let me know.

    Time for plan B.

  • Timing is everything

    Maciej Witkowiak06/07/2020 at 17:05 0 comments

    The operation of the light pen depends on accurate time measurements. On a C64/128 this is realized in the hardware - the VIC chip latches X/Y position when light sensor is triggered.

    The plan

    I didn't have high hopes for Raspberry Pi running Linux to be able to measure time with required accuracy. This is the timing diagram for PAL:

    Read more »

  • Light pen to Raspberry Pi's GPIO

    Maciej Witkowiak06/07/2020 at 16:41 0 comments

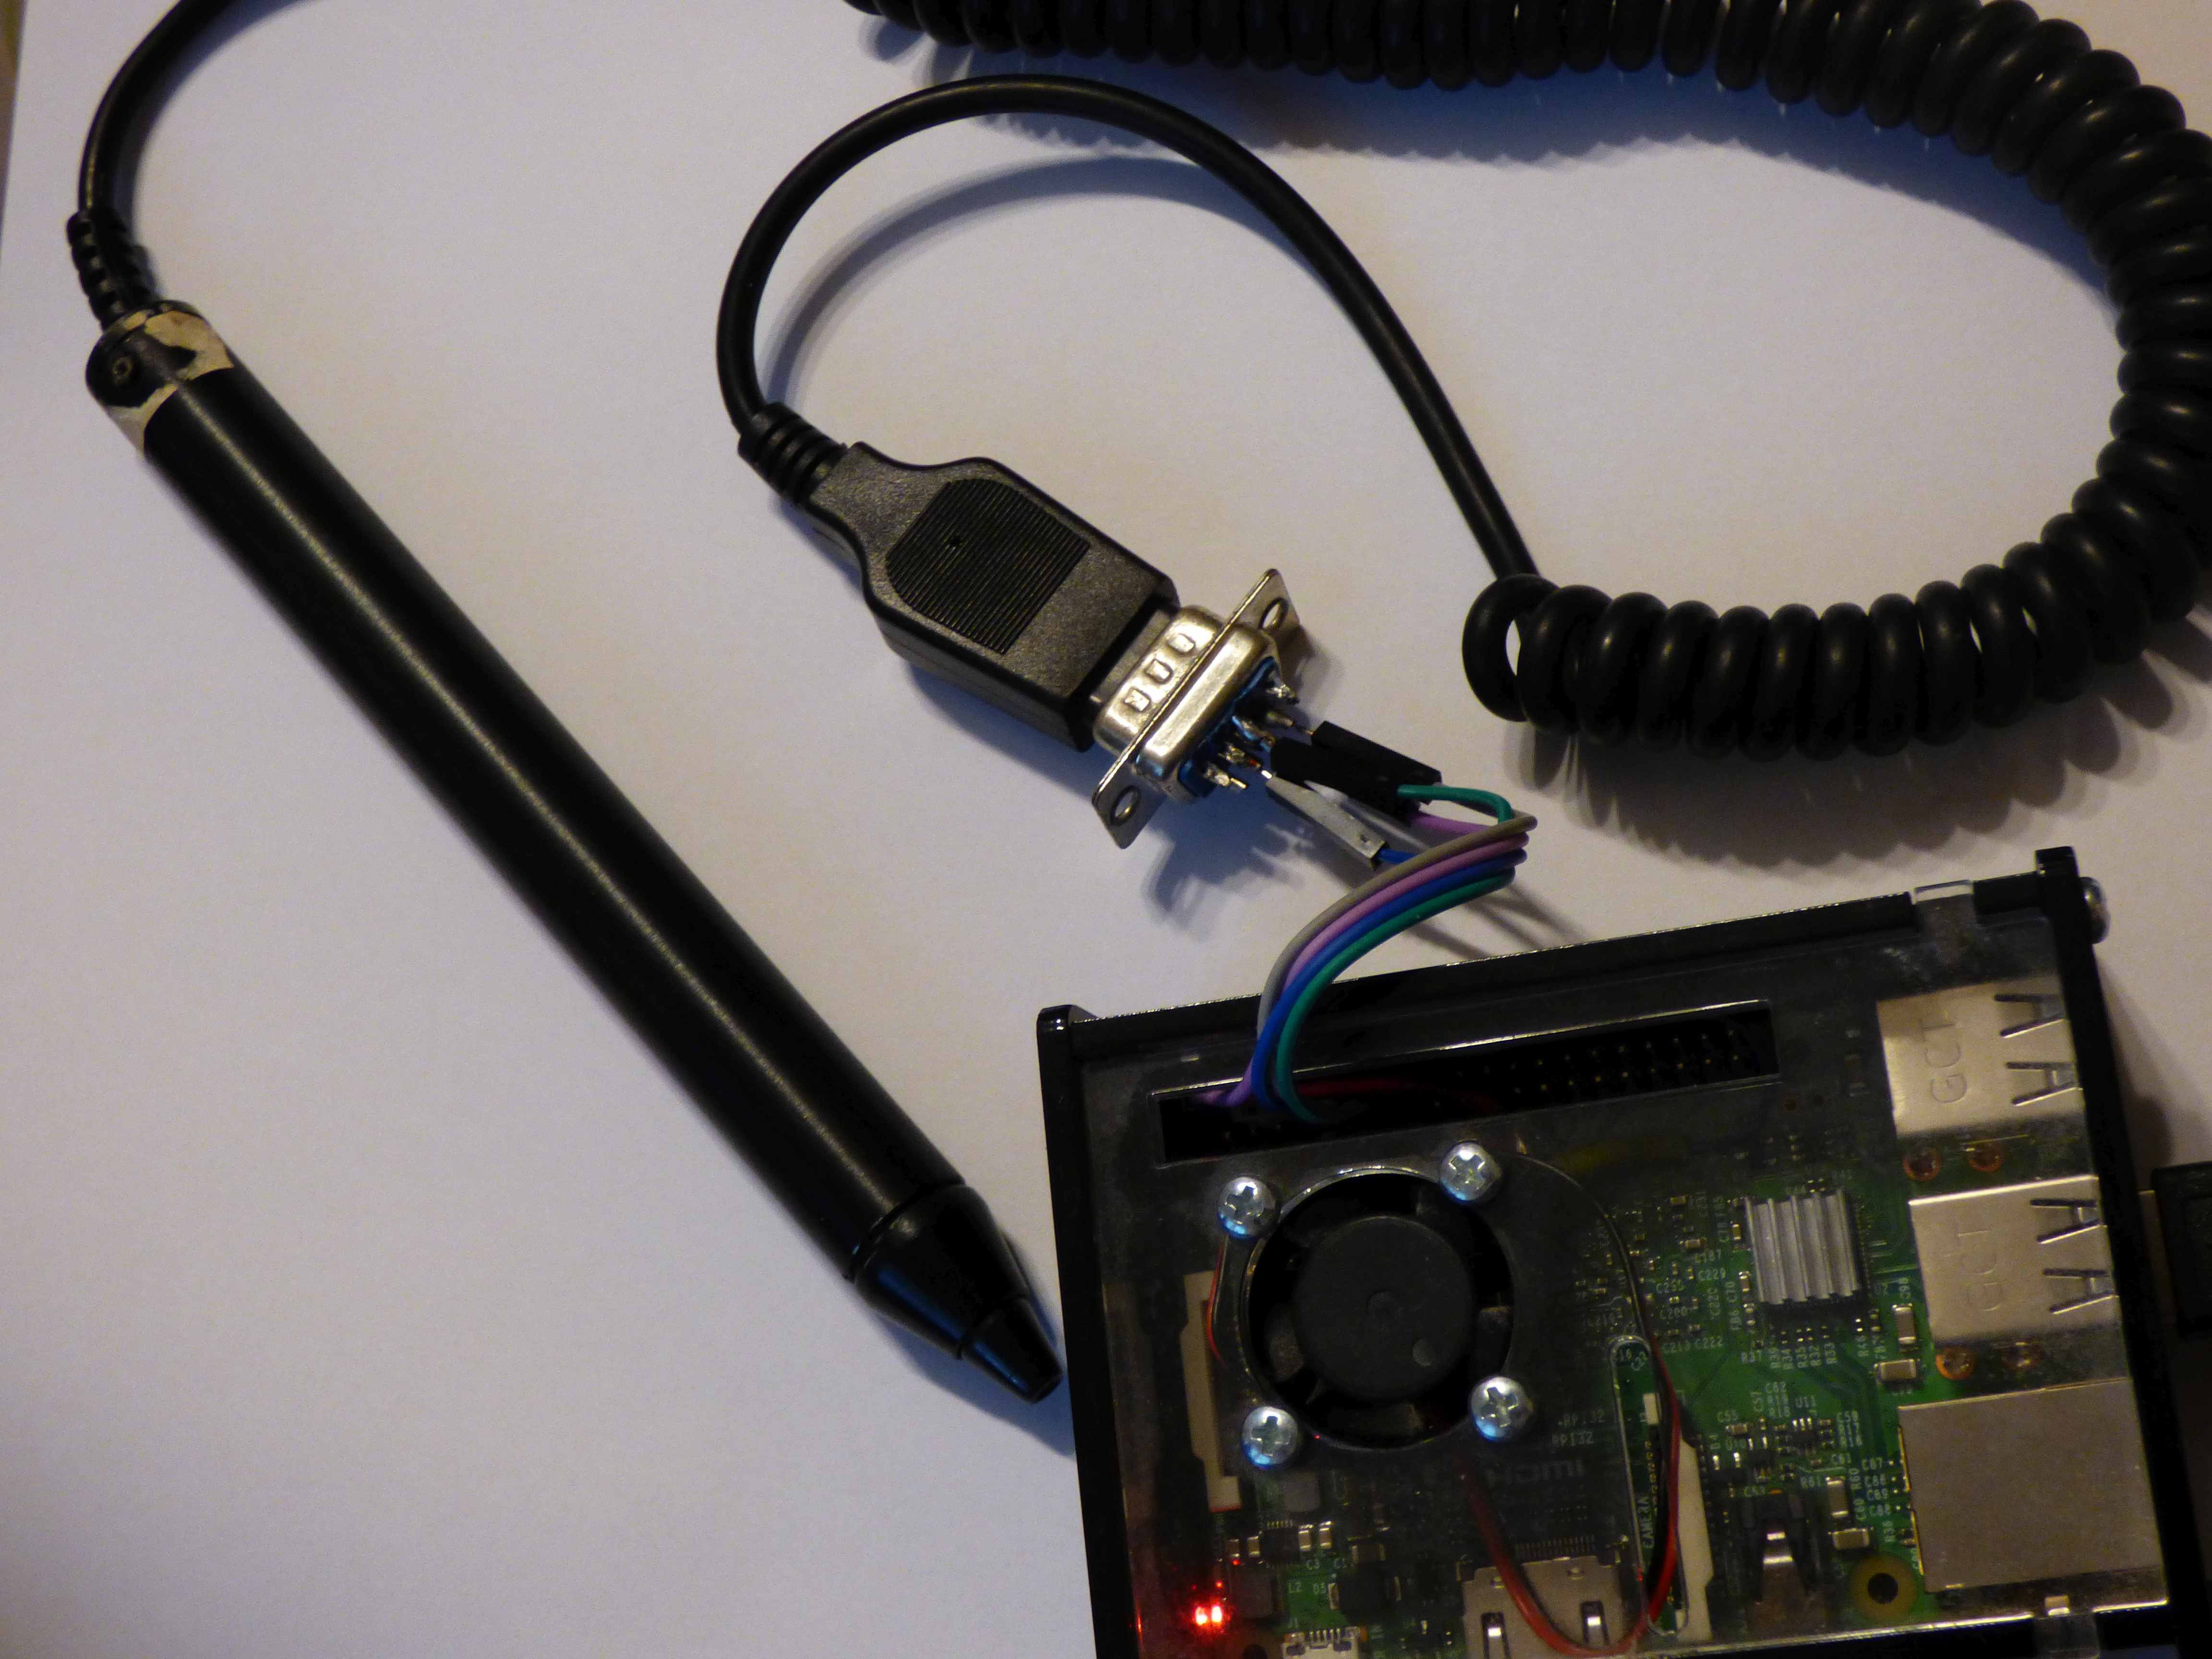
    At start let's try to connect the light pen directly to Raspberry Pi's GPIO.

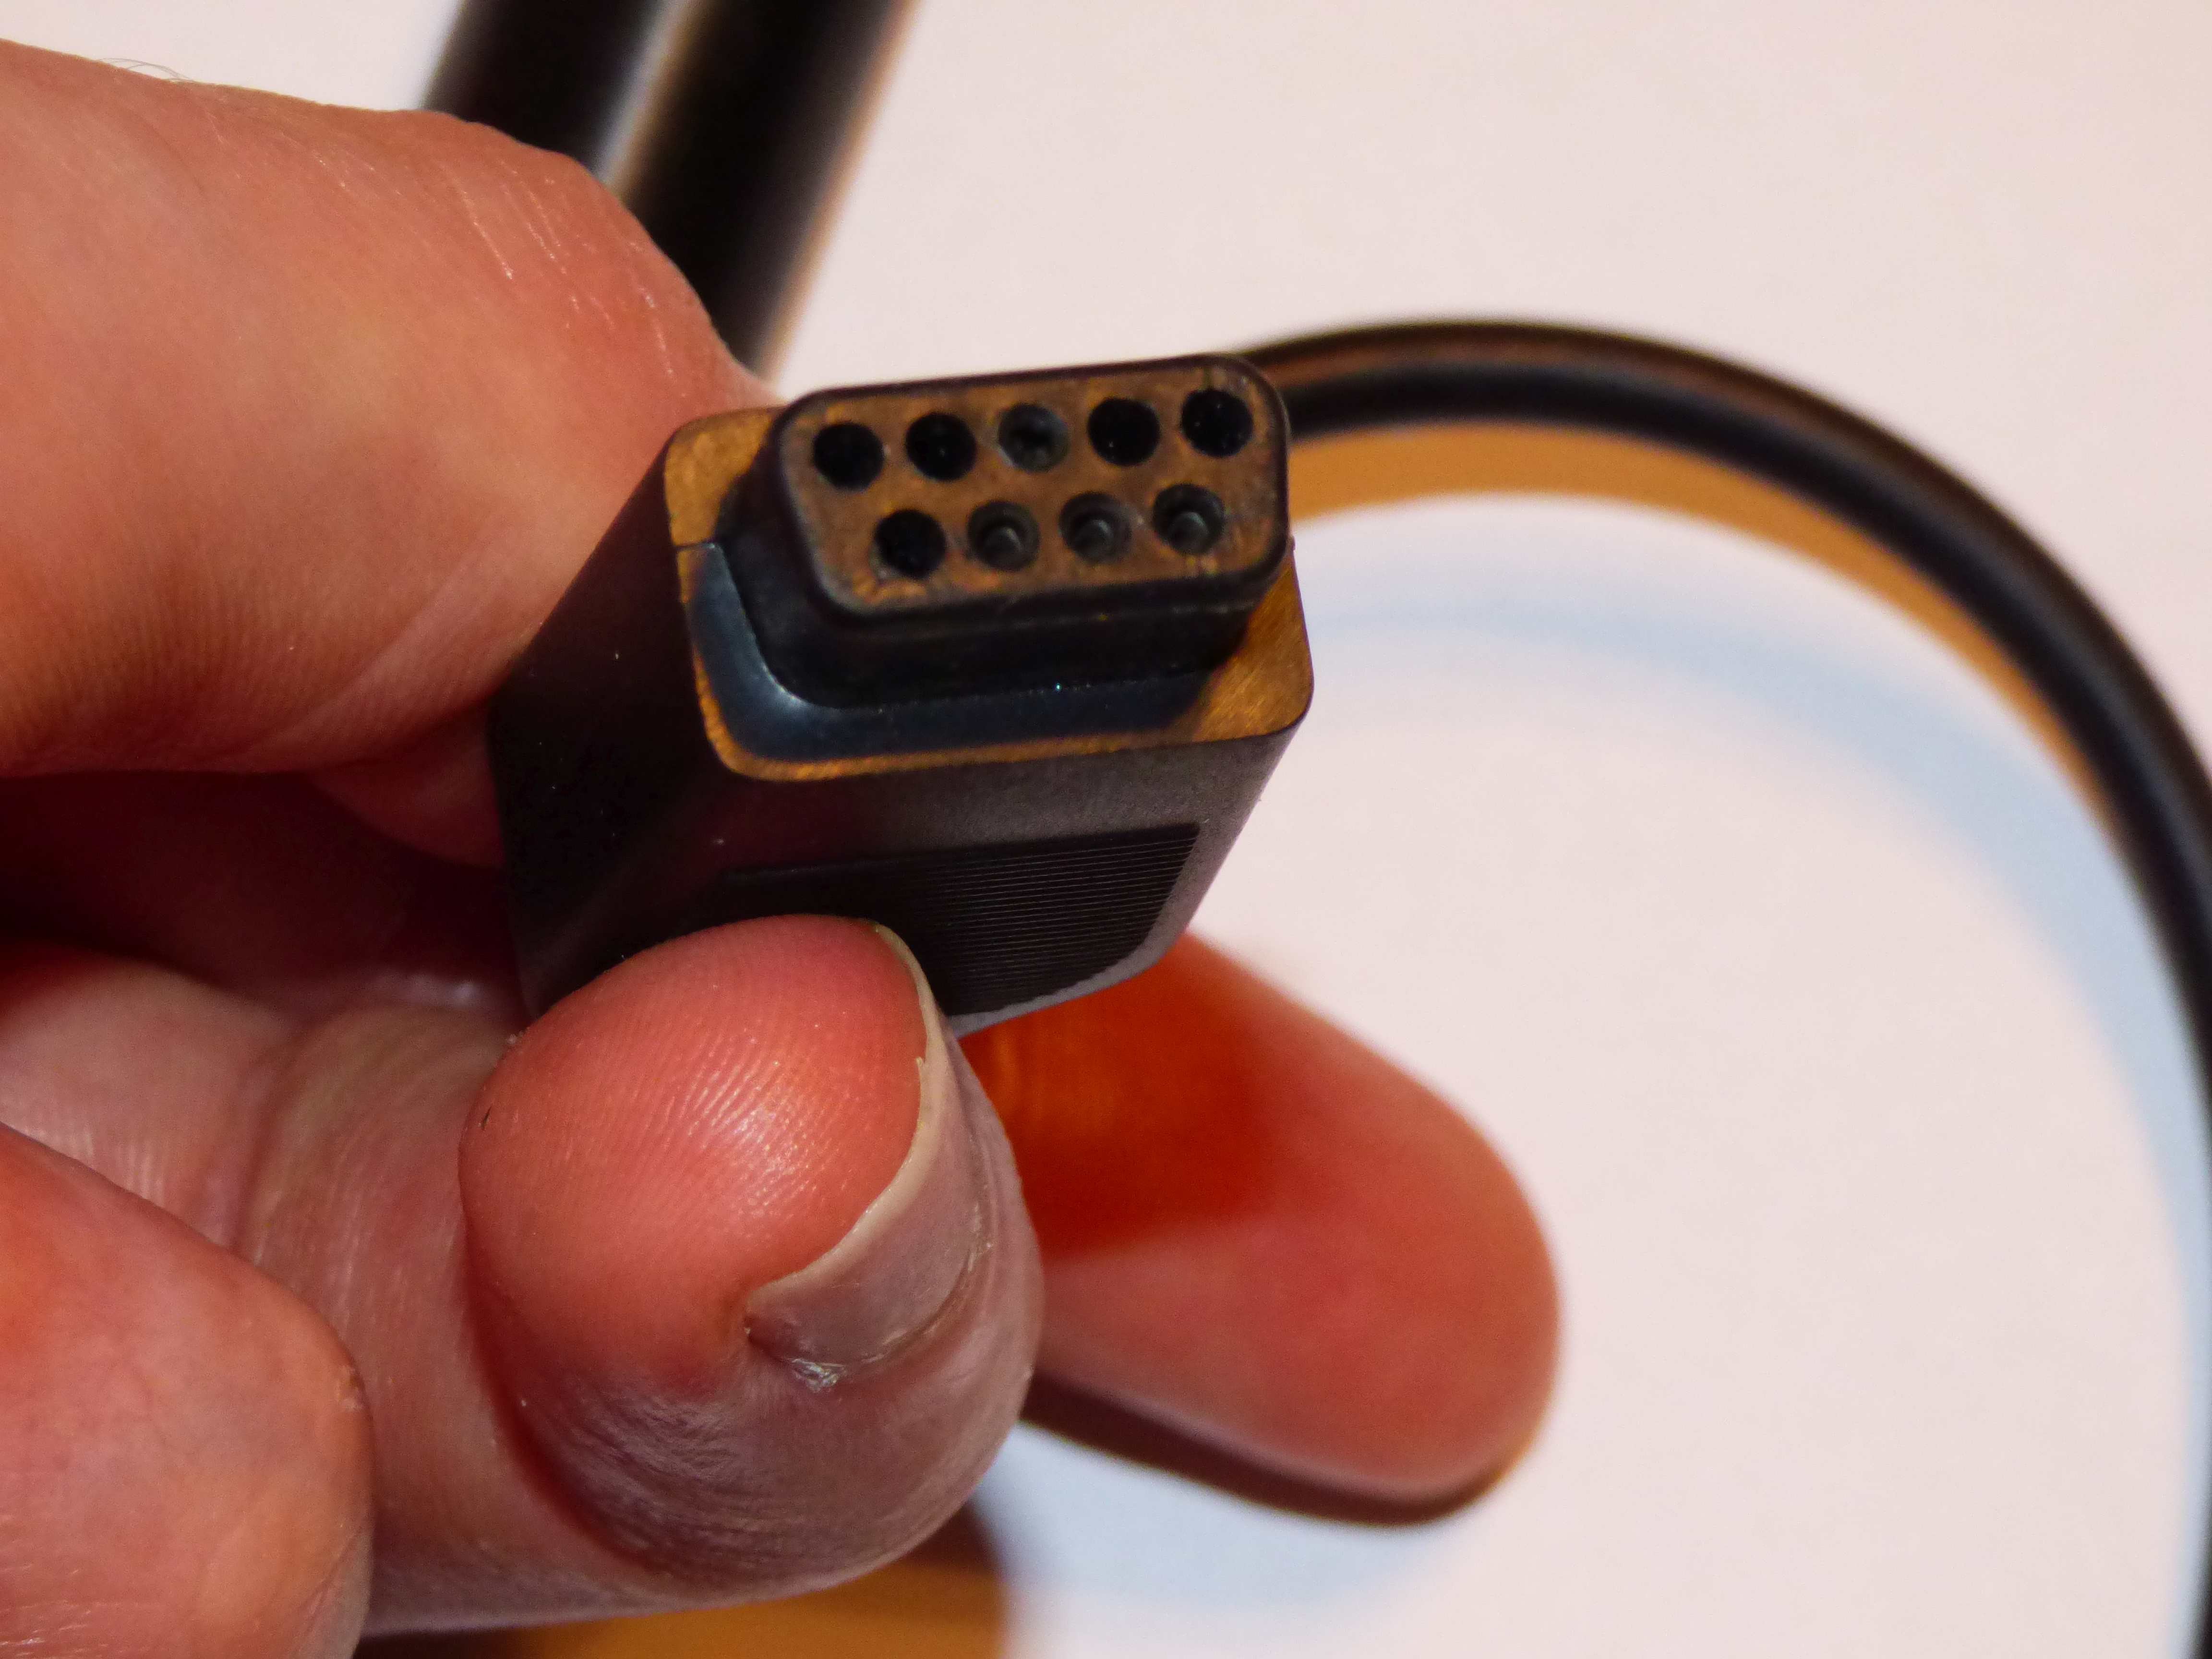
    The plug of my light pen already had hints that we are only interested in four lines: GND, +5V, button and light detector.

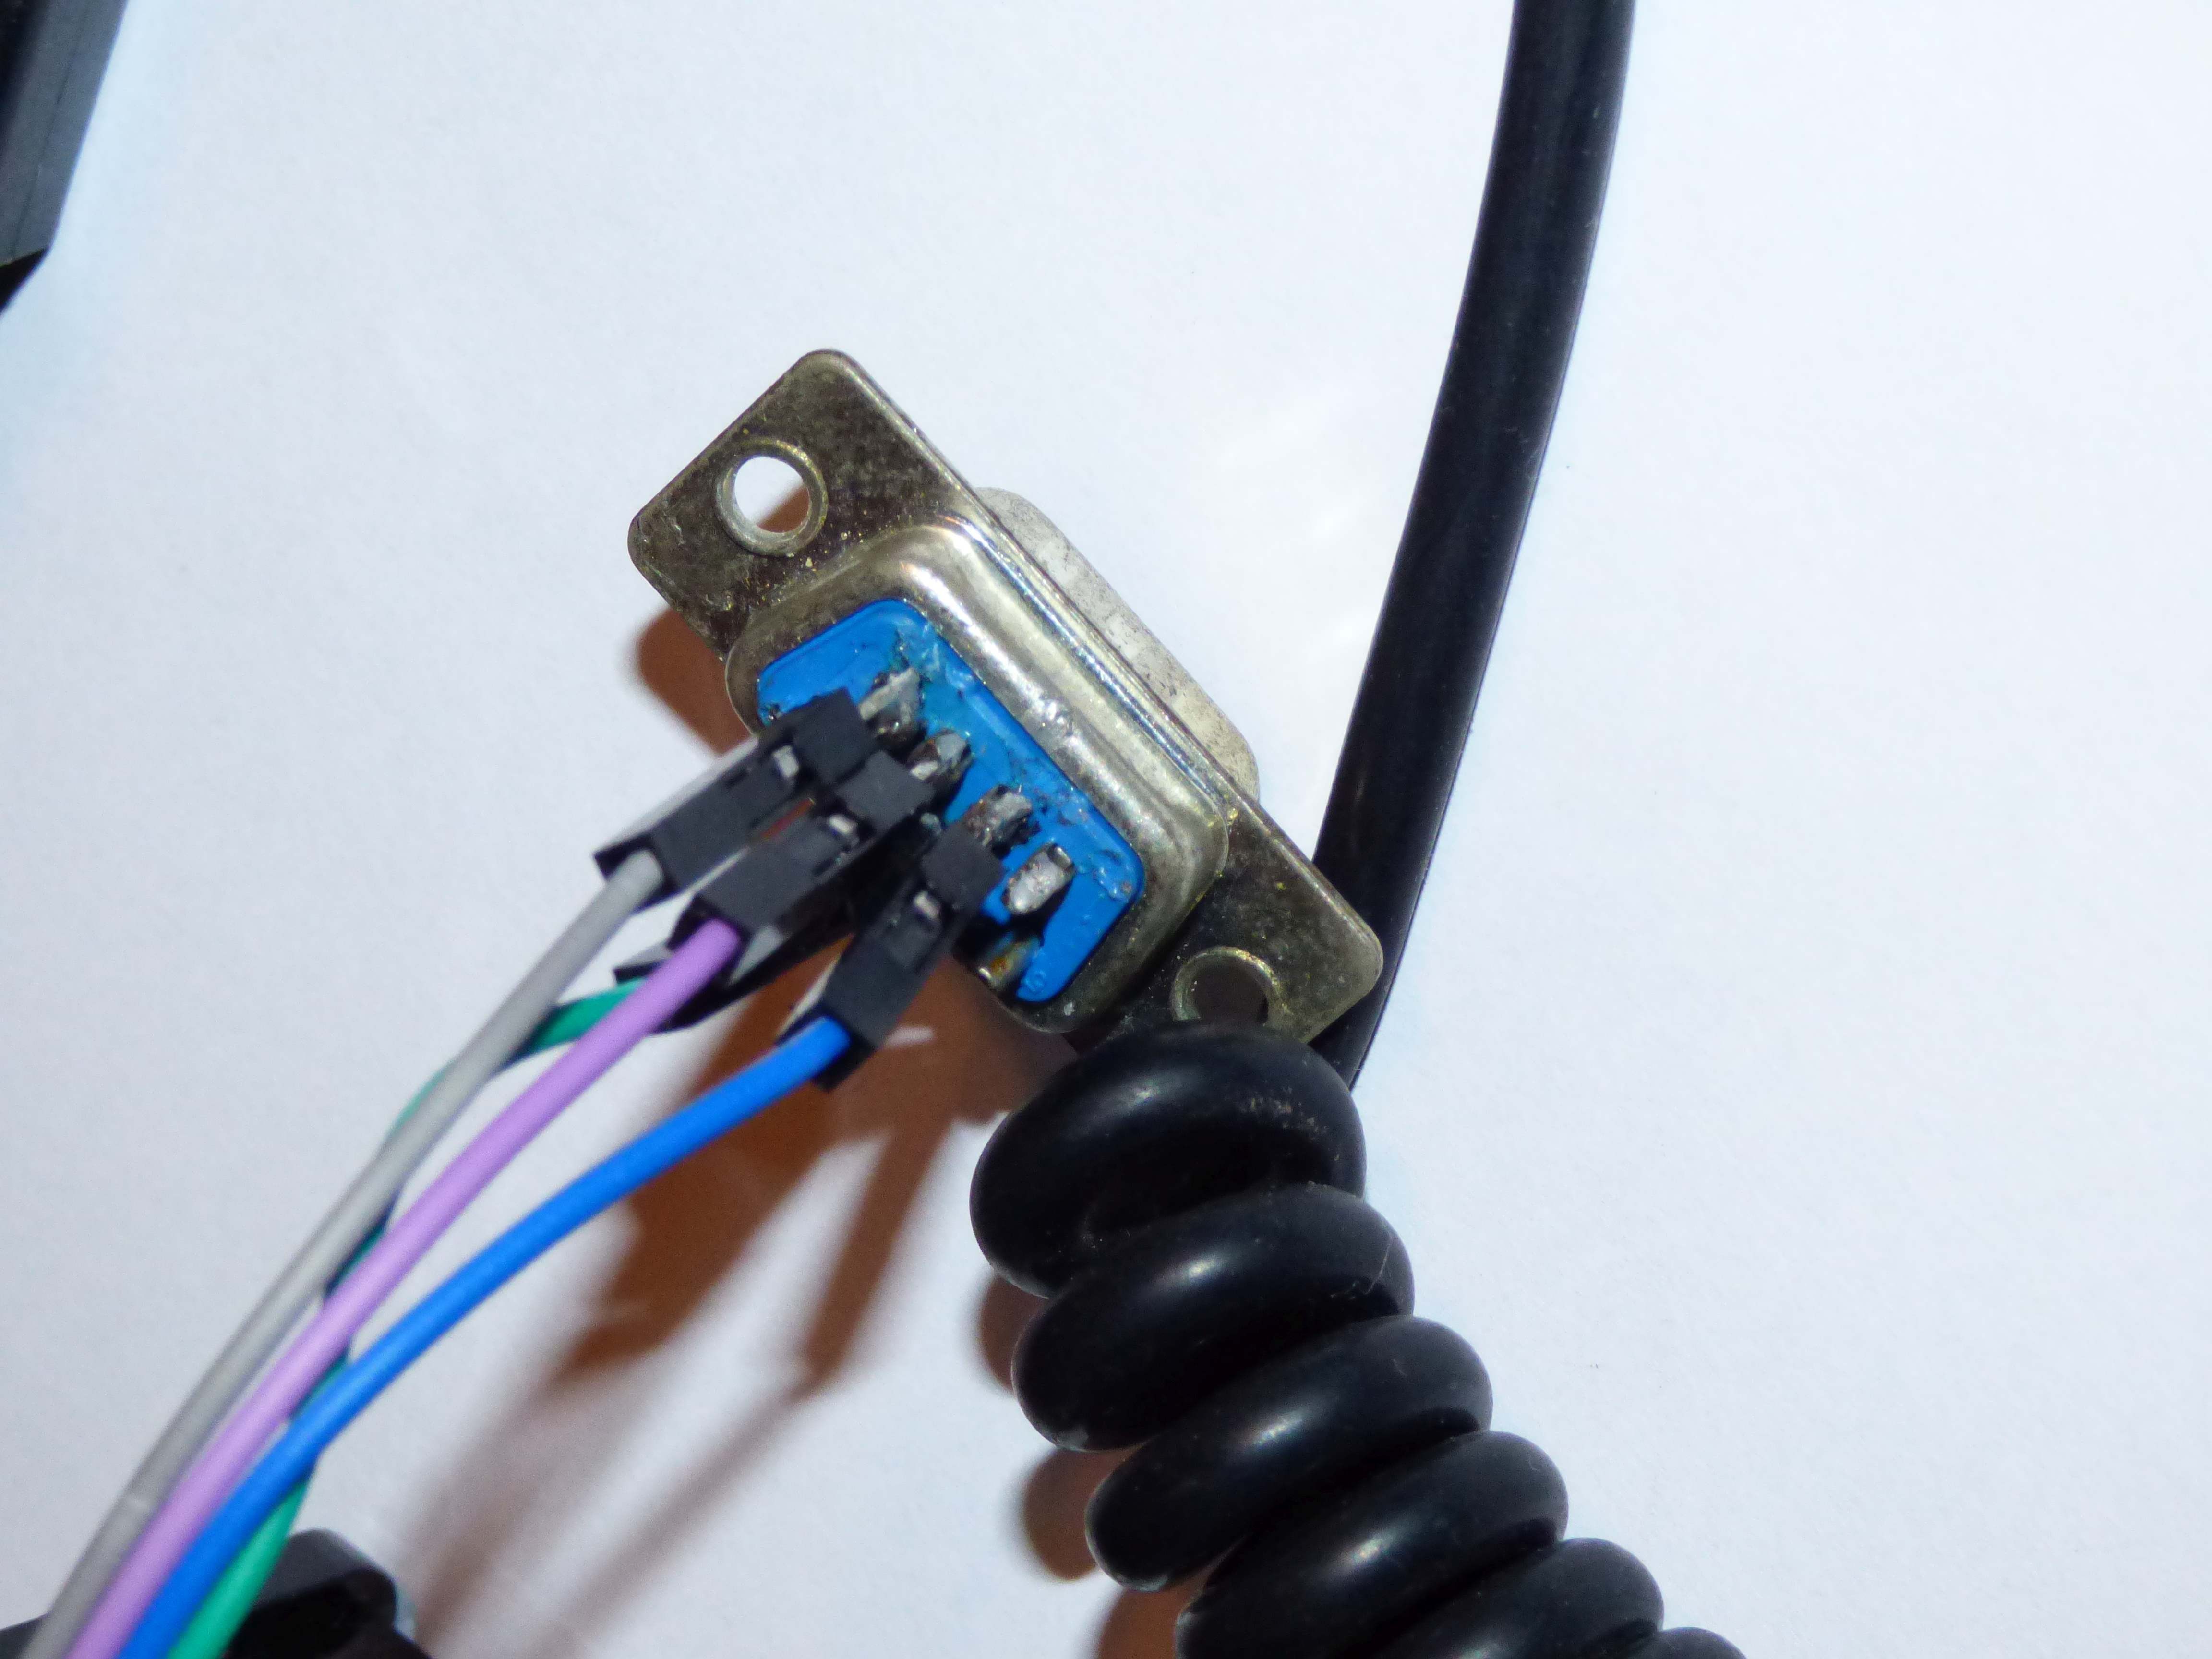
    Here is how I wired a simple adapter.

    Power line goes to the +5V line from GPIO because there is a TTL chip inside that requires +5V as its power supply.

    I chose to connect the button line (pin 3 on the plug) with GPIO 27 and light detector to GPIO 17.

  • Raspberry Pi setup for CRT

    Maciej Witkowiak06/07/2020 at 16:31 0 comments

    I'm using Raspberry Pi 3B. I will not go into details of RetroPie installation and configuration. There are much better resources on that.

    Here is what I use to make RetroPie display image over composite video.

    # If your TV doesn't have H-HOLD potentiometer then position of the left
    # screen edge can be controlled with overscan_left setting.
    
    overscan_left=16
    #overscan_right=16
    #overscan_top=16
    #overscan_bottom=16
    
    # composite PAL
    sdtv_mode=2
    
    # I'm using black and white TV, disabling colorburst is supposed
    # to improve image quality on monochrome display,
    # but I don't see any real difference
    sdtv_disable_colourburst=1
    
    # possible aspect ratios are 1=4:3, 2=14:9, 3=16:9; obviously this is 4:3 standard
    sdtv_aspect=1


    This way I get a 640x480 image with a glorious interlaced flicker of 50Hz refresh rate.

View all 11 project logs

Enjoy this project?

Share

Discussions

Similar Projects

Does this project spark your interest?

Become a member to follow this project and never miss any updates