Close
0%
0%

WinDIY - HAWT Wind turbine

Mostly 3D printed HAWT windturbine incl. 3D printed disk-generator and brake system.

Similar projects worth following
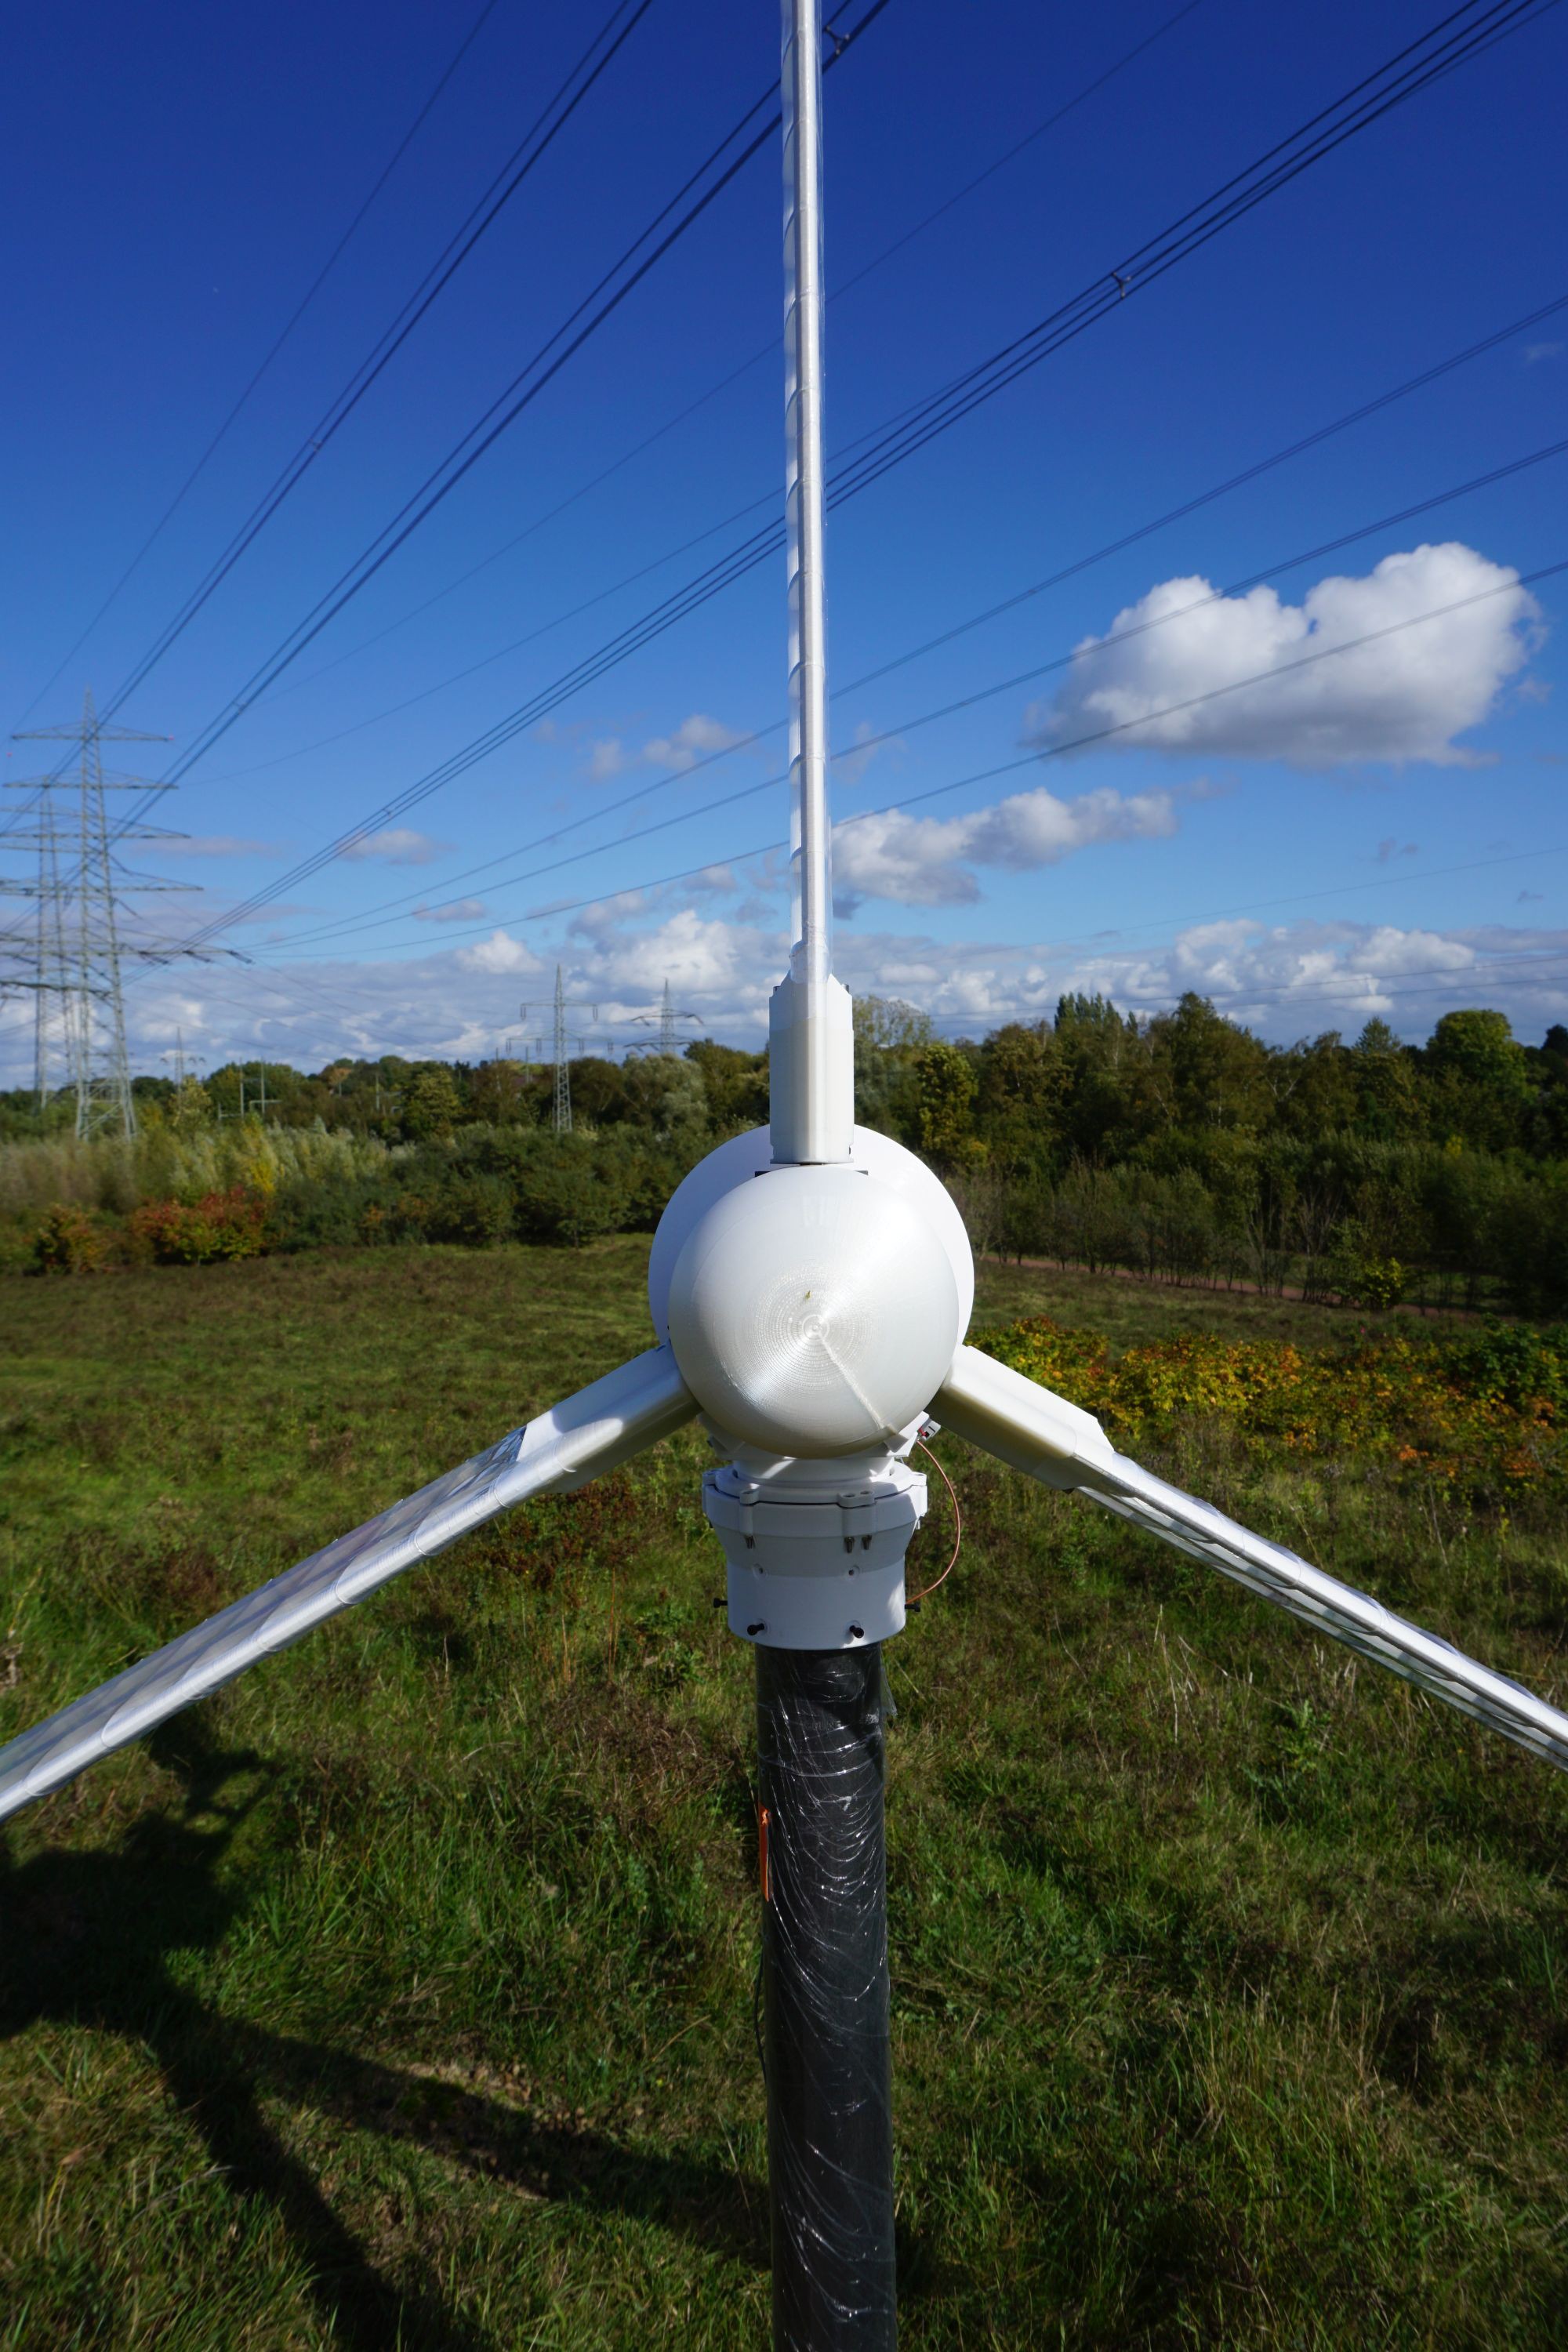
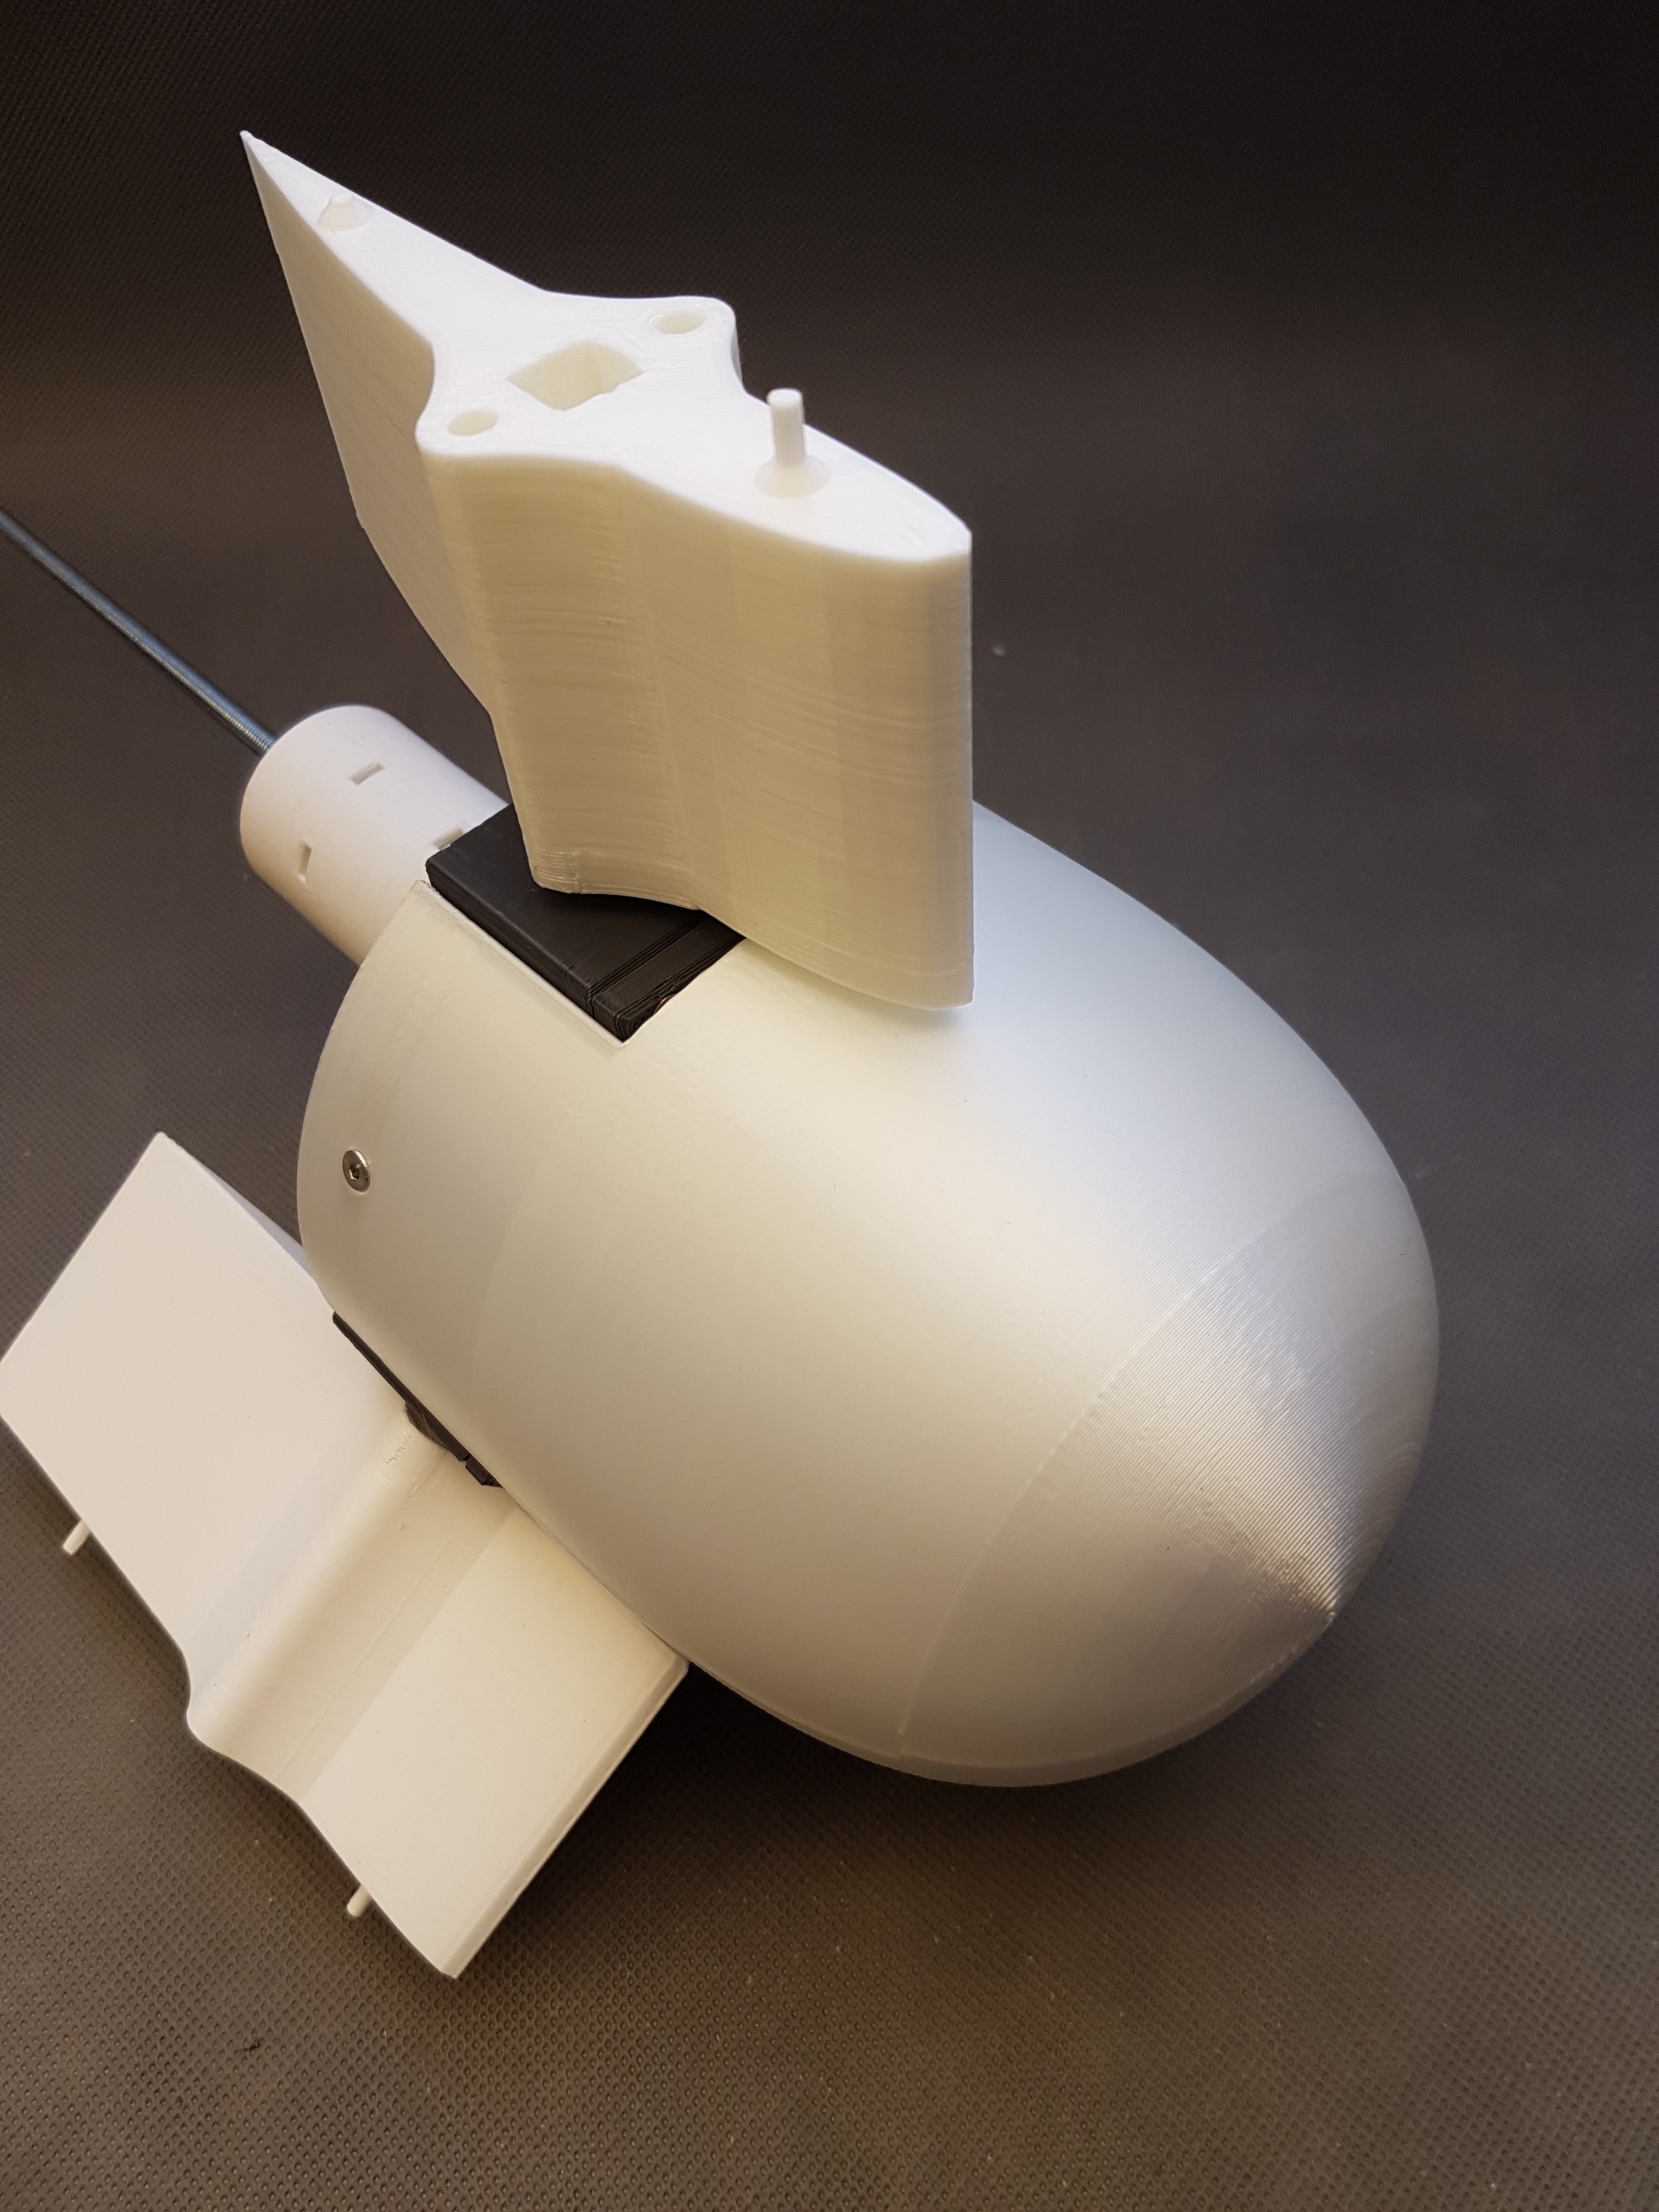
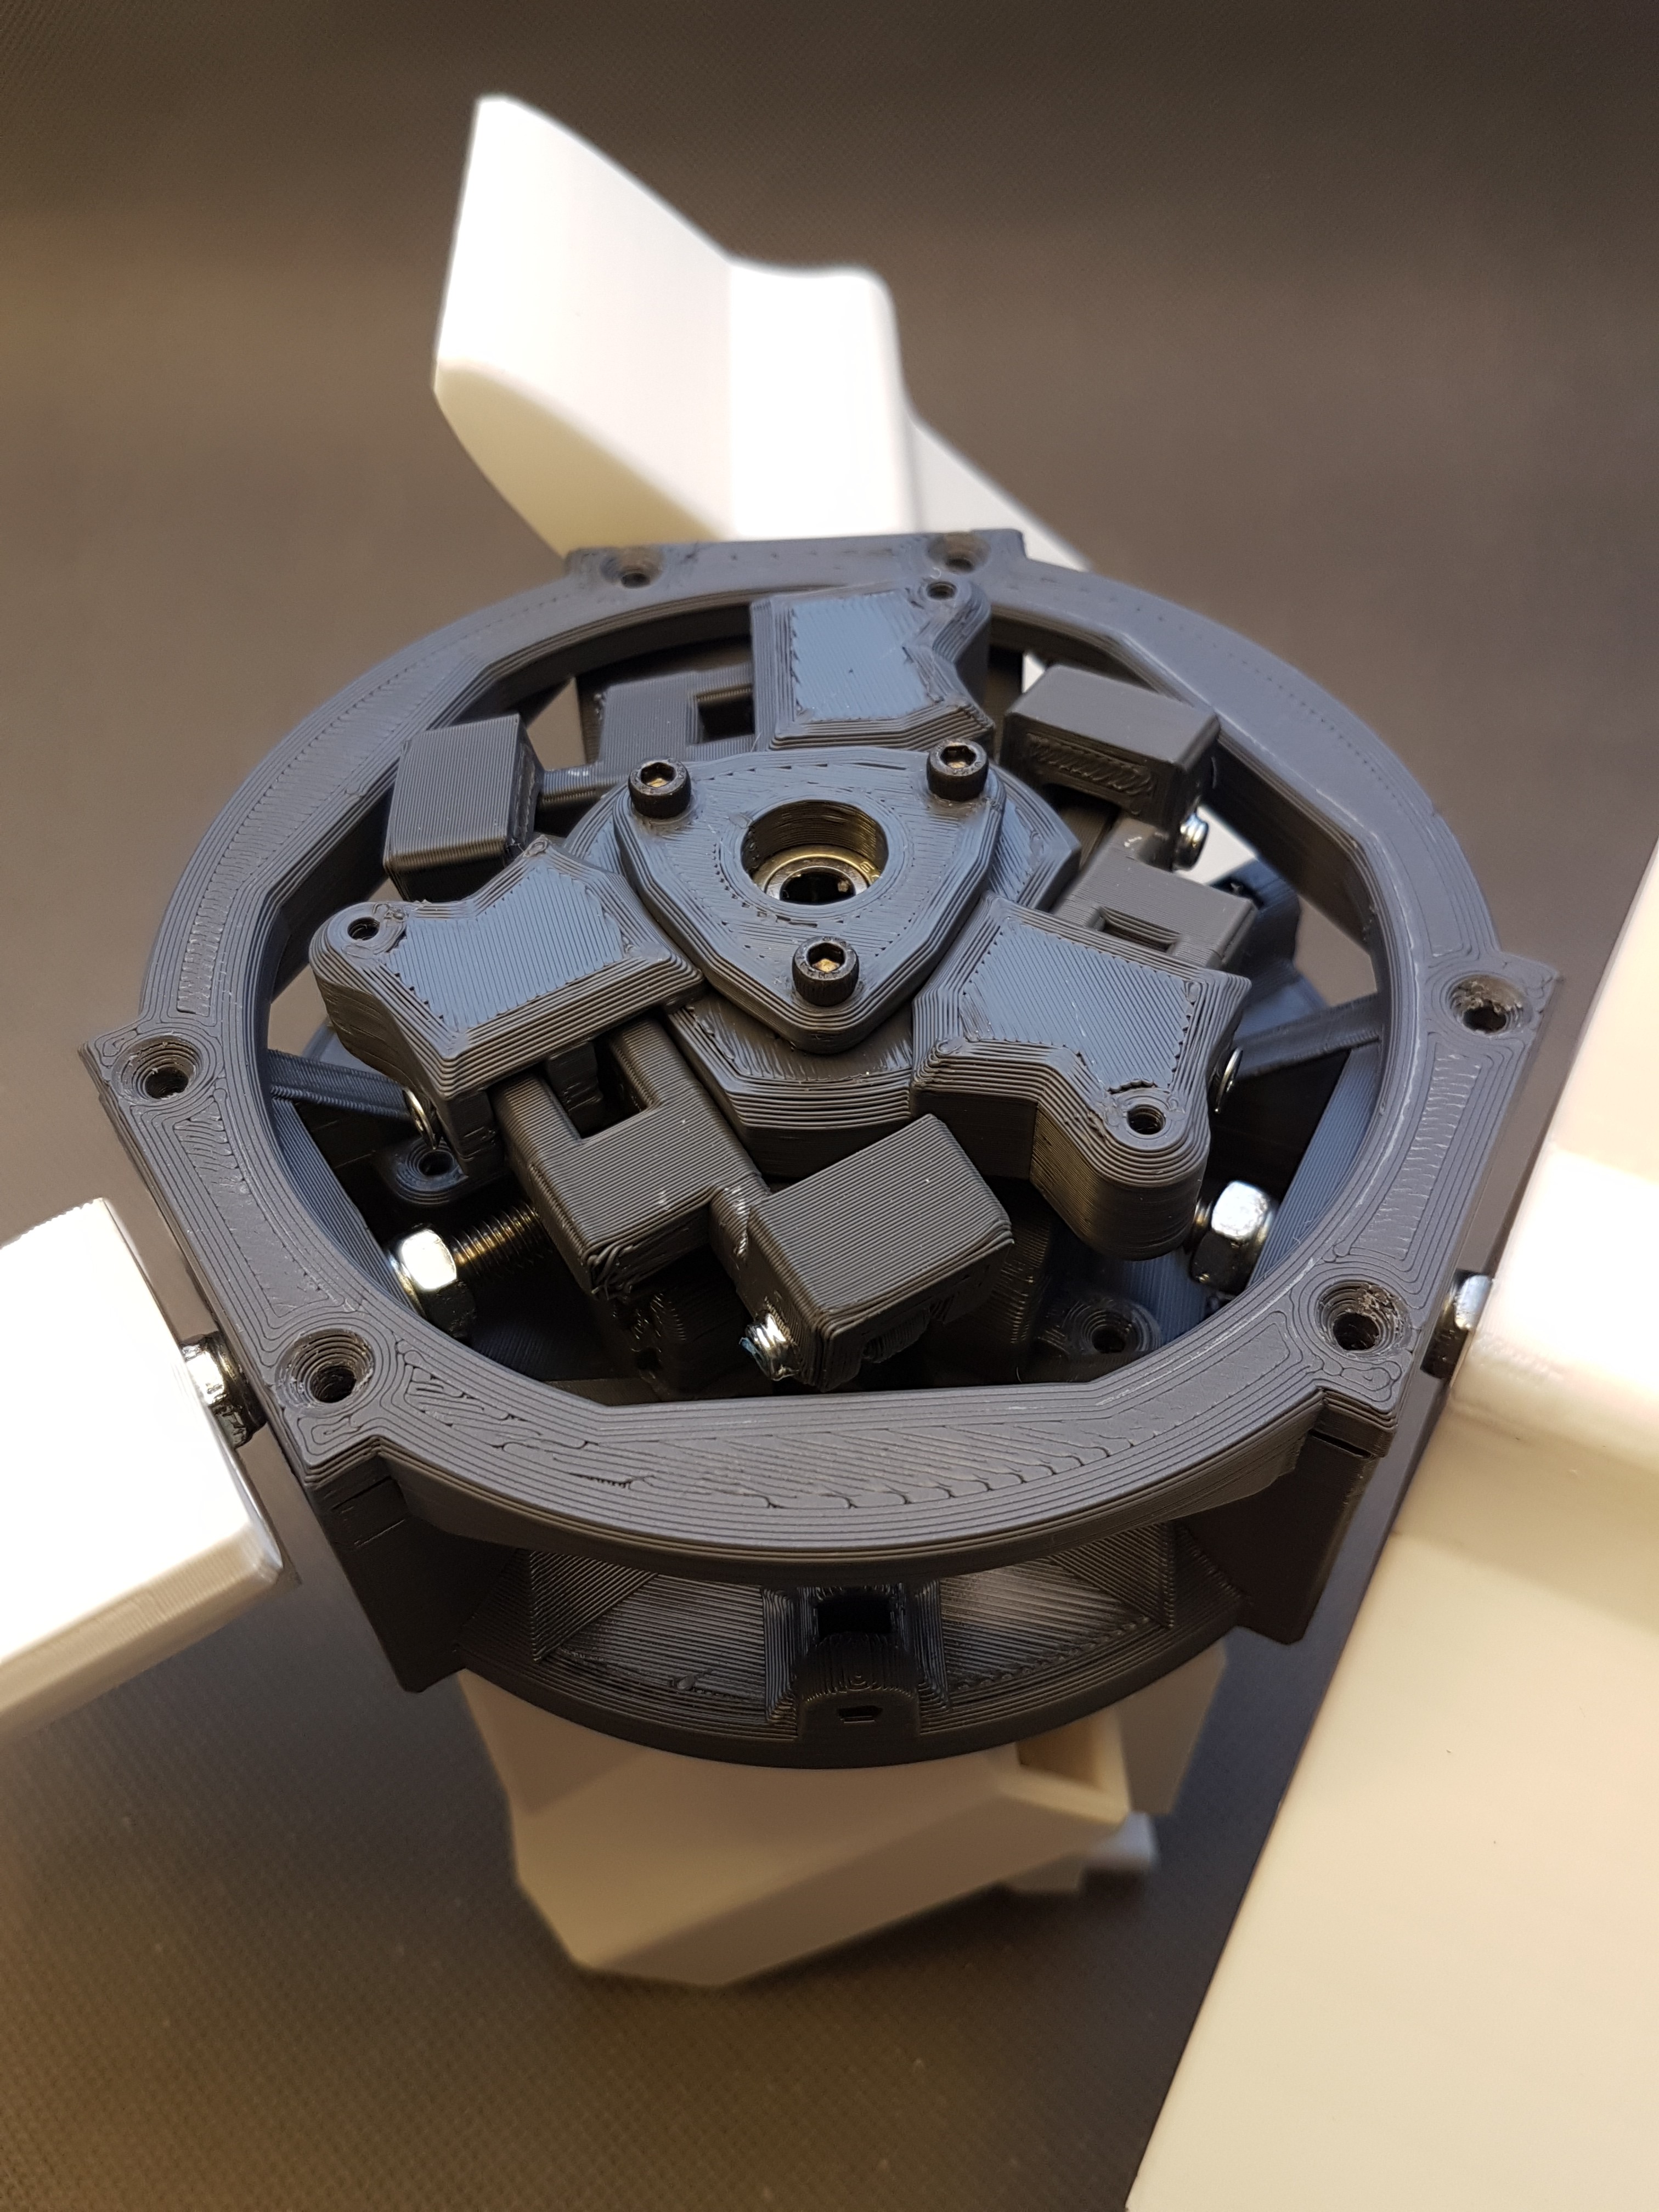
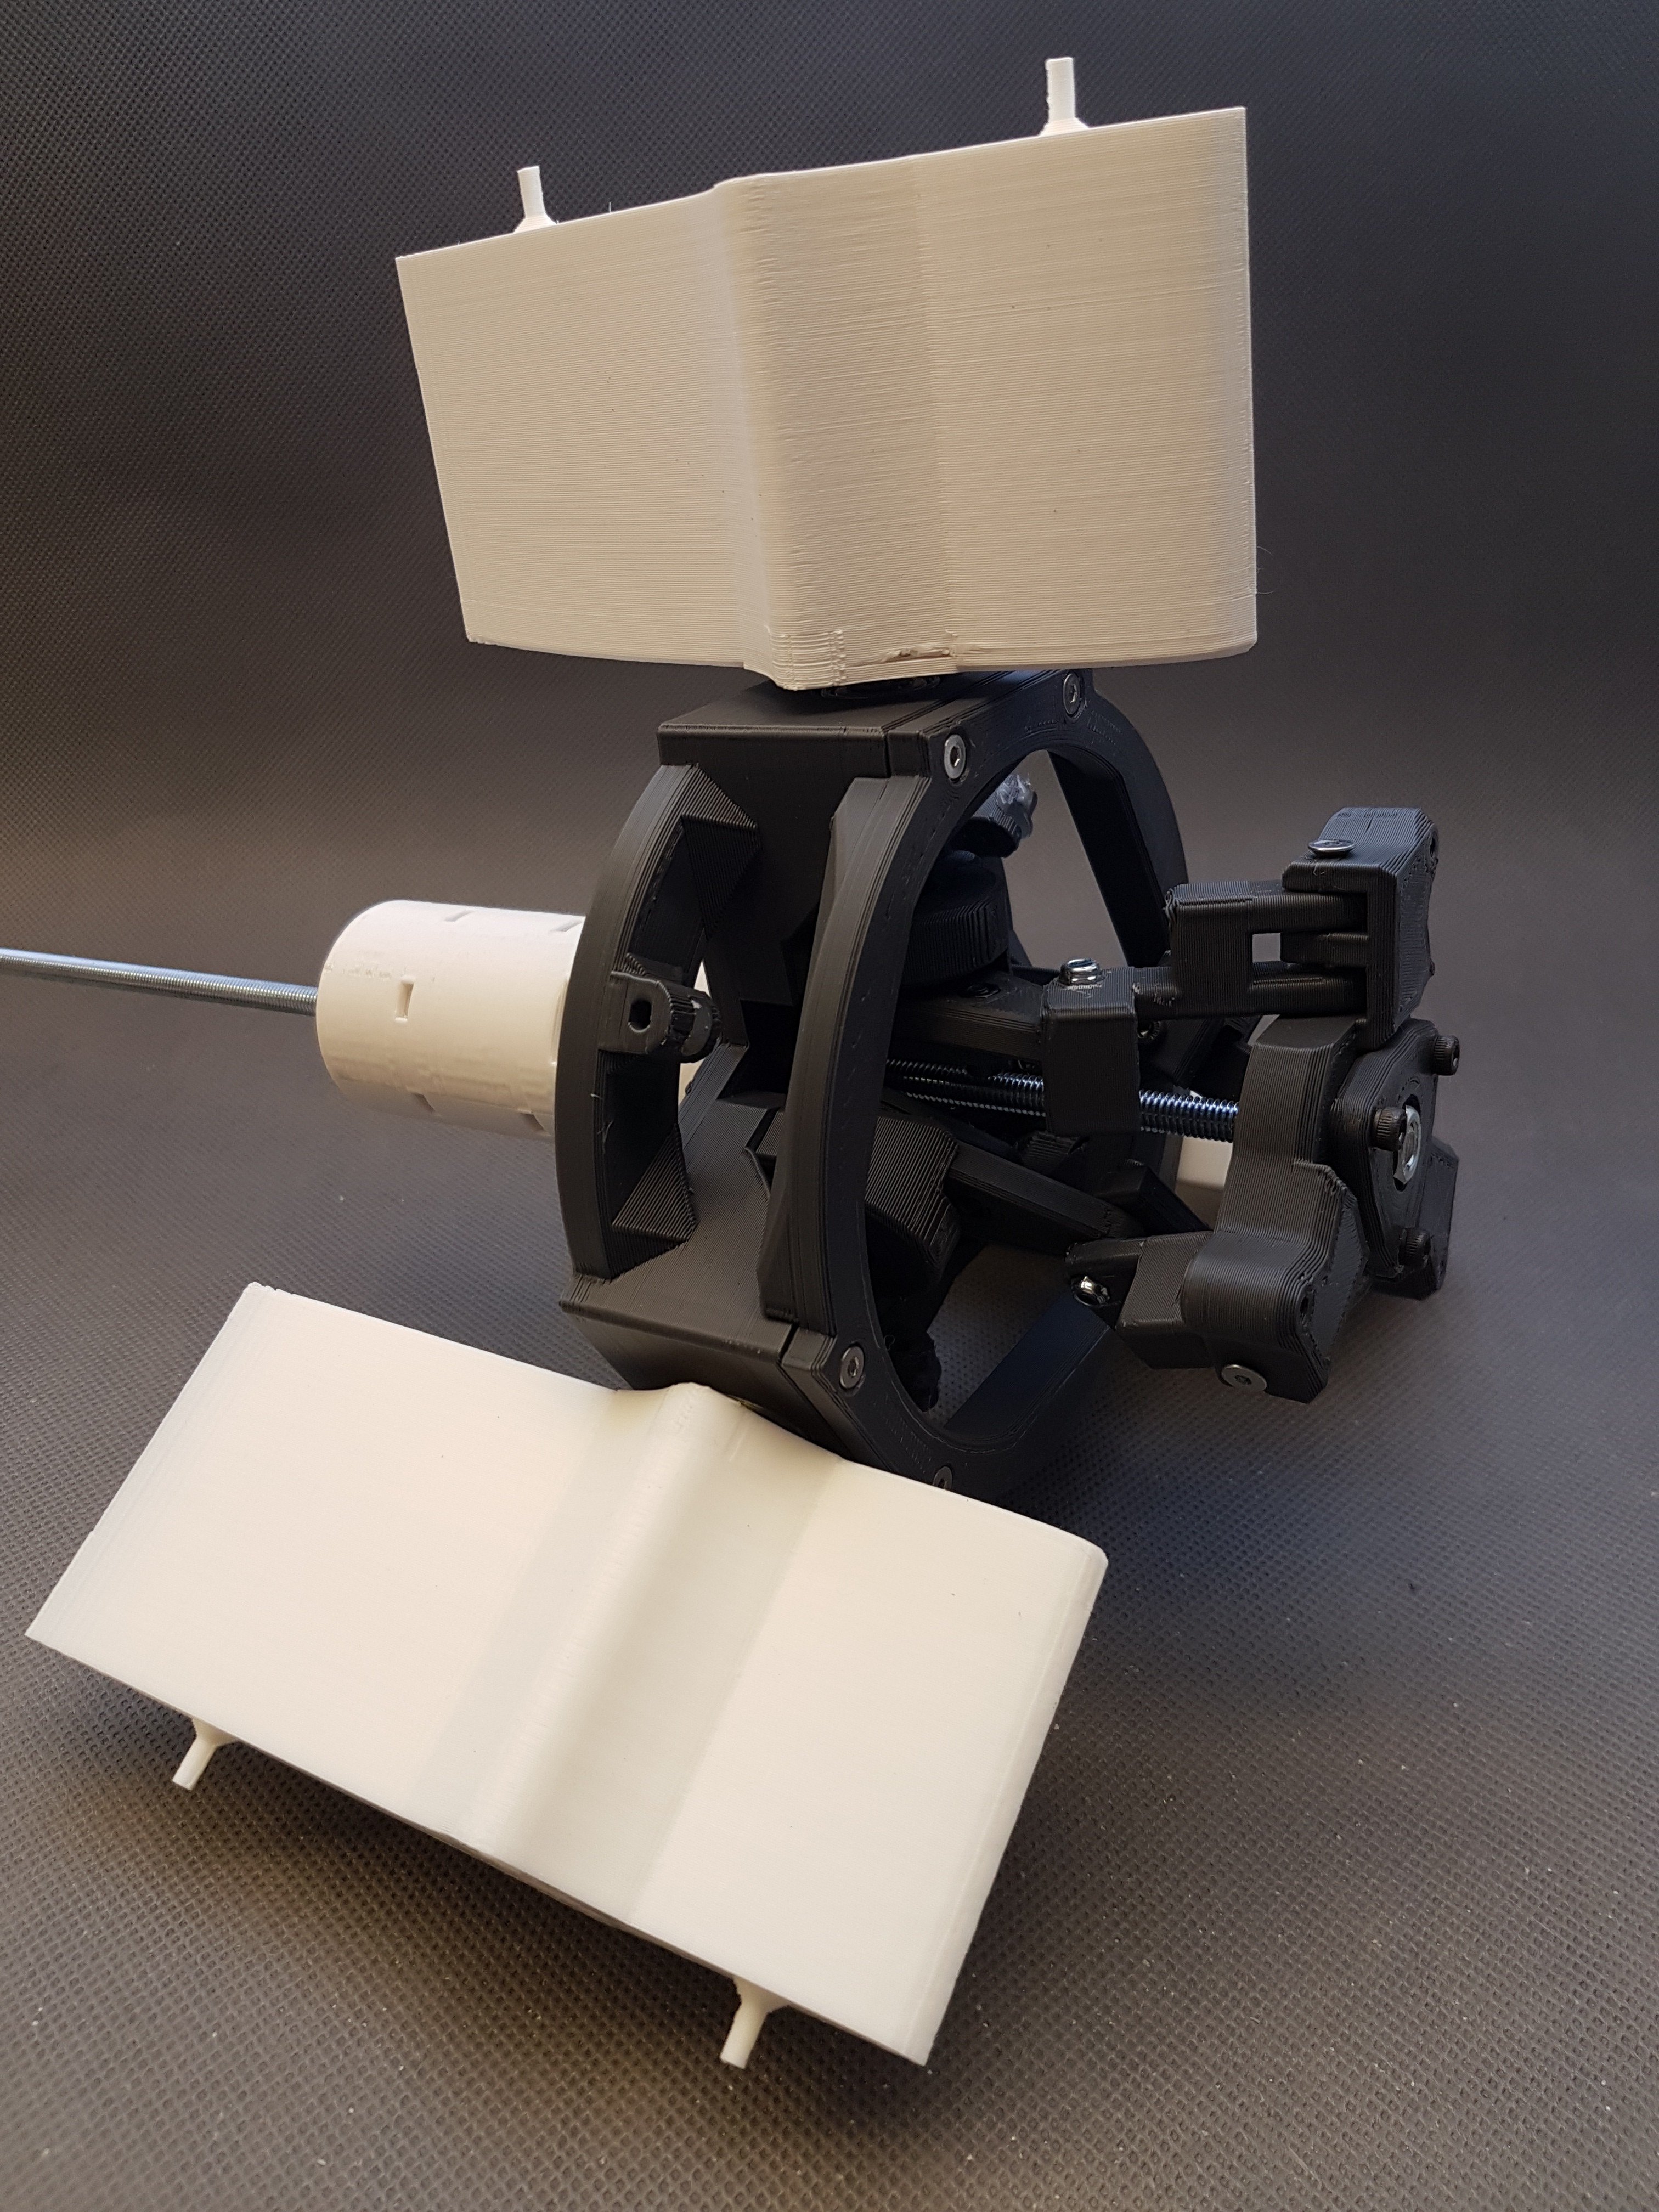
WinDIY is a design of a (mostly) 3D printed wind turbine. The idea is to build a horizontal turbine with three blades. With a diameter of approx. 1.2m, it is also important to be able to brake or regulate the turbine properly in strong wind conditions.

The final goal is to develop a wind turbine that generates energy from wind power and adapts as autonomously as possible to the current wind conditions.

That is why an active pitch adjustment of the wings is planned. In addition, a mechanical brake and an electronic brake via the disc generator will be included.

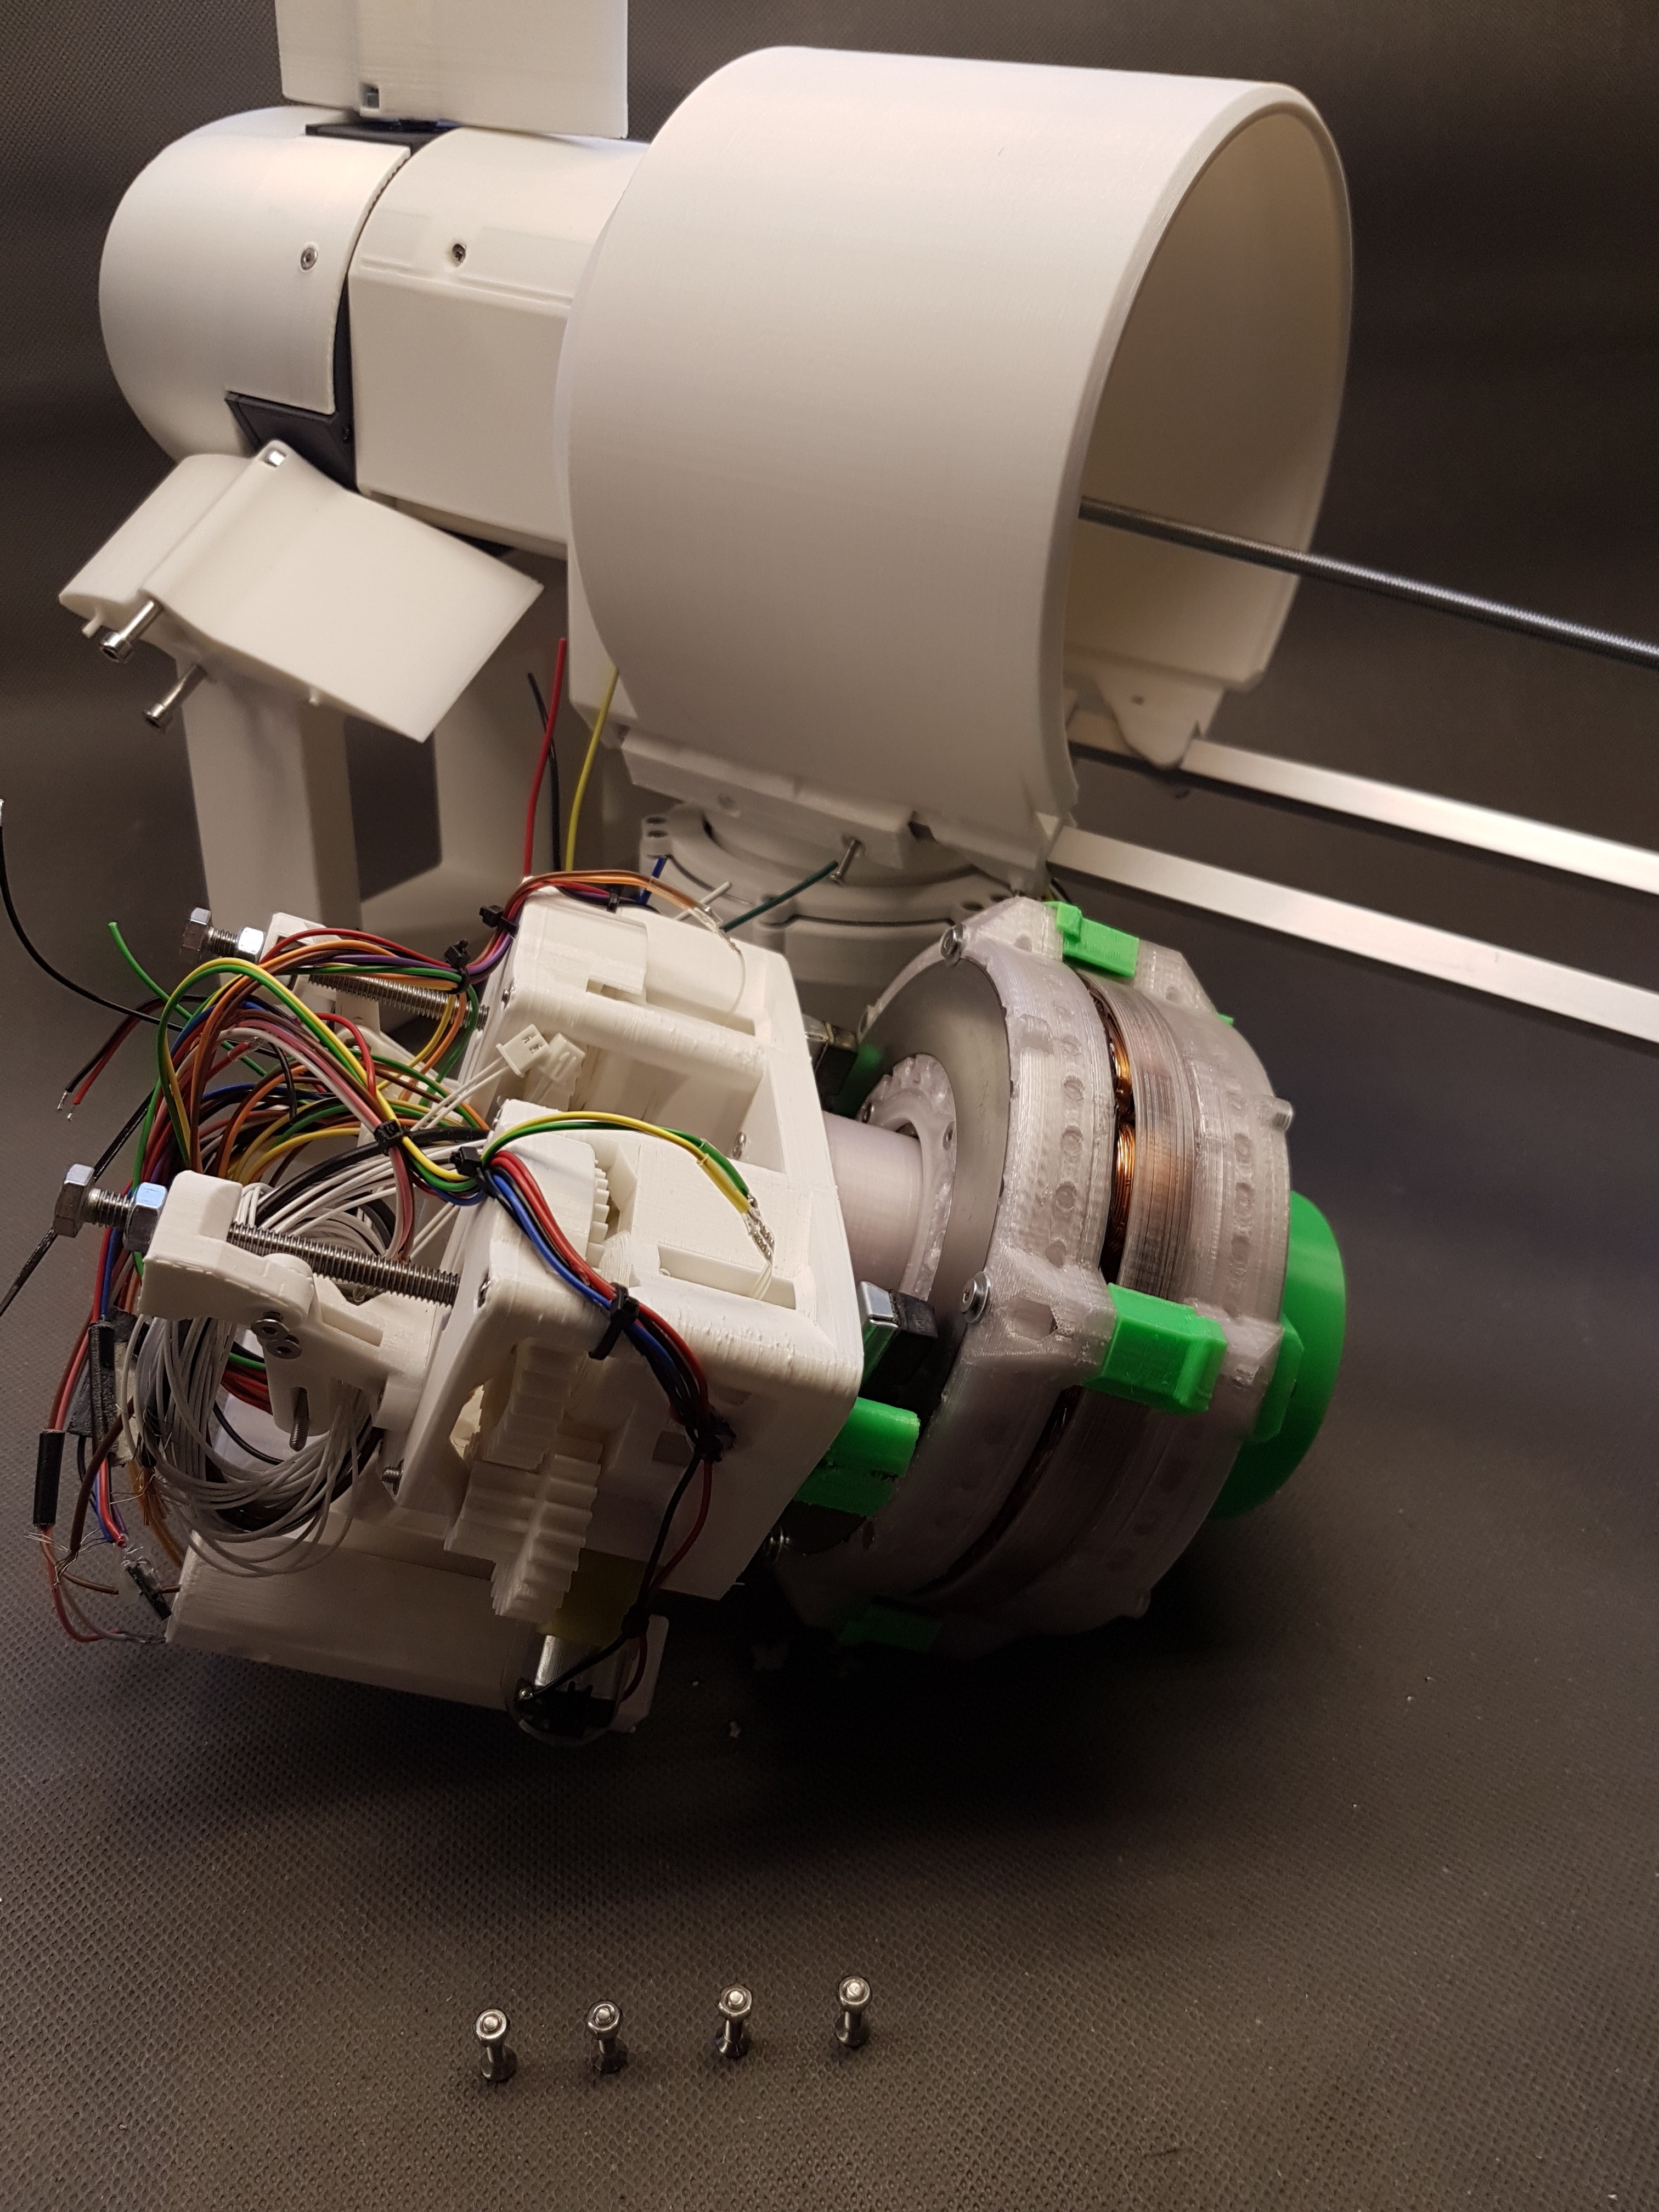
The disk generator also comes from the 3D printer. I also built a small machine to be able to wind the coils automatically and with a much better quality compared to manually winding them.

More information on all these topics in the log. :)

UPDATE:

i started the development and build of a new version of WinDIY. I will post more information in a new project log and on my Instagram.

You can find more infos here:

I hope to see you there :)

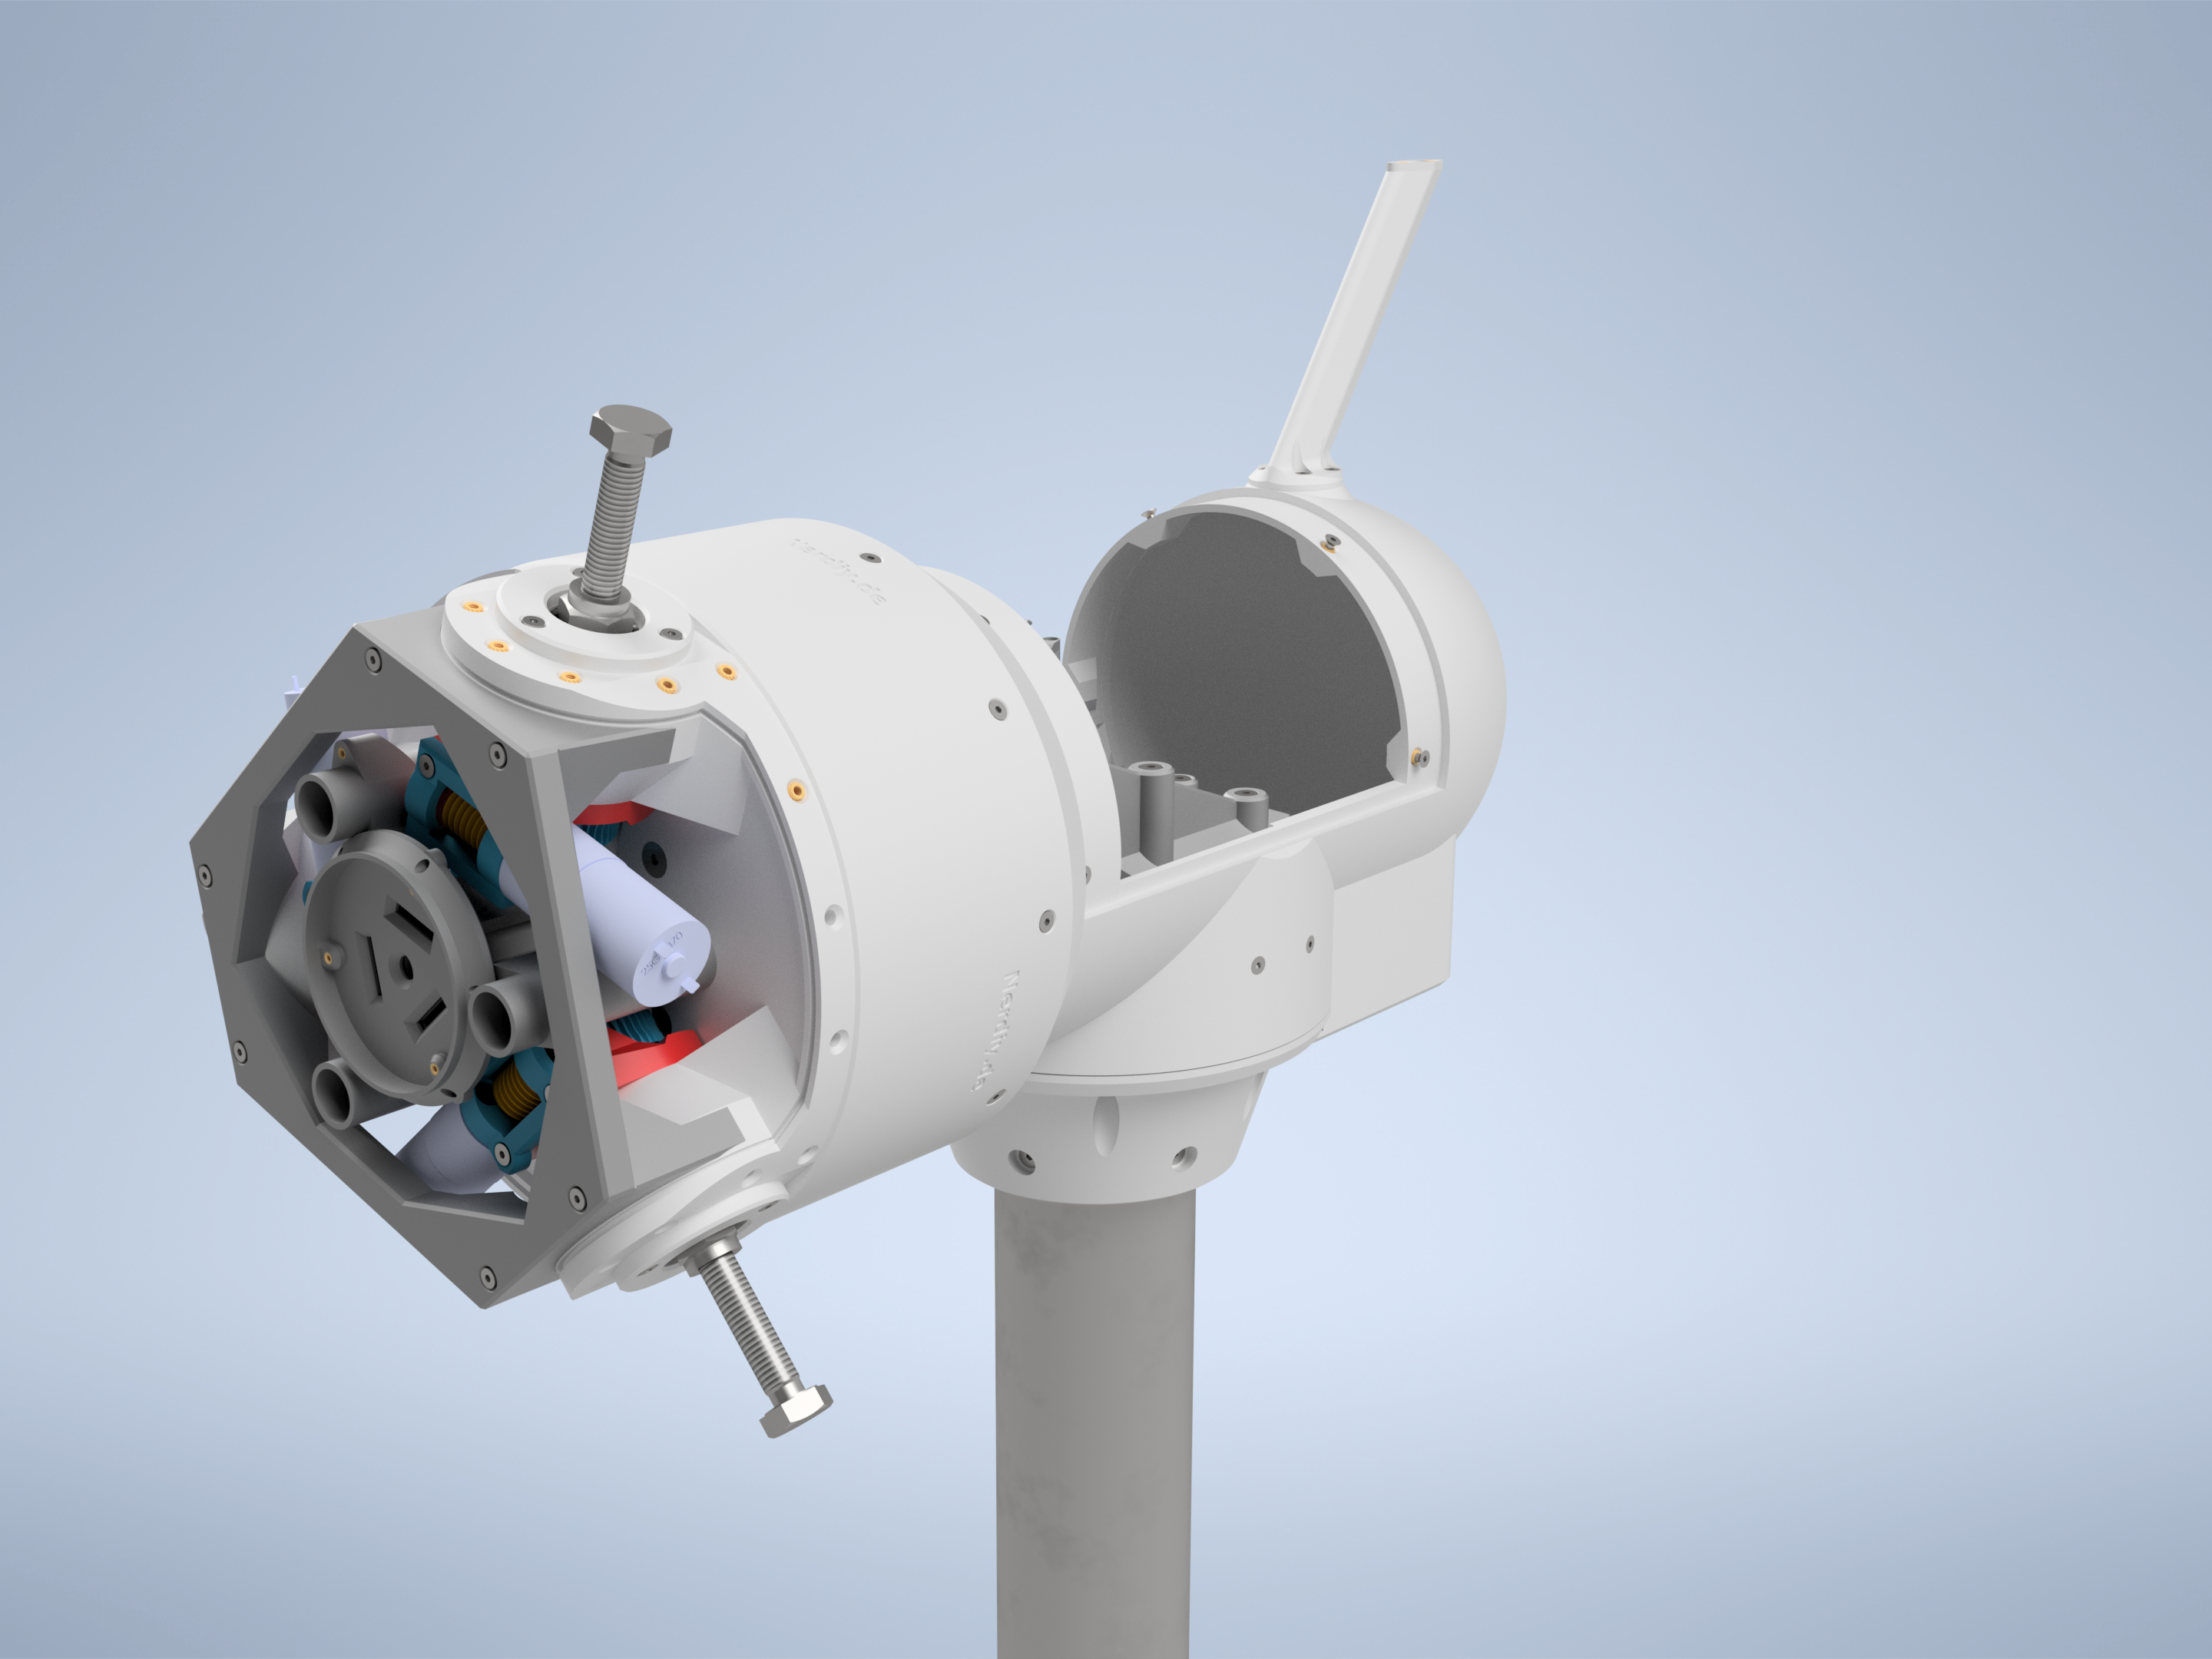
Latest design state of WinDIY_2
Latest design state of the new version "WinDIY_2"


Brief overview of what this is about:

  • Wind turbine build from 3D printed parts
  • HAWT design
  • Rotor diameters from 0.5 to 1.2m possible
  • 3D printed wings
  • Uses a 3D printed disk generator for energy generation
  • Safety functions through active pitch adjustment of the wings, mechanical brake and electronic brake function via the disk generator
  • Can be printed using any "normal" (20x20cm bed size) FDM Printer

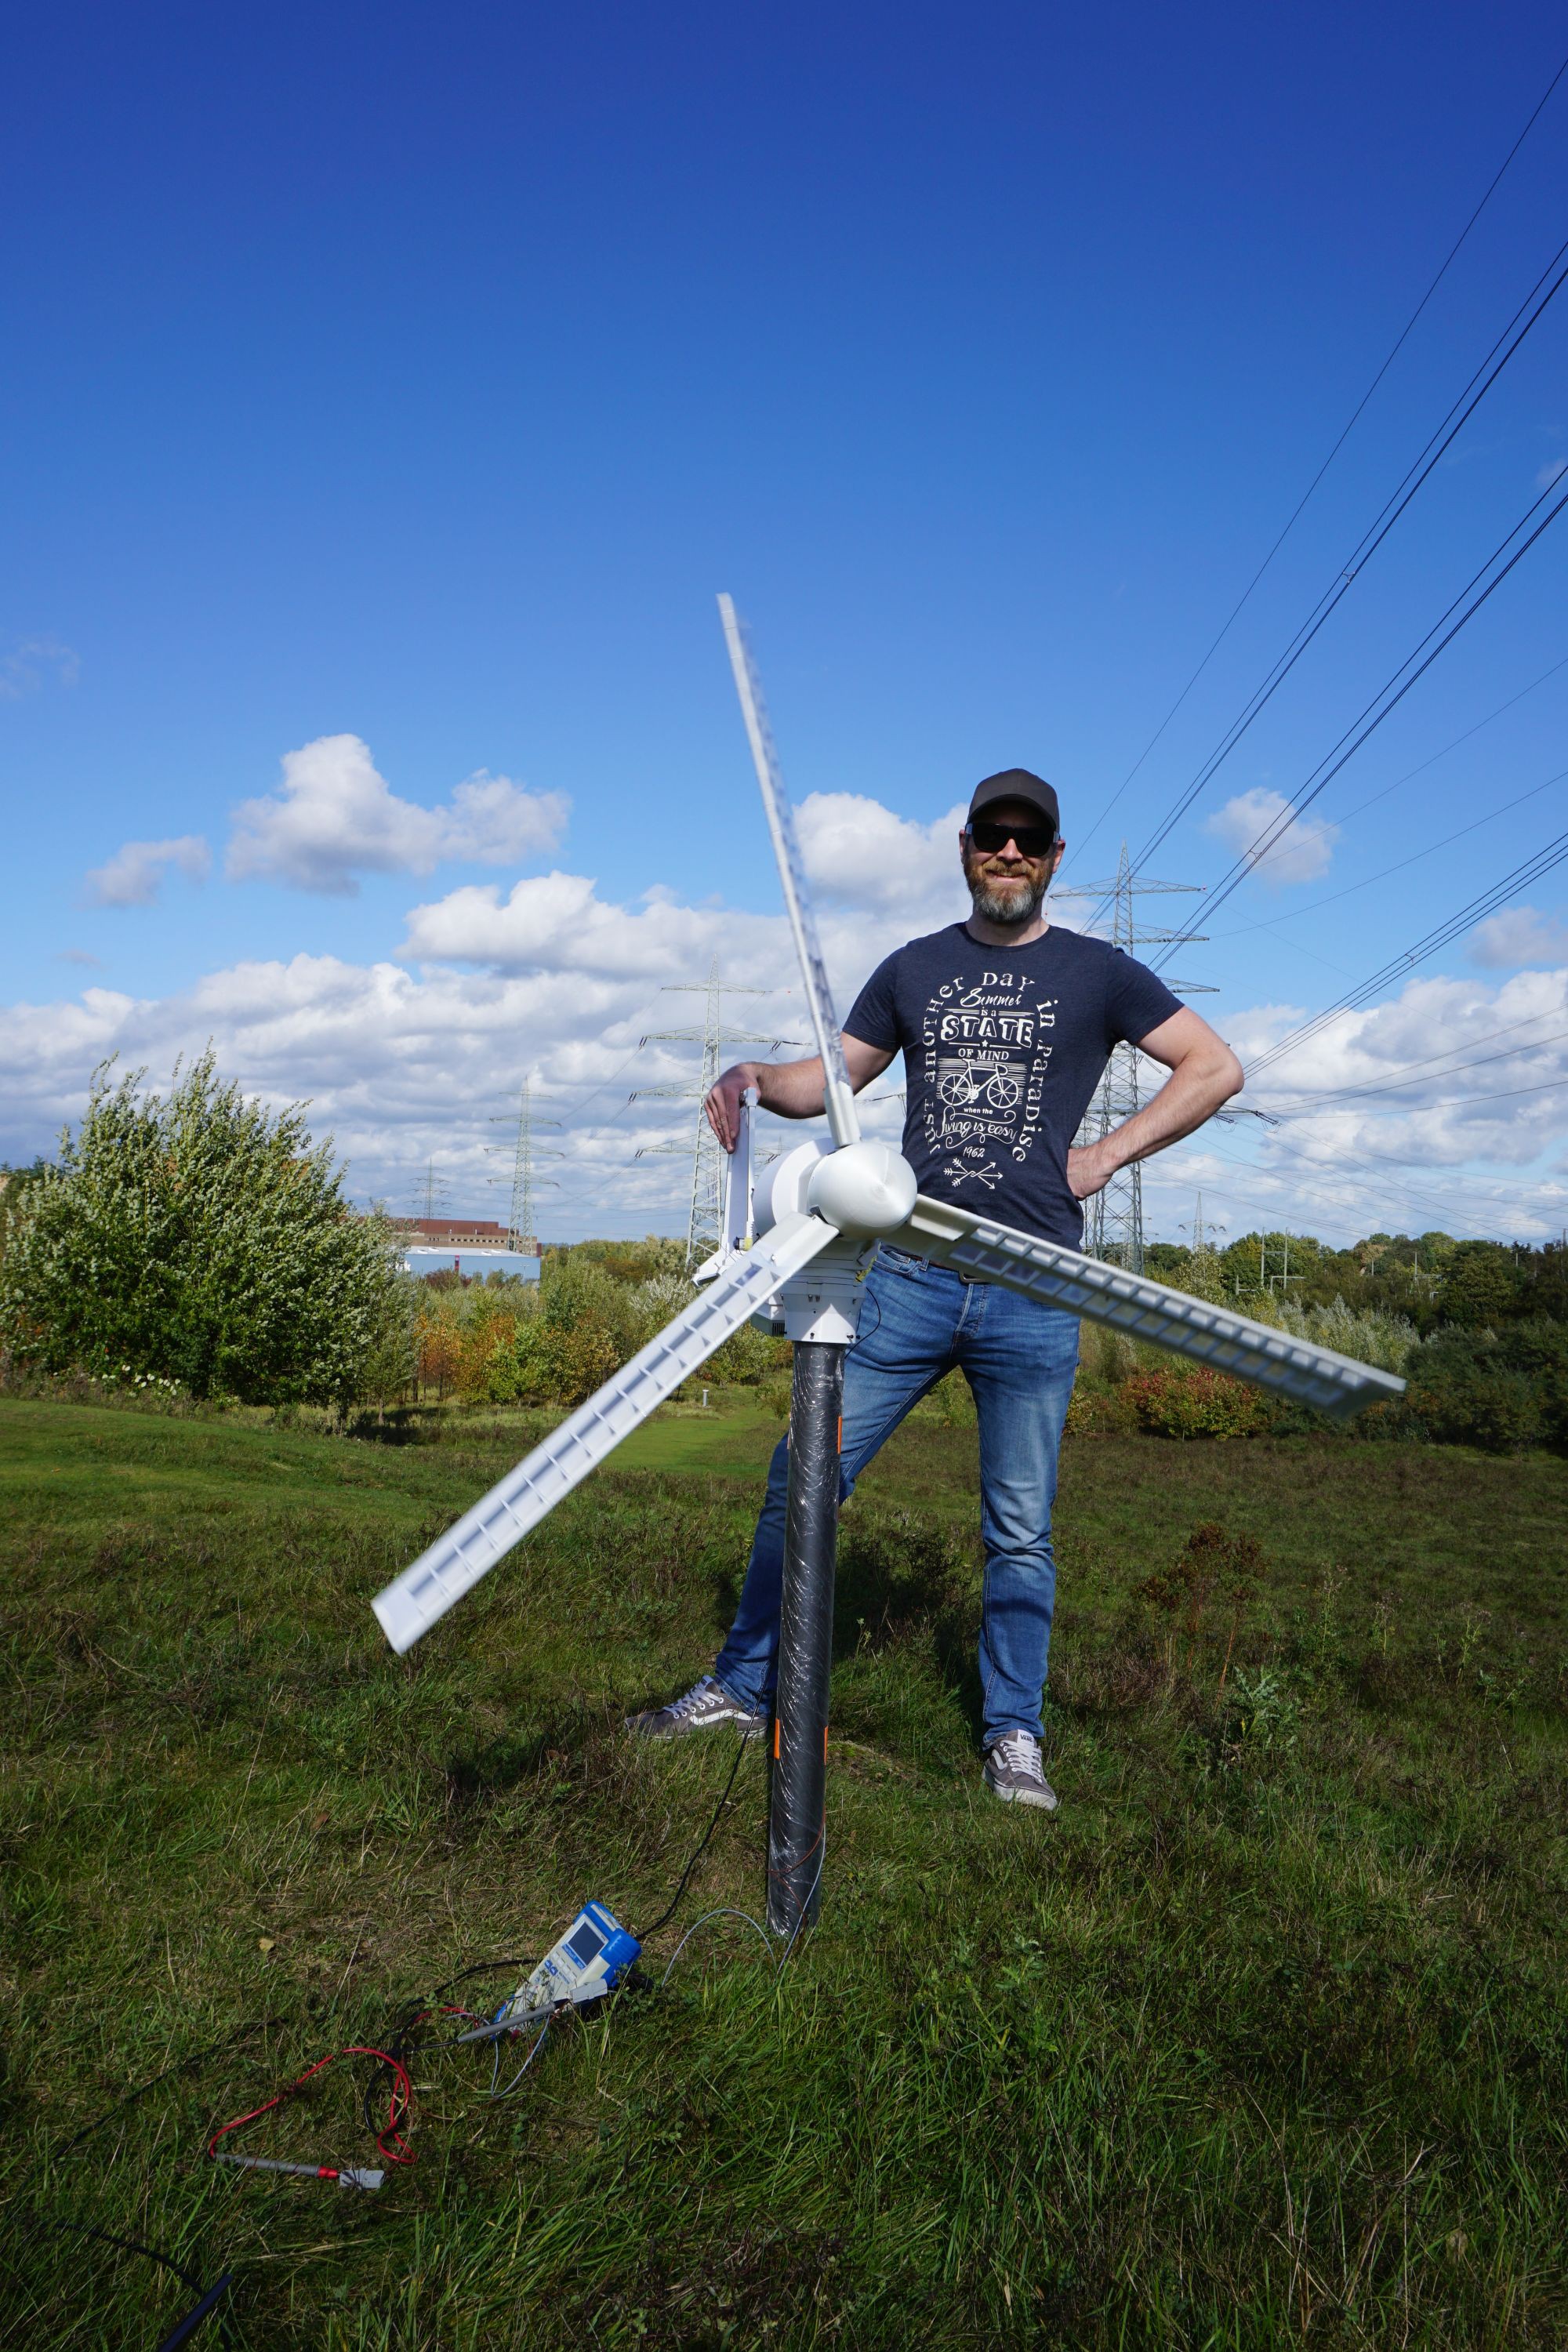
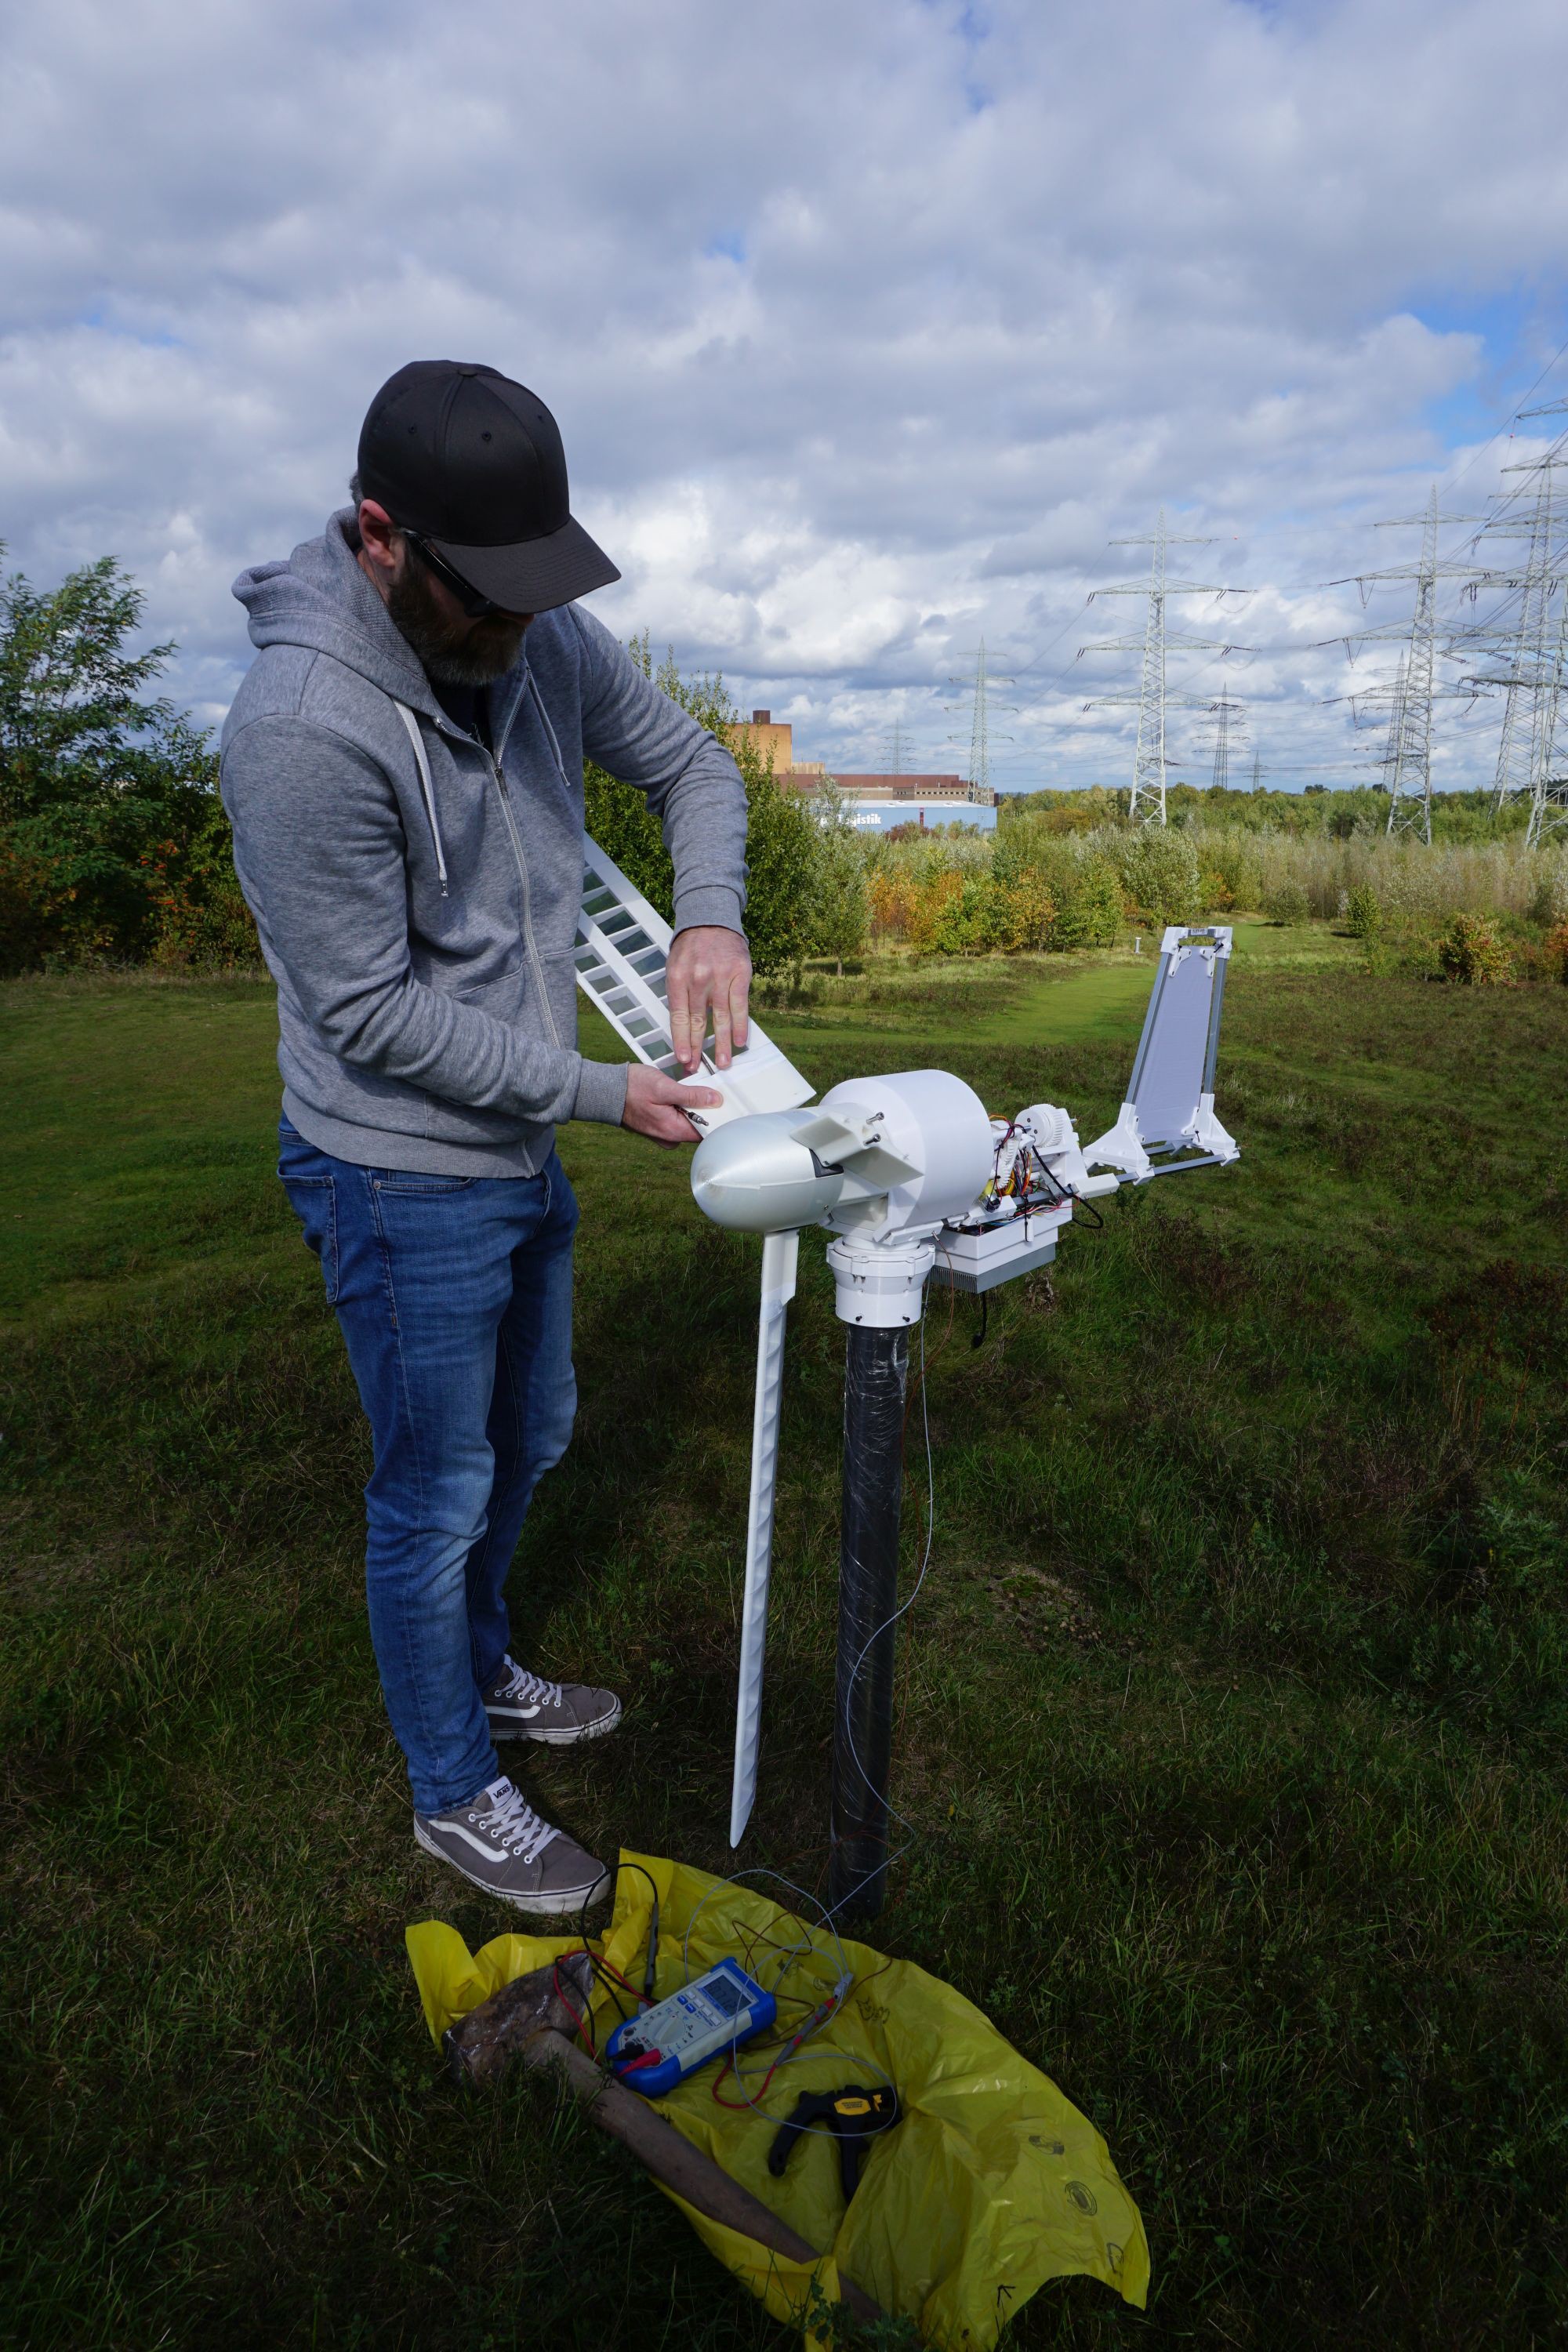
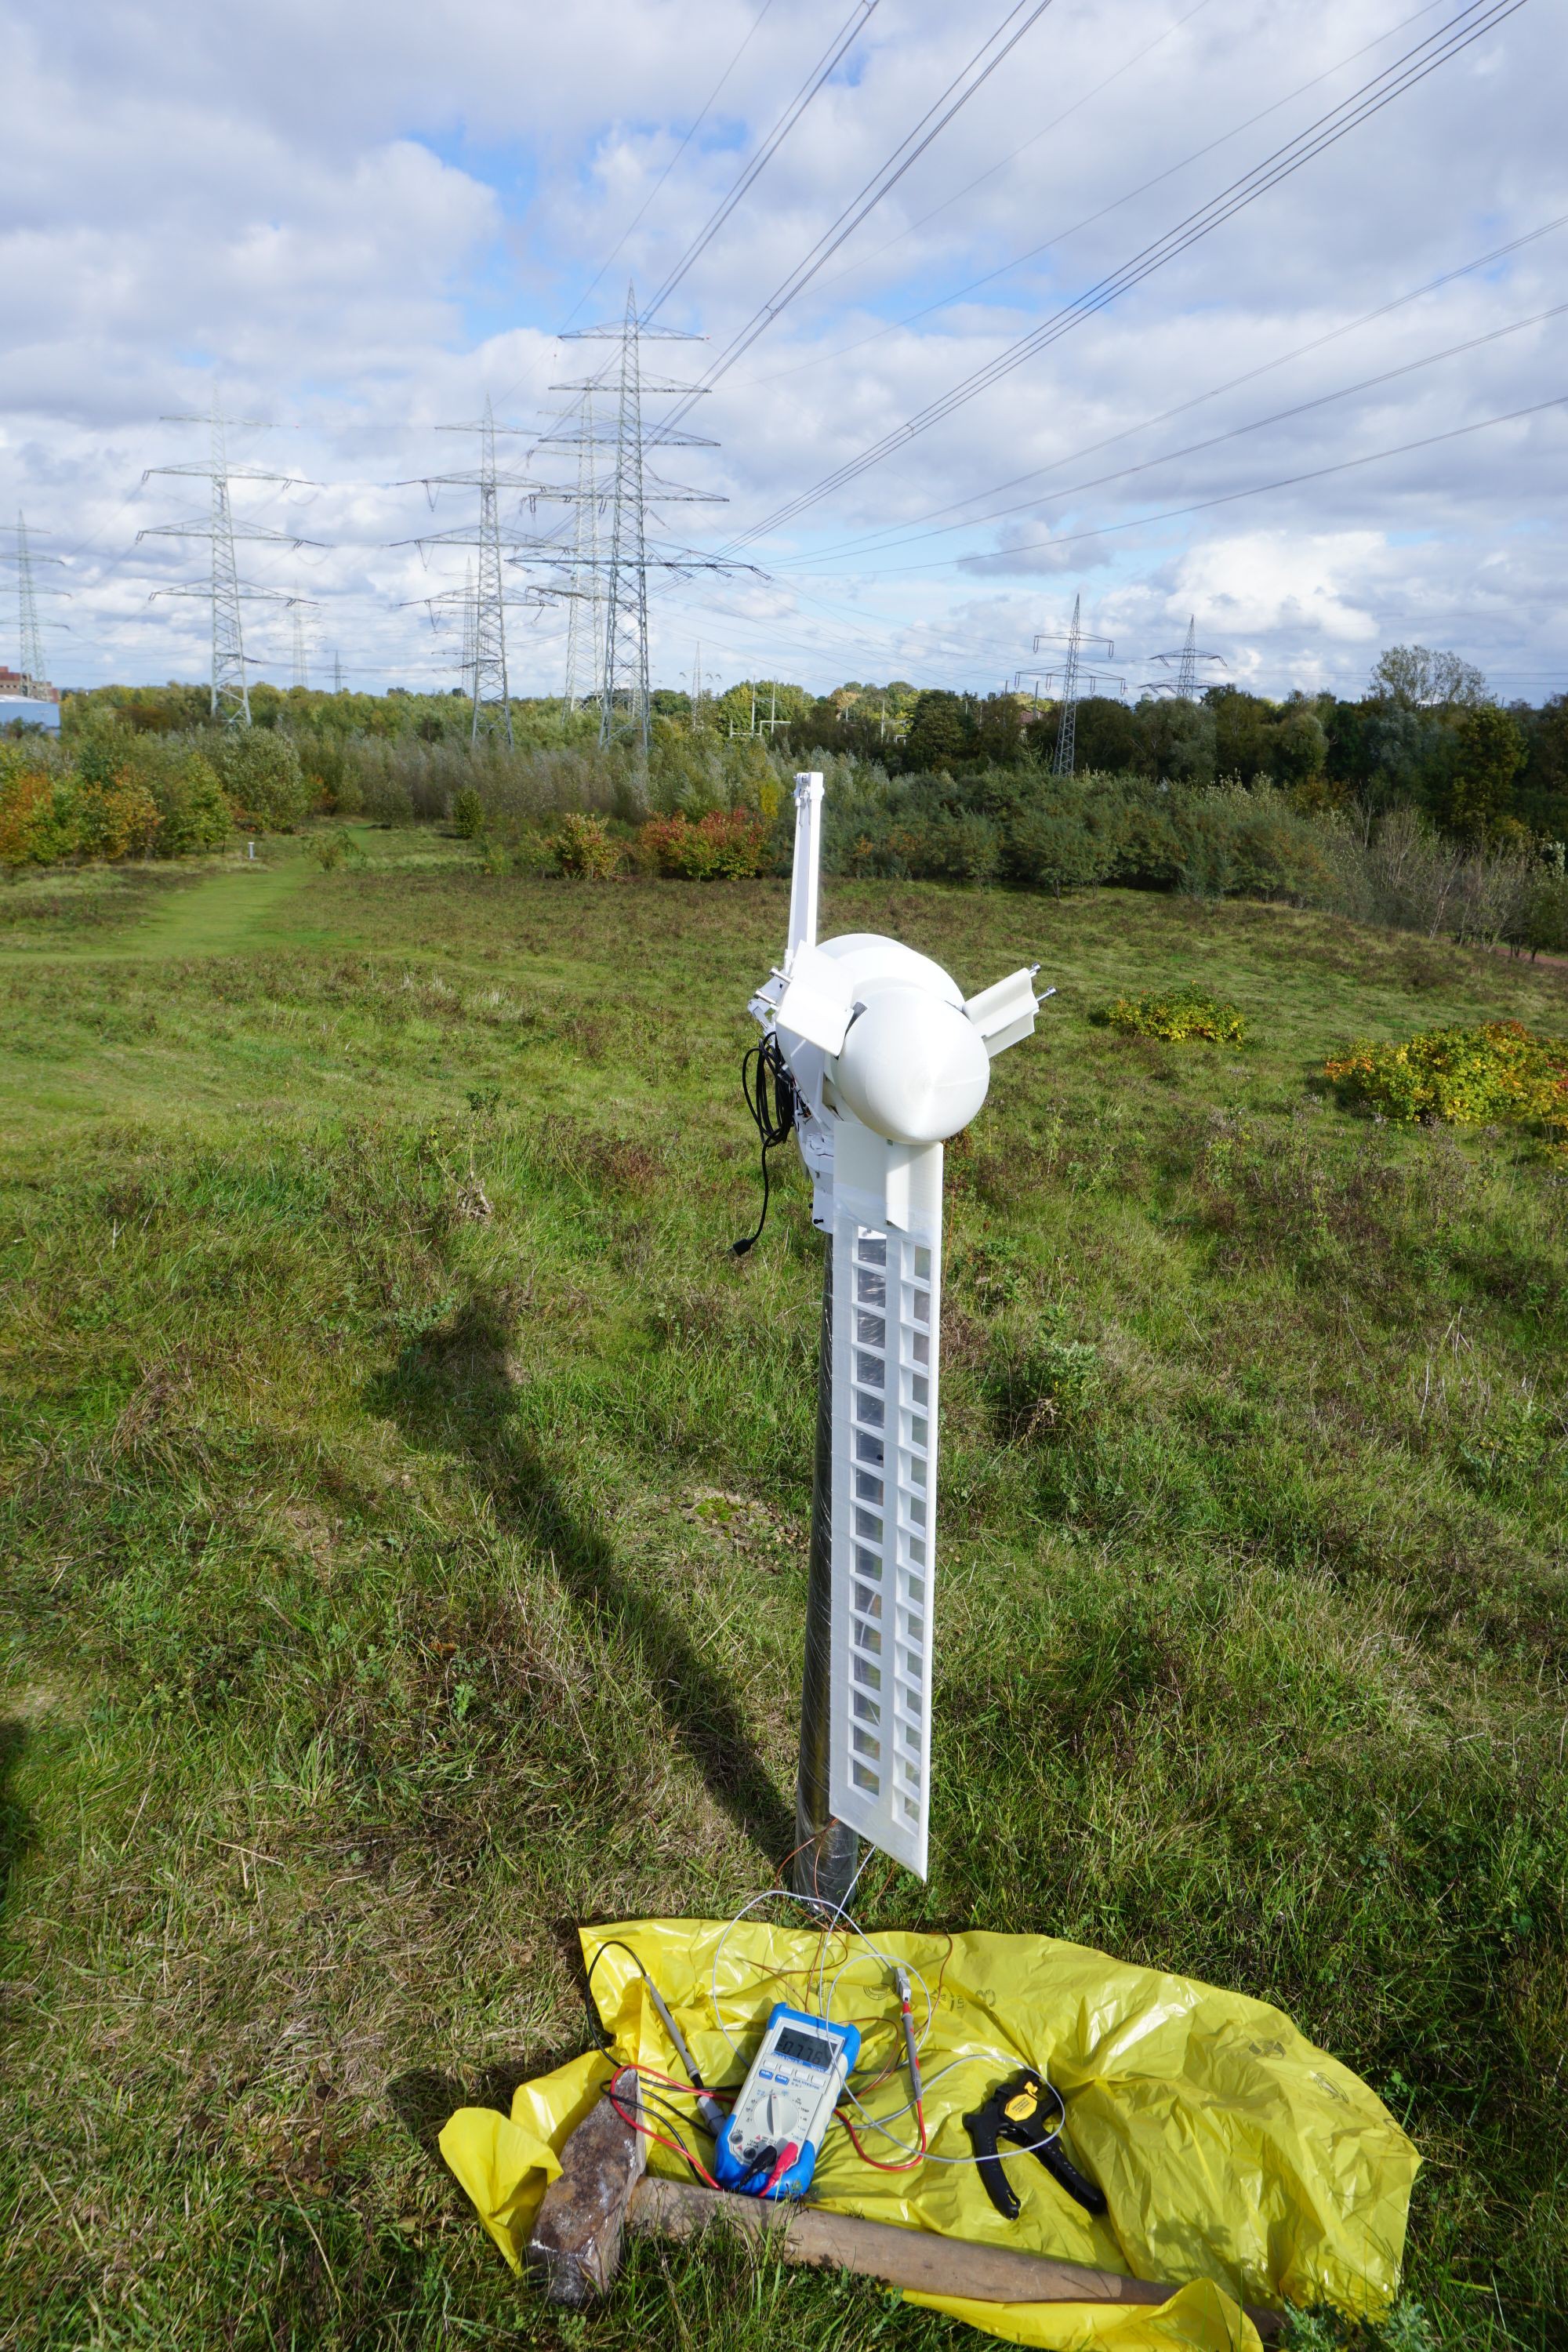
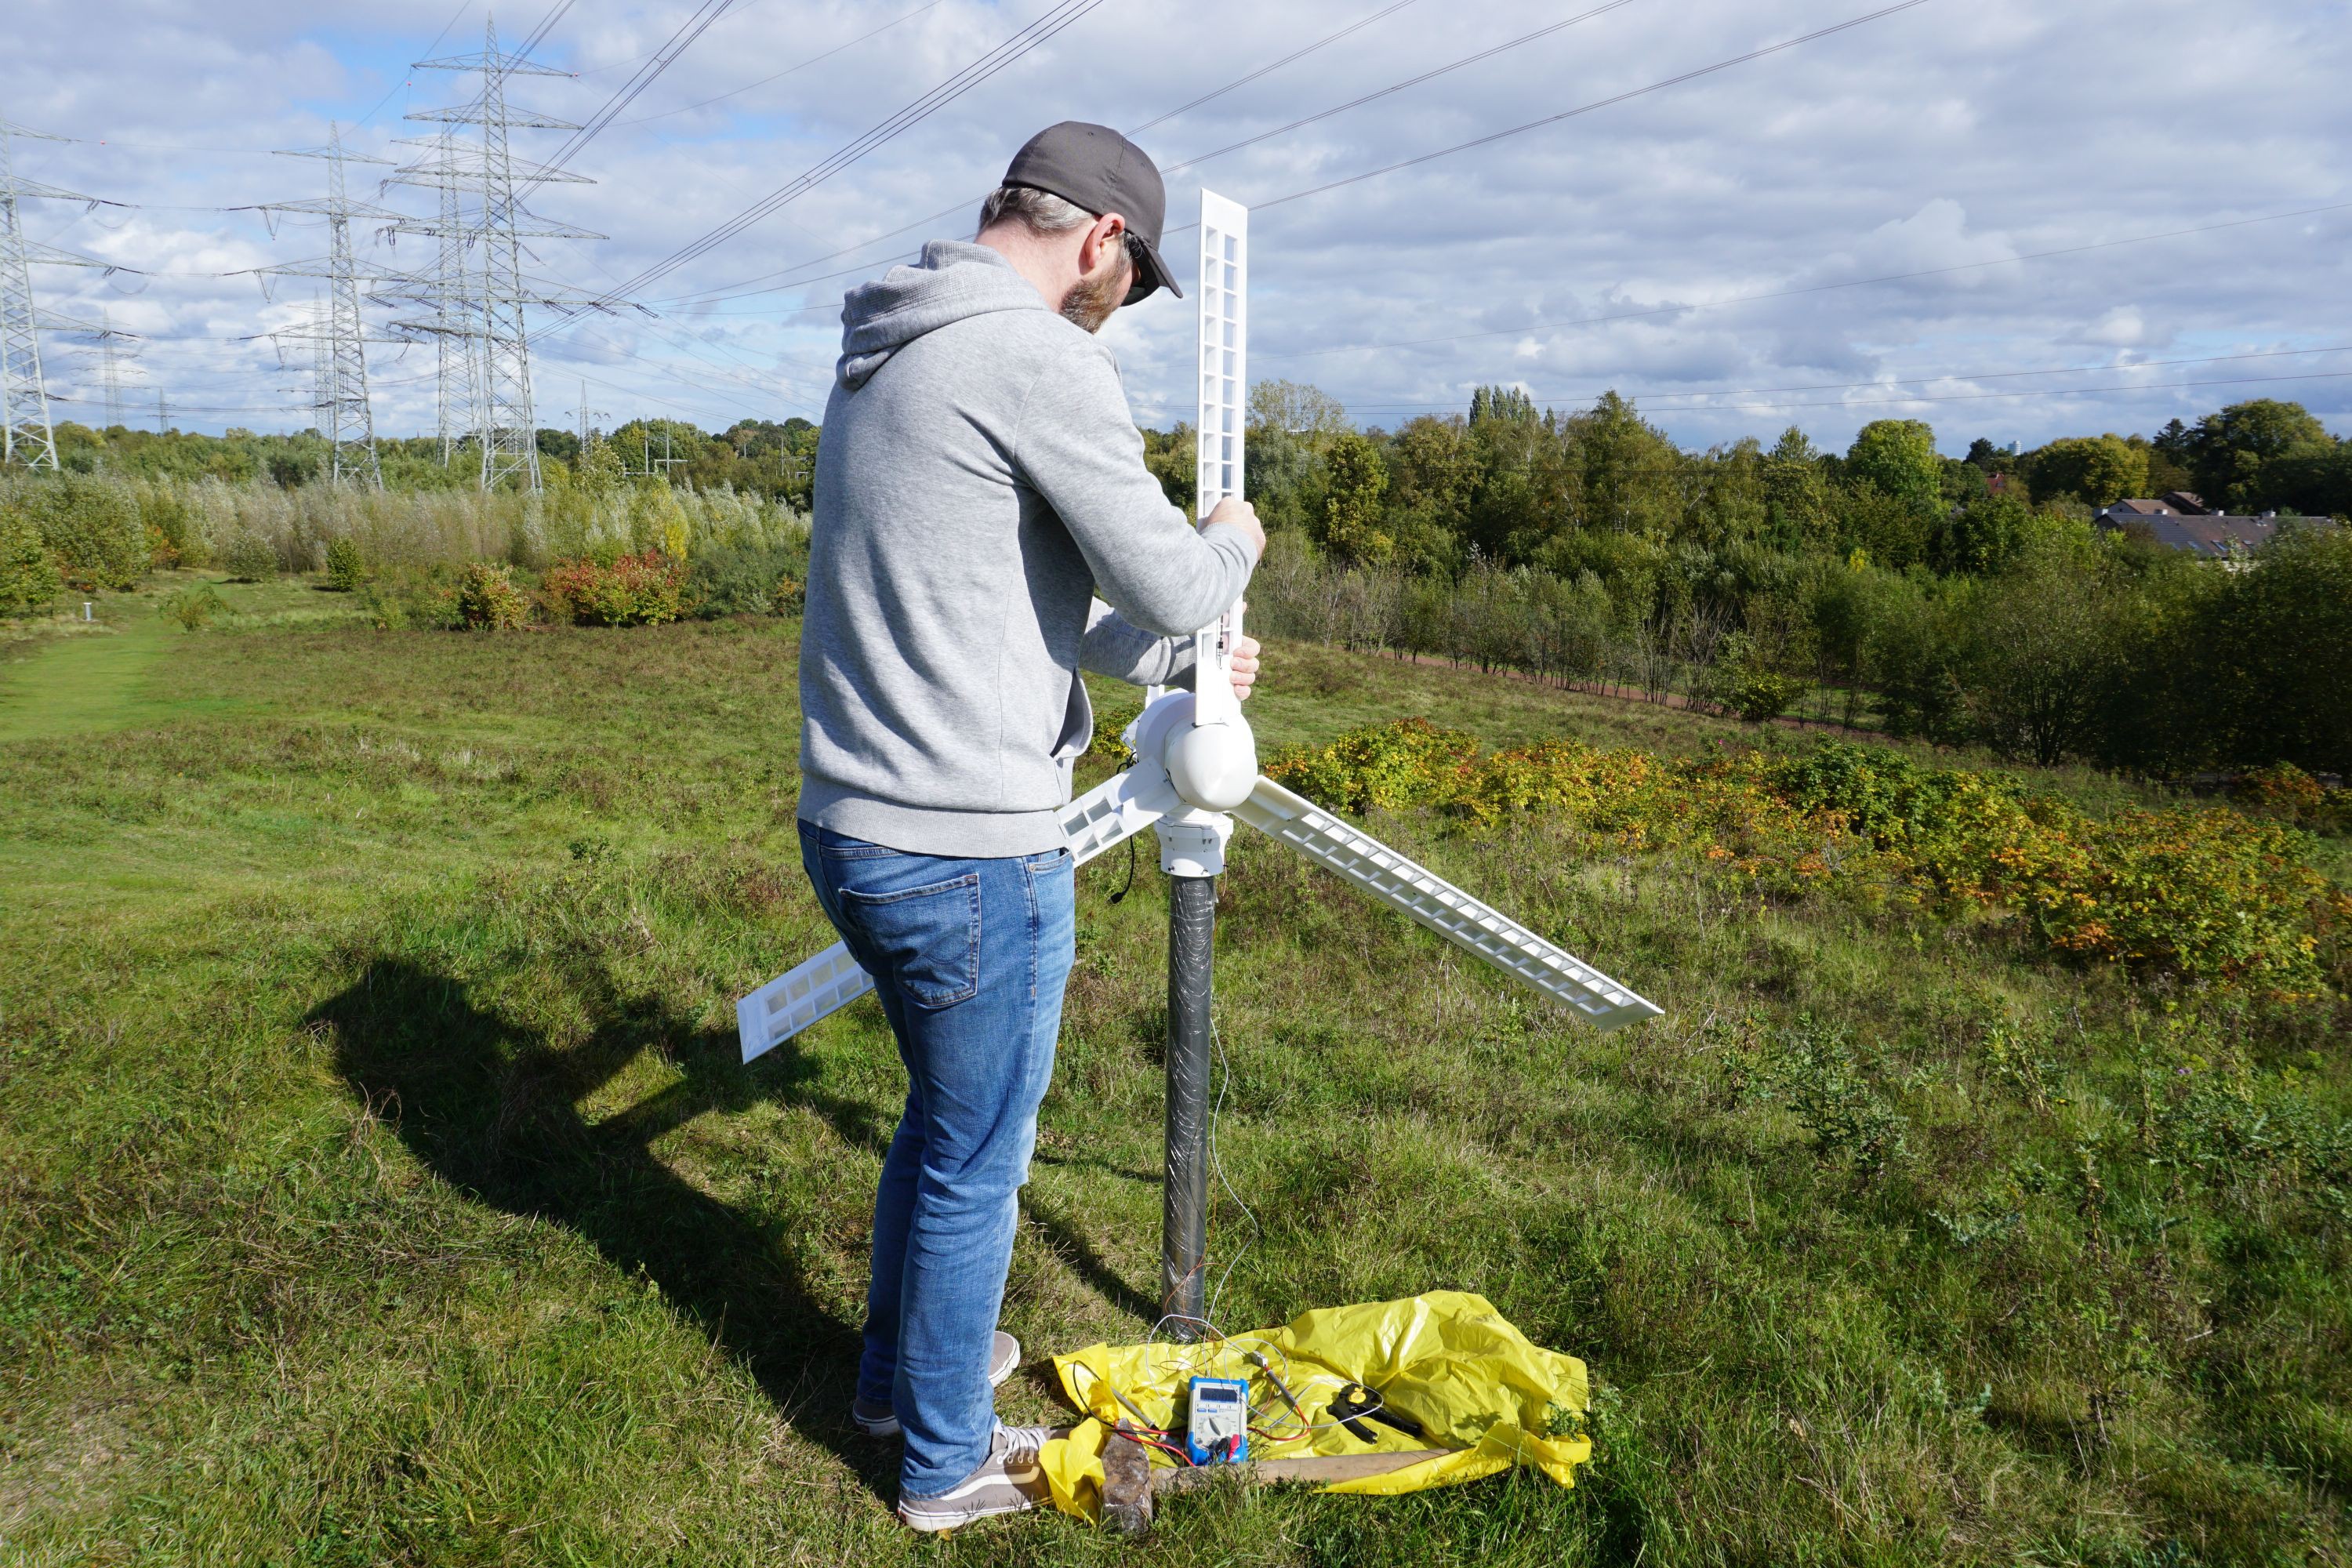
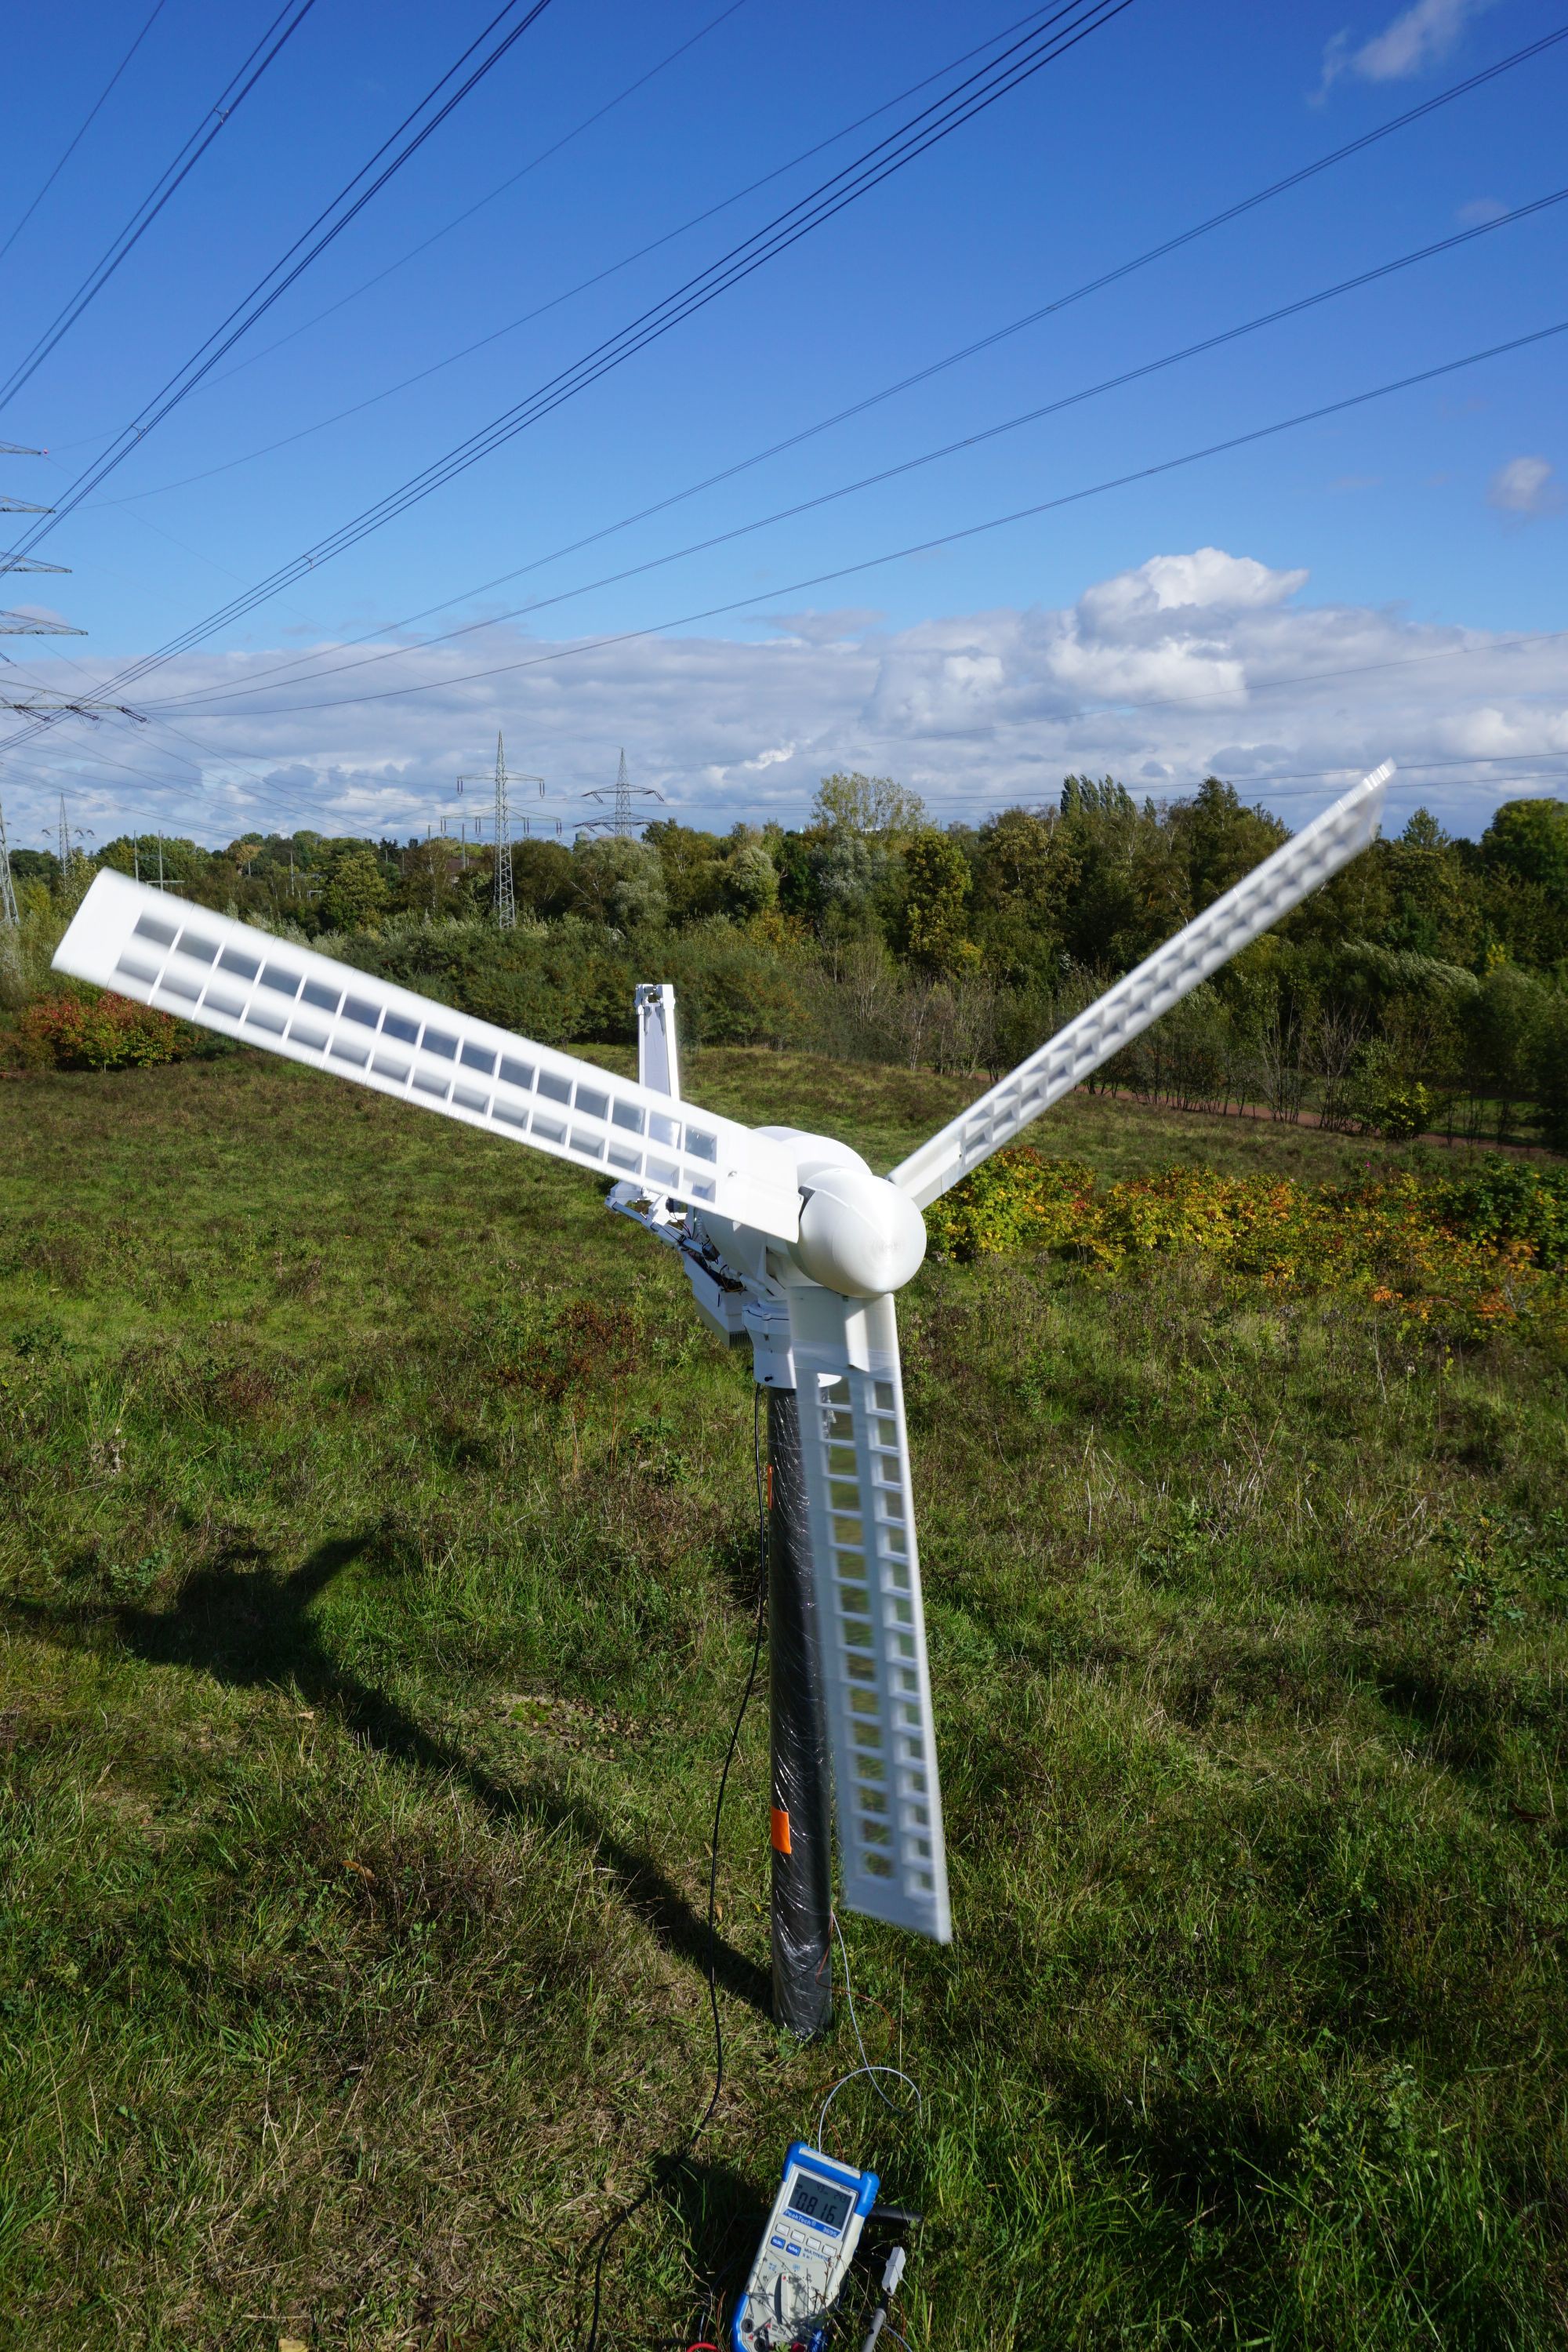
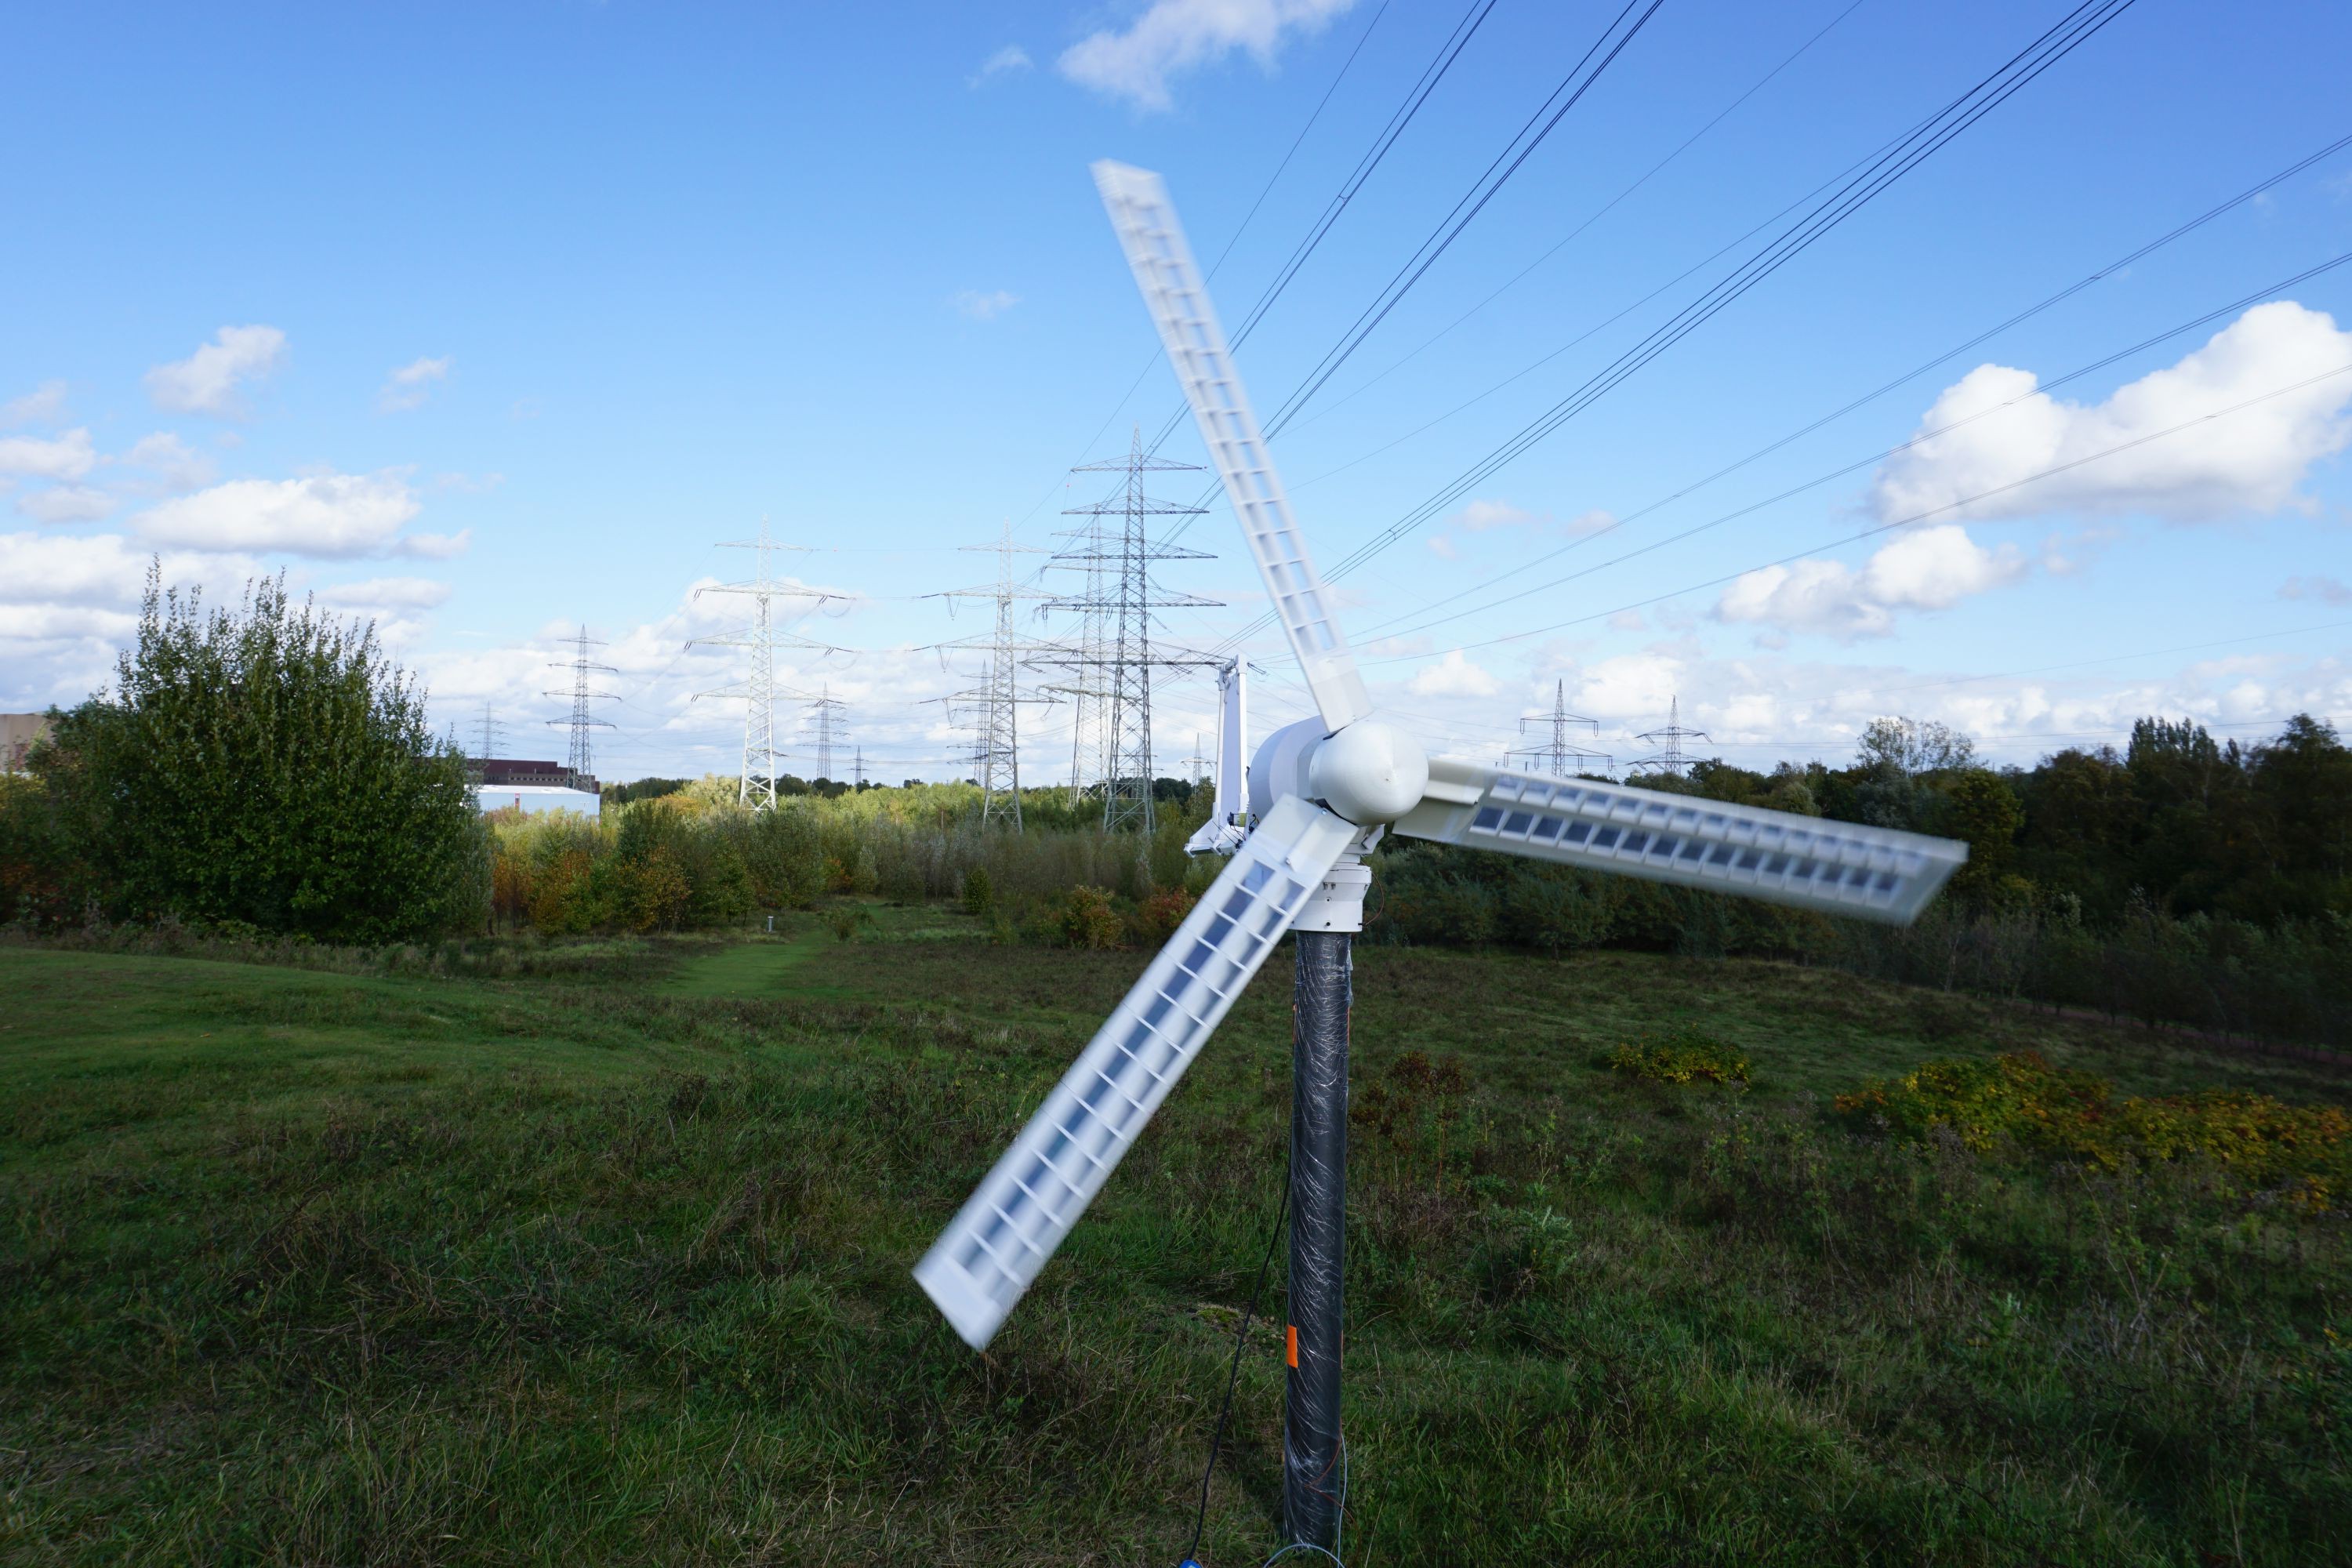
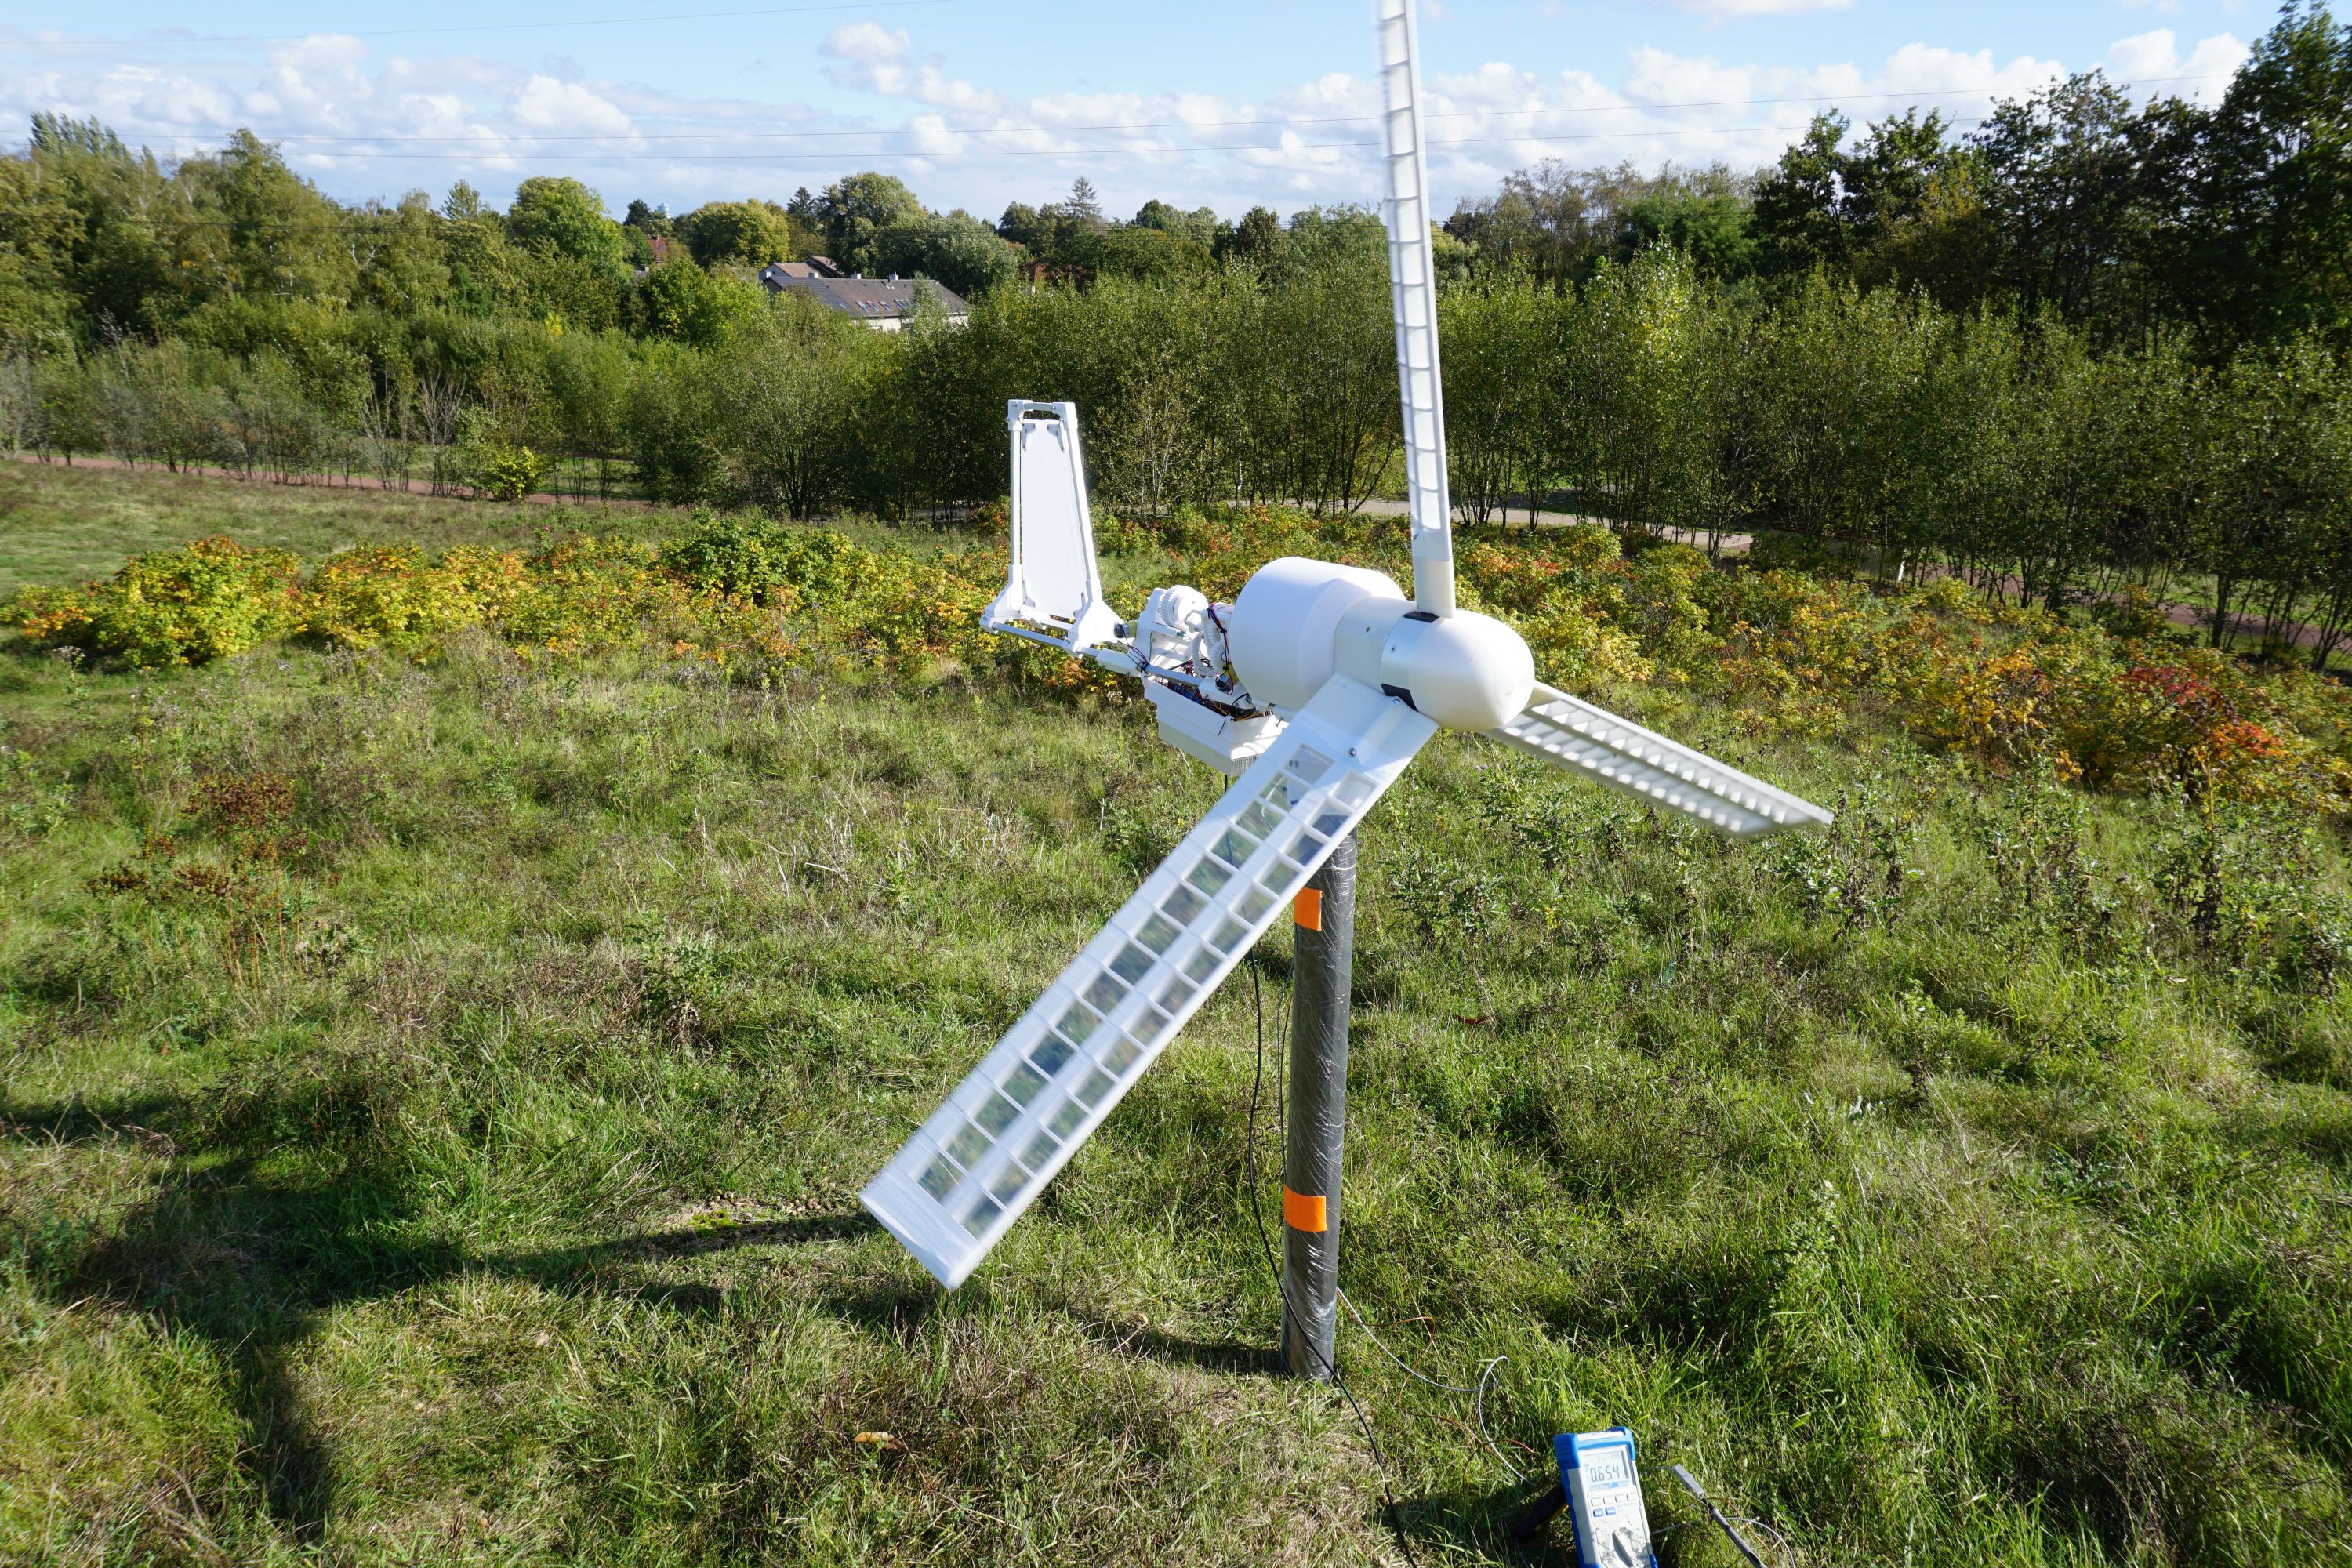
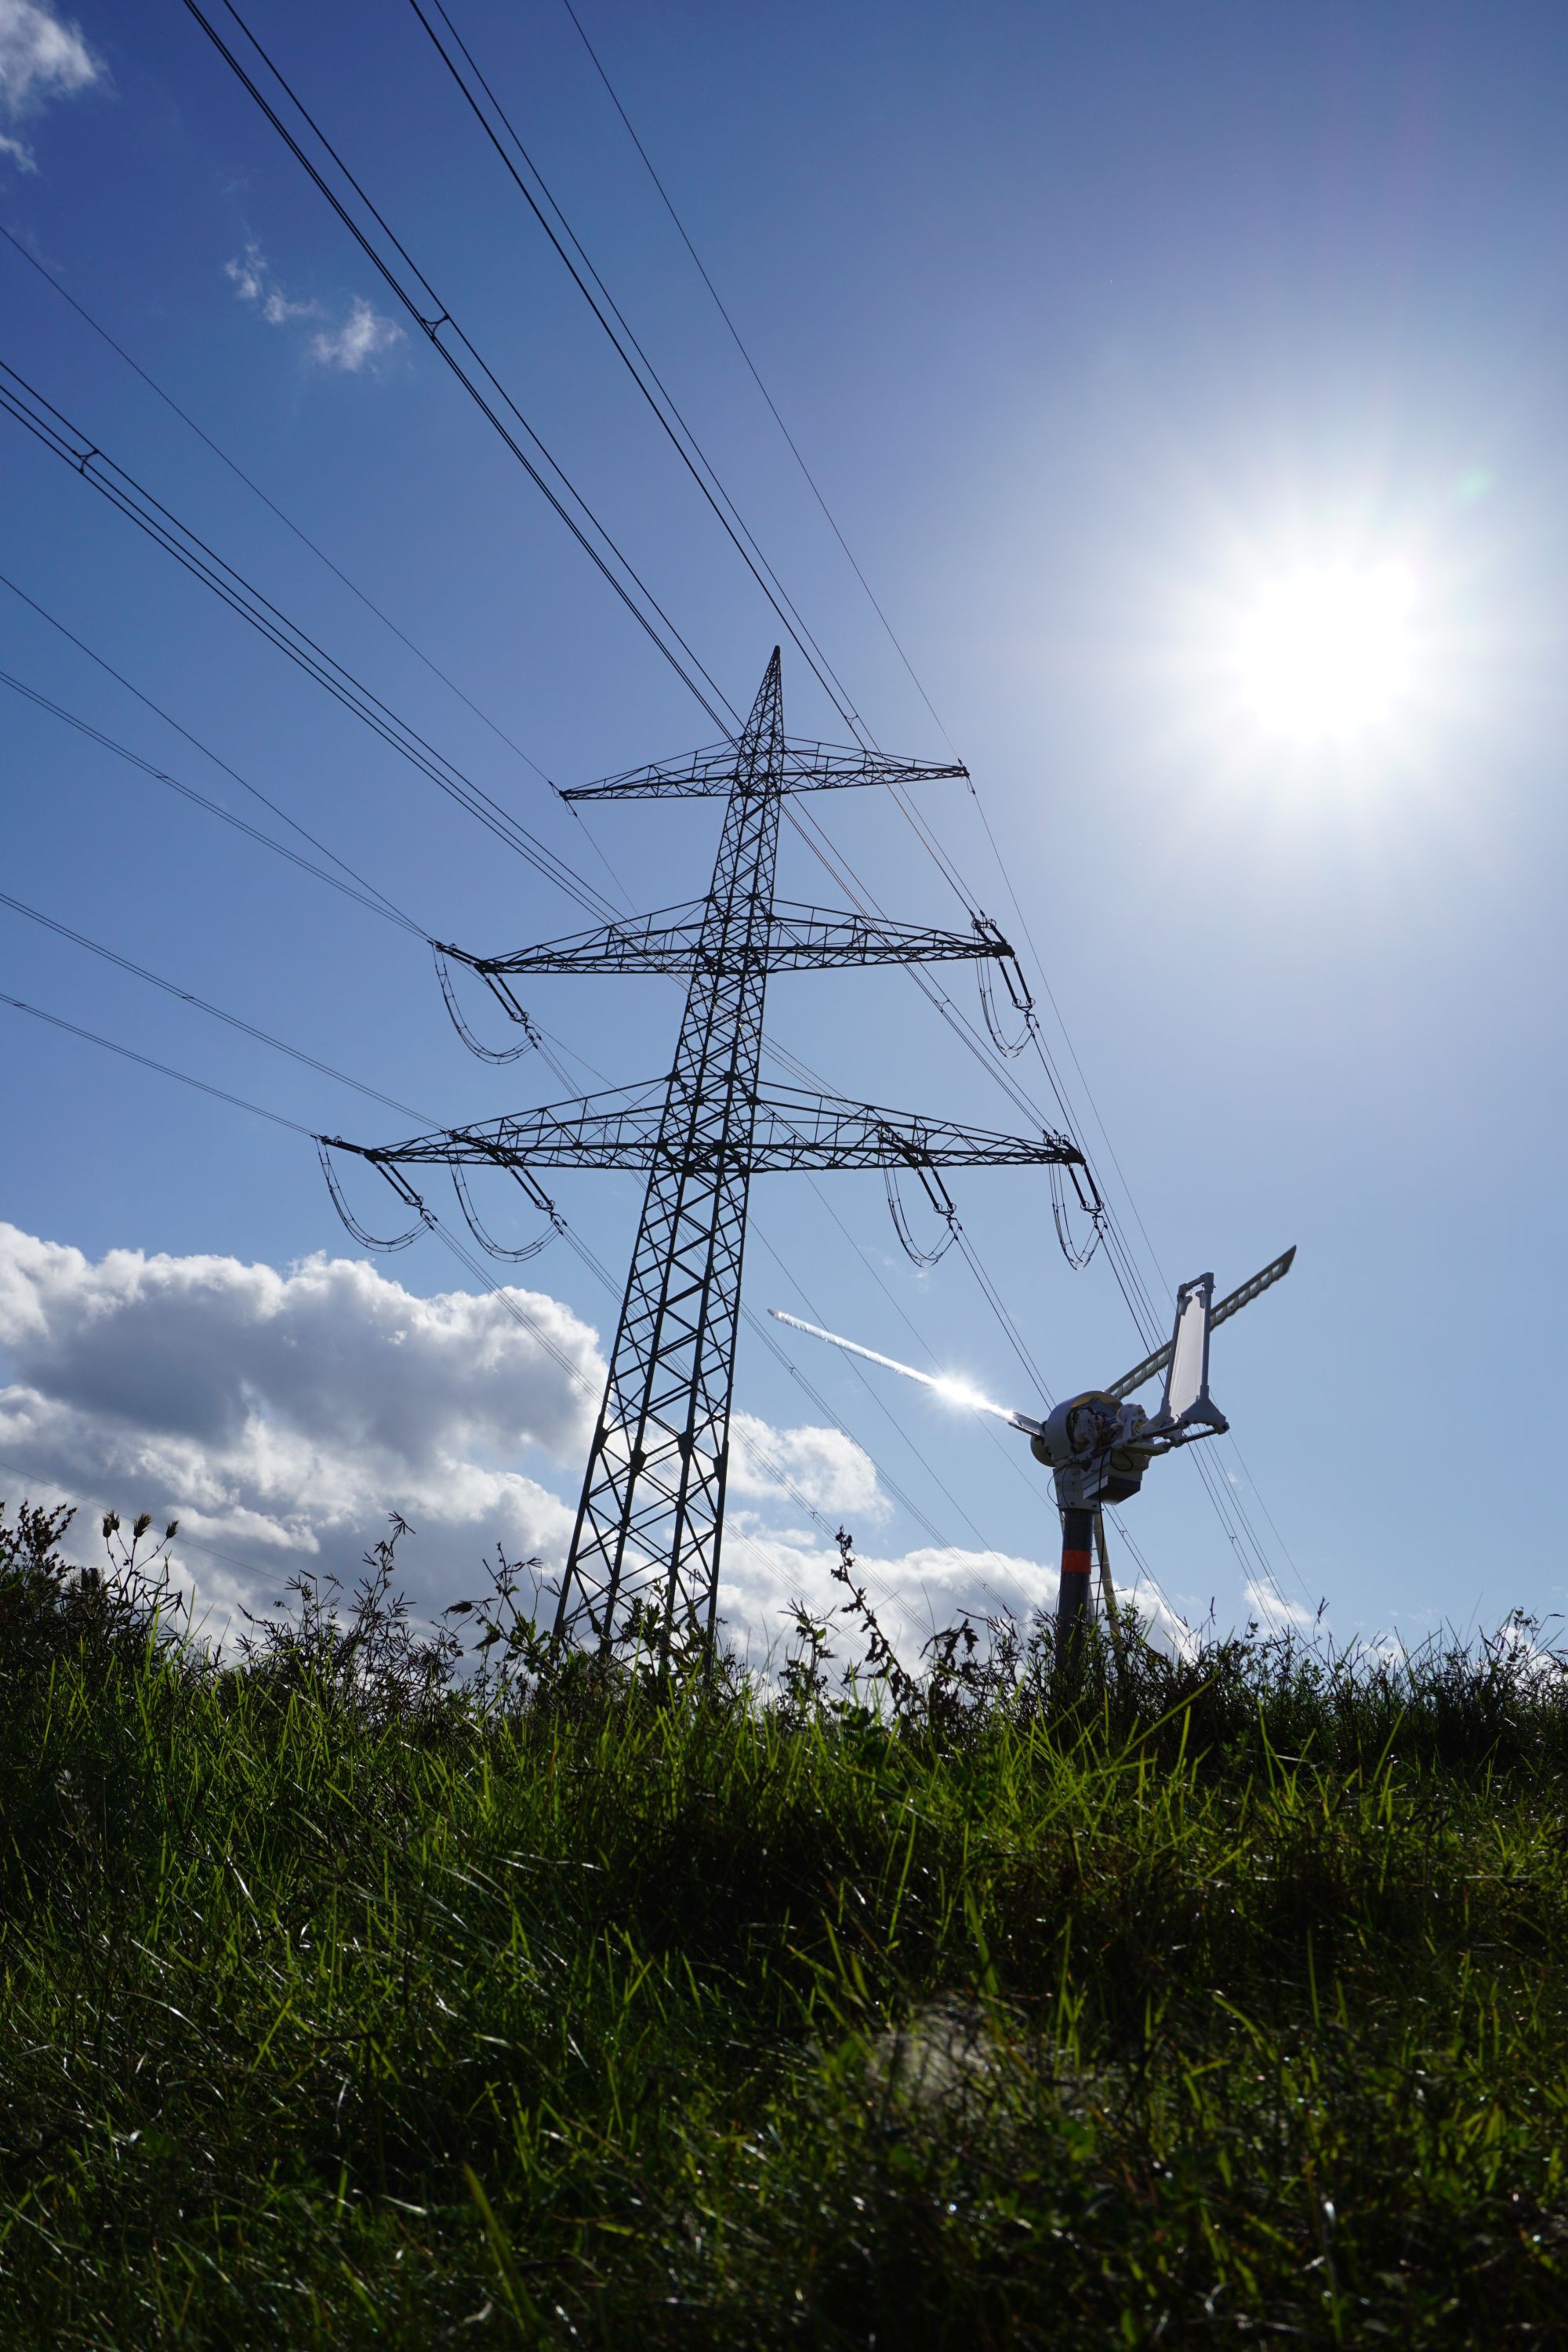
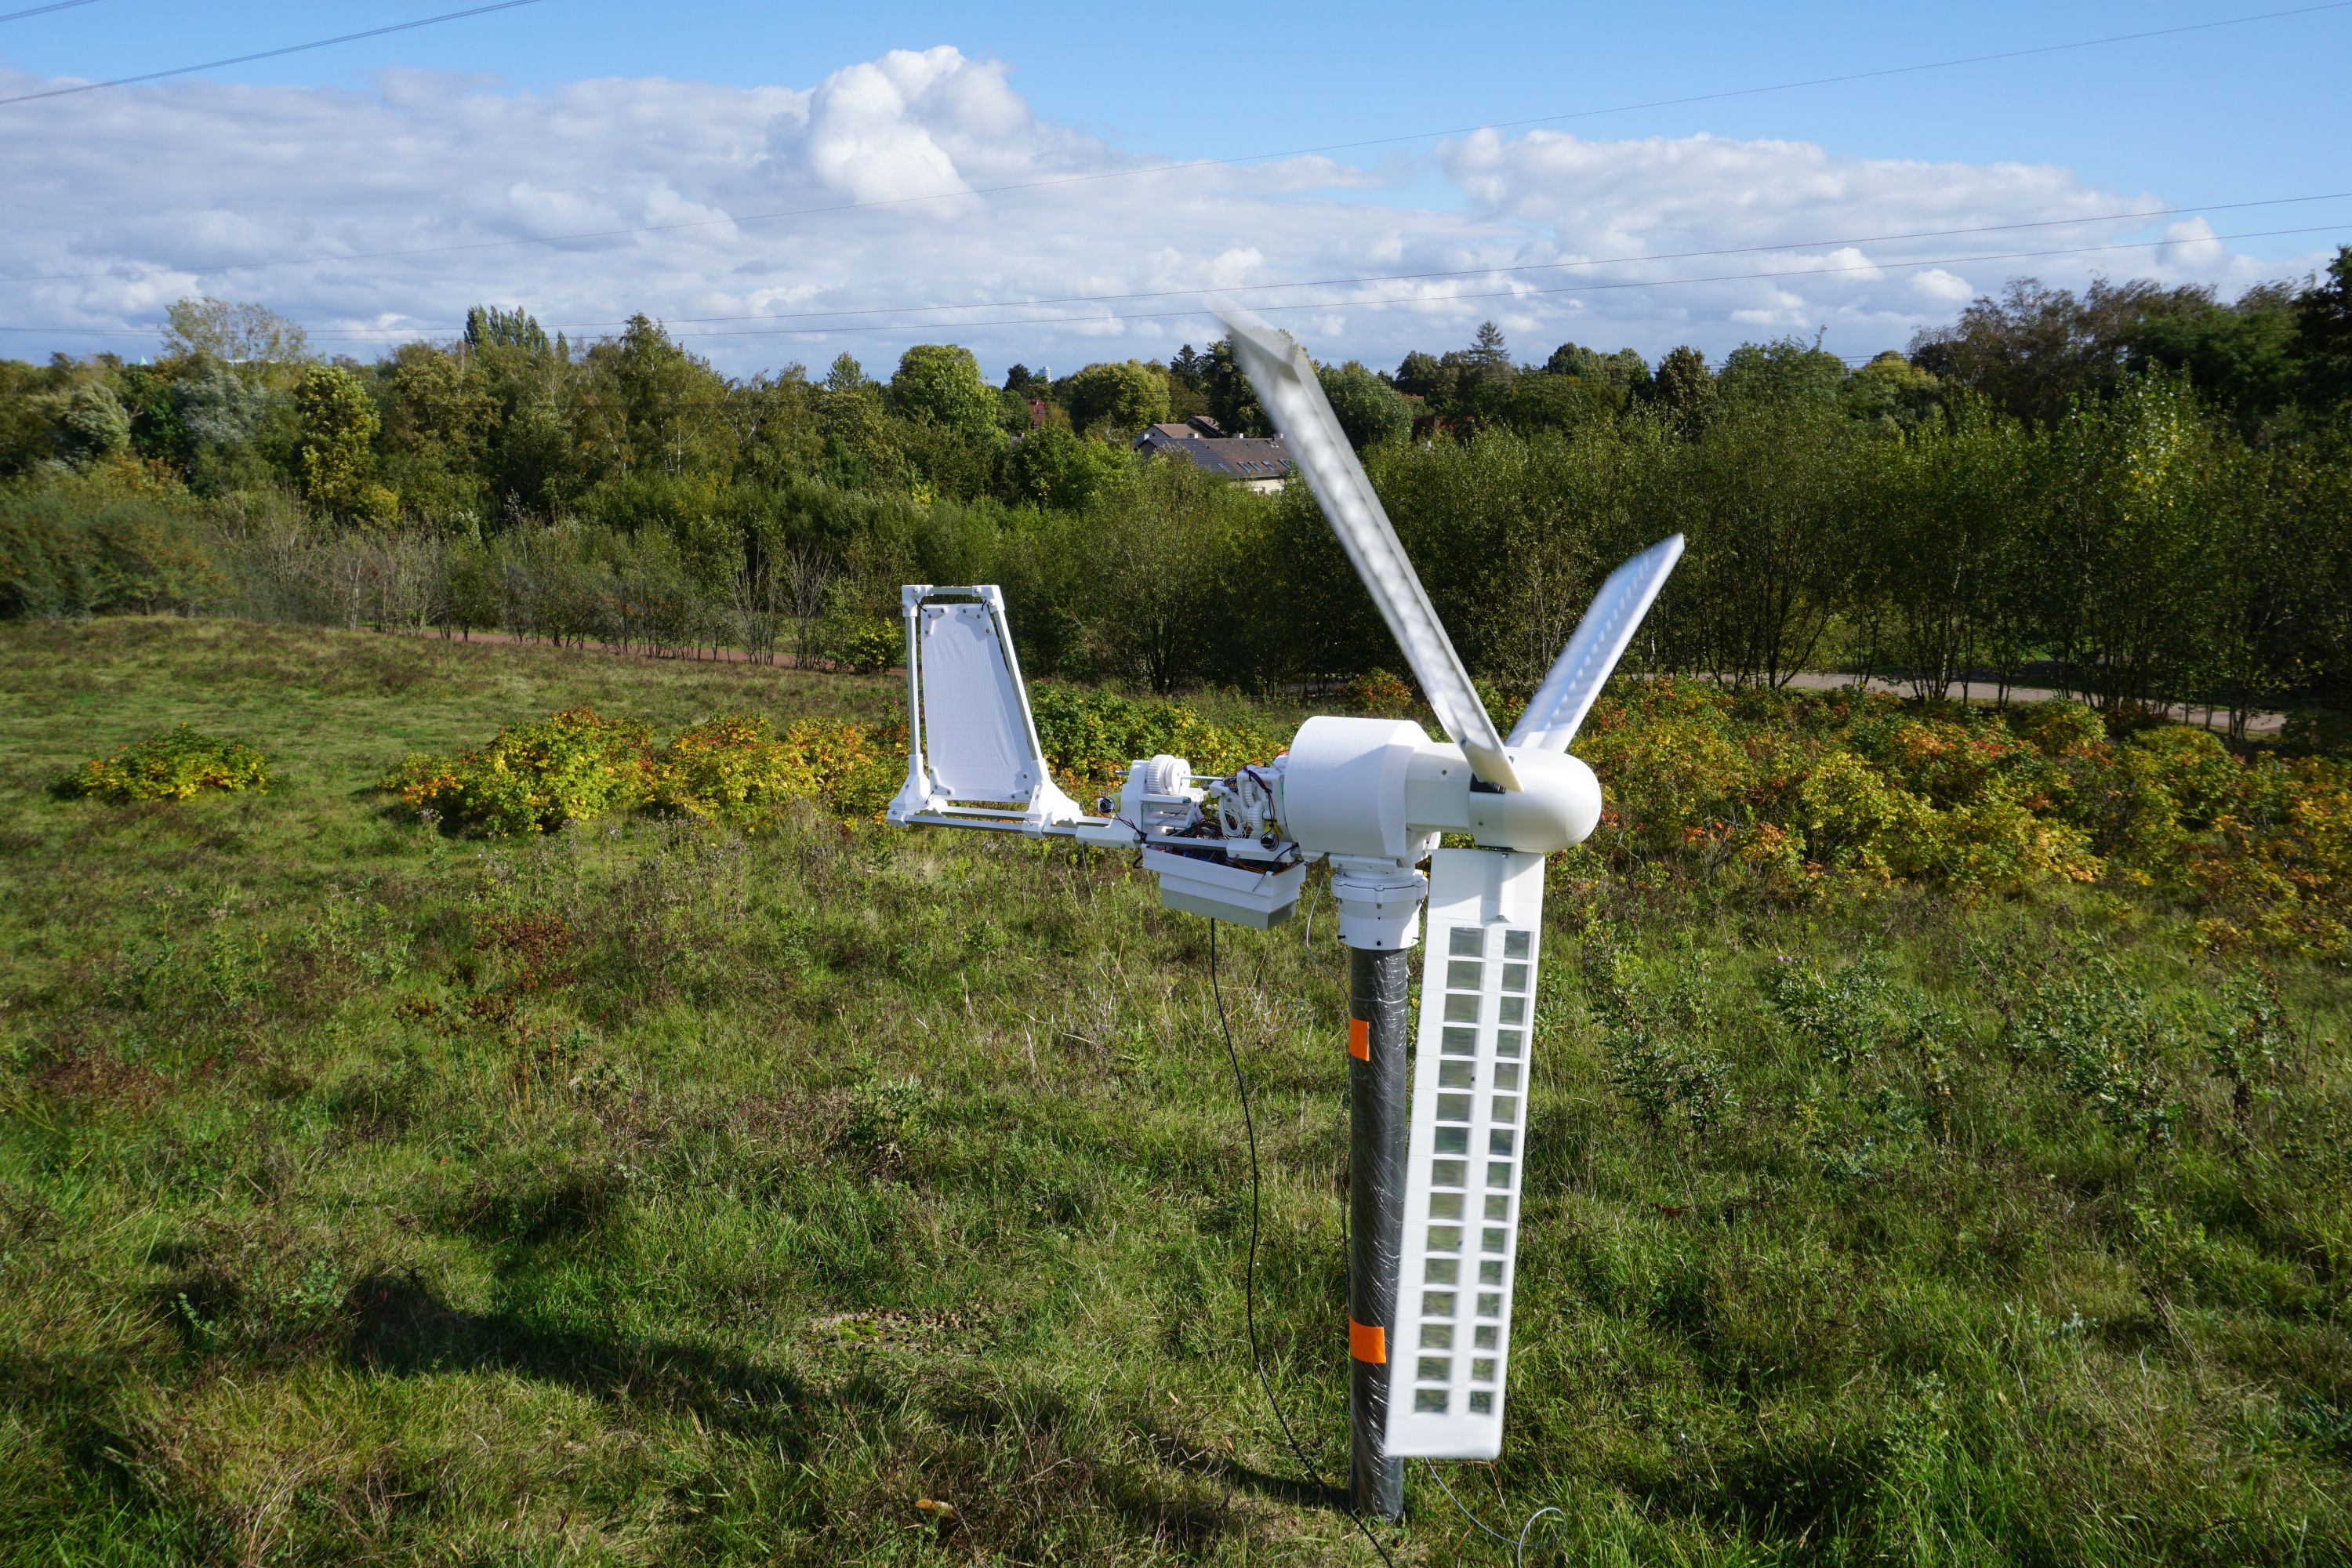
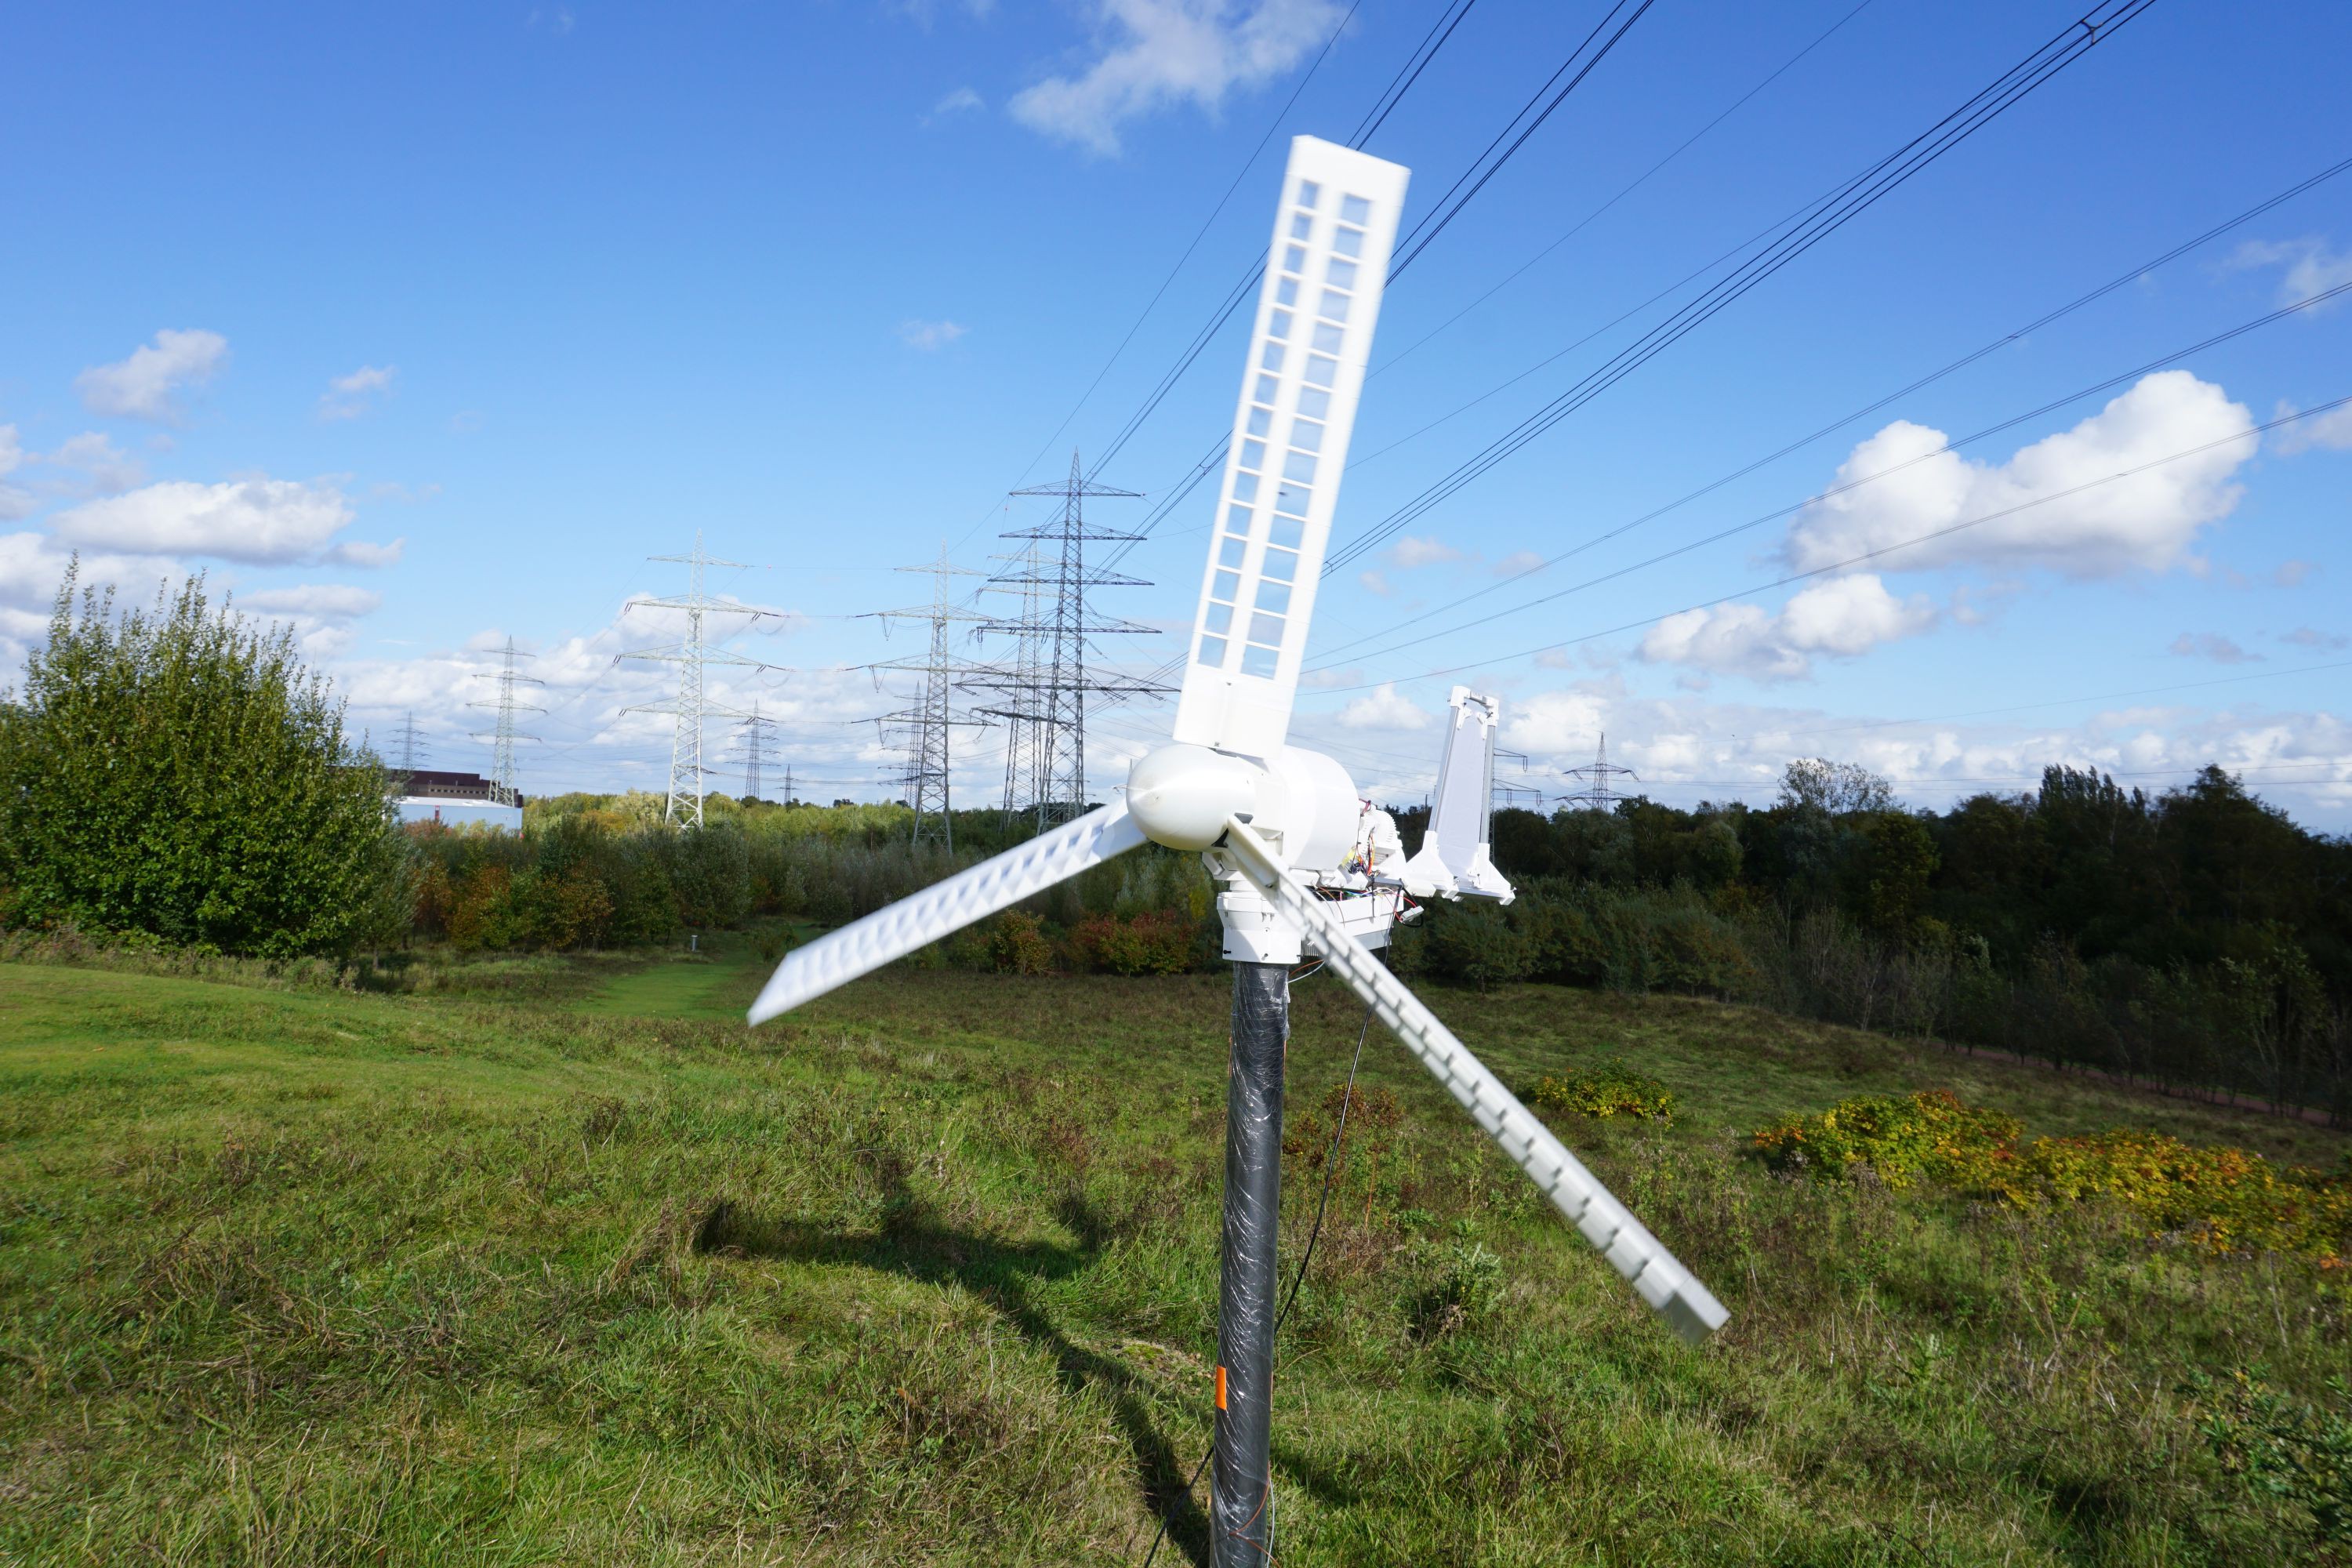
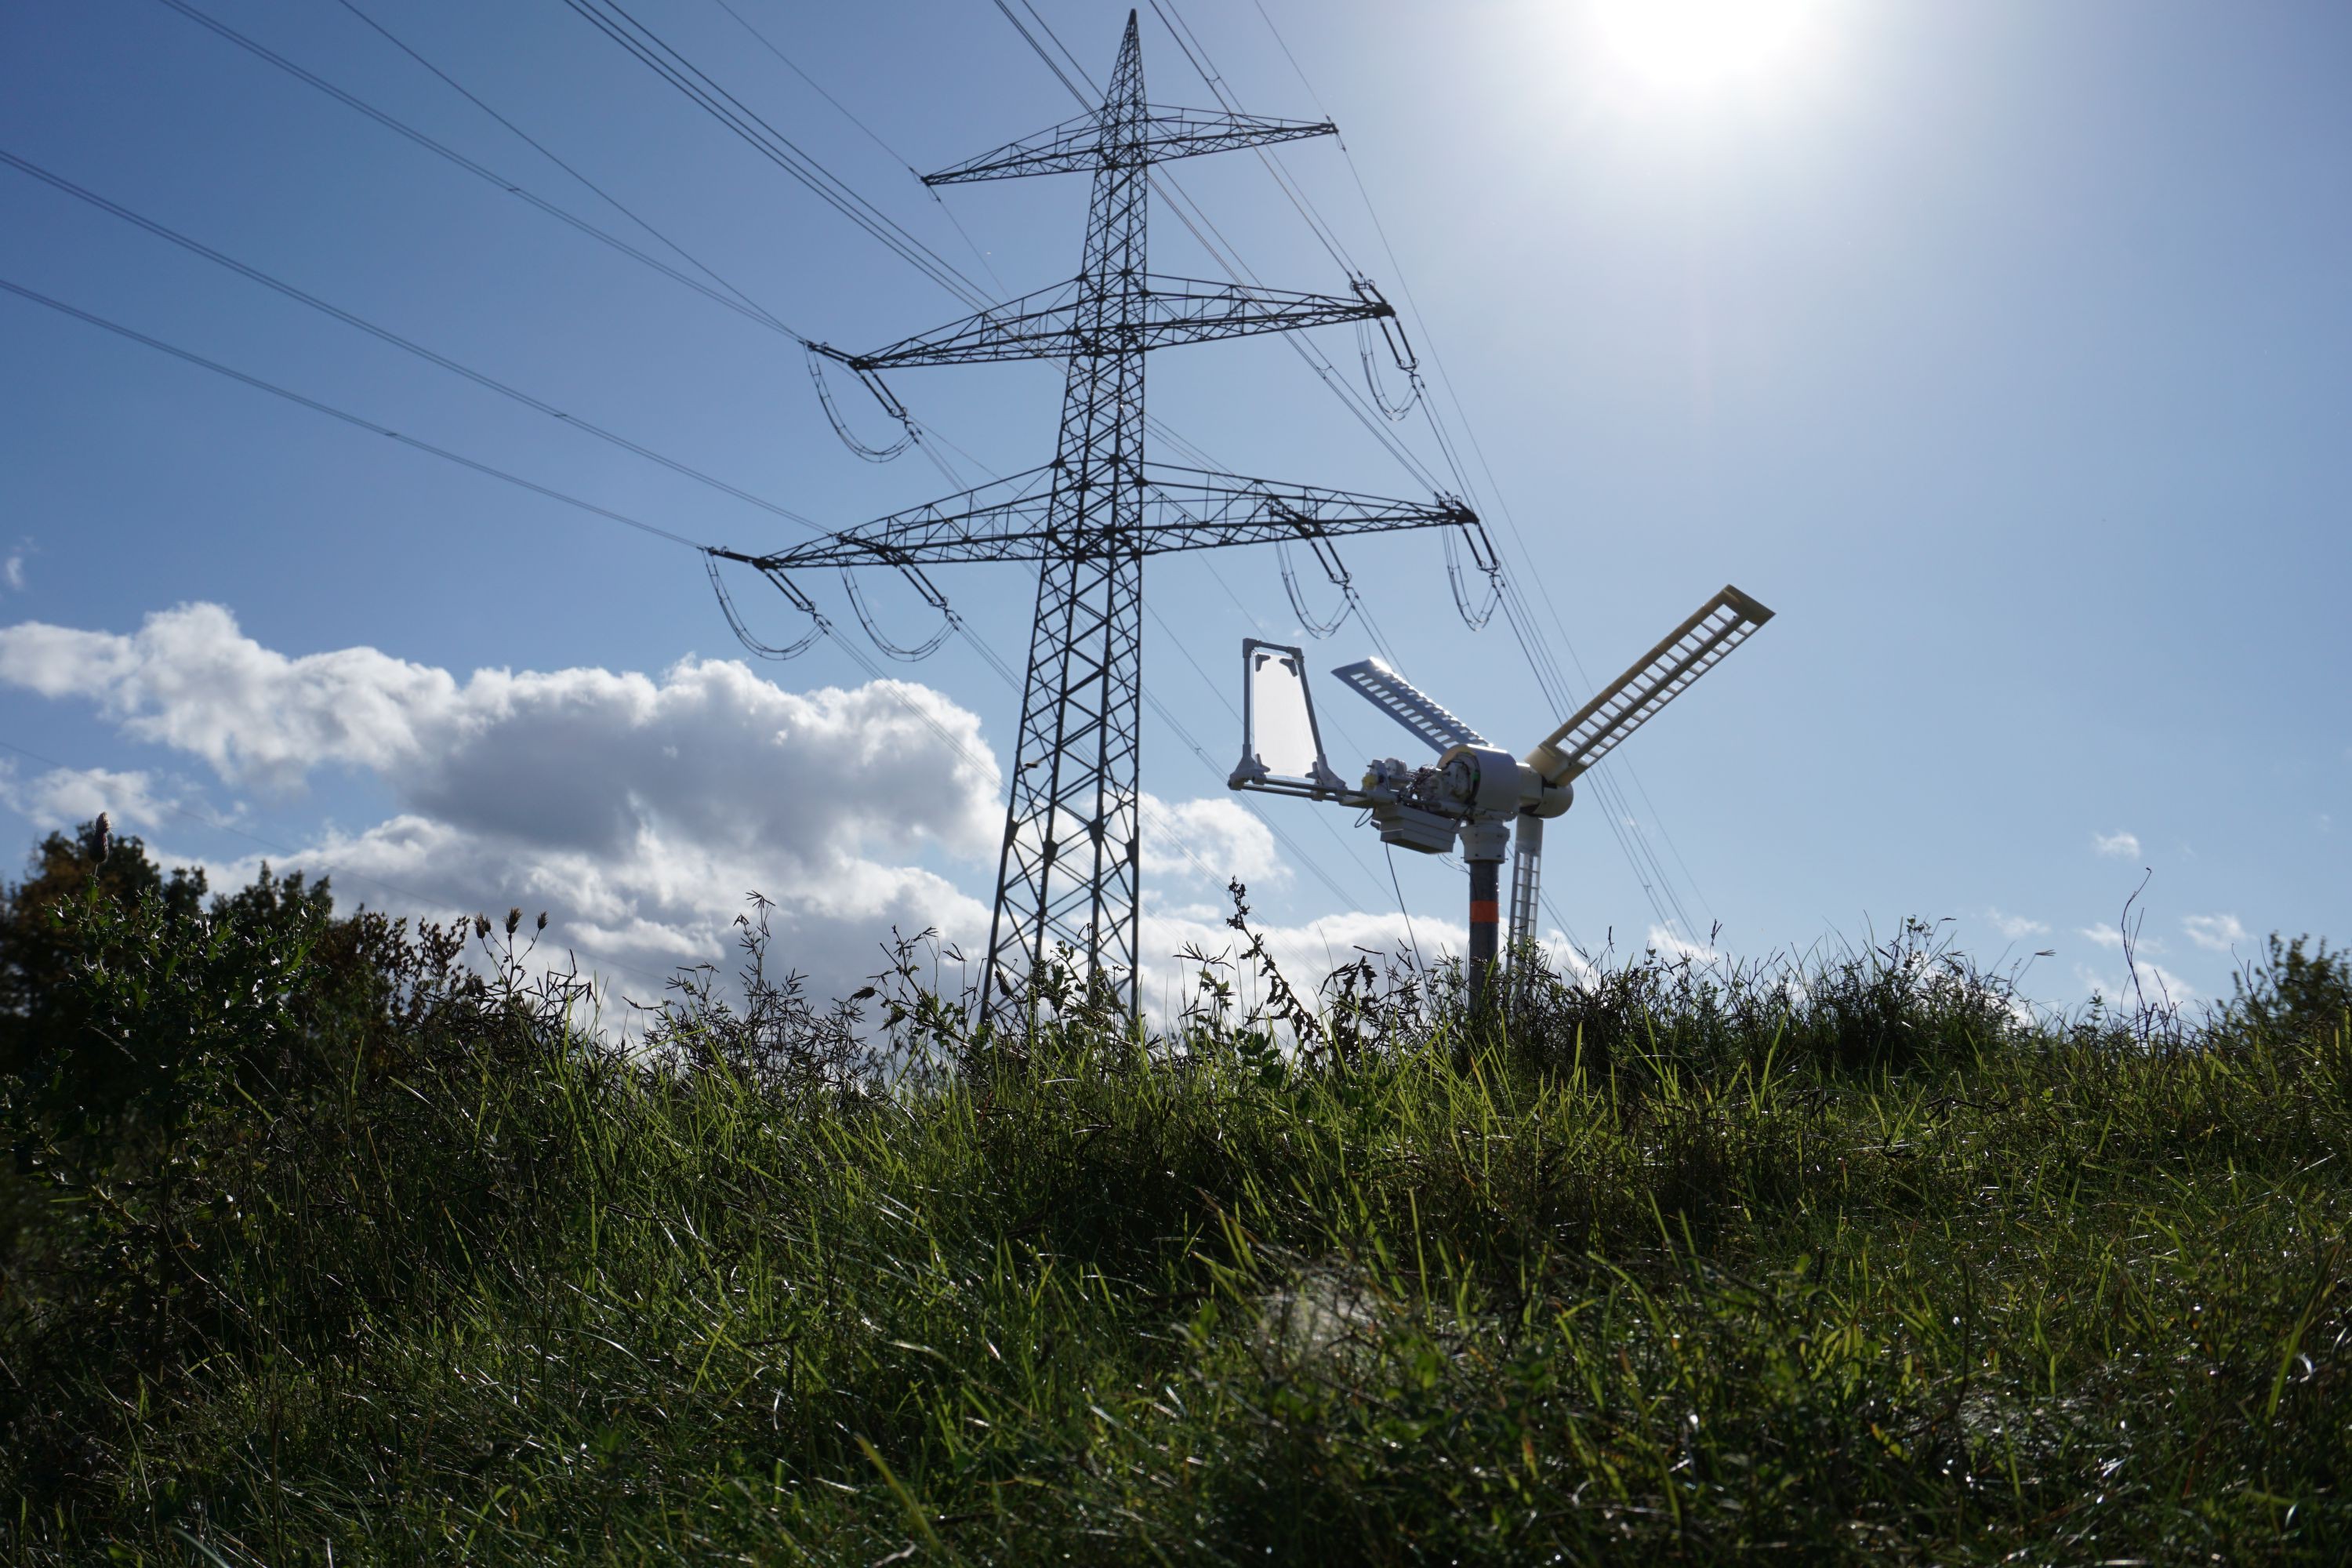
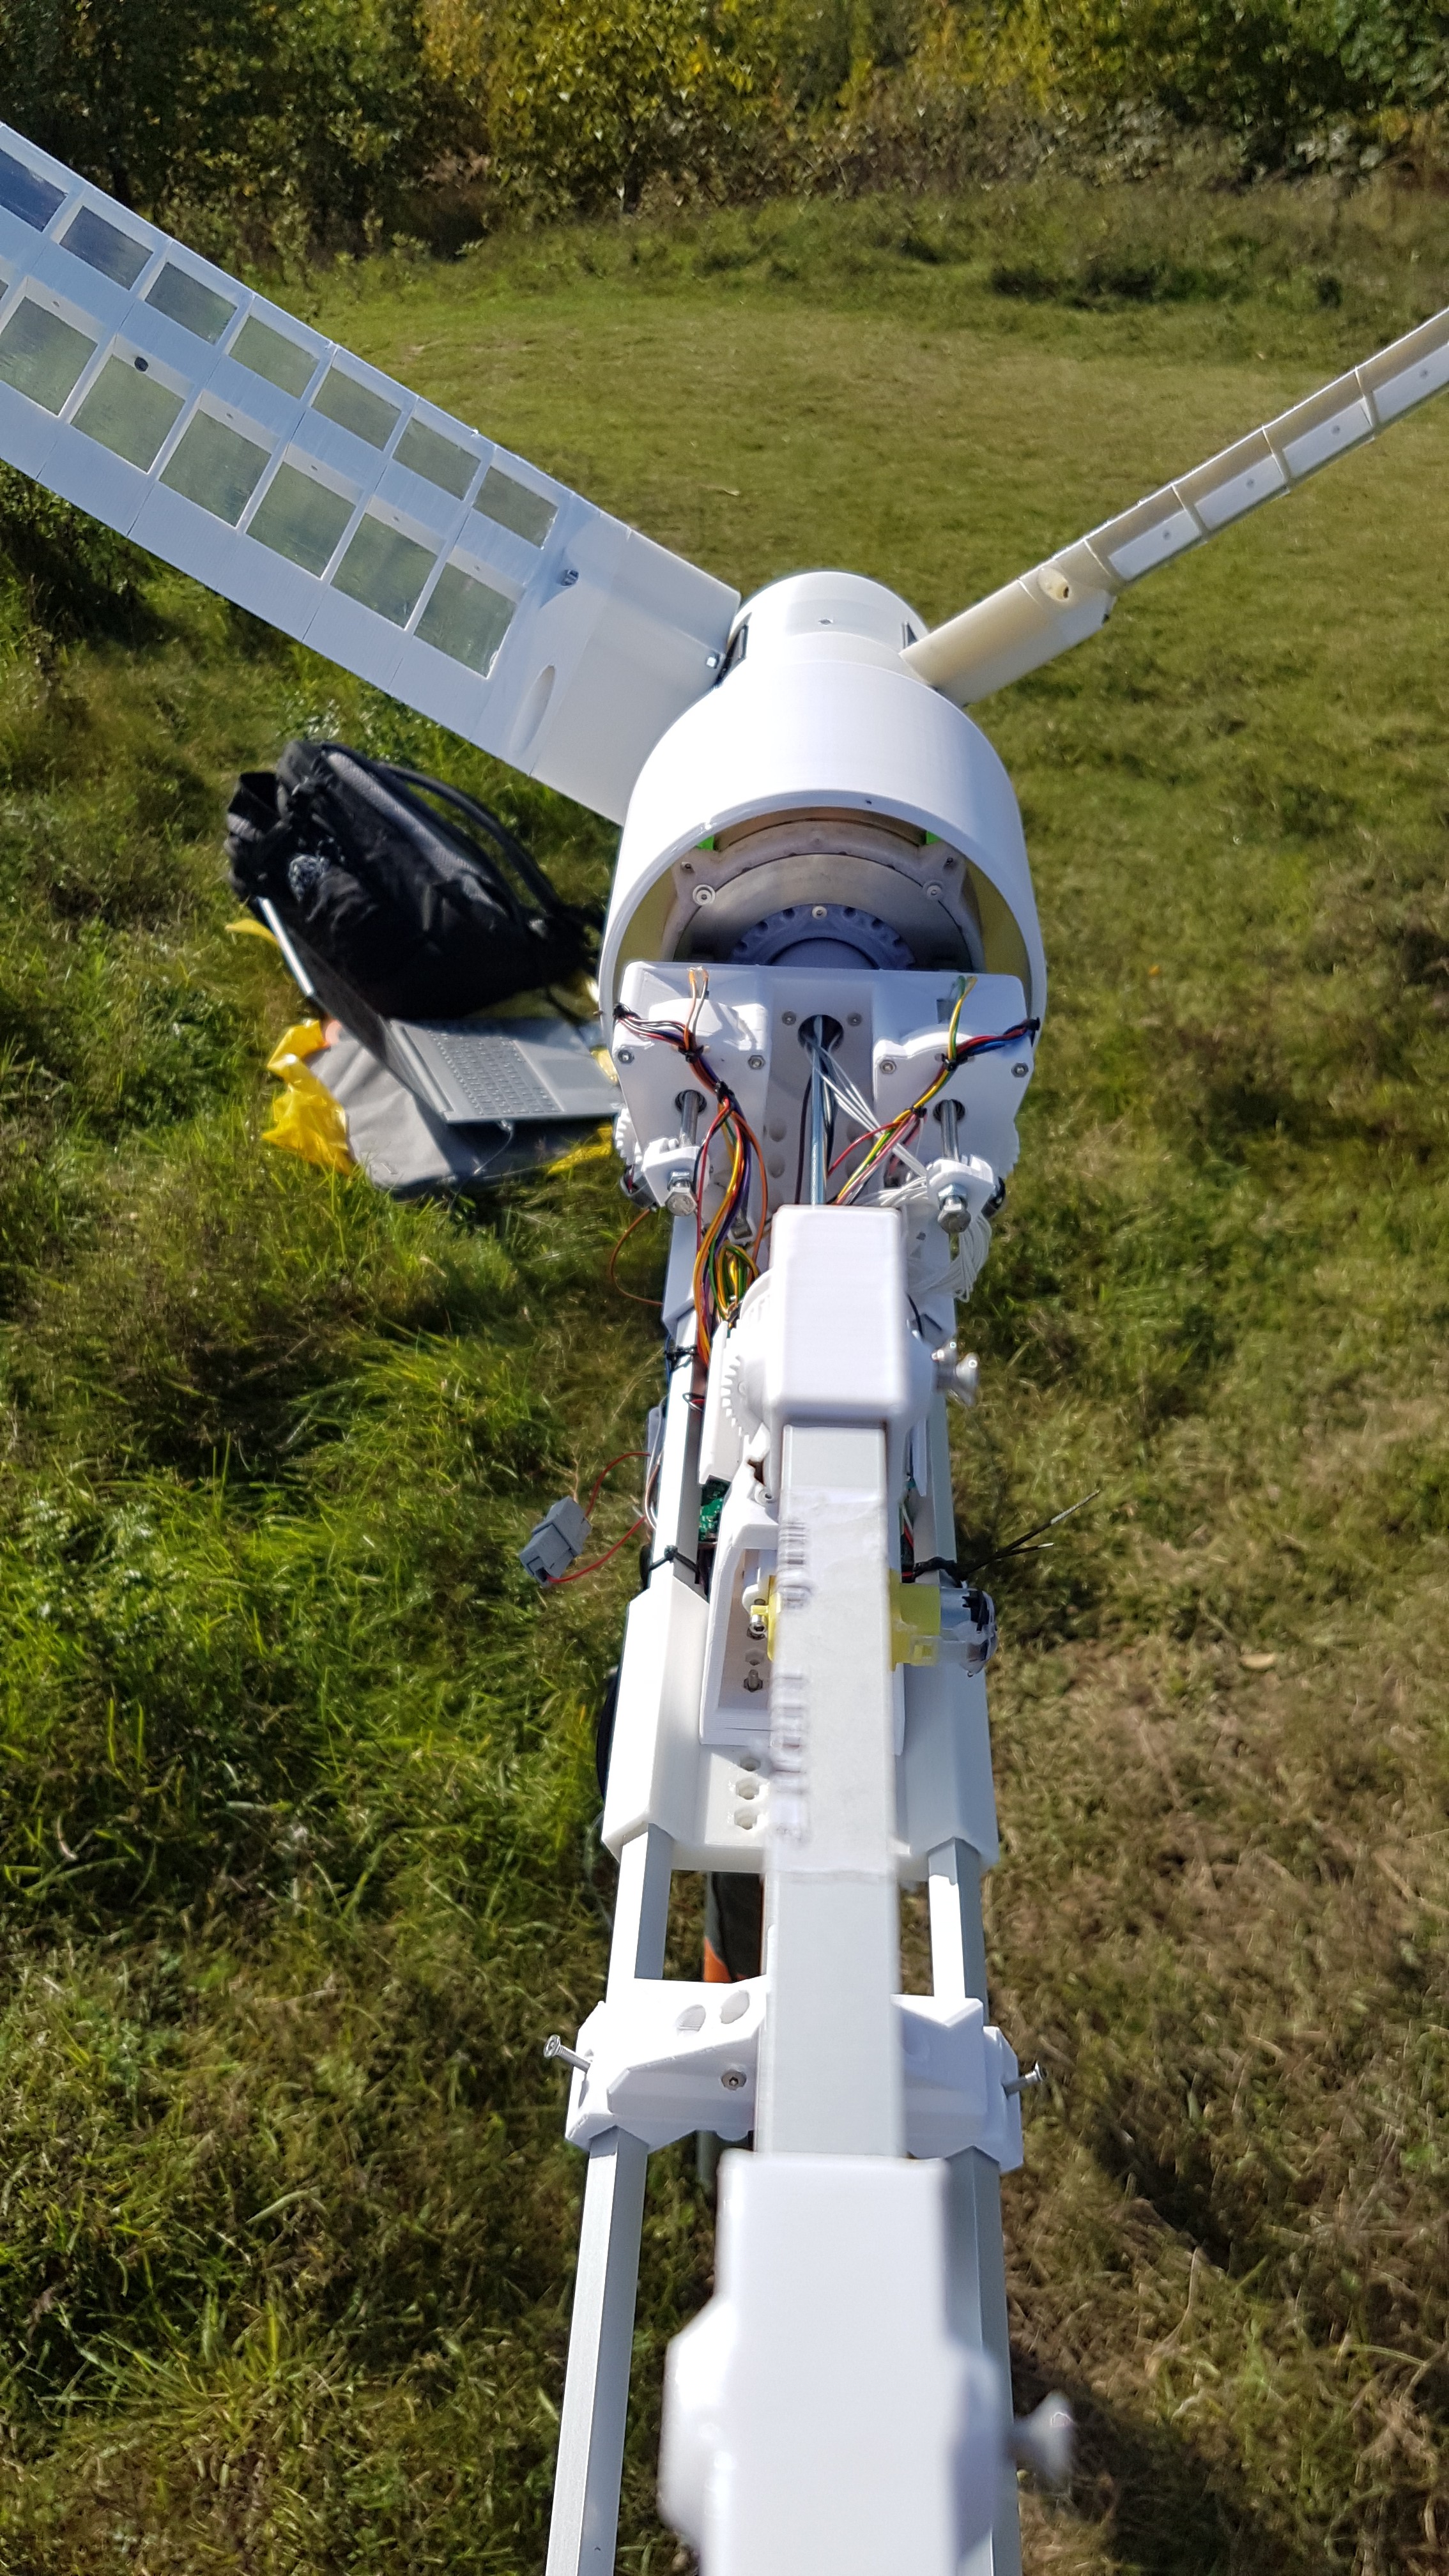
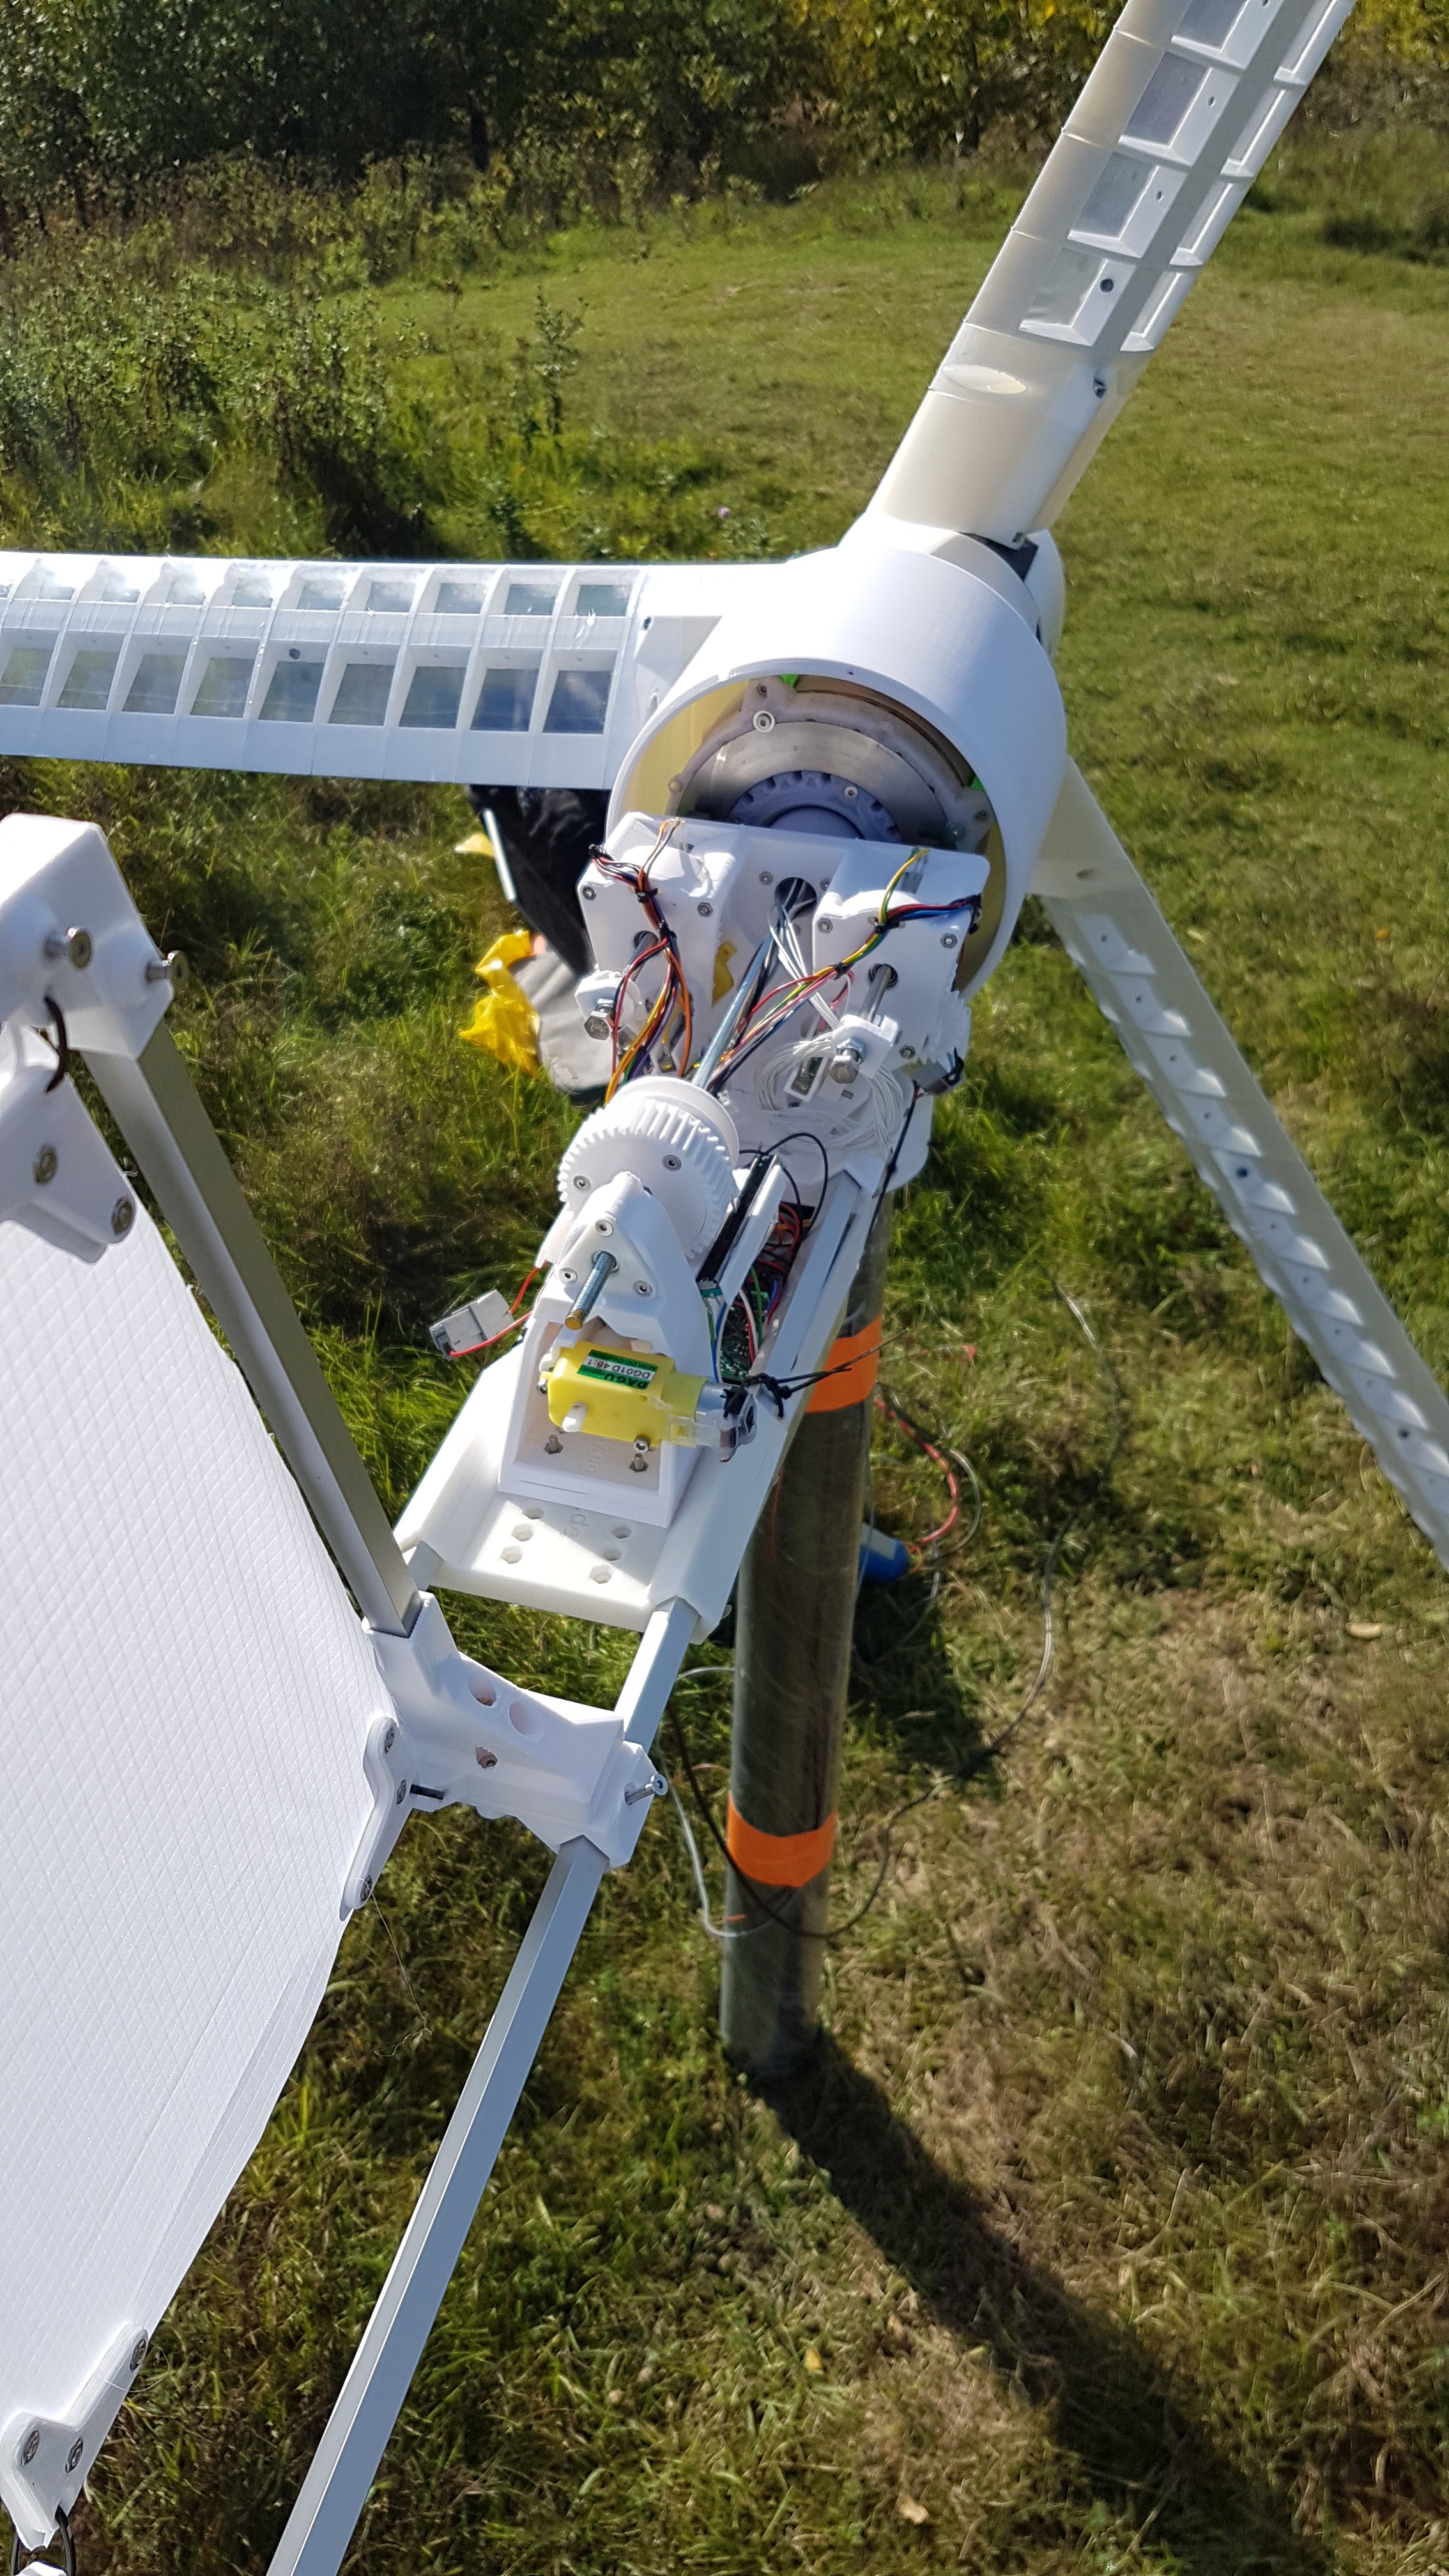
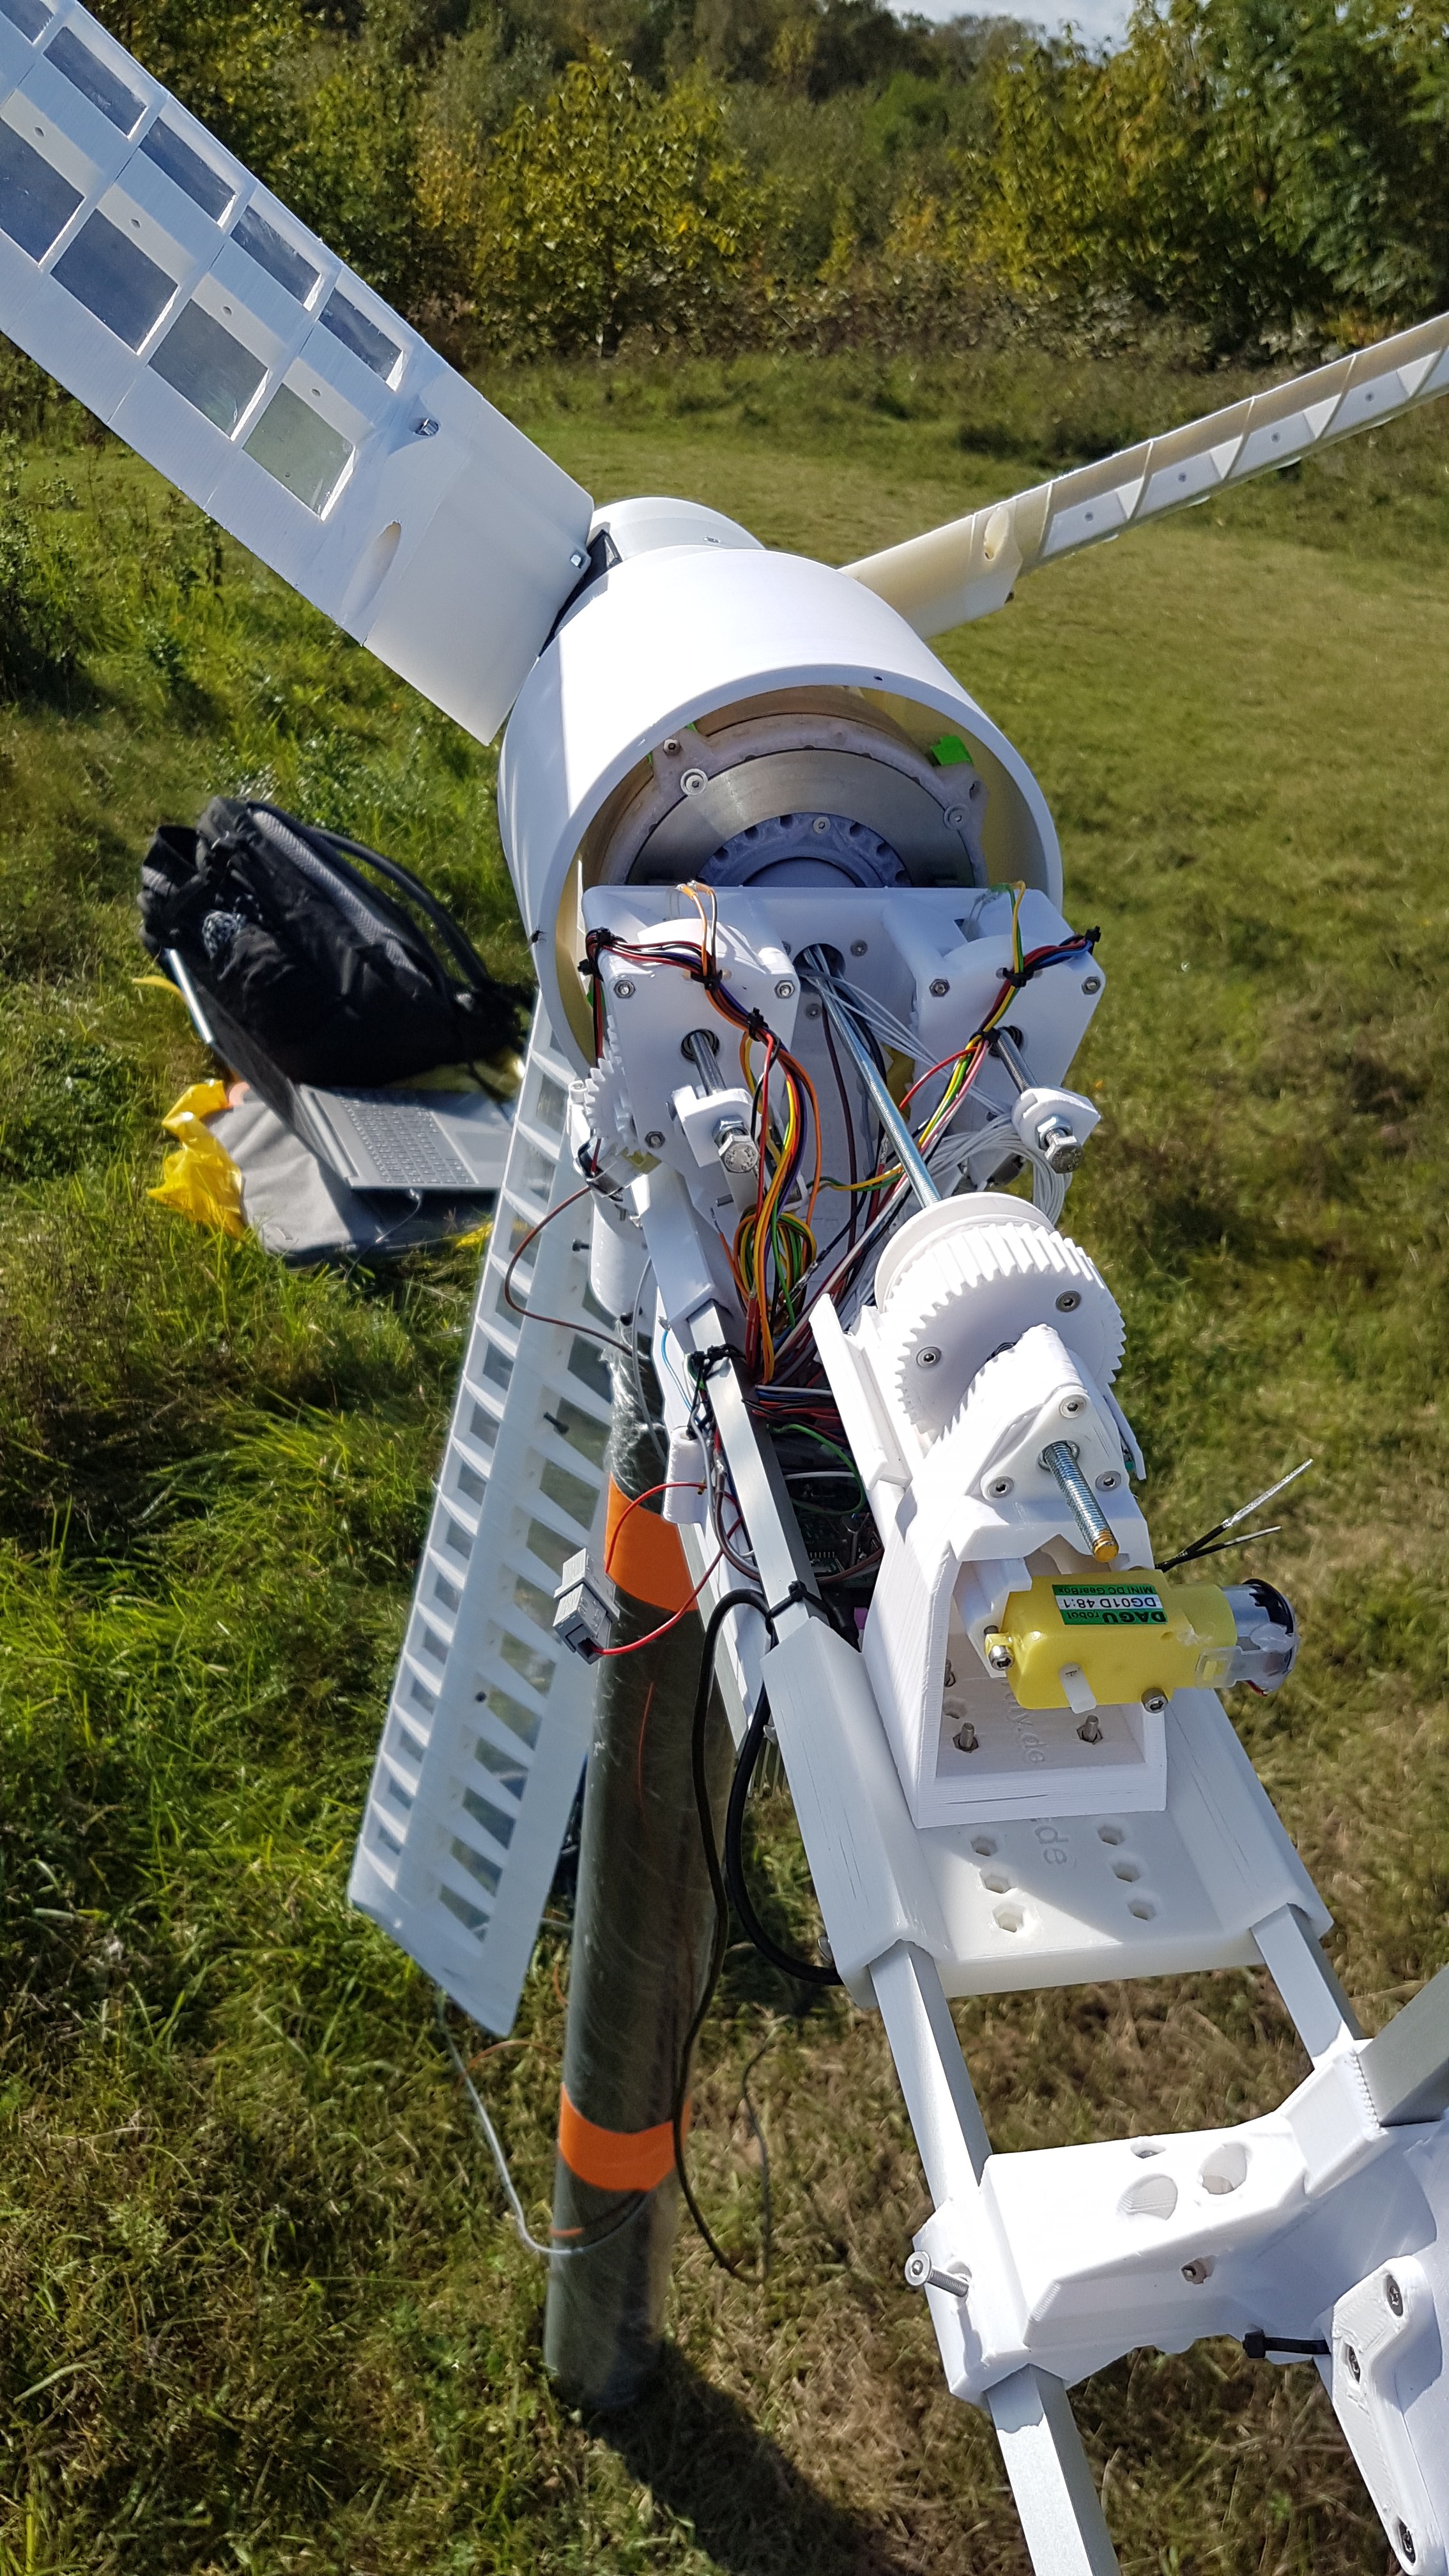
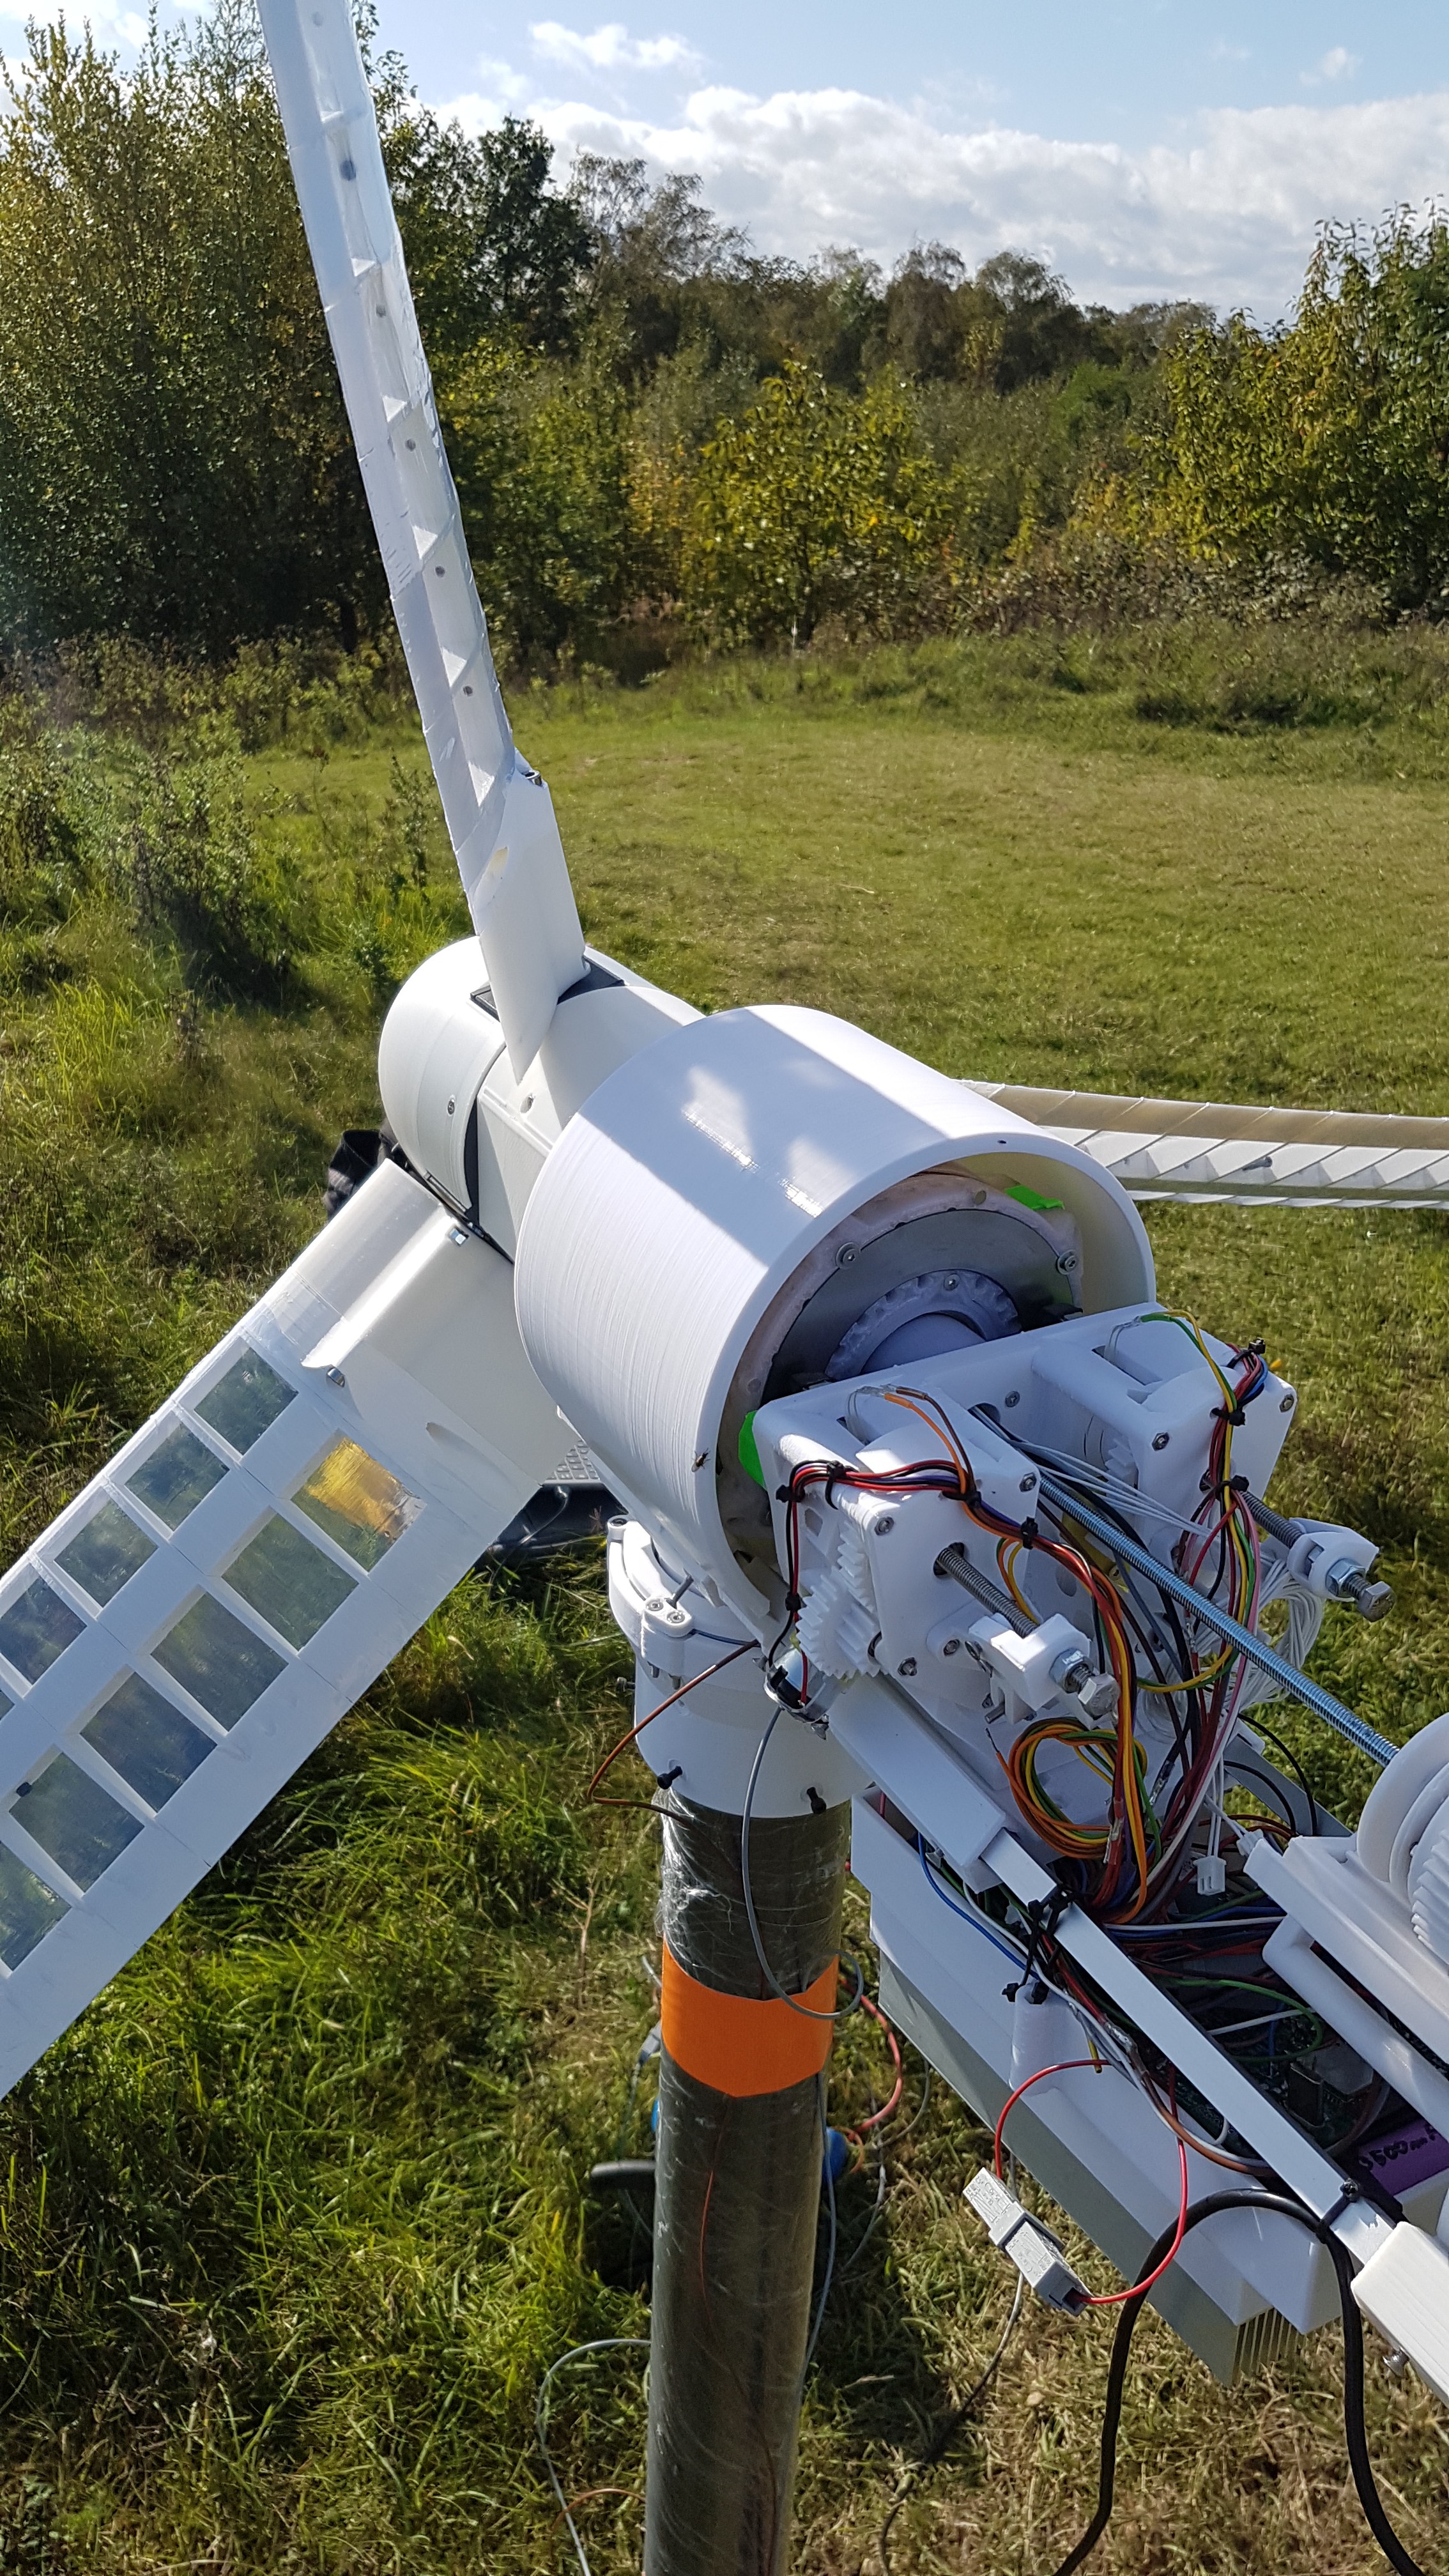
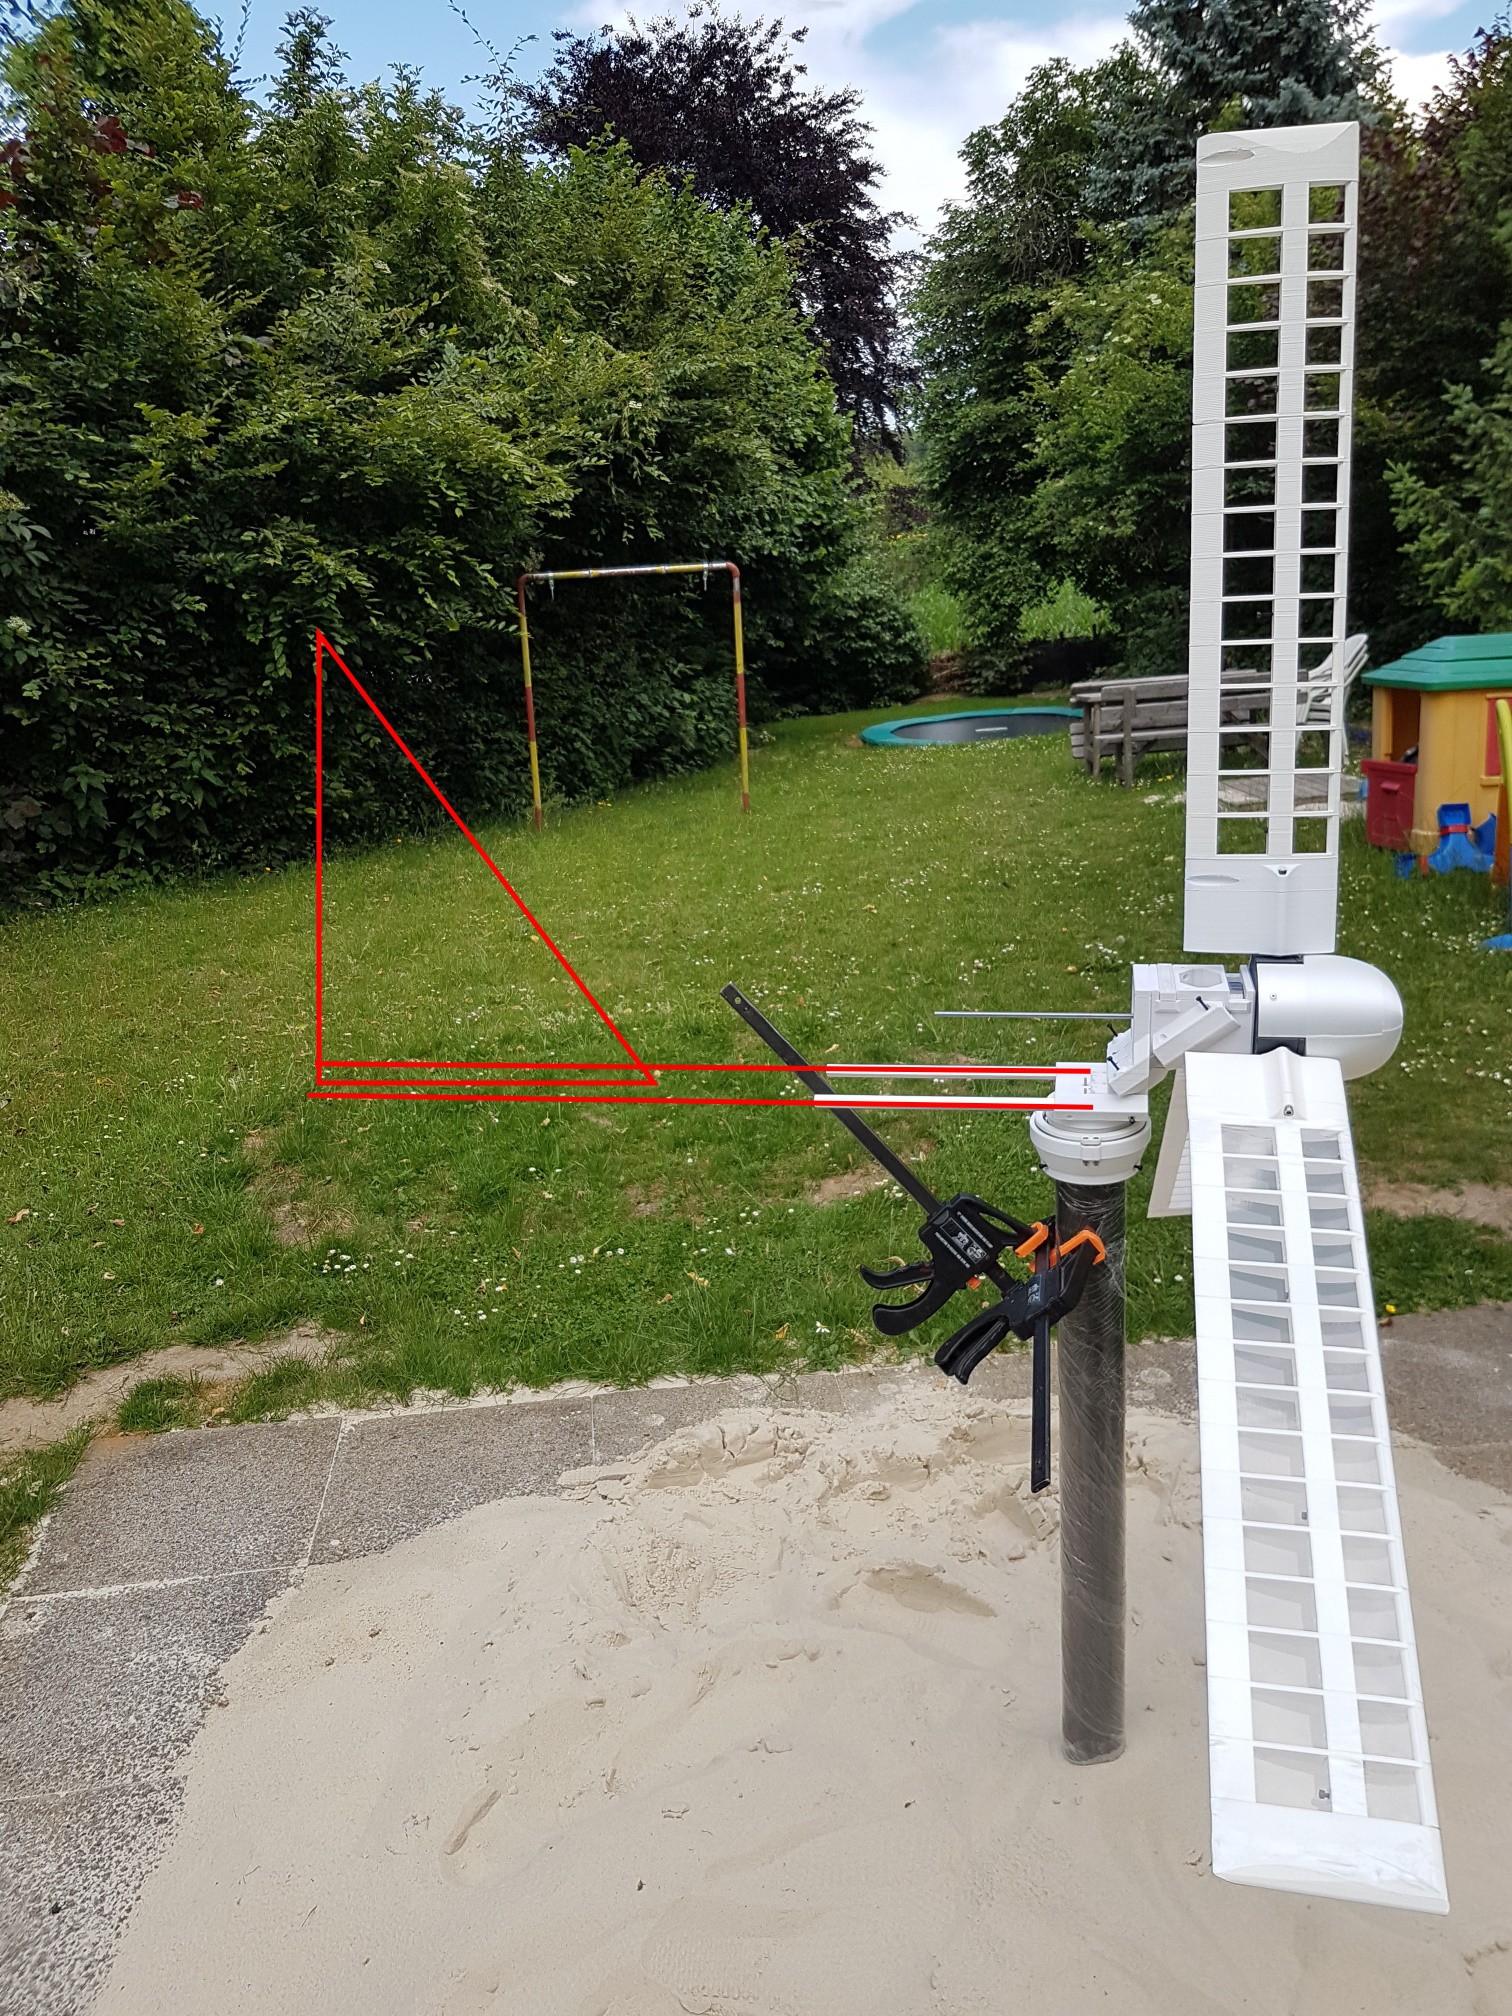
WinDIY on its first test run:
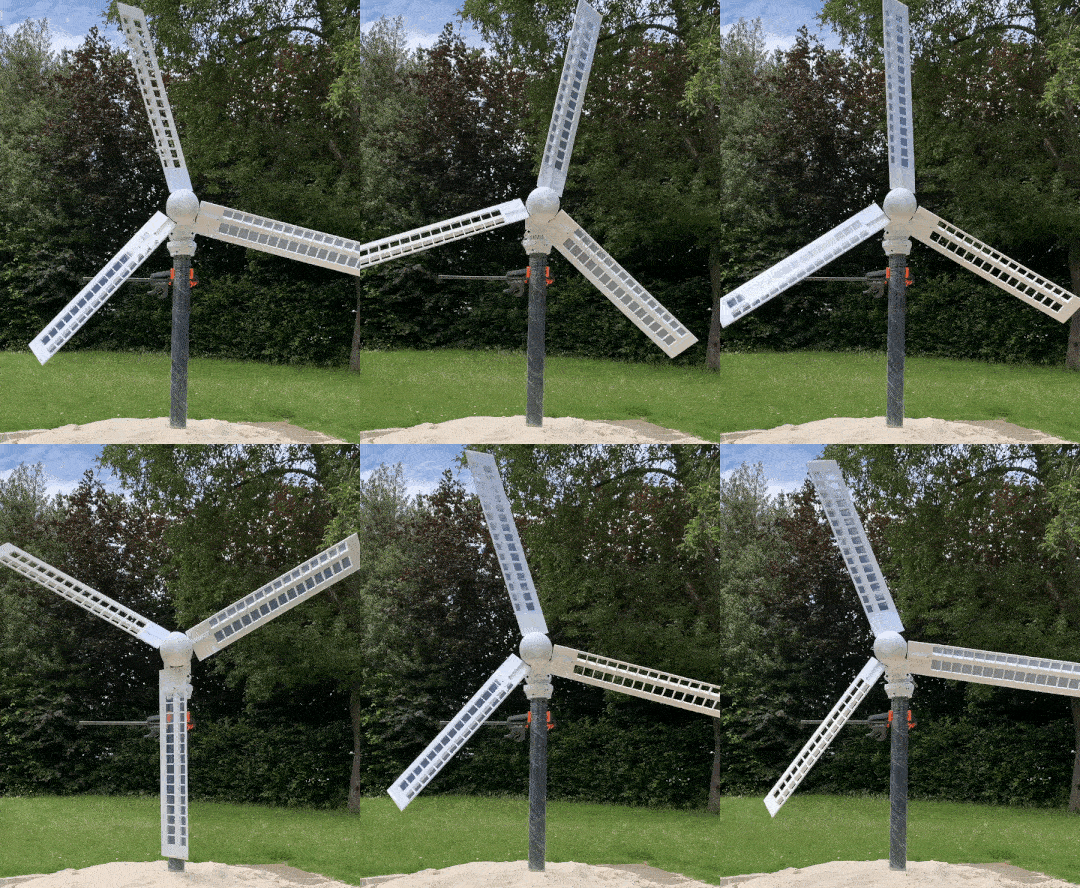


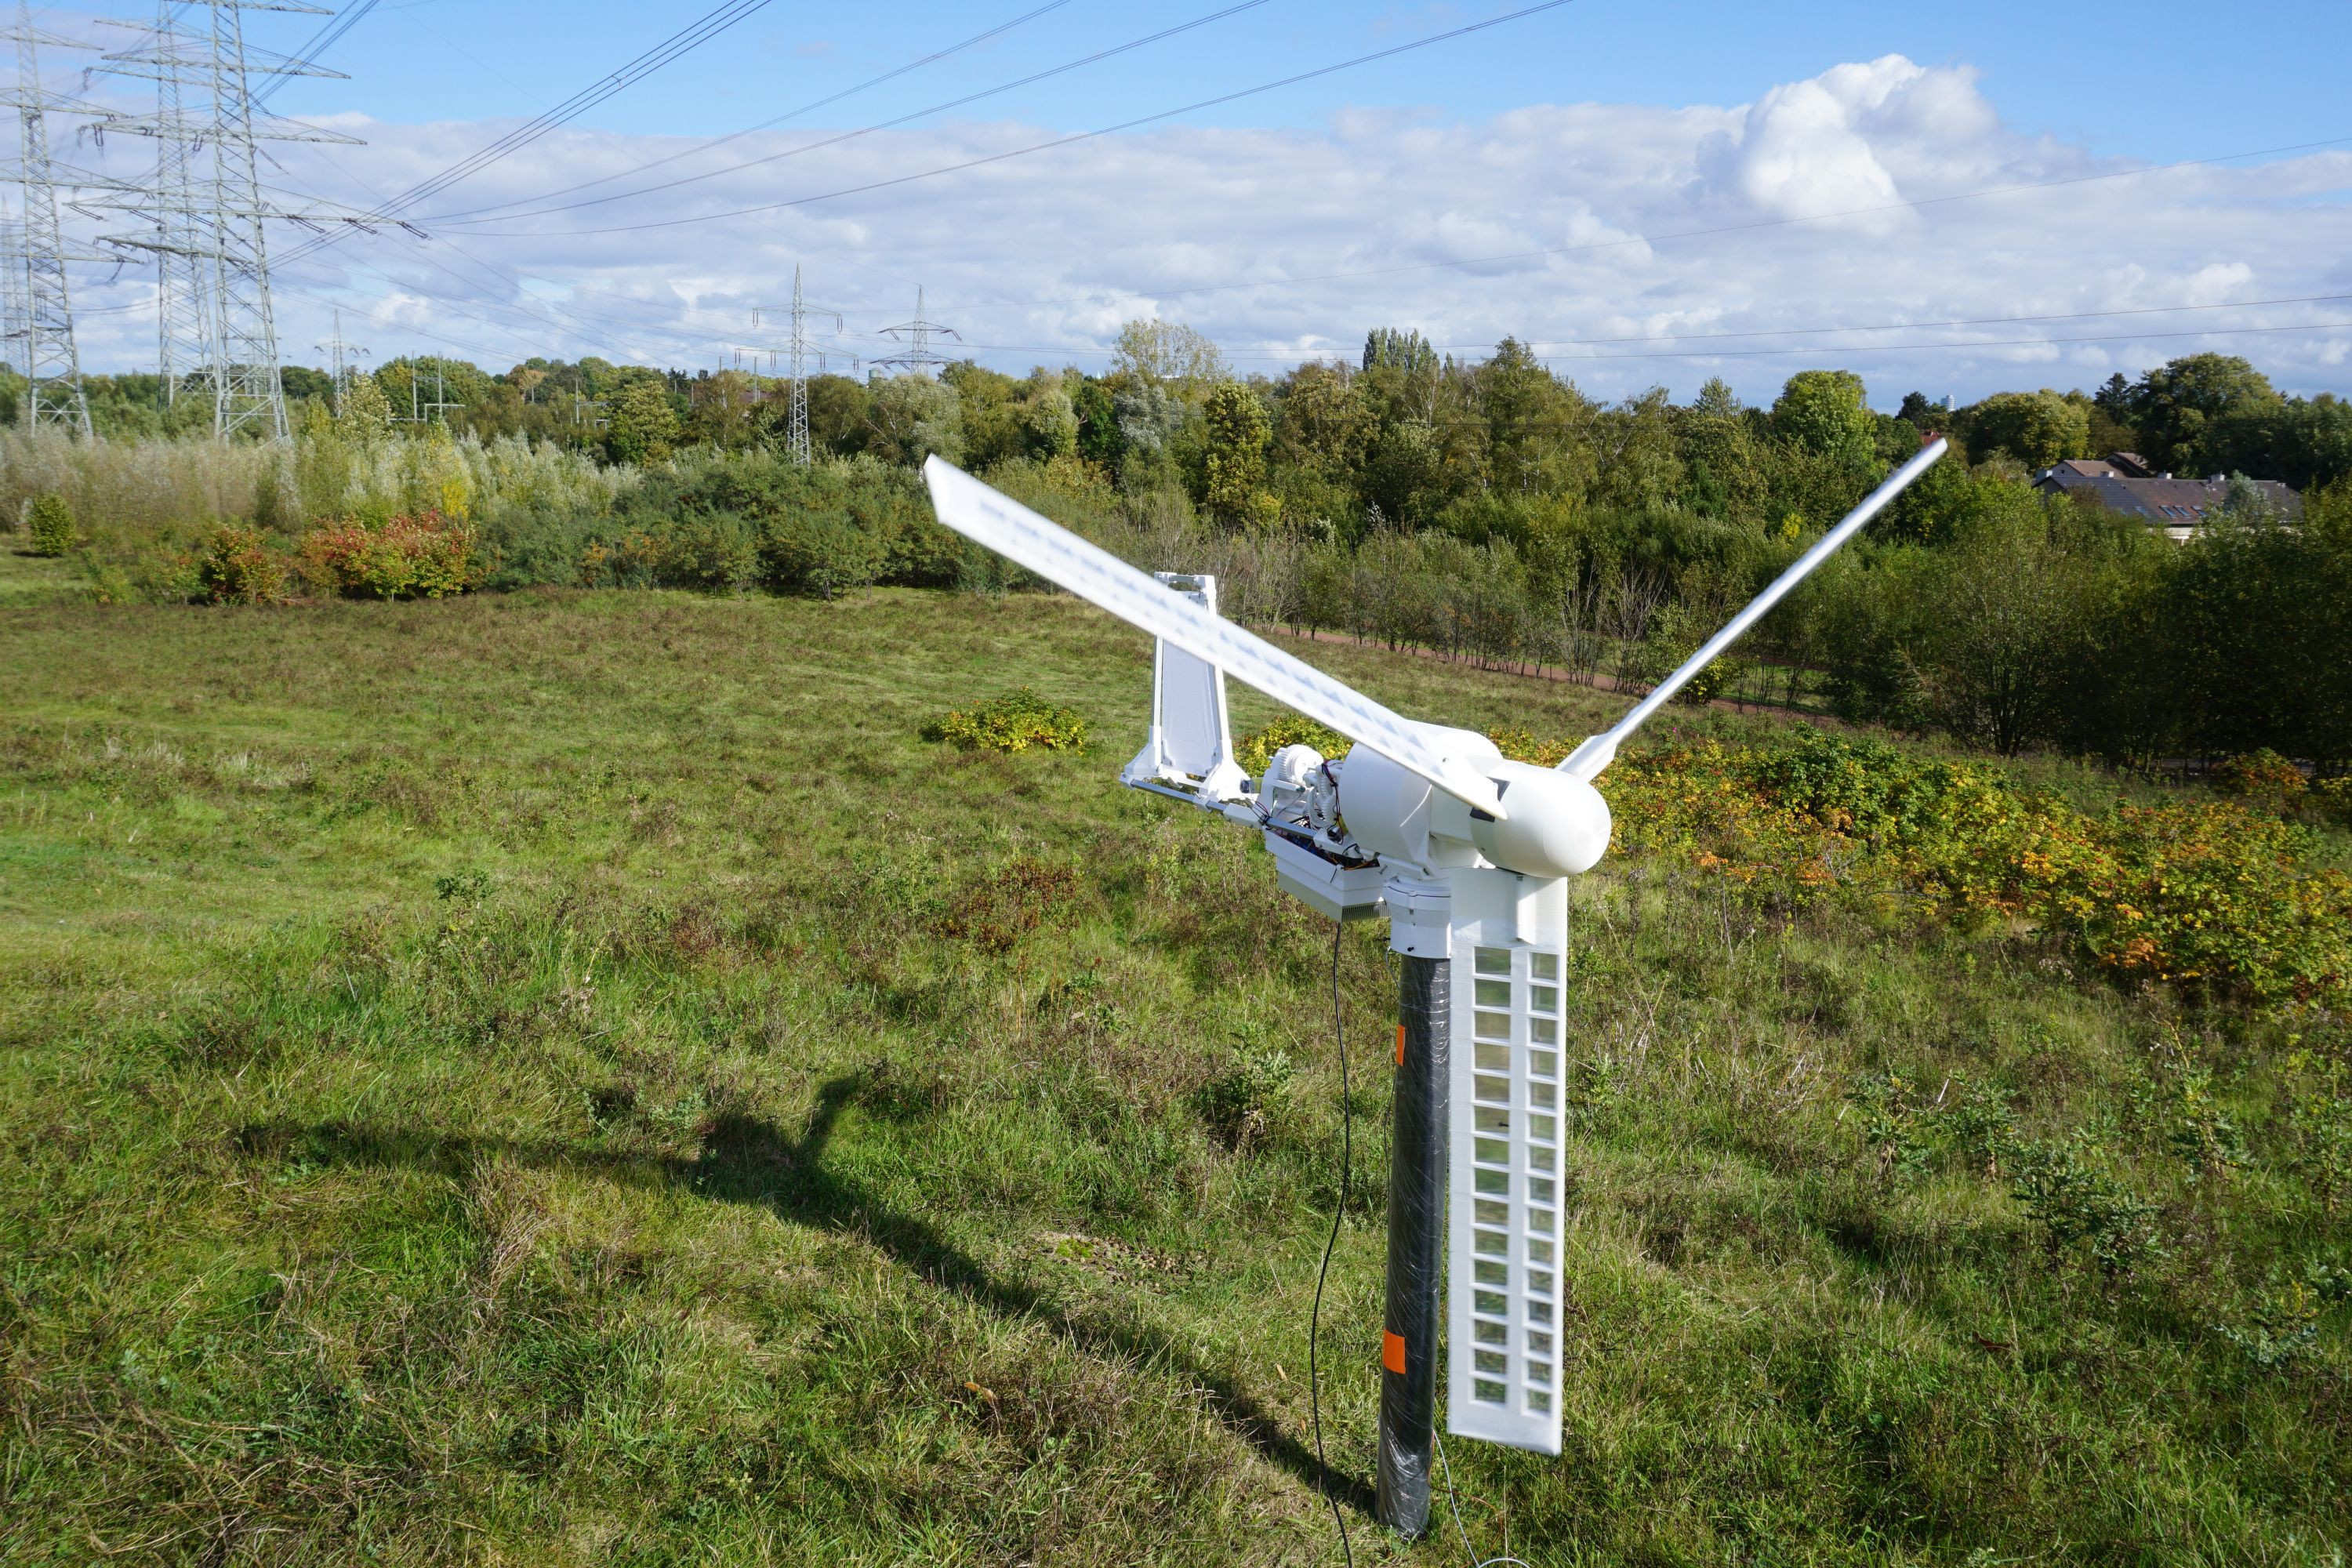
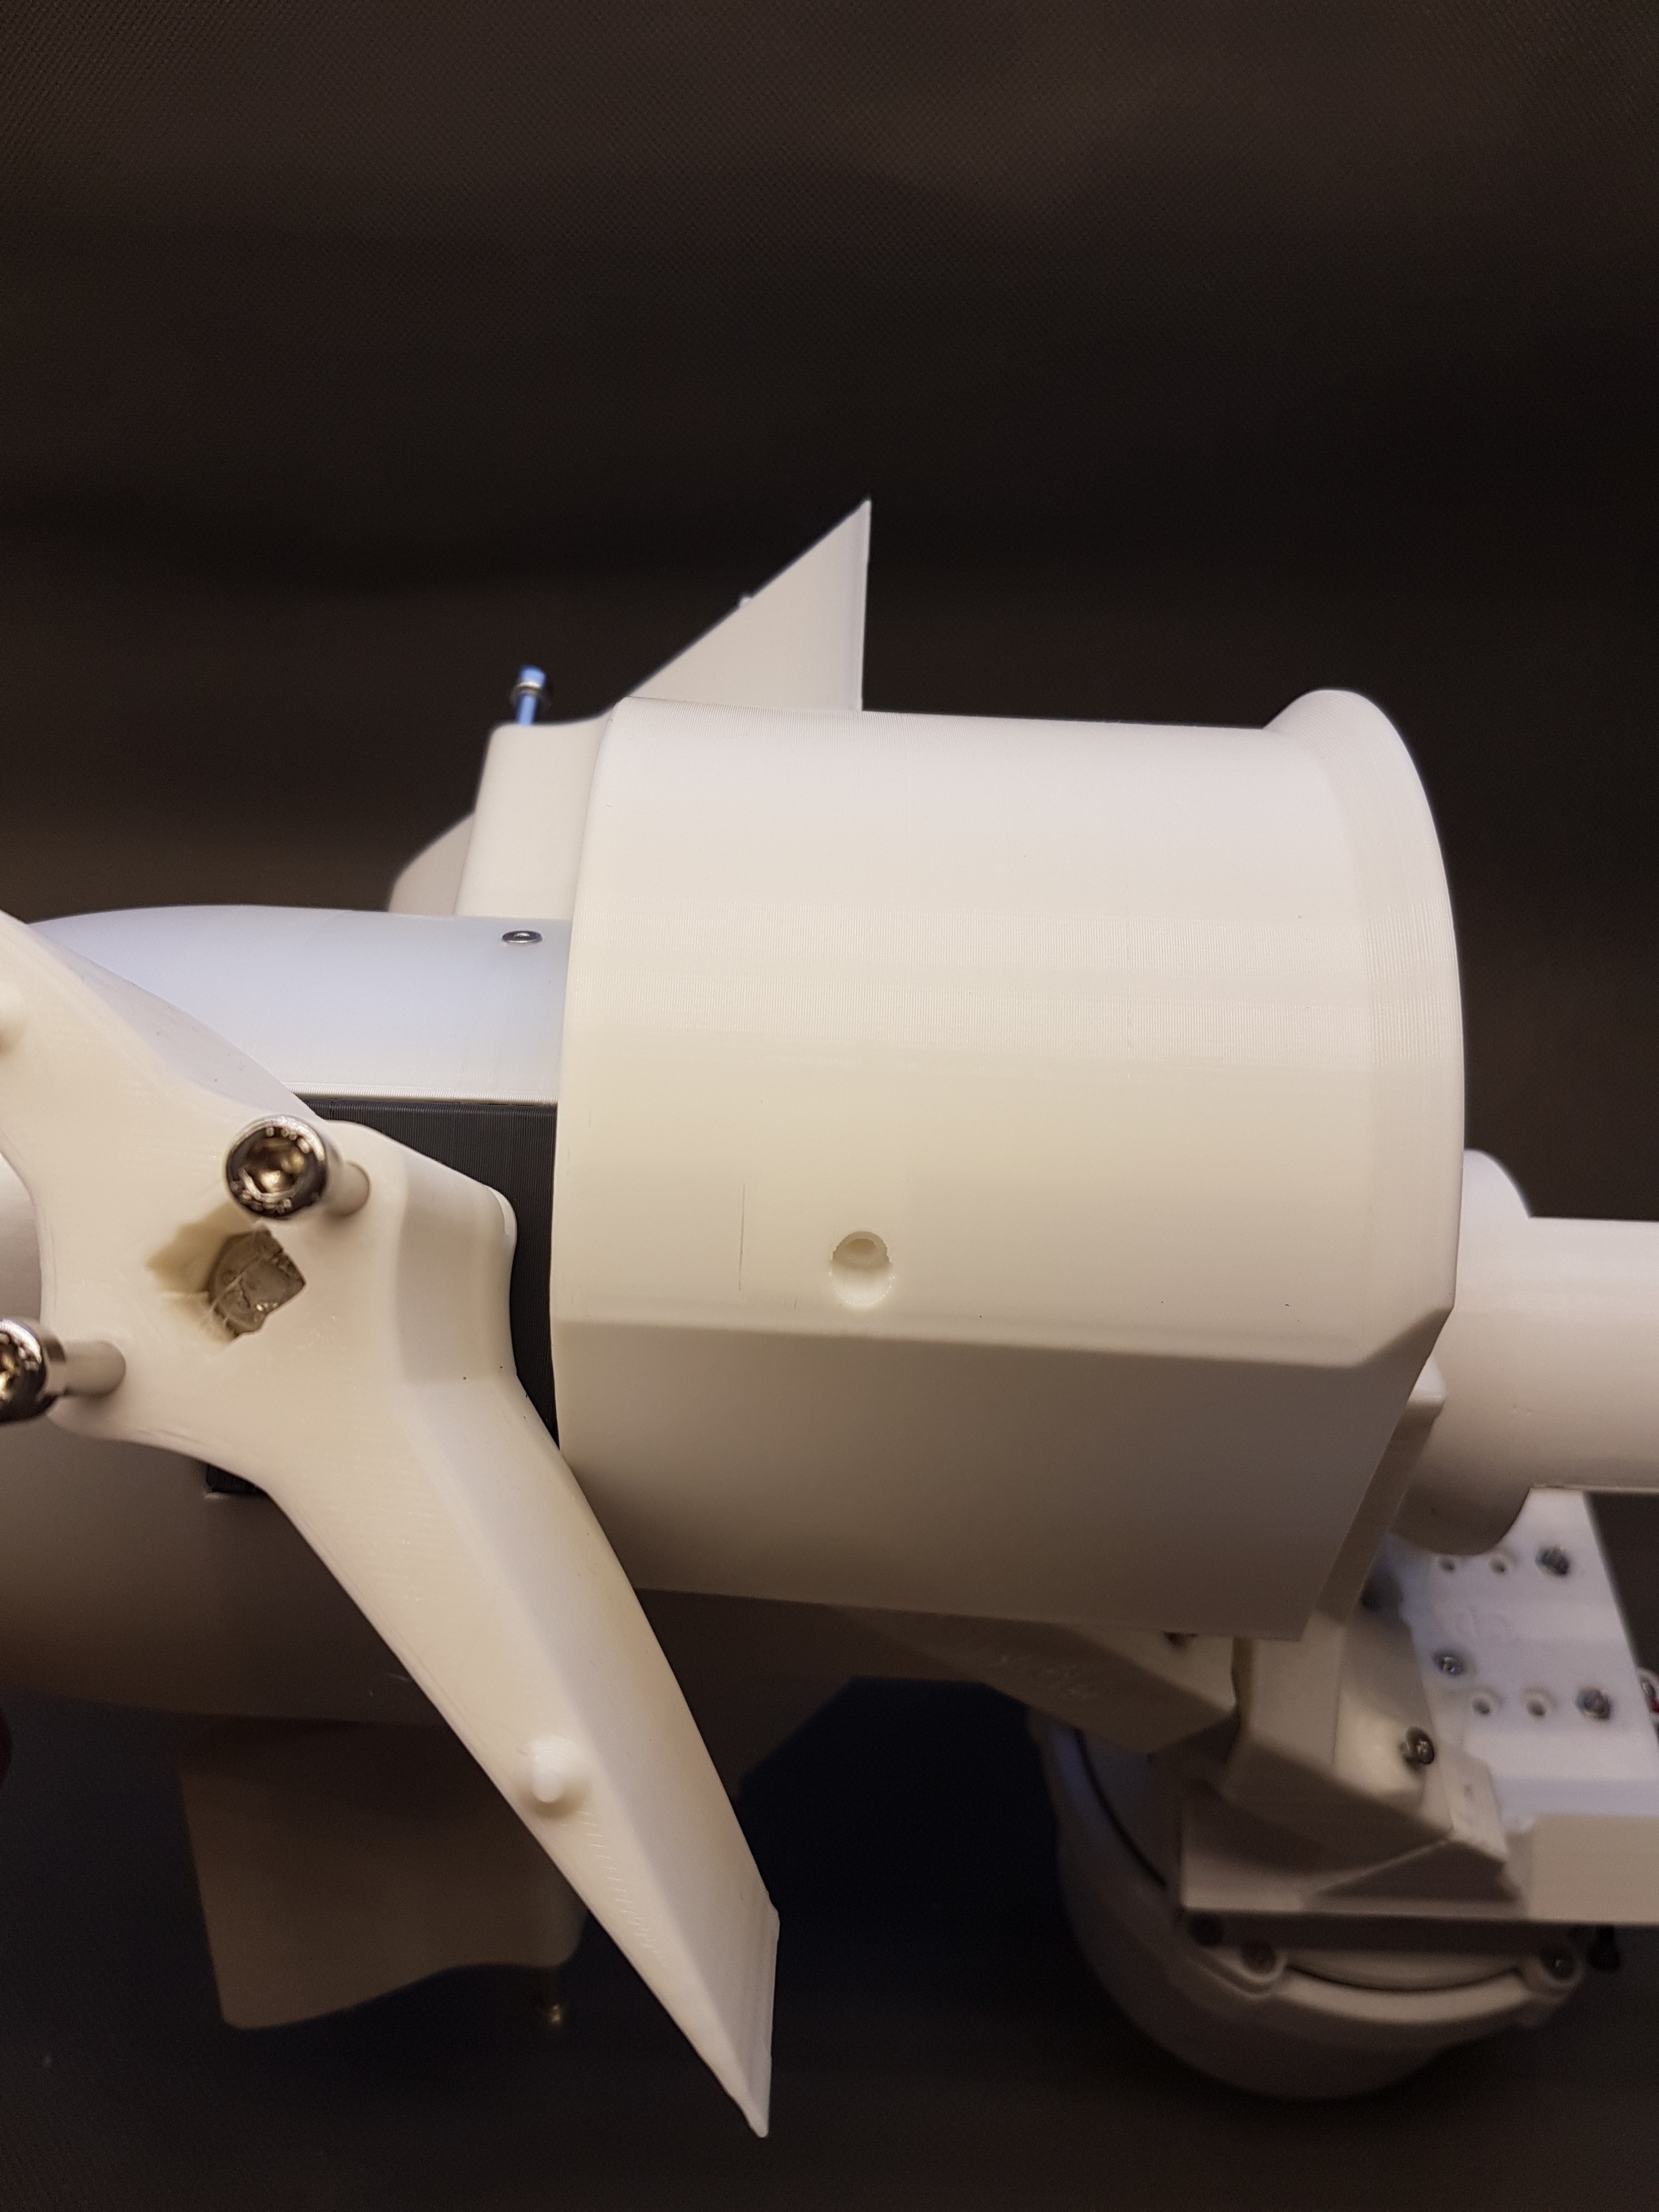
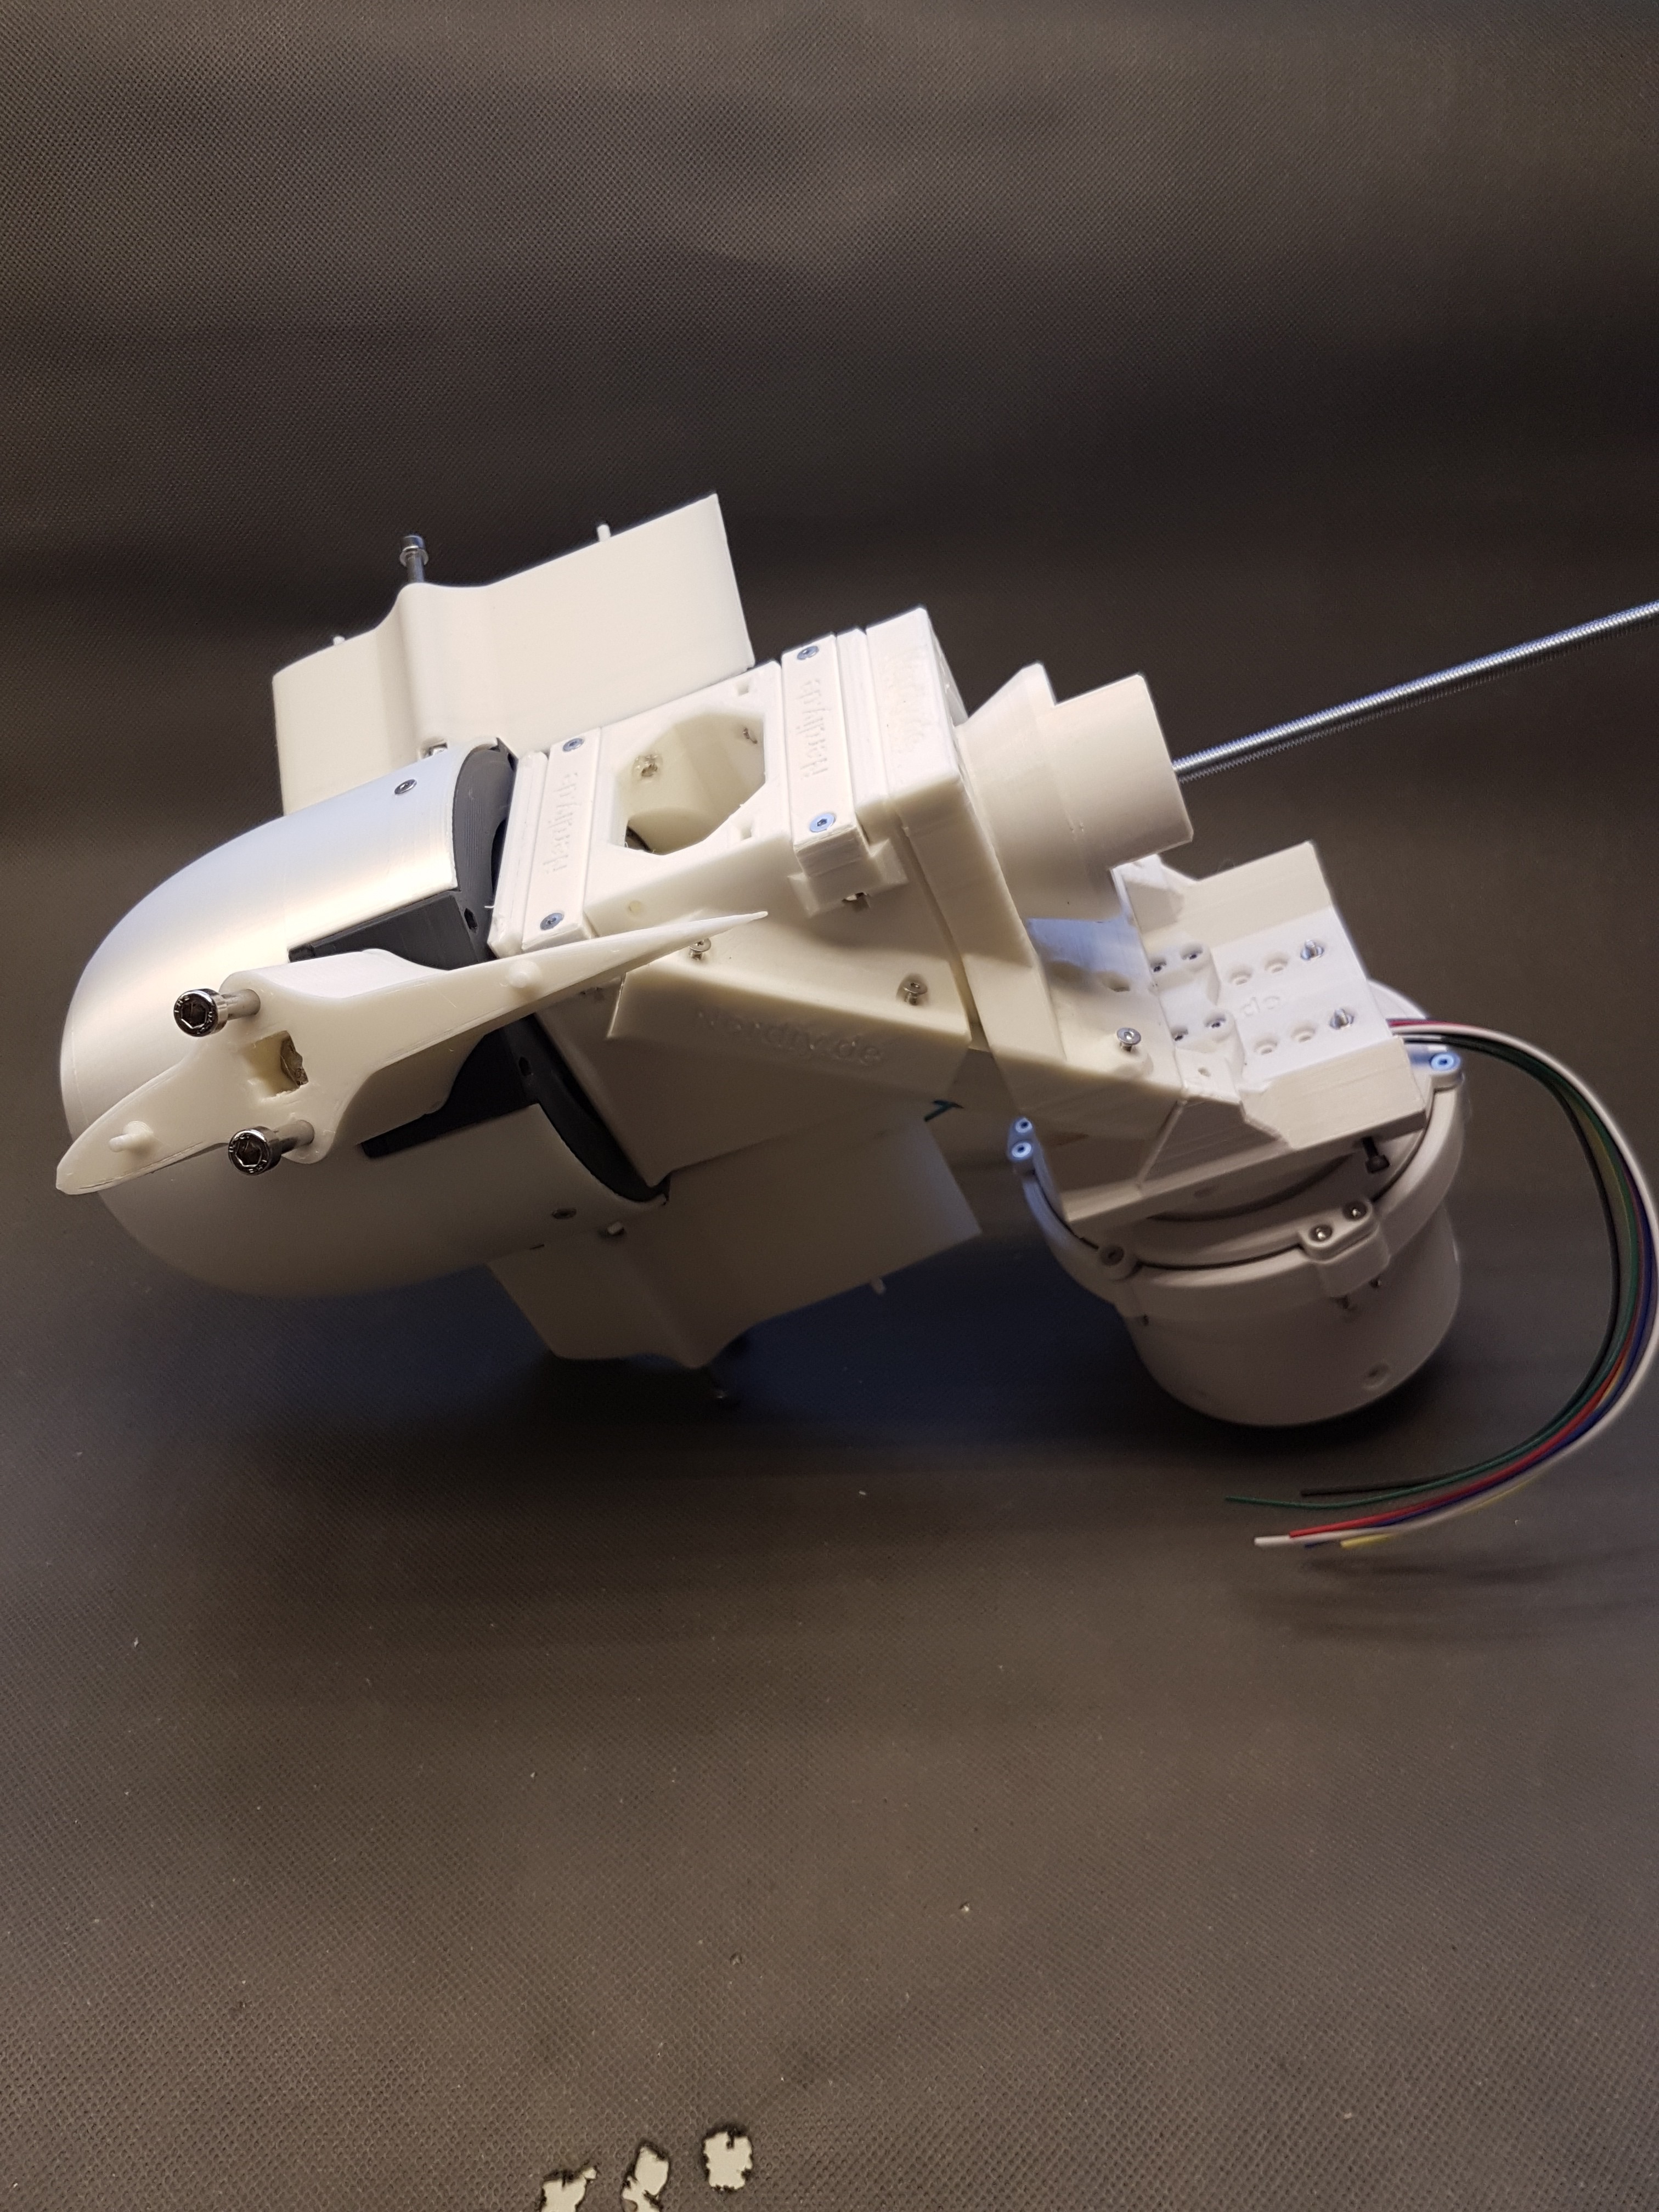
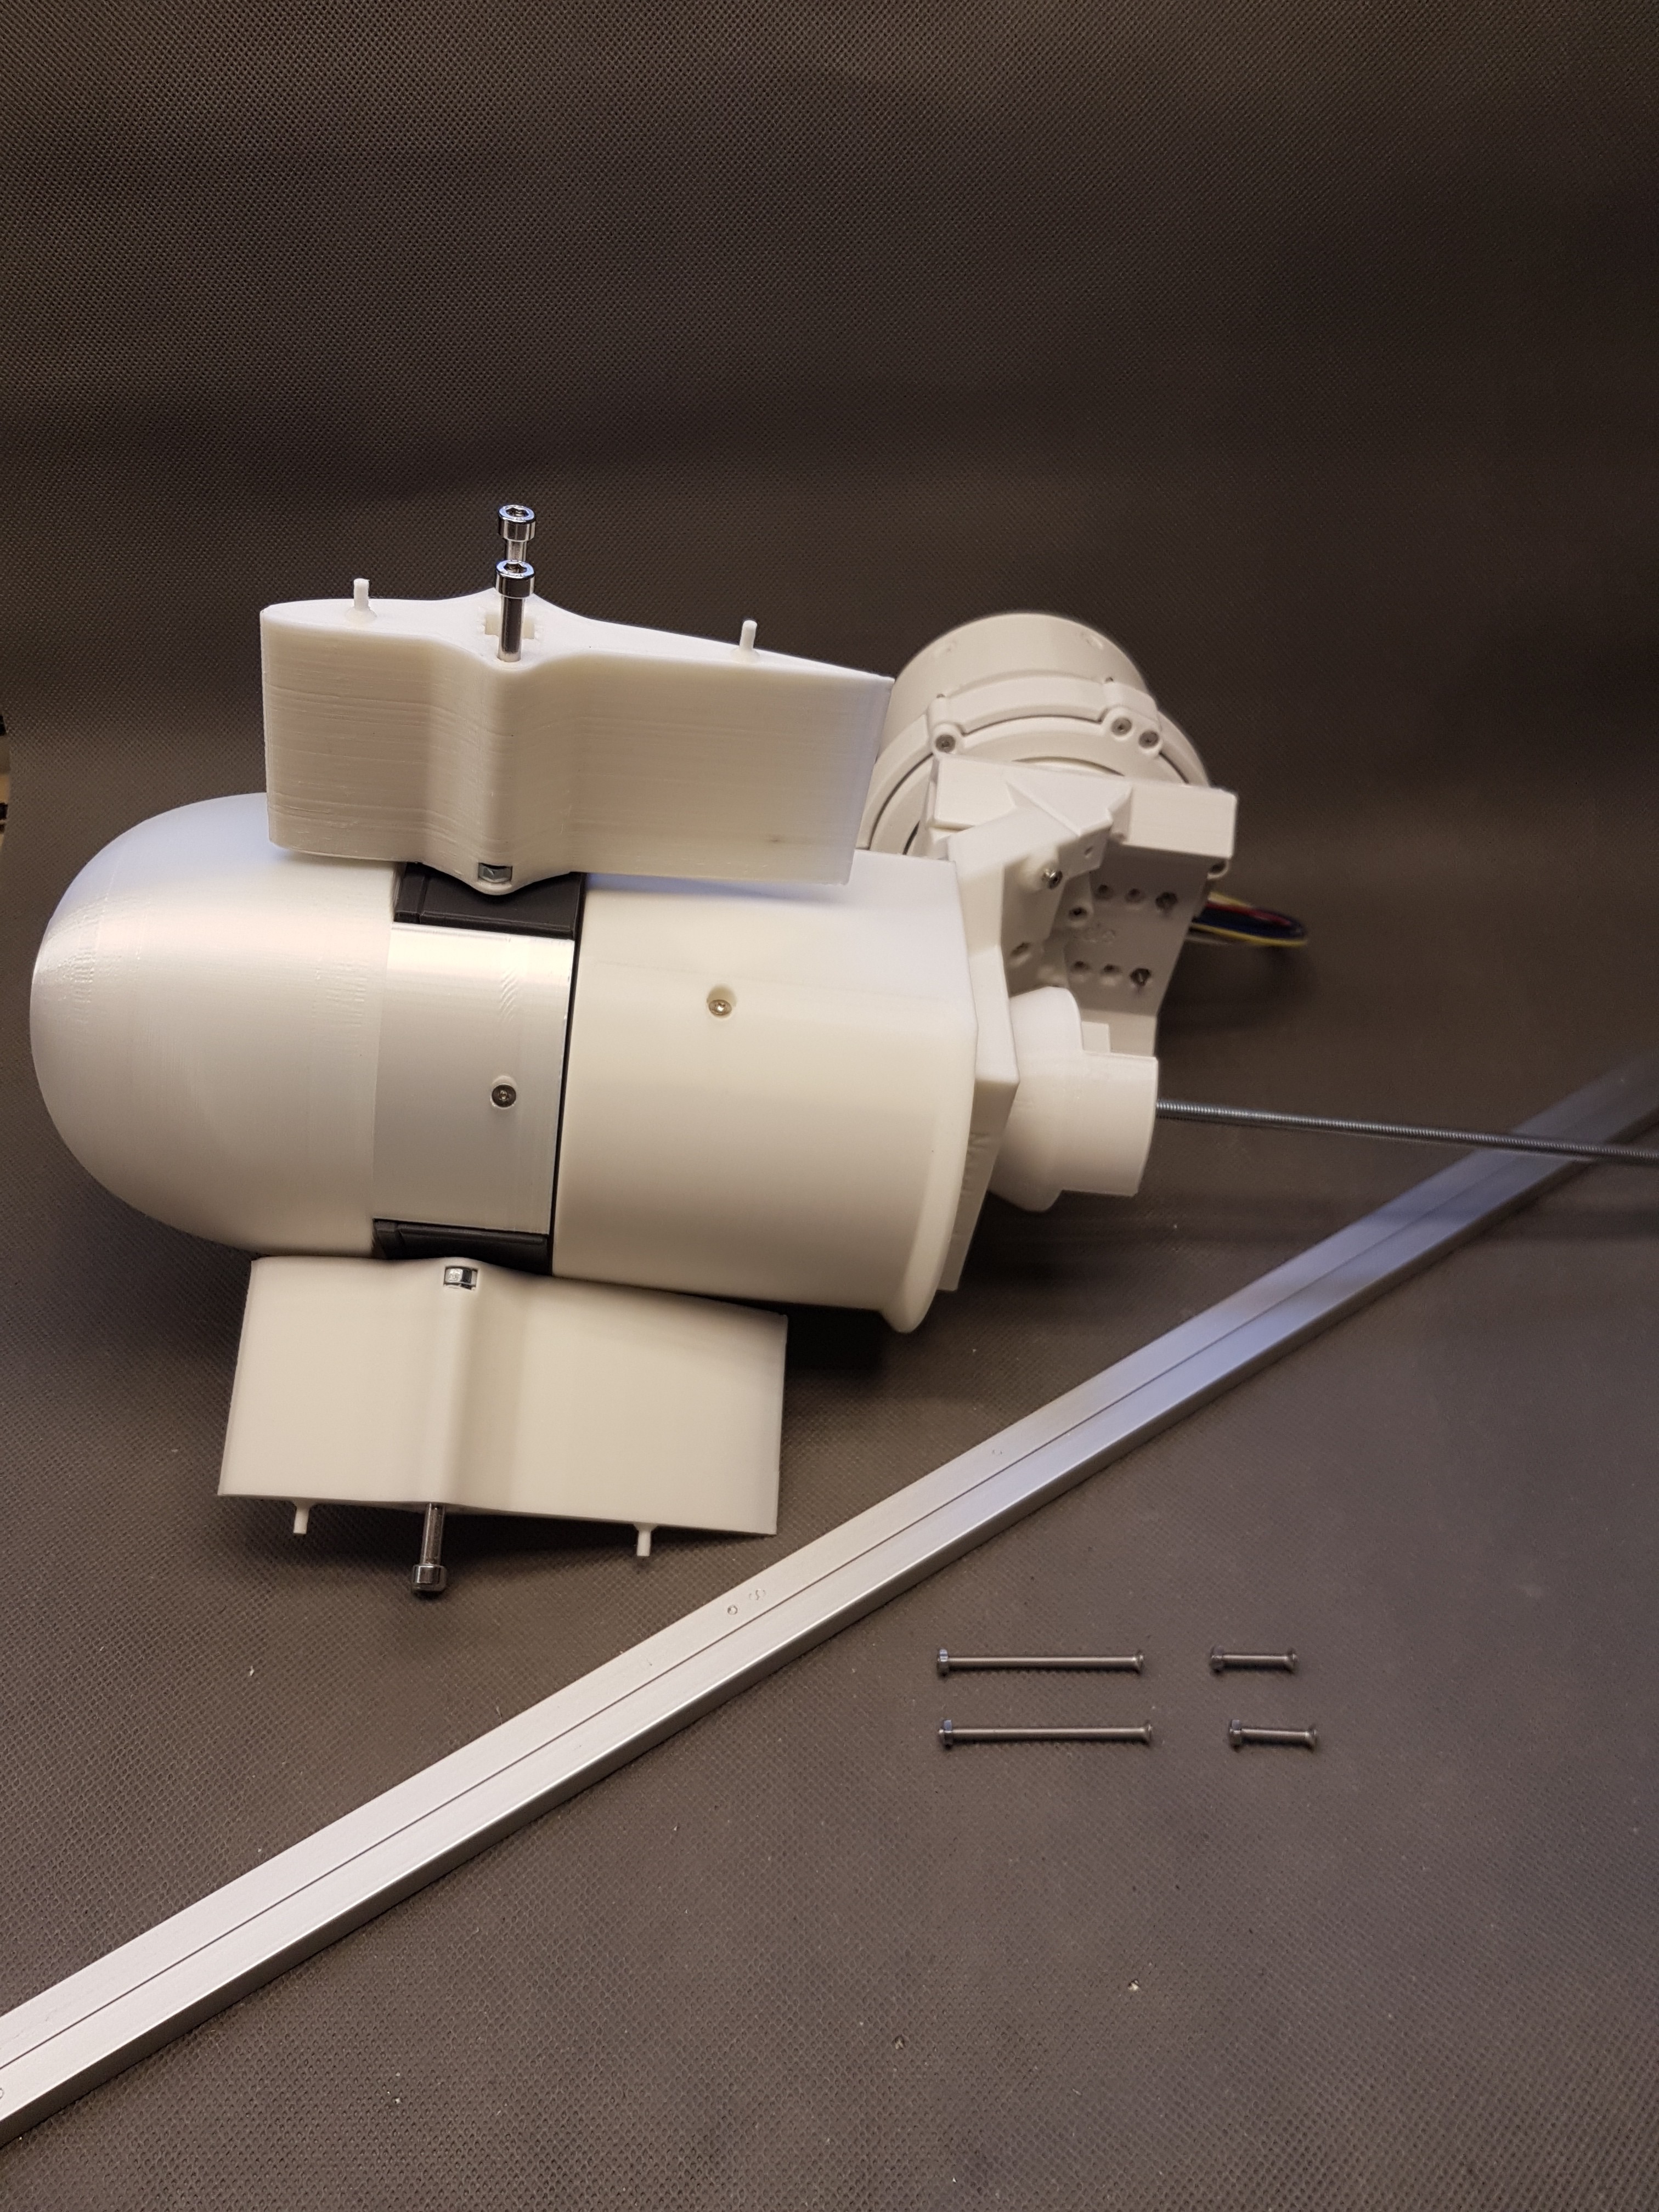
Side view:

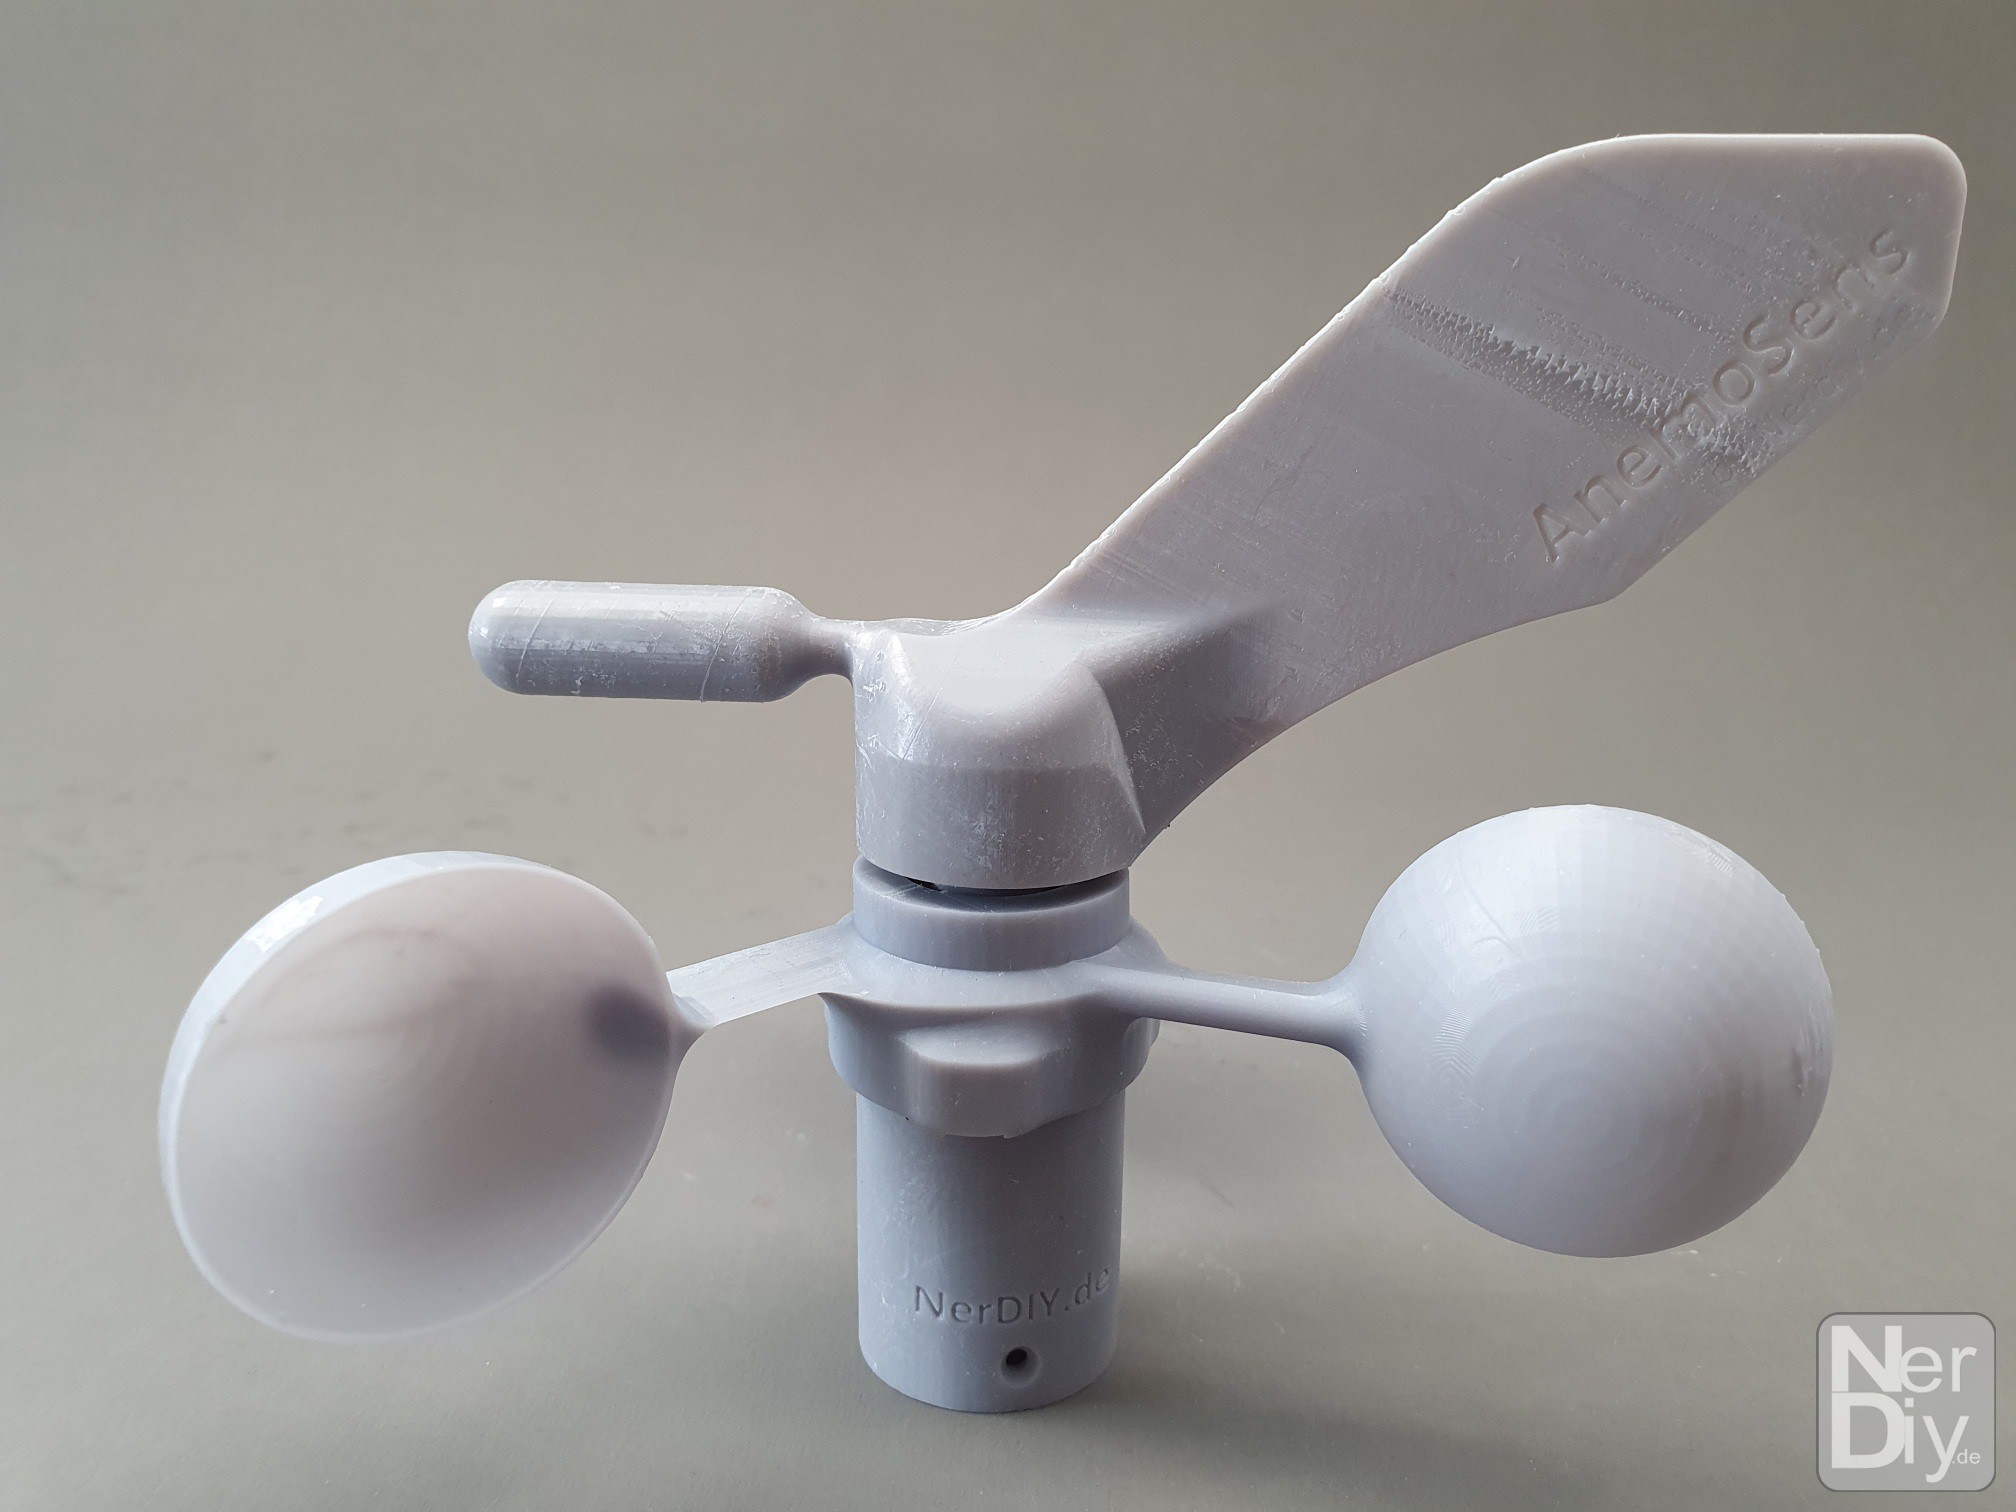
(Wind vane will be added soon)
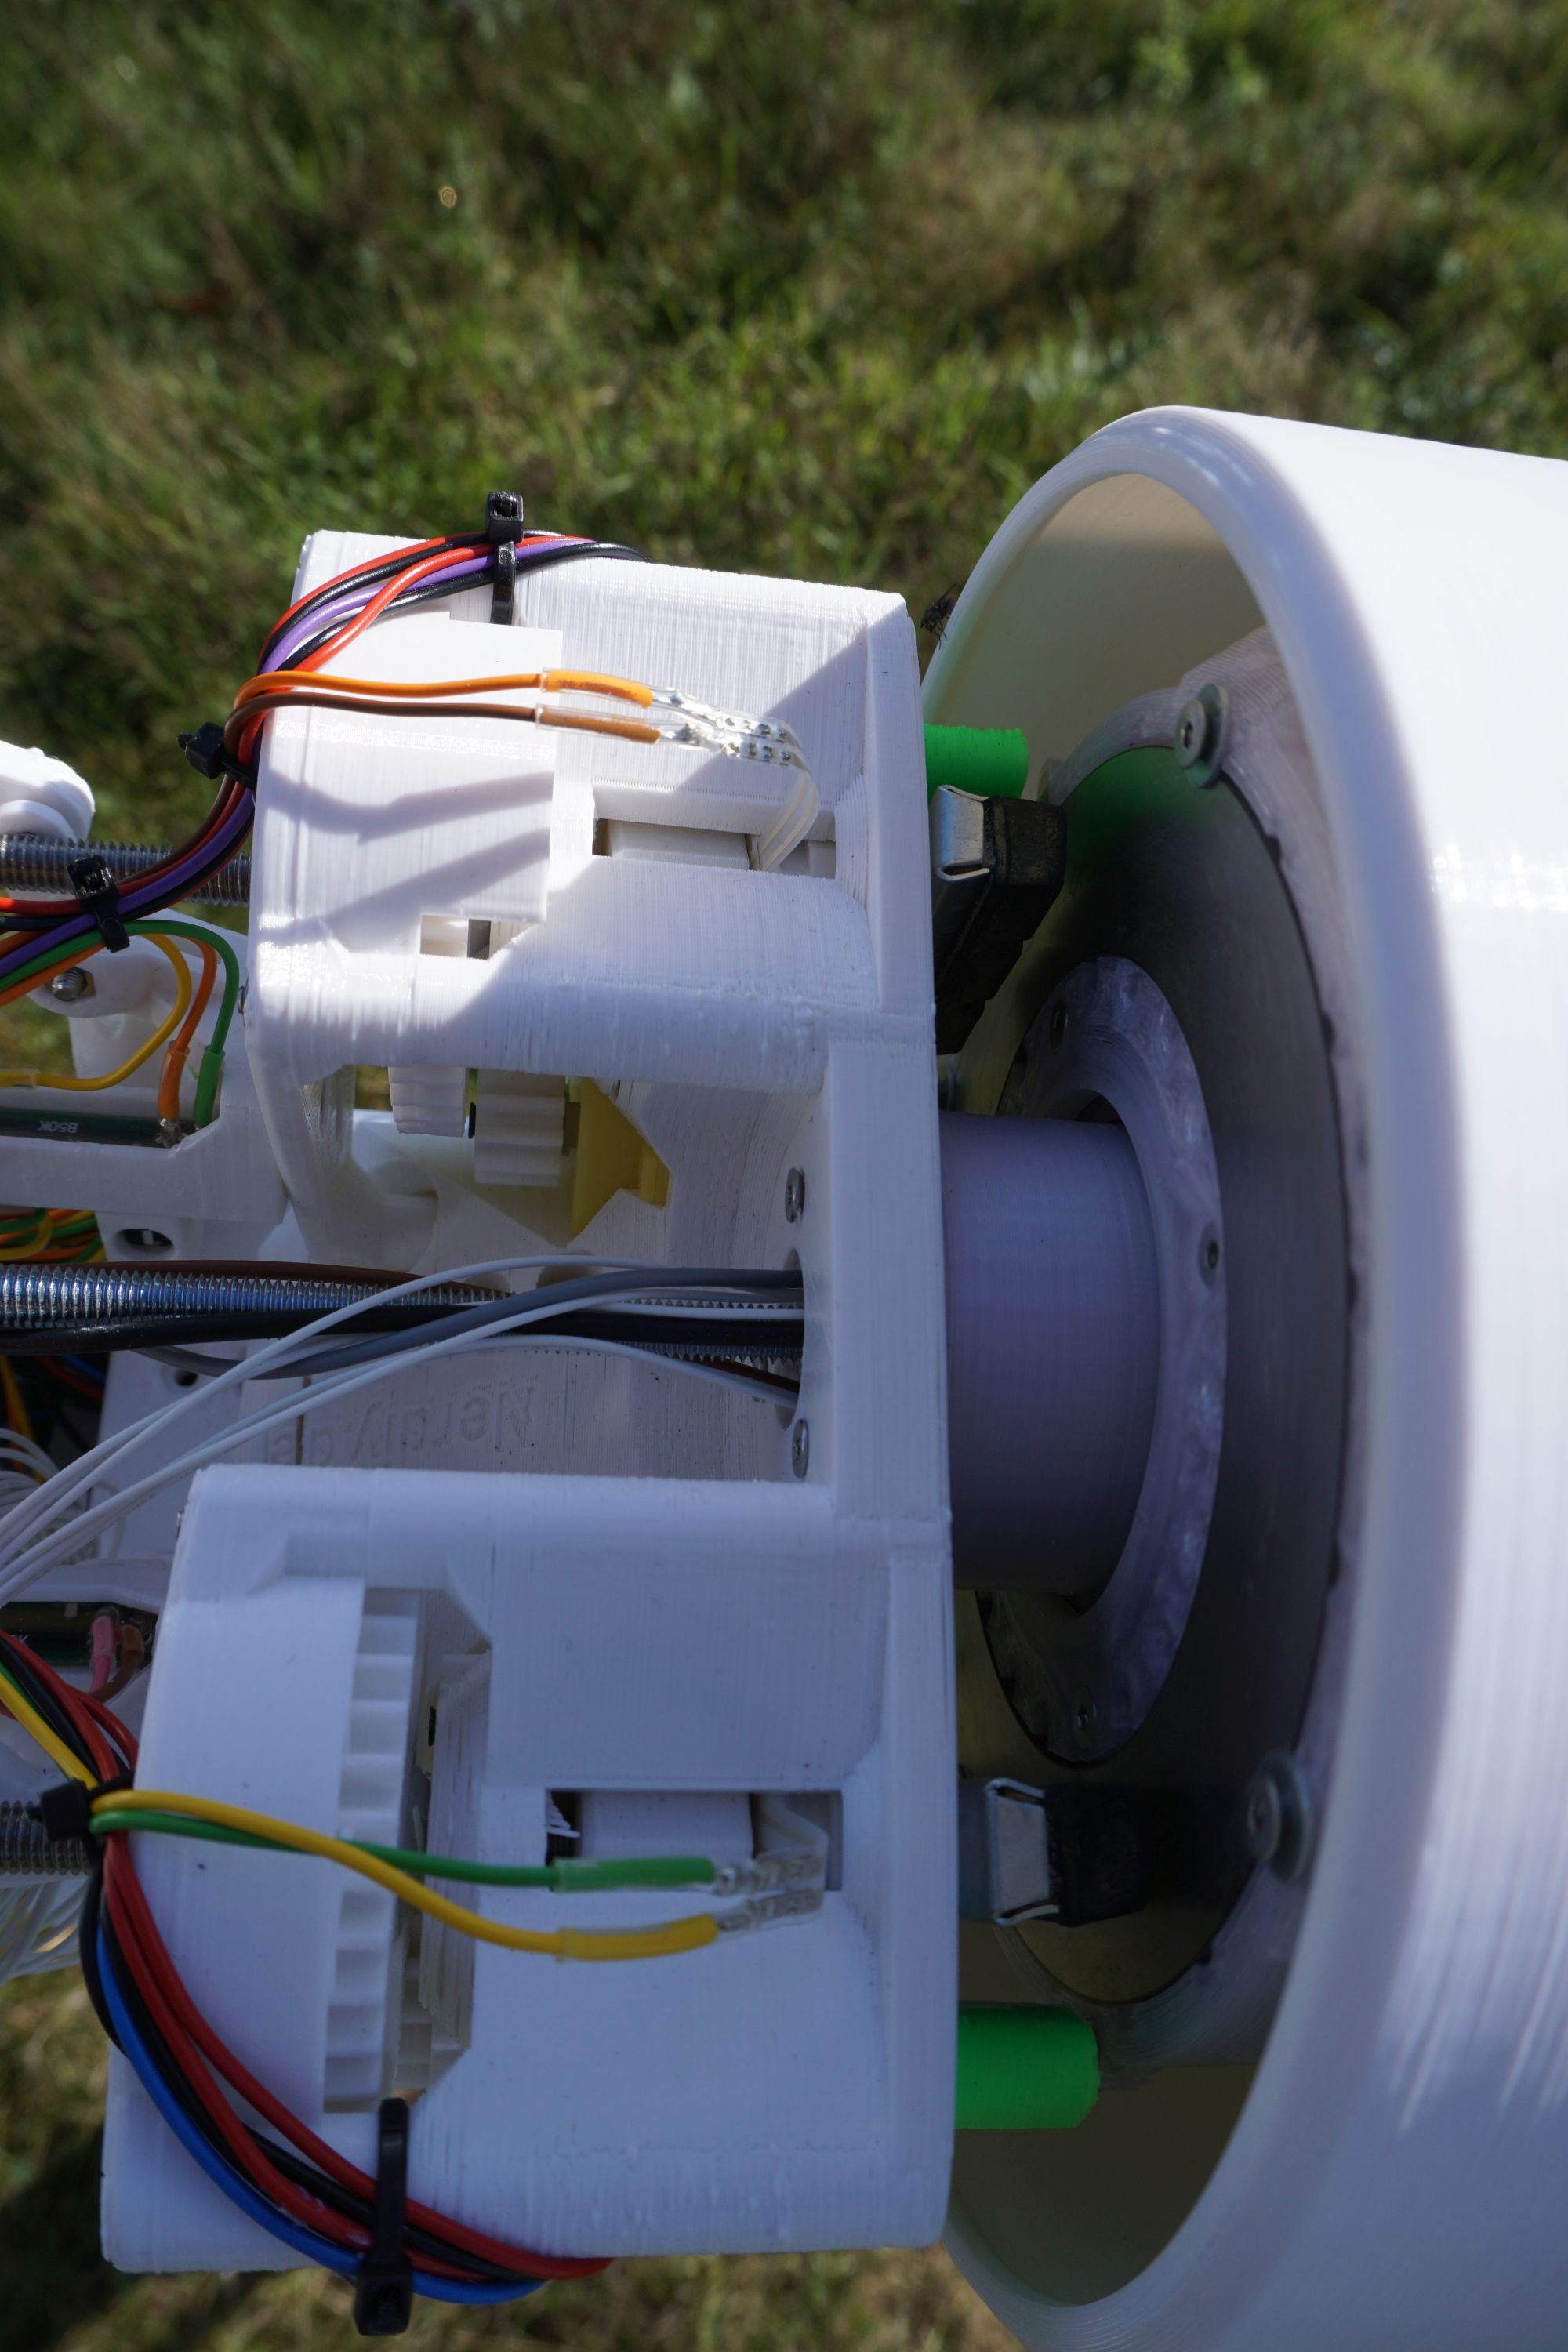
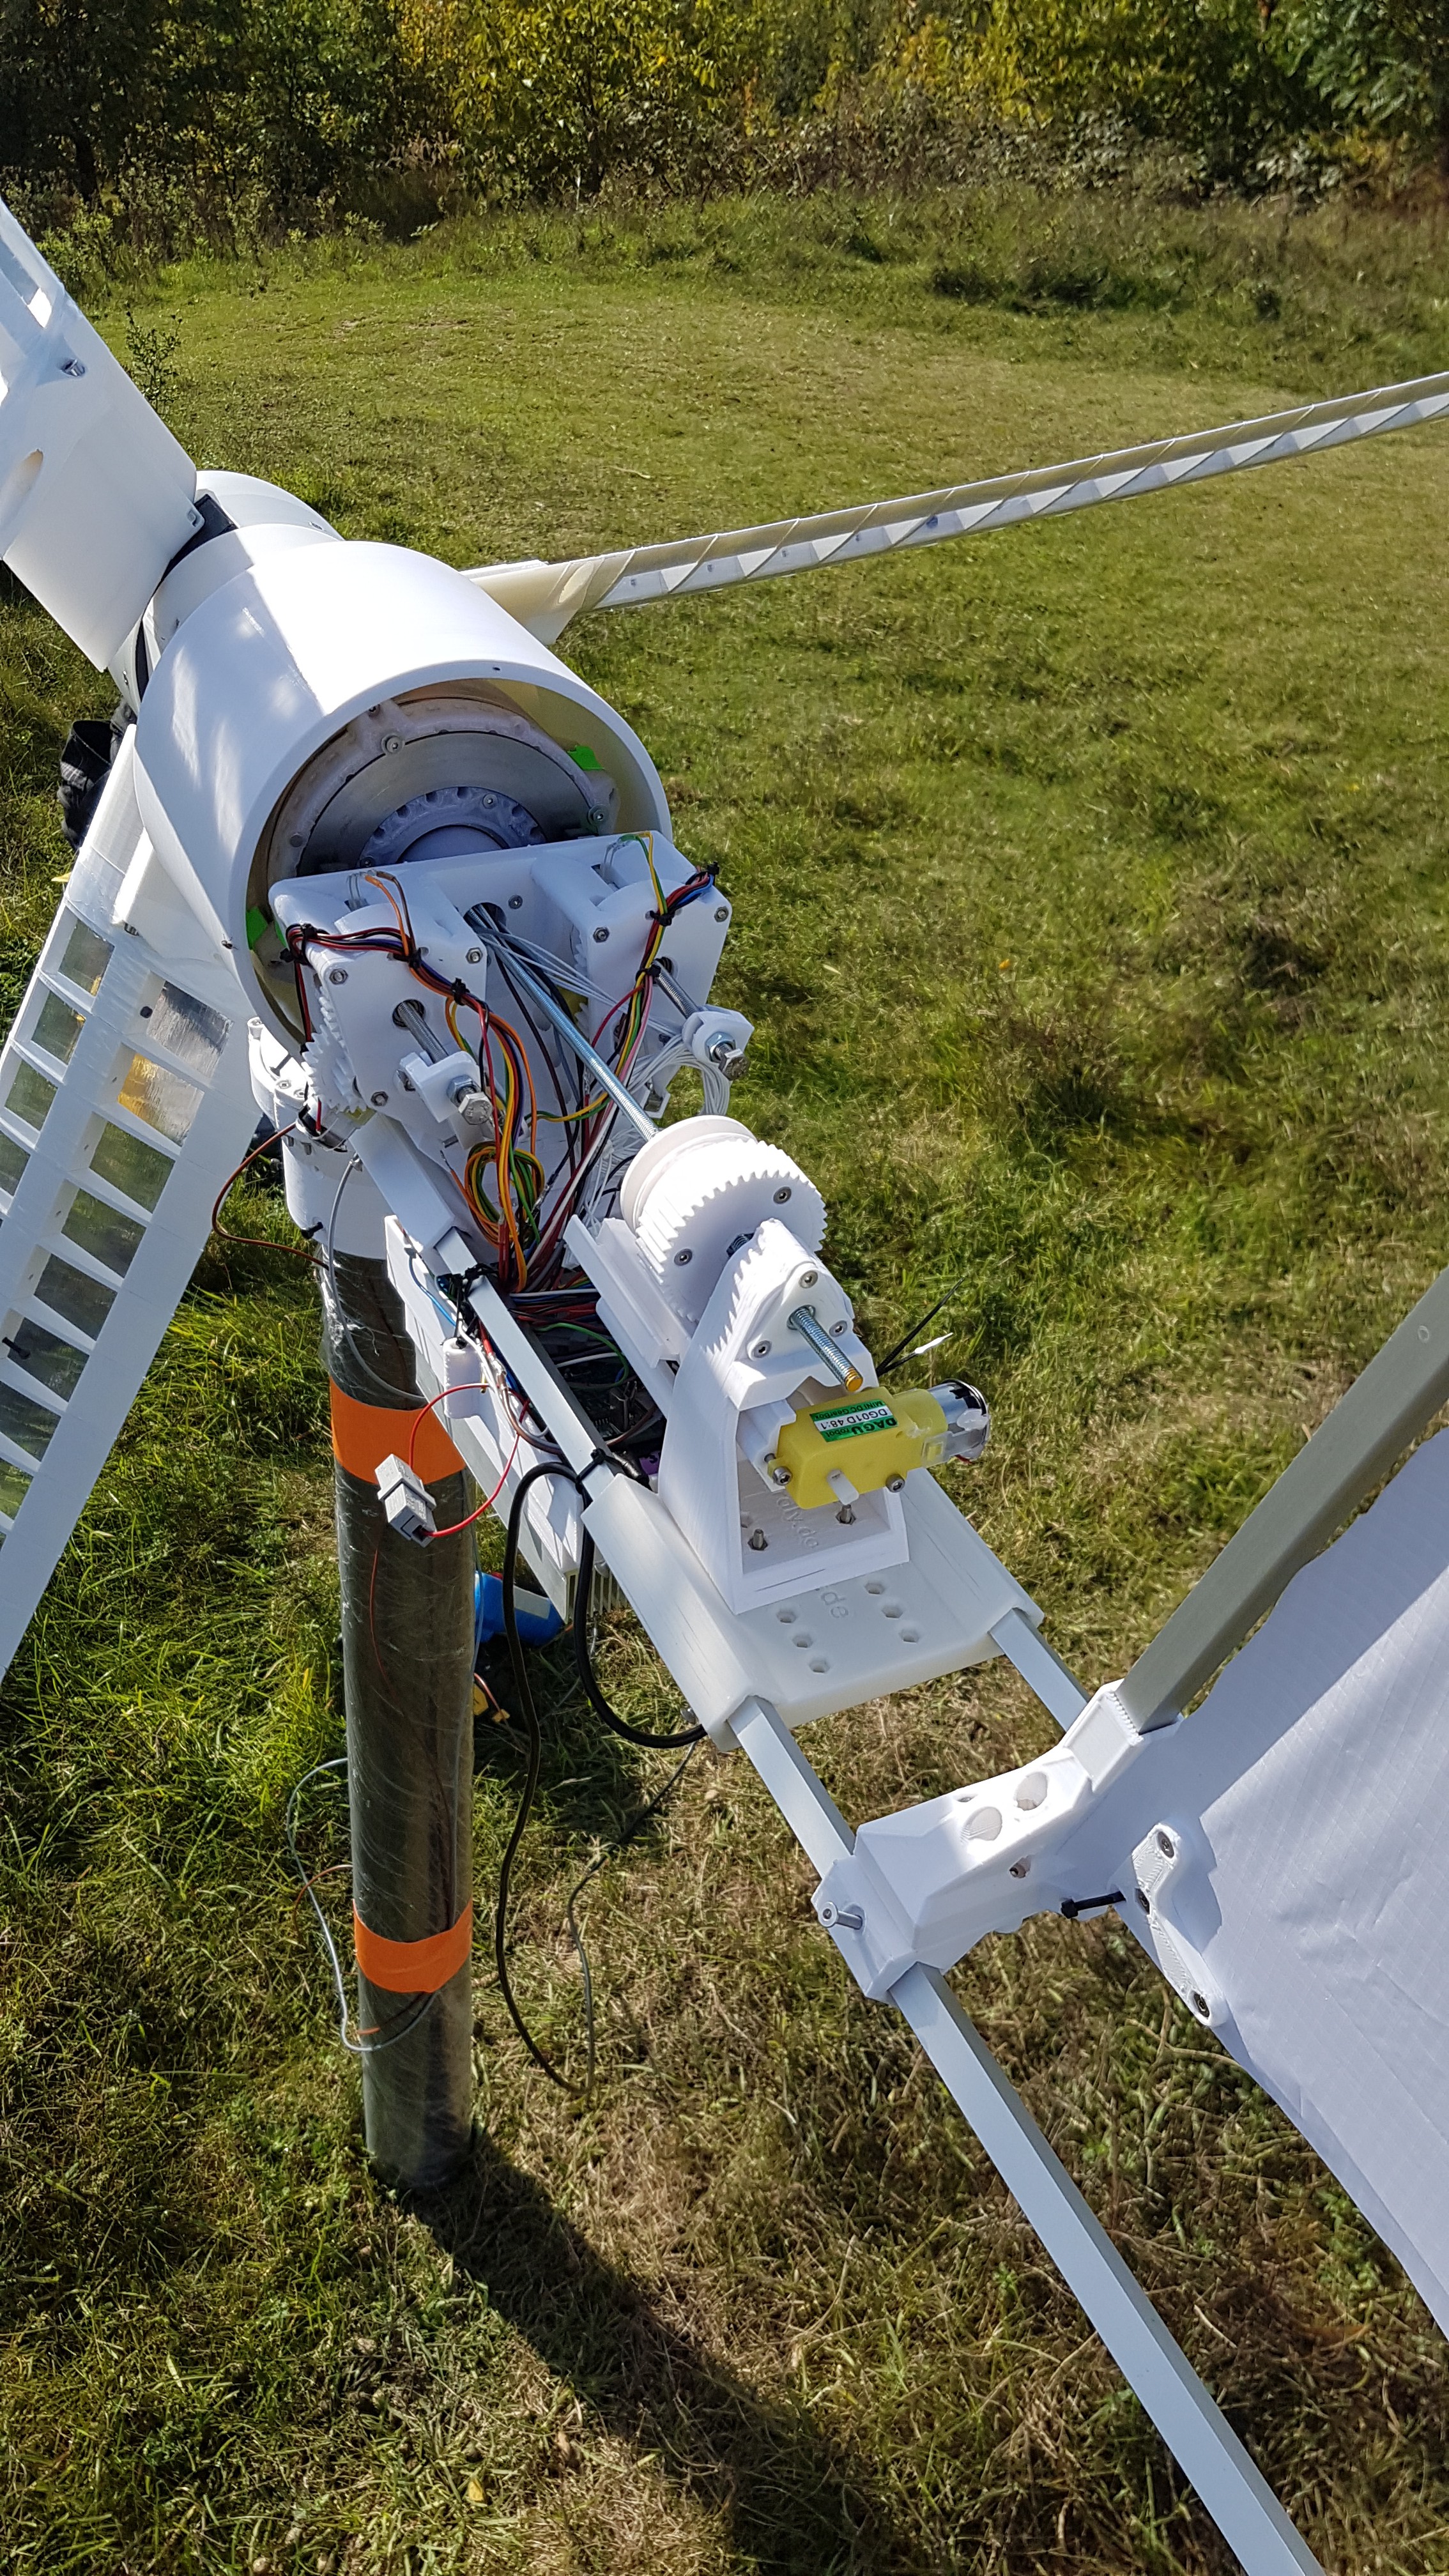
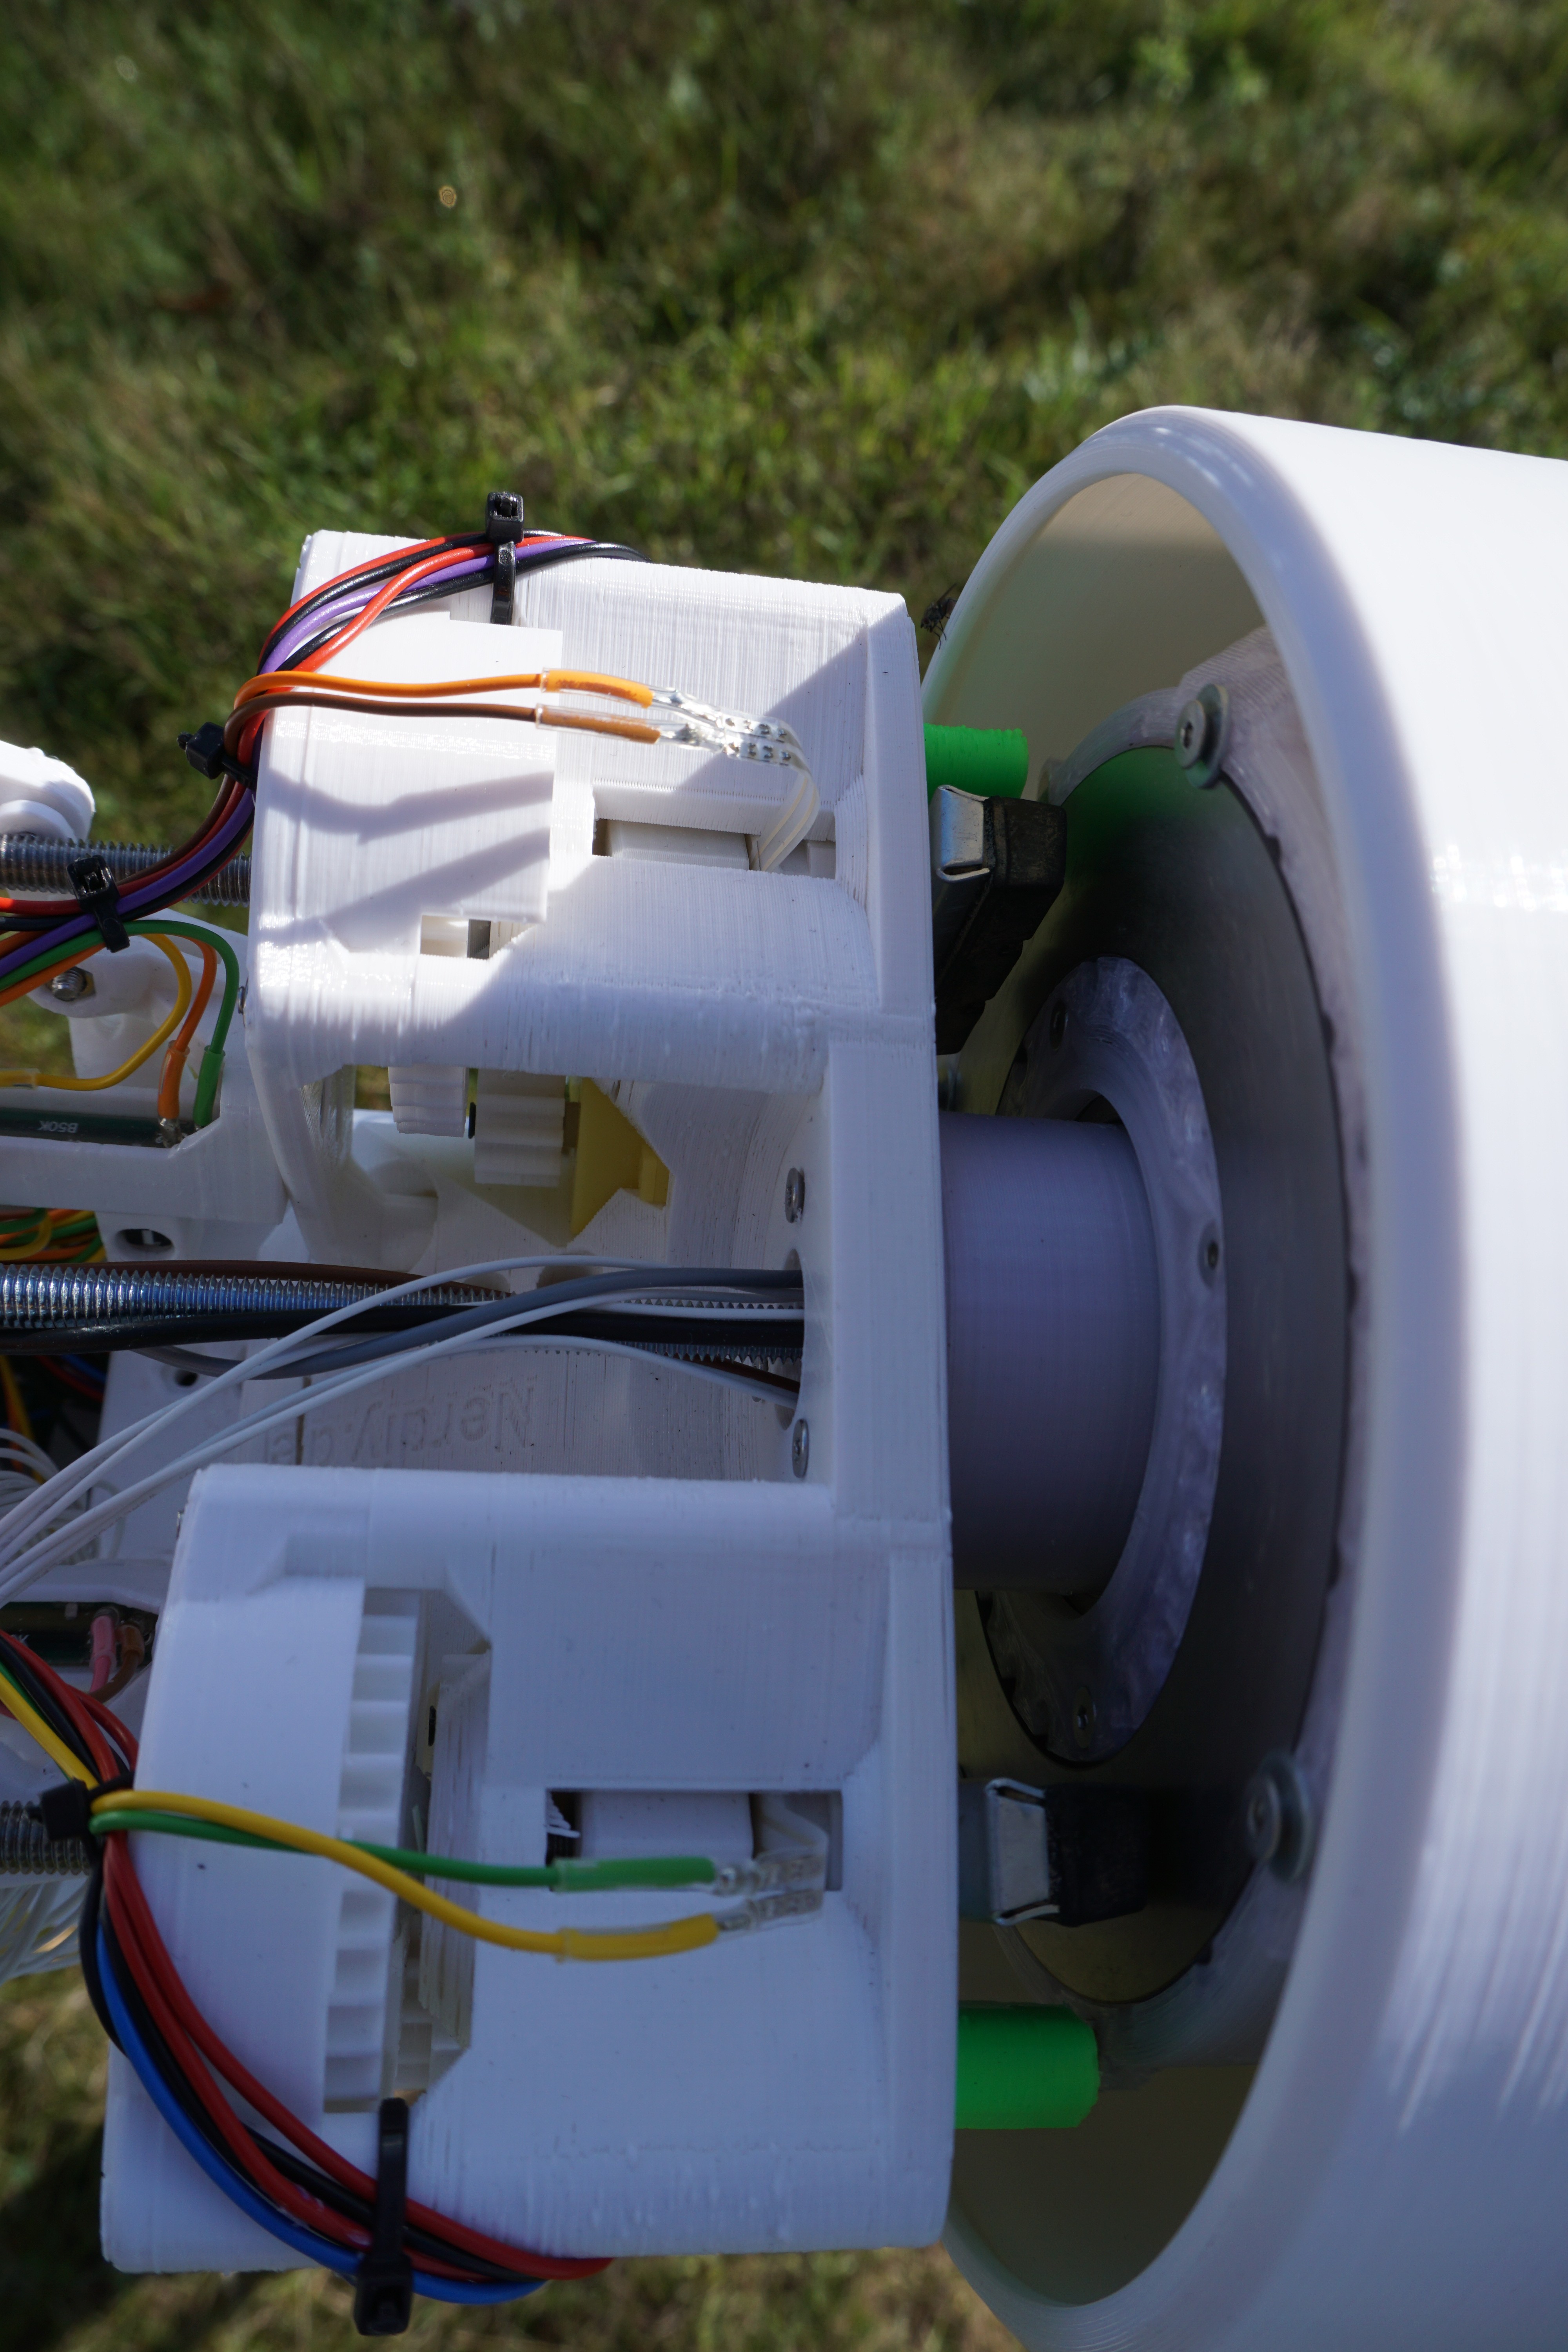
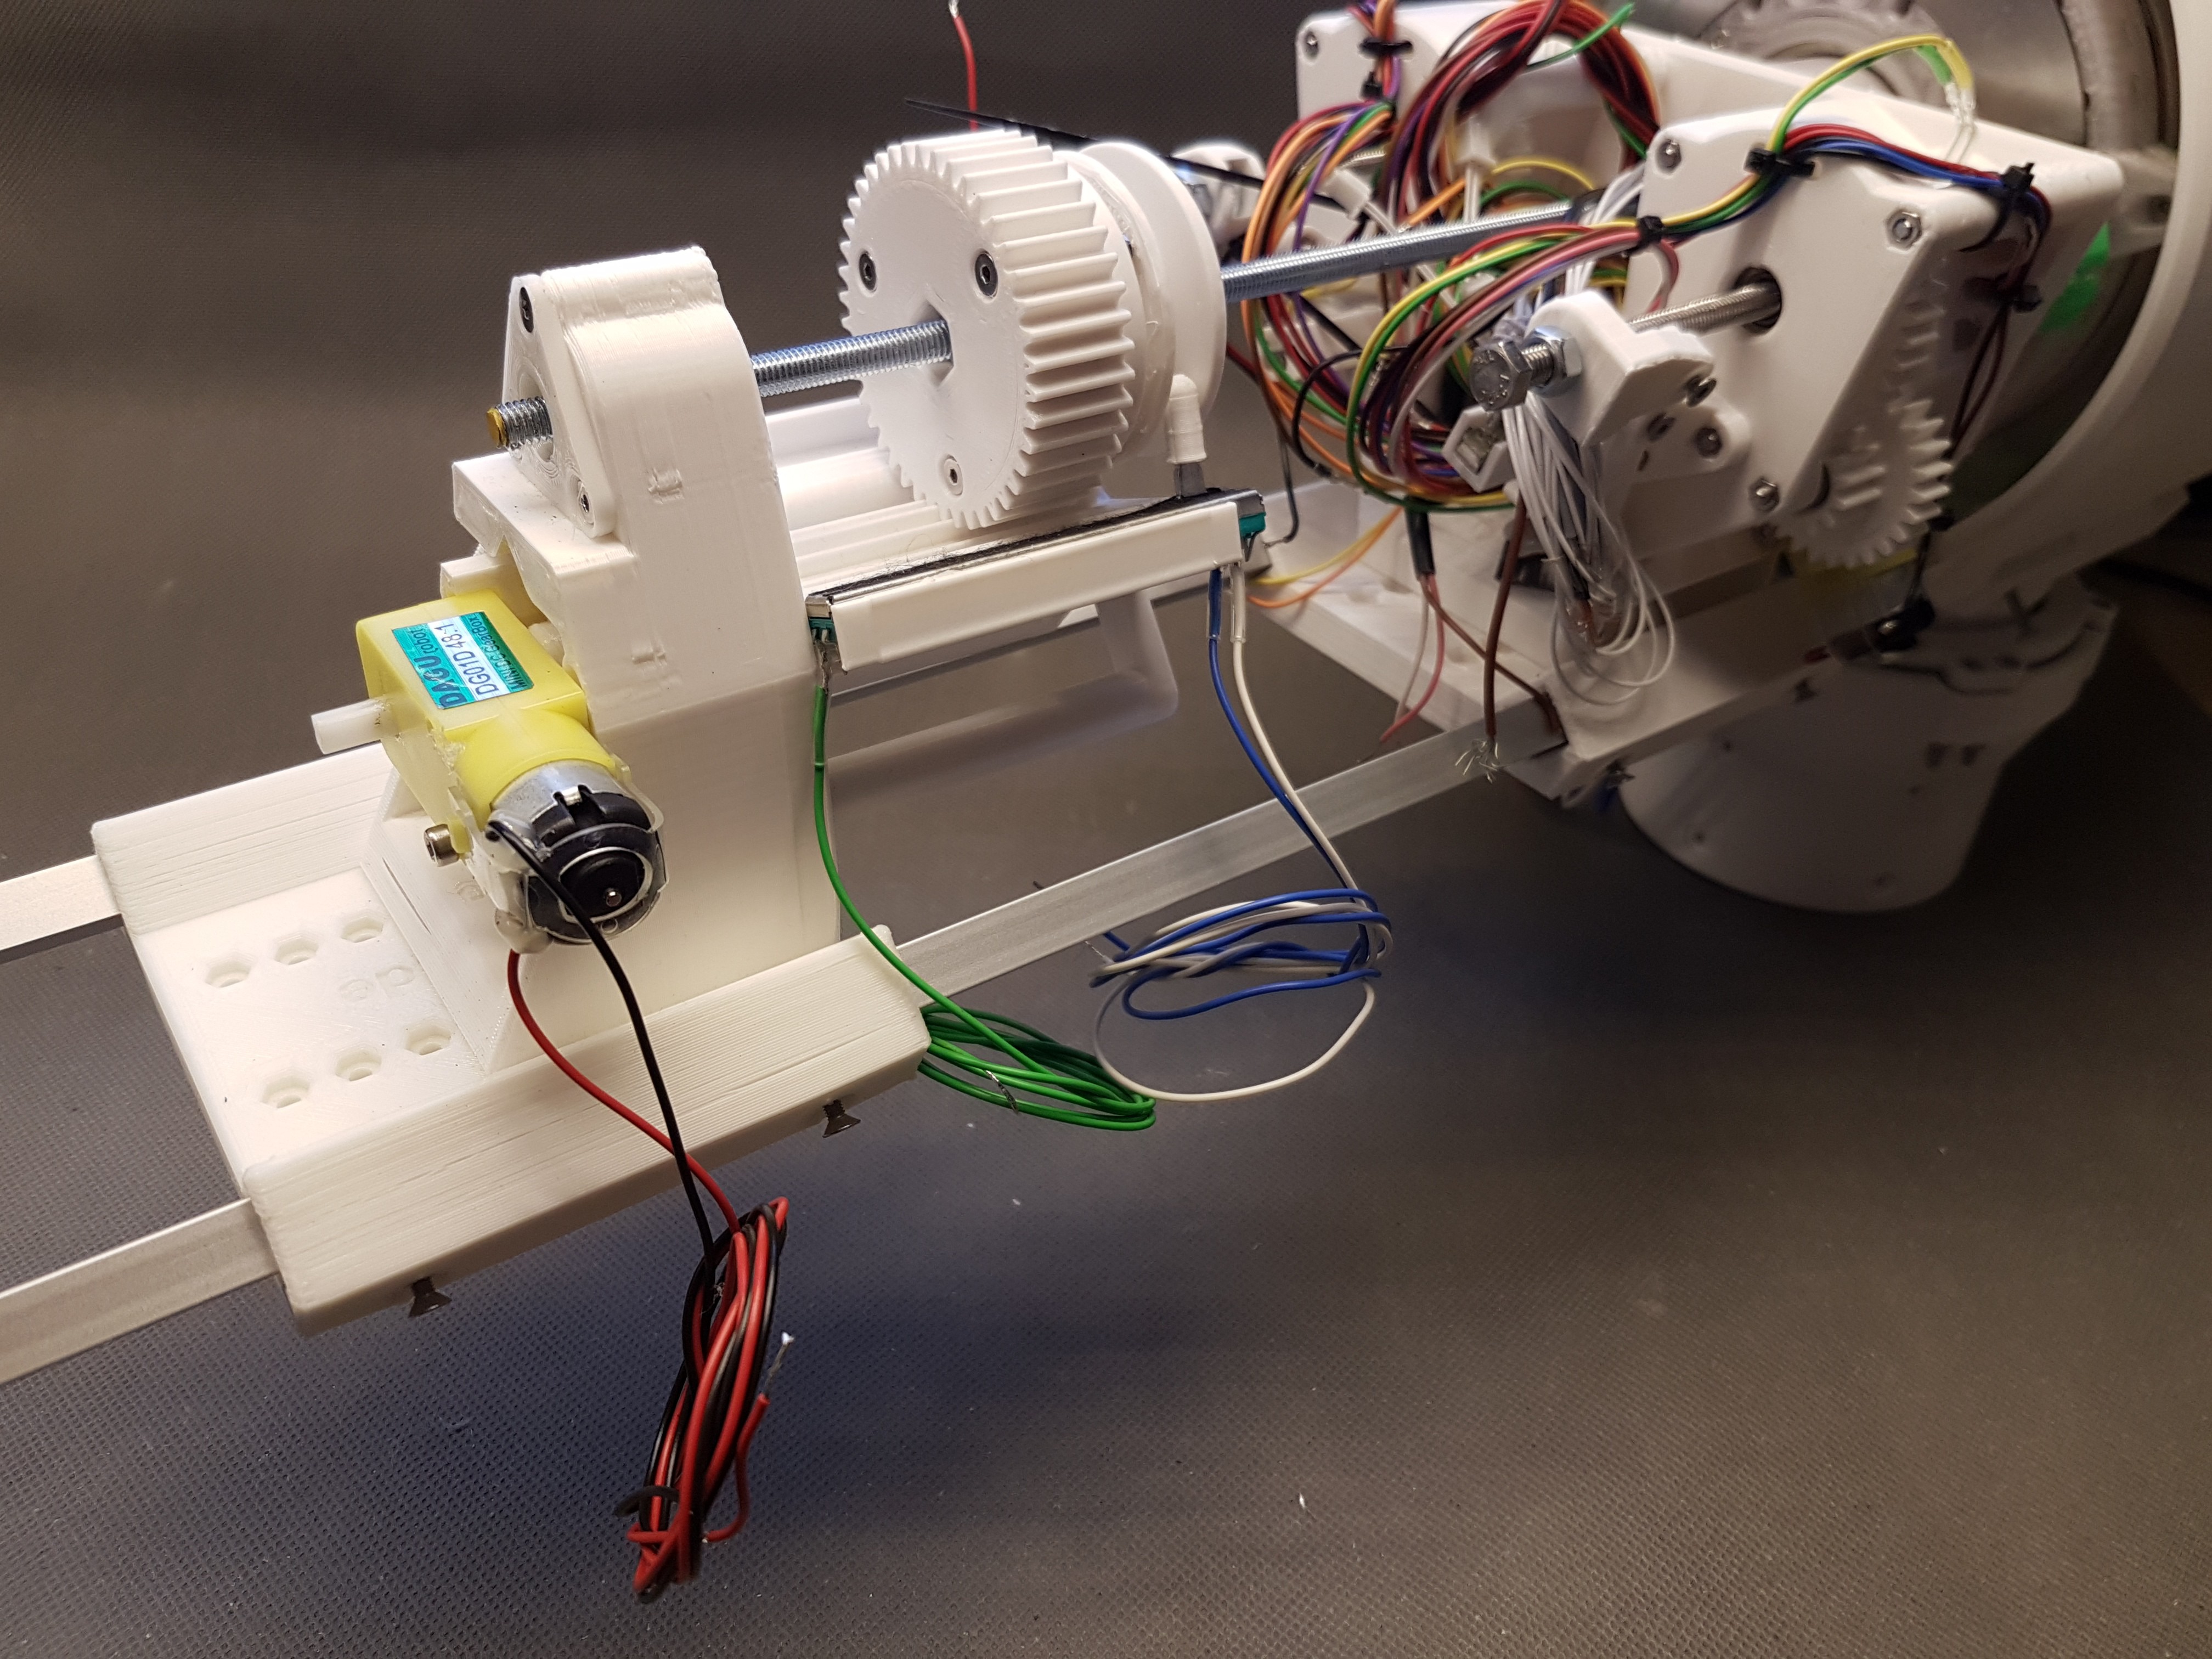
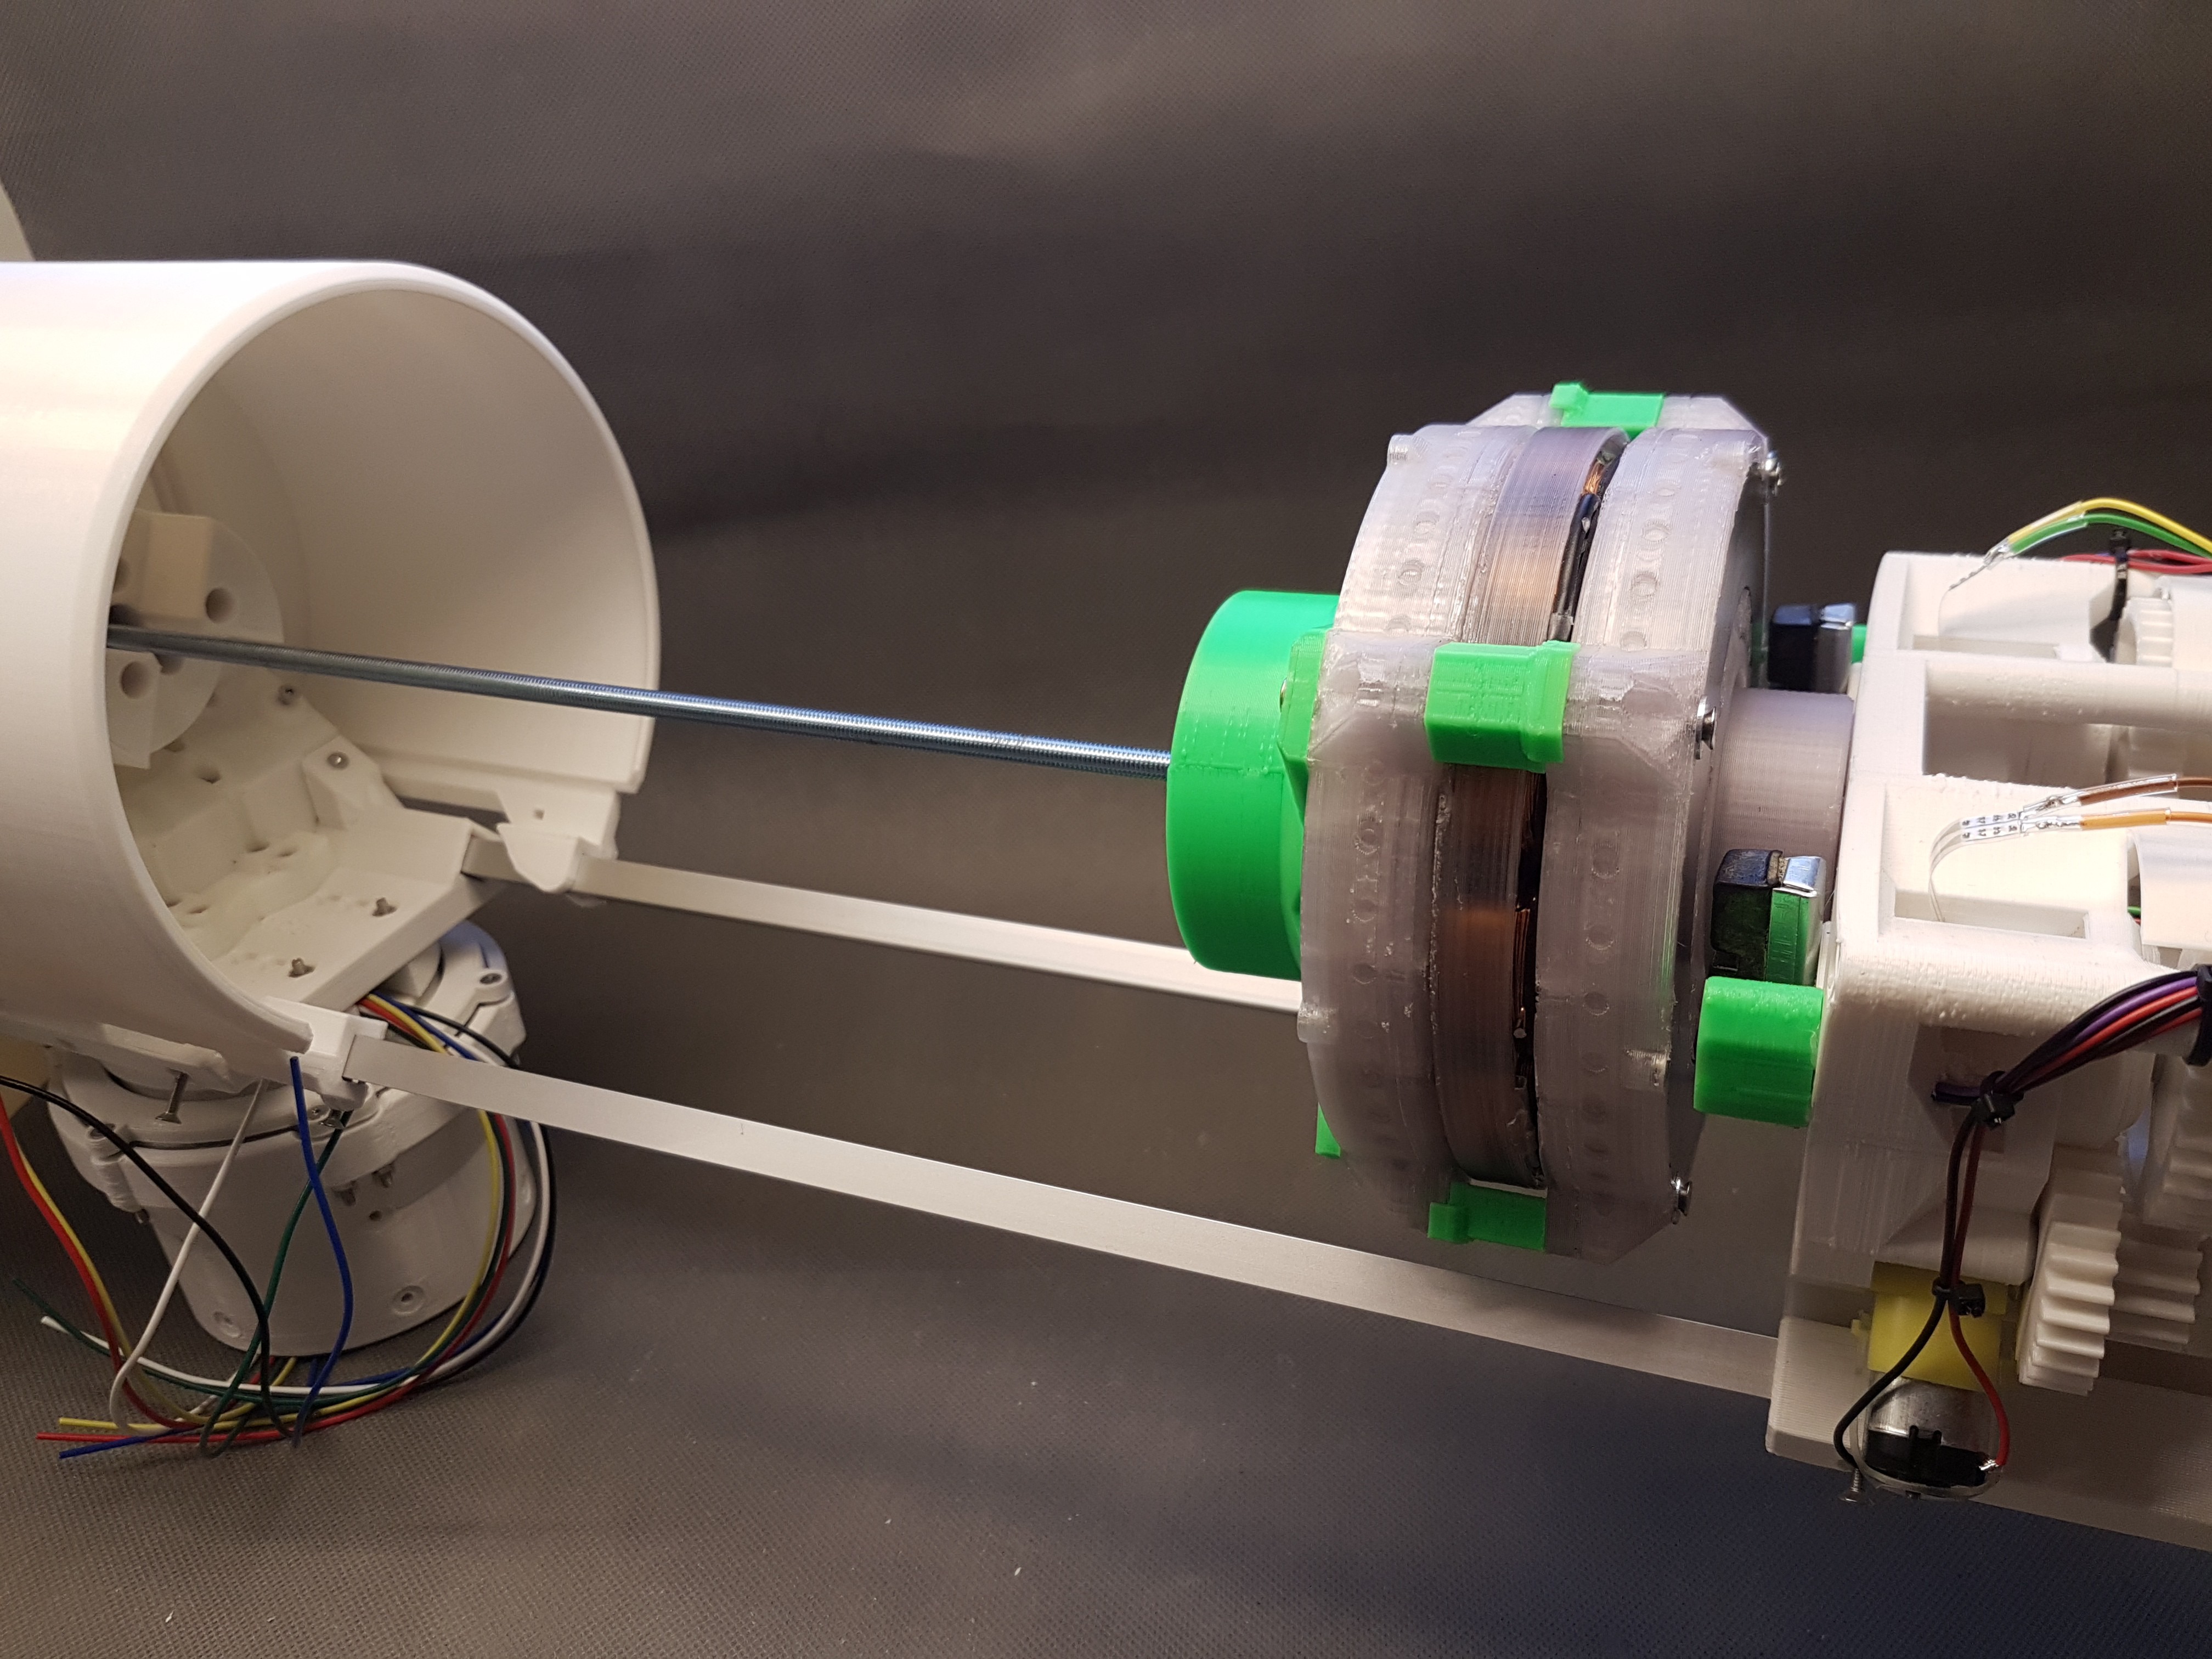
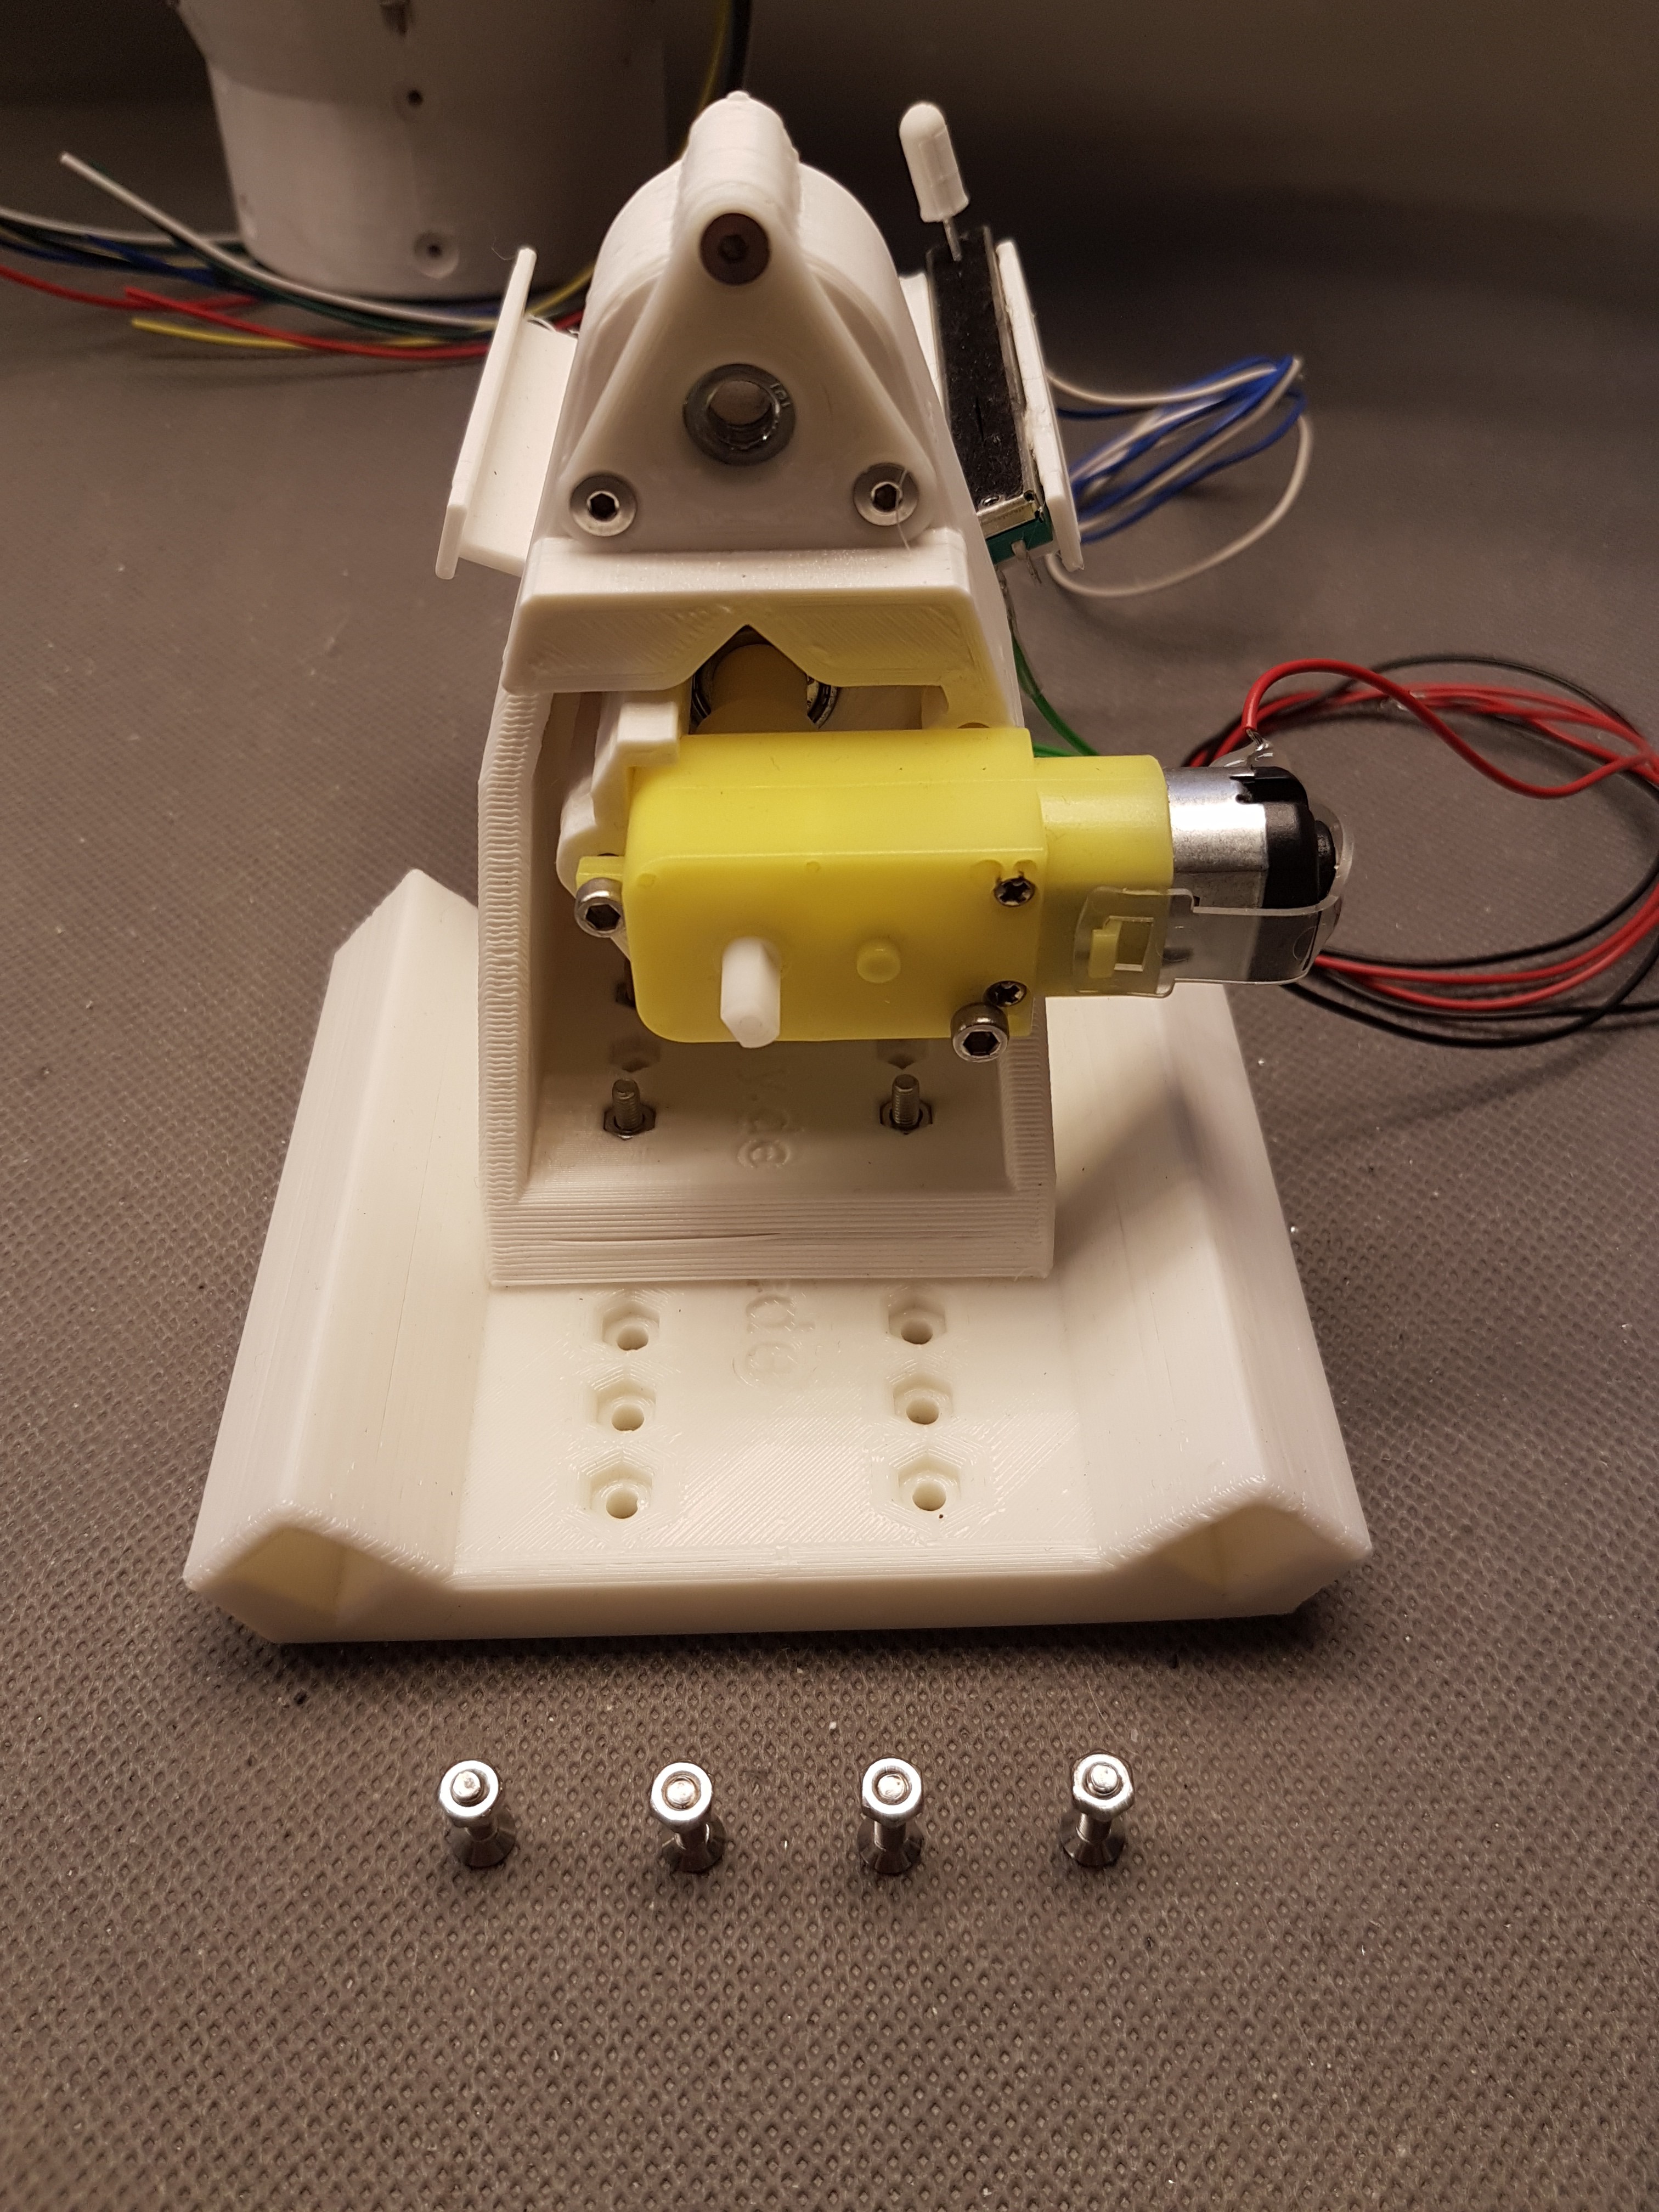
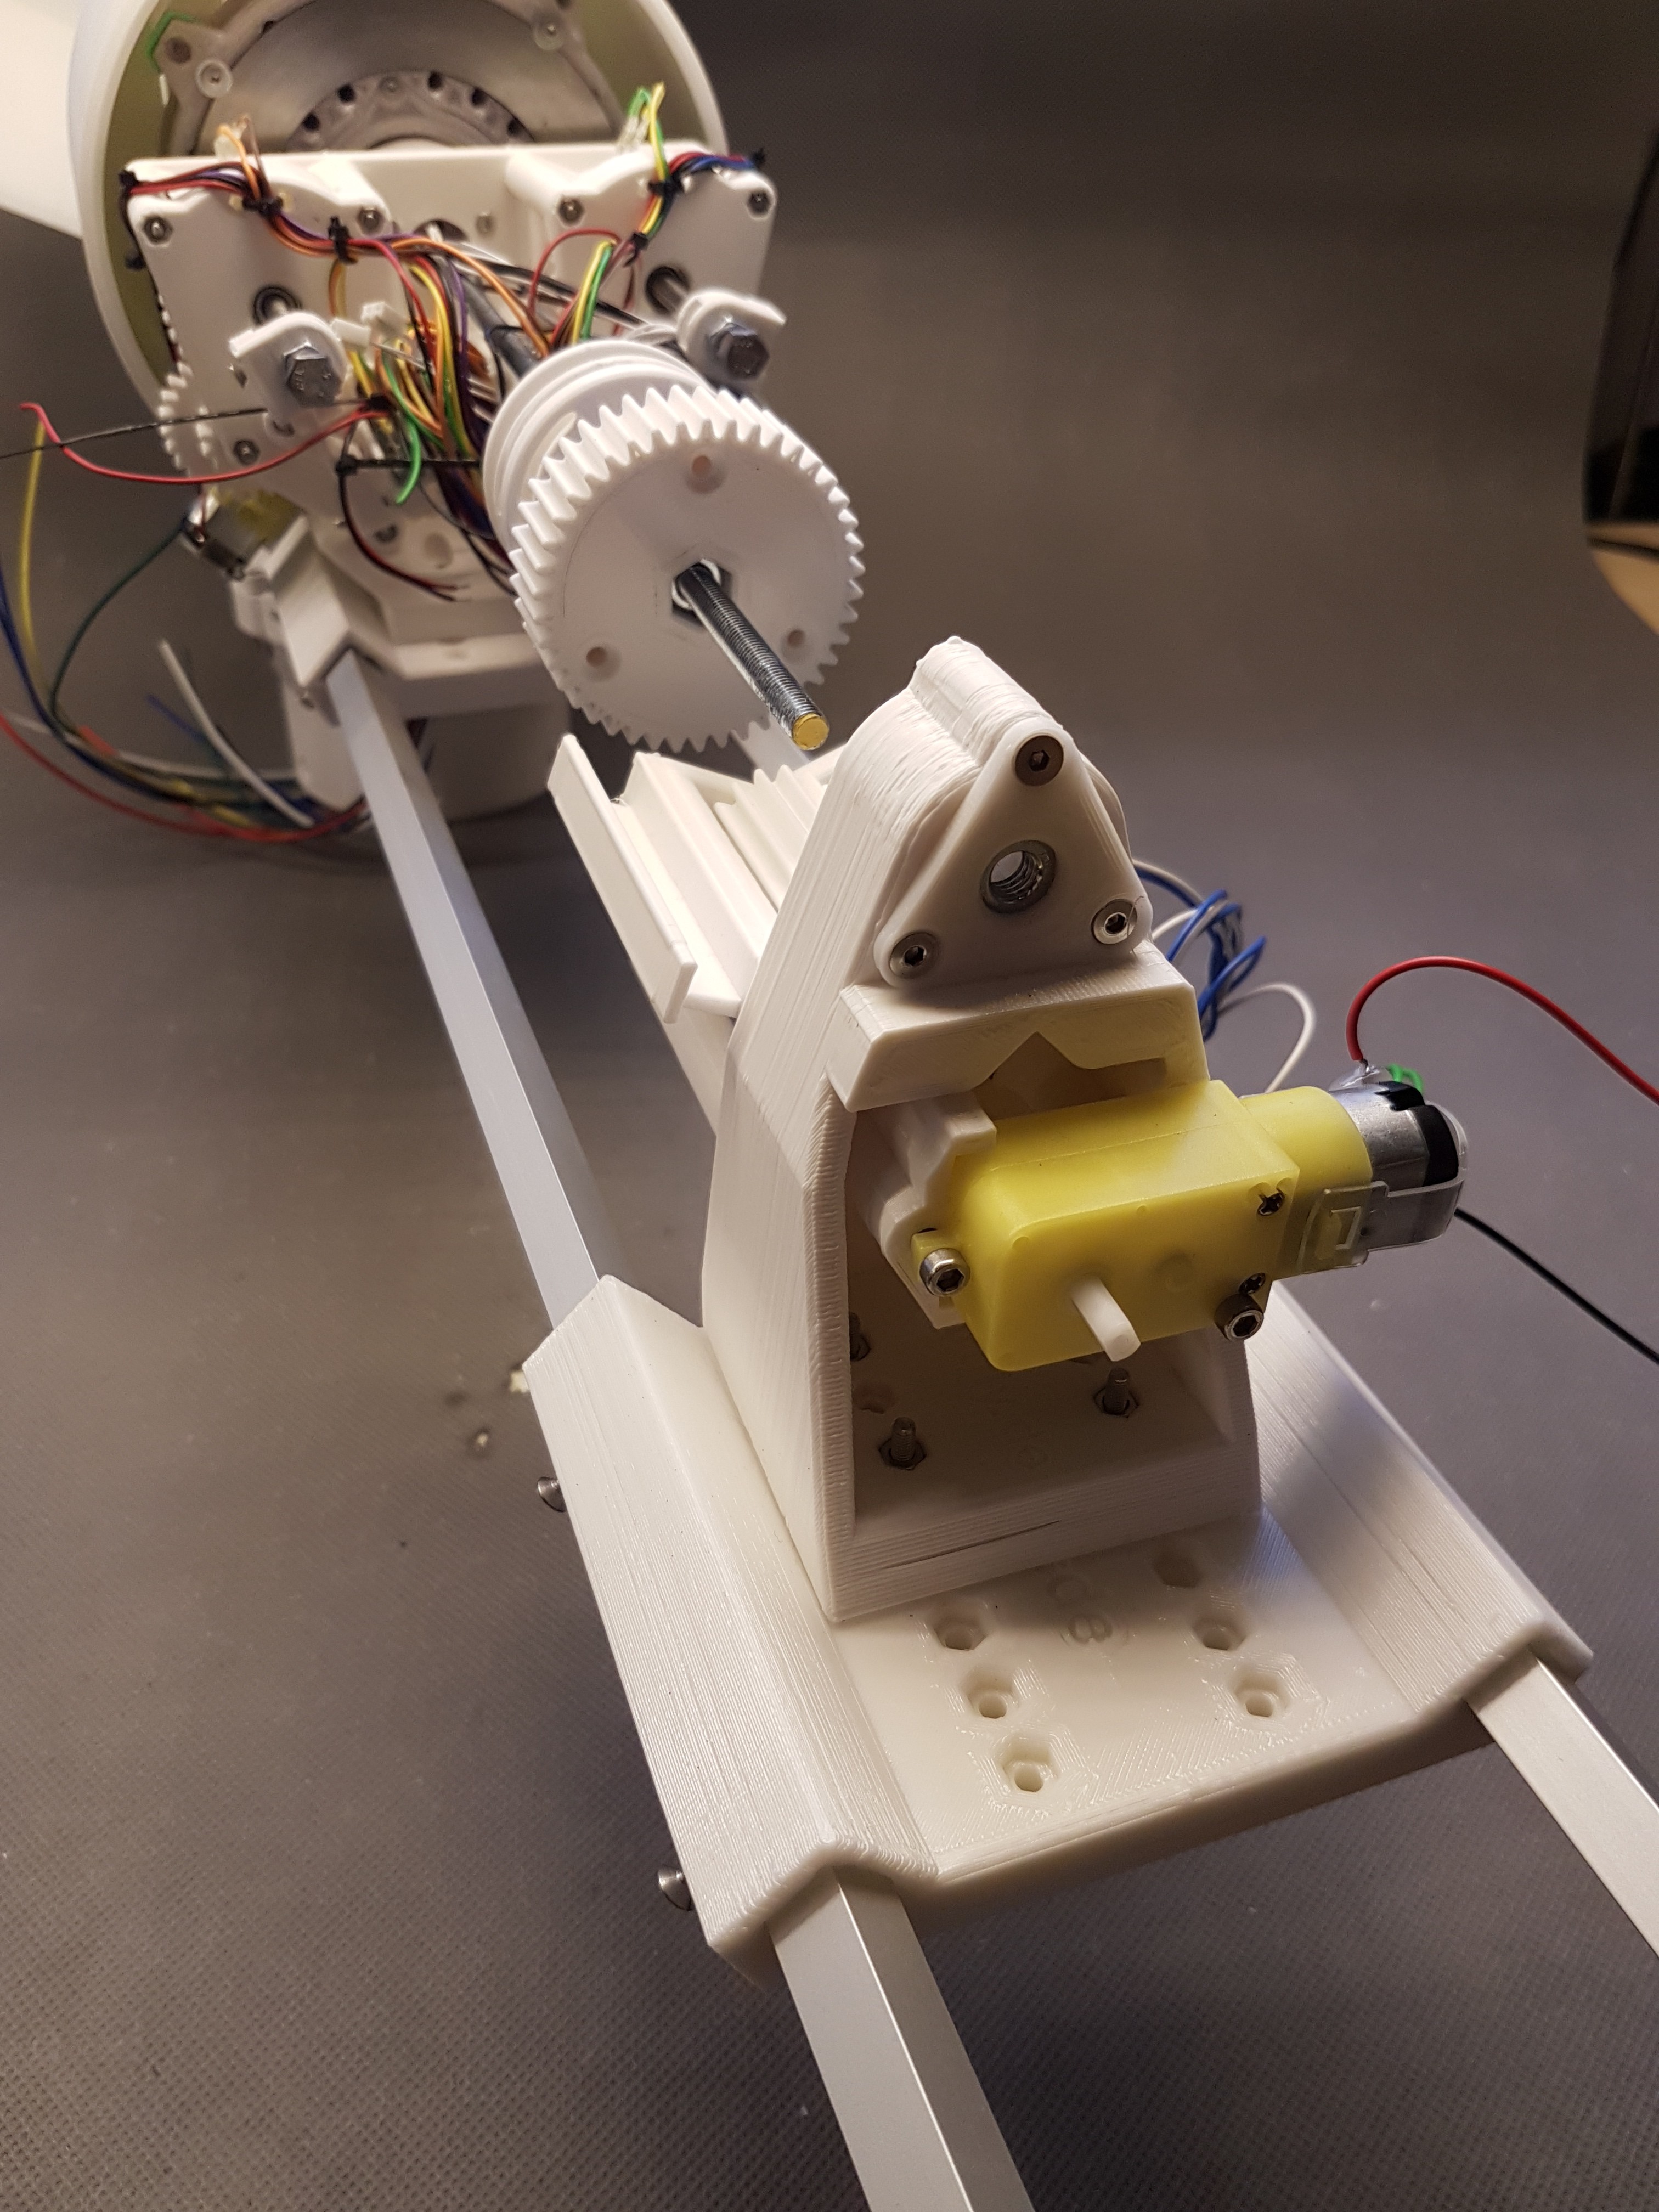
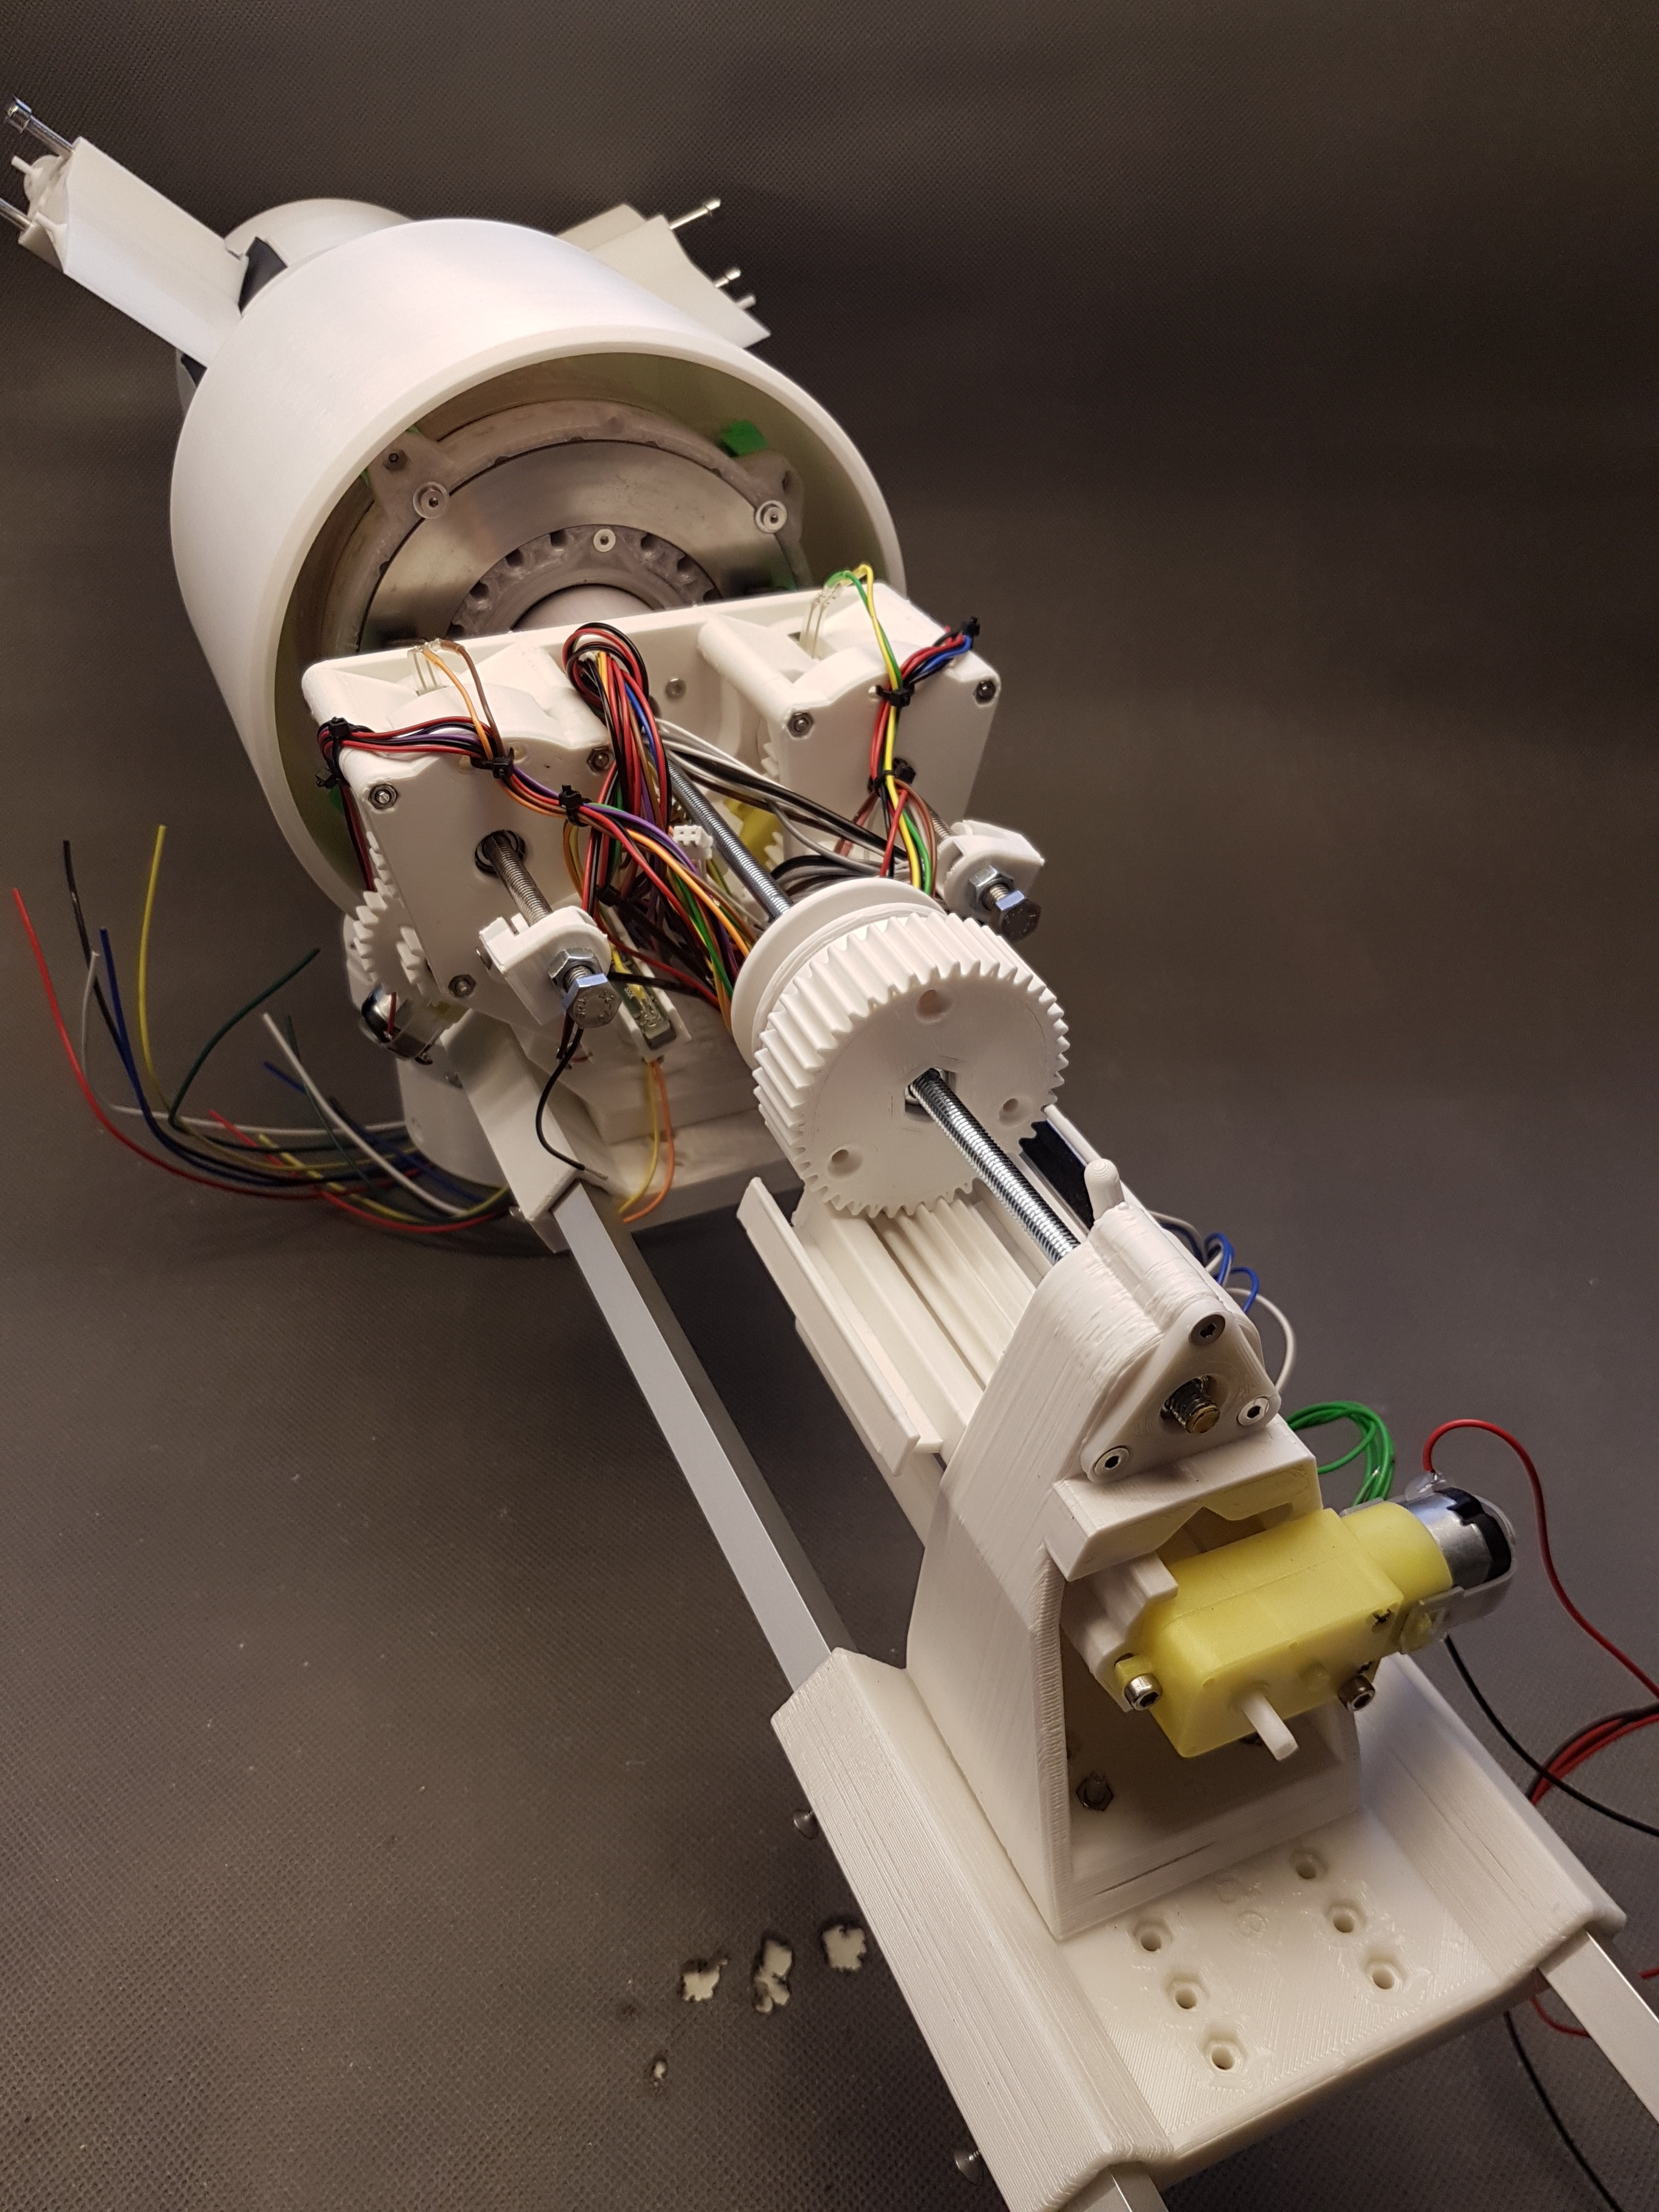
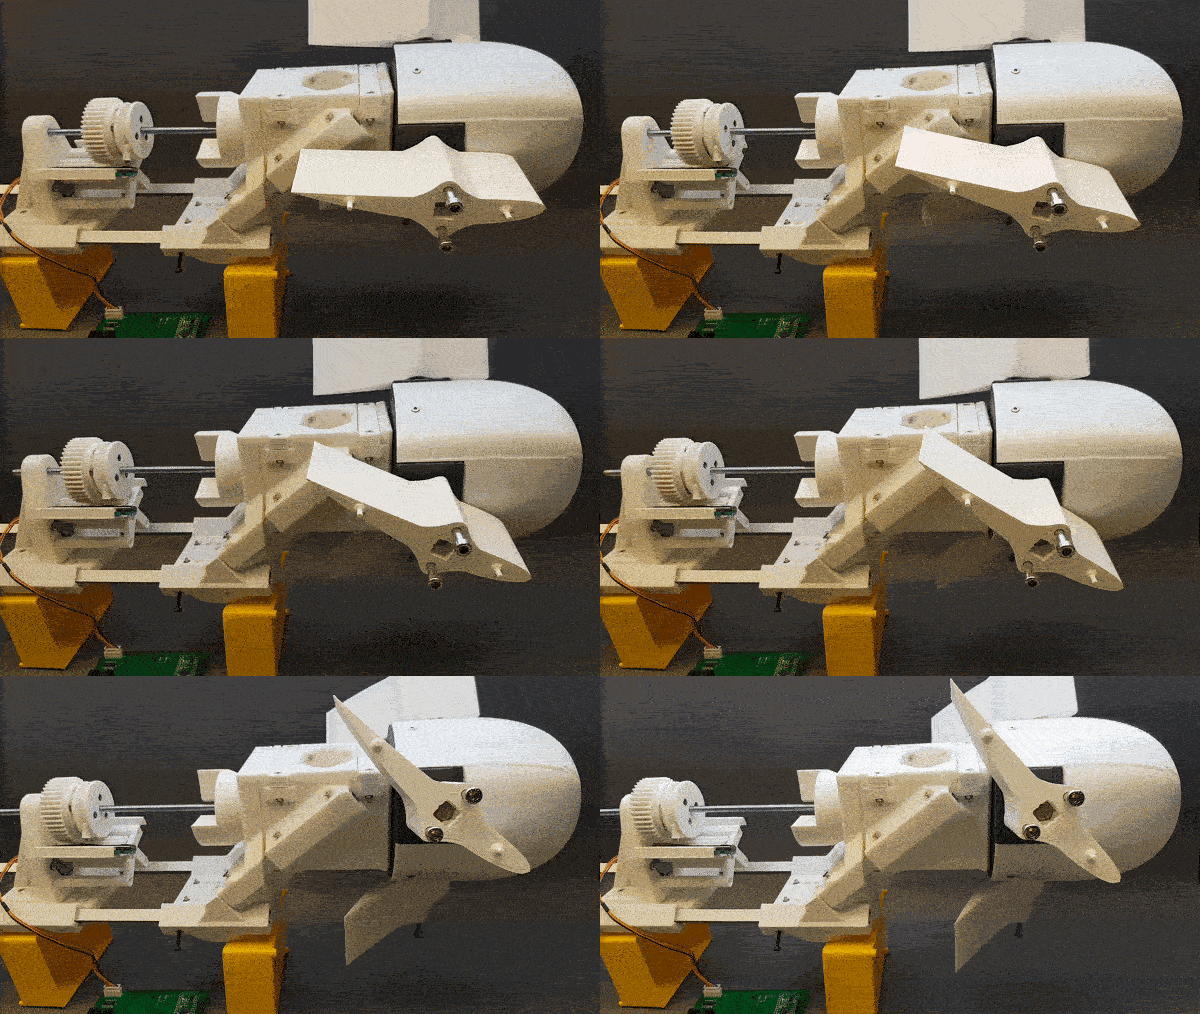
WinDIYs pitch actuator:

More infos: https://hackaday.io/project/172328/log/180247-the-pitch-actuator-in-action and here https://hackaday.io/project/172328/log/179105-windiys-hub-oh-my-god-mechanics
ToDo:

  • Test the heat sink bracket for the load resistors: pending
  • Design controller circuit: pending
  • Create assembly instructions for hub: pending
  • Create assembly instructions for wing: pending
  • Create assembly instructions for the wind vane: pending
  • Create assembly instructions for turret: pending
  • Create assembly instructions for main axis: pending
  • Design adapters for other standpipe diameters and also square bars (including clamping jaws): pending

Finished features:

1. Why (in general):

I actually started this project as a follow-up project from the Nerdiskerator (infos here: https://hackaday.io/project/172445-nerdiskerator-a-3d-printed-disk-generator). This is a disk generator that I initially built as a kind of experiment. When I had successfully built it up I thought "Just putting it on the shelf is a shame". (I like to build things that have a practical use even after they have been set up.) So the Nerdiskerator should also get a practical use and maybe even relieve my electricity bill a bit. :) 

Since I have no flowing water in the area, a water turbine is unfortunately not an option to drive the generator. Fortunately there is wind here where I live. Not much, but certainly enough to be able to harvest some free watts from Mother Earth here and there.

When researching for available and easy replicable wind turbine designs, I noticed that there is a lot of scattered information about building a wind generator yourself. Unfortunately, many of them were old and none of them seemed to me to be easy to replicate. I was hoping somehow that someone out there had already developed a design for a wind turbine that could easily be "reprinted" with a 3D printer.

I found a couple of designs, but either they weren't suitable or consisted of parts that could only be printed with very large 3D printers. Unfortunately, there was not a 3D printable design for a HAWT wind turbine as I imagined. I was looking for something easy scalable, easy adaptable and of course it should be safe. 

Since I couldn't find something like this I decided to develop an own design of an easy replicable HAWT wind turbine. :)

2. Why a HAWT-Design:

First, because of the many technical arguments:

HAWT wind turbines are more efficient because all blades...

Read more »

WinDIY.zip

The STLs files are already available on my GitHub: https://github.com/Nerdiyde/WinDIY Just posted it here for reference. :)

x-zip-compressed - 17.49 MB - 10/05/2020 at 14:12

Download

material_list.xlsx

Material list incuding cost estimation in english and german

sheet - 19.30 kB - 10/05/2020 at 12:23

Download

View all 38 project logs

  • 1
    Assemble the Wind Turbine’s Wings

    An important component of WinDIY are certainly the wings. They absorb the energy of the wind and convert it into a rotary motion, which in turn feeds the generator and thus produces energy.

    Of course, the wings should be as light as possible. At the same time, however, they should be stable enough to withstand the forces even in stronger winds.

    On the way to a suitable design I have therefore experimented a little bit. Information about these experiments can be found here: https://hackaday.io/project/172328-windiy-hawt-wind-turbine/log/179141-windy-wing-mark-3-a-modular-easy-replaceable-and-scalable-blade

    In the following article you will find the tips to rebuild the wing. You will (of course) need three copies of this wing.

    You can also find additional infos about that here: https://nerdiy.de/en/howto-windiy-fluegel-der-windturbine-aufbauen/

    Safety instructions

    I know the following hints are always a bit annoying and seem unnecessary. But unfortunately, many people who knew it "better" from carelessness lost their eyes, fingers or other things or hurt themselves. In comparison, a loss of data is almost not worth mentioning, but even these can be really annoying. Therefore, please take five minutes to read the safety instructions. Even the coolest project is worth no injury or other annoyance. https://www.nerdiy.de/sicherheitshinweise/

    Requirements

    Required tools:

    Hot glue gun
    3D printer
    Allen key
    Pliers
    Cordless drill
    (long) 3mm drill bit
    tweezers

    Required material:

    In the following list you will find all parts you need to implement this item.

    You need the materials listed here for one wing. So make sure you order enough parts for three wings. 🙂

    15xrafters
    1xraftersTip
    1xbasePlug
    1xbaseSocket
    1xAluminum rod 10x10mm 67cm long
    1xShrink tubing approx. 1 m long and 140 mm wide
    1xM6x100mm hexagon screw
    1xM6 self-locking nut
    5xM3 nut
    3xM3x20 cylinder head screw
    2xM3x8 cylinder head screw
    2xM5x75 cylinder head screw
    1xGlue

    Information about the structure

    The wing design is based on the NACA4412 profile with a chord length of 120mm.

    On the following page you will find information and configurable templates for this and other wing profiles: http://airfoiltools.com/airfoil/details?airfoil=naca4412-il

    Collect needed parts

    Before you can start building the wing, you will of course need to have all the necessary parts together. A complete list of the required materials and tools can be found above in the materials and tools list.

    The plastic parts can be easily created with a 3D printer. All parts are designed to be printed on a standard FMD printer.

    The required STL files for printing can be found here: https://github.com/Nerdiyde/WinDIY/tree/master/wingMk3

    I have printed the parts with the following settings.

    Rafter:

    • Perimeter: 3
    • Infill: 10%

    Wing base (both parts):

    • Perimeter: 5
    • Infill: 50%

    Wing-Tip:

    • Perimeter: 3
    • Infill: 30%

    The screws in the wing should preferably be made of stainless steel so that they do not rust from moisture.

    Mount the end piece

    Somewhat untypically we start with the end. Namely the end part of the wing.

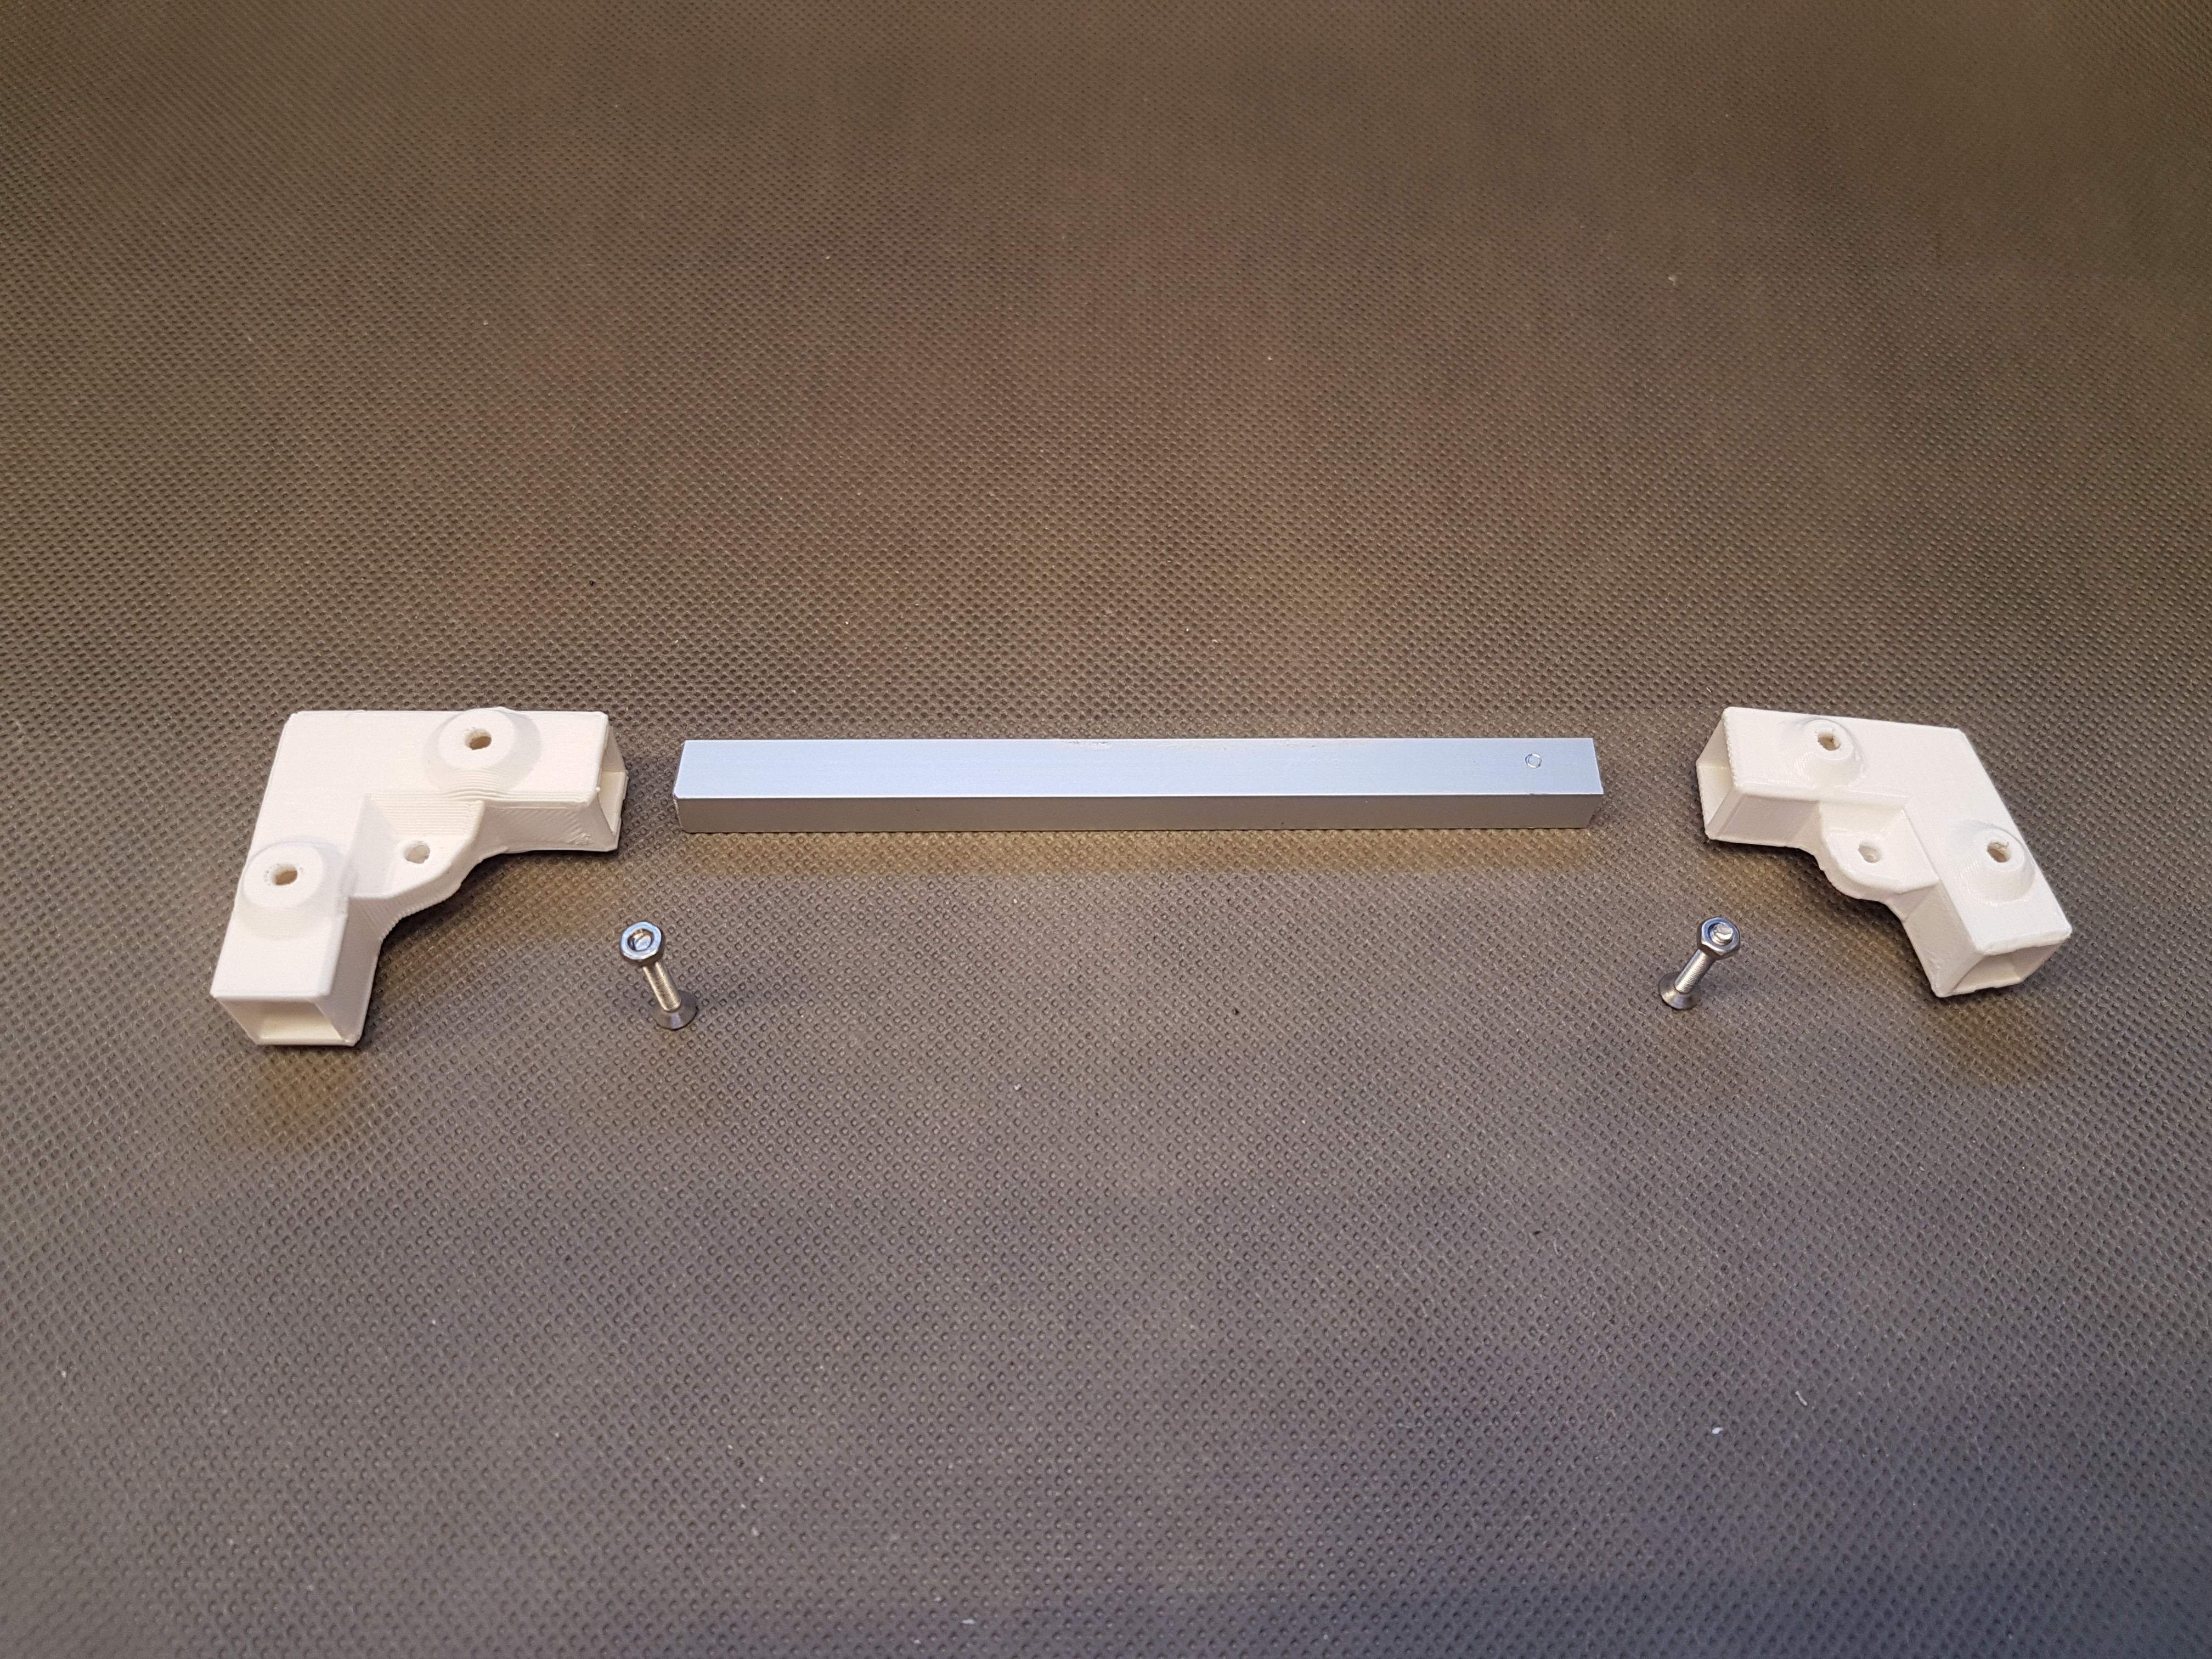
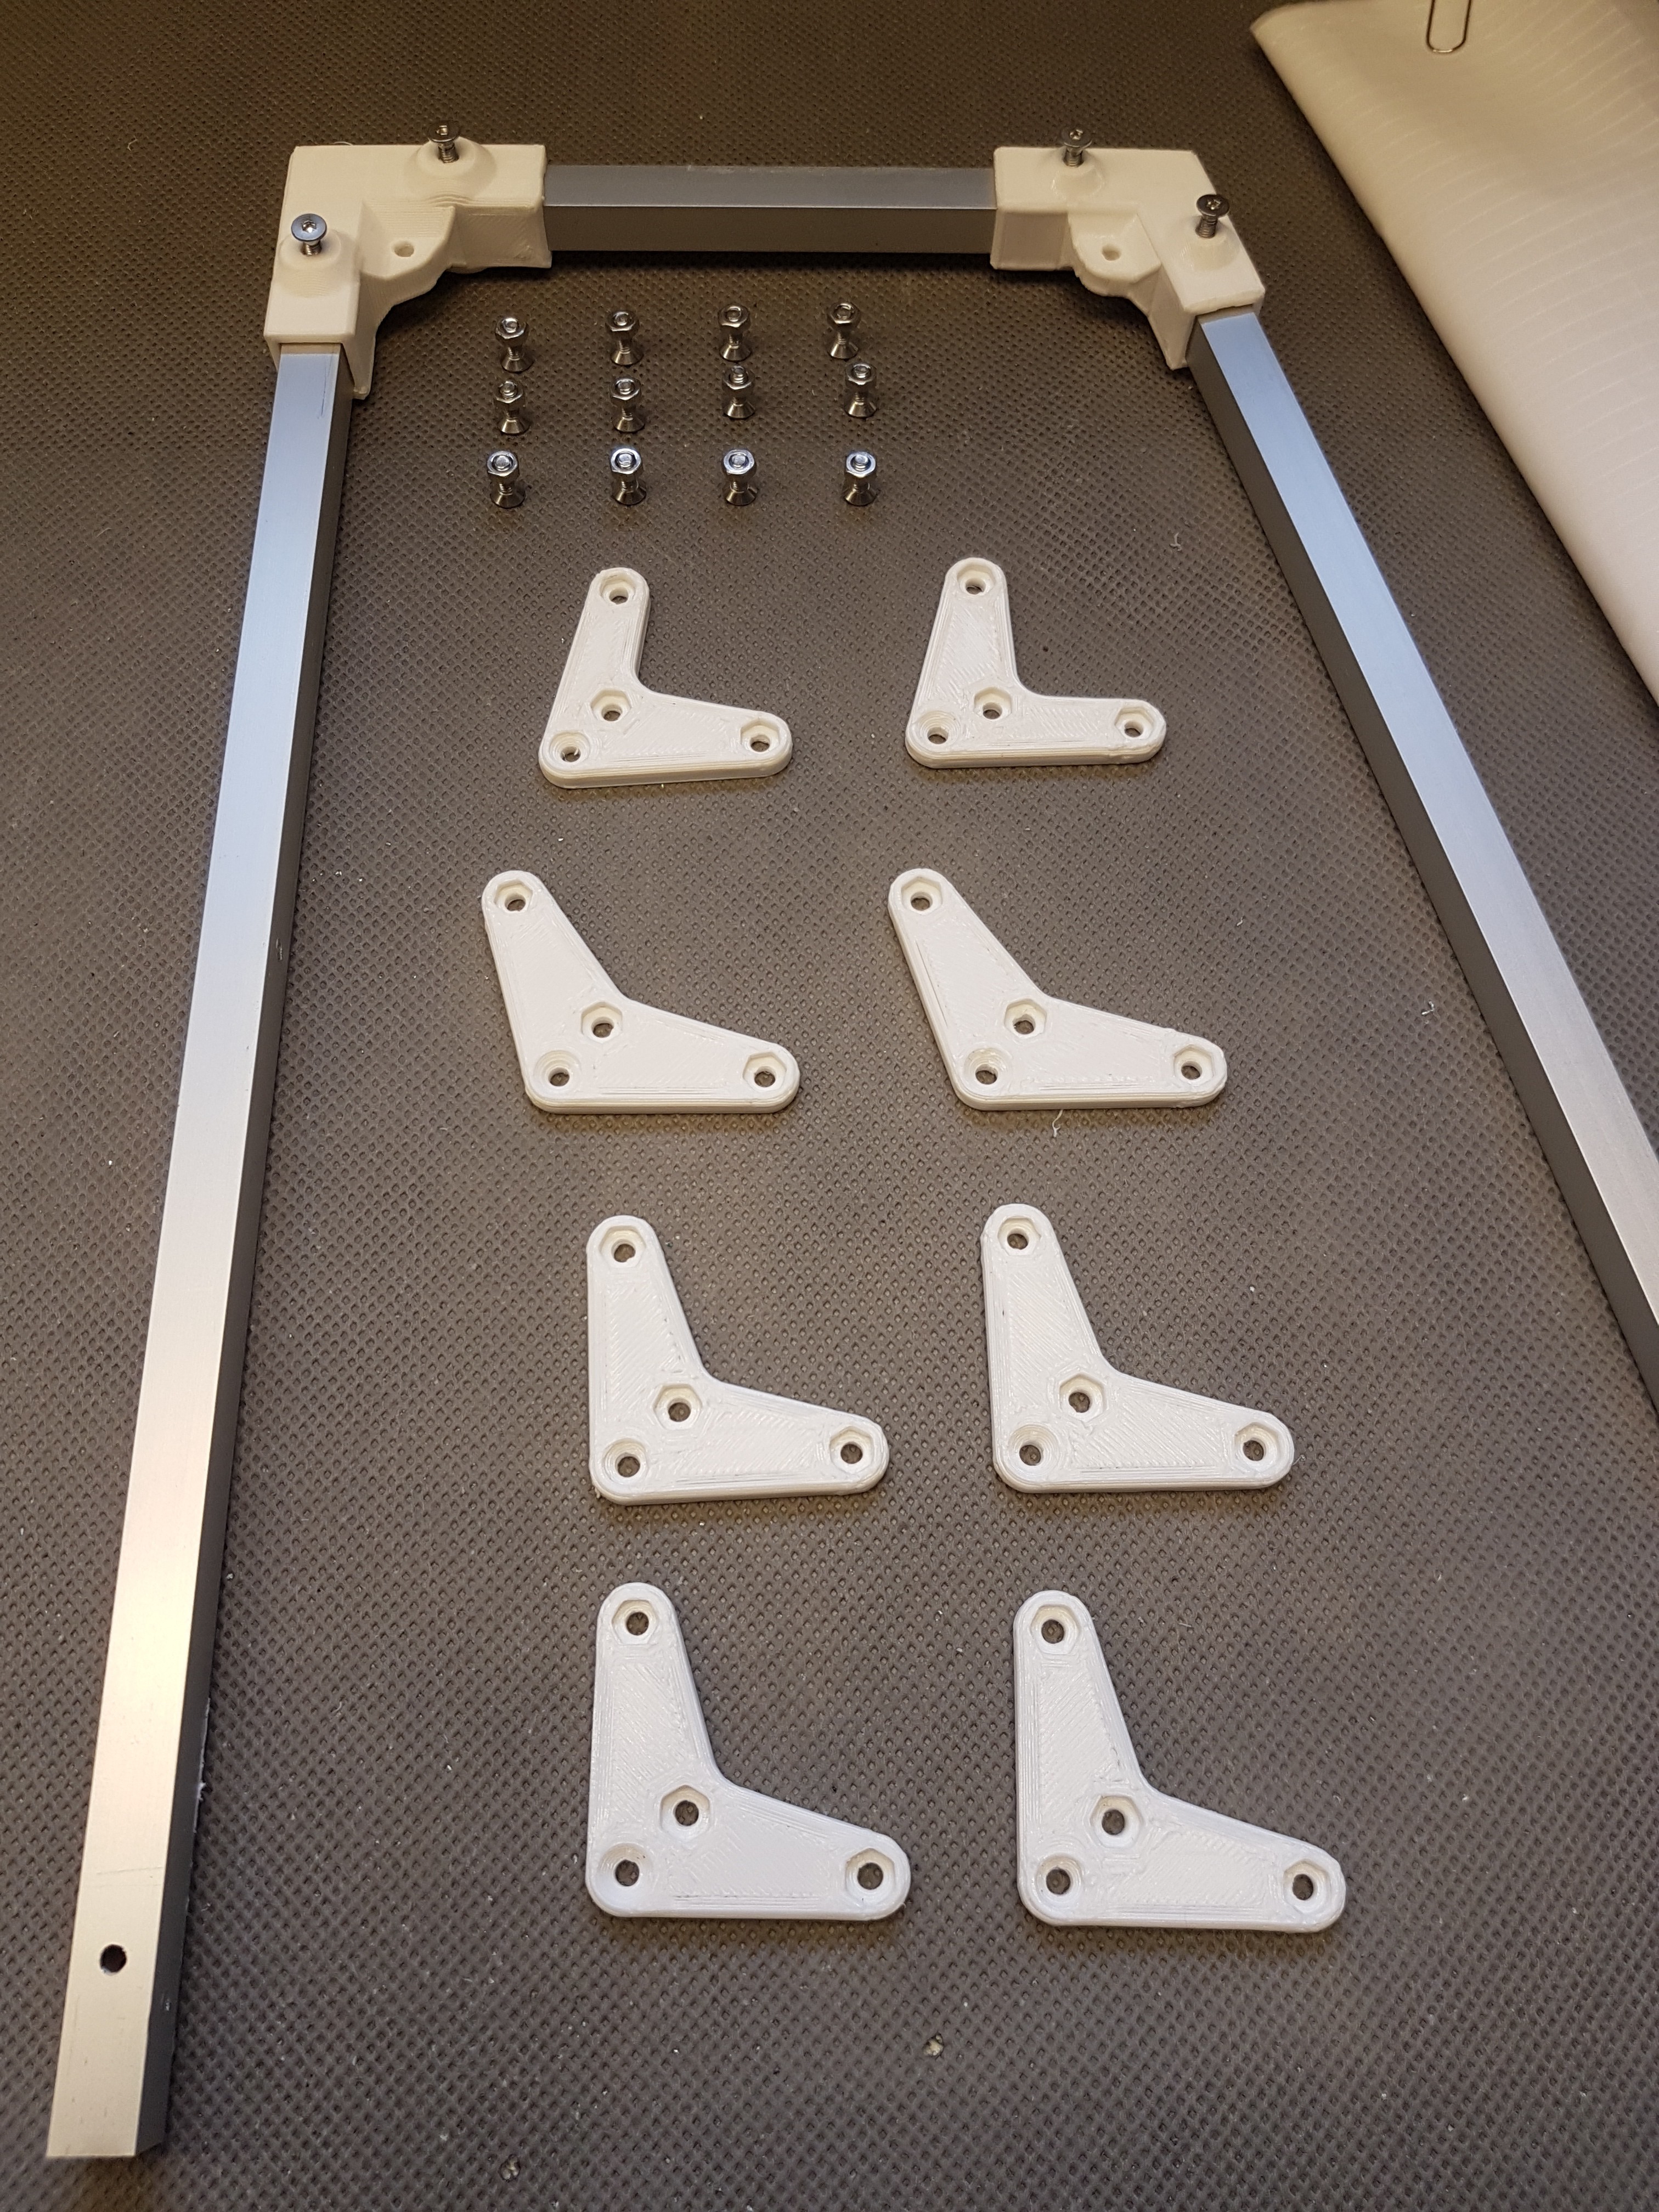
    For this you need the shown parts.

    Now insert the aluminium profile into the wing’s end part.

    This should be pushed into the wing’s end part up to the stop.

    Because now you have to drill a hole in the aluminium profile.

    Therefore, use the wing’s end part as a template. By drilling through the hole (which is actually intended for the screw) in the aluminum profile, you will have the correct position for the drill hole.

    Important: When drilling, make sure that you only drill through one side of the aluminum profile. You should not drill completely through!

    Once drilled, your aluminum profile should look something like this.

    Now the prepared aluminium profile must be connected to the wing’s end part. To do this, insert an M3 screw into the wing’s end part as shown.

    This should then project into the recess for the aluminum profile as shown.

    Now it gets a bit tricky.

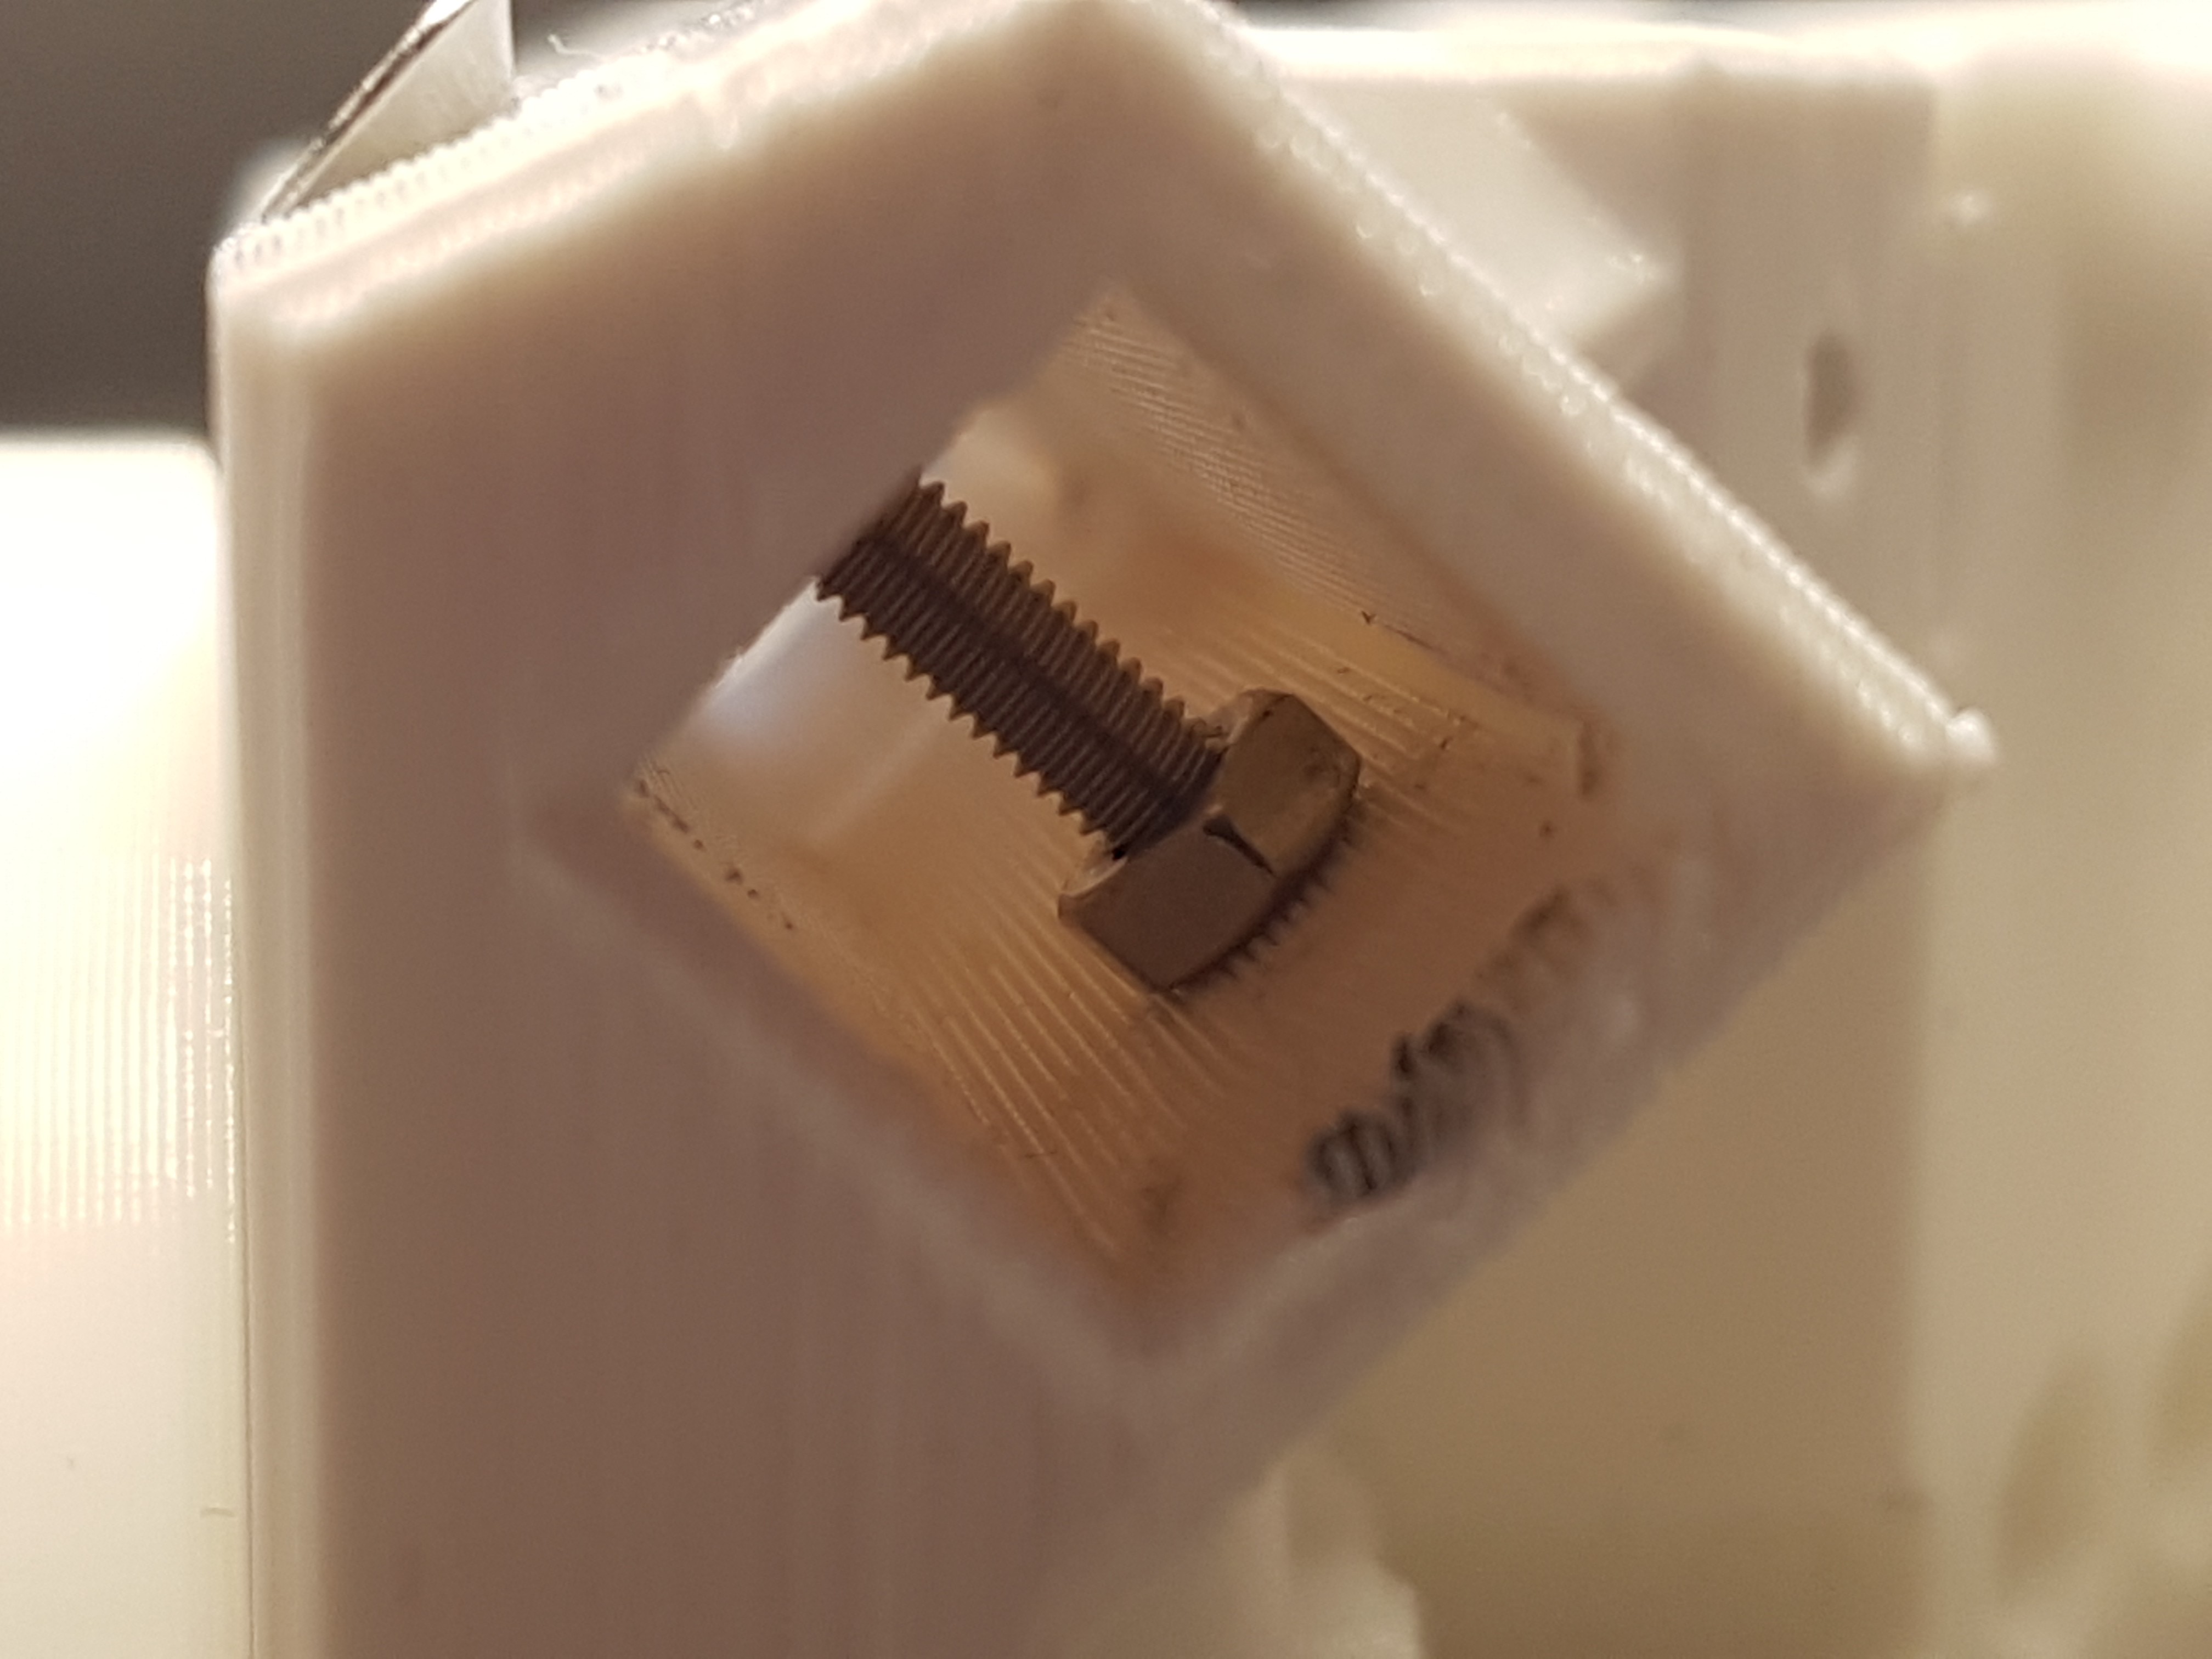
    Through the opening, into which the aluminium profile will later be inserted into the wing’s end part, you must now screw an M3 nut onto the M3 screw previously inserted.

    The finished M3 nut could then look something like this.

    Now you can insert the aluminium profile into the wing’s end part as shown. Screw it with the prepared screw.

    Mount the first five rafters

    After the wing’s end part is mounted, you can now mount the first five rafters on the wing.

    Slide the first four rafters onto the aluminium profile as shown.

    Now you have to prepare the fifth rafter.

    This is fixed to the aluminium profile with a screw – similar to the wing’s end part.

    Therefore, insert the M3 screw into the hole in the rafter and screw the M3 nut on the inside as shown.

    You can then pull the M3 nut into the recess in the rafter using the screw.

    Prepared like this you can now push the fifth rafter loosely onto the aluminium profile.

    Before the individual rafters are pushed together, you should apply some glue to the connectors.

    This is not absolutely necessary, since the wing parts will most likely stick together without glue. But I recommend it. 🙂

    Coat the positioning aid on the …

    …wing’s trailing edge …

    … of every single rafter…

    … and on the front of the wing with a small drop of glue.

    If you have prepared all rafters with the glue…

    …you can now put them together.

    View of the first rafters put together.

    Close-up view of the hole at the front edge of the rafters into which the positioning aid must be inserted.

    Close-up view of the hole at the rear edge of the rafters into which the positioning aid must be inserted.

    Now, prepare the fifth rafter so that the nut on the screw is pulled into the recess in the rafter.

    Then you can slide the rafter onto the aluminium profile.

    As soon as you have put the first five rafters together, you can screw the fifth (previously prepared with the screw) rafter onto the aluminium profile with the screw.

    Make sure that the screw is tight but not too tight.

    Mount the rafters six to ten

    Rafters six to ten are installed basically in the same way as the previous five rafters.

    You now need another five rafters.

    You can slide four of them onto the aluminium profile as usual.

    The fifth one should be prepared with a screw as shown before. With this screw you can secure the fifth rafter on the aluminium profile as shown before.

    All five prepared rafters would then look like this.

    Now you can coat the connectors with some glue like before and…

    … put the individual rafters together.

    When everything is put together properly you can tighten the screw of the last rafter and secure the attached rafters.

    Mount the rafters eleven to 15

    Meanwhile you already have practice in installing more rafters. Now you have to install the last five rafters before you can install the wing’s connector.

    Here you can see the wing built up to now and the five rafters not yet installed.

    Additional view.

    Prepare the fifth rafter again as before so that you can fix it later with a screw on the aluminium profile.

    Now push the five rafters back onto the aluminum profile, prepare the plug connections with glue…

    …and push the rafters or their connectors together.

    With the help of the screw in the last rafter you again can secure the rafters on the aluminium profile.

    Assemble the wing-side part of the wing base

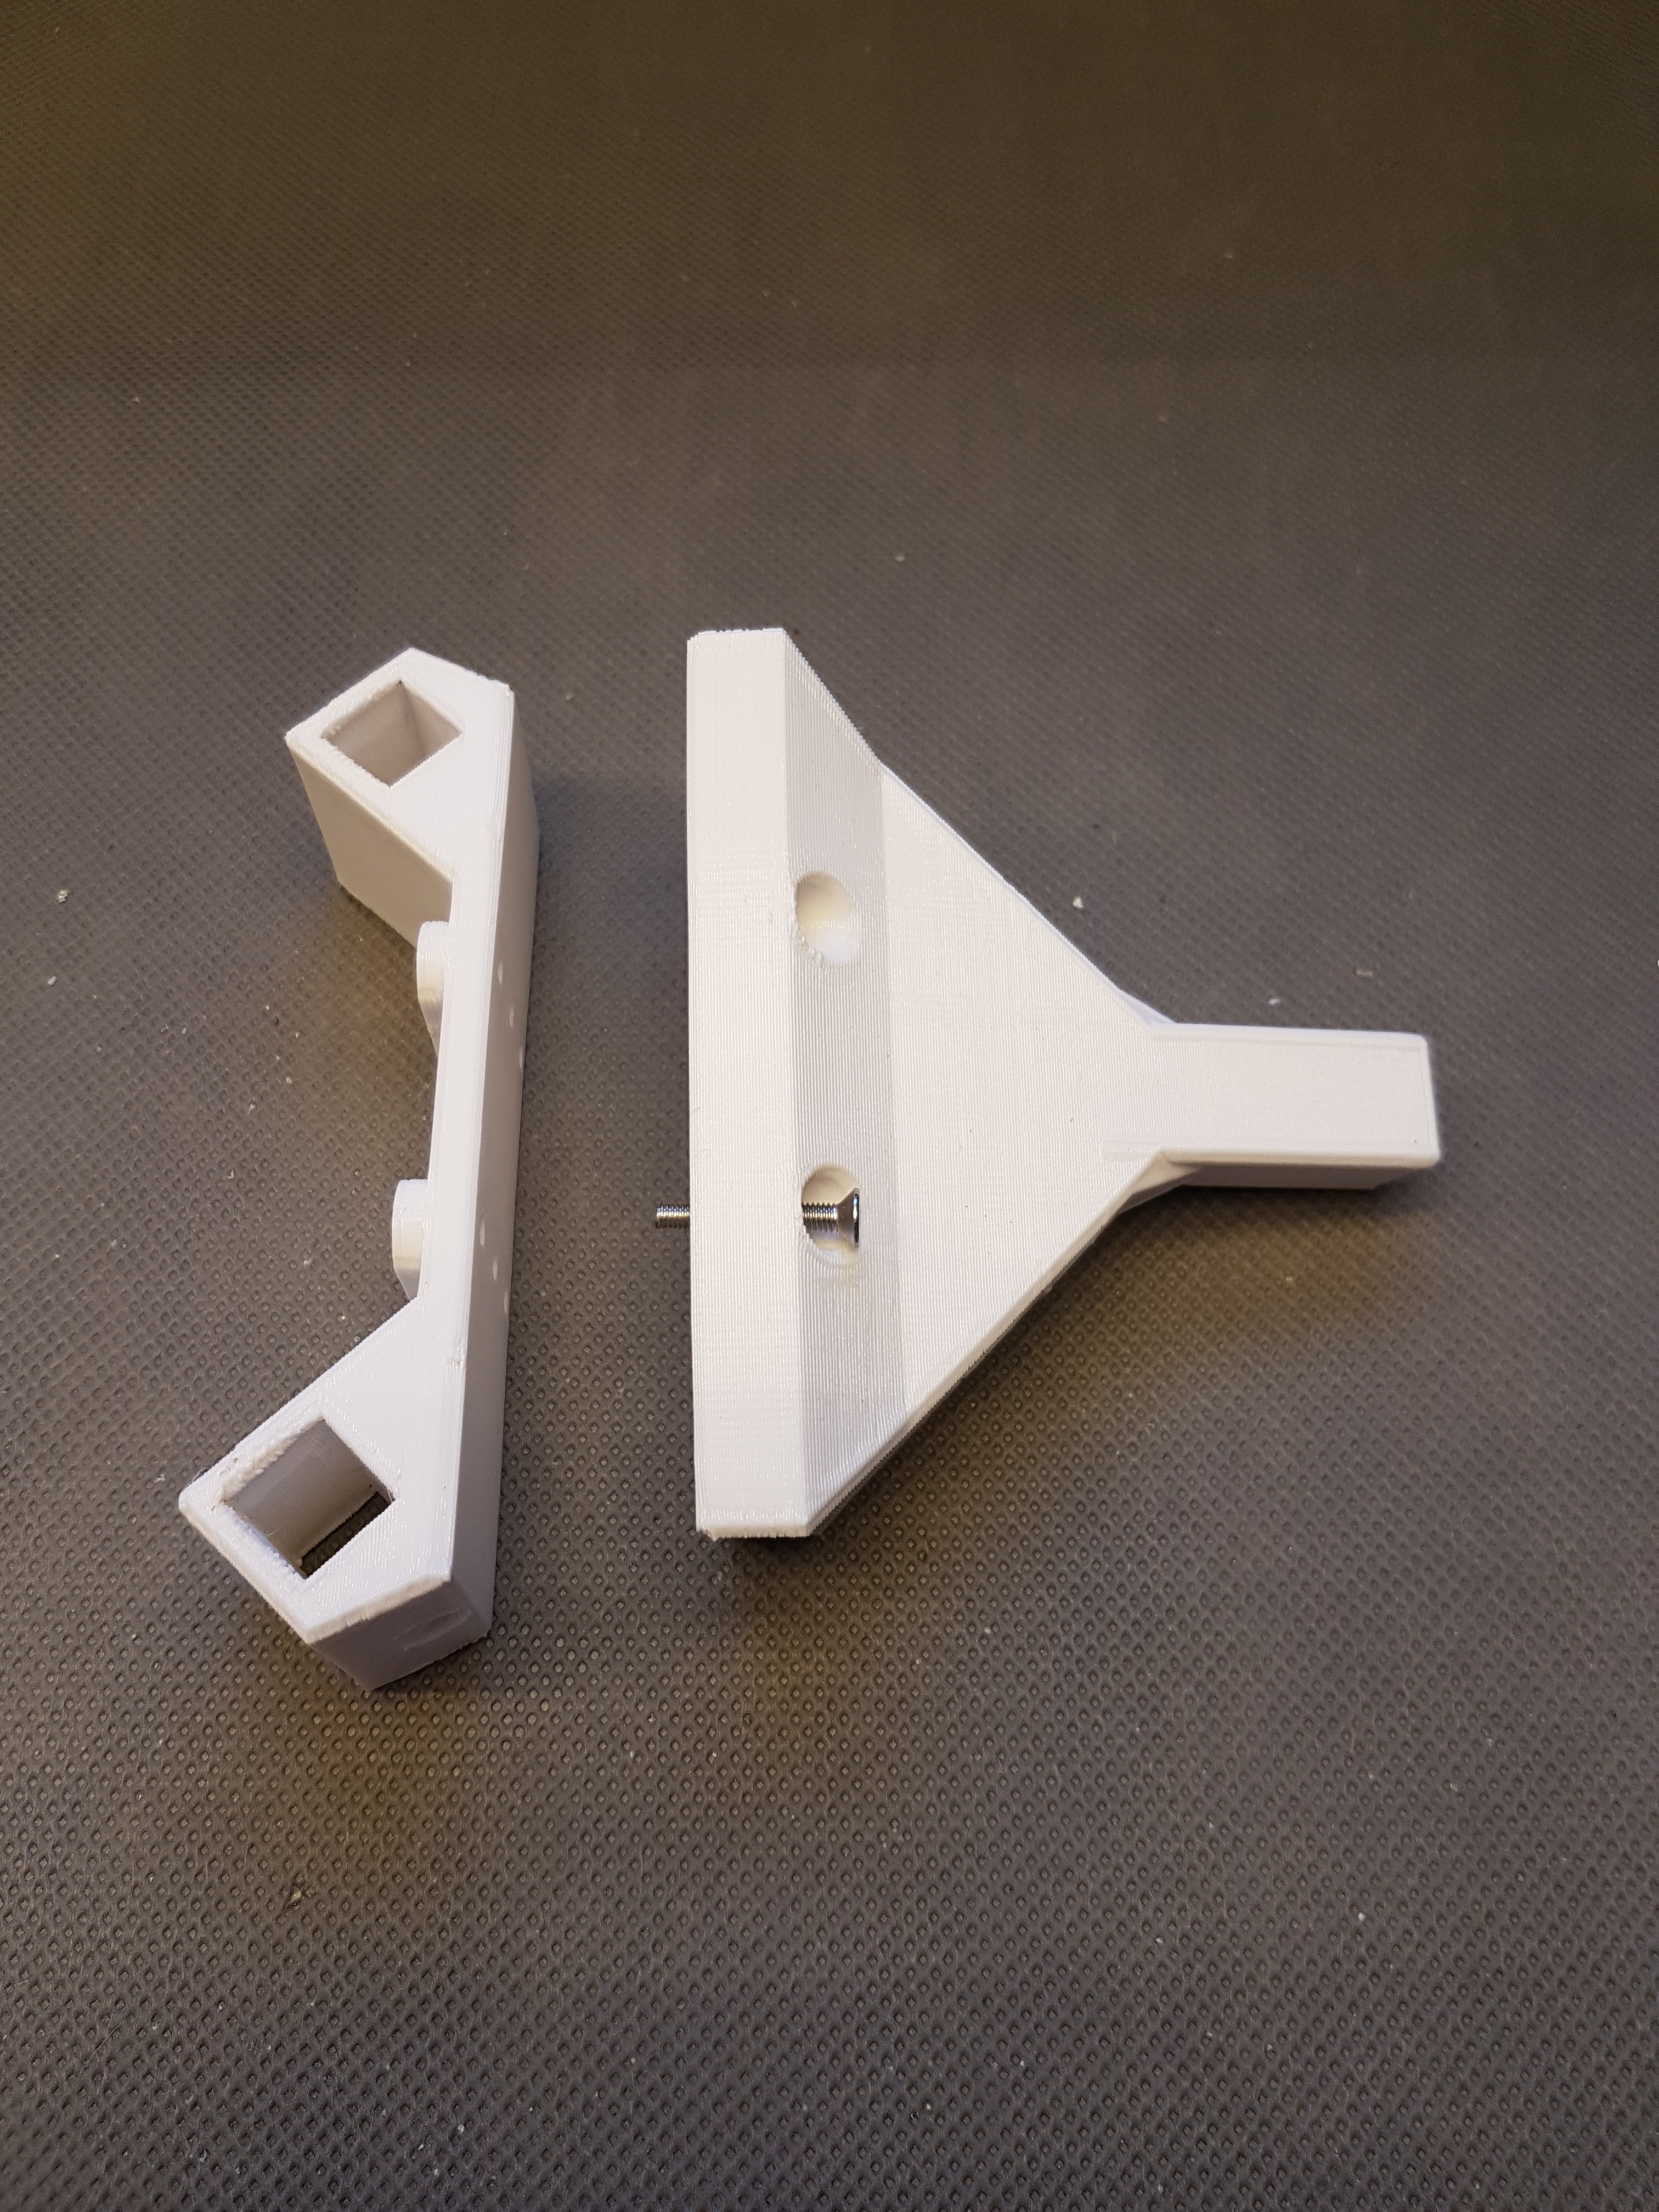
    So that the wing can be easily assembled or disassembled later, you can now mount the first part of the connector on the aluminium profile.

    For this you need the upper part of the connector as shown and a M3 screw including nut.

    As with the wing’s end part you now have to put the upper part of the connector onto the aluminium profile and drill through the screw hole of the connector with a 3mm drill bit.

    The aim is to drill a hole in one side of the aluminium profile (as with the wing end part).

    Once you have drilled the hole, you can now reinsert the screw into the connector.

    This should look something like this.

    Now you can push the connector onto the aluminium profile and clamp it with the prepared screw on the aluminium profile.

    Now the wing looks almost finished.

    Mount the hub-side part of the wing

    Of course, it must be possible to plug in the connector just mounted somewhere. Therefore you should now prepare the hub-side part of the wing connector. This will be mounted on the hub later when the hub is assembled.

    Now you need the shown parts.

    Additional view.

    Now push the M6x100 screw as shown…

    …into the connector…

    …and place the self-locking M6 nut on the M6x100 screw as shown.

    Screwed on ready…

    …it should look like this.

    Make sure that the head of the M6x100 screw is correctly inserted into the recess provided for it.

    Now you can test the connector for the first time.

    The parts should fit into each other as shown.

    You can now secure the plug connection with the M5 screw.

    Put it completely through the two parts of the connector…

    … and screw it with the appropriate M5 nut in such a way that the connector is held together by the M5 screw.

    Fasten the screw on the upper and…

    …lower side of the wing.

    Additional view.

    Now the structure for your wing is ready. The only thing missing is the wing surface.

    Additional view.

    Additional view.

    Prepare shrinking of the shrink tubing

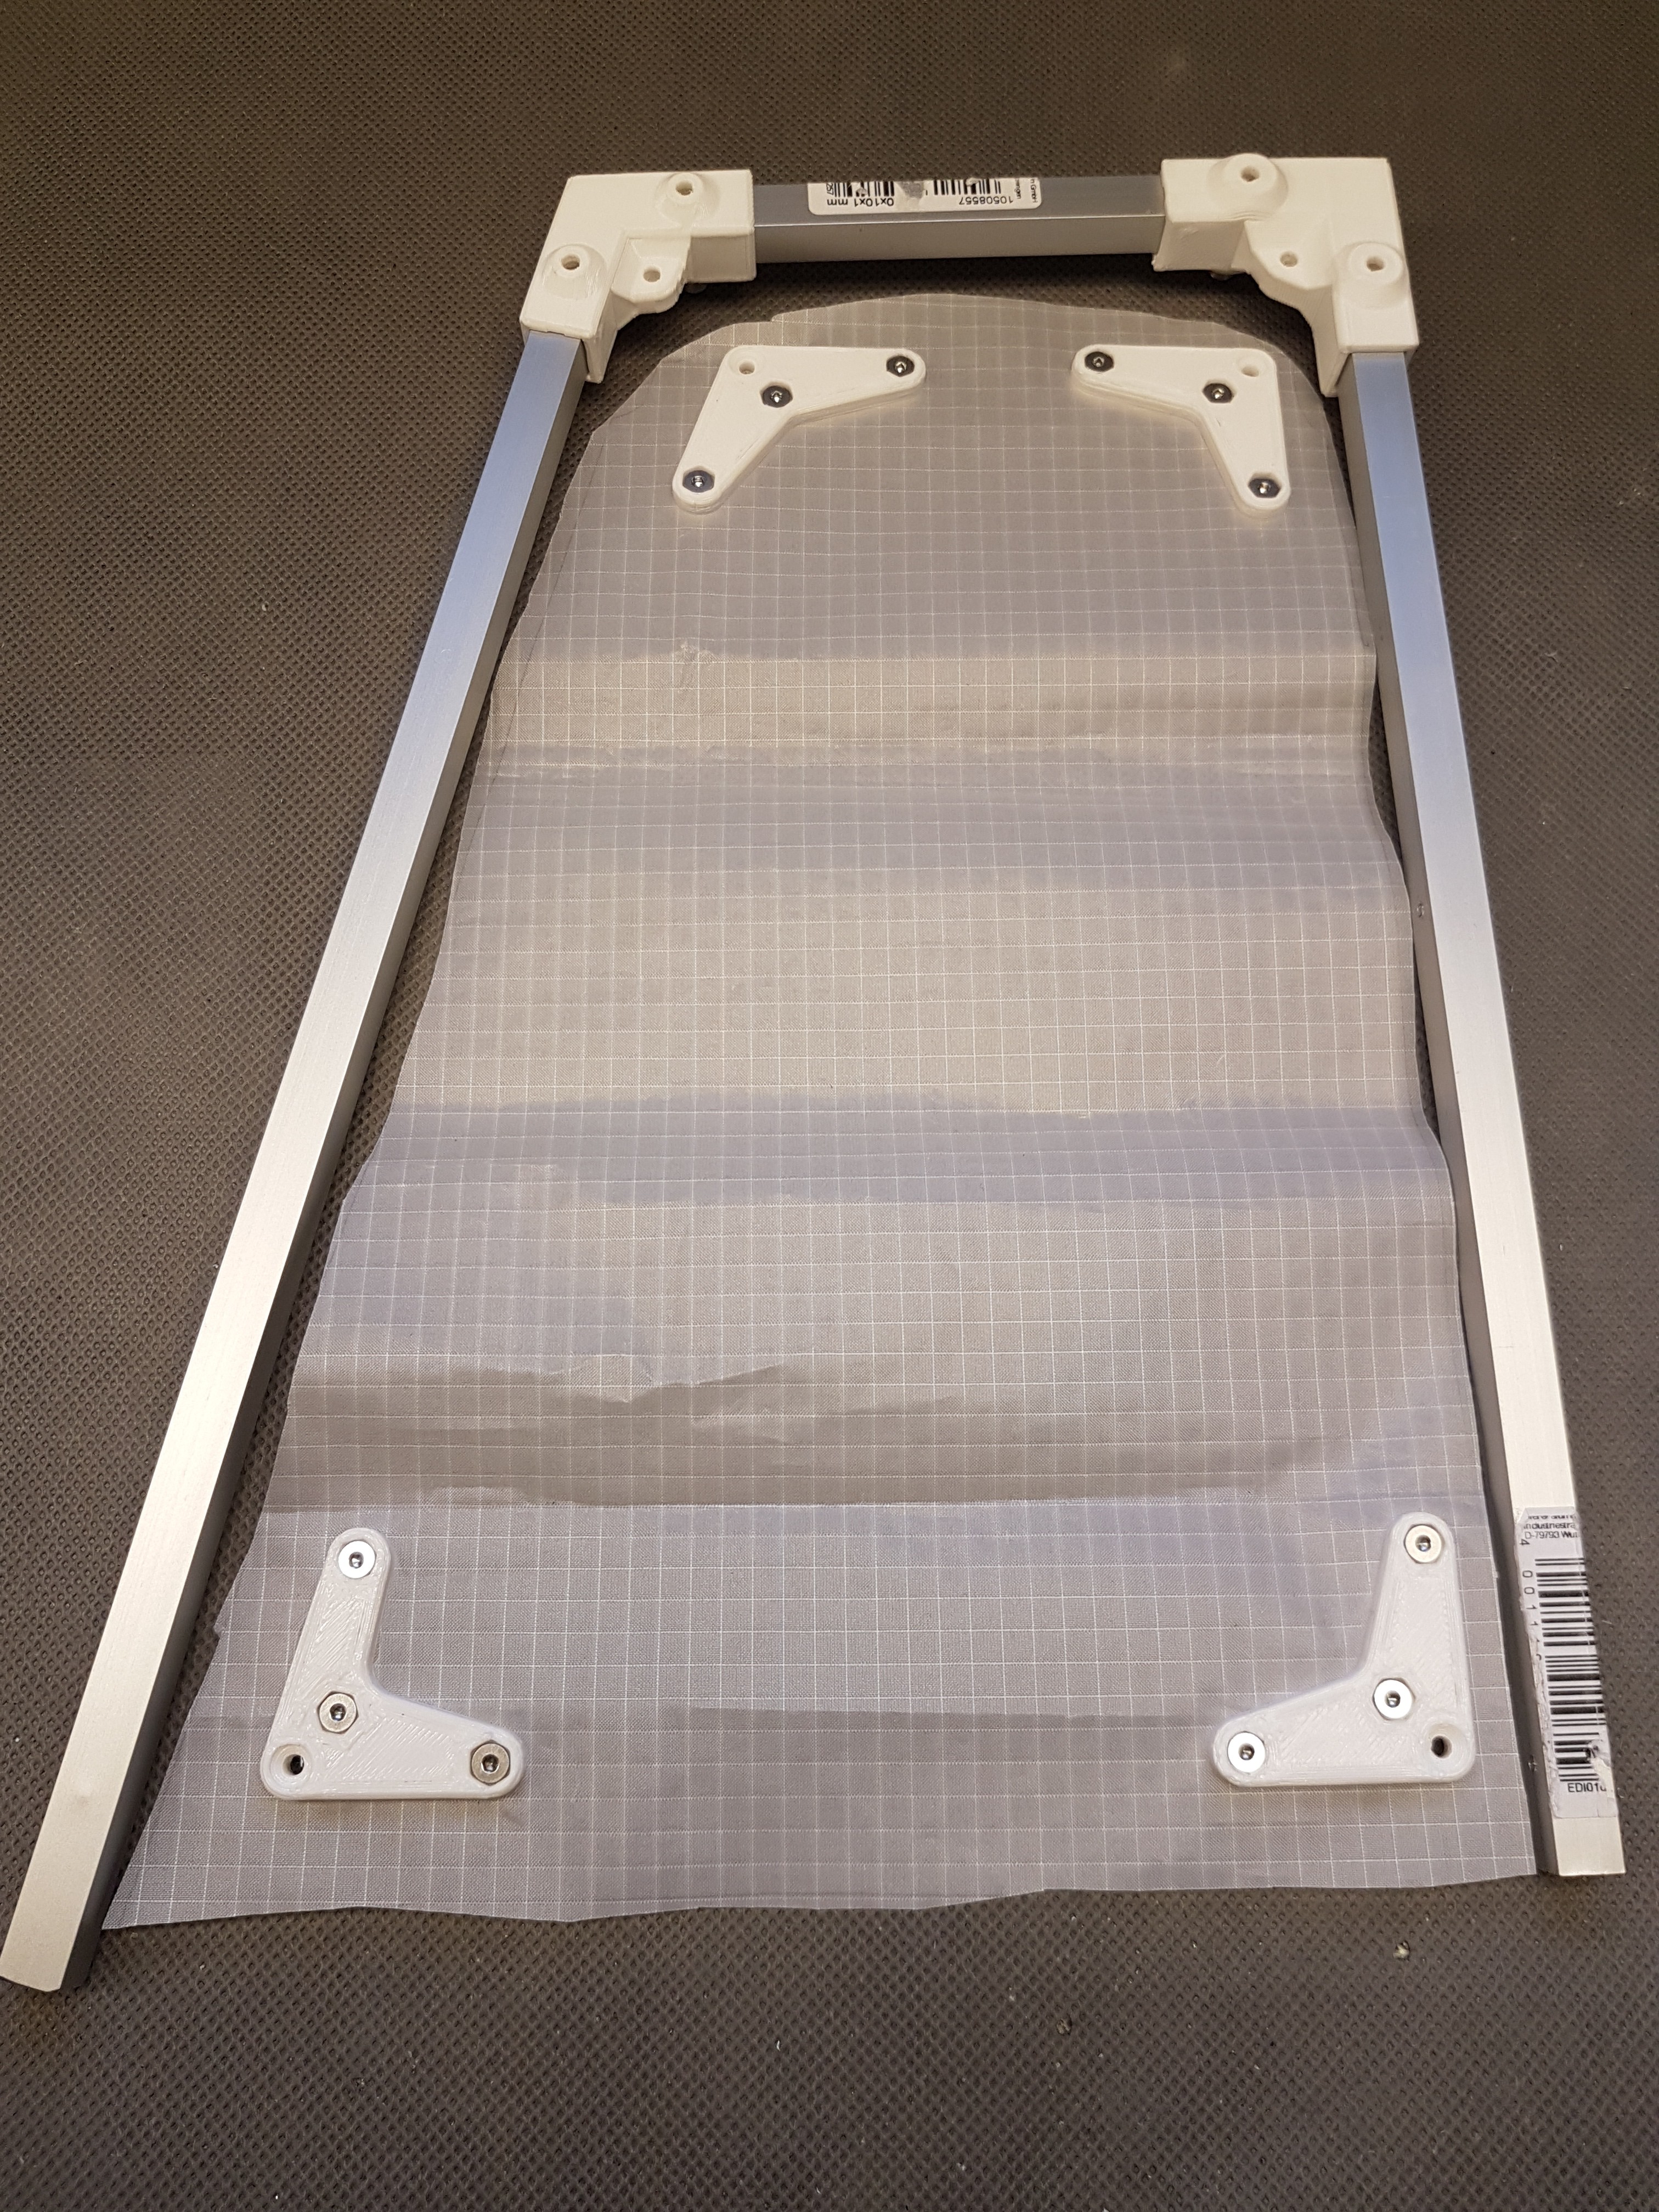
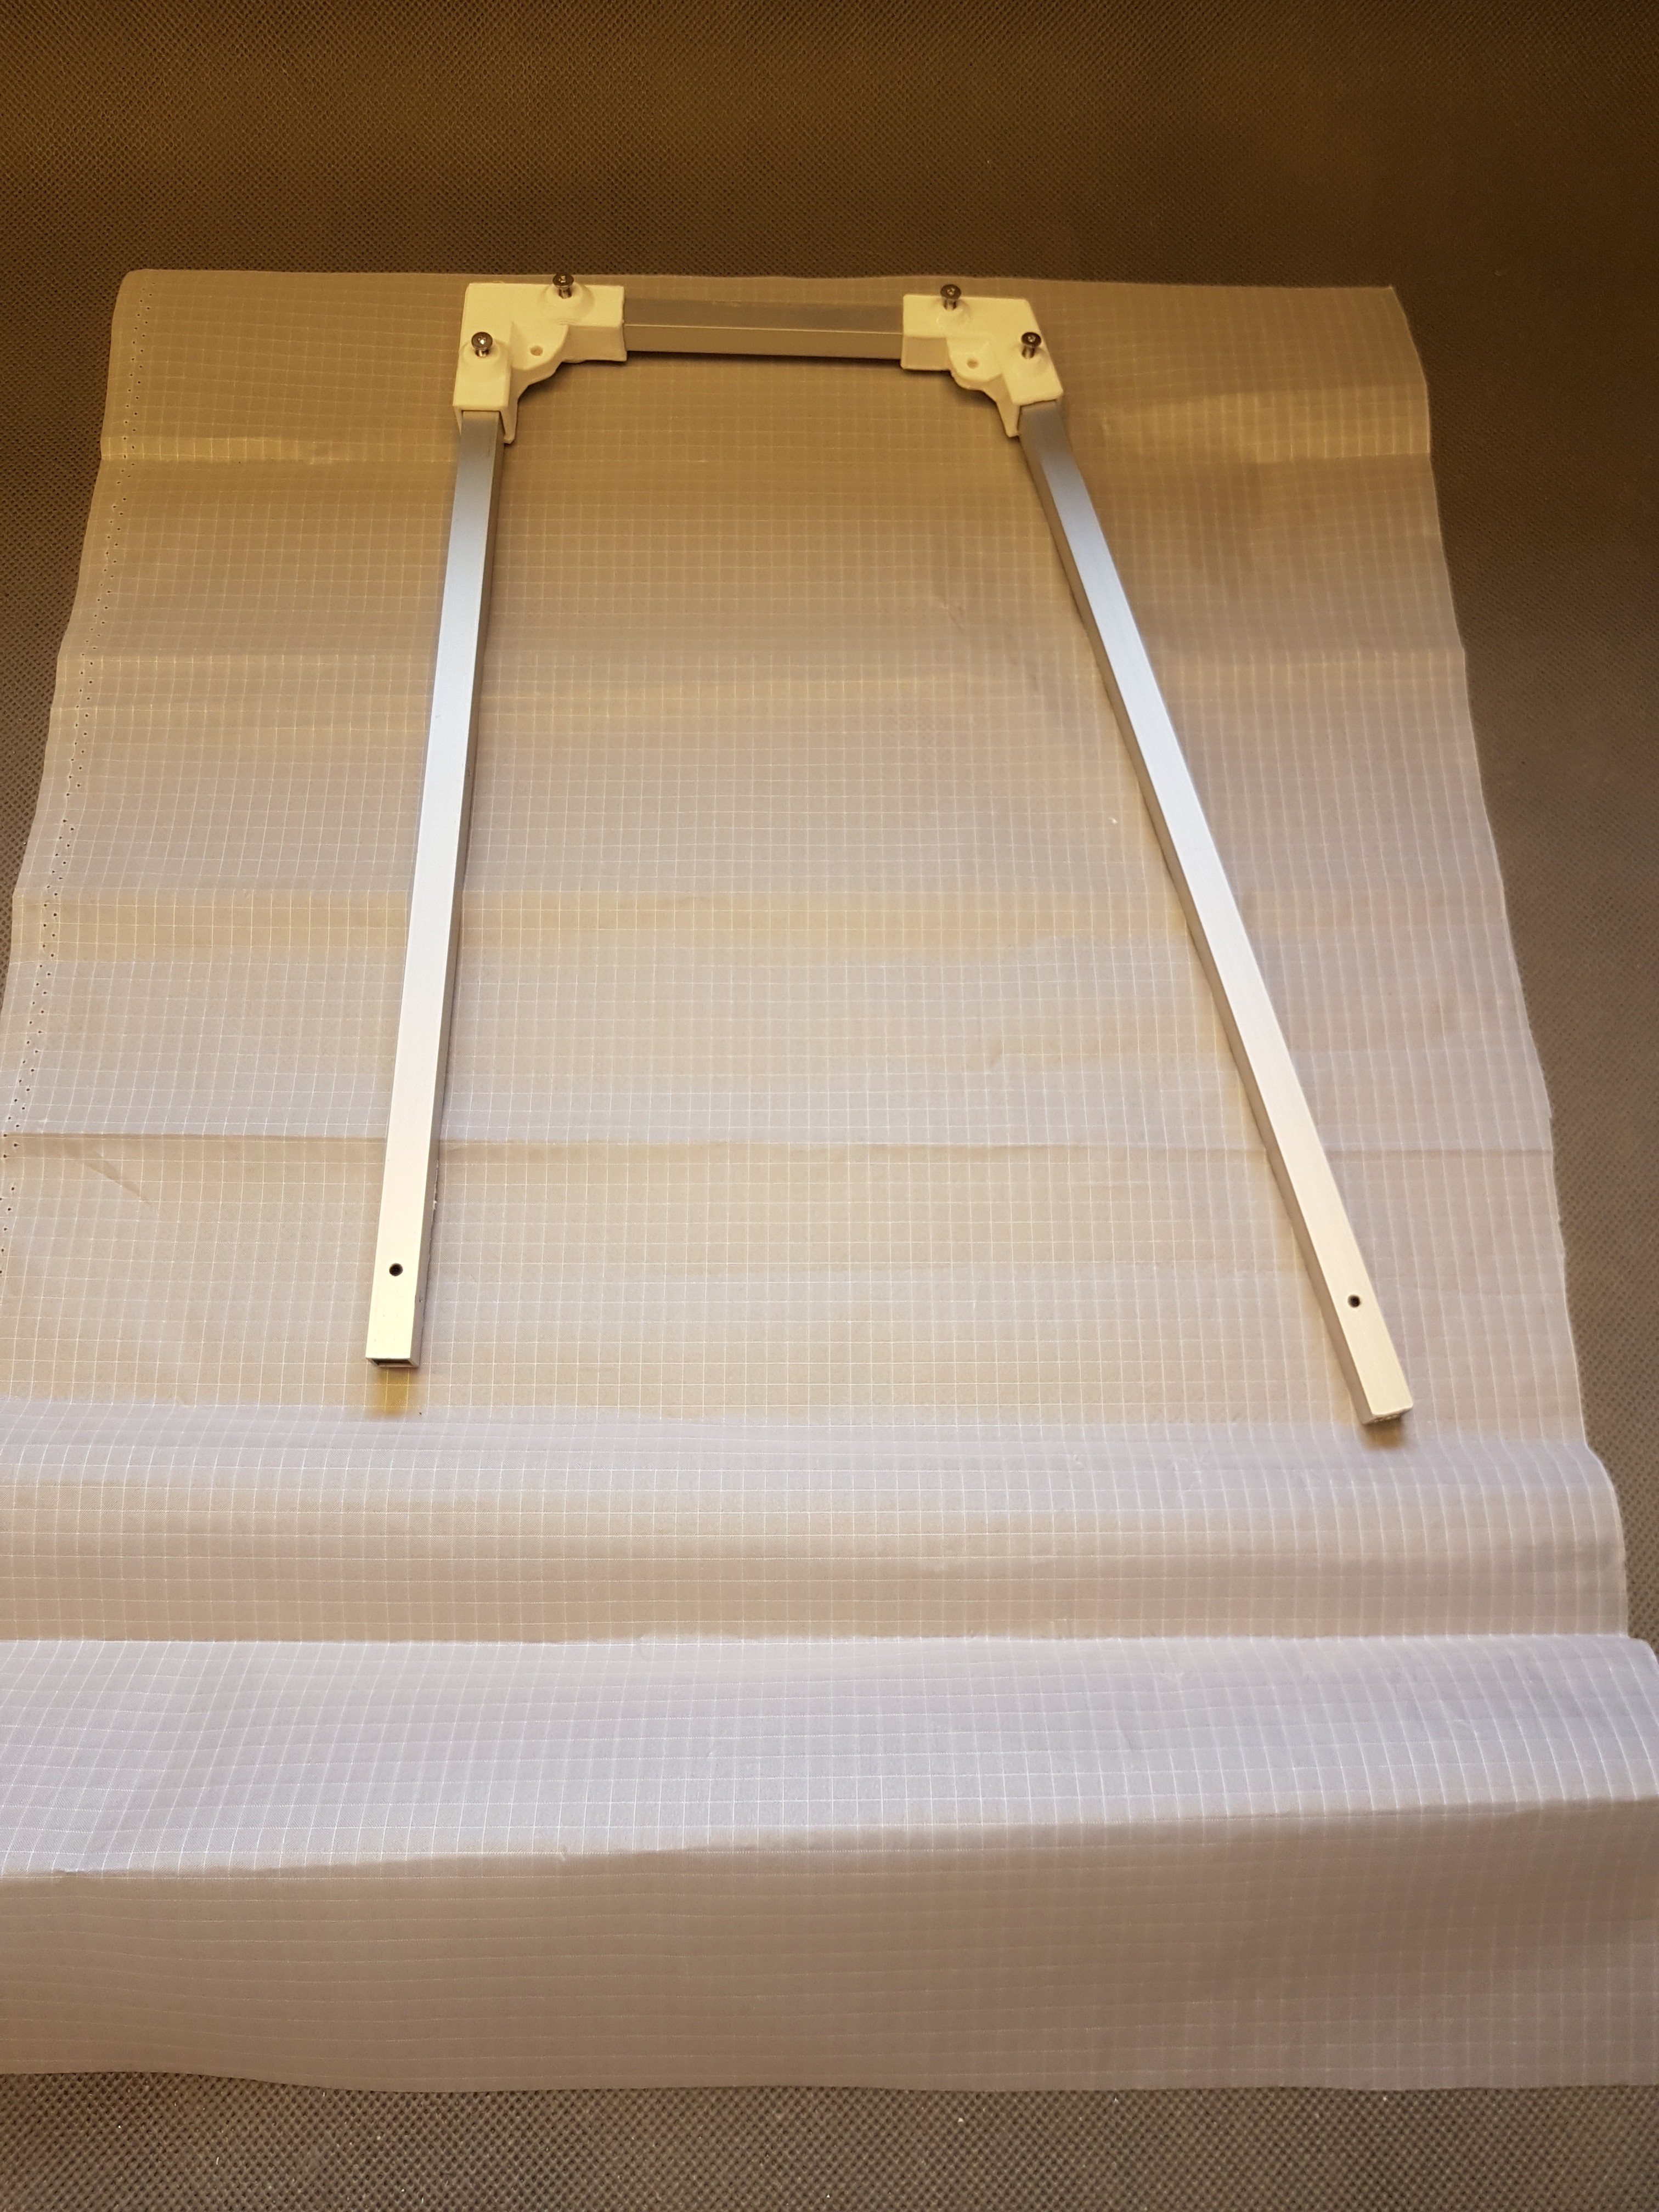
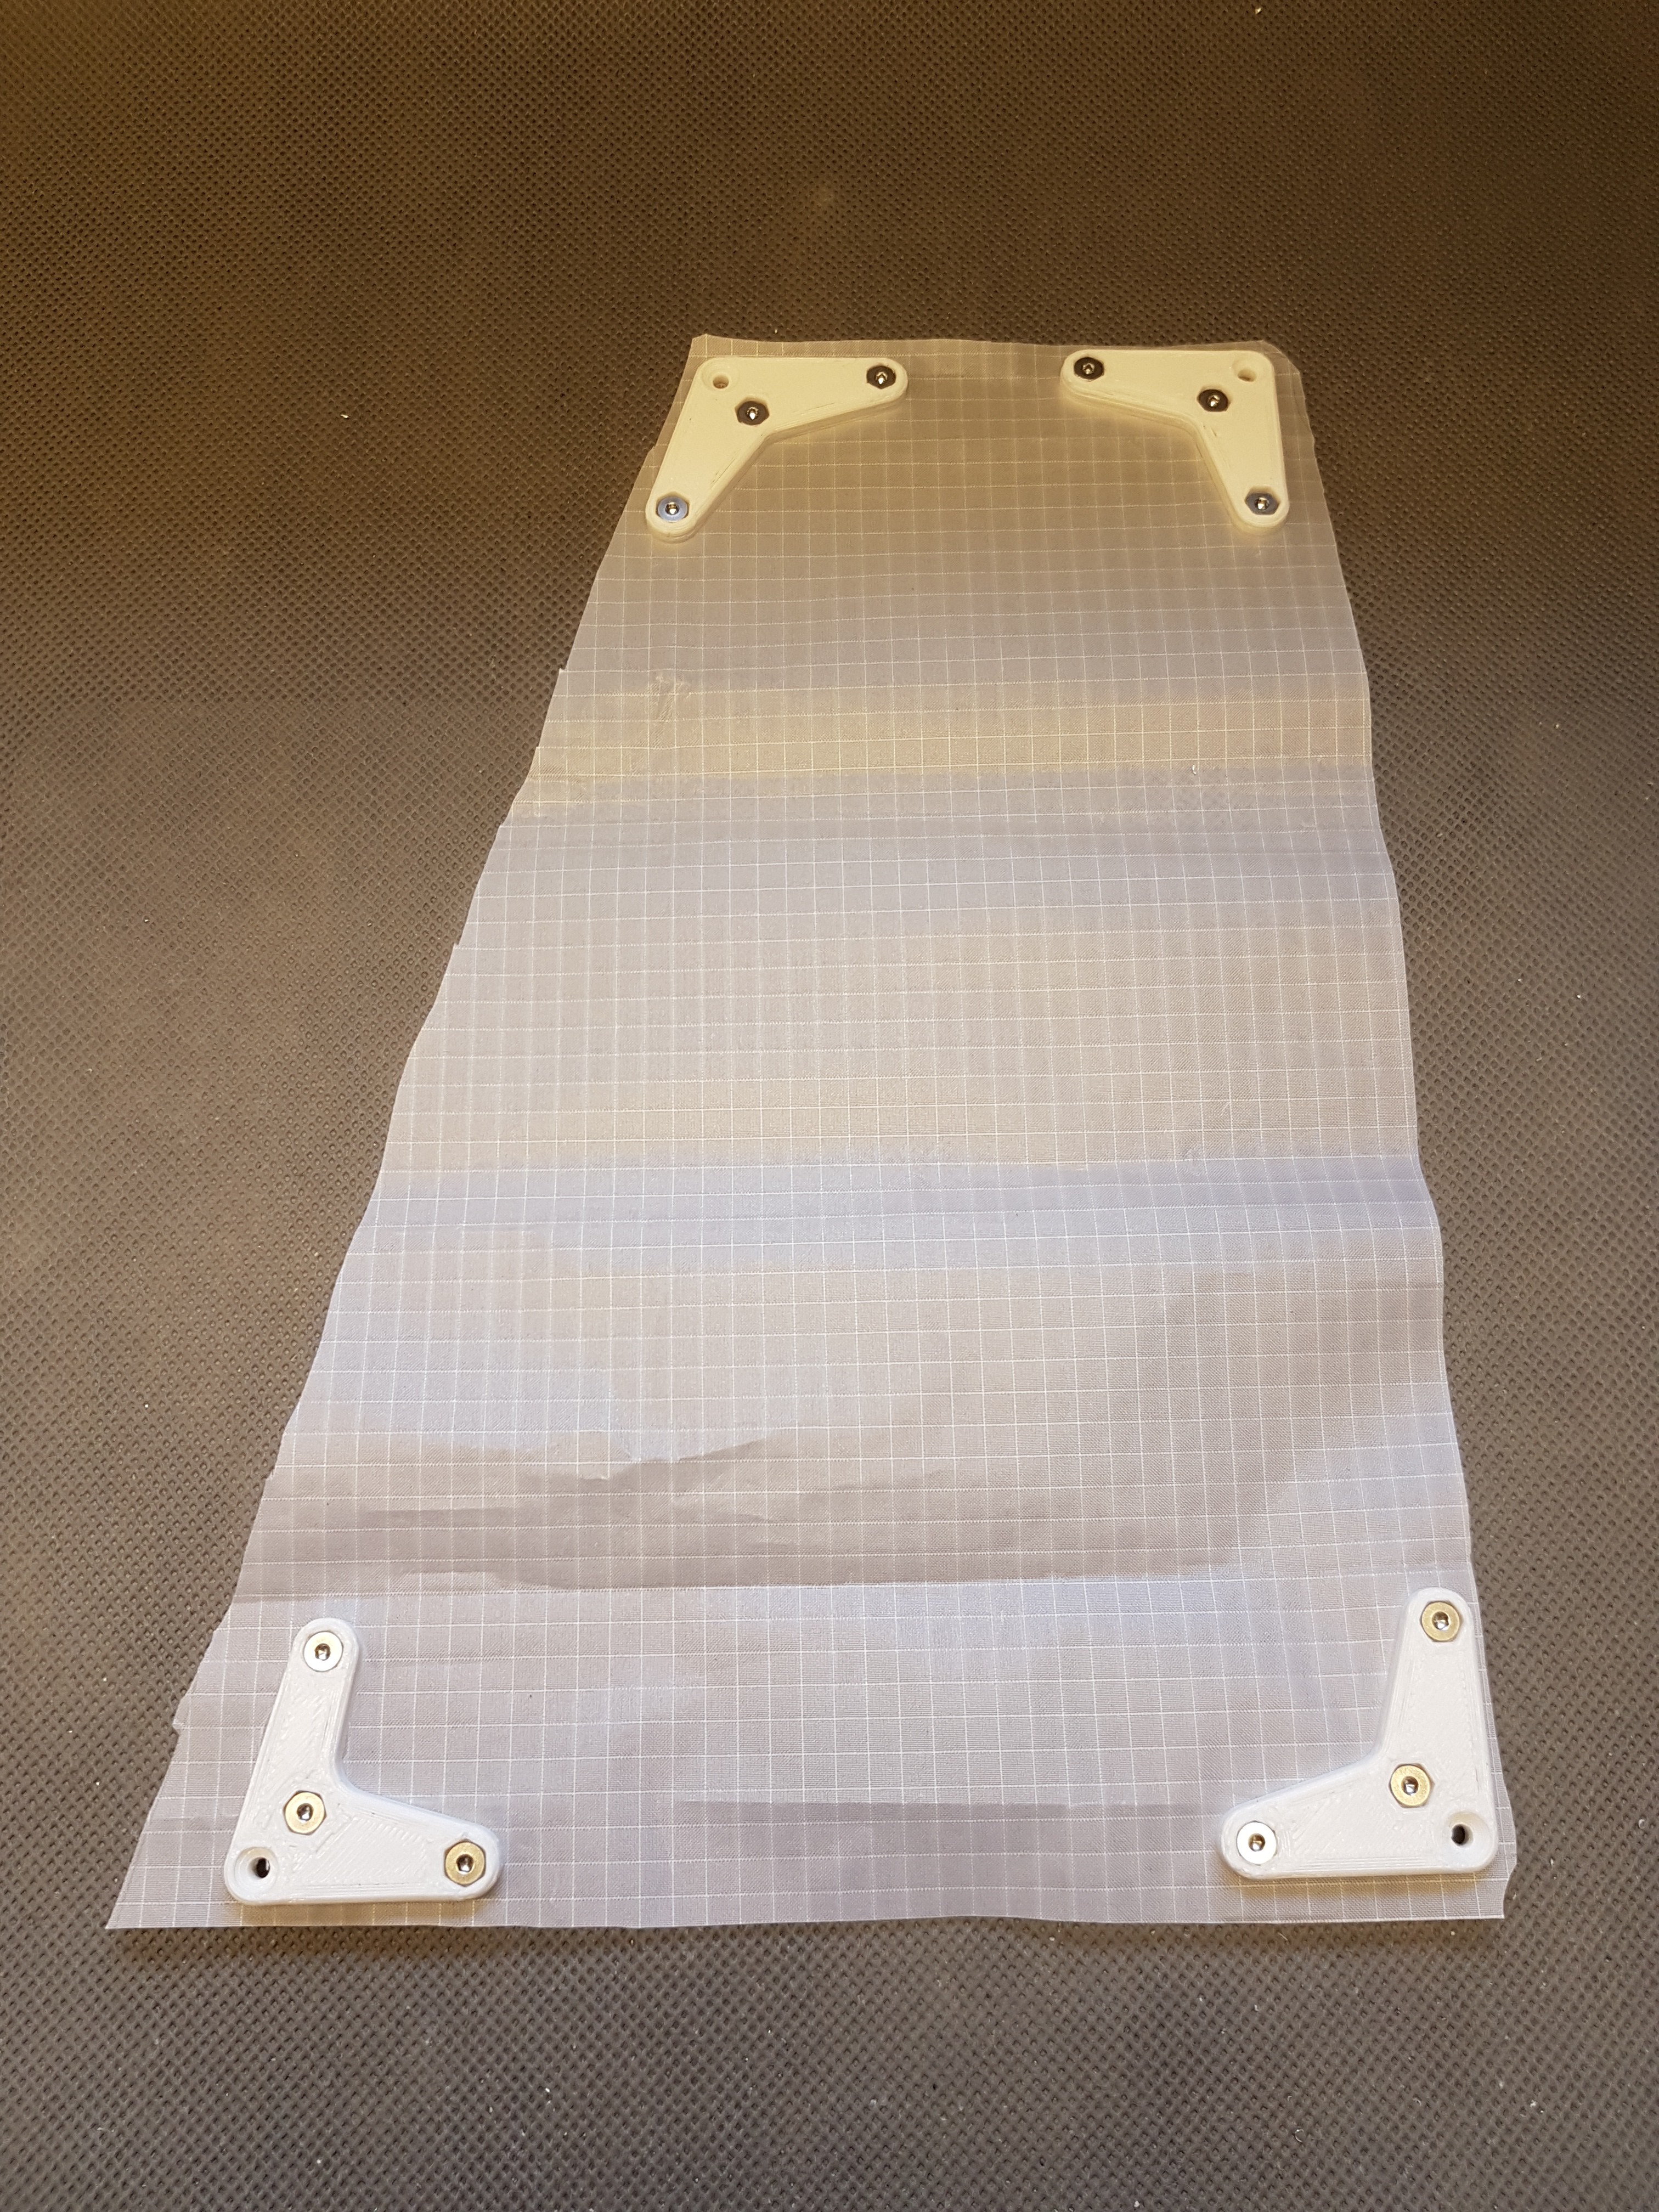
    In order for the wing to offer resistance to the wind and for its aerodynamic shape to generate lift, it is important that the skeleton of the wing is covered with a foil. The easiest way to do this is to place the wing in an appropriately sized shrink tube.

    Dazu benötigt Ihr die abgebildeten Teile.

    Important: Of course you should now remove the lower part of the connector. It should not be enclosed by the shrink tube.

    Additional view.

    Now check again that the shrinking tube is at least as long as the whole wing.

    If yes, you can now insert the wing into the heat shrink tube.

    Since you have to use hot air to shrink the shrink tube onto the wing, you should now store the wing slightly away from the base.

    This way you avoid that the base is damaged by the hot air.

    This could look like this, for example.

    I simply used two empty boxes.

    Close-up view of the wing in heat shrink tube.

    Close-up view of the wing in heat shrink tube.

    Close-up view of the wing in heat shrink tube.

    Close-up view of the wing in heat shrink tube.

    Close-up view of the wing in heat shrink tube.

    Shrink the middle part of the wing

    To shrink the heat shrink tube you need some patience. Here you have to be careful that the tube does not get too hot, because then holes will appear. In the video below you can see how I did it. To shrink the heat shrink tube I used a hot air station which I set to 150°C.

    The aim of shrinking the shrink tubing is to ensure that it lies evenly and as far as possible without wrinkles on the wing skeleton.

    Important: During this shrinking process you should not shrink the ends of the wing yet! In the next step these are prepared with glue to “seal” them.

    A few tips:

    • never direct the hot air to one spot for too long
    • set the temperature not too hot
    • if in doubt, let the affected area cool down first and work on it again later

    Shrink the ends of the heat shrink tubing

    The ends of your wing must now be prepared with glue. This way the ends can be secured against water penetration.

    This is what your wing should look like now. The heat shrink tubing is mostly tightly fitted to the skeleton of the wing.

    The ends are still loose and not shrunk.

    View of the loose (not shrunk) wing tip.

    View of the loose (not shrunk) wing tip.

    View of the loose (not shrunk) wing tip.

    View of the loose (not shrunk) wing tip.

    The aim is to seal the ends against water penetration. For this purpose you should now coat the space between the wing frame and the shrink tube with glue.

    Especially in the corners a cotton swab can be helpful. In this way the applied adhesive can be better distributed.

    You should do the same at the other end of the wing.

    Make sure that the glue is spread around the complete wing.

    When the shrink tube is shrunk later, it automatically lays on the wing and thus comes into contact with the adhesive over a large area.

    In the following again two videos how I proceeded with shrinking the wingtips. (Finally I could use my GoPro. :D (And yes, I build a GoProHeatGun-Mount for recording this: https://www.instagram.com/p/CCB5HauqAiM/ ))

    Done

    If everything went well, your wing should now be fully assembled. For a complete assembly you obviously need three wings.

    View of the mounted wings on WinDIY
  • 2
    Build the hub including mechanics

    At one point or another I have probably already mentioned that it was important to me to be able to control WinDIY safely and to be able to limit its speed in an emergency.

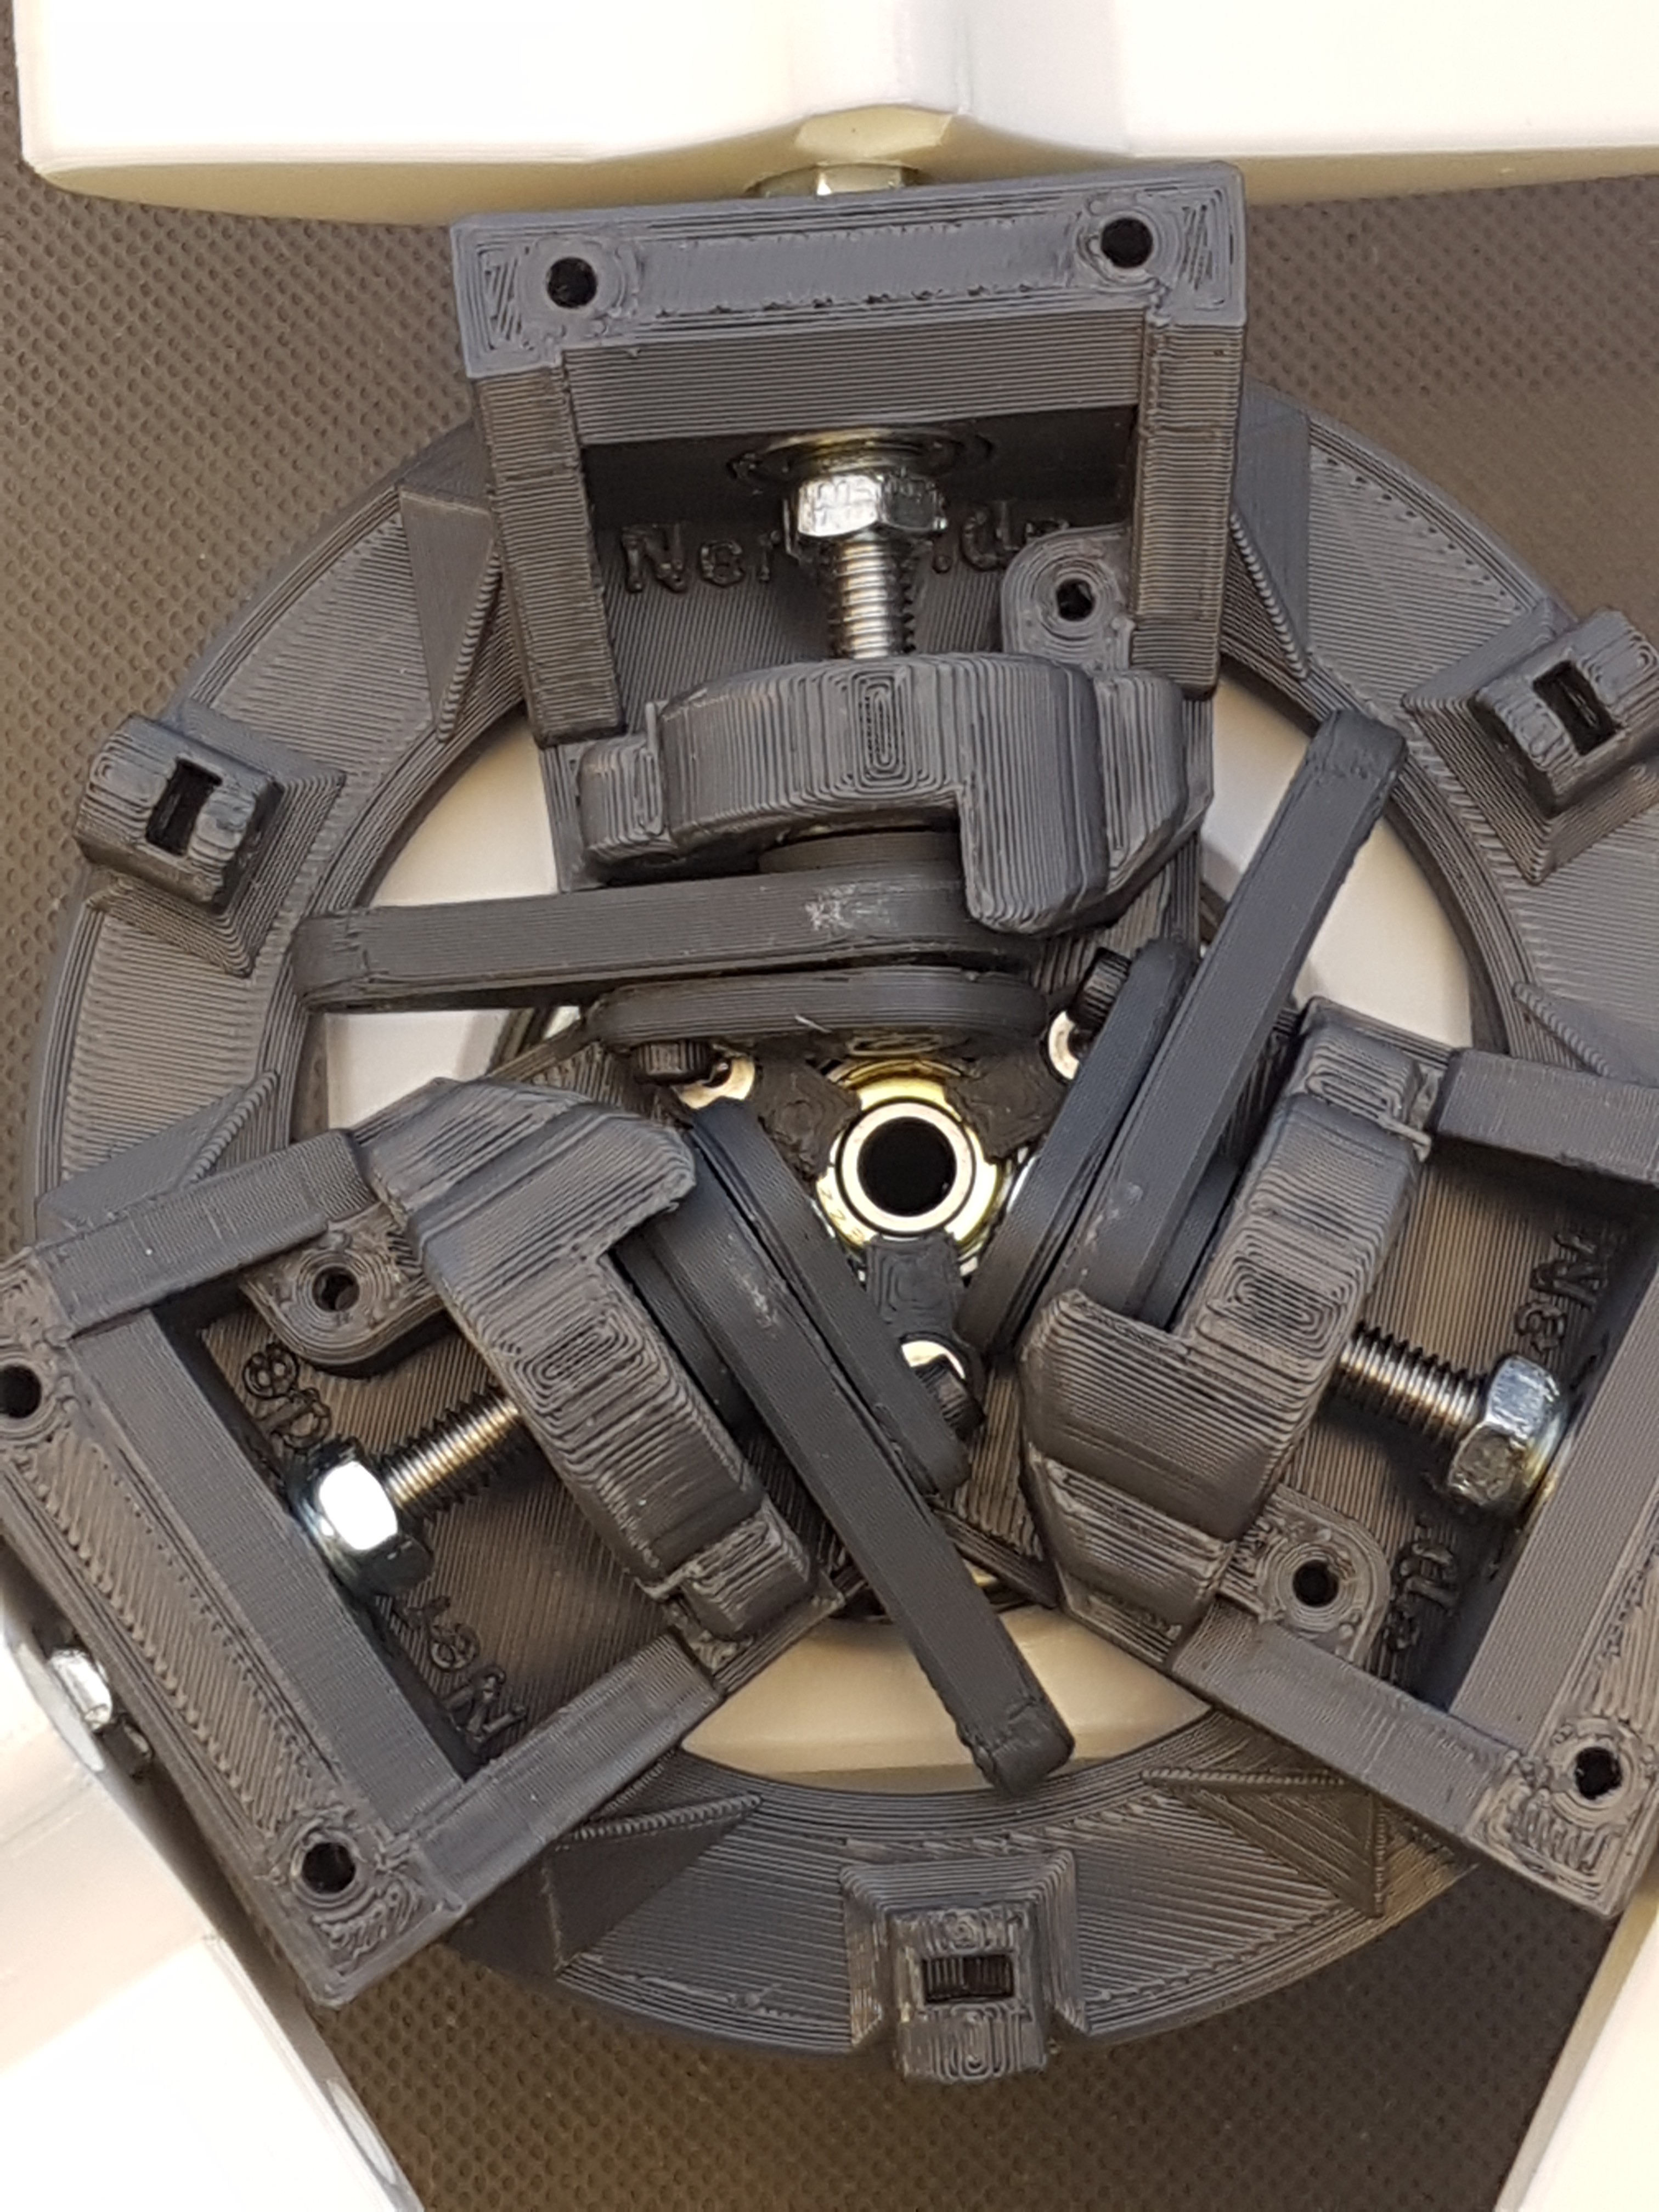
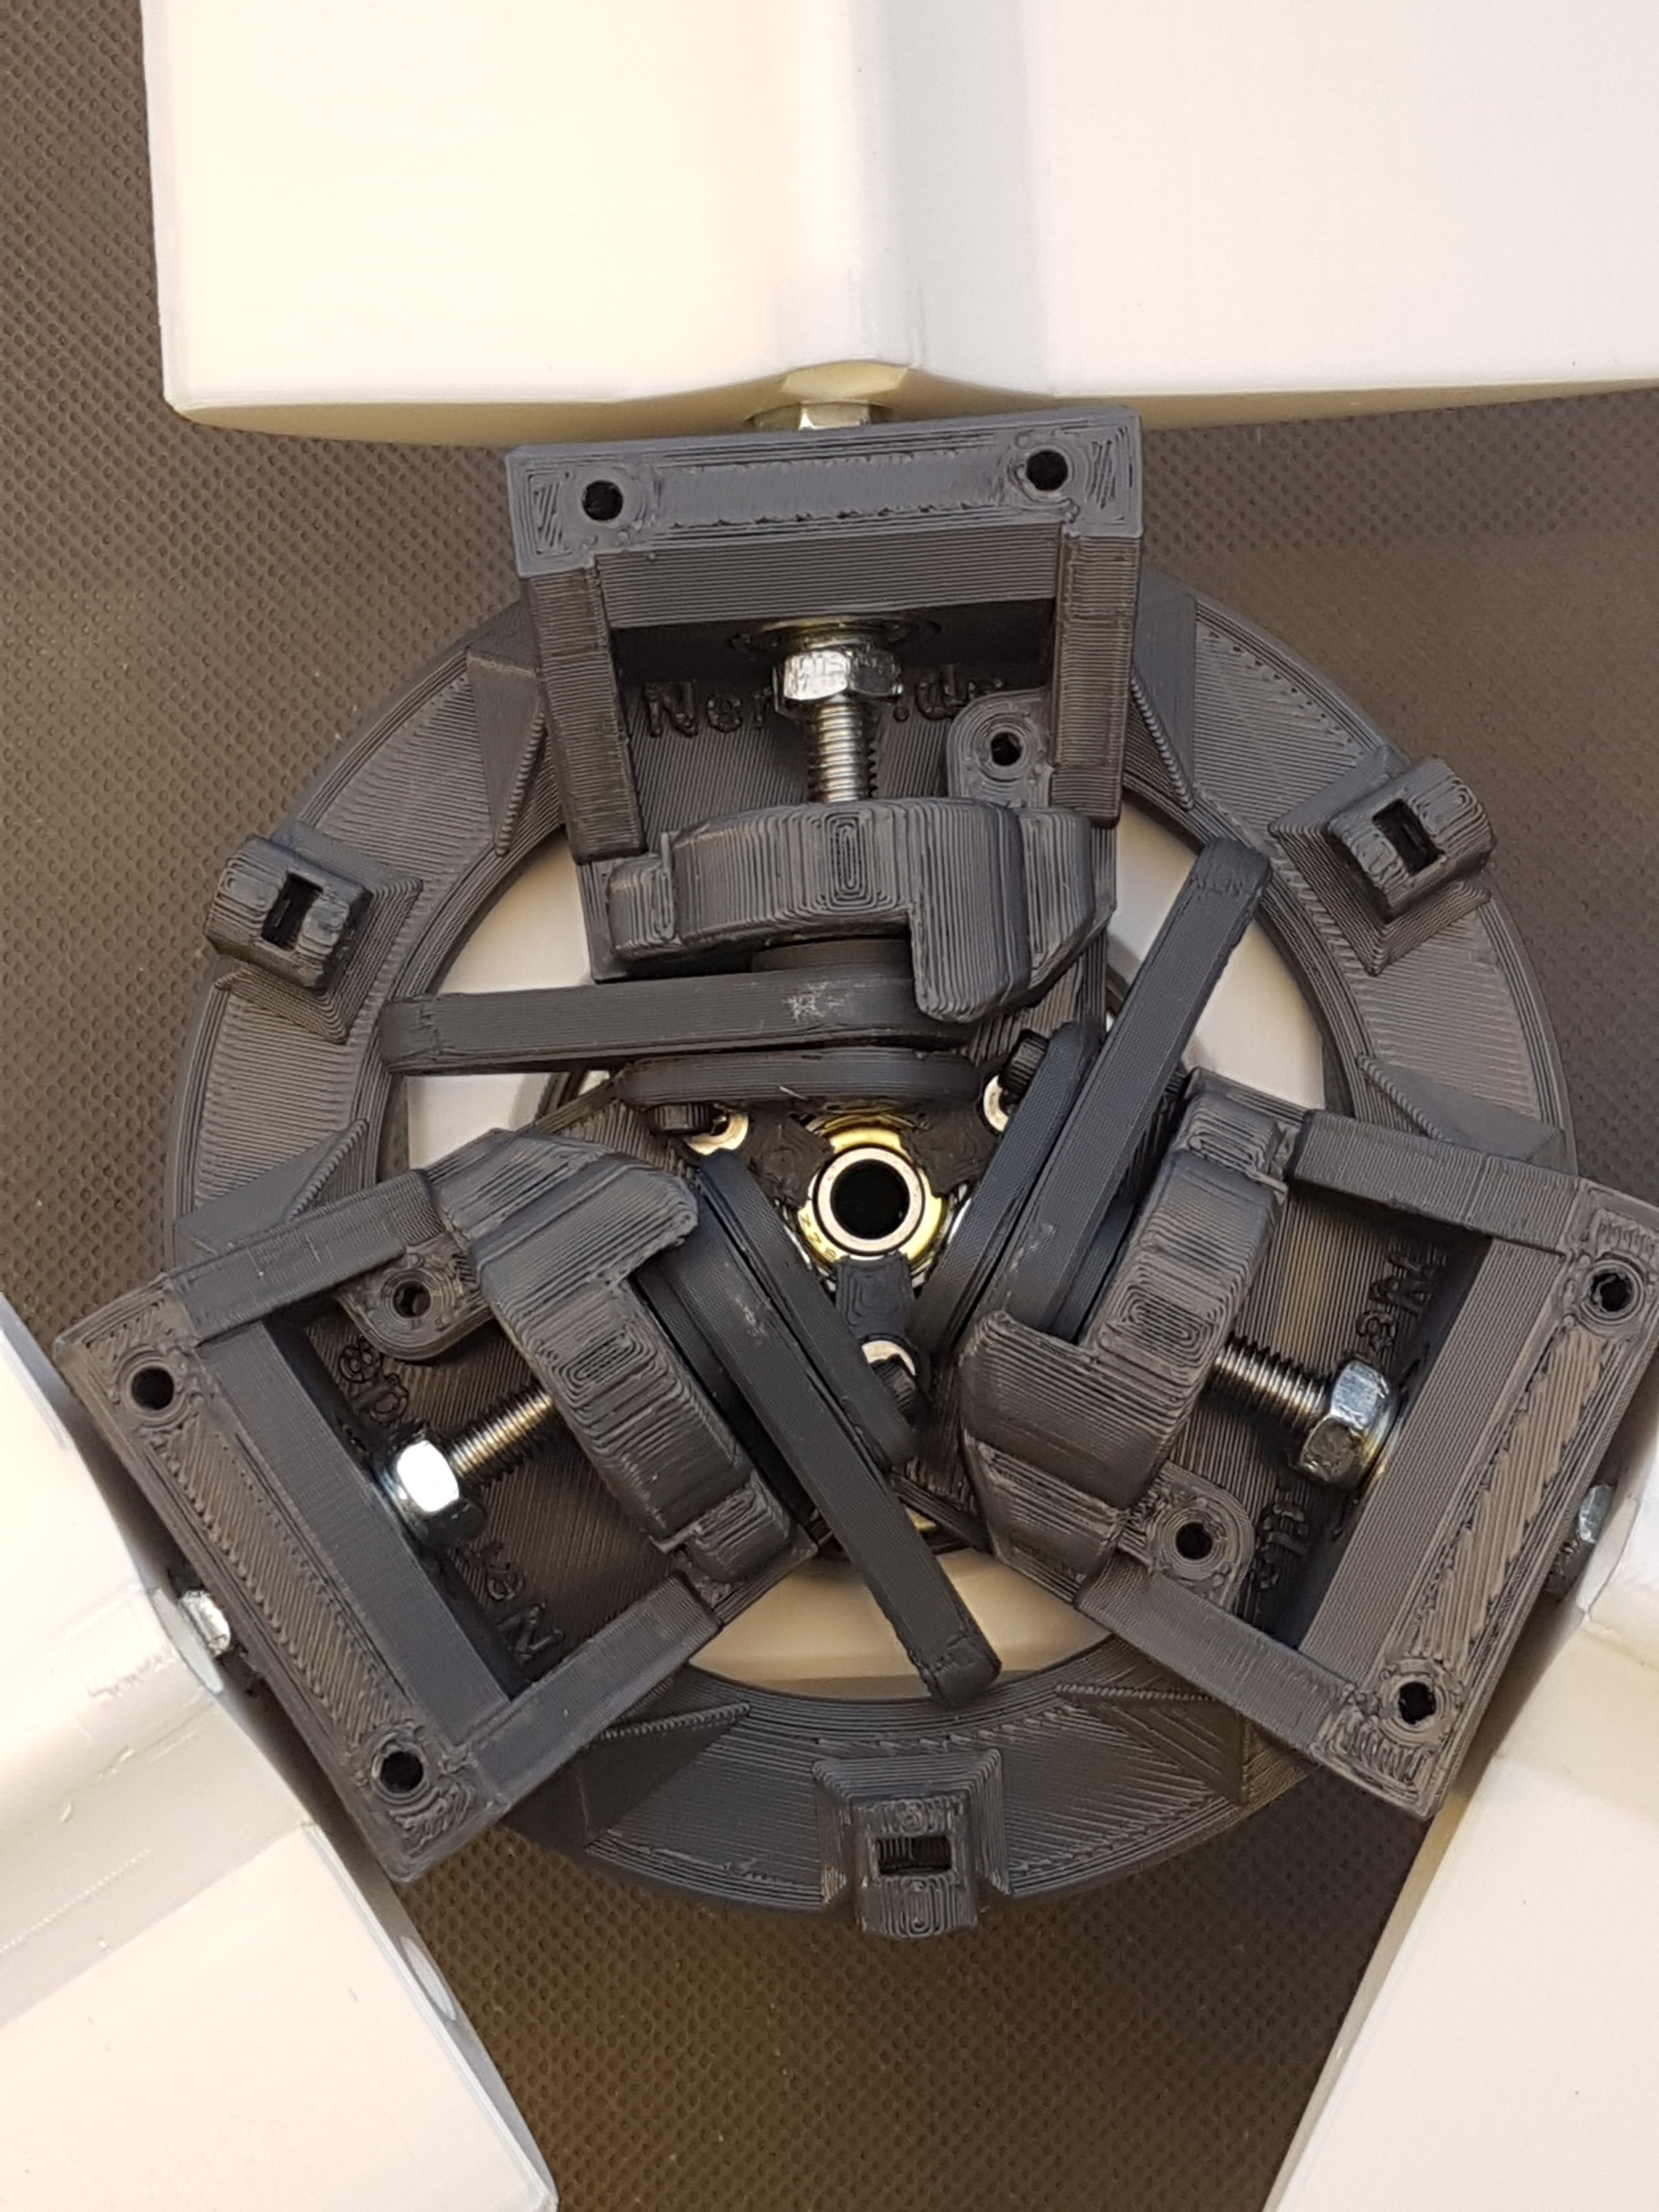
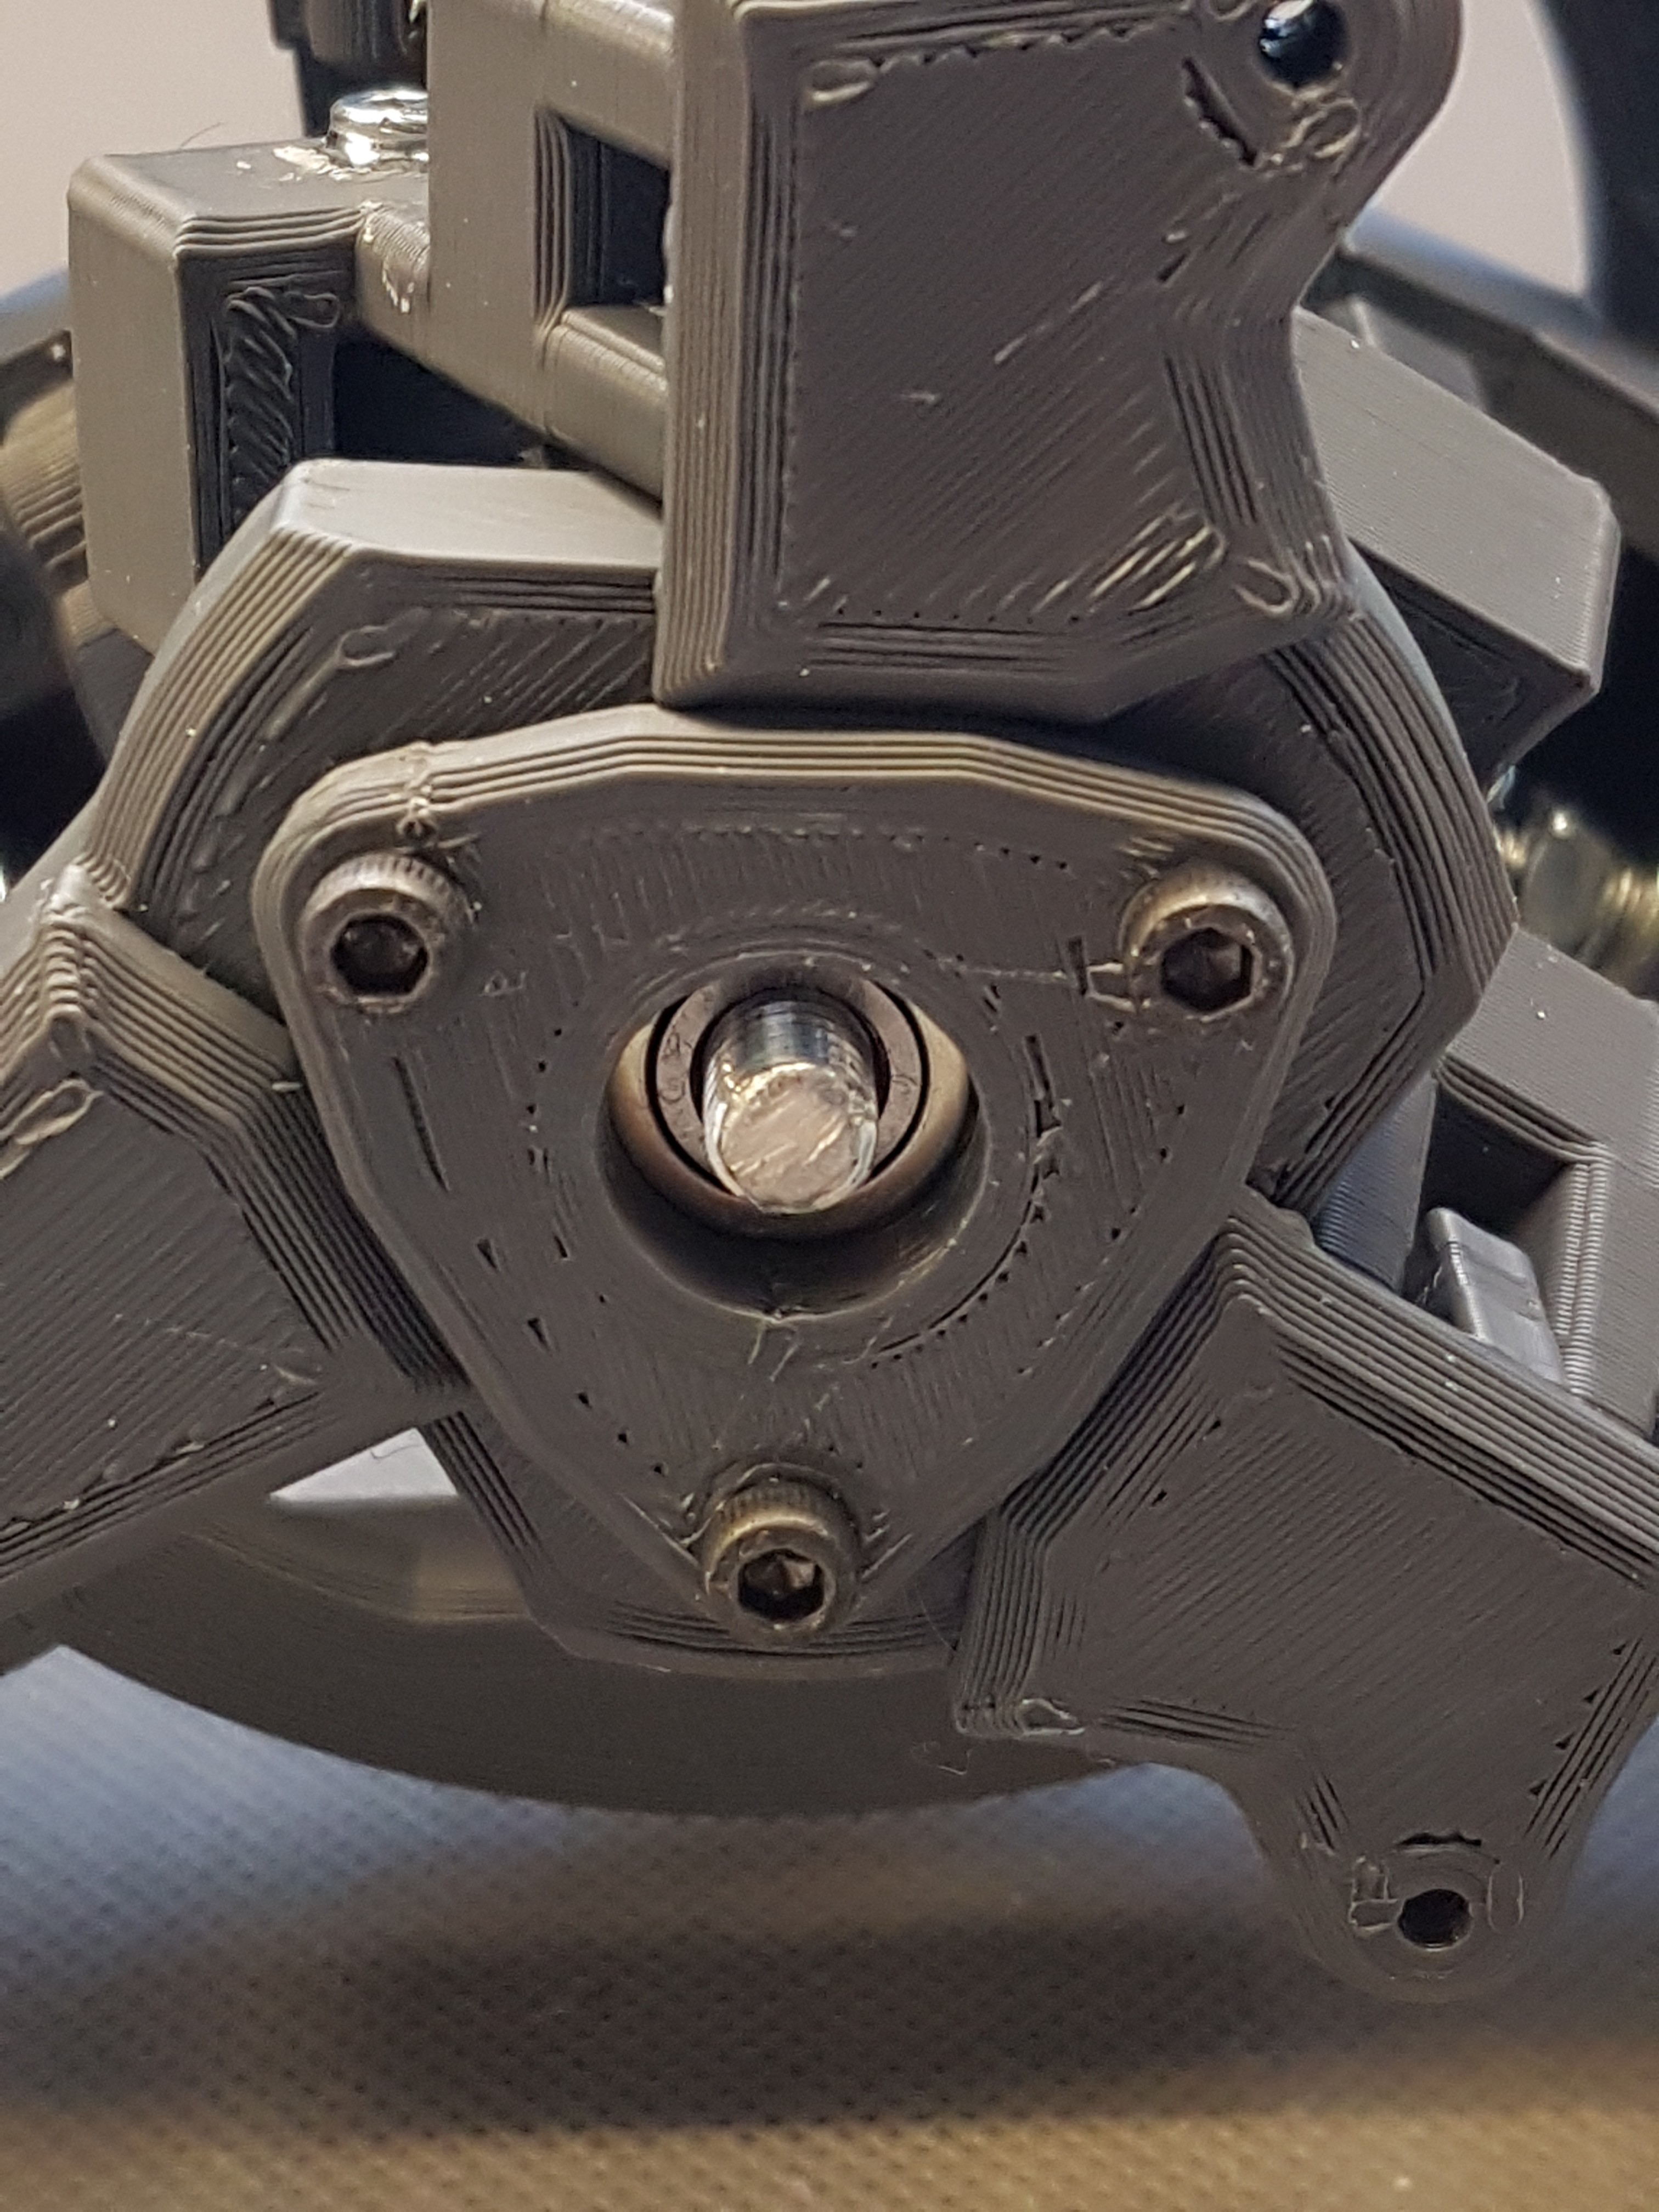
    This is why I developed a mechanism which allows to adjust the angle of attack of the wings. So the wings can be adjusted to the current wind and rotation speed. In addition they can be turned out of the wind in strong winds.

    In this way the speed and the load of WinDIY can be controlled.

    I have written down some additional information here: https://hackaday.io/project/172328-windiy-hawt-wind-turbine/log/179105-windiys-hub-oh-my-god-mechanics

    You can find additional infos here: https://nerdiy.de/en/howto-windiy-nabe-inkl-mechanik-aufbauen/

    In the following article you will find the instructions to rebuild the mechanism for adjusting the wing’s angle of attack.

    Safety instructions

    I know the following hints are always a bit annoying and seem unnecessary. But unfortunately, many people who knew it "better" from carelessness lost their eyes, fingers or other things or hurt themselves. In comparison, a loss of data is almost not worth mentioning, but even these can be really annoying. Therefore, please take five minutes to read the safety instructions. Even the coolest project is worth no injury or other annoyance. https://www.nerdiy.de/sicherheitshinweise/

    Requirements

    Required tools:

    Hot glue gun
    3D printer
    Allen key
    Pliers
    Spanner
    Cordless drill
    3mm drill bit
    Tweezers

    Required material:

    In the following list you will find all parts you need to implement this item.

    3xpitchArm
    3xpitchLever
    3xpitchArmNutSecuring
    1xhubBase
    1xpitchLeverDisk
    1xhubCover
    1xhubBearingCap
    9x603ZZ Bearing
    2x606ZZ Bearing
    5xM6 self-securing nut
    6xM6 nut
    3xM3x20 Cylinderhead screw
    3xM3 self-securing nut
    15xM3 nut
    3xM3x30 Countersunk screw
    3xM3x16 Countersunk screw
    6xM3x40 Countersunk screw
    3xPrepared wing slot
    1xM6 Threaded rod 60cm long

    Collect needed parts

    Before you can start building the hub and its mechanics, you will of course need to have all the necessary parts together. A complete list of the required materials and tools can be found above in the material and tool list

    On this picture you can see all parts needed to build the hub mechanism.

    The required STL files for printing can be found here: https://github.com/Nerdiyde/WinDIY/tree/master/hub

    I have printed the parts with the following settings.

    • Perimeter: 5
    • Infill: 50%

    The screws should preferably be made of stainless steel so that they do not rust through moisture.

    Mount the hub base on the axle

    First the hub base must be connected to the axle. This actually makes further assembly a bit more complicated. Unfortunately, this has to be done right at the beginning, because the screw holes which are used during the assembly are difficult to reach later on.

    For this you first need the shown parts.

    The axle, the hub base, 3x M3 nuts and 3x M3x50 countersunk screws.

    In order for the screws to hold the axle in place, you must first insert an M3 nut into the axle as shown.

    Depending on the print quality of your printer, you may have to “force” the nut to go into the correct position.

    Now you can put the first M3x50 screw through the hole in the hub base.

    Another view of the inserted screw.

    The inserted screw should then …

    … be inserted into the axis as shown and screwed together with the previously inserted nut.

    Now that you have provisionally fixed the axle with a screw, you can insert the other nuts…

    …into the recesses in the axle.

    Then you can insert the remaining screws into the hub base and screw them into the axle with the nuts.

    The axle should now be bolted to the hub base with three M3x50 countersunk screws.

    Mount the first wing slot

    The blades are not directly connected to the hub. First only the slots are connected to the hub. The wings can then be plugged into it later.

    Insert the first 606ZZ ball bearing from the outside into the recess of the hub base as shown.

    On the opposite inner side…

    ..the second ball bearing is then inserted.

    Now you can plug in the first wing slot.

    You should have already prepared this wing slot during the construction of the wing.

    This should look like this.

    The first securing of the wing consists of a self-locking M6 nut, which is screwed onto the M6x100 screw of the wing slot.

    When screwed on, it should look like this.

    The nut should be so tight that the wing slot cannot be moved in the direction of the screw. At the same time, it should of course still be possible to turn it.

    The next ball bearing is now inserted on the inside of the hub.

    Push the 606ZZ ball bearing over the M6x100 screw into the recess on the inside of the hub base…

    …and secure it again with a (normal) M6 nut.

    Another view of the screwed on M6 nut on the M6x100 screw of the wing slot.

    Attach lever and adjust correctly

    Now comes a somewhat critical step where you should work as precisely as possible. To be honest I am not really satisfied with the mounting of the lever on the M6x100 screw of the wing slot yet. This is because the lever is secured on the screw by clamping it between two nuts. Theoretically this should hold. Practically, it does too. However, it would be safer to put a split pin through the M6x100 screw. There is certainly room for future improvements. 🙂

    For correct adjustment of the lever you should now raise the hub base a bit higher. For example, I have placed it on two boxes.

    The goal is that the trailing edge of the wing slot is at exactly the same height as the back of the hub base.

    Once you have adjusted the wing slot correctly, you can now put the lever on the axle and on the M6 nut that was screwed on before. The nut should fit as close as possible to the ball bearing, but the whole wing slot should still be able to rotate freely.

    As soon as the lever is correctly attached…

    …you can temporarily secure its alignment in the hub base with an M3 screw (the screw is removed again later). (see picture)

    View of the secured and aligned lever.

    Install guide ball bearing

    In this step, the ball bearing is installed, which allows the push rod to adjust the wing’s angle of attack. Actually this step could have been done before the installation of the wing lever.

    Insert the 606ZZ ball bearing…

    …into the recess in the hub base.

    The ball bearing is then clamped in the hub base with the shown clamp.

    Close-up view.

    The screw for clamping the ball bearing is secured in the axle with a nut.

    Now repeat this two more times…

    ..until the ball bearing is jammed with a total of three clamps.

    Another view of the jammed ball bearing.

    Top view of the jammed ball bearing and a mounted lever.

    Mount the remaining two blades to the hub

    After the ball bearing for guiding the push rod is mounted in the hub base, you can continue with the mounting of the remaining two wing slots. These are mounted in exactly the same way as the first wing slot.

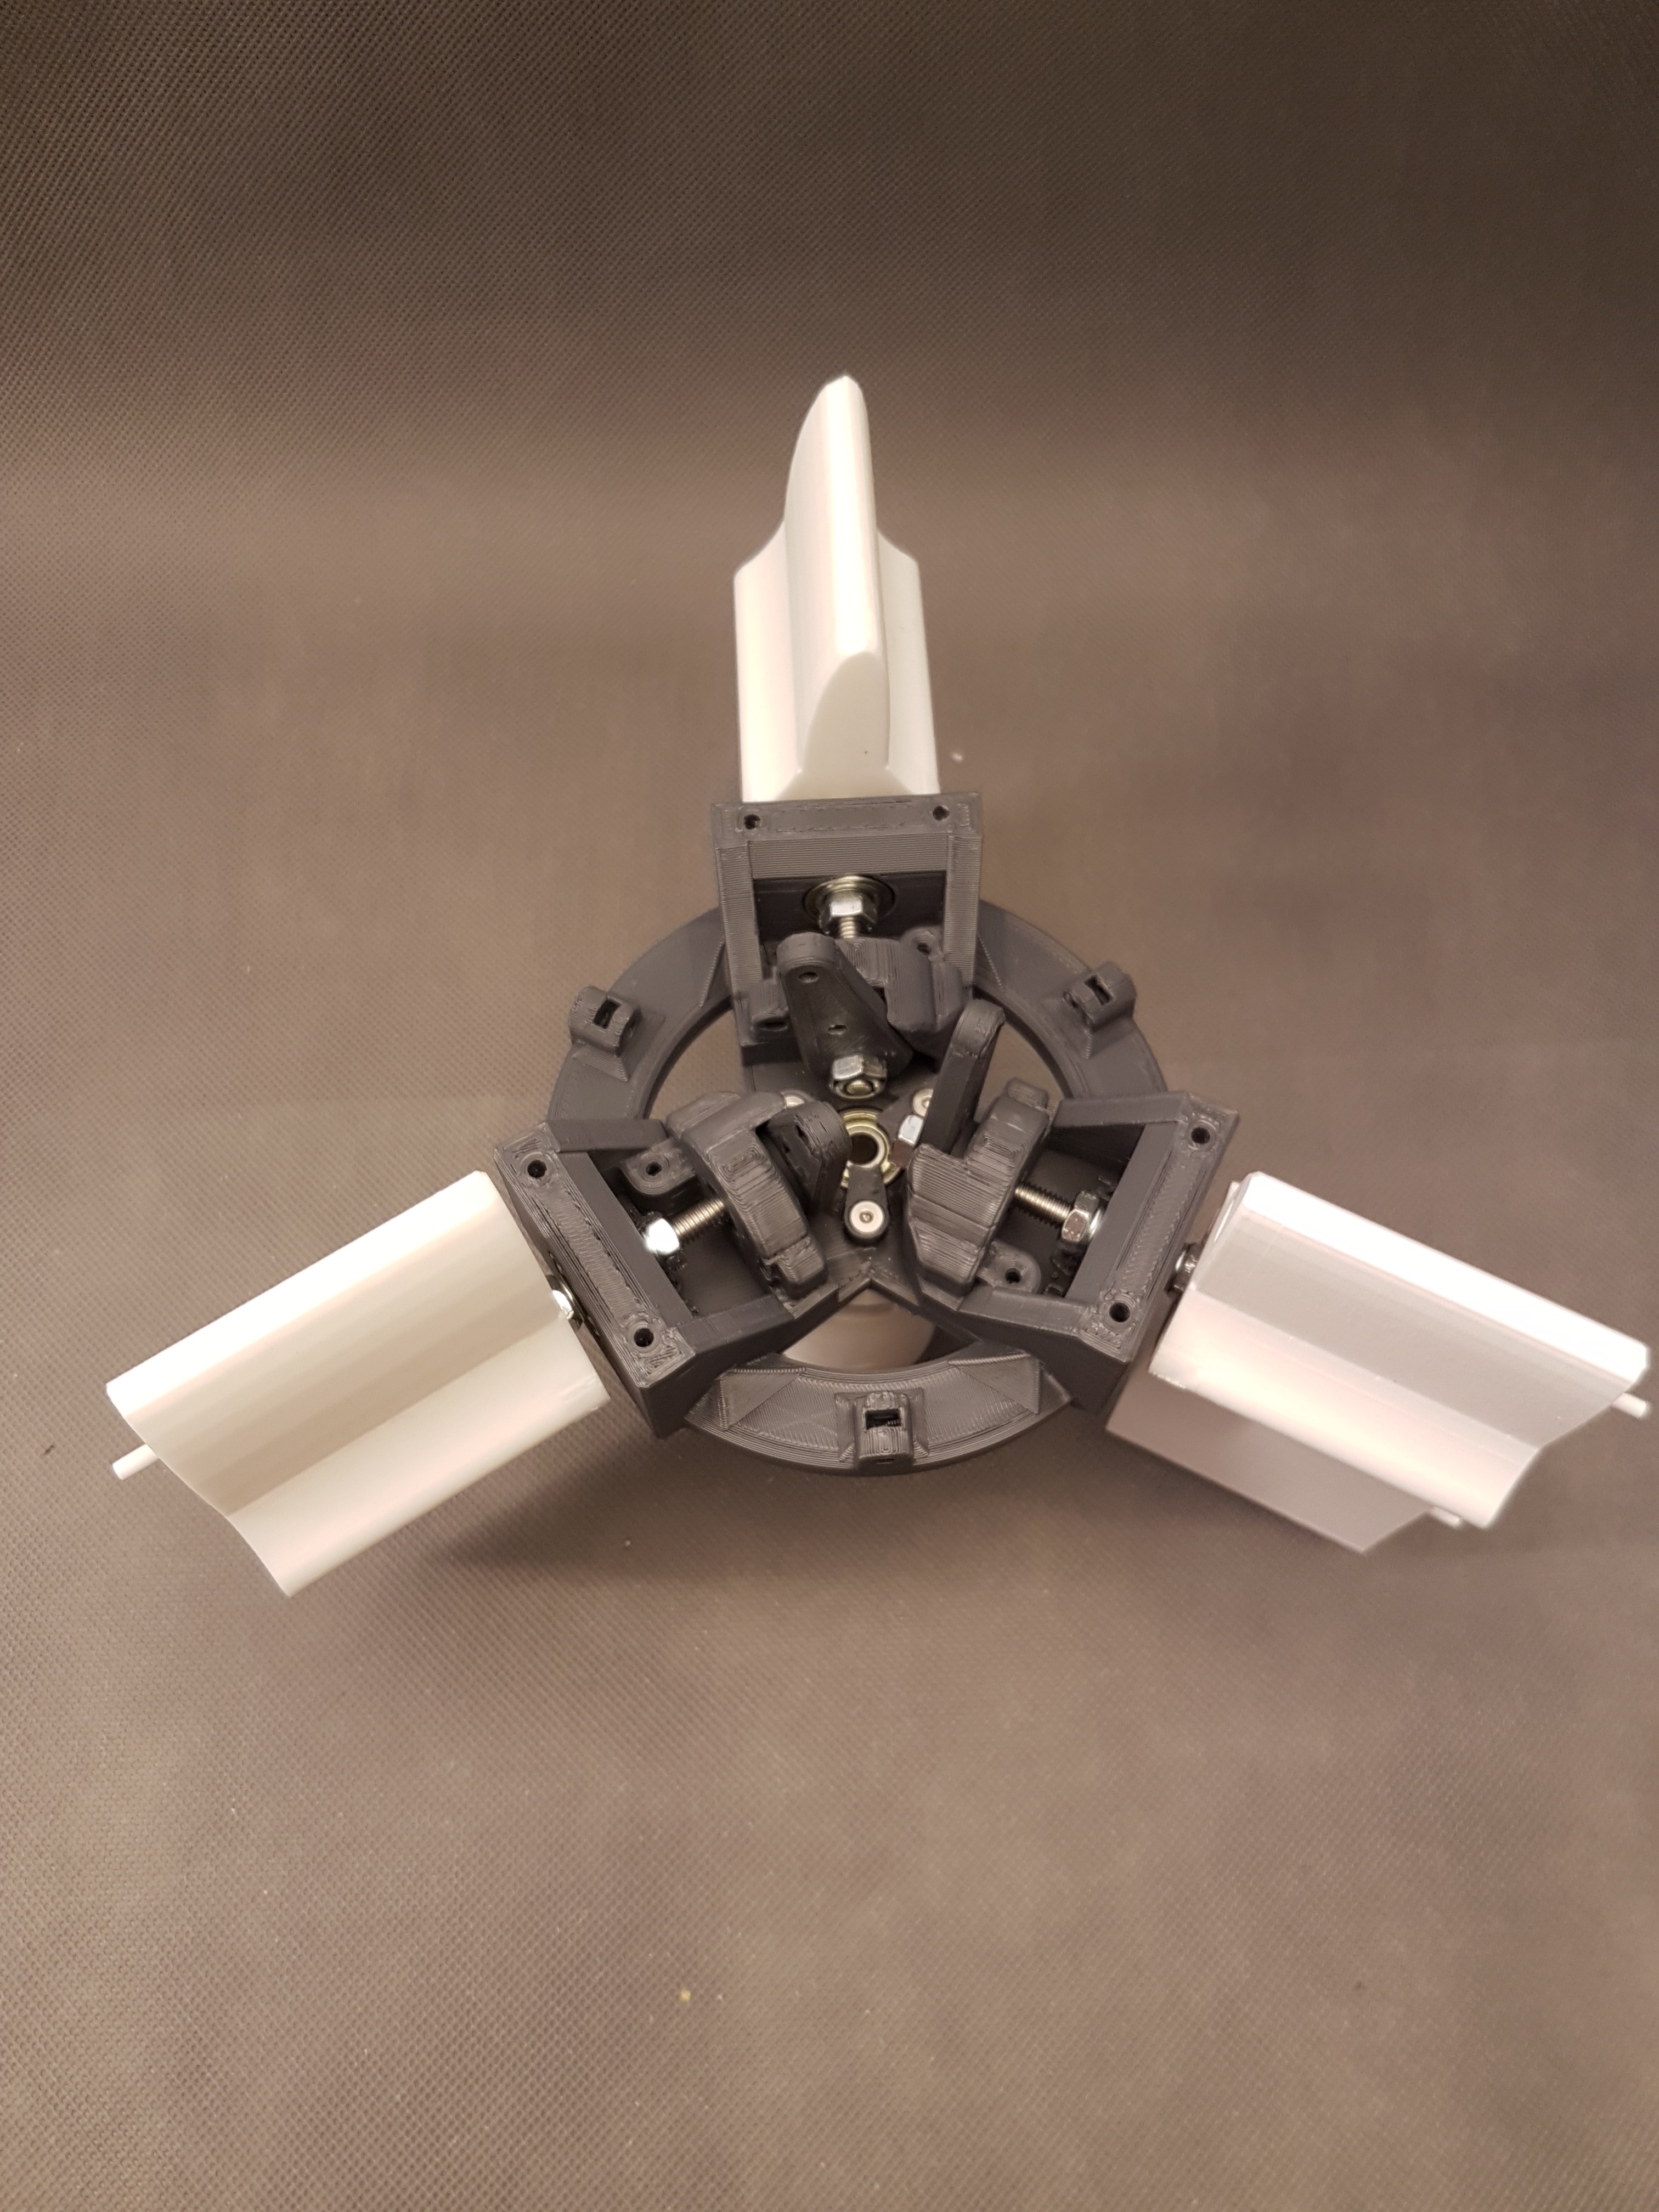
    Once all three wing slots are installed, your previous setup should now look like this.

    Close-up view of the three assembled wing slots including lever.

    Close-up view of the three assembled wing slots including lever.

    Close-up view of the three assembled wing slots including lever.

    Close-up view of the three assembled wing slots including lever.

    Attach the nut lock

    As already mentioned above, the levers for adjusting the wing’s angle of attack are clamped on the M6x100 screw of the respective wing slot. To prevent the inner nut from loosening afterwards (which would cause the lever to no longer have any effect on the rotation of the wing) you should urgently secure this nut against rotation.

    Before you secure the nut, again make sure that the inner nut is tightened as tight as possible.

    But of course the setting of the lever should not be changed.

    So first check that the angle of the lever to the wing slot is correct and then tighten the nut as tight as possible.

    ” Tight as possible” here means so tight that you can’t get it tighter “by hand” using a wrench.

    Now you need a M3x20 cylinder head screw, a M3 nut and the 3D printed plastic part to secure the lever.

    Now place the fuse over the M6 nut as shown…

    …and secure it with the M3x10 screw by …

    …screwing it to the M3 nut on the back of the lever.

    Now repeat this again for all three wing slots.

    Close-up view of the levers including attached fuses.

    Close-up view of the levers including attached fuses.

    Now you can also check that the levers have the correct angle to the wing slots.

    If the wing slots are straight (as shown in the picture)…

    …the levers should hit the stops of the hub base. So the angle of rotation of the wing slots is limited in one direction.

    Additional view.

    Attach the “lever extender”

    (Btw: Sometimes not easy to find suitable names for the individual parts. 🙂 )

    This section is about attaching the “lever extender” to the previously mounted levers. This is part of the mechanism which turns the back and forth movements of the push rod into a turning movement for the wing.

    First you need a 3D printed lever extender, a M3x20 cylinder head screw and a self-locking M3 nut.

    Now mount the lever extender on the first lever as shown.

    Another view of the mounted lever extender.

    Another view of the mounted lever extender.

    If you have mounted the first lever extender, you can repeat this for the other two levers.

    Close-up view of the mounted (and folded) lever extenders on the levers.

    Close-up view of the mounted (and unfolded) lever extenders on the levers.

    Attach the lever plate

    Here comes the next important part for the mechanics to adjust the angle of attack: The “lever plate”.

    For this you need the lever plate, three M3 nuts and three M3x30 countersunk screws.

    Now mount the lever plate as shown on the first lever extender…

    …and fix it by inserting the M3x30 screw from outside into the lever plate.

    To fix the screw you have to put a M3 nut into the recess on top of the lever plate.

    Completely plugged in you should not be able to see much of the M3 nut.

    Now you can screw the M3x30 countersunk screw into the nut.

    Repeat this for the remaining two lever extenders.

    If you now move the lever plate back and forth you should already notice that the wings can be adjusted according to the distance of the lever plate.

    View of the folded lever plate.

    Insert ball bearing at anchor point

    So far we have used a ball bearing which is intended to guide the push rod.

    Now the ball bearing is mounted, via which the thrust movement of the push rod is transmitted to the lever plate.

    You will need the ball bearing securing plate, a 606ZZ ball bearing, three M3x16 cylinder screws and three M3 nuts.

    Now insert the 606Zz ball bearing into the recess in the lever plate.

    Close-up view of the inserted ball bearing.

    Now secure the ball bearing in its position by mounting the ball bearing securing plate including the three M3x16 cylinder head screws on the lever plate.

    The screws are secured by inserting them into the recesses on the bottom of the lever plate.

    Additional view.

    Attach the stabilizing ring

    To give the hub base a little more stability a stabilizing ring is now mounted on the hub base.

    You will need the 3D printed stabilizing ring, six M3 nuts and six M3x40 countersunk screws.

    The stabilizing ring is now placed on the hub base from above…

    …and screwed into the hub base with the M3x40 countersunk screws as shown.

    To do this, screw the M3x40 screws into the nuts, which are inserted into the recesses on the bottom of the hub base.

    Close view of the inserted M3 nuts.

    Close view of the inserted M3 nuts.

    Mount push rod

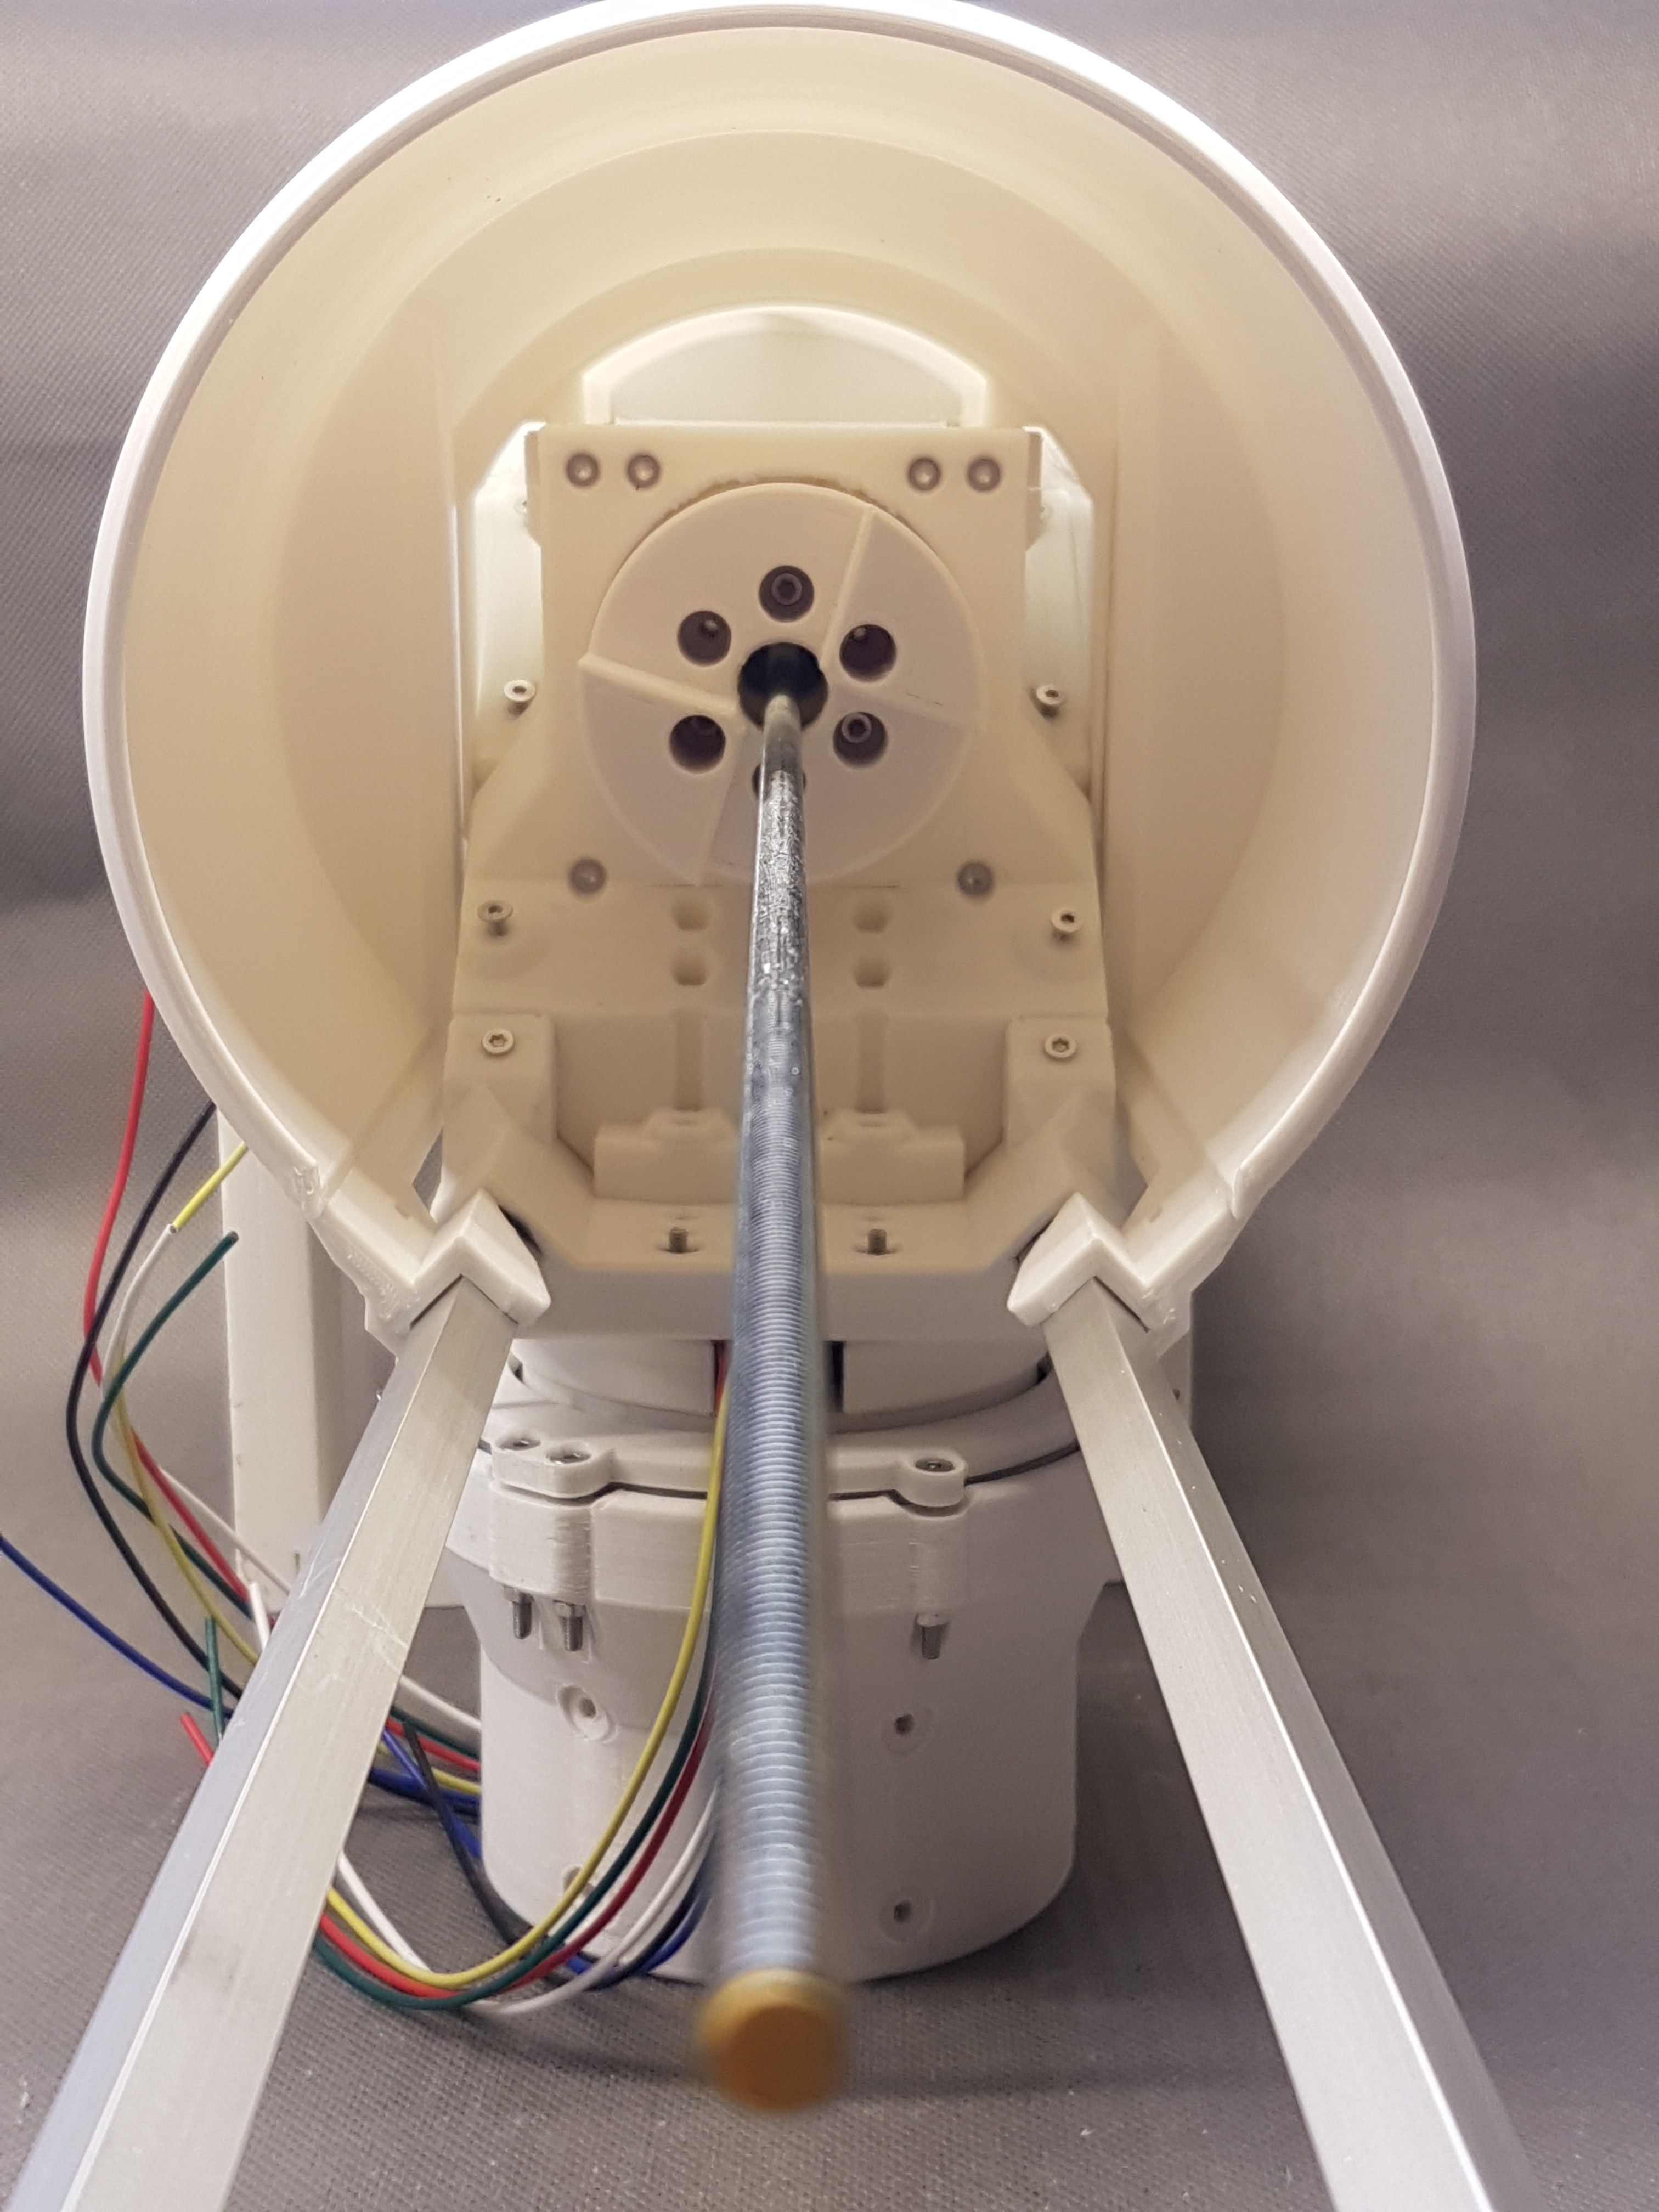
    The push rod consists of a M6 threaded rod. It will later transfer the thrust movement generated by the pitch actuator to the mechanism in the hub.

    At this point you need the previously prepared hub base including attachments as well as two self-locking M6 nuts and an M6 threaded rod.

    Now push the threaded rod through the first and second ball bearing in the hub as shown.

    Then pull the push rod back a little and screw the first self-locking nut onto the push rod as shown.

    The nut is unfortunately not visible but is located in the socket wrench, which makes assembly much easier.

    It is also helpful if you clamp the threaded rod in a cordless screwdriver as shown. So you can easily screw the threaded rod into the M6 nut.

    If everything worked, the M6 nut should sit on the threaded rod as shown.

    Now you can put the threaded rod back into the upper ball bearing.

    Close-up view of the inserted threaded rod in the upper ball bearing.

    To keep the push rod in the upper ball bearing you have to screw the other M6 nut onto the push rod as shown.

    The push rod should now sit tight in the ball bearing.

    Additional view.

    Additional view.

    Additional view.

    Now it is time for a first test.

    This video shows how the mechanics should work now. (Don’t be put off by the changed design. This is a video I took during the development of the mechanics 🙂

    Fasten the cover

    Last but not least the hub now gets a cover. This covers the mechanics and should protect them from moisture and rain. Additionally it makes the hub slightly more aerodynamic.

    You will need the 3D printed cover, three M3 nuts and three M3x16 countersunk screws.

    Close-up view of the required parts.

    Insert the M3 nut into the recess provided in the hub base…

    … and fix the M3x16 countersunk screw in it.

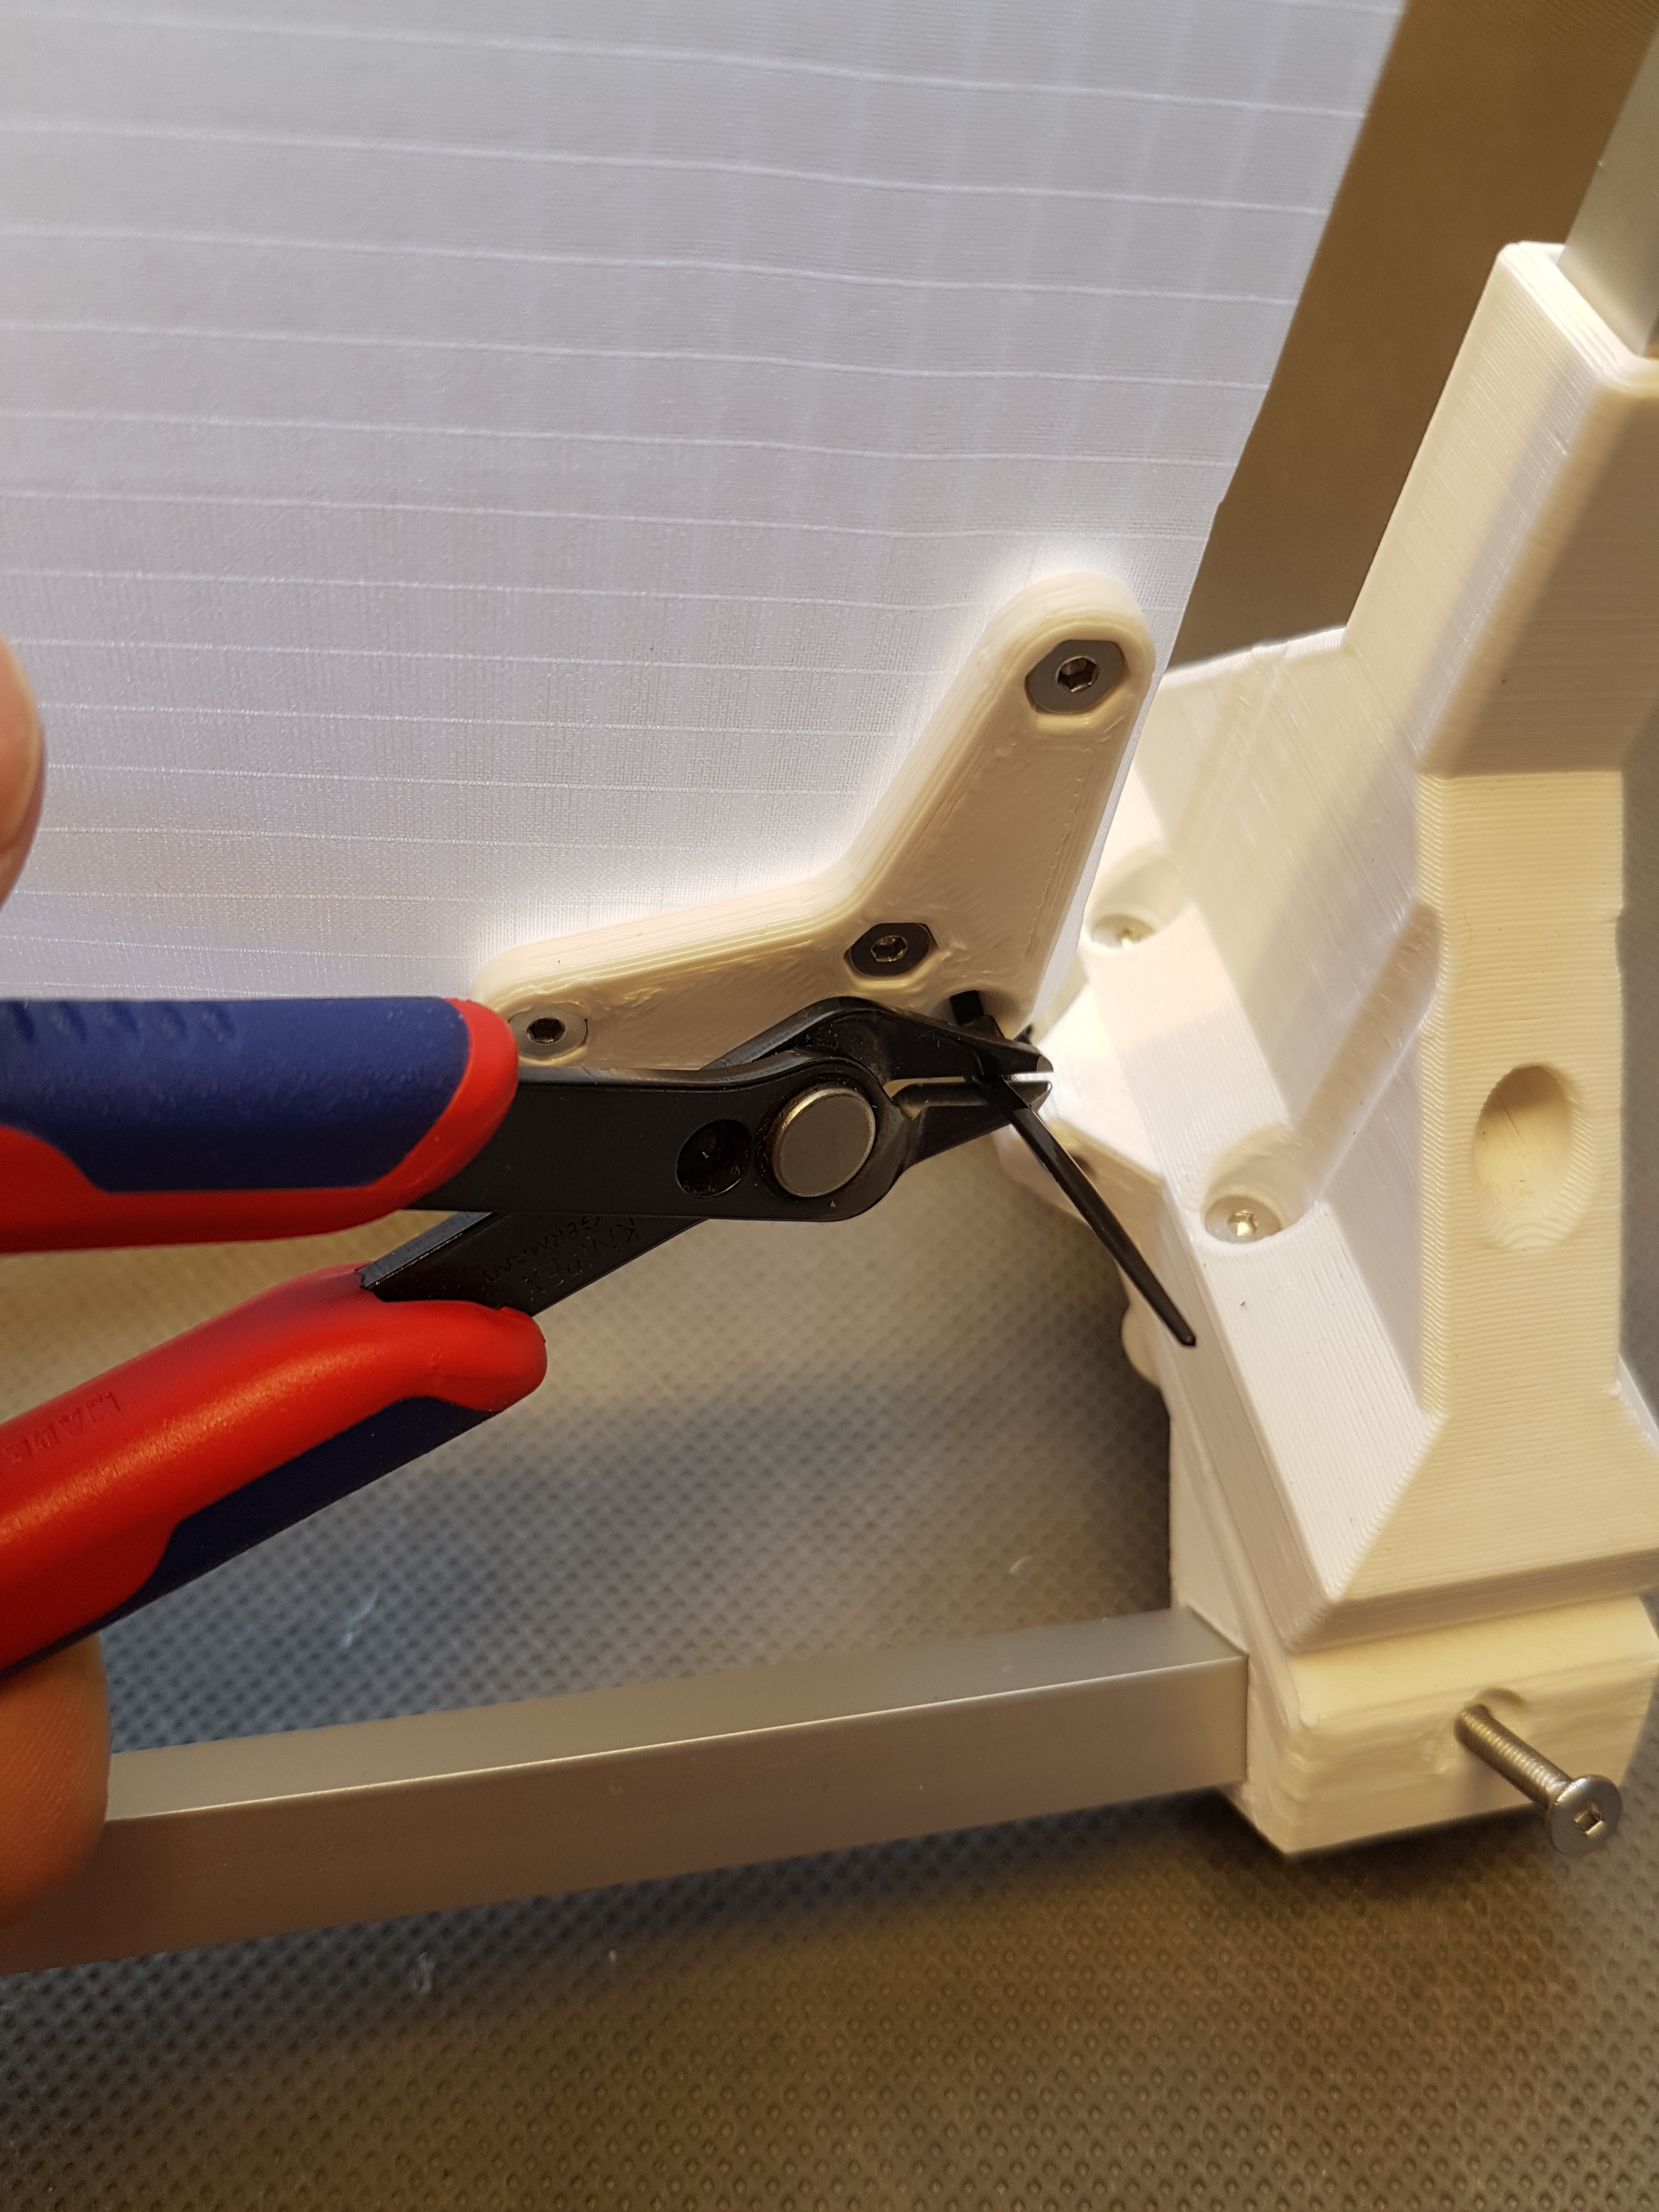
    Now you secure the M3 nut again with some hot glue in the frame of the hub base…

    … and remove the screw.

    Now you can put on the cover and screw it into…

    …the frame of the hub base using the prepared screws.

    View of the attached and screwed cover.

    View of the attached and screwed cover.

    View of the attached and screwed cover.

  • 3
    WinDIY – Assemble the main axis

    The main axis is the axis in which the wind turbine will later rotate. It must therefore bear the weight of the blades including the hub and at the same time absorb the forces generated by the wind. Last but not least, it should rotate smoothly.

    A critical task and in my opinion one of the most important components.

    I have written down some additional information here: https://hackaday.io/project/172328/log/179713-why-i-think-a-new-main-shaft-mount-is-needed

    Also you can find additional infos here: https://nerdiy.de/en/howto-windiy-montage-der-hauptachse/

    In the following article you will find instructions on how to assemble the mounting of the main axis.

    Safety instructions

    I know the following hints are always a bit annoying and seem unnecessary. But unfortunately, many people who knew it "better" from carelessness lost their eyes, fingers or other things or hurt themselves. In comparison, a loss of data is almost not worth mentioning, but even these can be really annoying. Therefore, please take five minutes to read the safety instructions. Even the coolest project is worth no injury or other annoyance. https://www.nerdiy.de/sicherheitshinweise/

    Requirements

    Required tools:

    Hot glue gun
    3D printer
    Allen key
    Pliers
    Cordless drill
    3mm drill bit
    tweezers

    Required material:

    In the following list you will find all parts you need to implement this article.

    1xbasePlateMainShaft
    1xmainShaftBearingMountBaseConnector
    2xmainShaftBearingMountBearingClamp
    1xmainShaftBearingMount
    1xshaftCoupler
    2xAluminum profile 14.5cm long
    2x6008ZZ ball bearing
    12xM3x50 countersunk screws
    8xM3x16 countersunk screws
    6xM3x20 countersunk head screws

    Collect required parts

    Before you can start building the main axis, of course you have to collect all needed parts. A complete list of the required materials and tools can be found above in the material and tool list.

    On this picture you can see all parts needed to build the main axis.

    The required STL files for printing can be found here: https://github.com/Nerdiyde/WinDIY/tree/master/mainAxis

    I have printed the parts with the following settings.

    • Perimeter: 5
    • Infill: 50%

    The screws should preferably be made of stainless steel so that they do not rust through moisture.

    Mount the ball bearing in the main axle base

    The base of the main axis consists of one part. In this part the two ball bearings are inserted and clamped.

    For this part of the main axle assembly you need the main axle base, two 6008ZZ ball bearings, four M3x20 screws and four M3 nuts.

    Insert the first of the two 6008ZZ ball bearings into the main axle base as shown.

    Make sure that the ball bearing sits in the holder up to the stop.

    The ball bearing should be exactly centered in the bracket.

    Additional view.

    Now also put the second 6008ZZ ball bearing into the free holder of the main axle bracket.

    Now check again that both ball bearings are seated up to the stop and centered in the main axis holder.

    Additional view.

    Additional view.

    To secure the ball bearing in the main axis holder, you should now insert the first ball bearing clamp into the main axis holder as shown and…

    …secure it with one of the M3x20 countersunk screws.

    Use an M3 nut to secure the screw.

    Repeat this for the other side of the ball bearing clamp.

    Additional view.

    Additional view.

    In the same way you should now secure the other ball bearing with the ball bearing clamp in the main axle mount.

    Connect the main axis base to the base connector

    The main axis base is connected to the base plate using the base connector. To do this, the main axis base is now first connected to the Base Connector.

    For this you need the shown parts.

    • The prepared main axis mount
    • The 3D printed basic connector
    • Two 14,5cm long pieces of the 10x10mm aluminium profile
    • Six M3x50 countersunk screws
    • Six M3x20 countersunk screws
    • Twelve M3 nuts

    Insert the first of the two aluminum profiles as shown…

    ….up to the stop into the main axis holder.

    Now drill with a 3mm drill bit -through the hole provided for the screw- into the aluminum profile.

    Important: Make sure that you only drill through one side of the aluminum profile. More about this in the following pictures.

    Repeat the same for the other screw hole.

    If you now pull out the aluminium profile again it should look something like this.

    As can be seen here, the aluminum profile should only be drilled through on one side.

    To fasten the aluminium profile in the main axis holder you now need two M3x20 countersunk screws and two M3 nuts.

    Now place the first of the two M3 nuts into the recess on the inside of the guideway for the aluminum profile as shown.

    Close view of the inserted M3 nut.

    Now screw the M3x20 countersunk screw into the nut as shown.

    Additional view.

    Now repeat this for the other screw position.

    The two screws should now hang in the guideway for the aluminum profile as shown.

    Close-up view.

    Now retract the screw including the nut so that the nut disappears completely into the matching recess. Now you can insert the aluminium profile and as soon as the holes in the aluminium profile are congruent with the screws, you can screw the screws into the holes of the aluminium profile.

    Now screw the screws further into the aluminium profile until the aluminium profile is clamped by the screws in the holder.

    Additional view.

    Repeat this for the other aluminum profile.

    Both aluminum profiles should now be firmly clamped…

    … iin the main axis holder.

    Now insert the two aluminum profiles into the 3D printed base connector as shown.

    Additional view.

    Push the basic connector to the main axis bracket until it stops.

    Top view.

    Side view.

    Now drill through the screw hole in the aluminum profile as done before.

    Important: Make sure that you only drill through one side of the aluminum profile. More about this in the following pictures.

    Repeats the same for the other side.

    Now insert again on both sides..

    …each a M3x20 countersunk screw and screw it with a M3 nut.

    View of the basic connector including inserted screws.

    Now pull the screw back again including the nut, so that the nut disappears completely in the matching recess. Now you can slide the base connector back onto the two aluminium profiles of the main axis bracket.

    View of the attached basic connector and the main axis bracket.

    The screws you have just prepared will be tightened in a later step.

    For additional mounting you now need six of the M3x50 countersunk screws and six M3 nuts.

    Push the first of the M3x50 countersunk screws through the base connector into the main axis mount.

    In the main axis bracket you need to insert a M3 nut into the shown recess.

    This should sit in such a way that it can be screwed together with the previously inserted M3x50 countersunk screw.

    Repeat this with another screw in the directly adjacent screw hole.

    Secure this screw again with a M3 nut.

    Both screws should now be secured with one M3 nut each.

    Now repeat this with the other two screws on the other side of the main axis bracket.

    Additional view.

    View of the two countersunk screws on the left side.

    View of the two countersunk screws on the right side.

    You can now use the two remaining M3x50 countersunk screws to connect the base connector in the same way on the bottom side.

    To do this, push the screw through the base connector into the main axis holder as shown in the picture…

    …and screw it back on with a M3 nut (which is located on the bottom of the main axle mount)…

    …into the designated assembly stations.

    This should look something like this.

    Repeat this for the opposite side as well.

    Now use the previously prepared screws to screw the aluminium profiles into the base connector.

    Connect the main axis holder to the base plate

    The next step entails connecting the prepared main axis mount (including the base connector) to the base plate.

    For this you need:

    • of course the prepared main axis mount
    • the 3D printed base plate
    • four M3x50 countersunk screws
    • four M3x20 countersunk screws
    • eight M3 nuts

    Now first position two M3 nuts in the recesses in the base plate as shown.

    Close-up of the inserted M3 nuts in the base plate.

    Now position the main axis bracket in front of the base connector as shown and plug…

    …the two parts together as shown.

    Now you can screw the base connector to the base plate using the first M3x20 countersunk screw.

    Insert the M3x20 screw through the shown screw hole and …

    … screws it on the bottom side with a M3 nut.

    Repeat this now with the remaining M3x20 countersunk screws.

    Screw this also with M3 nuts to the bottom of the base plate.

    Now you need the remaining M3x50 countersunk screws.

    Insert this too through the – still empty – screw holes in the base connector into the base plate…

    …and screw it again with M3 nuts on the bottom of the base plate.

    Prepare connection with the pivot bearing

    In the last step the base plate is prepared for the final connection with the pivot bearing.

    For this you need:

    • the prepared main axis mount including all attached components
    • four M3x25 countersunk screws
    • five M3 nuts
    • the 3D printed connecting plate

    Now prepare the connecting plate by inserting three M3 nuts into the base plate as shown.

    Close-up of the inserted M3 nuts in the connecting plate.

    Now it gets a little bit complicated. The connecting plate must now be placed on the base plate in such a way that the M3 nuts previously inserted are locked between the connecting plate and the base plate.

    These are needed later to connect the upper support of the turret with the connecting plate.

    Thanks to the M3x50 screws from the connection between the base connector and the base plate, the connecting plate is now already in the correct position.

    Make sure the connecting plate rests on the base plate as shown.

    Now you can screw the first two M3x25 countersunk screws through the connecting plate with the M3 nuts previously inserted in the base plate.

    On the opposite side repeat this with the other two M3x25 countersunk screws.

    This should look like this when viewed from below.

    To do this, the last two M3x25 screws must be screwed back on the upper side of the base plate using an M3 nut each.

    If all went well your main axis mount should now look like this.

    Another view of the assembled main axis mount.

    Another view of the assembled main axis mount.

View all 8 instructions

Enjoy this project?

Share

Discussions

Bram Peirs @ FW2W wrote 09/28/2020 at 13:22 point

Is the alternator's power matched to that of the propeller? If so, how? Did you do your own calculations or is it based on an existing design?

For now, the generator seems way to small and will need a way to high RPM to achieve reasonable output. On your Instagram page I see that it delivers 2,5A*23V= 57.5W at 1200RPM. Your windturbine will do mostly 200-300rpm, so consequently the output won't be more than 14,4W at 5.75V whereas similar windturbines of that size will be producing 75W-100W. Because the propeller is barely loaded it will reach a dangerously high RPM leading the windturbine to self-destruct. Luckily you have brakes installed.

Props for all the effort you put into it though, it would be a good object to show kids or students how things like that work! :)

  Are you sure? yes | no

Bram Peirs @ FW2W wrote 10/03/2020 at 09:25 point

Maybe take a look at Hugh Piggot's windturbines, you'll see that their alternators are way bigger for the same size of blades. They use neo magnets of 46 x 30 x 10mm for example. That's 5 times the volume of your magnets if I'm not mistaking ;)

  Are you sure? yes | no

Fabian wrote 10/05/2020 at 14:06 point
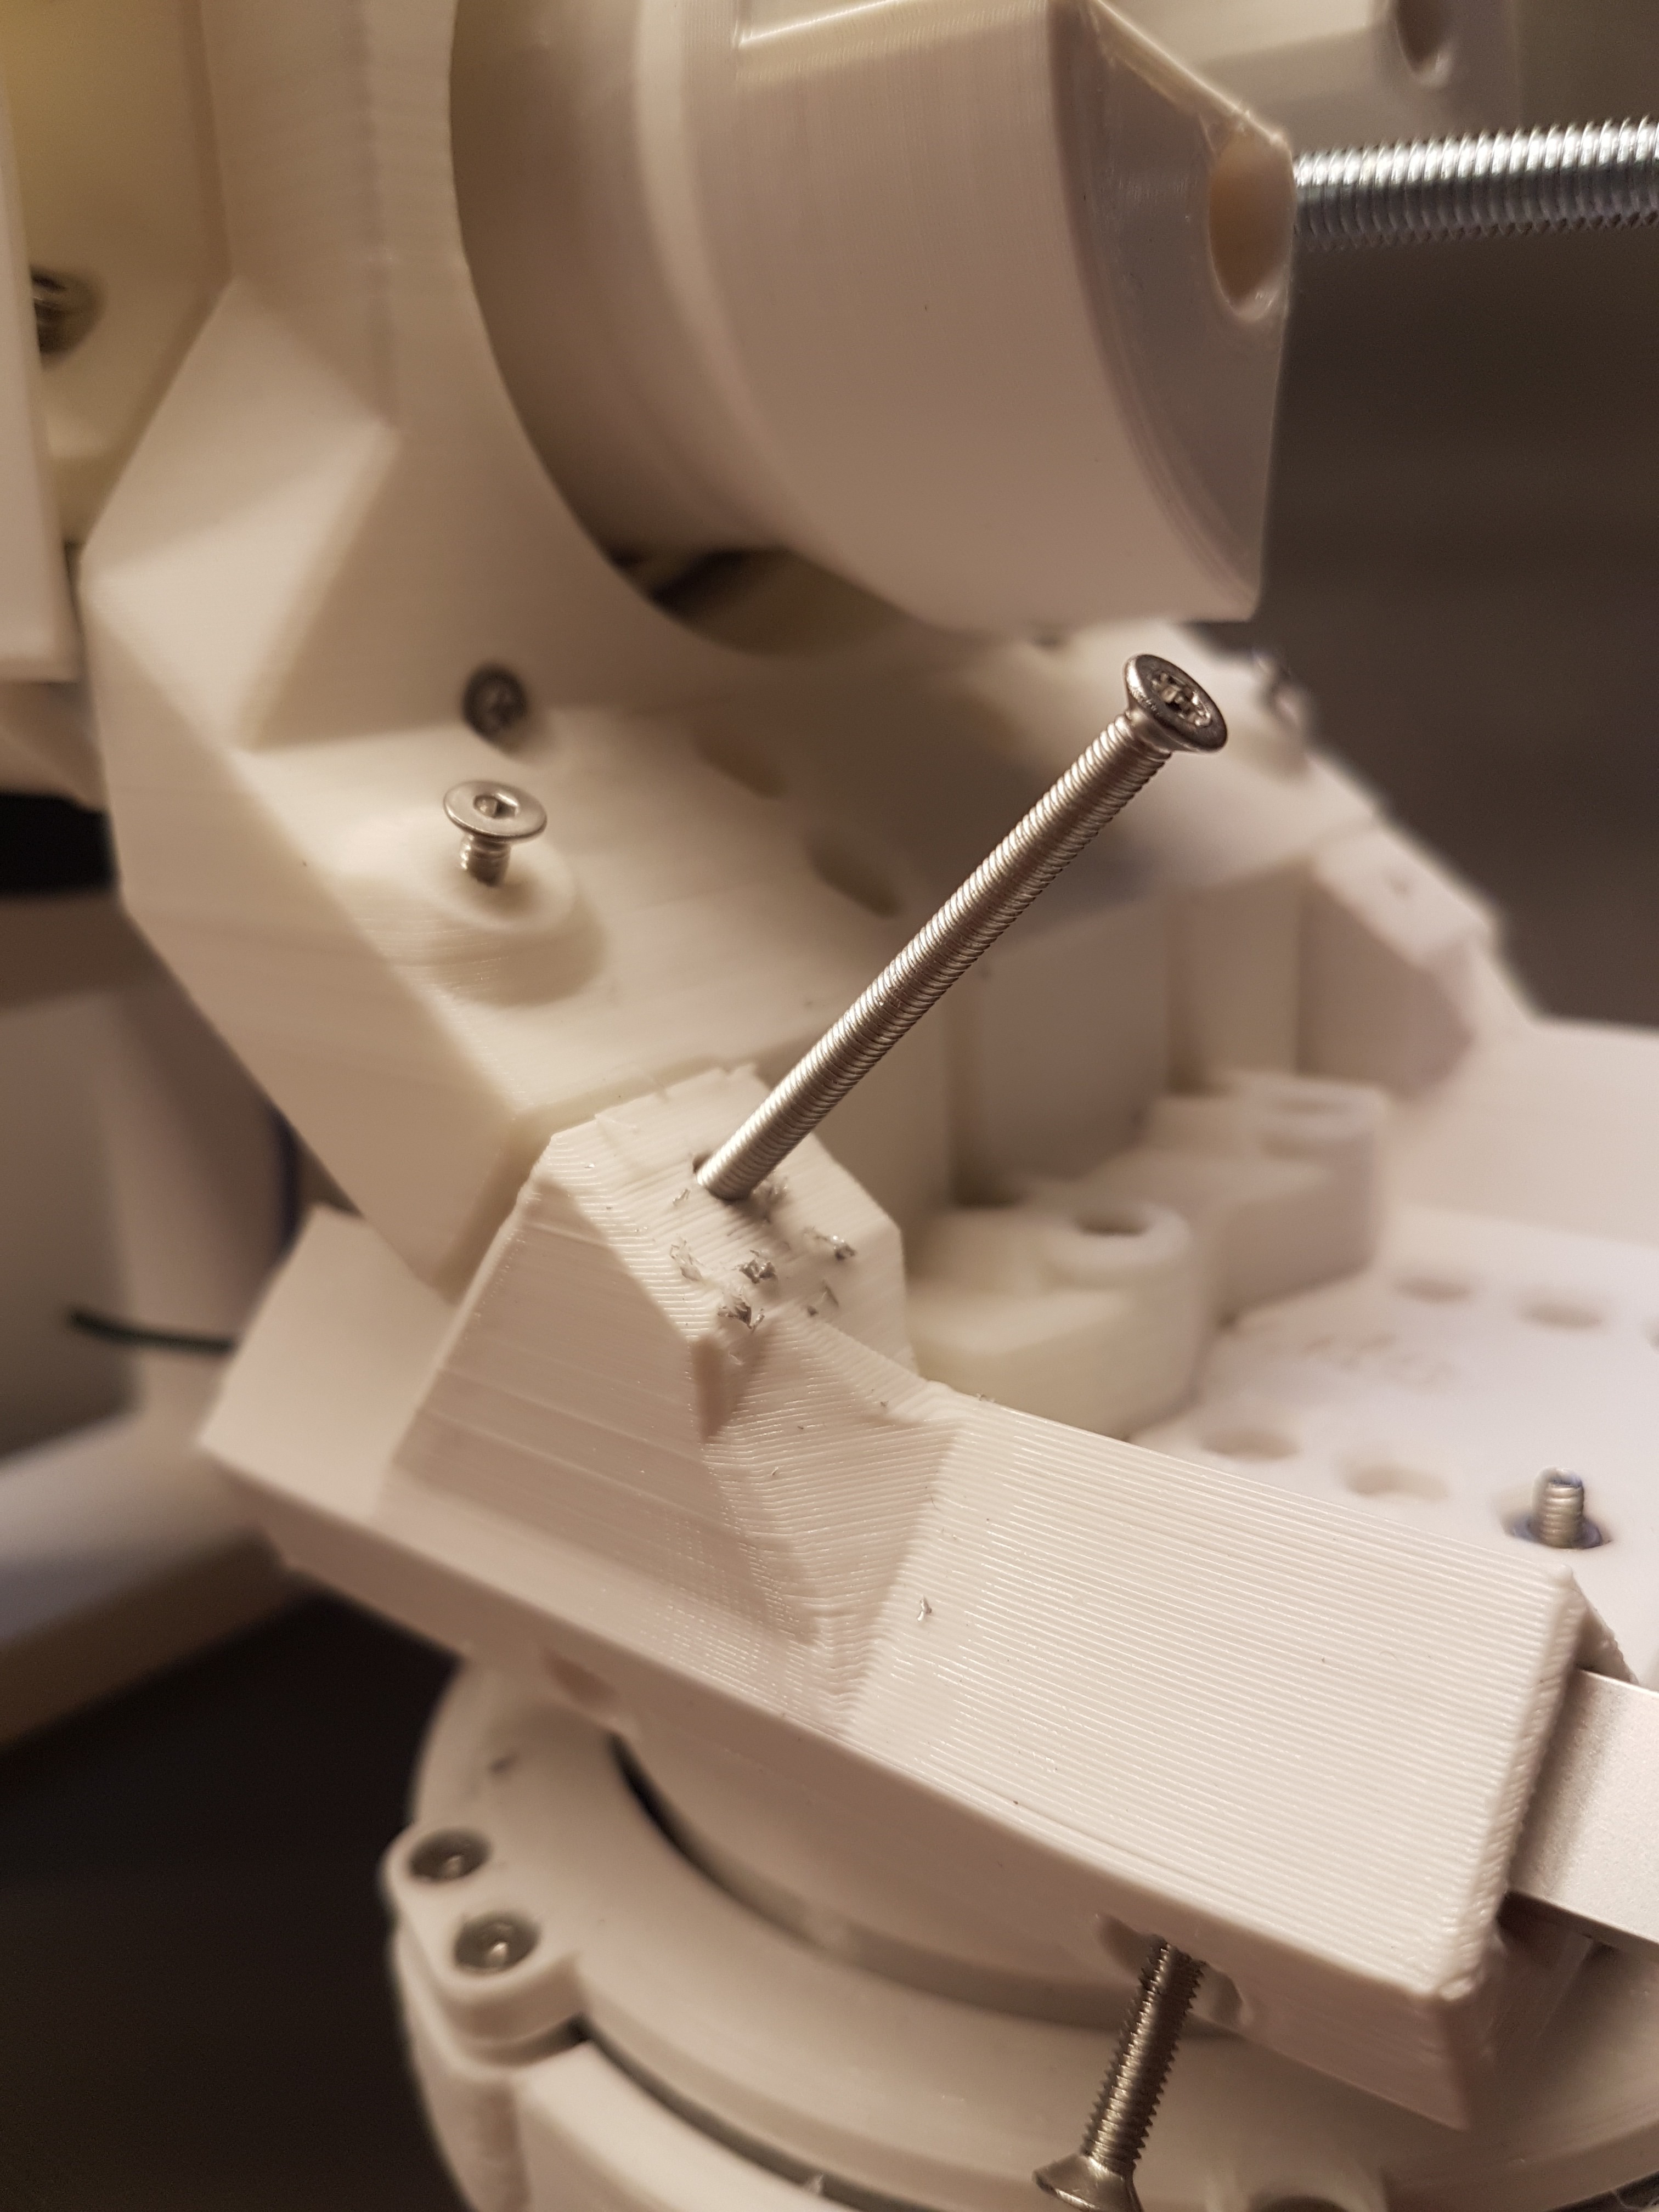
Hey guys,

Yes it is tested and working. And yes the generator needs improvement, thats how i communicated it also in my application video. :)
Please see it here for additional infos: https://www.youtube.com/watch?v=Erd5nXrznuY
Also thats the reason why i seperated the construction of the generator from the windturbine. :) 
I'm not the type of guy who likes to argue about that and since we both have different approaches but the same goal of a world that makes more use of renewable energy I wish you truly all the best regarding your windturbine and the competition here on hackaday. :)
Best regards
Fab

  Are you sure? yes | no

Bram Peirs @ FW2W wrote 10/05/2020 at 14:09 point

Good luck to you too, I'm sure we can learn from eachother :)

  Are you sure? yes | no

Fabian wrote 10/05/2020 at 14:08 point
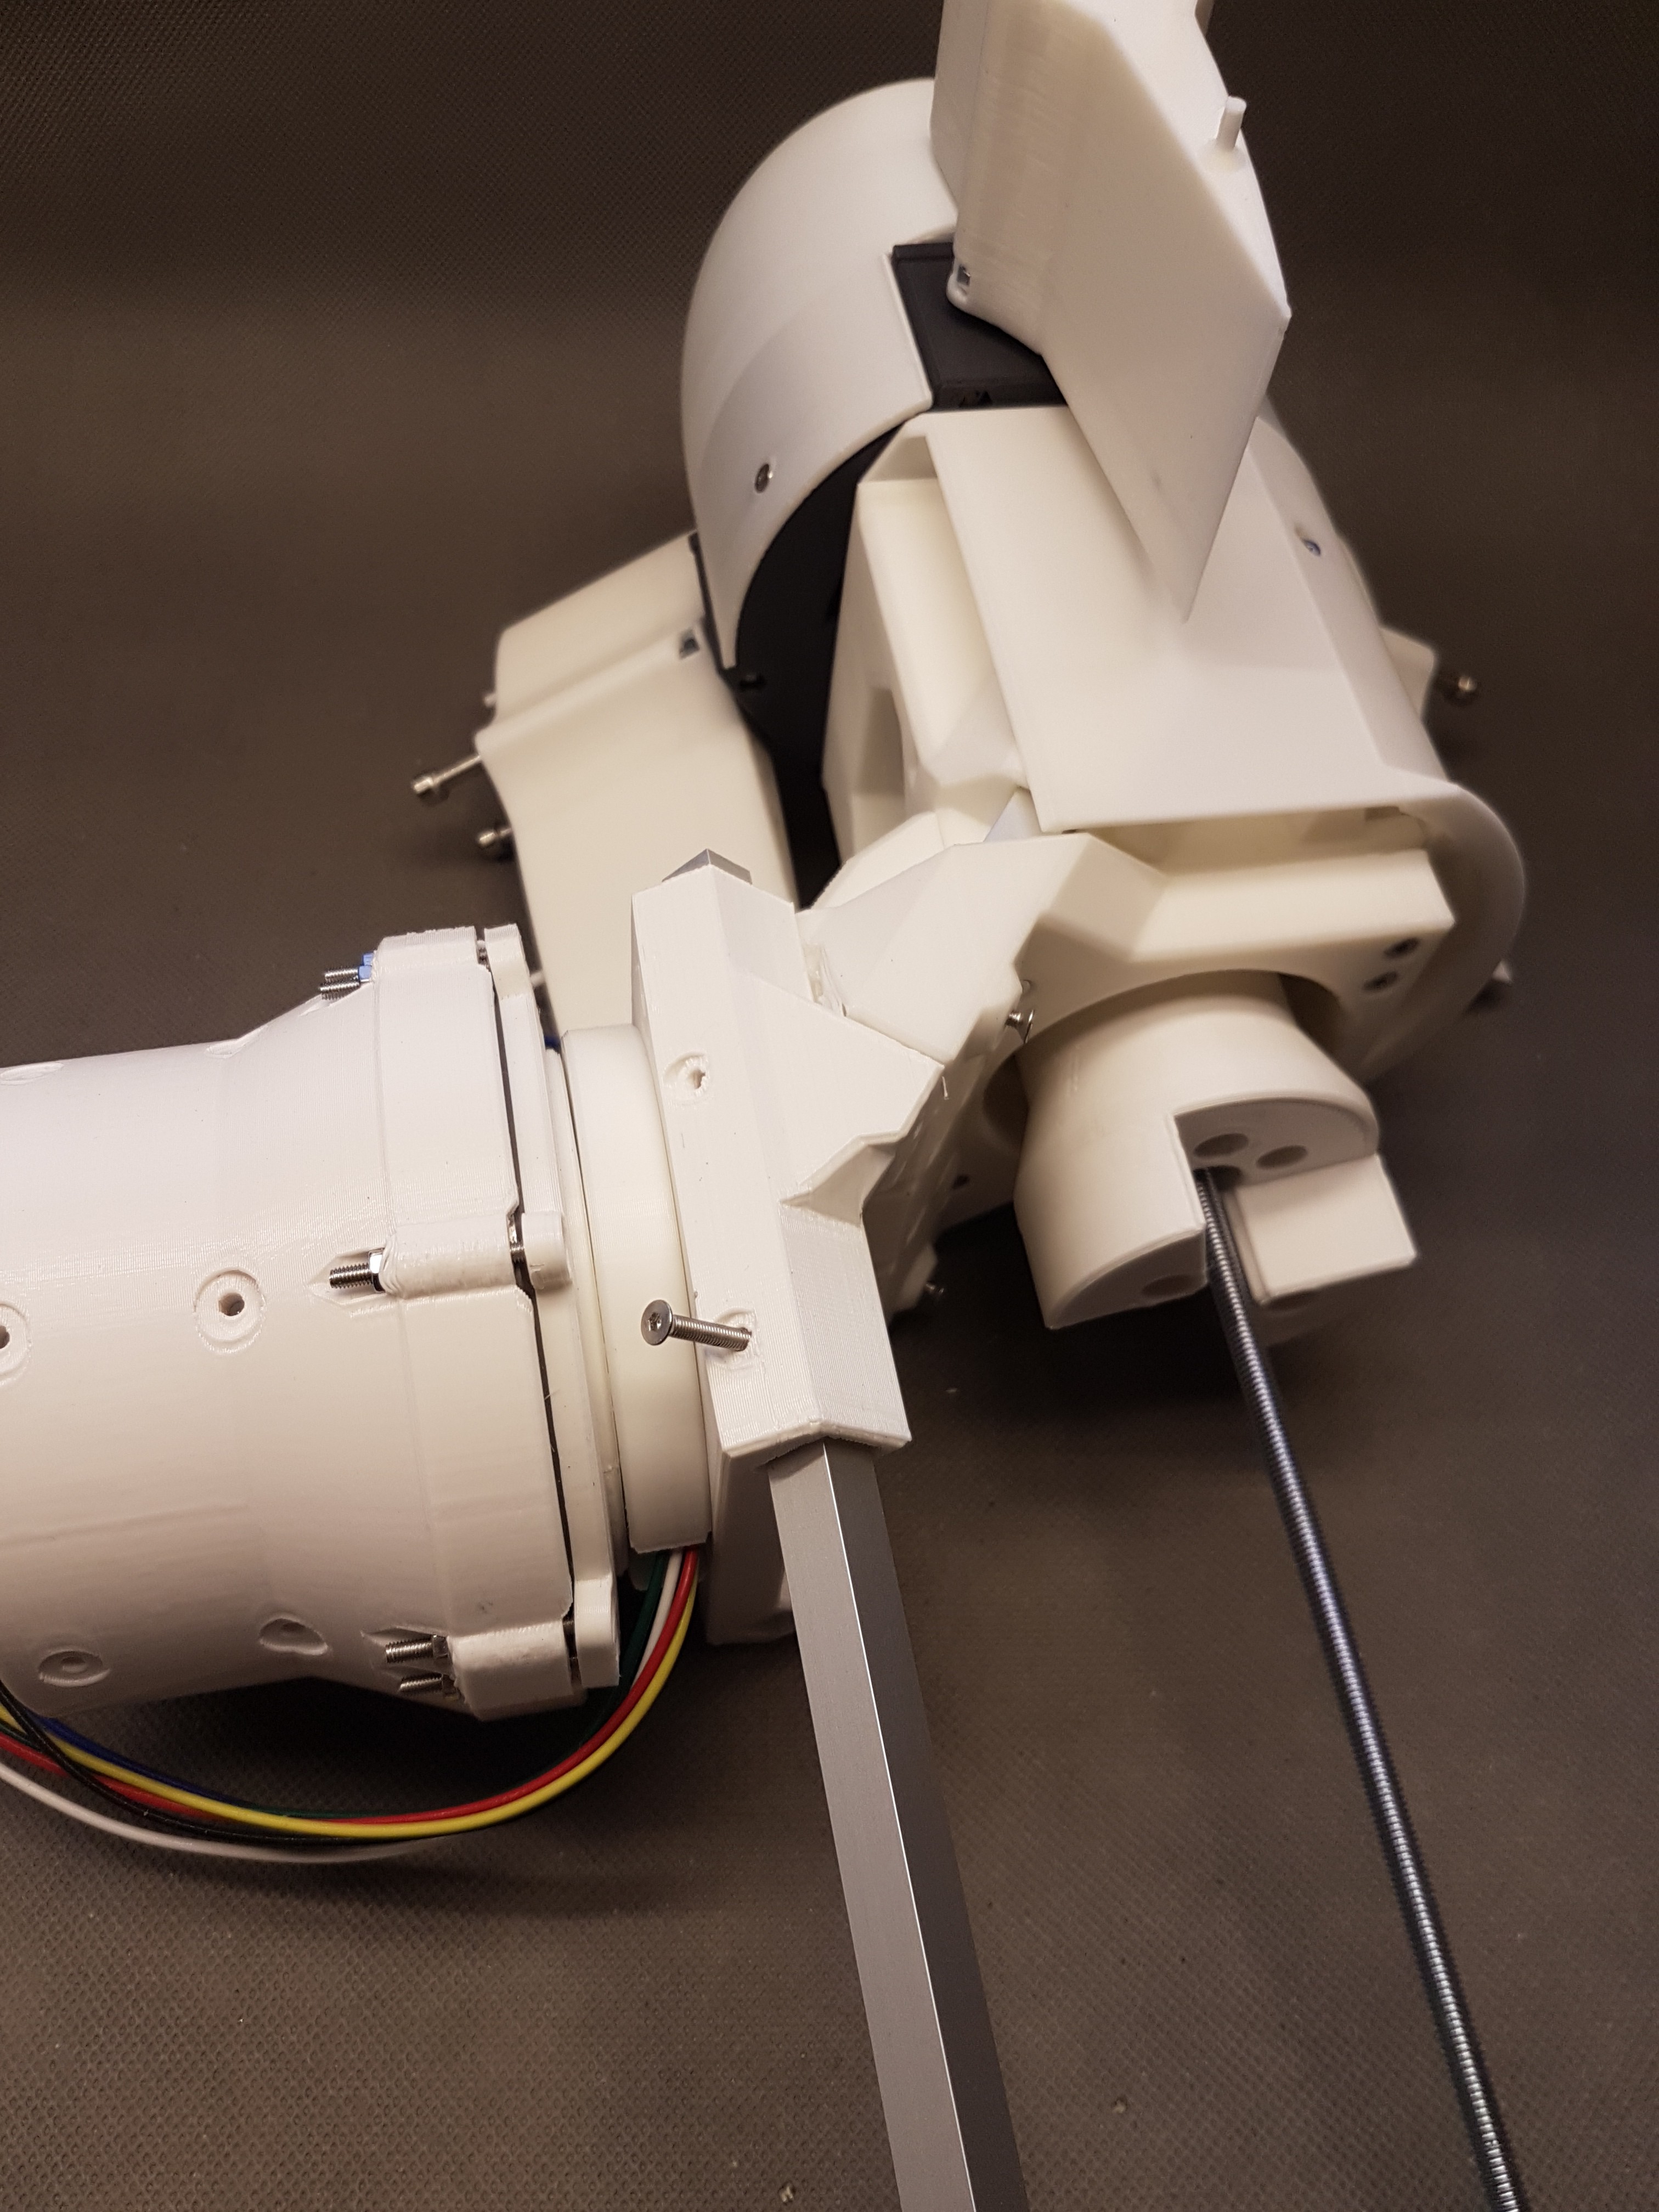
Hey :)
please see my posts about it in the article of the nerdiskerator. The design of the generator is mainly based on the magnets i had at hand. These are not optimal, thats right. Thaths why I will design an other generator. :)

  Are you sure? yes | no

Josh Starnes wrote 09/19/2020 at 14:33 point

Hey guy , love your project! I saw you were looking for a solid way to test loads. You can use resistors 50 watt ones and just attach them to a bar of aluminum for the heatsink. Put alligator clips on the wires for each resistor and you can customize the load. Start low, then add say 25 watts at a time and monitor your systems performance and heat. https://hackaday.io/project/173201-sky-anchor-5g-drone-long-range-5g-24g-wifi/log/183754-join-the-resistance-diy-load-tester-24-50w-6-ohm-resistors

  Are you sure? yes | no

Fabian wrote 09/20/2020 at 08:53 point
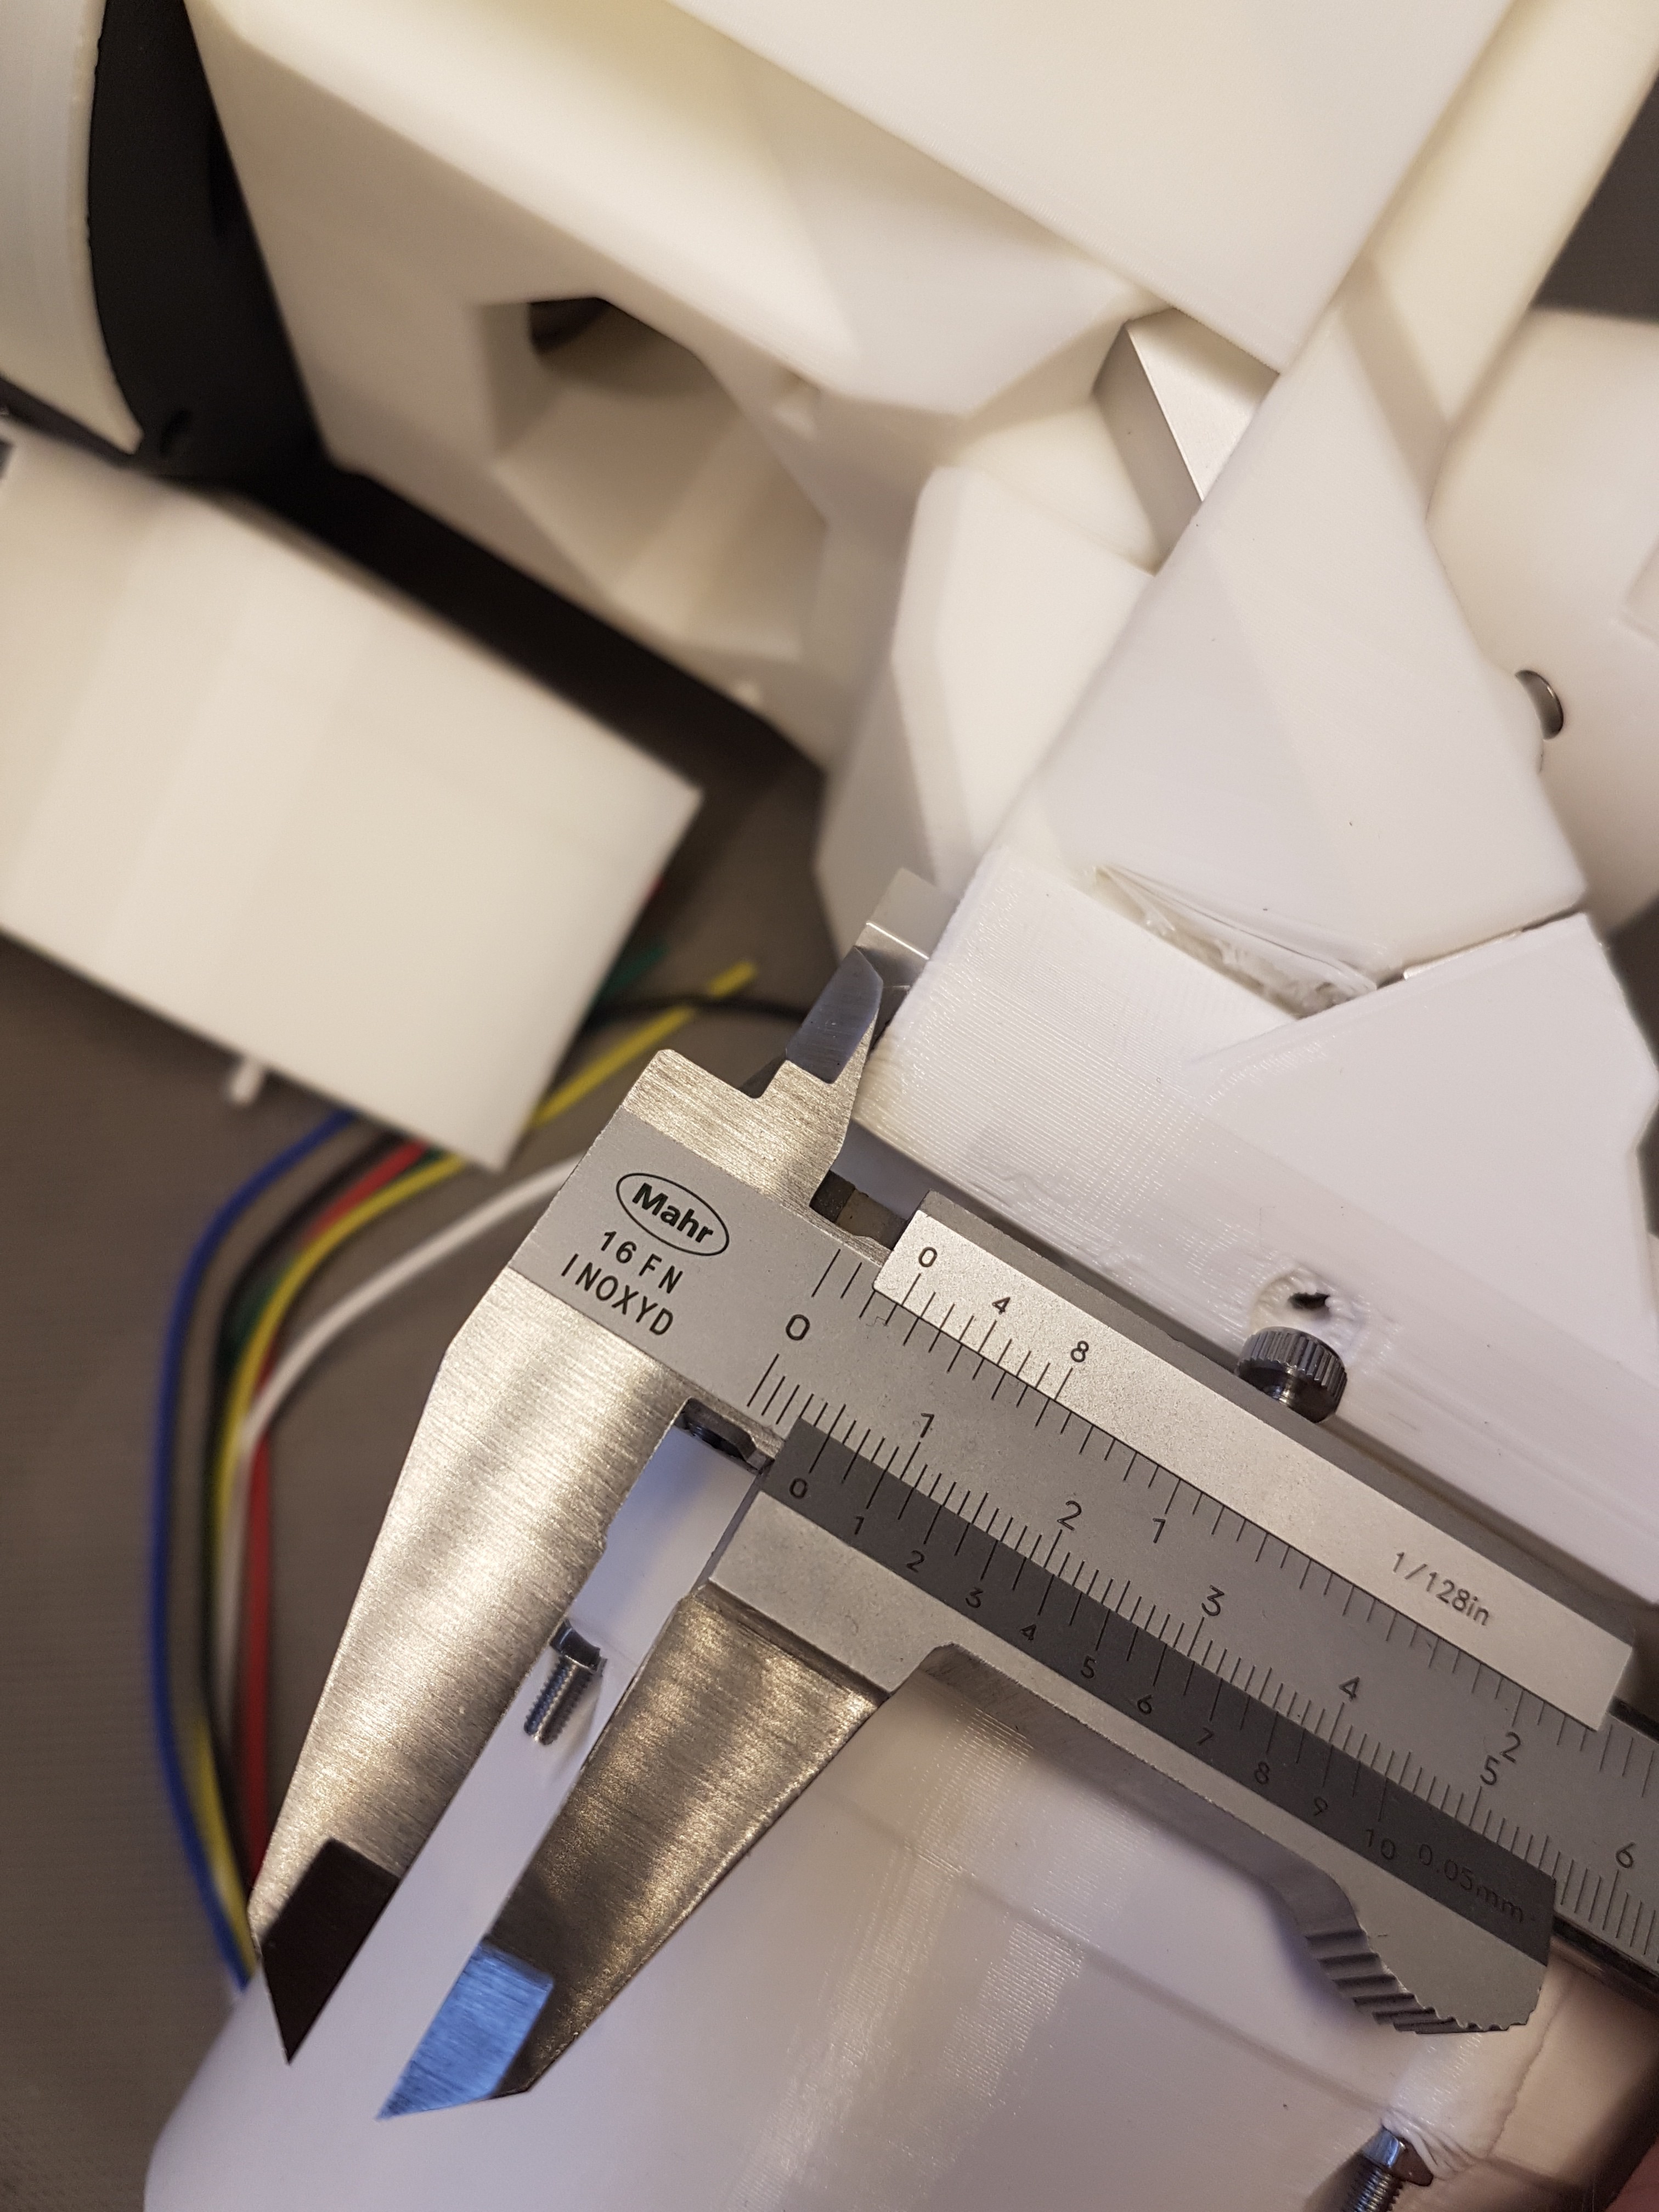
Hey josh,
thanks for the hint. :) I'm planning something similar. Using one really low resistor (0.1ohm) and then regulate the load with a pwm. :) You can also find more infos here: https://hackaday.io/project/172328/log/179496-more-words-about-safety-electronic-load-as-brake

  Are you sure? yes | no

Martin Lorenzo wrote 08/13/2020 at 12:22 point

Such an awesome project, congratulations! How much electricity do you plan to produce with one turbine, I wonder? It would be so cool if everyone could build their own wind turbines and use it in their houses in the future. I will try to build it for my garden in my real estate in Budva https://tranio.com/montenegro/budva/ as soon as possible!

  Are you sure? yes | no

Fabian wrote 08/14/2020 at 20:05 point

Thanks a lot :) Yeah that would be really awesome and this is also one of my goals: To build a wind turbine that can be self made and easily repaired. :)
The power output is not yet clear. I'm still working on the test stand for the disk generator that I plan to use. You can read details about that here: https://hackaday.io/project/172445/log/180251-test-stand-gets-pwm-speed-controler-update

  Are you sure? yes | no

Bram Peirs @ FW2W wrote 09/23/2020 at 11:02 point

Hi Martin, you might also check out our windturbines: https://hackaday.io/FromWasteToWind

  Are you sure? yes | no

Chadd Van Komen wrote 07/13/2020 at 13:58 point

Hello Fab,  This design is great, I love how far you have taken it. Do you have any test data on the generators output (for wind or with belt testing)?

  Are you sure? yes | no

Fabian wrote 07/15/2020 at 13:39 point
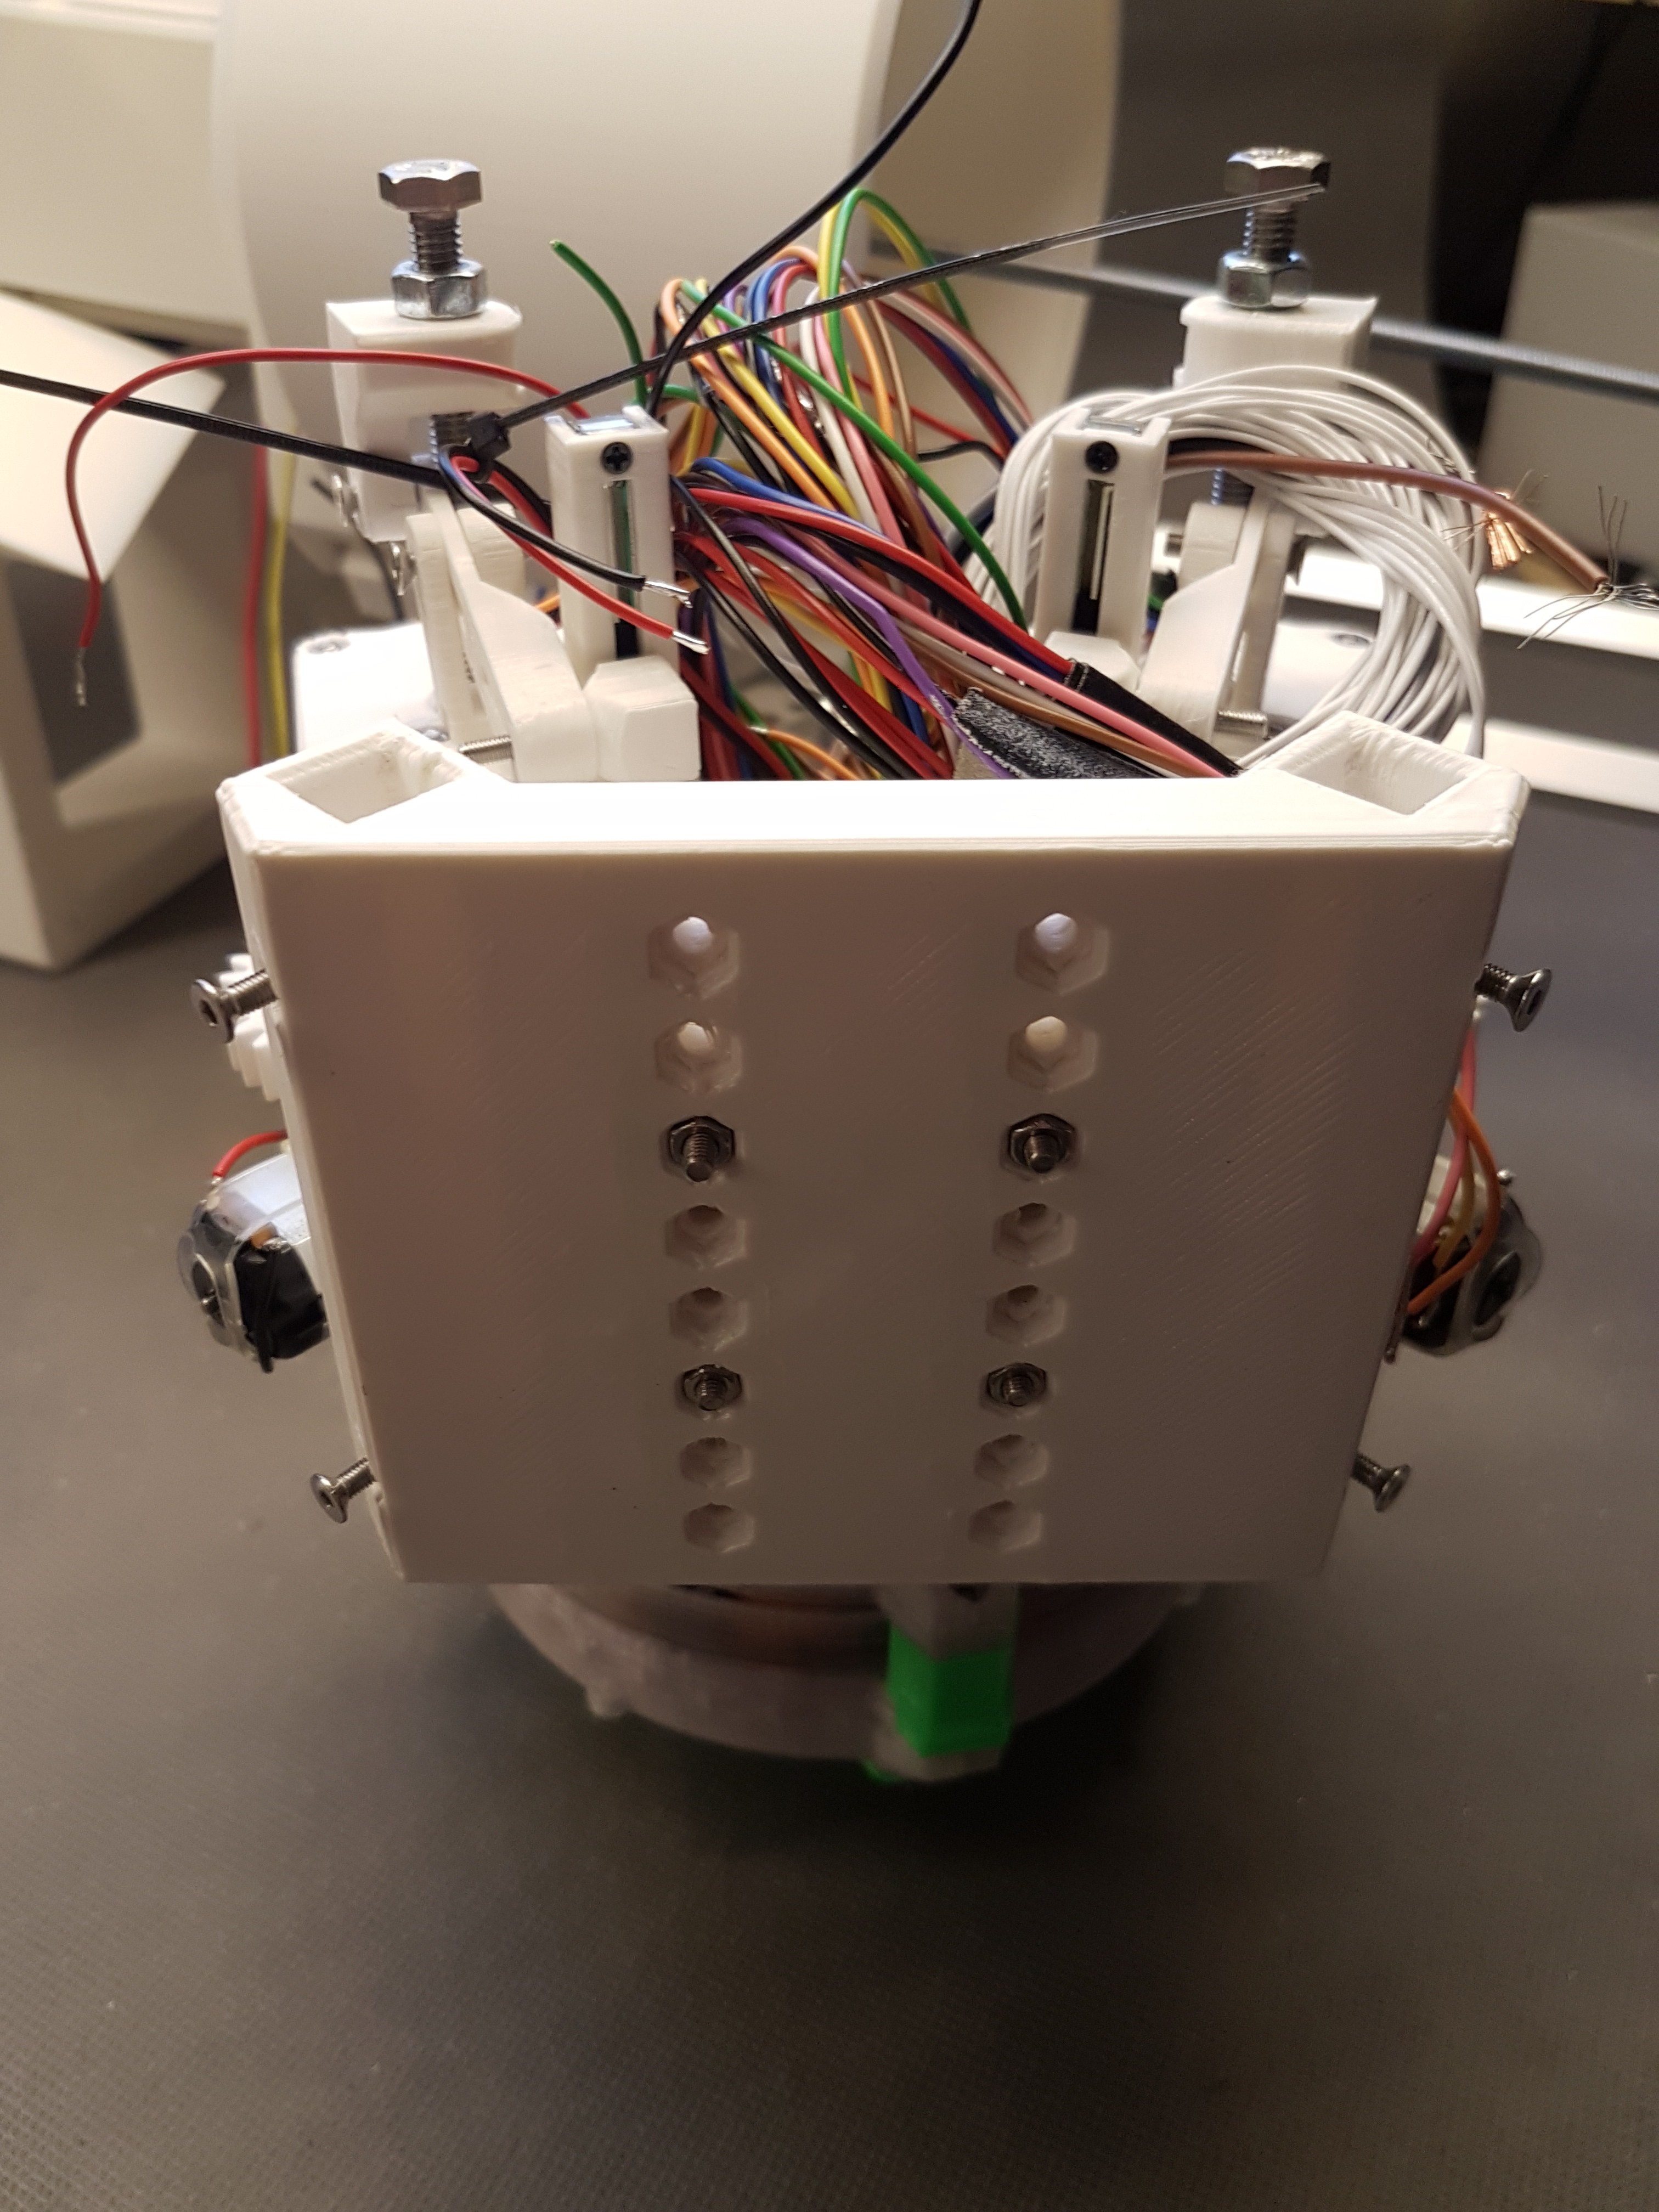
Hi Chadd, thanks :) The only tests i did with the generator were performed by driving it with the power drill. So with limited mechanical input power. But i finshed the second revision of my teststand recently (https://hackaday.io/project/172445/log/180251-test-stand-gets-pwm-speed-controler-update) but didnt had enough time recently to test the teststand. Hope to do it soon. Will let you know here. :)

  Are you sure? yes | no

Similar Projects

Does this project spark your interest?

Become a member to follow this project and never miss any updates