 Akshay Baweja
-
1PCB Fabrication
The first step in building the keychain component tester is getting the PCBs fabricated for it.
You can find the Gerber files for PCB manufacturing under files section or on project's GitHub repo.
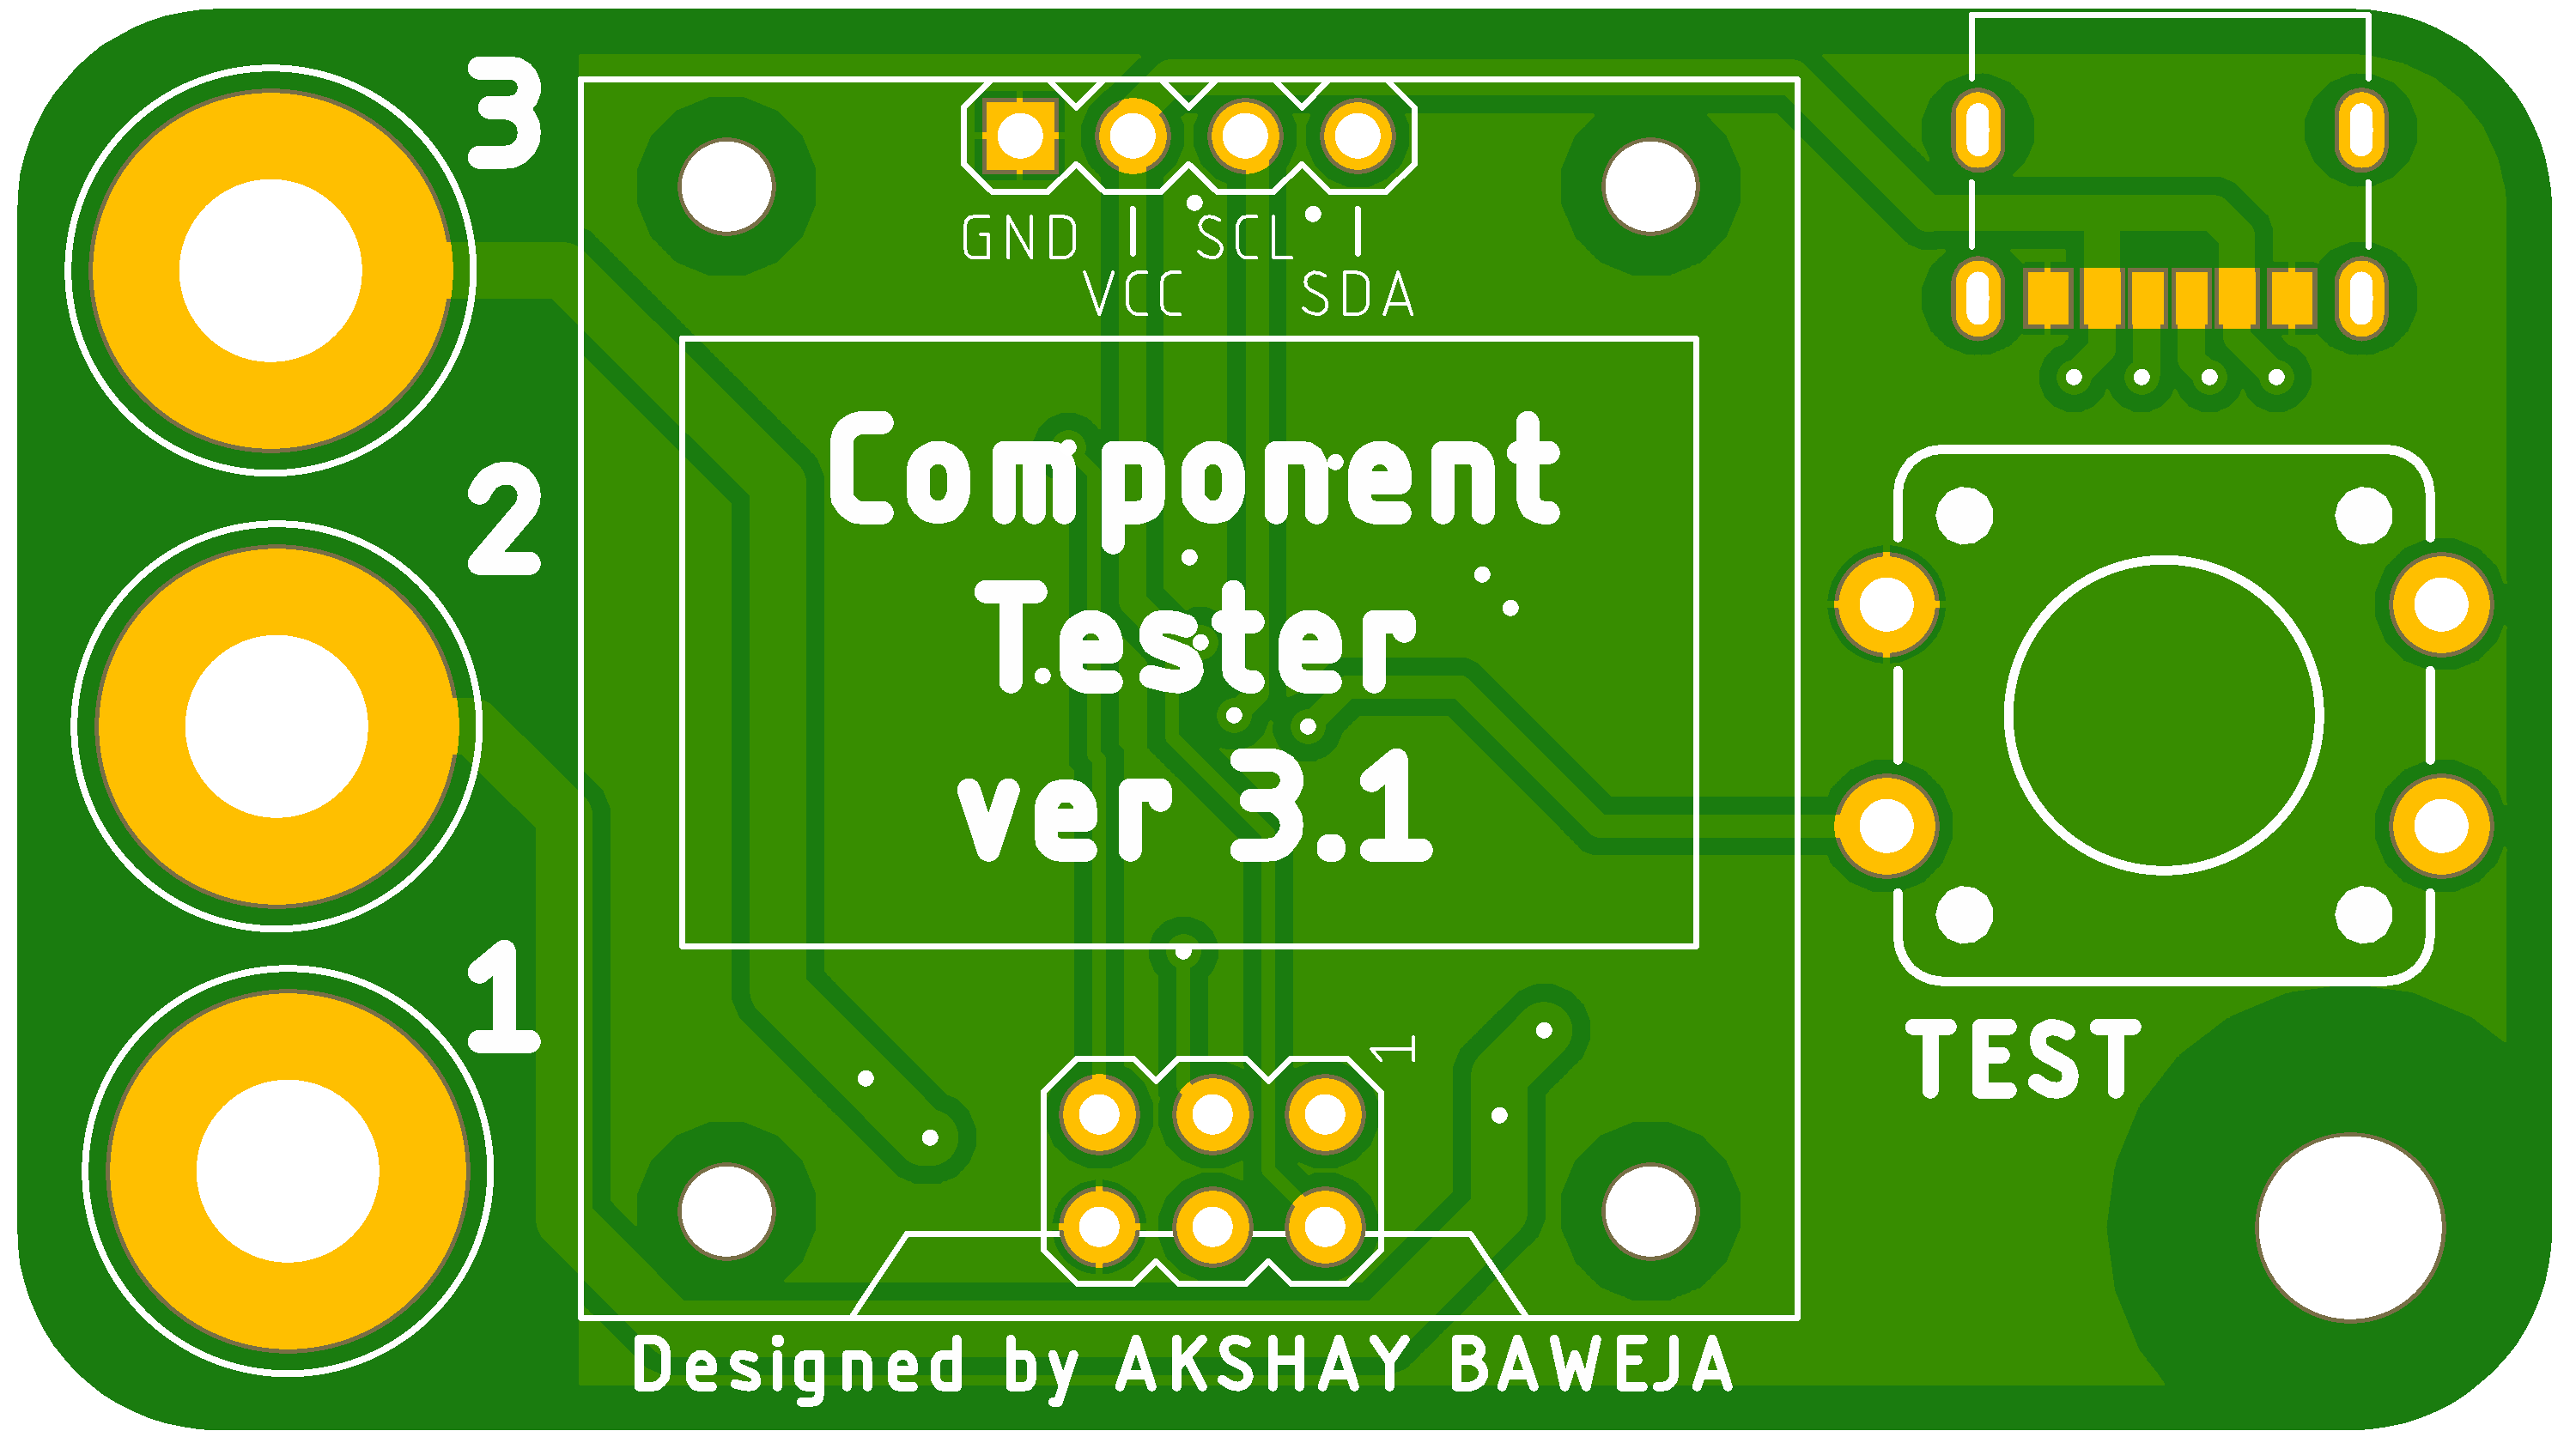
I used PCBWay's Prototyping Service for getting my boards fabricated. They offer great quality boards for a very low and affordable price. They also offer a variety of solder mask options to try. I got my boards manufactured with Matte Black solder mask which makes the PCBs look very premium.
 Alternatively, you can click the left image to order PCBs directly from PCBWAY. You can also add an SMD Stencil from them for just $10.
![]()
![]()
-
2Ordering and Soldering Components
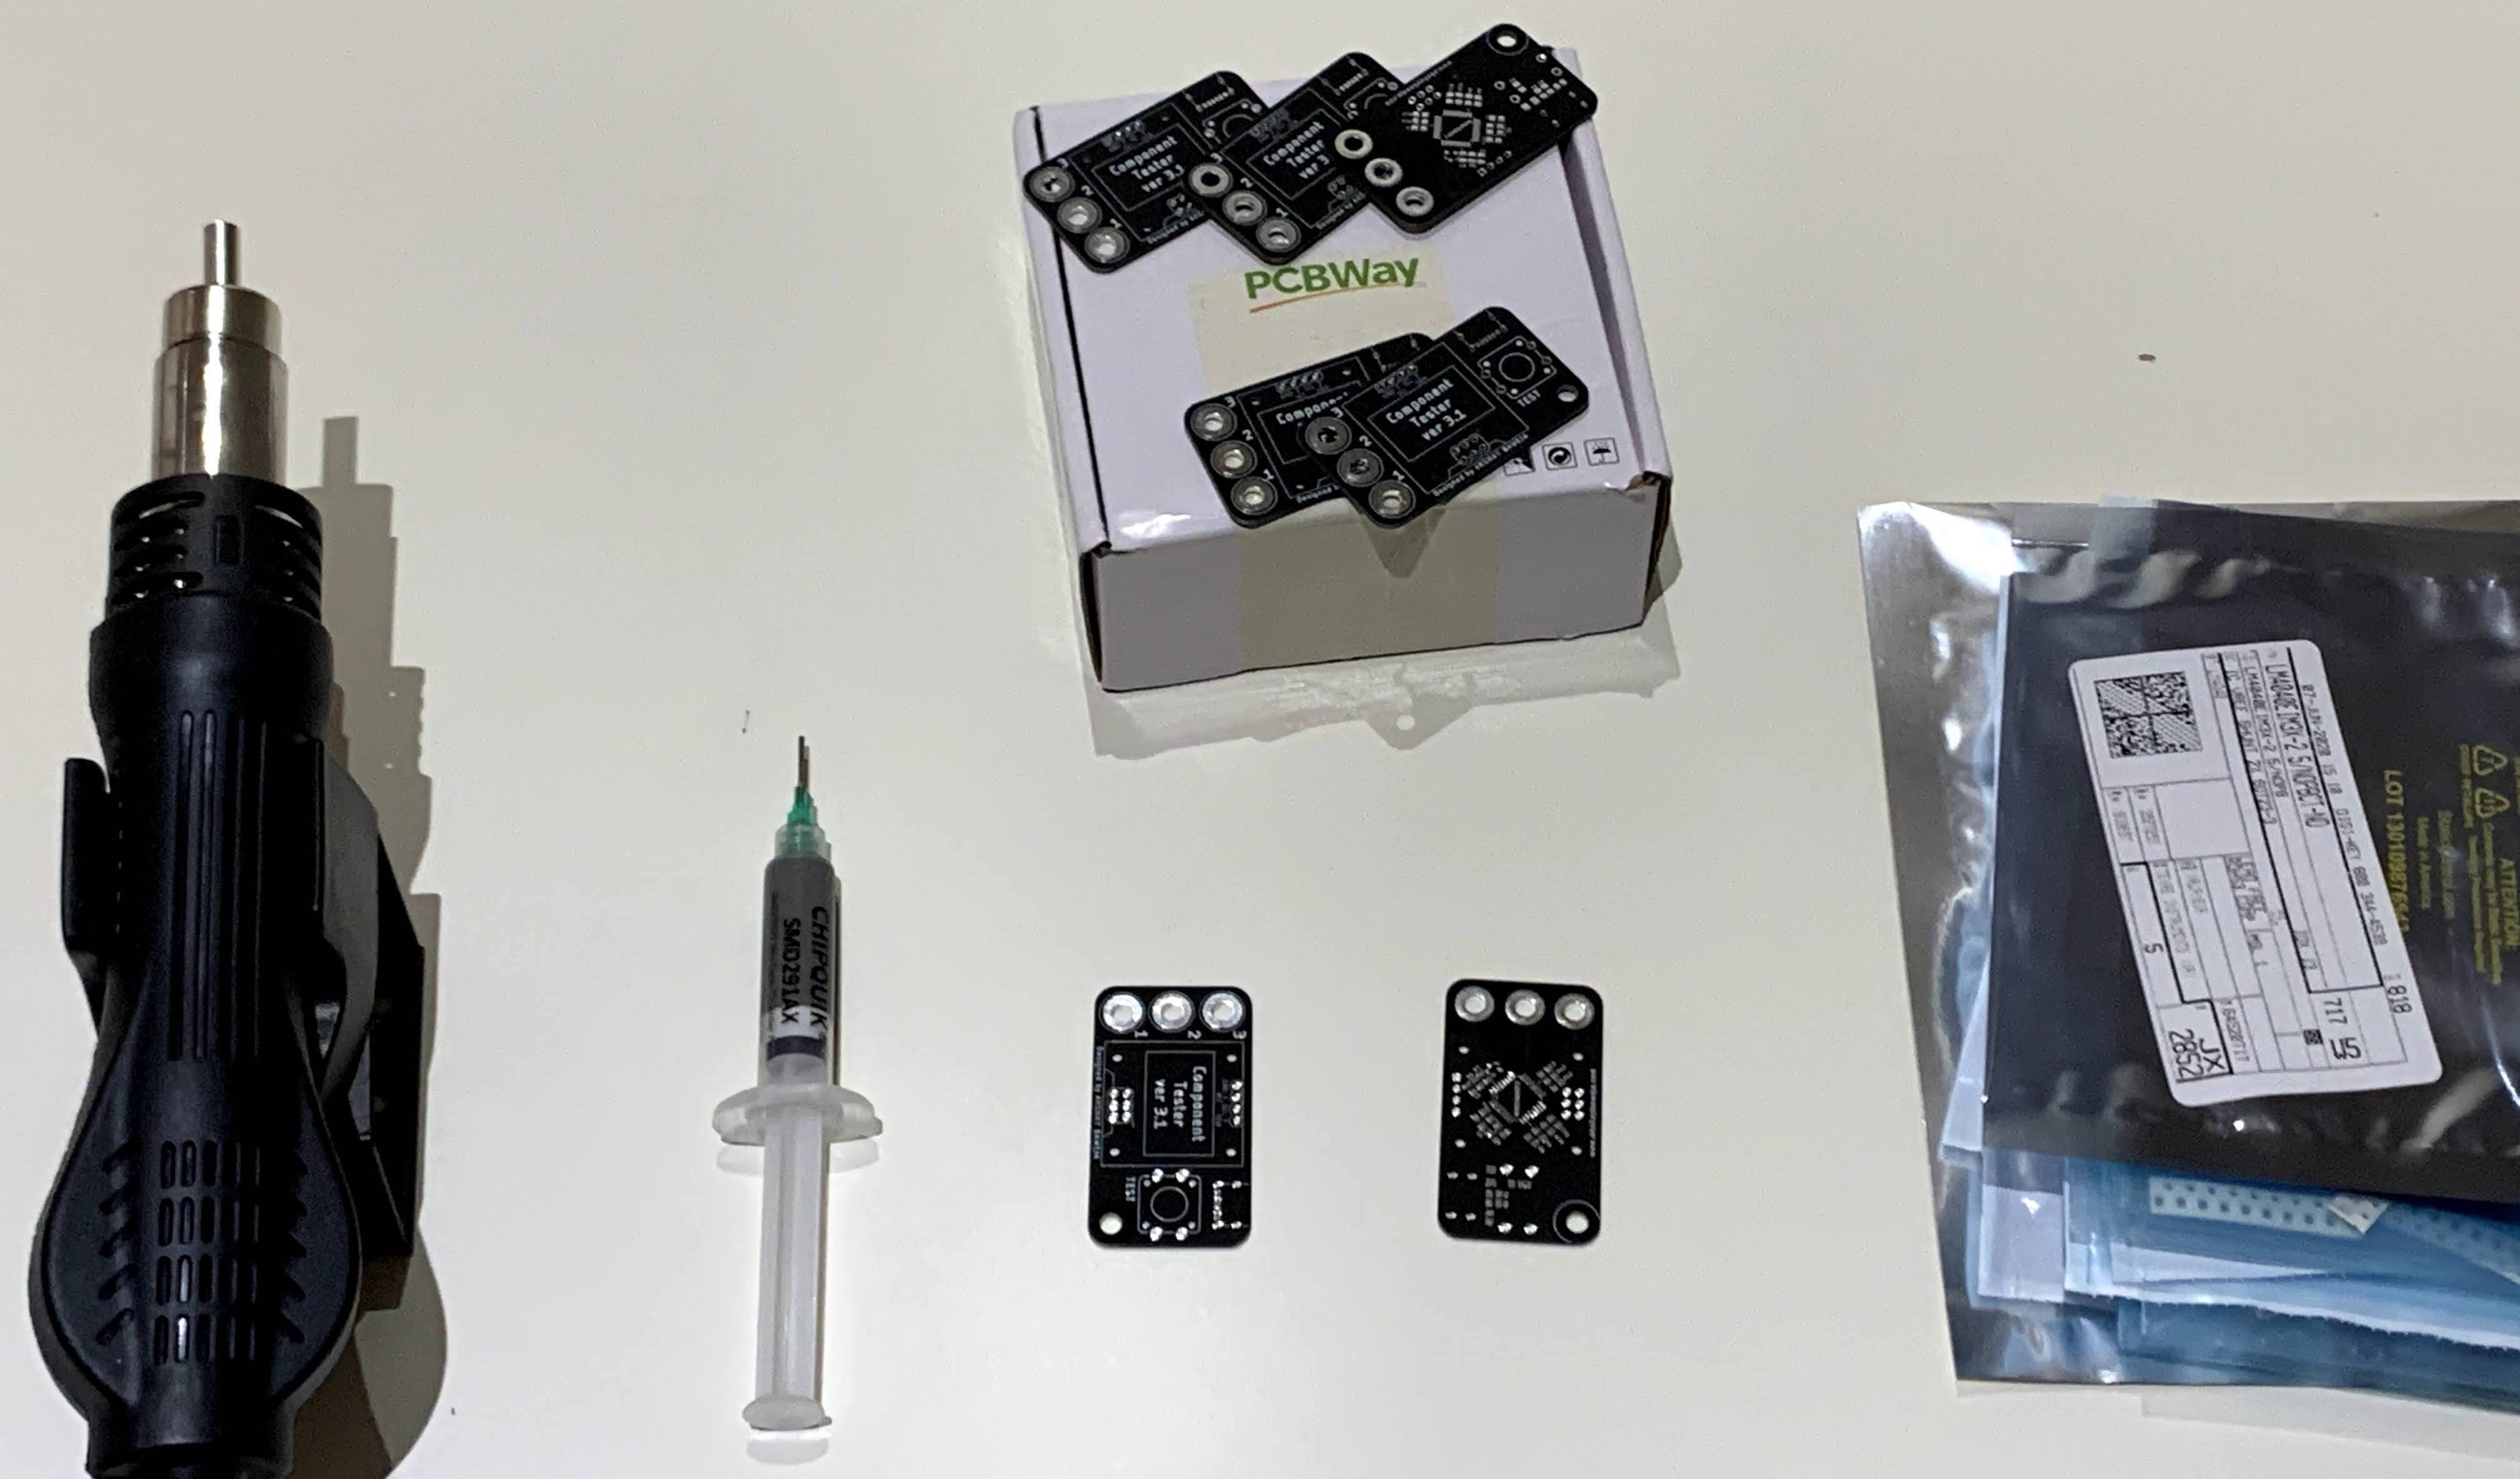
The list of components in the components tab provide a detailed information on components you need to order to get started with the assembly process. The components have a manufacturer's reference number so you can hunt the parts hassle free.
![]()
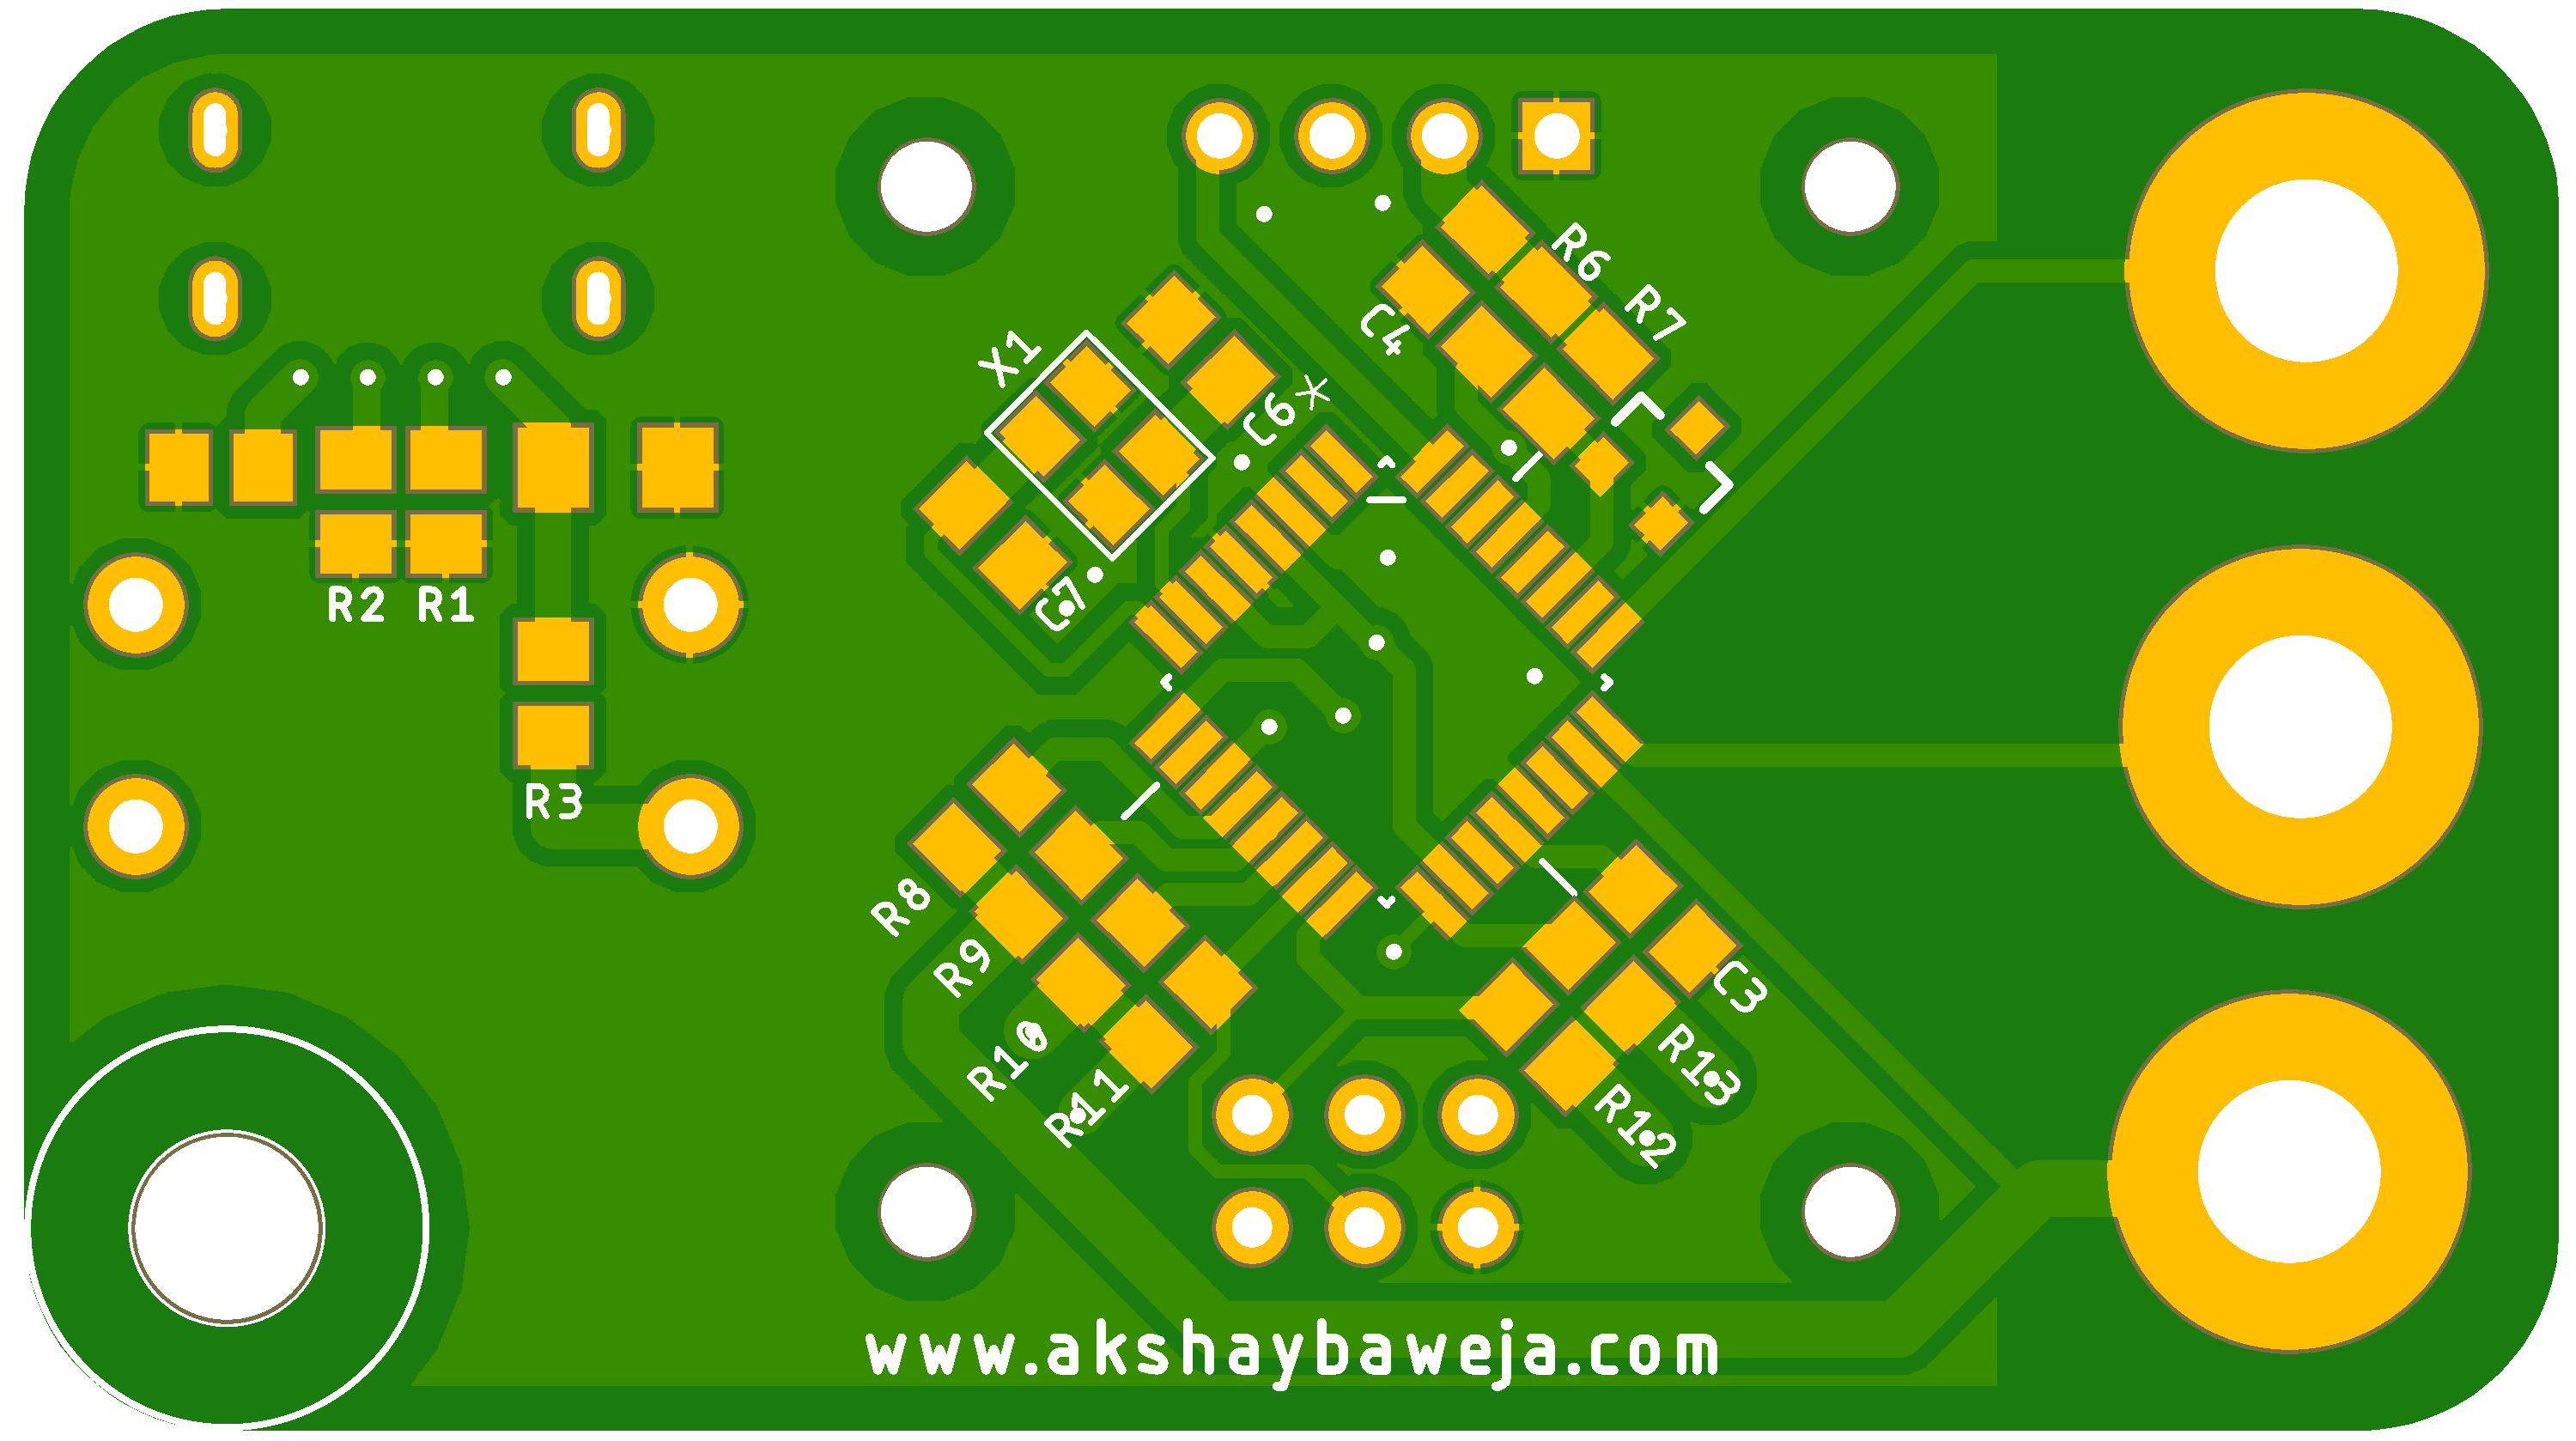
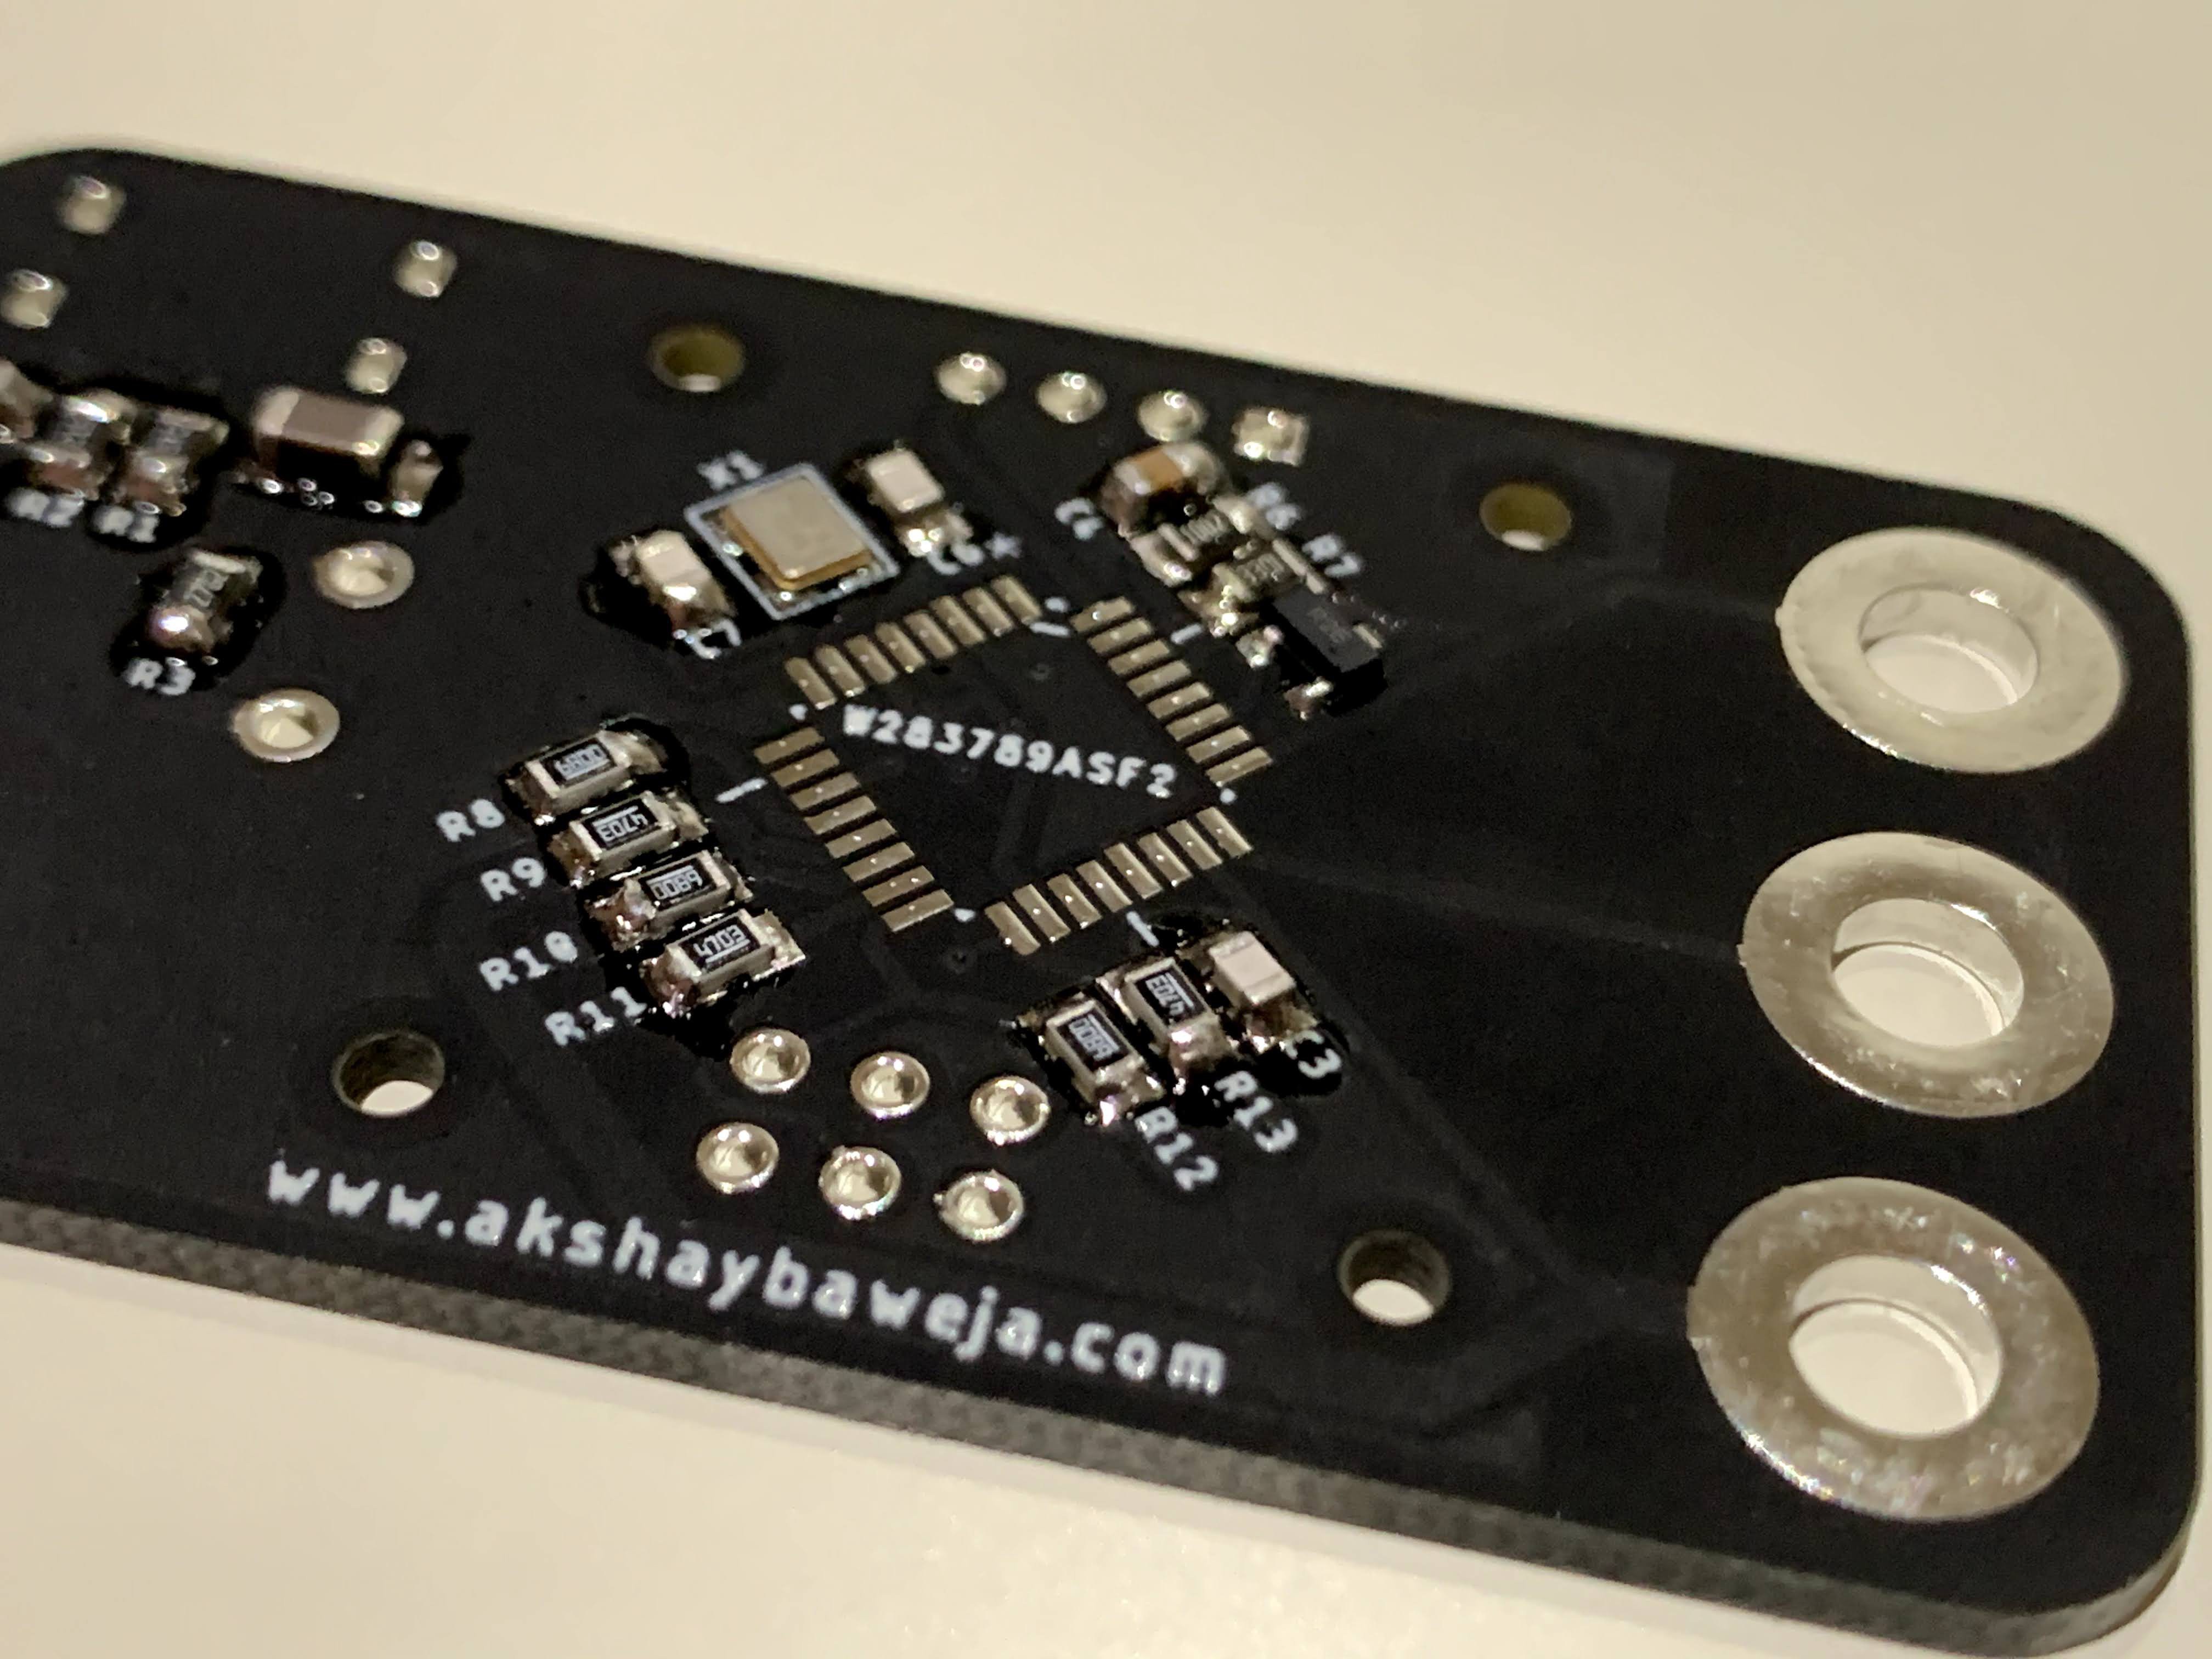
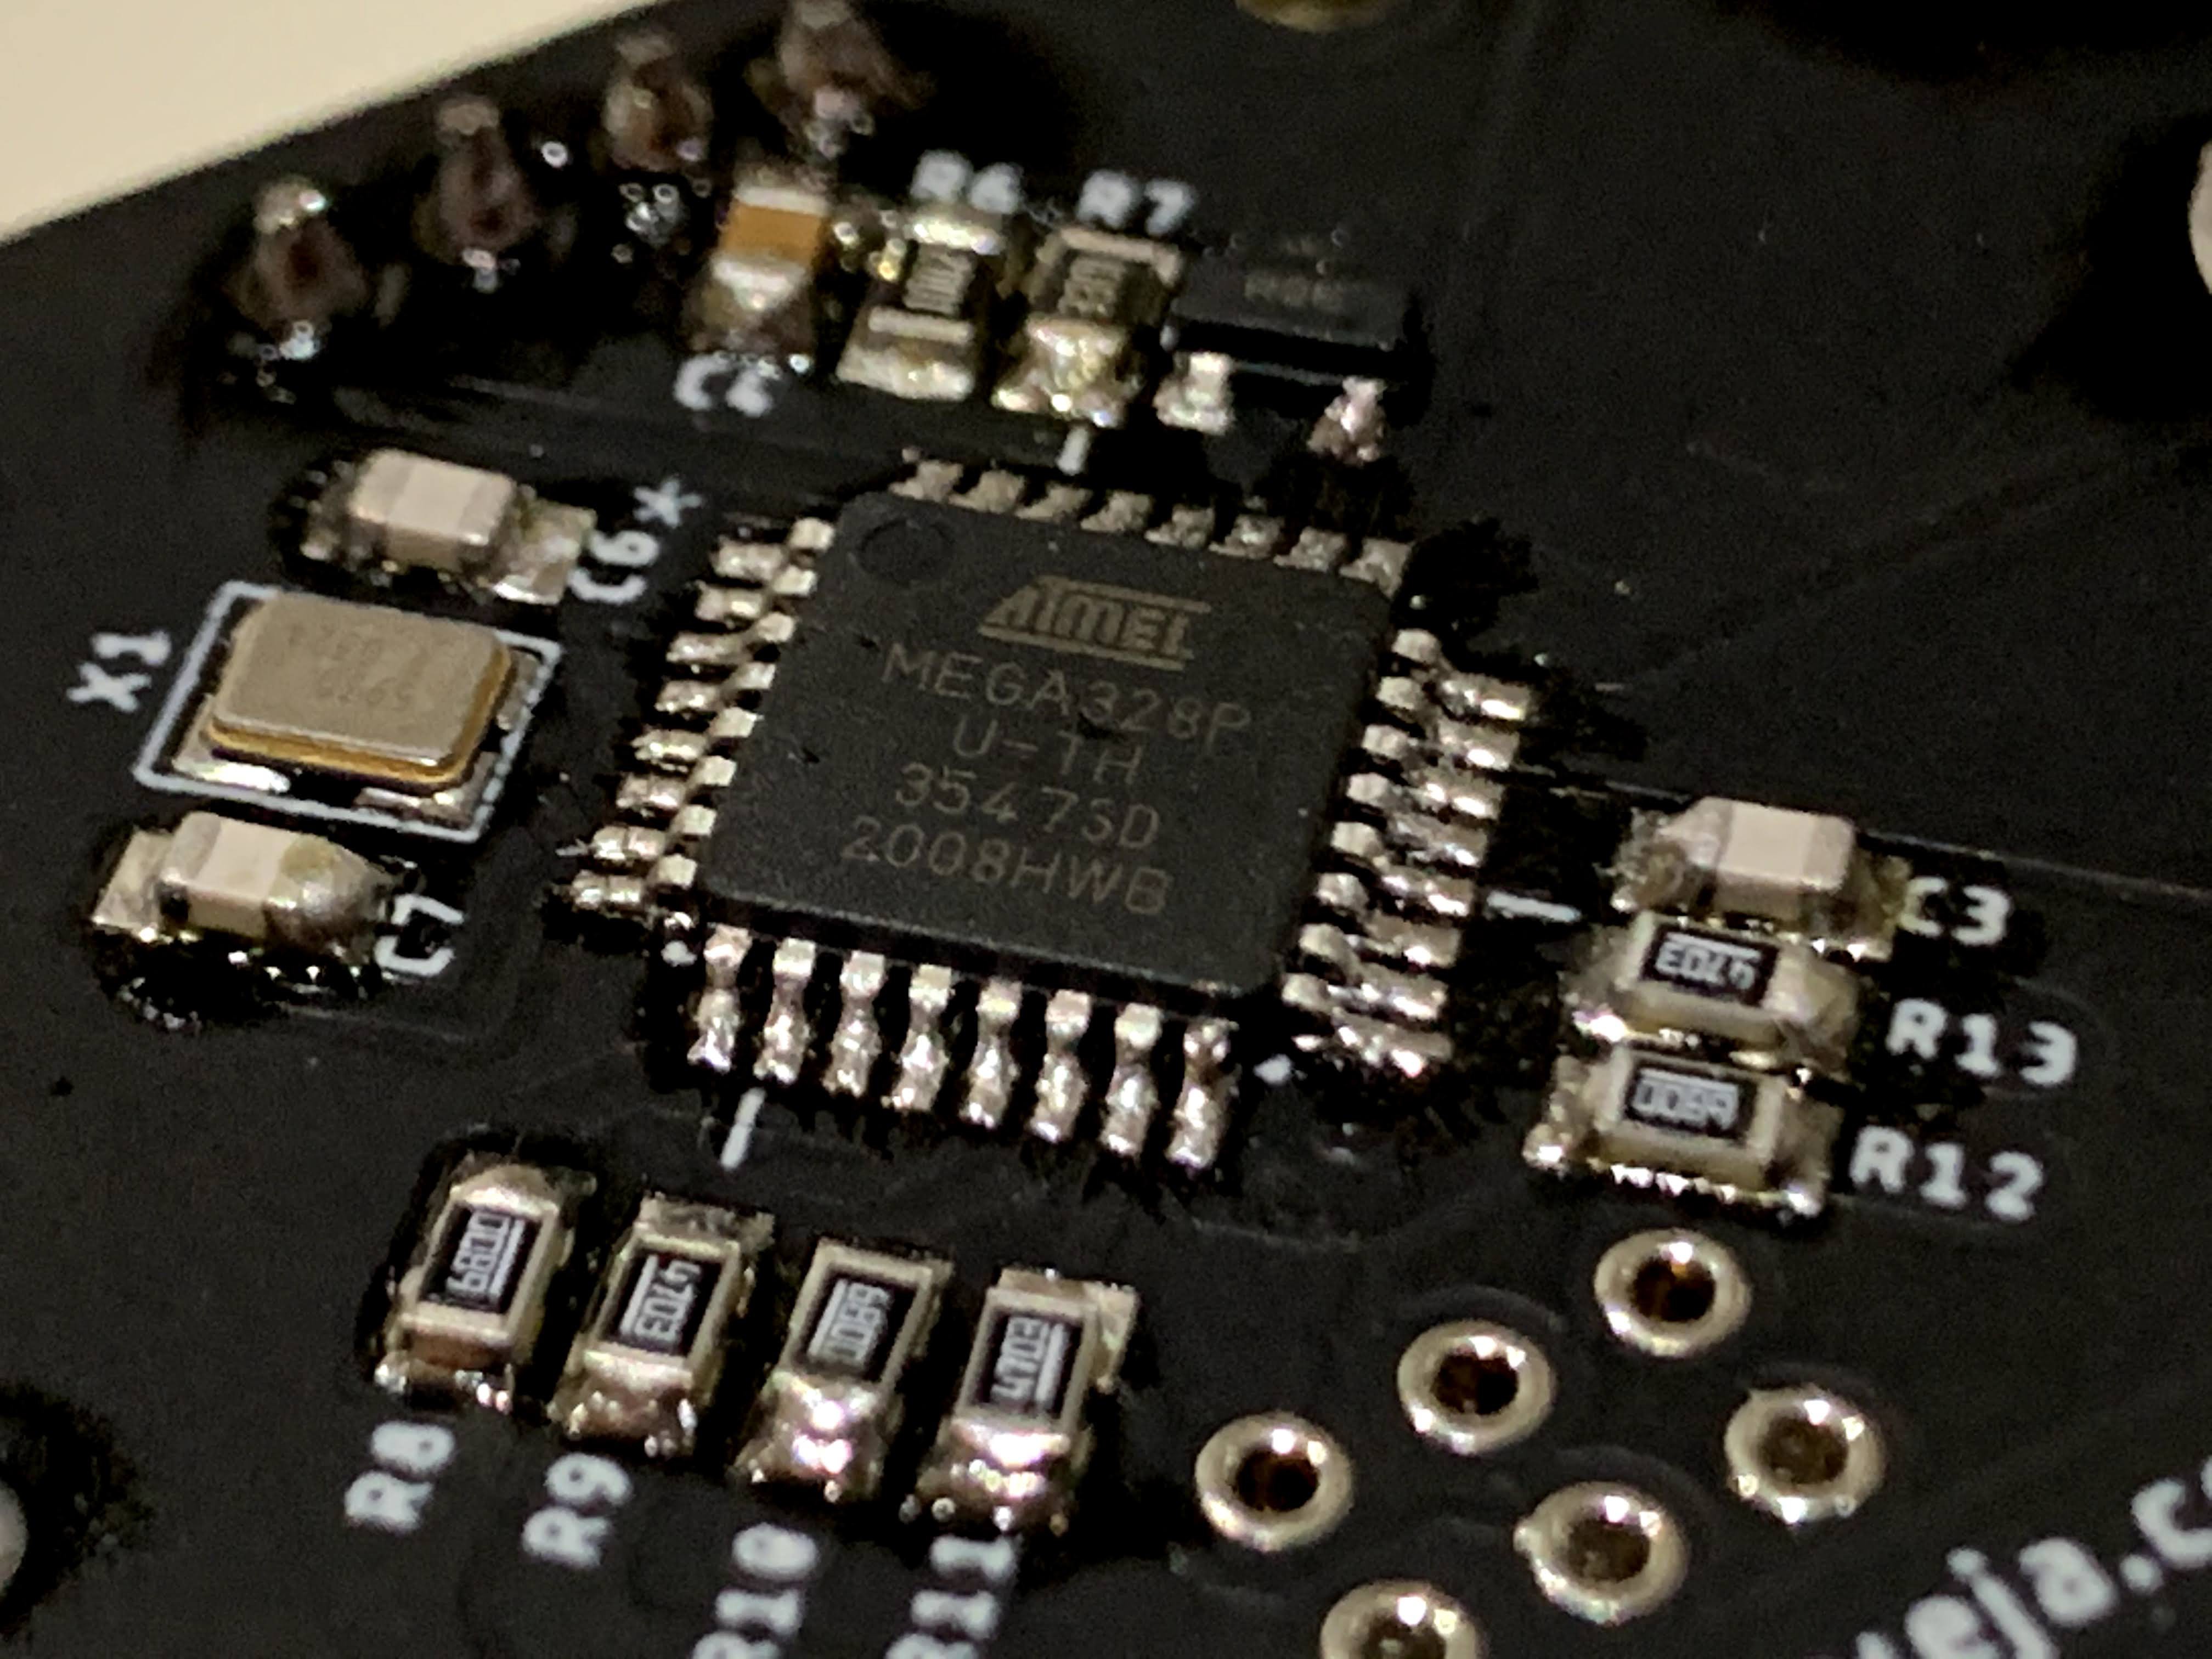
I usually start by soldering resistors first followed by capacitors and then moving onto bigger components like microcontroller, buttons, OLED Display, etc. It makes life a bit easier.
![]()
⚠️ REMEMBER TO ALIGN MICROCONTROLLER'S DOT WITH DOT ON PCB (NEAR C6) BEFORE YOU BEGIN SOLDERING IT ⚠️
![]()
-
3Adding banana sockets
Lightly tin the base of PCB where banana socket goes into and slide in the socket as shown. Once you slide in put a bit of solder between the little space between hex nut and the base. This will ensure a string connection and give you better and more accurate testing results.
![]()
-
4Uploading the firmware
Hardware Setup
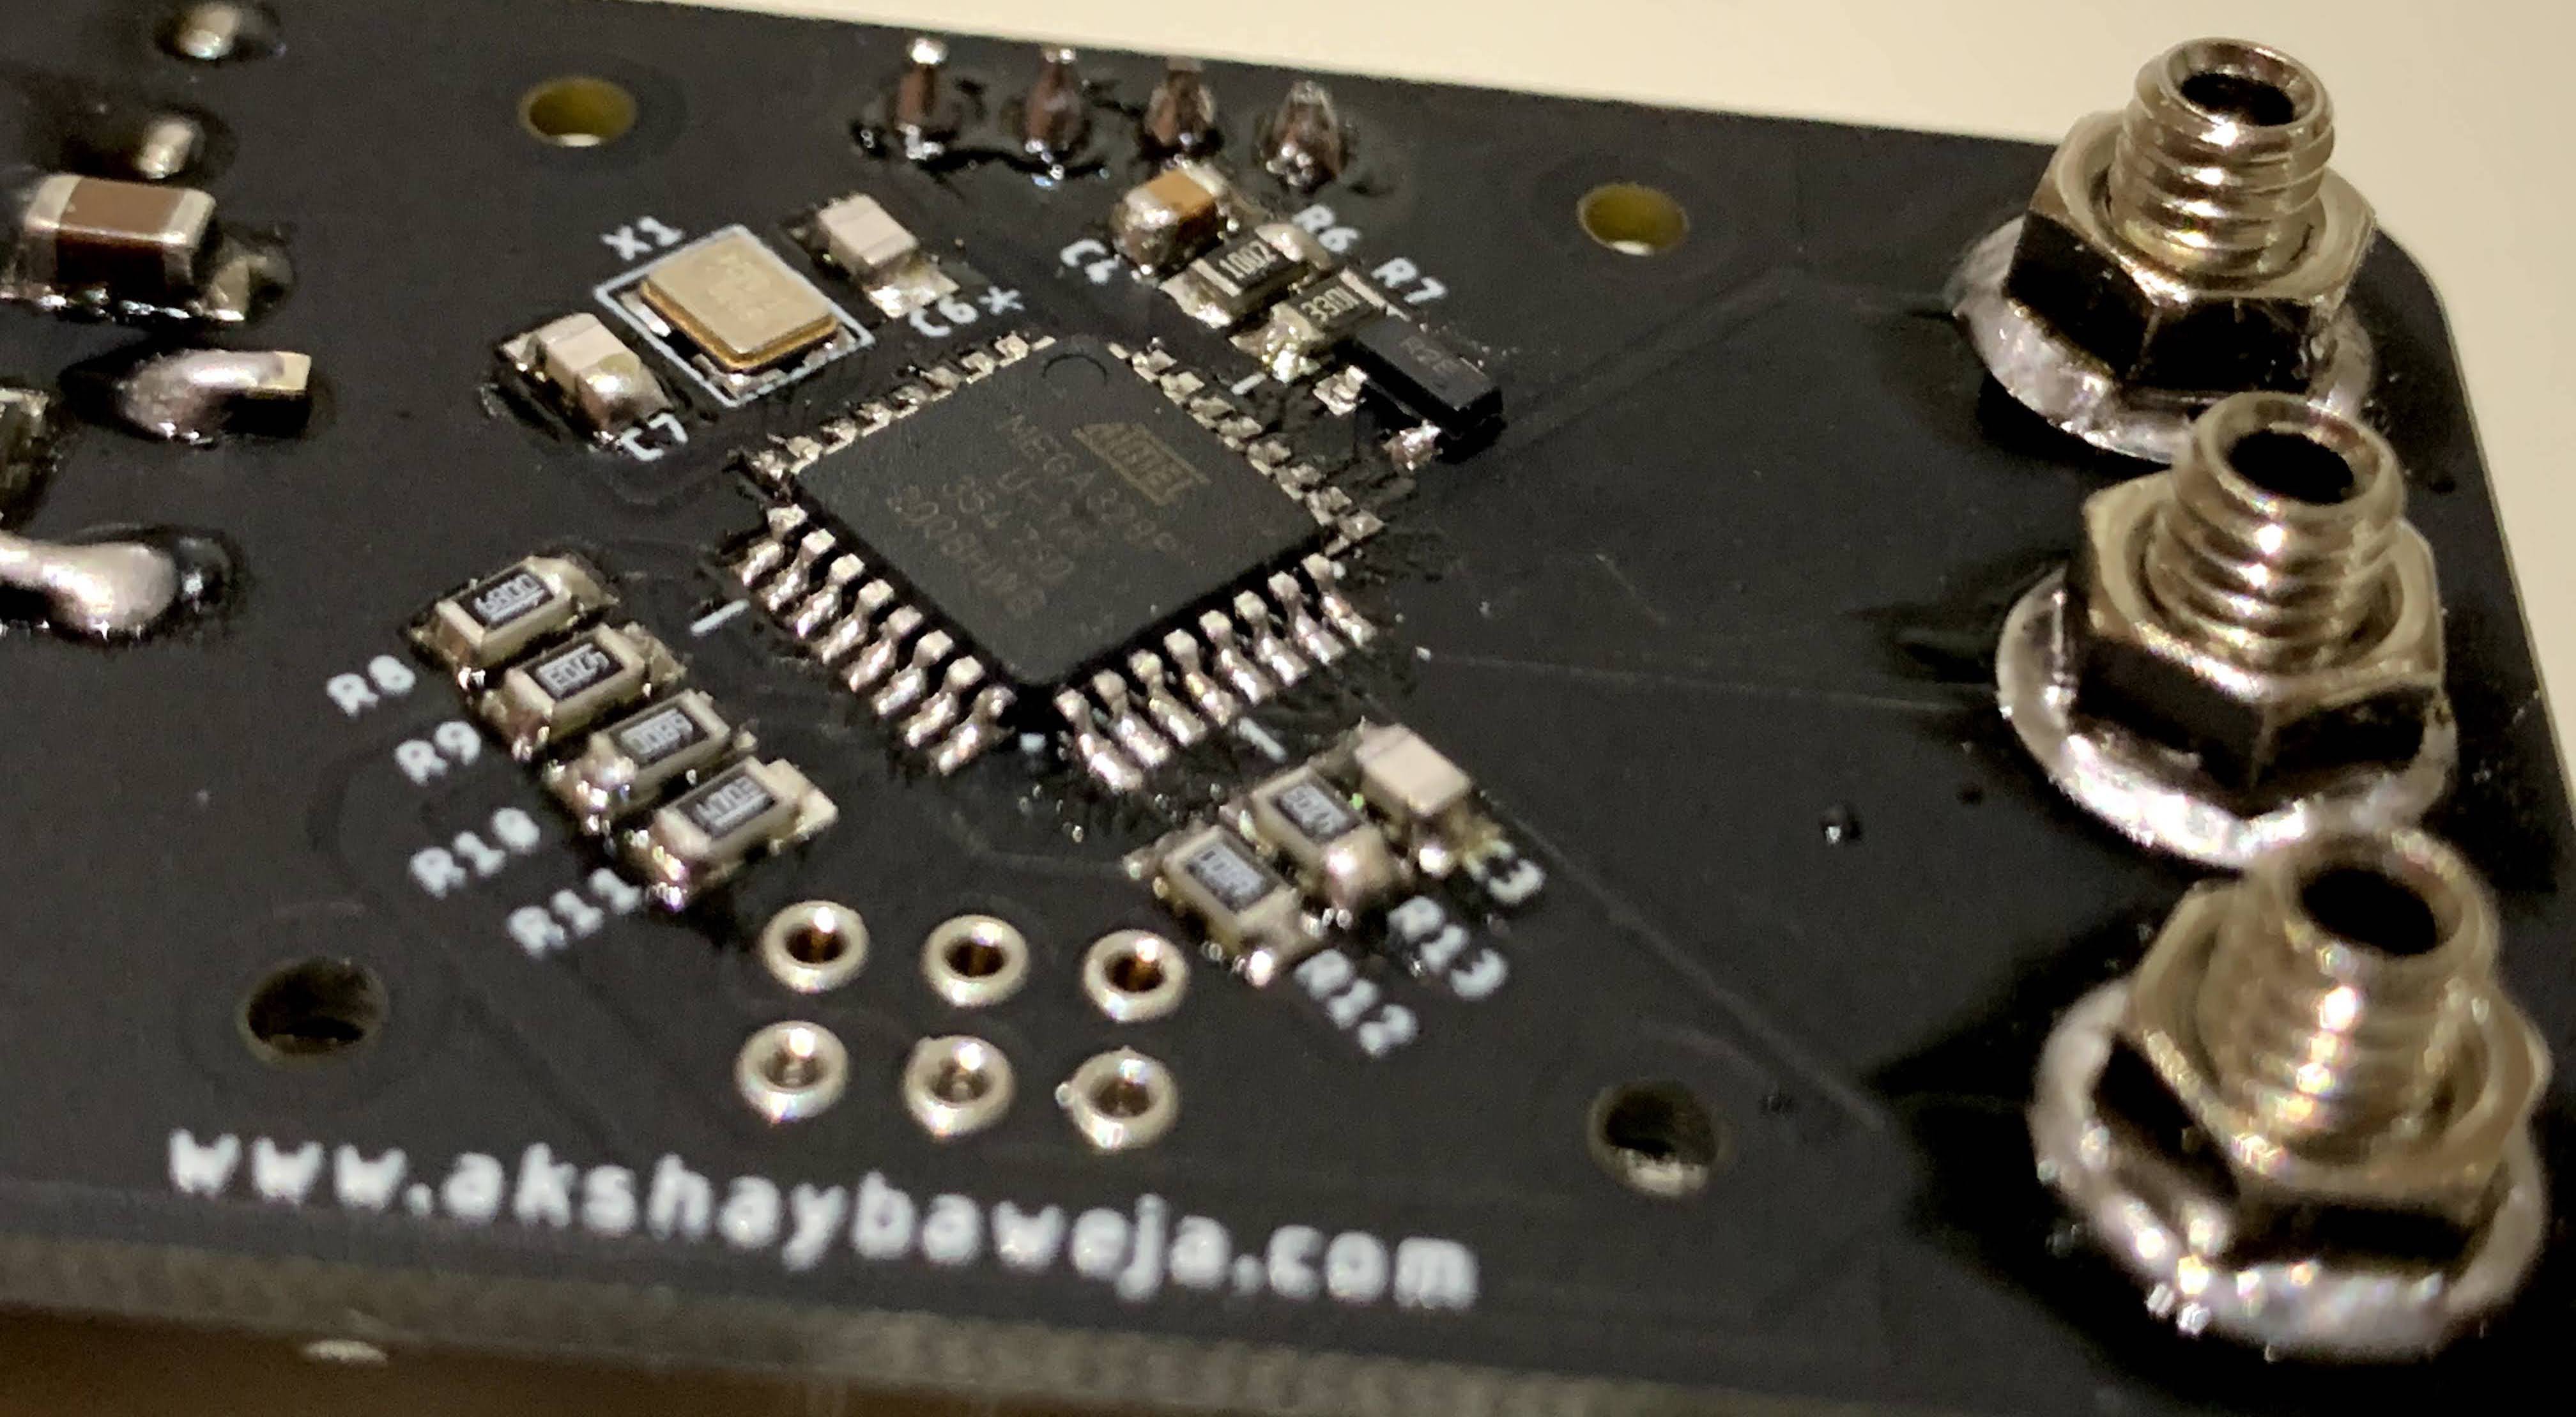
Using a USBasp programmer connect it to the ICSP Header on the board.
Refer the following pinout for connections (Bottom Side of PCB)
![]()
Software Installation⚠️ REQUIRED: You must have AVRDUDE installed in your system in order for following instructions to work.
In Terminal/Command Prompt, navigate to folder's location with above files and execute the following commands-
// Flashing .hex and .eep files to MCU
avrdude -c usbasp -B 20  -p m328p -P usb -U flash:w:./TransistorTester.hex:a -U eeprom:w:./TransistorTester.eep:a
// Setting fuses for MCU
avrdude -c usbasp -B 200  -p m328p -P usb  -U lfuse:w:0xe2:m -U hfuse:w:0xd9:m -U efuse:w:0xfc:m
-
5HALLELUJAH! You made one :D
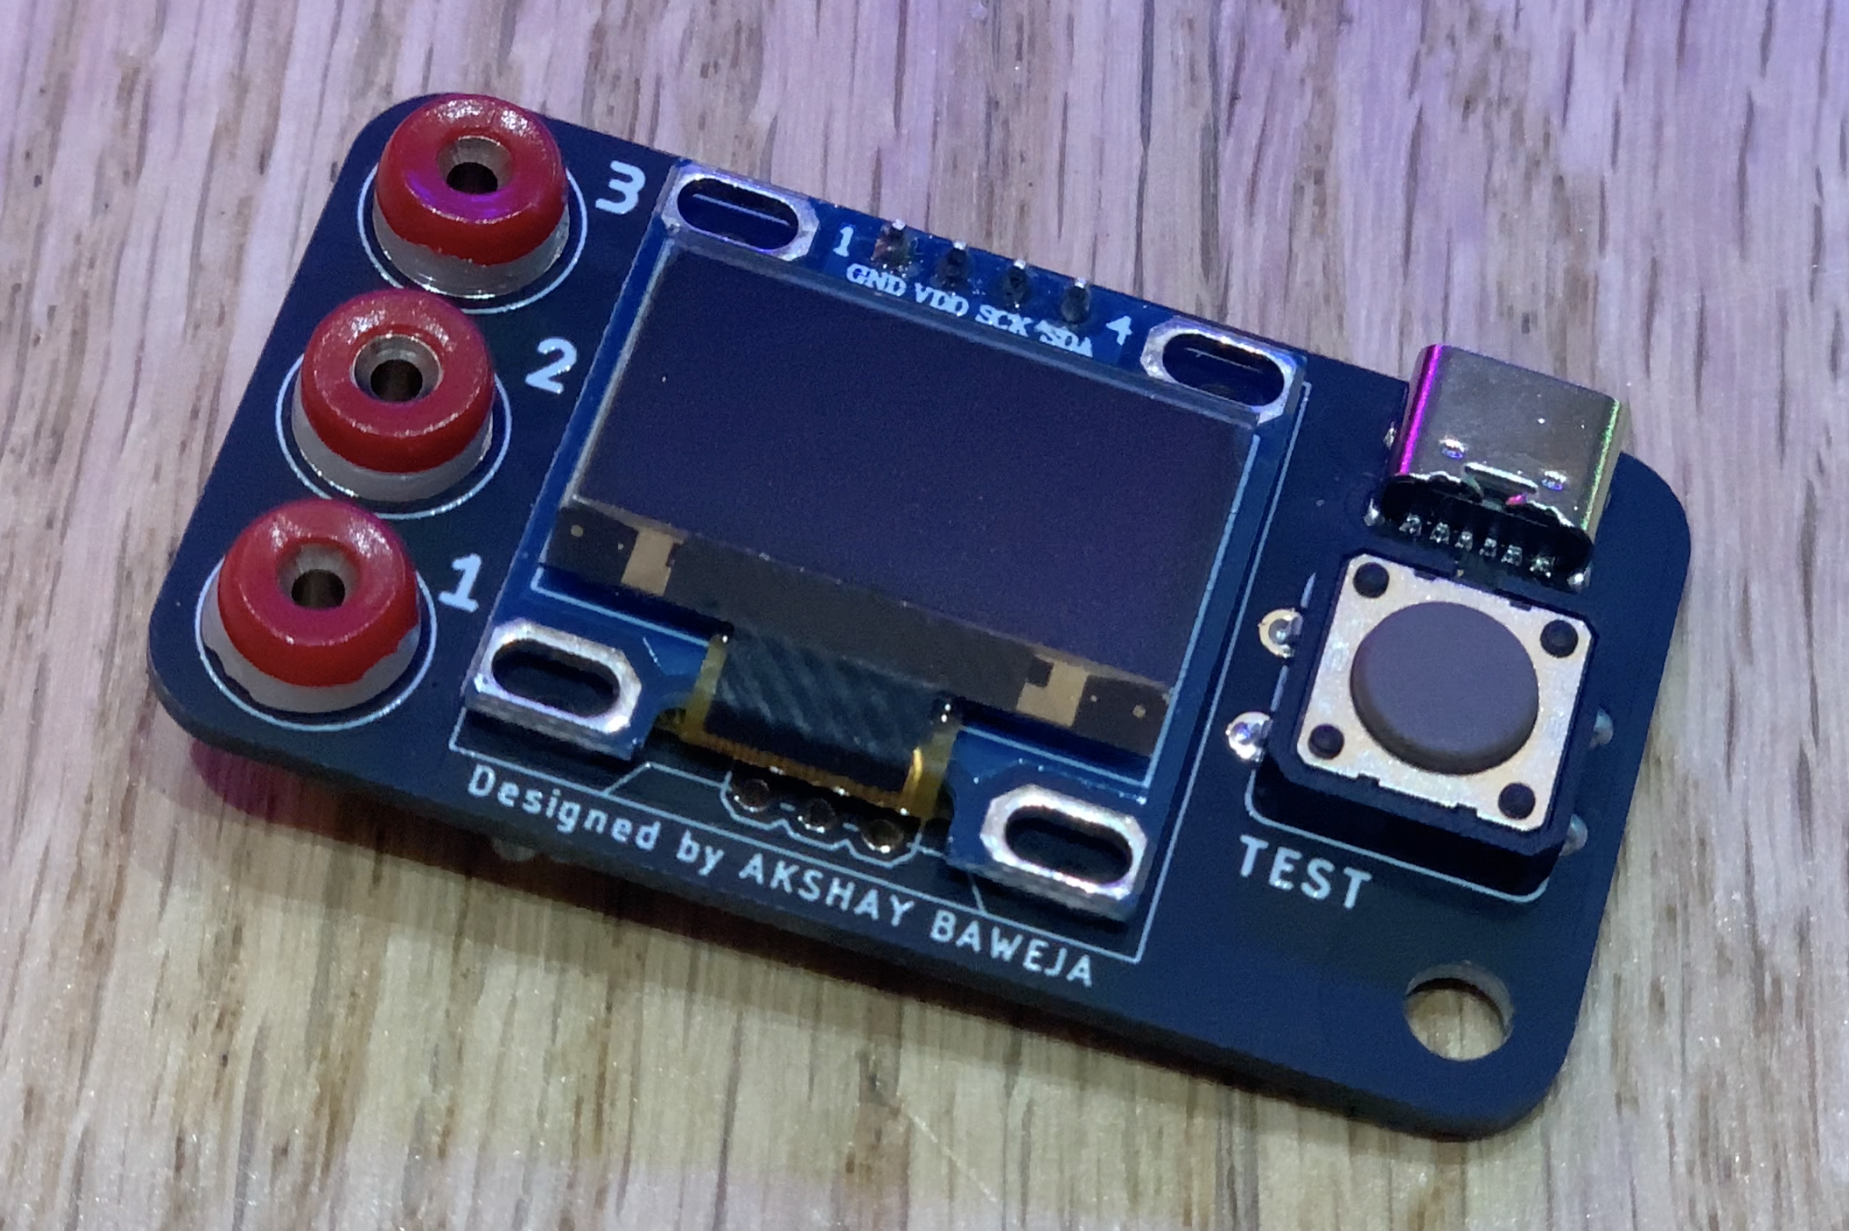
Power the tester 🔋 TAA DAA!! You just made yourself a keychain component tester 🤩
![]()
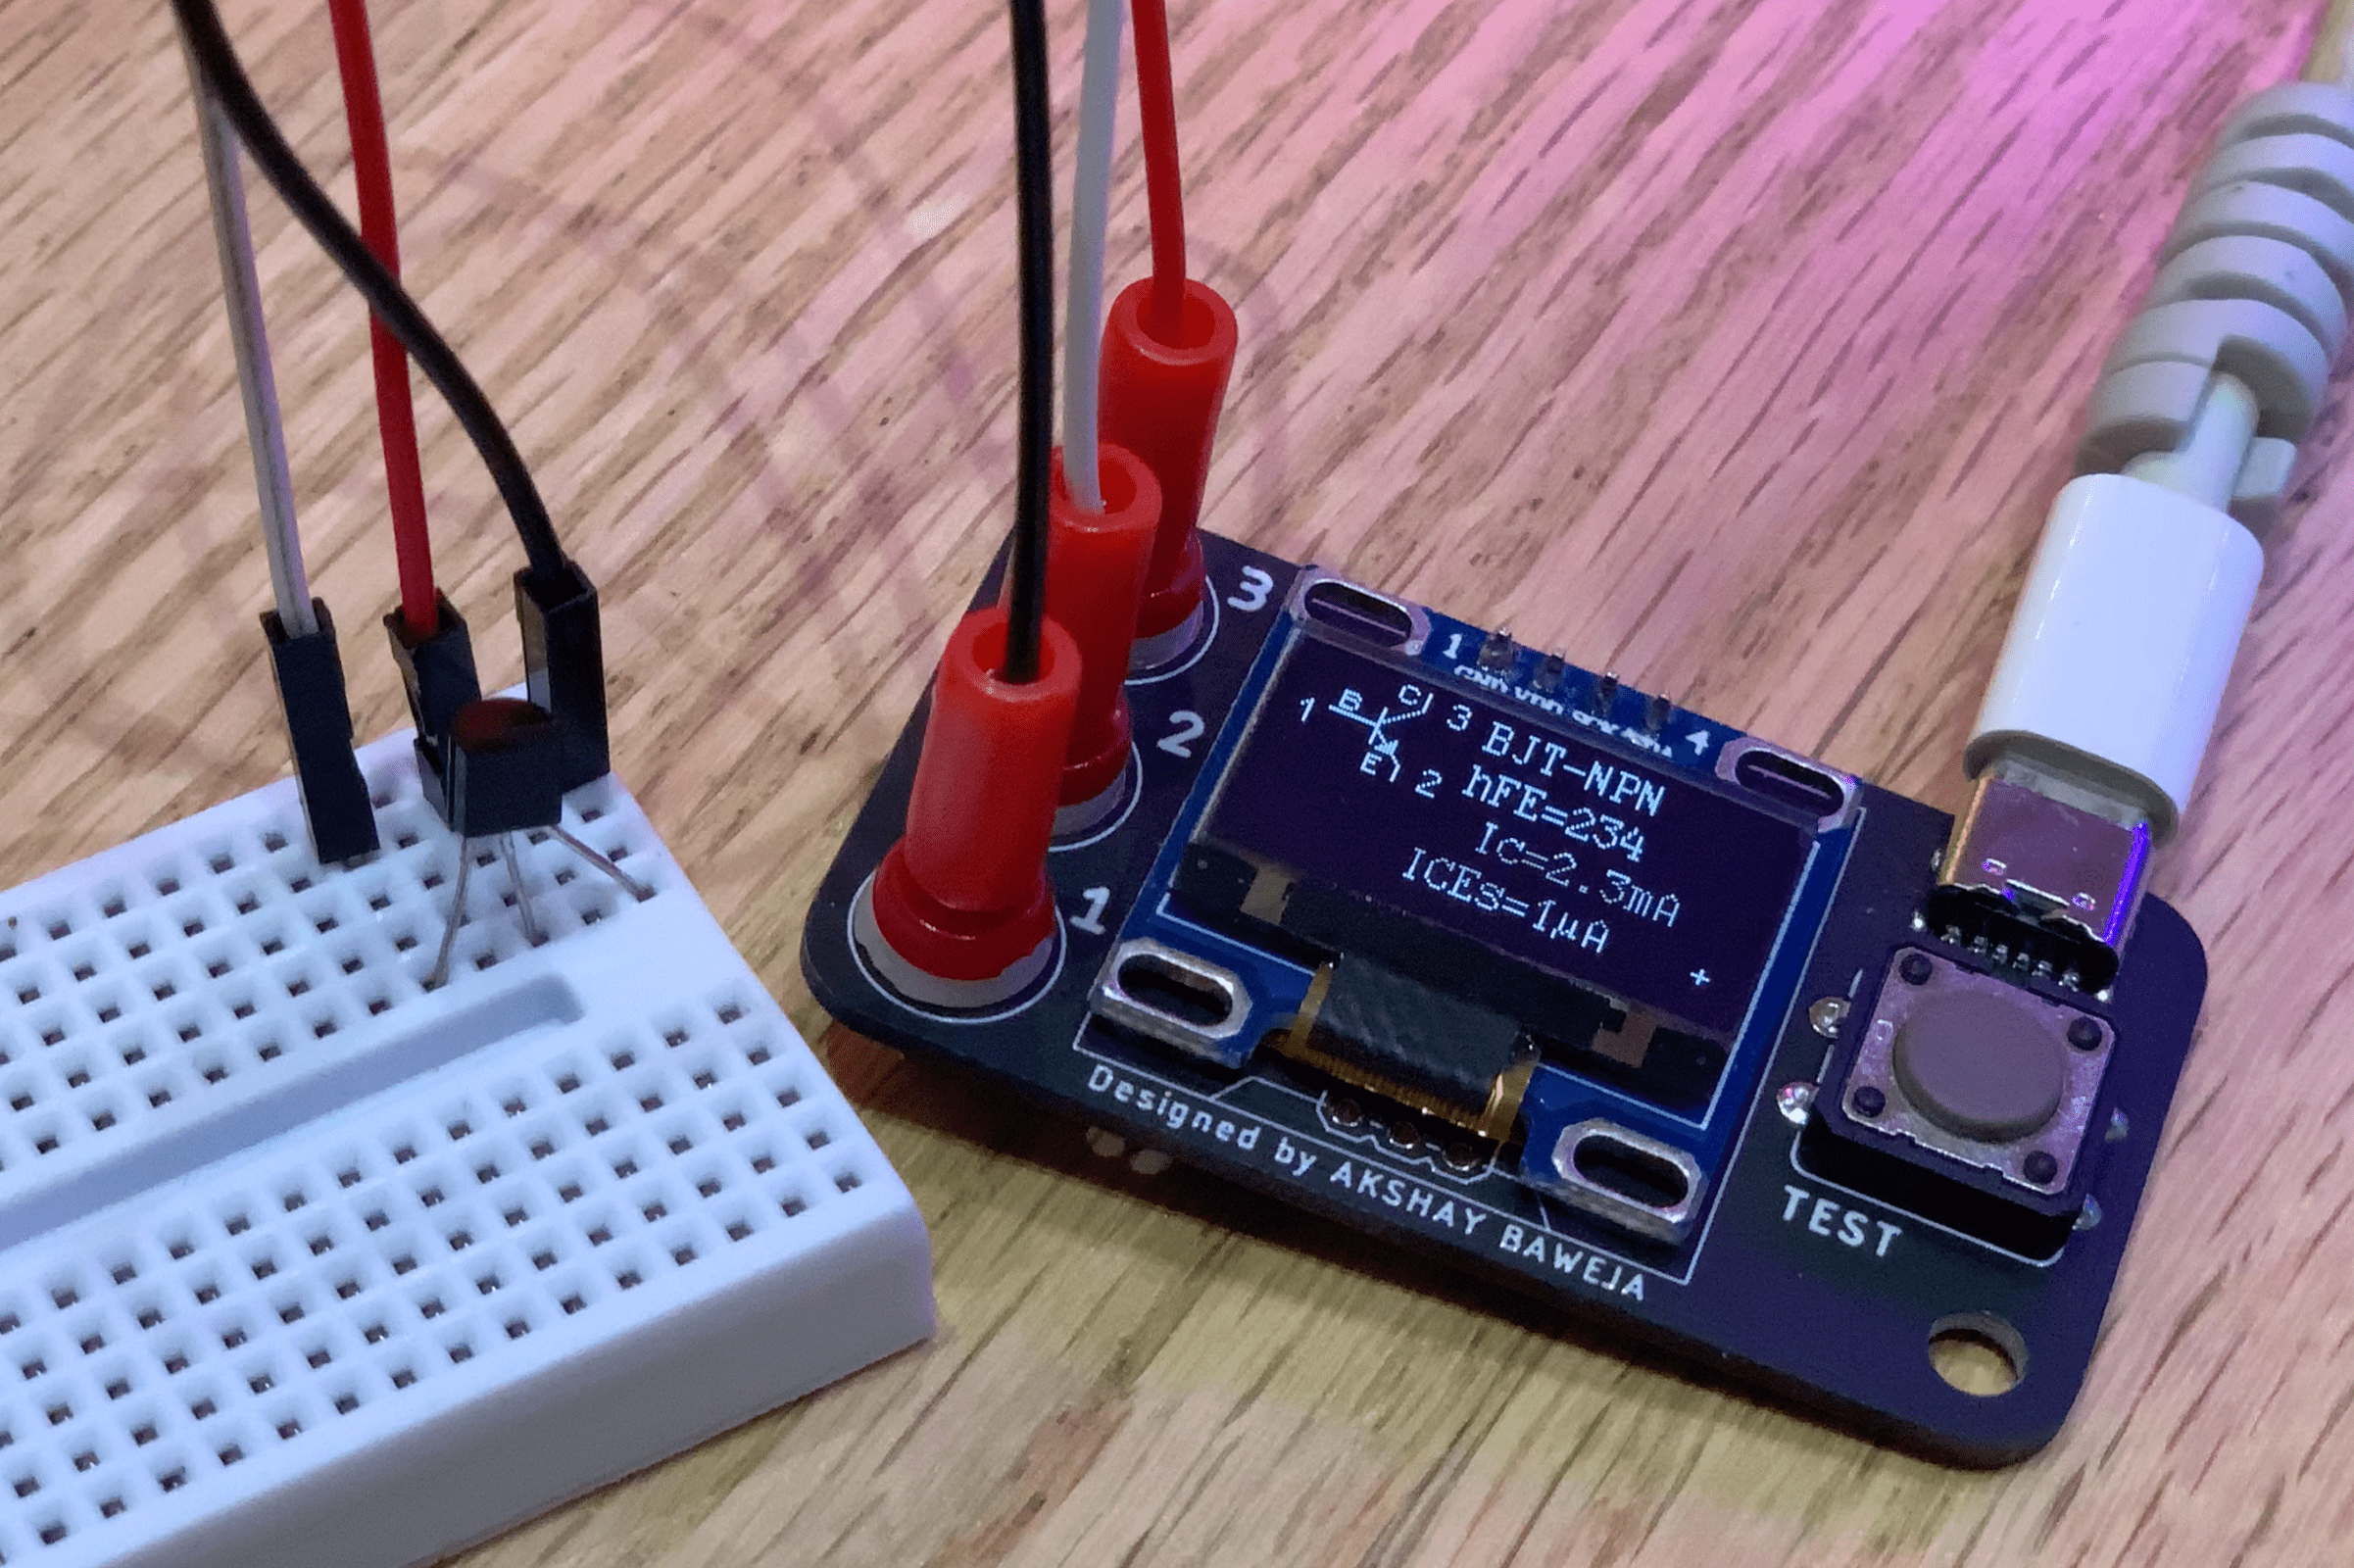
Plug in 🔌 the components you wanna test. Cheers 🥂
![]()
Component Tester in a Keychain
Test any electronic component with this pocket component tester


Discussions
Become a Hackaday.io Member
Create an account to leave a comment. Already have an account? Log In.