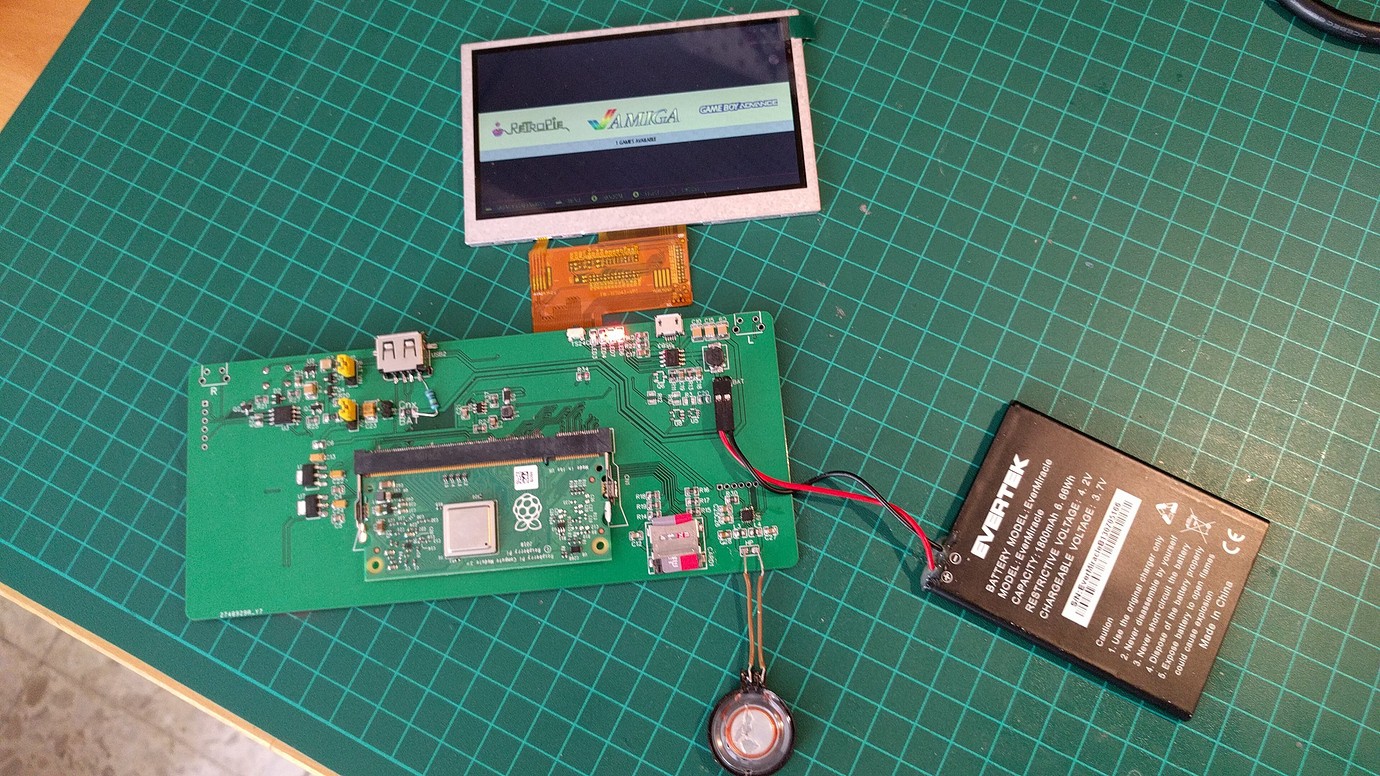
This is a handheld console based on a raspberry pi and running Retropie. Yeah, one more...
Indeed, this is a kind of DIY projects that is quite successful on the Internet. It is also my third project of this kind
and this time my attention was focused on the following points :
- the Screen
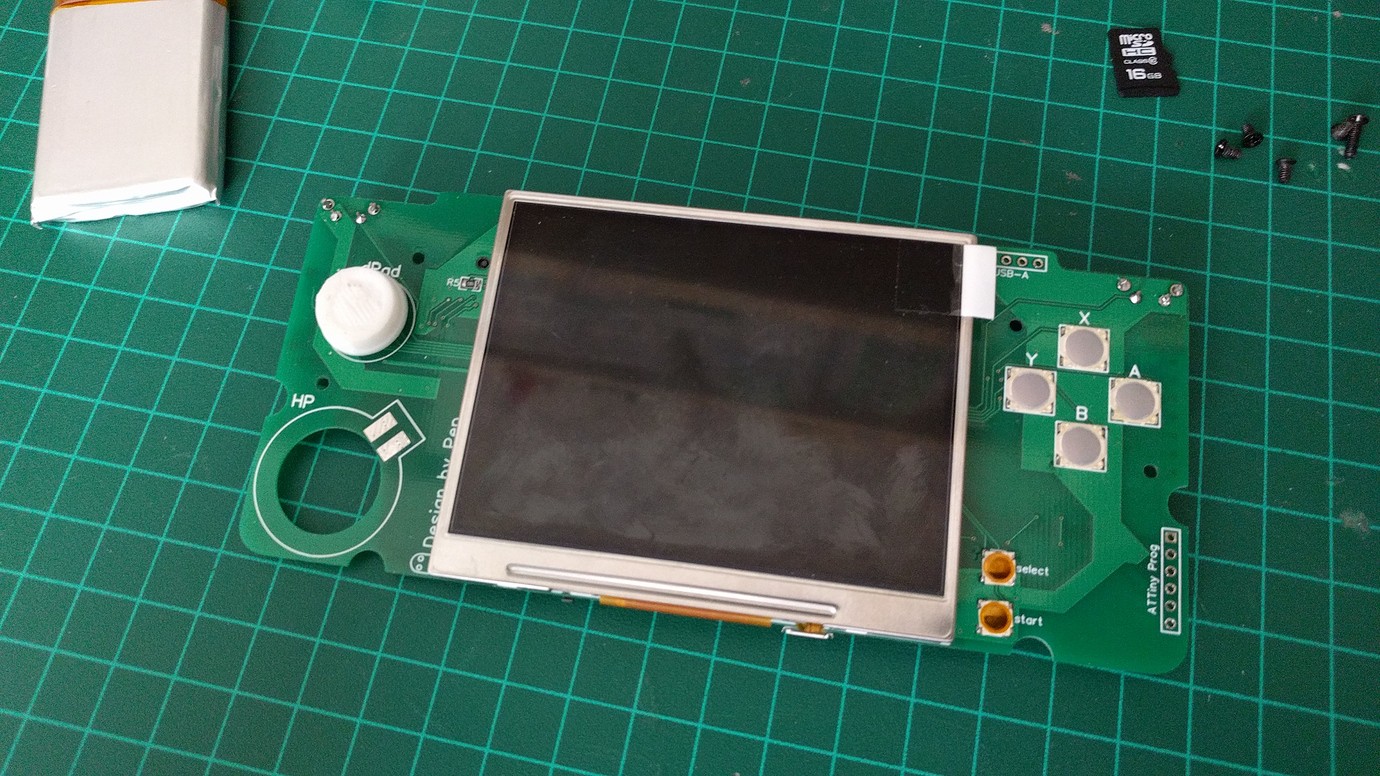
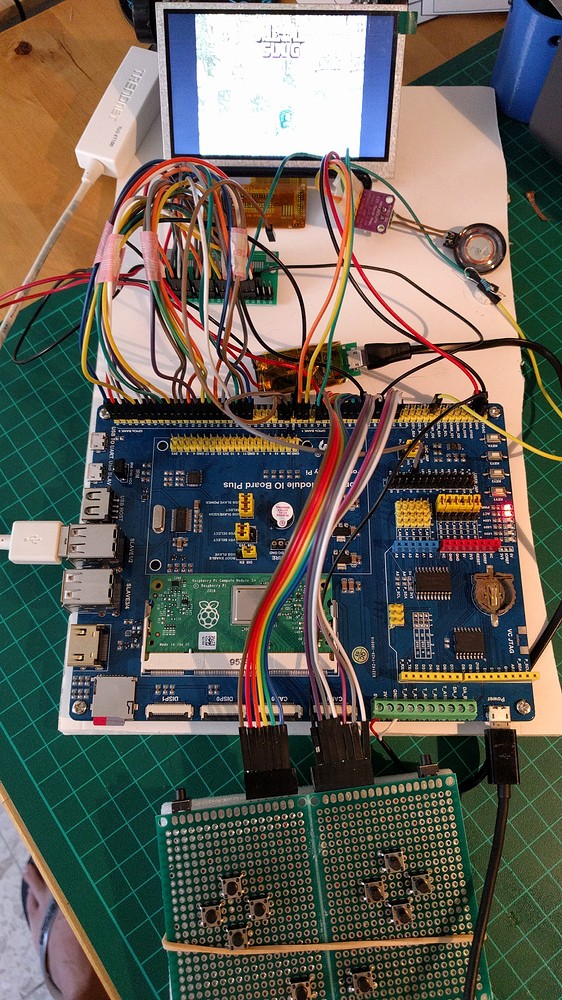
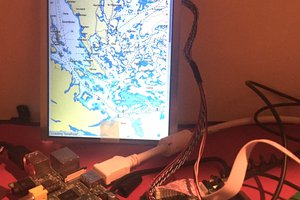
My 1st project used the SVideo output of Pi and the 2nd used the SPI interface. The quality with SVideo is really low whereas with the SPI interface, it's the performance that suffers. So I decided to use the Raspberry DPI (RGB) interface which is already a bit less common. The advantage of the DPI is the speed of display (60Hz), a good image quality (it is digital and not analog like SVideo), and the possibility to drive the display directly by the Raspberry without any additional component. The down side is that uses a lot of GPIO. It depends on the chosen mode but for 24 bits (8 bits per RGB component) you already need 24 GPIO for the data.
- the Raspberry Pi
My intention is to build a device that is as portable as possible, so I'm trying to limit the size. Moreover, I don't want to cut up an existing card. This puts aside the RPI3, I don't want to be bothered by unnecessary ports. I really like the RPI zero for its compactness but it is still a bit tight in terms of power and limits the usable emulators.
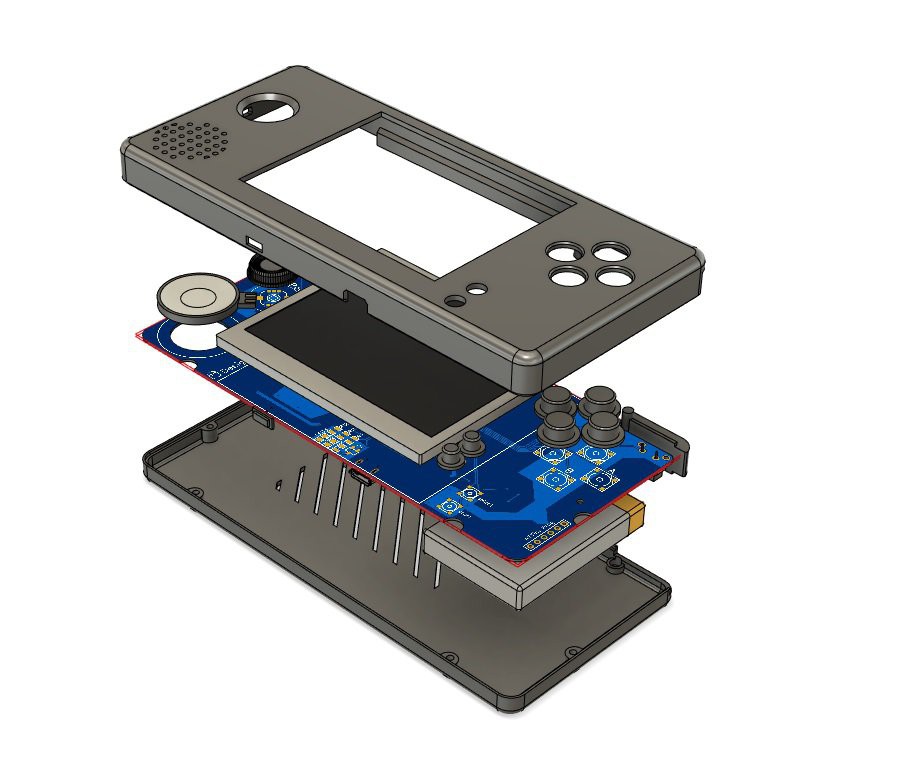
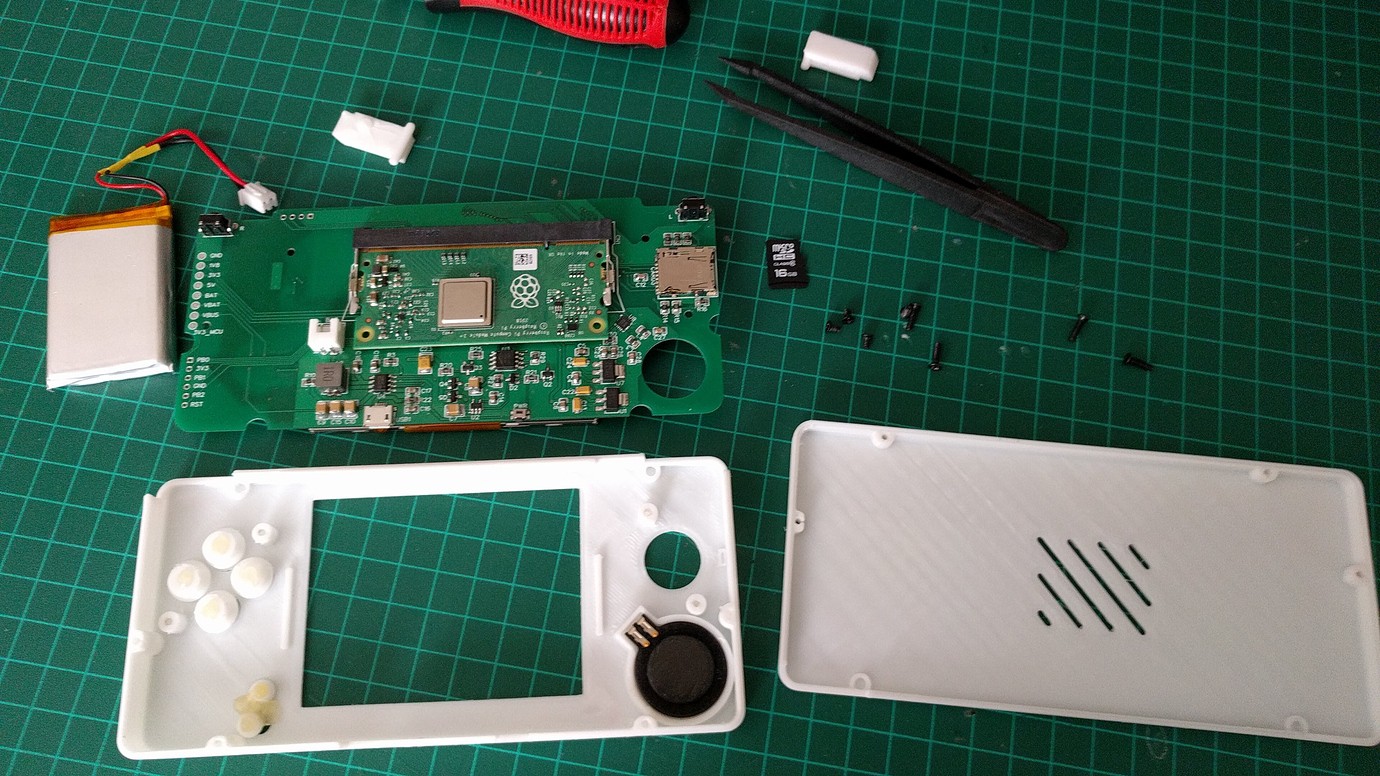
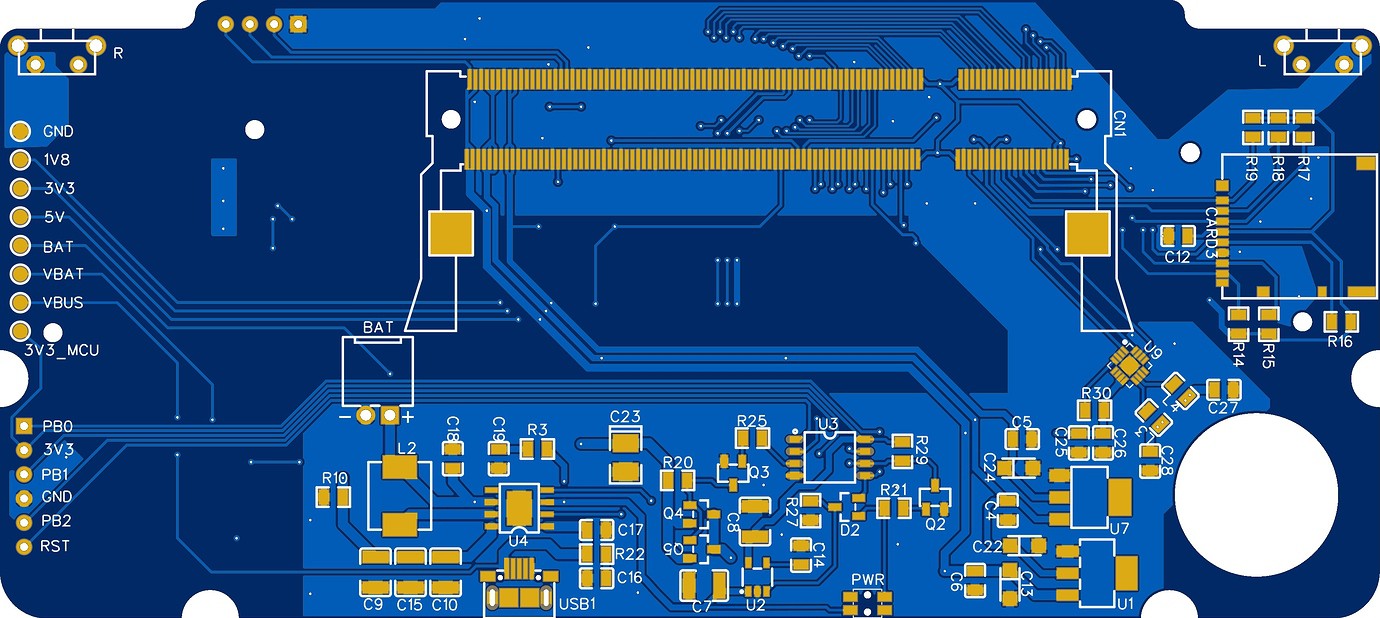
So I went for a Raspberry CM3+ which has the power of the Raspberry 3 while allowing a good integration. The console's size is 147x68x18 mm. An other good point for the CM3 is the large number of available GPIOs. Indeed, and contrary to the other Raspberry, on the CM3 all the GPIOs of the BCM2837 are available.
- starting and shutting down
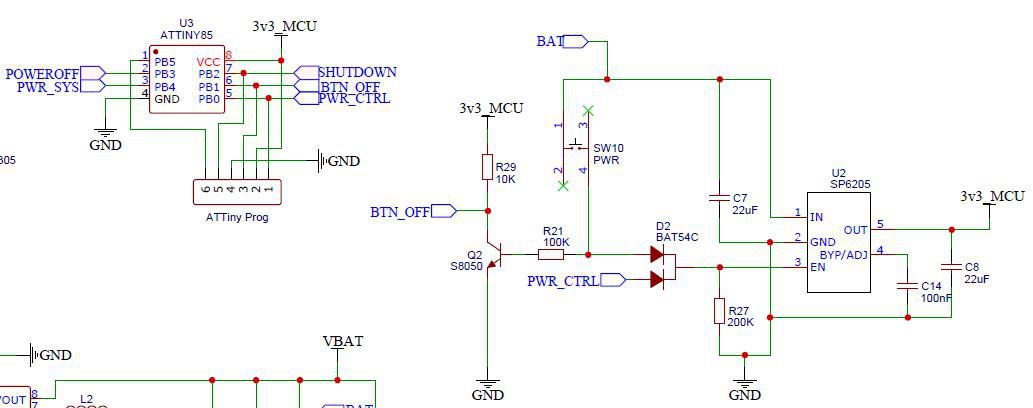
Another thing that bothered me in my previous projects, and in most of the ones I find on the Internet, is the fact that the power management is totally disconnected from the Raspberry. This results in the need to initiate a software shutdown of the system and then once the Pi is off, to cut off the power to the device. I wish to have a behavior like a standard console, i.e.: pressing the PWR button in the OFF state turns the device on and starts the system, the same thing in the ON state starts a clean shutdown of the Pi and cuts the power off.
For power management, I use an ATtiny85 microcontroller. Its GPIO number is just what I need for this purpose, its size is contained and it doesn't need any crystal or other components to run.
- the Sound
I have always been a bit disappointed by the sound outputs via PWM on Pi zero. I tried to make bandpass filters but the result never reached my expectation. On this project, I want something more qualitative, so I decided to use a DAC. I used the Adafruit breakout board based on the MAX9357 circuit and I found it particularly adapted to this kind of use. So, I made my DAC based on the same integrated circuit.
 Pep3175
 JohSchneider
 repkid
 Paul Crouch