 EK
EKNote: The content in this log was from Sept. 14
With all of the pieces printed now, it is time to assemble and test the final prototype release mechanism!
Objectives of the test
- Test the entire release mechanism in water
- Test the setup of the entire system
- Test the reliability / see what needs improving in the field
- Compare the results with the conditions from Test #01 (wave height ~2 cm) to Test #02 (wave height ~15 cm) to Test #03 (wave height ~20 - 30 cm) to Test #04 (wave height 0 cm)
The release mechanism concept worked! Check it out:
Here’s what the setup looked like:
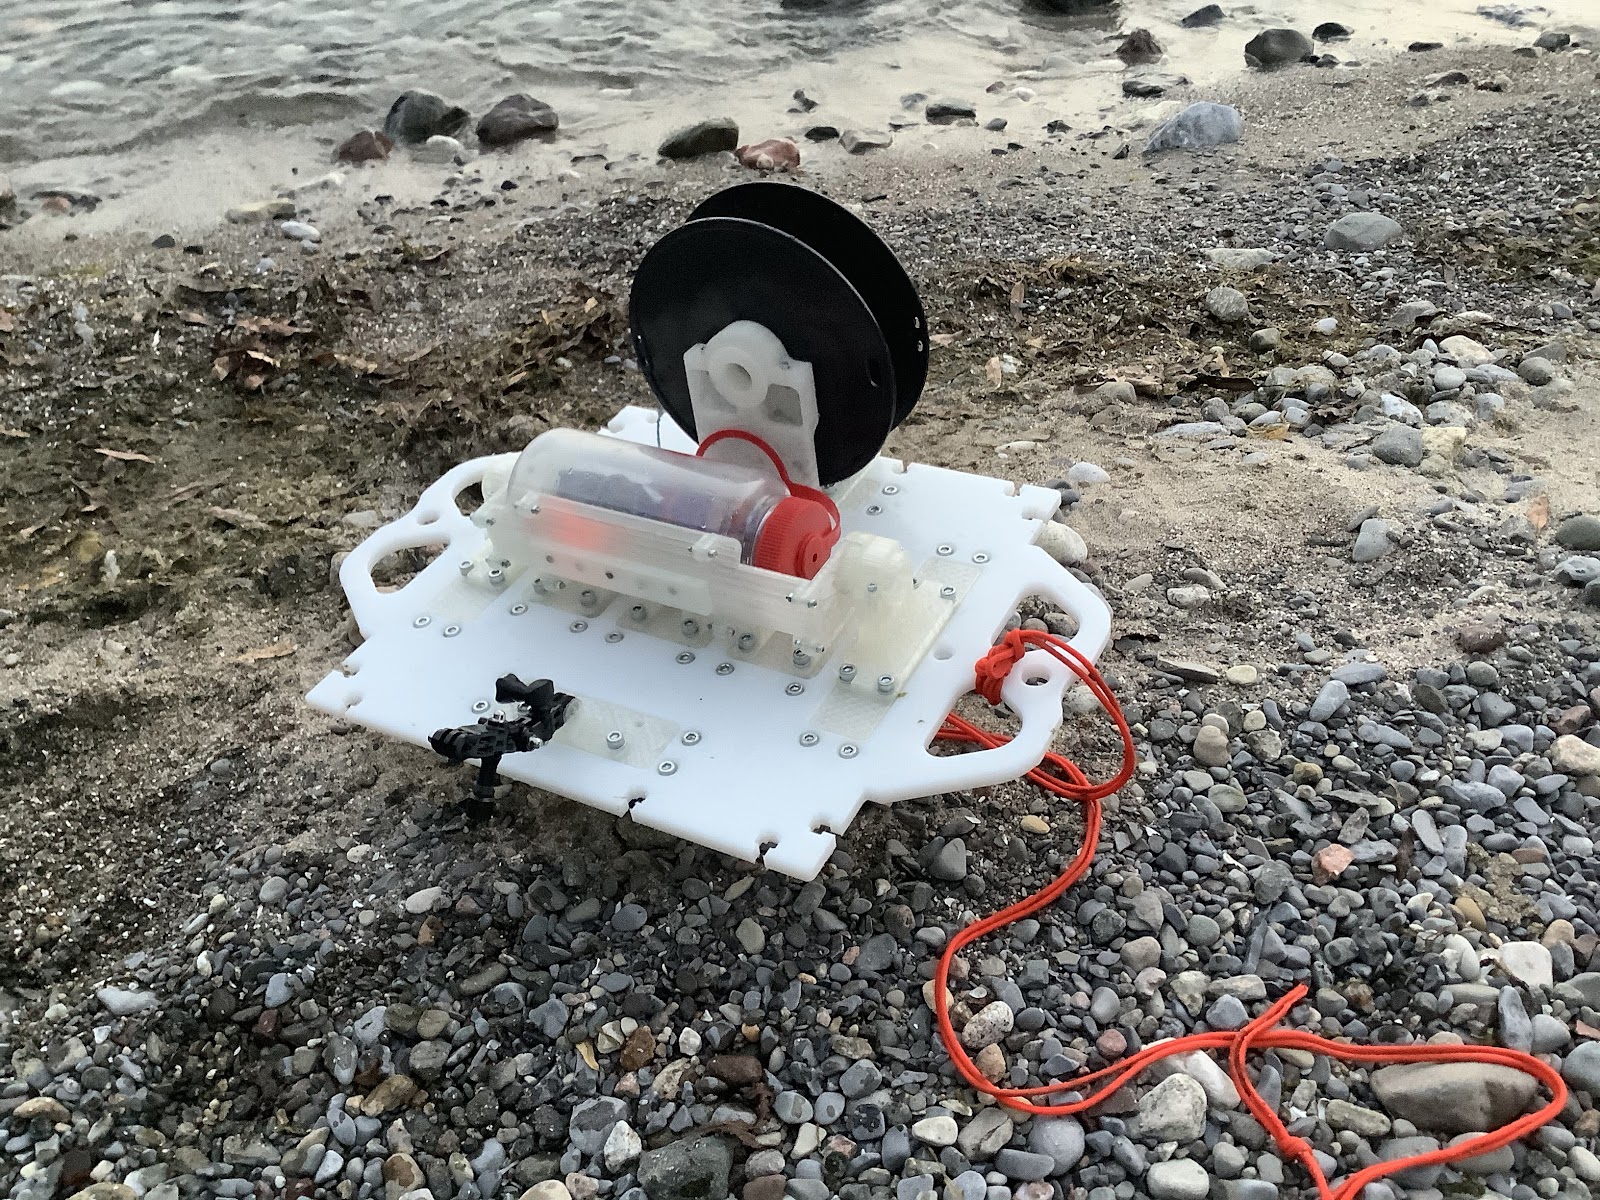
Let’s begin from the start. The release mechanism and intelligent buoy are ready! Into the water it goes. It’s cool to notice in this gif how the water fills the infill of the 3D prints:
Here was the first try. The wipers don’t quite make contact with each other enough to move:

No problem, time to set it up again:

Sometimes the descent into the water can detach it:

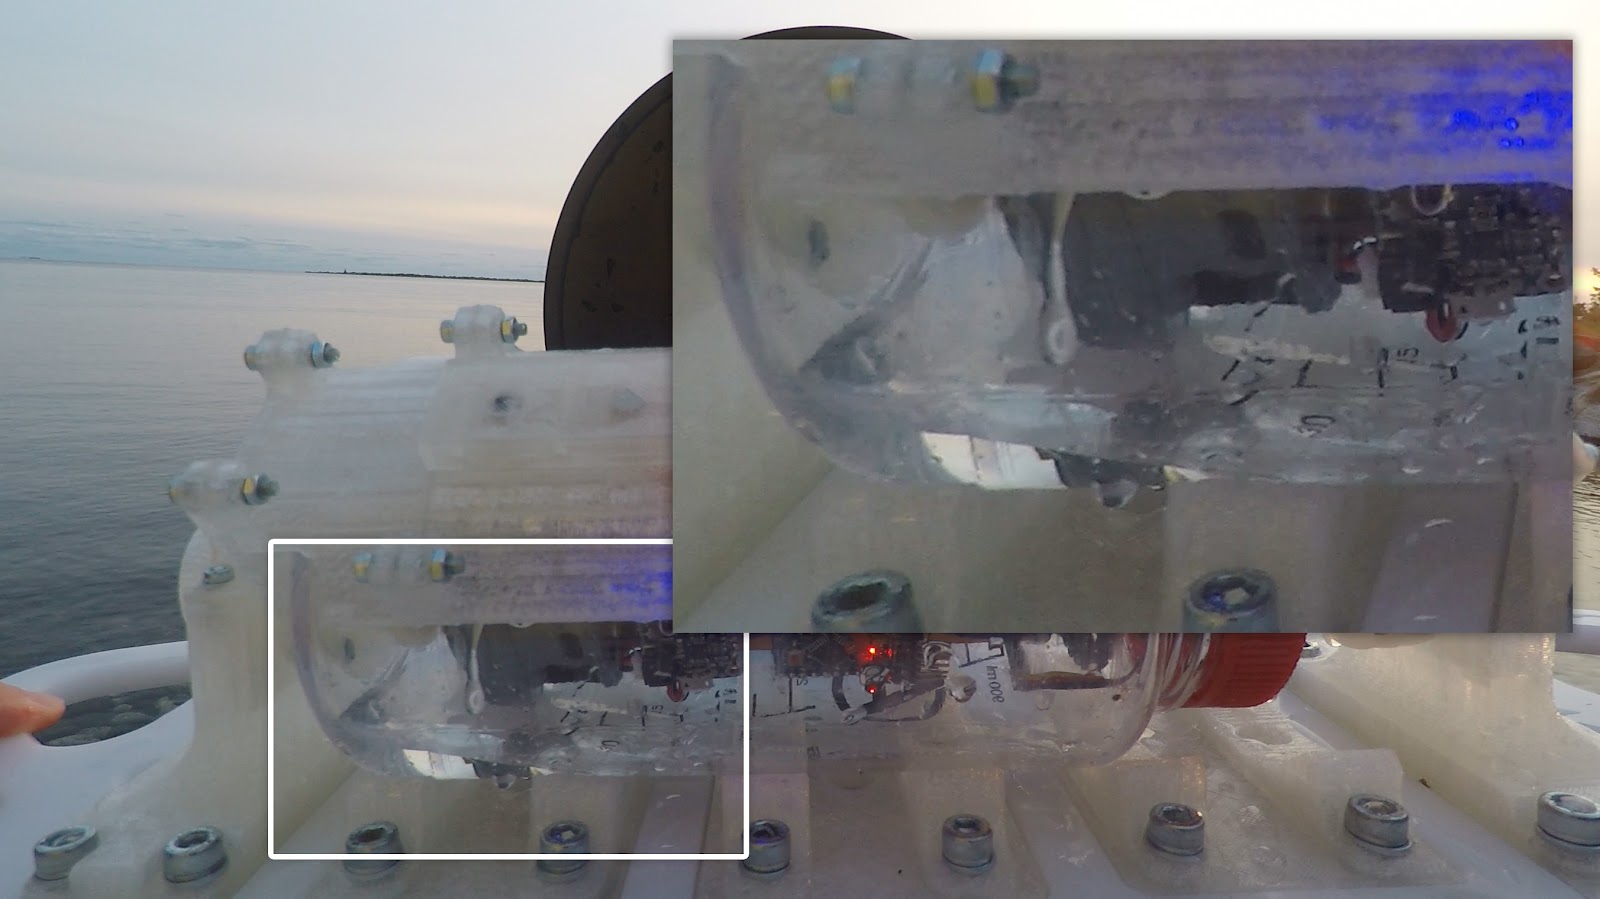
By the way, at this point it’s probably important to point out that there’s water in the buoy. …...THERE’S WATER (!!!) IN THE BUOY!
The next test worked flawlessly:

Slow motion:
Moved the release mechanism to a deeper location, and it works again!
At this point, the water in the buoy prevented the servo from working further. That concludes this test, and we verified that this works!

What changed
The previous test #03 verified that the external wiper can remain in place, even with some faster water current conditions. With this, it was time to proceed with the release mechanism idea.
The release mechanism is built on the top plate of the spool box design, milled out of HDPE. This piece was milled at the DesignLab and shipped here (along with some cut Nalgenes and more prints and gear! Thanks DesignLab!).
Inside of the buoy, the only piece that changed was the internal wiper - it was re-printed a bit stronger so that it replaced the hot-glued piece.
What worked
- The release mechanism worked multiple times! At different depths! Hooray!
What didn’t work
- Water in the enclosure
- Neopixels (wasn’t a priority to fix them for this test either)
- Internal wiper sometimes gets caught on the circuit board if it’s not attached to the external wiper magnets
- Load-in process can be a bit tedious to get the external magnets to pair with the internal (need stronger magnets)
- Sometimes on descent, the buoy can lose contact with the external wiper (need stronger magnets)
- No indication of when the servo was going to move - a blinking LED would have been helpful
Interestingly enough, the water did not ruin the electronics! After drying, everything still worked.

There were a few pieces that changed from the CAD model to the As-Built model.
- Leg pieces didn’t have a horizontal piece to rest on (this has since been changed in the design)
- Only 2 clamps for the weight - the height of the M6 screw head is too tall, so it pops over just enough to misplace the Nalgene bottle
- String attaches to center of spool, and the other end to a carabiner. Carabiner clips on to the circle in the Nalgene bottle head
- Axel for the spool is cut in half then glued together
What needs to change for future version
The most important thing: The servo needs to home itself to -90 degrees. This is because we don’t want the external wiper to fall ‘northward’, because it could snag on the rope that is attached to the buoy. By homing at -90, then having the servo move to +90, it would increase the likelihood of the external wiper falling ‘southward’ - because the servo would never be moving ‘northward’. The Nalgene is registered such that the lid is always ‘eastward’.
- Tape on the threads of the Nalgene enclosure
- Stronger magnets on internal and external wiper
- Weight distribution of the ballast on the release mechanism piece
- Create a sponge 'skirt' at the top of the Nalgene assembly. Add a conductivity / moisture sensor to this to monitor in case of water leakage. If the sensor is triggered, it could power off the whole system
- Indicator light for when servo will move
With the timing of this test and the conclusion of the official Hackaday Prize Dream Team program, this is likely the last test for now. Let’s see in the future how this will evolve and hopefully continue!
Discussions
Become a Hackaday.io Member
Create an account to leave a comment. Already have an account? Log In.
Hey, such an awesome project, I have also been working on a similar idea but its a much more simplistic buoy that acts as a communication relay between two objects, I wanted to put a request asking if you can share the CAD of your release mechanism? Will be glad if you can help, thank you
Are you sure? yes | no
Very clever to have the electronics rise to the surface so you can transmit a signal. Fun to watch it in action.
Are you sure? yes | no
Thanks!
Are you sure? yes | no