-
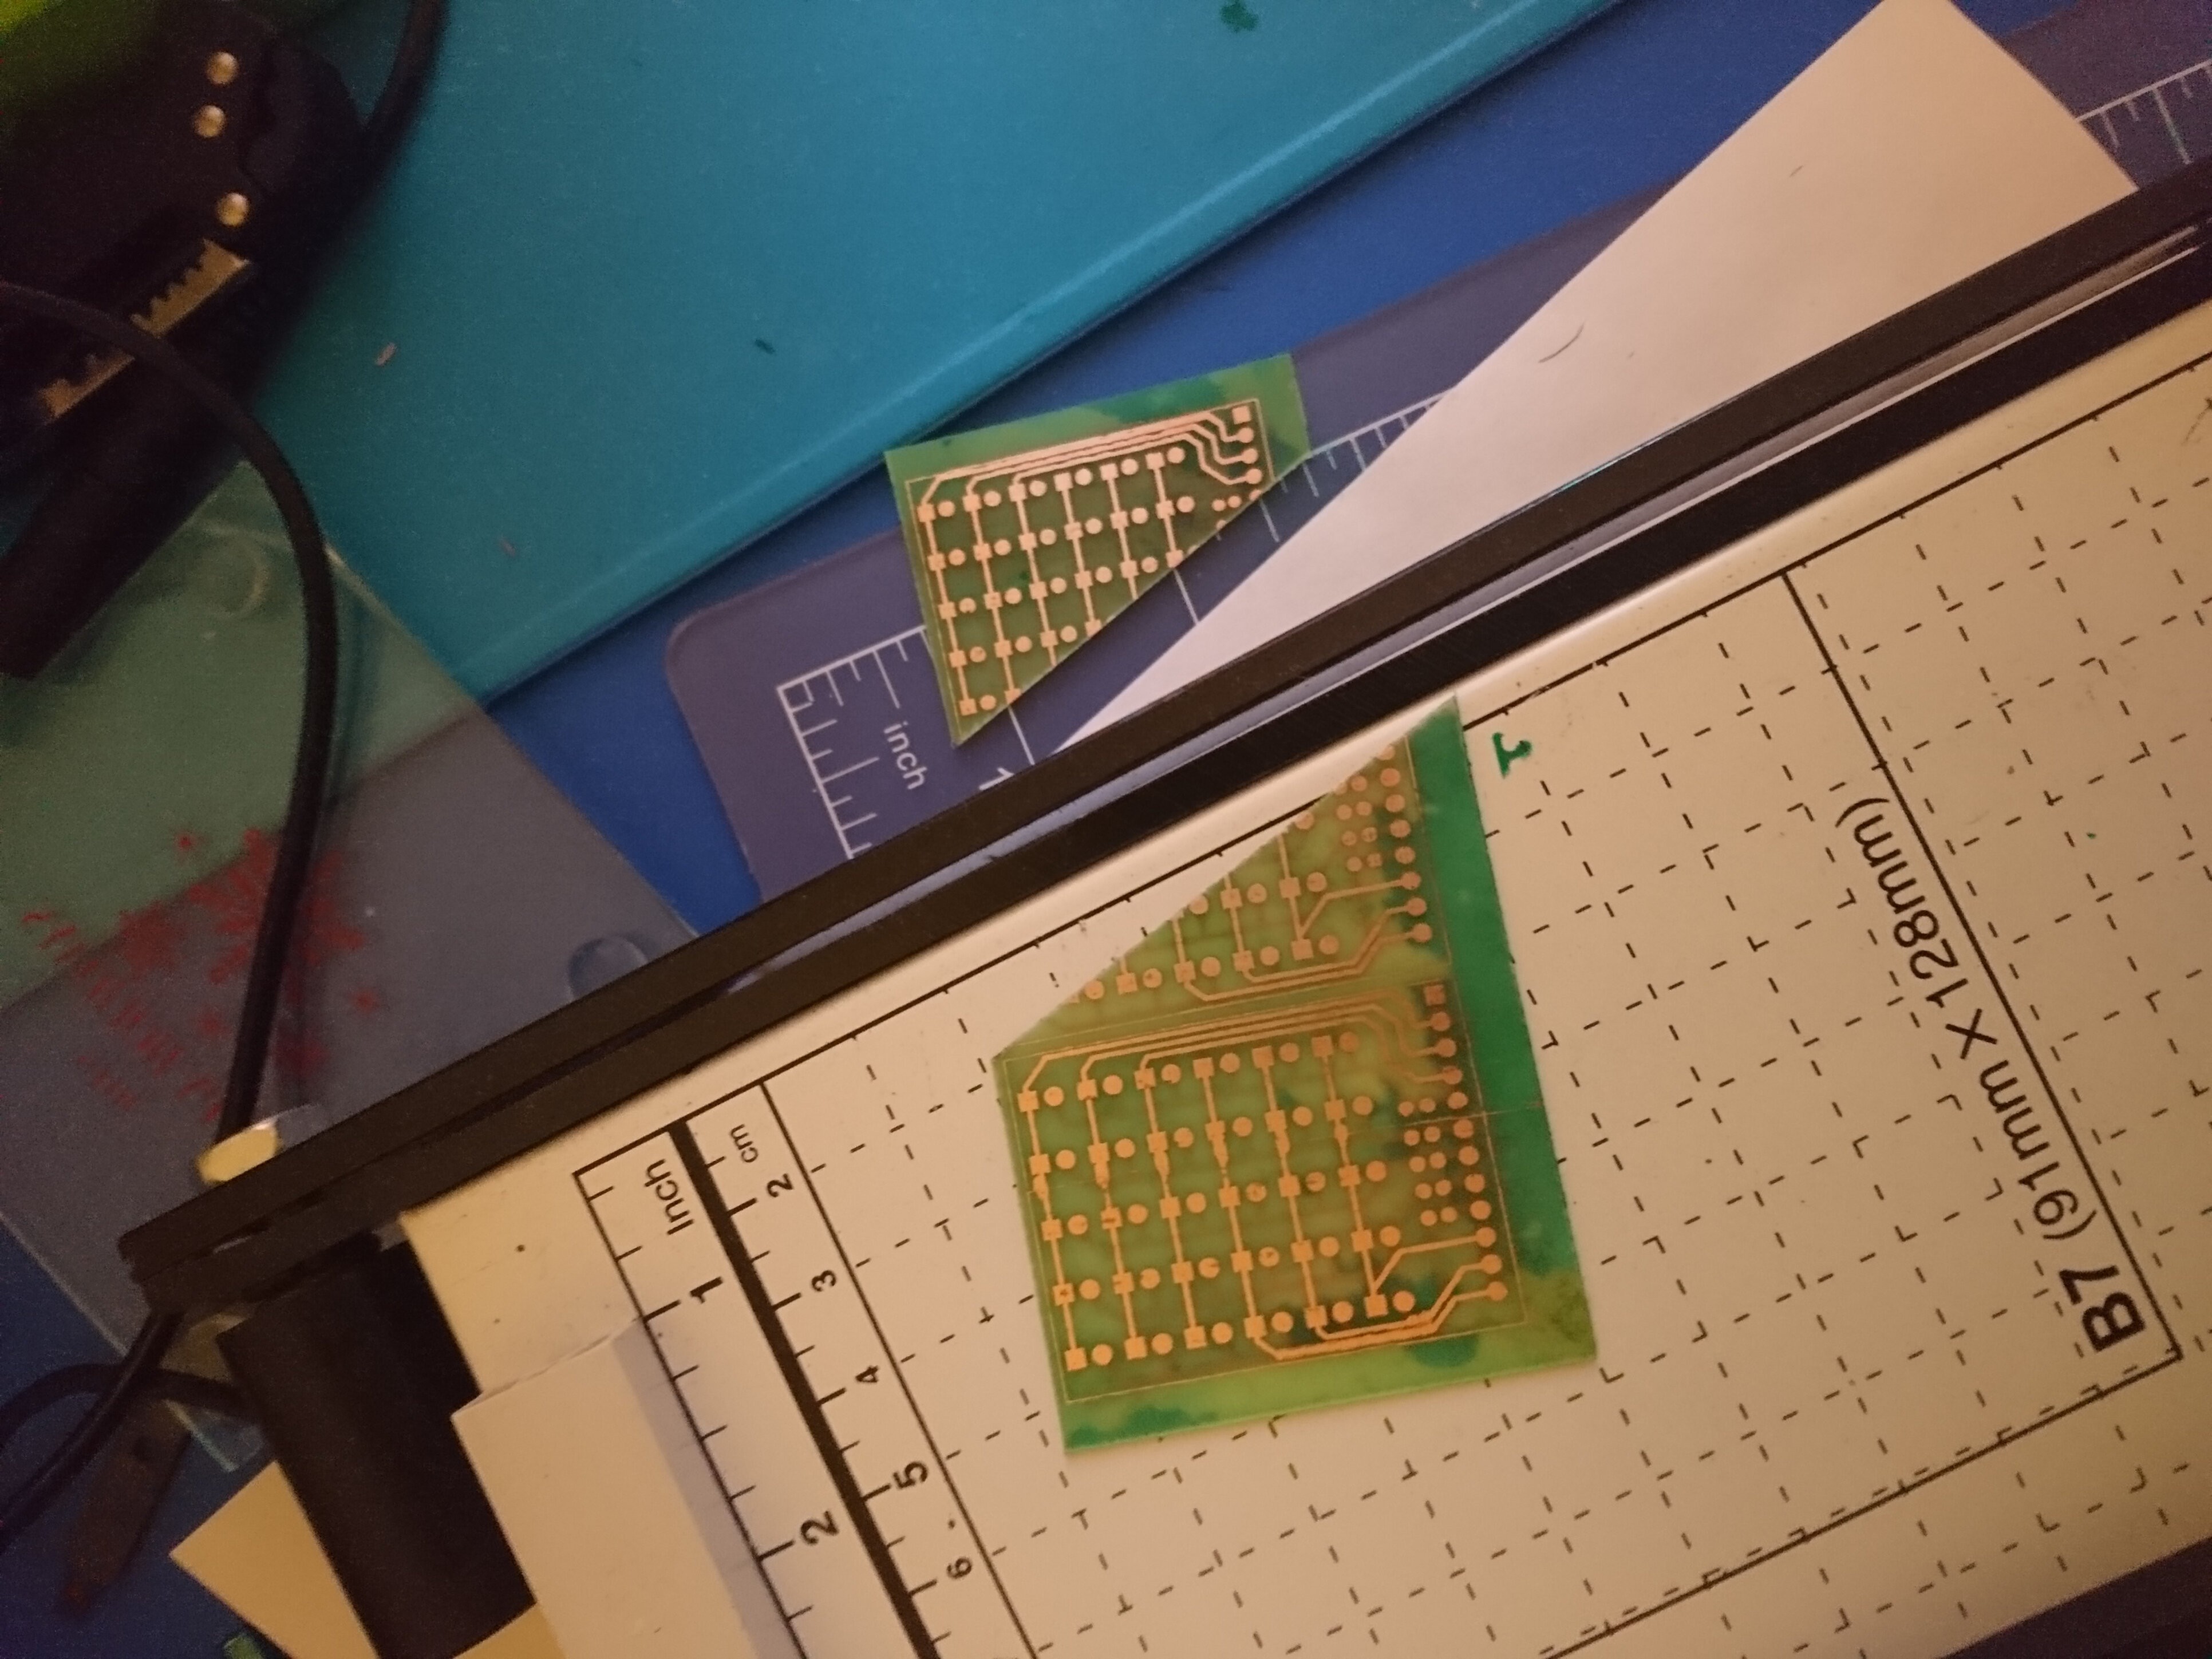
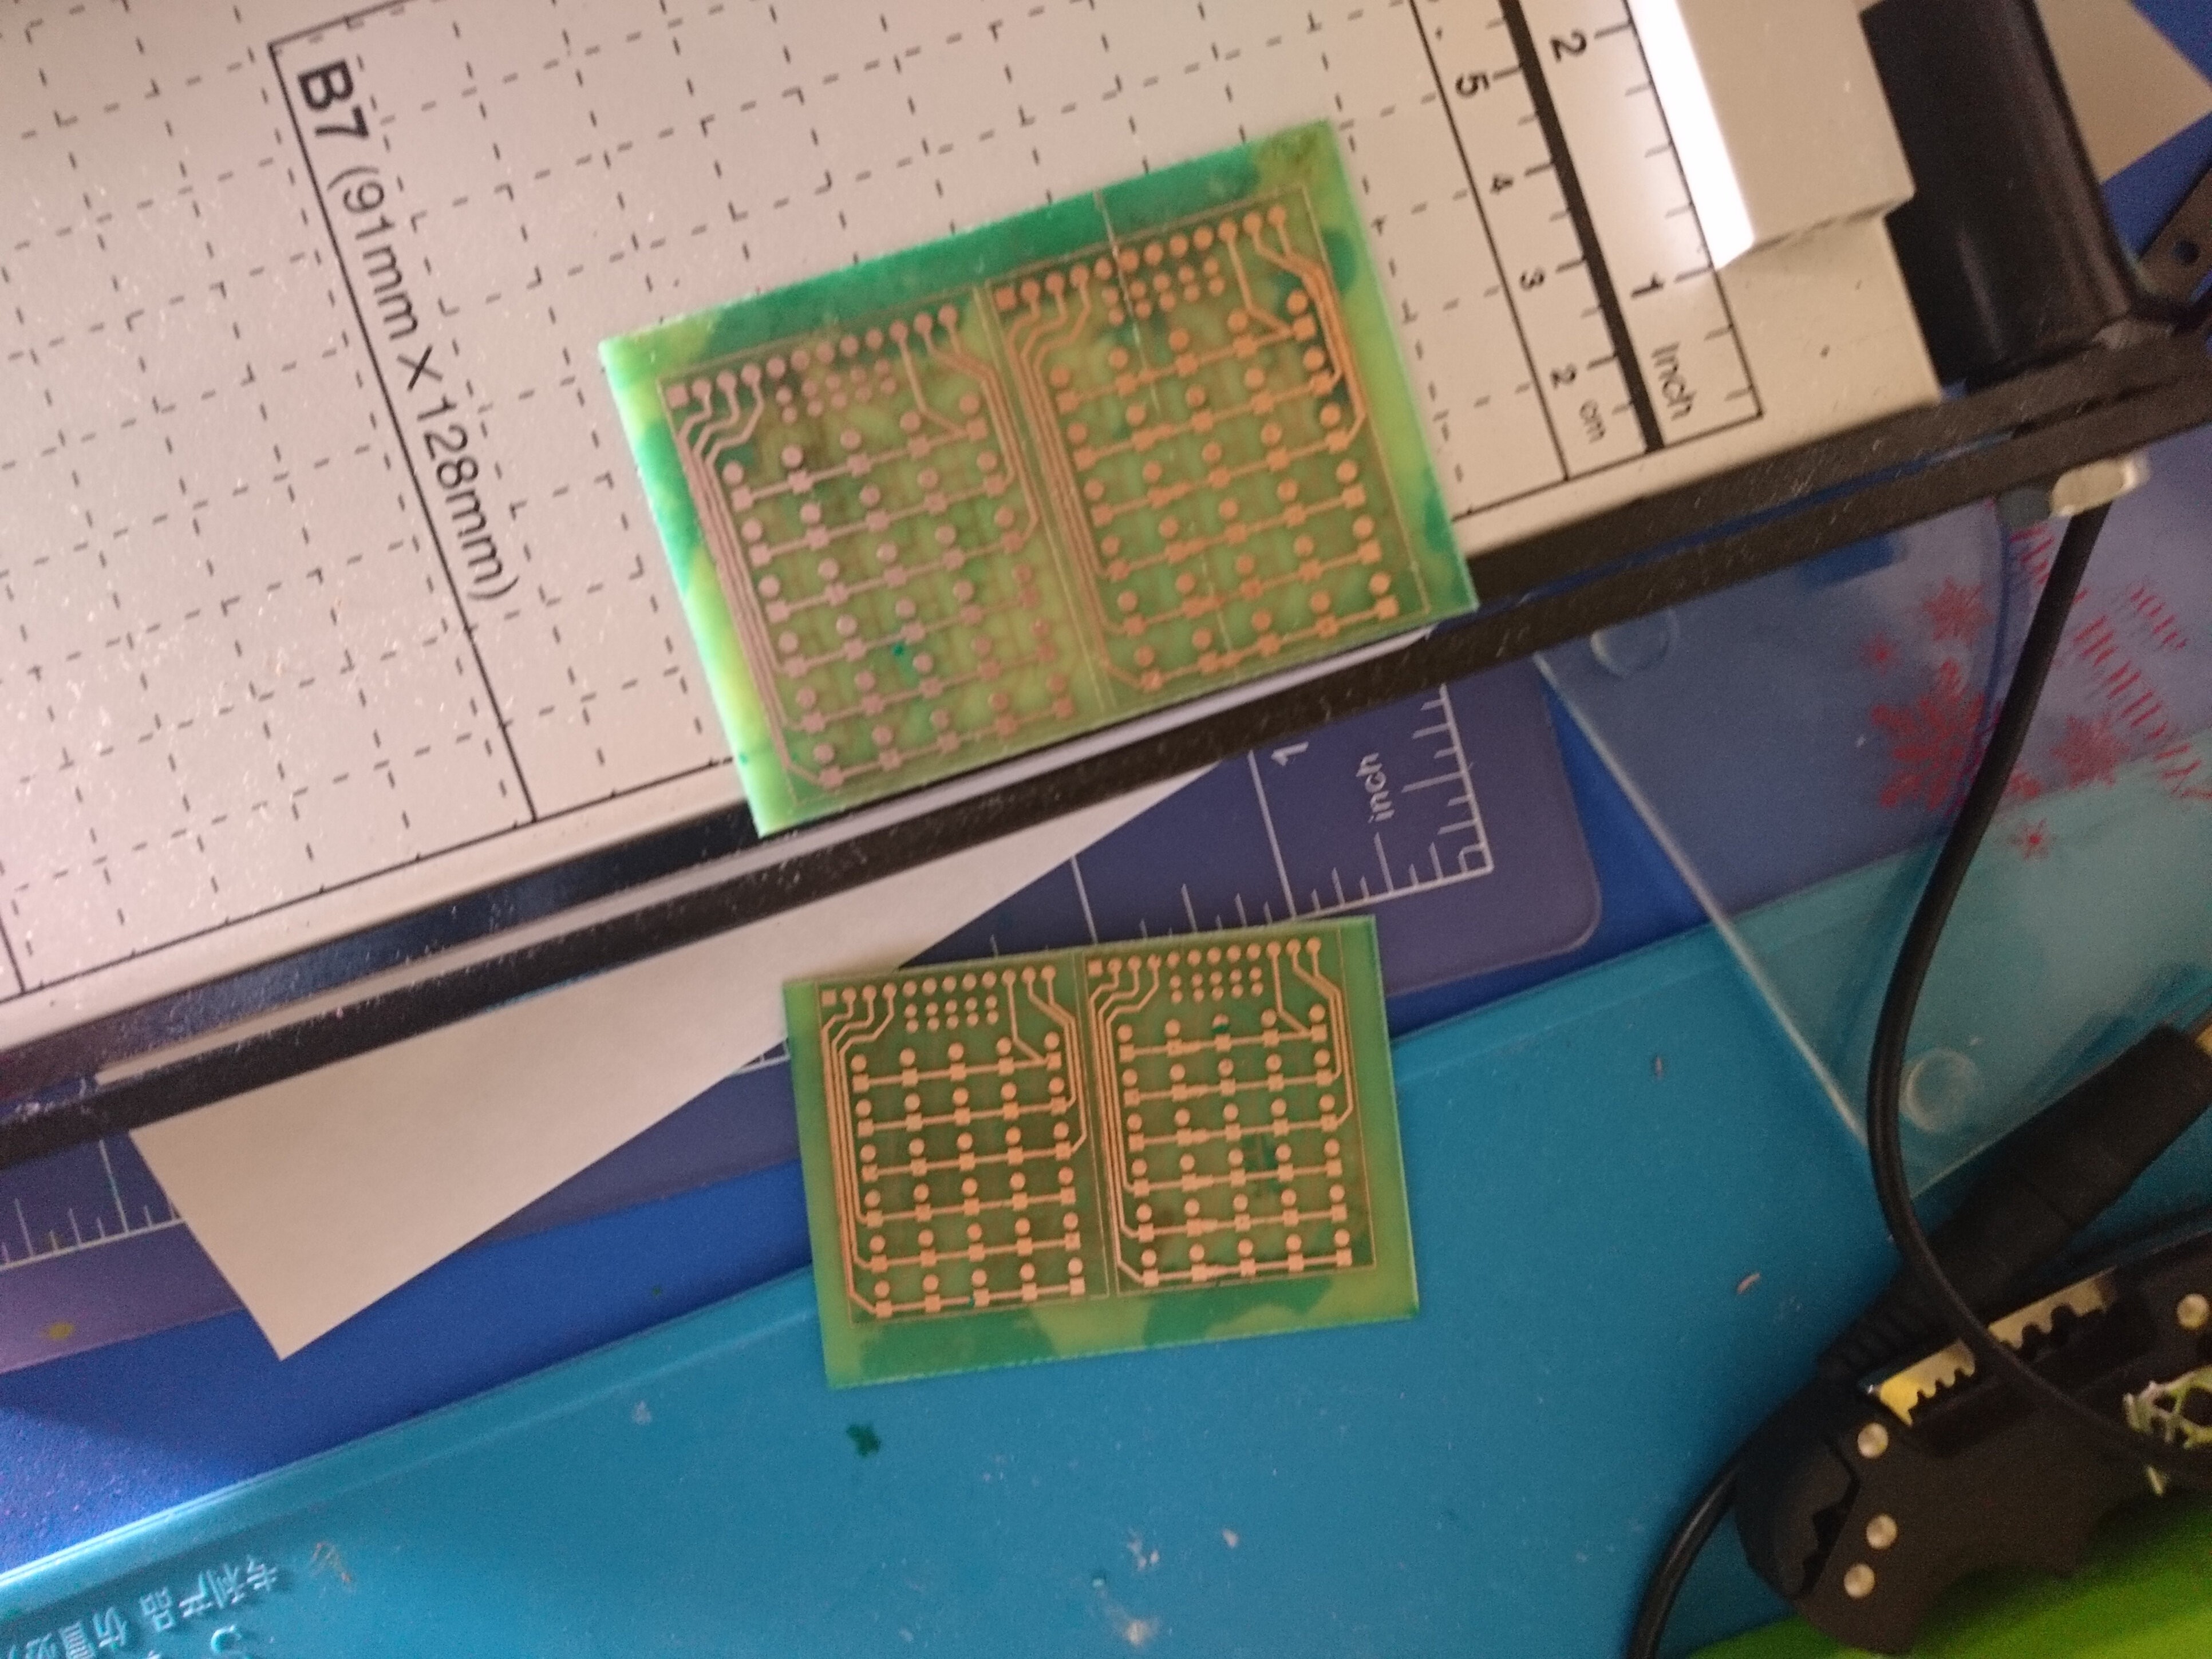
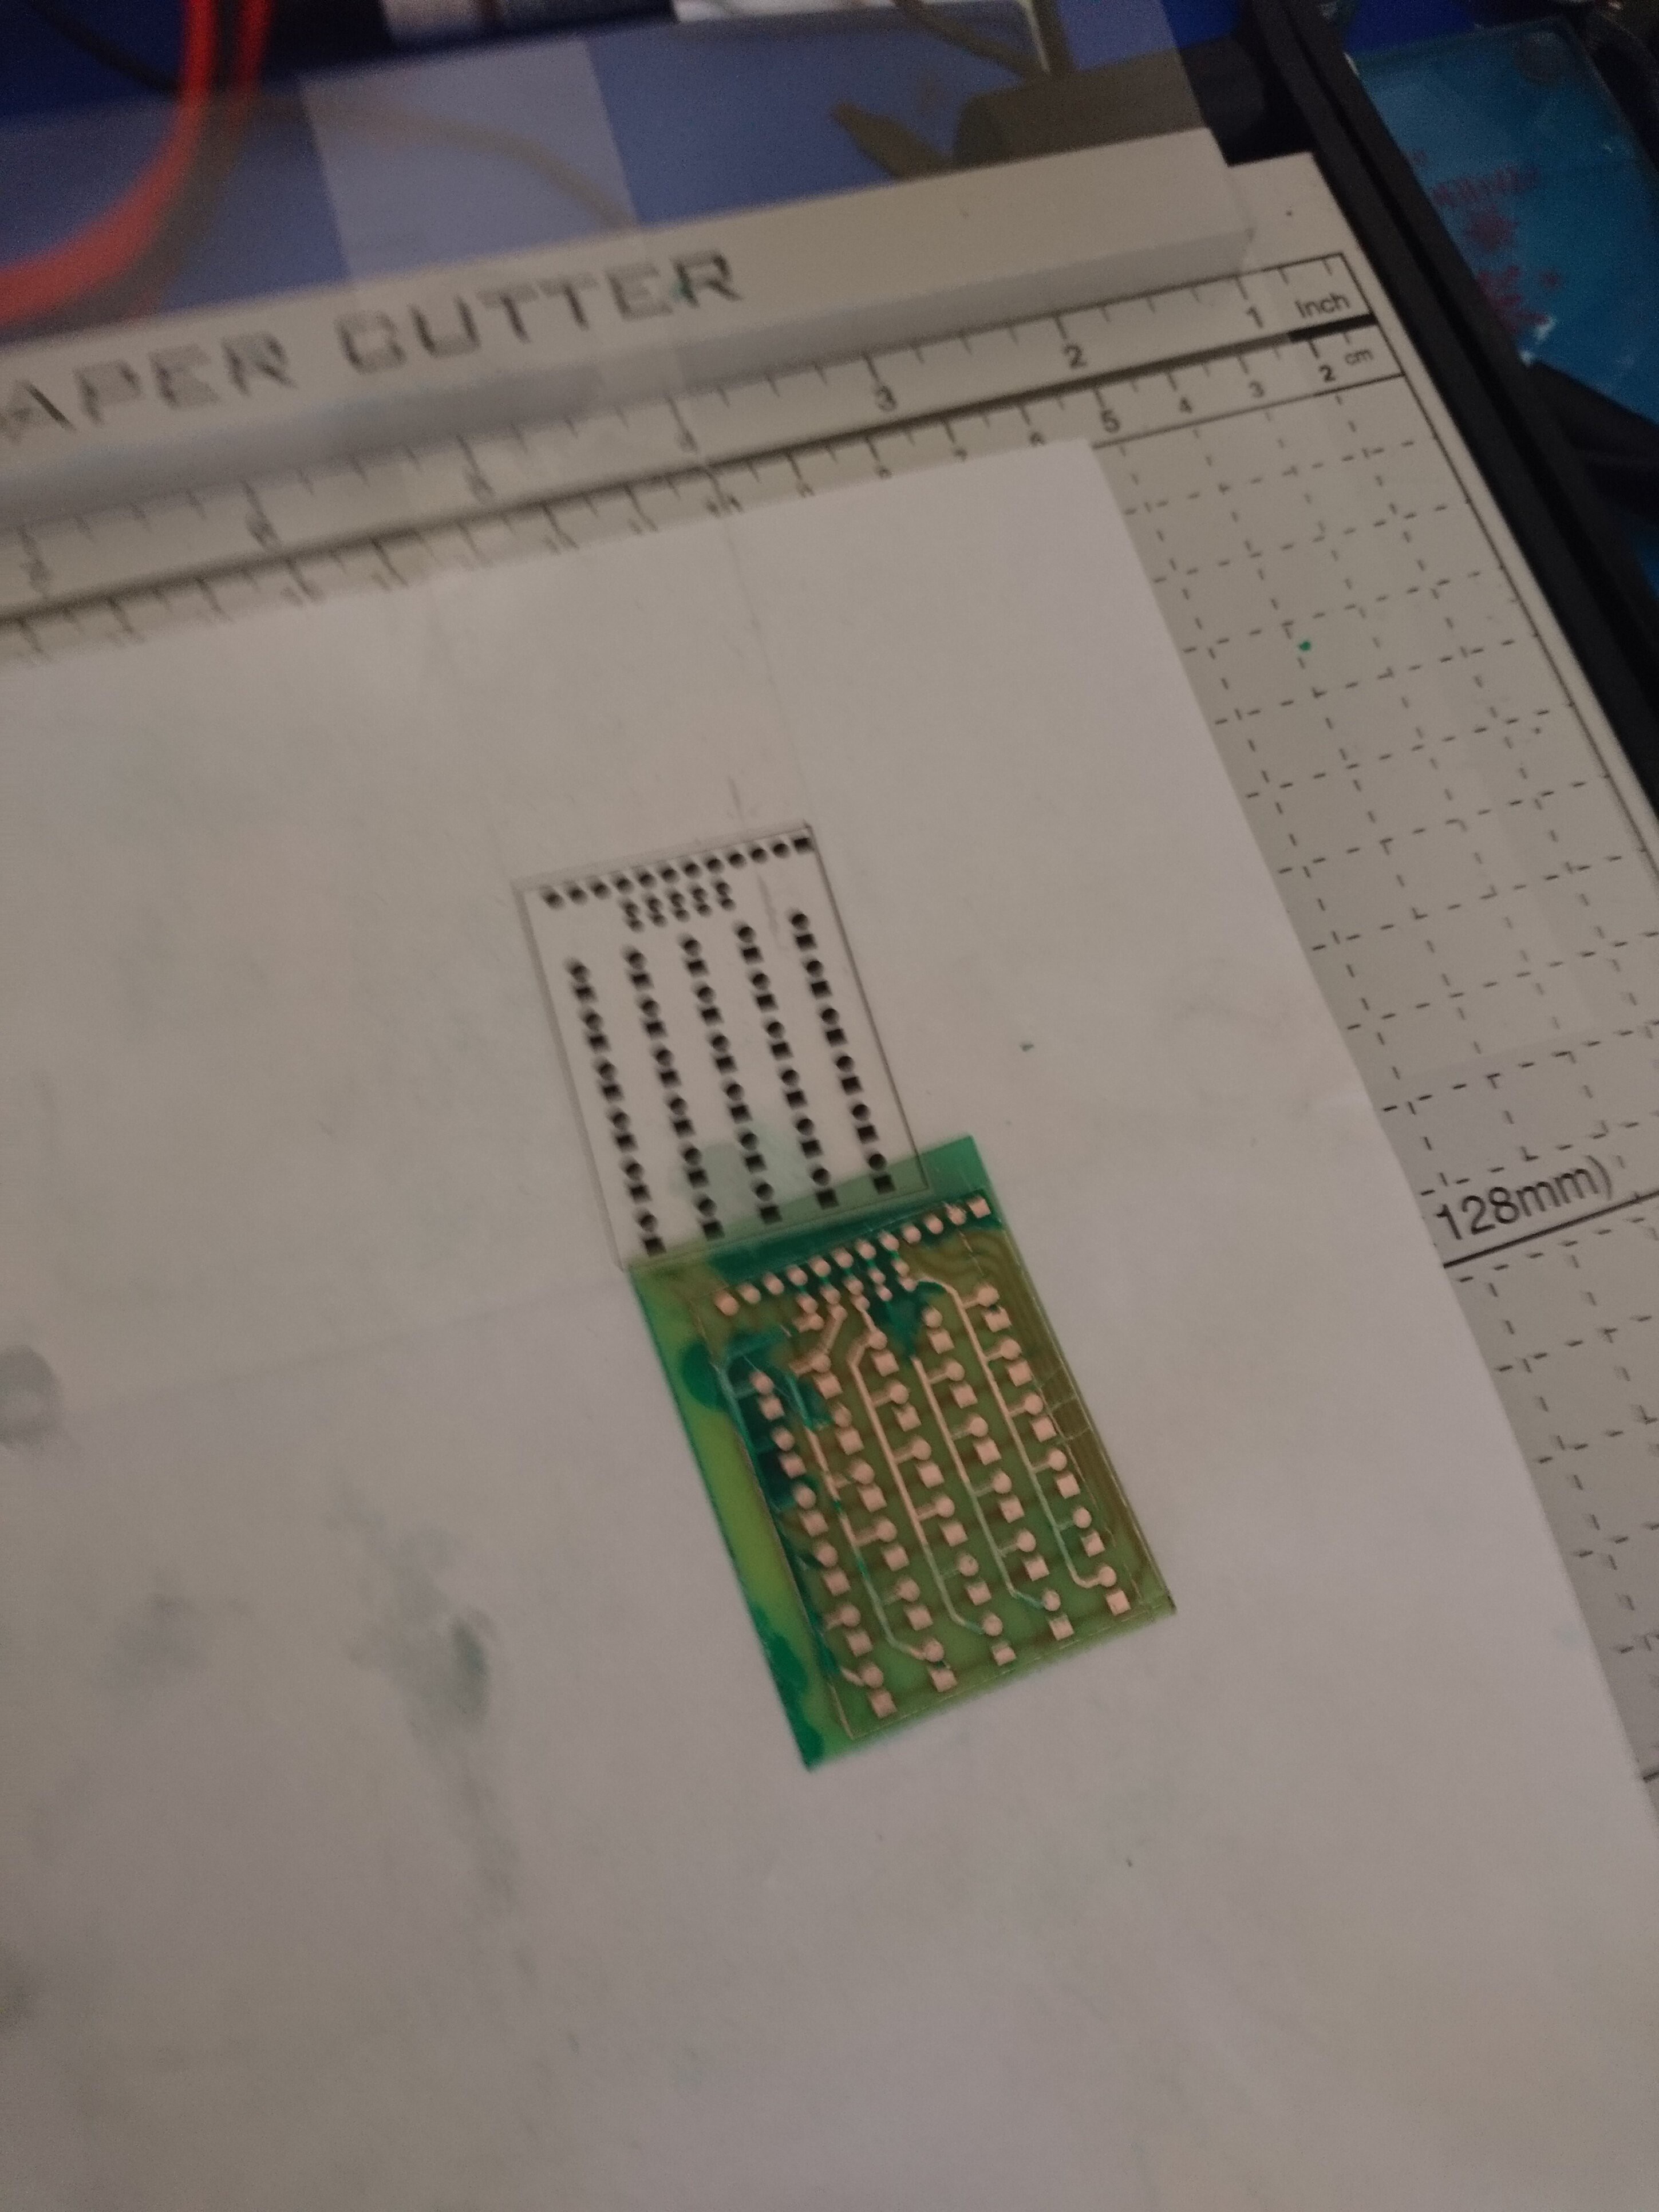
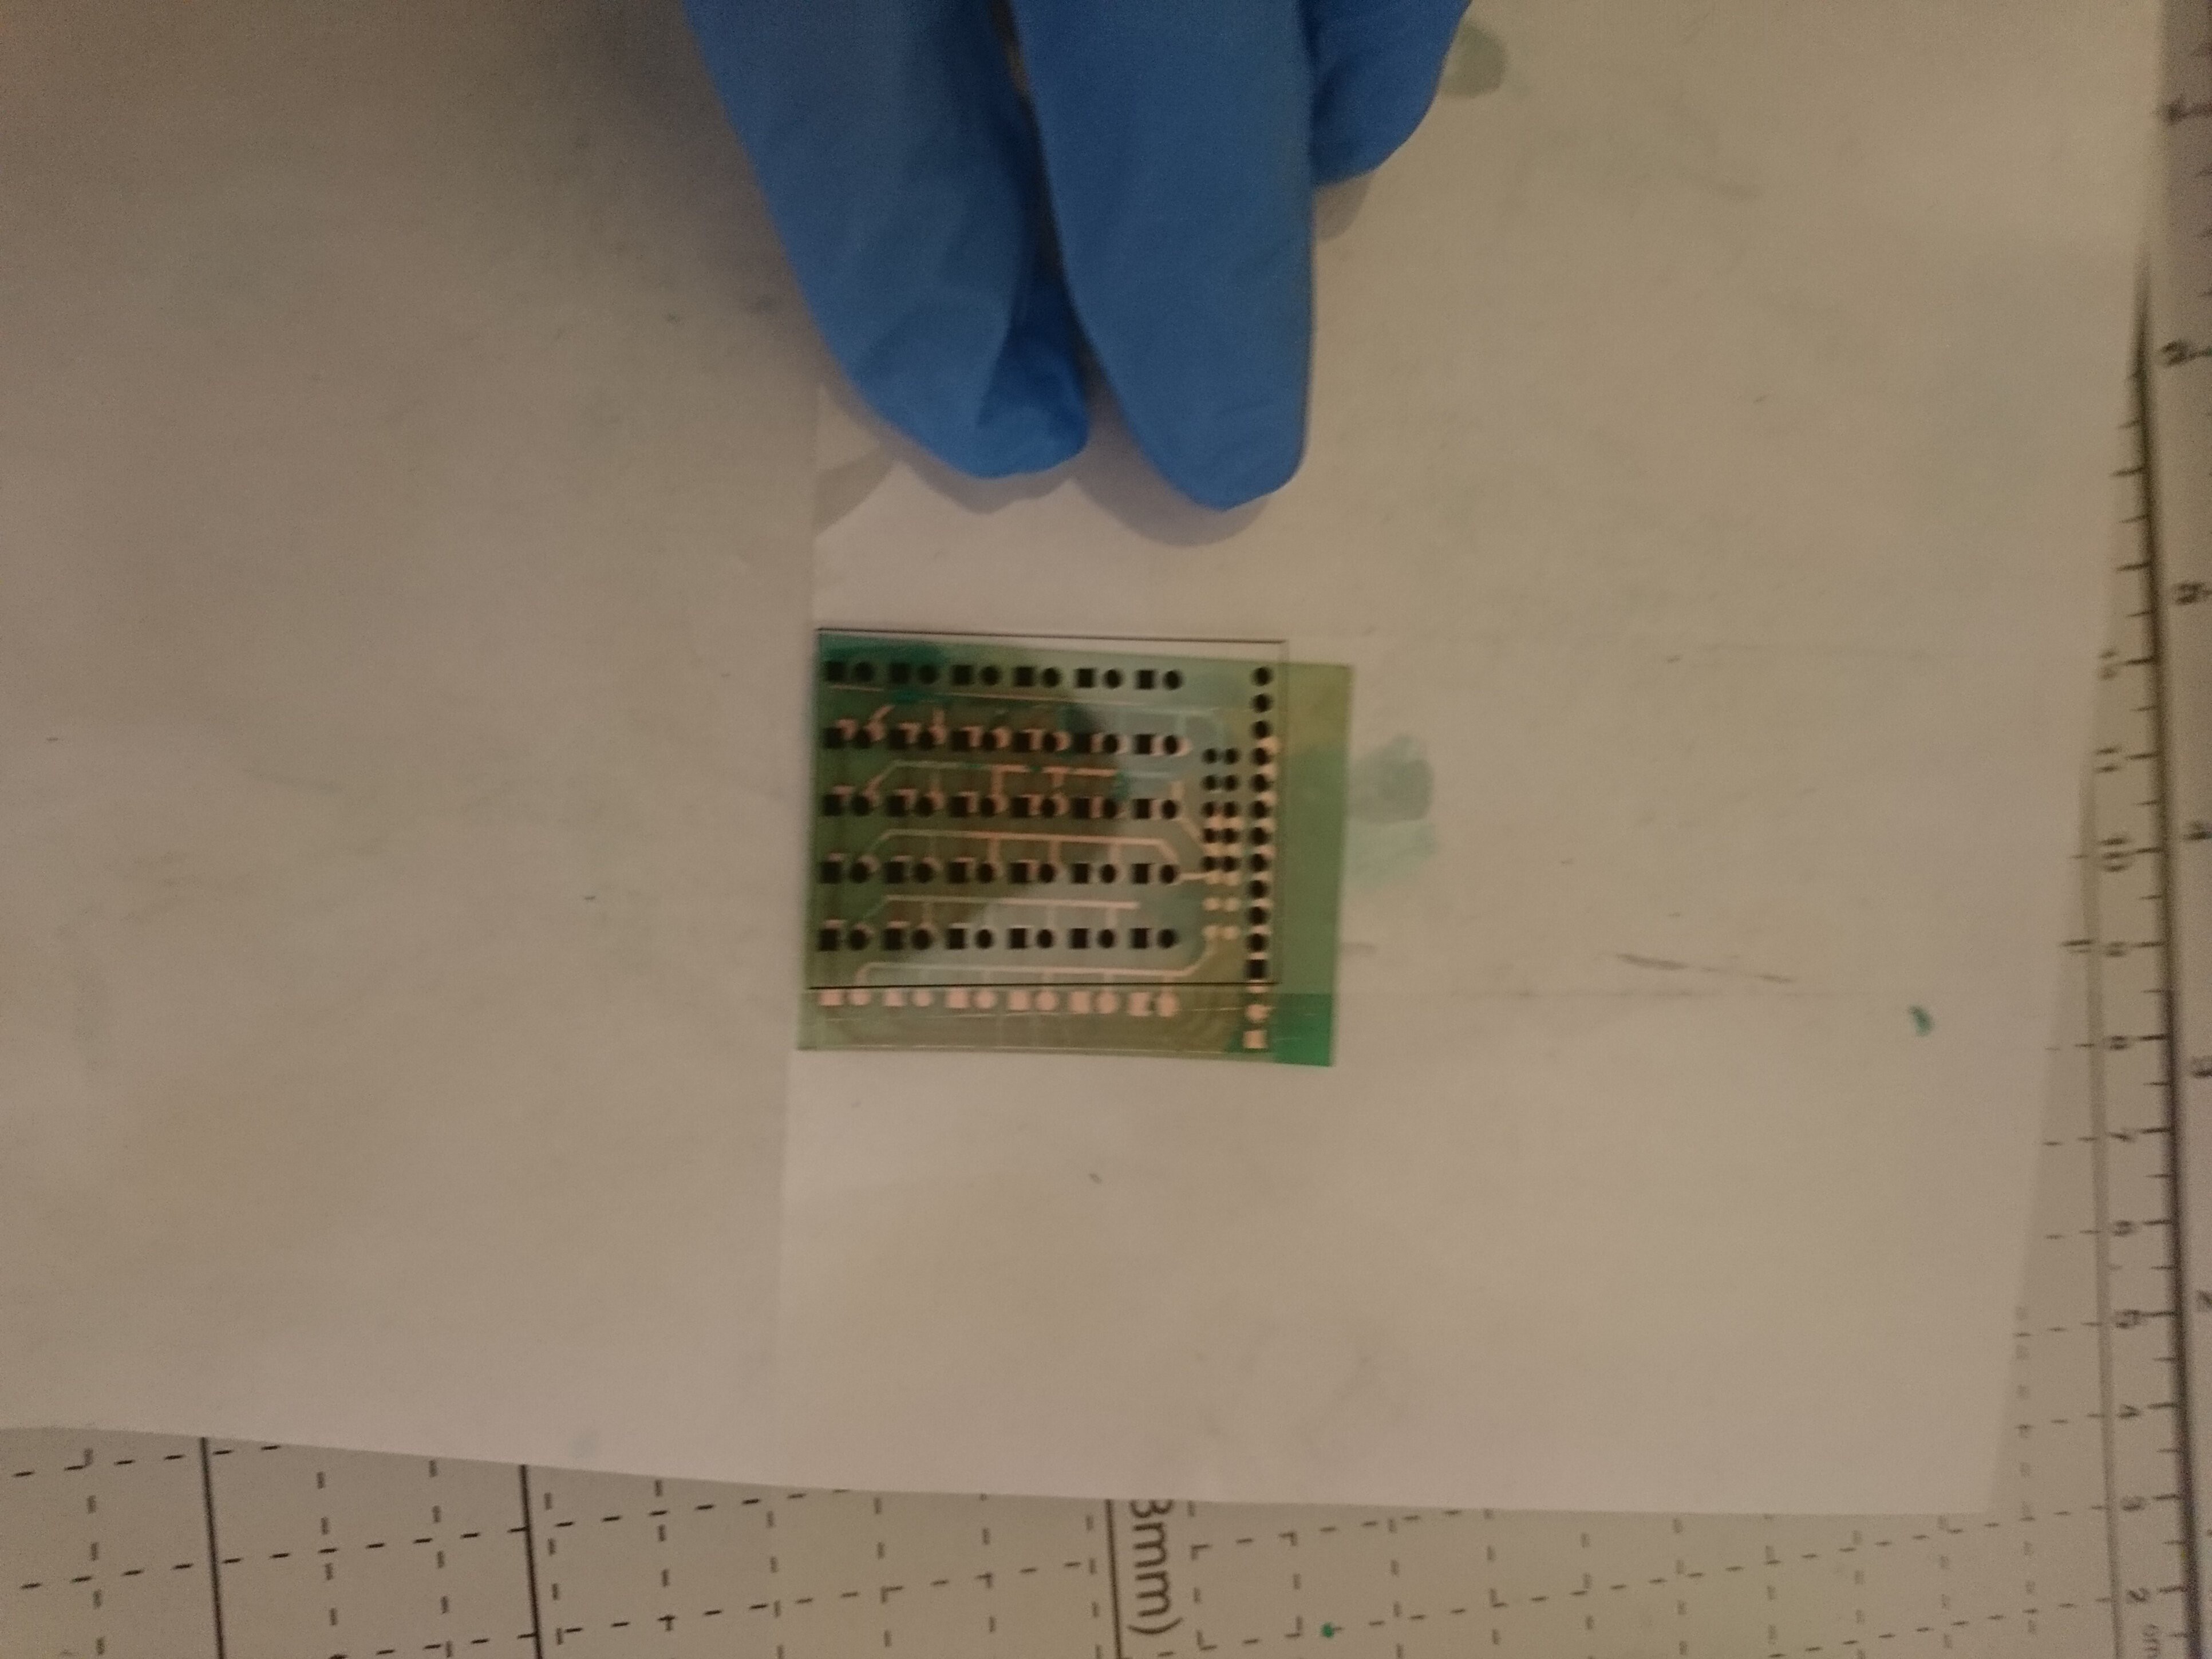
11Cut the pcbs. Perfect!
I used a cheap paper guillotine. It cuts very precise, clean and fast. But just don't do it fast :(
![]()
![]()
![]()
-
12Time for the disaster! The solder mask!
In the fowling steps you will need:
- Laser printer
- Transparency sheets
- UV curable solder mask
- UV light source
- Maybe gloves
- Lots of towels, tissues, cloth or anything to clean your mess
- Glass mug coasters that doesn't work (optional)
- Super glue
![]()
-
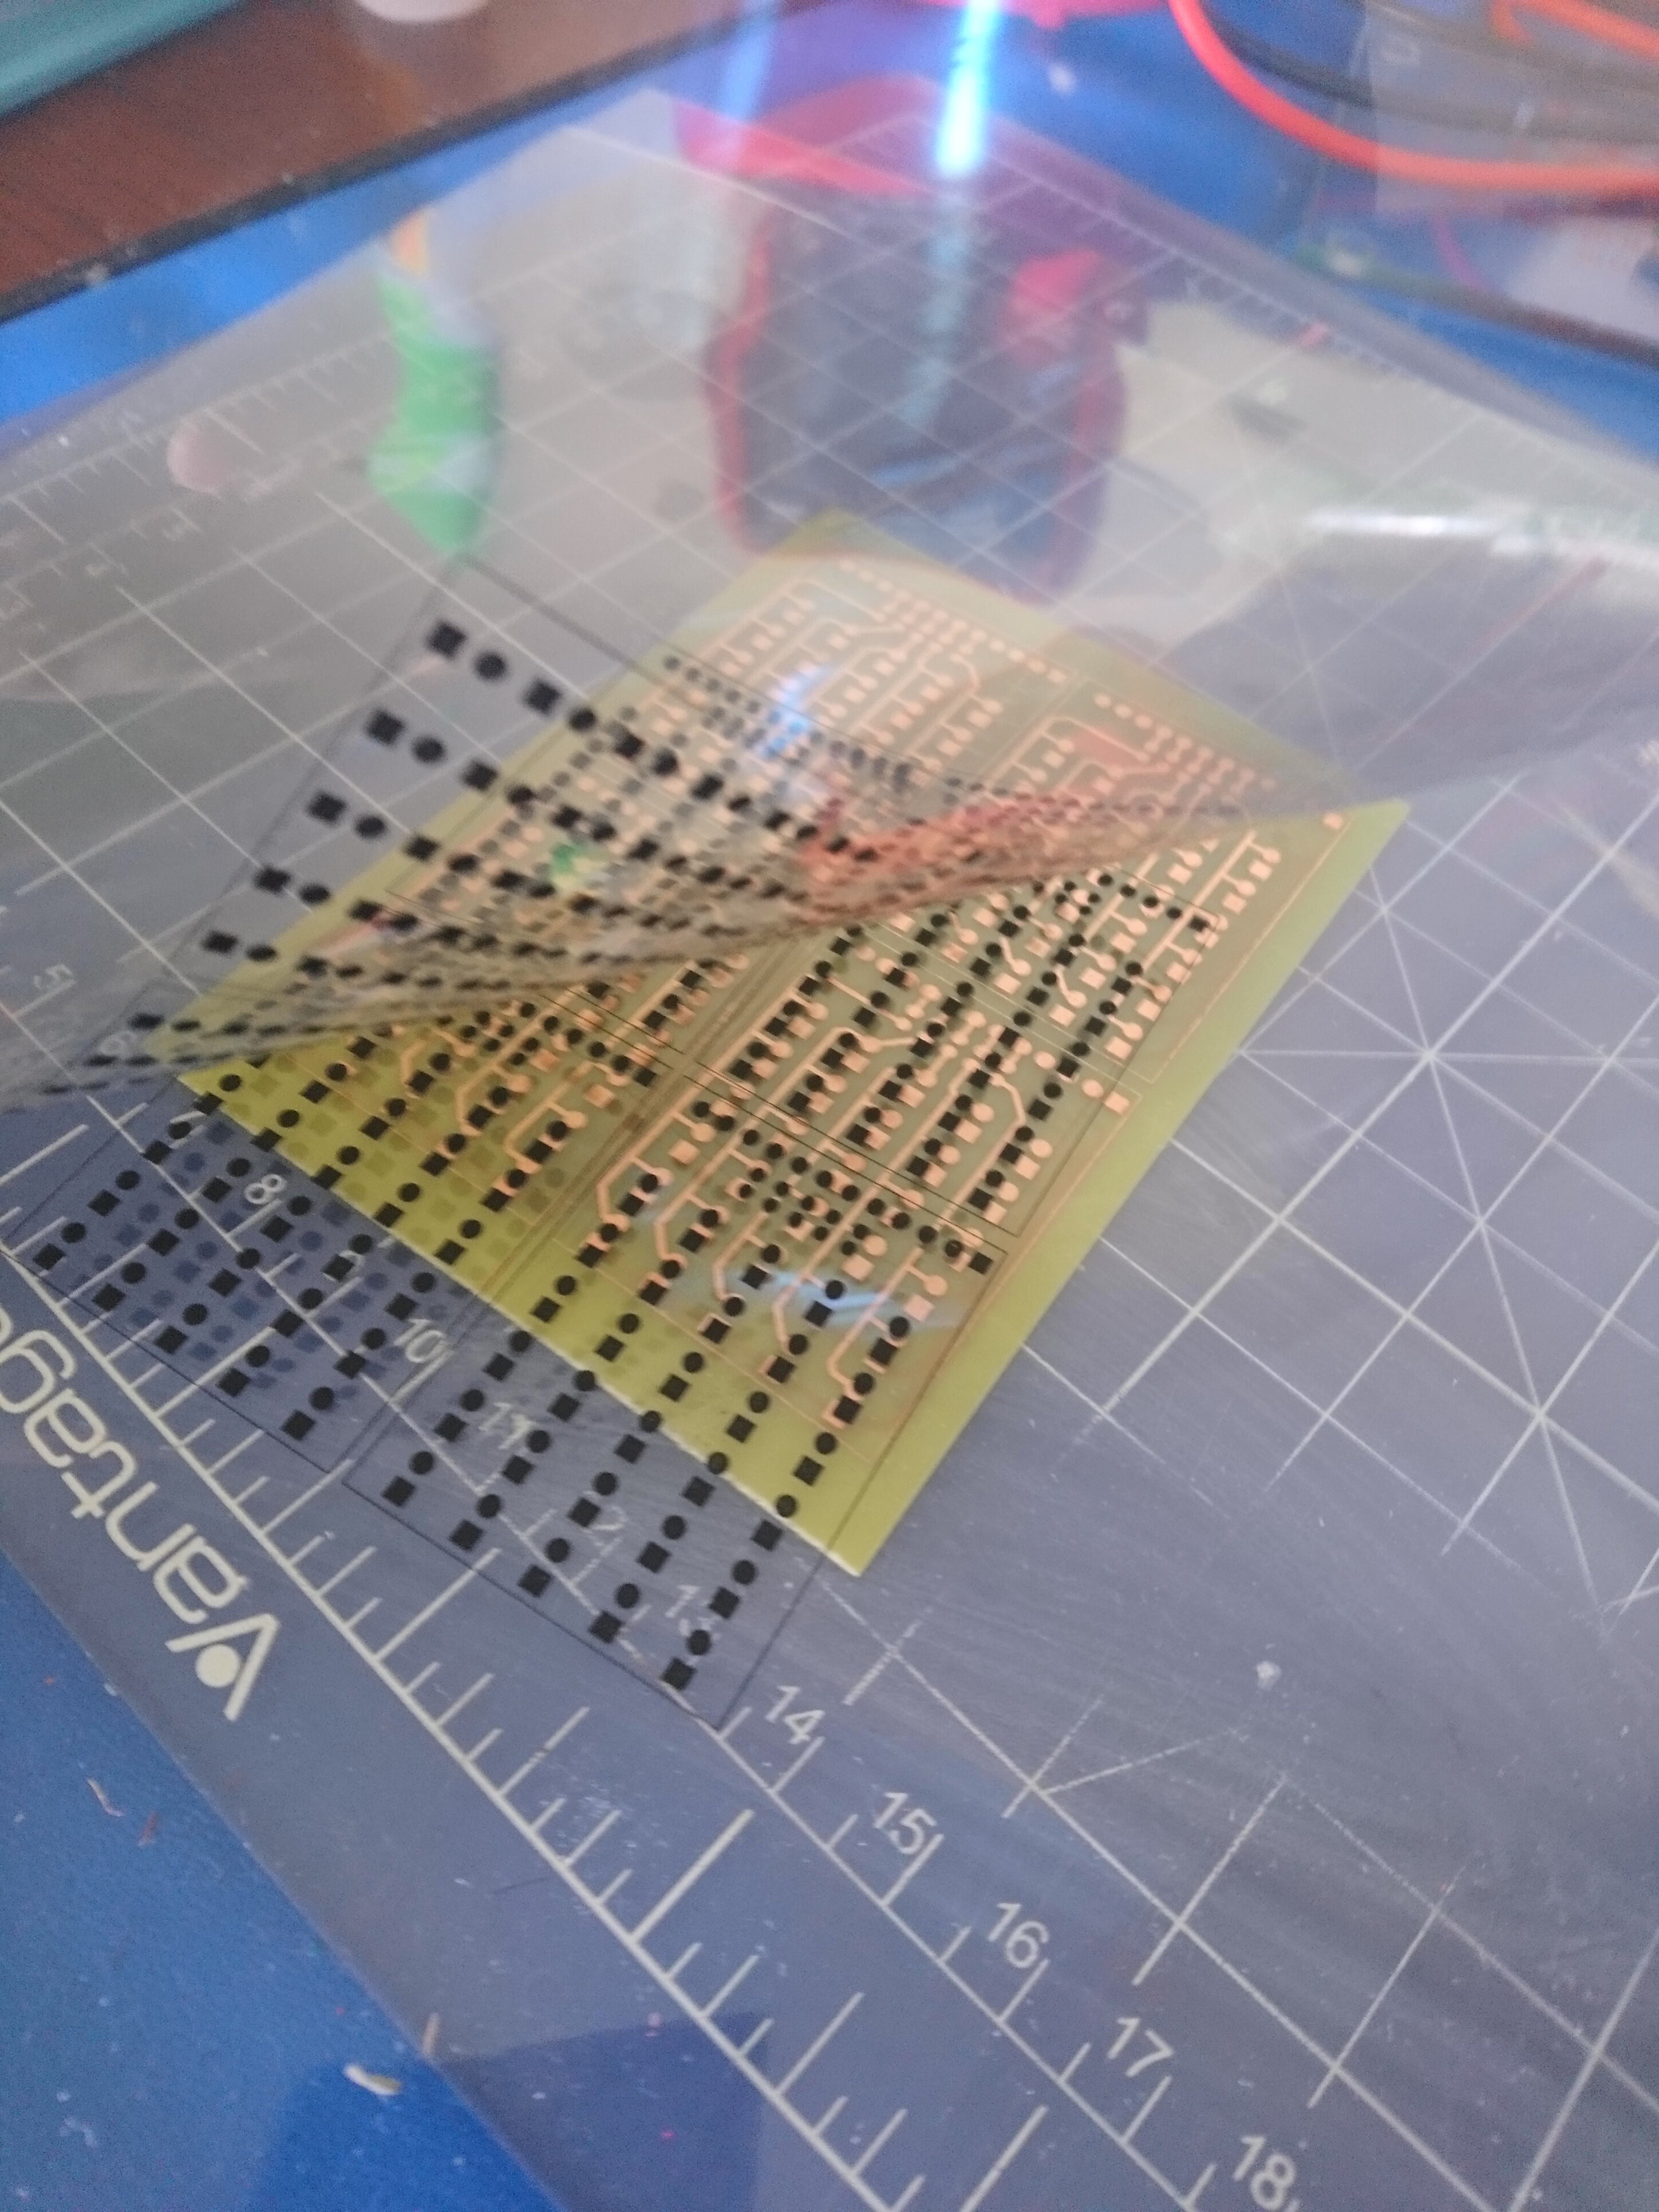
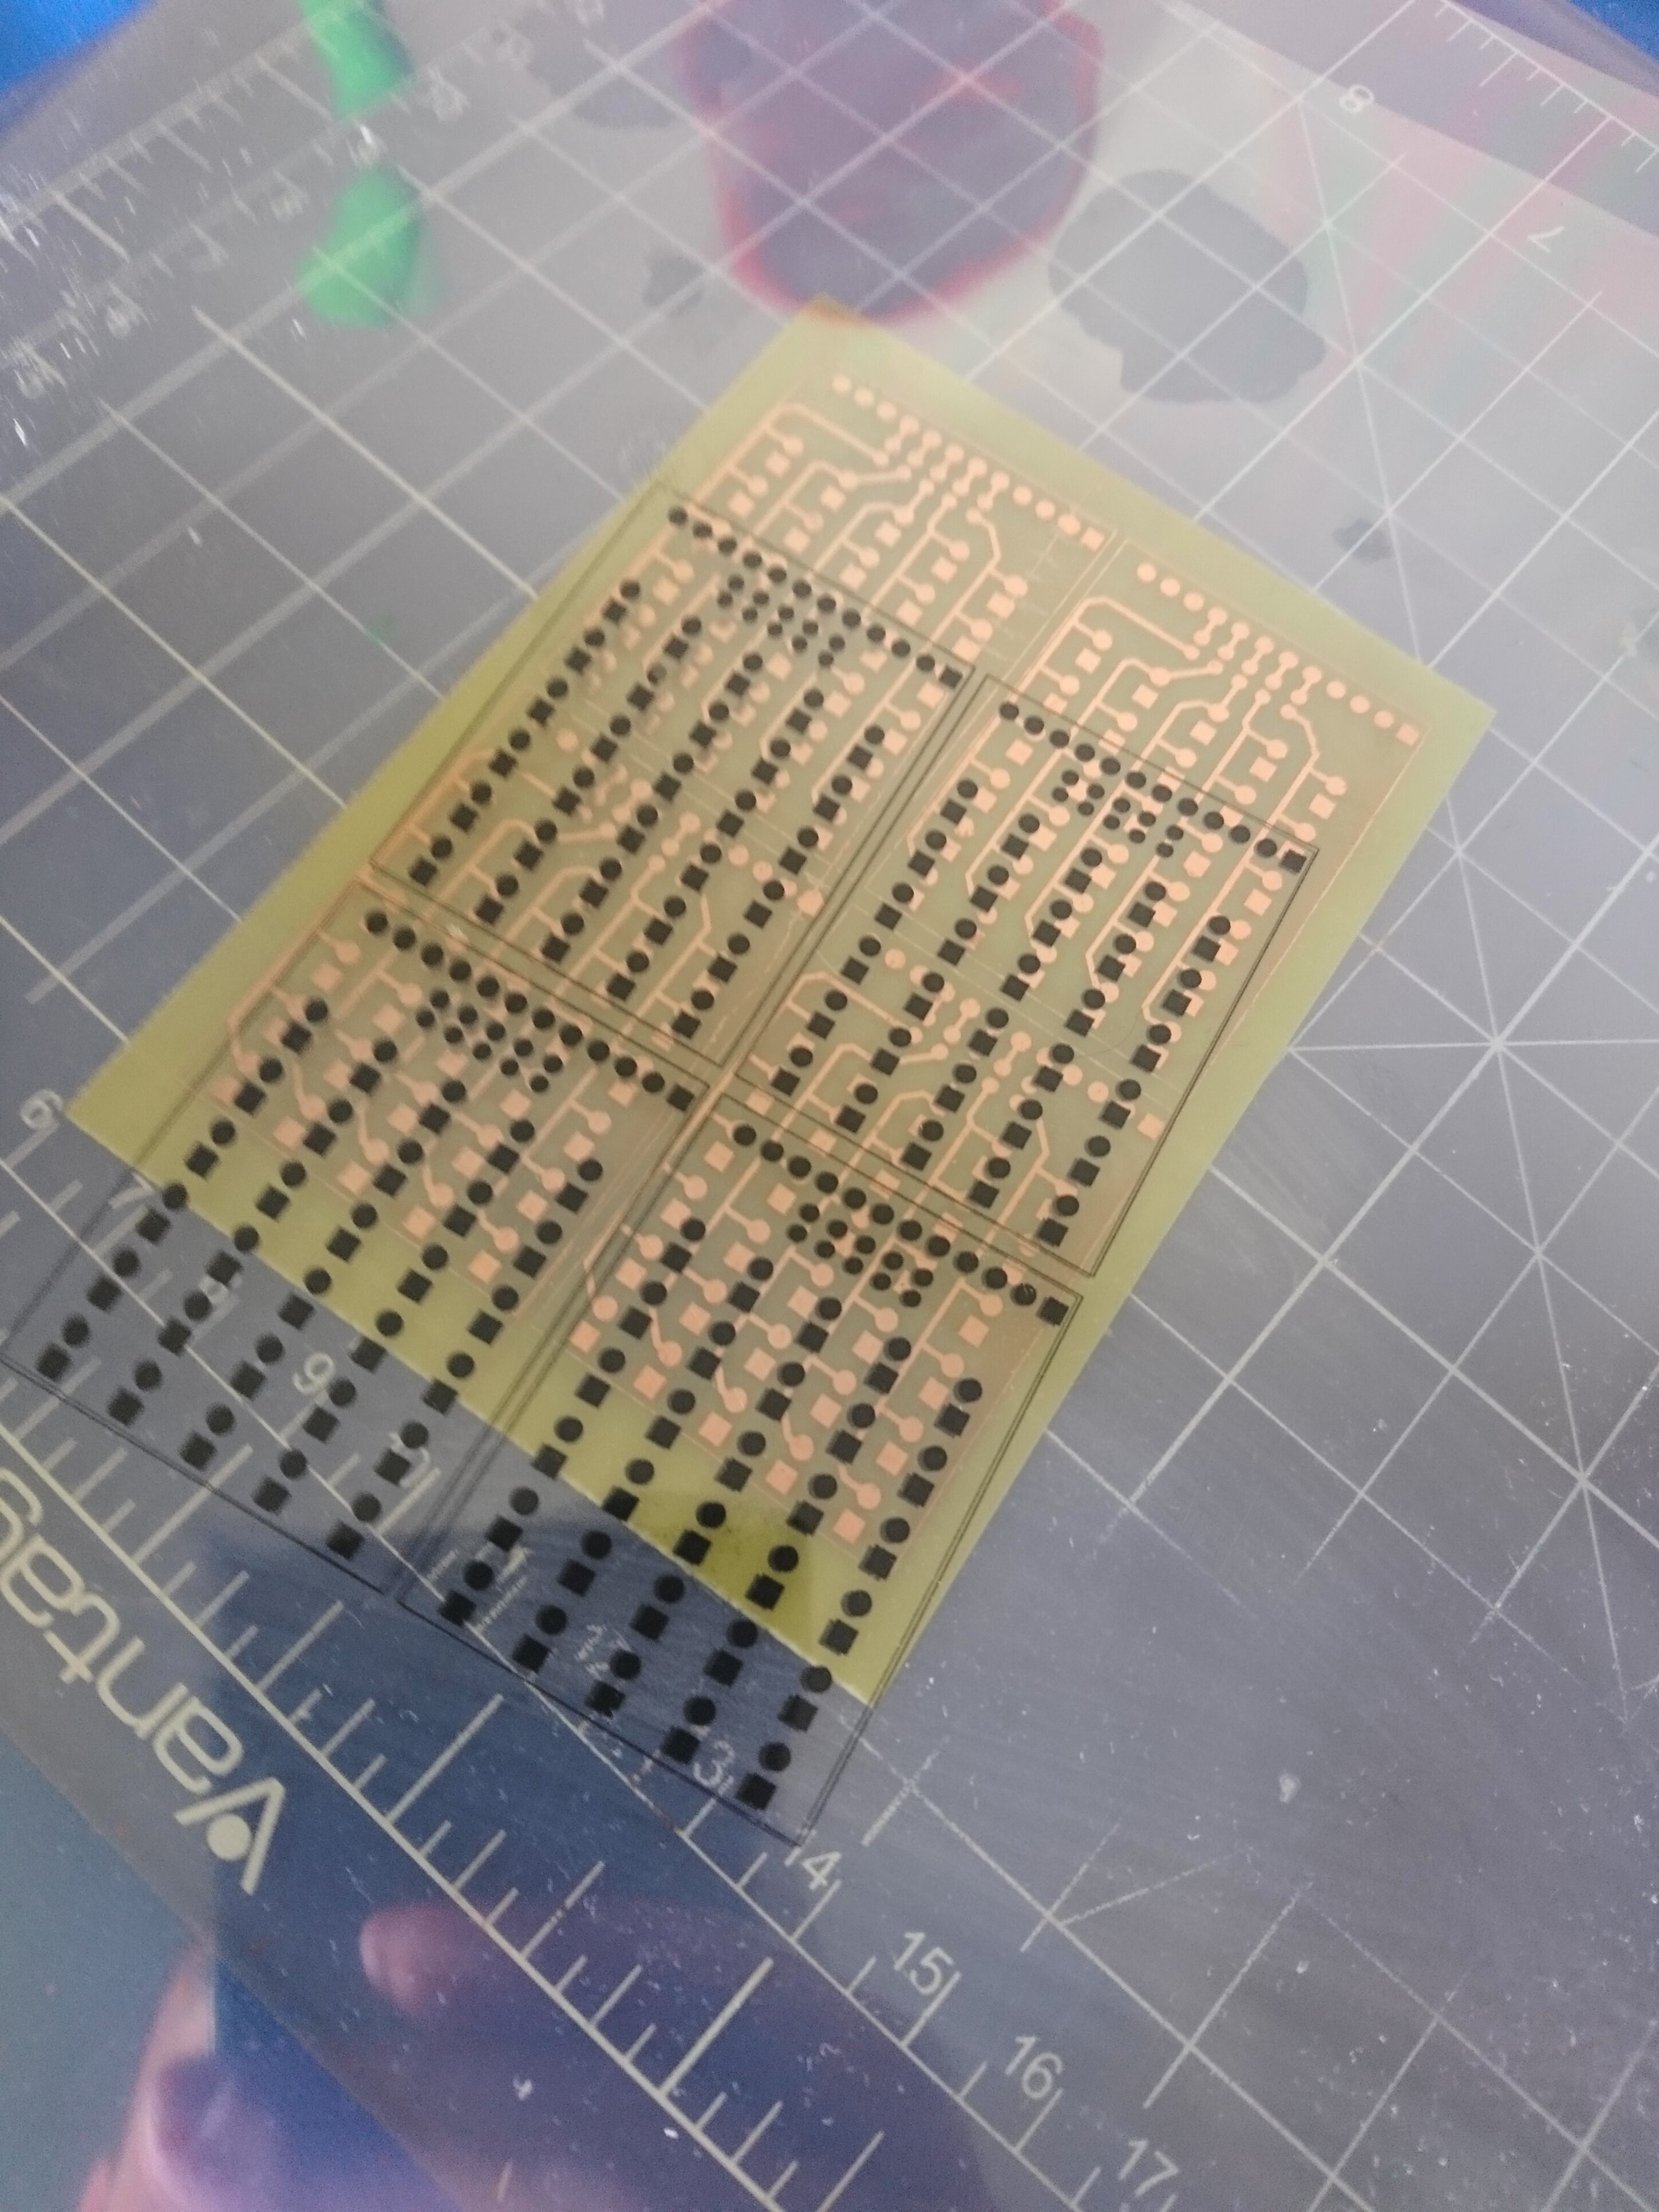
13Hug the sheet and print
In your CAD program, print the solder mask layers and make sure you make the same mirrored layer you printed in the traces is also mirrored here.
Also make sure you print 2 copies from each side.
![]() Transparency sheets works best if you hug them while barefoot or they will be stubborn and stick to the drawer inside the printer because you don't show them the love they need. **static charges.
Transparency sheets works best if you hug them while barefoot or they will be stubborn and stick to the drawer inside the printer because you don't show them the love they need. **static charges.![]()
-
14Align two sheets together and glue them together.
Align two sheets of each side together and glue from the corners away from the print.
We do this to make sure the UV light never penetrates the dark parts. You will see why in the coming steps.
![]()
![]()
-
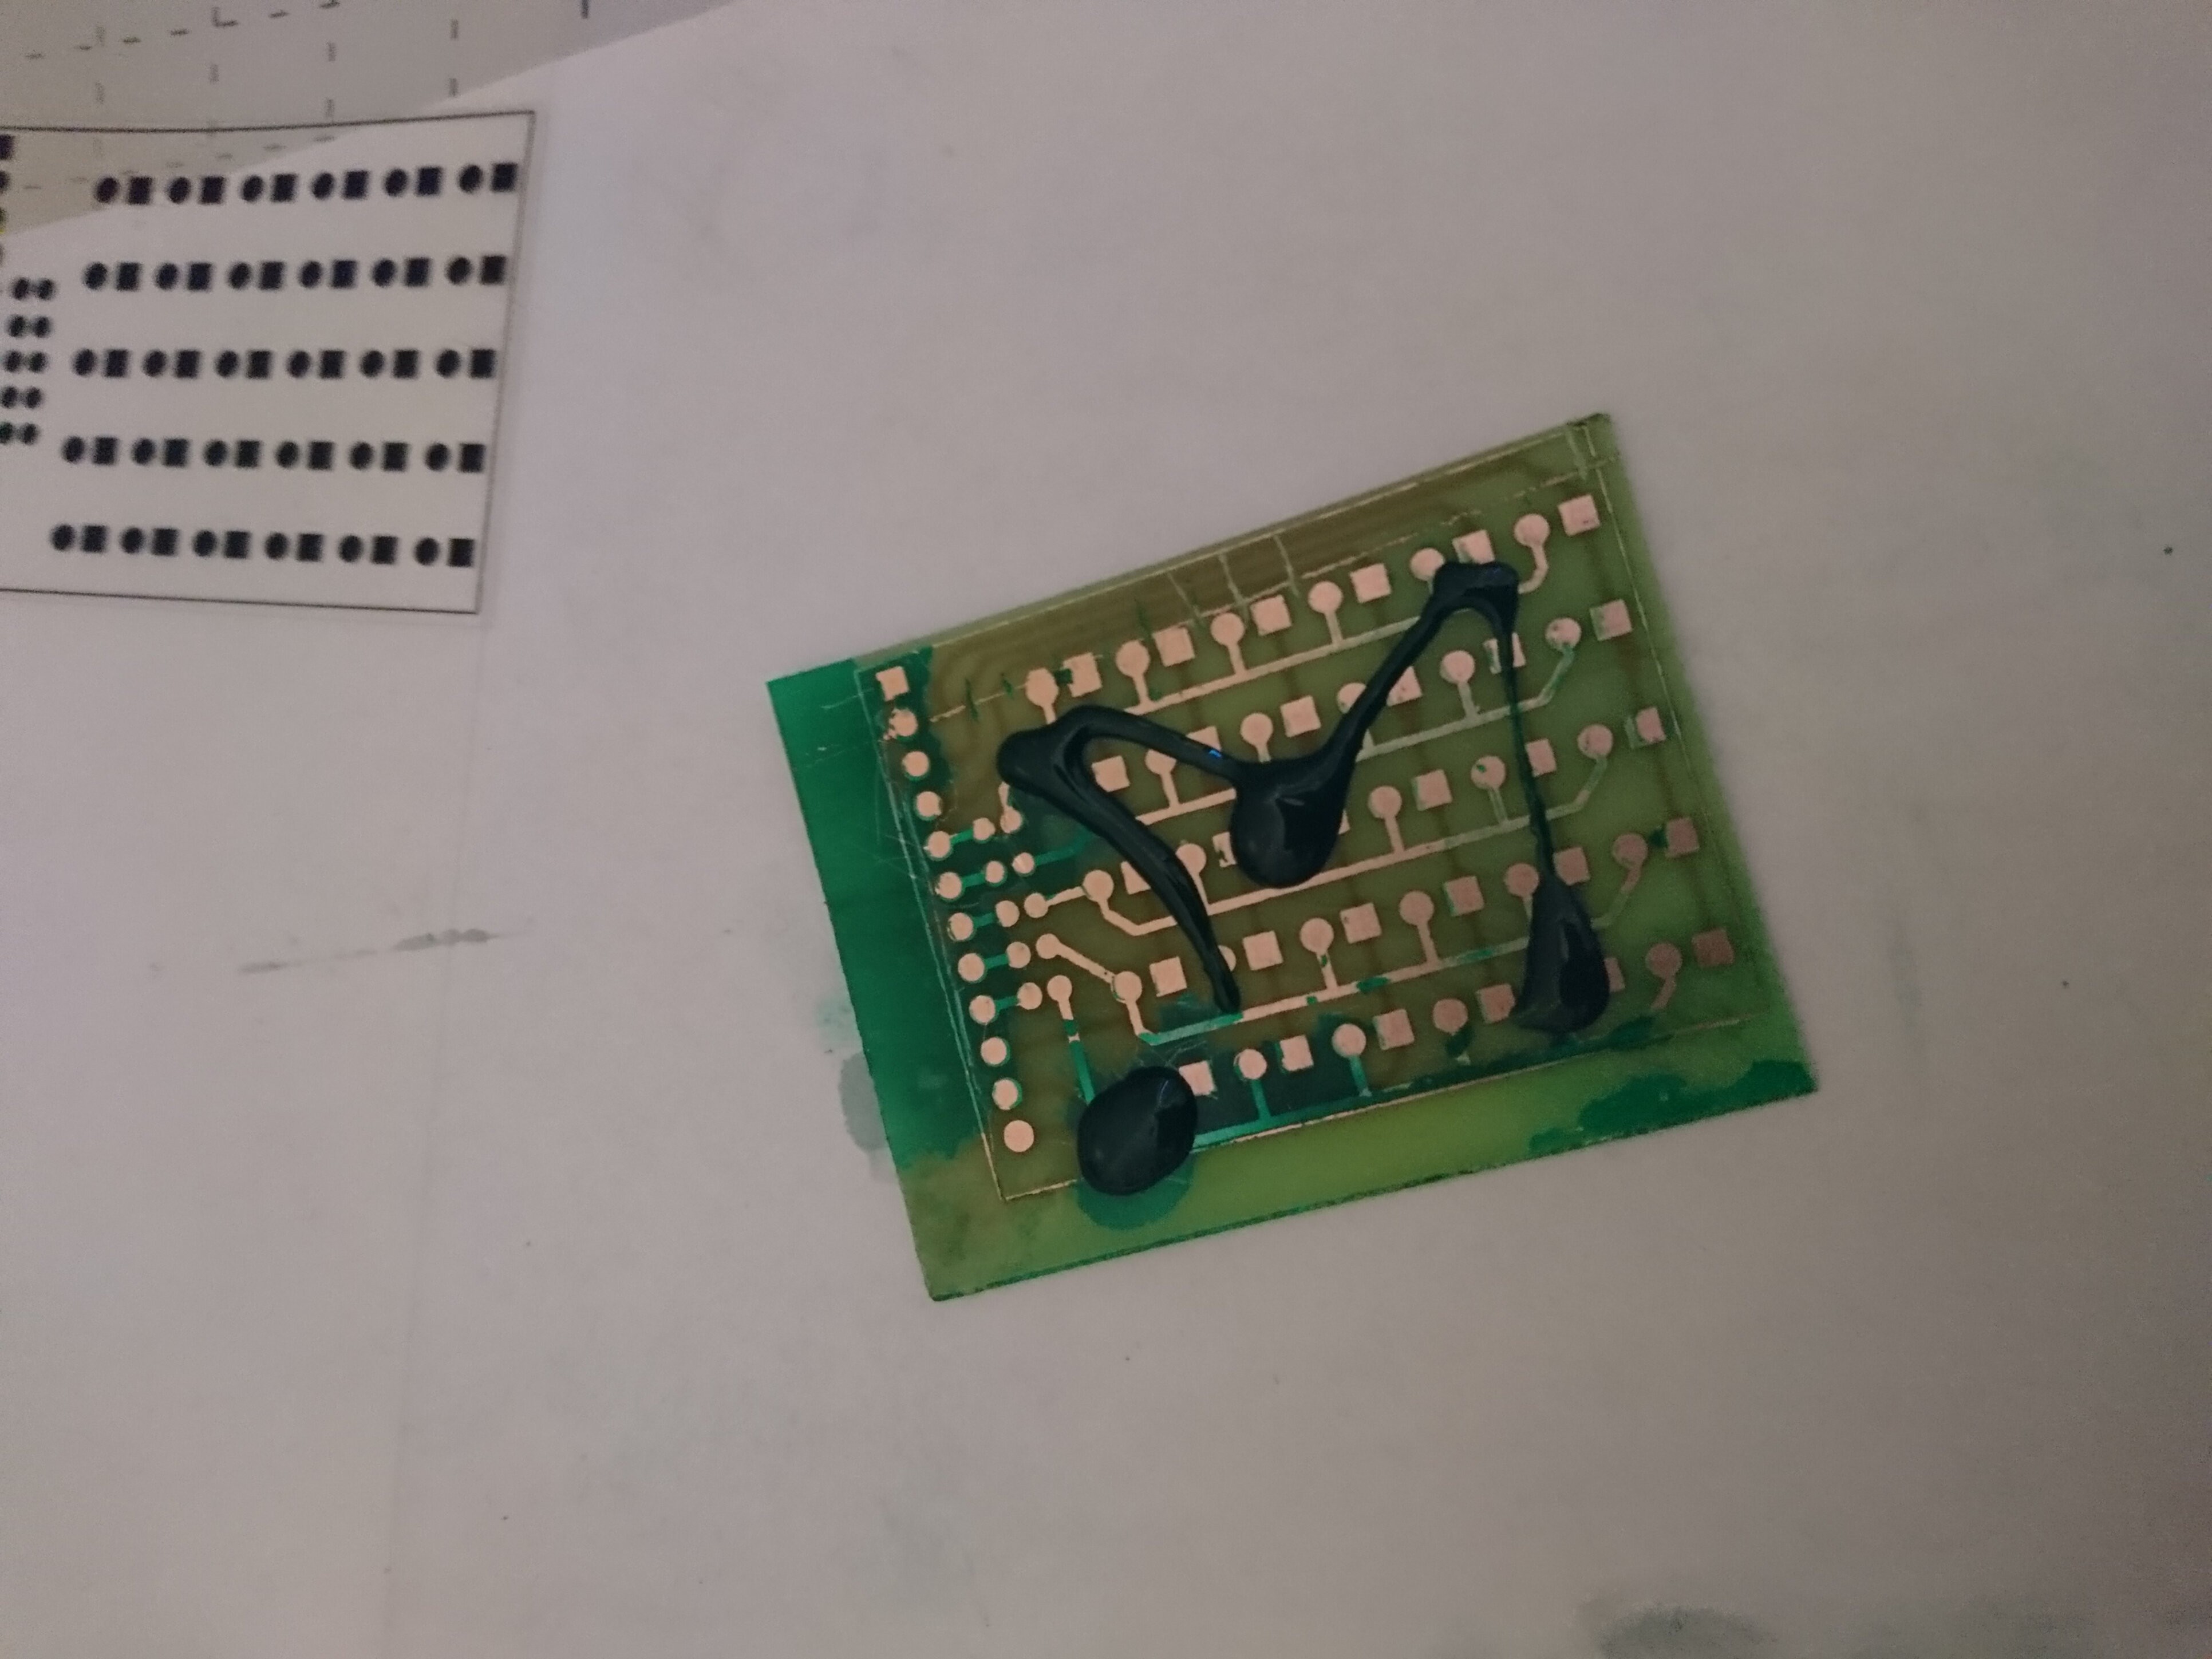
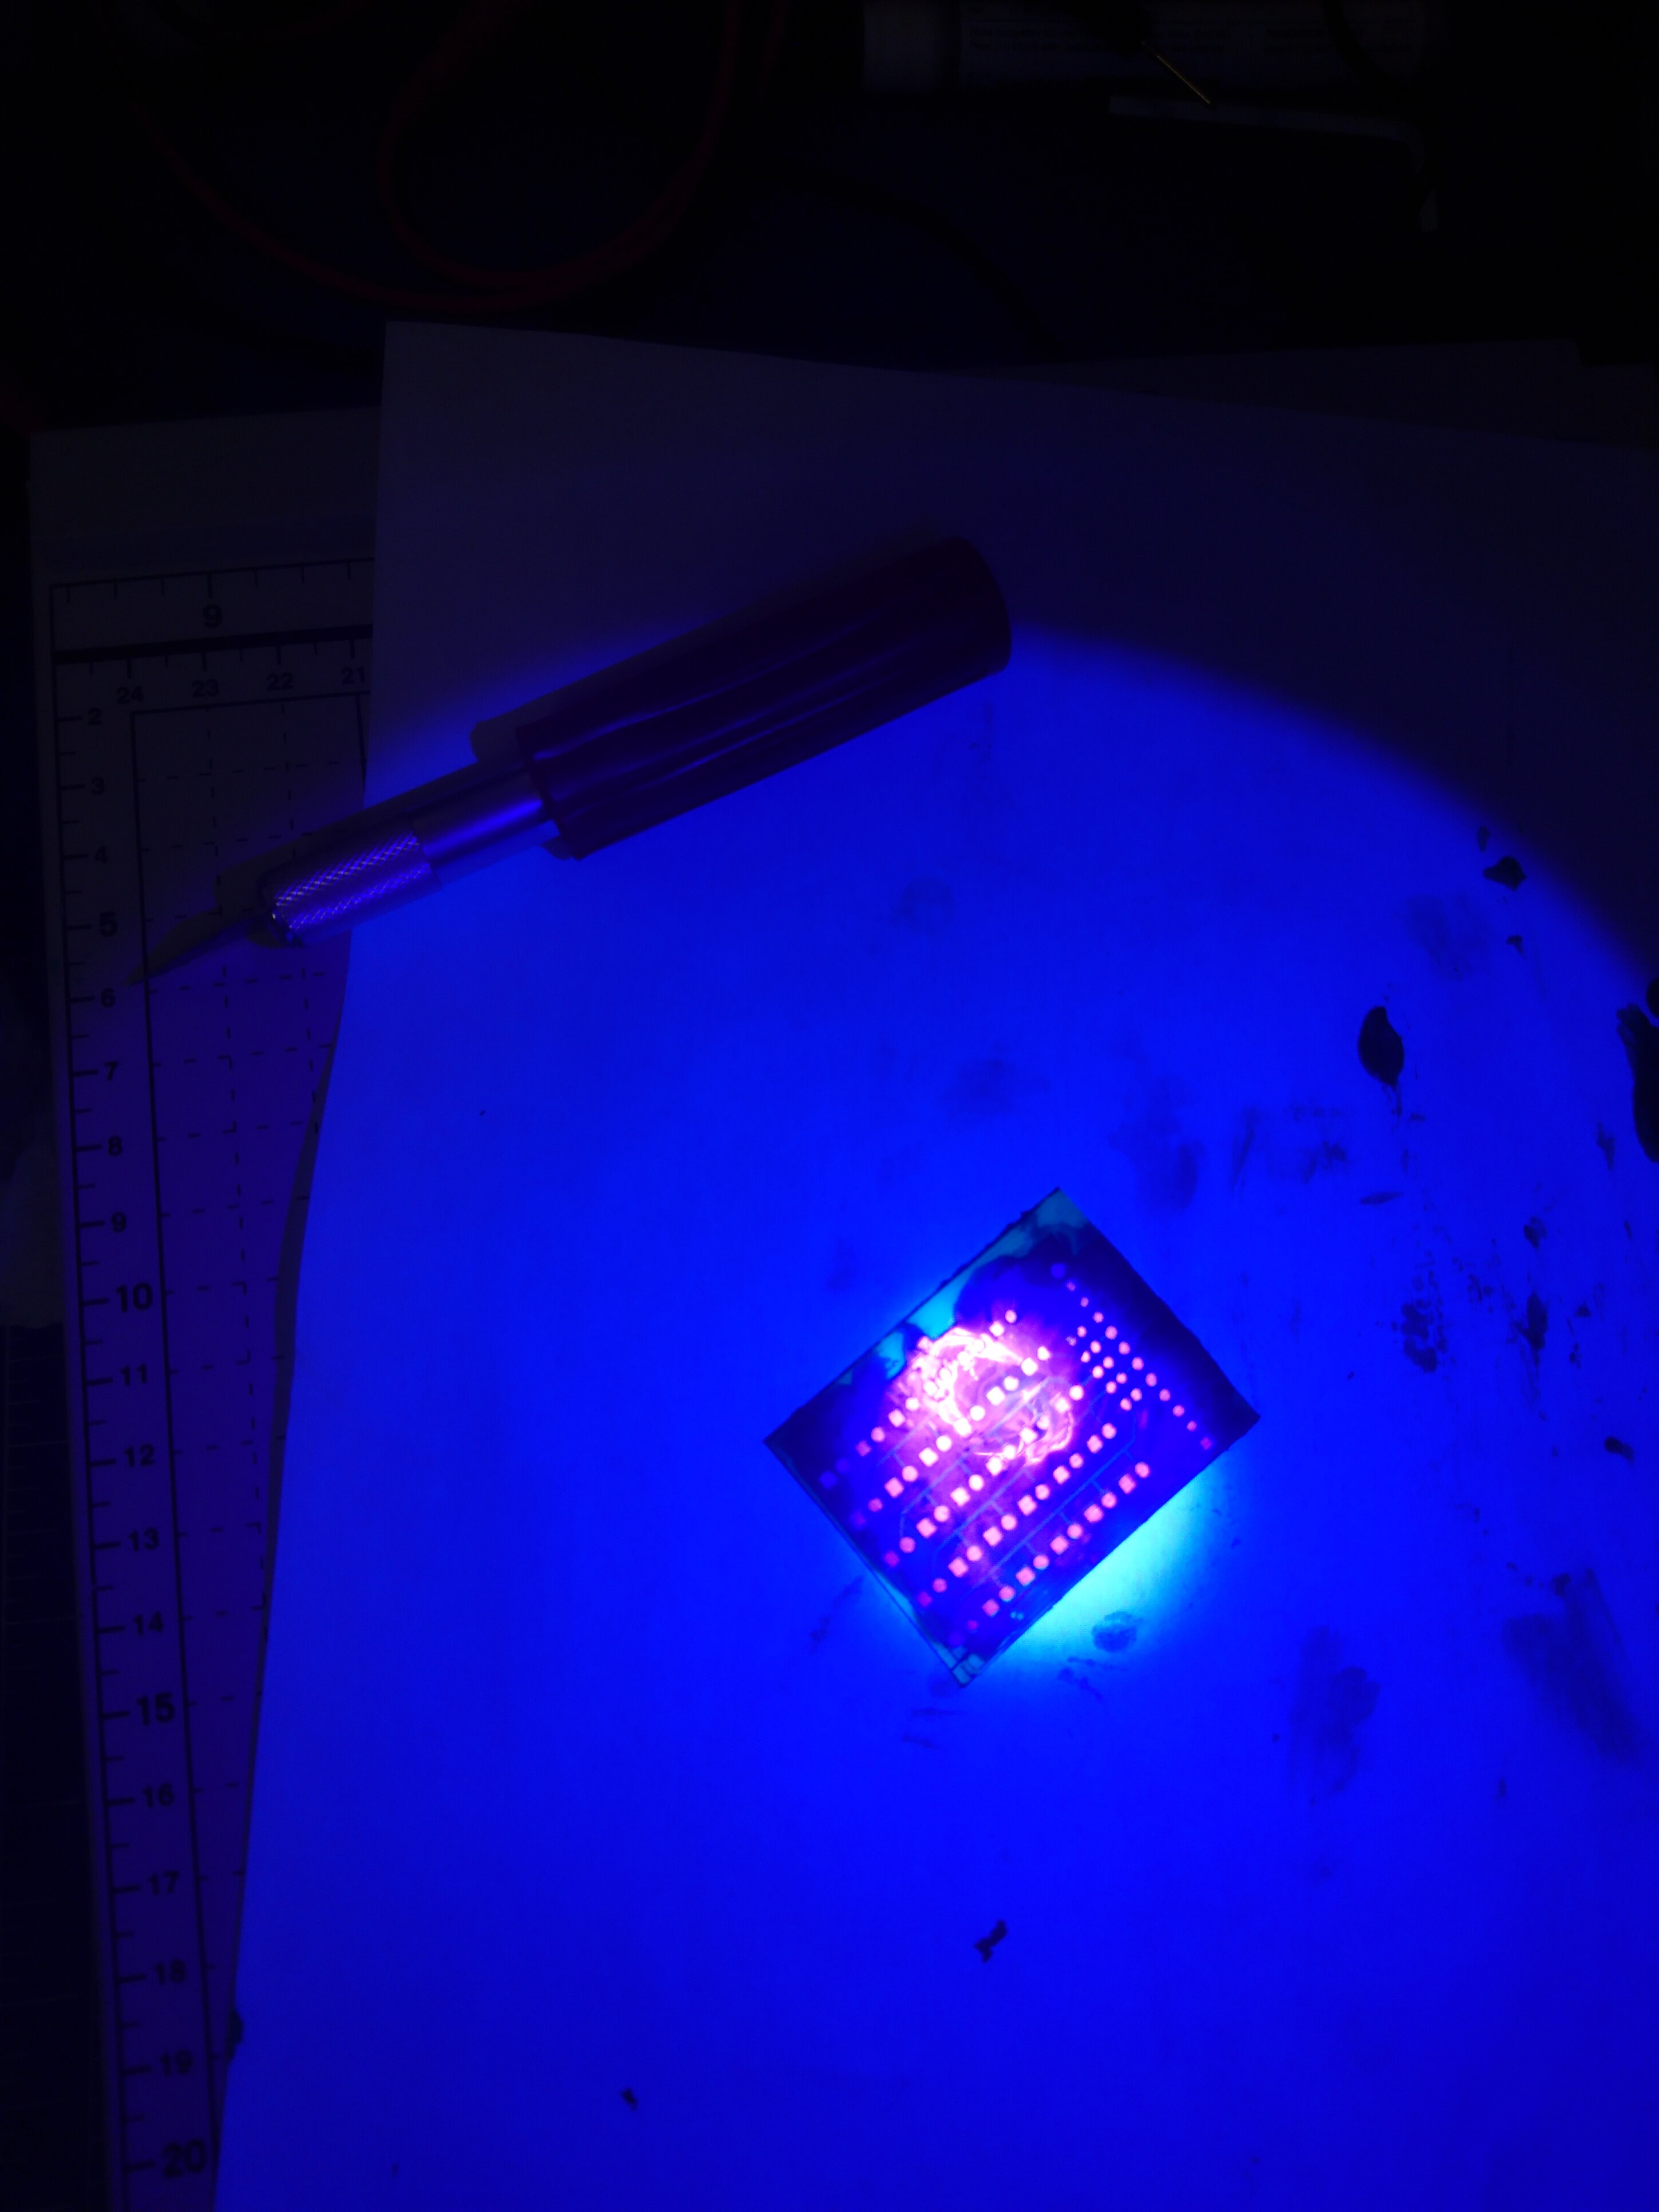
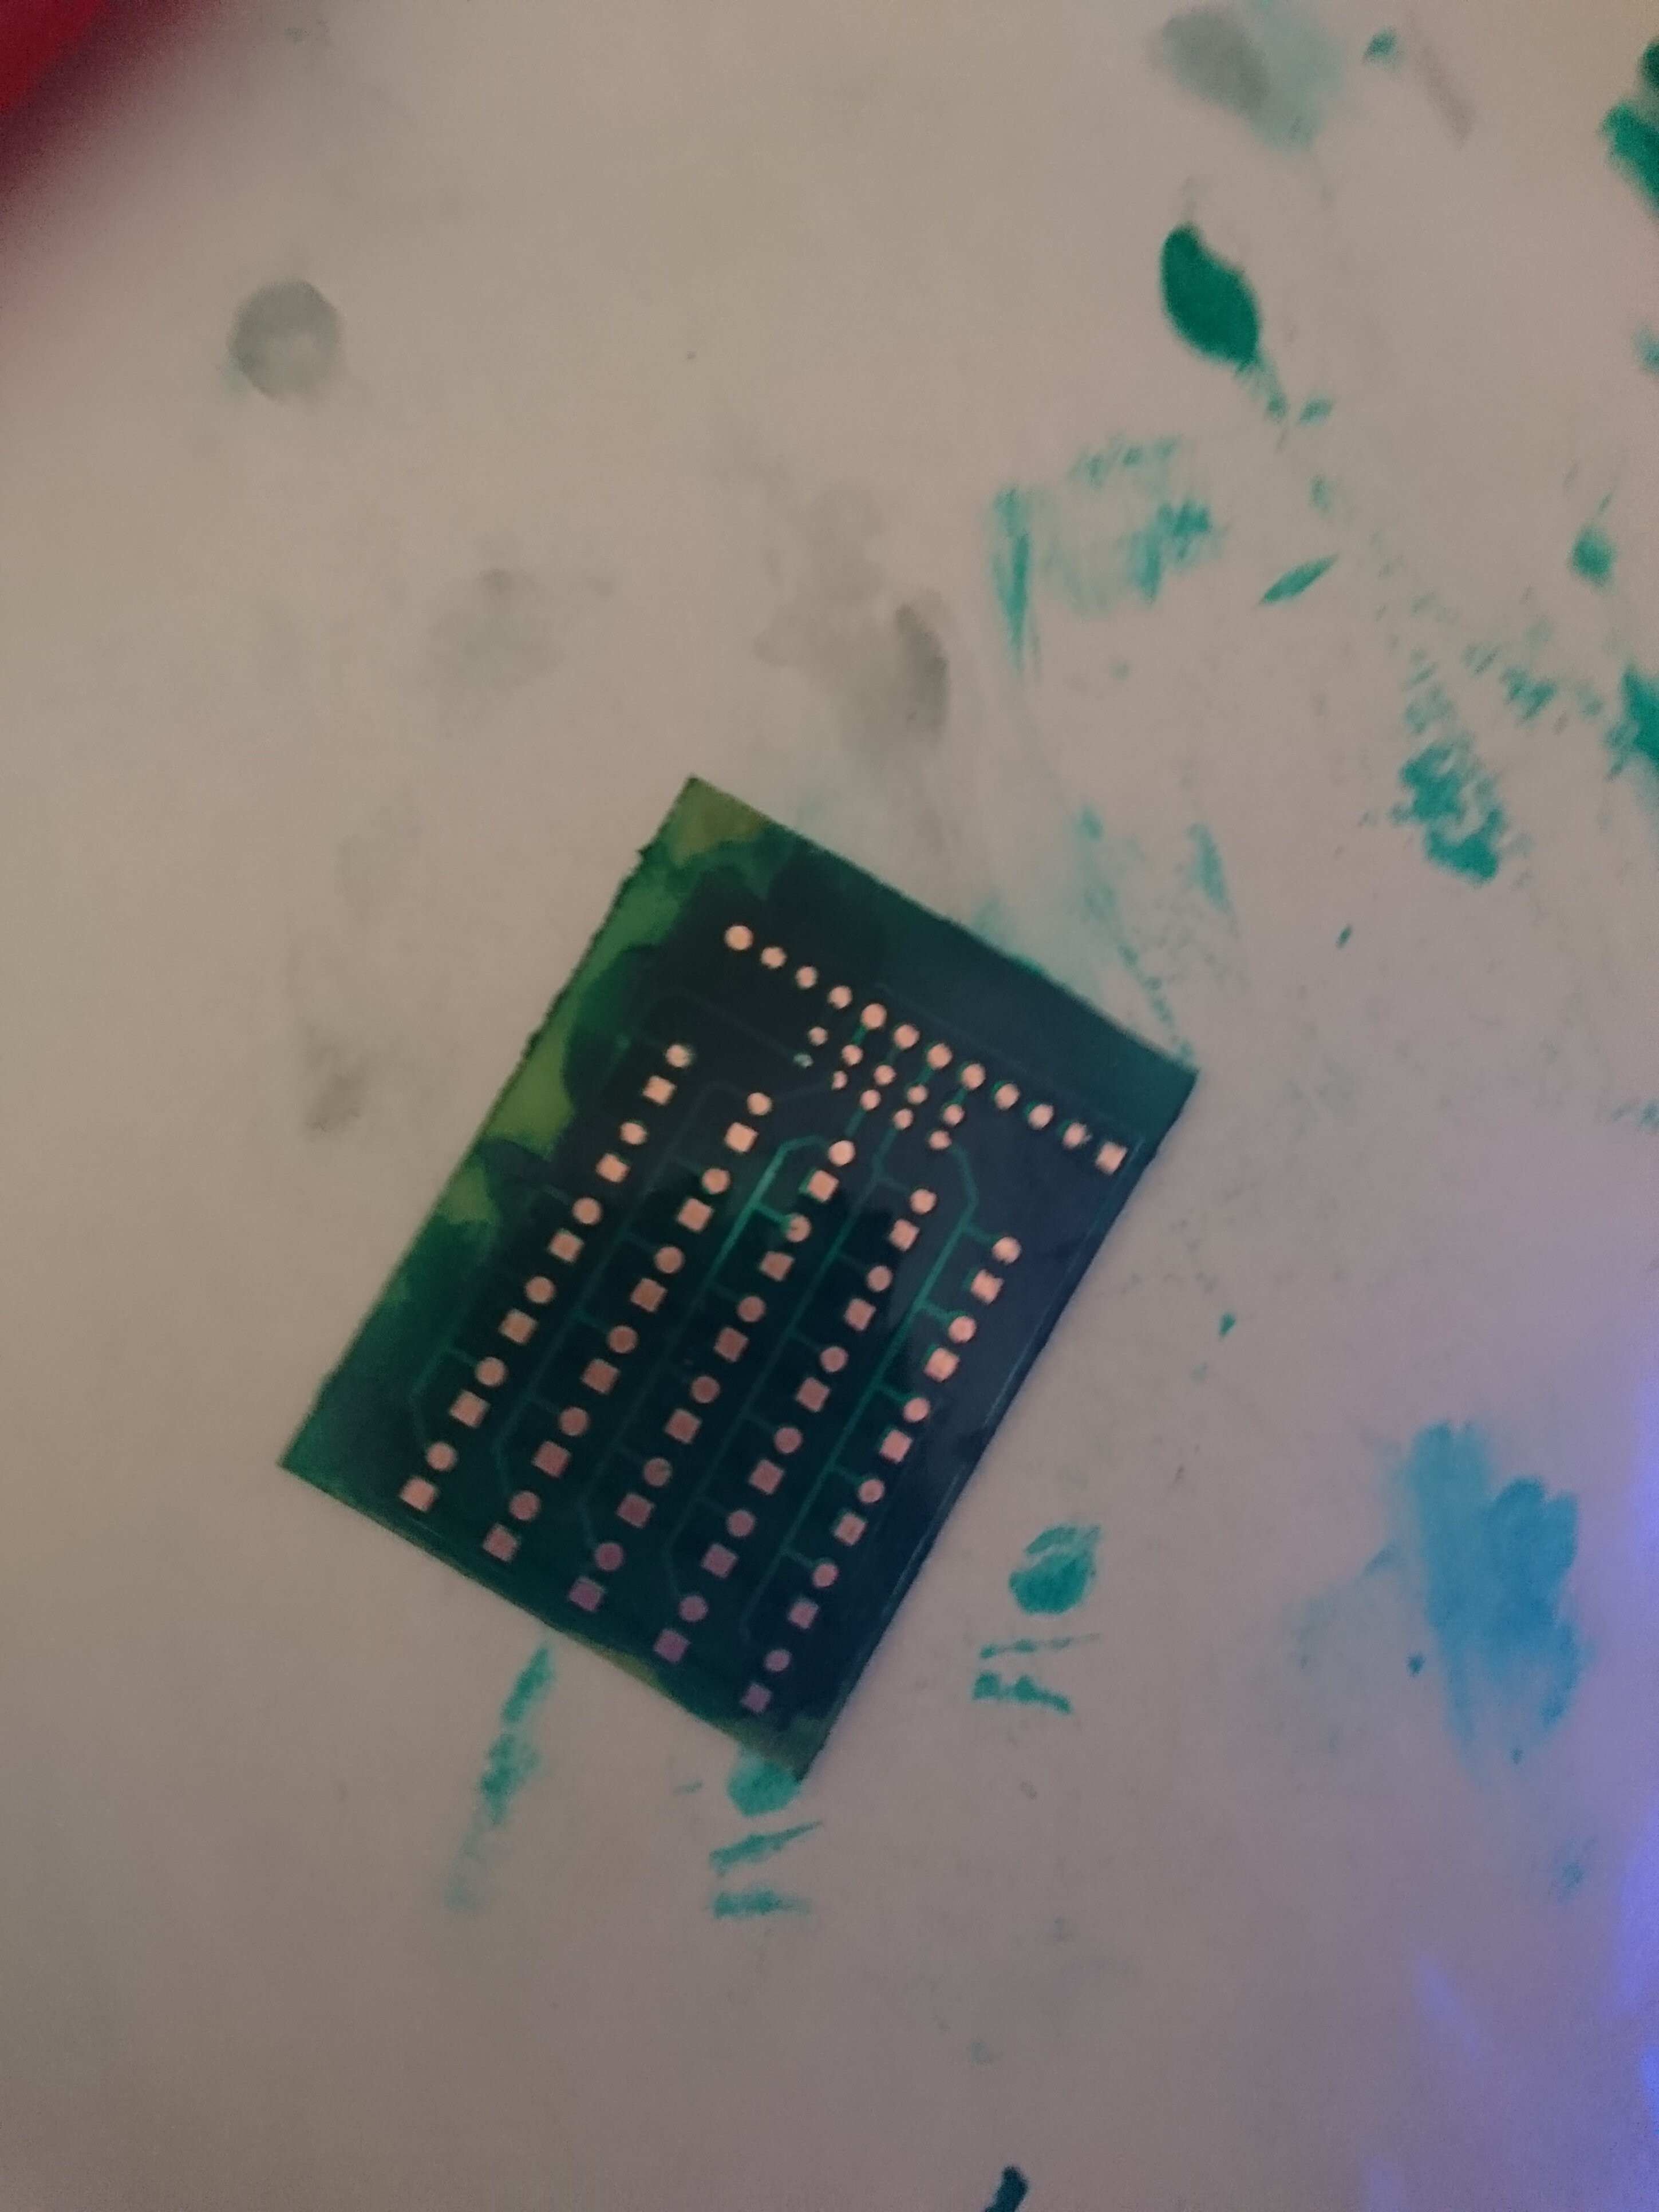
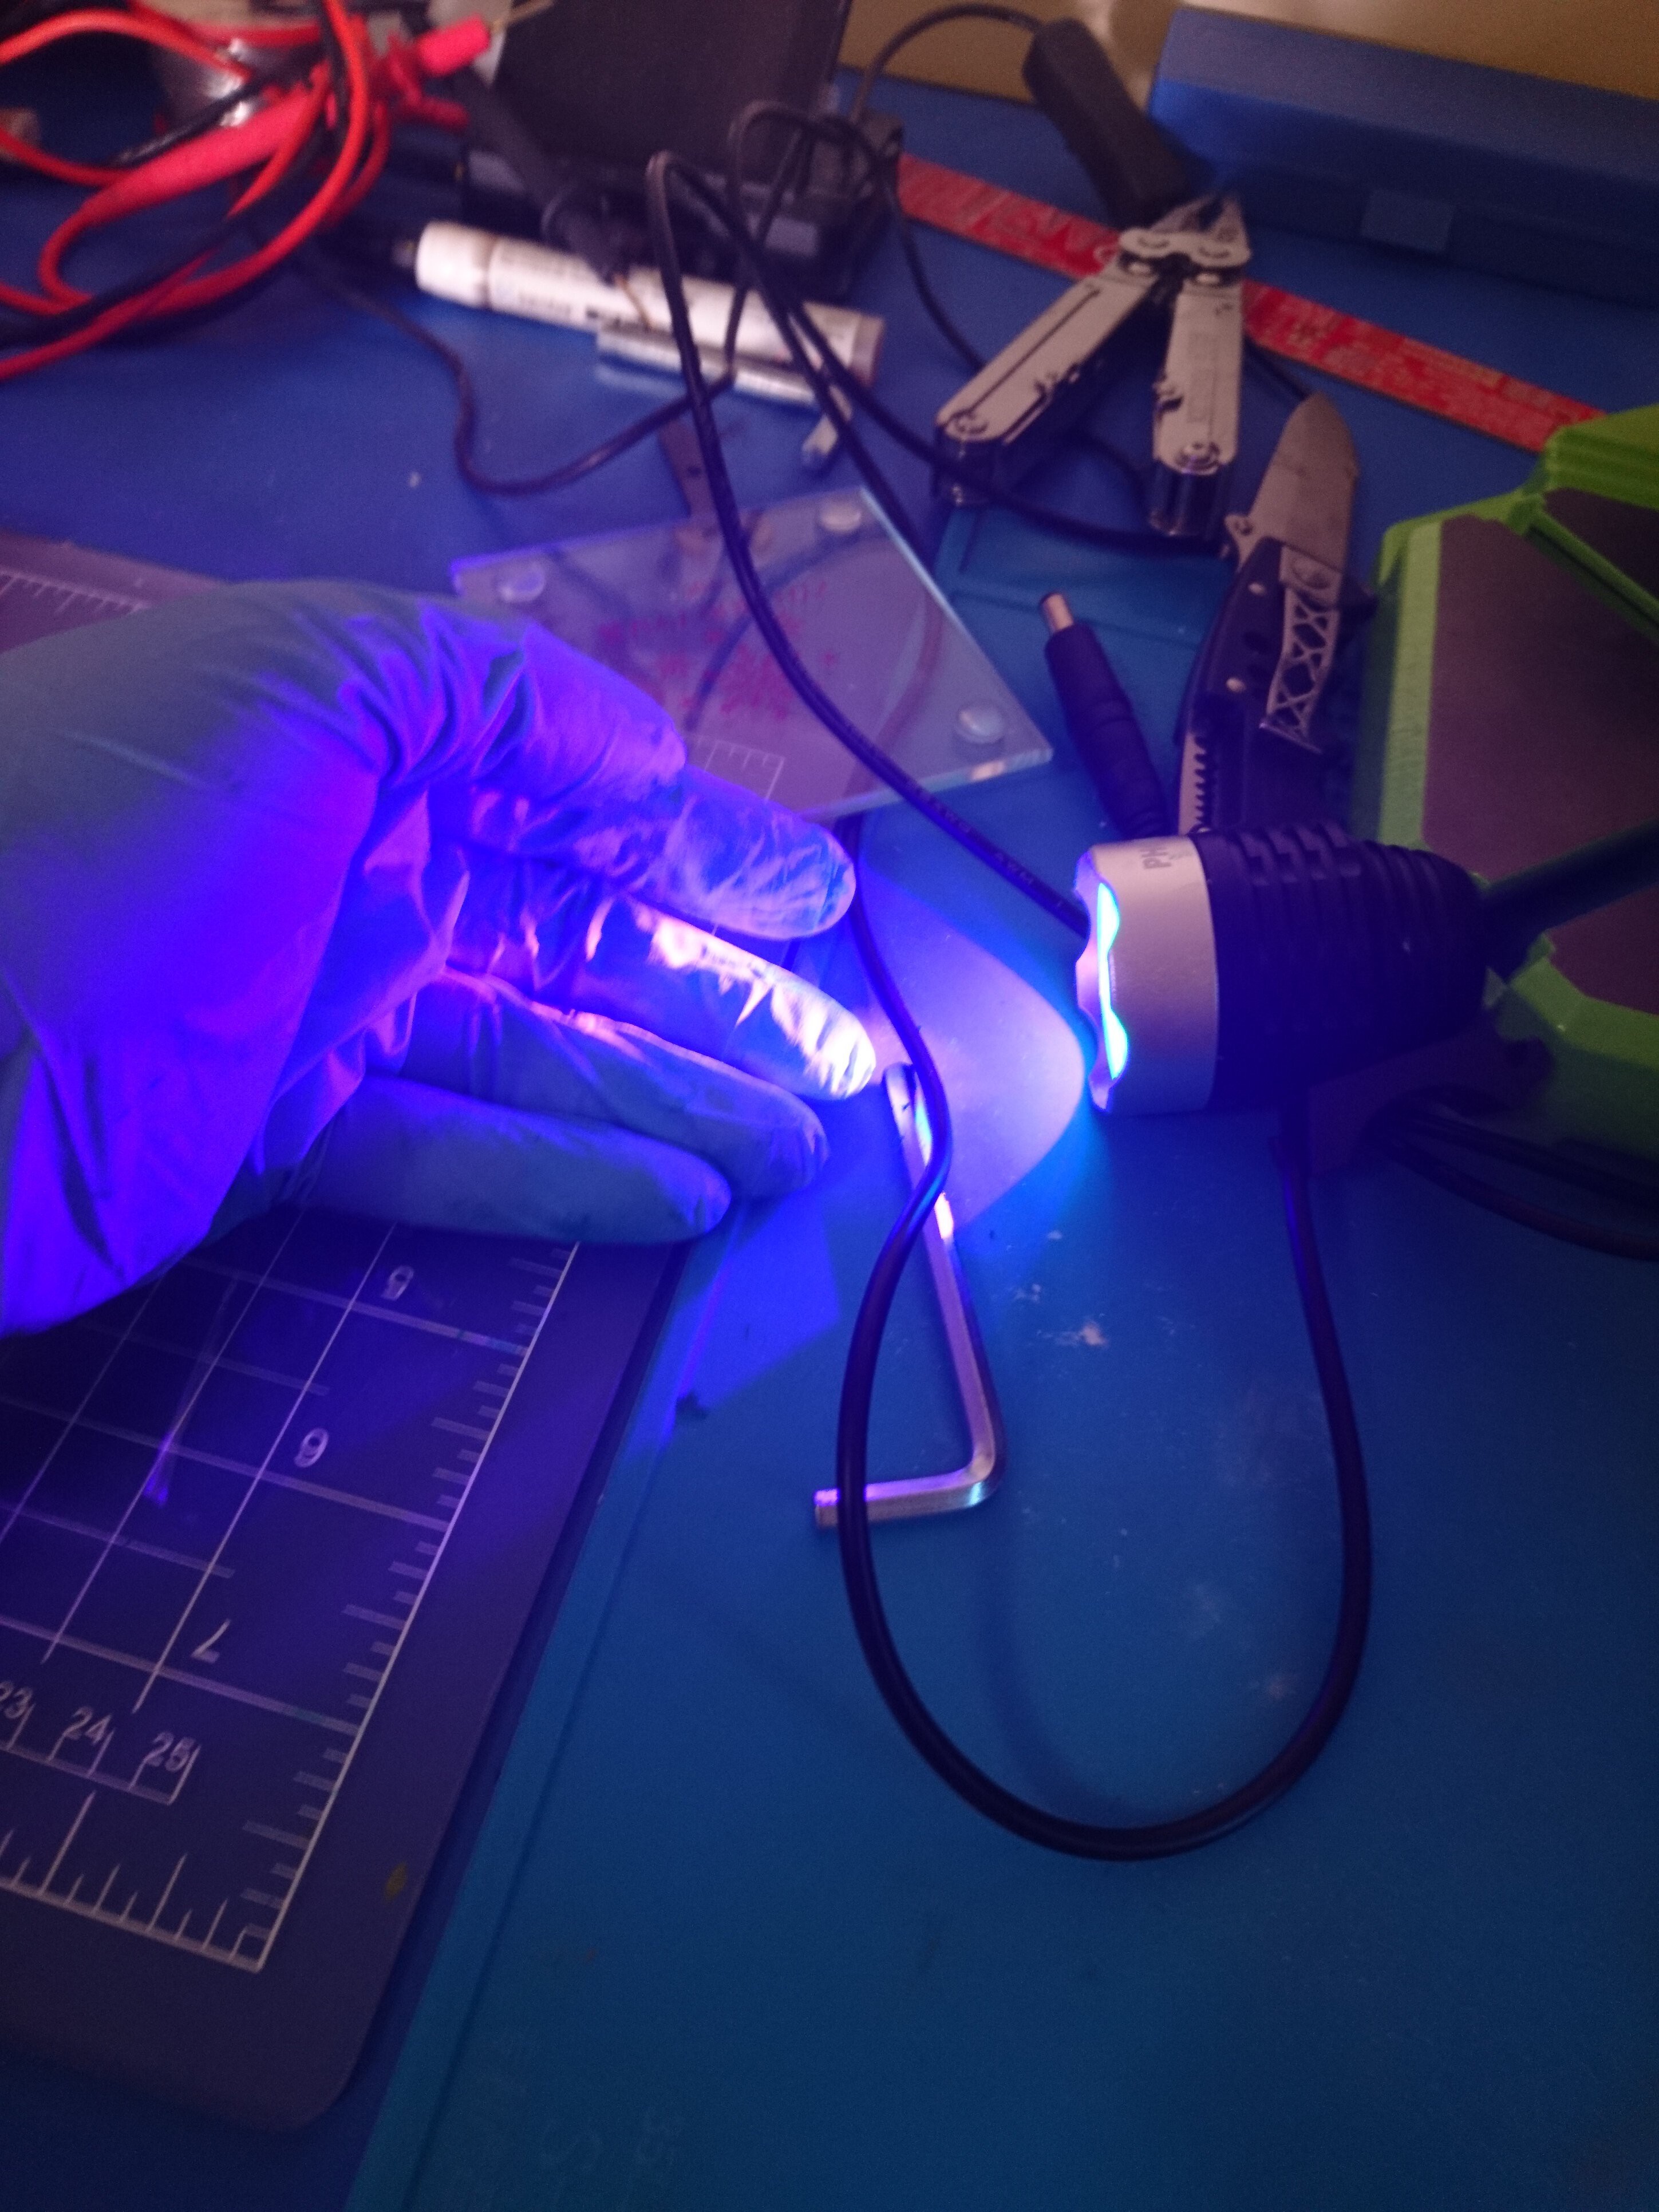
15Squeeze, Align, Press and Fire!
- Squeeze some solder mask on the board (I still didn't figure out the amount but too much is very bad. Don't do that trust me).
- Put the double transparency on the top and align the pads together.
- Press down by your fingers to flatten the solder mask and try to make it even on all the board or using a glass cup coaster that did work for me.
- Fire up the UV light for short time not to make it fully cured.( The time depends on how powerful your UV light is).
- Using a tissue and little rubbing alcohol clean the solder mask off the pads. It should come off easily but don't rub hard because the rest of the board is not fully cured yet.
- And then fire the UV light again without the transparency to let the rest of the mask cure.
- Last step, do all of the above again for the other side.
- Don't forget to put scrap paper under the board because it will get pretty messy.
![]()
![]()
![]()
![]()
![]()
![]()
![]()
You can also do this trick like me to save paper towels and gloves. Use the UV light to cure the solder mask on the gloves so you don't have to mess up everything you touch with your messed up hand >:(
-
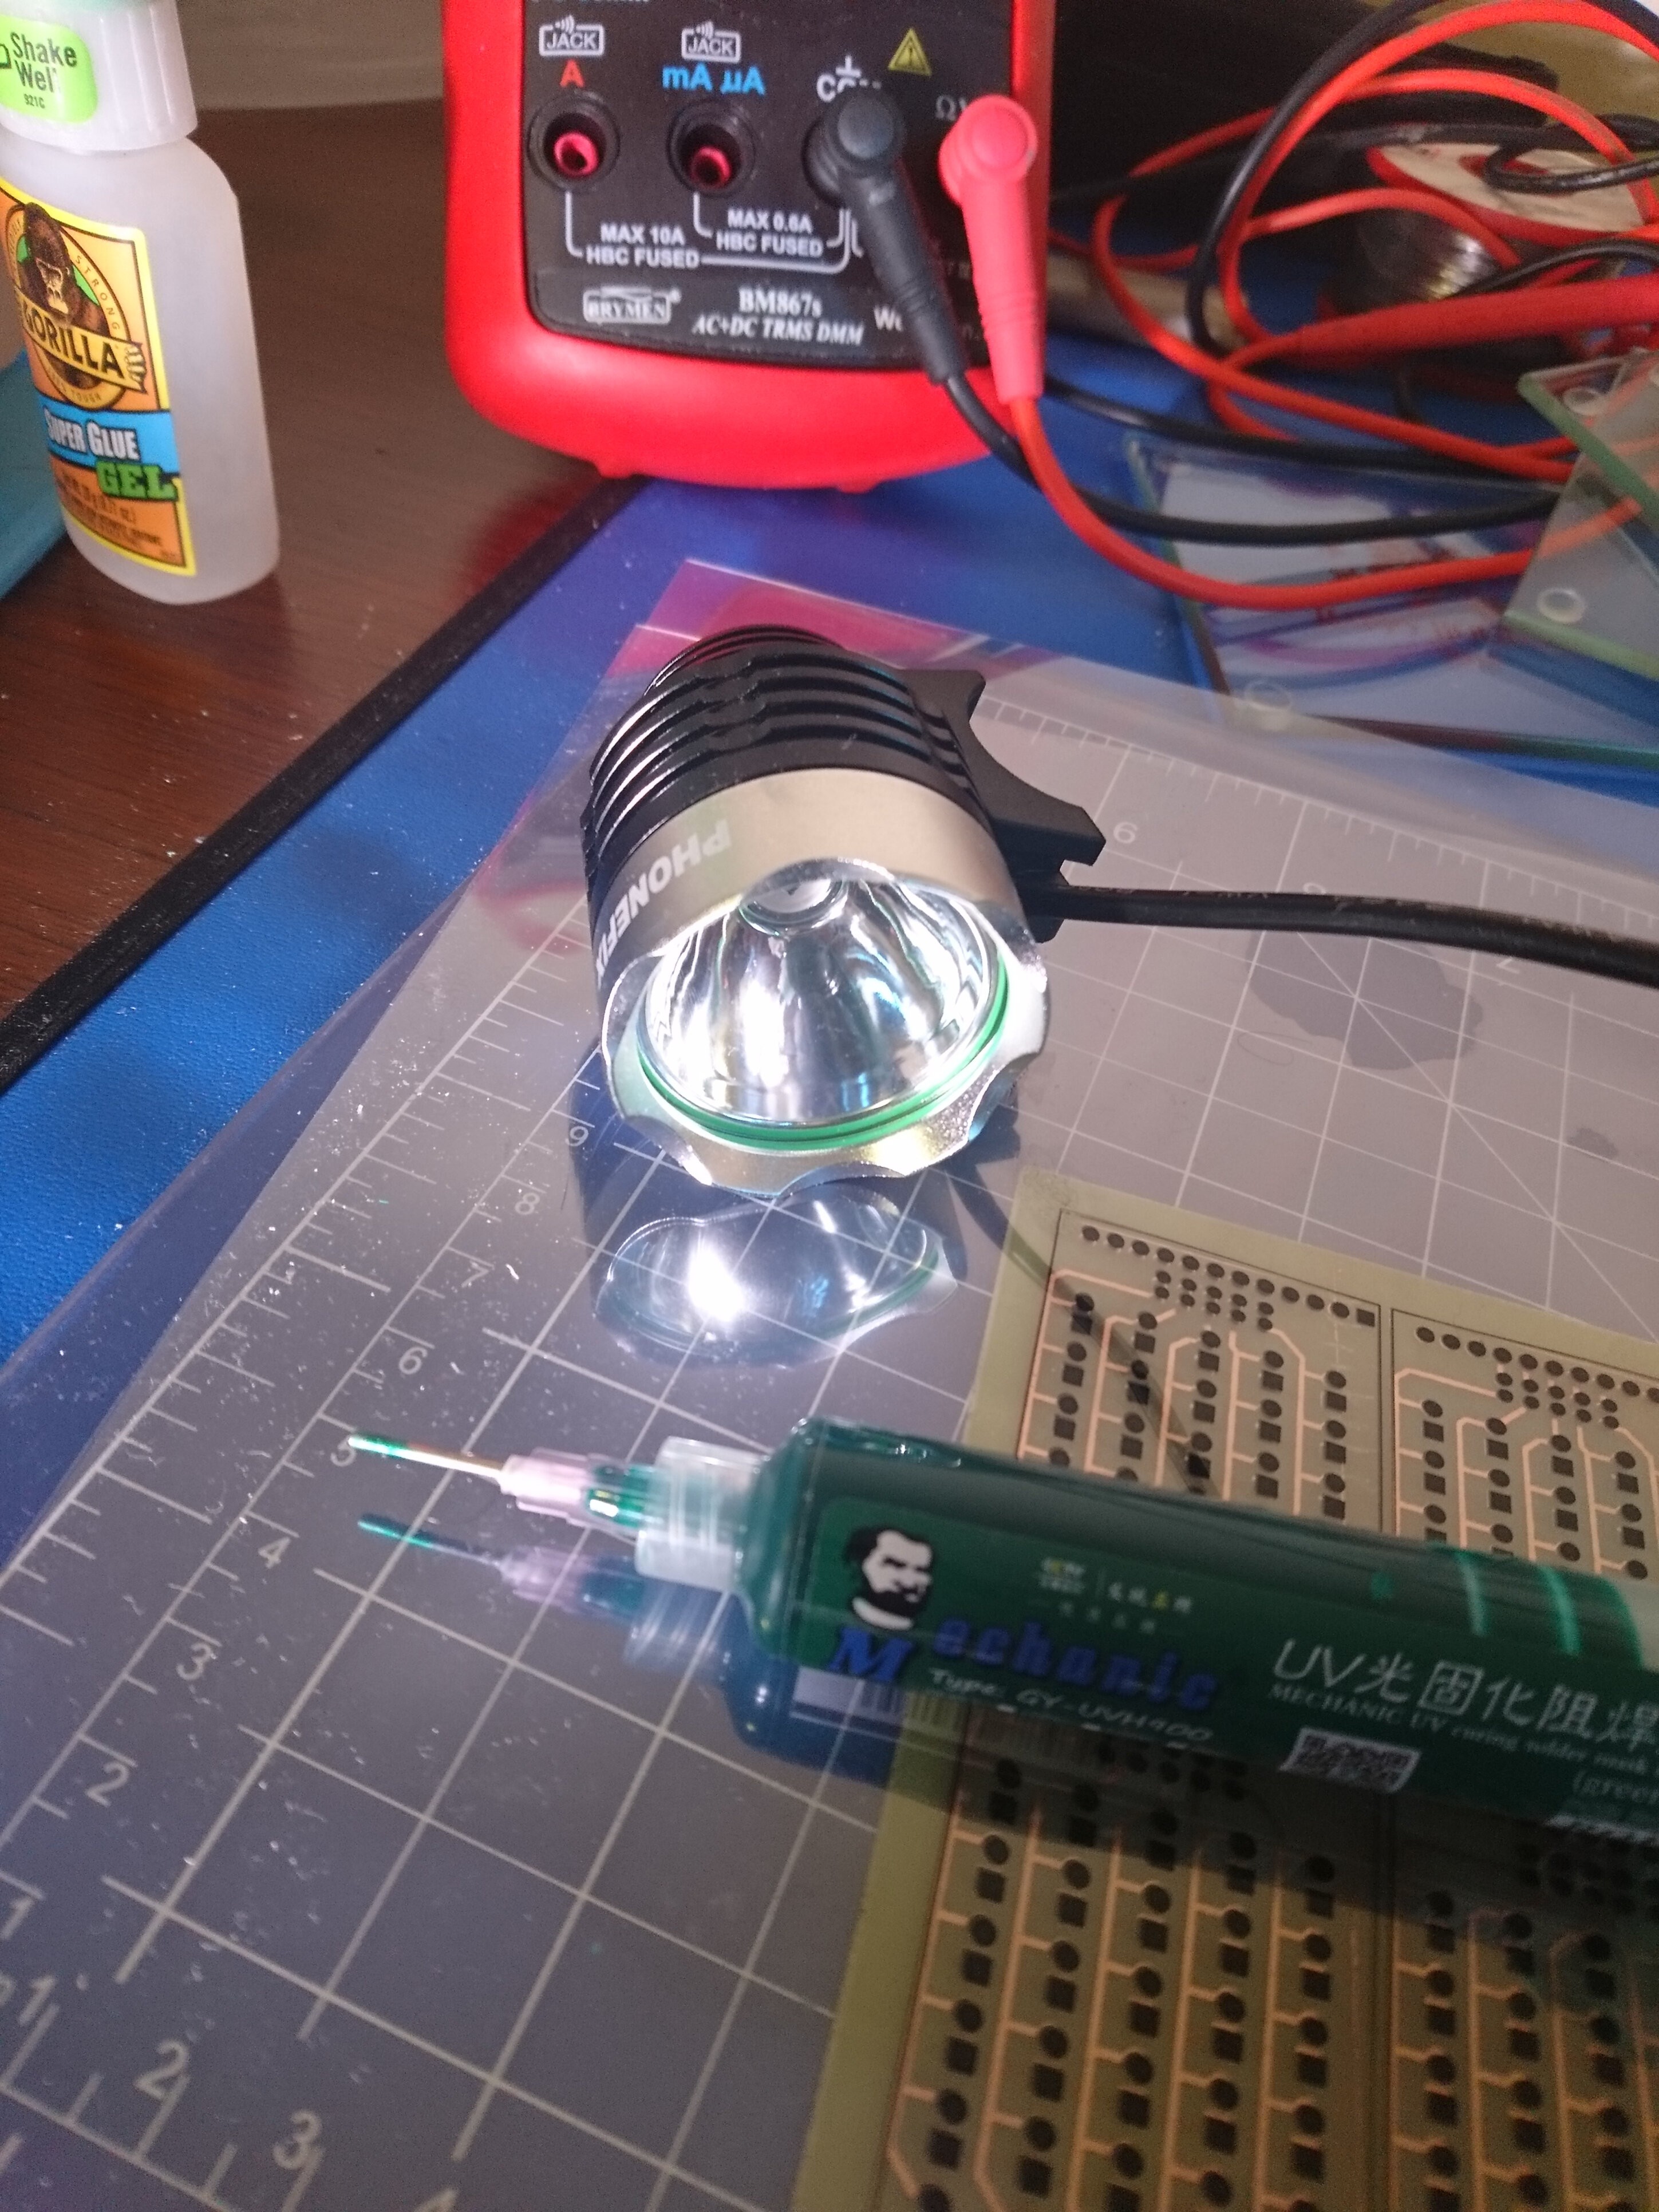
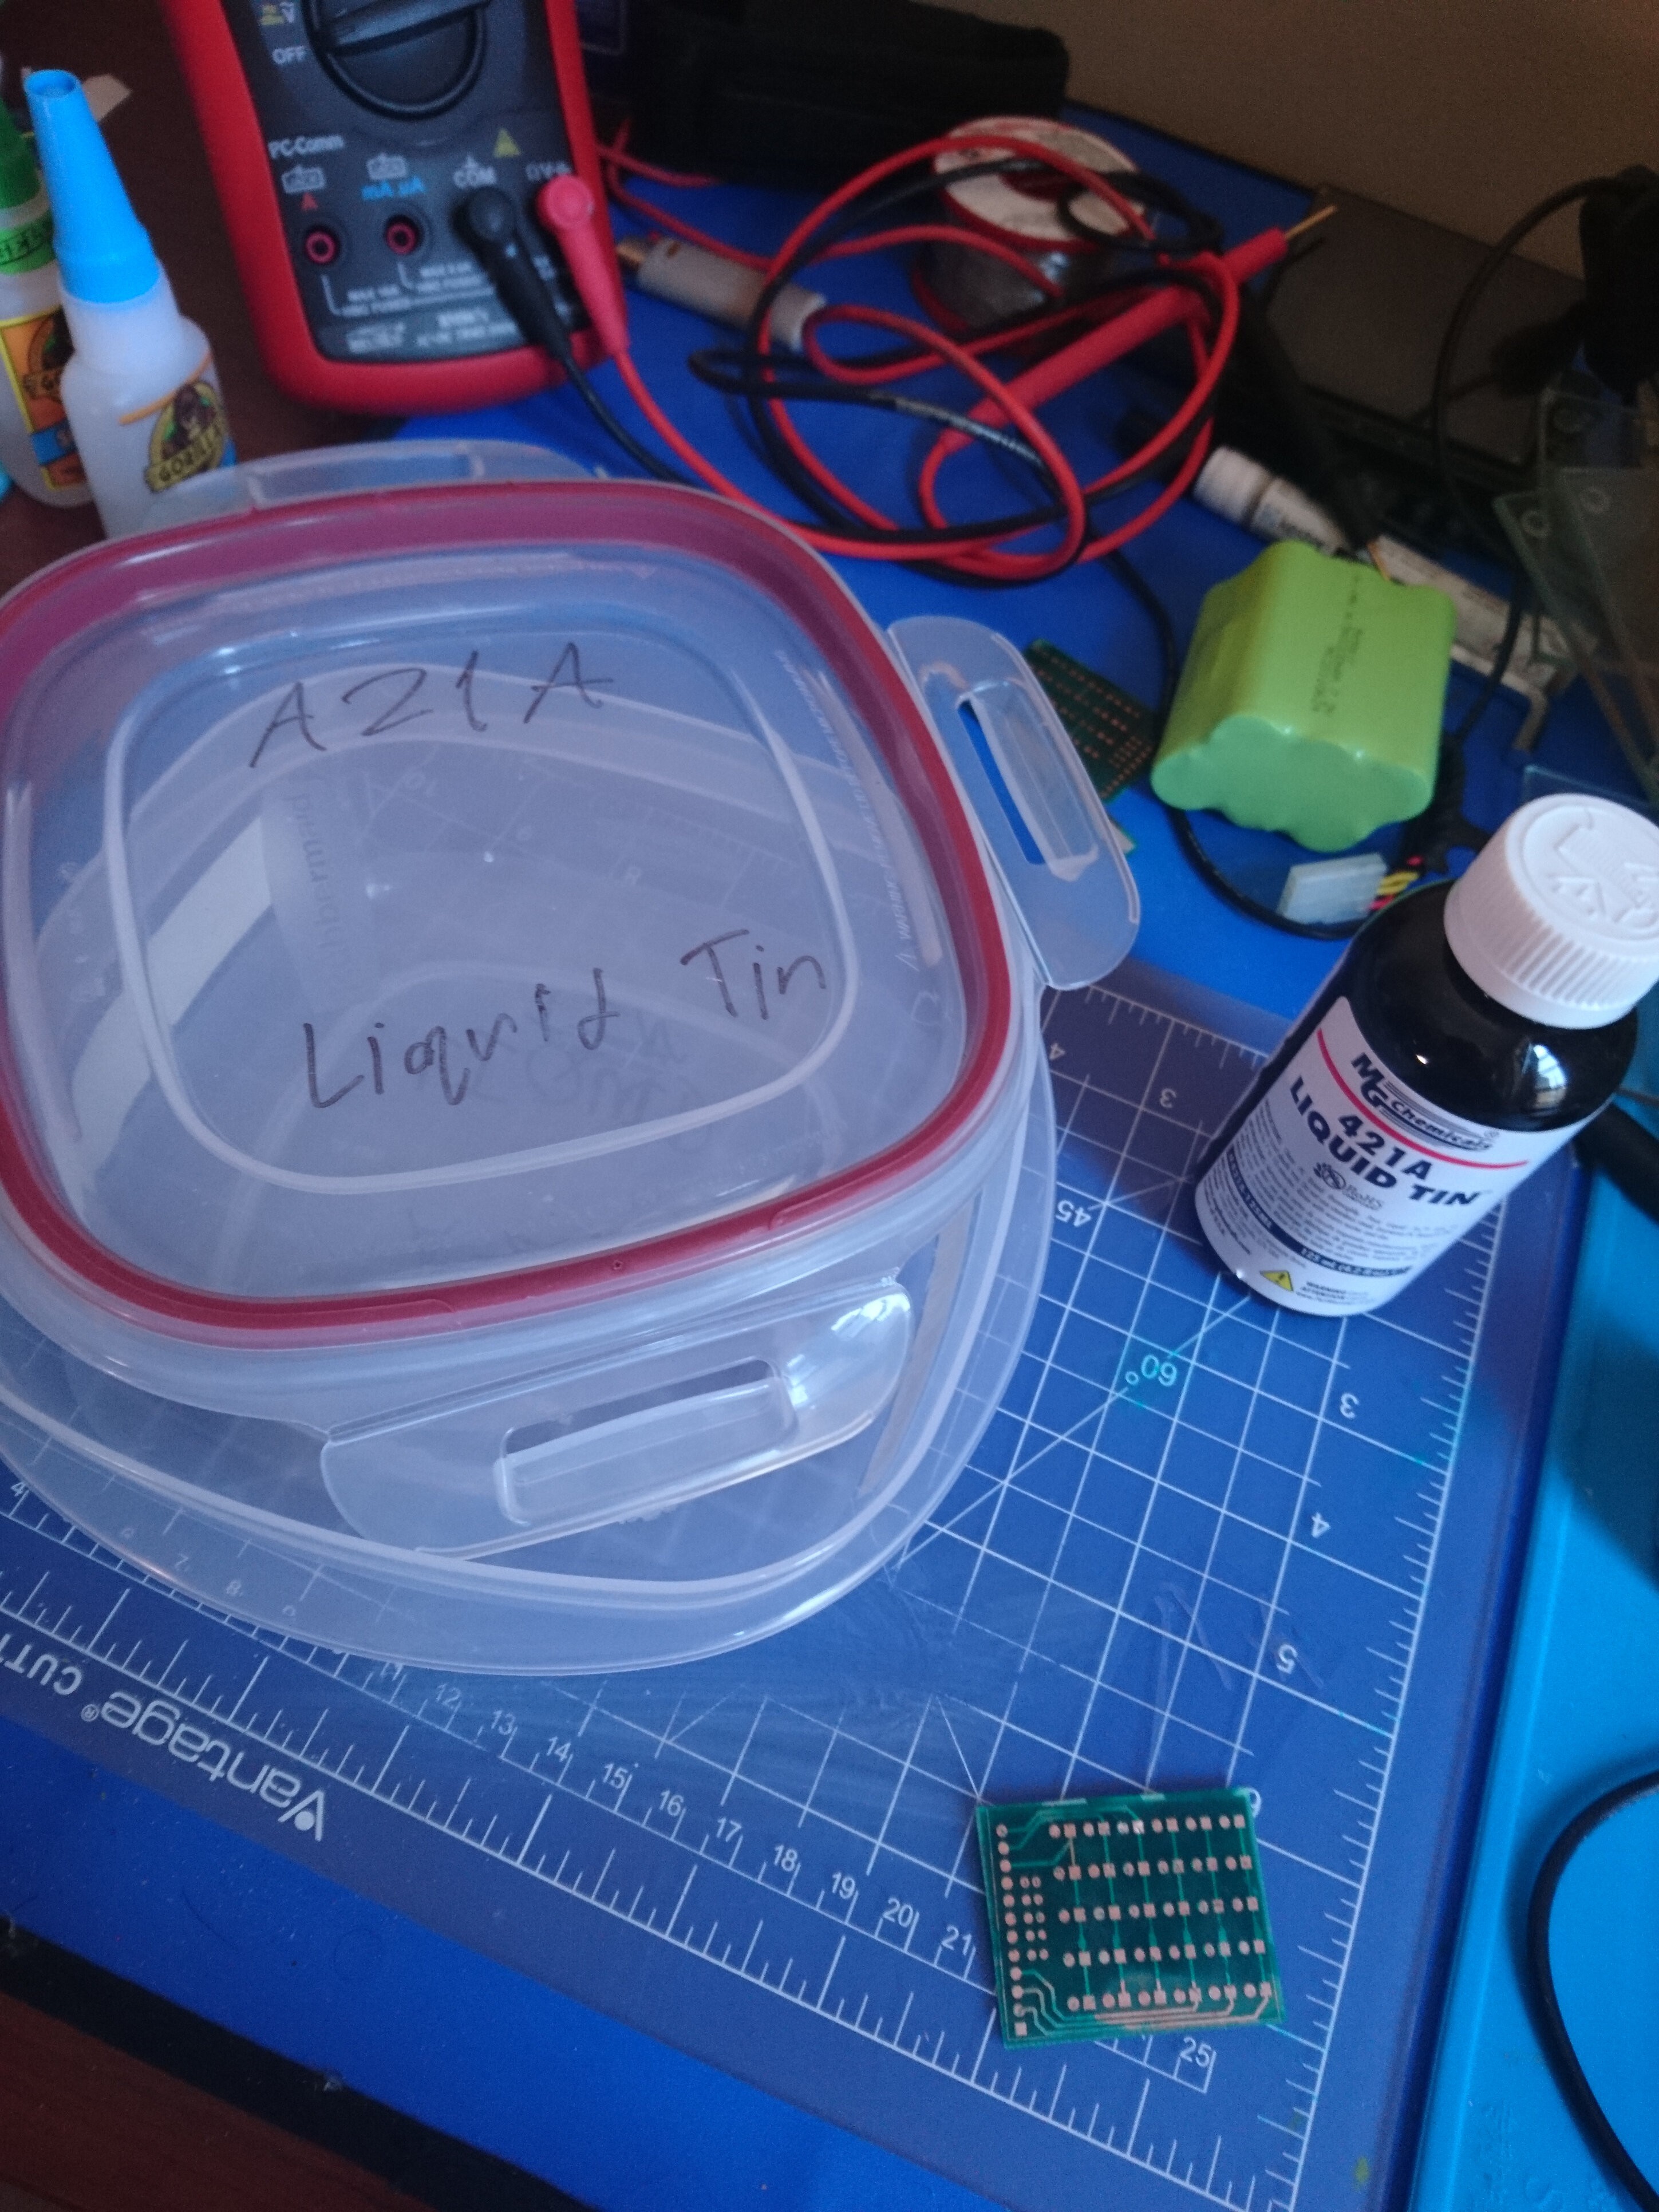
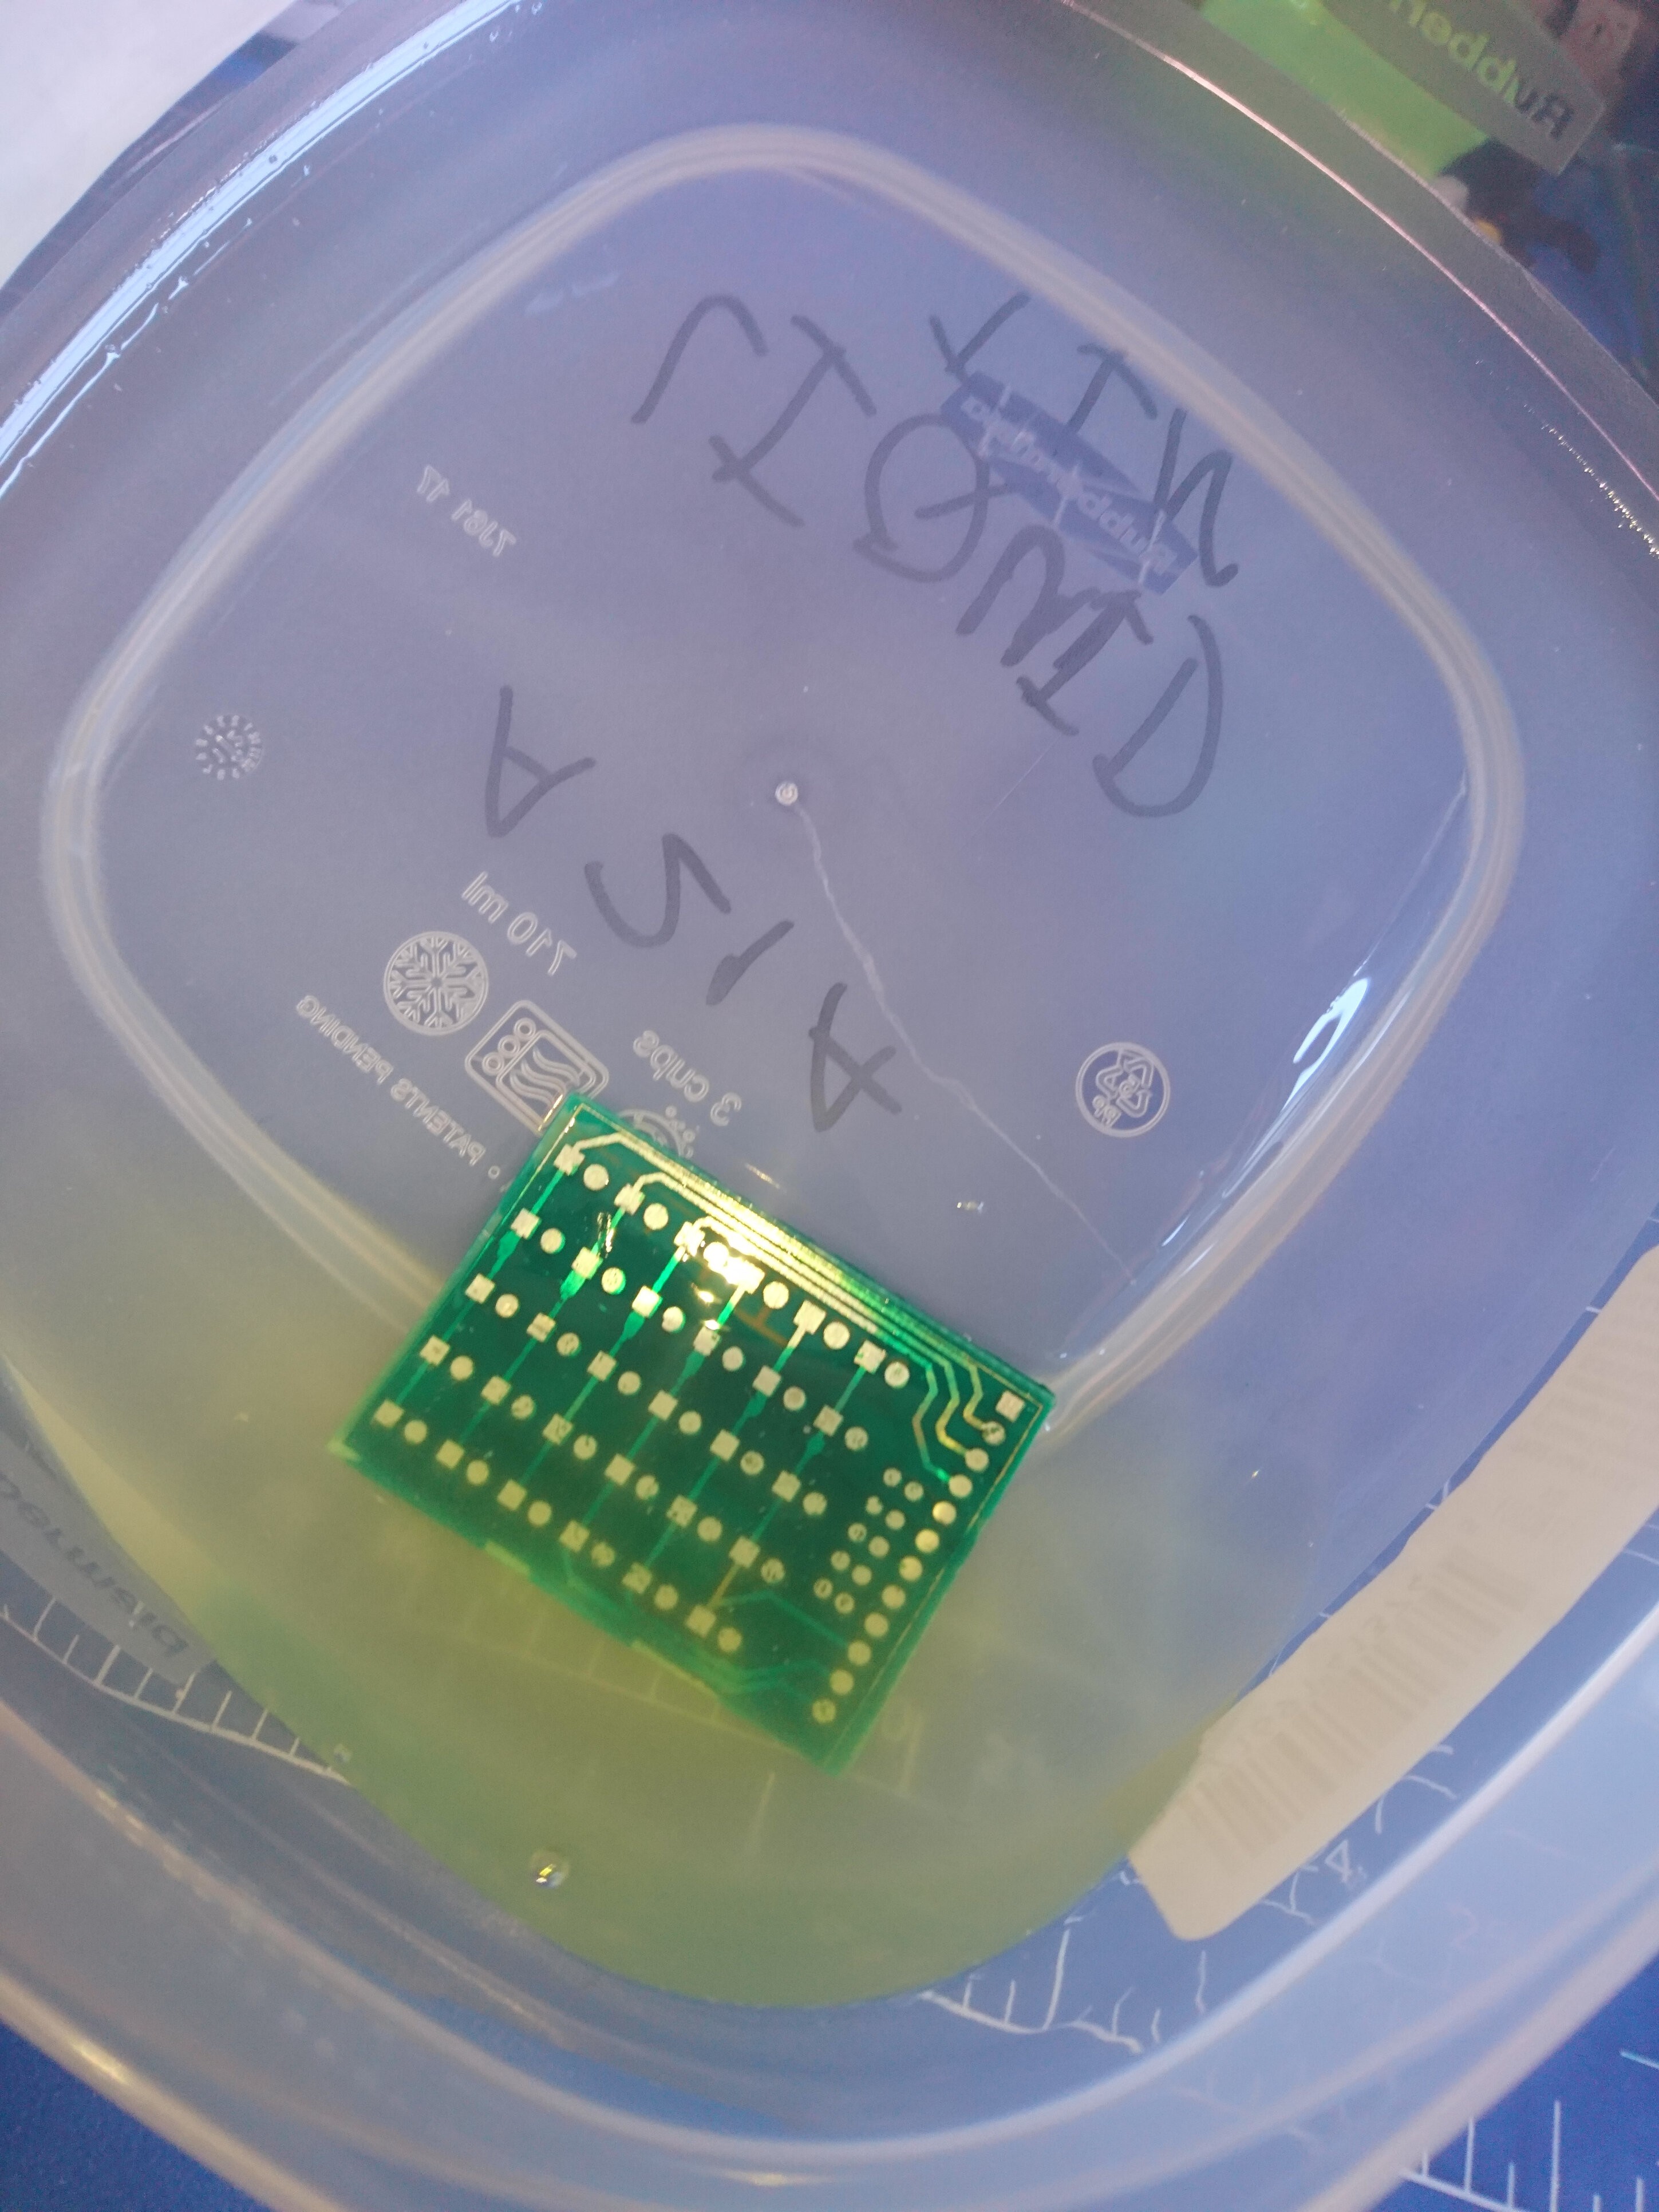
16Tinning (Optional)
I use this liquid tin solution. It protects the copper pads against oxidization and corrosion. It works very good with soldering.
You simply leave the board in the solution for about 15 to 20 minutes to get a good tin layer then clean it with water.
The liquid can be poured back in the bottle and used again till you use it all but don't drink it or let it touch your skin.
![]()
![]()
![]()
![]()
-
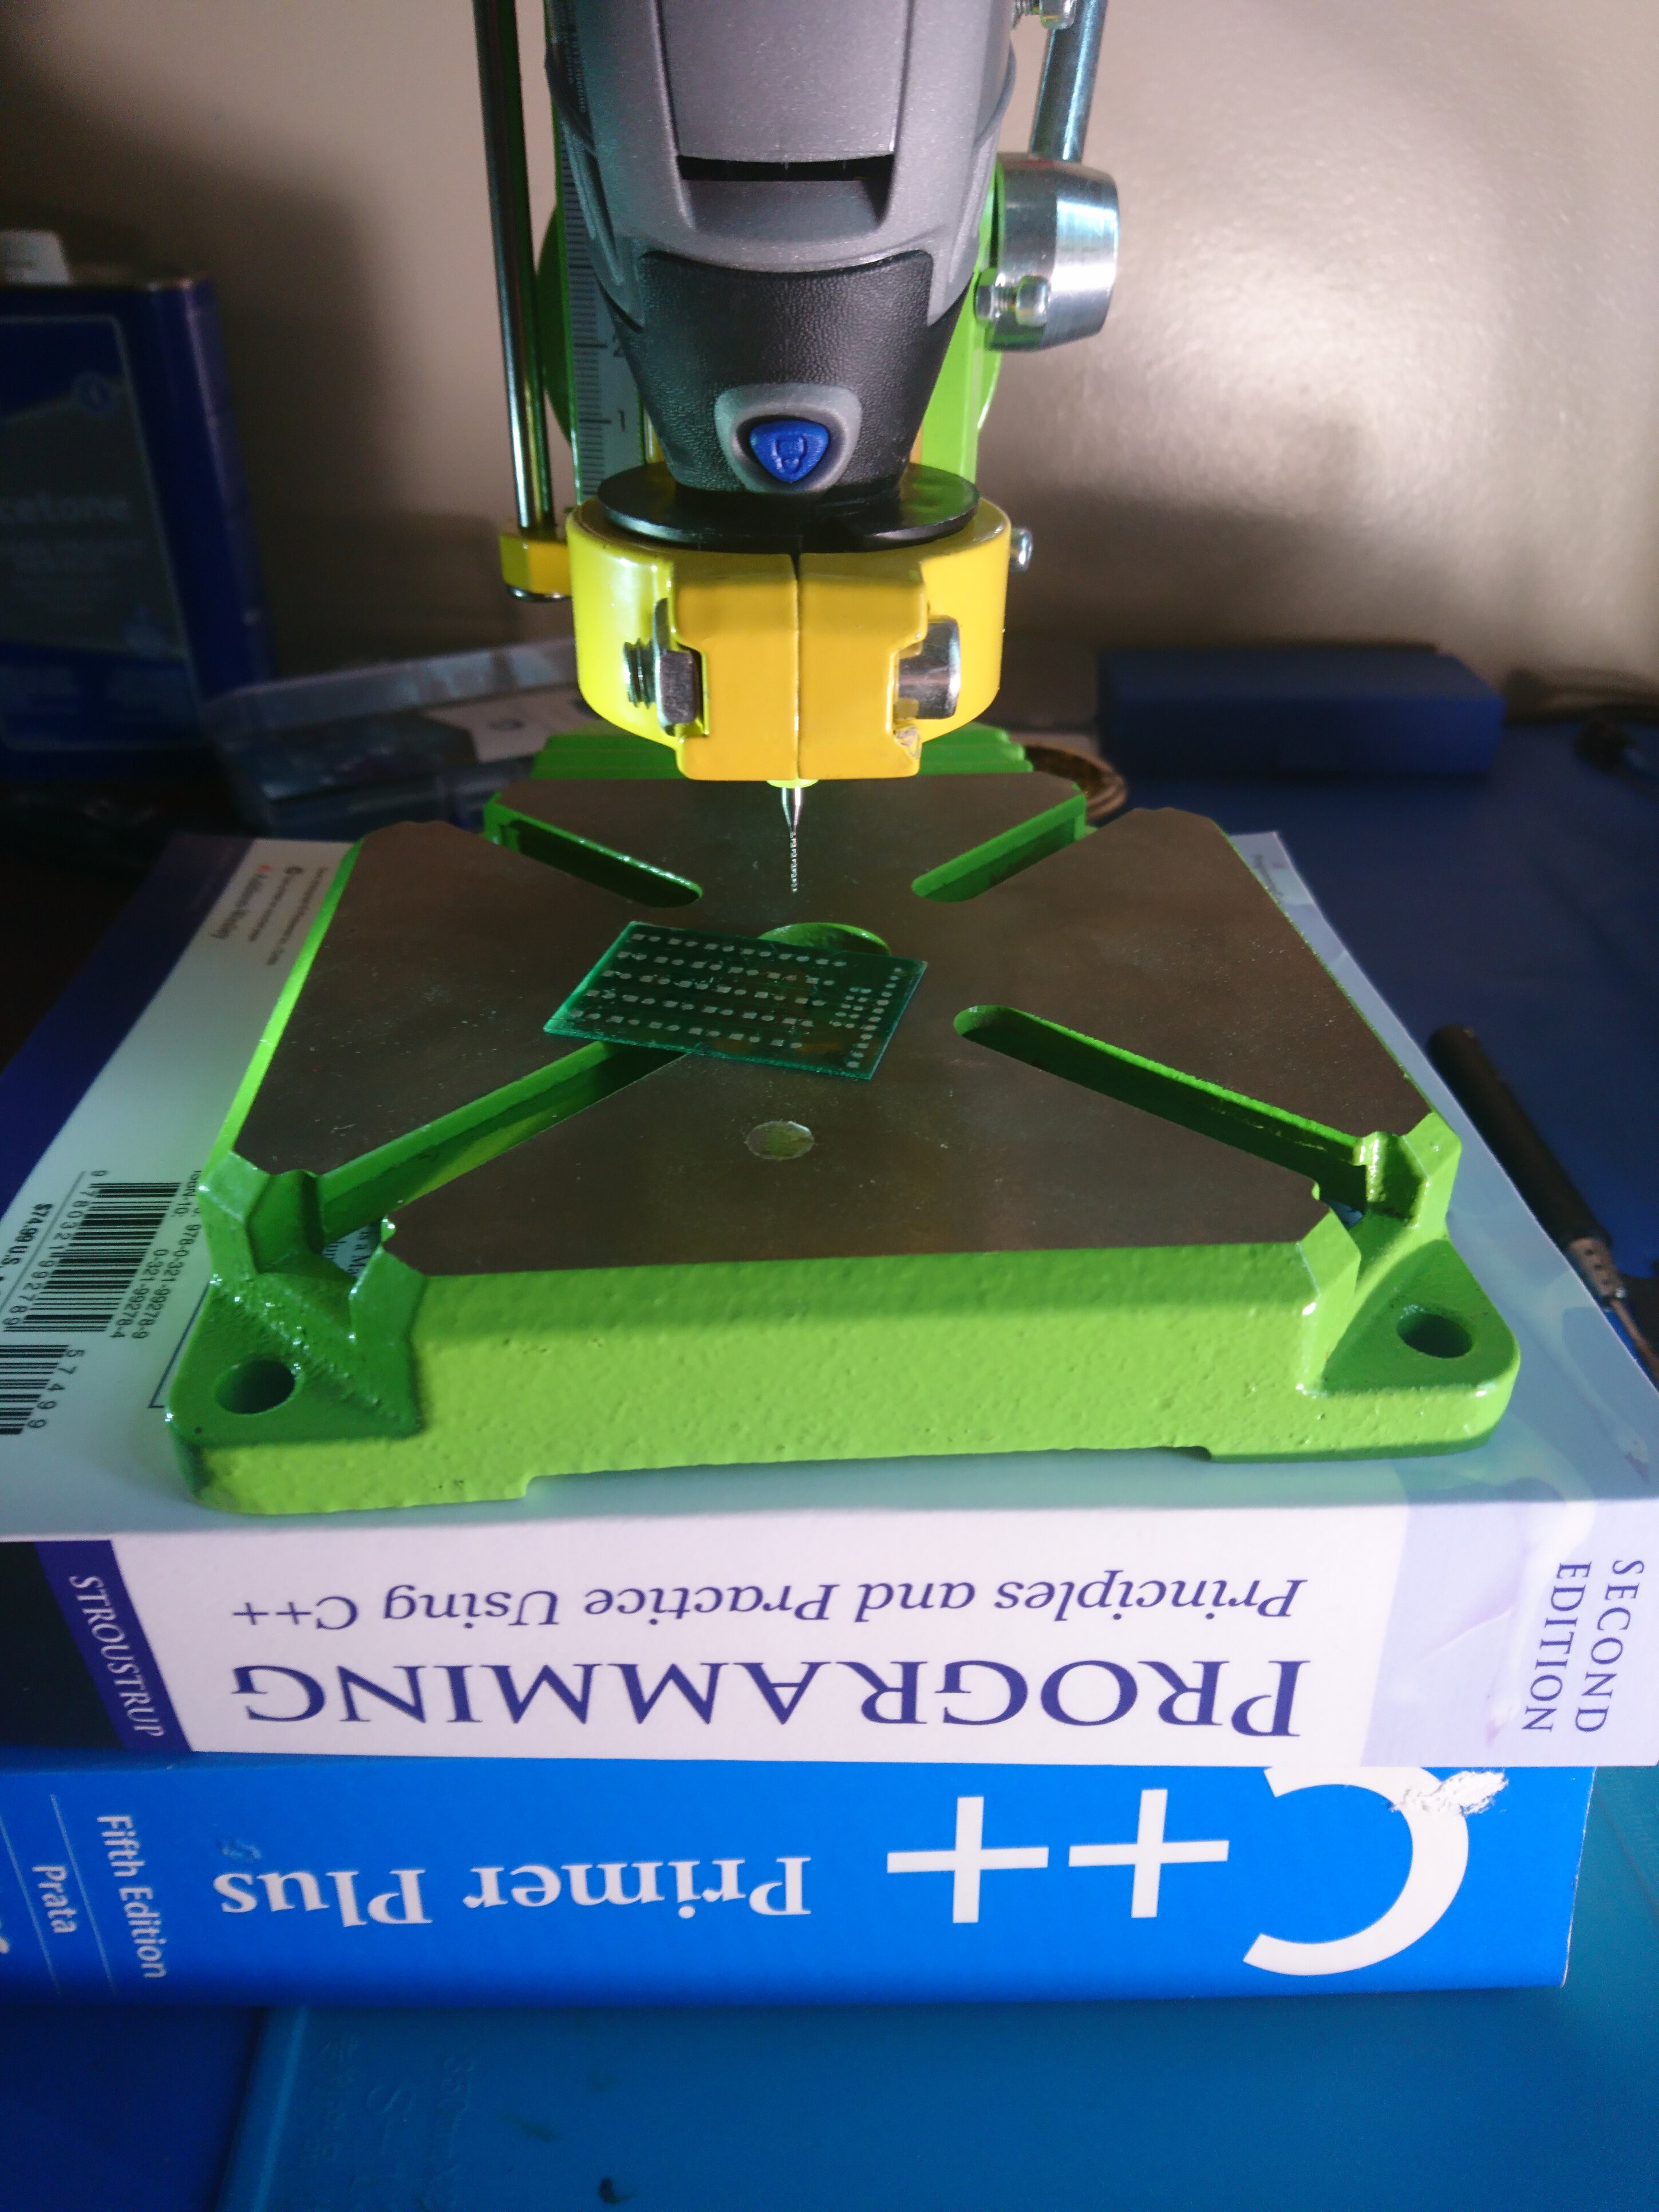
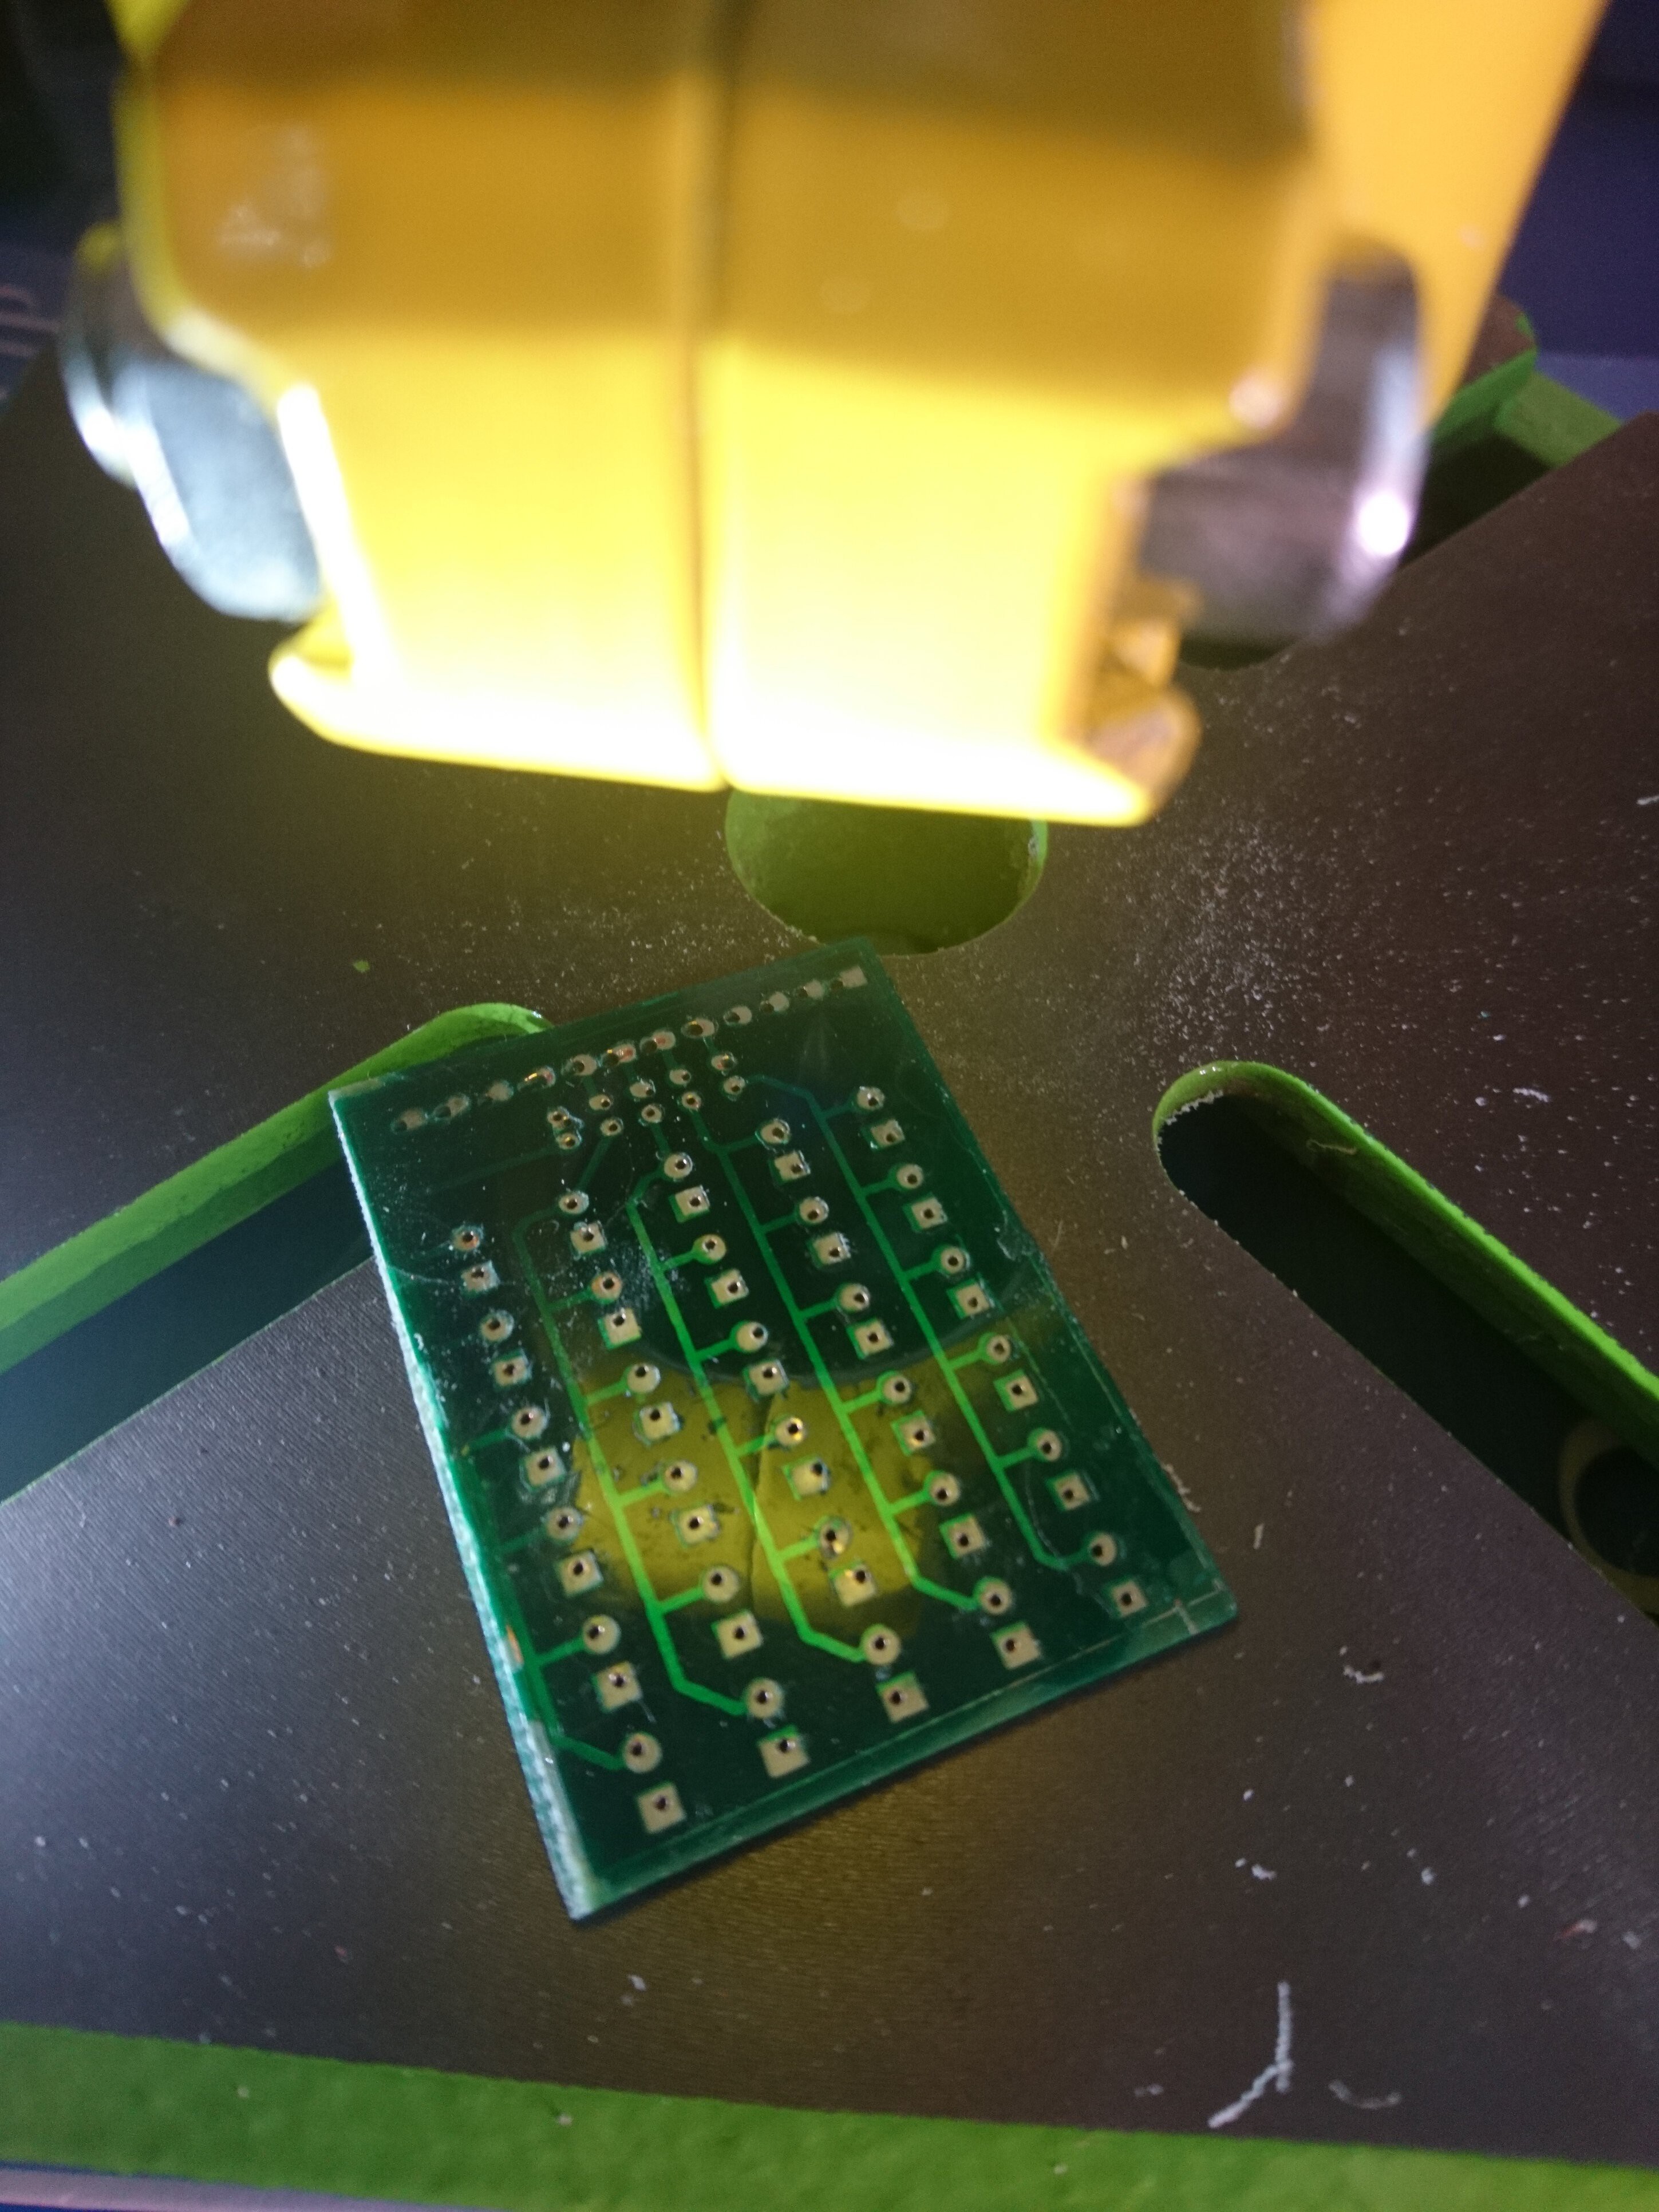
17Lets drill
I recommend using C++ with the drill press but any statically typed real programming language should work.
Python and JavaScript are not stable. The drill bits WILL snap.
![]()
![]()
-
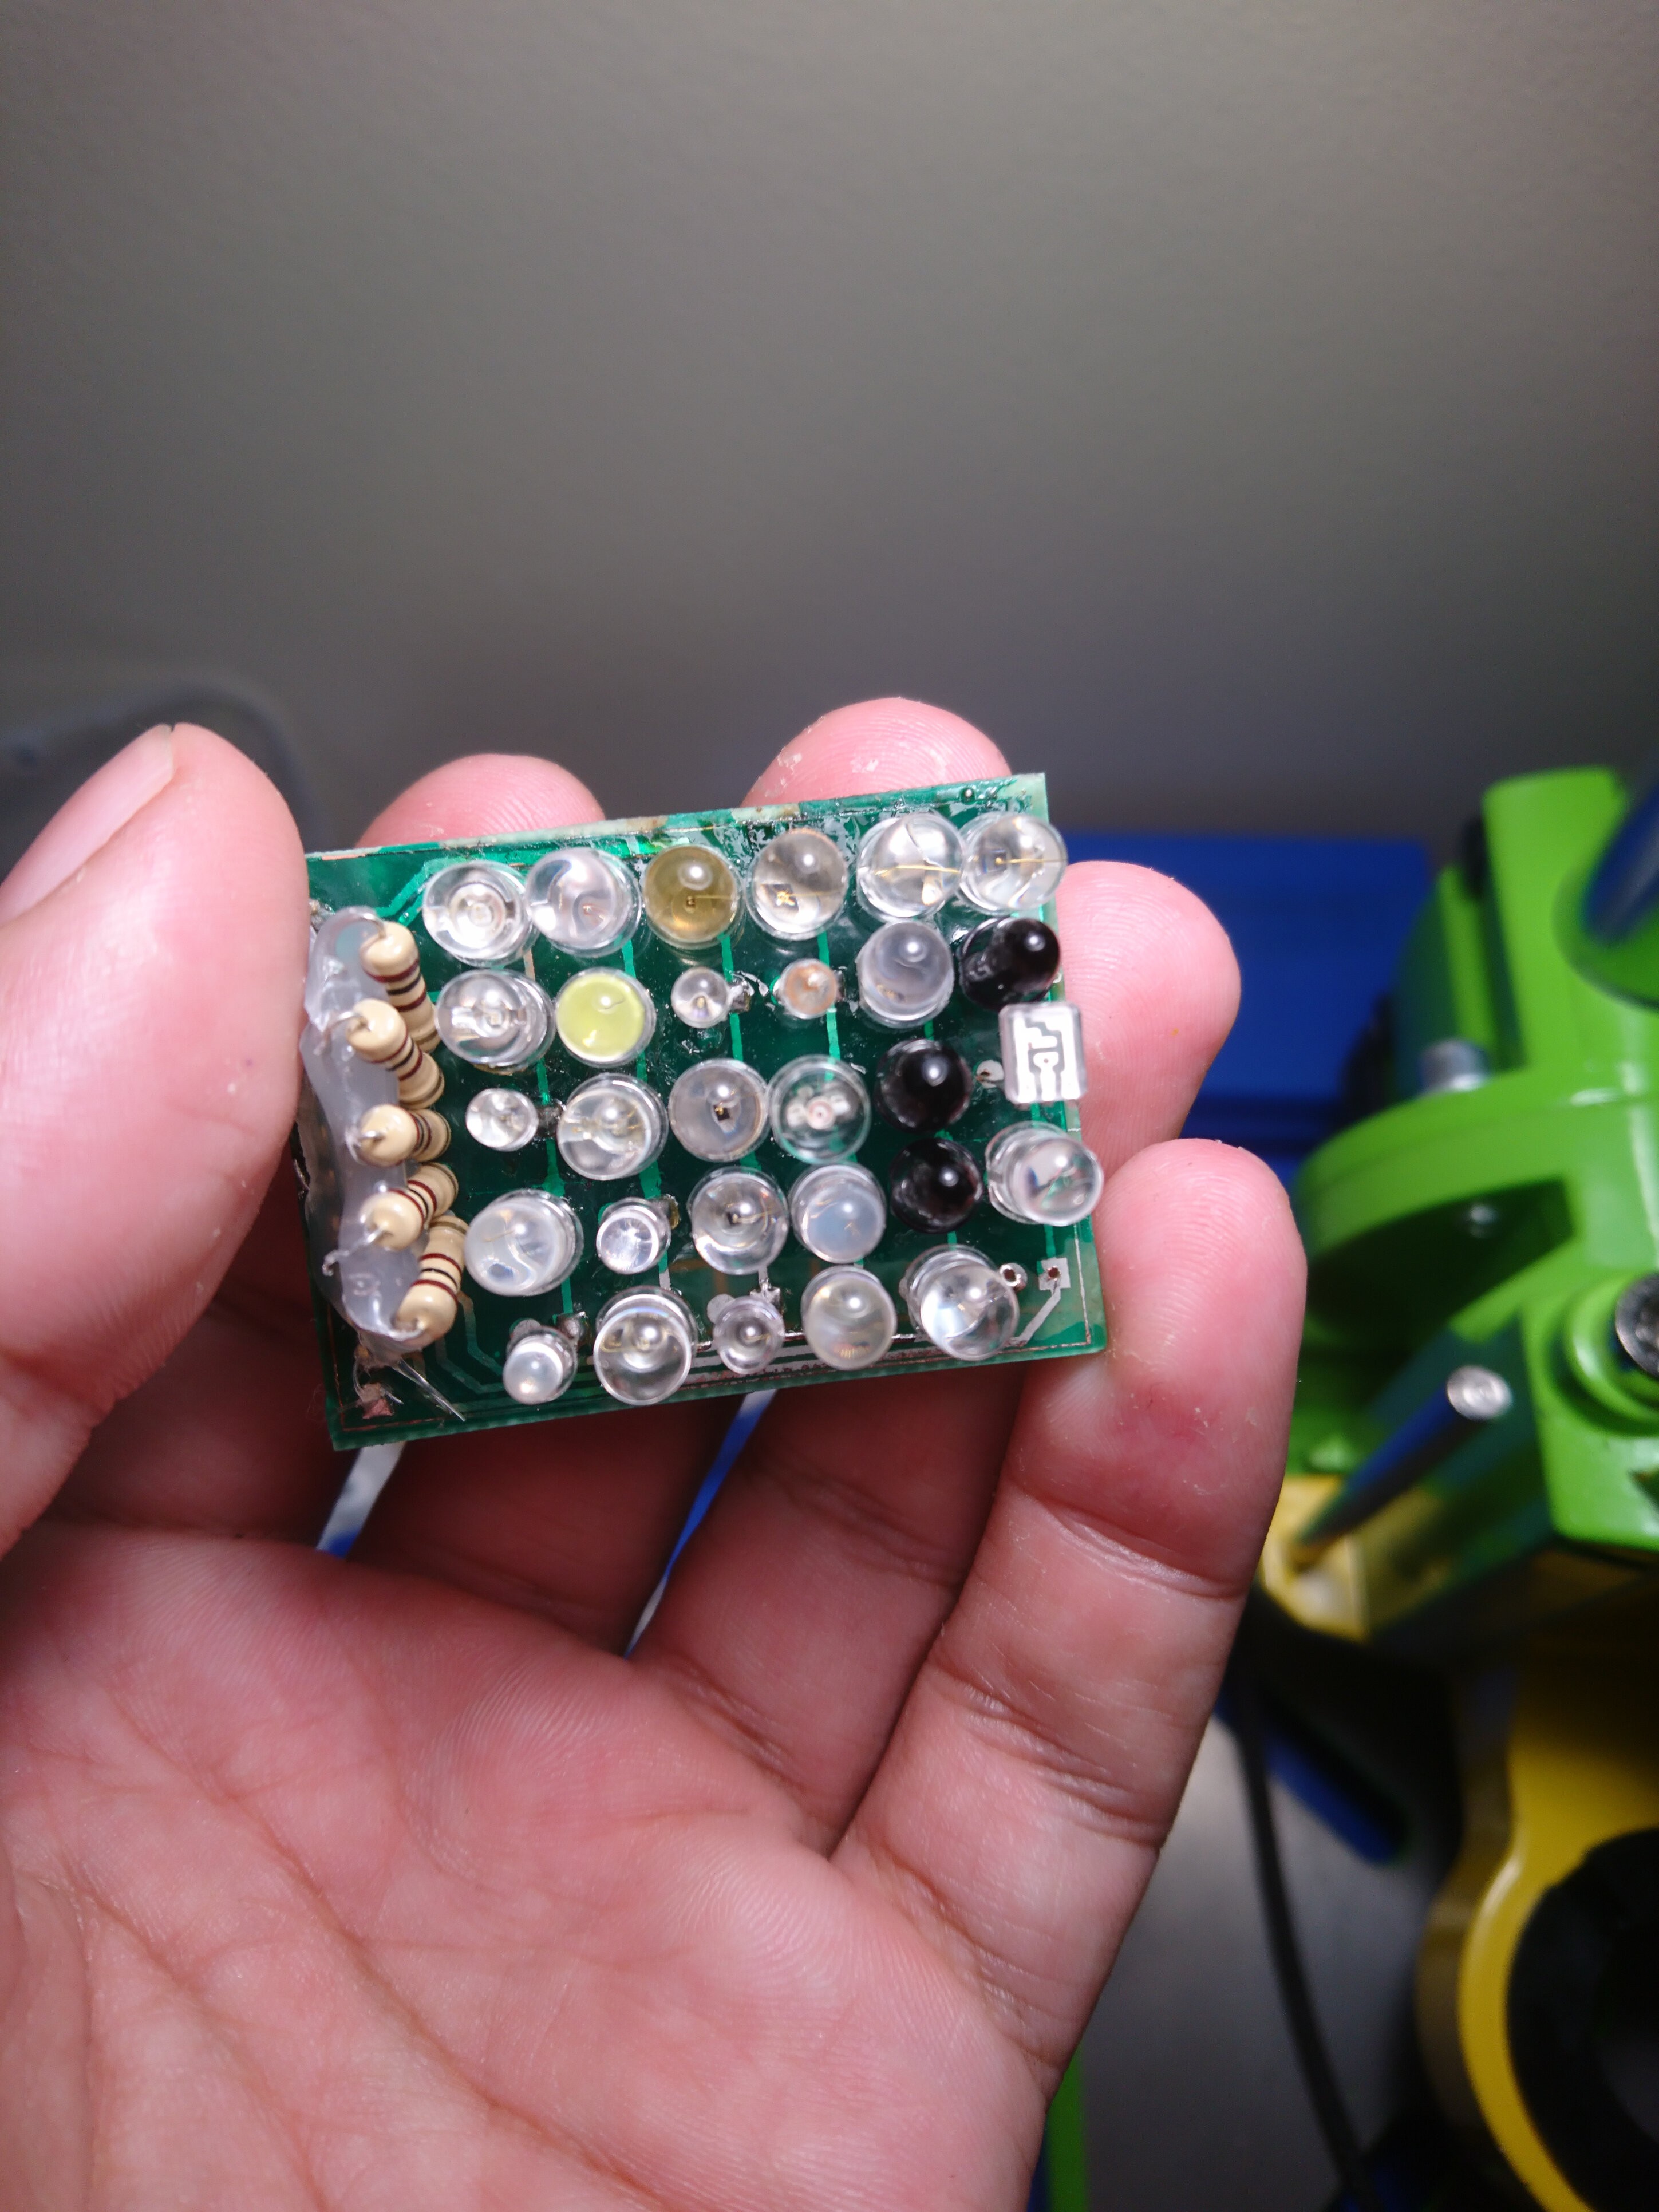
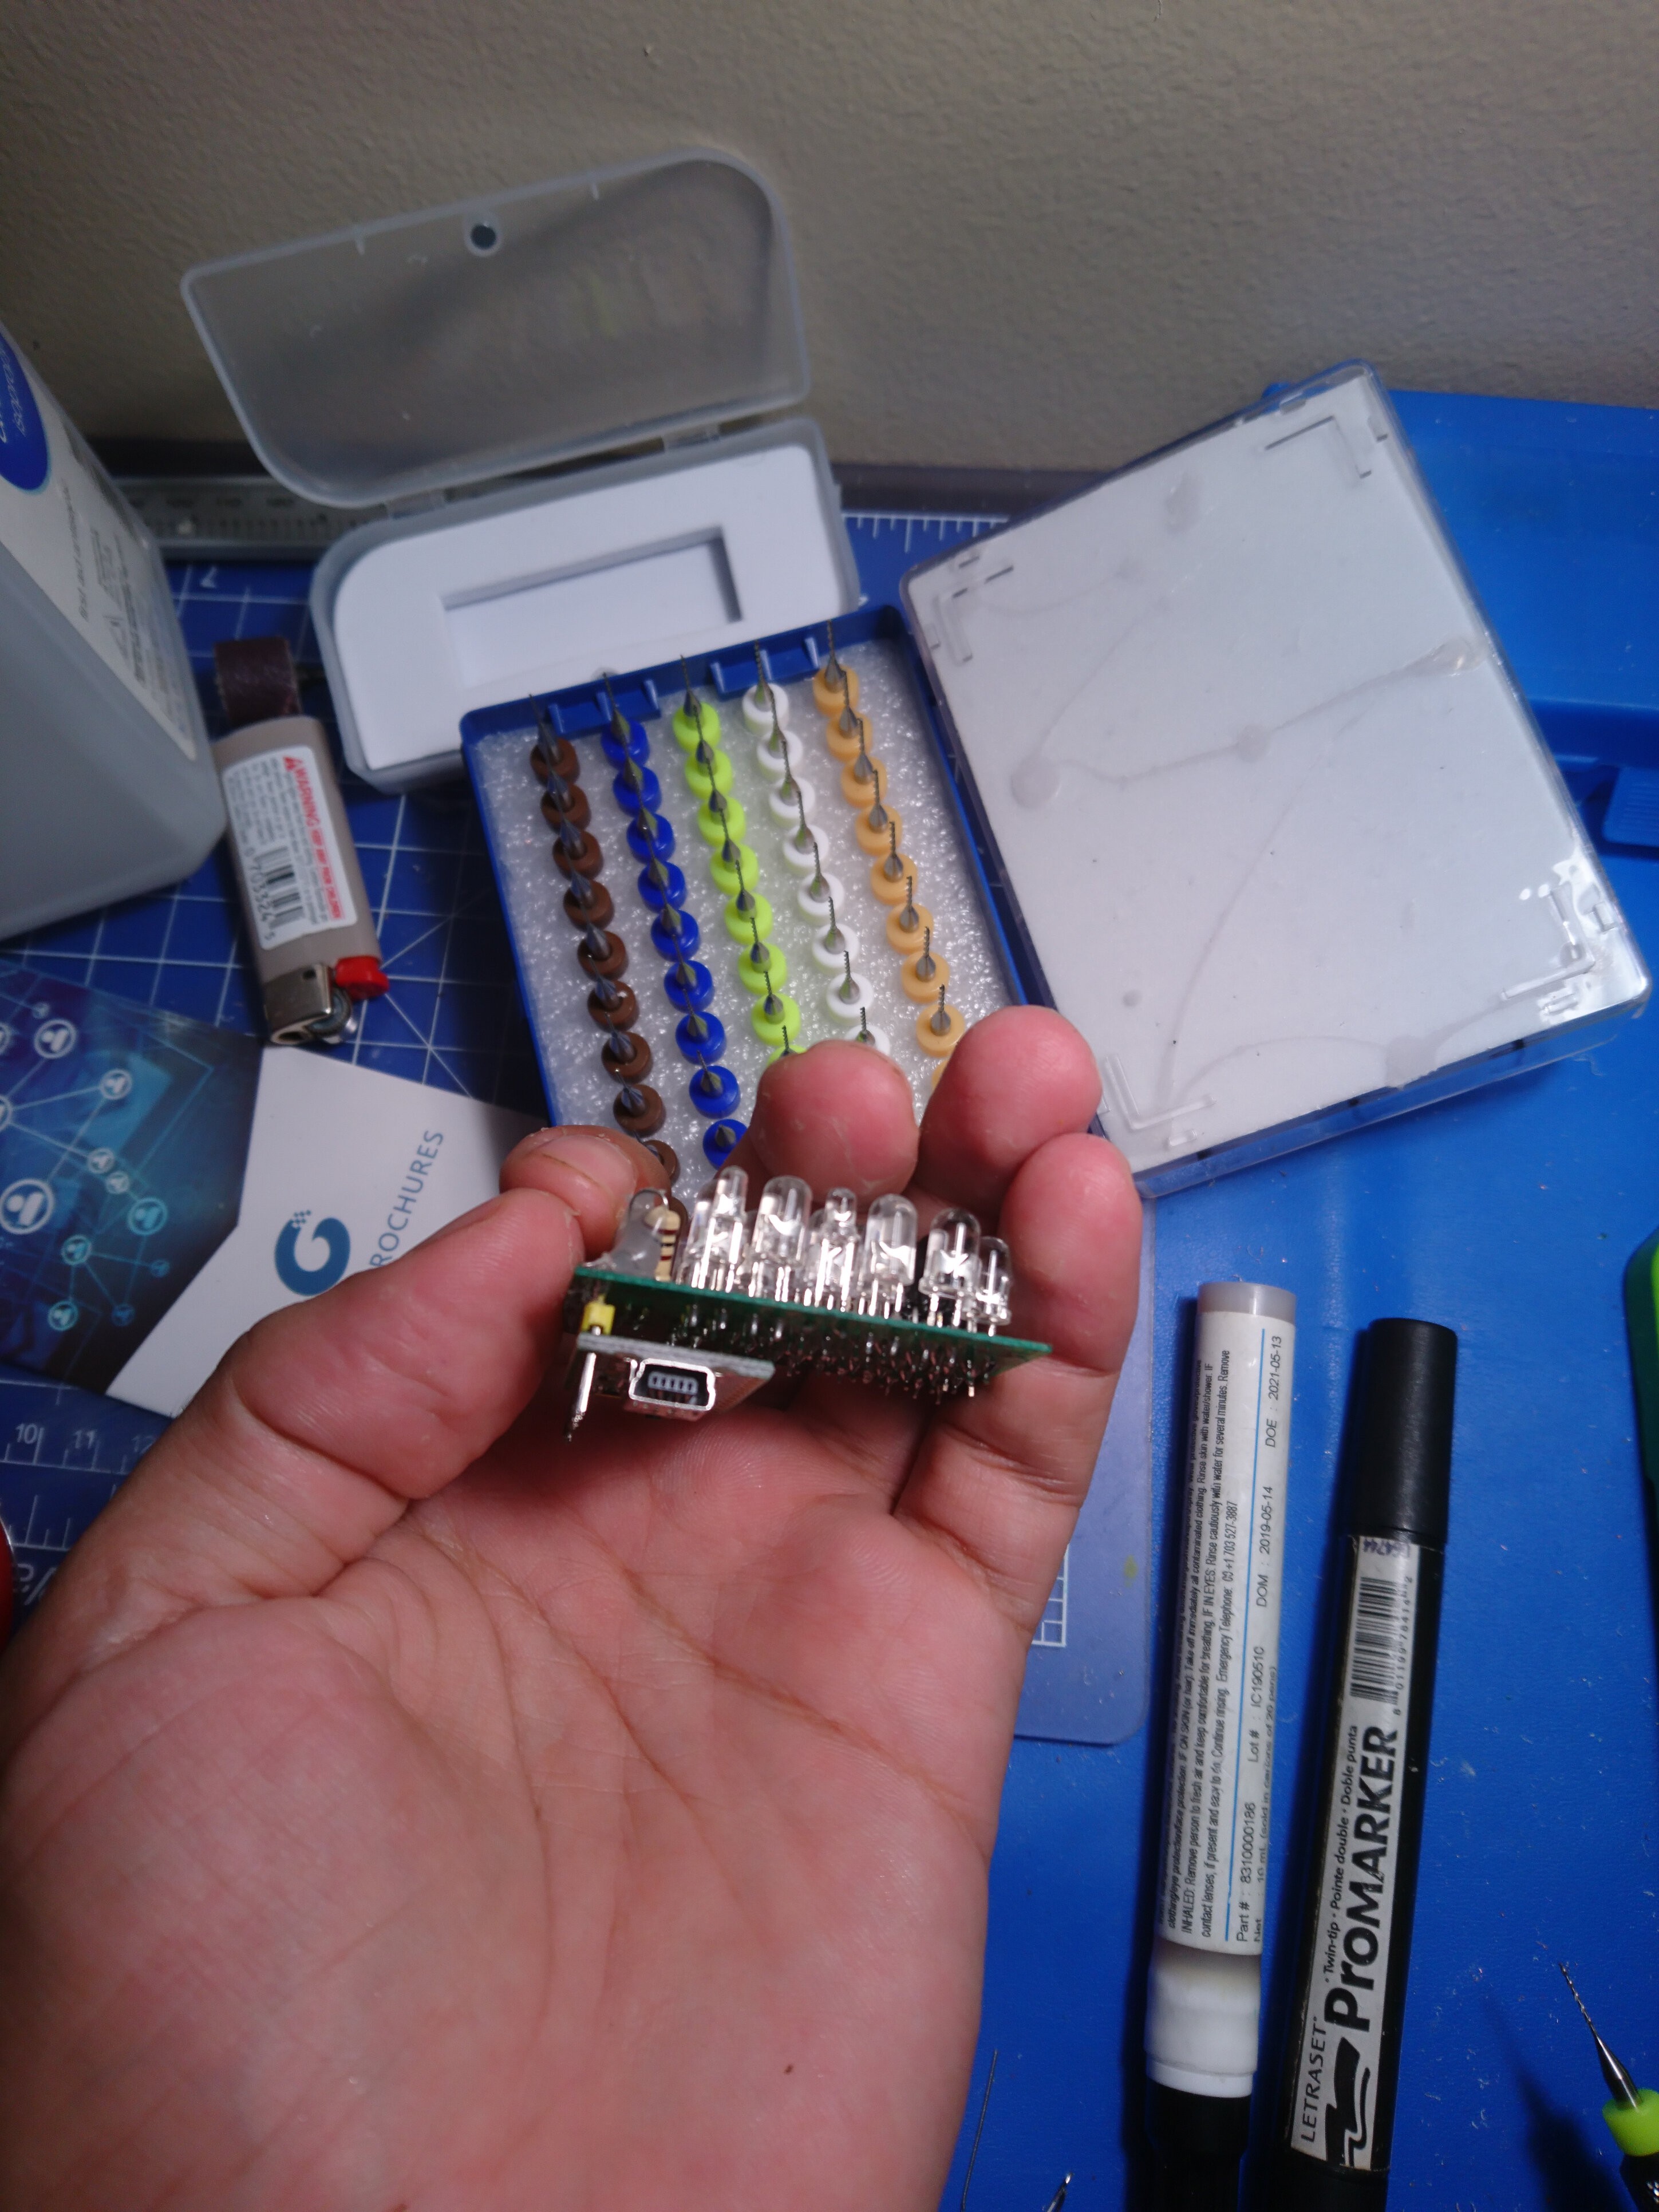
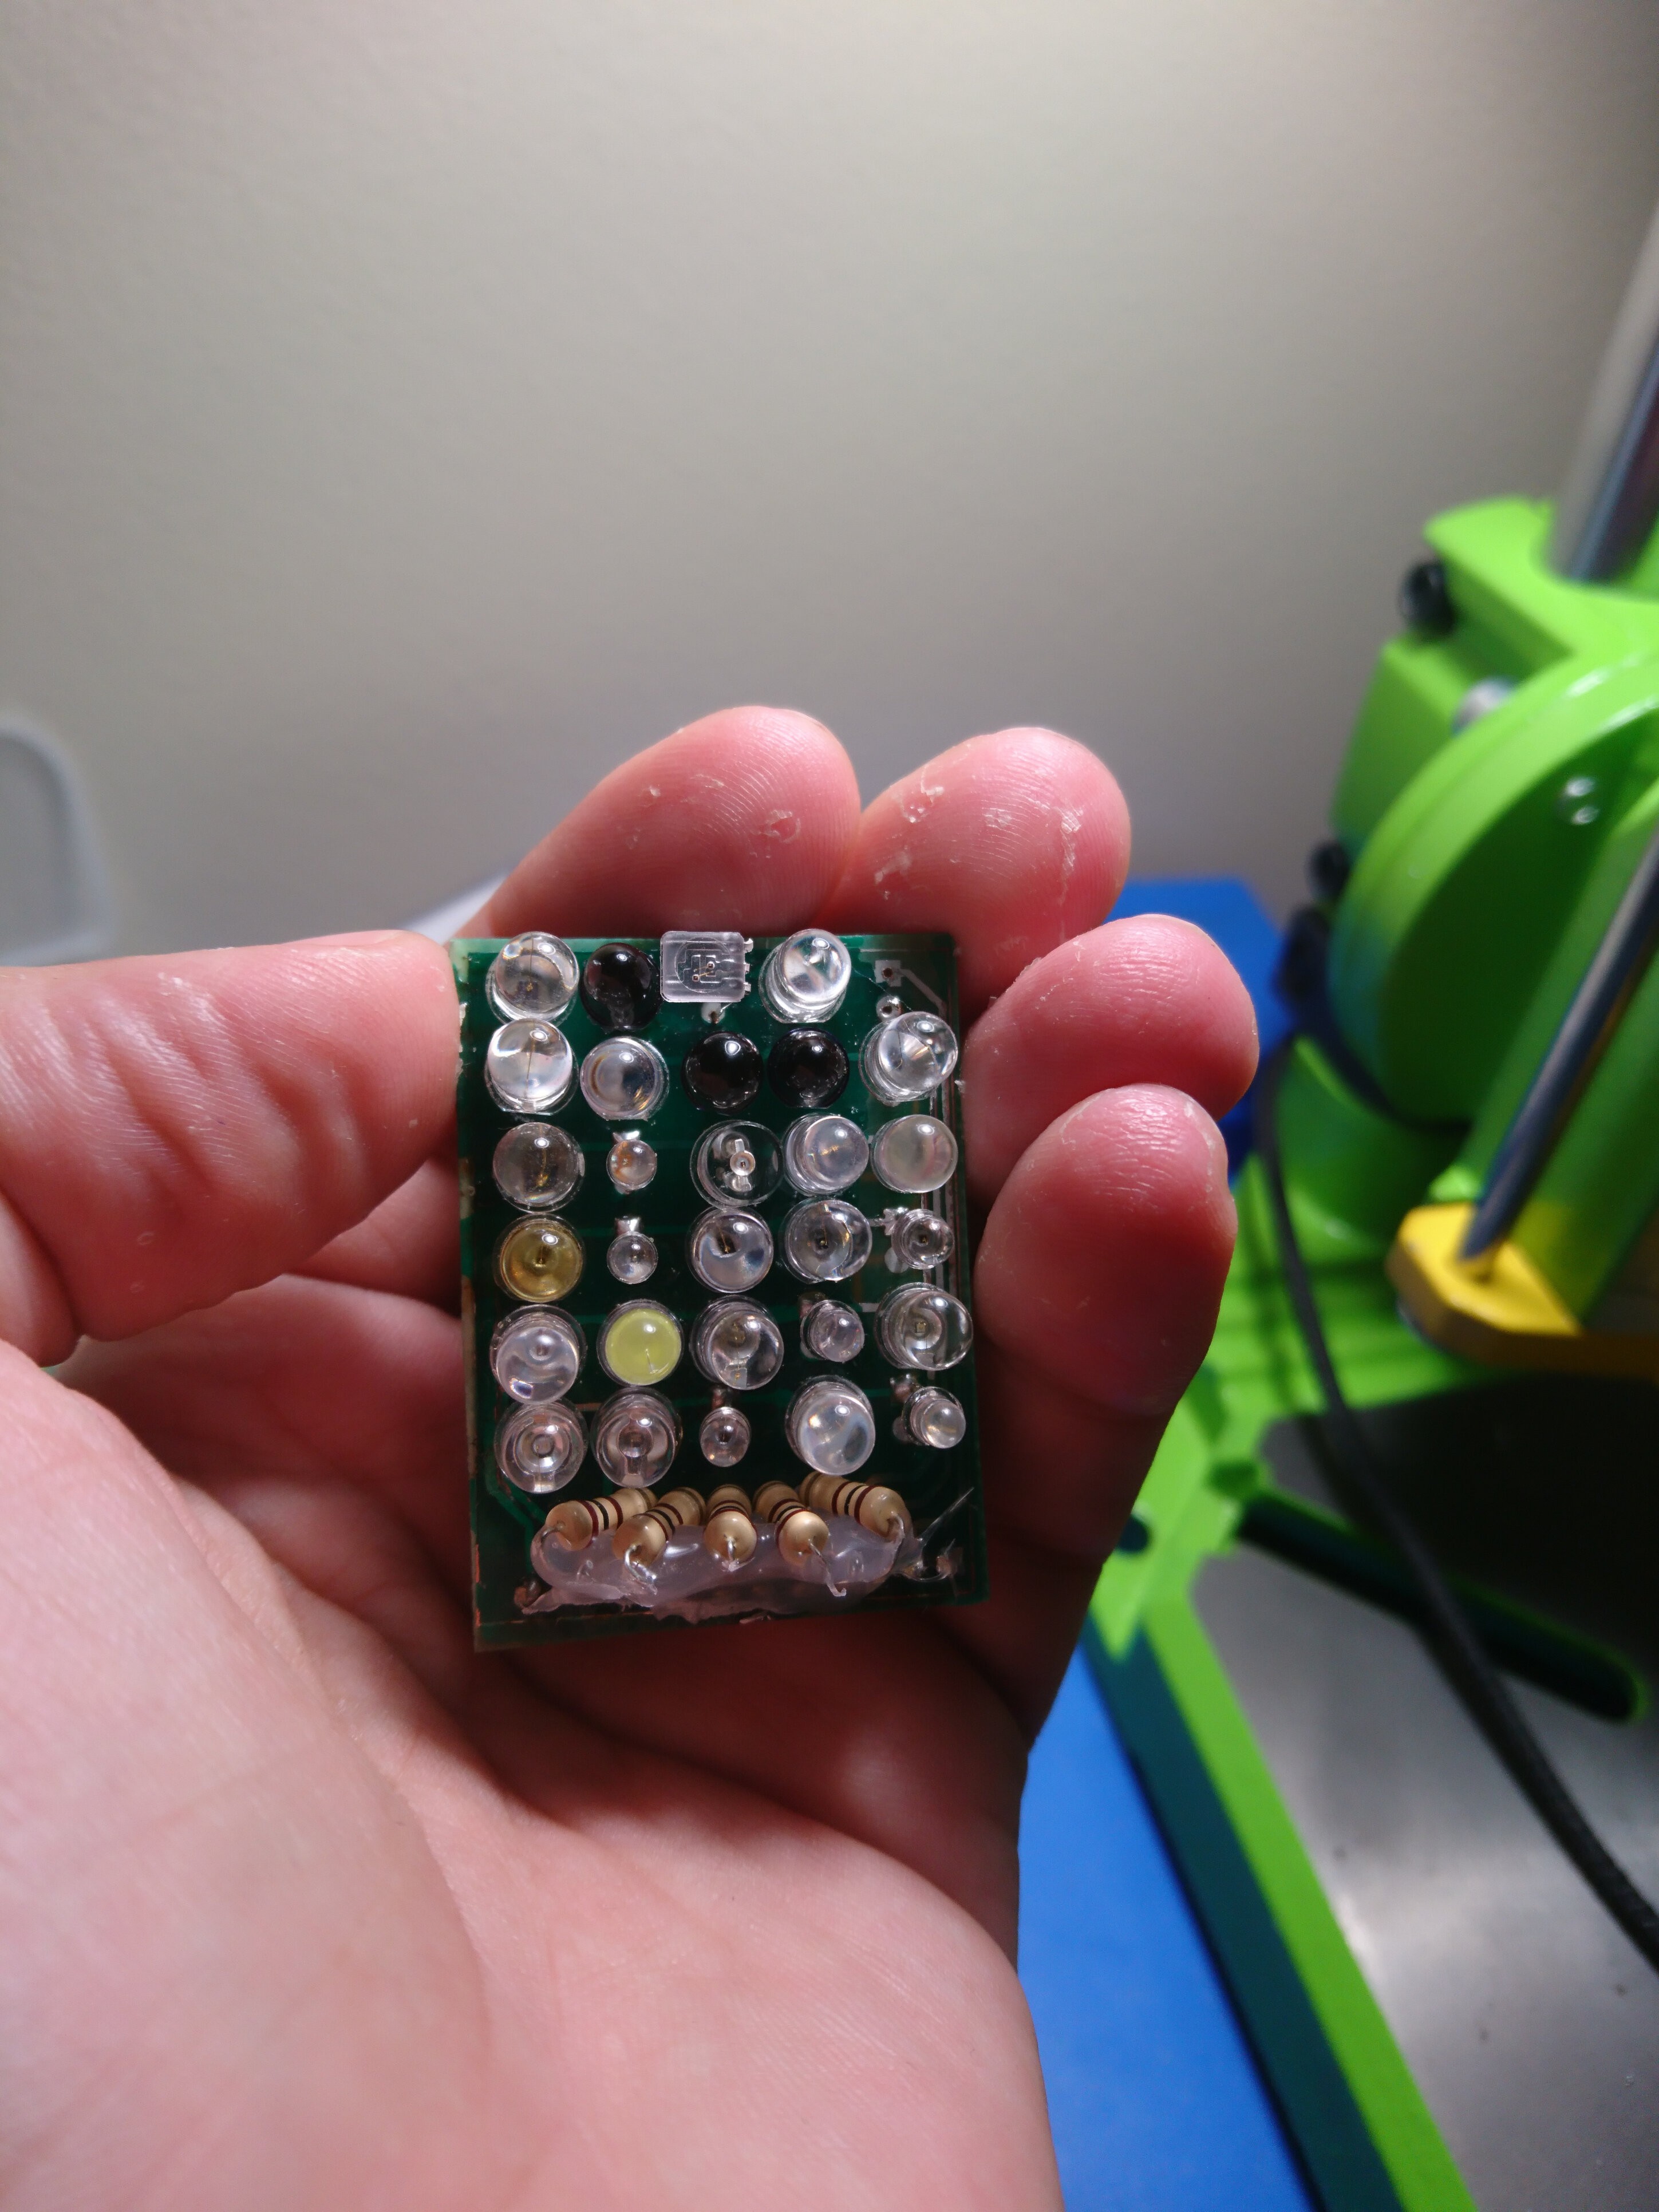
18Voila!
![]()
![]()
![]()
![]()
![]()
![]()
![]()
![]()

 Transparency sheets works best if you hug them while barefoot or they will be stubborn and stick to the drawer inside the printer because you don't show them the love they need. **static charges.


Discussions
Become a Hackaday.io Member
Create an account to leave a comment. Already have an account? Log In.
Hey,
I just finished a project where I describe my method of making 2 layer PCBs at home :)
https://hackaday.io/project/173323-yet-another-guide-on-how-to-make-pcbs-at-home
Good work !
Are you sure? yes | no
Thank you.
I like you project too. Good Job ;)
Are you sure? yes | no