arcade perfect
-
Radio CMRI
07/11/2020 at 23:24 • 0 comments![]()
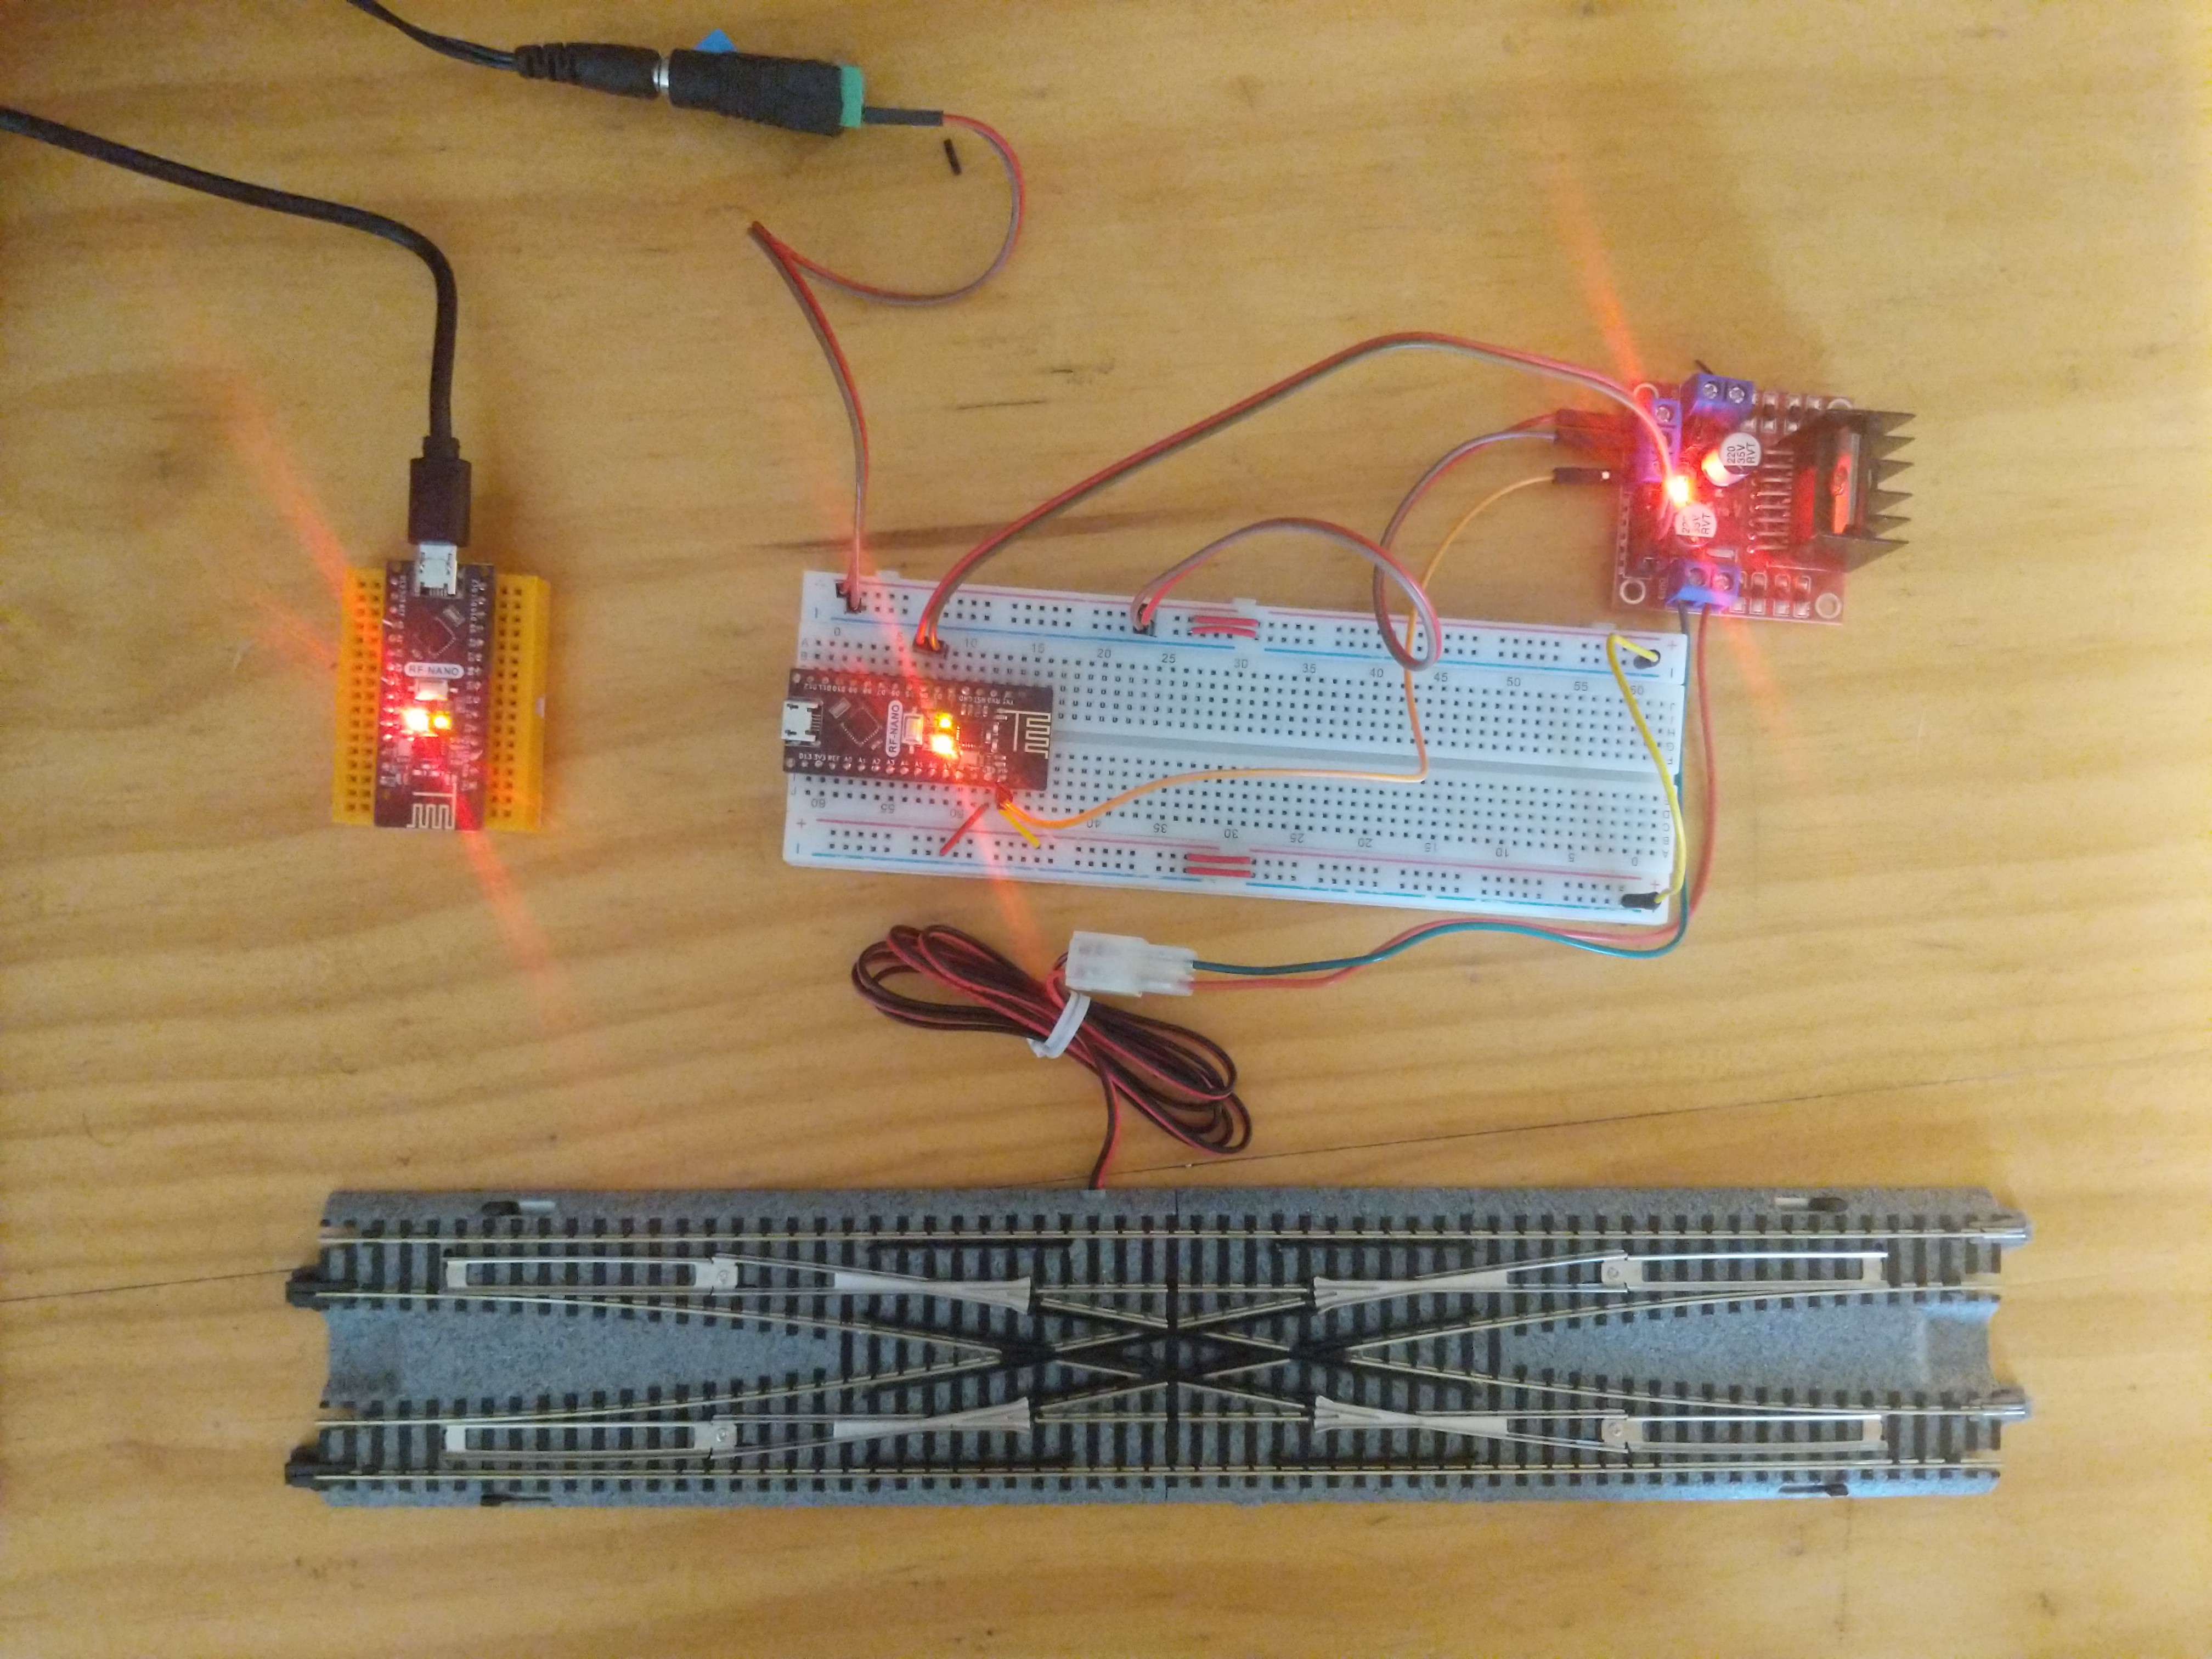
Got radio working. JMRI on laptop connects to RF-Nano (Arduino nano clones with integrated rf24 radios) via serial using CMRI protocol. Nano then transmits data to the other RF-Nano using the RF24 Network library. From there it actuates the turnout with a regular motor driver.
The idea being that I can distribute these around willynilly and only need to power them, no data wiring required. Next I'll have the same unit transmit sensor data in the opposite direction.
-
Double crossover x Arduino
07/09/2020 at 16:12 • 0 commentsThere are nifty little DCC decoder chips that are so small they can be installed fully within turnouts and make them addressable from the computer, drawing power from the track. But they're expensive and you need 1 per solenoid otherwise they would draw too much current, and this thing has 4 solenoids and I want several double crossovers. So had to find a cheaper way.
All you need to do is pulse the solenoids briefly which is easy with a motor driver and this one can supply enough current.
Handily, this chap wrote a mini library to handle the timed pulse in a non blocking manner which will be useful because the arduino will also be running the RF24 Network library to communicate with the computer.
Easy peasy.
However I seem to have broken my radio module so no radio stuff.
-
Banai Shorty + Kato power unit + Zimo decoder
07/08/2020 at 02:45 • 0 commentsFirst things first need a train. I already did something similar installing a decoder in a nanoblock train before I decided to switch to these Bandai Shorties.
I have one "toy" train and one conversion kit to make it into a "proper" train (for enthusiasts). But it isn't that enthusiastic because it's simple DC, not the DCC system which allows data and power to be transmitted over two lines by modulating the pulses of AC current. These are German and Japanese products which makes sense because those two nations are mental about trains.
![]()
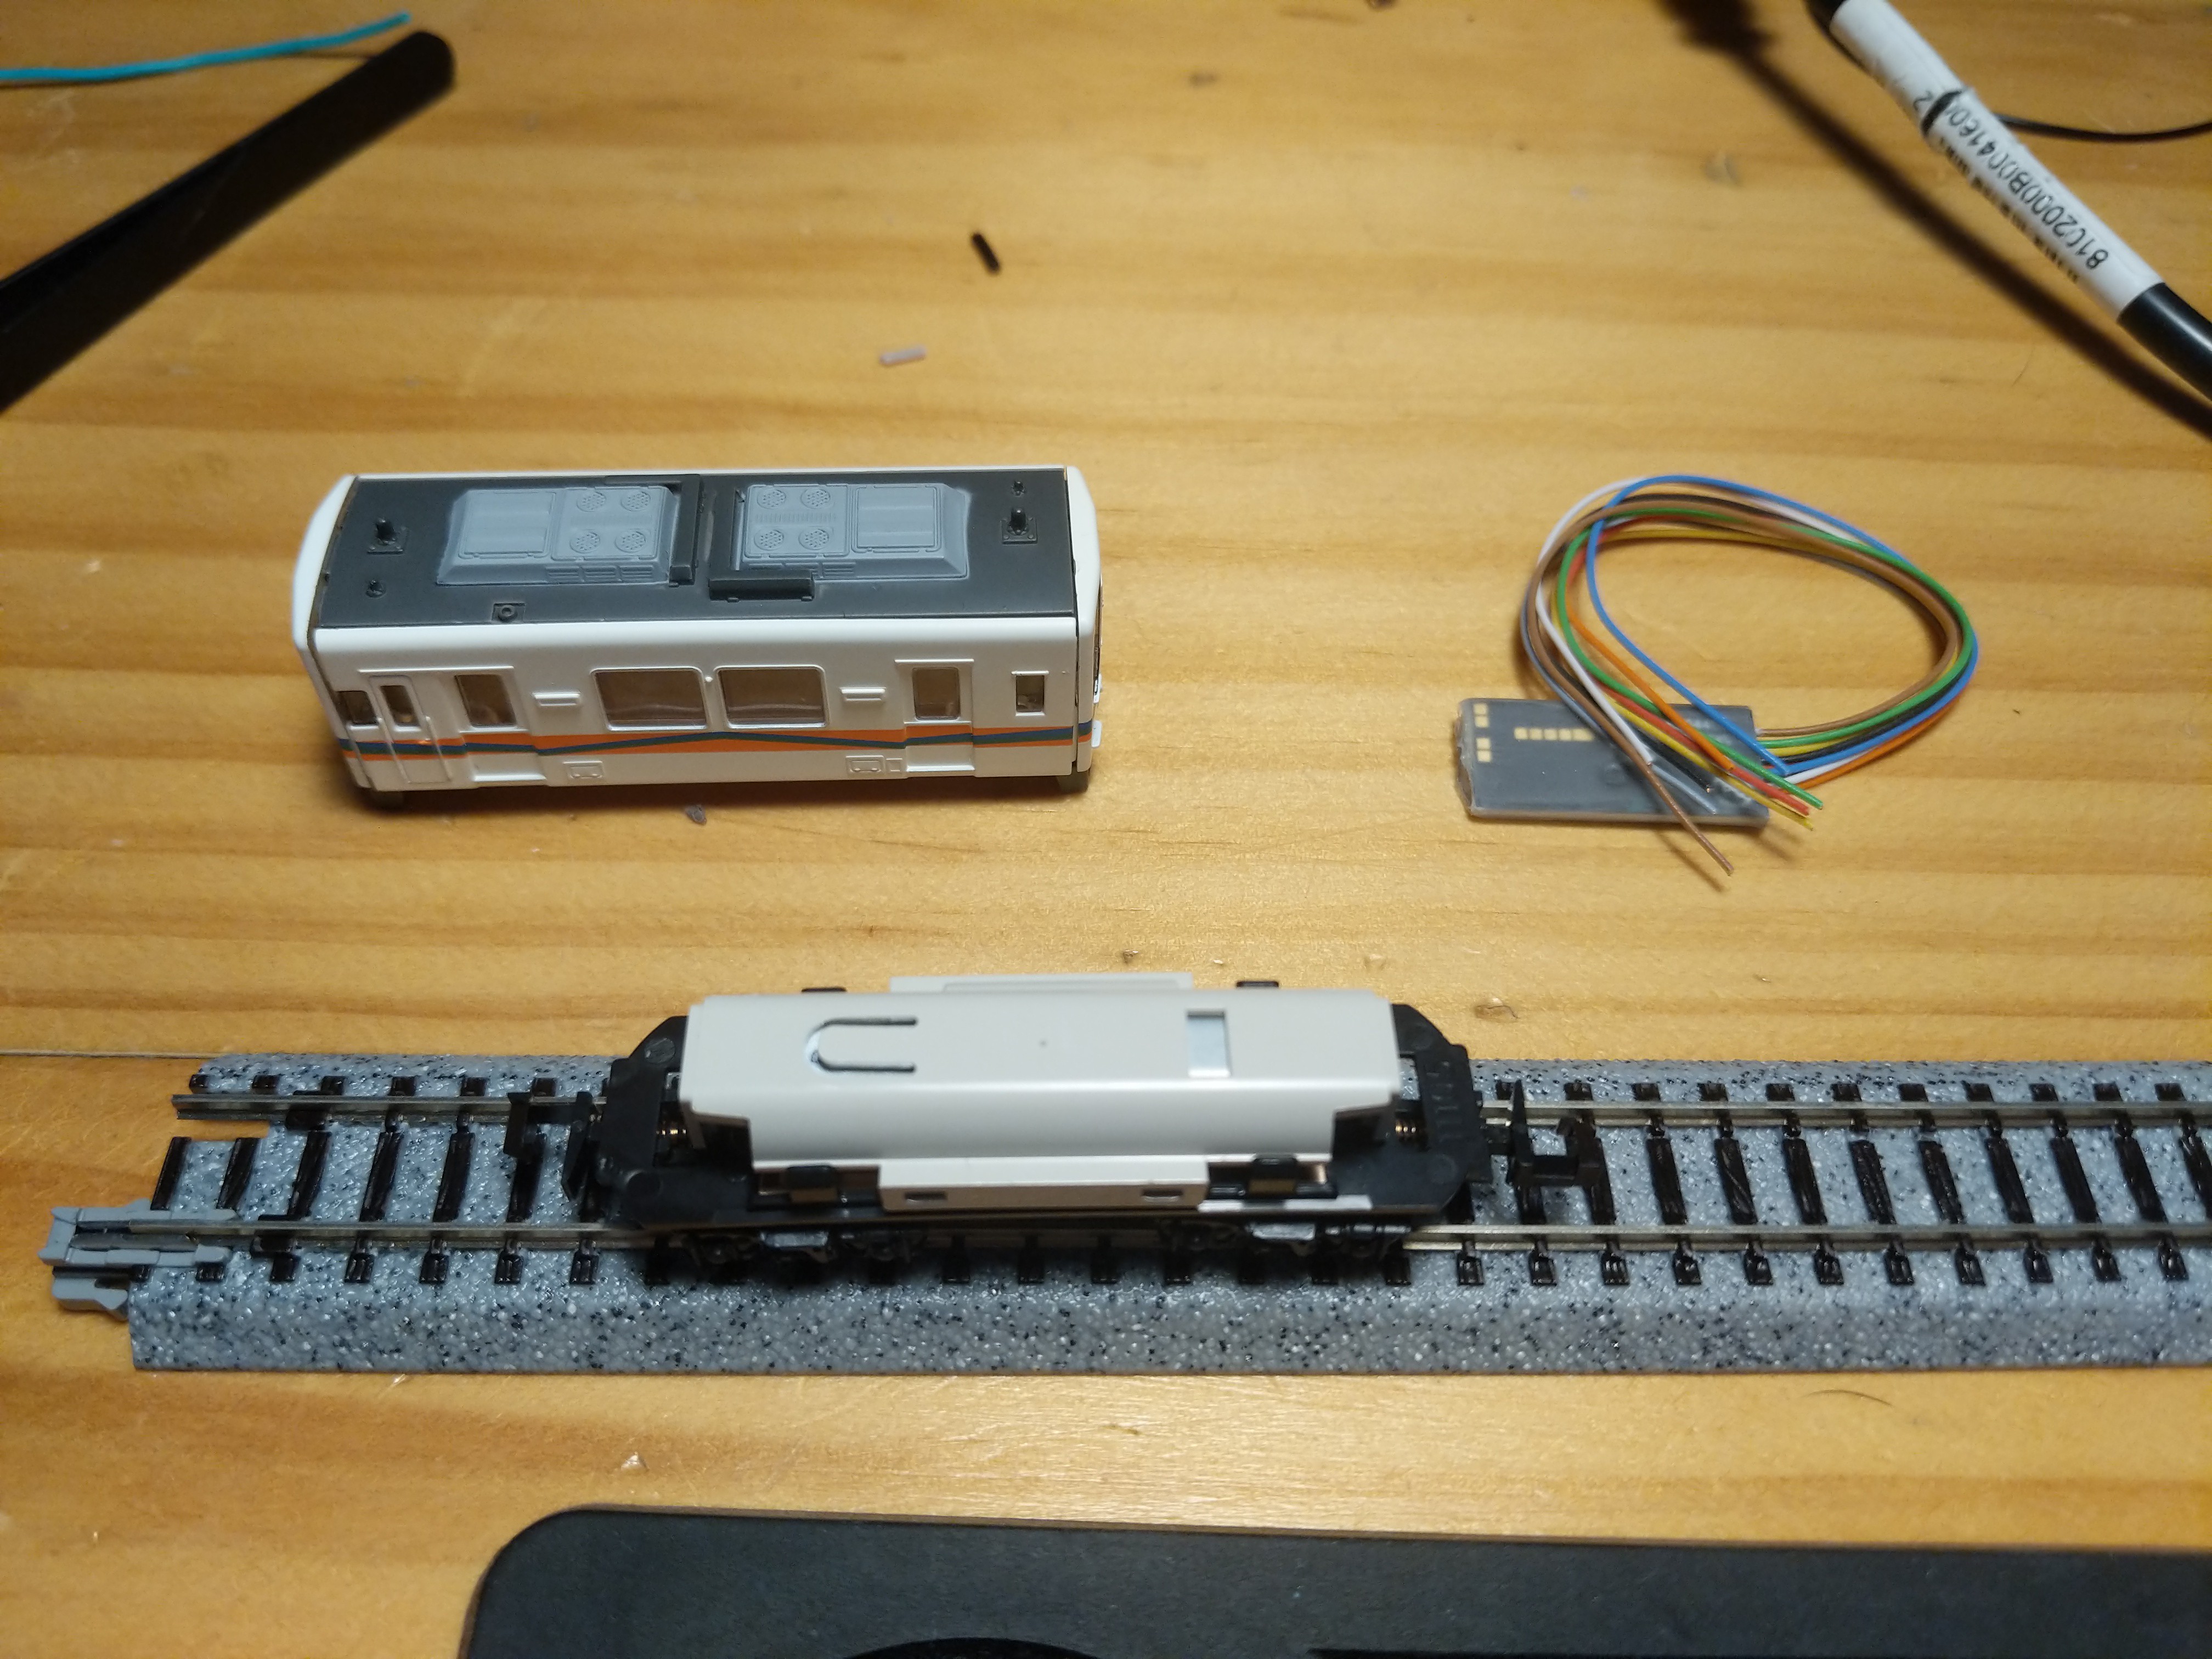
I decided to put the motor in the more boring of the two carriages I got with the Bandai kit, so the more interesting one with bear decals could be combined with a different train if I decide want that.
![]()
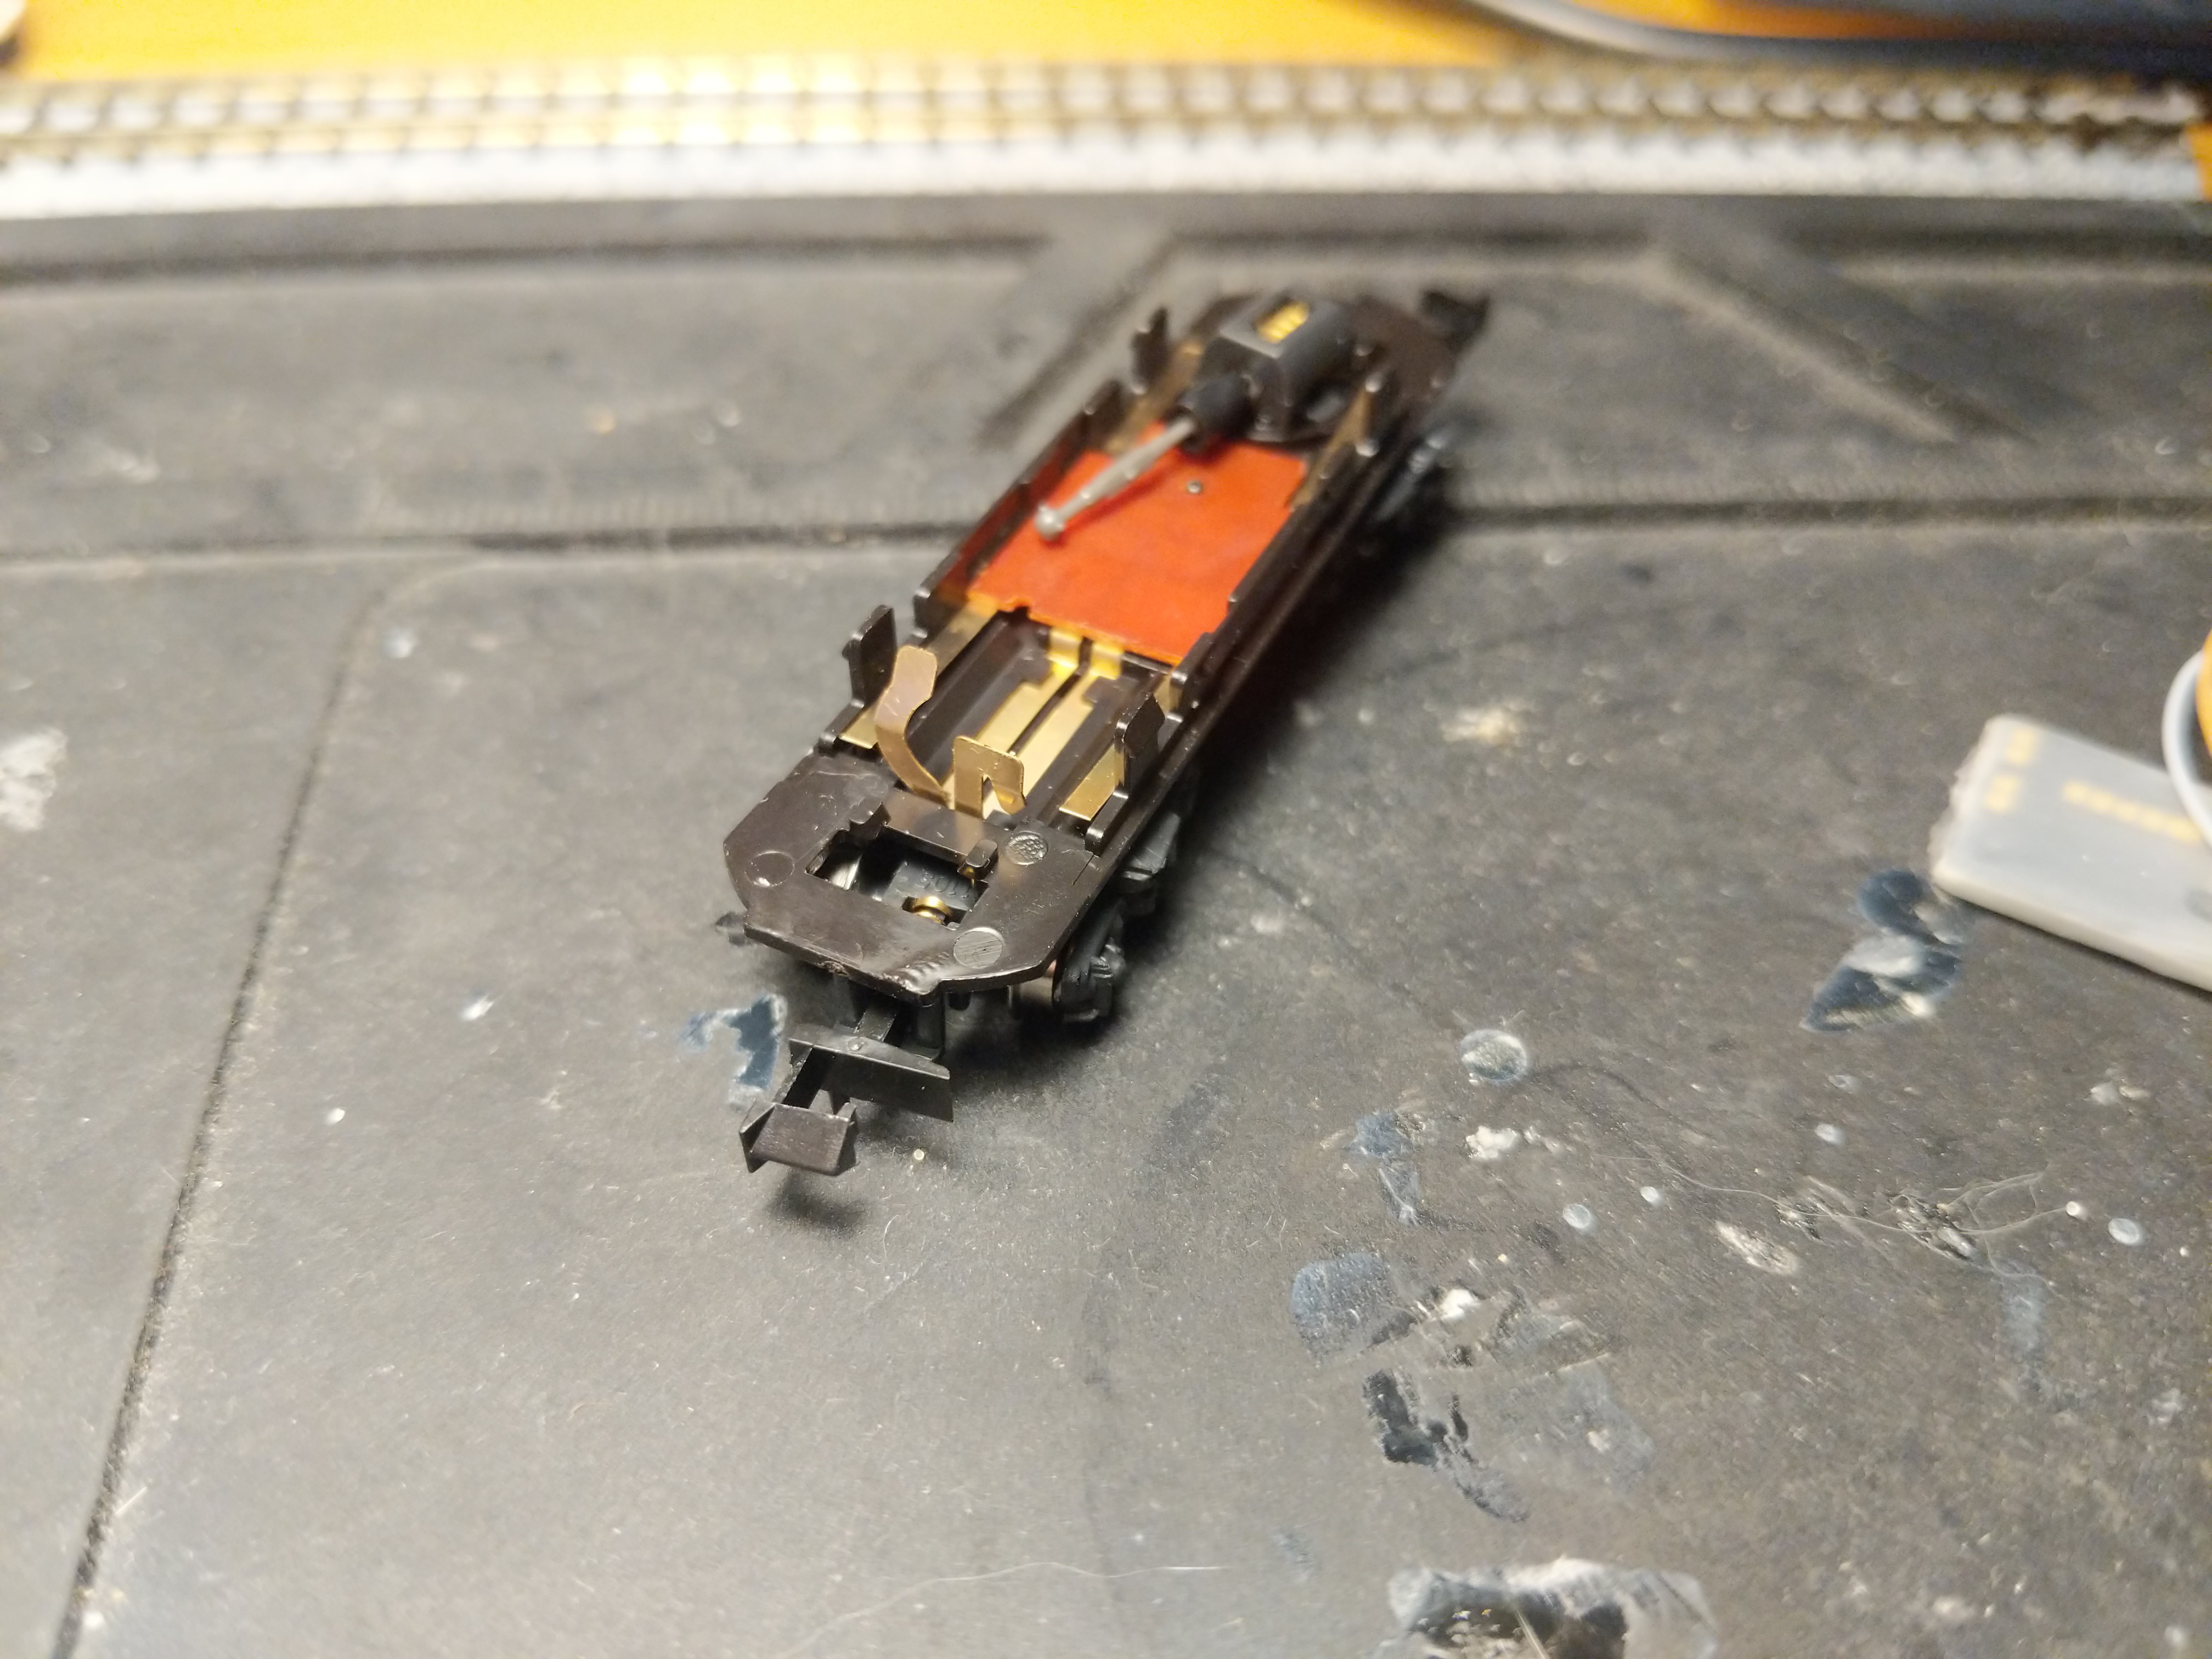
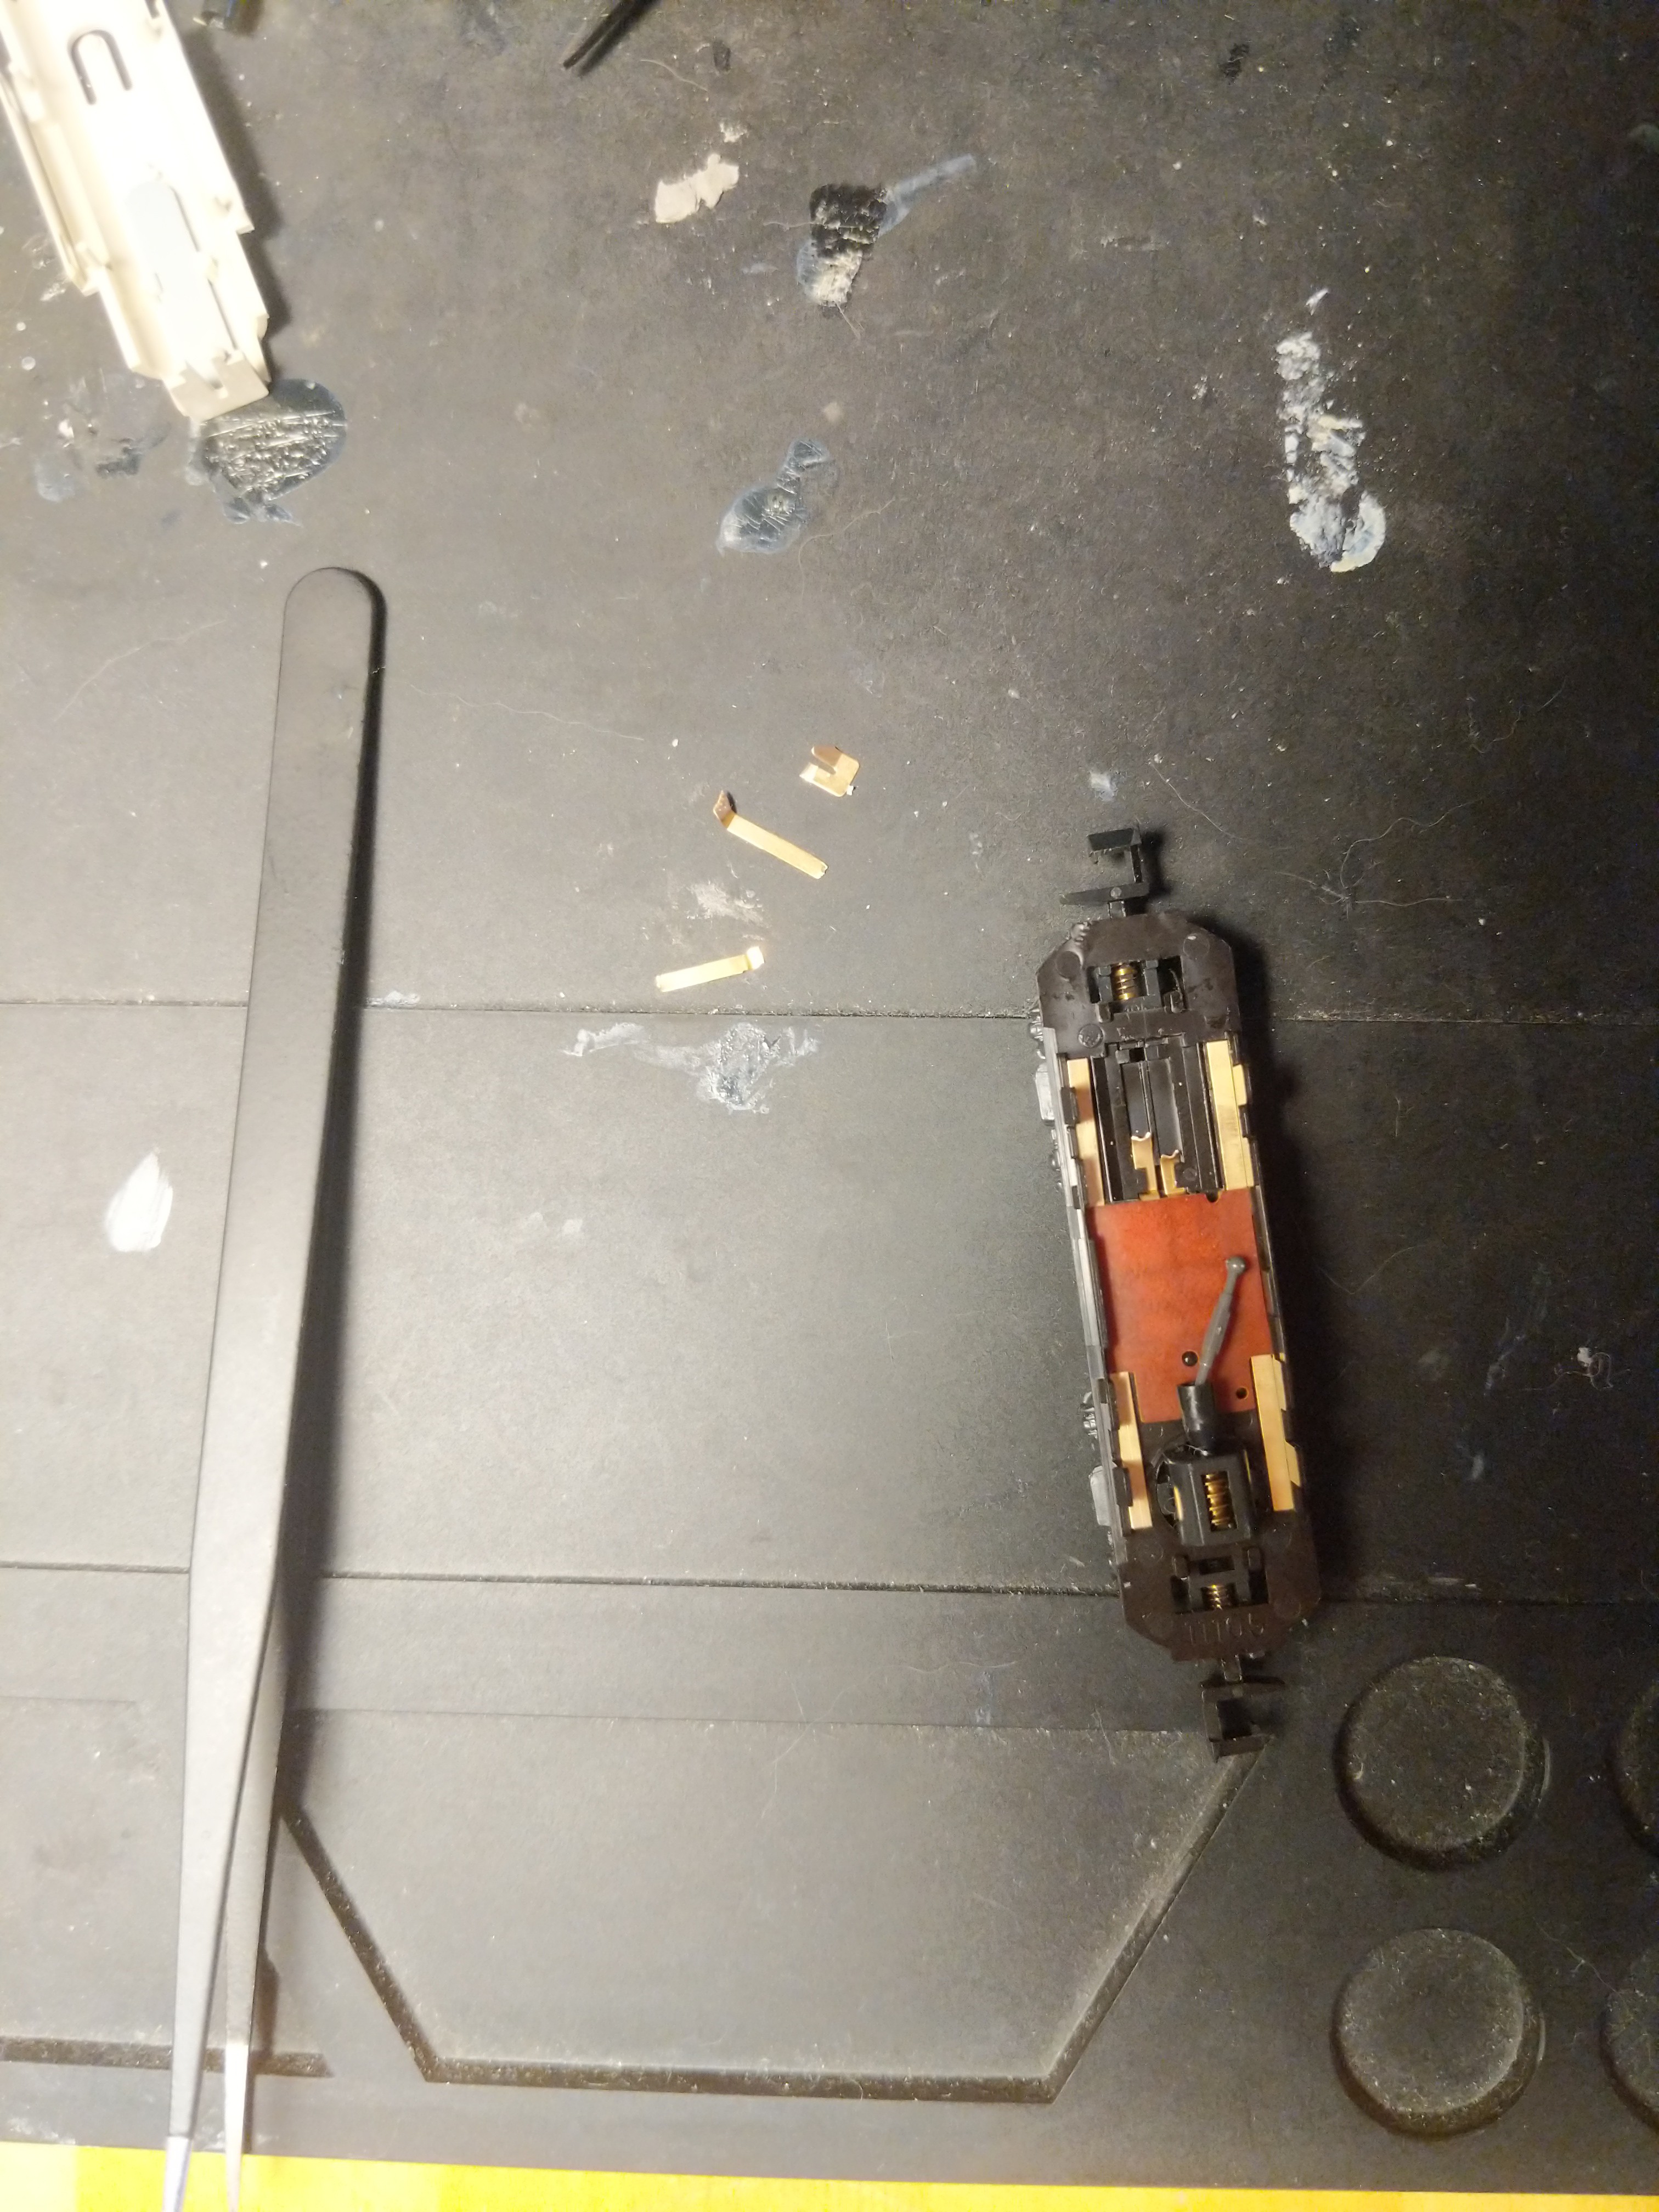
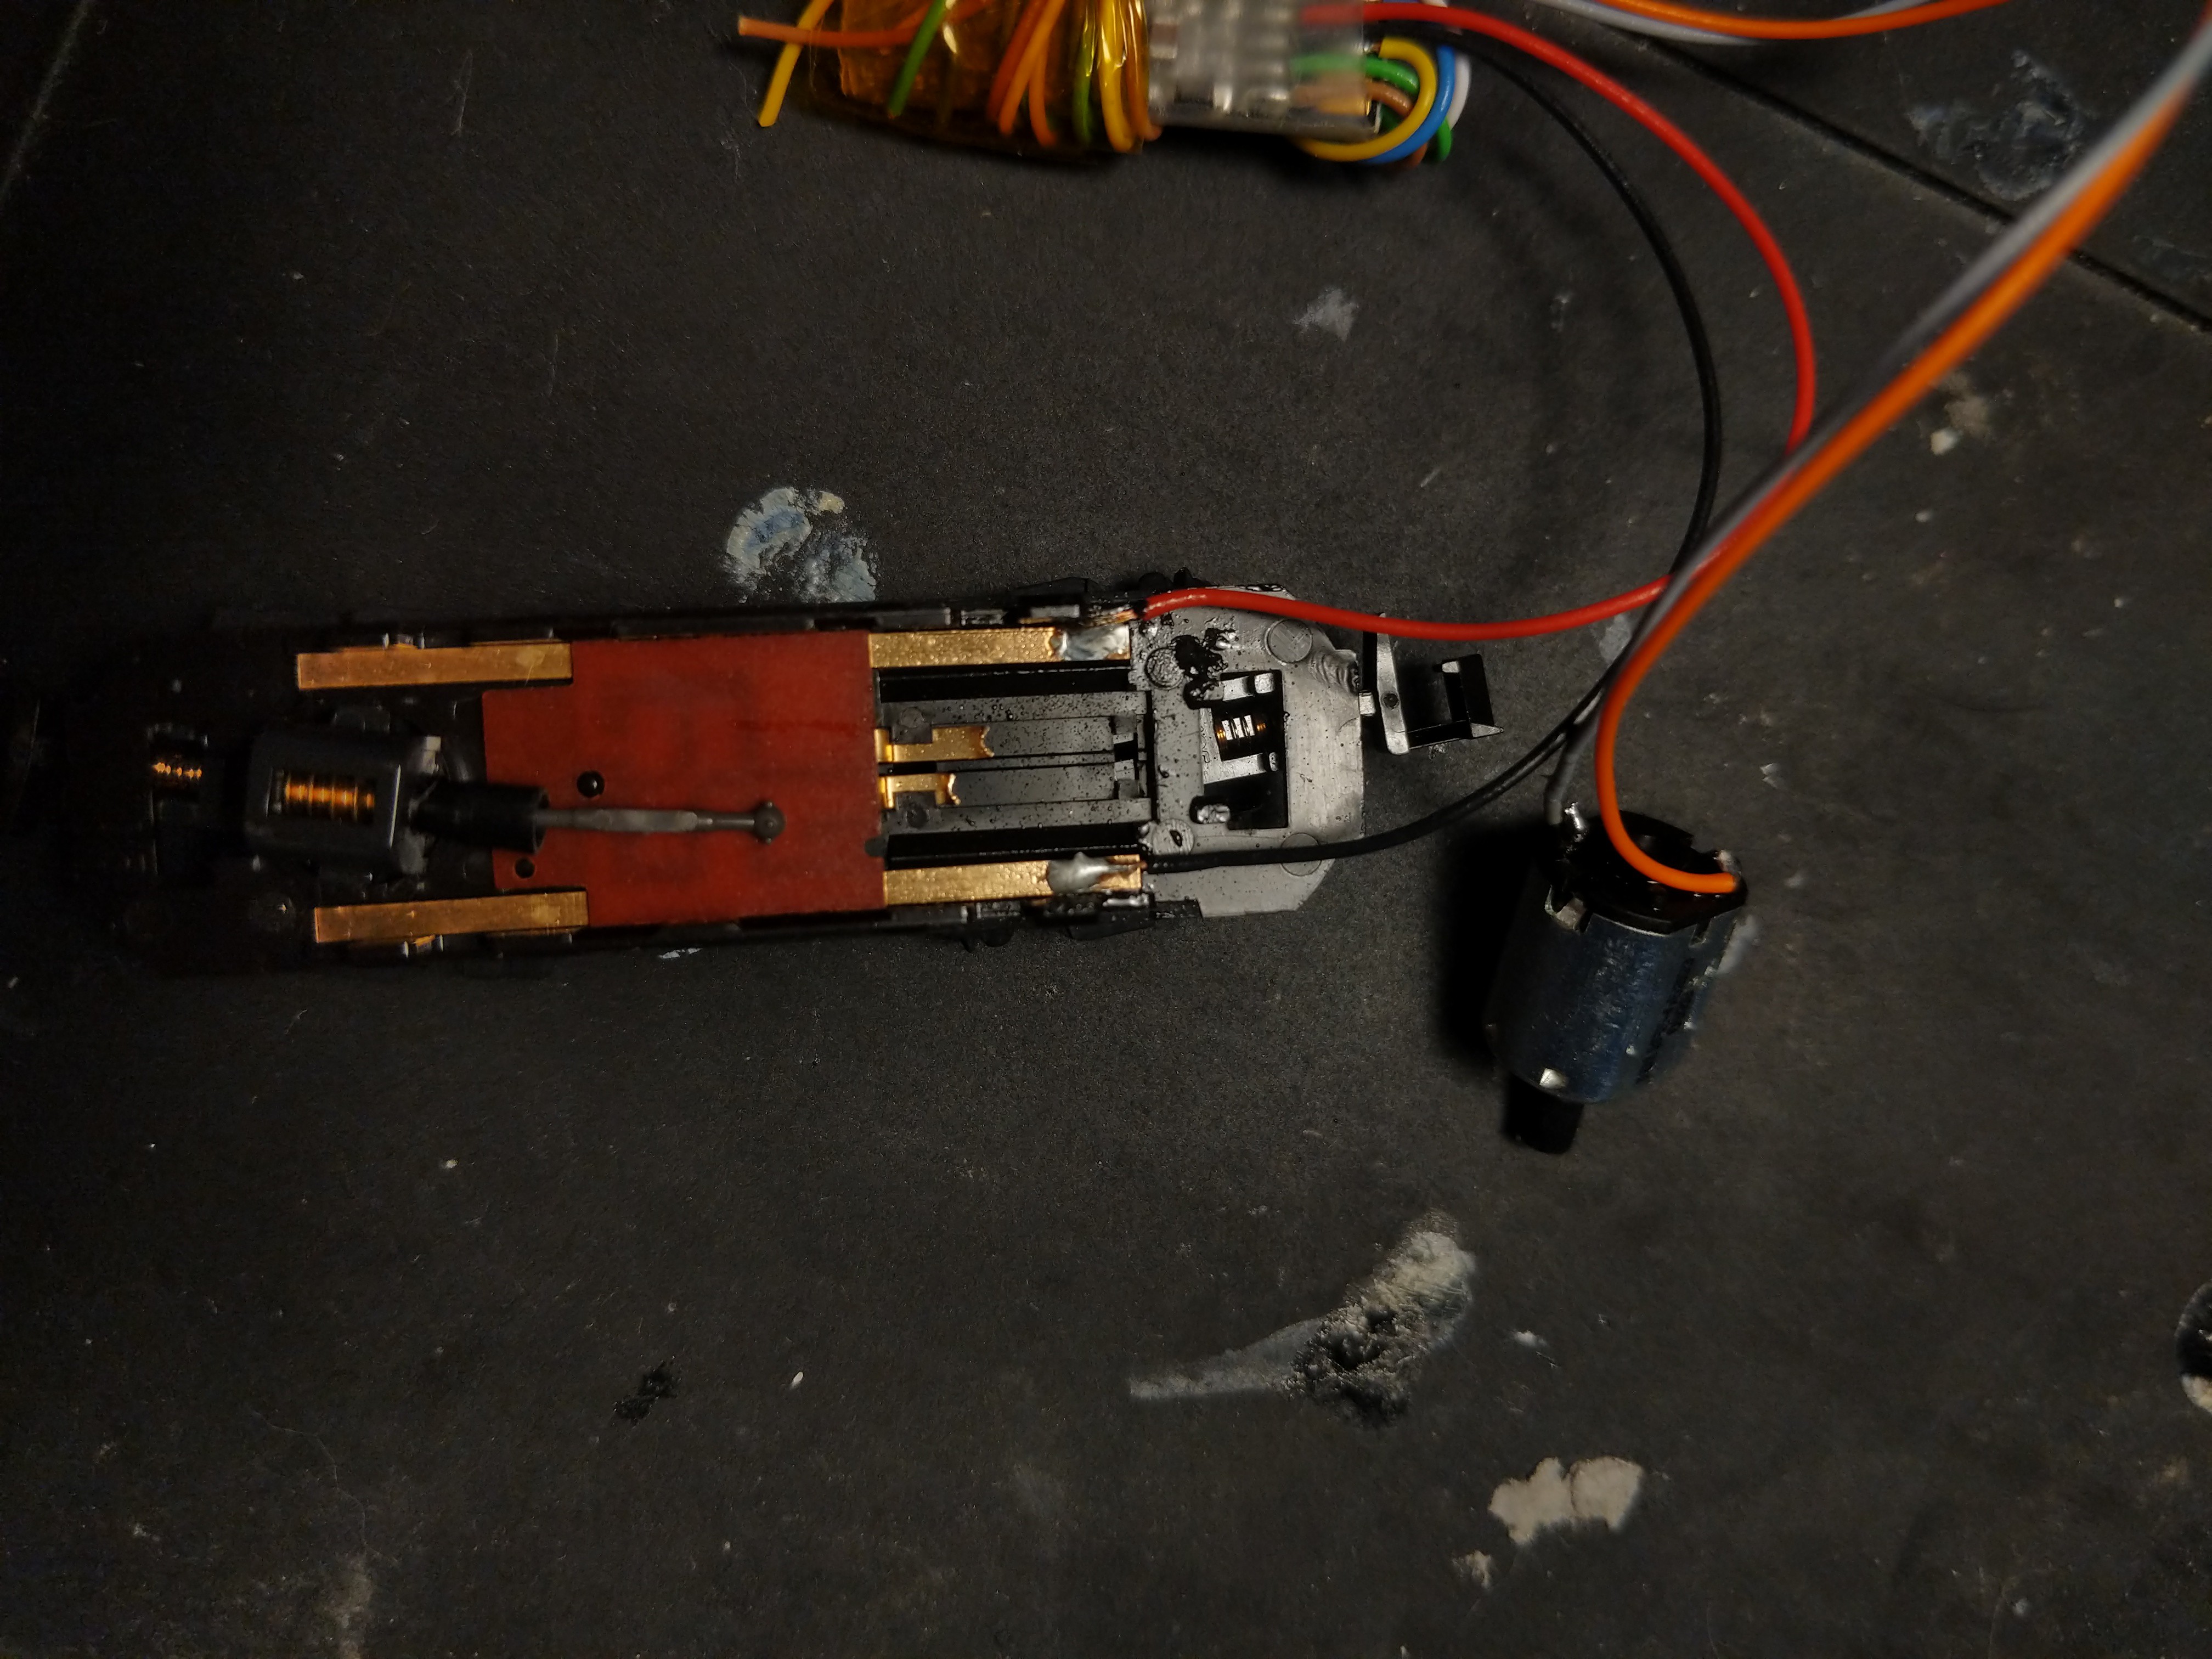
The plastic casing snaps off to reveal a tiny motor with contacts that rest in place, which makes things a bit easier. I will have to remove those wings on the contacts that touch the motor. The axle on the motor pops off and on easily, I now know. That's 25 ginger ass minutes I won't get back.
![]()
![]()
Sheer nerve wracking nightmare fear. These things are quite hard to get hold of.
![]()
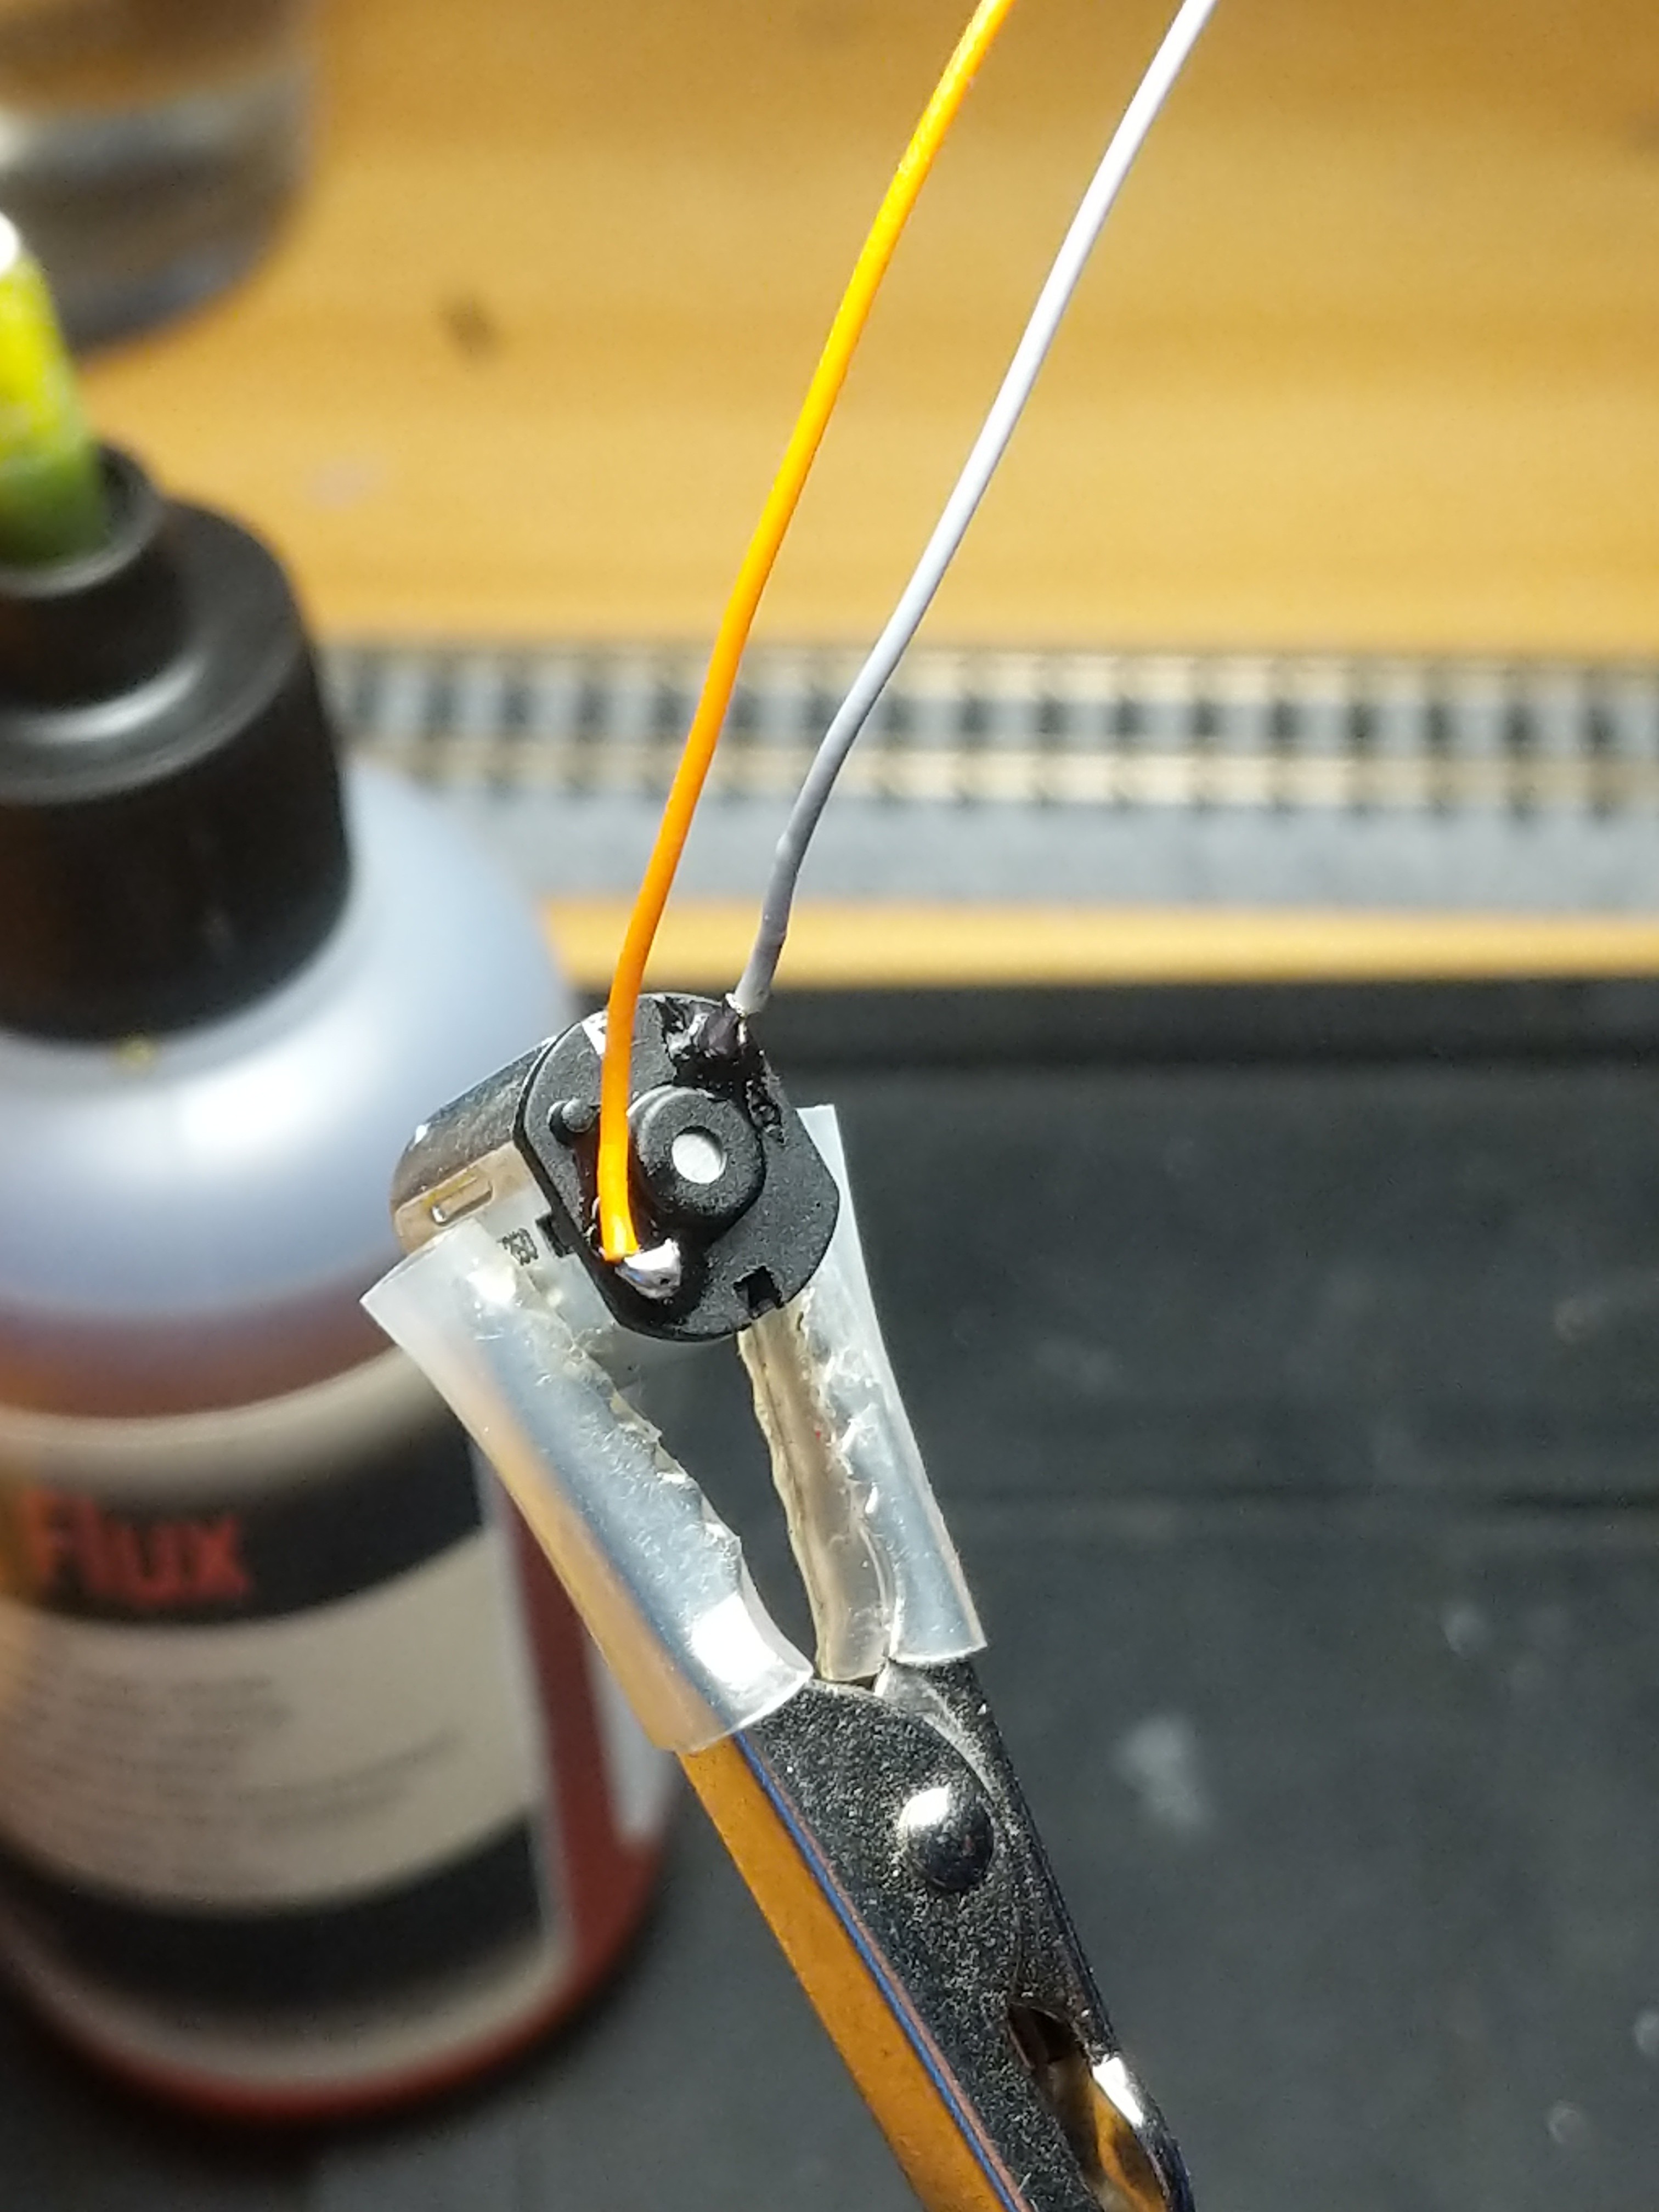
Next the output wires from the decoder must be soldered to the motor. This motor is 1cm at the widest point, and the contacts are less than 1mm in size. Ideally, you would have soldering skills, but in the absence of that you can ¯\_(ツ)_/¯.
![]()
¯\_(ツ)_/¯
![]()
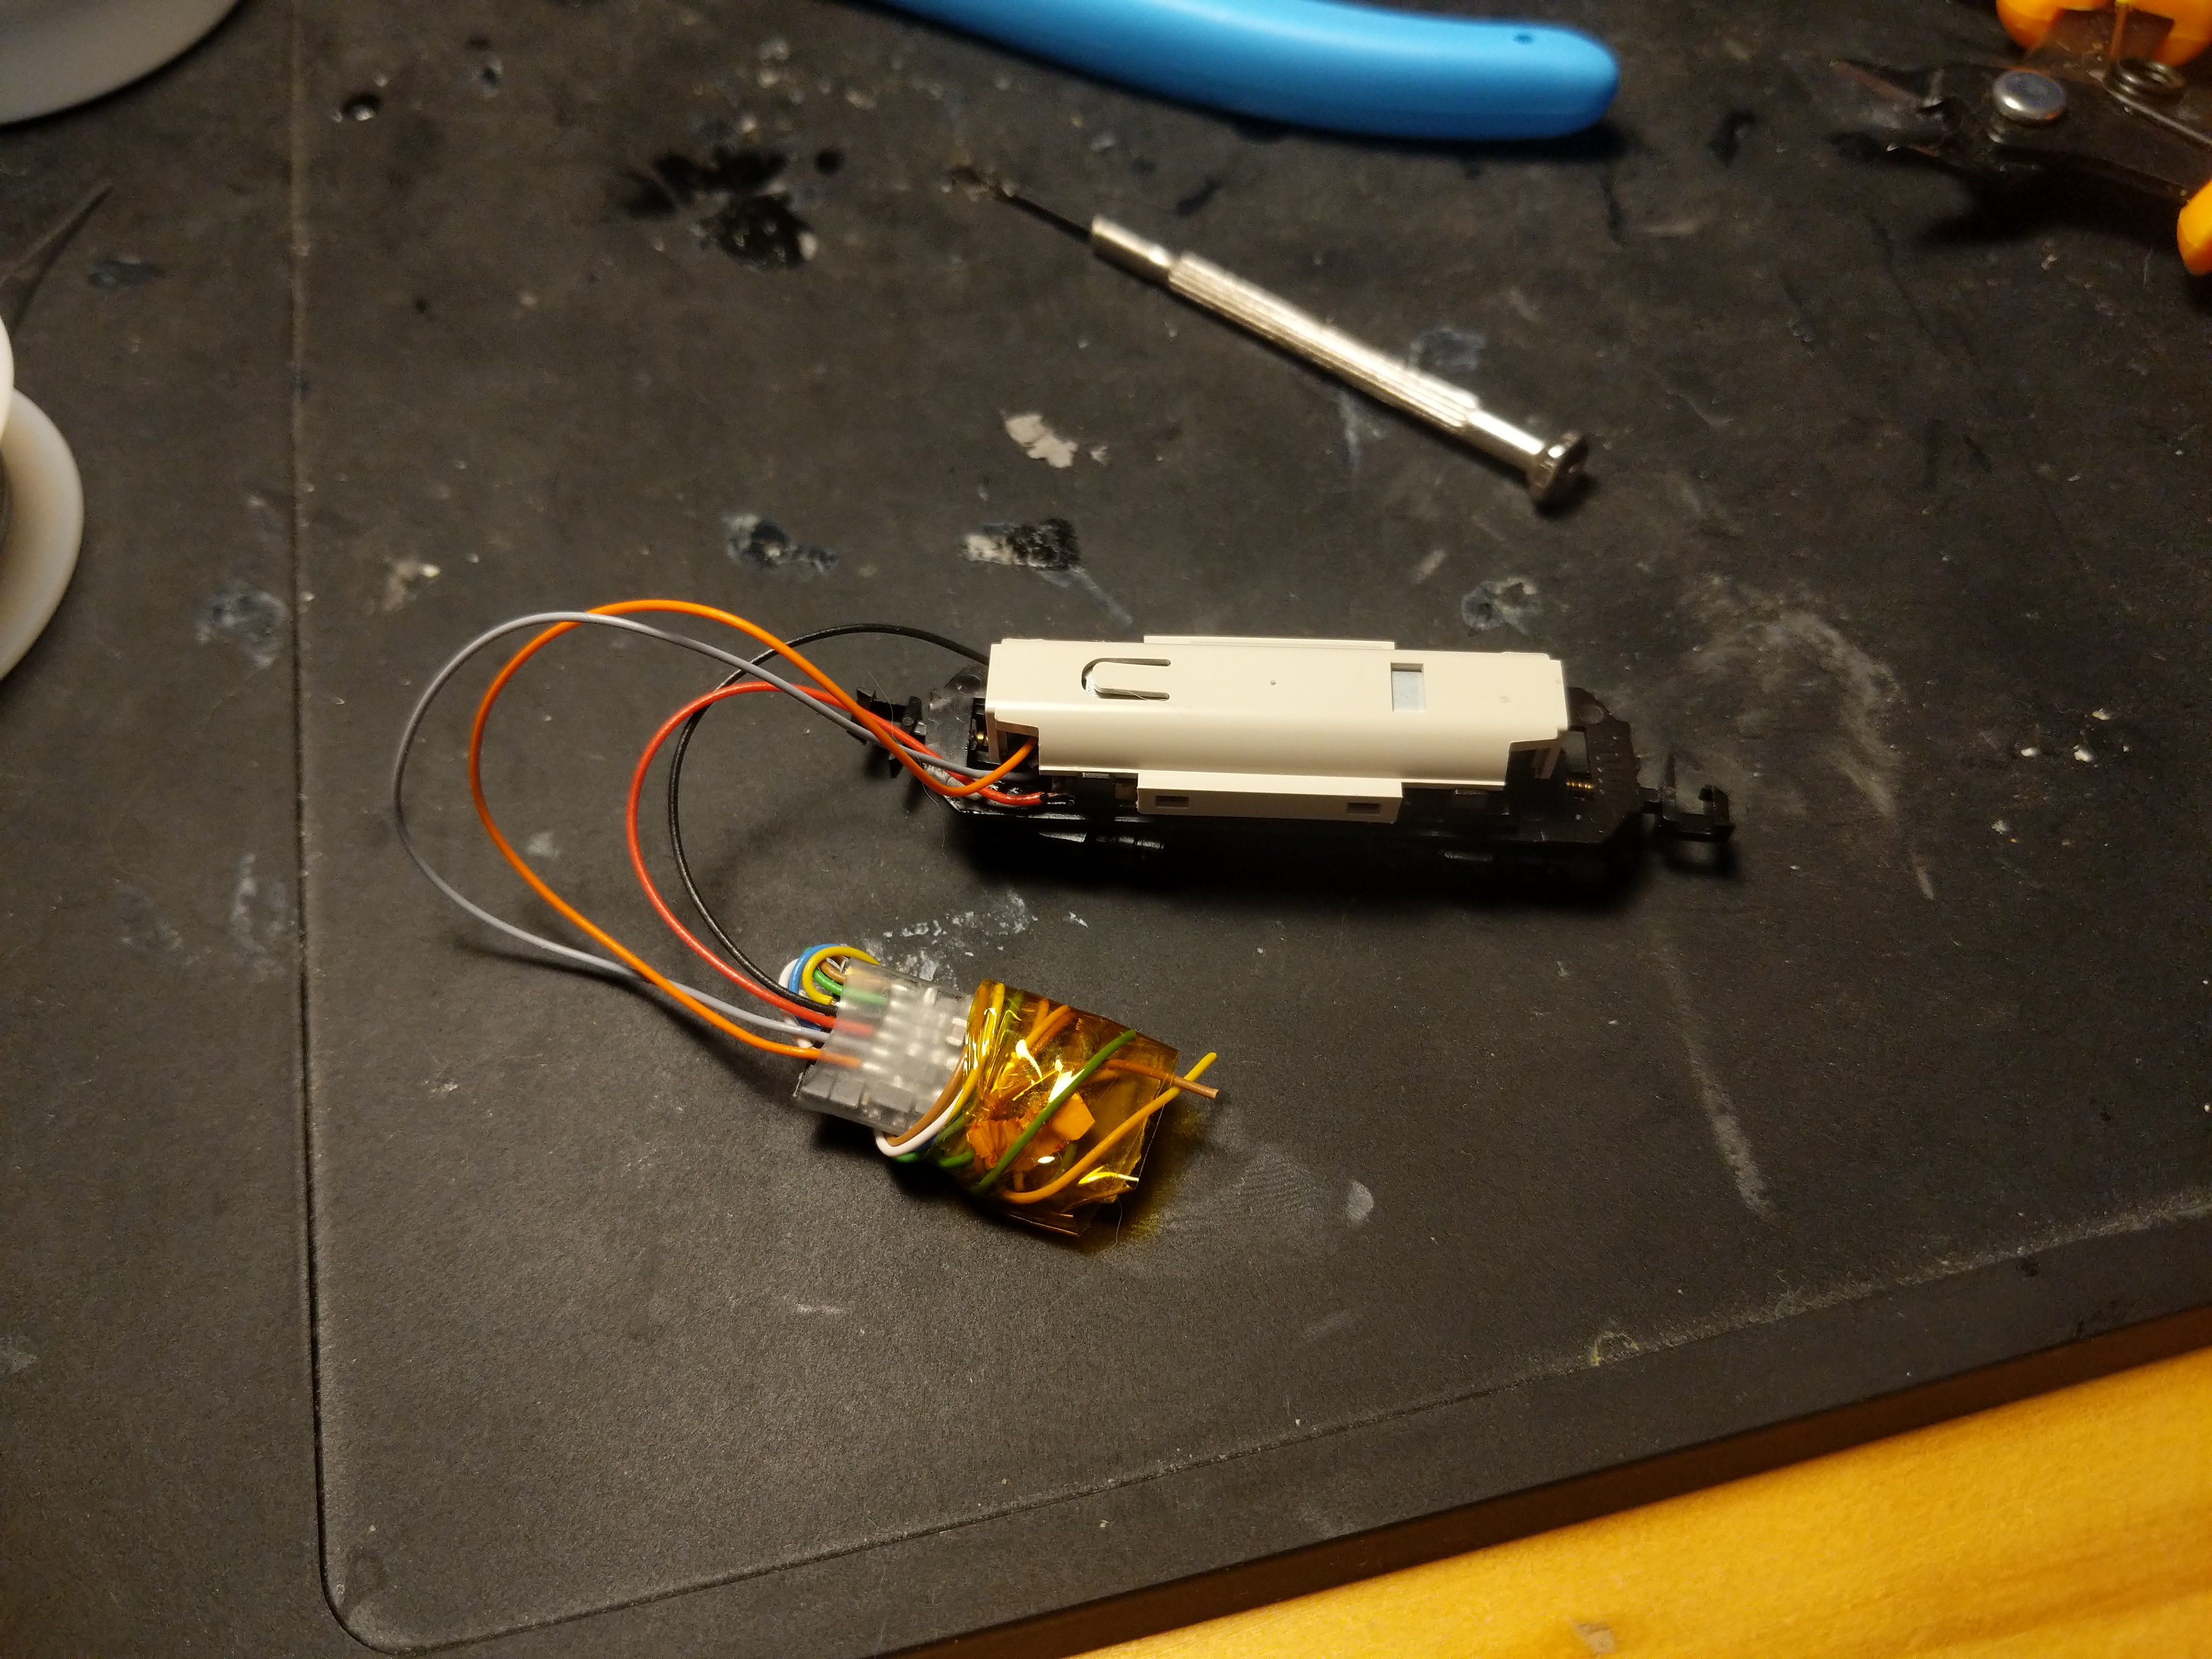
I now have the DCC power supply wired to the decoder, and the decoder outputs wired to the motor. The other wires are for lights and stuff, which I'd like to add later, so I bundle them up with some Retermit. It's big though. I may have to trim them to get the casing on.
![]()
![]()
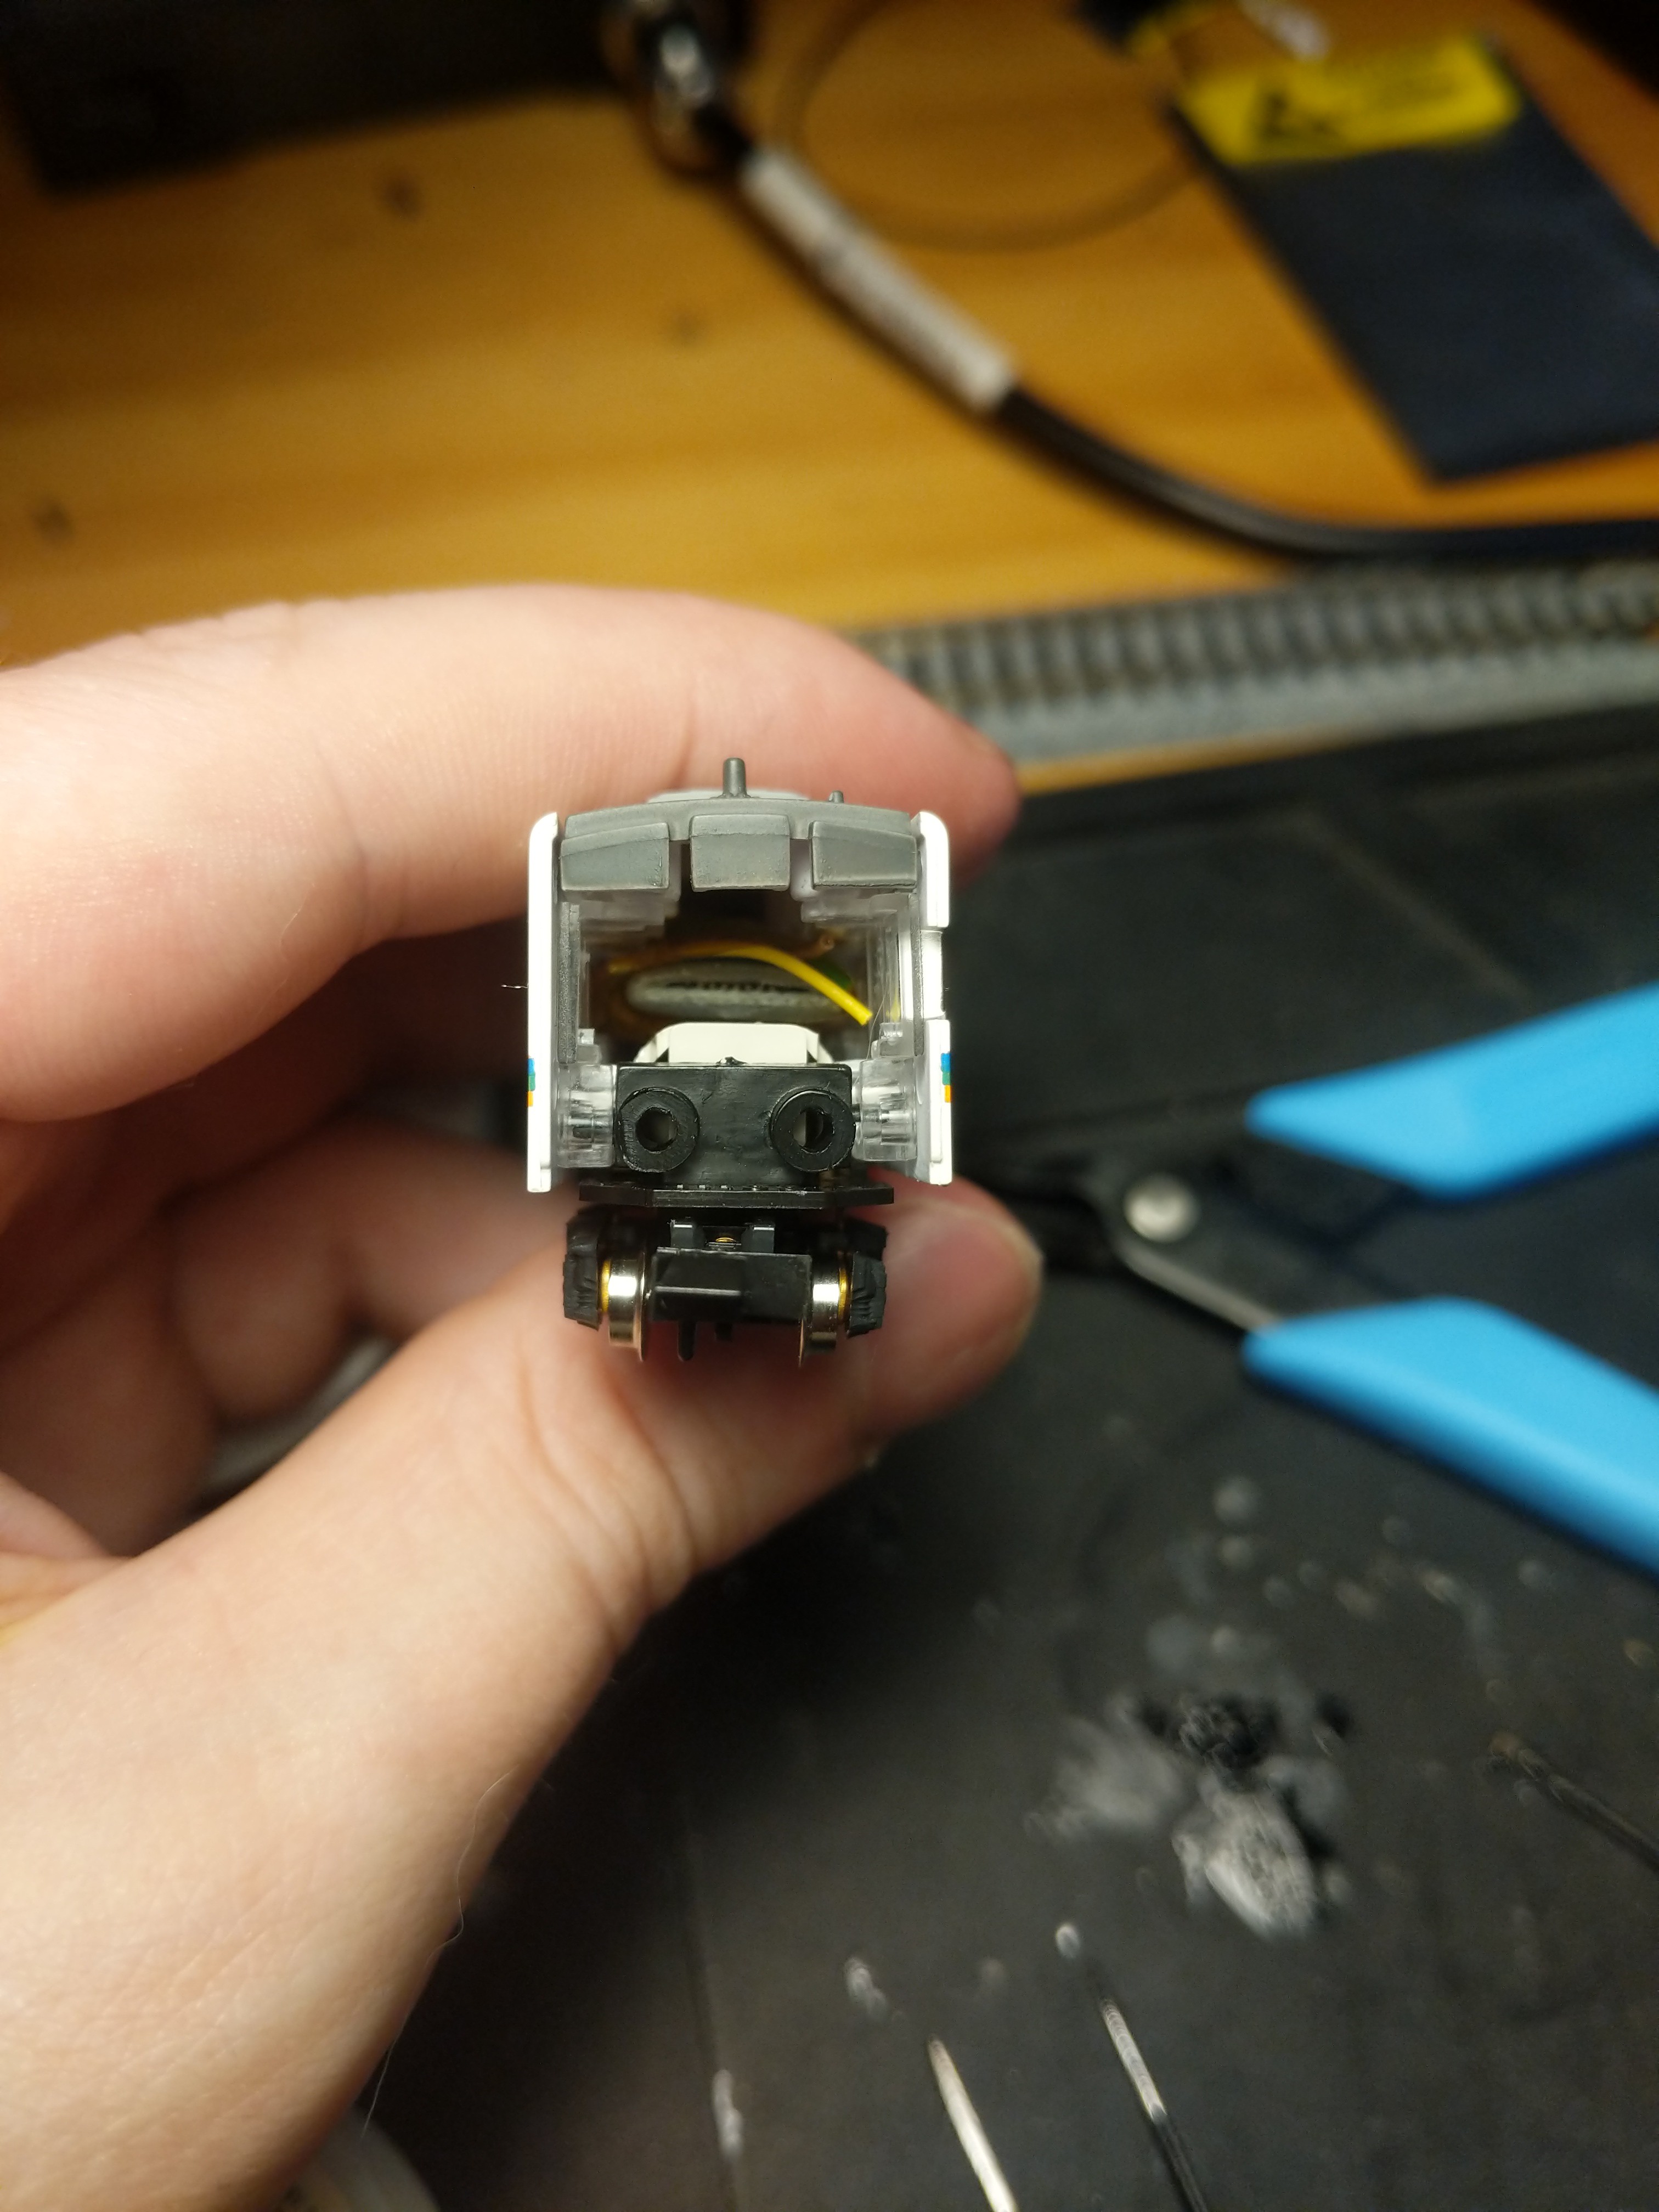
You can see the casing barely fits. I think I will trim those wires later, but this process has been a lot more frustrating than I'm letting on and I can't be bothered right now.
![]()
It fits though!
Next I must wire up the track to my DCC++ base station (which is an Arduino with a motor driver) and program the decoder from JMRI over serial. And then we're away! It's hard to see the laptop screen, but there's a virtual throttle on there which I'm controlling via mouse, which is driving the train.I ran it on the circular track for half an hour with no issues. Next up, track stuff.