-
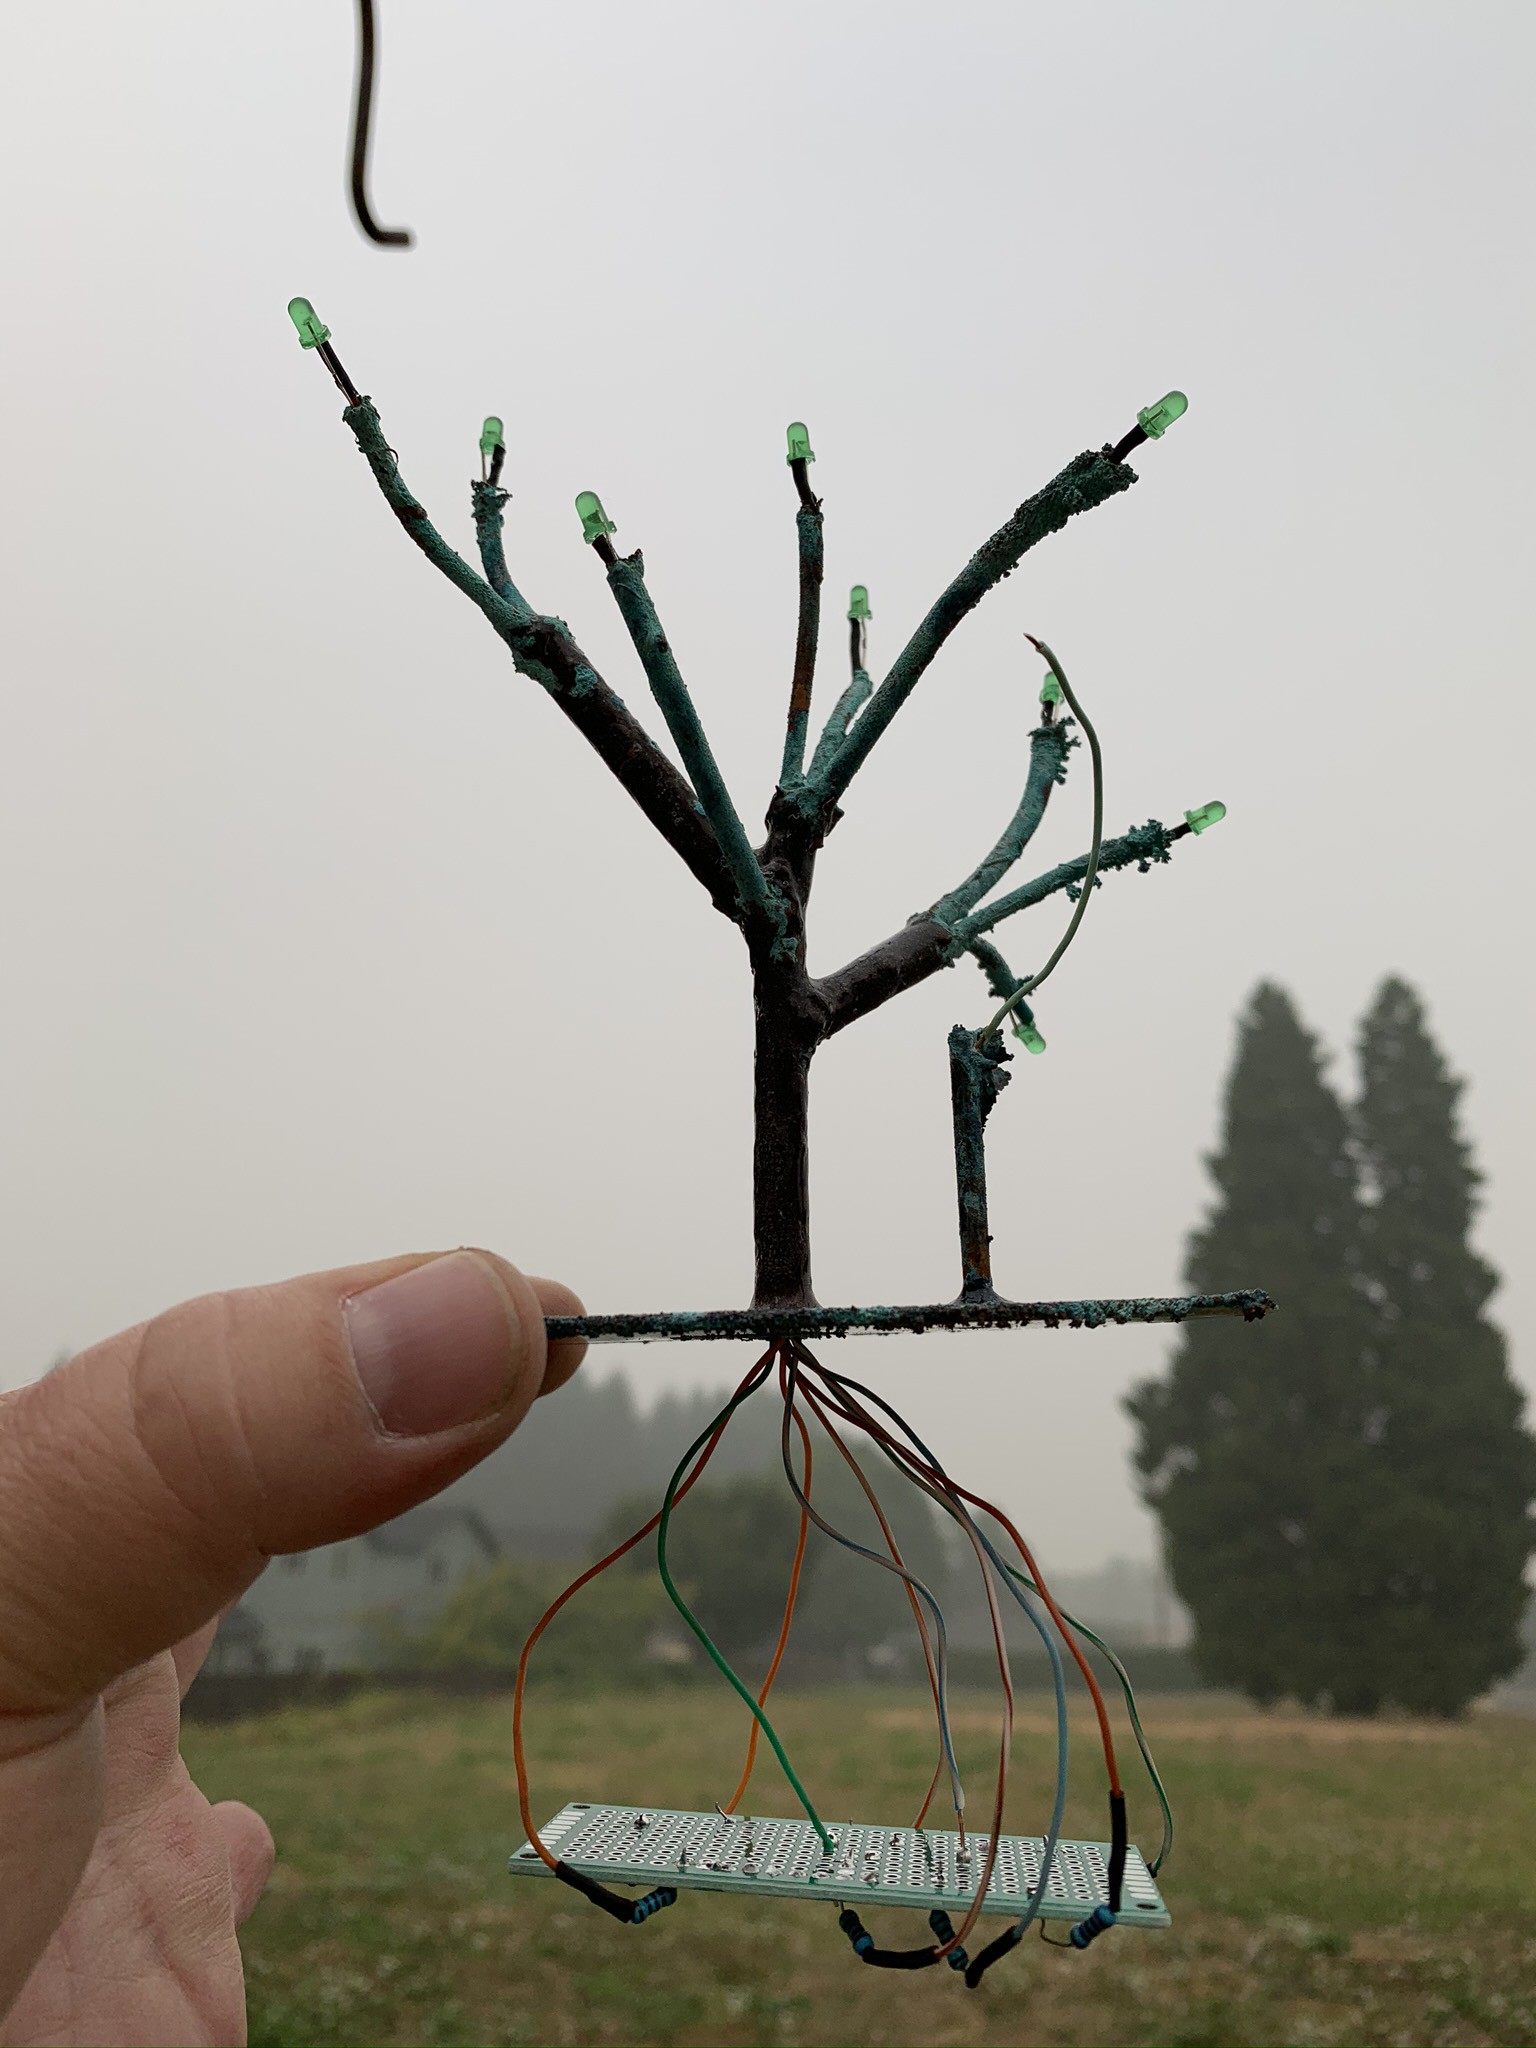
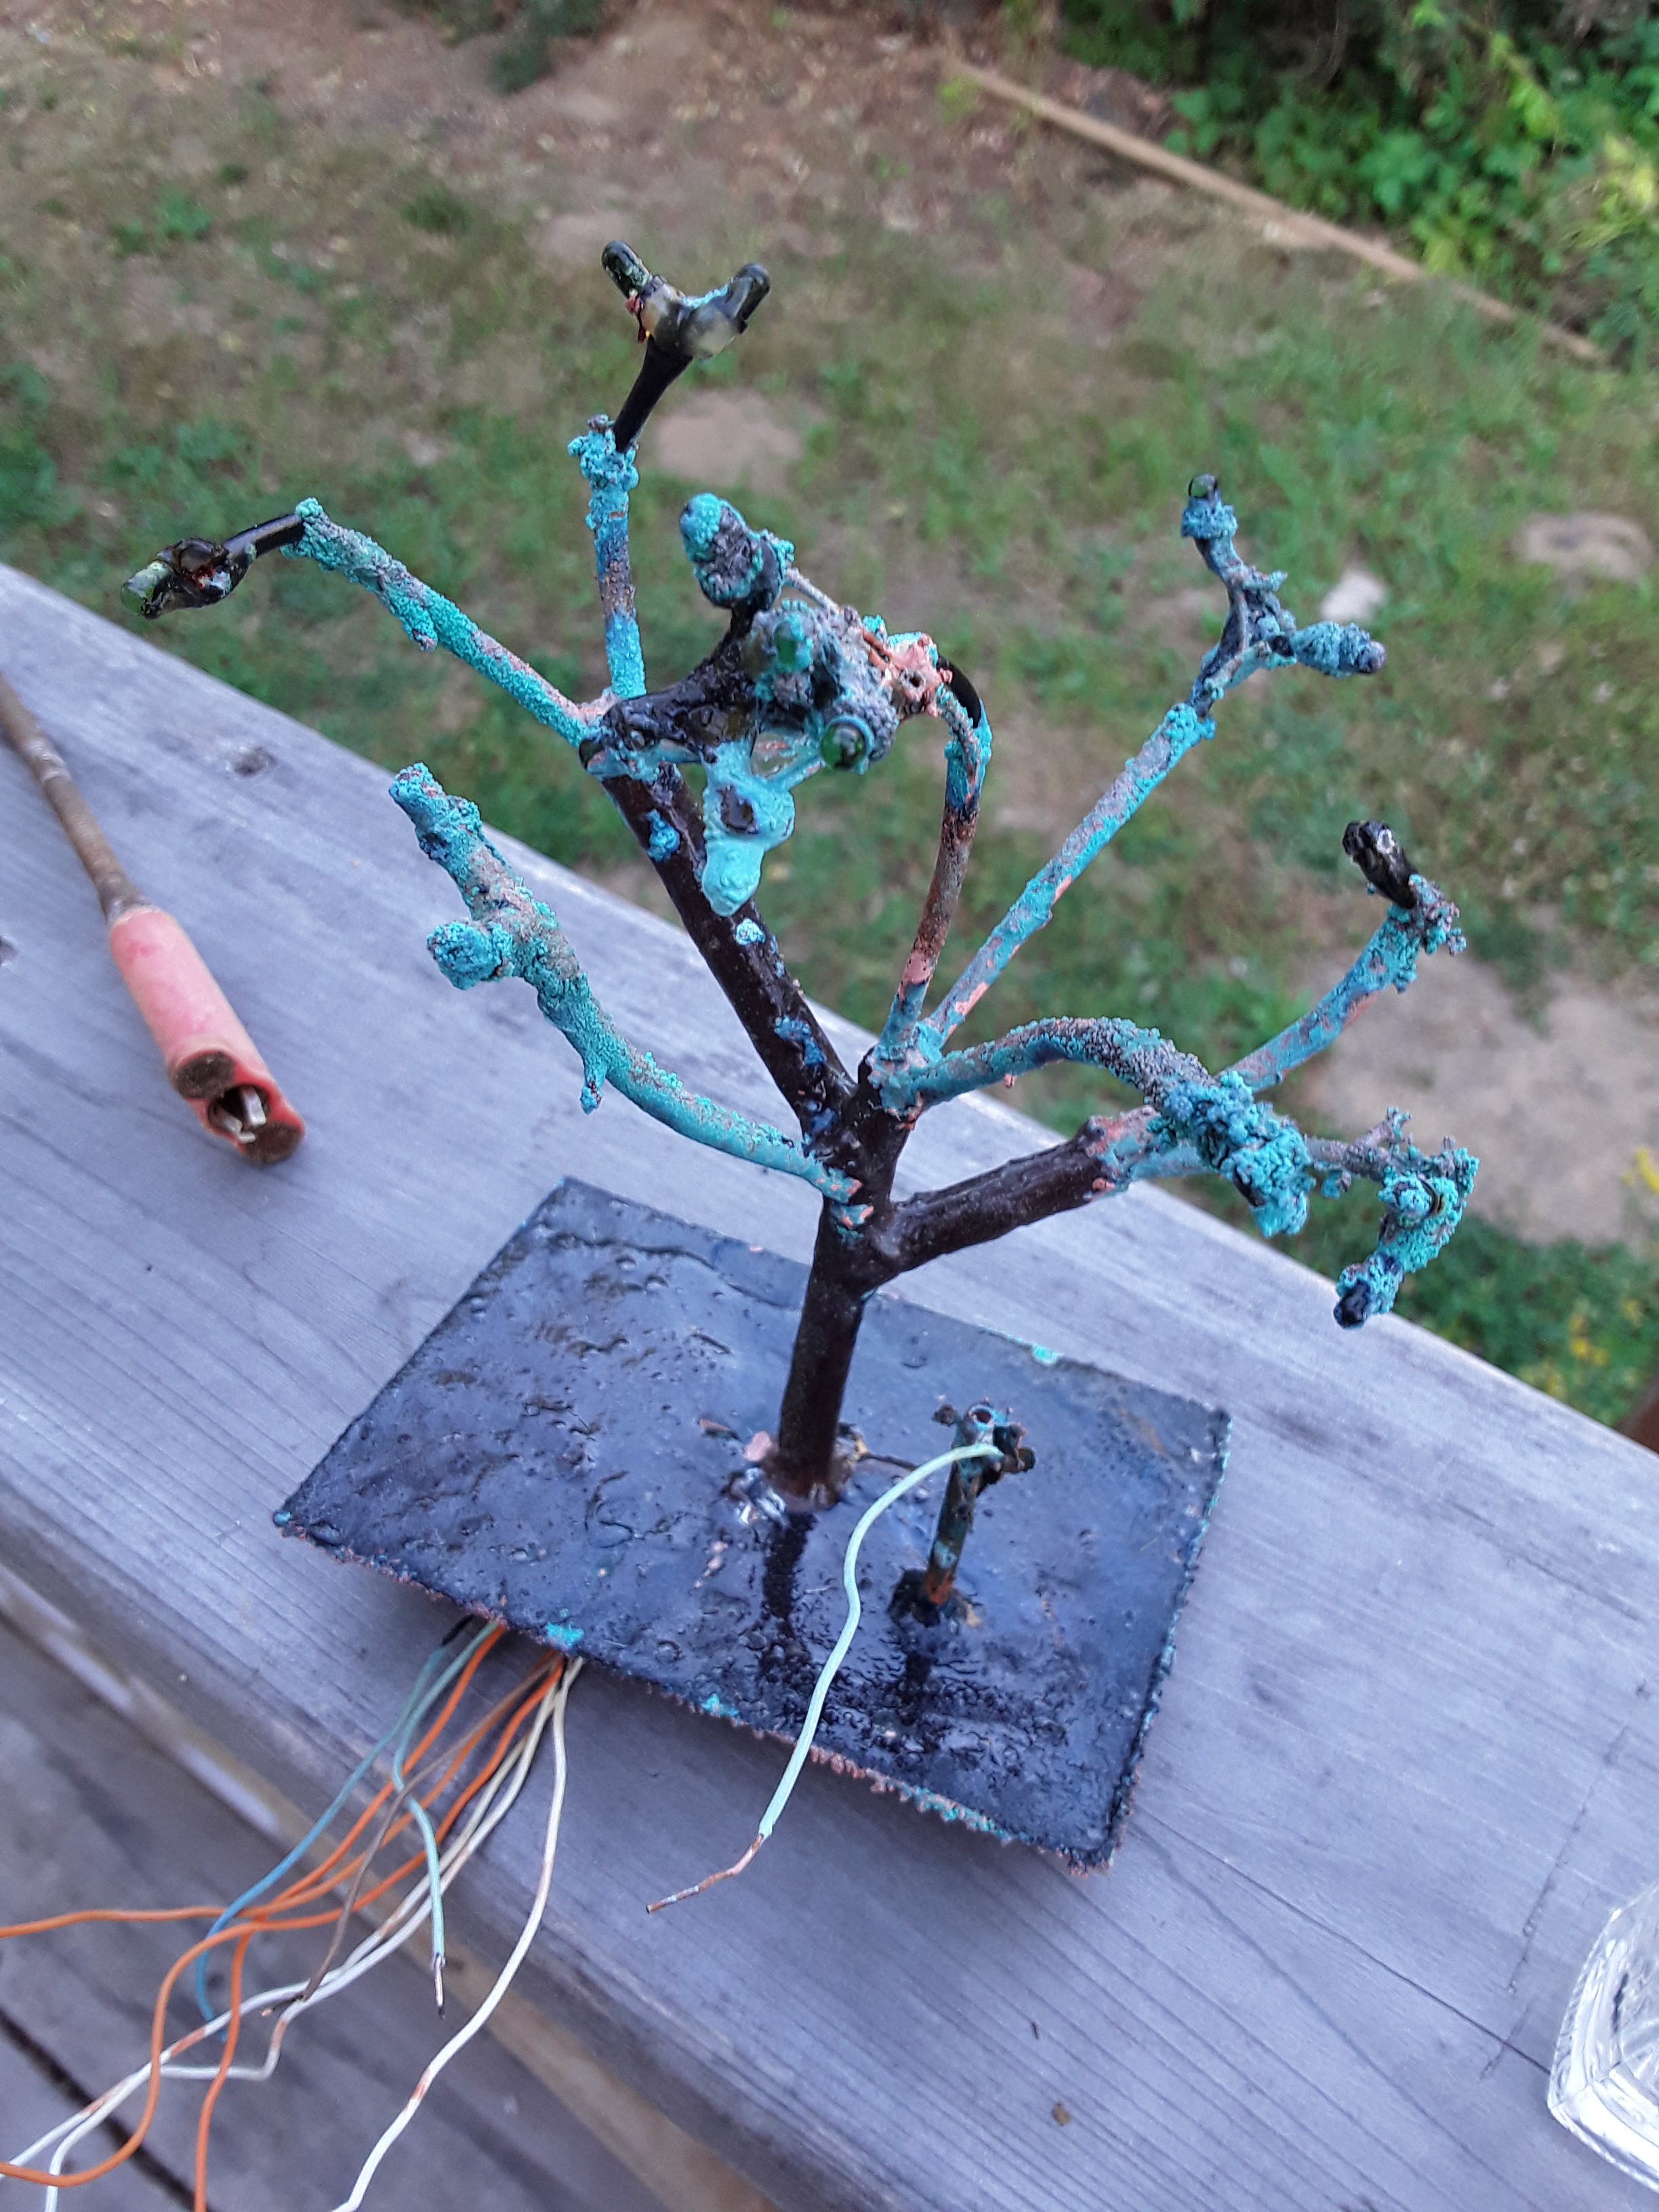
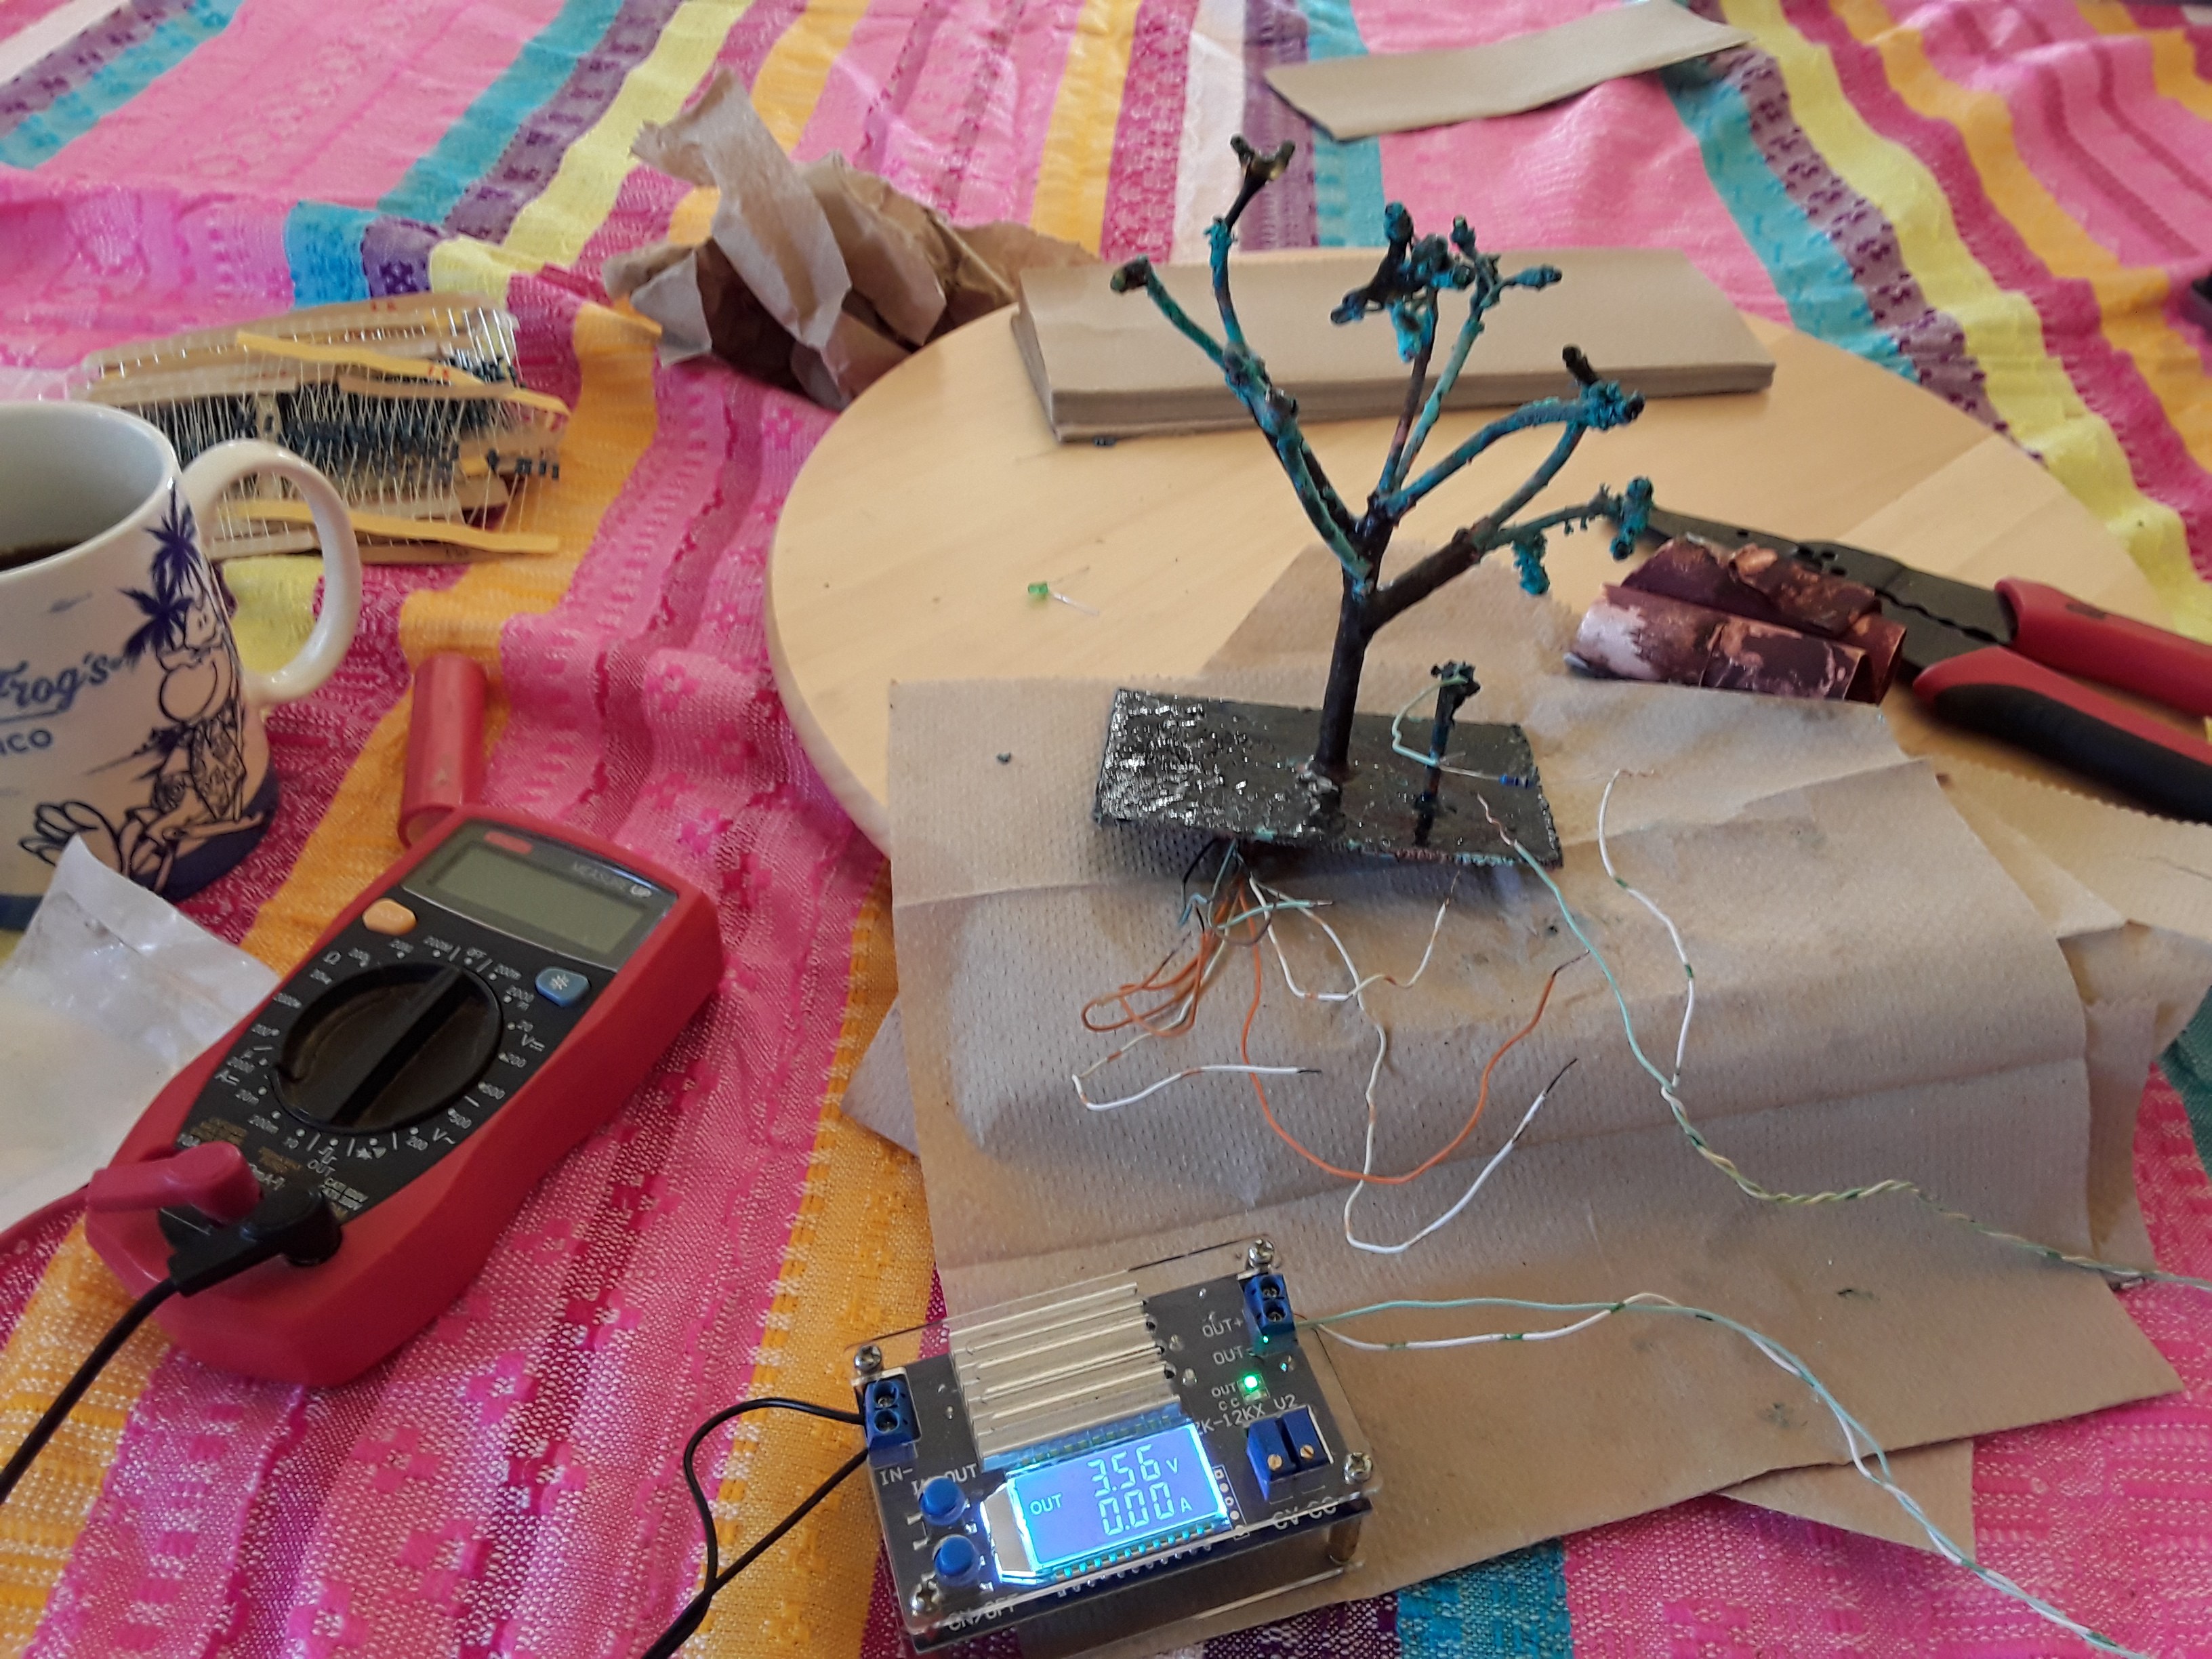
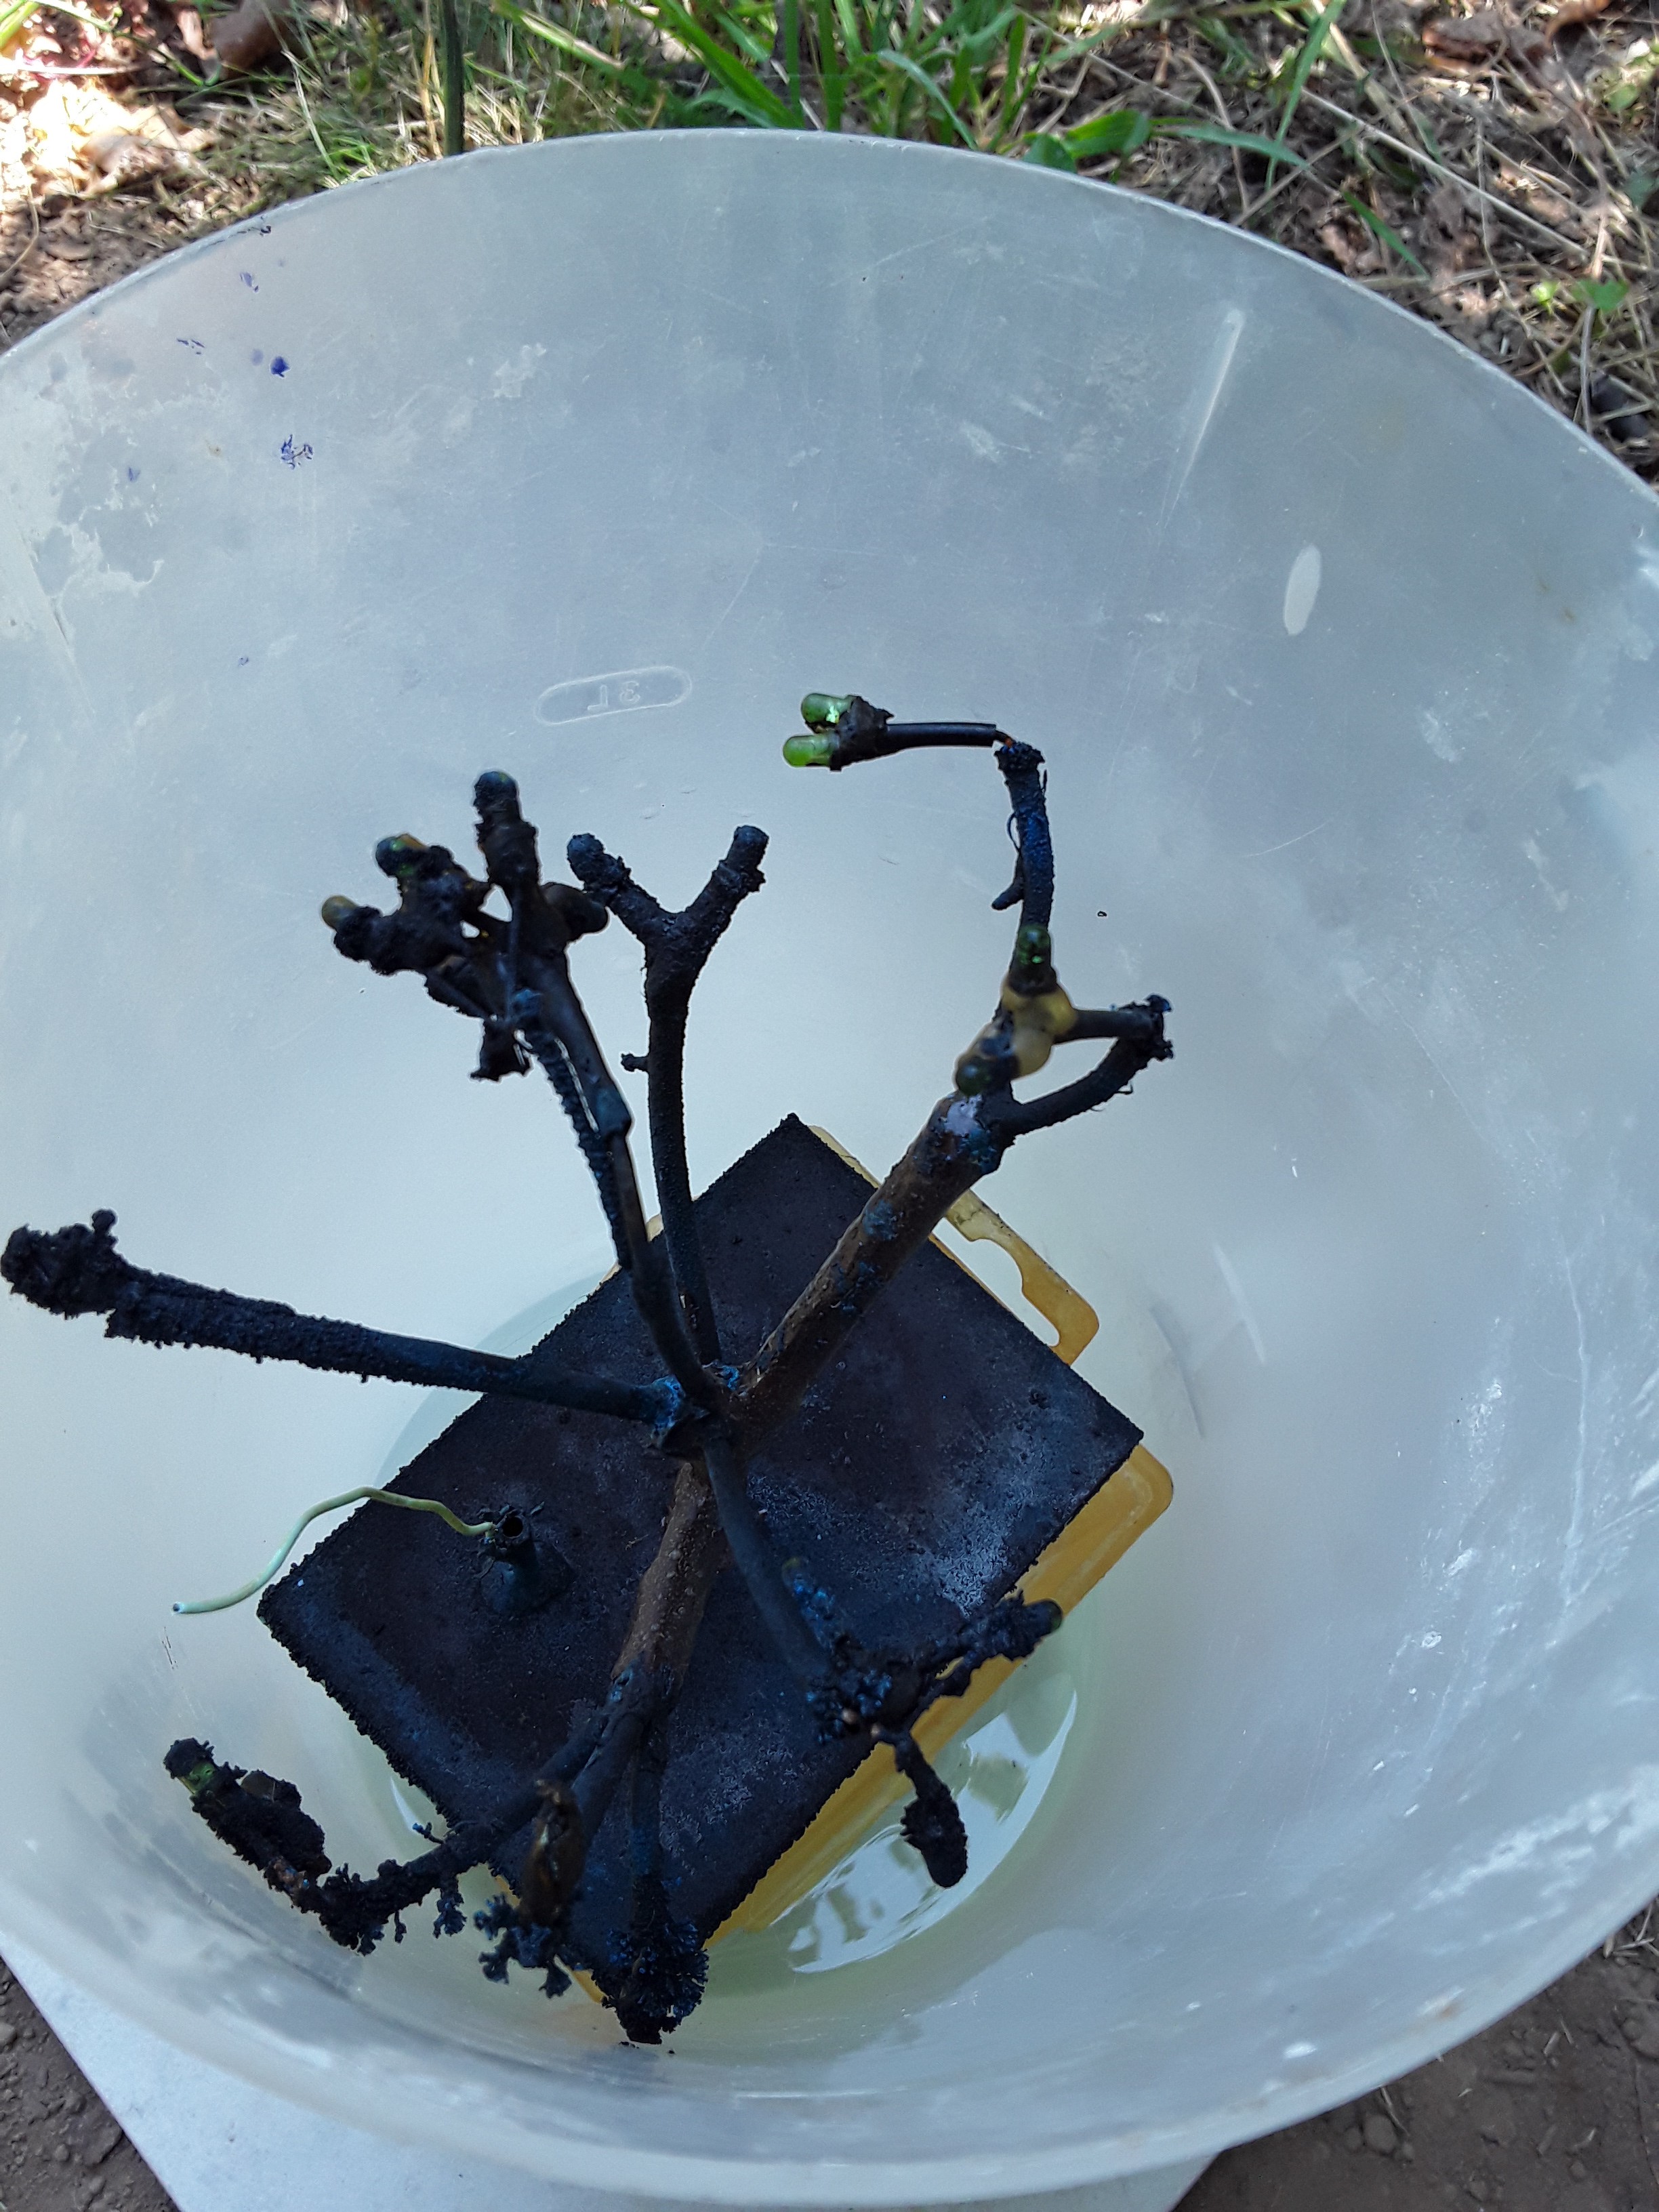
A little progress
09/14/2020 at 02:38 • 0 commentsI finished adding the LEDs to the limbs. I tucked in the negative leads into the brass tubes. Then I trimmed up the "roots" and added resistors and wrapped them around a breadboard. Since I am looking for some PWM on 9 LEDs and I don't have a board that could PWM 9 channels at a time without charlieplexing, and I am too late for the parts bin contest. So I ordered a TLC 57911 from adafruit and I will drive it with a Padi I think I can mount on the post.
Perhaps a little decoration with some PLA? I dunno.
![]()
-
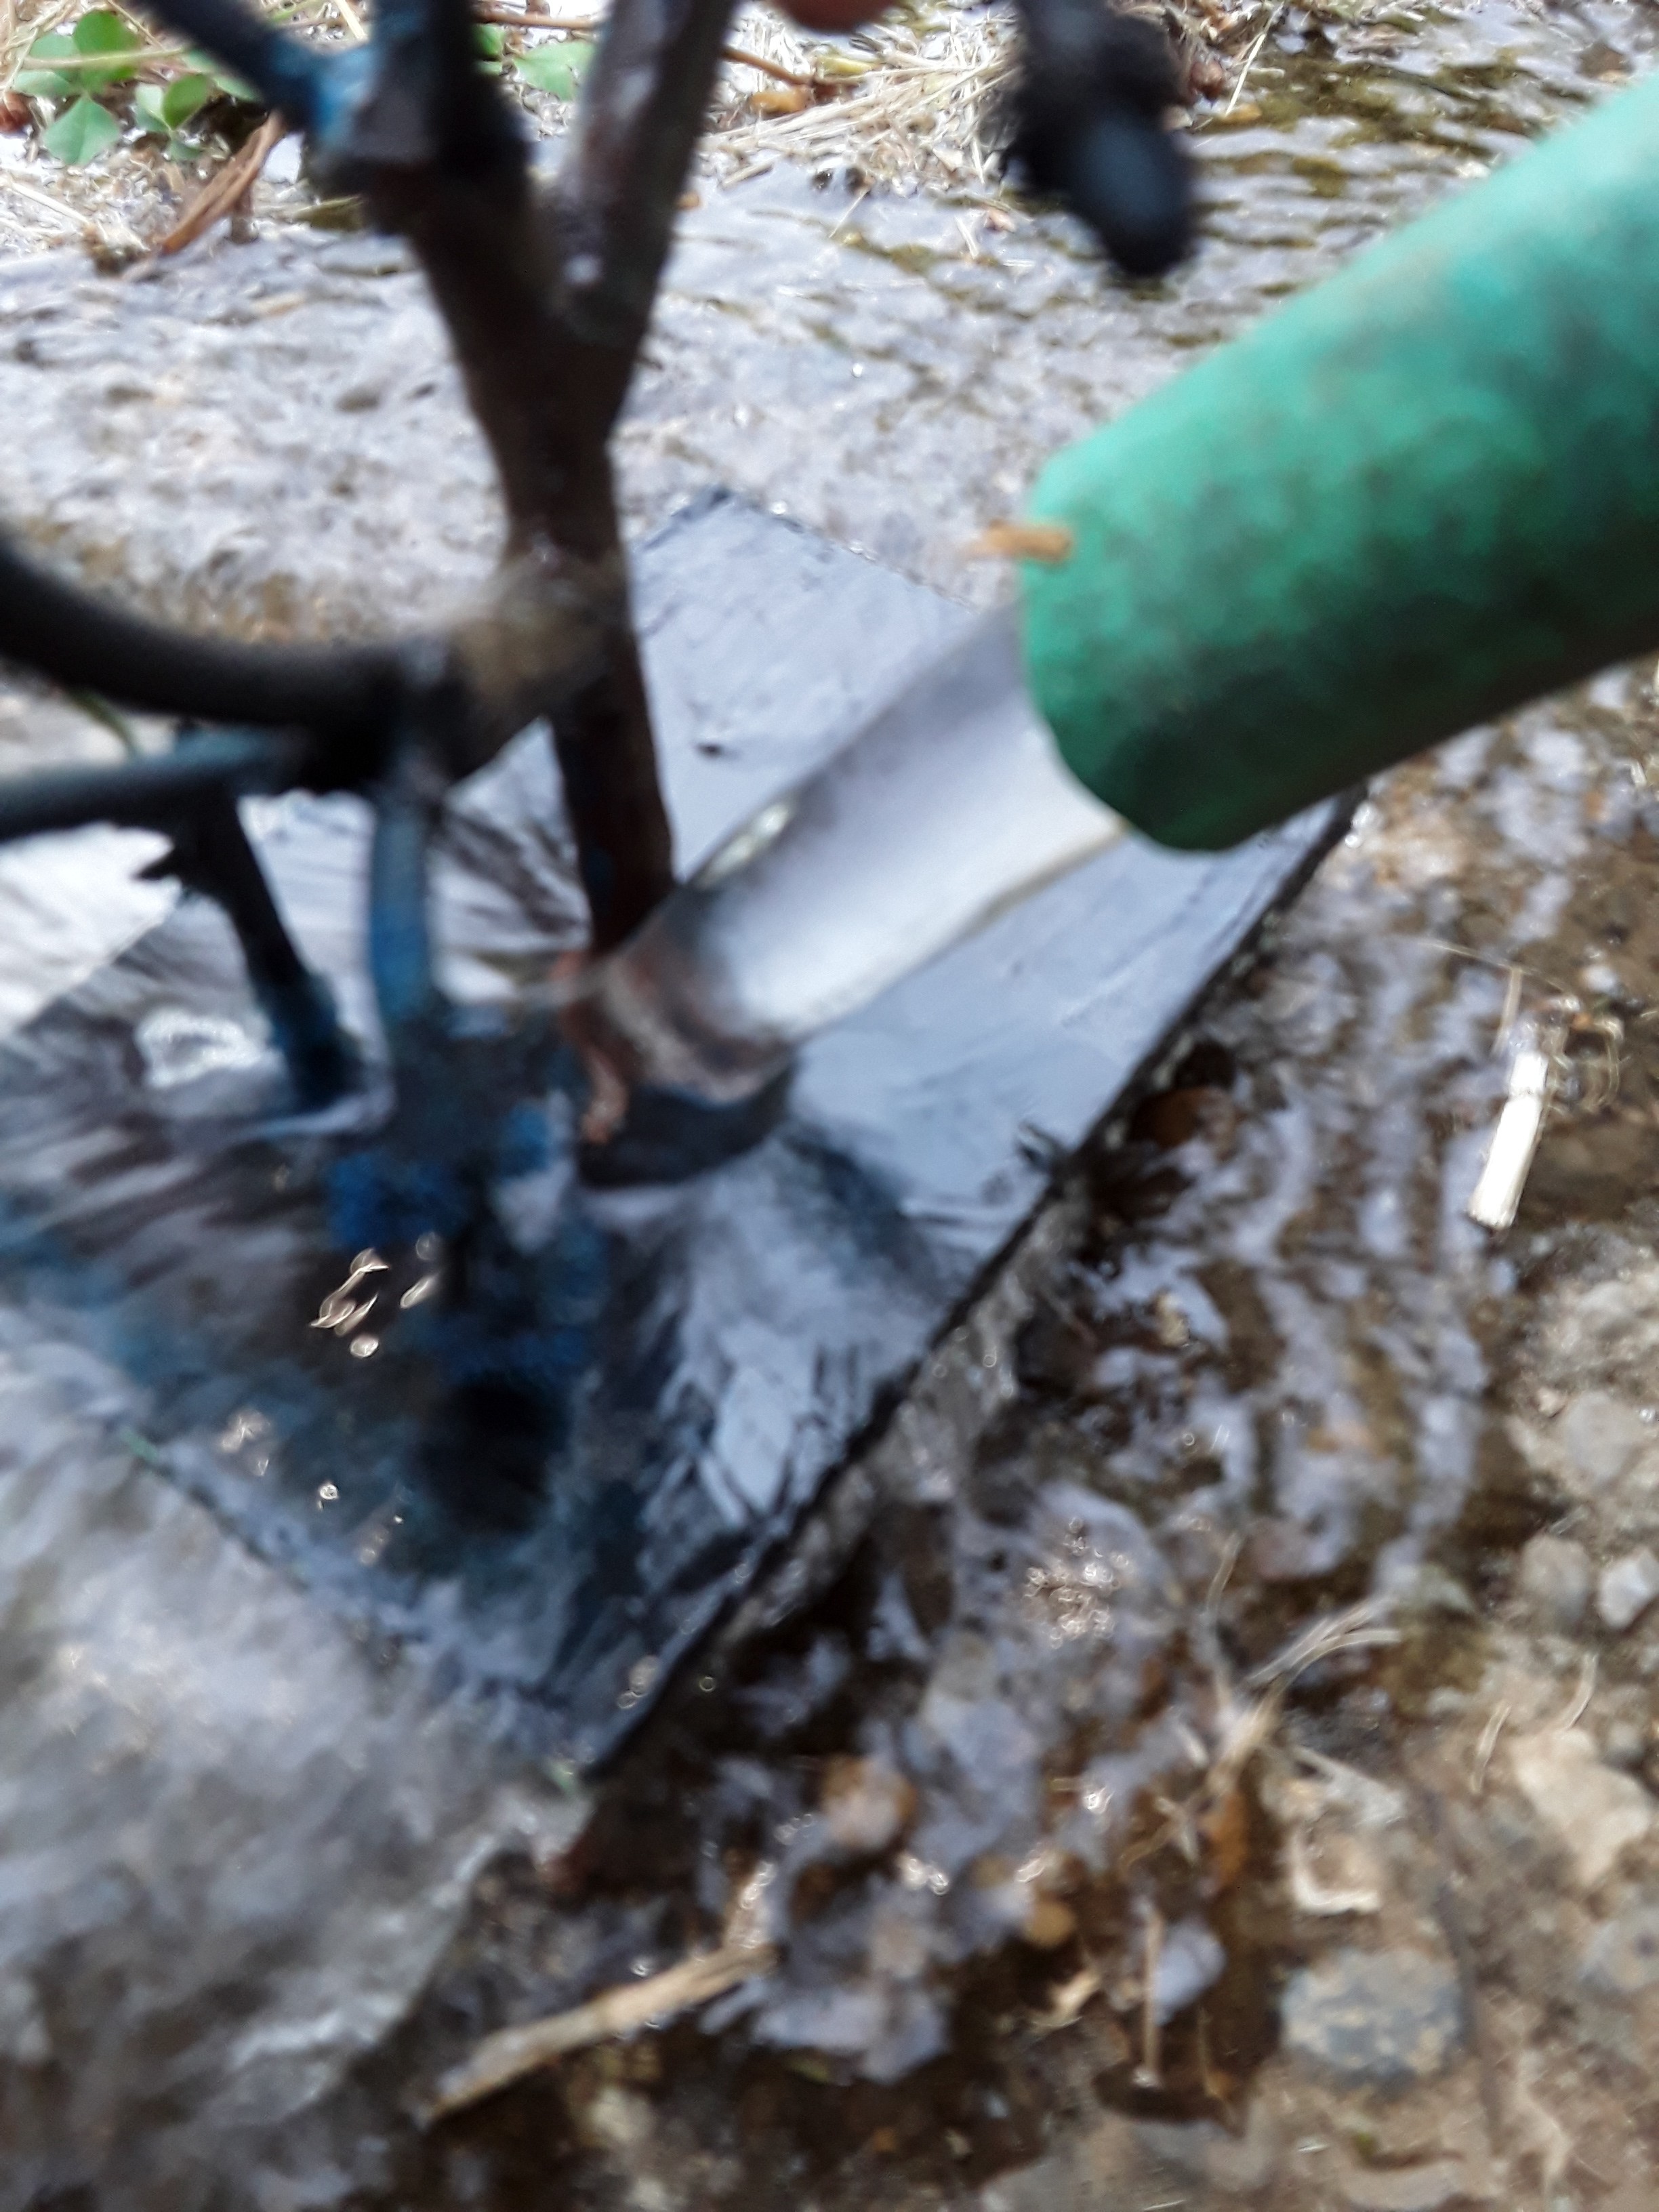
Distractions v2
09/14/2020 at 02:27 • 0 commentsI found a bakery cart at the local resale shop for 30 dollars.
No bakery cart would be complete without a little raspberry pi... so... Octoprint.
I also moved the spool to be more convenient for changing, and was able to fit the bin of bored filament below.
The cart is now ready for unattended printing out in the shop, instead of polluting my beloved wife's craft room. Besides, the noise and PLA debris pollution in the craft room was getting a little old anyway.
again... no hacking in this project. Just not making progress on the tree.
![]()
-
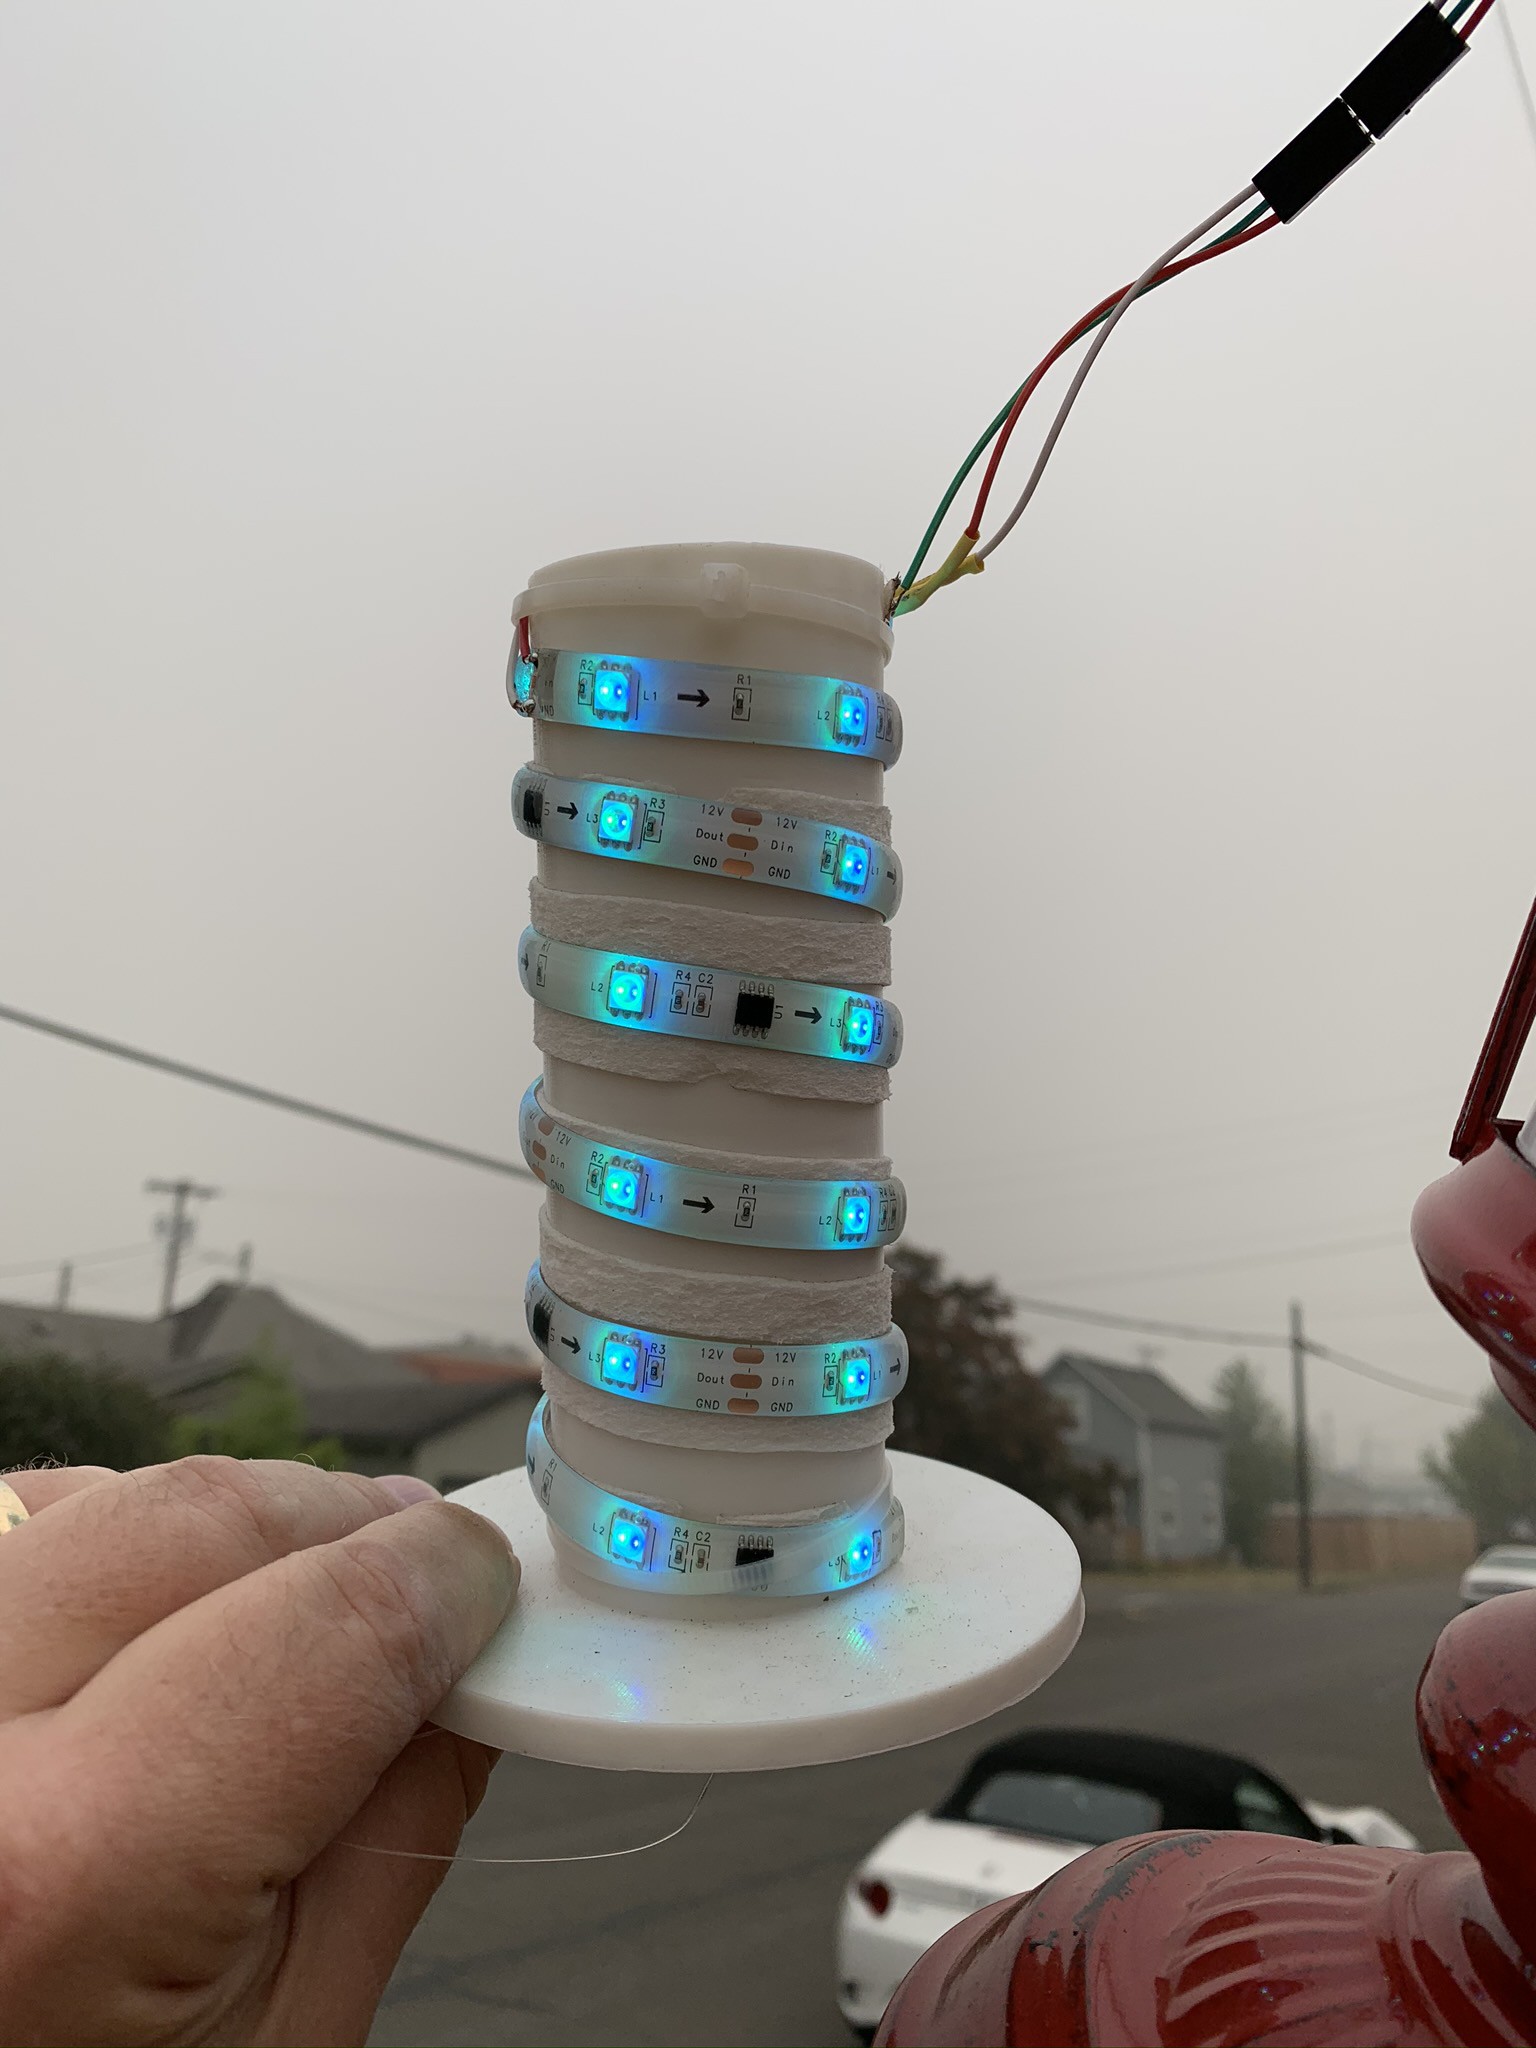
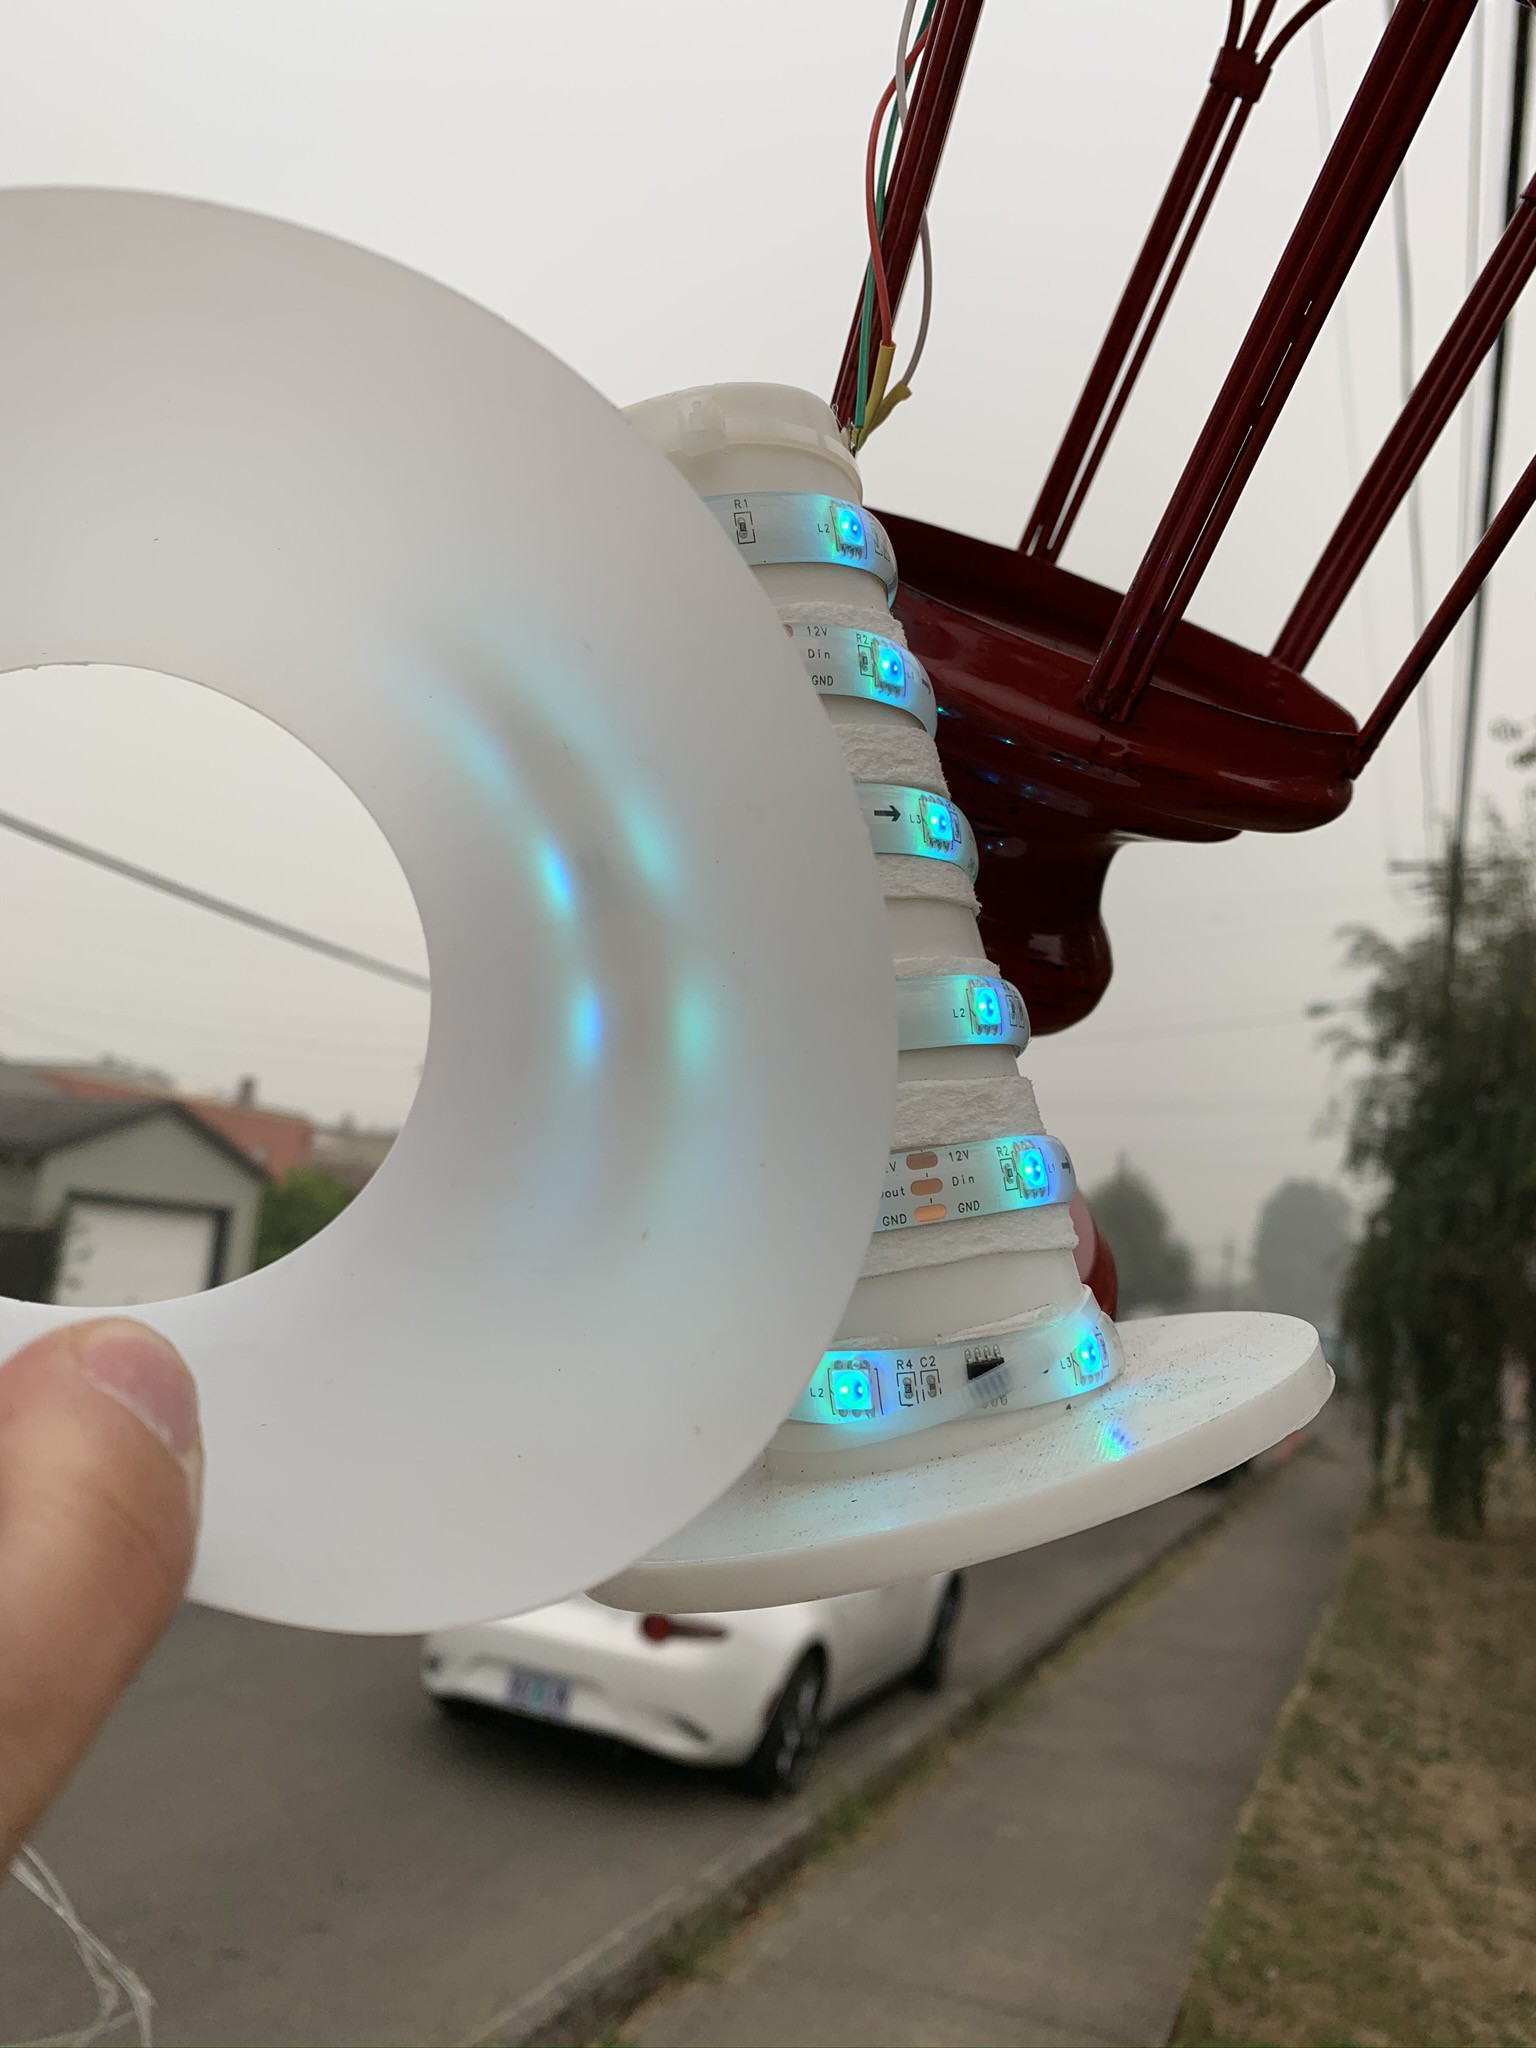
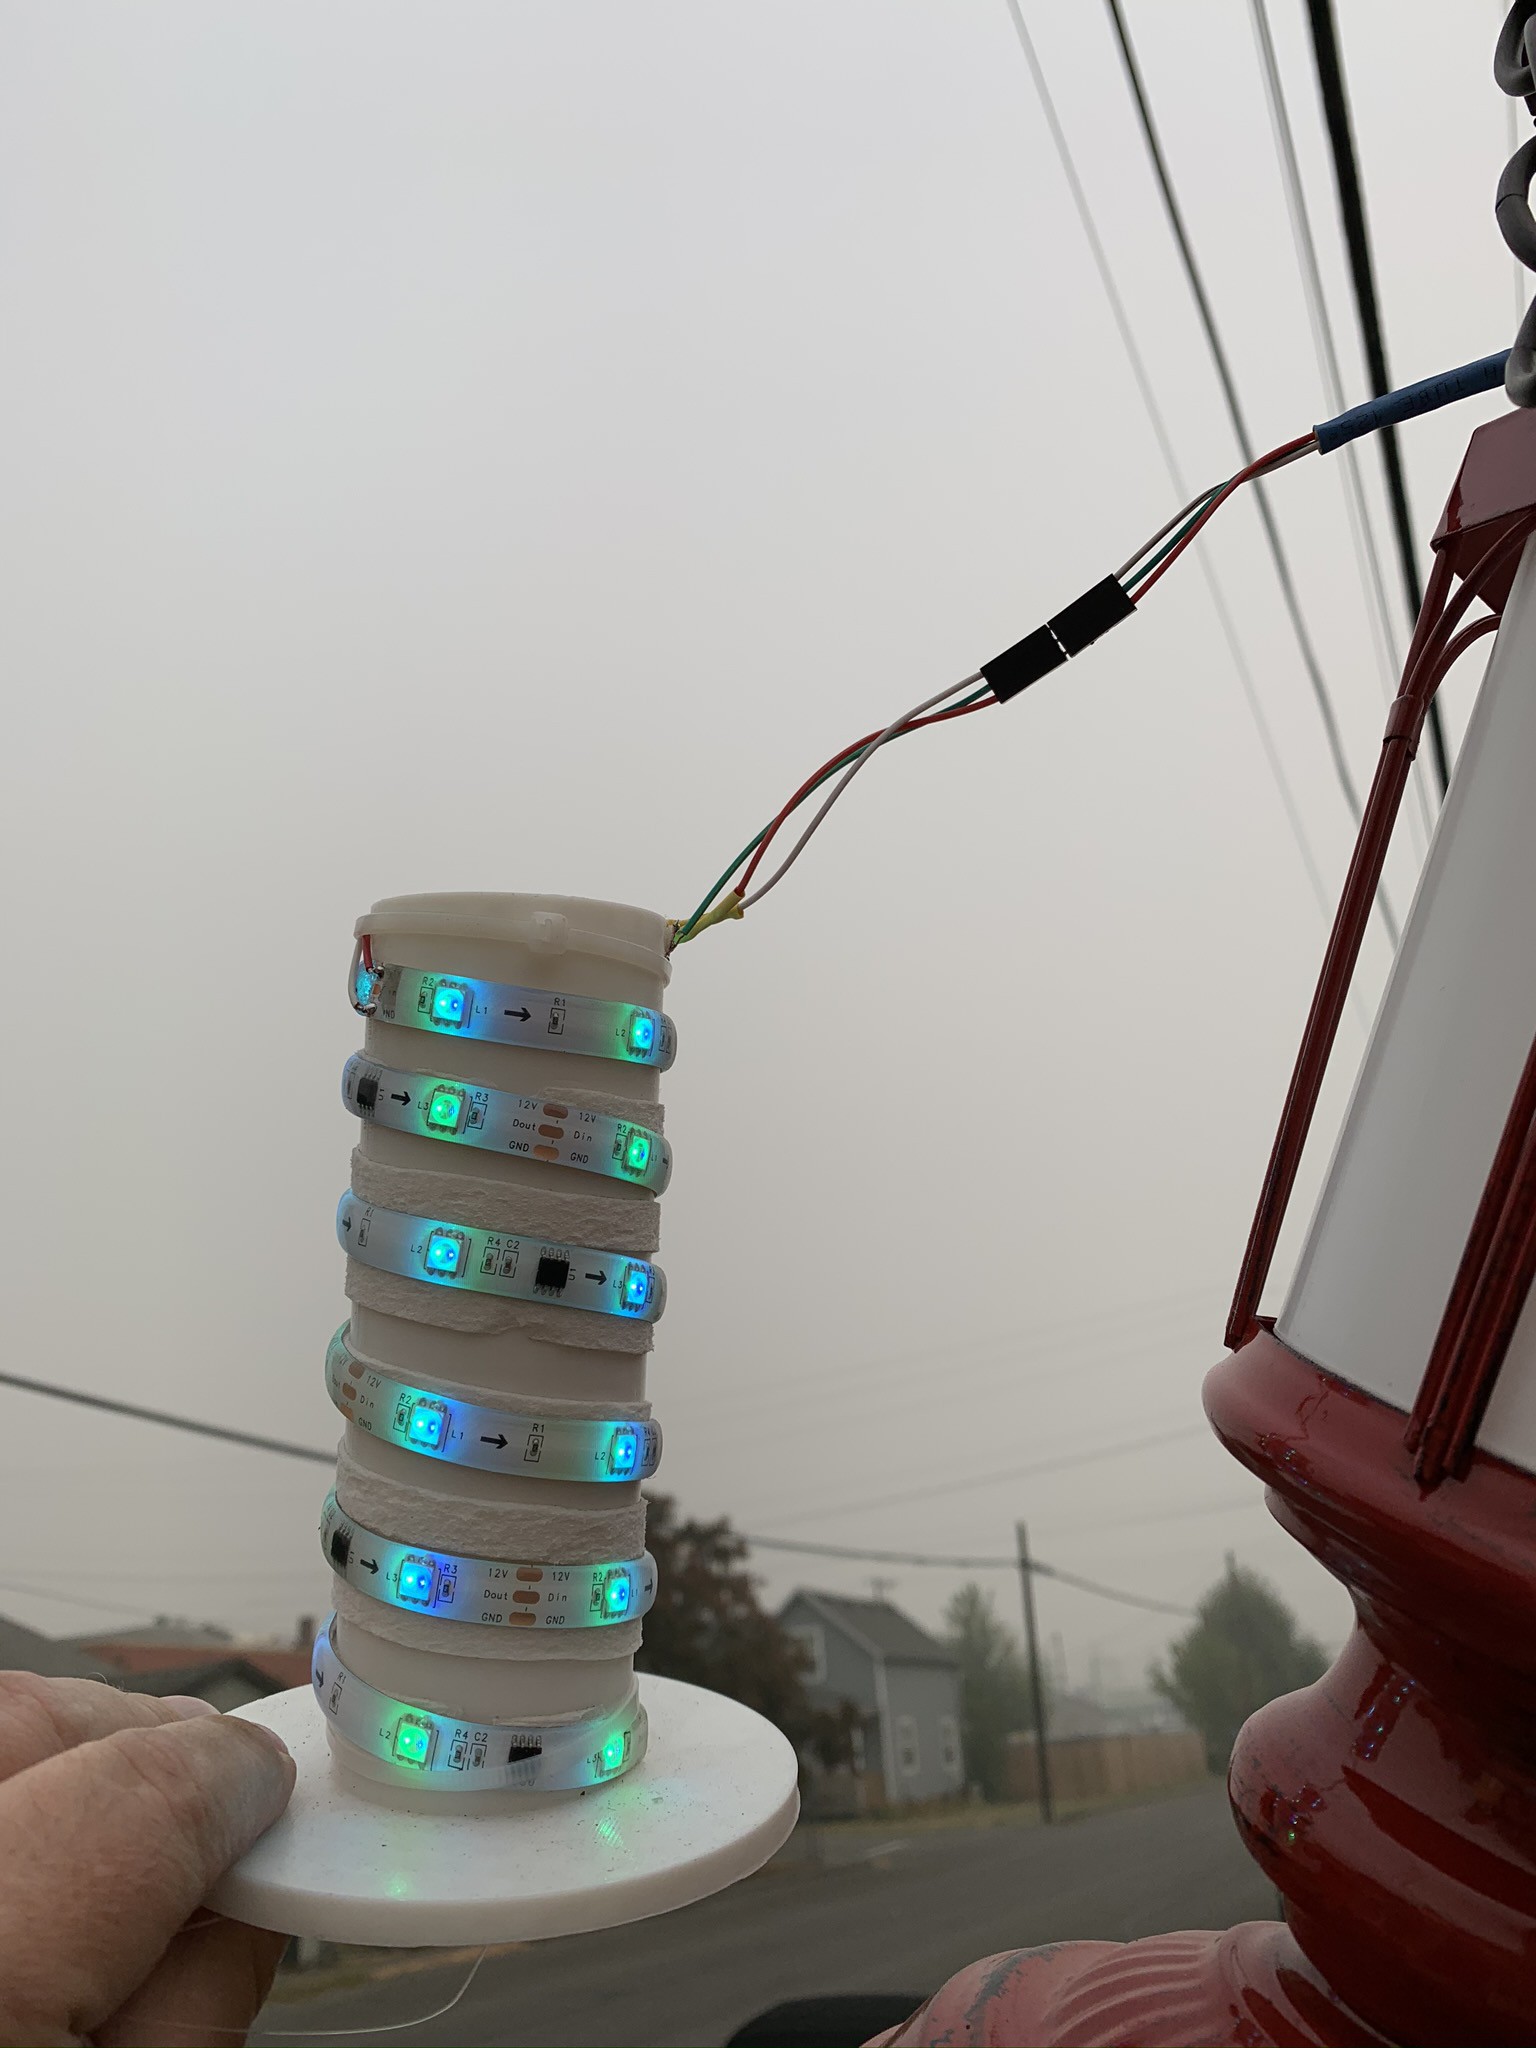
Distractions
09/14/2020 at 02:06 • 0 commentsNo hacking here.
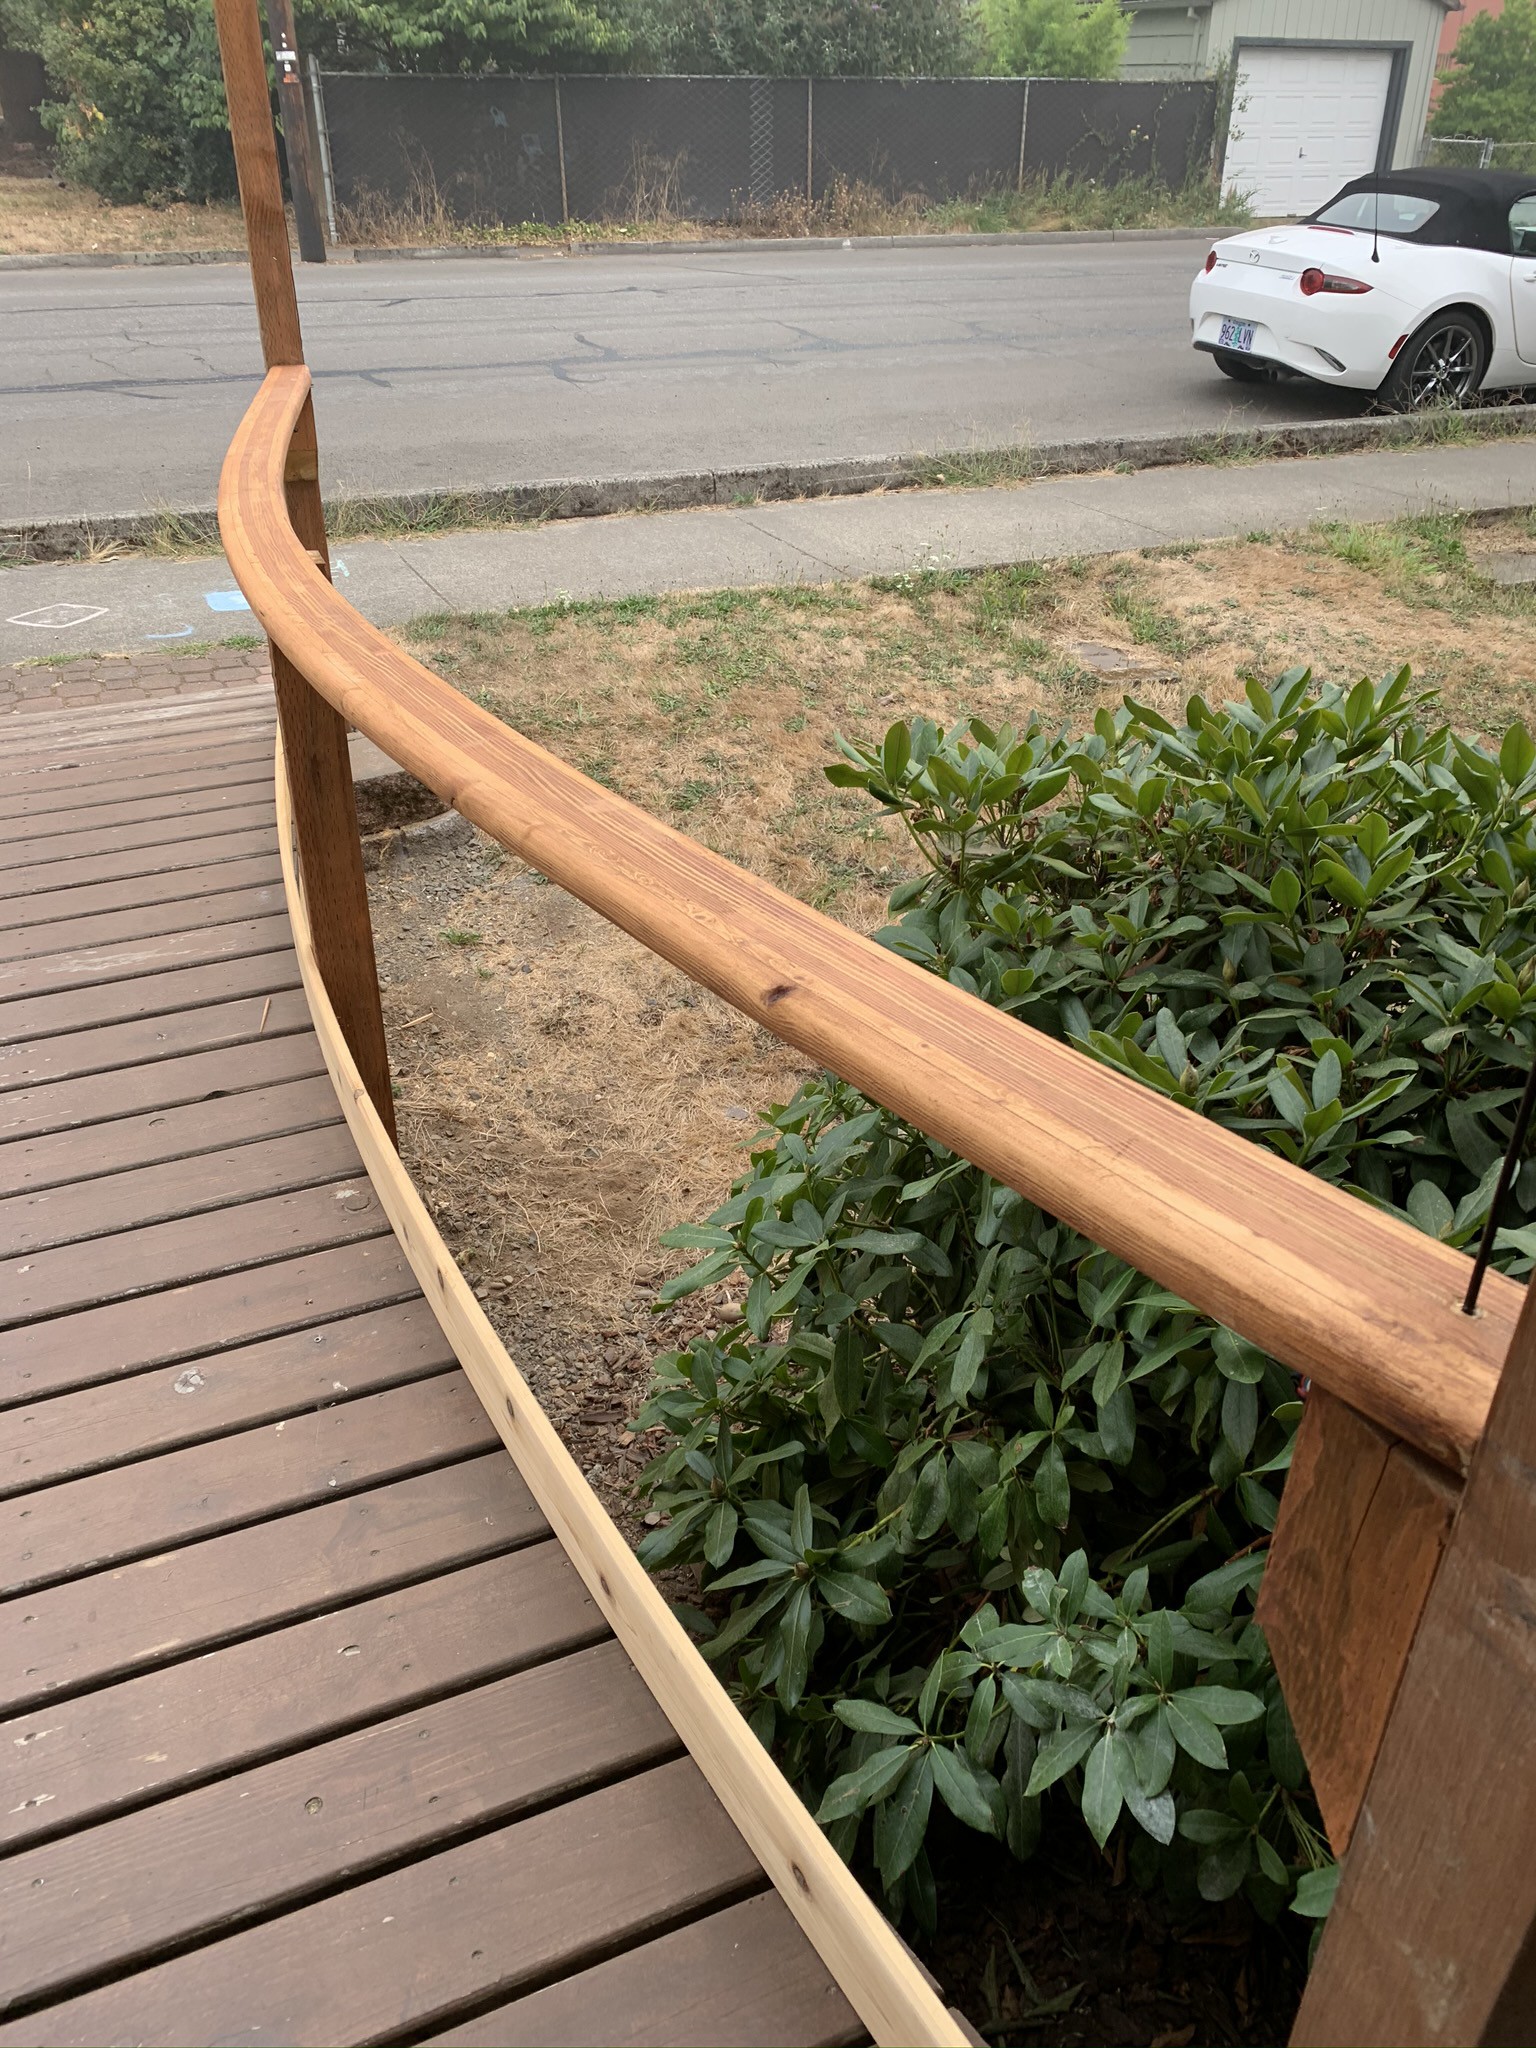
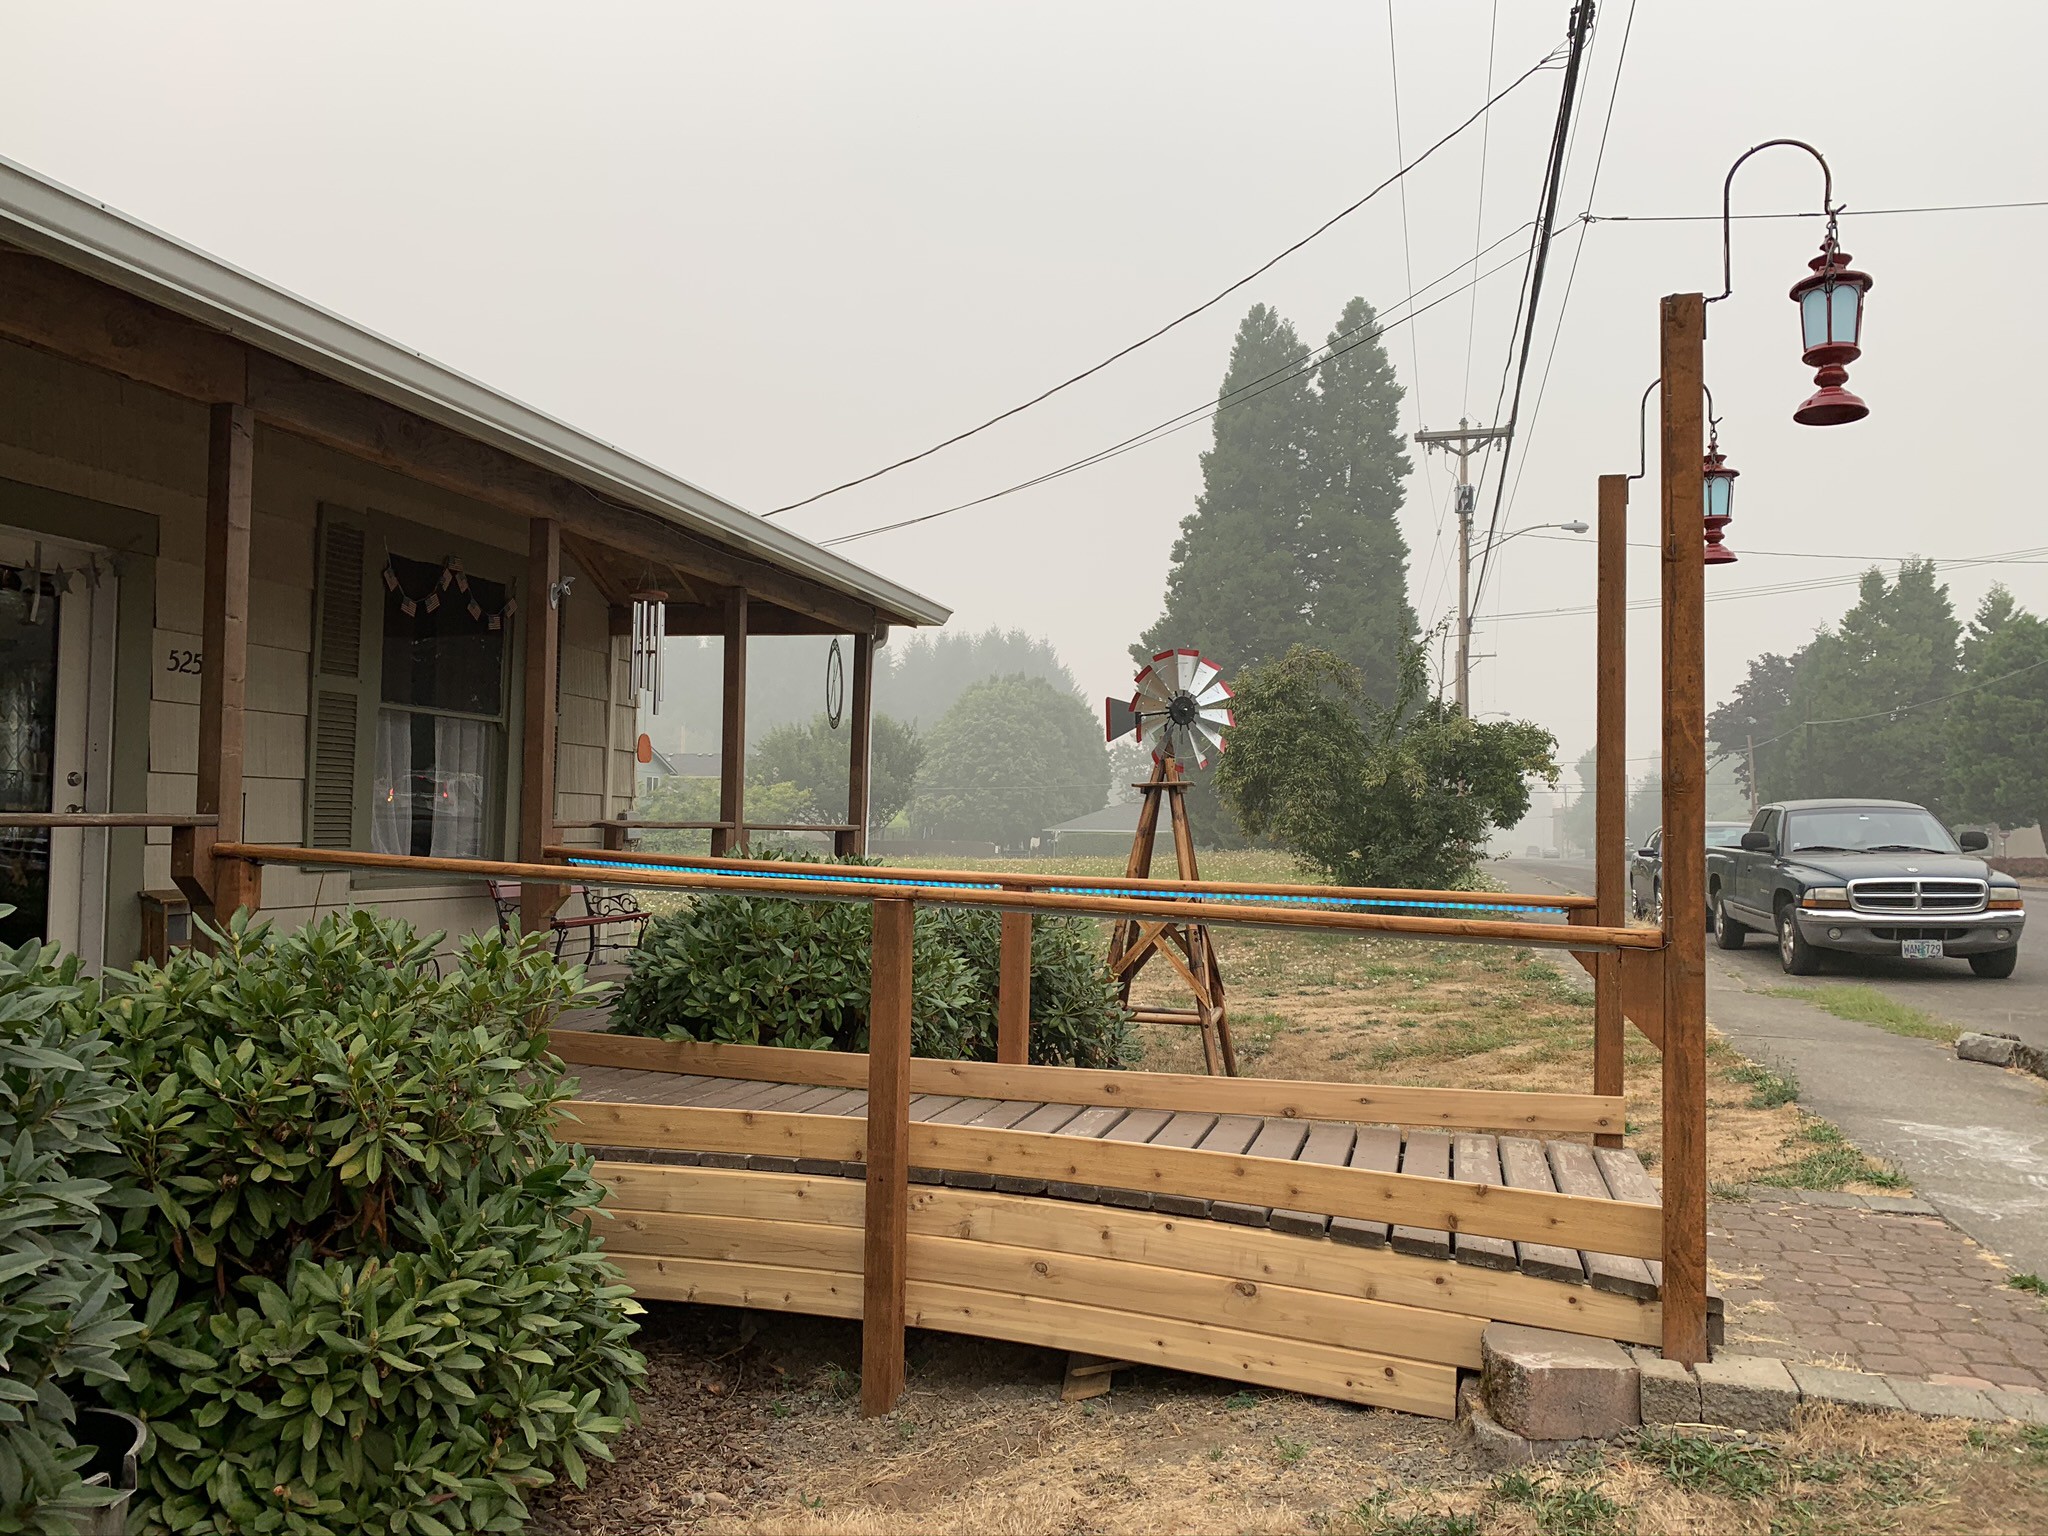
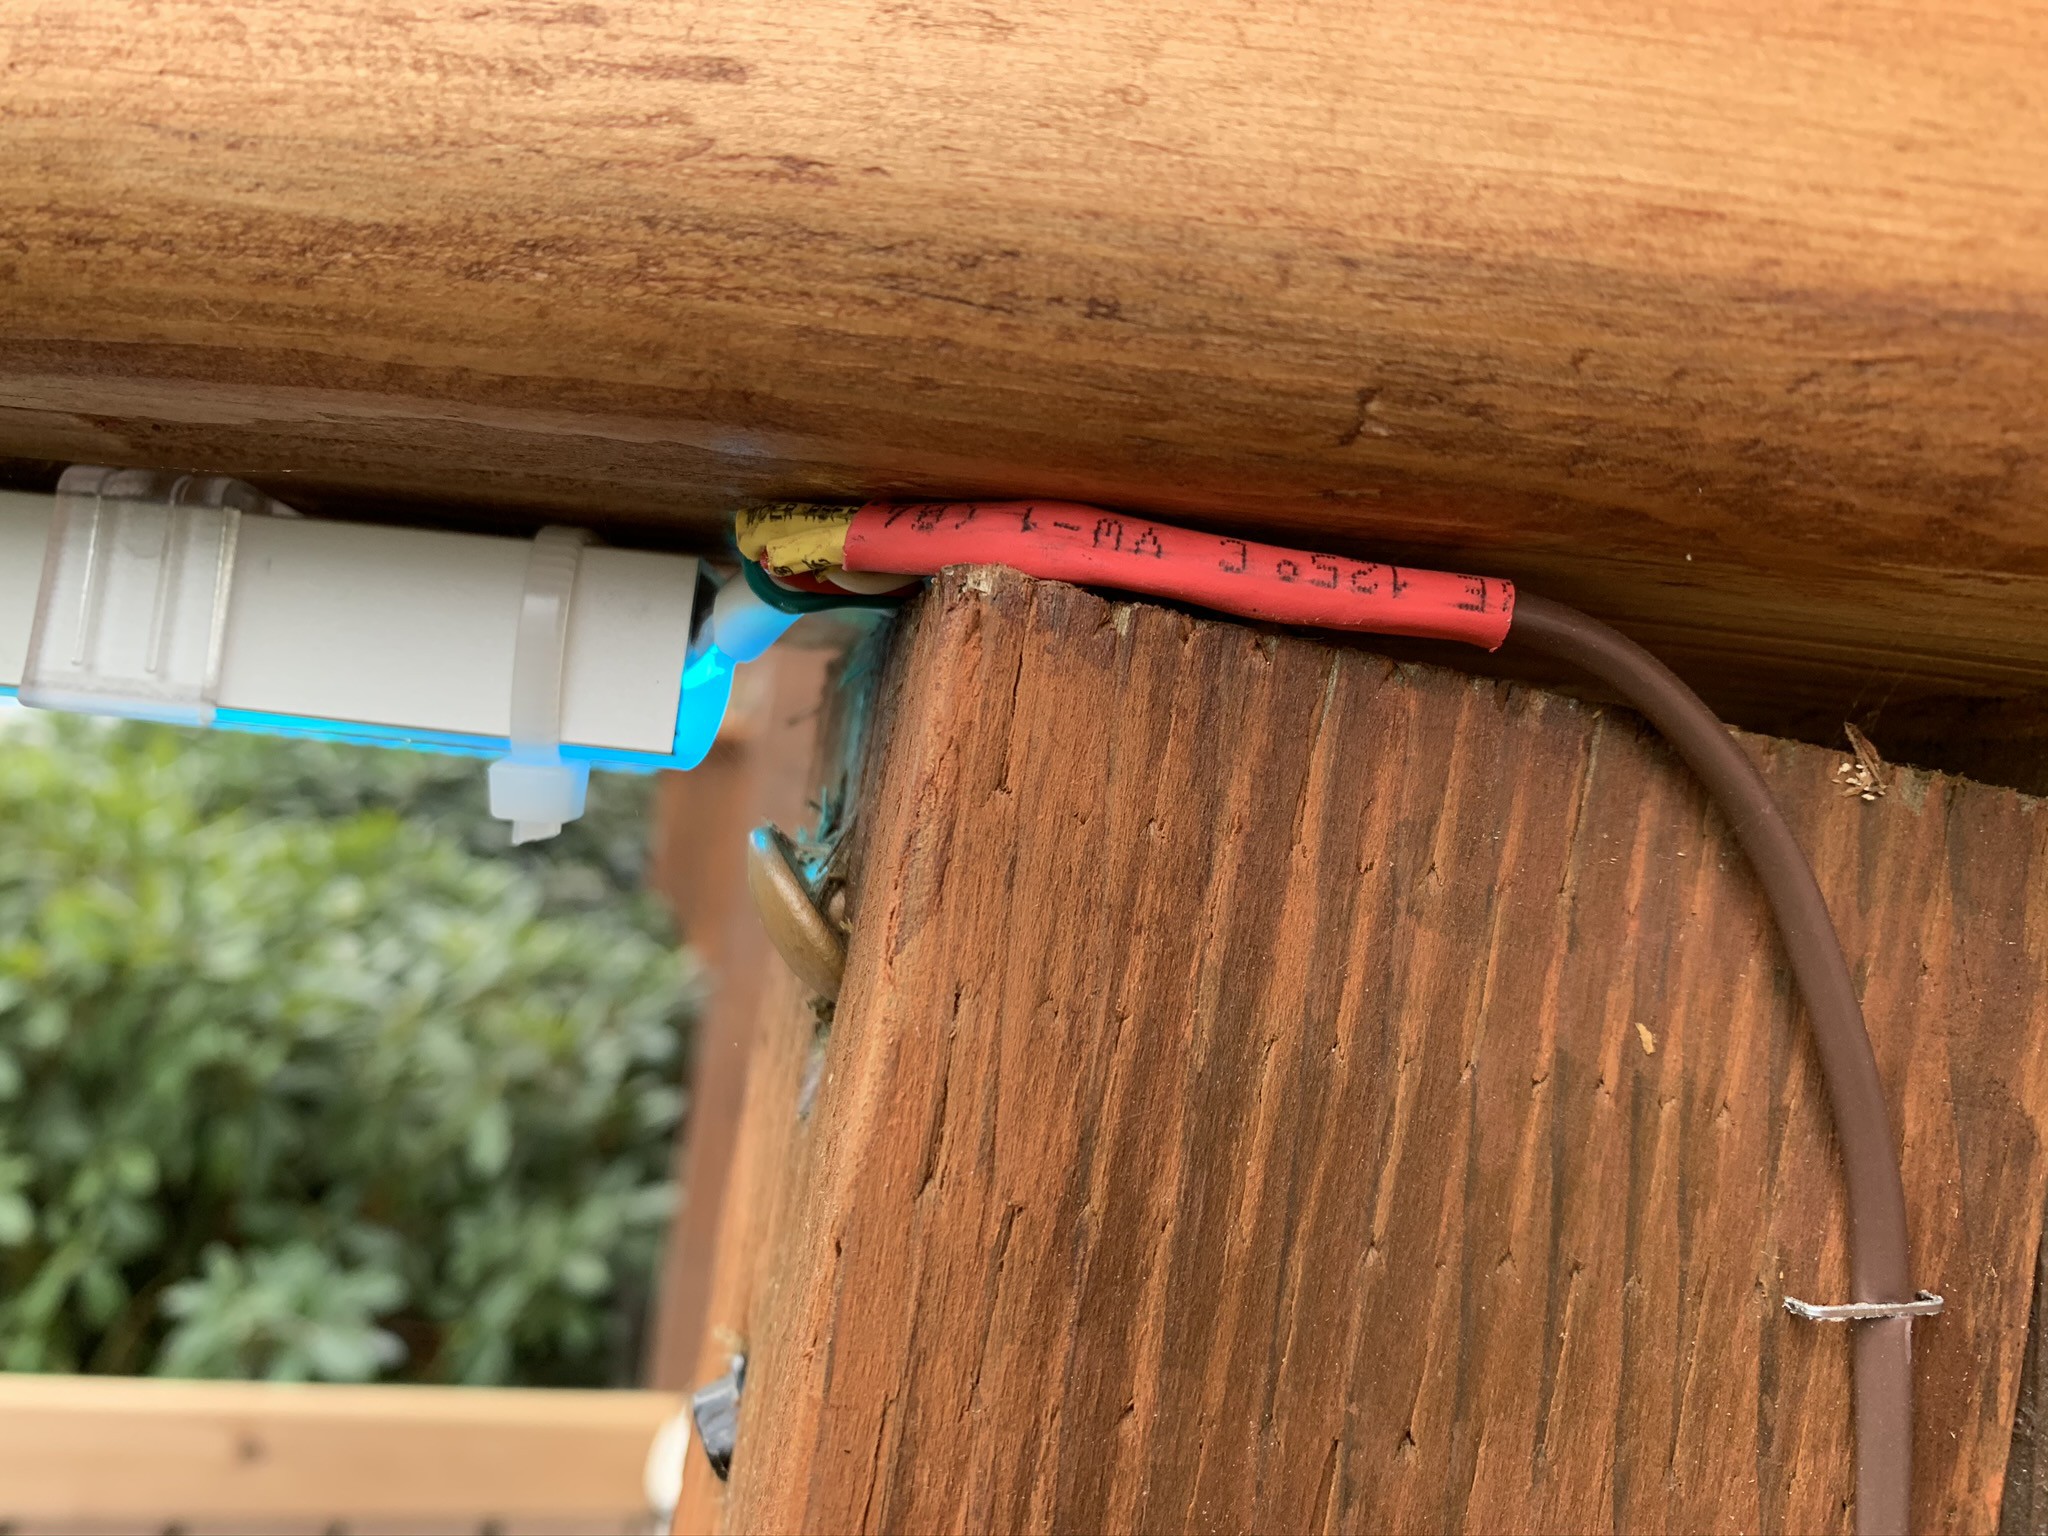
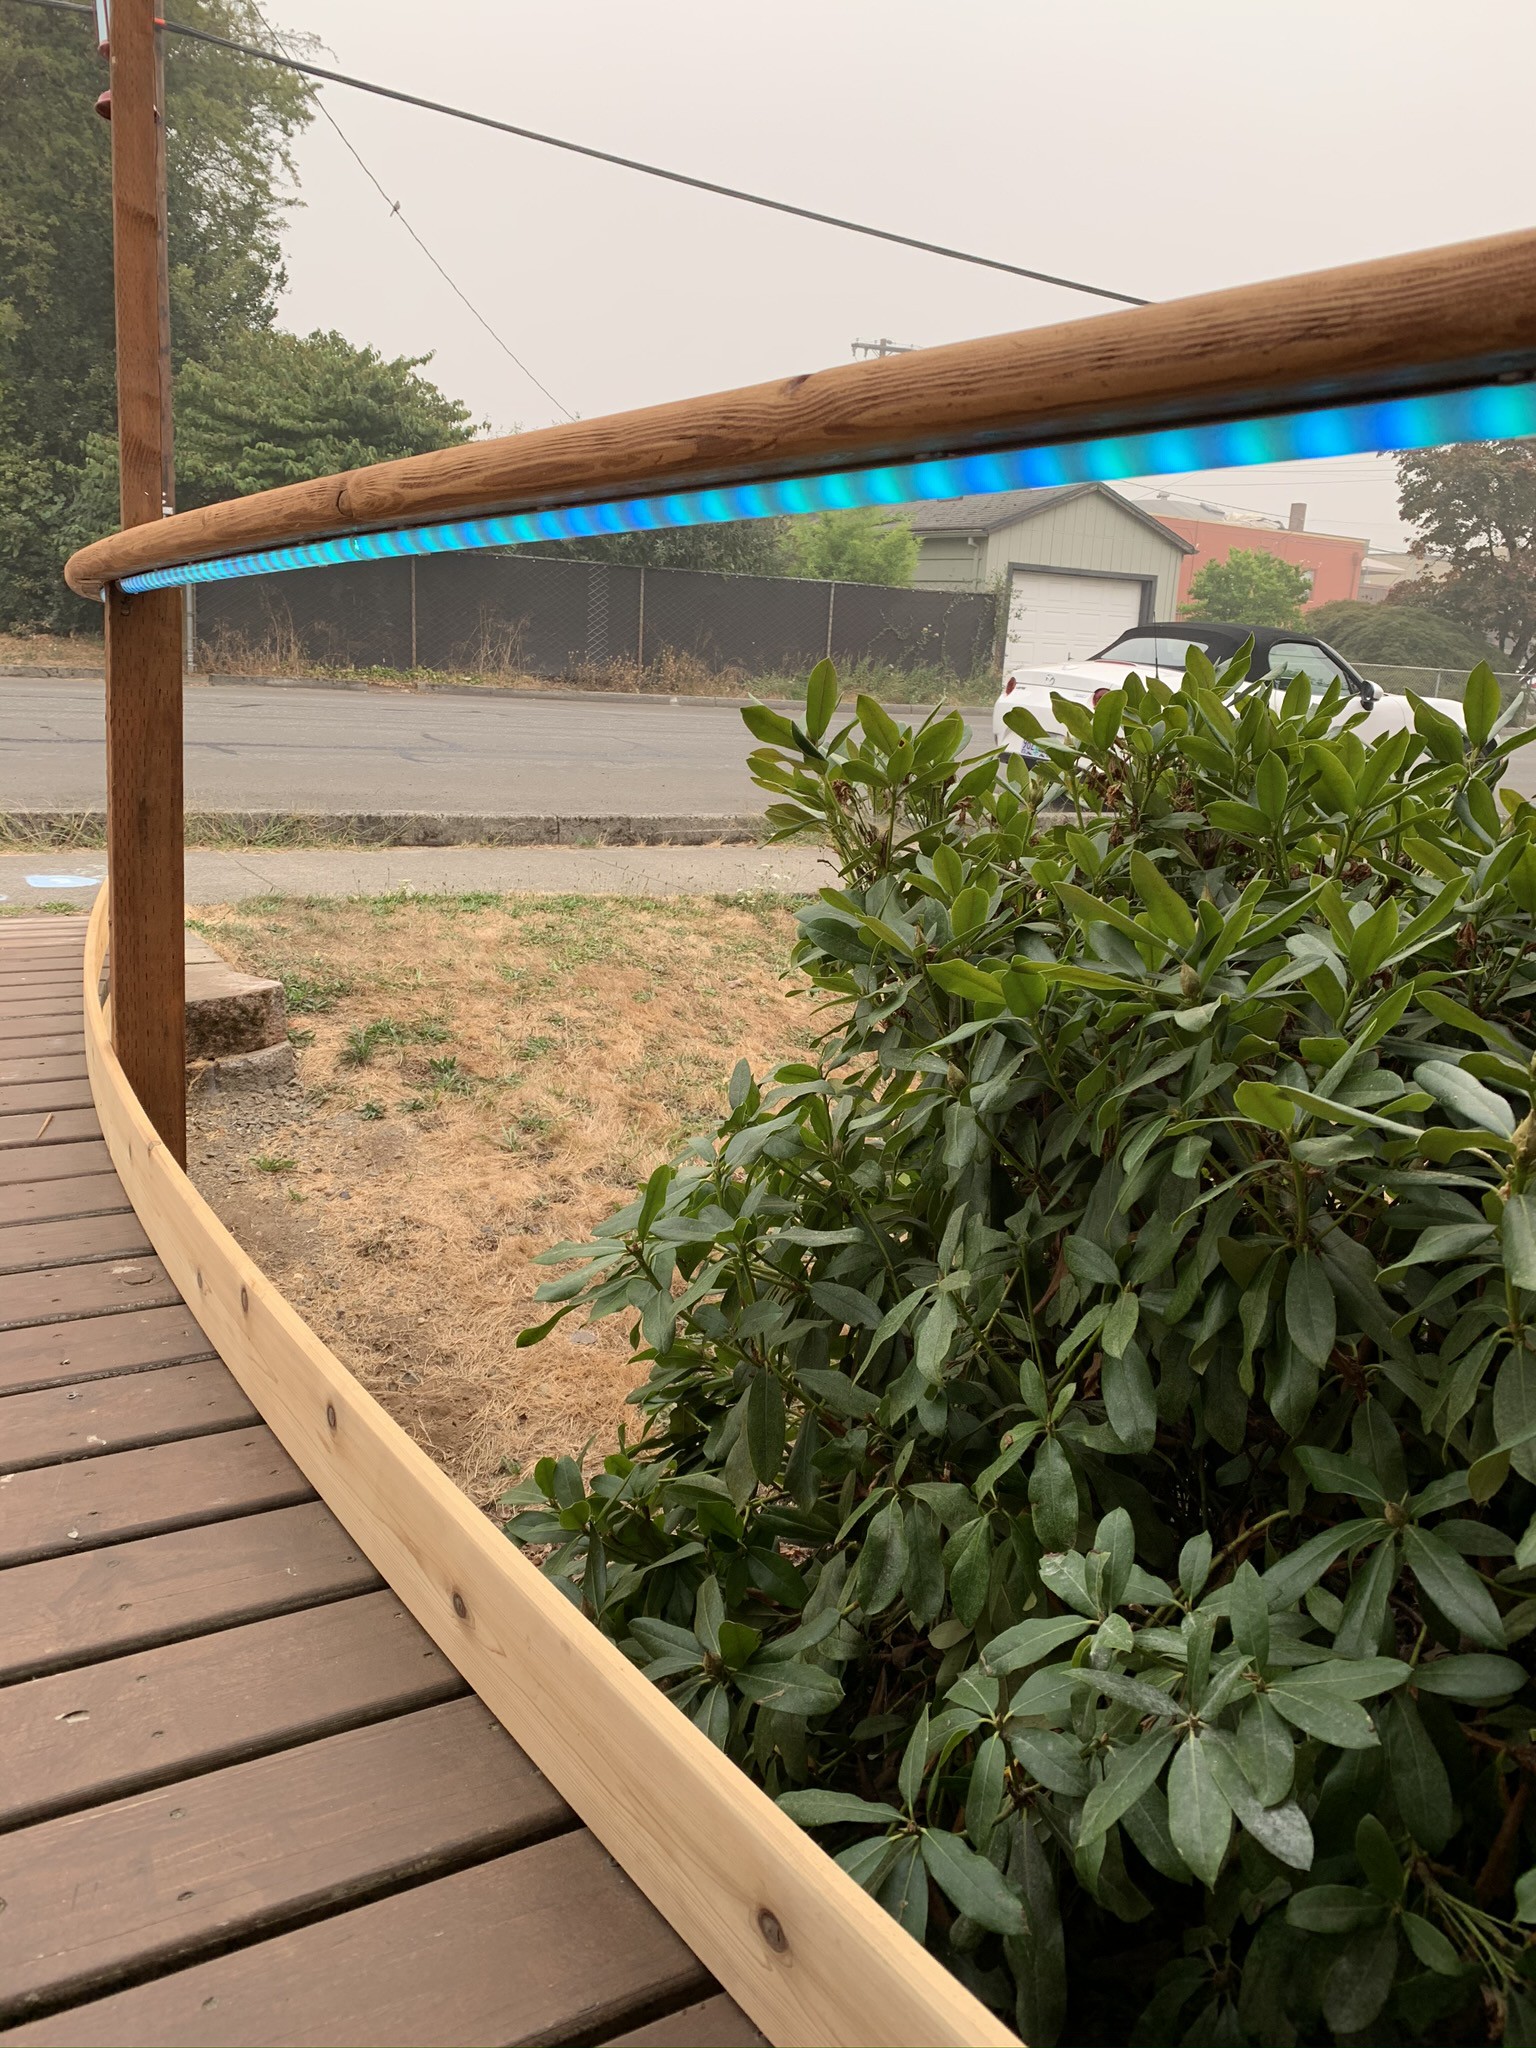
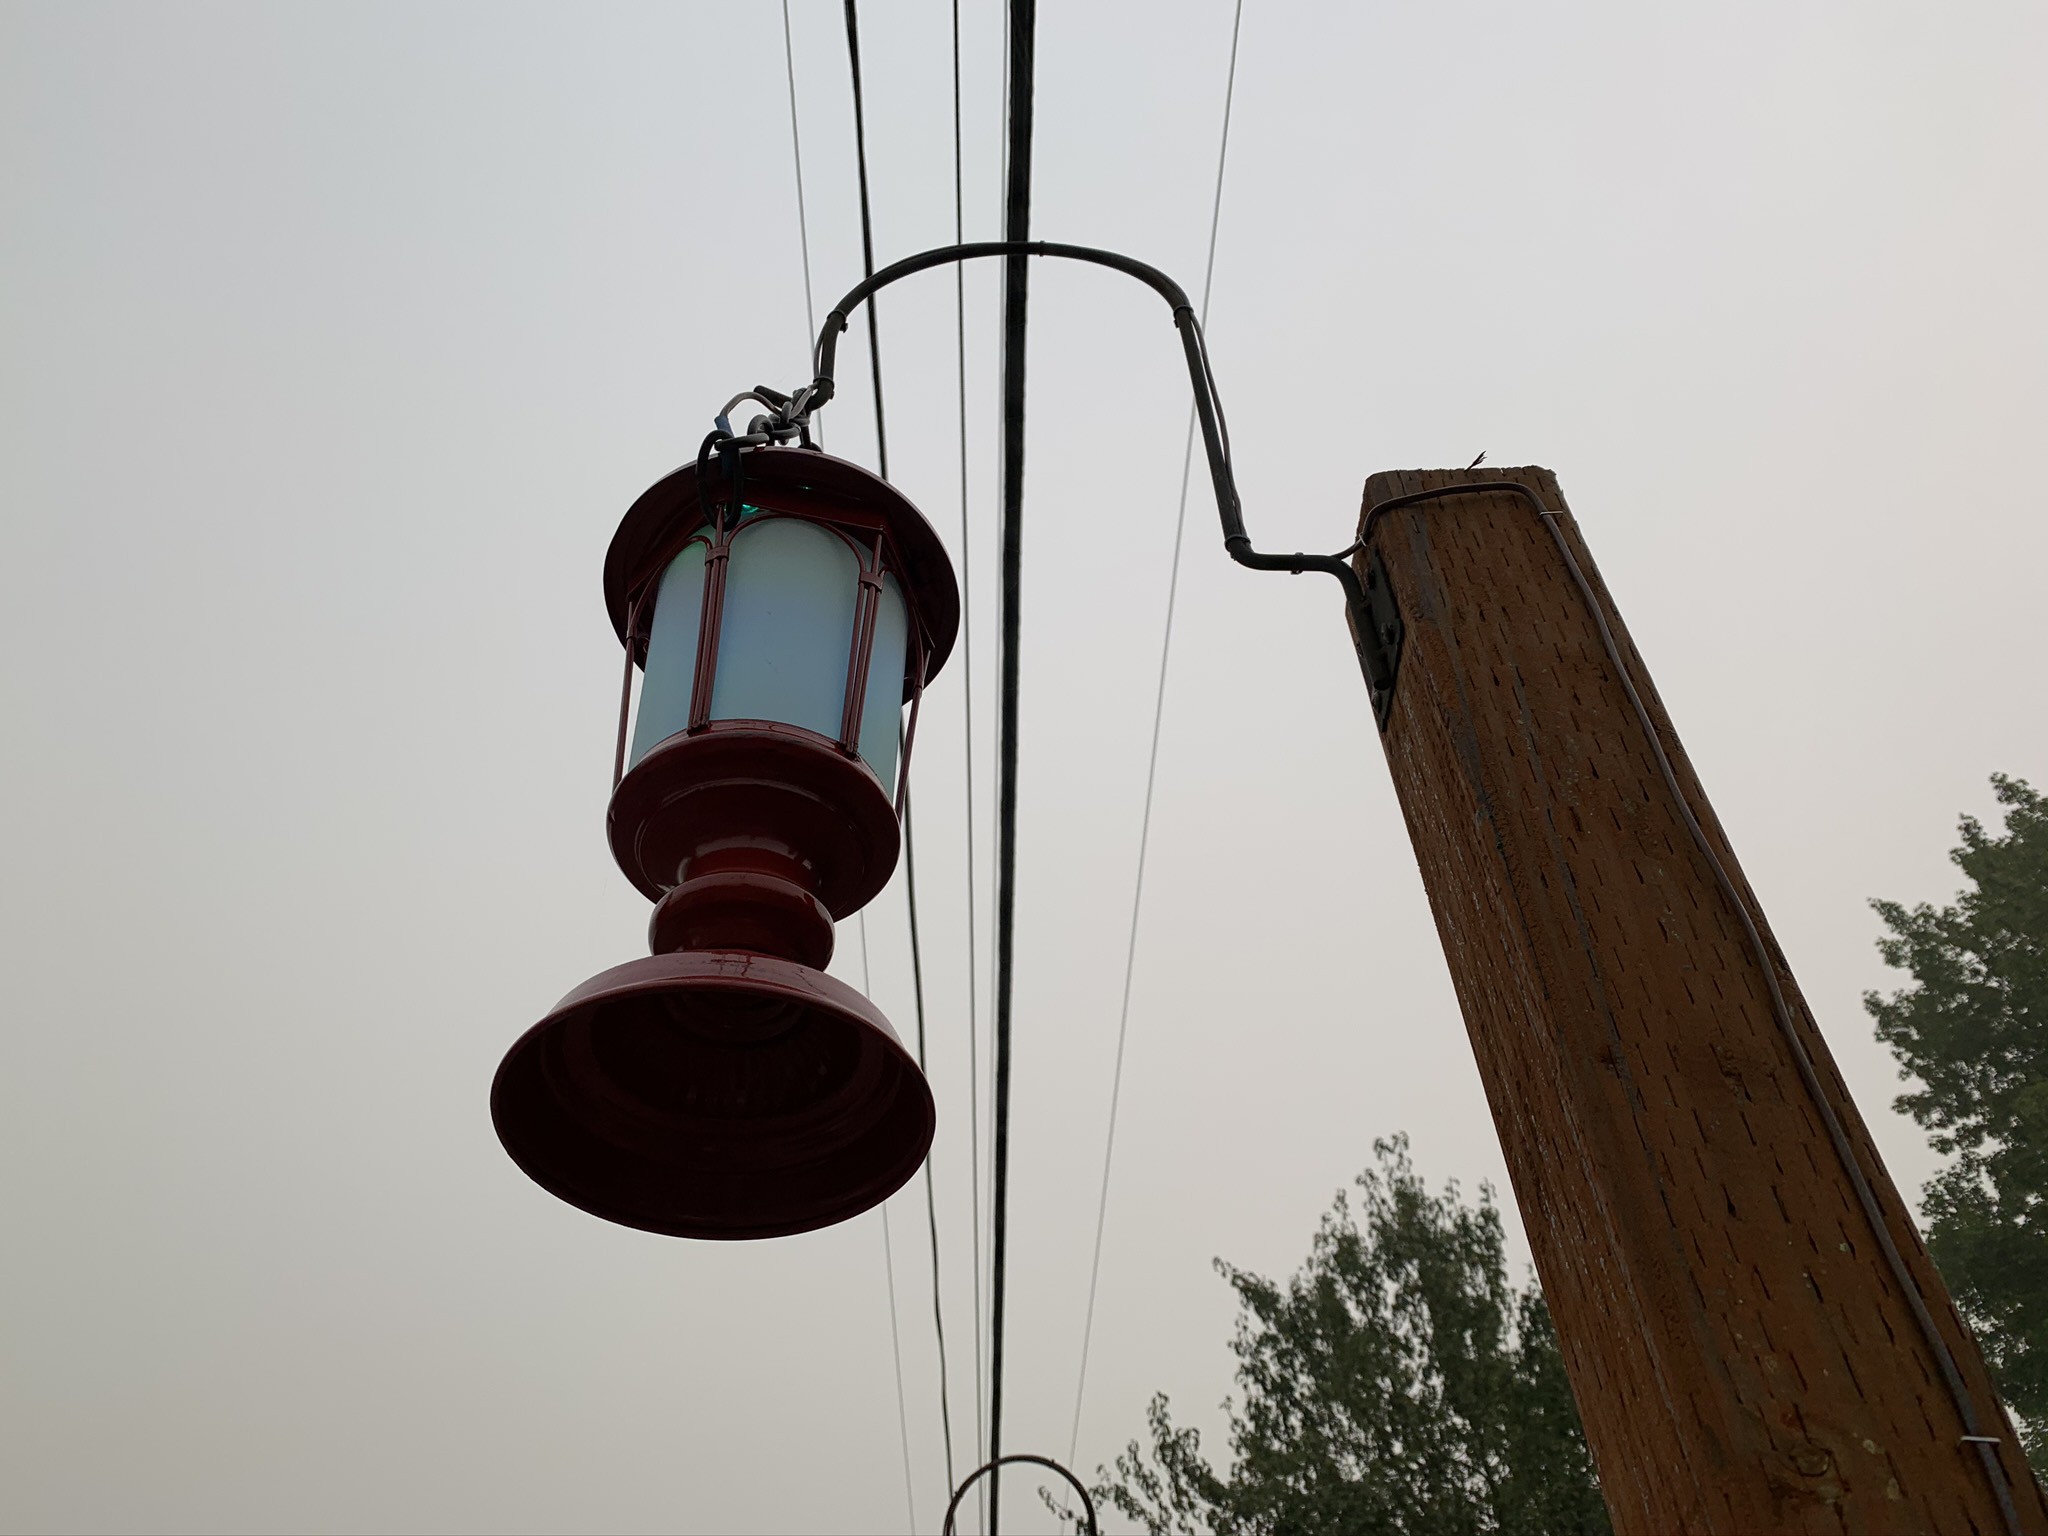
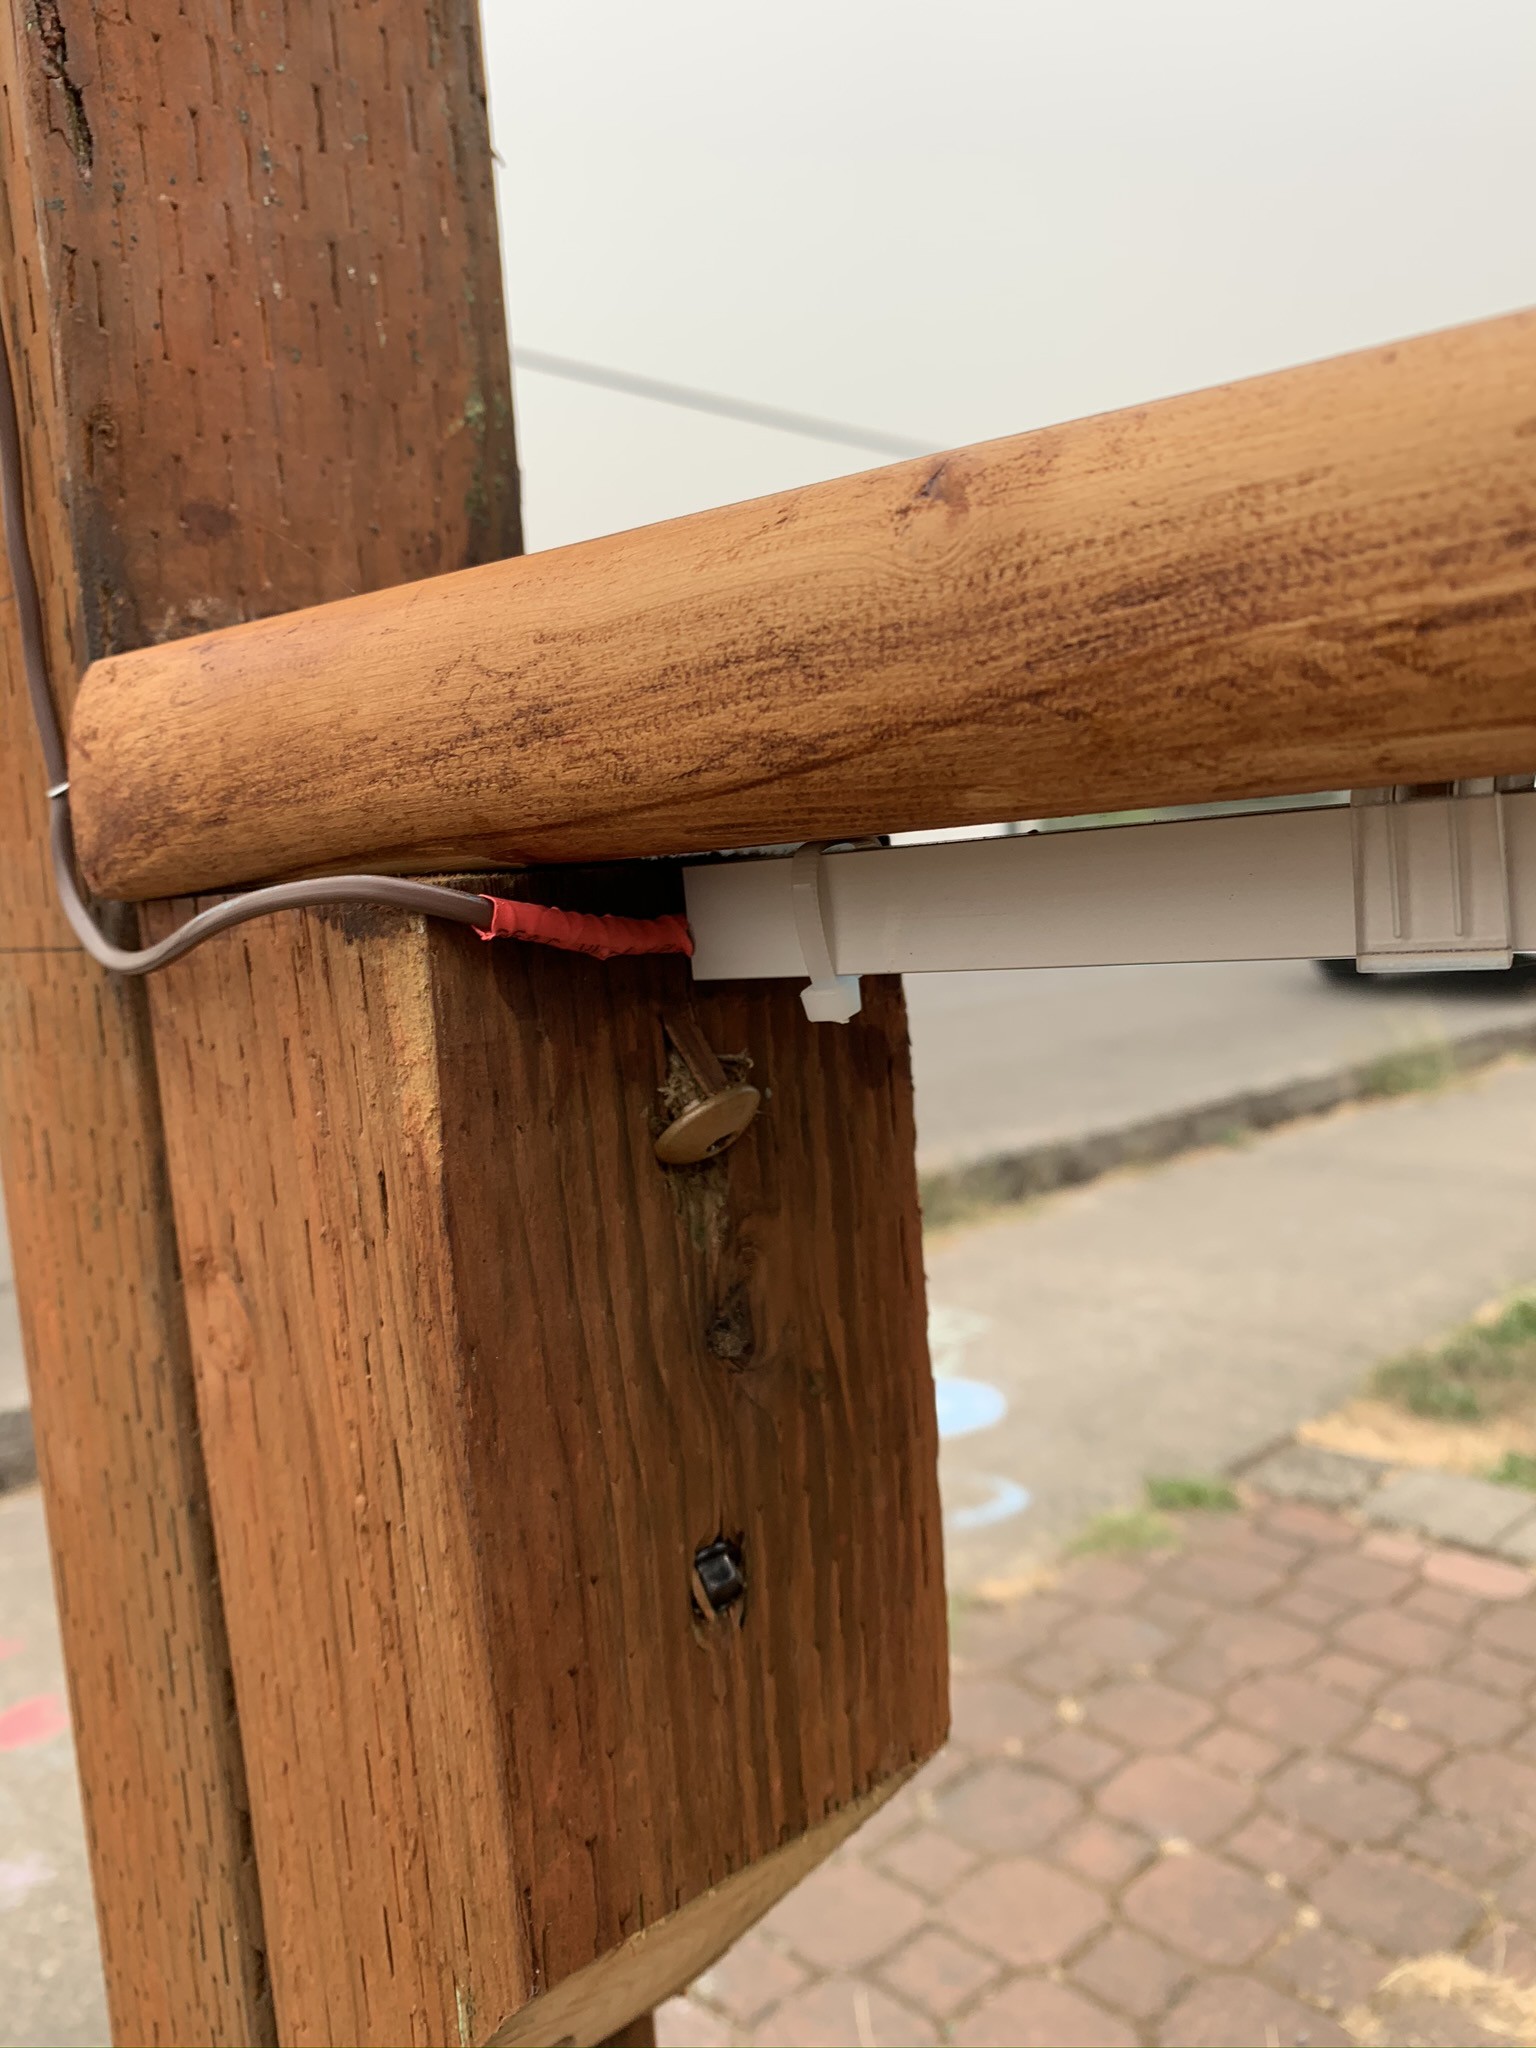
The blind dog needed some guard rails, and I needed some hand rails on the deck, so I took some time to glue together a gluelam from garbage wood scraps from behind the shed, and then ordered a string of LEDs. When the red lamps came with glass hurricanes that were comically small, I printed a hurricane (vase mode) with PLA to check on the diffusion. First I wrapped the LED strip around the glass hurricane, but then the LEDs were polka-dottish, so I printed a smaller core to get farther away from the walls, and the turned out pretty cute.
For subtle wiring for the 12v and data lines I used 18 - 3 furnace wire. I think it turned out pretty well.
Took me a few weeks, so I didn't get much done on the tree.
![]()
![]()
![]()
![]()
![]()
![]()
![]()
![]()
![]()
![]()
![]()
![]()
-
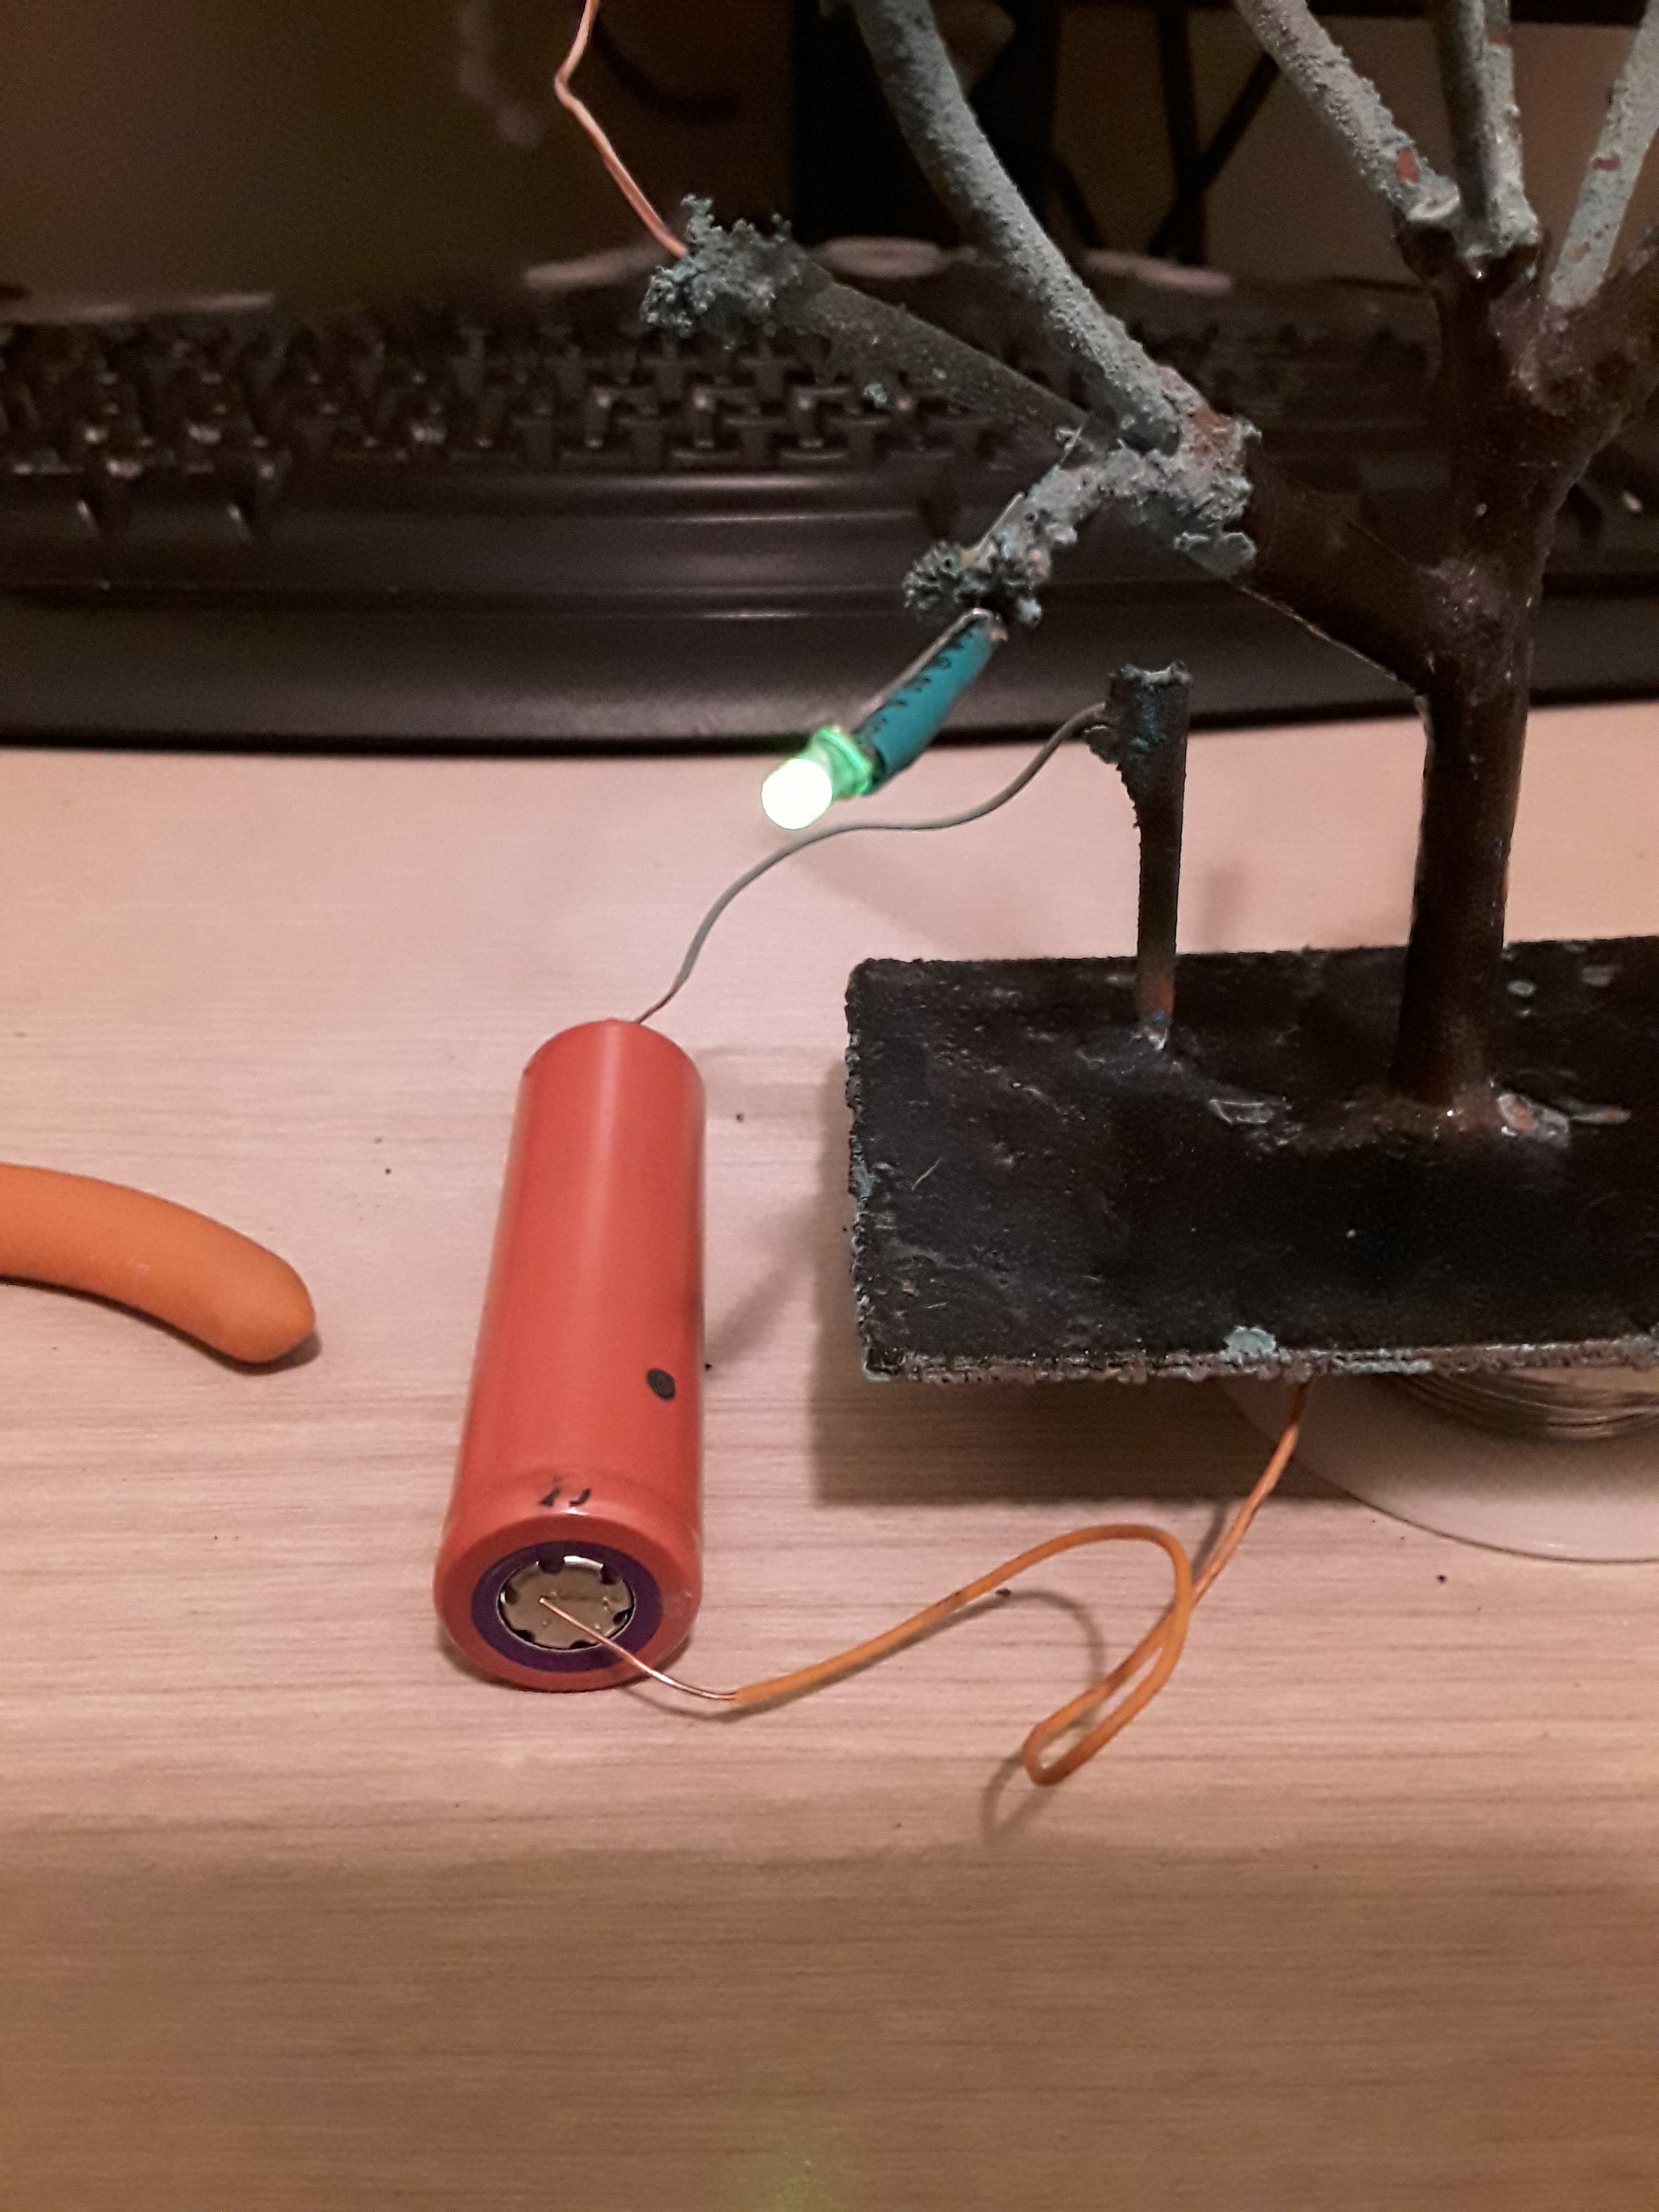
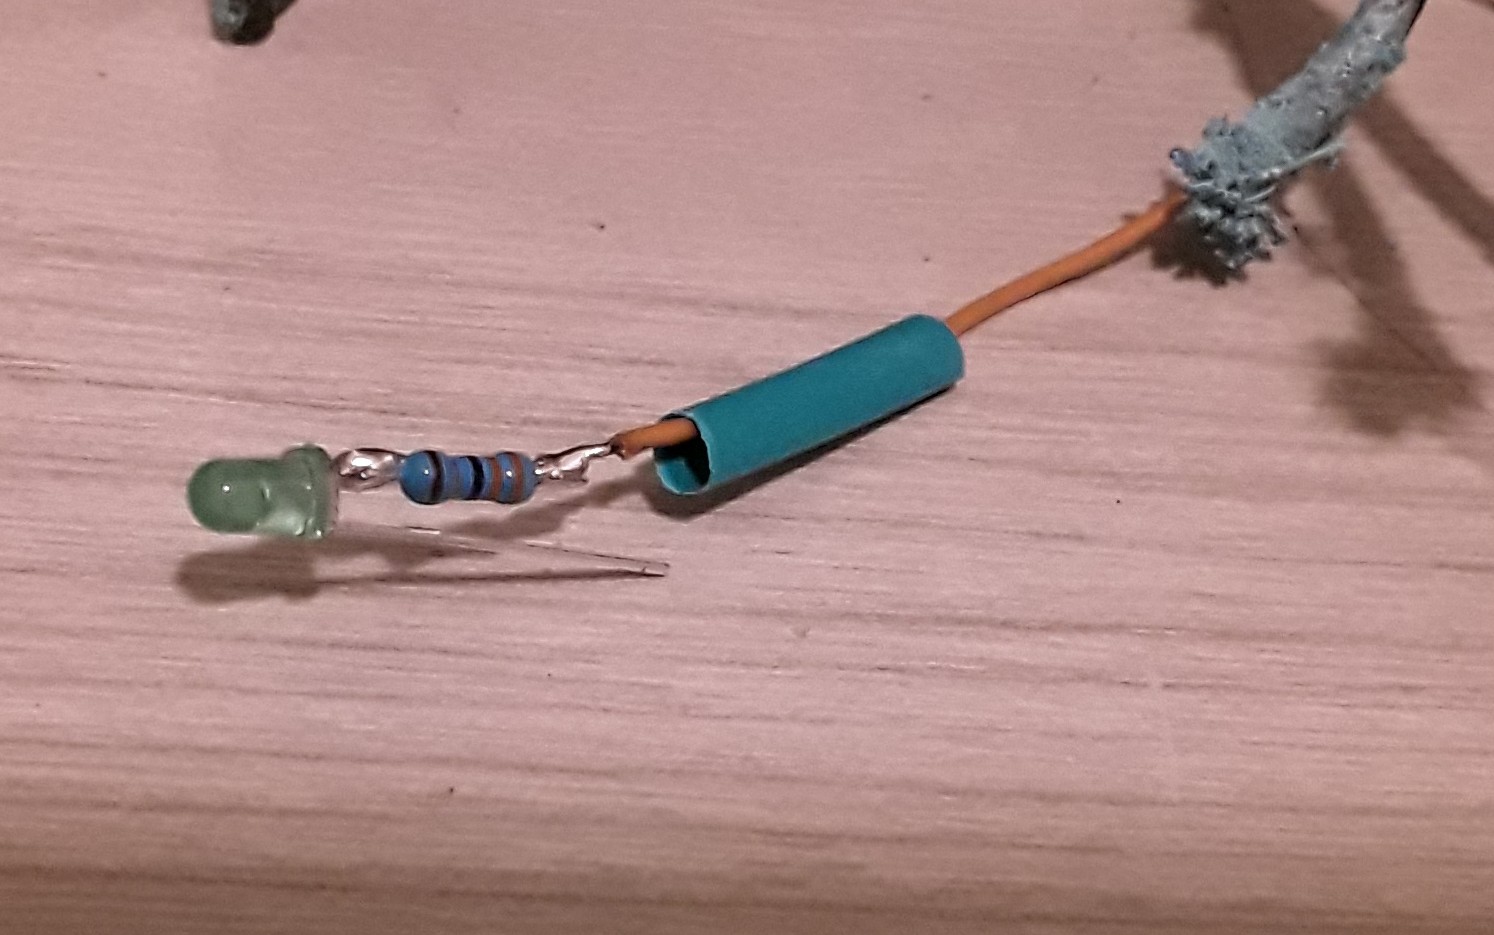
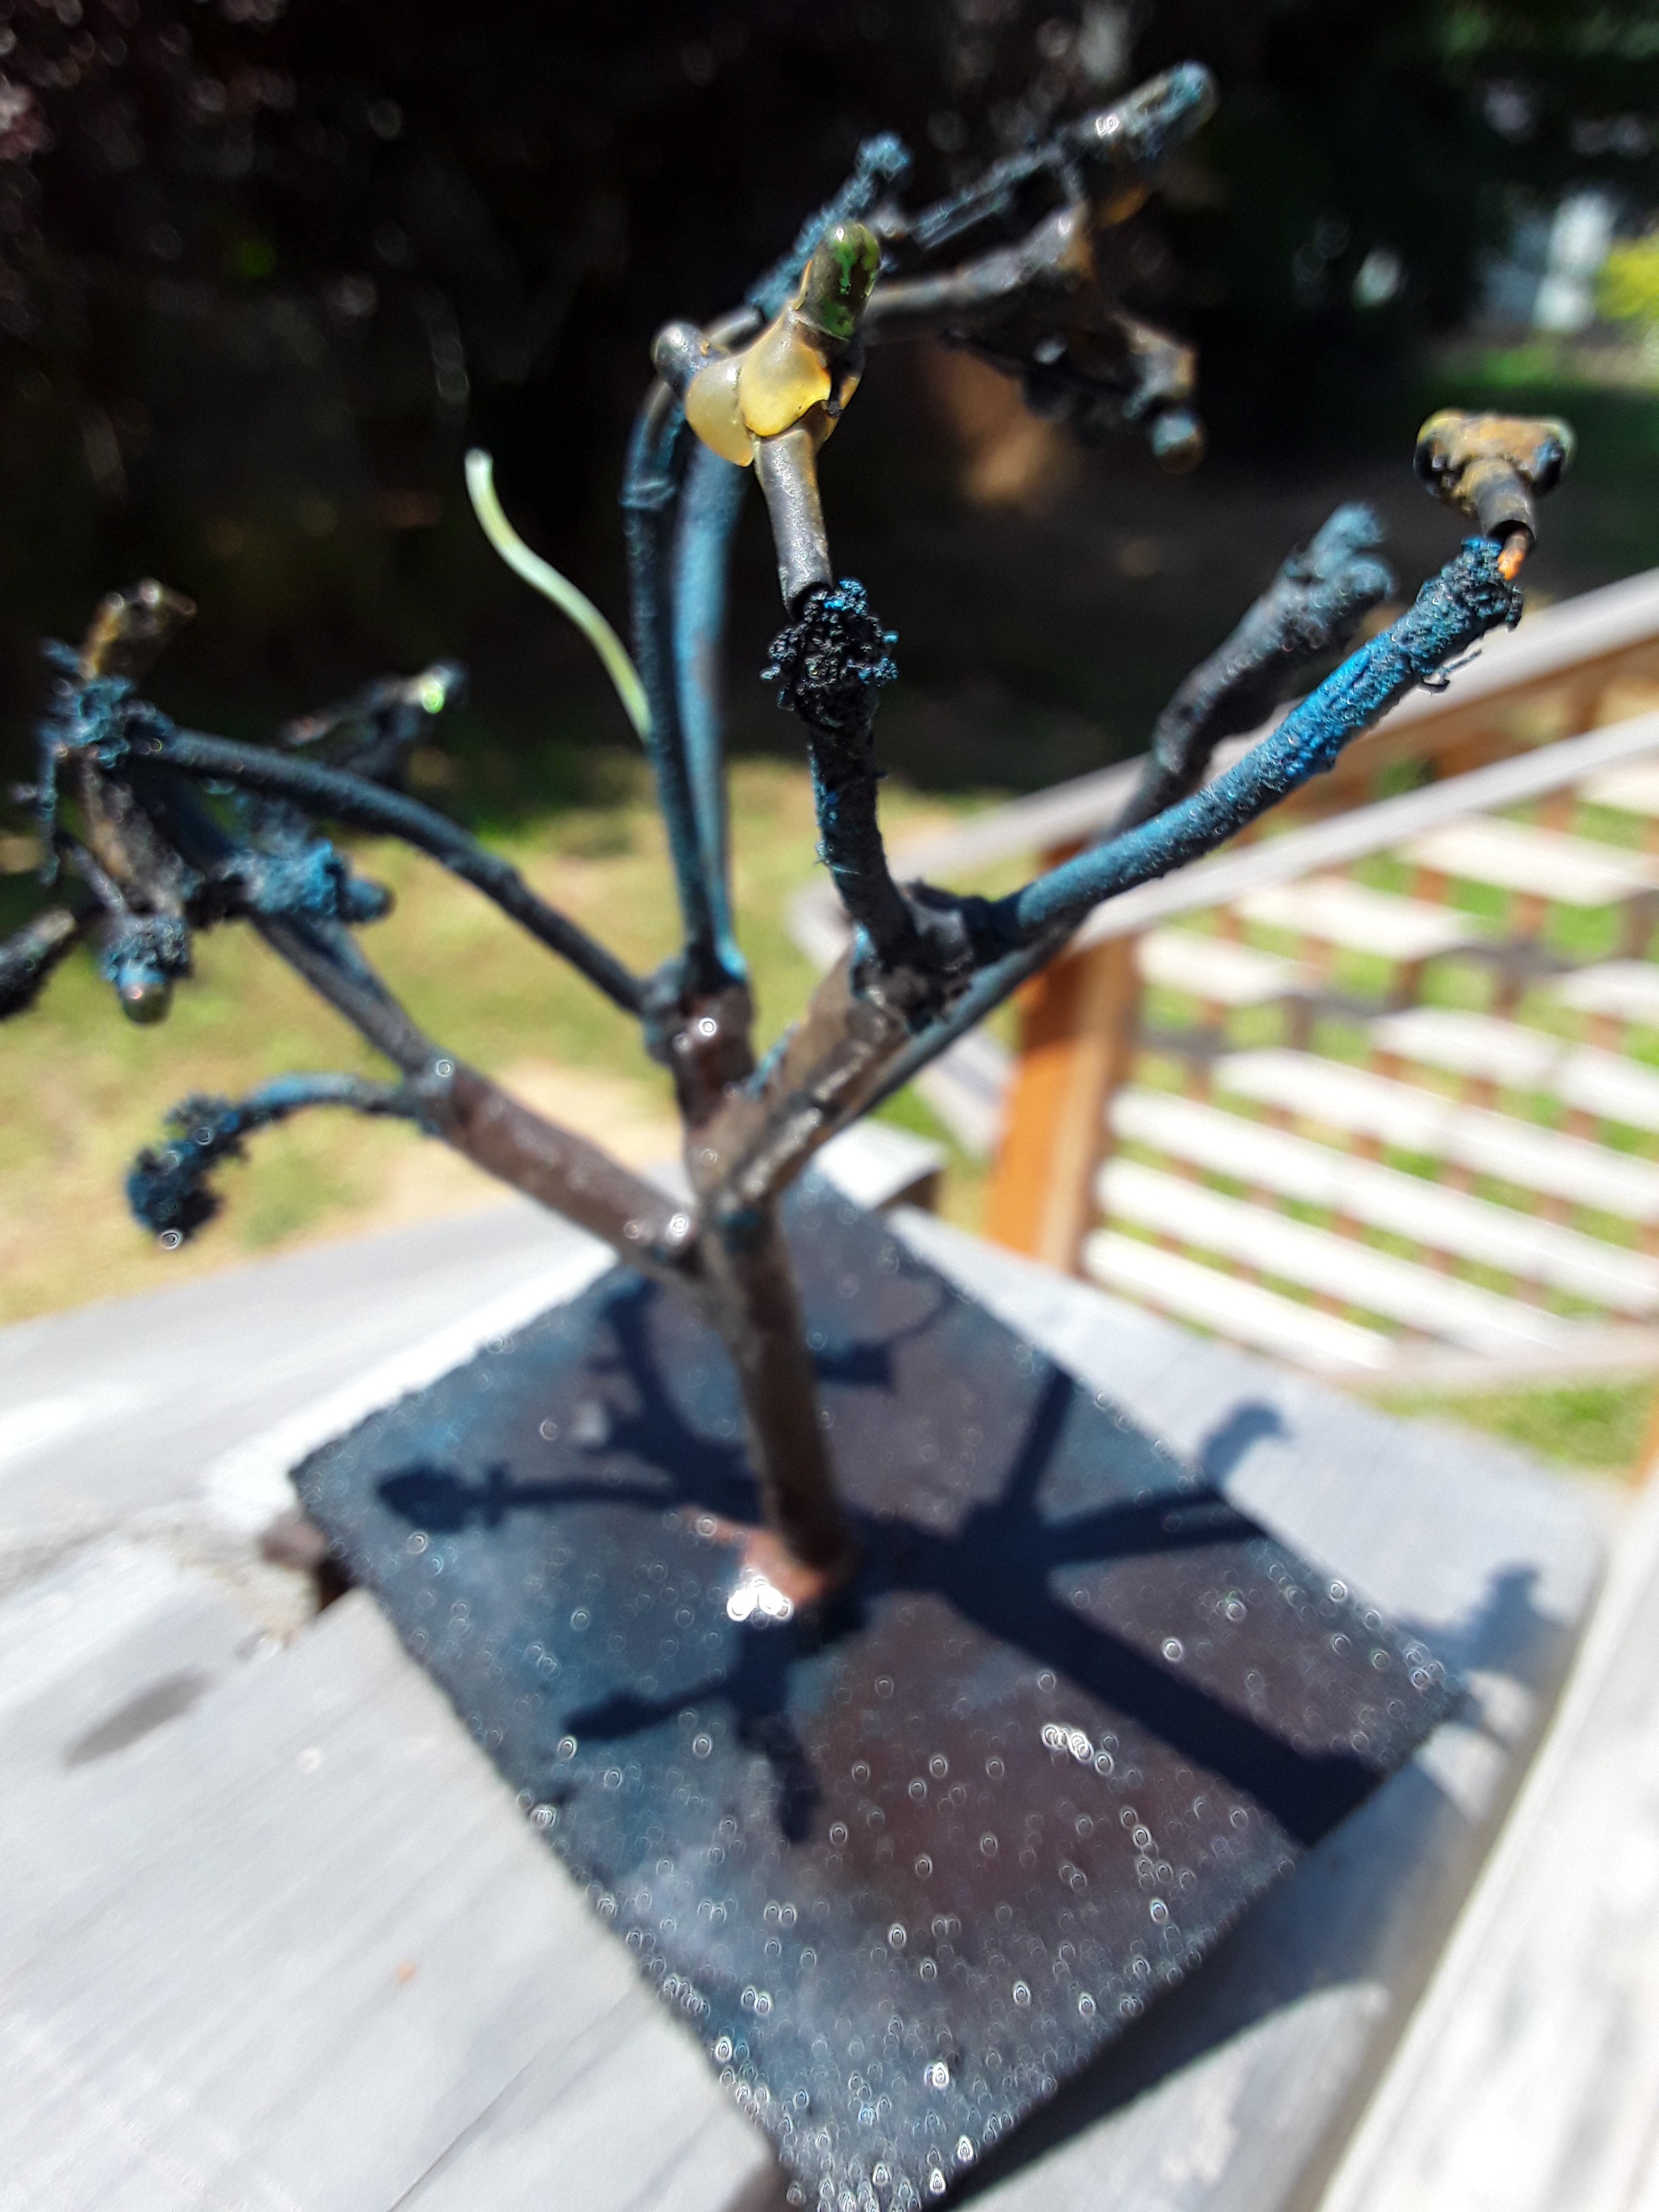
Proof of life
08/06/2020 at 05:29 • 0 comments![]()
perhaps it's just a proof of concept.
I broke a couple copper crystals pulling new wire. I also went with an oversized green shrinktube. I also added in a resistor on the branch and which doesnt really make sense, but that is the thing i did.
![]()
V next will likely out that on bottom.
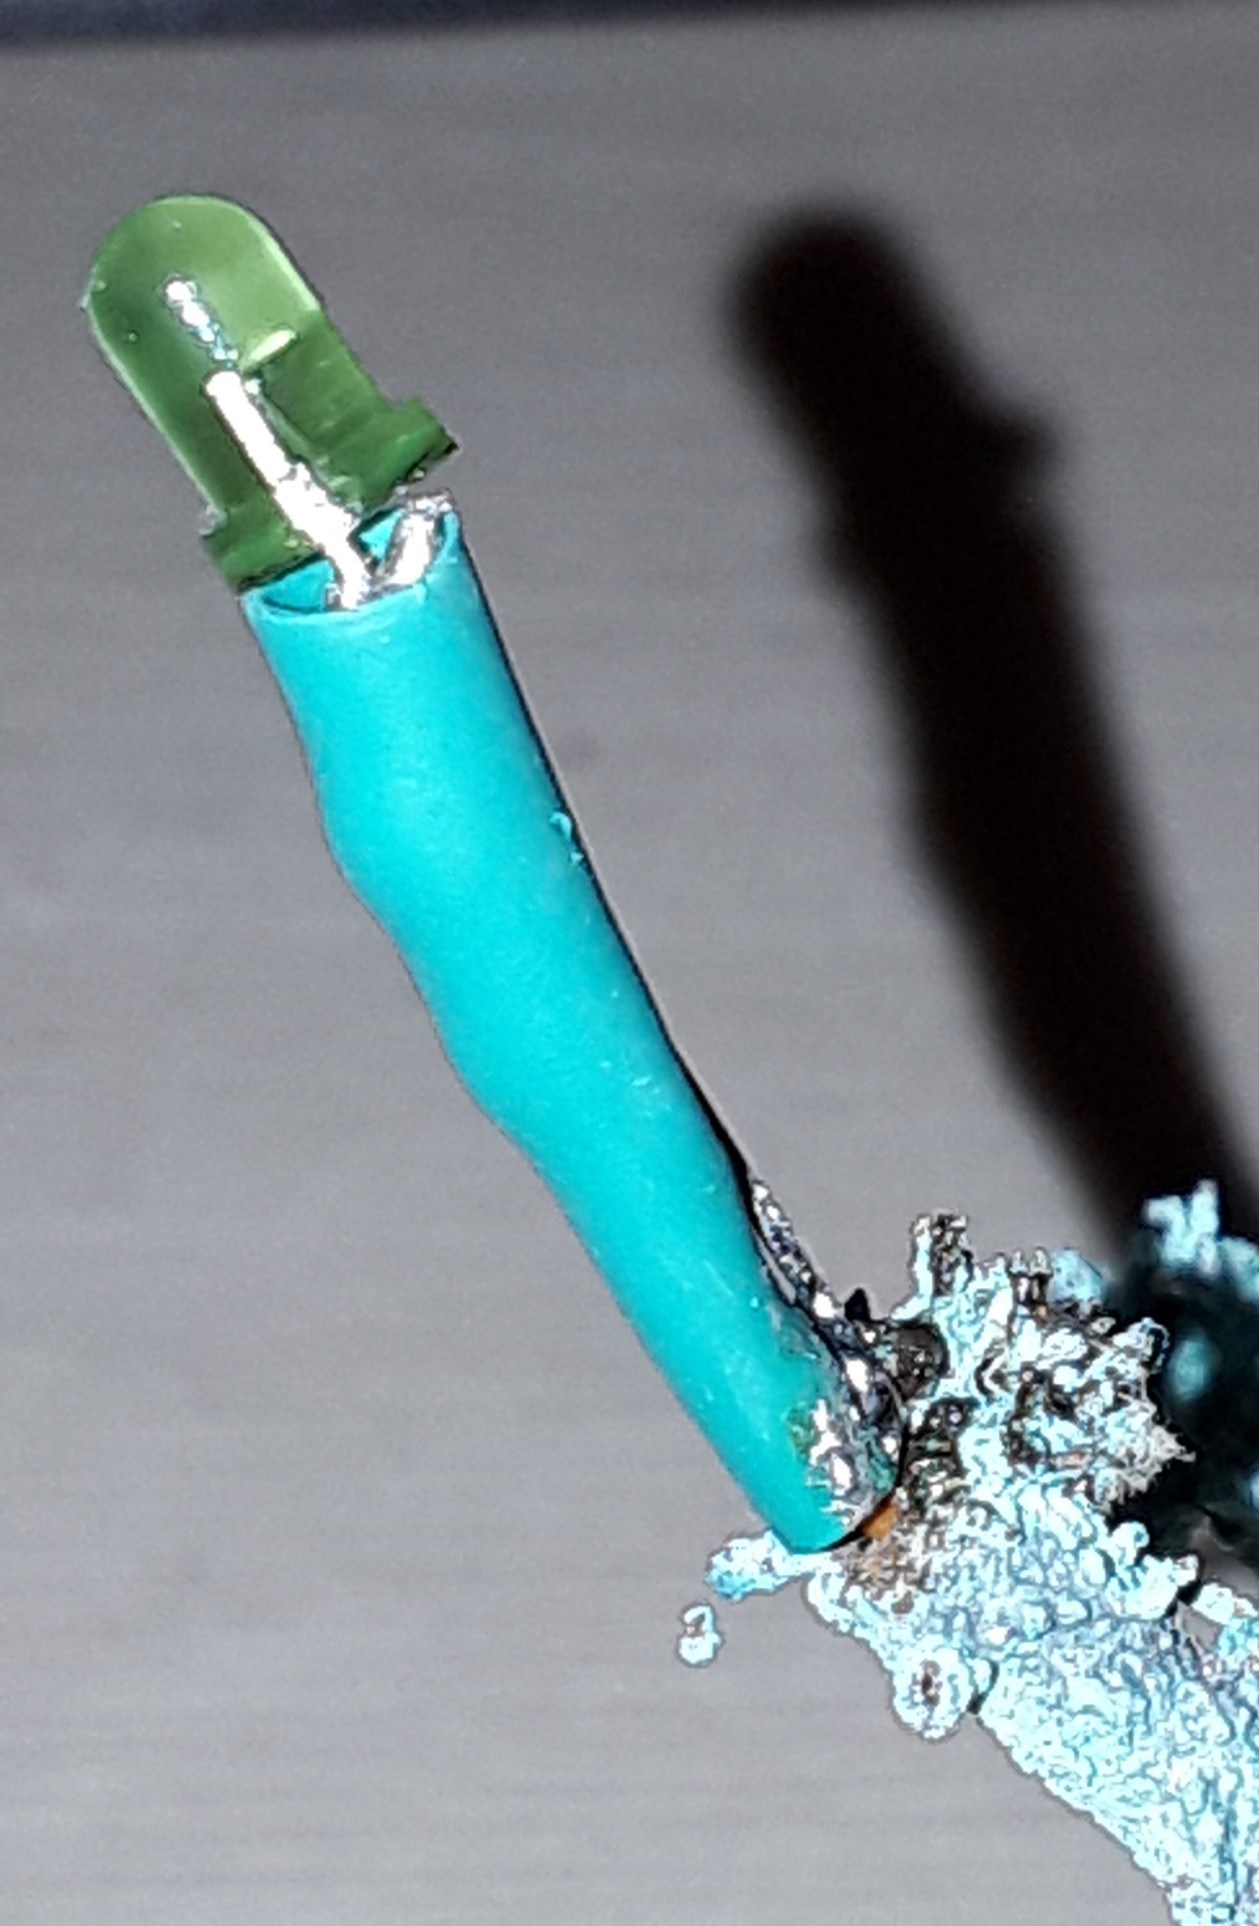
I have the wires rerun, and a contact from the negative leg of the LED going to the oxidized copper. The connection is horrible, the light is blinking, etc. But, I'm pretty sure I can solve all that.
![]()
Look, its ghastly.
But...
I'm back in business.
-
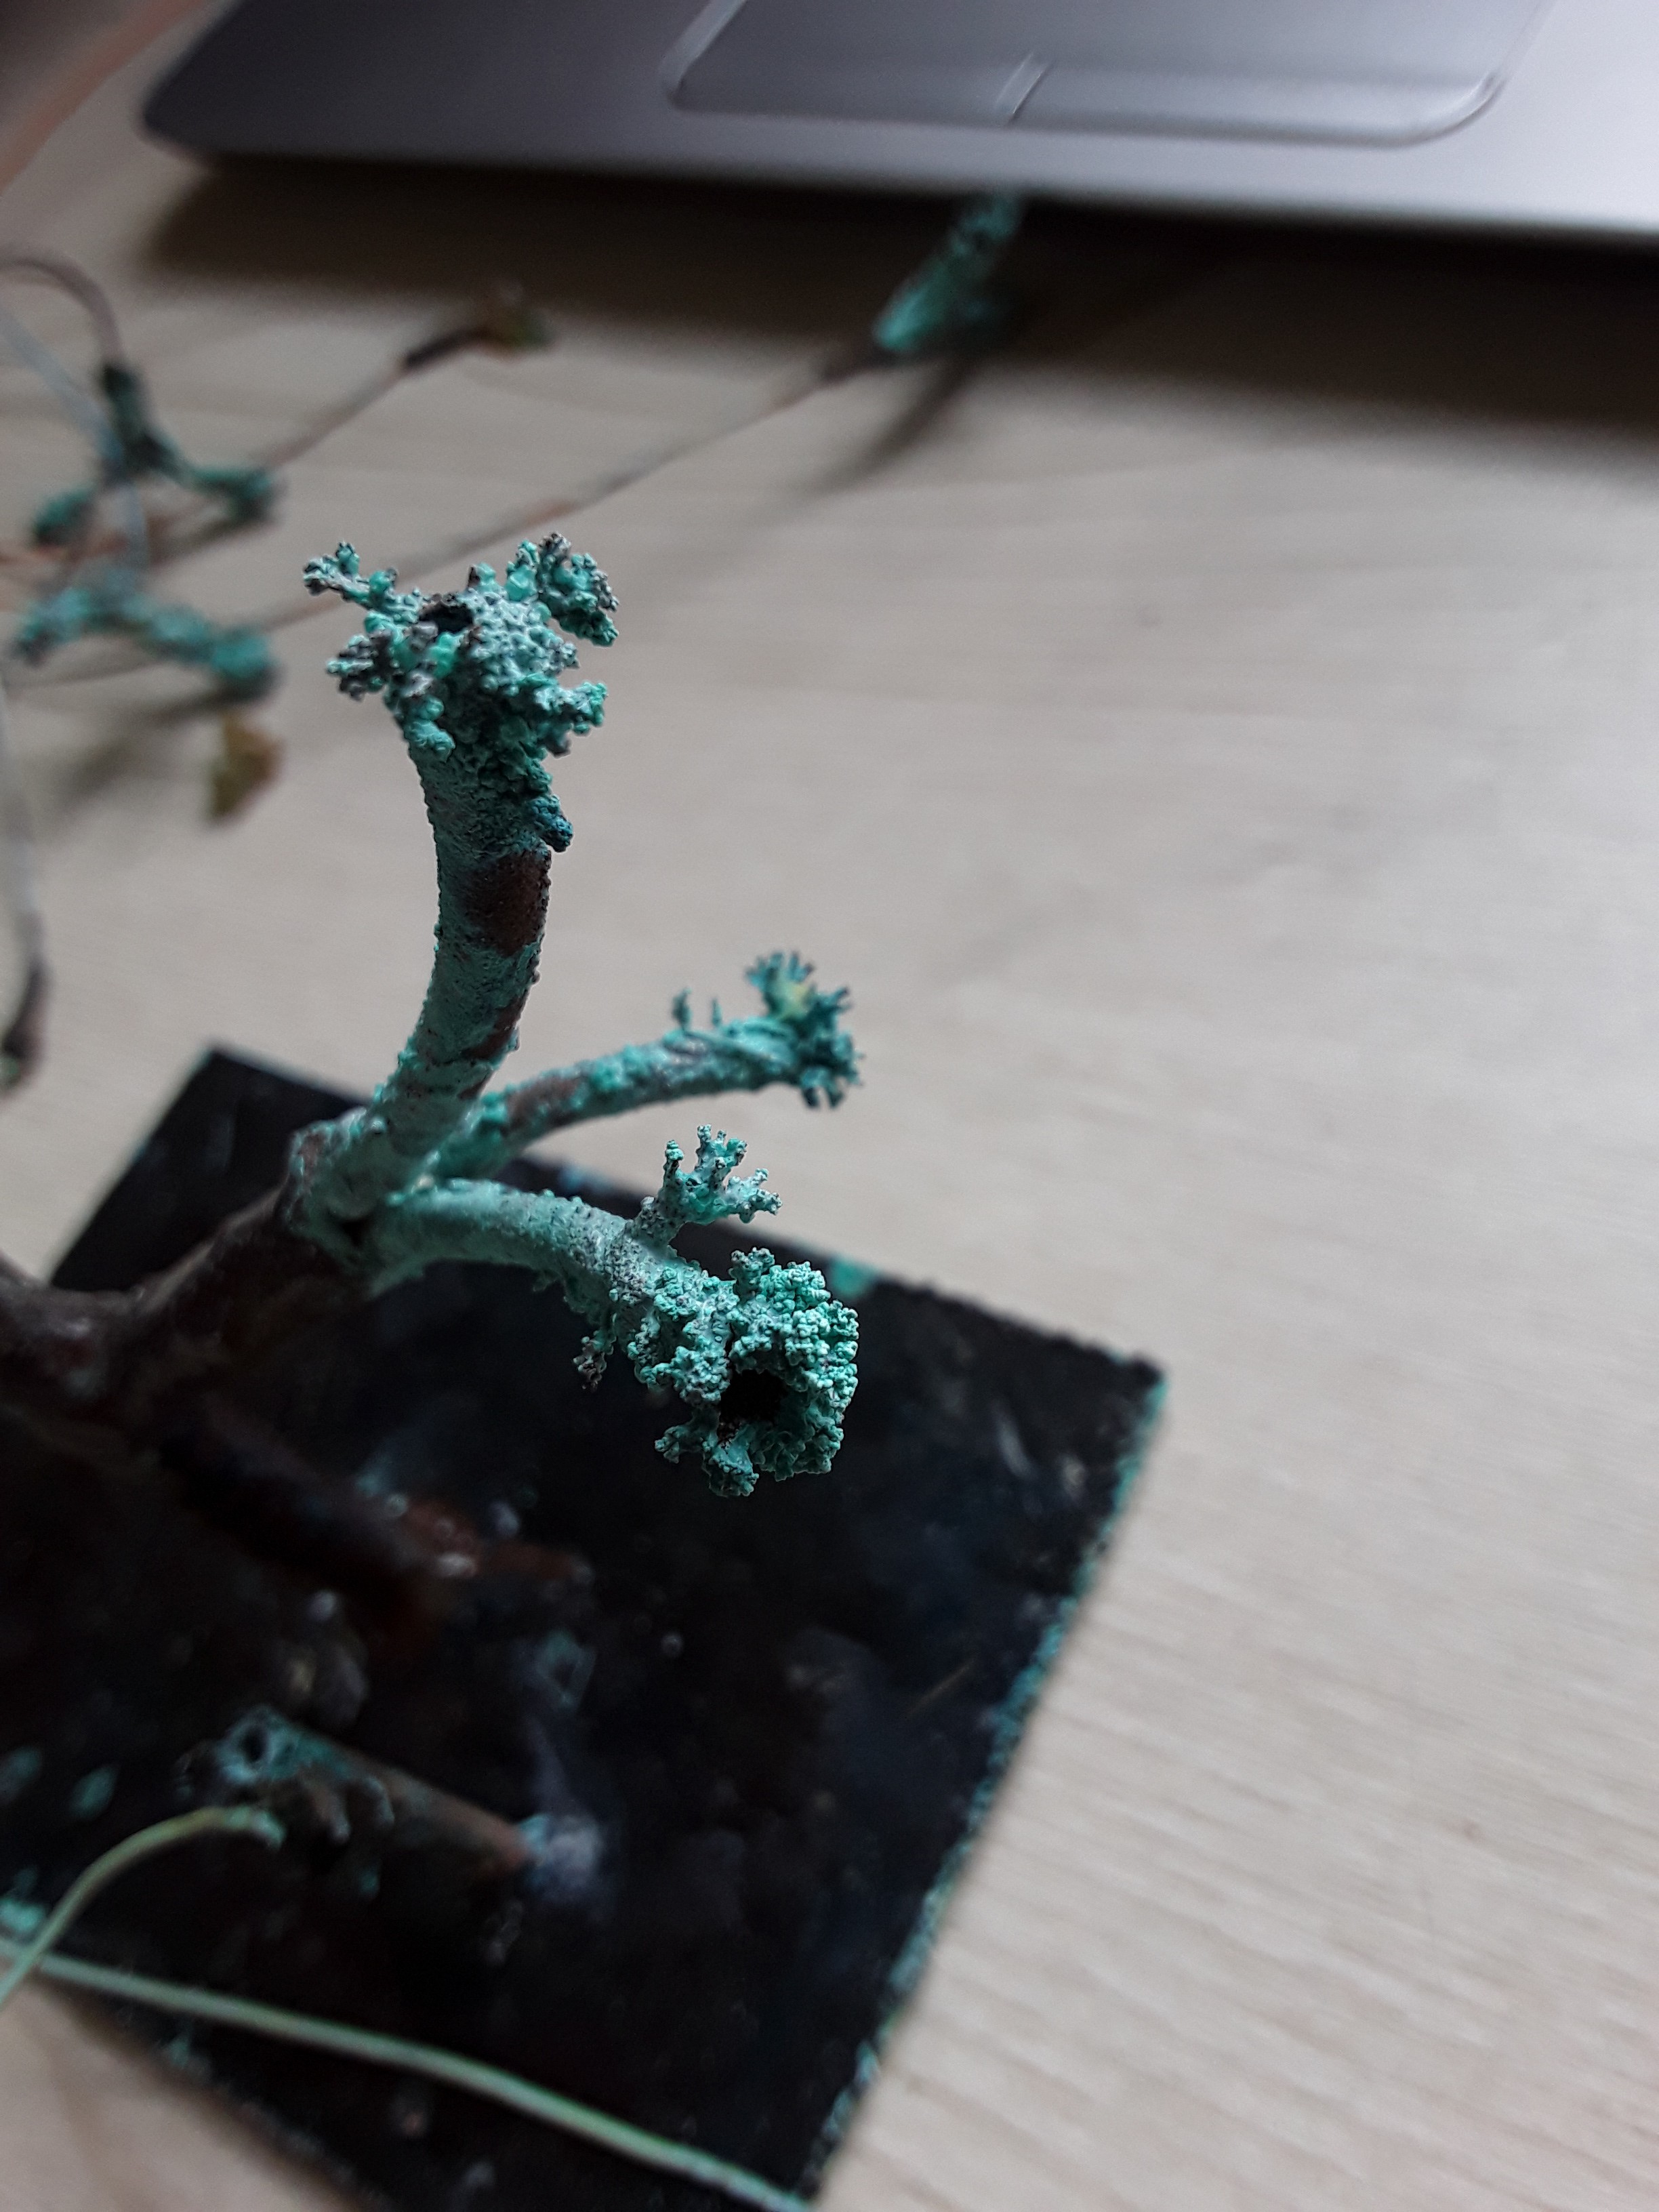
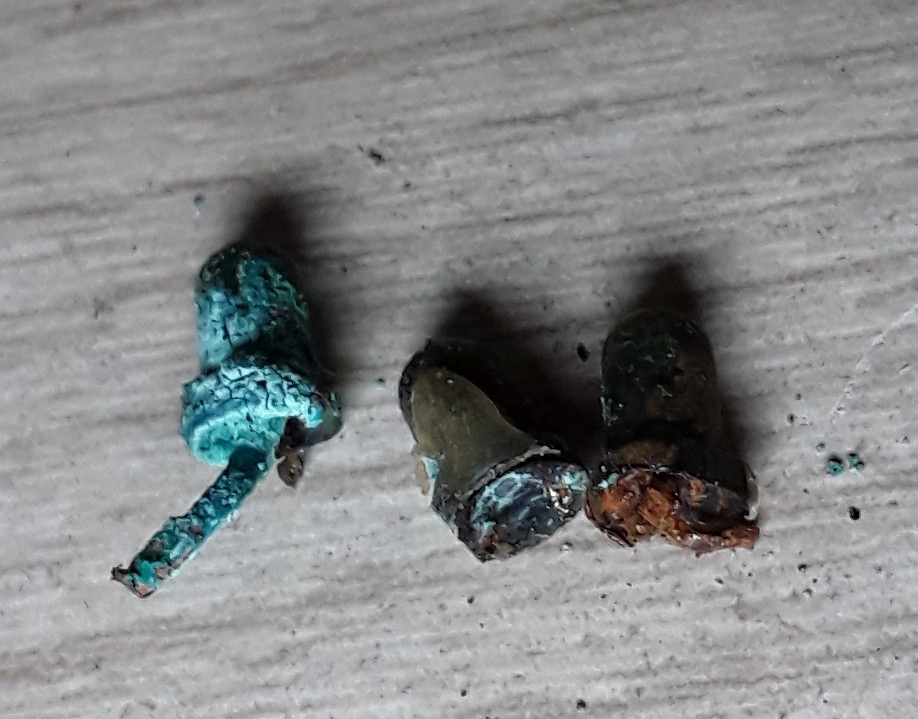
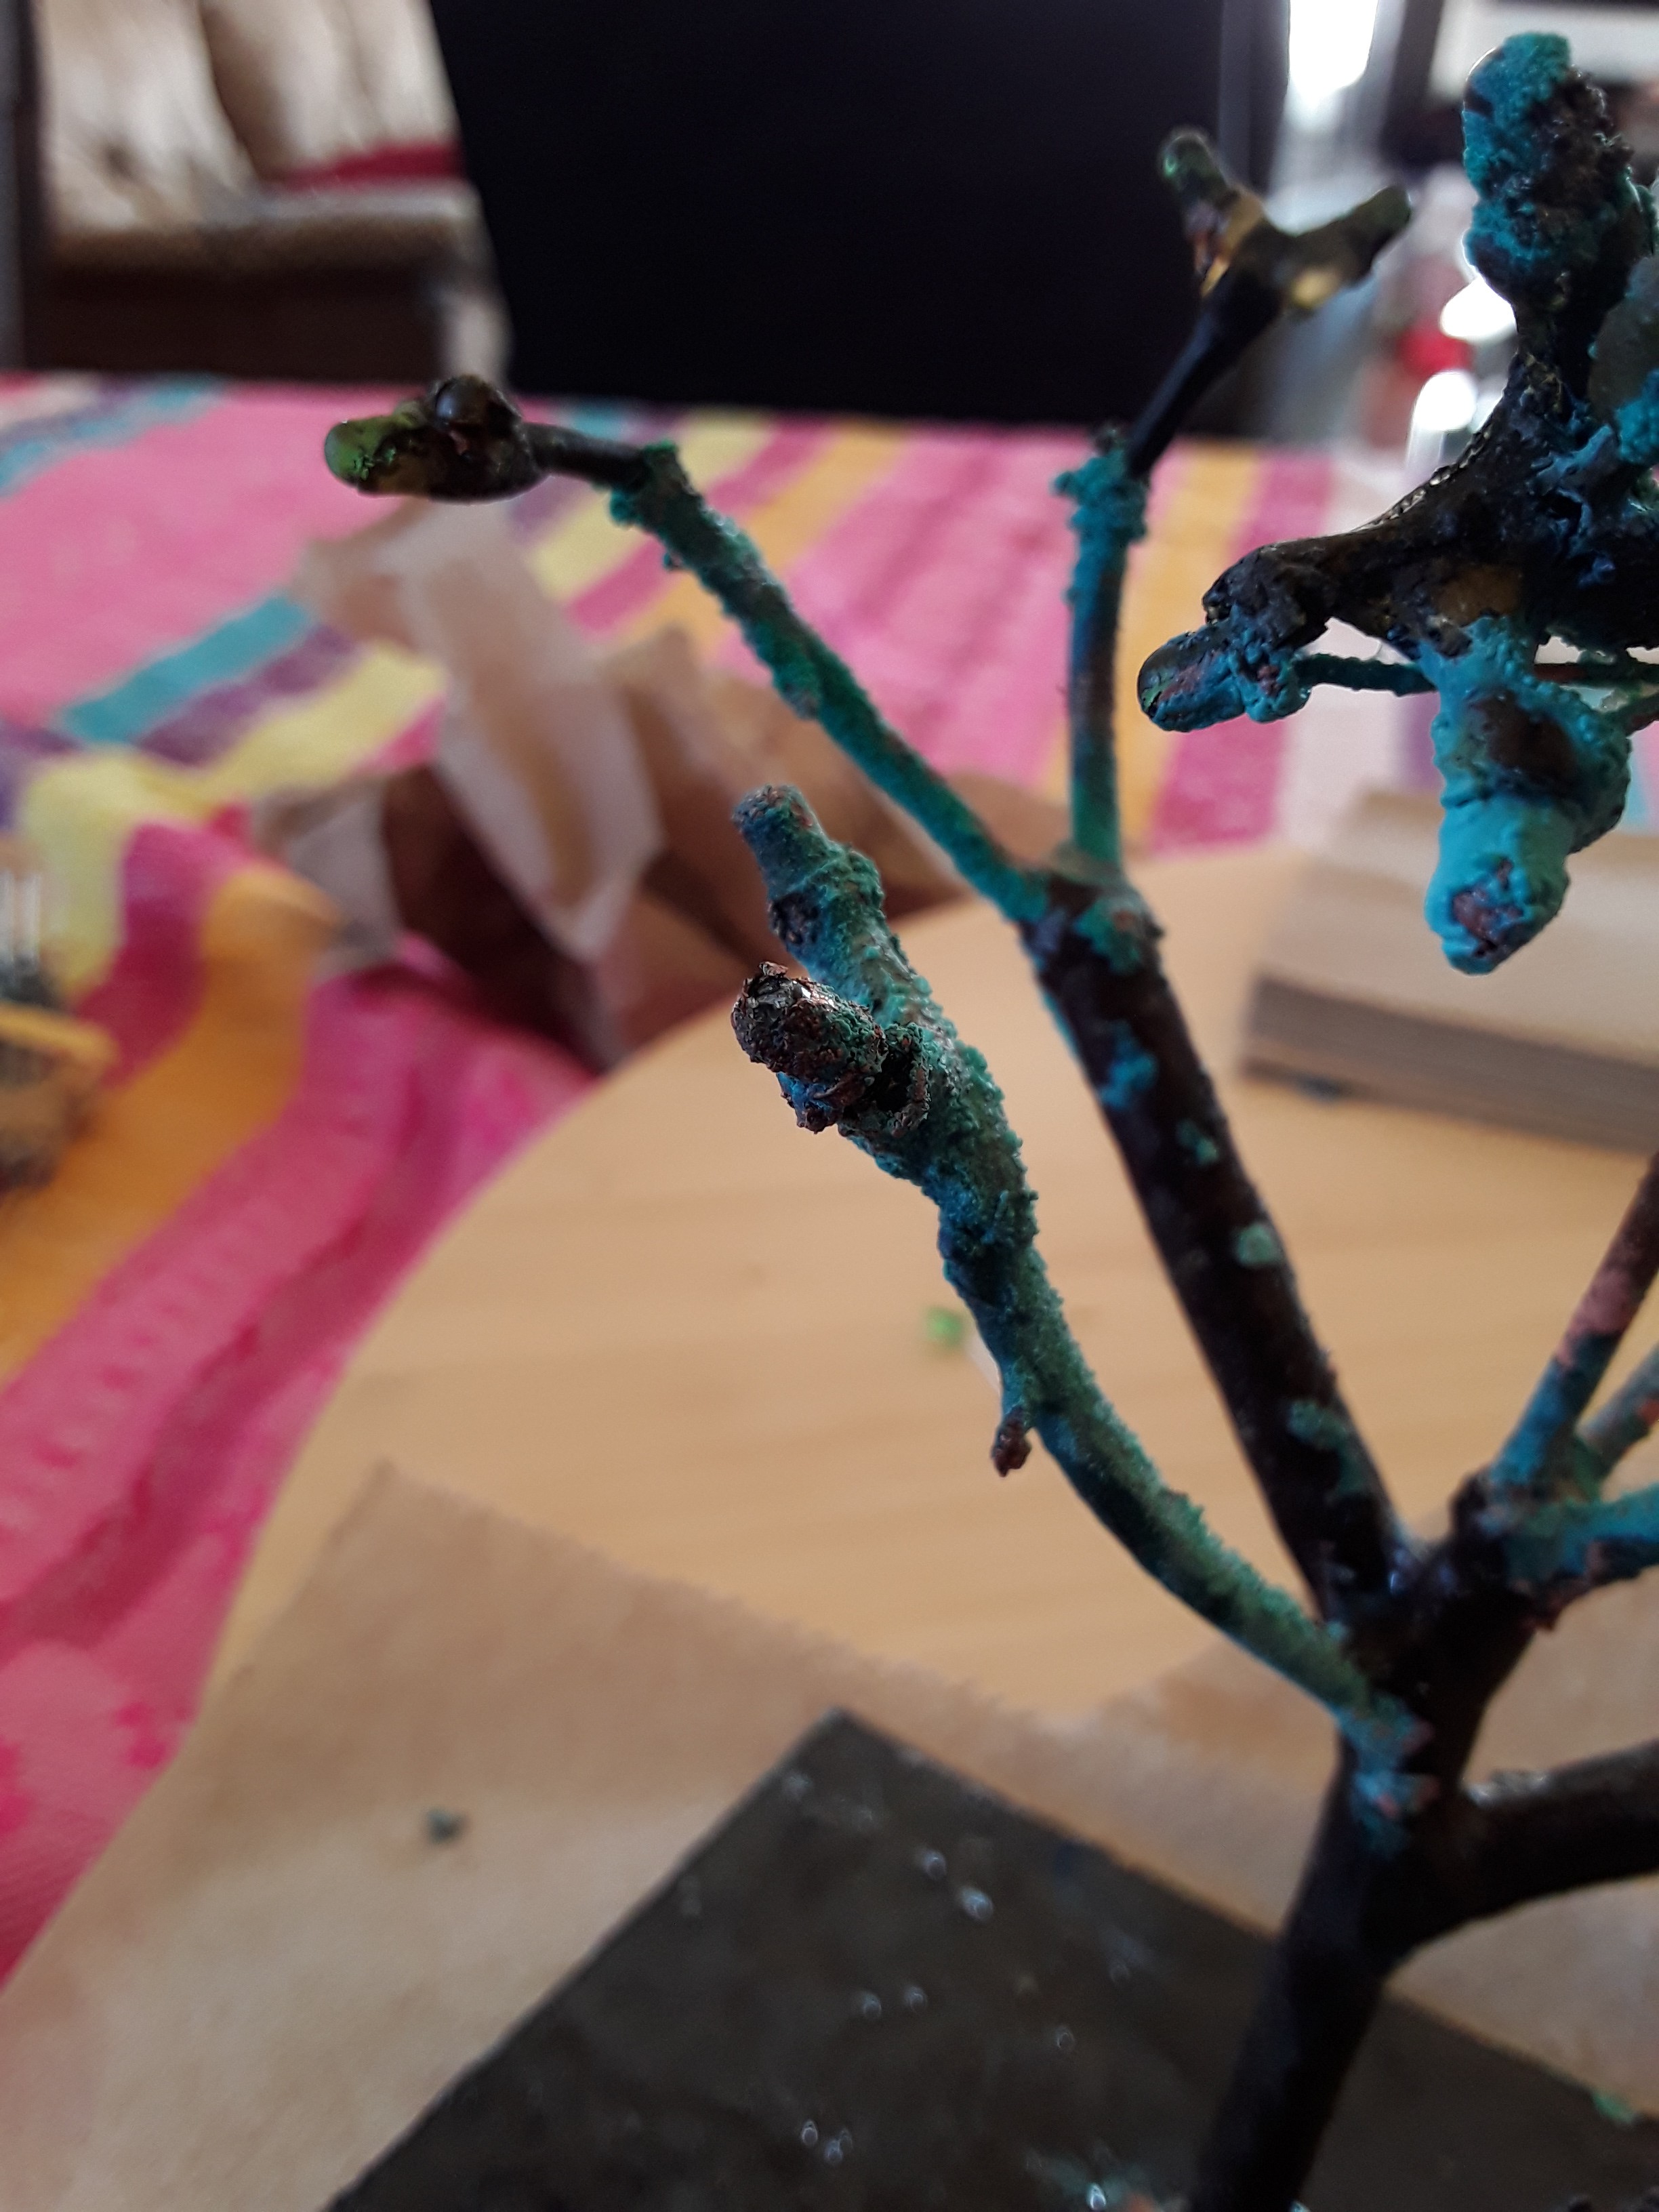
LED postmortem
08/03/2020 at 21:29 • 0 comments![]()
![]()
These LEDs were doomed the moment they were immersed in solution.
Copper plating killed the left one, and iron oxidation killed the right two.
Hot glue, shrink tube, and nail polish couldn't solve this. Maybe epoxy or enamel immersion, but I think the top photo shows a reasonable outcome. Just getting crystals in a flourette around the LED but formed to the size of an led is great.
My next attempt for this will be to make an led with a long wire insulated, sealed and pulled through the branches with a short negative leg either tucked into the tube, or solder bobbed onto the closest copper. Flux is a big risk, so I may do both depending on what kind of action I get to see what happens.
Current state: ready for renewal
![]()
-
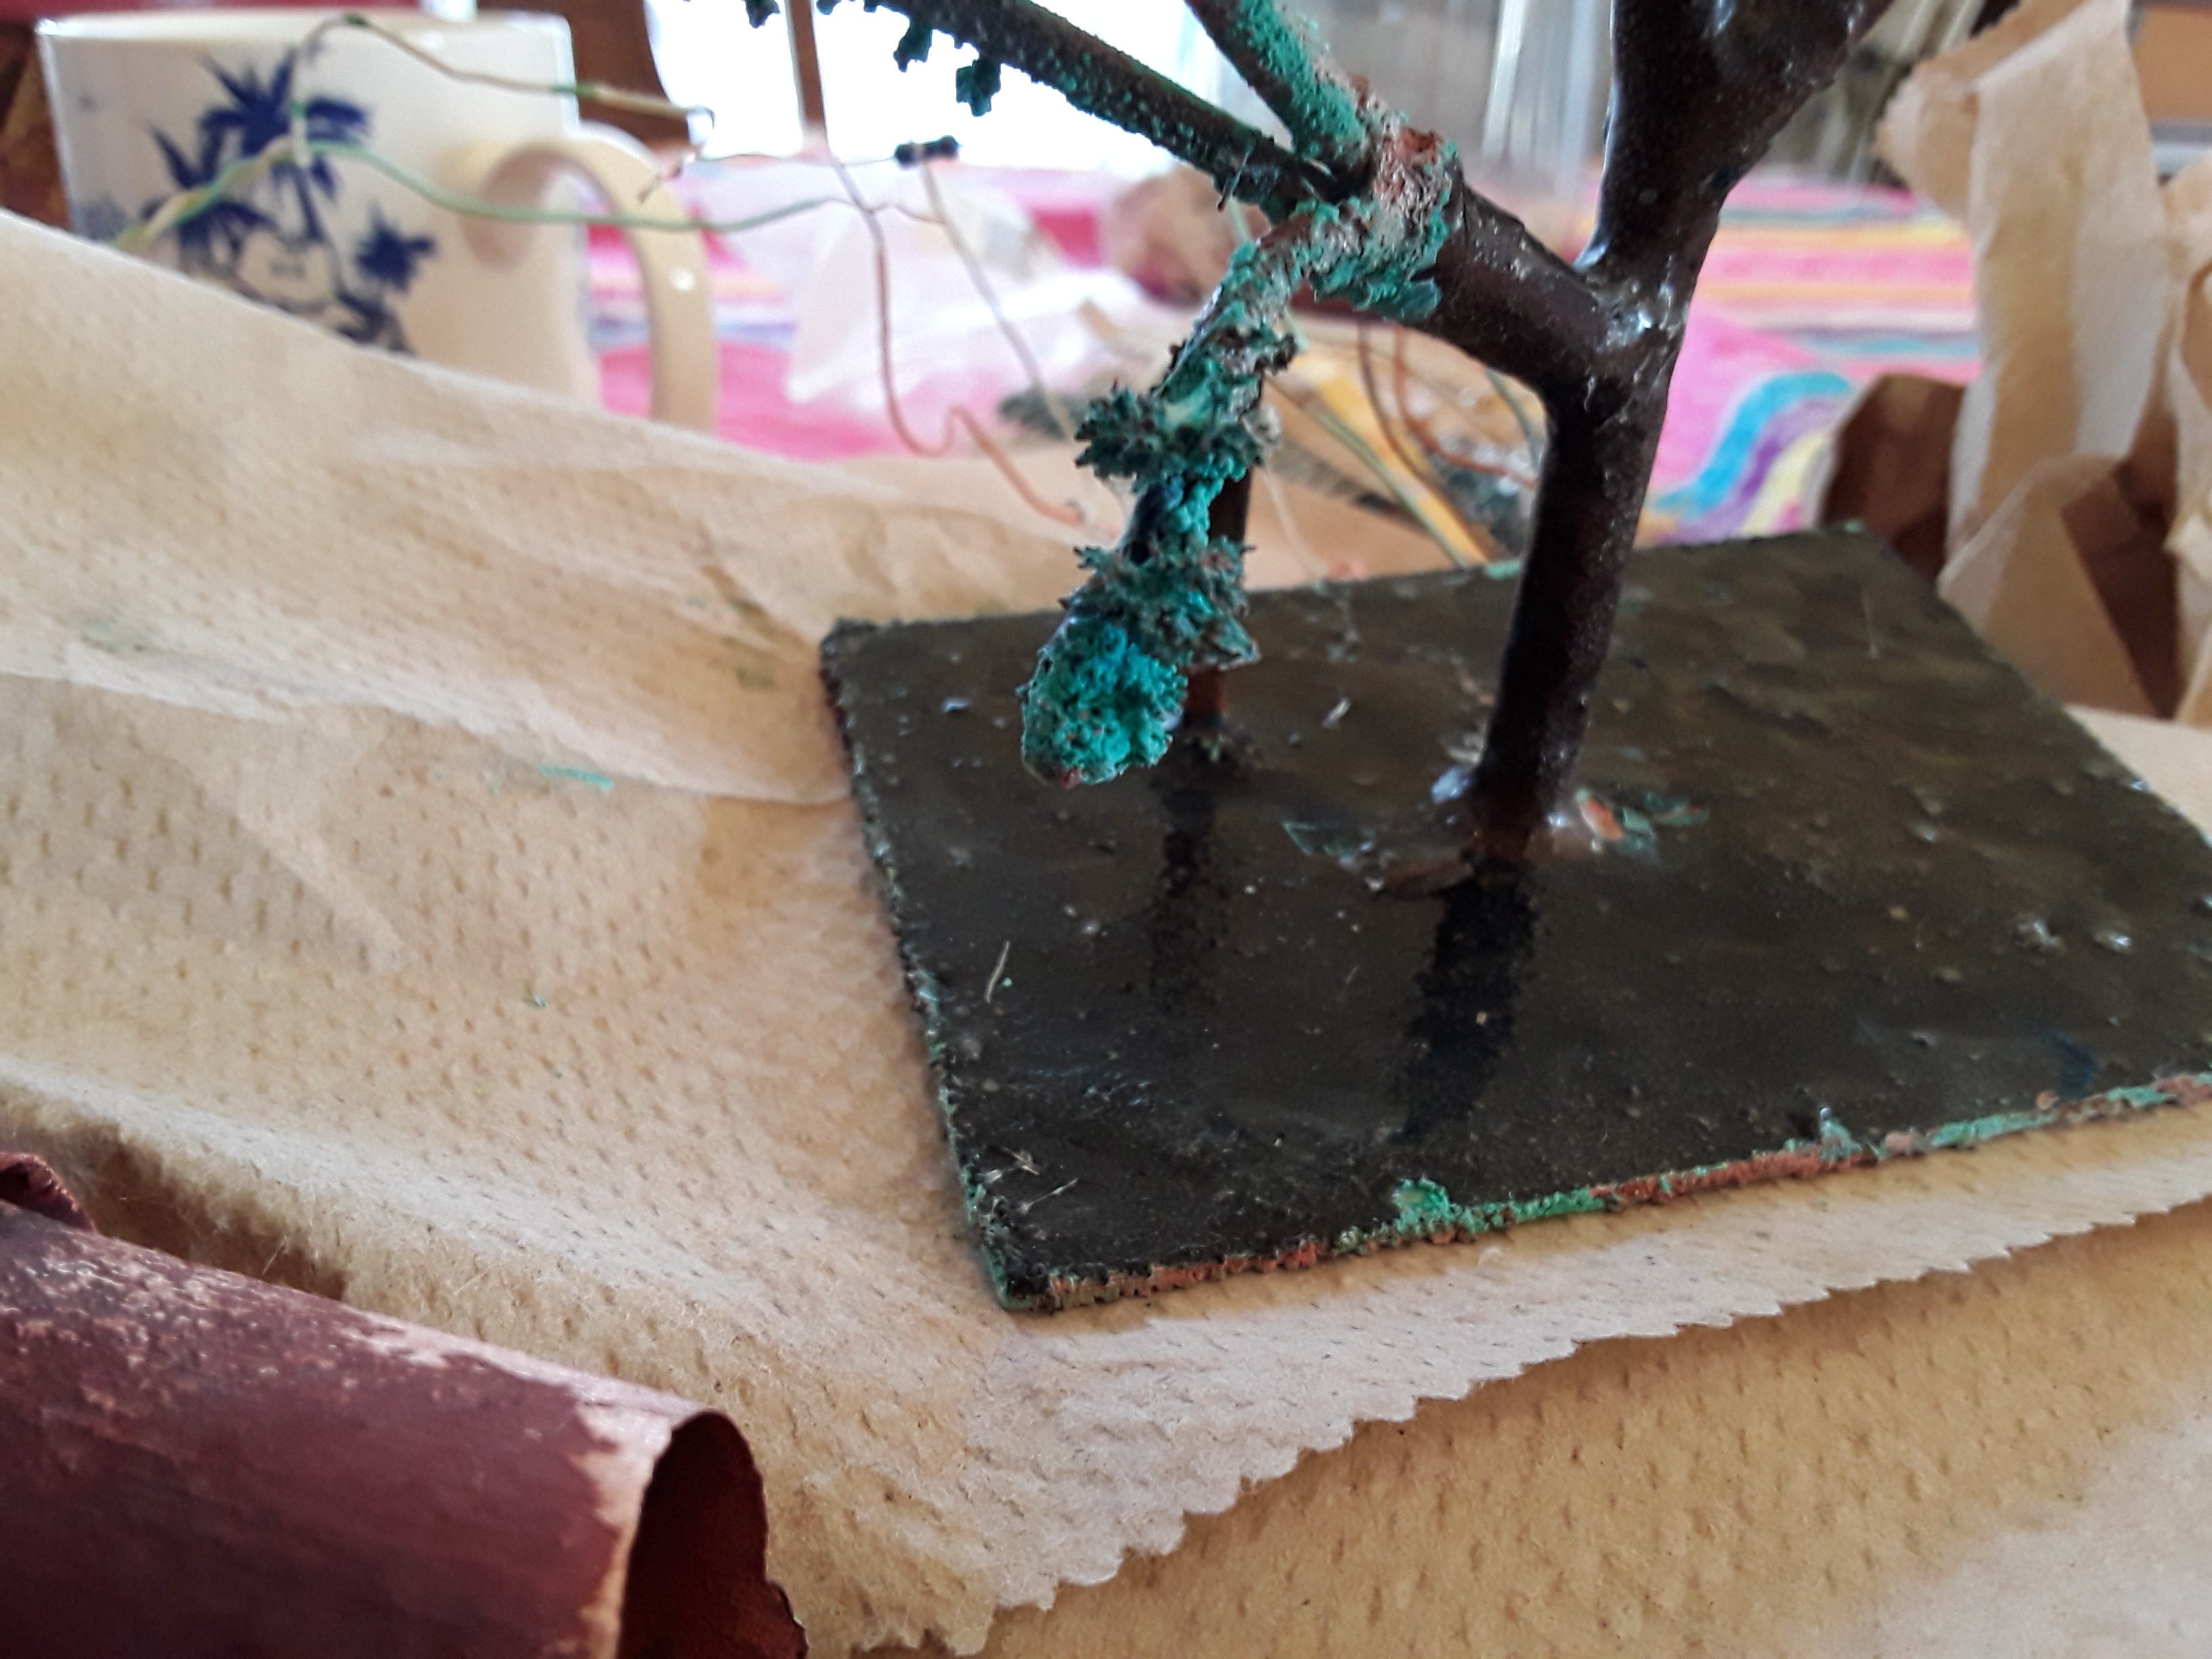
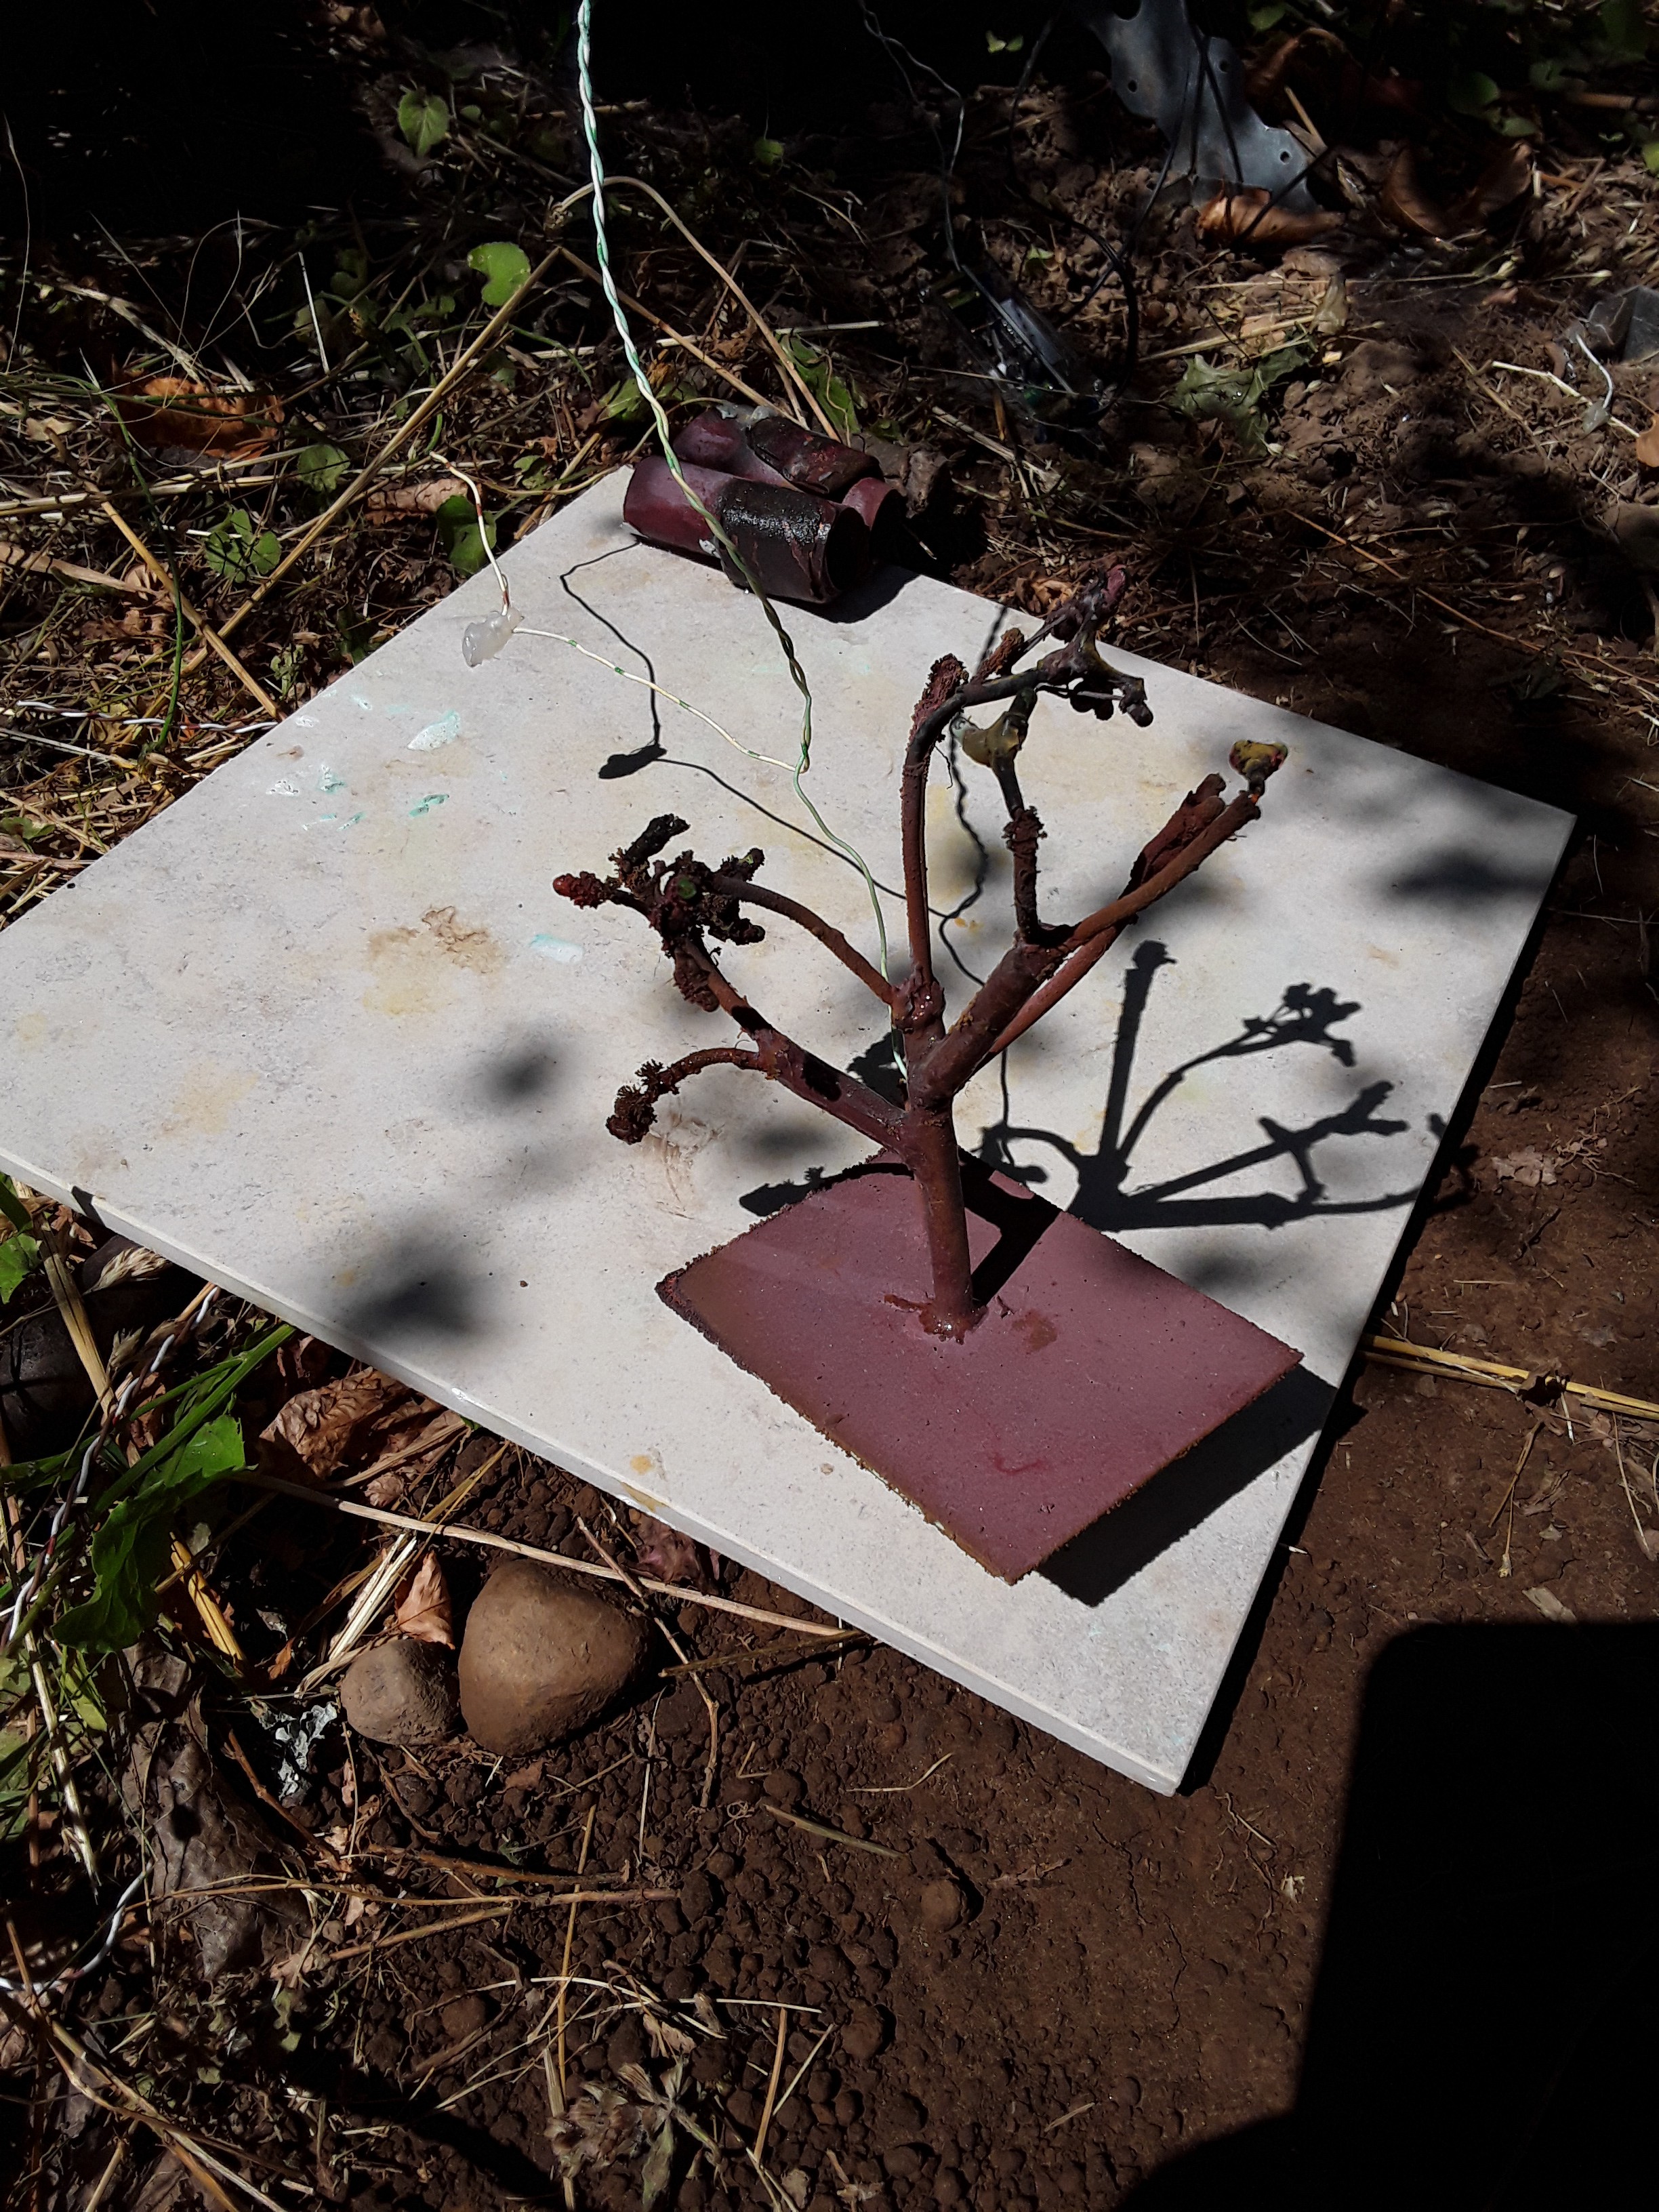
Acetic ascesion
07/30/2020 at 15:01 • 0 commentsGood morning, it's the final day for the contest, woot!
I have some new failure modes to discuss.
Yesterday after work my patina was so dark it was terrible.
So I reconnected it to the buck converter and threw it in the copper sulfate solution with 4 caps full of miralax knockoff.
I got back to a shiny bright copper on the branches and then did a salt and vinegar patina process.
![]()
I'm pretty happy with the results on the branches. It beats the blue on the base plate hands down.
However, I brought it in this morning for a little wiring up for blinkenlight and lo and behold NONE of my lights work
I had envisioned way overdriving it with a pi zero I have on hand, but I can't get current to flow down any of those wires.
Sigh.
![]()
Interestingly, I also have a few bulbs entirely encased in copper which is not translucent.
![]()
So, even if they did light up, we couldn't tell. Current draw gives it away that they are not lighting up though.
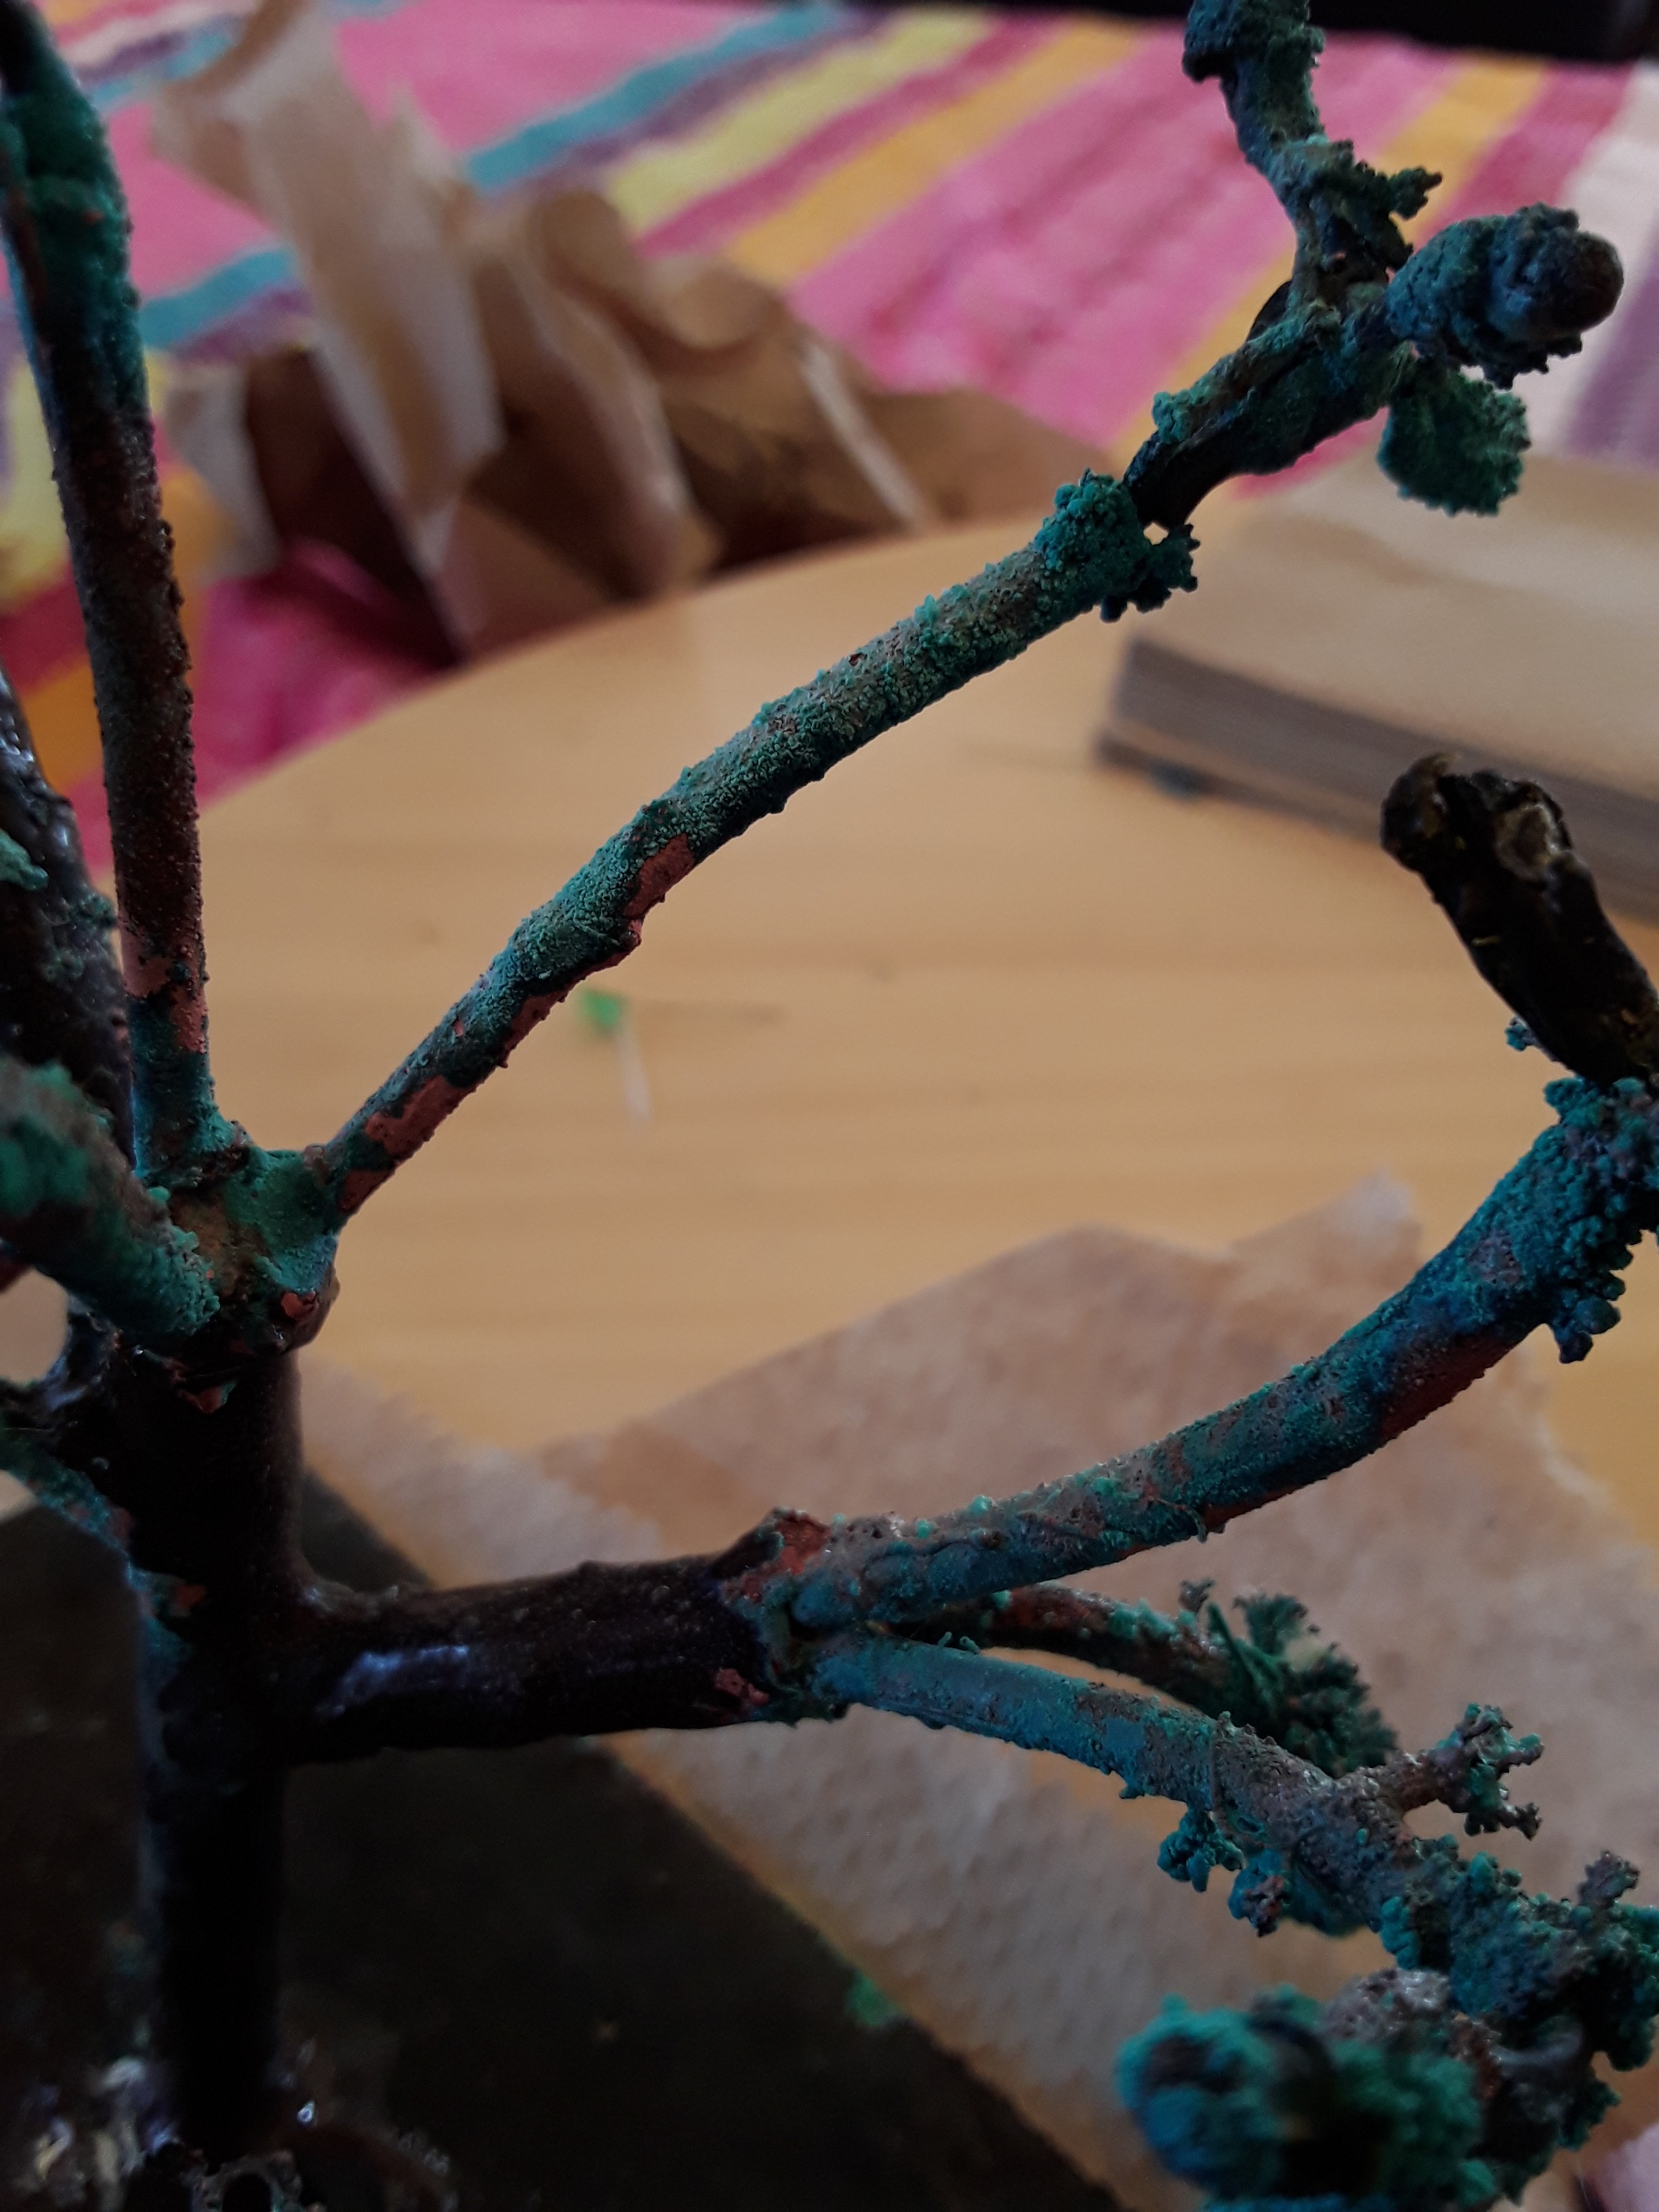
Some great crystal formation:
![]()
I really like the patina I got on these branches:
![]()
Perhaps I should move the goalpost of having a working circuit and rename this entry sculpture success-o-rama.
-
Patina patent fail
07/30/2020 at 01:58 • 0 comments![]()
what will it look like?
![]()
Dang, you ugly. Take a bath.
![]()
No good. Maybe if it air dries for a bit...
![]()
Blue is ok, right? Yes, but not for a tree.
Sigh.
I may have enough time to seal the base and plate the top and try again for green.
Cutting it close... to close.
-
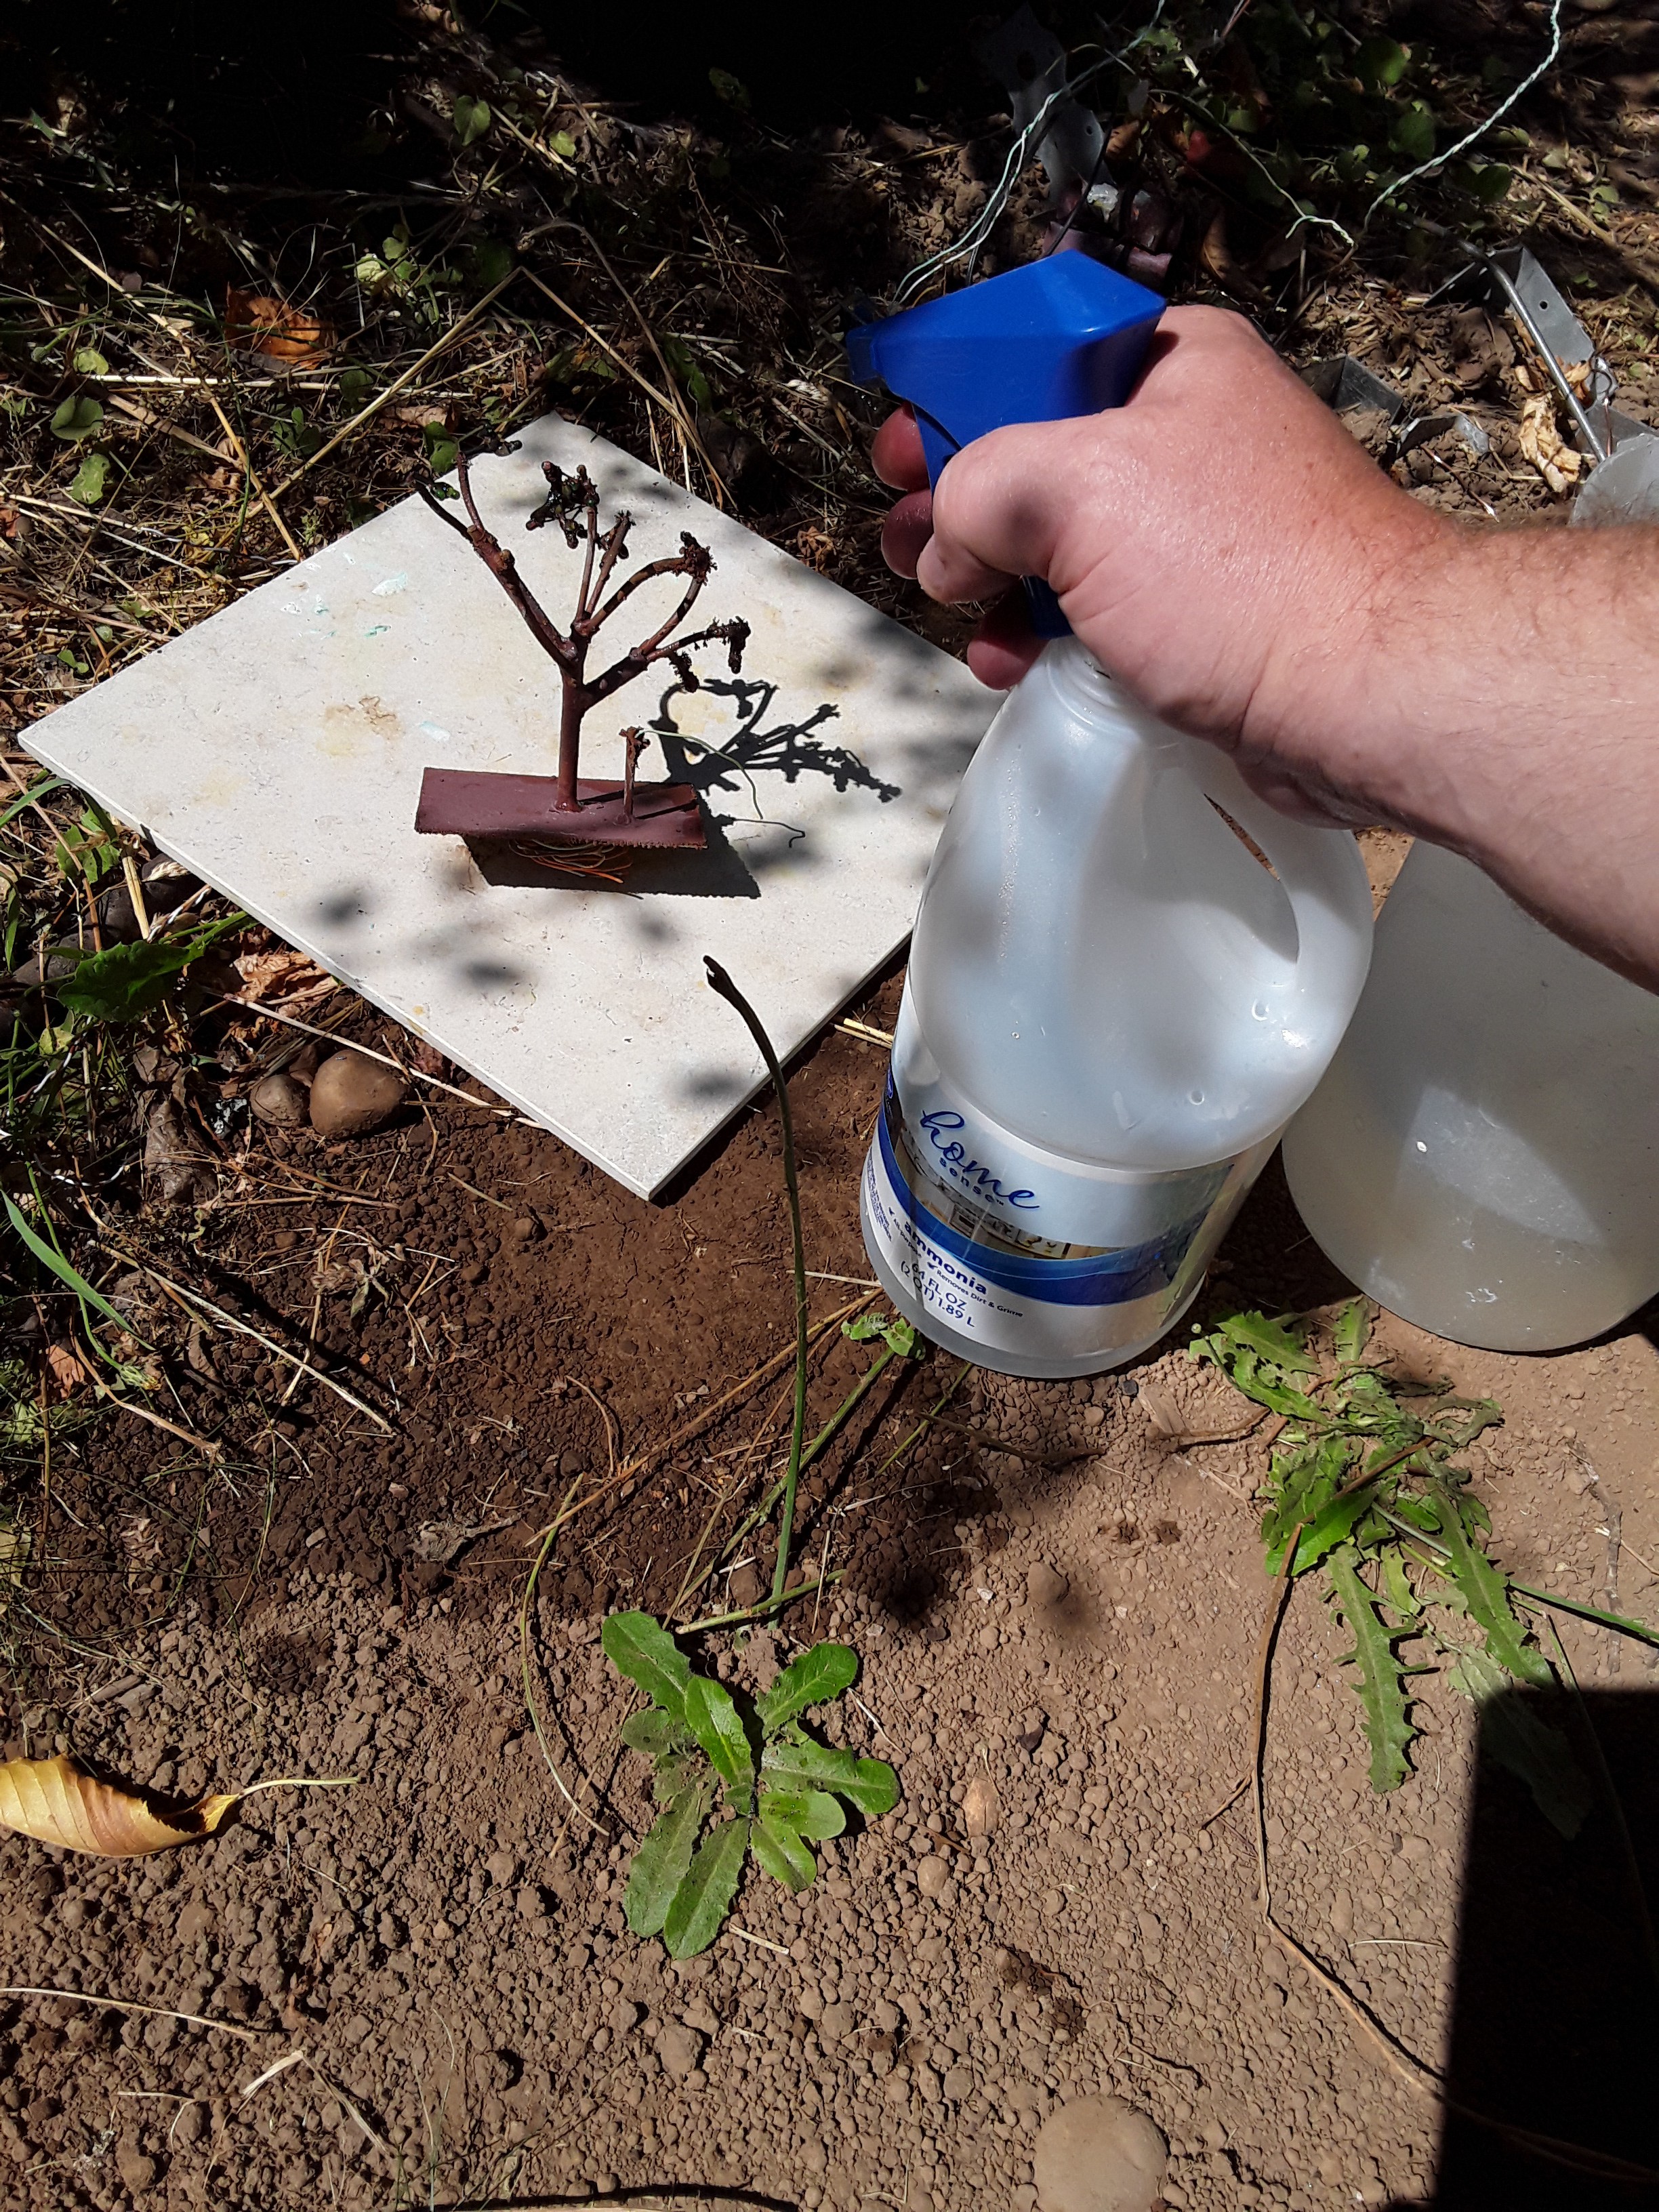
Patina panic
07/28/2020 at 19:43 • 0 commentsso, I just noticed the deadline was not on the weekend, so i had best make some progress.
This is what I've got
![]()
The bright patina from last post has gone, and I'm back to the dark look again.
April Wilkerson's YouTube video looks like a good solution:
Instead of seeding my salt with grains I went with a super salt brine of dubious proportions and just dipped the top in the salt brine and let it dry, then dipped it again.
I then sprayed the whole tree and base with household ammonia using a spray head from a carpet cleaner spray bottle (I rinsed it).
![]()
Hopefully I will get 2 different copper patinas from this method.
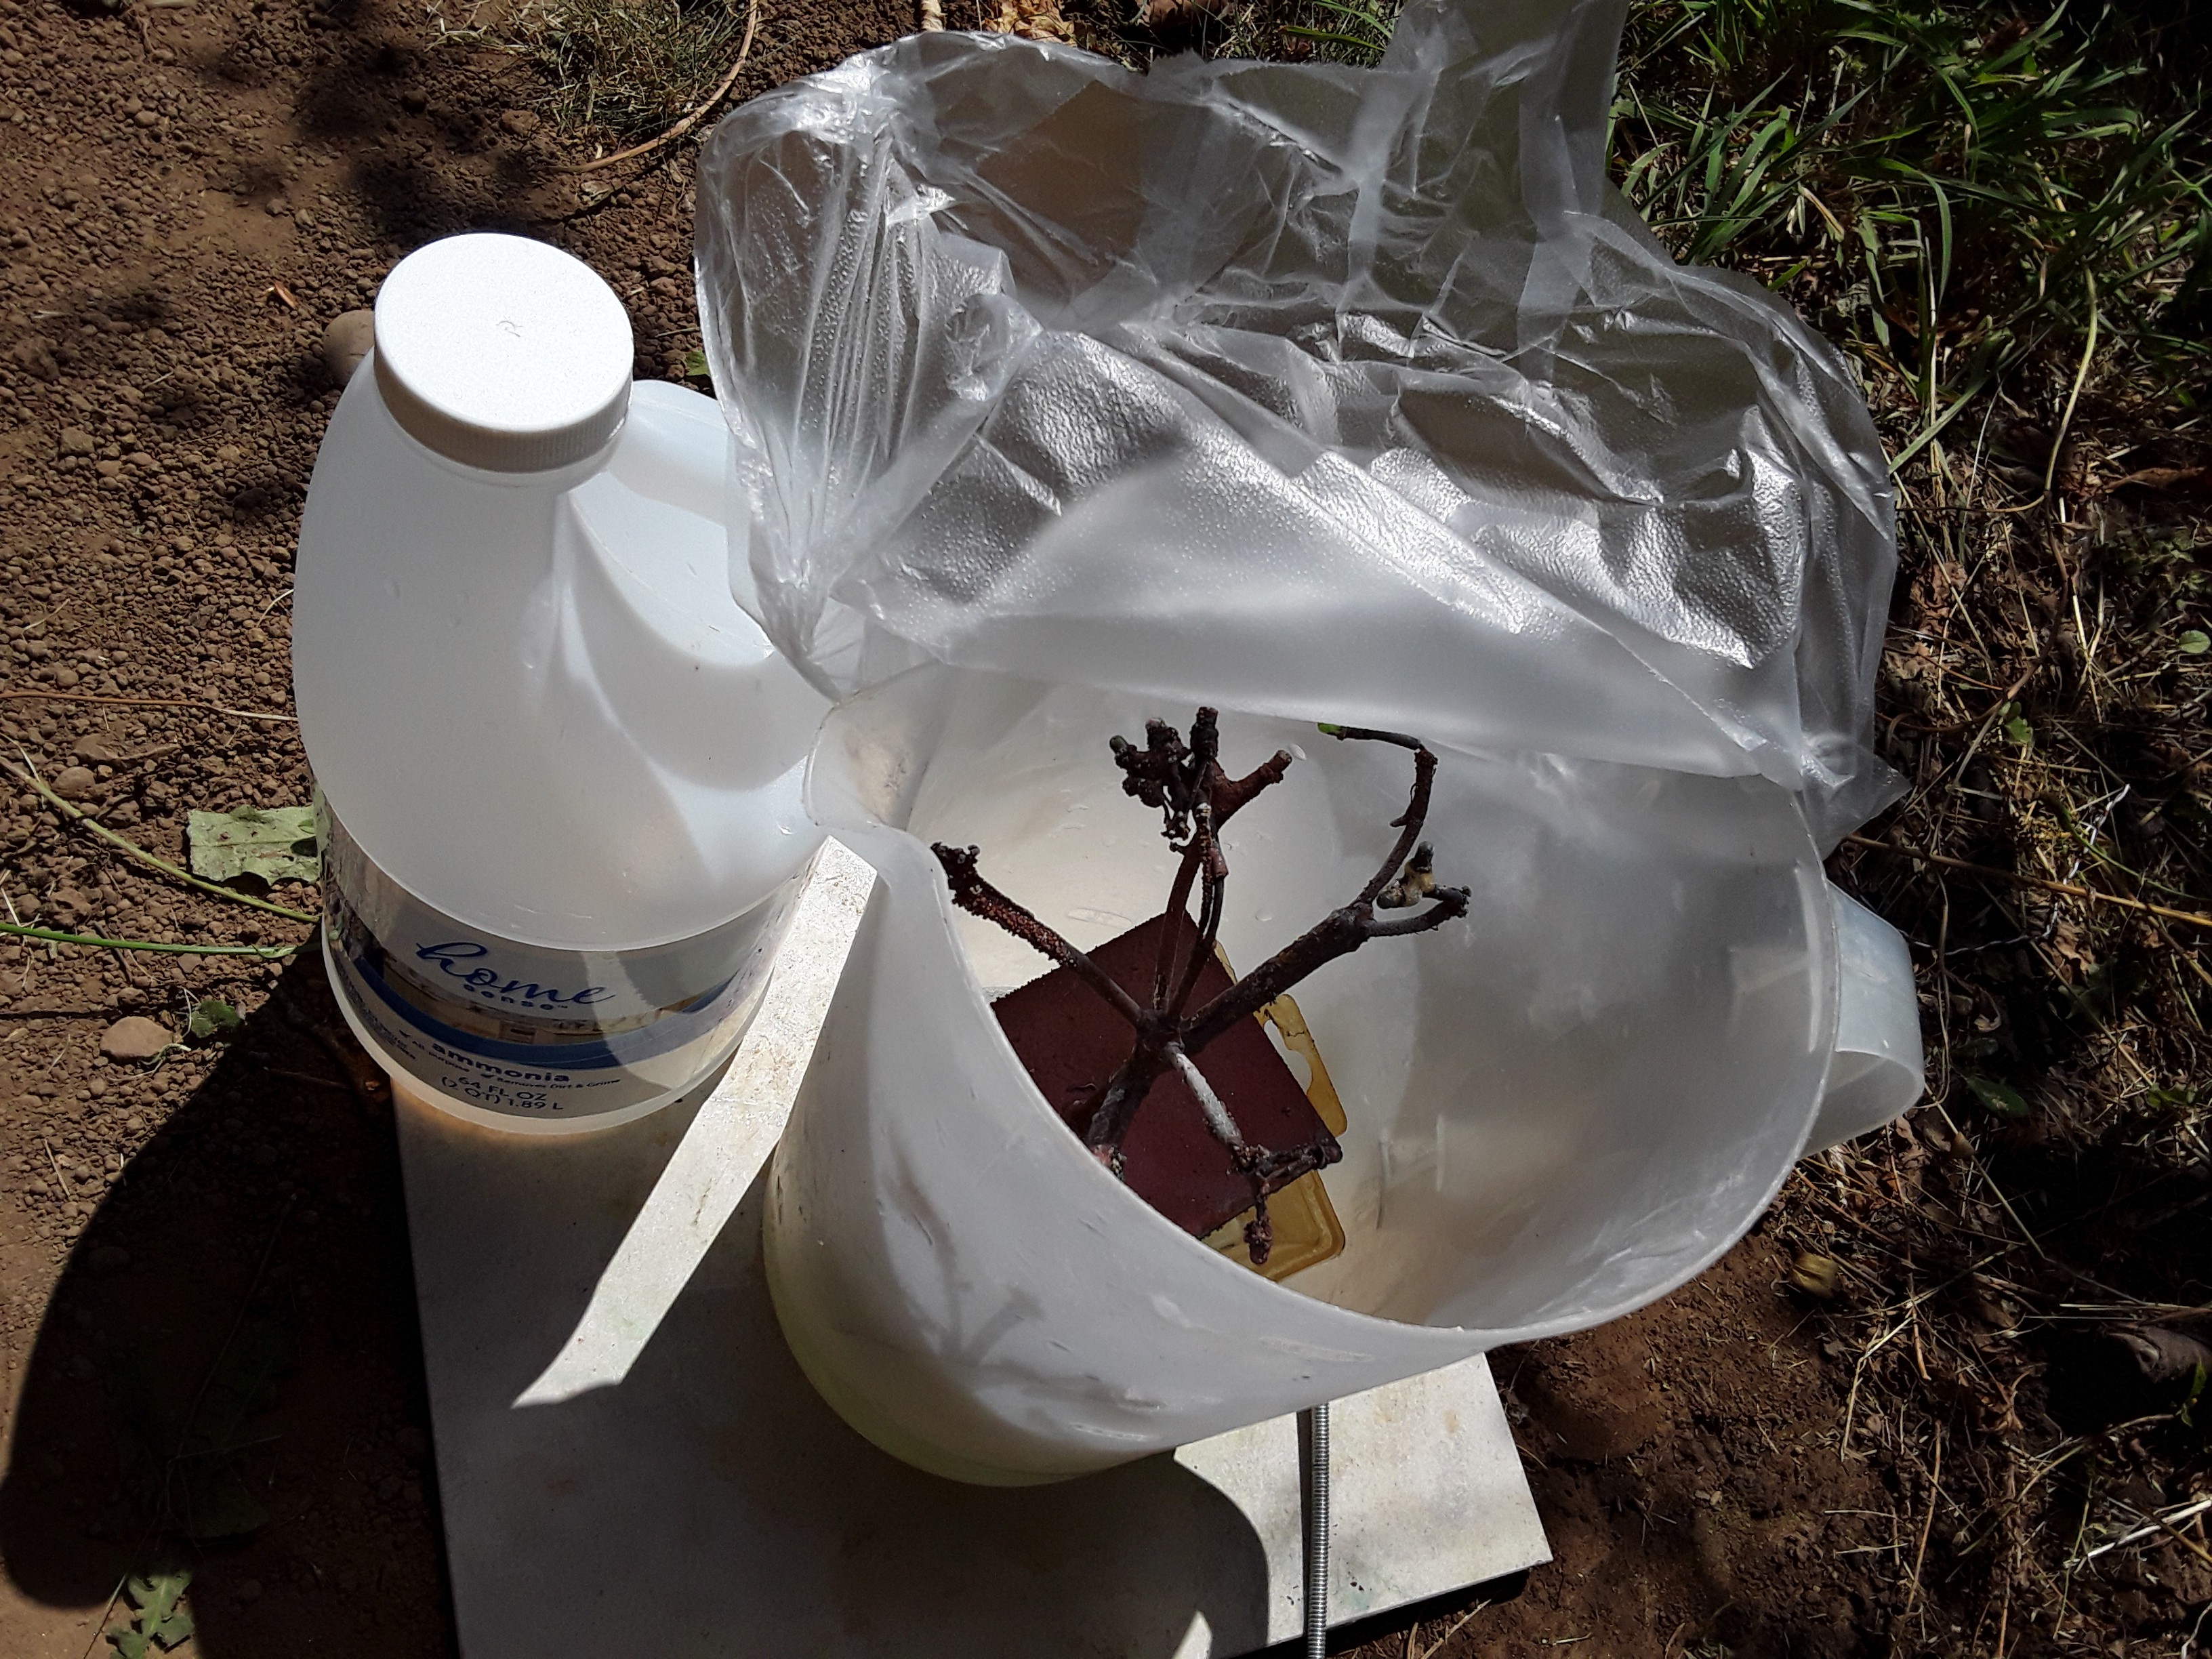
Then it dawned on me, just spraying the ammonia on there would expose the salt and copper to ammonia for a couple minutes if I was lucky.
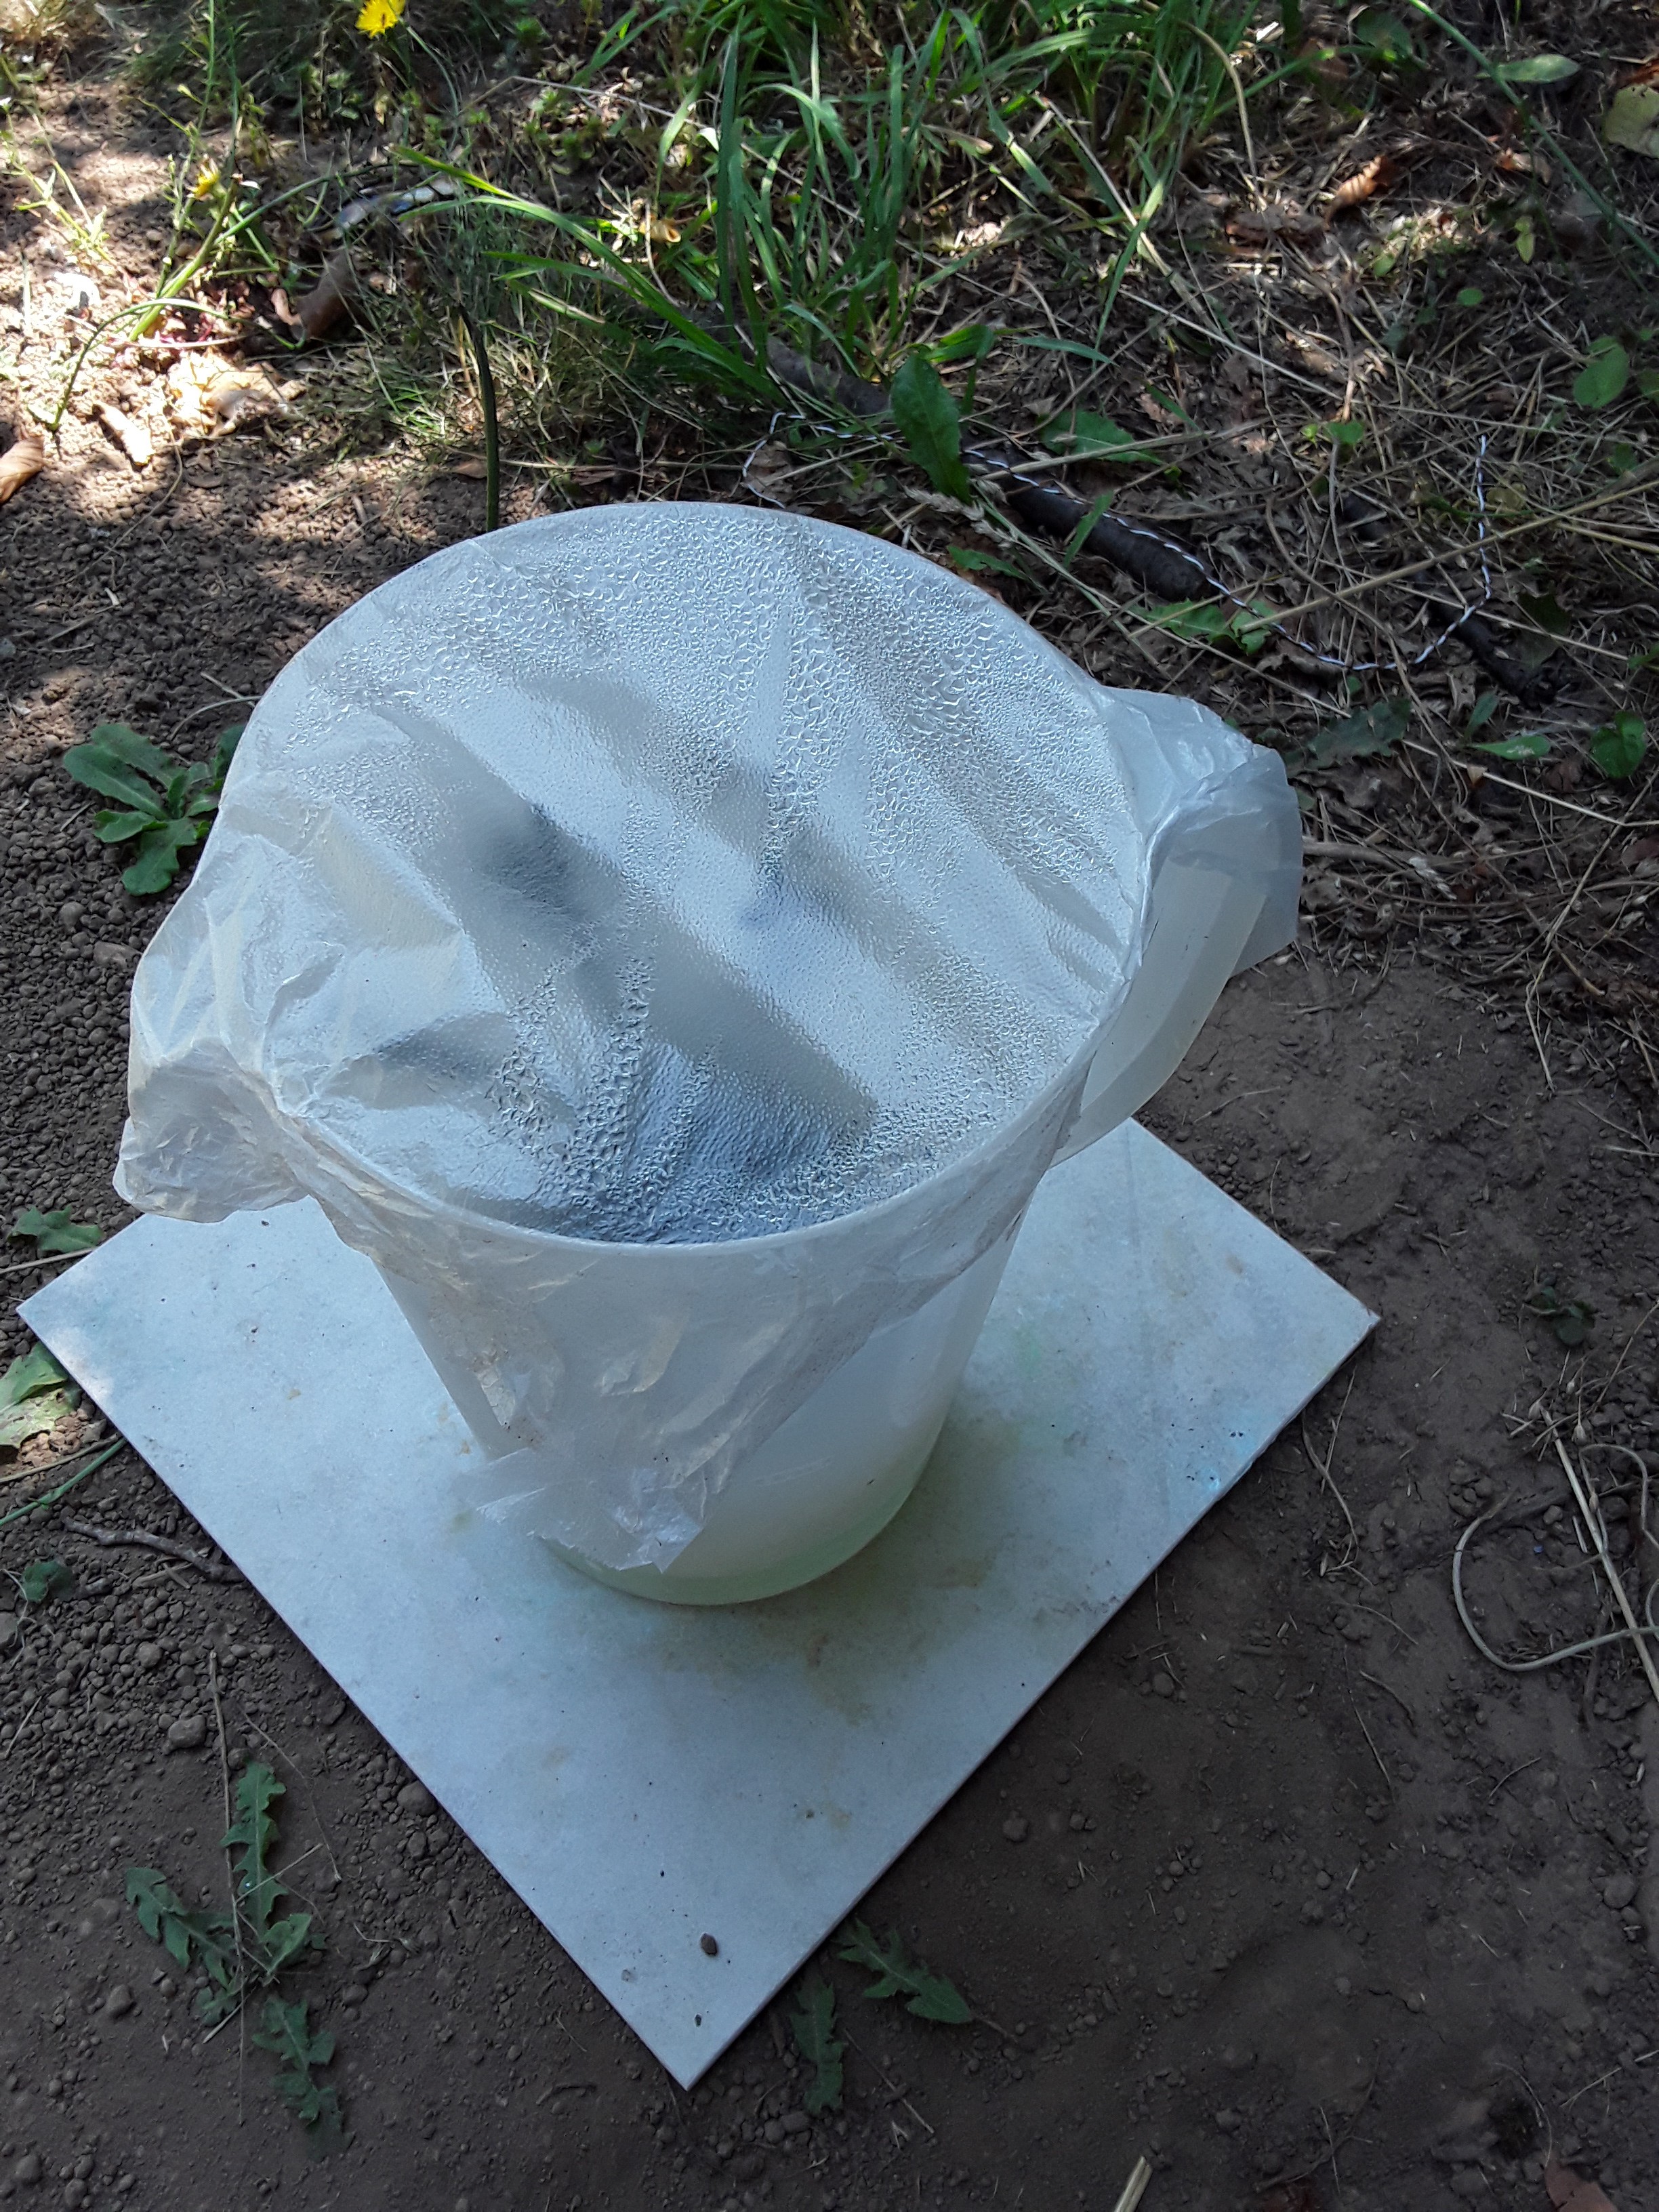
Dang, so I dumped the brine out of the pitcher and threw in the plastic box i used to elevate the tree in the copper sulfate solution, put the tree on top and put in a couple glugs of ammonia, avoiding splashing the tree. The ammonia should hop out of the water and fill the top of the pitcher with ammonia that will stick around.
Oh right, covering it...
Aluminum foil is an easy but wrong answer. I don't have the plastic wrap and rubber band option that is clearly superior. I went with press and seal plastic wrap.
I also put the pitcher under a bright light with moderate predictable temperature profile:
![]()
The plastic should elevate the temperature some having the effect of increasing the interactions with the copper.
Also, quicken loans is telling me to do situps I think.
![]()
If you zoom in may will see the ammonia in the pitcher shows blue because I failed to rinse the plastic box when i removed it from the copper sulfate and put it in the pitcher.
Will check back later.
-
Covert failure
07/23/2020 at 04:05 • 0 comments![]()
Well, after coating the trunk (mostly - I failed at that too) I poured some vinegar on the board to see if I could make it soft and tender, well, maybe oxidize a cool green. That didn't work.
So I tossed it back in solution after fixing the leads and re covering them with glue. I dialed the voltage down to 2v to over-compensate for the lost surface area from painting the trunk.
I think after the fresh coat of copper I can unhook the power and it should green up like last week.
-
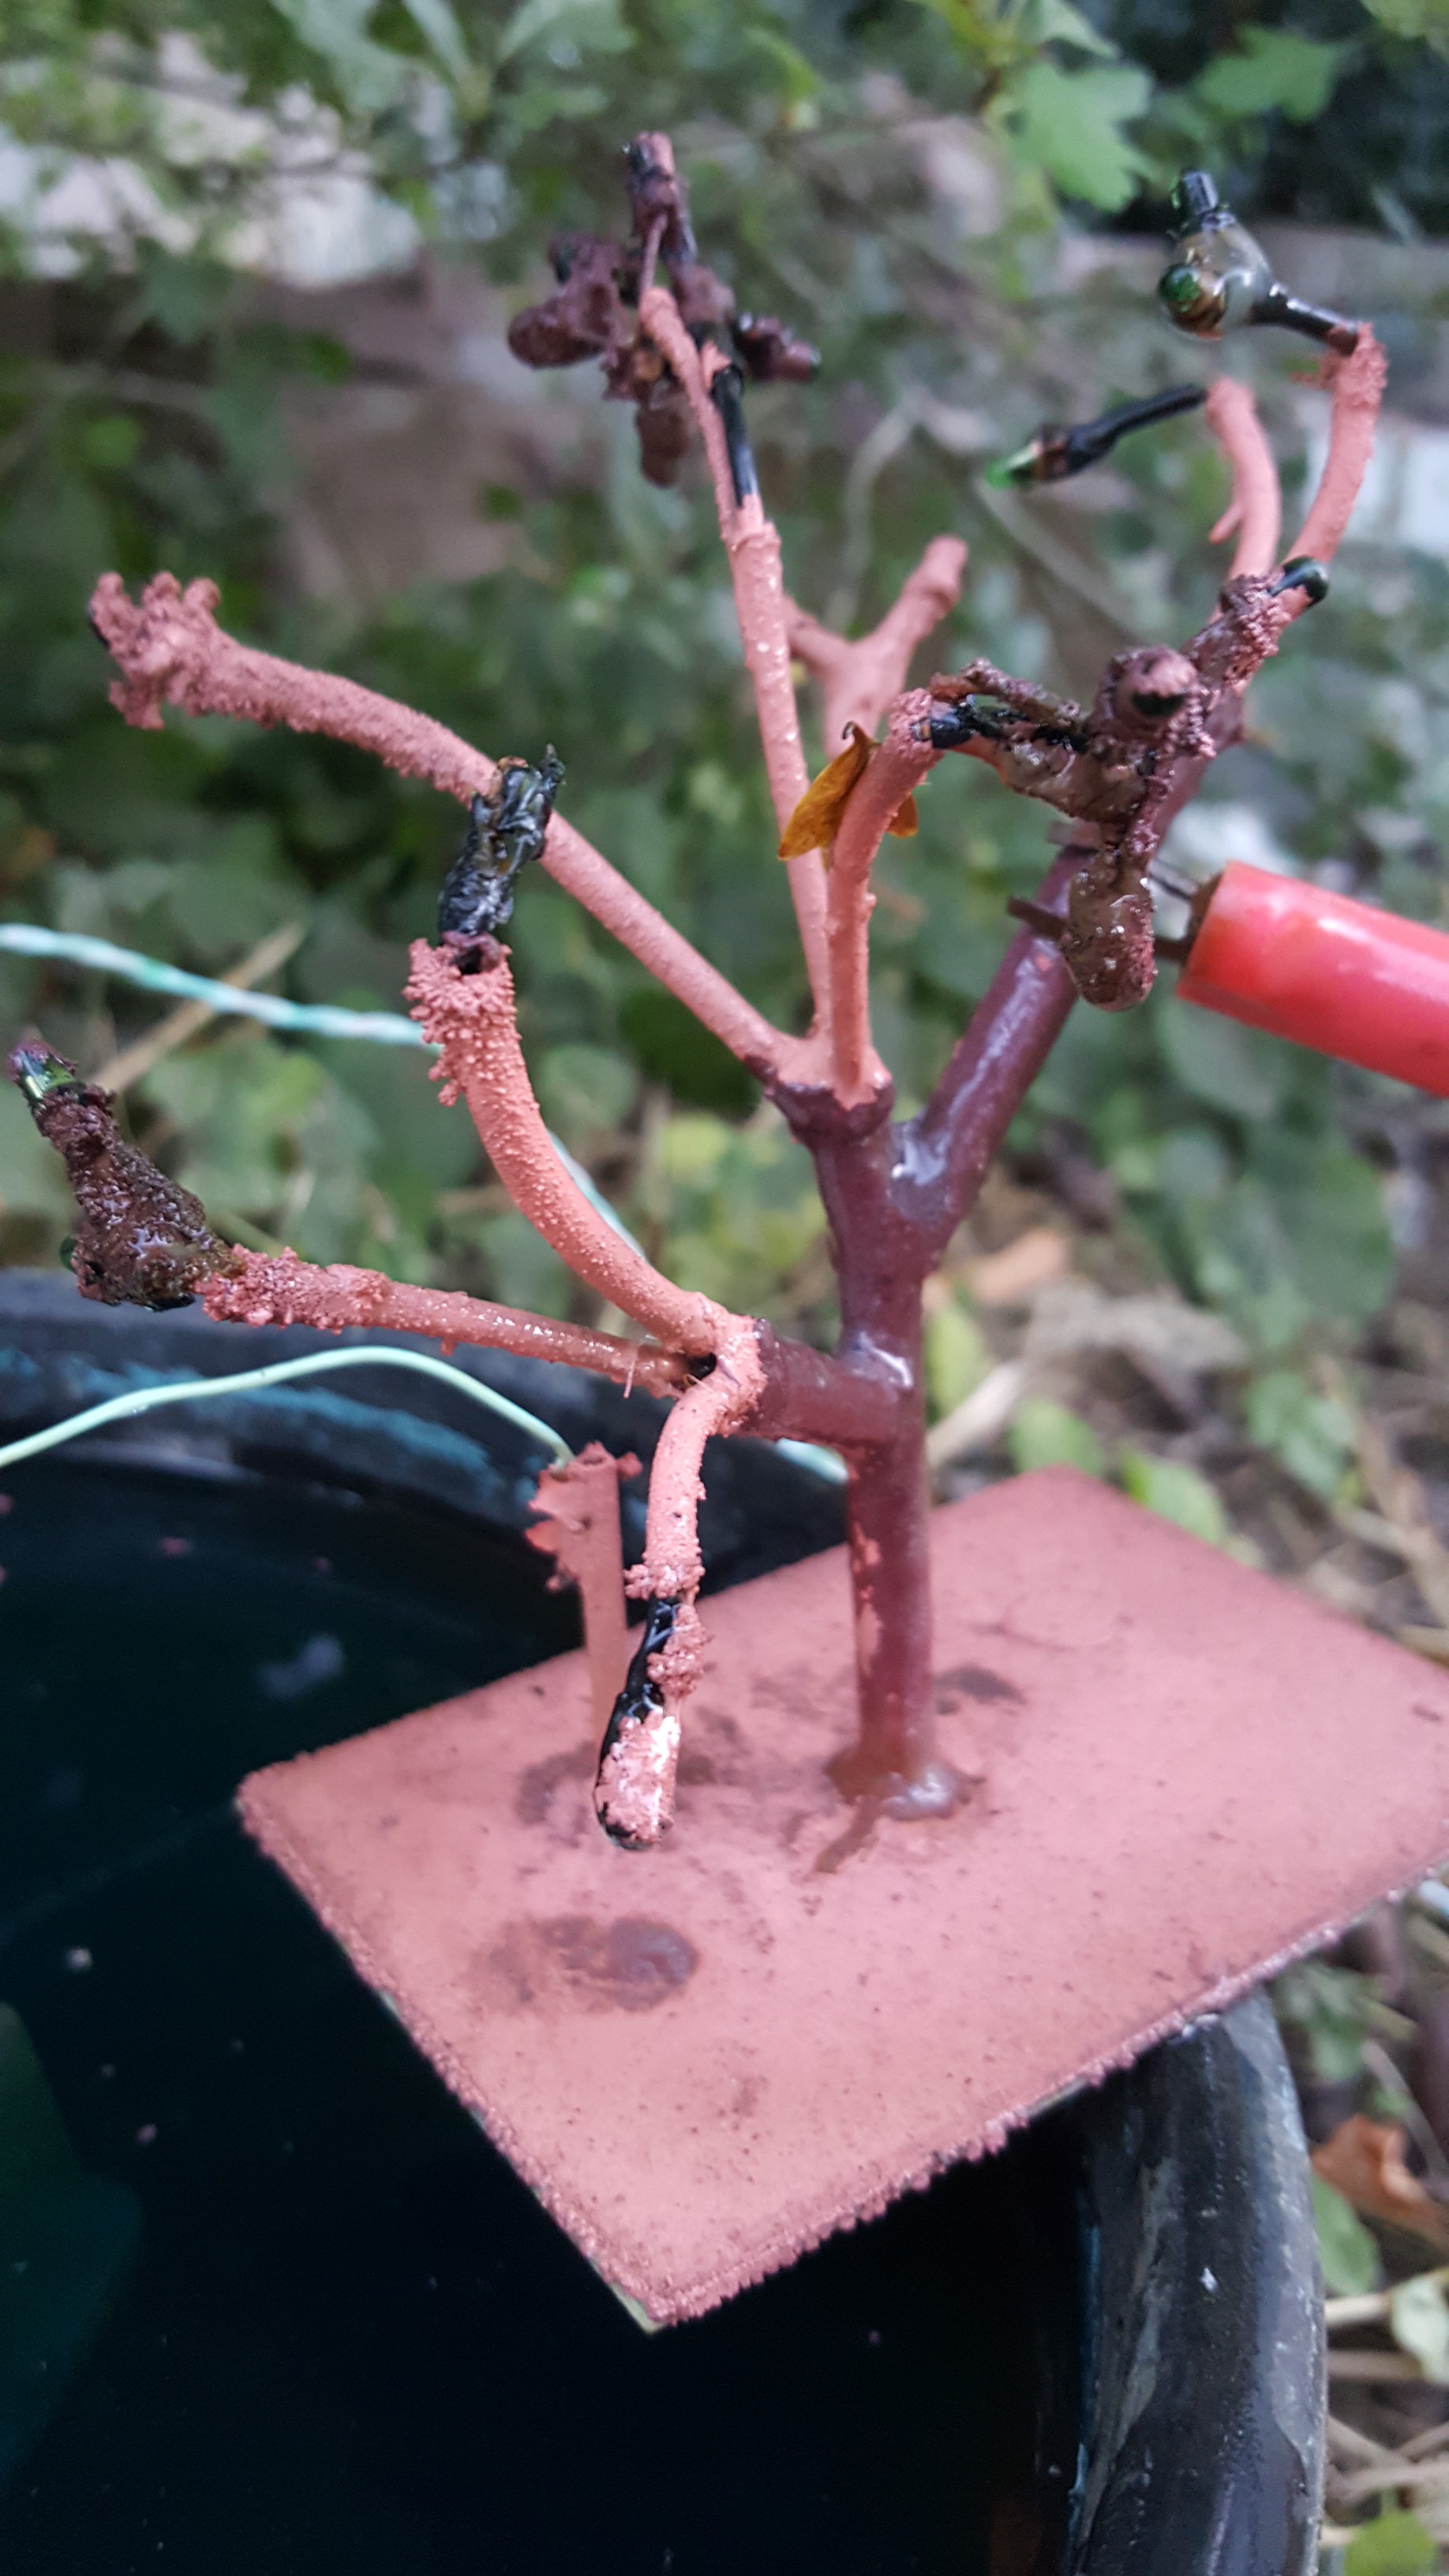
Broken anode lead
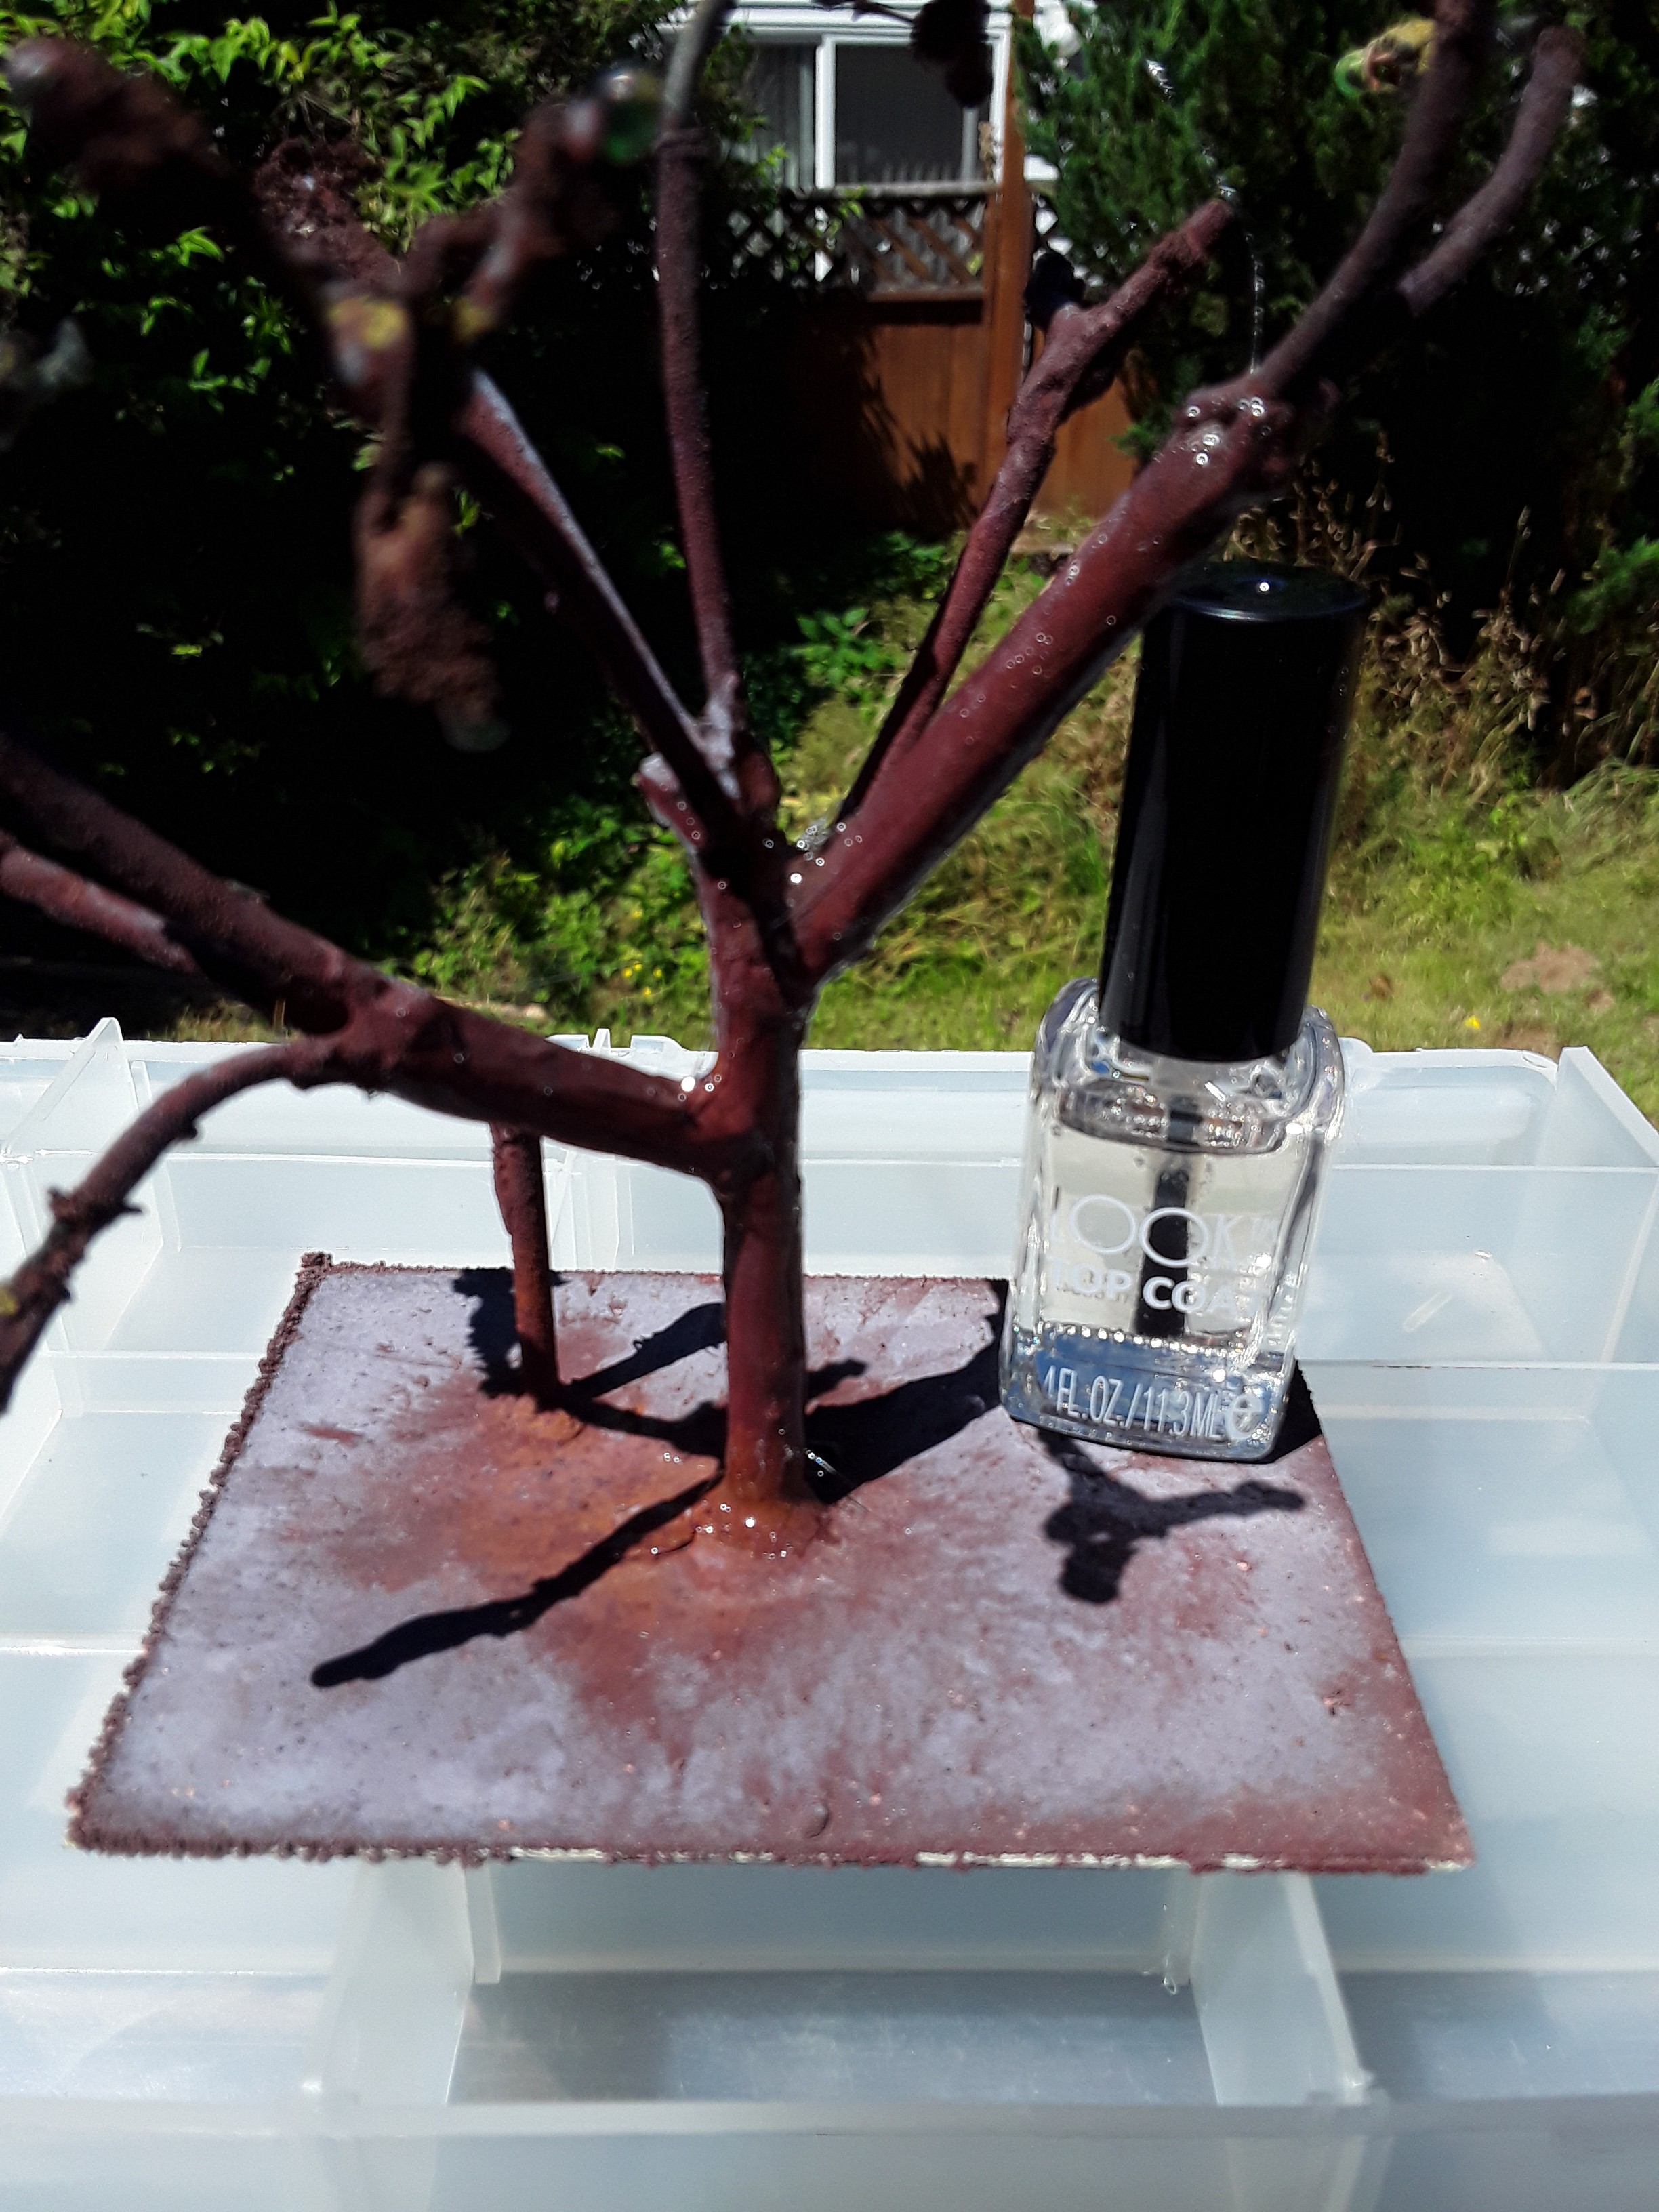
07/20/2020 at 18:58 • 0 comments![]()
So last night the buck converter had dropped to .02 amps again. This morning it turned out to be a broken anode lead. Of course any exposed anode feed wire will volunteer its copper first and eat through. It has been jostled enough that the hot glue likely pulled away from one of the junctions.
However, when I checked on it ths morning I had such a pretty brown on the trunk I took it out and washed it up, dried it with a blow drier, and painted the trunk and 2 larger limbs with clear nail polish top coat.
I owe my daughter a new bottle of top coat I think.
Leaving out to dry for a while before I recoat and dry again.
Keeping an eye on the base plate copper to see if it picks up some green and looks a little more like ground.
I also painted a little bit of the solder blobs to see if I could get an exposed root look.
circuit sculpture Fail-o-rama
Circuit sculpture using electroforming for organic-ish blinkenlights